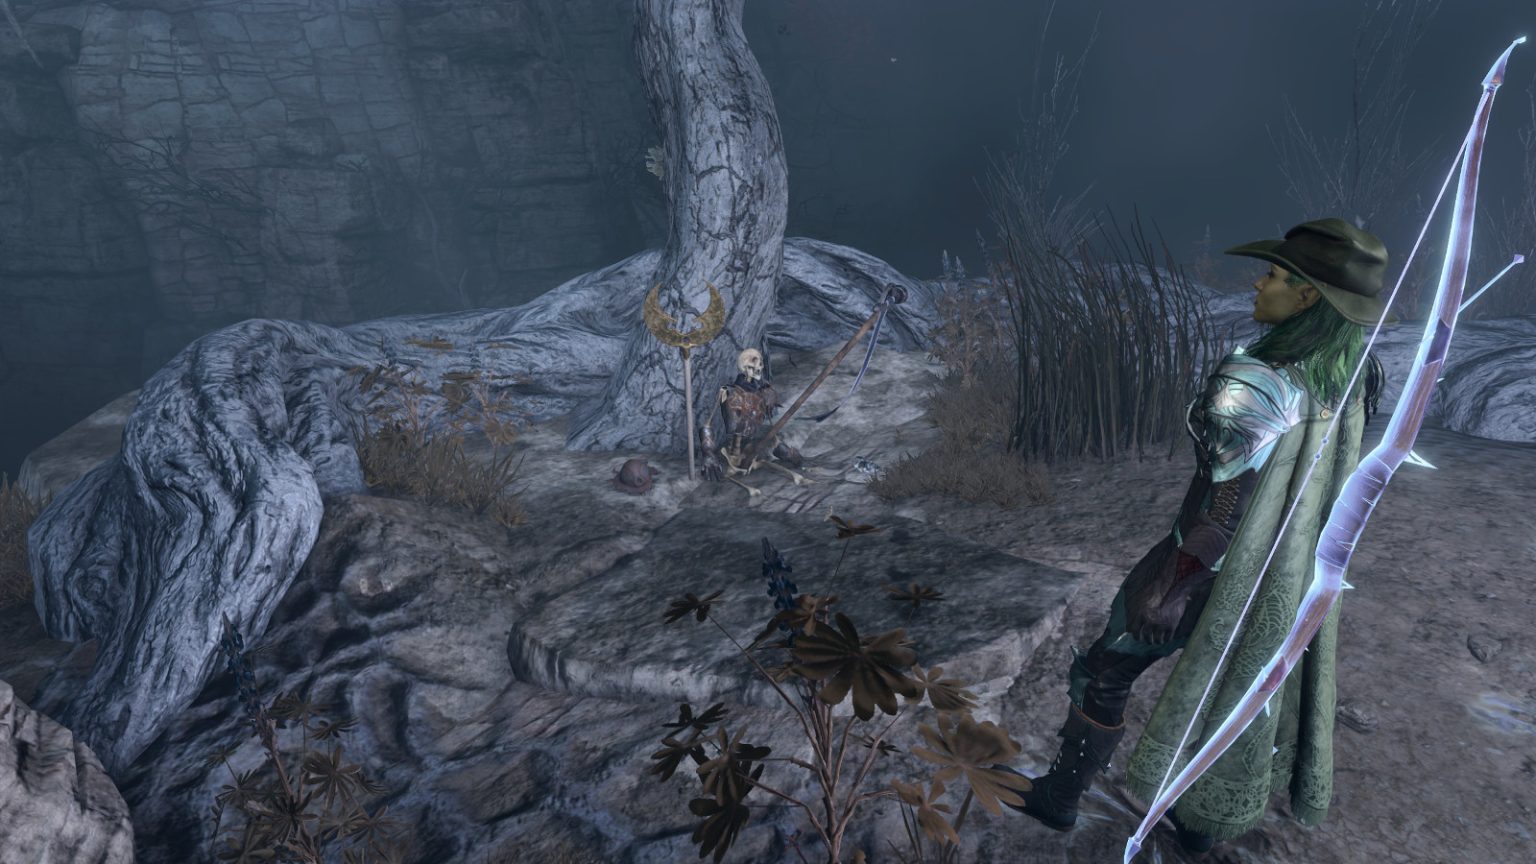
While exploring the Shadow-Cursed Lands, you’ll discover that even with Shar’s complete control over the area, there once were pockets of resistance from Selune’s followers. Did any of them survive? Did they accomplish anything? Or did they at least hide some good loot? Find out in our guide.
Map
Points of Interest 1 – Verzen Wranlock 2 – Ambush Site 3 – Potter’s Shop 4 – Last Light Inn 5 – Masons’ Guild
Background
While exploring the Shadow-Cursed Lands, you’ll find clues indicating that even after Ketheric Thorm and his Dark Justiciars took control over the area, small groups of people still followed Selune:
Near the southernmost entrance to Reithwin Town, you’ll find a skeleton belonging to Inquisitor Verzen Wranlock (#1). Her Investigation Notes will reveal that Selunite worshippers were using the potter’s shop for their services.
Inside the potter’s shop (#3), you’ll find the Potter’s Chest in the back. It’ll be locked. To open it, you’ll need to beat a DC-10 Perception check in the front of the shop to detect a moveable brick, which will allow you to loot the Potter’s Chest Key from behind it. Or you can just beat a DC-14 Sleight of Hand check to pick the chest’s lock. Inside the chest, you’ll find Luminous Gloves and a Note. The Note will mention that Morfred’s brother Halfred hid relics like the Luminous Gloves, which are useful against shadow creatures, somewhere in the Last Light Inn.
Reading either of these notes will trigger the quest.
Walkthrough
When you search the Last Light Inn (#4), you’ll come across a couple of clues right away:
Near the bar in a corner, you’ll find the Innkeeper’s Journal in the Innkeeper’s Lockbox. You’ll need to beat a DC-10 Sleight of Hand check to open the lockbox. In the journal, Halfred will mention that he has a hidden shrine to Selune in the cellar of his inn, and that his brother Morfred is a mason.
Behind the bar, you’ll find a Wrinkled Note in a pouch. In the note, Morfred will invite Halfred to “his place” — the Reithwin Masons’ Guild — and he’ll mention a map, a tower, and a chest. These are all things in the lower level of the guild, which you’ll see coming up.
Next, you should visit Halfred’s secret shrine in the inn’s cellar. The easiest way to reach the cellar is to use the doorway next to the docks, which are located beneath the main level of the inn. Inside the cellar, you’ll have to move some crates away from hidden doorways, break down some cracked walls, and defeat several creatures called Meenlocks (which are sensitive to light, so keep your party out of the shadows when fighting them). This will give you access to the shrine, where you’ll find Halfred’s Note. The note will indicate that Halfred was heading to meet with his brother in the Reithwin Masons’ Guild.
Halfred’s Note will also mention that he hid some relics “in the darkest corner of this place.” This is referring to the locked and trapped chest on the eastern side of the cellar. To open it, you’ll need to beat a passive DC-15 Perception check to detect the trap, a DC-10 Sleight of Hand check to disarm the trap, and a DC-14 Sleight of Hand check to pick the lock. Inside the chest, you’ll find a Coruscation Ring, which is another useful item against shadow creatures.
Inside Reithwin Town, you’ll need to be able to withstand a more powerful version of the Shadow Curse. To do this, you’ll need to acquire a working Moonlantern and then either use the Moonlantern itself, or free a pixie from the Moonlantern, which will give you a Pixie Blessing. The easiest Moonlantern to acquire is in the Shadow-Cursed Lands at the Harper ambush site (#2).
When you reach the Reithwin Masons’ Guild (#5), you’ll see that things didn’t go well for the resistance — just in case the Shadow Curse itself wasn’t a big enough giveaway. You’ll find two mason skeletons hanging by the entrance and the Grand Mason’s bones (or a reasonable facsimile) sitting in a pile inside.
In the lower level of the guild, you’ll have to beat a passive DC-10 Perception check to spot a Keyholed Herald — that is, a lock shaped like a tower. You can get the Tower-Shaped Key for this from Mattis in the Last Light Inn, or you can simply pass a DC-18 Sleight of Hand check to pick the lock. When you open the lock, you’ll also open a secret door leading deeper into the level.
As you continue past the secret door, you’ll come across a gilded chest. This is the chest Morfred warned Halfred to ignore. If you beat a DC-10 Perception check when approaching the chest, then you’ll sense that it is trapped. The chest actually has a more complicated trap than normal — because it’s intended as bait for thieves rather than a place to store valuable items. If you disarm the trap, then you’ll only find 75 gold inside, but if you trigger the trap, then you’ll have to deal with portcullises and fire-breathing gargoyles.
In the final room of the level, you’ll find another shrine to Selune, but when you get close enough to it, five Shadows and a Wraith will attack you. The Shadows will turn invisible if they’re not fully lit, but the lower level of the guild isn’t affected by the Shadow Curse, so you can light candles, cast spells like Daylight and Light, and use the Luminous Gloves and Coruscation Ring to keep them in sight. Just be aware that the Wraith has an aura that extinguishes nearby lights, so target it first and then deal with the Shadows.
After the battle, you’ll find a Helmet of Arcane Acuity in the locked and trapped chest behind the shrine, the Mason’s Letter and the Mason’s Log on the large table next to the shrine, and a Moonrise Diagram in the surrounding gallery. The helmet is your main reward for the quest, the diagram is the map Morfred mentioned in his letter to Halfred, and the documents detail Morfred’s attempts to rid Reithwin Town of Ketheric Thorm and his Dark Justiciars, including by making a deal with the devil Raphael. Reading the Mason’s Log will complete the quest.
Note: You might later meet Morfred in Raphael’s House of Hope, but you’ll never learn what happened to Halfred, although it’s safe to surmise that the answer isn’t anything good.
Share this article:
Steven Carter
Starting with cassette tape games on the TRS-80, Steven has been playing, creating, and writing about games for a long, long time. This makes him experienced, not old. Lately, Steven has been focusing on walkthroughs, making sure everybody knows how to solve Towers of Hanoi puzzles.