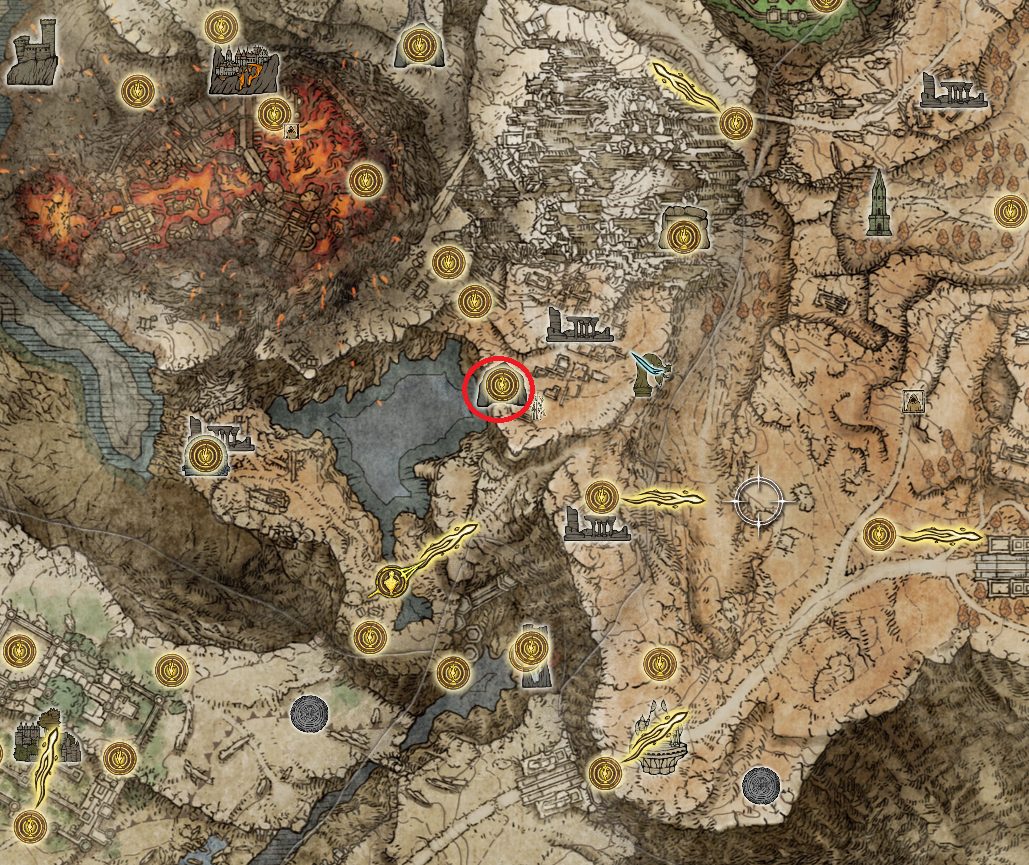
This cave on the Altus Plateau is a pretty silly one — it’s got lots of illusory walls and a boss with a very cute pet. It’s also full of skeletons, so prep some holy damage for maximum efficacy. You’ll want to bring a Lantern, as there are plenty of dark spots.
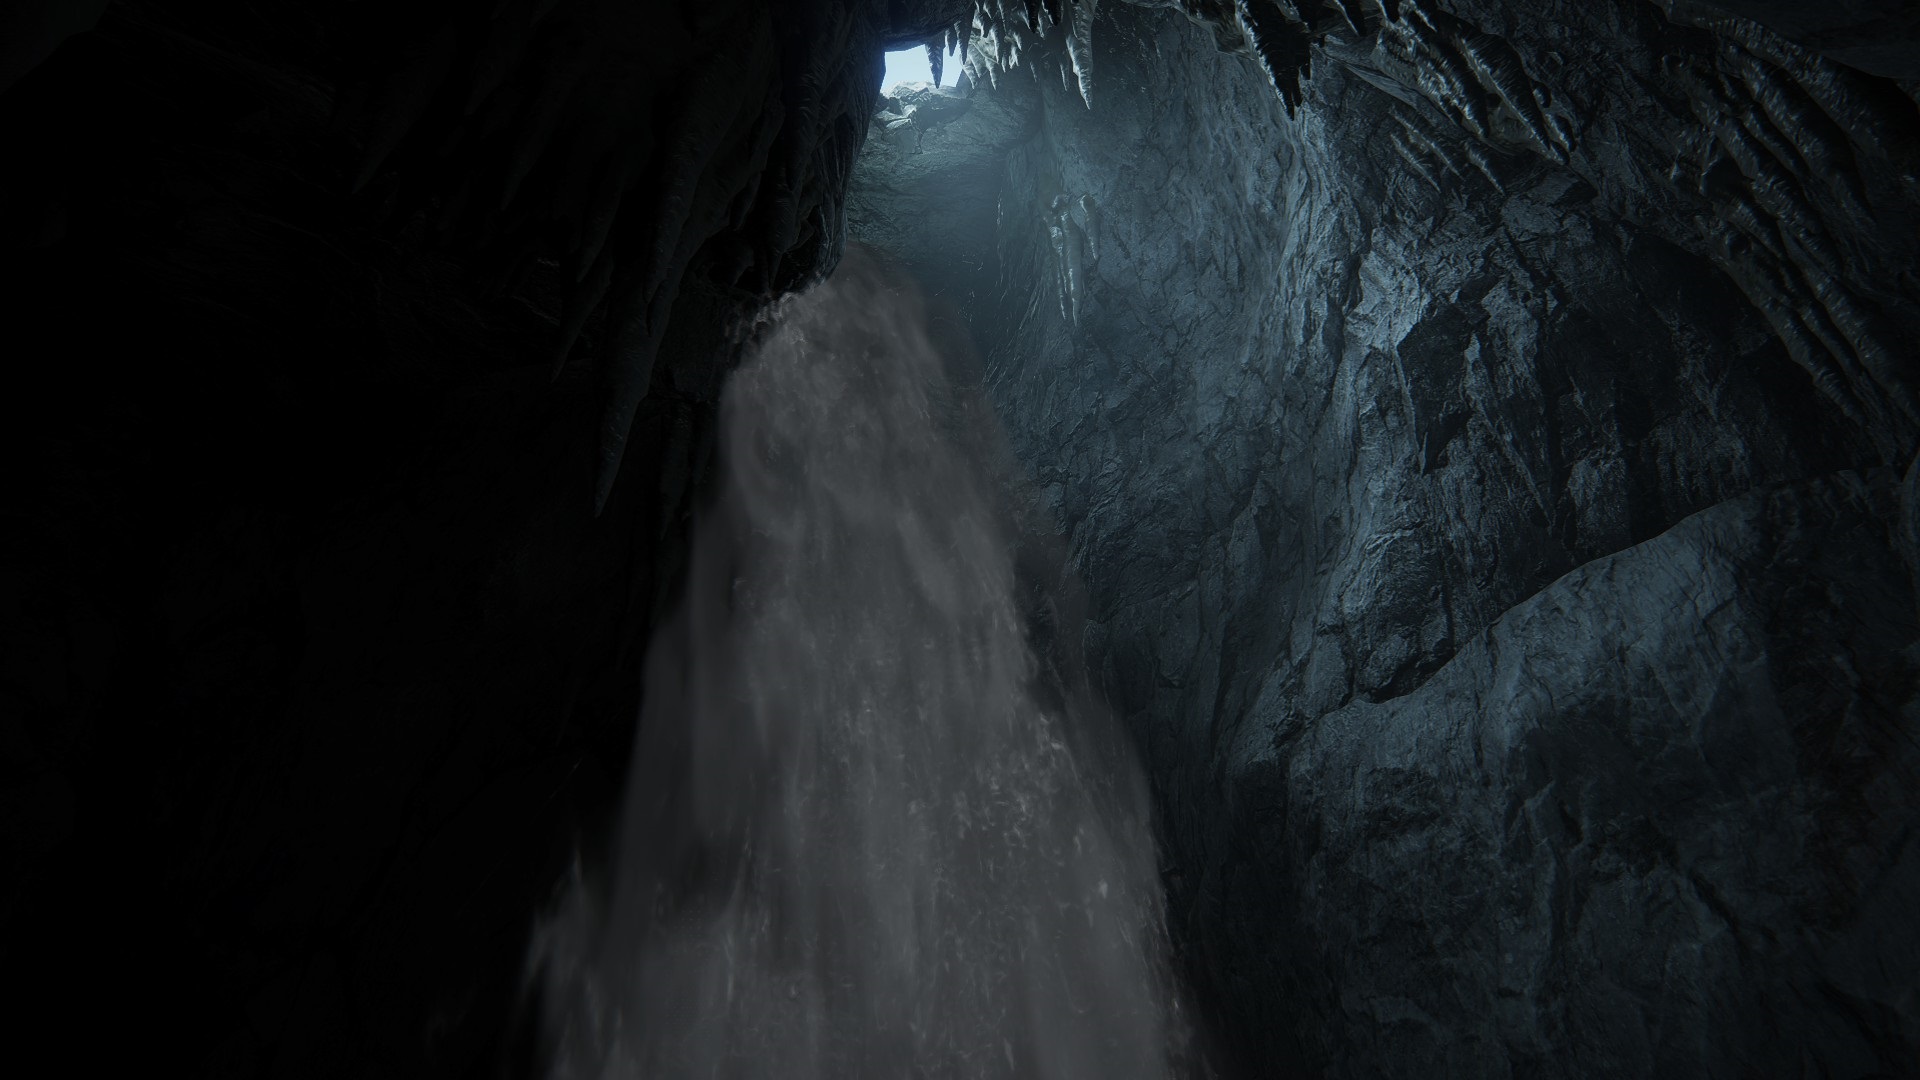
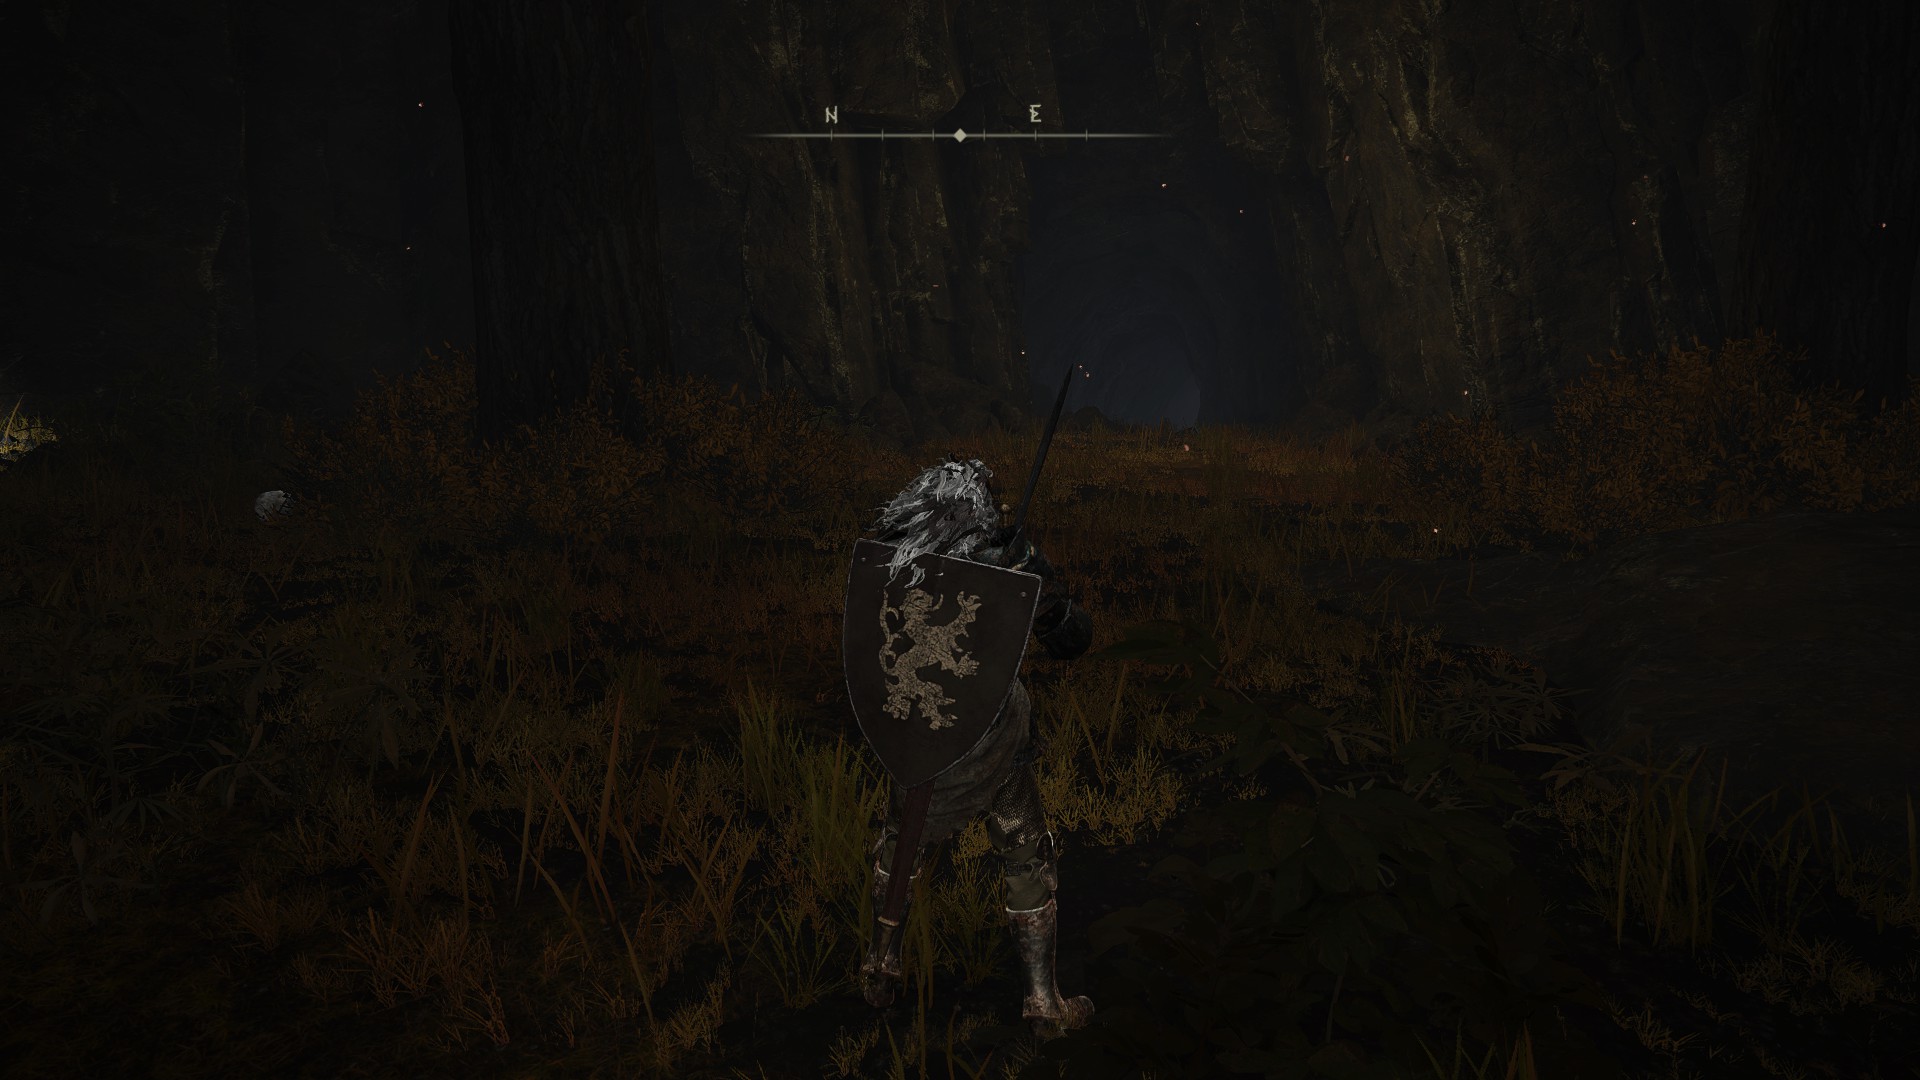
The cave is accessible from the lake to the west of the entranceThe cave as viewed from the west
A couple of notes before we begin: You probably won’t make it to Altus Plateau without learning this, but just in case: skeleton enemies will revive unless you attack their corpse on the ground when it starts glowing white. They also won’t revive when killed by holy damage. Also, while most of the illusory walls will already have a lot of messages in front of them, and some might be obvious, we’re going to use pictures for most of them to ensure everyone has an easy time making their way through this cave.
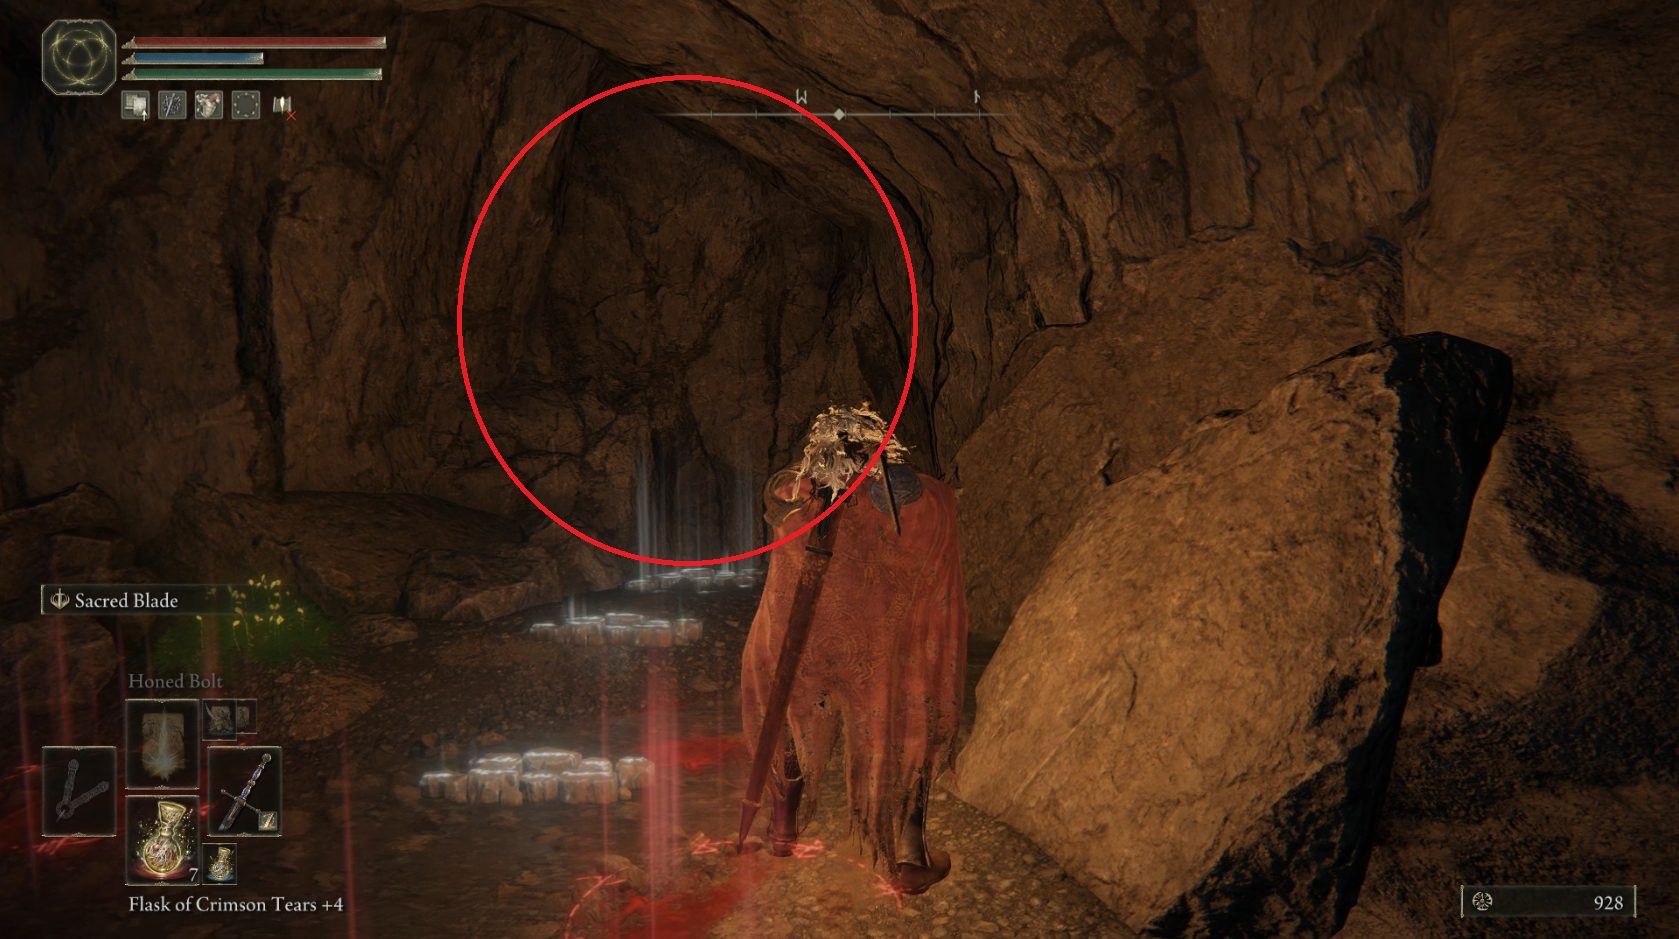
From the site of grace, head northeast into the tunnel there, where you’ll soon hit a dead end. Roll or attack to disperse the illusory wall, then turn right in the next area and follow the water. You’ll be able to sneak up on a skeleton here, then turn right to find another illusory wall.
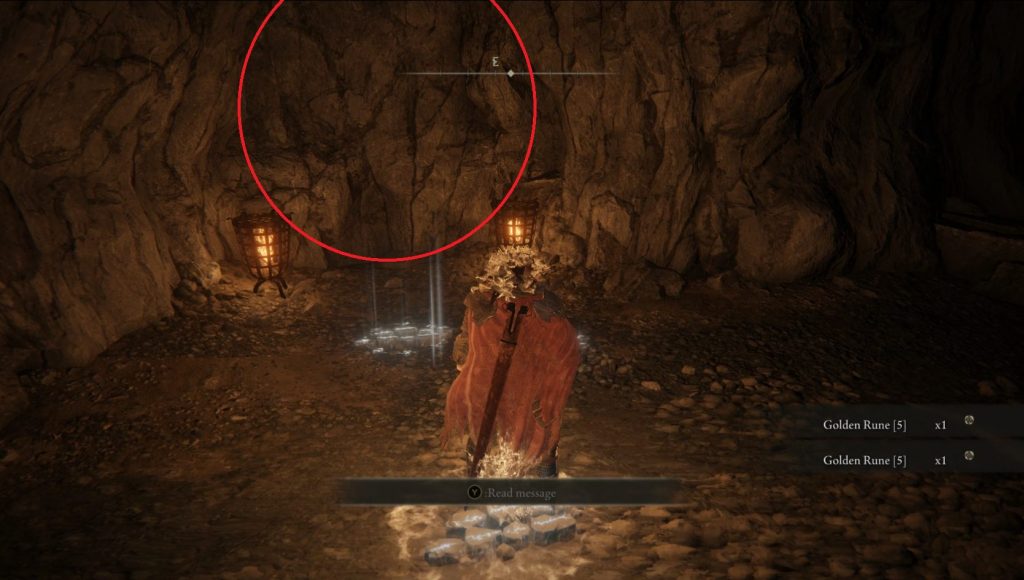
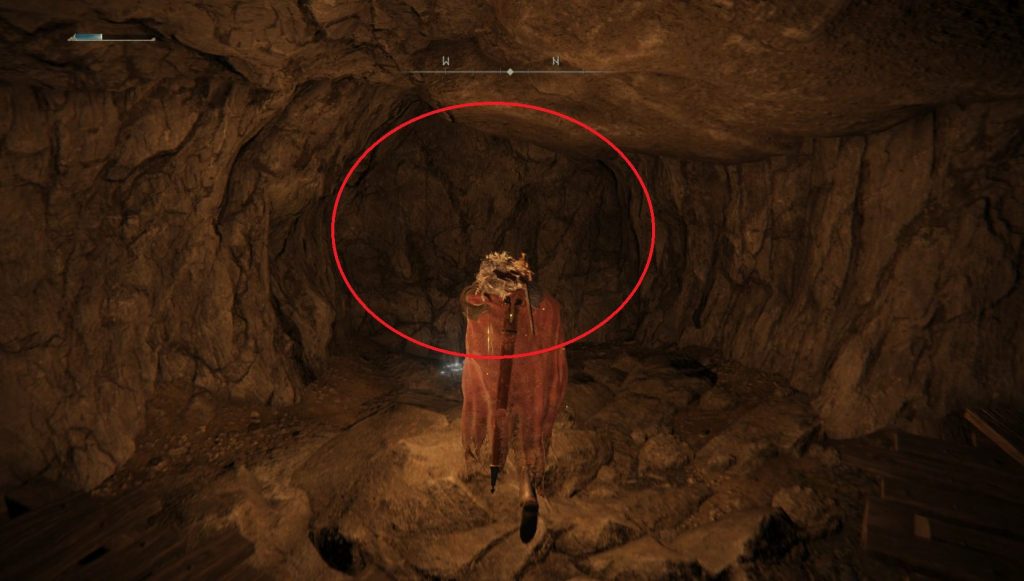
Continue forward to find a small illuminated wooden platform with two chests on it — grab the Lost Ashes of War and Rejuvenating Boluses from them, then continue south. You’ll drop down into shallow water and then find two corpses boh holding a Golden Rune [5]. Turn left (east) and there will be another illusory wall, this one flanked by two braziers. Be careful, as there’s a skeleton right behind this illusory wall waiting to stab you — roll into it instead of attacking to make sure you’re ready to attack him (or roll away).
One or two larger skeleton warriors will also quickly come out of the darkness, so kite back immediately if you’re a ranged character. Note that there are four skeletons in total behind this illusory wall, and so a third warrior skeleton may follow the first two. Fittingly, there are also four chests in the small room beyond — grab the x5 Silver-Pickled Fowl Foot, Black Hood, Candletree Wooden Shield, and Nascent Butterfly from the chests, then go back the way you came and turn left to continue south through the nexxt tunnel.
You’ll soon reach another open area. Here there are two crossbow-wielding skeletons on a wooden platform, and then two melee enemies hanging out on the left. The further melee foe is staring at the wall, so you can ignore him for now. You should be able to pull the other melee skelly back into the tunnel where the ranged skellingtons can’t hit you. With the first guy down, go take out the two ranged ones, and then finally sneak up on and dispatch the enemy on the left, who stares at another illusory wall — there’s a Stonesword Key in the chest just beyond.
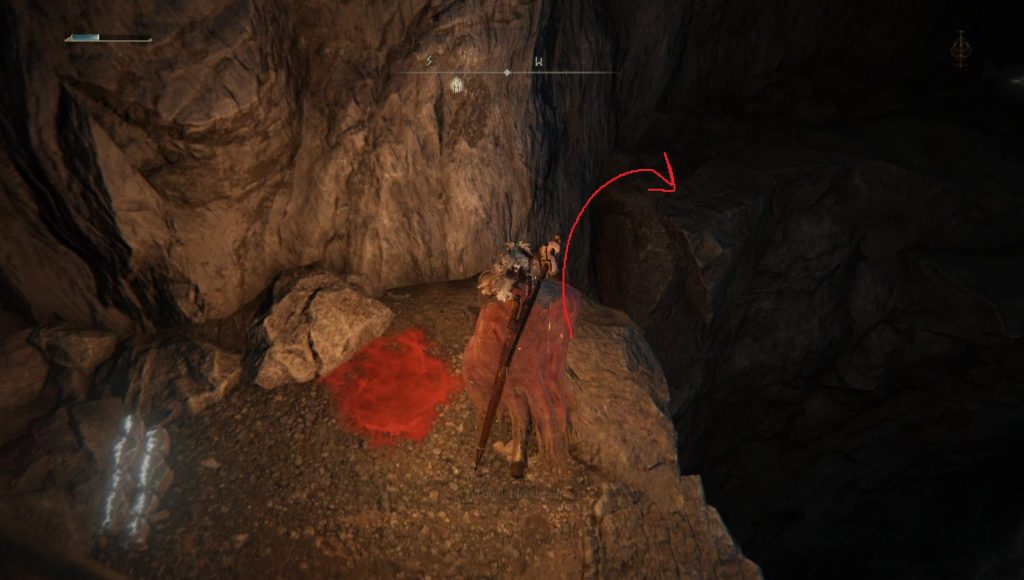
From the chest, turn right and keep the wall on your left to find the next tunnel that leads east and then north. You’ll soon see a few more chests on a wooden platform — turn left to find a chest in an alcove with x10 Golden Great Arrow, then open the two on the platform to snag x4 Dragonwound Grease and the Raptor Talons. From the chests, look northwest to find the tunnel that leads forward. You’ll find yourself behind a waterfall — look left and jump the gap there.
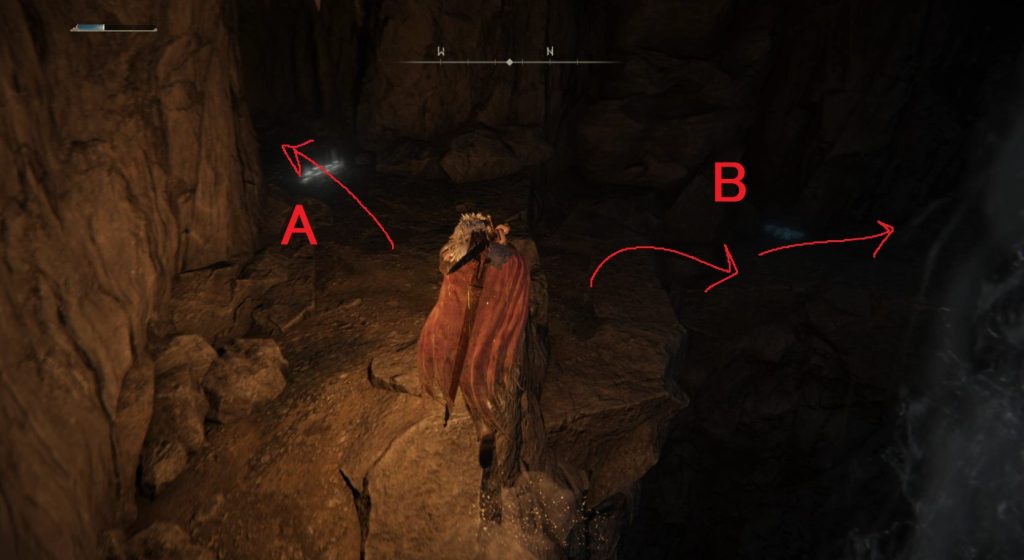
Now you’ll have two paths you can take. Path A leads to some more loot as well as the hidden boss of this dungeon, so we’ll do that first.
Go around the corner to the left as in path A above, and roll into the wall at the end of the dead-end there to remove the illusory wall. In the room beyond, there are two chests on the left, and another illusory wall on the right. First, open the chests to find the Raptor’s Black Feathers and the Skeletal Mask. Then turn around and roll into the northwestern wall.
Go through the fog gate beyond to find the guy who probably raised all these skeletons and put all these freakin’ illusory walls everywhere: Necromancer Garris.
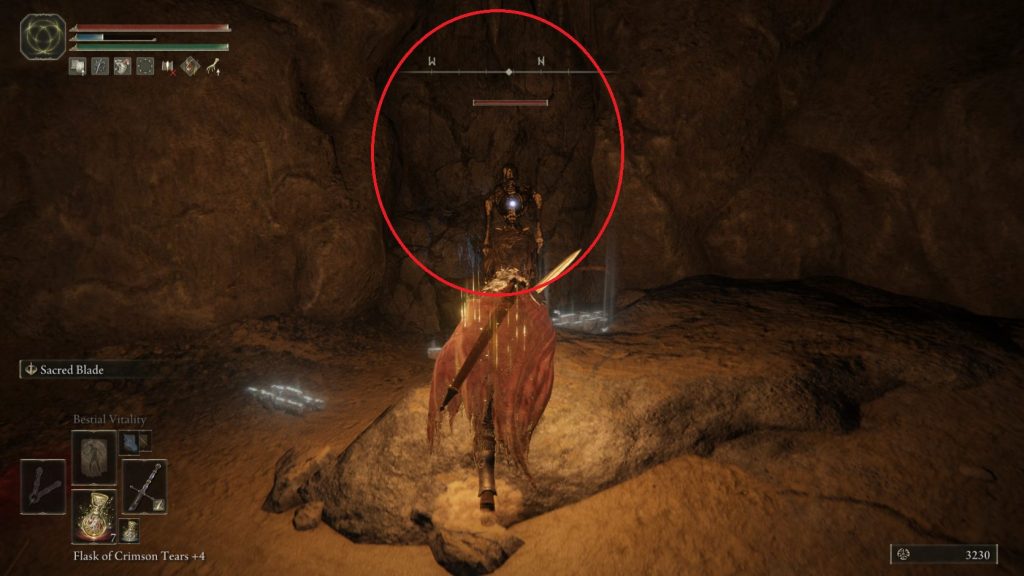
With Garris taken care of, you can head back the way you came and take path B (as indicated above) to face the next boss. If you’re low on resources, consdier returning to the start of the dungeon and resting at the site of grace — you can run past most of the enemies in this cave fairly easily if you want to rush to the second boss after resting. This next foe is one you’ve probably seen before — a Black Knife Assassin — but it’s got a new (and obnoxious) trick up its sleeve.
Unabashed FromSoftware fanboy still learning to take his time with games (and everything else, really). The time he doesn't spend on games is spent on music, books, or occasionally going outside.
After the first skeleton by the moss you can run and jump across to that bottom platform that splits between the two bosses. This skips a heck of a lot of enemies


After the first skeleton by the moss you can run and jump across to that bottom platform that splits between the two bosses. This skips a heck of a lot of enemies