This hero’s grave in the Mountaintops of the Giants is a cakewalk compared to the ones full of chariots. It’s fairly brief, contains a limited number of enemies, and the boss is a foe you’re probably quite familiar with by now.
This dungeon is the last one in the Mountaintops of the Giants, and cannot be accessed until you’ve made your way across the first large chain and have reached the Giants’ Gravepost site of grace — check out our walkthrough of the Mountaintops if you’re having trouble reaching the dungeon.
After riding the elevator down, you’ll be able to go west to the site of grace and activate it. From there, you can optionally spend a Stonesword Key on the imp statue to the west and access the Flame, Protect Me incantation (which can actually be useful in this dungeon vs traps and some enemies, so feel free to memorize it at the site of grace). Then go through the tunnel that leads south from the summoning pool, and continue down the stairs.
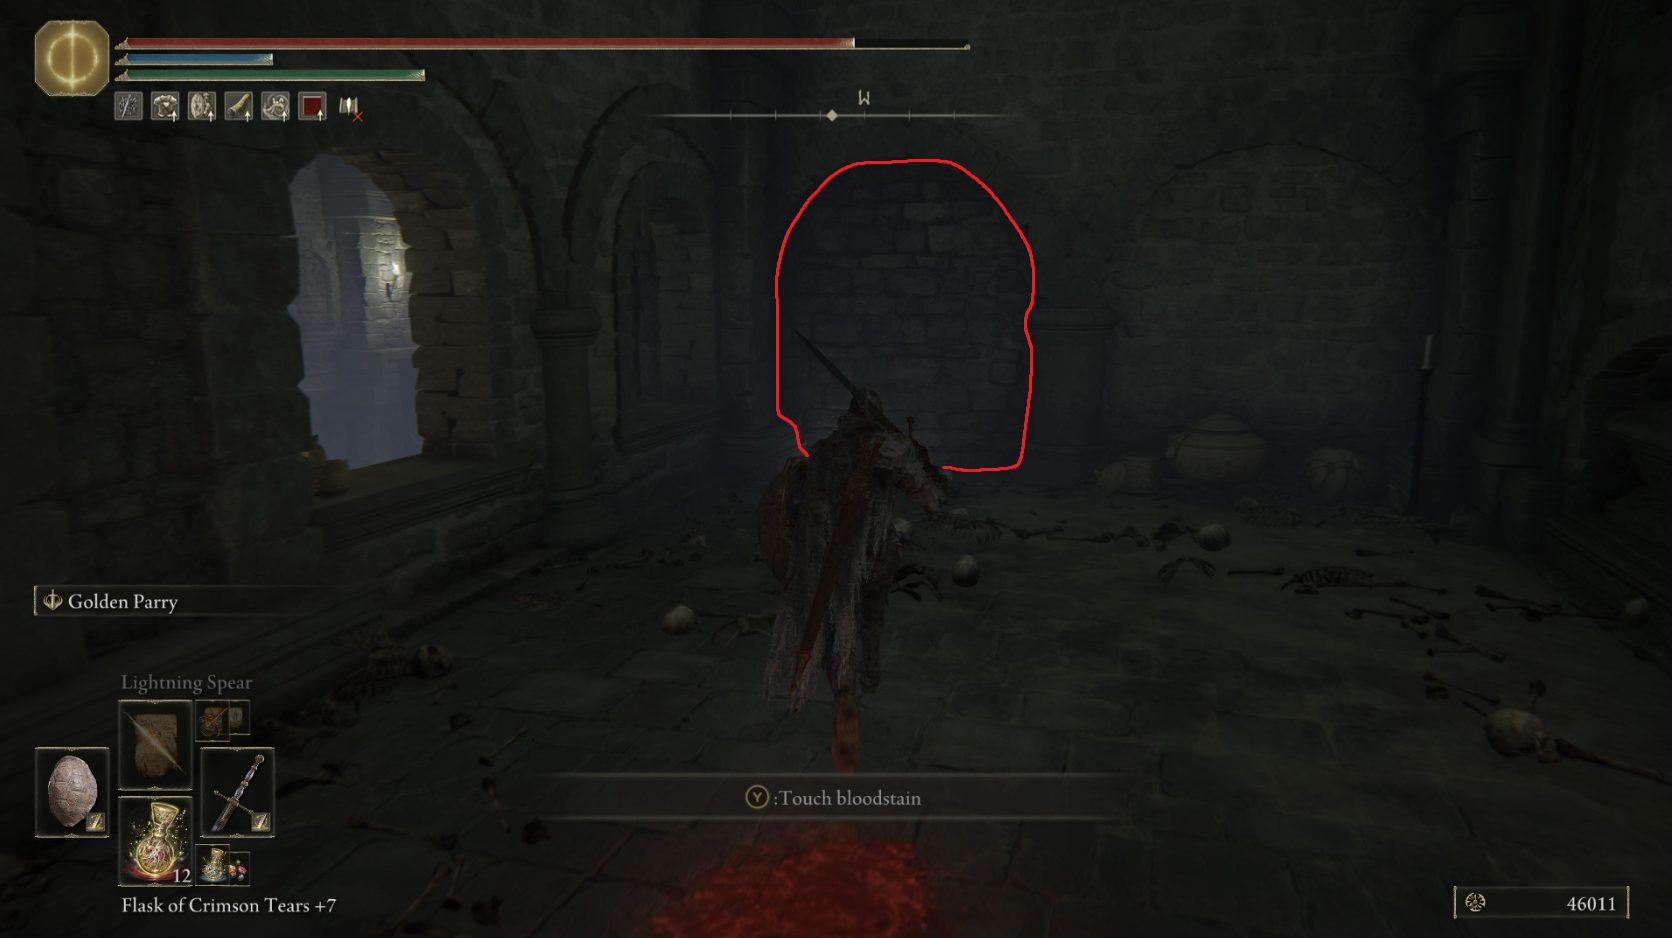
Start sneaking as you near the bottom of the staircase, as there’s a fire monk that patrols the hallway just ahead. You don’t have to fight him if you don’t want to — just wait for him to pass, then turn right to head west down the hallway to what appears to be a dead end. Roll into the left-hand section of the wall to dissipate the illusory wall.
Continue west, and pick up the Golden Rune [11] in the window on the left, just before the dead end. Then jump south, through the last window at the end of the hallway.
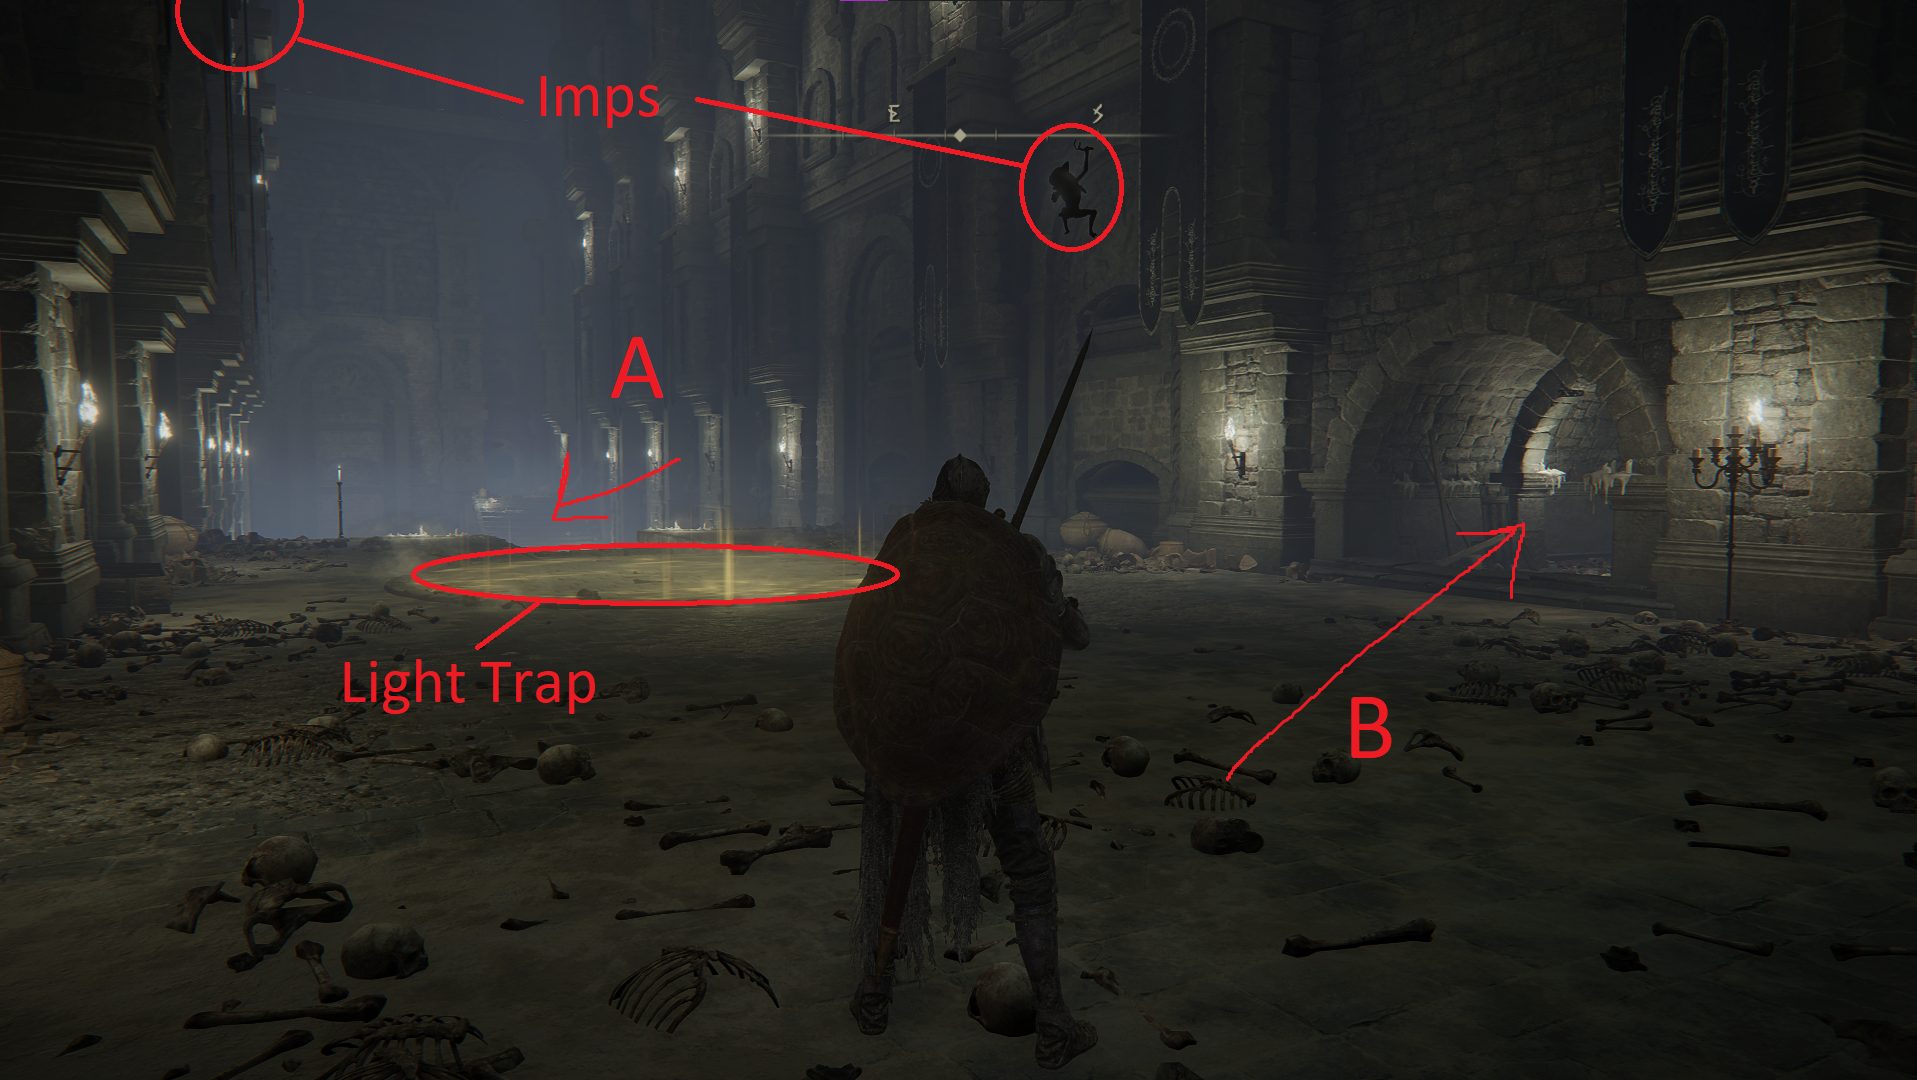
In this next section, you can either bait the shadow enemies into the light trap (otherwise they’re invincible), or you can ignore and run past them — neither option is superior, and it simply depends on what you’re more comfortable with. The directions below will assume that you kill the two imps near the trap, but ignored the rest of the enemies. However, if you want to disable the fire trap in the next section, you should kill all the imps before continuing into tunnel B (see below).
Bait the imps into the light trap and kill them and then take route A (see below) and sneak down the stairs — on the stairs is an erdtree watchdog, who you can safely sneak past. Make a U-turn to the left and take the next set of stairs down, heading the other direction (west) — continue down these stairs into the room below and grab the Grave Glovewort [9]. Two shadow imps will drop down from the ceiling as you enter this room, so grab your flower quickly and then leave via the left-hand staircase you used to enter. Sprint east across the room and pick the Grave Glovewort [7], then turn around and go west up the middle staircase, past the watchdog, and take a left into the tunnel that leads south (route B).
Here, you’ll see a fire trap shooting into the next section of hallway. You can disable the trap with a projectile (aim using the Telescope), or you can do it the old fashioned way: wait at the corner for the trap to stop spewing flame, then turn right into the next hallway and sprint to the alcove on the right, halfway down the hallway. There is a fire monk here, so prepare for a tough close-quarters battle if you haven’t disabled the trap. Once the monk is dead, wait for the trap to spew flames again, then run south past it and hit the trap to deactivate it.
With the trap disabled, go south up the stairs, and start sneaking again once you reach the top. Continue south a bit and wait for the fire monk to descend the staircase, then attack him while his back is turned. With the fire monk defeated, go up the stairs the monk came down (heading north), and grab the Freezing Grease that sits to the right of the stairs.
Optionally, you can spend another Stonesword Key to unlock the gargoyle imp statue here — doing so will net you a Grave Glovewort [8] and the Cranial Vessel Candlestand. If you unlock the room, head north into it and make sure you don’t fall through the hole in the floor (it’s in the middle of the light trap) as you make your way north. In the next room, the glovewort is on the left, and the candlestand is on the far wall. There are two shadow imps waiting above the door, plus one on the right near the candlestand, so you’ll need to either pull them to the light trap or else quickly grab the items and then run away.
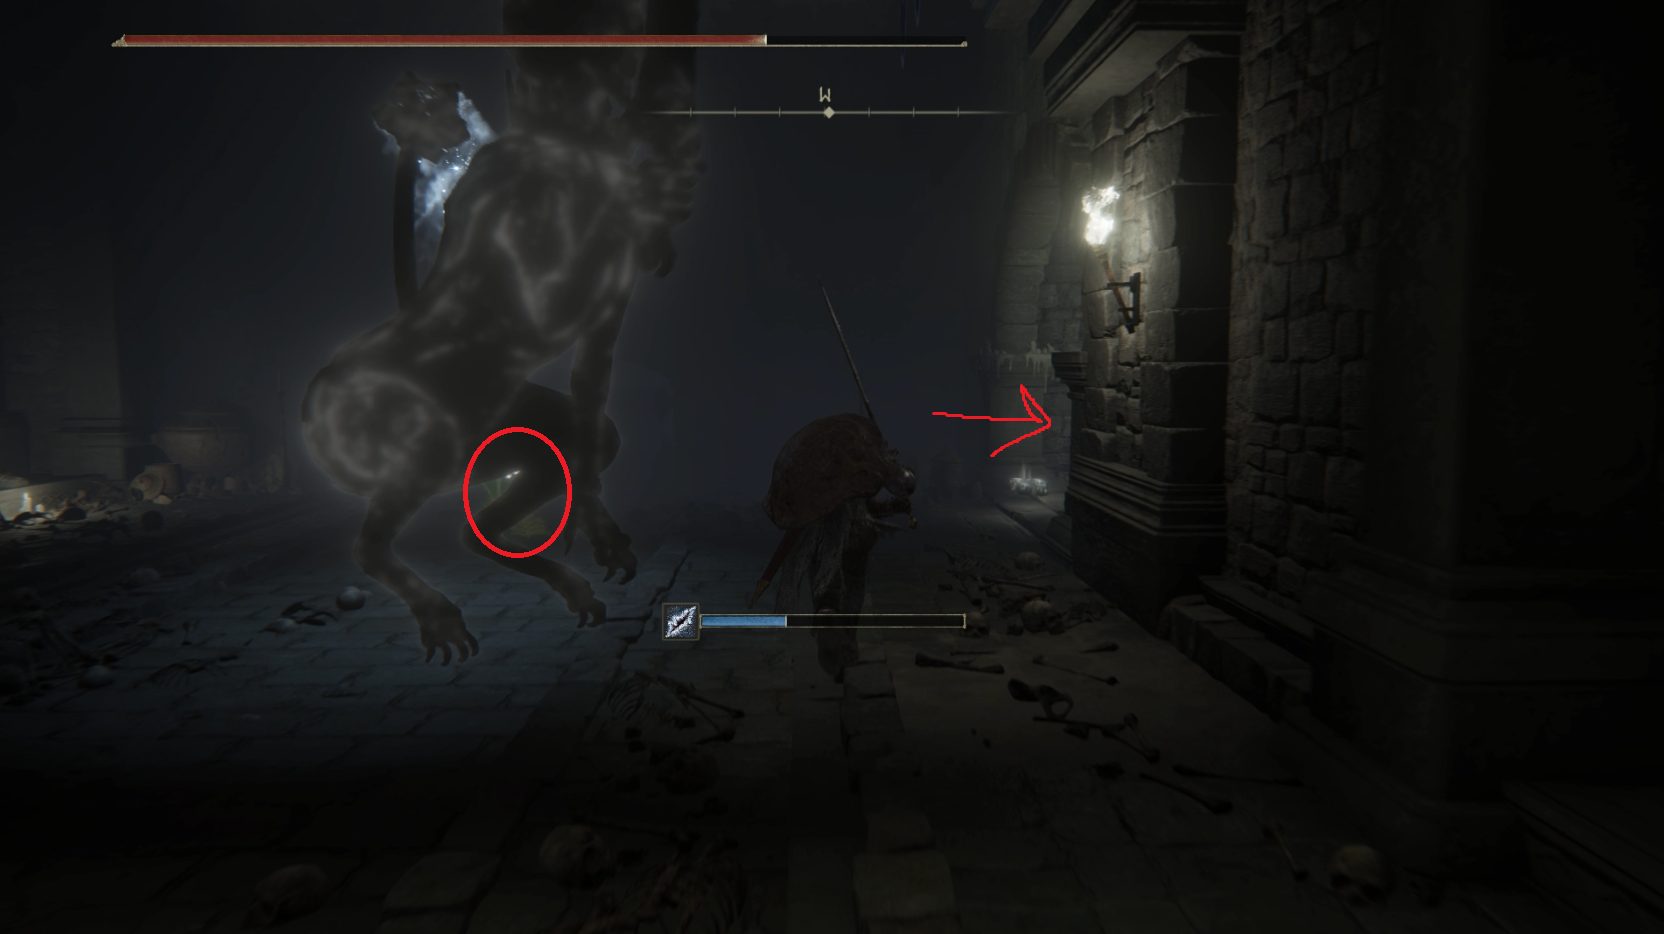
Whether you enter it or not, continue south from the gargoyle imp statue fog gate, down the stairs and into the tunnel. You’ll find an elevator — ride it down. Once you reach the bottom, get off of the elevator button and then activate the elevator again and immediately roll off of it to the south — this will create a light trap on the ground nearby. Go southeast and pull the lever, which will open the large wooden gate. Head east down the stairs, and pull the shadow troll there into the light trap (you will need to stay fairly close to it to maintain aggro). Once the troll is in the light trap, pull it further into the room, then run past it down the stairs (heading east) and jump over the right-hand railing in the next room.
You’ll land near a fire prelate with his back to you — start sneaking and look behind you, noting the two tunnels to the west and southwest. Once again you have the option of fighting or simply running, but either way, grab the Giant’s Seal from the southern side of the room, and then the Great Grave Glovewort from the eastern wall (the thing the prelate is facing). With both items secured, you can go enter either tunnel on the opposite side of the room and drop down to the level below.
Facing west in this new area, there is a shadow burial watch dog straight ahead, and another around the corner to the right. Head forward and take a right to go north, and run past the watchdog here, making your way around the column to find a Grave Glovewort [9] behind it. Then go back the way you came and turn right to head west, past the next shadow watchdog (you may have to roll to avoid being stabbed). Behind the watchdog is a Grave Glovewort [8], and to the right is a ladder — climb it before the watchdogs catch you!
At the top of the ladder, turn left to find a Grave Glovewort [7] and a Grave Glovewort [8], then walk east to the top of the broken stairs, but stay on the high ground. If you’re lucky, the troll from earlier is still in this room, and you can use ranged attacks to kill it. Otherwise, you’ll need to hop down to the east and go fight it “fair”. It has lots of slow attacks, so be patient, don’t roll preemptively, and take it down.
Once the troll is dead, you’ll get the message that “Somewhere, a heavy door has opened”, and you can go east down the stairs — continue this direction to find the now-opened boss doors. Pick the Ghost Glovewort [9] to the left of the boss door, then head through it and down the stairs to the gold fog gate that leads to the boss. Prepping fire damage of some kind is helpful for this boss, so consider doing so before entering the boss arena.
With the hero of Zamor defeated, you can take the wisp back to the start of the dungeon and continue with your adventure through the Mountaintops of the Giants!
Unabashed FromSoftware fanboy still learning to take his time with games (and everything else, really). The time he doesn't spend on games is spent on music, books, or occasionally going outside.
I read a couple times over the part where you use a 2nd stonesword key. You have to jump down the hole to bring the fire-trap back up in order to create the light-trap in there. I didn’t know how to handle the imps, so I kept sending them down the hole, before falling down myself, activating the fire trap and ultimately took myself out with it 😆


I read a couple times over the part where you use a 2nd stonesword key. You have to jump down the hole to bring the fire-trap back up in order to create the light-trap in there. I didn’t know how to handle the imps, so I kept sending them down the hole, before falling down myself, activating the fire trap and ultimately took myself out with it 😆