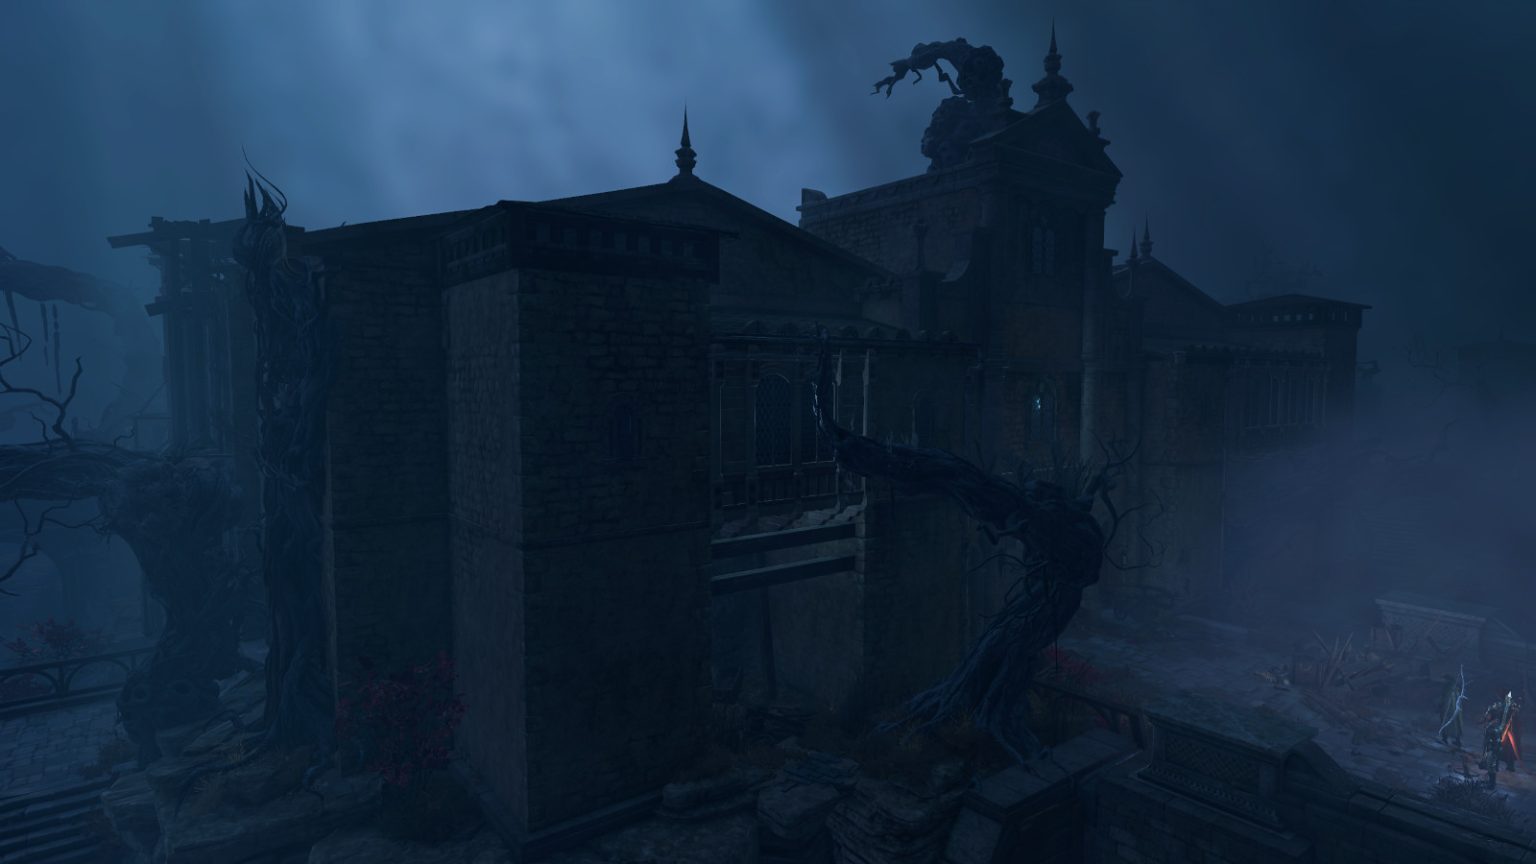
As you explore the Reithwin Tollhouse, you might hear Gerringothe Thorm exclaim, “All must pay. All must pay! Gold. Gold. Gold!” Luckily, no gold is actually required, and there is plenty of loot to be uncovered. Read this guide to learn all about it.
Exits & Waypoints A – Banded Roots B – Broken Staircase C – Debris D – Roots E – Roots F – Basement Door G – Roots H – Roots I – Roots W – Reithwin Town Waypoint
Map Note
The Reithwin Tollhouse has numerous roots allowing you to climb between levels. There are so many roots, in fact, that labeling them all just clutters up the map while not providing useful information. So we’re not showing all of the available exits. We’re just showing enough to give you an idea about how to move between levels.
Points of Interest
1 – Bloody Dog Collars
You’ll find several dog collars here, right next to a bloody chopping block and a cooking station. If you’ve seen the Message Board at the Waning Moon with notices of missing pets, you’ll now understand what happened to them.
2 – Visages
You’ll meet six Visages scattered around the tollhouse — one each for Cowardice, Greed, Guilt, Heartlessness, Obedience and Regret. They won’t have much to say to you, and if you attack them, then they’ll just turn invulnerable and teleport to Gerringothe (#4). The Visages are only important if you attack Gerringothe.
3 – Blocked Room
You won’t be able to enter this room using the door on the eastern side. When you eventually make your way inside, you’ll see that a shelf fell against the door, blocking it.
To enter this room, you’ll need to deal with Gerringothe on the Upper Level (#4), which will give you access to her office (#5). Inside the office, you’ll detect some rotten floorboards, and destroying them will allow you to jump down into this room.
Inside the room, you’ll find some potions and lots of clothes, so maybe it was a cloakroom of some sort. To exit the room, you’ll need to press the button on the southern wall. Doing so will open a secret door leading out of the tollhouse.
Wandering around in this part of the Upper Level, you’ll meet Gerringothe Thorm. She’ll demand that you pay a toll. If you want to talk your way through the encounter, then you should give her 1 gold. Otherwise, you’ll have to fight her.
Combat
If a battle starts up between you and Gerringothe, then there are a few things you should know:
Gerringothe will immediately summon the six Visages in the tollhouse (#2) to help her out. The Visages aren’t super powerful, but they deal area damage, so try to keep your party separated.
Gerringothe has 606 hit points, but 600 of that is from her armor. The six Visages embody her armor, and each one you kill will remove a piece from her, reducing her health by 100 (minus any damage you might have done to the armor before removing it). So when the battle starts up, kill the Visages as quickly as possible. When they’re gone, Gerringothe will have at most 6 hit points left.
Gerringothe has an attack called Jealous Avarice, which deals 8d12 slashing damage — multiplied by the amount of gold her target is carrying divided by 500. So if you’re carrying 5000 gold, then Gerringothe’s attack will get multiplied by 10, and you’ll probably get one-shot every turn. So before the fight starts, deposit all of your gold somewhere safe, like your camp. Or keep 1 gold on you so you can talk to Gerringothe first before attacking.
Gerringothe has other attacks — she can summon coin halberds from the piles of gold on the ground, she can cause piles of gold to explode after a turn (which you can disarm by simply picking them up), and she has Coin Whip attacks (which you can disable by removing her Coin Vambraces) — but if you’re not carrying any gold, and you remove Gerringothe’s armor quickly, then the battle against her should be pretty easy.
Note: If you remove all of Gerringothe’s armor before killing her, and if you have a Charlatan (like Astarion) in your party, then you’ll earn the Takes One to Know One inspiration.
You’ll earn 500 xp for killing Gerringothe, plus 110 xp each for the Visages.
Diplomacy: Gerringothe Survives
After paying Gerringothe 1 gold, she’ll demand more (but don’t keep giving her one coin; that won’t get you anywhere). If you ask Gerringothe how much she requires, then she’ll demand all that you have. If you give it to her, and if it’s at least 5000 gold, then she’ll reward you with a Signed Trade Visa, which you can use to turn an enemy to gold — that is, incapacitate them — for three turns. This transaction will end the encounter peacefully, and you’ll earn 1160 xp. However, if you give Gerringothe less than 5000 gold, then she’ll attack you.
Note: After buying the Signed Trade Visa, you can turn around and force-attack Gerringothe. This will allow you to get your gold back, plus loot Gerringothe’s corpse, but you won’t earn any extra xp this way.
Diplomacy: Gerringothe Dies
After paying Gerringothe 1 gold, you’ll need to tell her, “I don’t hand out so much gold for so little in return.” You might also need to add, “I’ve already paid.” This will open up some new dialogue options:
If you tell Gerringothe, “Take your gold and be free,” then you’ll need to beat a DC-18 Persuasion check followed by a DC-21 check (DC-18 for Rogues) on Deception, Intimidation or Persuasion.
If you tell Gerringothe that you’re her replacement, then you’ll need to beat a DC-18 Deception check followed by a DC-21 check on Deception, Intimidation or Persuasion.
If you’ve read Gerringothe’s Logbook (#15) and tell her that she’s corrupt, then you’ll need to beat a DC-18 Intimidation check followed by a DC-21 check on Deception, Intimidation or Persuasion. Druids and Paladins can take this path even without reading the book.
If you’re successful with your skill checks, then Gerringothe’s armor will explode. This will kill her and the Visages, and you’ll earn 1160 xp. If you fail one of your skill checks, then Gerringothe will attack you.
Conclusion
If Gerringothe dies, then you’ll find the Tollhouse Master’s Office Key, the unique morningstar Twist of Fortune, an Unsigned Trade Visa, and 250 gold on her corpse. For each piece of armor you removed, you’ll also find 100 gold next to her, for up to 600 gold total. The office key unlocks the nearby office (#5).
If Gerringothe survives, then she’ll just continue wandering around in the Upper Level of the tollhouse, and she and the Visages (#2) will ignore you.
This office will start out locked. You can open it using the Tollhouse Master’s Office Key, which is carried by Gerringothe (#4), or you can beat a DC-14 Sleight of Hand check to pick its lock.
Inside the office, you’ll find an Ironvine Shield inside a heavy chest and a life-size statue of Gerringothe next to a desk. But perhaps more importantly, you can detect rotten floorboards in the back of the room. There are two sets of them, and you’ll only need to beat a DC-10 Perception check for each one. If you destroy the floorboards, then you’ll create an entrance into the blocked room beneath them (#3).
Note: If you fail to spot the floorboards, then you can destroy the Gerringothe statue, and it will fall through the floorboards, both “detecting” them and destroying them for you.
When you examine this safe, you’ll see that it has a stuck door. That means you won’t be able to use a key or Sleight of Hand to open it. Instead, you’ll have to beat a DC-16 Strength check. If you’re successful, then you’ll open the door and find 514 gold inside. If you fail the check, then you can just try again until you eventually beat it.
If you pass a DC-5 Perception check when you approach this room, then you’ll spot a sign indicating that it contains Seized Inventory. However, the doorway to the room is covered in Shadow-Cursed Vines with Medium Toughness and 160 hit points, which means you might not be able to enter it that way.
There are two other ways to get into the room: you can jump up to it from the Perimeter using the open window on the western side, or you can jump down to it after destroying the collapsed floorboards on the Roof (#12).
Inside the room, you’ll find a Greataxe +1 in a shelf and the amulet Fireheart (which gives you Heat upon taking Fire damage) in a locked chest. There isn’t any key for the chest. You’ll have to beat a DC-14 Sleight of Hand check to open it.
8 – Wooden Desks
Inside these two desks, you’ll find a Tollhouse Clerk’s Key, which you can use to open the doors to the Clerks’ Room (#11).
If you beat a DC-18 Perception check when approaching this safe, then you’ll notice a note on the wall, and reading it will inform you that some poor clerk in the tollhouse locked himself into the safe hoping to survive the Shadow Curse. The note will also have the combination to the safe on it. You won’t be able to read the note unless you detect it.
If you have the combination, then you’ll just need to interact with the safe to open it. Otherwise, you’ll need to beat a difficult DC-30 Sleight of Hand check to pick its lock. Inside the safe, you’ll find the remains of the clerk, plus some miscellaneous items in a pouch.
10 – Storage Room
Inside this room, you’ll find some traveller’s chests and wooden barrels containing miscellaneous loot. In one of the barrels, you’ll also find a Key. It unlocks the larger of the two traveller’s chests on the southern bridge leading into Reithwin Town (on the Shadow-Cursed Lands side).
The two doors to this room will start out locked. You can open them with a Tollhouse Clerk’s Key (#8), or by beating a DC-10 Sleight of Hand check.
The only thing of note inside the room is a locked opulent chest. To open it, you’ll need to beat a DC-10 Sleight of Hand check. Inside the chest, you’ll find Gloves of Battlemage’s Power.
If you beat a passive DC-10 Perception check when approaching this spot, then you’ll detect collapsed floorboards, which you can attack and destroy. By removing the floorboards, you’ll be able to jump down into a room holding Seized Inventory (#7).
13 – Skeleton
Notable Loot
Club +1
You’ll discover a skeleton on the roof here. On the skeleton itself, you’ll find a Club +1 and the Tollhouse Basement Key, which you can use to unlock the door to the Basement (Exit F). In the backpack next to the skeleton, you’ll find Thieves’ Tools and a Trap Disarm Toolkit.
Near the bookshelves here, you’ll trigger two passive DC-10 Perception checks. The first is just in front of the bookshelves, where you can detect some scratch marks on the ground. The second is to the right of the bookshelves, where you can detect a button. The scratch marks are just a clue that the middle bookshelf rotates. You’re only required to detect the button. Pressing it will cause the secret door to open.
15 – Gerringothe’s Secret Office
Notable Loot
Soul Coin
On the desk here, you’ll find Gerringothe’s Logbook, which will reveal that her tolls were “clearly excessive.” Reading this will give you an extra dialogue option if you decide to talk your way through the Gerringothe encounter on the Upper Level (#4).
On the table next to the desk, you’ll find a Soul Coin, which can give Karlach a hefty buff.
16 – Skeleton
You’ll find several skeletons in the Cavern, including the one here with a Mason’s Journal. If you read the journal, then you’ll learn that the skeletons are what’s left of the masons who built Gerringothe’s secret office (#15), who thought they were down in the Cavern excavating an escape tunnel — when more likely this was just Gerringothe’s solution to keeping her secret office a secret.
Exits and Waypoints
A – Banded Roots
These white, banded roots will allow you to walk between the Perimeter and the Roof.
B – Broken Staircase
While broken, you can still use this staircase to move between the Main Level and the Upper Level.
C – Debris
You can climb this debris to move between the Main Level and the Upper Level.
D – Roots
Climbing these roots will move you between the Main Level and the Upper Level.
E – Roots
Climbing these roots will move you between the Perimeter and the Roof.
This door will start out locked. To open it, you’ll need to grab the Tollhouse Basement Key from the skeleton on the Roof (#13), or beat a DC-14 Sleight of Hand check to pick its lock.
G – Roots
Climbing these roots will move you between the Basement and the Cavern.
H – Roots
Climbing these roots will move you between the Upper Level and the Roof.
I – Roots
Climbing these roots will move you between the Upper Level and the Roof.
W – Reithwin Town Waypoint
Share this article:
Steven Carter
Starting with cassette tape games on the TRS-80, Steven has been playing, creating, and writing about games for a long, long time. This makes him experienced, not old. Lately, Steven has been focusing on walkthroughs, making sure everybody knows how to solve Towers of Hanoi puzzles.