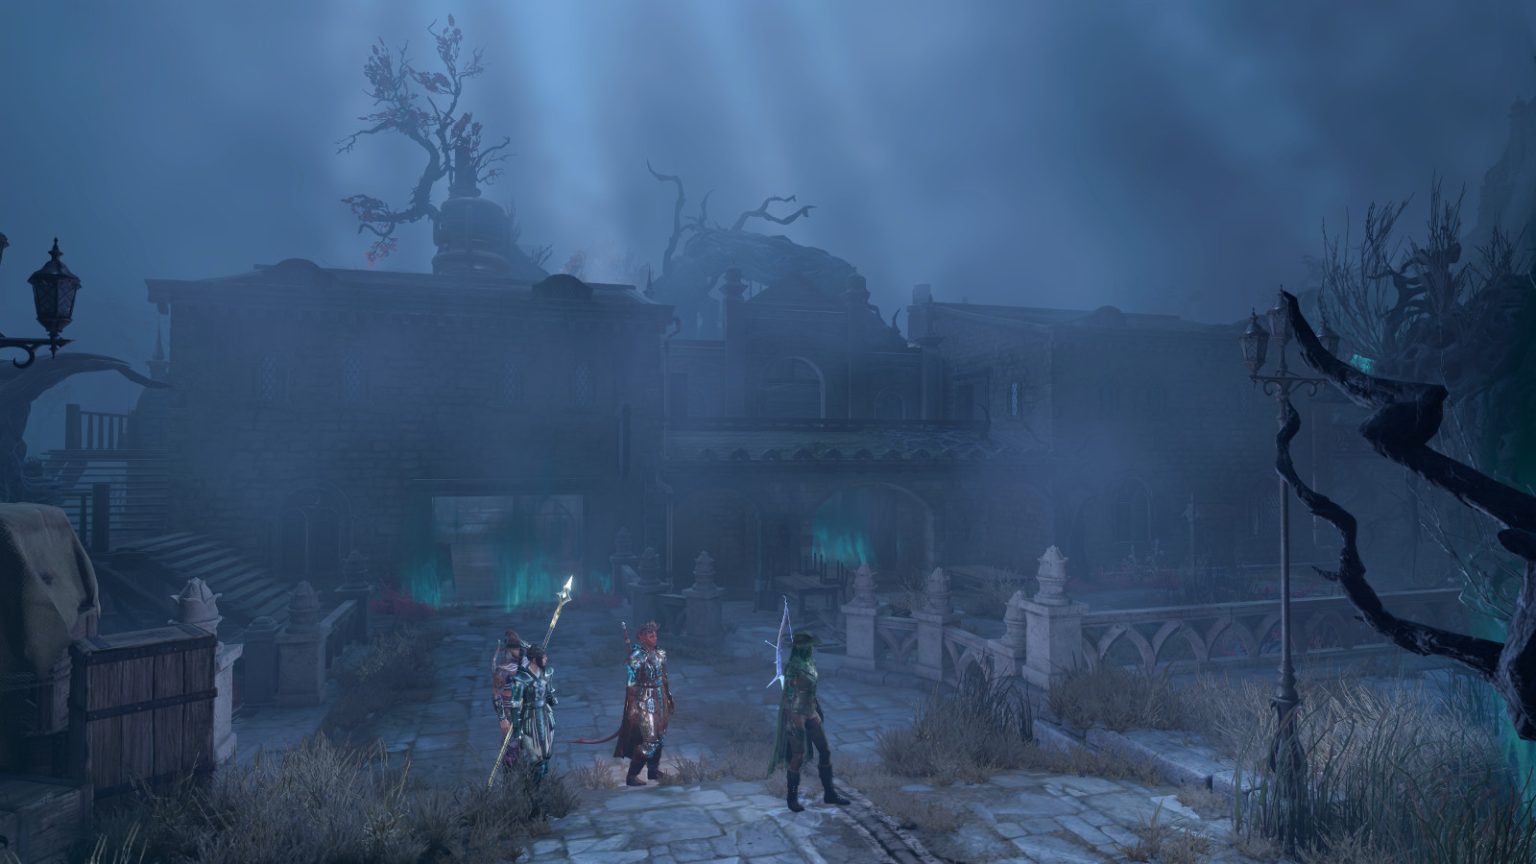
During your adventures in Reithwin Town, you might decide that it would be nice to visit a cozy bar, drink a little wine, and listen to a talented bard sing about heroic deeds of long ago. If so, The Waning Moon isn’t the place for you. Instead, you’ll find a ruined establishment with blighted patrons and a hulking bartender who will force you to drink… something. But never fear, this guide will see you through.
Map
Points of Interest 1 – Message Board 2 – Outhouse 3 – Key 4 – Halfling and Gnome Bar 5 – Ban List 6 – Rustic Chest 7 – Thisobald Thorm 8 – Loose Planks 9 – Metal Door 10 – Heavy Chest 11 – Research Notes 12 – Wooden Chest 13 – Cage
Treasure ? – Dirt Mounds
Exits A – Main Entrance B – Attic Door C – Ramp D – Ramps / Staircase
Area Note
The Waning Moon is a bar and distillery located in the southwestern corner of Reithwin Town.
Points of Interest
1 – Message Board
When you examine this board, you’ll see lots of notices for missing pets. You’ll find the collars for the pets at the Reithwin Tollhouse — right next to a cooking station. So it’s not good news for Zola, Rascal, and the rest.
2 – Outhouse
Inside the outhouse, you’ll discover a skeleton with an Antidote. Outside the outhouse, you’ll find a Key that can unlock one of the attic doors (Exit B).
3 – Key
You’ll find a Key on the broken cupboard here. It can unlock the attic door to the north (Exit B).
4 – Halfling and Gnome Bar
If you read the Big Book of Little Drinking Games on the bar here, then you’ll get a sense of how unsavory the bar’s previous patrons were. As for its current patrons, you’ll meet a Blighted Troubadour nearby. It and the other blighted creatures in the bar aren’t important for anything, but they’ll aid Thisobald (#7) if you attack him.
5 – Ban List
The book here lists all of the people banned from the bar. The “unknown elf” with the “pale skin” and “snide mouth” seems to be a dead ringer for Astarion.
6 – Rustic Chest
Inside the chest here, you’ll find a Potion of Angelic Slumber, which will give you the benefit of a Long Rest.
When you approach Thisobald here, a conversation will automatically start up, where Thisobald will demand that you drink with him and tell him some stories. There are two ways to approach this encounter.
Attack
If you refuse to drink with Thisobald, or if you simply attack him, then you’ll trigger a fight against him plus the four blighted creatures in the bar. This fight can be difficult. Thisobald has 288 hit points, he has powerful attacks, he sometimes summons “hallucinations” (aka low level imps) to help him out, and he starts out immune to Bludgeoning, Piercing, Slashing and Thunder damage. Luckily, there’s a trick.
When you hit Thisobald with an attack — even one he’s immune to — he’ll gain a Reflux depending on the damage dealt, which in turn will give him a powerful Regurgitation attack. However, after Thisobald has regurgitated three times, he’ll black out for a turn, which will leave him Prone and Unconscious — and vulnerable to the damage types he was immune to before. Then when Thisobald wakes up, he’ll need another turn to fully recover, and during this time he won’t attack, and he also won’t have any immunities or vulnerabilities. After recovering, Thisobald will return to “normal,” and you’ll start the sequence over.
So to kill Thisobald, you’ll need to survive as best you can during the three rounds when he’s regurgitating, and hit him with your best attacks during the two rounds when he isn’t. You should be able to deal a lot of damage to an unconscious, vulnerable enemy, so hopefully you can finish off Thisobald after one or two rotations of his drinking, before he can wear you down.
You’ll earn 520 xp total for winning the battle.
Drink
If drinking is more your forte, then you’ll need to withstand three rounds of whatever evil brew Thisobald is serving. There are two ways to do this:
You can actually drink the concoction, which will force you to beat a Constitution check or suffer the consequences. The Constitution checks will start at DC-14 for the first round but then increase to DC-16 and DC-18 for the subsequent rounds. If you fail these checks, then you’ll first become Drunk (disadvantage on Charisma and Dexterity checks), then Poisoned (disadvantage on all skill checks and attack rolls), and finally Unconscious for 10 turns. Failing all three checks will cause Thisobald to attack you.
You can pretend to drink by beating Sleight of Hand checks. You’ll need to beat a DC-18 check for the first two rounds and a DC-21 check for the third round. If you fail any of these checks, then Thisobald will attack you.
The first two times you finish a round of drinks, Thisobald will want you to tell him a story, and you’ll have to beat a Performance check to comply. First off, Thisobald will want to know about a location, and the DC of the Performance check will depend on your answer:
If you fail your Performance check, then you’ll have to beat a DC-18 Deception check to make up a story. If you fail that check as well, then Thisobald will attack you. But if you succeed with either of the checks, then you’ll be allowed to ask Thisobald some questions. He won’t tell you anything concrete, but when you ask him where Ketheric Thorm gets his power, Thisobald will mention “her” and “her cage.” This will trigger the quest Find Ketheric Thorm’s Relic.
Finally, after the third round of drinks, Thisobald will erupt and die, and you’ll earn 520 xp.
Note: If you drink one or more times, and if you have an Outlander (like Karlach) in your party, then you’ll earn the I’ve Had Worse inspiration. If you fake drinking all three times, and if you have a Charlatan (like Astarion) in your party, then you’ll earn the Tricks of the Trade inspiration.
Conclusion
Regardless of your choice, Thisobald will die at the end of the encounter. The only thing of note you’ll find on his corpse is a Worn Key, which will get you through the door behind him (#9).
If you beat a passive DC-10 Perception check here, then you’ll detect some loose planks hiding Madeline’s Ledger. You’ll need the ledger for the quest Punish the Wicked.
Next to the planks (in plain sight) you’ll find a +1 enchanted greatclub called the Rat Bat, which will give Advantage to attack rolls against beasts.
This door will start out locked. To open it, you’ll either need to grab the Worn Key from Thisobald’s corpse (#7) or beat a DC-15 Sleight of Hand check to pick its lock.
On the table here, you’ll find Thisobald’s Research Notes. They’ll give you the recipe for a poison called Thisobald’s Brewed-Up Bellyglummer, which requires a rare ingredient called Salts of Corpse Rose.
Luckily, the notes will also mention that Thisobald was expecting a shipment of Corpse Rose, but you won’t be able to make out the courier’s drop-off point unless you pass a DC-14 Investigation check. If you pass the check, then you’ll mark the location on your map. If you fail the check, then you’ll have to detect the shipment (which is located in Reithwin Town just to the north of the Waning Moon) by beating a passive DC-21 Survival check.
This chest will start out locked. You’ll need to beat a DC-10 Sleight of Hand check to open it. Inside the chest, you’ll find the greatclub Punch-Drunk Bastard, which will give you Advantage on attack rolls if you’re drunk when using it.
Right next to the chest on the ground, you might notice a book entitled The Waning Moon: Consignments, which details some of Thisobald’s activities during his more lucid days — including an encounter with a would-be blackmailer. You’ll find the remains of the blackmailer inside the nearby cage (#13).
The gate to this cage will start out locked and trapped. You’ll need to beat a passive DC-15 Perception check to detect the trap, a DC-14 Sleight of Hand check to disarm the trap, and a DC-5 Sleight of Hand check to pick the lock.
Inside the cage you’ll find three rustic chests containing alchemy ingredients, plus some barrels containing the corpse of a blackmailer (see #12).
There are two dirt mounds in the Waning Moon. If you beat a passive Survival check when approaching them, then you’ll detect them, which will allow you to dig them up using a Shovel.
This door will start out locked. You can open it using a Key (the keys found at #2 and #3 both work), or you can beat a DC-10 Sleight of Hand check to pick the lock.
C – Ramp
This ramp will take you between the Perimeter and the Attics.
D – Ramps / Staircase
These exits will take you between the Main Level and Gallery.
Share this article:
Steven Carter
Starting with cassette tape games on the TRS-80, Steven has been playing, creating, and writing about games for a long, long time. This makes him experienced, not old. Lately, Steven has been focusing on walkthroughs, making sure everybody knows how to solve Towers of Hanoi puzzles.