Mt. Gelmir, a treacherous volcanic region scarred by lava flows and twisted by madness, is one of the most hostile areas in Elden Ring. Its bosses are brutal and unrelenting, from grotesque abominations to battle-hardened warriors guarding the path to Volcano Manor. Below, you can find the full list of bosses in the region, and the strategies to defeat them. If you’re looking for a complete walkthrough of Mt. Gelmir, head here.
Mt. Gelmir Bosses
The Kindred of Rot Duo is a relatively simple boss fight, resembling the regular Caelid enemies but with increased HP and resilience. They are weak to fire damage and highly susceptible to staggering, making aggression an effective strategy. Summoning  Lone Wolf Ashes or multi-unit summons can keep one boss occupied, while stronger summons like
  Lhutel the Headless can potentially kill one on their own. While attacking, avoid engaging when they crawl along the floor, as they cannot be staggered and may counter with a stab.
For ranged players, summon distractions and keep your distance, dodging or blocking their projectile attacks. Fast-casting spells that stagger are the best choice to prevent them from retaliating. Be aware that while they crawl, they are immune to staggering, so focus on positioning defensively until they stand up again. Keeping up constant pressure and prioritizing one target at a time will make this duo fight much more manageable.
- Summons Available: Yes
- Location: Fort Faiedd (Volcano Manor)
- Rewards:
 19,000
- Dragon Heart
- Magma Breath unlocked at Dragon Communion Churches
This Magma Wyrm is nearly identical to Magma Wyrm Makar, but the terrain allows for an easy cheese strategy. If you want to fight it normally, refer to Makar’s guide, as the moveset remains unchanged. Otherwise, the cheese strategy involves luring the boss to a rock formation near the summoning pool, where you can safely attack from range while avoiding its lava and melee strikes.
Once in position, bait an attack, step forward to land a ranged hit, then step back to safety. Repeat until the boss is dead. If you run out of FP or ammo, you can drop down and finish the fight normally, following Makar’s guide for melee tactics. Alternatively, you can save your FP for the hardest phase and use melee on the easier parts. This method minimizes risk and ensures a stress-free victory.
- Summons Available: Yes
- Location: Near Primeval Sorcerer Azur
- Rewards:
Demi-Human Queen Maggie is a stronger version of a common enemy from the Weeping Peninsula, but this time she’s backed by multiple sorcerers. To make the fight easier, eliminate the sorcerers first—melee players should hit and run, while ranged players should dodge their projectiles before counterattacking. Staying mounted makes this process much simpler. Once the sorcerers are gone, focus on Maggie, using summons to distract her while finding openings to attack.
Melee characters should close in after Maggie misses a staff thrust or Glintstone Shard, sticking to her backside to avoid damage. Ranged players can stay at a distance and unload spells or arrows, baiting her staff thrust for extra damage opportunities. Watch out for Crystal Burst, which hits in a wide cone—ranged players should stay out of range, while melee players can dodge close under her to avoid damage. With patience and proper positioning, Maggie is an easy victory.
The Red Wolf of the Champion is a reskin of the Red Wolf of Radagon from Raya Lucaria. It combines swift melee strikes and bites with powerful sorceries. Its relentless speed and gap-closing attacks make it a tricky opponent, but its moves are predictable once learned and its health is relatively low. A shield with high physical and magic resistance can help mitigate its fast bite attacks.
Melee players should dodge its attacks and counter during safe openings, especially after leaping strikes or sword swings. Ranged players can roll away from its sword attacks to create space for casting. The biggest threat is the Glintstone Daggers, which can hit while the boss chains other moves, so staying mobile and timing dodges carefully is key to victory.
Demi-Human Queen Margot is a stronger version of a common enemy from the Weeping Peninsula, but this time she’s backed by multiple sorcerers. To make the fight easier, eliminate the sorcerers first—melee players should hit and run, while ranged players should dodge their projectiles before counterattacking. Staying mounted makes this process much simpler. Once the sorcerers are gone, focus on Margot, using summons to distract her while finding openings to attack.
Melee characters should close in after Margot misses a staff thrust or Glintstone Shard, sticking to her backside to avoid damage. Ranged players can stay at a distance and unload spells or arrows, baiting her staff thrust for extra damage opportunities. Watch out for Crystal Burst, which hits in a wide cone—ranged players should stay out of range, while melee players can dodge close under her to avoid damage. With patience and proper positioning, Margot is an easy victory.
- Summons Available: Yes
- Location: Above Ninth Mt. Gelmir Campsite
- Rewards:
The Full-Grown Fallingstar Beast is an upgraded version of the standard Fallingstar Beast, with a new Phase 2 at 60% HP. Staying mounted on  Torrent is key, as all of its attacks can be outrun or dodged. The best attack windows come after its Charge (where it rushes 3-4 times) and Eruptions (where the ground bursts 3-5 times). Charge dodging requires switching directions after each pass, while Eruptions are best avoided by riding sideways before counterattacking. Watch out for Rock Fling, which is hard to dodge—either outrange it or rush in before the attack lands.
In Phase 2, the boss erupts the ground before slamming down, forcing players to run away when it taps its pincers. Additionally, its Charge gains a Beam attack, covering a wide frontal area. The best way to avoid this is to ride toward the boss at the end of the Charge, dodging the Beam while setting up a counterattack. Ranged characters can maintain maximum distance and attack between dodges, while melee players can bait the boss out of its idle “staring contest” with Throwing Daggers. If the fight gets too rough, jump into the nearby Spiritspring to safely retreat and heal.
- Summons Available: Yes
- Location: East of Road of Inequity
- Rewards:
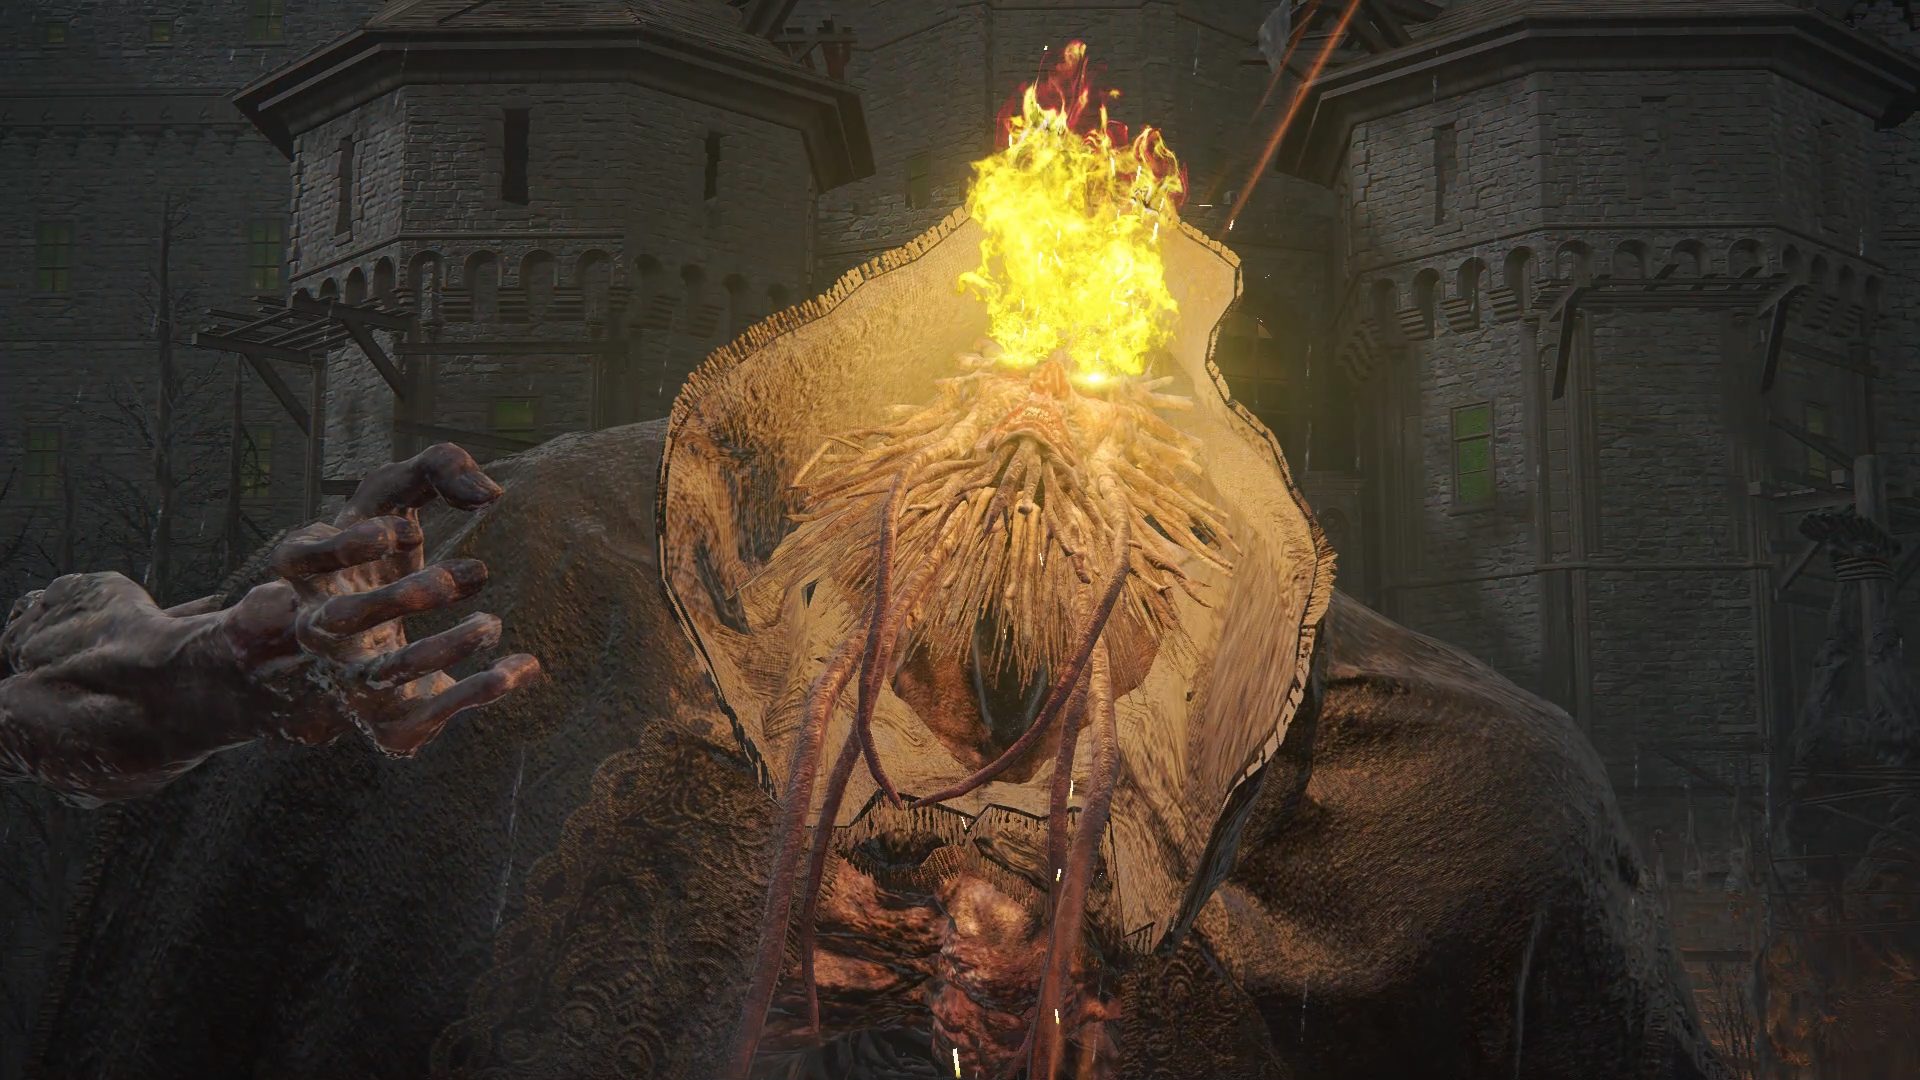
The Ulcerated Tree Spirit is a massive, chaotic boss found throughout the Lands Between. While it moves erratically and its arena is often cramped, the best way to fight it is to stay close to its side, avoiding its sweeping attacks. Melee players should use jumping heavy attacks to stagger it while being mindful of tail swipes and hand strikes. When the boss glows yellow, immediately run away to avoid the Holy Explosion. If struggling with dodging, blocking first before rolling can help mitigate damage. Despite its intimidating size, many of its body attacks won’t connect if you stick close.
Ranged players have a tougher time since distance increases the risk of being charged or grabbed. The best opportunity to cast is during the boss’s Breath Attack, where proper positioning allows for multiple safe spells. However, fast-casting magic or weapon skills are preferable, as the boss rarely allows time for long incantations. In Phase 2, the Holy Explosion buffs its attacks, making staying close even riskier. If the boss rampages around the arena, follow it carefully, as this often leads into another Breath Attack, which presents a prime counterattack window.
- Summons Available: Yes
- Location: Temple of Eiglay (Volcano Manor)
- Rewards:
The Godskin Noble is a bulky, aggressive boss with a mix of melee and Black Flame attacks. While it has a few tricky moves, it also presents generous attack windows that allow patient players to counter safely. In Phase 1, bait out the Black Flame toss, dodge towards the boss, and punish with quick melee strikes or ranged spells. Pillars in the arena can be used to block certain attacks, and bleed or frost weapons are highly effective.
At 50% HP, Phase 2 begins, adding more AOE attacks and a very dangerous rolling attack. The Rapier Flurry can be avoided by rolling towards the boss or sprinting away if at range. The rolling attack is best handled by using a 100% physical shield to block before dodging or by positioning behind a pillar for cover. Summons should be used in Phase 1, as they won’t last long against the AOE-heavy Phase 2. Ranged players can simply run away to bait the boss into attacks that leave him open for spells.
The God-Devouring Serpent/Rykard, Lord of Blasphemy is a Shardbearer demigod carrying a  Great Rune. This fight is heavily simplified by using the
  Serpent-Hunter, which is found near the boss room entrance. This unique spear deals massive damage to great serpents and has an extended range, making it the go-to weapon for this fight. In Phase 1 (The God-Devouring Serpent), the best strategy is to stand in the lava near the serpent’s side and spam light attacks, using summons to help keep the boss in place. Occasionally, you may need to reposition if the serpent slithers away, and jumping heavy attacks can break its stance faster.
Phase 2 (Rykard, Lord of Blasphemy) is slightly more complicated but still follows a simple loop: stand at a mid-range distance and spam the Great-Serpent Hunt skill, but avoid using the follow-up thrust. This tactic will stagger Rykard repeatedly, preventing most of his attacks. However, some moves cannot be interrupted, including flaming homing skulls and certain sword strikes—these must be dodged or tanked. If Rykard summons multiple tracking skulls, you’ll need to either run away until they dissipate or accept defeat and retry. Upgrading the Serpent-Hunter will make the encounter even easier, as it significantly boosts damage output.