Leyndell, Royal Capital, is a grand, labyrinthine city at the heart of The Lands Between, where the mightiest warriors and guardians stand in defense of the Erdtree. Its bosses, from towering knights to divine champions, test every skill a Tarnished has honed on their journey. Below, you can find the full list of bosses in the region, as well as the attached Subterranean Shunning-Grounds, and the strategies to defeat them. If you’re looking for a walkthrough of Leyndell, Royal Capital, head here.
Leyndell, Royal Capital
- Summons Available: Yes
- Location: Near Avenue Balcony
- Rewards:
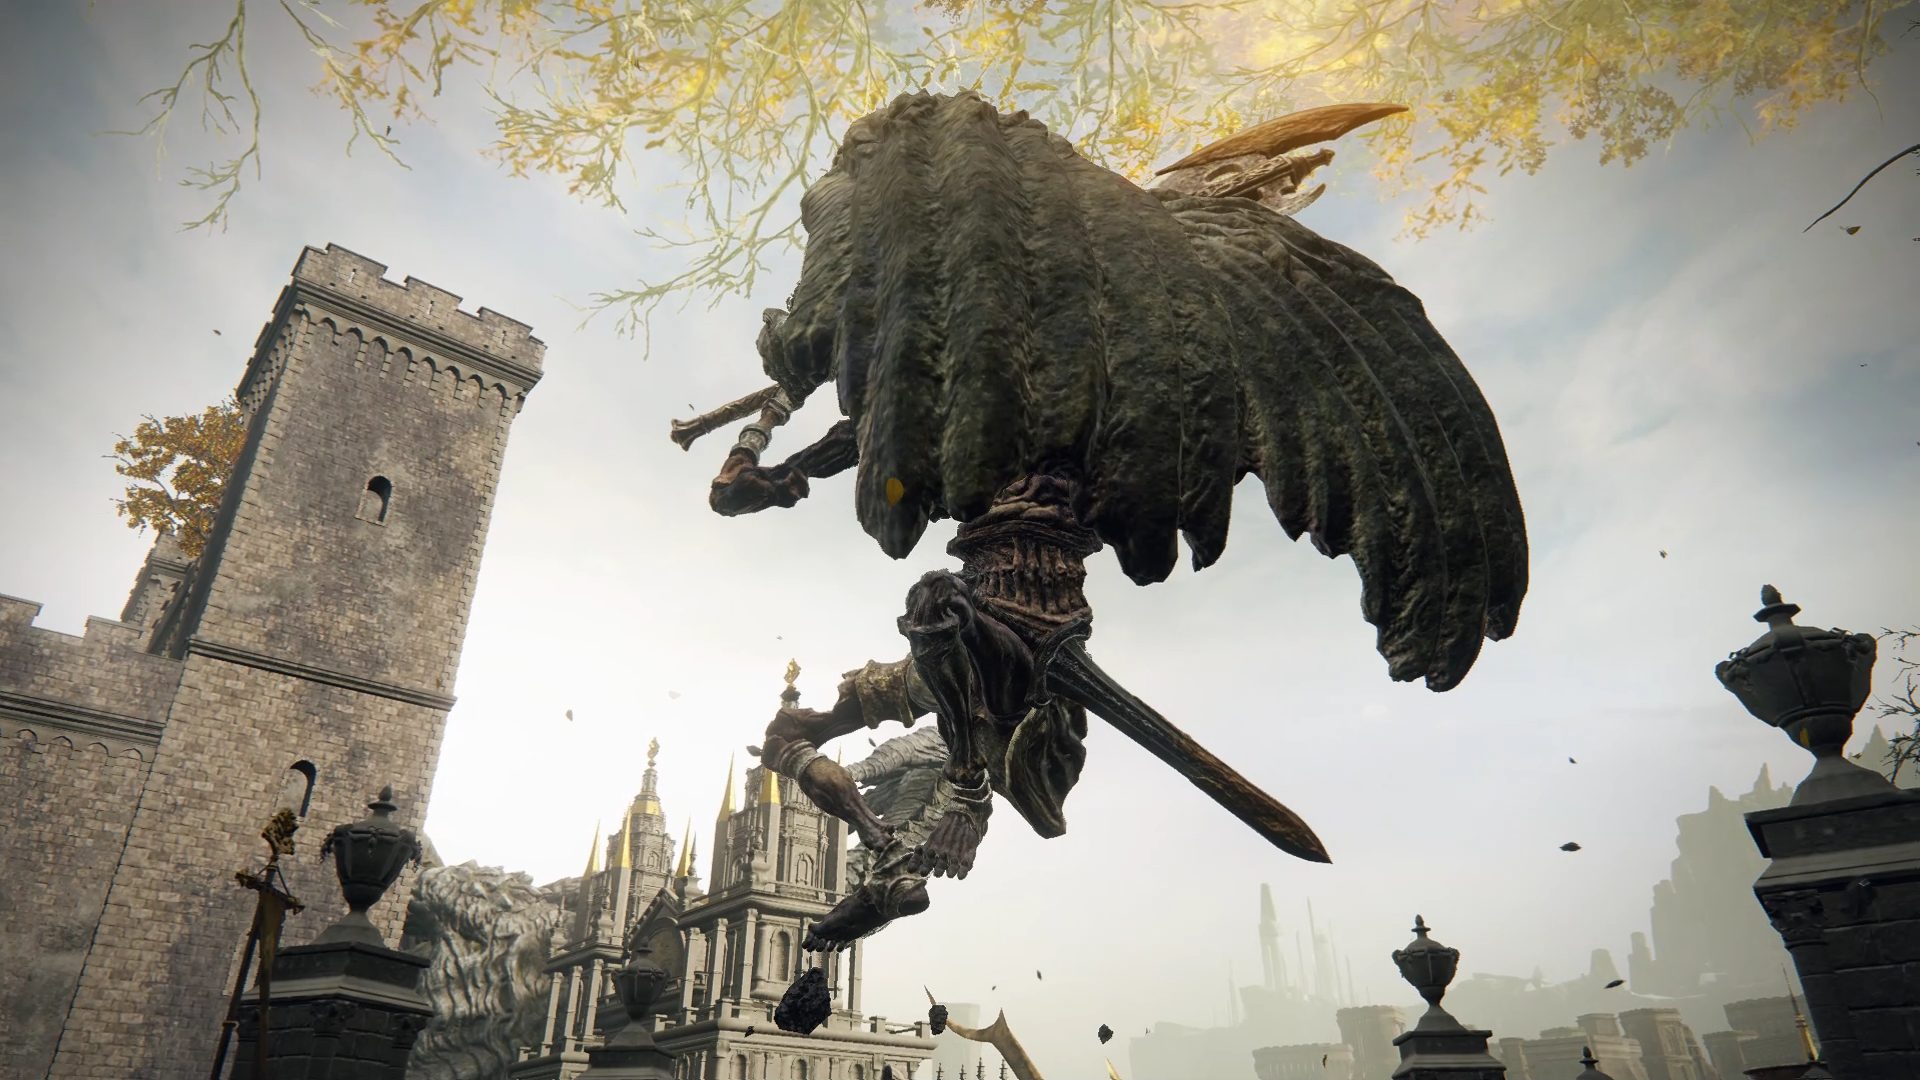
The Erdtree Avatar is a recurring boss found at Minor Erdtrees throughout the Lands Between, though this version is found patrolling the streets of Leyndell. While it has slow and telegraphed attacks, it can be dangerous due to its sweeping strikes and magical projectiles. Fire damage is particularly effective against it, and ranged characters can take advantage of its sluggish movement. Fighting on  Torrent makes this battle much easier in open areas, but when on foot, careful dodging is required.
For melee, bait out an attack, ride out of range, then dash in and attack as the final swing finishes. Keep moving to avoid its Projectile Summon, which can track you. Magic users should create distance before casting, as the Avatar dodges predictable spells if fired too soon. Make sure to roll through attacks and counter after slams, but avoid engaging during the Projectile Summon.
- Summons Available: Yes
- Location: North of Avenue Balcony
- Rewards:
The Ulcerated Tree Spirit is a large, erratic boss found in various locations throughout the Lands Between. Despite its massive size and aggressive movements, its attacks are highly telegraphed and leave long recovery windows. However, its tendency to clip through walls and fight in small arenas makes it a frustrating foe. Learning to stick close and dodge through attacks is key to survival.
For melee, stay close and slightly to the boss’s side, using jumping heavy attacks to break its stance. This minimizes the risk of being hit by its sweeping tail. When it starts glowing yellow, immediately run away to avoid the Holy Explosion, then close in again. Ranged users will struggle since distance increases risk, but can punish the Breath Attack with quick spells. Long-cast spells are difficult to use, so weapon skills or buffs may be more effective.
- Summons Available: Yes
- Location: Erdtree Sanctuary
- Rewards:
The Godfrey, First Elden Lord (Shade) is a spectral version of the legendary warrior found in Leyndell, Royal Capital, guarding the path to the Erdtree. This boss hits hard with pure physical damage and is immune to all status effects, parries, and backstabs. However, he is weak to Lightning damage, making it an effective counter. Jumping over his stomp attacks provides a much larger window to avoid damage compared to rolling.
Melee players should equip a 100% physical defense shield and hug the boss, strafing counterclockwise while holding block. After dodging or blocking a combo, punish with quick attacks but avoid being greedy with stamina. Staying close helps evade some of his swings and reduces the chance of being hit by stomps. Ranged players can exploit his predictable reaction to spells—cast, then jump backward and roll twice to evade his follow-up attack. Always ensure space behind you to avoid getting cornered and reposition as needed.
- Summons Available: Yes
- Location: Elden Throne
- Rewards:
Morgott, the Omen King, is the “final “final boss” of Leyndell, Royal Capital, and a rematch against Margit, the Fell Omen. He retains his mix of fast and delayed attacks but now wields Holy-infused weapons and more aggressive combos.  Margit’s Shackle still works in Phase 1, briefly stunning him for a free punish. He is immune to all status effects, parries, and backstabs, making raw damage and careful dodging essential. Melina can be summoned for extra healing and tanking, and high Holy resistance gear can mitigate his chip damage in Phase 2.
Melee fighters should stay close, circle counterclockwise, and roll/block wisely to punish his delayed sword swings while avoiding his hammer and lance attacks. Ranged players can kite backward and attack after dodging, using summons like  Banished Knight Oleg once Melina falls. In Phase 2, Morgott gains bloodflame-infused attacks, which leave behind delayed explosions, forcing players to dodge carefully rather than block. With patience and well-timed counterattacks, Morgott will fall, granting access to the final stretch toward the Erdtree.
- Summons Available: Yes
- Location: Divine Tower of East Altus
- Rewards:
The Fell Twins guard the Divine Tower of East Altus, appearing as two red phantoms in a dark void. Despite being buffed versions of enemies from the Subterranean Shunning Grounds, you don’t have to fight both at once. By sprinting backward immediately after they spawn, you can separate them, fighting one at a time. Skeletal Militiamen are a great summon, as they repeatedly revive and keep the boss distracted. The twins’ grab attack is their most dangerous move, so be ready to roll toward them when they lunge.
Melee players should use a 100% physical defense shield, waiting for an opening to backstab or stagger with jumping heavy attacks. Ranged players should bait out an attack animation, then run out of range and counter while keeping distance. Keep an eye on the second twin’s approach, and if it gets too close, attack the first twin to regain aggro and move further away. With patience and careful positioning, this fight becomes two easy 1v1s instead of a chaotic 2v1.
Mohg, the Omen is an optional boss found in the Subterranean Shunning-Grounds, sharing many attacks with Mohg, Lord of Blood, but without the dangerous second phase. He is immune to status effects and highly resistant to fire damage, making physical attacks the best option.  Mohg’s Shackle can be used twice in the fight to briefly immobilize him, giving melee players a chance to stagger him with charged attacks or
  Flame of the Redmanes for a critical hit. If you freed the Dung Eater, he can be summoned as an ally, distracting Mohg while you attack.
Melee players should dodge toward and left to avoid Bloodflame Talons, while staying close prevents Bloodflame Wave from being used. Ranged characters can stay back and attack while summons hold aggro but must be cautious, as Mohg can suddenly close the distance when provoked. If using magic or bows, prioritize non-fire damage sources. Whether fighting up close or from afar, staying patient and capitalizing on openings will make this battle much easier.
Esgar, Priest of Blood is a fast, NPC-style boss found deep in Leyndell Catacombs, wielding  Reduvia and its
  Blood Blade skill, which causes Hemorrhage buildup. The real danger in this fight comes from his two aggressive dogs, which can chain up to four quick attacks, also inflicting Hemorrhage. Summons are recommended to keep Esgar busy while you handle the dogs, as their attacks can overwhelm you if left unchecked. Armor or Talismans that boost Robustness can help mitigate the Hemorrhage buildup.
The safest strategy is to kill the dogs first, as defeating Esgar automatically kills them anyway. Jumping heavy attacks are very effective against Esgar, especially when timed as he rushes toward you. If using magic, wide-AOE spells like  Dragonfire can bypass his quick dodging. His Blood Swarm spell is tricky to evade, but rolling through it is the most reliable way to avoid damage. Use the pillar in the room for cover, and stay patient—his aggression makes him easy to stagger and punish.