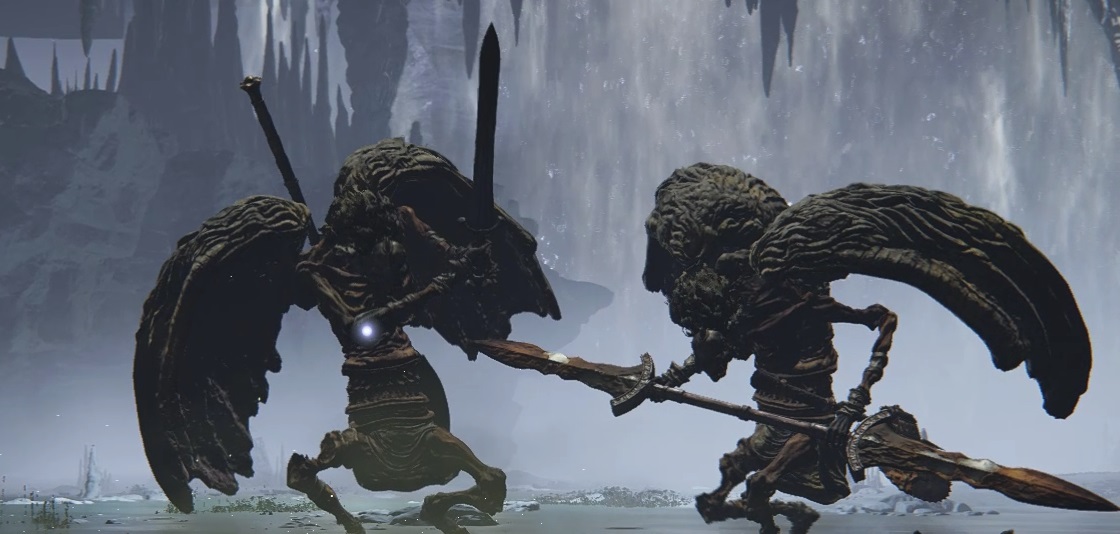
This duo boss fight is reached at the end of the Siofra Aqueductof Nokron, the Eternal City. There will probably be a spirited debate for years amongst the fans as to which duo boss fight is the worst: this one, Godskin duo, or Crucible Knight duo. In this guide we’ll go over the popular cheese for this fight, as well as some general strategies and tactics to help you defeat the Valiant Gargoyle duo.
See tab 3, Siofra Aqueduct, in our Nokron walkthrough for details on accessing this boss.
General Tips
Equipping the Immunizing Horn Charm and/or other Immunity resistance-increasing items can help you avoid getting poisoned.
You can also bring Neutralizing Boluses to cure the poison if you get infected — another option is to put some Raw Meat Dumplings in your toolbelt and use them to heal while you’re poisoned (since you can’t be double poisoned).
You’ll need to learn to dodge the longer/heavier combos, but shields are still useful if you don’t know what move is coming next.
Because this fight is something of a DPS check, go upgrade your weapon(s) and spirit ashes before trying to beat these guys.
Use consumables like Exalted Flesh and/oror your most powerful, expensive spells once the first gargoyle is at sub-50% HP and the other gargoyle has shown up.
Once both gargoyles show up, never fight when they are together — if you run away, usually one will close the distance while one will hang back, and you can basically fight one on one.
Both gargoyles can be staggered.
Strategies
First, we’ll look at the cheese, and then we’ll cover how to do it the old-fashioned way.
Cheese
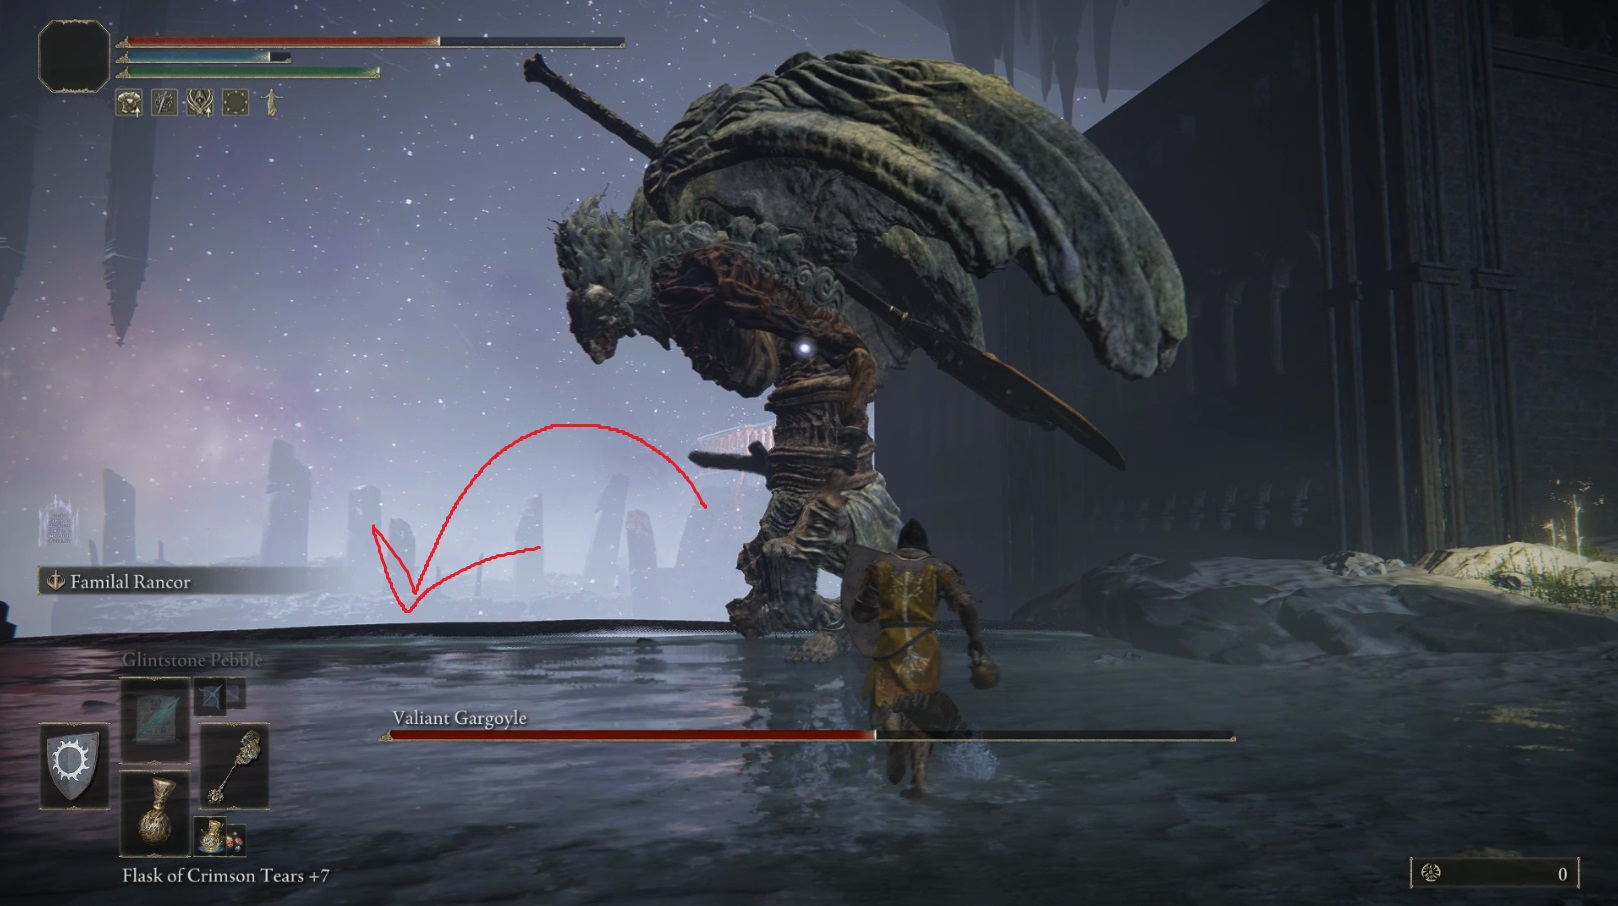
If you stand near the waterfall (it’s on your right as you enter the boss arena), and position so that the gargoyle is standing with his back to the waterfall, he will sometimes do a hop backwards that sends him over the edge, killing him. This can take a very, very long time to make happen, and so it isn’t recommended unless you desperately want the rewards for this fight and haven’t had any success beating it normally.
Cheese-Free Strategy
Resist the urge to use your spirit ashes immediately — it’s best to save them for right before the second gargoyle shows up. The same goes for any consumables that increase damage/defense, or any expensive and powerful spells or skills. The reason for this is that once the second gargoyle shows up, the ideal outcome is for you to kill the first gargoyle before the new one can get close enough to start wrecking your day.
The exception to this is if you’re going to use a ranged DPS summon like Latenna, and keep the boss’s aggro on you — in this case, you can summon them on the rocks to the left when you enter the arena; just make sure you’re maintaining aggro to keep them alive.
You’ll want to fight the gargoyle near where you enter the boss arena — if you aren’t using the rocks to the left for your ranged summon, it’s actually a good place to fight the gargoyle, since many of its attacks will miss thanks to the elevation changes caused by the rocks. Until you learn the bosses moves, it’s best to equip a 100% Physical Defense shield and hold block — once you see the first attack in his combo, you can hopefully recognize it and dodge the rest.
Fight under the gargoyle as much as possible — some of his attacks will miss, and it puts you in position for maximum followup damage once he’s finished attacking. Mages might want to forget about projectiles and stick to Carian Slicer for this fight, since when idle the bosses will dodge spells — you can get two-three slashes from the Slicer off after the boss finishes an attack. Melee characters should mostly use jumping havy attacks, since the gargoyle can be staggered. However, if you don’t start it right as the boss finishes its attack, stick to a faster attack just to be safe
Note that you should hold block even while under the boss, as it can be hard to tell which attacks will reach you
It’s actually quite feasible to finish off the first gargoyle quick enough, assuming you aren’t under-leveled and don’t have a weak weapon. The best way to accomplish this is to fight slowly and patiently (to conserve HP and flasks) until the boss is at about 50% HP (that’s when the second gargoyle shows up). At this point, the next time you dodge an attack or combo, summon your tankiest spirit ashes. The next dodge after that, use your damage-increasing consumable, and so on. Then try to finish off the first gargoyle ASAP — it’s OK to take damage to deal damage here, since once it’s a 1v1 the fight is much, much more manageable.
Phase 2 (when the other boss shows up)
If you can’t finish off the first gargoyle before the second shows up, that’s OK. Ideally, you’ll be able to position so that your tanky summon distracts the twinblade gargoyle while you continue working on the first one. Of course, nothing goes ideally in FromSoft games, so you might find yourself in a 2v1. When this happens, you’ll need to patiently run away until the gargoyles separate. Eventually, the low health one will take his turn to fight you.
The dream
Unless you’re low on HP/flasks, you should take risks at this point and be aggressive — get as much damage in as possible while the low HP gargoyle is fighting you and separated from his buddy. If you’re impatient, you can certainly fight whichever boss is closest (assuming they’re separated enough that it’s a 1v1), but it’s usually best to be patient and wait until you can fight the low HP one.
Once the first one goes down, it’s finally a fair fight — don’t get greedy! Play calm and safe, and only attack when you’re certain you have a window to do so.
Since this is a difficult fight, here’s a video of the strategy in action to make it easier to visualize how you want to play it. Note that all the mistakes are 100% intentional and are there simply to illustrate that you don’t have to fight perfectly using this strategy.
Movesets
In addition to their unique weapons and accompanying moves, both bosses have a Poison attack that is incredibly annoying to deal with: it’s hard to see on the ground, and it staggers you a bit and damages you (in addition to poisoning you). You can get one or two light/fast attacks off as the boss begins to spit poison, but you’ll need to quickly get away — the poison is long and wide in front of the boss, but only spreads a tiny bit behind the boss.
While there are brief windows to attack after every attack from these guys, the safest time to attack (and the times with the longest total windows to attack) is after any attack in which the boss slams their weapon hard into the ground. Anytime you see them do this you can be certain that they’ve finished their combo and you can take your turn to attack.
Axe/Sword Gargoyle (the first one)
This boss has different movesets for each of his two weapons, as well as specific attacks when switching weapons — both swap attacks are sweeps and easy to avoid by simply moving away or underneath the boss.
Sword
Double Slash – The boss slashes with his sword from (your) left to right, then right to left. Often chained into the Thrust.
Eruption Slam – The boss raises his sword high in the air and winds swirl around it. He then slams it to the ground, sending out a wind projectile on the ground in a straight line. Roll left right as the sword hits the ground to avoid.
Thrust – The boss thursts in a straight line with his sword. Sometimes chained into other attacks, especially the Slash.
Slash – A single diagonal slash from (your) upper right to lower left.
Running Slash – The boss runs in a circle around his target, then slashes downward.
Wild Strikes – The boss swings wildly downward five times — the final attack has a bit of a delay and comes vertically downward. Very dangerous to block the whole combo, but you can roll through the boss’s legs to avoid.
Axe
Whirlwind Slam – The boss hops into the air and starts swinging his axe in wide circles, creating one whirlwind, then another, and then slamming his axe on the ground. You’ll need to perfectly time your rolls or block to avoid the whirlwind damage, and the final slam has an AOE so it must be rolled.
Swipe + Stab – The boss drags his weapon from (your) left to right in a wide slashing arc, then hops backwards into the air and stabs downward.
Charge Combo – There are a few iterations of the second set of this move, but the boss always puts his axe on the ground and charges forward, pushing the axe along on the ground. After he passes through his target, he sometimes leaps in the air, and after a significant delay, lands and stabs downard. Roll through the axe to avoid the initial attack, and roll the plunge that follows— blocking only half works because of the AOE damage that will be all around you. The other variant is a wide, sweeping attack that usually misses (since he runs so far past you). Finally, he sometimes doesn’t do a followup.
Eruption Slam – The boss raises his sword high in the air and winds swirl around it. He then slams it to the ground, sending out a wind projectile on the ground in a straight line. Dodge left right as the sword hits the ground to avoid.
Thrust – The boss thursts in a straight line with his sword.
Running Slash – The boss runs in a circle around his target, then slashes downward.
Flying Slashes – The boss flies in the air and swoops towards his target, slashing with his axe. He then comes around for another pass and dives in with his weapon, landing with his weapon in the ground.
Twinblade Gargoyle (the second one)
The boss will swap between an axe and twinblades, but many of the attacks remain the same.
General
Swipe – The gargoyle hops into the air just a bit (closing the gap if his target isn’t in range), and swings its weapon horizontally from (your) right to left.
Leaping Plunge – The gargoyle leaps towards his target and stabs with his weapon.
Ground Slam – The gargoyle roars and raises his twinblades high, then slams them into the ground. After a very brief delay, the ground around where his weapon struck quakes, doing damage to anything standing in the AOE.
Stomp – The gargoyle stamps his front foot — often chained into Sweep + Slam.
Sweep + Slam- The boss rings his weapon around his back and drags it on the ground before sweeping it upwards. He then quickly brings his weapon around again for a high-to-low slam attack. There’s a long delay between the stamp and the sweep, and then the final attack comes quickly, so this one can be tough to avoid.
Stomp + Slash – The gargoyle stamps his front foot, then quickly slashes with his weapon horizontally.
Slam + Sweep – The gargoyle raises his weapon high and quickly slams it down, then dashes away and starts dragging his weapon, then sweeping it upwards diagonally
Double Slam – The gargoyle slams his weapon high-to-low two times.
Sound Wave – The gargoyle roars, and a sonic projectile shoots rapidly towards his target.
Twinblades Only
Thrust + Spin – The gargoyle thrusts its twinblades towards its target, then spins twice, sweeping horizontally with its weapon — sometimes chained into the Leaping Plunge.
Slash + Stab – The gargoyle slashes diagonally (this can come from either side) and then stabs with the closer part of the weapon — sometimes chained into the Leaping Plunge.
Leaping Whirlwind – The gargoyle turns 360° and starts spinning his weapon in front of him. If you’re close to the boss, it will do a large, sweeping horizontal attack to end this move. If you’re far away, he leaps into the air and plunges towards you, doing a spinning attack as he lands. You’ll need to roll towards/through this attack to avoid taking damage from the whirlwind that appears after the boss lands.
Whirlwind Sweep – The boss puts his weapon behind him, spinning it, then slashes horizontally after a brief delay.
Unabashed FromSoftware fanboy still learning to take his time with games (and everything else, really). The time he doesn't spend on games is spent on music, books, or occasionally going outside.