A non-optional obstacle near the end of the game, this duo boss is one of the fights most complained about online, behind only Malenia and possibly the Crucible Knight Duo. Like other duo boss fights, it isn’t really isn’t that hard if you’re willing to adjust your playstyle and/or craft a few items.
General Tips
While you can’t block all of their full combos, a 100% physical defense shield will allow you to block the first few moves in their combos, giving you a chance to roll through the last few.
The bosses are vulnerable to Slashing attacks, somewhat resistant to Magic and Lightning, and very resistant to Strike, Fire, and Holy damage.
Use the (undestroyed) pillars for cover when you need to heal or use other consumables. The pillars can also be used to separate the bosses if you are fighting them simultaneously for some reason.
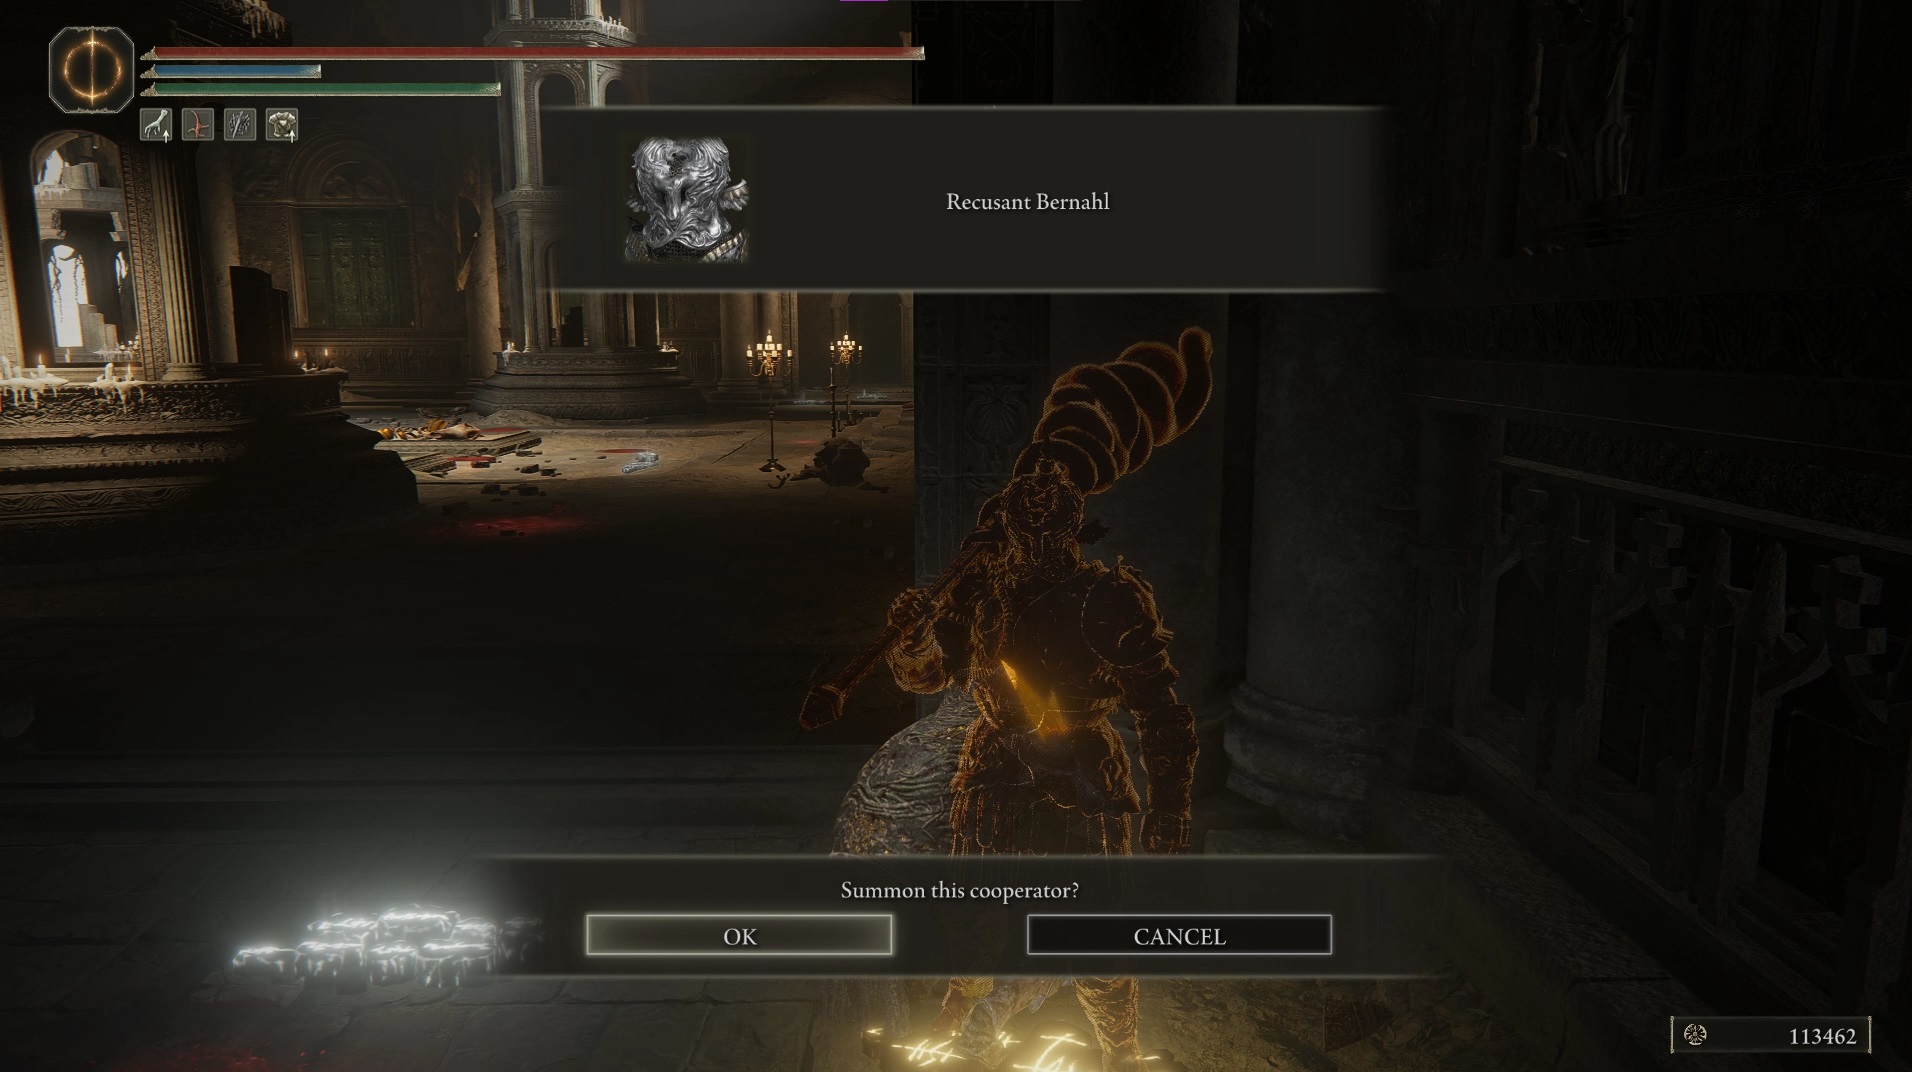
Summoning Recusant Bernahl by the boss door (the one up the stairs from the Dragon Temple Transept site of grace) makes this fight much easier if you’re dying a lot, as he is tanky and draws a ton of aggro.
Strategy
First, we’re going to cover how to make the fight fairer by putting one of the duo to sleep, and discuss the benefits of summoning Bernahl. After that, we’ll cover how to effectively fight the boss that’s awake.
Say Goodnight
Rather than fighting a 1v2, we’re going to make this fight a 3v1! First, you’ll need to make sure you have a way to easily apply the Sleep status effect. There are a few ways to do so, but the two easiest to use are the following. Don’t forget you can click an item to see where to find it!
Sleep Pots – You’ll need the Fevor’s Cookbook [1], and then you’ll be able to craft these. The recipe requires the somewhat rare Trina’s Lily, but you can farm them from the jellyfish just northeast of the Apostate Derelict church in the Consecrated Snowfield (see on map) if you don’t have enough.
Sword of St. Trina – Found near the entrance of Caelid, this sword isn’t too hard to reach and provides a means to inflict Sleep that doesn’t require rare crafting materials. However, it’s a bit harder to use, since you’ll need to get closer to use its weapon art (and/or use follow-up melee attacks).
Summons are available in this fight, and whichever spirit ash you’ve upgraded the most will work fine for this strategy — Black Knife Tiche and the Mimic Tear are both excellent options. The mimic in particular can be very strong because if you leave a Sleep Pot in your Quick Items, your mimic will throw them, which can save you from crafting more if you need to try the fight again.
Head through the fog gate your sleep inflictor ready, and summon your spirit ash after getting behind a pillar. Wait for the bosses to both be attacking your summons, and then throw a Sleep Pot (or use the weapon art on Sword of St. Trina’s) while targeting whichever boss you hate fighting more. If a pot lands, the boss will go to sleep, while the Sword requires you to attack a few more times while it has the buff on it. You’ll know the boss is going to sleep when you see a violet pillar of light emerging from their head.
Damage will wake up the boss, and sometimes your summon’s attacks can damage them by accident (although they don’t seem to target sleeping enemies). If you find that the boss keeps waking up prematurely, try attacking it and pulling it away from the other boss, then putting it to sleep. The sleep lasts for 60 seconds, which should be long enough to kill the other boss, but go ahead and reapply sleep if you need to.
Once the awake boss goes down, you can get some nice charged attacks off on the sleeping boss while waking it up. If they have enough health, they’ll summon their friend again, and you can put the one you hate to sleep and focus on the other boss for another round. Eventually, they’ll stop summoning a second boss, and you’ll need to finish off the remaining one — feel free to keep using sleep even when there’s only the one enemy left.
Summoning Bernahl
You can choose to summon Recusant Bernahl, whose summon sign is found just outside of the boss room, at the top of the stairs beyond the Dragon Temple Transept site of grace. However, he has a fairly large AOE attack, and so can end up waking up one of the bosses. He’s so powerful that it may still make the fight easier — go ahead and try it both ways if you don’t beat the boss first try.
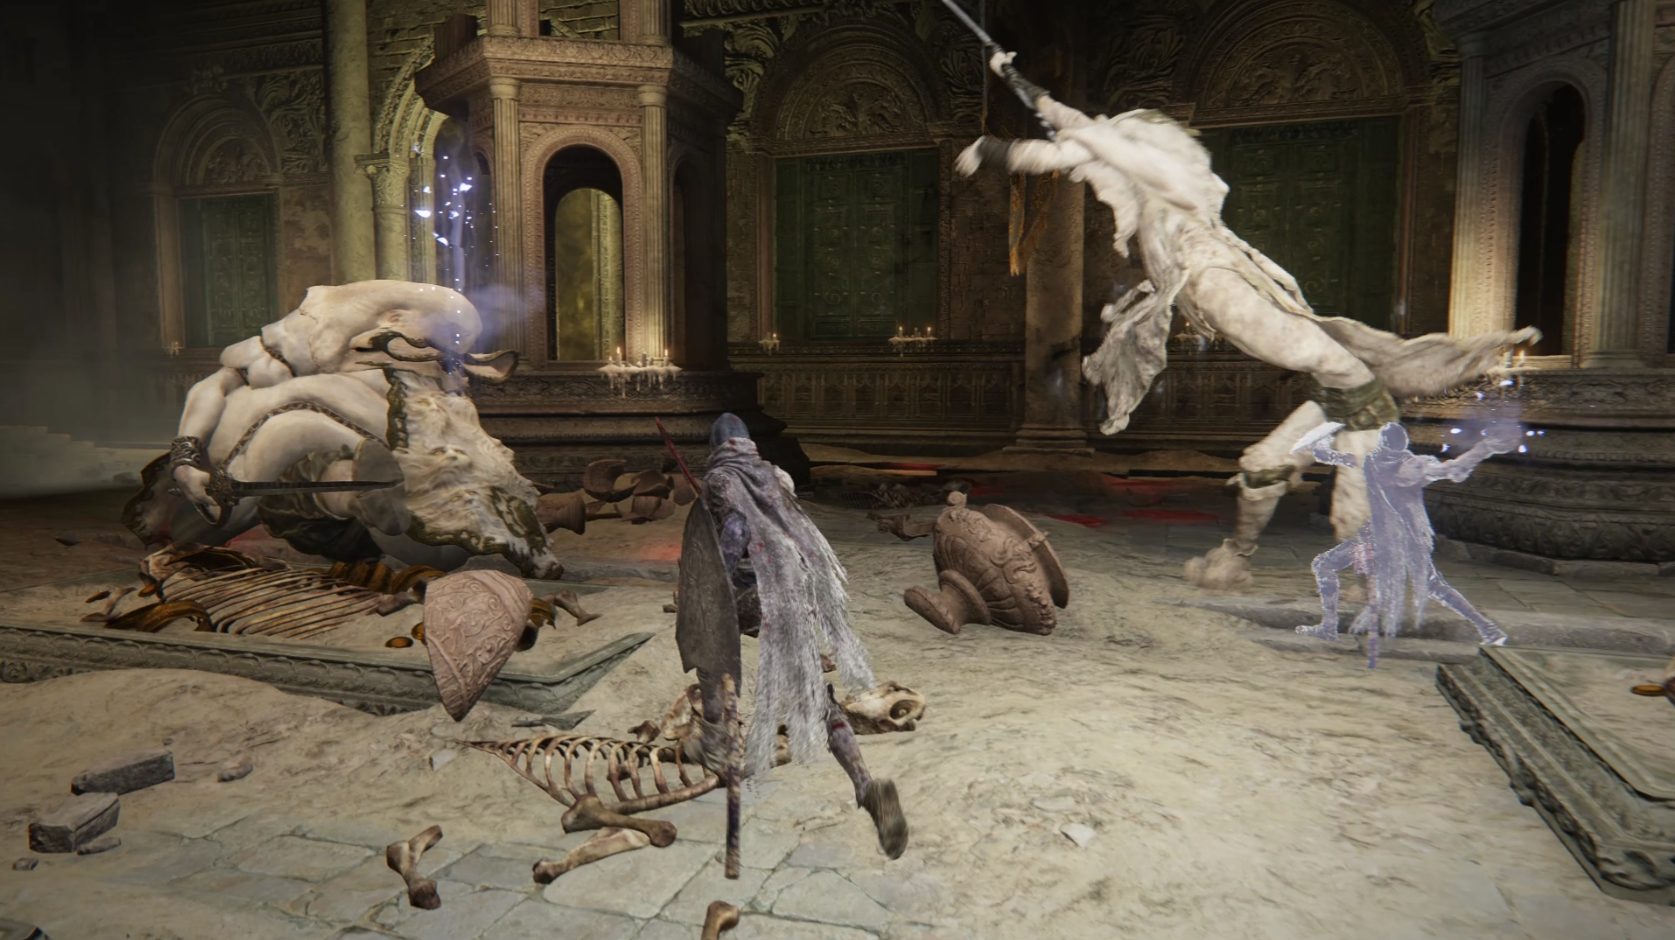
Fighting the Godskins
In addition to the tips below, you can also check out our full guides on fighting the Godskin Apostle and the Godskin Noble for additional tips and tricks.
These enemies have a tricky mix of fast and slow attacks, as well as the ability to attack from close and far away. Rolling towards the left side (your right) of the enemy is effective for dodging the majority of their melee attacks. Both bosses will input-read if you heal or use a projectile, and respond with Blackflame, so it’s best to heal behind a pillar.
Bringing a 100% physical defense shield can help protect yourself if the bosses are targeting you. While you won’t be able to defend full combos, they’ll let you absorb the first attack and give you time to roll to avoid the rest of the combo. Try to lose aggro and only play aggressively when the bosses are attacking Bernahl or your spirit summon.
Note that both bosses have a phase 2 that they’ll go to at 50% HP, and they’ll do a large AOE attack while transitioning. The principles remain the same in phase 2: dodge forwards and to the right of the boss, and then make distance and let your summons take aggro. However, there is one attack from the wider of the two bosses that is very hard to dodge — when he jumps onto his side and rolls toward you. However, it’s the same as with most scary attacks in that the safest thing is actually to go towards the danger!
Rolling as late as possible while holding block with a strong shield is the best way to avoid this attack
Otherwise, it’s pretty straightforward to avoid their attacks, and since you’ll be using a summon, try to roll through the attacks and then make distance to lose aggro — resist the urge to roll backwards, as this will end up with you getting caught by many combos. (If the boss is casting an AOE flame spell around itself, you’ll of course want to roll backwards and run away rather than rolling past the boss).
Unabashed FromSoftware fanboy still learning to take his time with games (and everything else, really). The time he doesn't spend on games is spent on music, books, or occasionally going outside.


