These relatively small catacombs serve as the path to the Consecrated Snowfield, and by extension the Haligtree. Notably, a large fraction of the dungeon is only accessible by traversing a series of invisible bridges.
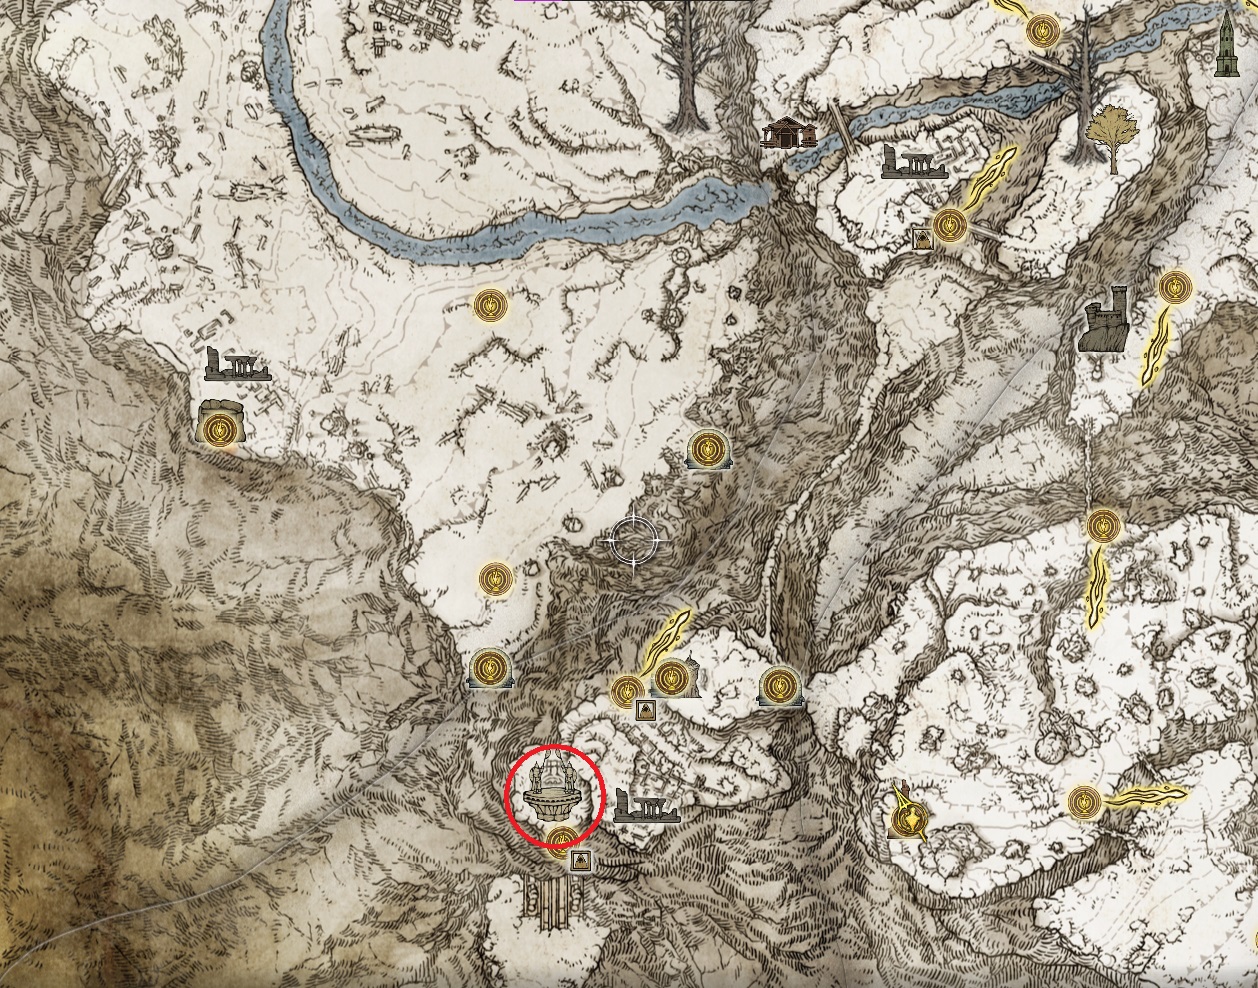
The Hidden Path to the Haligtree (and beyond it the Consecrated Snowfield) is accessed from the Grand Lift of Rold at the end of the Forbidden Lands, and you’ll also need the left and right halves of the Haligtree Medallion. Once you have both halves, you can stand on the circle on the lift platform, and use the D-Pad to select “Hoist Secret Medallion”.
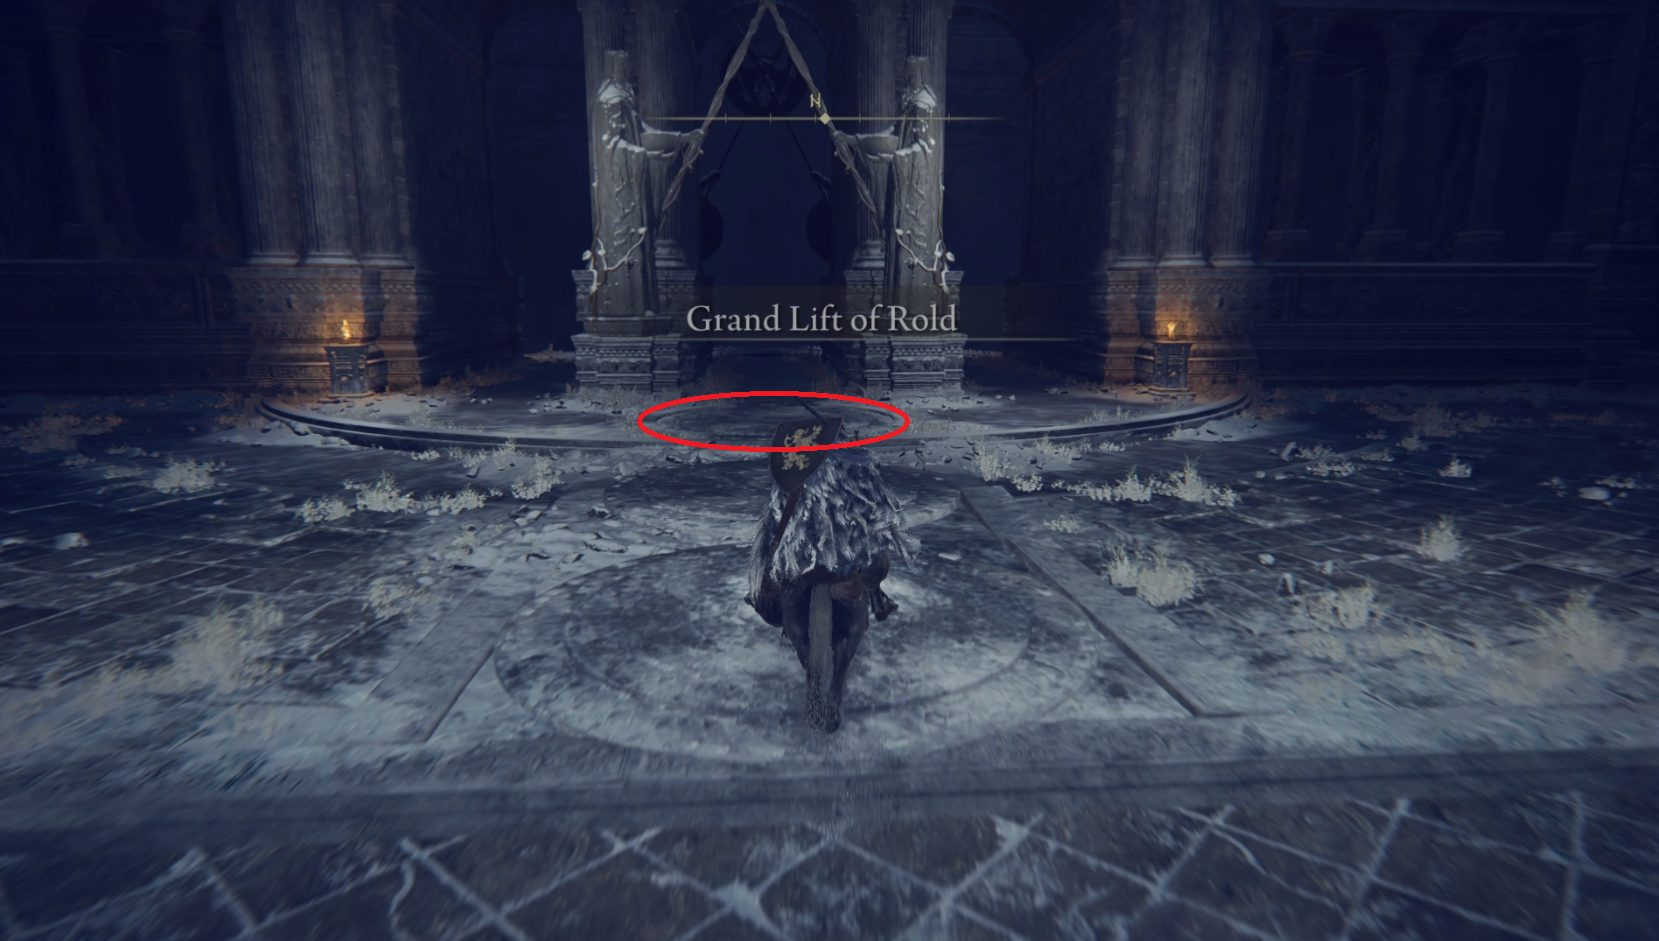
The Lift of Rold’s locationStand on the circle to hoist the secret medallion
Then press the input to hoist the medallion, and you’ll be treated to a cutscene — once it ends, you’ll find yourself in the Hidden Path to the Haligtree dungeon.
The Vulgar Militamen in this dungeon have ranged attacks that head towards you on the ground, plus a black flame damage-over-time on their leaping attacks — don’t underestimate them!
Once the Grand Lift of Rold finishes moving, head north off the lift and through the doorway. Continue up the stairs and you’ll enter a room that’s empty save for a Stake of Marika — since the site of grace is at the end of this dungeon, this is where you’ll respawn if you die. Open the doorway on the northern side of the room and continue north on the walkway.
As you near the staircase on the left, start sneaking and keep an eye on the vulgar militiaman that patrols the stairs — if its back isn’t turned as you pass, it will slowly make its way down after you, and you’ll need to kill it before you continue north on the walkway into the next room. Depending on where you engage the militiaman, a second militiaman from further up the stairs may also aggro, so watch for that as well.
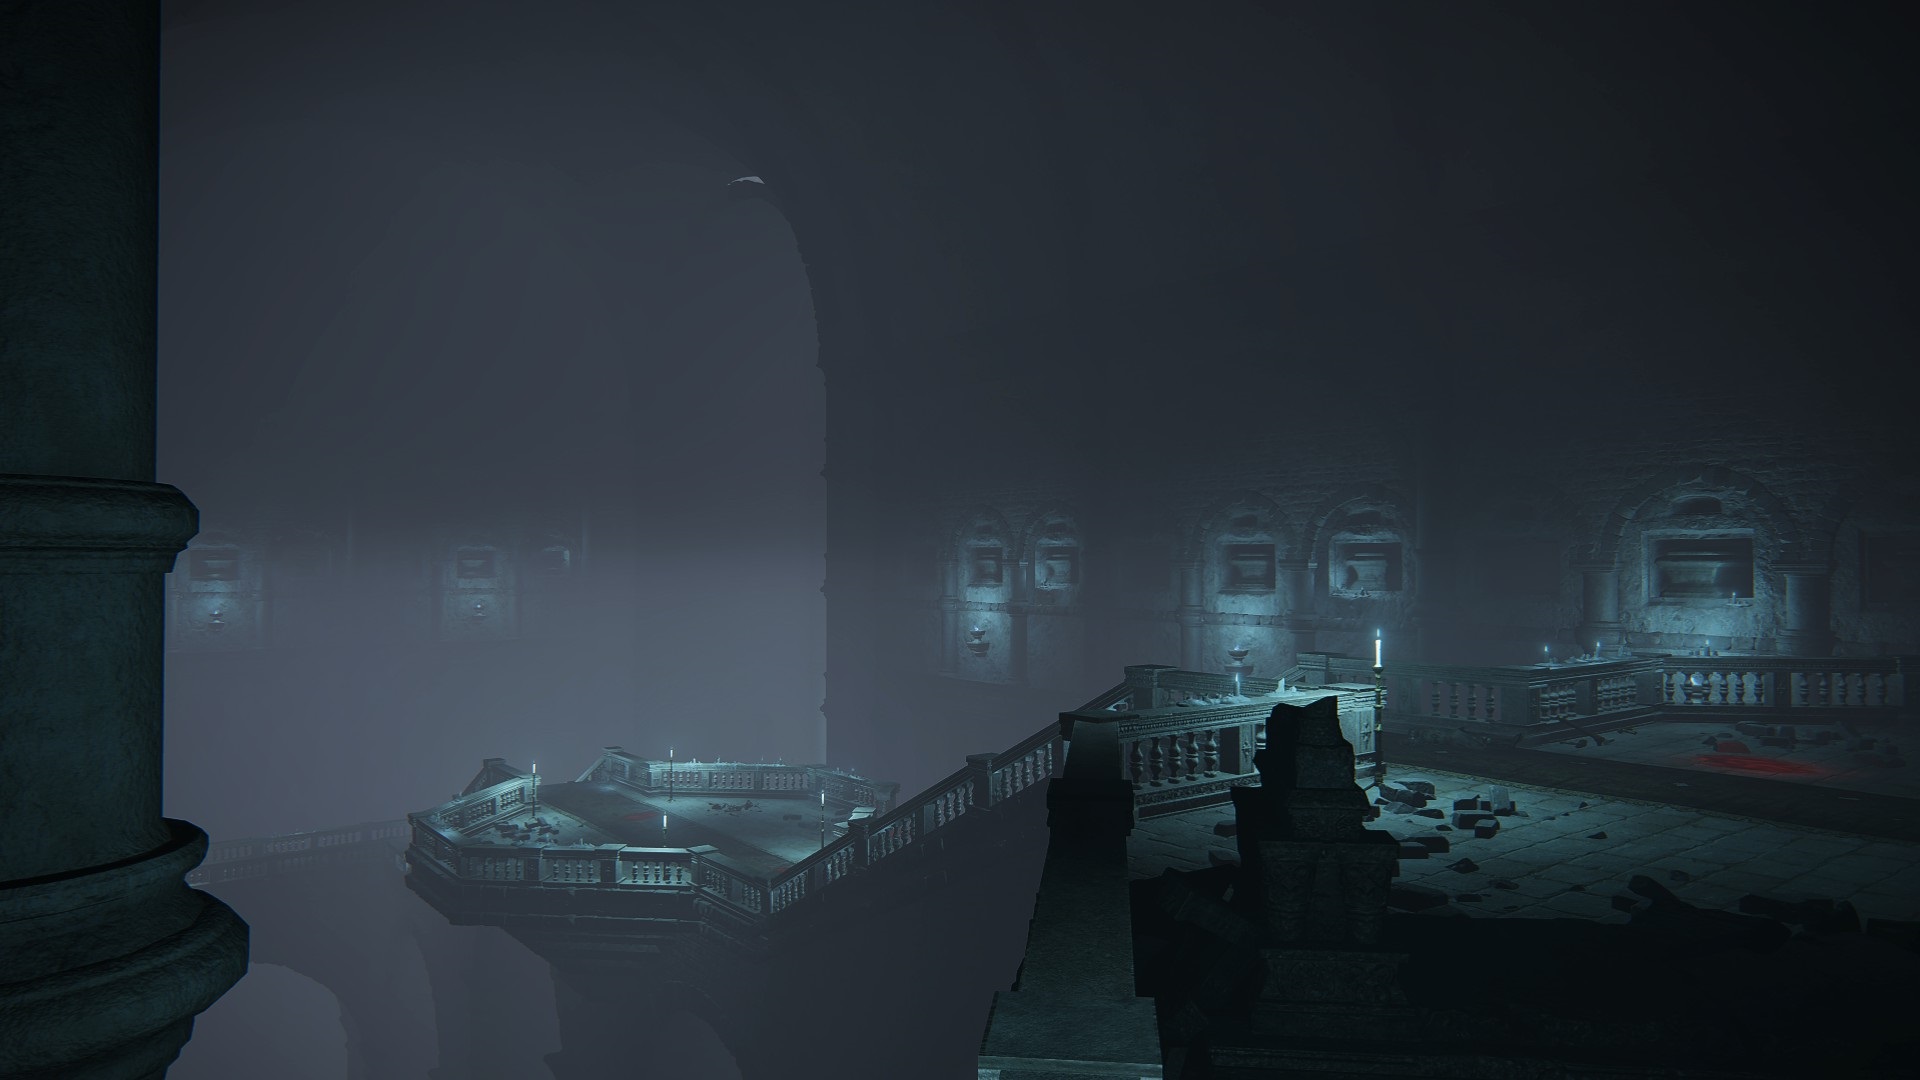
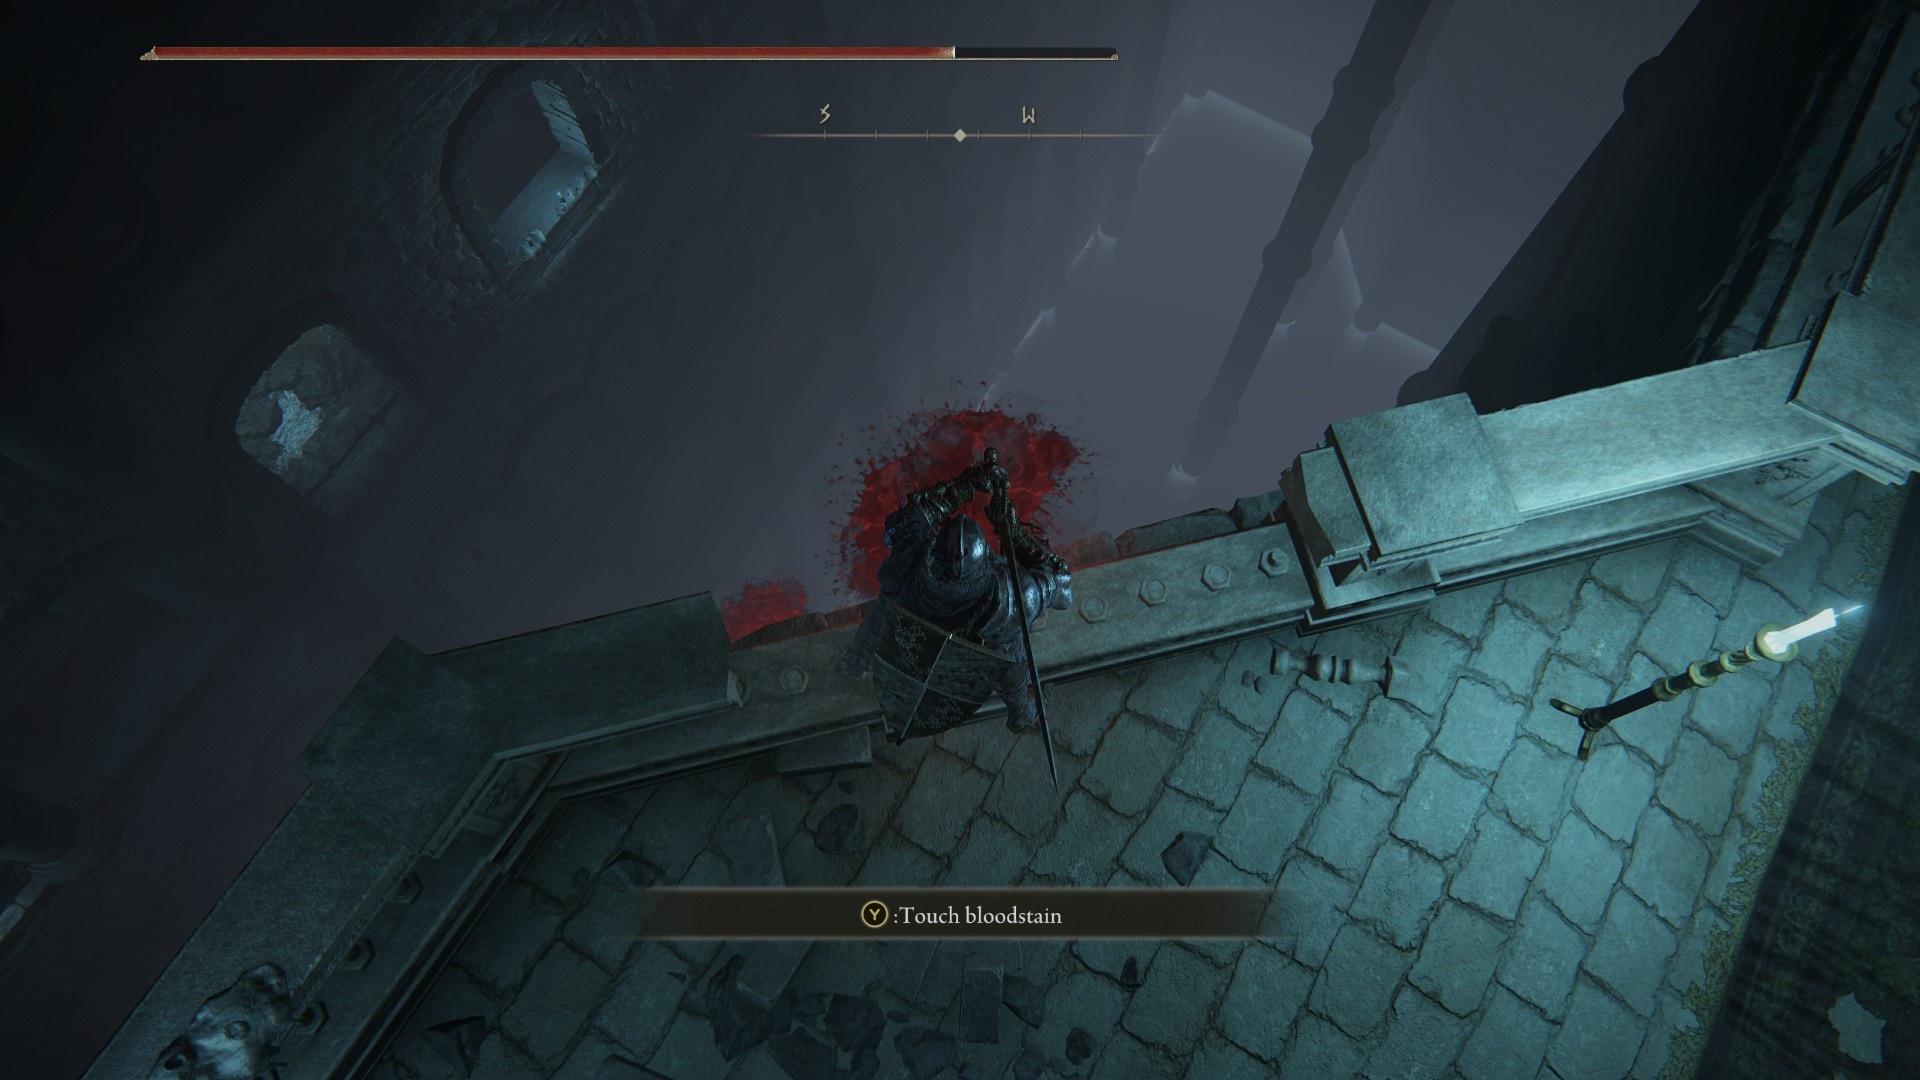
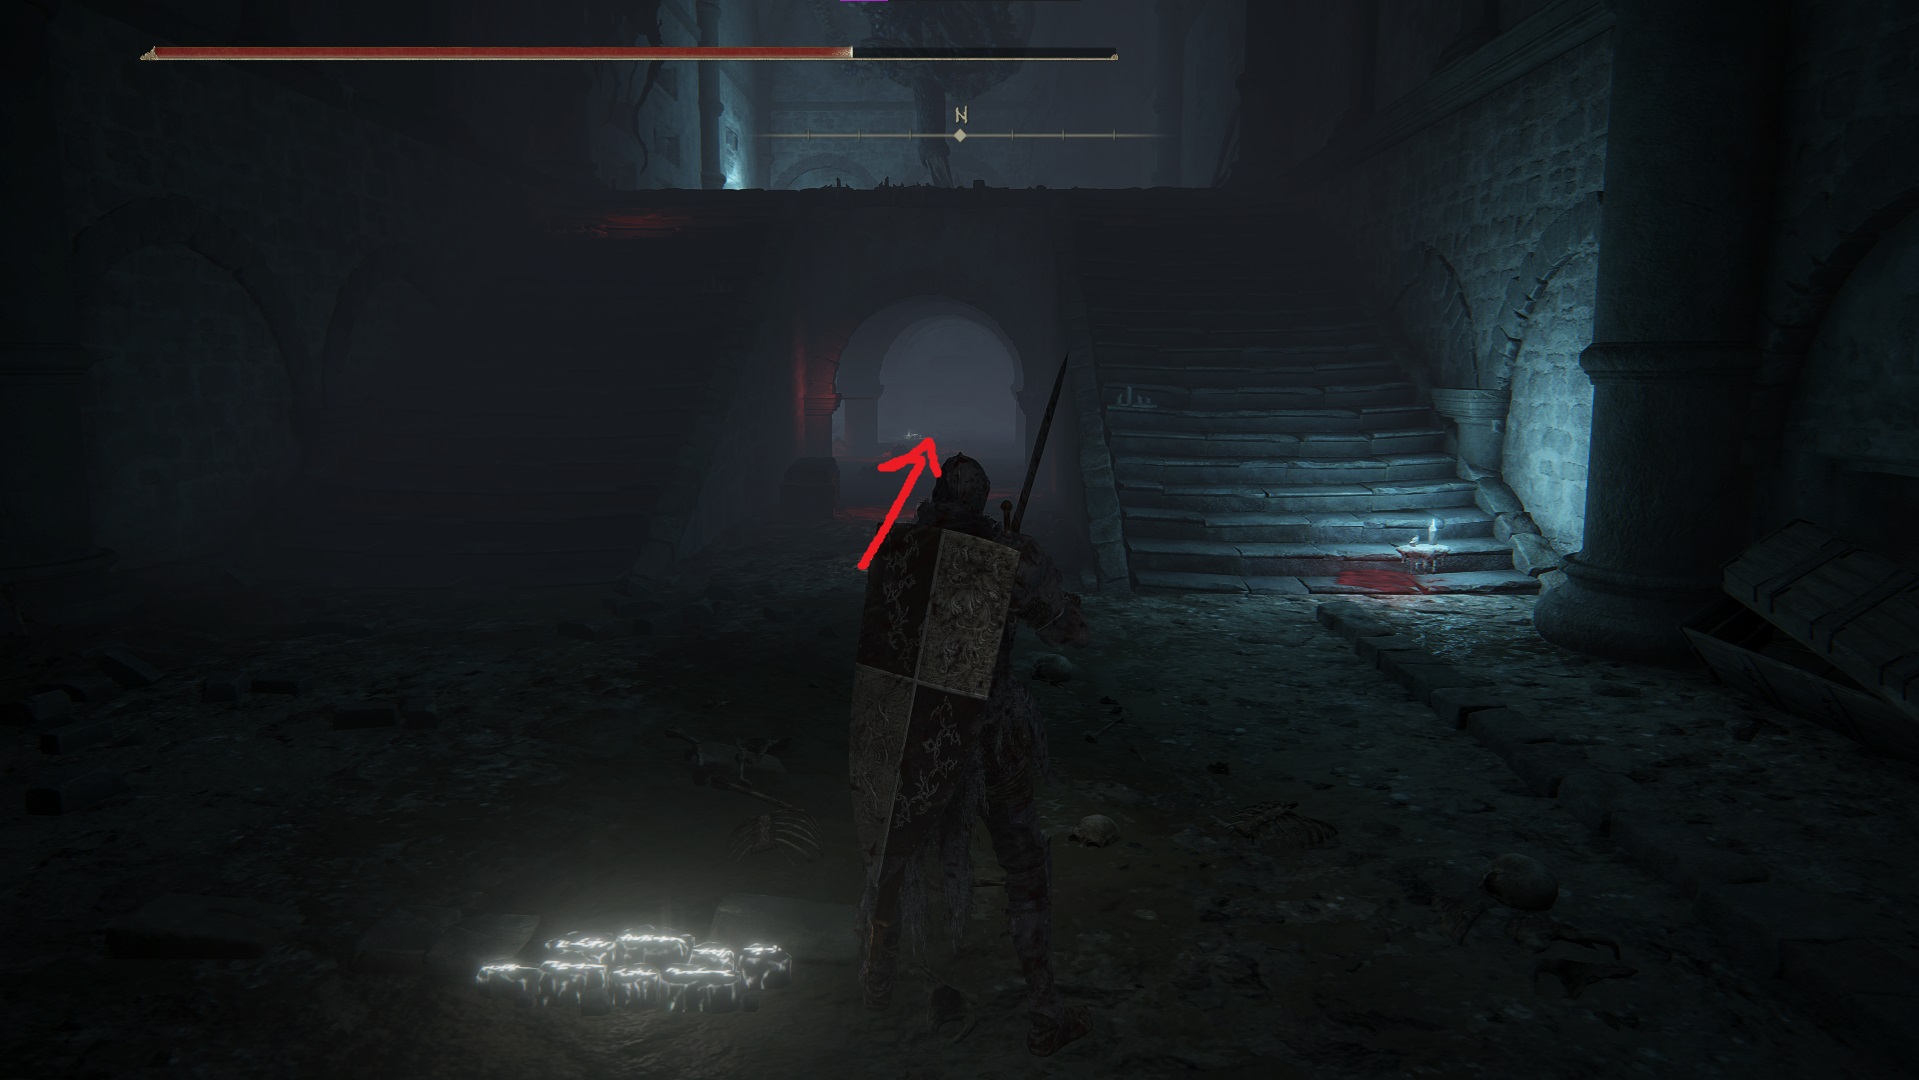
In this room, there are two small land octopuses messing with a corpse on the far side that holds x2 Warming Stone. Once you get far enough into the room, a large land octopus will drop from the ceiling behind you. You can choose to fight it if you really want a Land Octopus Ovary, but otherwise you can just run around it, back through the doorway, and head to the staircase (the octopus can’t fit through the doorway). Back on the walkway, turn right to head west up the stairs. On the platform at the top of the stairs, walk to the broken section of handrail, and then slowly walk off the platform — you’ll land on an invisible bridge.
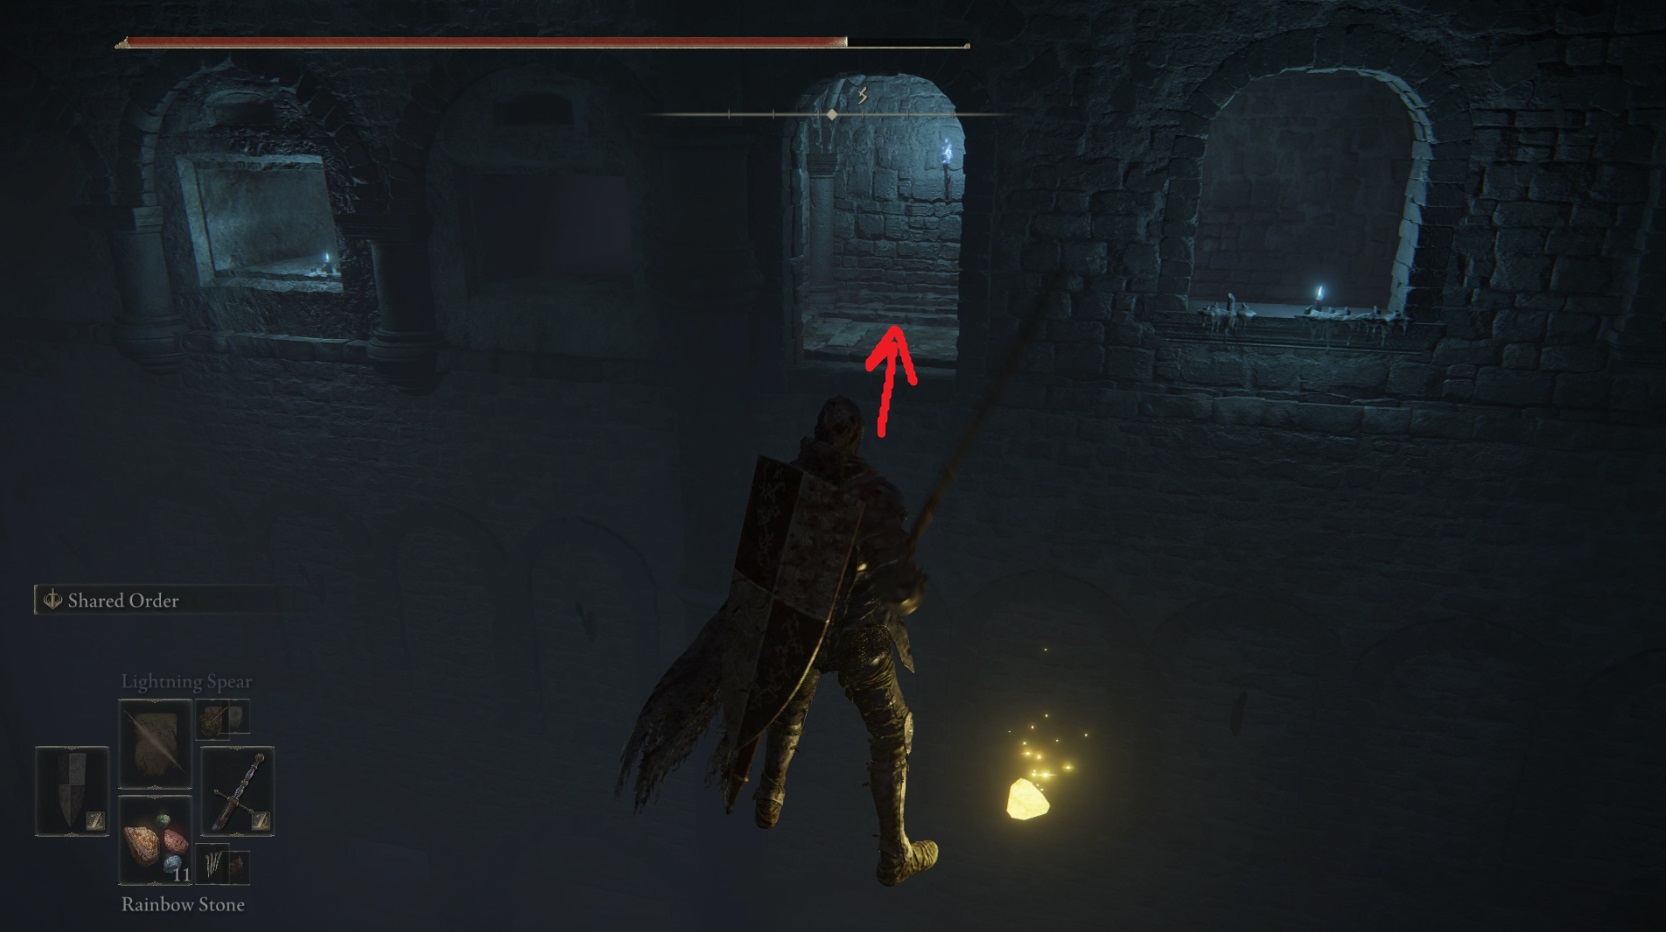
In this section with the invisible bridge, if you’re ever uncertain about whether you’re heading in the right direction, you can use Rainbow Stones to see if the next step you’re planning on taking is safe.
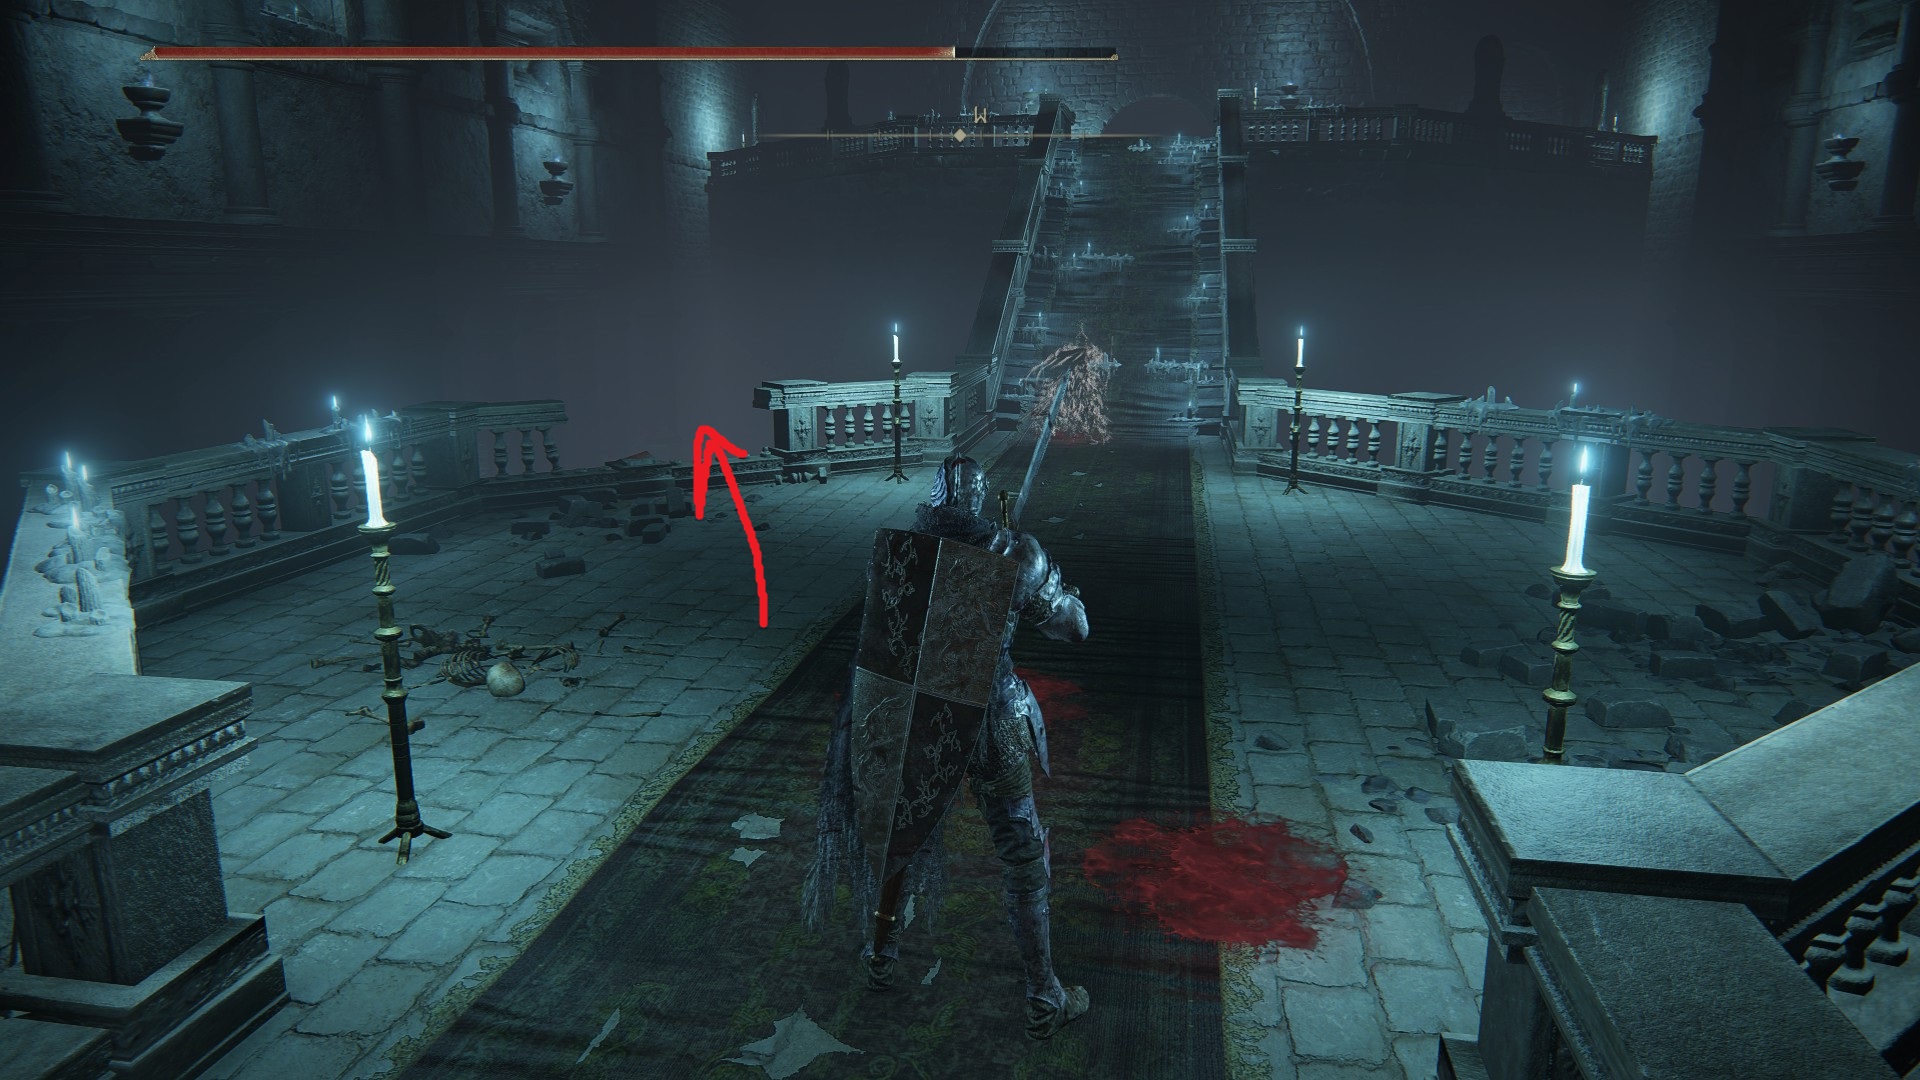
I promise it’s safe — ignore the bloodstains
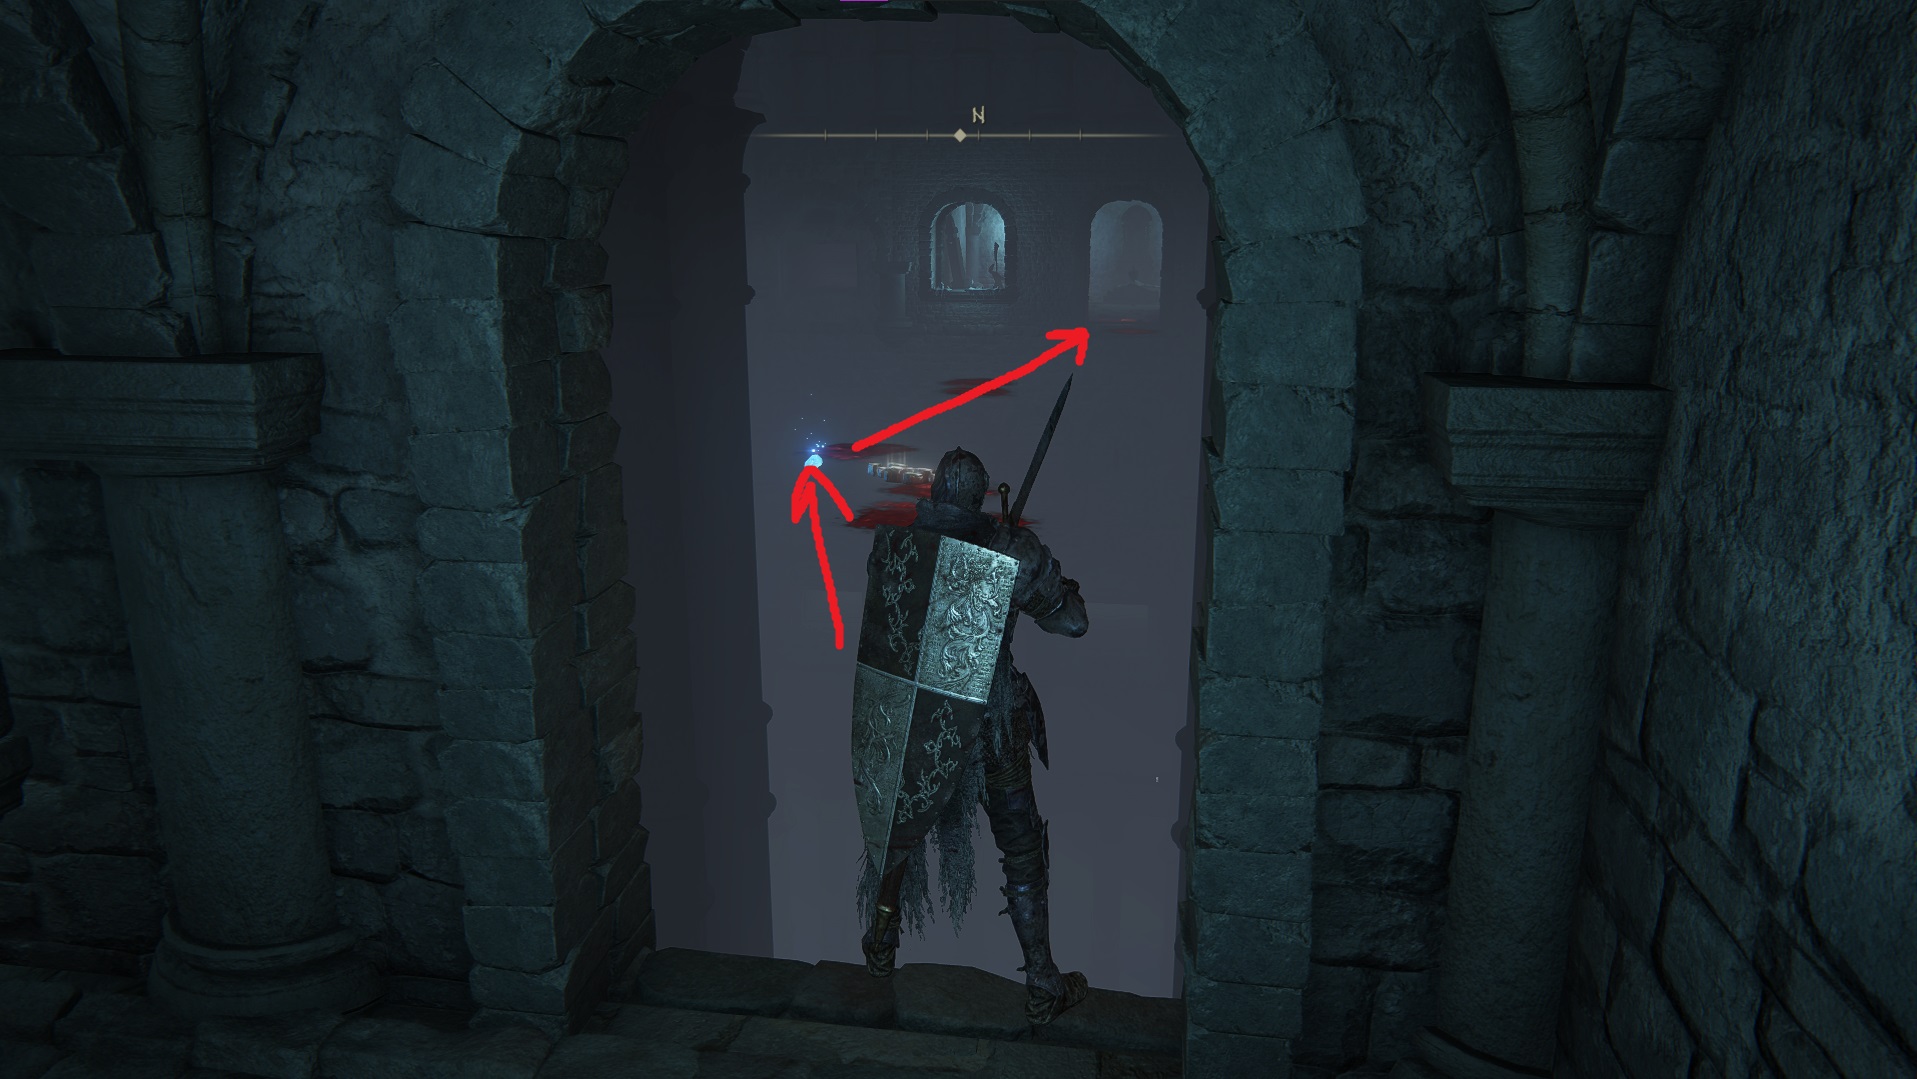
Once you land, drop a Rainbow Stone in front of you, and then look south — you’ll see a doorway nearby, and you can head straight for it (1). Once you go through the doorway, turn right and grab the Grave Glovewort [9]. Behind the glovewort, to the west, you can roll into the wall to dissipate an illusory wall. A bit further west you’ll see a chest, and inside is the Silver Scarab. Grab it and head back to the doorway, then go back to your Rainbow Stone — from there, you can head straight to the doorway to the north (2). Start sneaking as you near the doorway. Note that if you don’t have any interest in Sacramental Bud, you can skip this room.
(1)(2)
In this room, there is a vulgar militiaman on the right as you enter, another on your left a bit further in, and a third foe on the opposite side of the room. All of them will have their backs to you, so backstab the one on the right, and then turn and face the other two. You can often strafe around them as they approach and get off a backstab. Once all three enemies are dead, you can pick up the x3 Sacramental Bud from the corpse and head back out onto the invisible bridge.
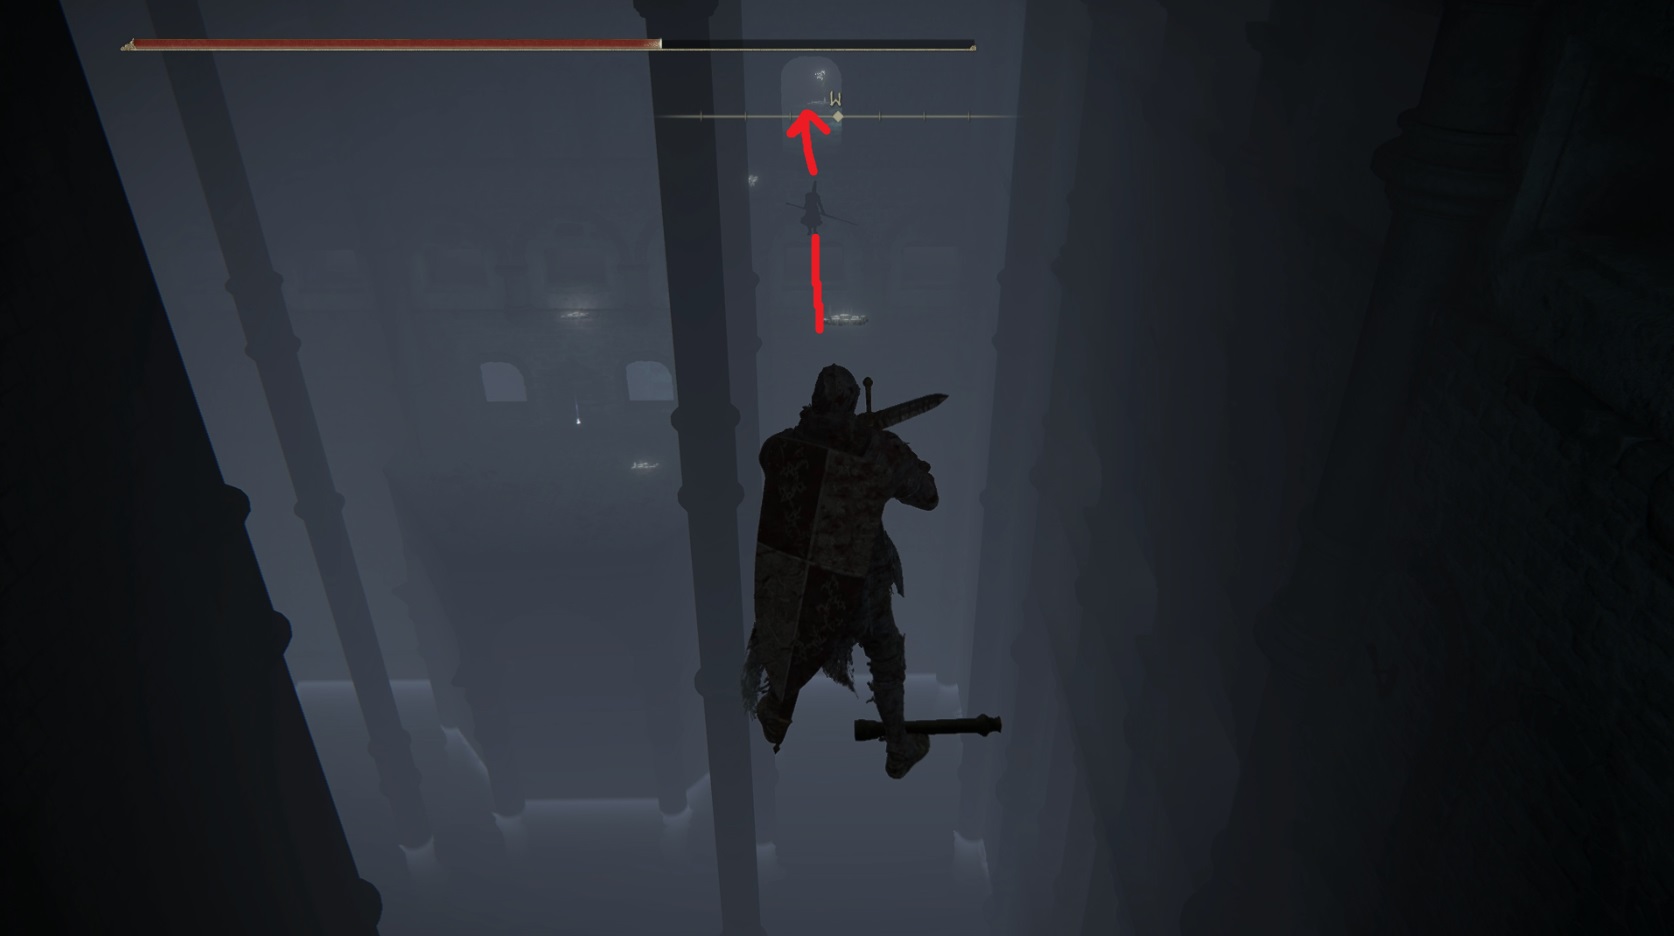
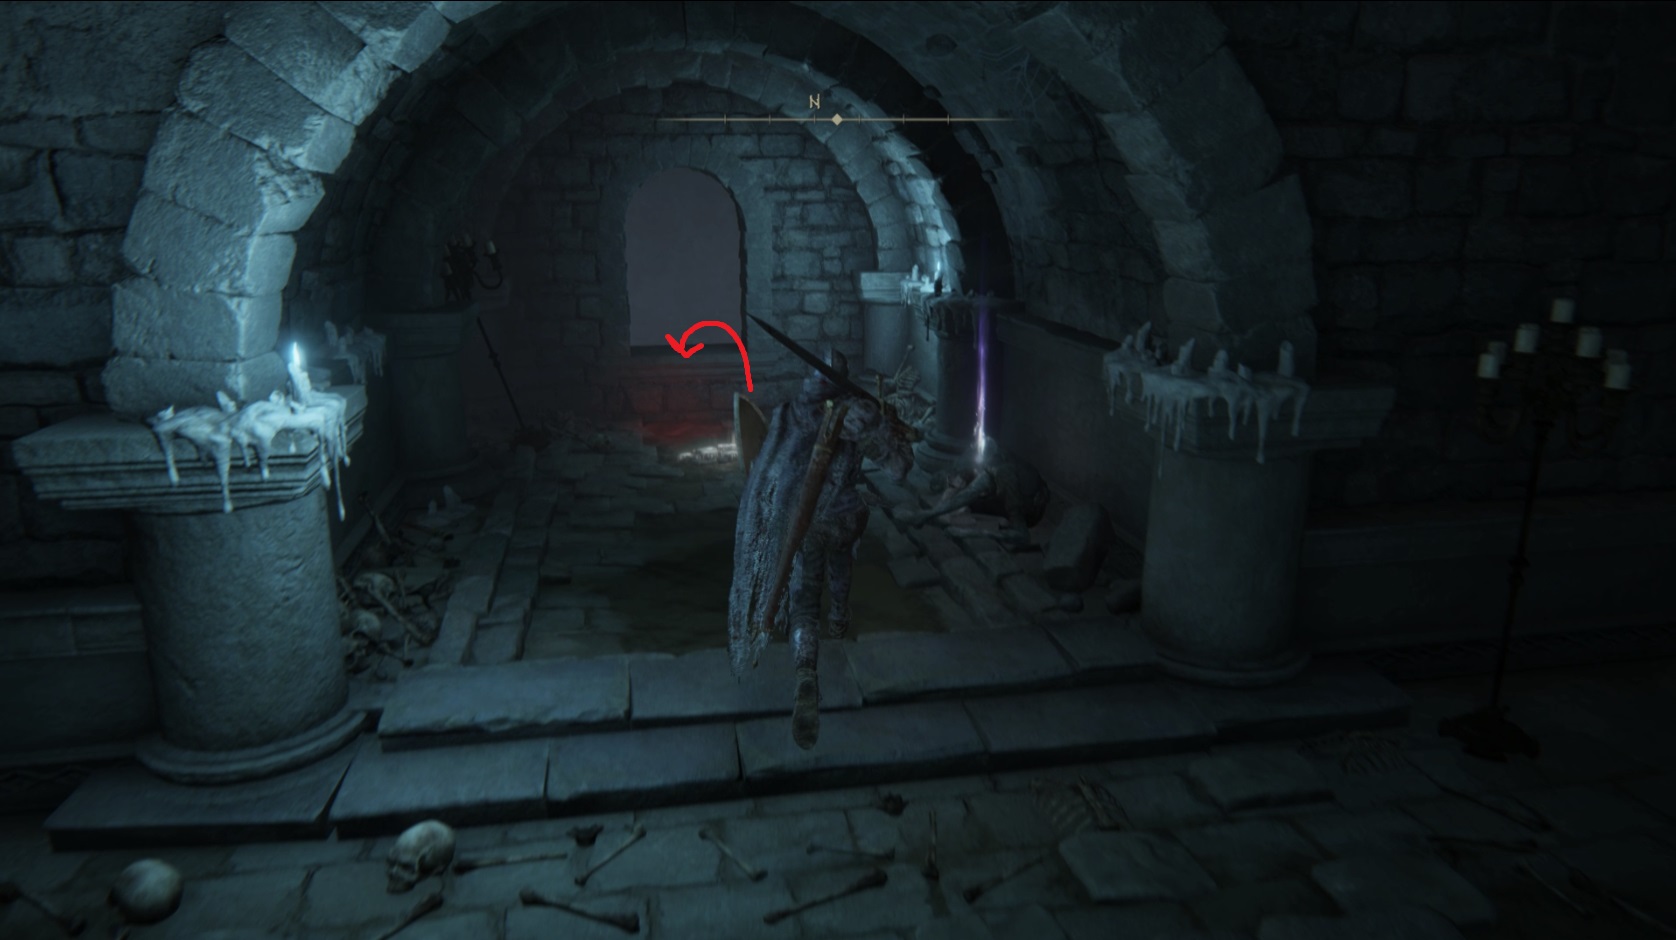
Turn right (west) and look for the doorway on the other side of the room — you’ll see a militiaman patrolling in and out of this room. Line yourself up with the doorway and then make your way carefully on the invisible bridge (or just use Rainbow Stones every step of the way). You can choose to wait until the militiaman gets close to your position and then turns around, then sneak up on and backstab him, before continuing into the room. There is another enemy hiding on the right, just inside the doorway.
Once both militiamen are dispatched, pick up the Grave Glovewort [9] in this room, then go back out onto the invisible bridge. Turn right (south) and walk forward, dropping down onto the platform below. Grab the Hero’s Rune [1] from the corpse, and then jump through the left-hand window and drop down into the next room. Turn left and go south down the stairs, where you’ll find a vulgar militiaman with its back turned, hanging out with a bunch of land octopuses. Backstab the militiaman, then clear out the octopuses (you’ll want to retreat here soon). Next, sneak north towards the doorway between the stairs. Note that this room is optional, and contains x4 Root Resin.
Approach the doorway slowly, and wait near the entrance for one or two of the foes inside to notice you. Once they start moving your way, sneak back south and fight the enemies that follow where you killed the small land octopuses. There are four enemies total in the room, and you can draw them out one or two at a time until they’re all dead — grab the x4 Root Resin from the corpse and then head out of the room.
Head north up either set of stairs — on the northern wall of the upper platform is the lever that opens the boss door. On the corpse in the center of the platform is x6 Old Fang — the giant land octopus will drop down soon after you near the center of the room, joining the two militiamen. However, you can ignore the enemies if you want, run over the corpse and grab the item, then pull the lever (you’re invulnerable while in the lever-pulling animation). Then run back south down the stairs and through the hallway — you’ll find the now-opened boss doors in the next room. Head through them and down the stairs to face the Stray Mimic Tear boss.
You can remove your weapons before starting the boss fight — once the crystal tear starts to mimic you (you’ll see silver mist), quickly re-equip your weapons, and you’ll get to fight a version of you with only its fists for damage. Slay the boss to claim the Blackflame Monk Amon Ashes.
Once you defeat the boss, grab the Deathroot from the chest, but don’t take the wisp to the start of the dungeon. Instead, go back the way you came, north up the stairs and back through the boss doors. Turn left and continue west into the hallway, which will turn right and continue north up some stairs to an elevator. Ride it up, then go north a few steps to grab the Spelldrake Talisman +2. Next, hop up onto the window ledge to the north and look down — try to kill the militiaman down there from your perch, or else make sure you attack him as you land.
Drop down onto the two small octopuses, kill or avoid them and grab the Grave Glovewort [9]. Then go east onto the stairs, where you’ll find x5 Freezing Grease. Grease in hand, go west back up the stairs, then turn right to head north up the next set of stairs, where you’ll find the dungeon’s site of grace. From here, it’s just one more flight of stairs north to reach the Consecrated Snowfield.
Unabashed FromSoftware fanboy still learning to take his time with games (and everything else, really). The time he doesn't spend on games is spent on music, books, or occasionally going outside.