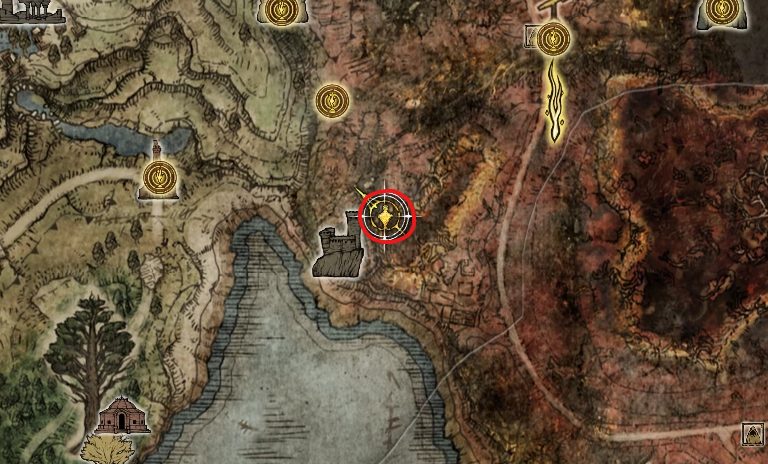
The Gaol Cave is an optional dungeon in Caelid that can be accessed by using 2x Stonesword Key. As the name implies, this dungeon is a cave that has been repurposed as a jail.
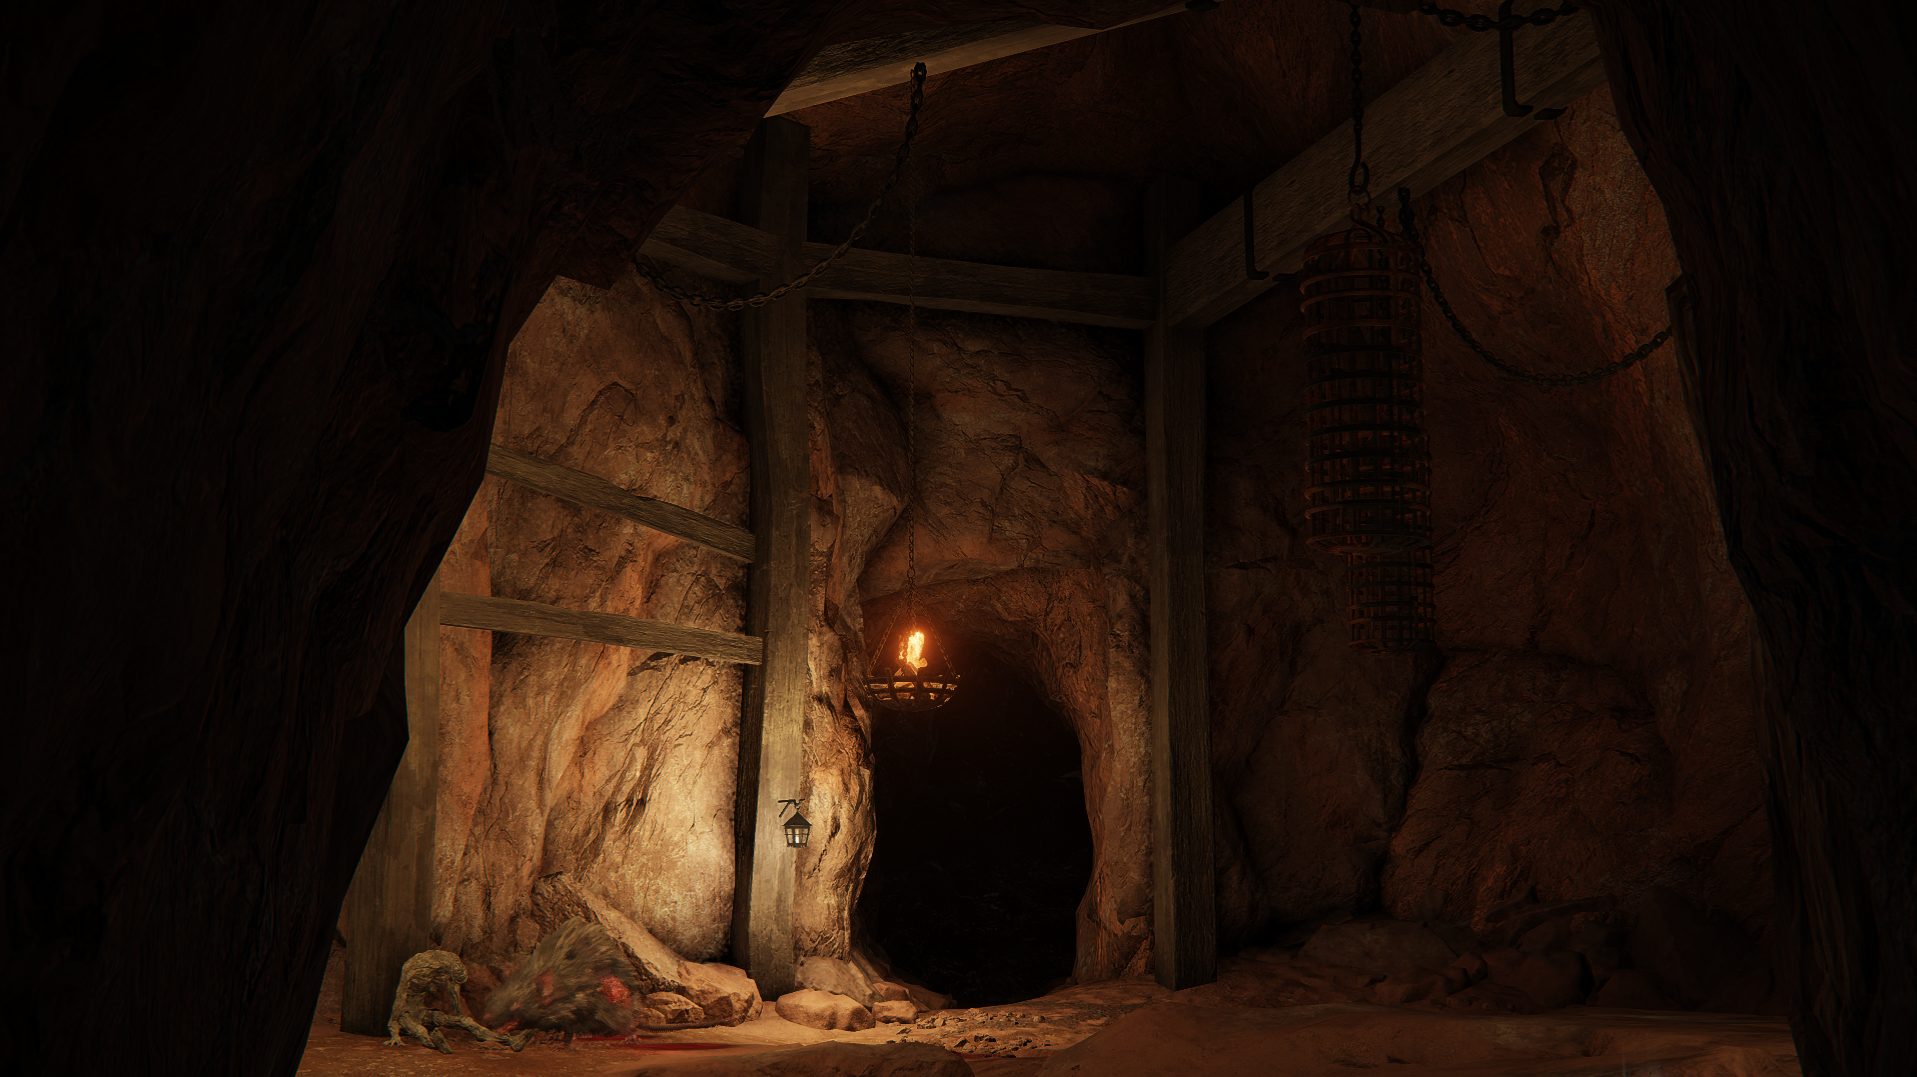
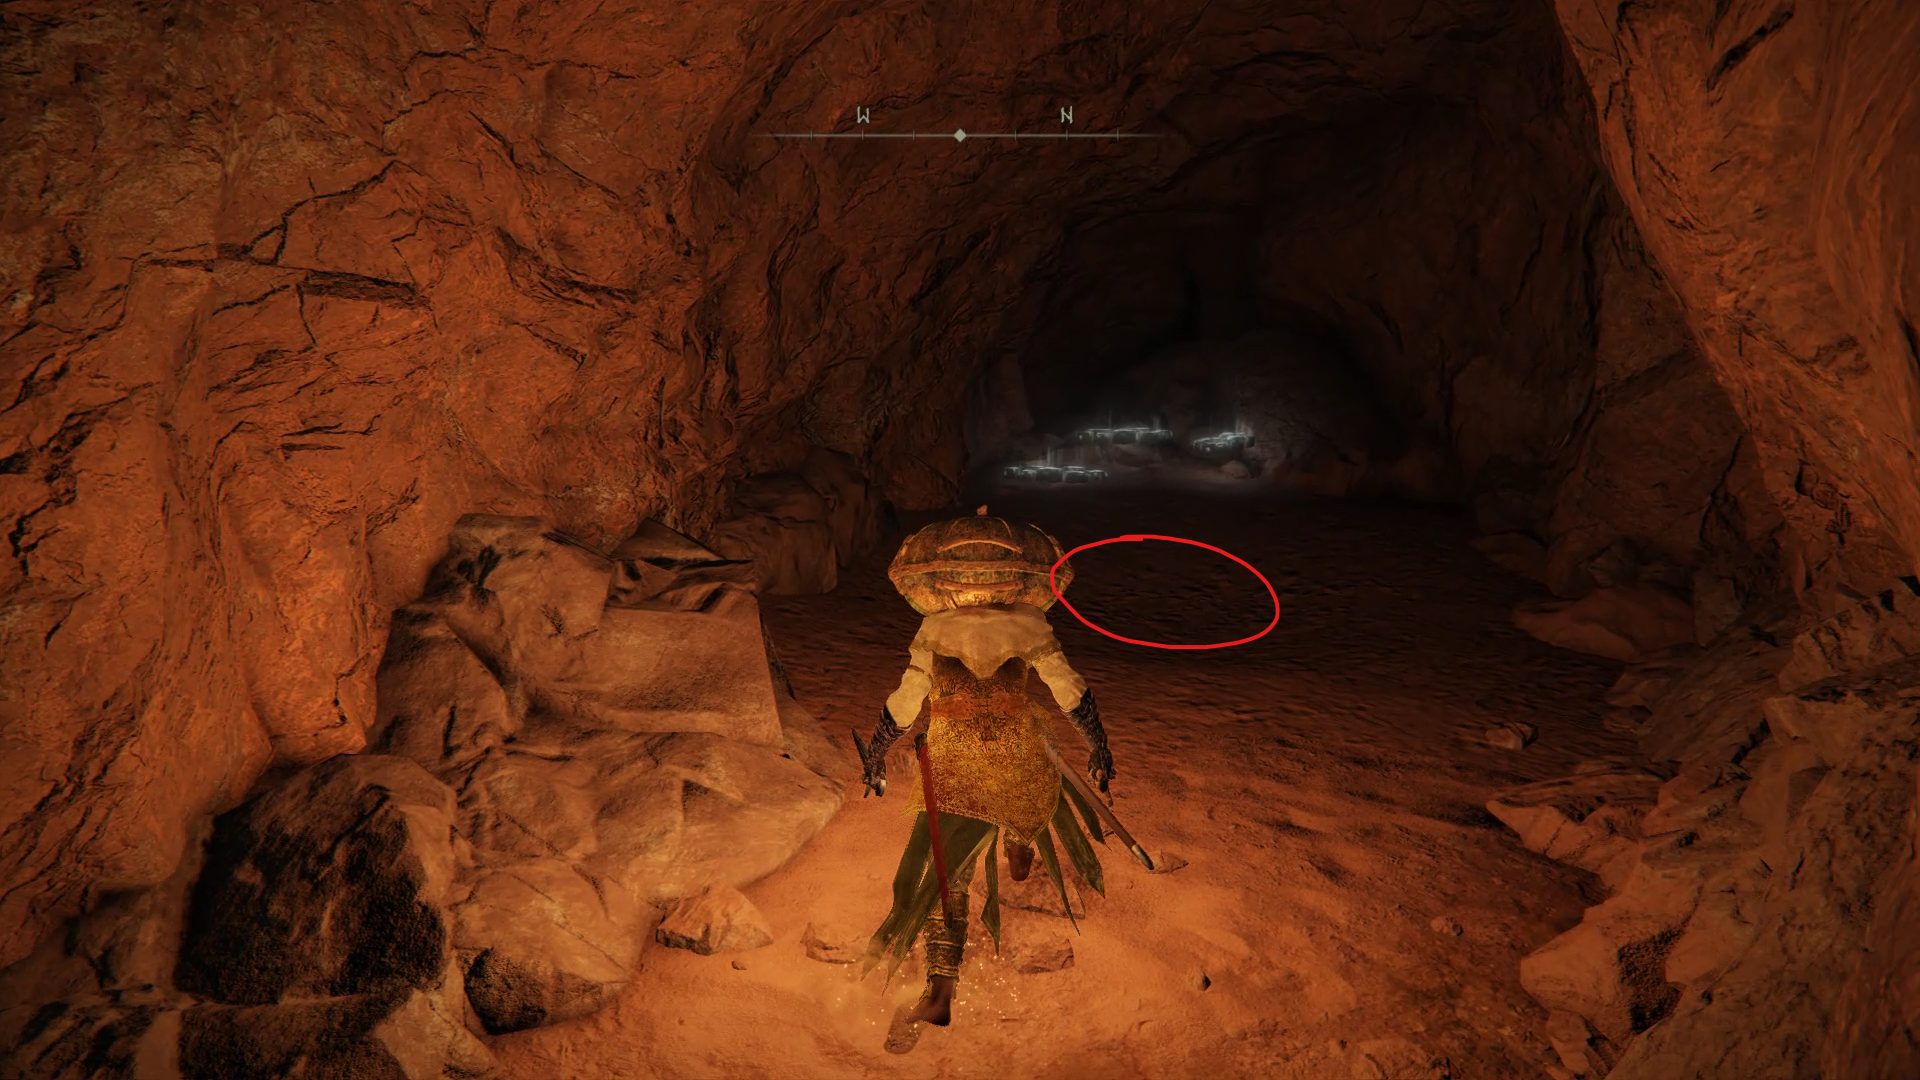
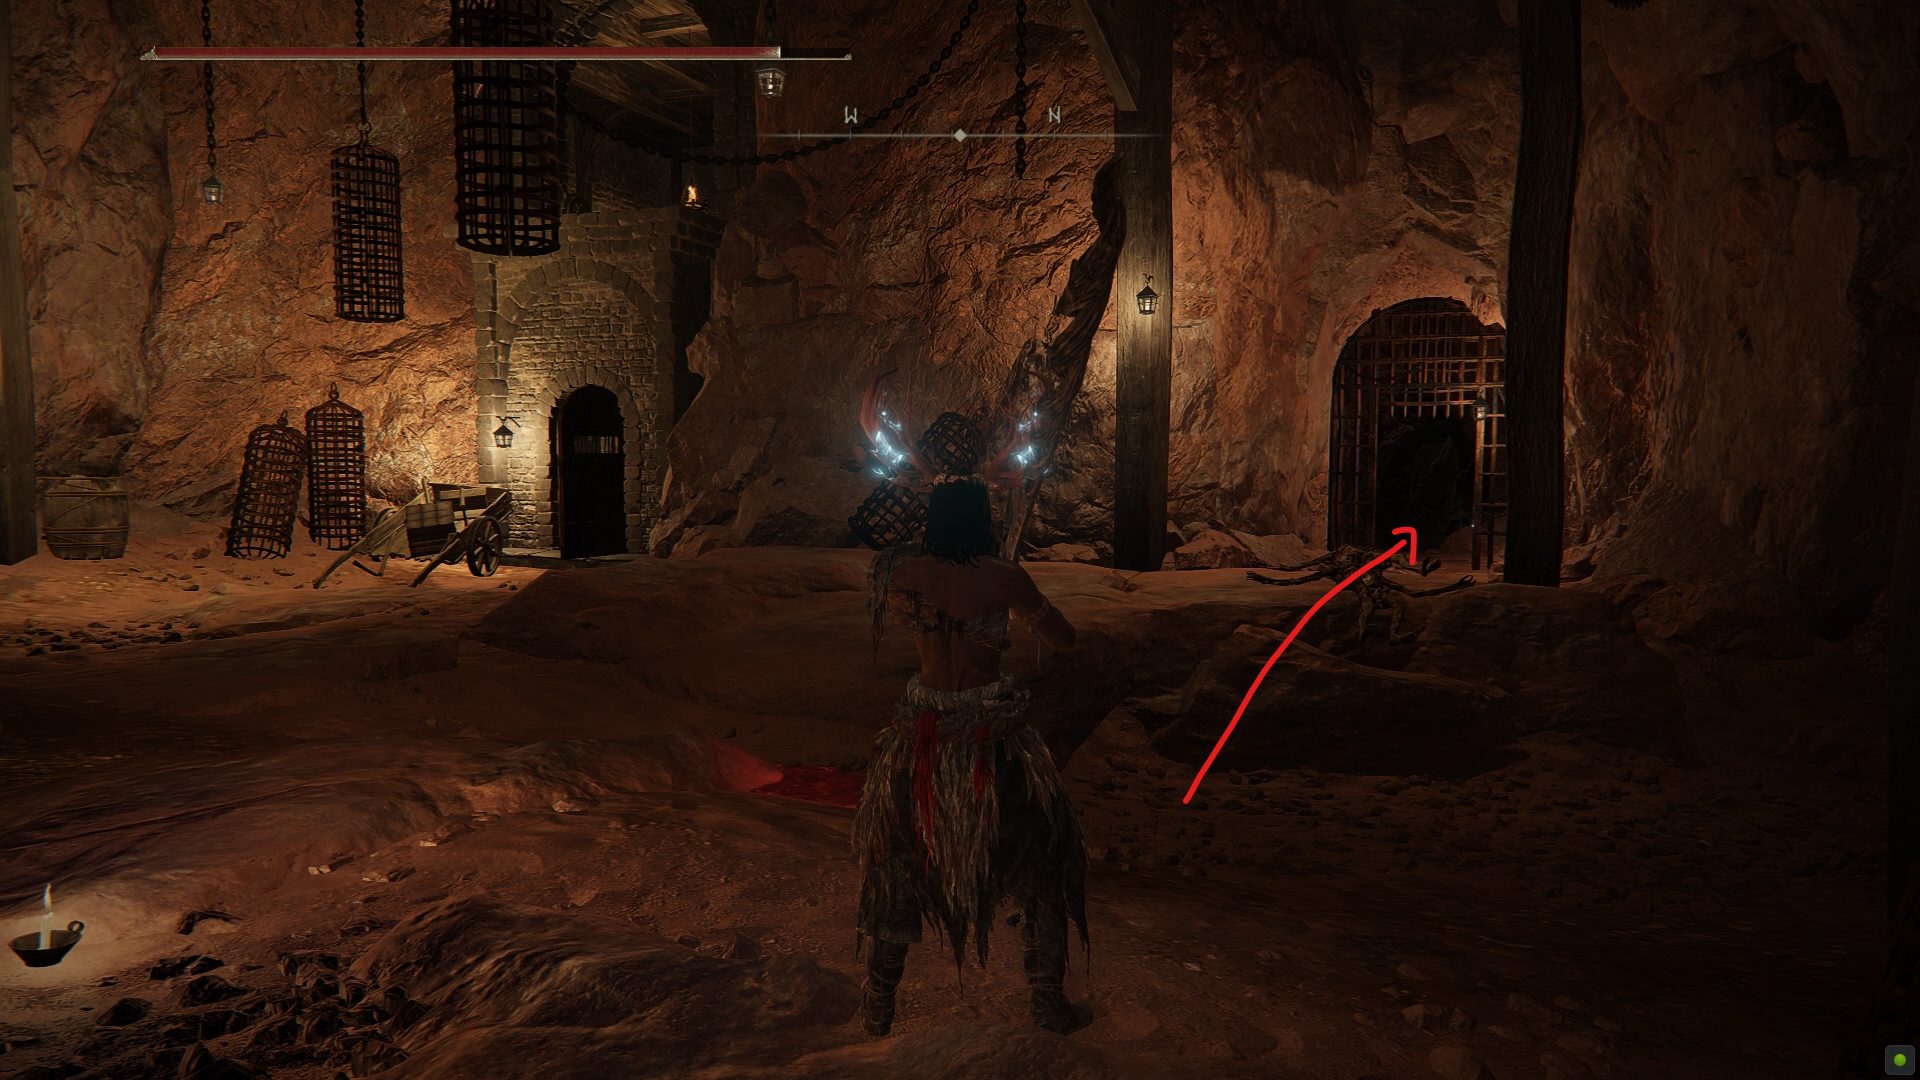
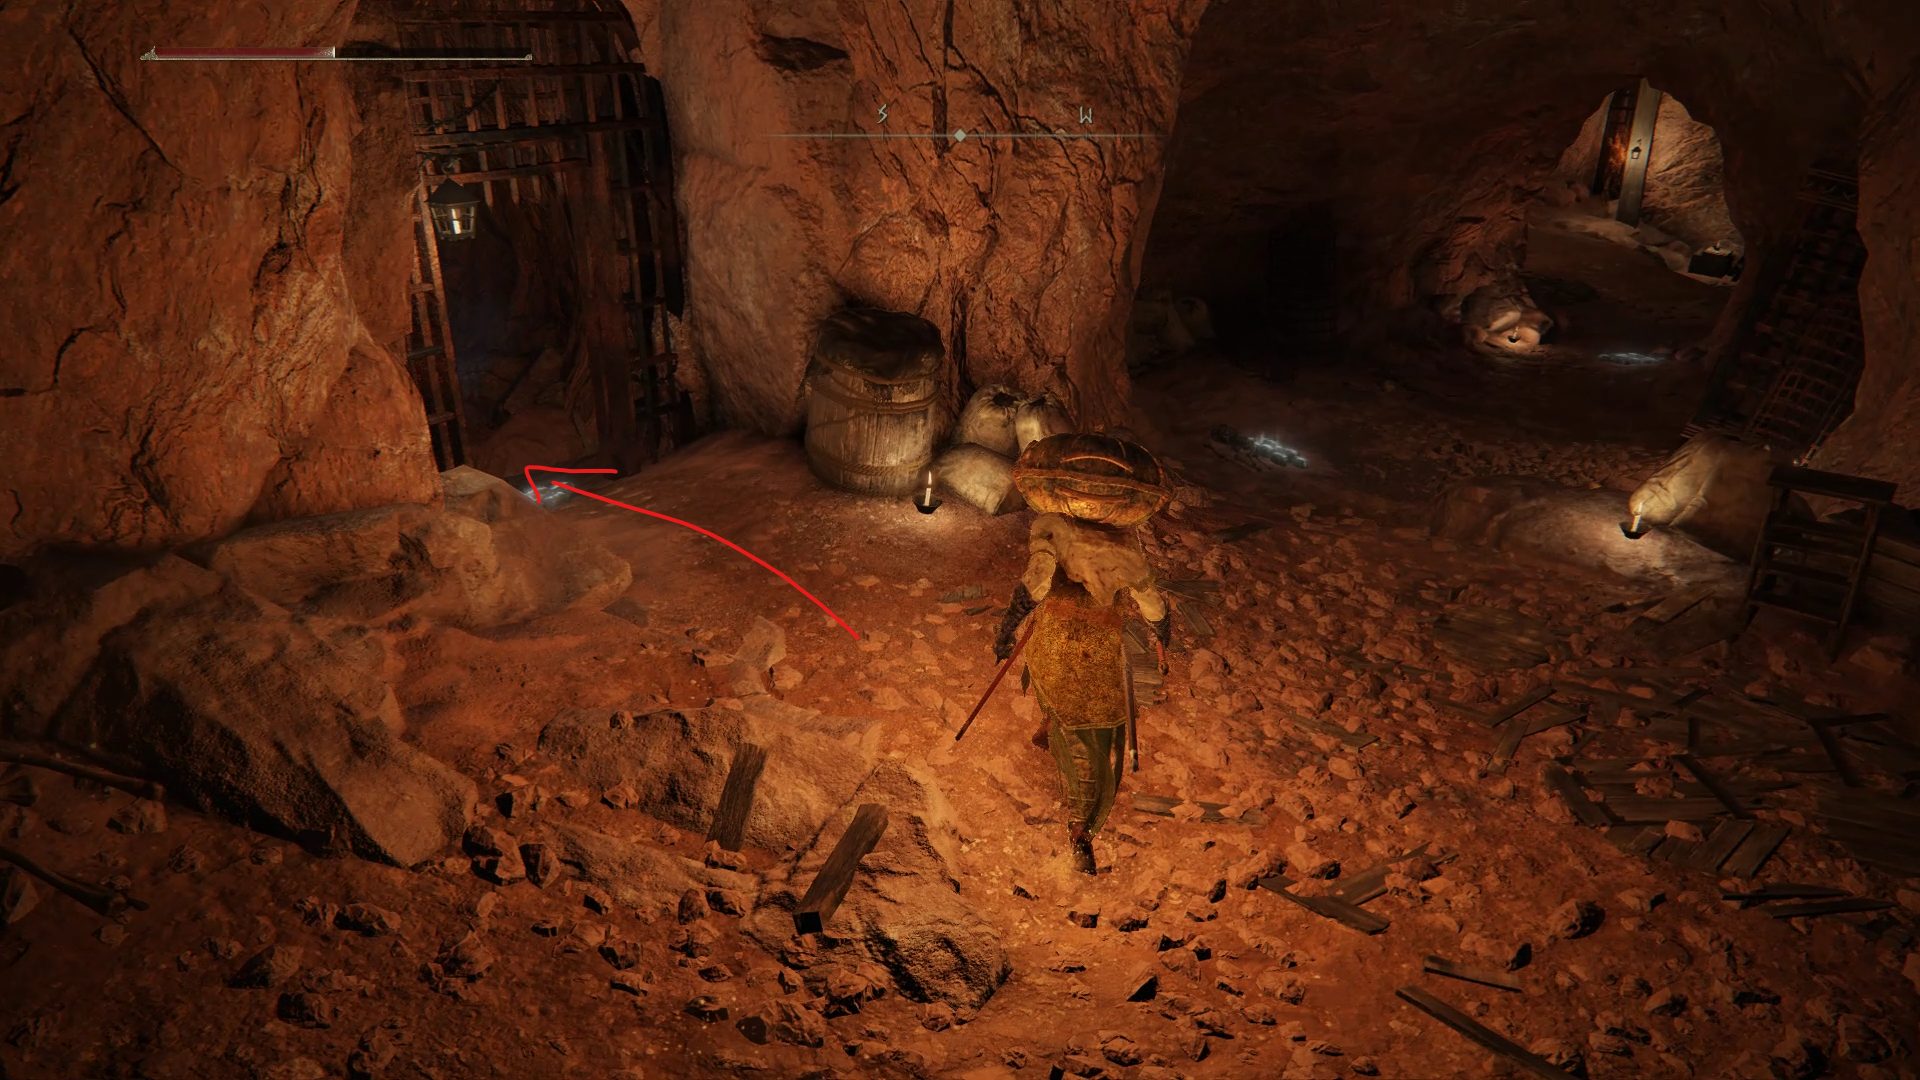
As you enter the dungeon and head towards the very first site of grace, make sure to loot the nearby chest and grab the Rune Arc from it. From there, the path forward is very linear and there isn’t much to pick up or see. Your only company will be a couple of hungry rats until you continue far enough to find a tunnel (image 1) with a weak floor that will crumble under your weight (image 2).
Image 1Image 2
This is okay, you want to fall through to the lower level as that’s the only way forward. In the lower level, you will find a bunch of exploding undead behind bars in locked cells.
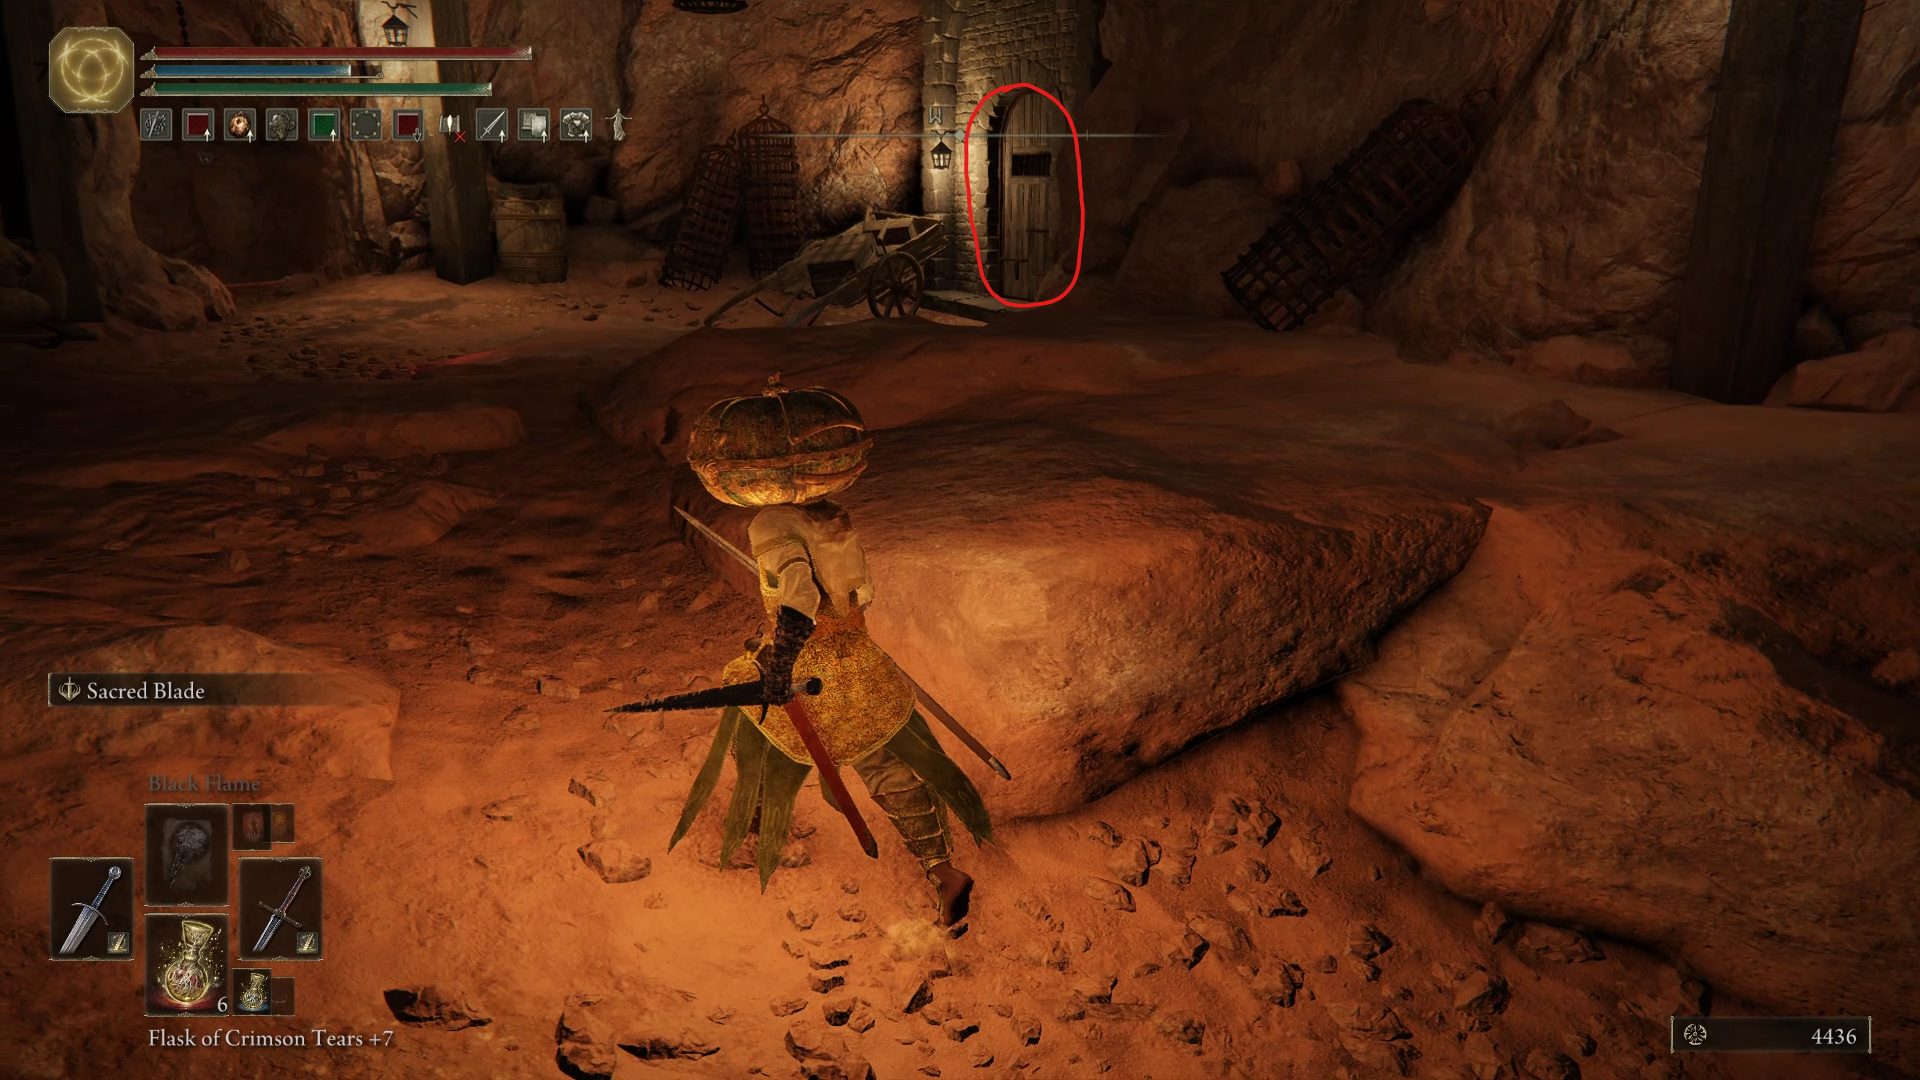
As you proceed further through the dungeon, be careful while approaching the locked wooden door as fog will appear and a sneaky vulgar militia will jump down to try to ambush you. Vulgar militia aren’t tough enemies, but they move fast and are more dangerous in groups (like any enemy).
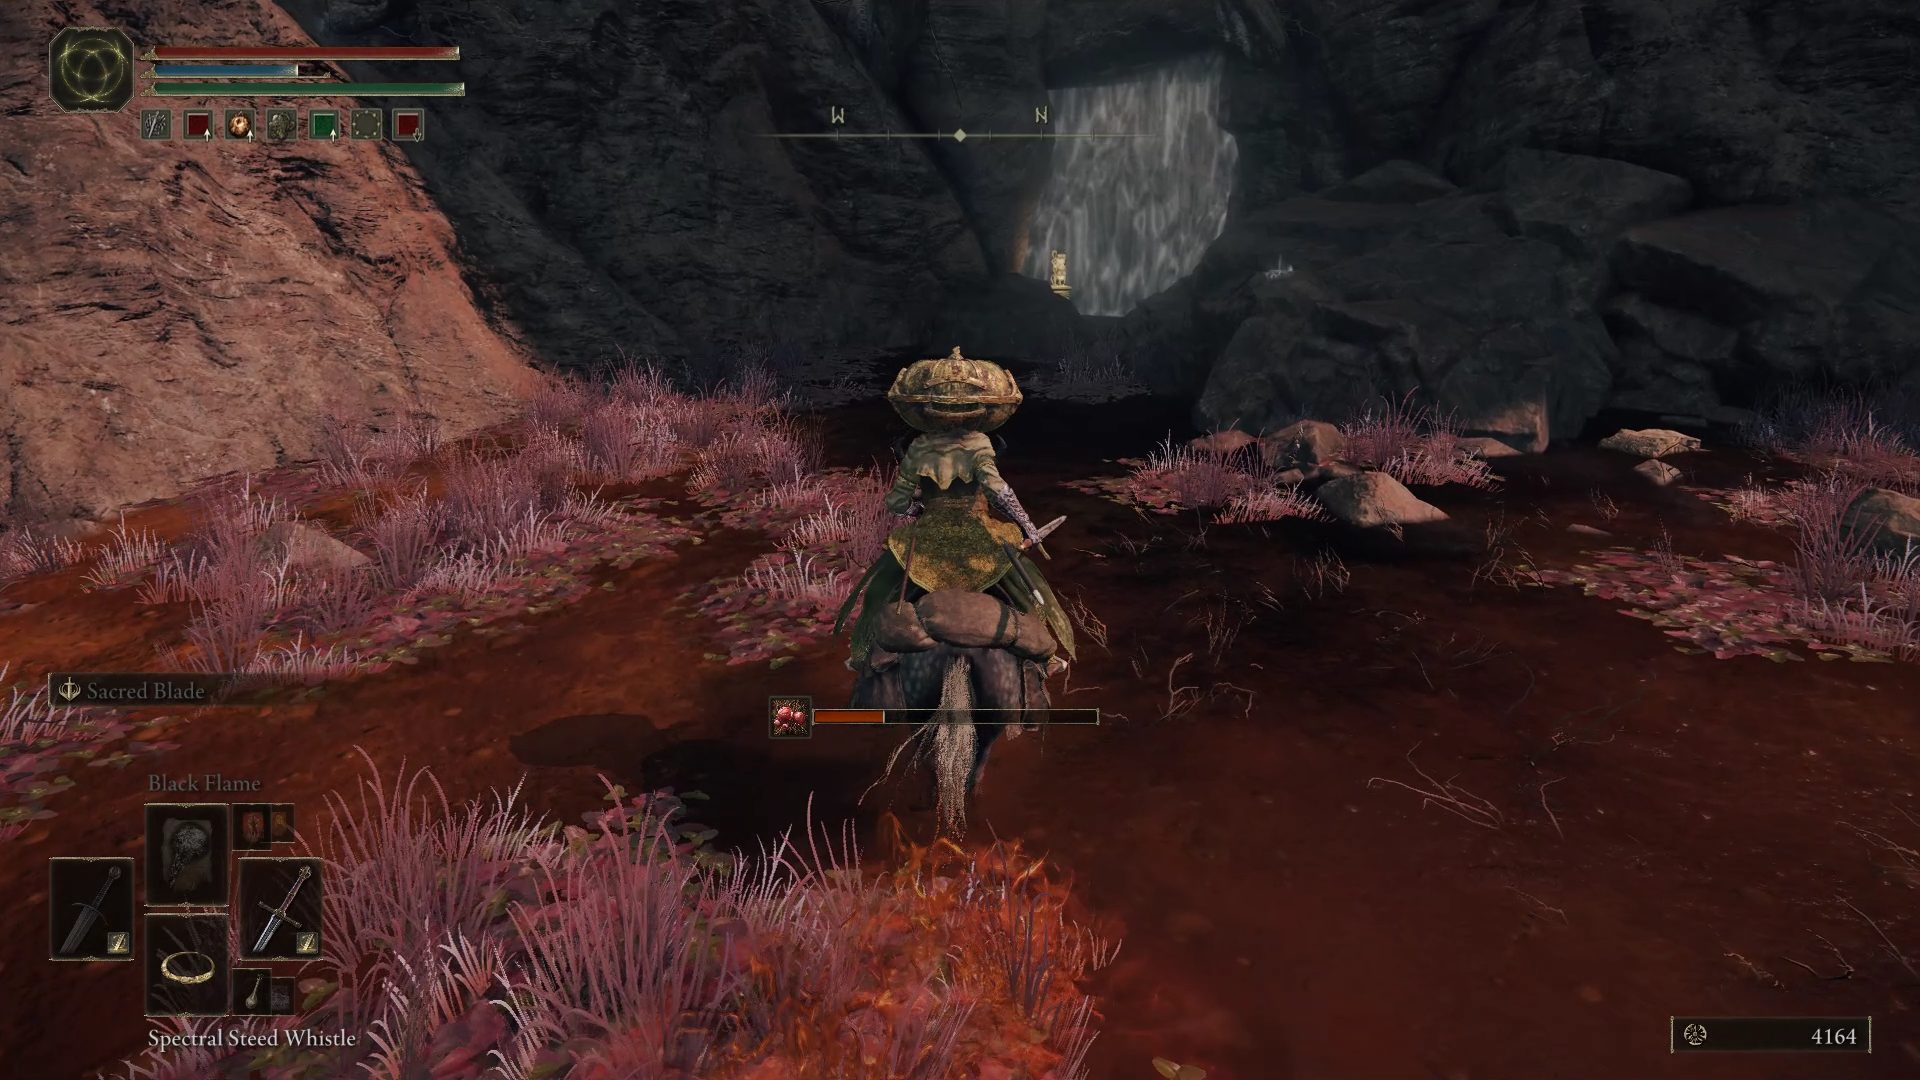
Continue past this door (image 3), and you will reach a small ledge from which you have to jump down. As you jump down, you will be forced to fight two more vulgar militia trying to ambush you (image 4), with the first one standing to the right and the second one right below you as you jump down.
Image 3Image 4
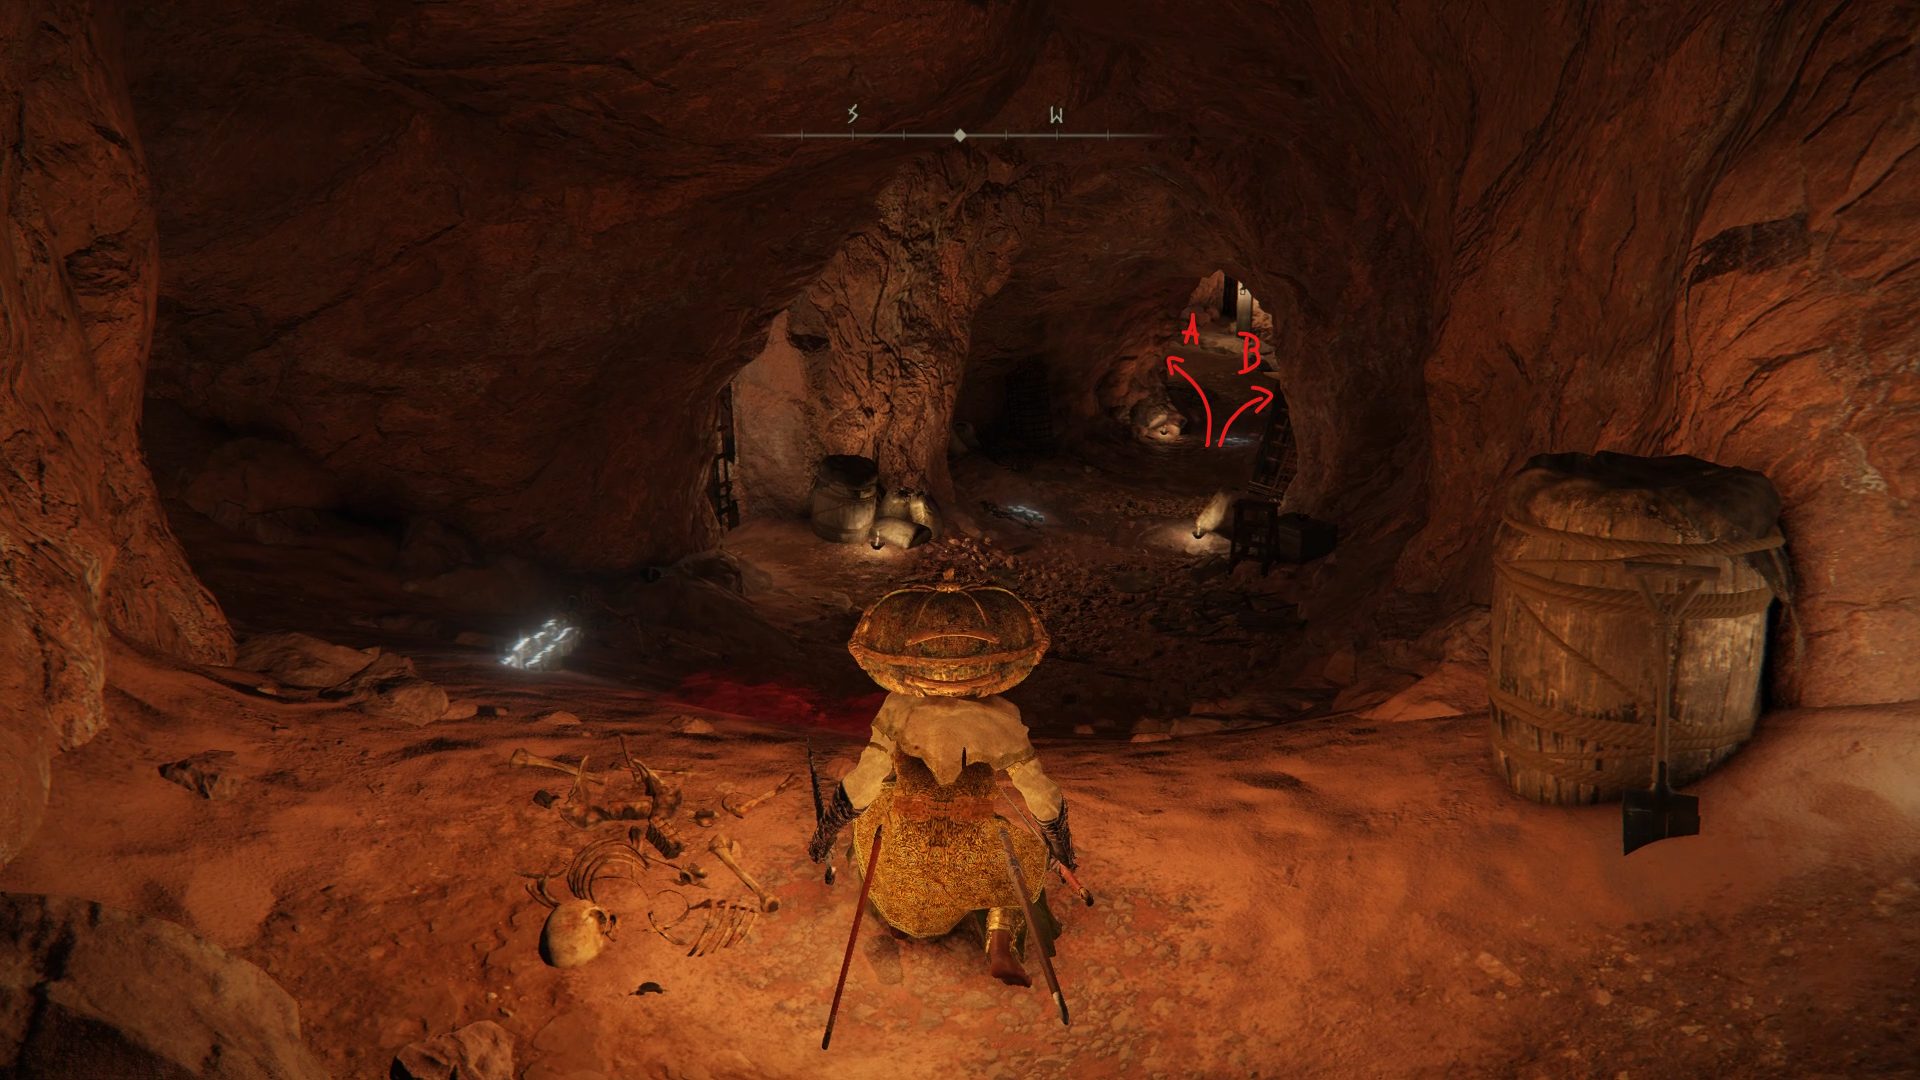
Now that they’re dealt with, continue going through the next hallway, and you will reach a room with a locked gate to the left, marked “A” in the image, and another set of tunnels to the right, marked “B” (image 5). While the gate to the left is locked, there are two vulgar militia keeping watch next to it. Killing them will ensure that they don’t sneak up on you later.
Image 5
When you go through the set of tunnels to the right, you’ll reach a turn. You will need to watch out for the pack of rats hiding to the left. And if you thought you were finally going to get some loot, all they’re guarding is 2x Turtle Neck Meat. But don’t worry, once you reach the next room you’ll start getting some well deserved items.
When you reach the room with a visible chest and bookshelves (image 6), don’t rush in, as there is a pretty rough ambush ahead. On top of the enemy in front of you, there is another to the left of the door, as well as one more enemy on the second floor.
Image 6
To deal with those enemies, come close enough to trigger the ambush before running away from the room. This way, the enemies on the ground floor will follow you first, and you’ll be able to dispose of them without getting attacked by the one on the second floor.
Once the way is clear, grab the Somber Smithing Stone [5] from the chest as well as the Golden Rune [5] from the corpse on the ground floor, and proceed up the stairs to find a lever that allows you to not only open the path to the boss, but also the cells that were previously closed (image 7).
Image 7
With the cells now open, you’ll notice all the flaming corpses have been released, and they’re everywhere. The easiest way to deal with them is to let them run at you and explode. Just roll away from them when their bodies bulge (indicating the explosion), and be sure not to corner yourself, or roll into more explosions.
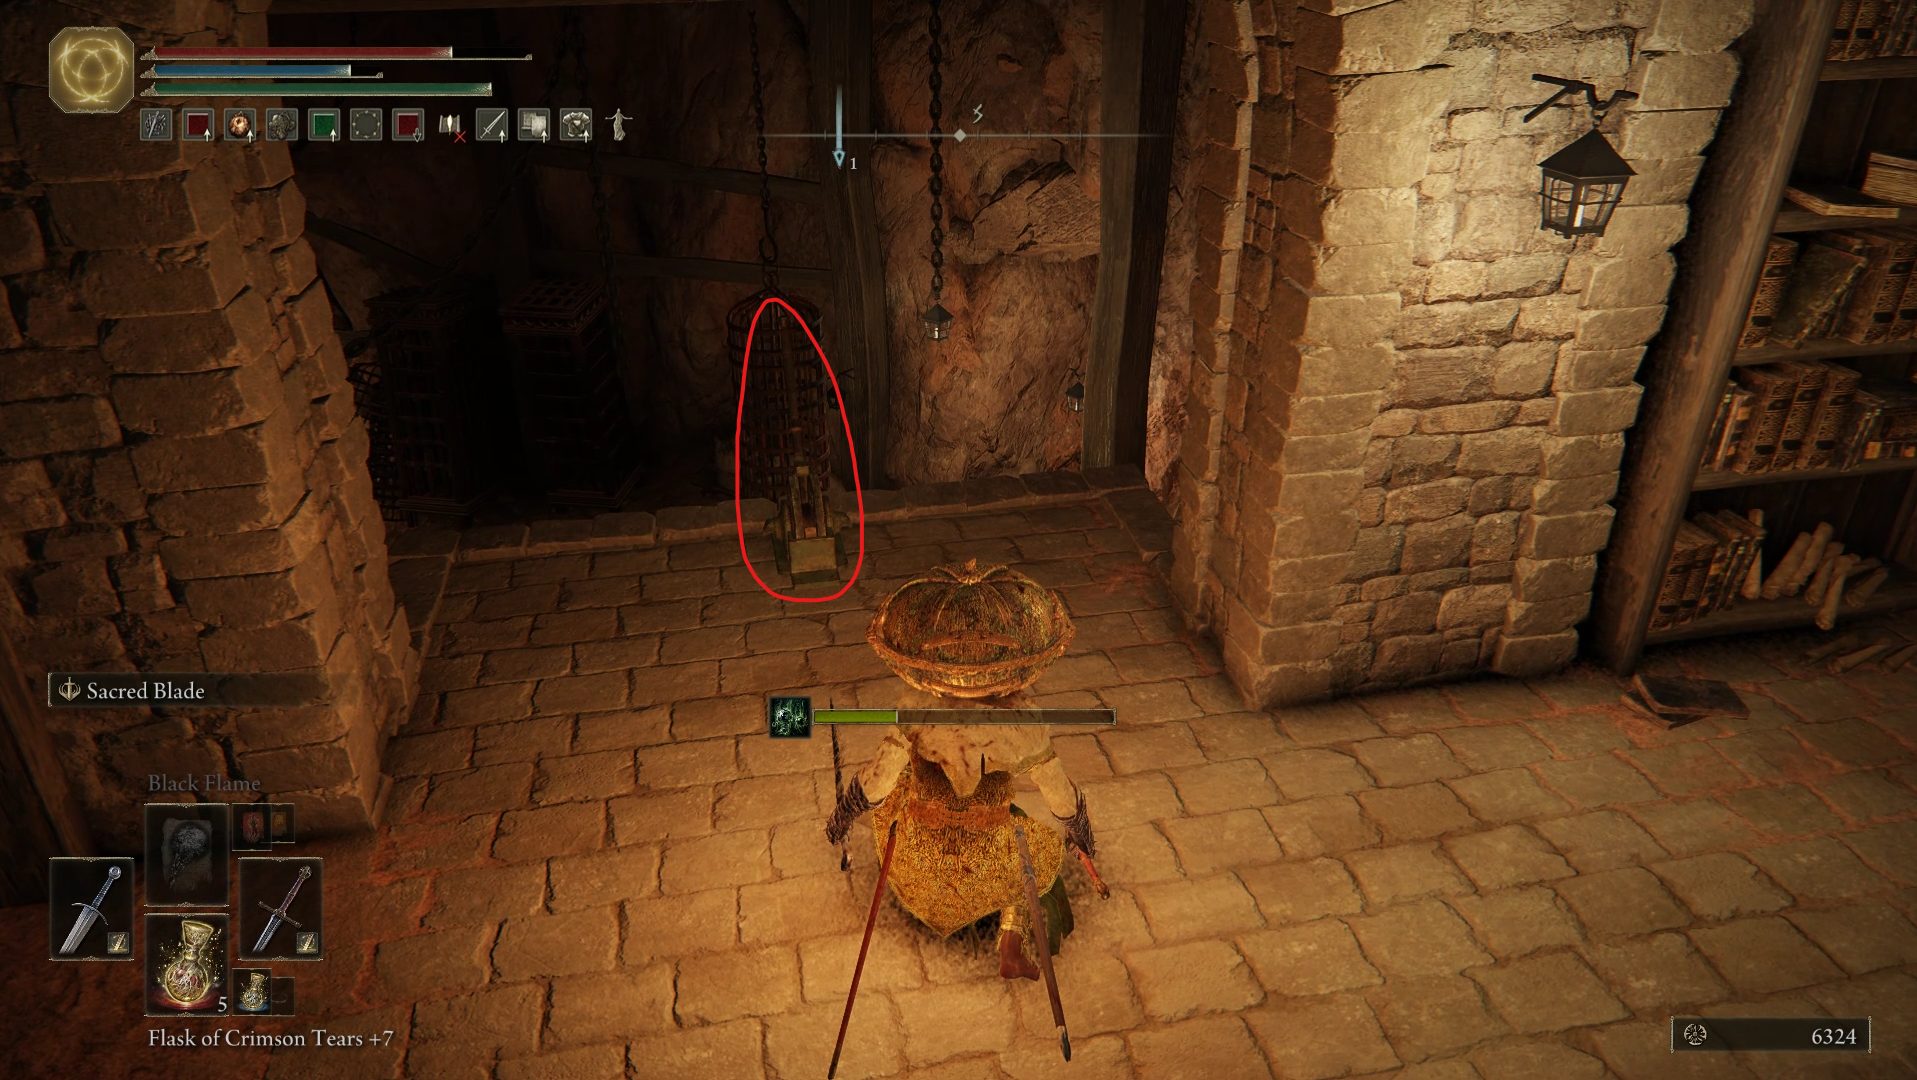
Backtracking towards the dungeon’s entrance will only yield a Golden Rune [2]. However, if you jump out of the room, you can find the Pillory Shield in a nearby cell (image 8).
Image 8
With the path forward now open, start heading back to the gate that was guarded by the two vulgar militia. In the hallway leading to that room, there is a now an unlocked cell. Grab the Wakizashi, the Stonesword Key and the Golden Rune [4] from the cell to the left before going forward (image 9).
Image 9
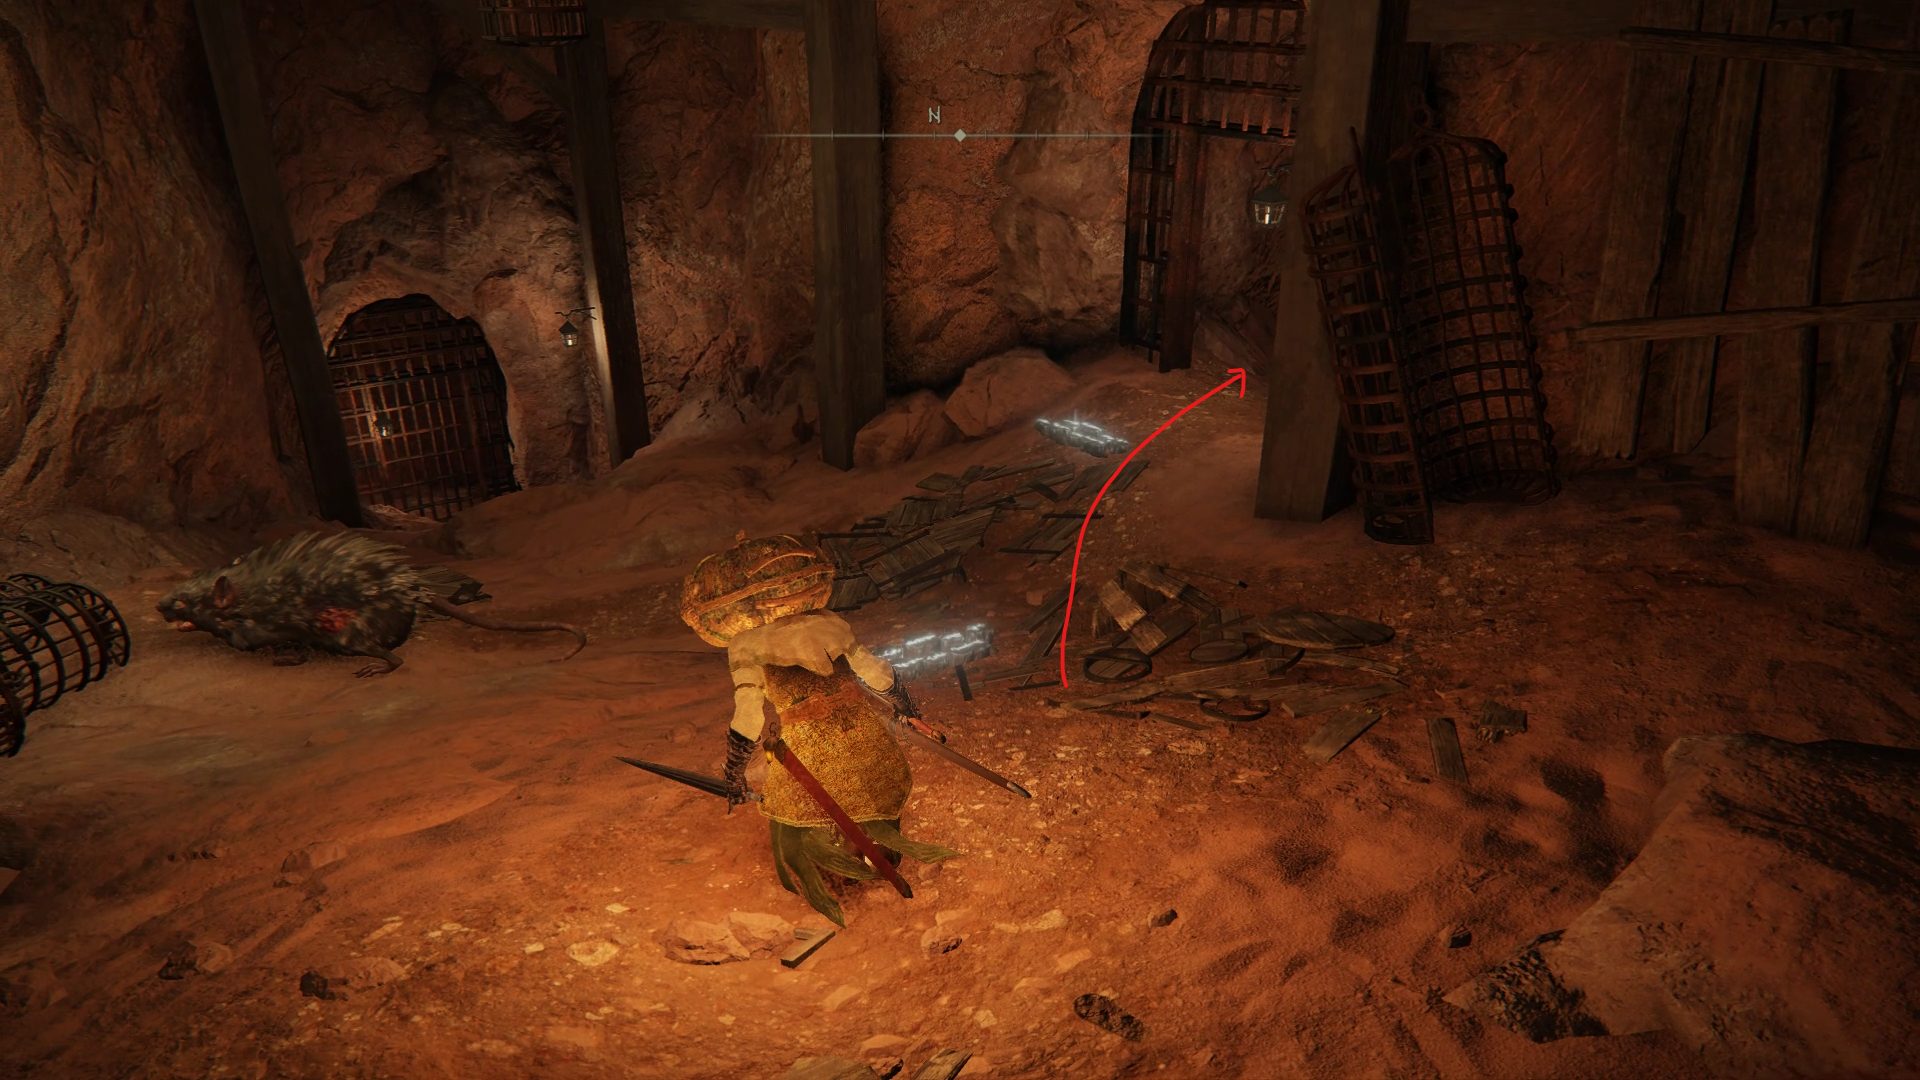
Once you reach the room that had two enemies guarding it — until you murdered them in cold blood before unlocking the cells — loot both corpses for a Golden Rune [4] and a Rainbow Stone before breaking the wooden planks to the southwest (image 10).
Image 10
Behind those planks, you will find a set of platforms that allow you to get all the way down. As soon as you reach the bottom, the Frenzied Duelist boss fight will begin.
After defeating the boss, the fog from a nearby door will be lifted, which leads to a secluded area in Limgrave with the Regalia of Eochaid, as well as a corpse with 3x Glowstone.
Video game fan since TMNT: The Manhattan Project, I'm always on the lookout for games that could top Outer Wilds or Disco Elysium, or for new songs to listen to.
Missing the pillory shield that you get inside one of the closed cages
Chris Wright
6 months ago
Overall such a great walkthrough, as many including me have commented before. Revisiting this particular entry on a NG+ play through, I will say this one (Gaol Cave) doesn’t match the quality of most of the others (so much so that I immediately scrolled back to the beginning to check who the writer was, as it seemed out of sync). The lack of specificity especially, in terms of directions (particularly for a dungeon that is a bit maze like) and then some vague enemy descriptions as well as important details (eg. one or maybe two more enemies are above). Finally, no boss link (still just a ‘pending’ notice). This is a relatively low level area, but of course discovery is part of the game, but thinking here of a brand new player, looking to the walkthrough for help, some of those details included or excluded could easily be the difference between life or death!
Hi Chris, agree with your feedback completely. Not sure how this one slipped through the cracks, but we’ll do our best to get it updated as soon as possible.


Missing the pillory shield that you get inside one of the closed cages
Overall such a great walkthrough, as many including me have commented before. Revisiting this particular entry on a NG+ play through, I will say this one (Gaol Cave) doesn’t match the quality of most of the others (so much so that I immediately scrolled back to the beginning to check who the writer was, as it seemed out of sync). The lack of specificity especially, in terms of directions (particularly for a dungeon that is a bit maze like) and then some vague enemy descriptions as well as important details (eg. one or maybe two more enemies are above). Finally, no boss link (still just a ‘pending’ notice). This is a relatively low level area, but of course discovery is part of the game, but thinking here of a brand new player, looking to the walkthrough for help, some of those details included or excluded could easily be the difference between life or death!
Hi Chris, agree with your feedback completely. Not sure how this one slipped through the cracks, but we’ll do our best to get it updated as soon as possible.