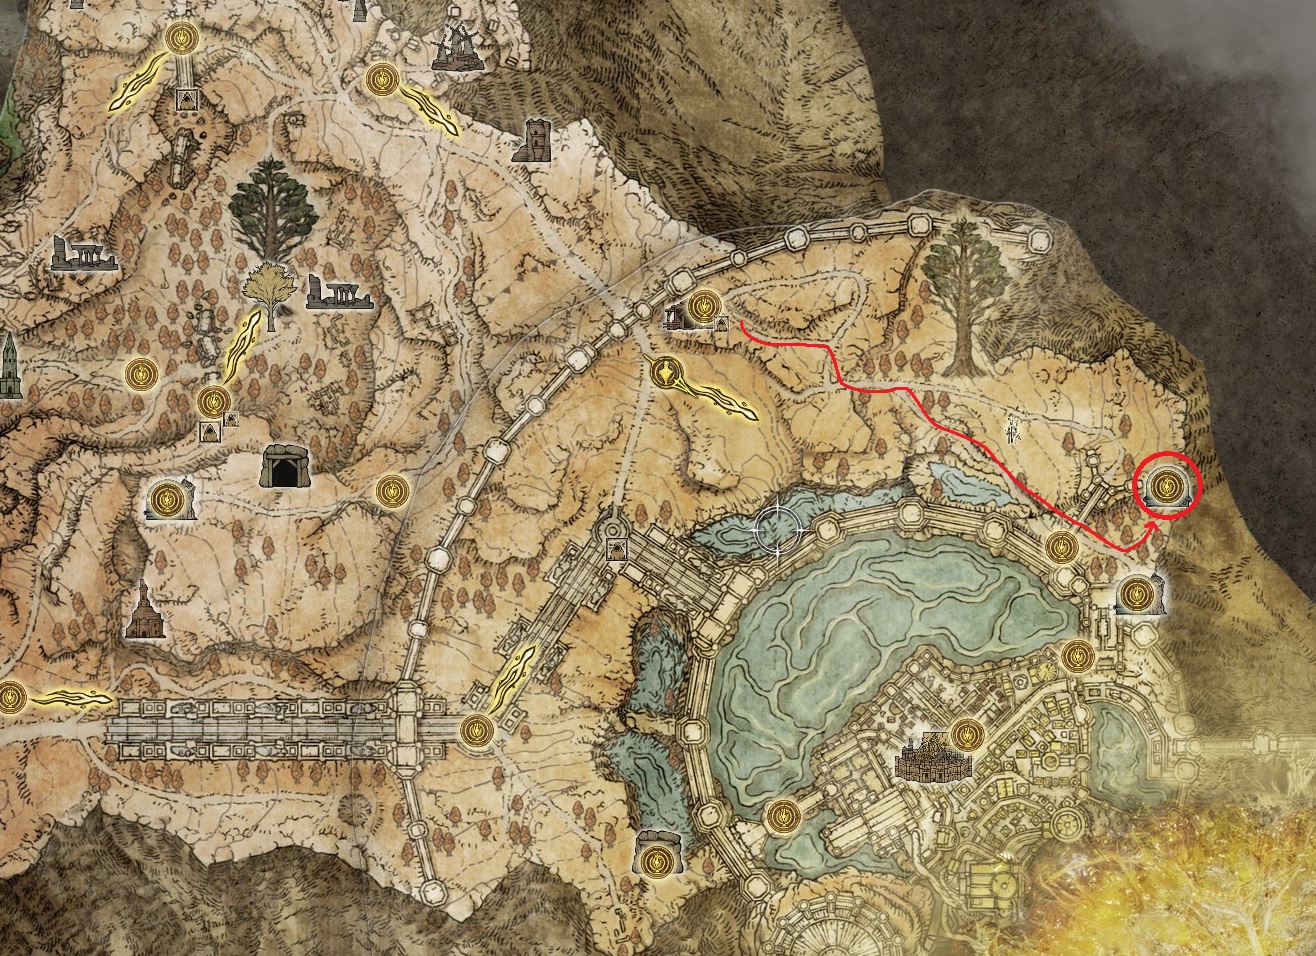
This dungeon is just north of the Auriza Hero’s Grave in the Capital Outskirts on the Altus Plateau. It’s a tricky one, challenging not because of enemies, but because of the myriad chest traps — and the fact that there are two versions of the dungeon that you’ll travel between. Fortunately, you’ve got this guide to make things simple!
In case you get lost: If you ever go through a chest during this dungeon, and find yourself in a room different than the one described, here’s what you can do: go back through the chest you came through, and head to the chest behind the illusory wall — you should then be able to return to the chest in question, and this time it will take you to the correct place.
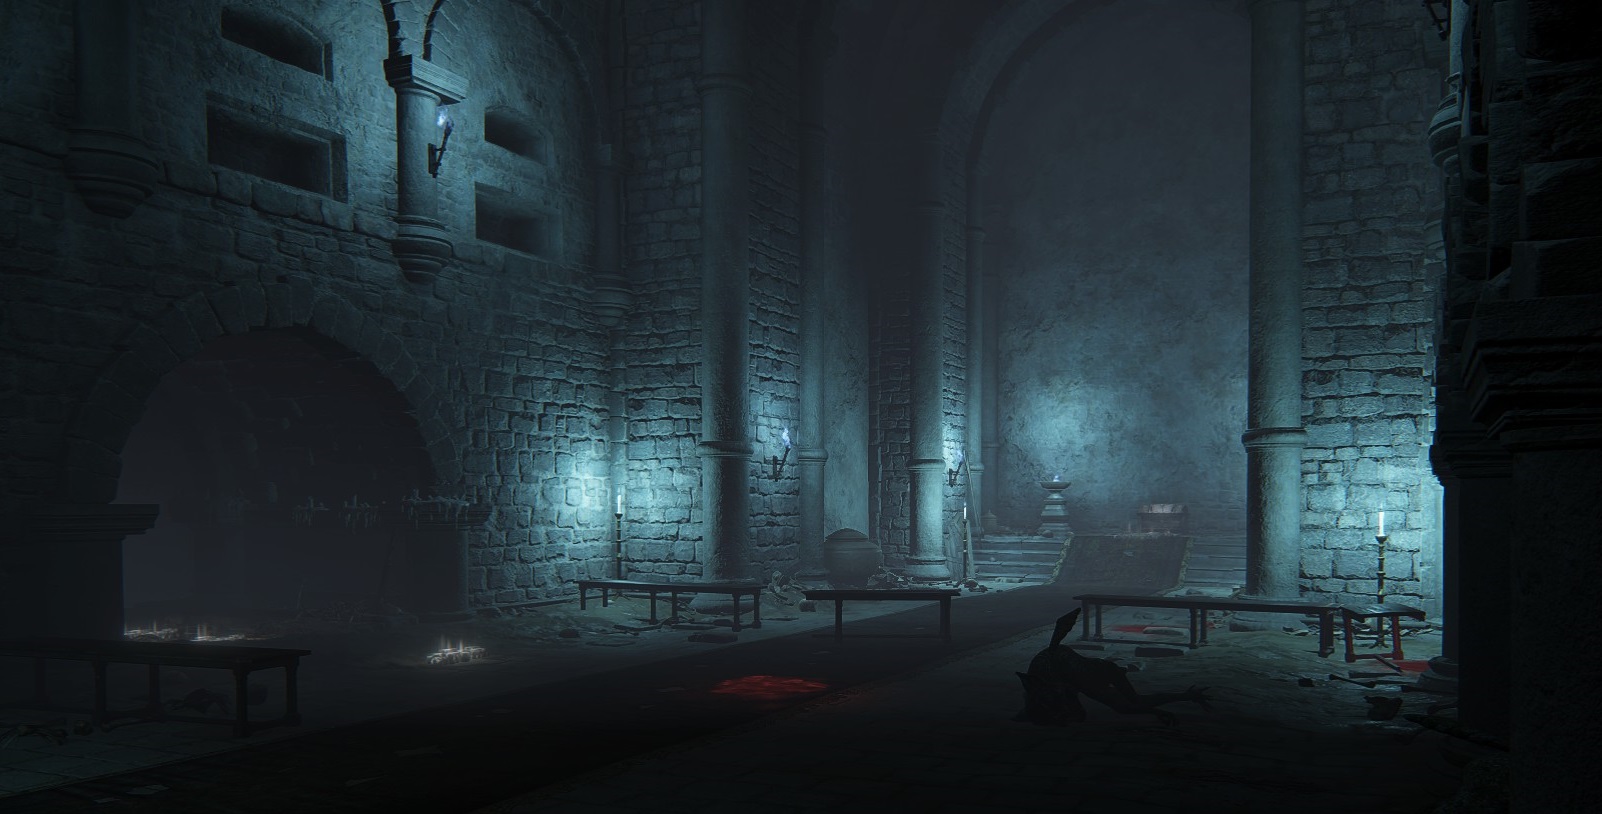
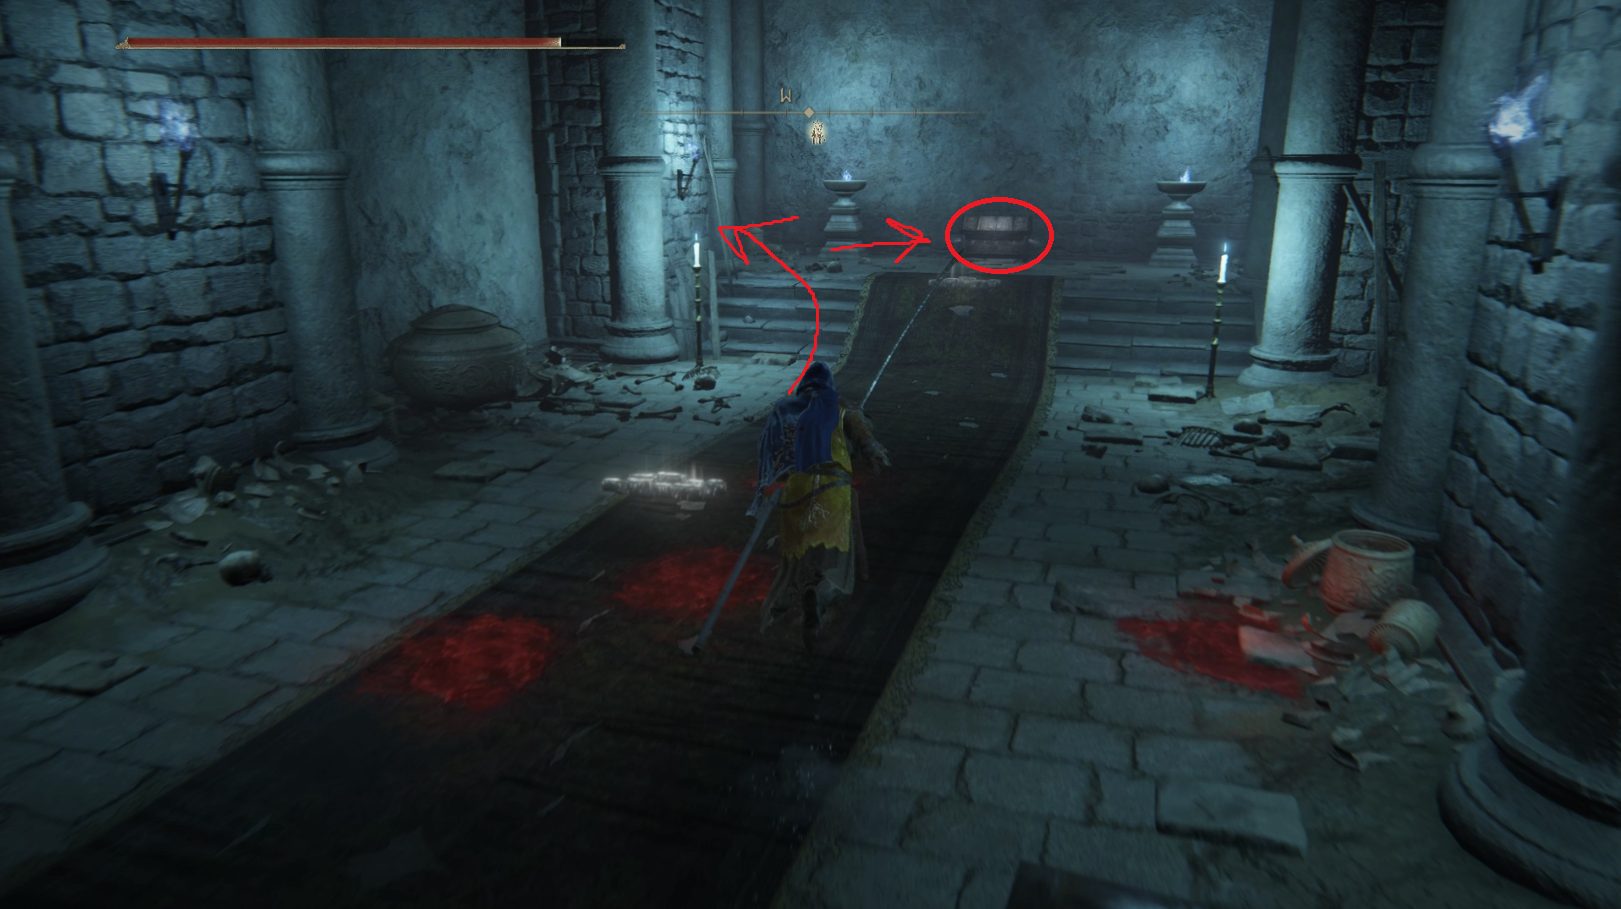
From the site of grace, continue down the stairs to find the boss door, then continue northeast down the next set of stairs, where you’ll enter a dark room. A number of small living pots hide in the shadows — use target-lock to find them, but watch out for the yellow-topped ones, which will explode upon death. With the pots dispatched, continue northeast down the next set of stairs, and go around the corner at the bottom to find a room with a chest. Open it and don’t try to escape the mist — just relax and let it take you.
You’ll find yourself in a similar room. Go straight (west-northwest) down the stairs, and continue down the next set of stairs in the room you enter. Straight ahead under the stone platform, a gargoyle imp will drop down — it’s pretty dark, so use target lock to find him. Another imp will drop down to the right, so don’t let it surprise you while you’re dealing with the first one. Then head southeast to the small alcove under the stairs you just came down — behind the stairs is another gargoyle imp and a Grave Glovewort [6].
Head back to the center of the room and then exit via the doorway to the southwest, grabbing the Grave Glovewort [5] as you do so. You’ll go down some stairs and enter a watery room — make a hard right to stay under the stone platform, and go through the hallway on the northwestern side of the room. A gargoyle imp is waiting to ambush you on the left in the next room, and another will throw magic pots down at you — Go right as you enter the room to pull the ambusher beneath the platform the pot thrower is on, then fight the ambusher underneath the platform.
Next, go across the room to the southwest, where an archway holds an illusory wall. Roll into it and continue down the stairs, where you’ll find a Grave Glovewort [5] and two pots ready to explode. These guys can be tough to avoid, but if you lead them up the stairs a bit, then go back down, sprint and roll past them, they should explode behind you.
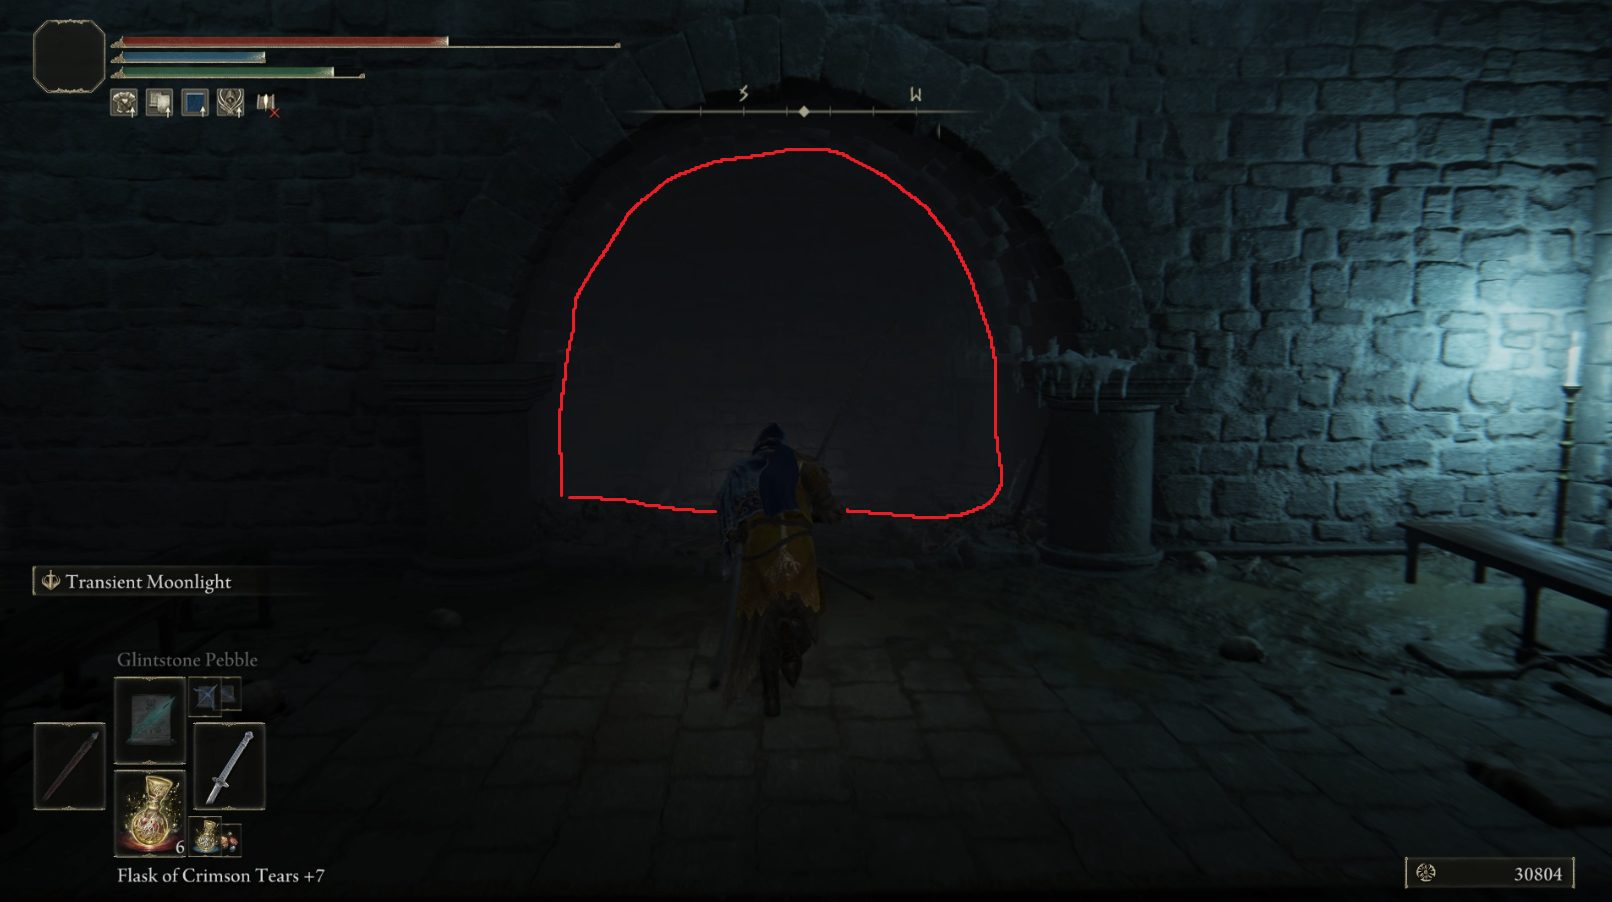
The illusory wall
Now open the chest in this room — it will teleport you to the ledge in the previous room. Sneak up on and backstab the gargoyle imp here, then grab the Golden Rune [7] from the corpse.
NOTE: If you fall off of the platform in the above-described section, it’s OK. If you missed the Golden Rune [7] simply go through the transporter trap in the chest down the stairs from where the illusory wall, then do the same thing once more — that will bring you back to the platform in the correct version of the dungeon to continue the walkthrough. Otherwise, you can just continue northwest through the dungeon to find the stairs described below.
Continue northeast through a short hallway, where you can sneak up on another gargoyle imp. Then turn left to go up the stairs heading west-northwest, and you’ll find yourself on another stone platform with one gargoyle imp at the far end, and one waiting on the wall above you to the left. Rush the visible one at the end of the platform, then turn around and deal with the second (ranged characters can instead kill the one on the wall first).
The two imps on the second platform
Drop down onto the low ground, and head under the stairs to kill another gargoyle imp and get another Grave Glovewort [6]. Then go up the stairs to the north-northeast, and up the next set as well, where you’ll see a room with a large living jar. On the right in this room is an exploding jar, but you can run in and stand in the far left corner — the exploding jar should damage the big one instead of you. Then kill the big boy and grab the Ritual Pot and x2 Root Resin from the corpses here.
Now go back the way you came, down both sets of stairs, and turn left to go through the doorway that leads southeast and down another set of stairs. In the next room, turn right to head south-southwest and enter the room with the illusory wall. Go left down the stairs (where the illusory wall was), and open the chest at the bottom to teleport to the platform. Then jump down to the lowground and head to the end of the room (northwest) and kill the enemy hiding on the left side of the raised area. Then open the chest at the top of the stairs.
You’ll find yourself in an enclosed area with two giant living pots. The right one will aggro first, so quickly engage it before the other one attacks you as well. Once both pots are dealt with, grab the two Cracked Pots and the Perfumer’s Cookbook [3], then open the chest you came out of to be transported again. Now go straight and take your first right, down the stairs through where the illusory wall was, and enter the chest there. You’ll be back on the balcony — drop down and turn right to enter the chest up the small staircase (the one in the image above) once more.
You’ll find yourself in the other version of the enclosed area. There are two living pots here that will explode on death, and another two Cracked Pots to grab as well. Then, grab the Ghost Glovewort [6] and climb the nearby ladder. You’ll find yourself on a platform with a lever (plus a Grave Glovewort [6]. Pull the lever, then drop down and head southeast up both sets of stairs. You’ll find a room with a chest — open it and be transported back to the first chest you opened.
Head down the hallway and up the stairs, then continue around the pillar in the next room and go up the stairs to the southwest — on your right, you’ll find the recently-opened boss doors. You can rest at the site of grace if you need to replenish your resources, and then proceed through the boss doors to face the Grave Warden Duelist.
The boss linked below is identical to the boss in this dungeon — the only difference is that the Grave Warden Duelist in the Auriza side tomb has some living pot friends — kill them first while avoiding the duelist to make this fight straightforward.
After you’ve defeated the boss, there’s one more adventure through the trap chests you’ll need to take. Go down the stairs from the boss doors — in the next room (with the little pots), turn left and go out the window that faces west-northwest. Continue through the dungeon (you should be pretty familiar with it by now!) all the way to where the illusory wall was. Go down the stairs and enter the chest.
If the little exploding pots were in the room with the chest, you’ll need to jump off the balcony and go back through the same chest (if they weren’t, just stay on the balcony). Go southeast on the balcony and through the small hallway, and then turn left and go up the stairs and then up the ladder. Enter the chest in the room at the top, and you’ll find yourself in the room with the dungeon’s first chest. Make your way up the stairs, and through the room to the next set of stairs. Up these stairs you’ll find a Ritual Pot and a Smithing Stone [4] — on your left around the corner as you enter is a large living pot, who is slow to get up but shouldn’t be ignored.
Kill him, loot your loot, and then you can teleport to whatever your next destination is — if you’ve been following our walkthrough, then this is your last stop in Altus, and your next destination should either be Mt. Gelmir or Leyndell, Royal Capital.
Unabashed FromSoftware fanboy still learning to take his time with games (and everything else, really). The time he doesn't spend on games is spent on music, books, or occasionally going outside.
Here in the Auriza side tomb there is one other area, you’ll find a second Ritual pot and a smithing stone [5]. To get there, take the chest through the illusionary door up to the balcony. Follow the balcony around, all the way up until you find a ladder. Climb the ladder to the top and take the chest there. You’ll come to the duplicate area of the first chest you went through in this dungeon. Now run back to the beginning to find a big pot and the other items.


Here in the Auriza side tomb there is one other area, you’ll find a second Ritual pot and a smithing stone [5]. To get there, take the chest through the illusionary door up to the balcony. Follow the balcony around, all the way up until you find a ladder. Climb the ladder to the top and take the chest there. You’ll come to the duplicate area of the first chest you went through in this dungeon. Now run back to the beginning to find a big pot and the other items.
Thank you Zillbot, very nice catch!