- Rewards:
 500,000, Remembrance of a God and a Lord
 - Summons Available: Yes
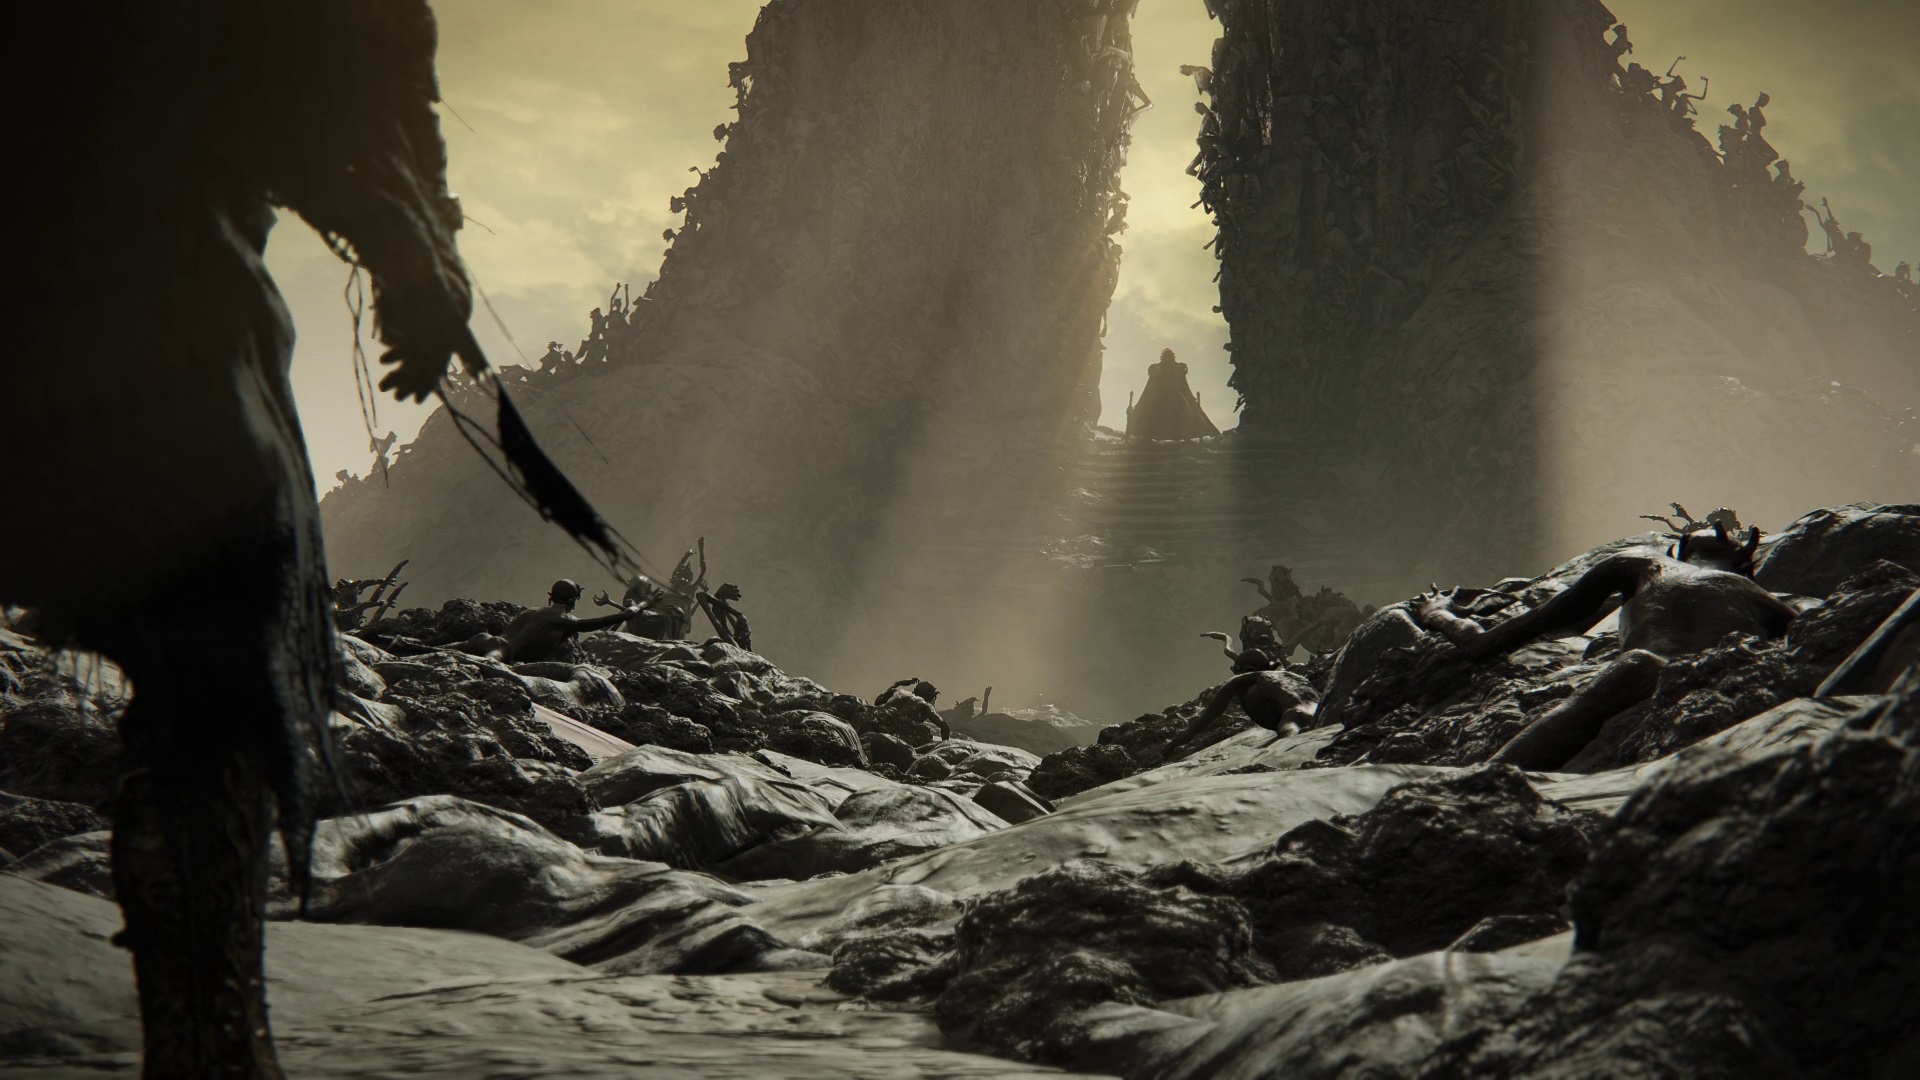
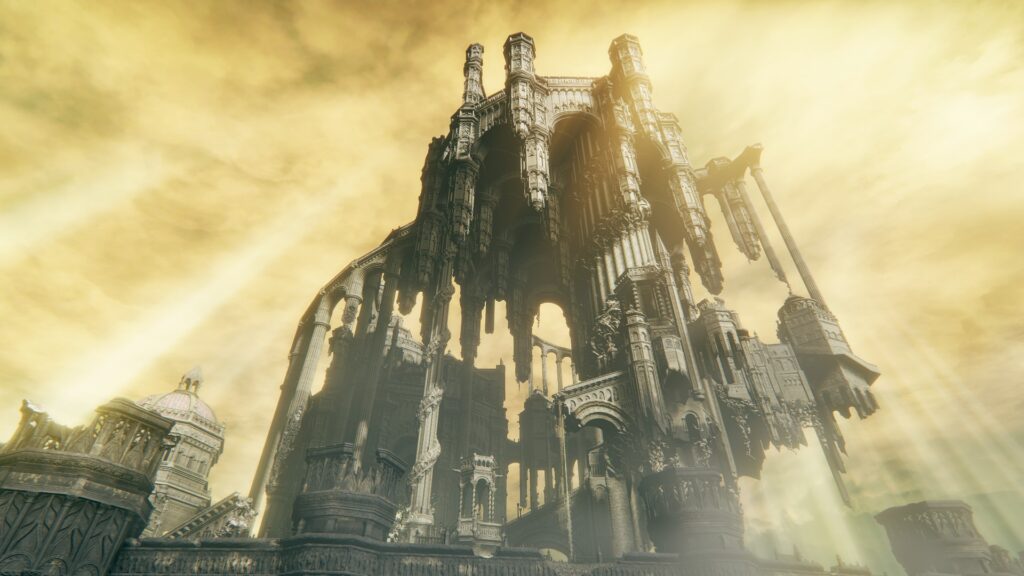
As the final boss of Shadow of the Erdtree, Promised Consort Radahn is as challenging as you’d imagine. After what was probably a very tough fight against Leda and her allies, you’ve now got to face the legend himself, in his prime, at the top of Enir-Ilim.
When the DLC was released, this version of Radahn got a comical amount of (mostly deserved) hate on social media for its difficulty, and for the blinding particle affects in the fight’s second phase. However, patch 1.14 added some additional openings, and also cleaned up a lot of the visuals in the fight. That doesn’t make it easy — but we’ve got a strategy for ya that will make this fight easy.
General Tips:
 Lord’s Divine Fortification is very strong in for Phase 2. Offensively,
  Golden Vow works well in both phases, though if you’re using status effects to dps, it isn’t as important.
- The Golden Braid talisman and Pearldrake Talisman +3 give a total of 33% Holy Damage negation, putting you over 90% Holy Damage negation if you also have
 Lord’s Divine Fortification active.
 - Assuming you are able to access the two talismans and the incantations above for your holy defense, focus your armor on physical defense.
- Radahn is weak to rot in Phase 1 — in Phase 2, he is equally vulnerable to all status effects (excepting Sleep/Madness, to which he, like most bosses, is immune).
- Dodge left past the boss (his right); this will cause some followups to miss.
- Don’t summon the available NPCs — they are too squishy for how little DPS they do, and will only serve to make the fight longer (and therefore harder). Mimic Tear is the safest choice.
- Radahn’s non-magical sword swings can be parried — it takes 3 parries to stagger the boss.
- You can unlock a gesture by letting Miquella’s Influence‘s land twice (see Moveset below).
Strategy
Defense
Making sure your physical and holy damage negation are as high as possible will make this fight much easier.  Lord’s Divine Fortification is incredible for Phase 2 — it gives a whopping 60% Holy Damage negation, and lasts over a minute. You can negate almost of Miquella’s holy damage with the buff if you stack the incantation with the Golden Braid talisman and the Pearldrake Talisman +3.
That’s only helpful for Phase 2 though — first you’ve got to survive the first phase. Fortunately, Consort Radahn does exclusively physical damage, except for one bloodflame attack that’s easy to dodge if you’re dodging behind him. Equip whatever armor set gives you the best physical damage negation, while still allowing you to medium roll. You should have just gotten the Verdigris Set in the fight against Leda and her friends, though you may need to buff up your equip load to wear it. You can also equip the  Dragoncrest Greatshield Talisman if you want — but ideally you won’t be taking any damage from physical attacks unless you mess up, because you’ll be blocking with a shield if you follow this strategy. You may be better off picking talismans that increase DPS, which you’ll find in the next section.
If you’re using the  Mimic Tear — which you should — you can heal yourself and the mimic. The strongest heals you can bring are the
  Erdtree Heal and
  Blessing of the Erdtree. If you don’t have that much Faith and can’t respec, any heal you can bring will be helpful in keeping the mimic alive — while theoretically it will be invulnerable thanks to some items we’ll give it, the mimic doesn’t always act in its own best interests.
If you currently can’t cast incantations, consider using a  Larval Tear to respec at least 27 points into Faith so you can cast
  Lord’s Divine Fortification. Ideally, go all the way up to 42 for
  Erdtree Heal. While you’re respeccing, make sure you get around 30 Endurance, so you can properly block with a greatshield and still have the stamina left to attack.
Offense
While it’s certainly possible to beat this boss by rolling and attacking in between combos, doing so can be tough. What’s not tough is holding block with a greatshield and spamming light attacks. The Verdigris Greatshield, or any other greatshield you like that blocks 100% of physical damage, will work. Then you’ll need a Spear, Heavy Spear, Thrusting Sword, or Heavy Thrusting Sword. All of these weapon types allow you to light attack while blocking. The best choice is the  Antspur Rapier, as Radahn is weak to
  Rot in Phase 1, and in Phase 2 is as vulnerable to Rot as he is to the other status effects, so it’s an effective tool in both phases. Because a lot of your damage is going to come from the Status effect, you don’t need to even upgrade it fully if you don’t have the runes/stones for it — but you should try and upgrade it as much as possible.
But wait — there’s more! You can put a Bleed Ash of War on your Antspur Rapier, such as  Bloody Slash, allowing you to inflict both % HP from
  Bleed and the DoT from
  Scarlet Rot. Your
  Mimic Tear can help you inflict the status effect, making it even easier to proc both constantly throughout the fight. If you don’t have the rapier, any status effect works — Bleed, Frost, or Poison. Try to pick a weapon that has one, and then add another via Ash of War.
There are three DPS talismans that work particularly well with this build:  Lord of Blood’s Exultation (+20% AR after Bleed procs),
  Kindred of Rot’s Exultation (+20% AR after rot procs), and the
  Rotten Winged Sword Insignia (+6-13% AR when attacking multiple times in a row). Depending on which status effect you’re better able to inflict, you should prioritize one of the Exultation talismans over the other — unless you aren’t able to proc the Winged Sword’s effect, in which case you can just use both Exultation talismans.
Mimic Tear
Mimic Tear can make this fight much easier. Depending on how long the fight takes you, and how much damage your Mimic Tear tends to take, you may want to wait until Phase 2 to summon the mimic. However, if you held on to your Marika’s Blessing, you can put it in your Quick Items and your  Mimic Tear can use it to heal to full. It’s not guaranteed, but assuming you remove everything else from your Quick Item slots before summoning the Mimic, it’s very likely that the mimic will use the Blessing — and it can use it repeatedly, so you’ve potentially got an invincible summon taking for you.
If you don’t have the blessing, you can instead put a  Raw Meat Dumpling in your Quick Items instead — the mimic can’t be poisoned, so it can heal from the item with no downside. You can make this strategy even stronger by equipping
  Shabriri’s Woe before summoning the Mimic, and then immediately replacing it with a different Talisman after summoning. This will make the Mimic take more aggro from the boss, giving you time to cast spells, heal, or simply catch your breath.
It can also be worth bringing the healing spells mentioned above, or items like  Warming Stones — you should have an easy time getting heals off, since thanks to
  Shabriri’s Woe, the mimic will often have aggro. Just make sure you’re standing close enough to your mimic when casting!
The Fight
Ignore the available summons — they’ll give Radahn more health without offering enough in the way of tanking or damage to make it worthwhile. Summon your Mimic Tear as soon as you enter the boss arena, unless you’re finding that it’s dying too quickly, in which case you can wait until Phase 2 to summon.
Now it’s just a matter of blocking and poking while standing in front of the boss. Hold block and spam your light attack — if you have at least 30 Endurance and you’re using the Verdigris Greatshield, you should be able to attack 3-5 times with the Antspur Rapier and still block even the longest combos from Radahn and Miquella. Instead of attacking in between his combos, attack while blocking the combos, then use the window between boss combos to fully regain your stamina.
Keep an eye on your stamina and make sure you’ve got enough to block any attacks. If you’re running out of stamina and getting staggered, you may need to start letting go of block in between Radahn’s attacks (mid-combo). This will happen more often in Phase 2, when you’ll also be tanking the extra holy attacks from Miquella.
While it’s perfectly viable to take chip damage through your shield, and a tanky enough character can probably block almost all of the attacks from the boss, you may want to roll the holy and gravity magic attacks once you’re comfortable with the timing. It’s good to make space between you and the boss between combos, as this will let you avoid the initial attack in some combos, and also allow you to see what combo they’re doing.
When Phase 2 starts, you have time to cast  Lord’s Divine Fortification before the first attack hits you. With it up, and the Verdigris greatshield, you can simply hold block and you’ll take a small amount of chip damage from the initial attack. If the incantation runs out you may need to actually dodge Miquella’s holy attacks, depending on the rest of your build and how much damage the holy attacks deal when you block. Dodging towards Radahn and to the left (in order to get as much behind him as possible) will allow you to dodge most of the holy artillery Miquella calls down. It’s best to simply bring one blue flask and recast the Divine Fortification incantation when it runs out, however.
While our strategy doesn’t require rolling, you can check out the Moveset section for tips on rolling each attack.
Moveset
Phase 1
Except where noted, it appears there are windows to attack at the end of all of Radahn’s Phase 1 combos. If no specific dodge timing is noted, you should be rolling as the boss begins to swing their sword past their body (as some attacks start from behind the boss).
- Gravity Spiral – This move almost always opens the fight. The boss crosses his swords in front of him and they glow purple. He then spirals towards you, floating upwards and then slowing momentarily before he hits the ground. Dodge during the brief delay where he seems to float.
- Slow Double Slash – The boss quickly pulls back and swings his left-hand sword horizontally, then slowly brings the swords together behind him and swing both horizontally the other direction. You’ll need to wait between attacks before rolling a second time.
- Double Slash – The boss quickly pulls back and swings his left-hand sword horizontally, then swings his right hand sword, and often chains immediately into a Cross Slash with no rest between moves.
- Slow Slashes – Radahn raises both swords behind his head and takes two steps, then swings them low and horizontal, then bring them around again and slams downward. There’s a significant delay both in the windup and in the second attack in this combo.
- Cross Slash – Radahn crosses his arms in front of his face, then slashes horizontally with both swords.
- Triple Slash – The boss raises his right sword and slams it down, then swings horizontally with his other sword twice, once in each direction. This is often followed immediately by the cross slash, so be careful when trying to punish.
- 4-Hit Combo – Radahn leans forward and swings his right sword low and horizontally, then does the same with his other sword. He then swings both swords, one after the other, from the right side of his body to the left (your left to right). After a delay, he repeats the double swing. The dodge timing between the third attack and the final attack requires you wait a moment before rolling (rather than simply dodging a fourth time in the same rhythm as the previous three).
- Stomp Upheaval Combo – Radahn raises his right leg and then stomps, doing damage in an AoE in front of him. He then brings his right-hand sword around and downward, and after a delay then swings that sword horizontally again, followed immediately by the other sword. He then slowly raises both swords and slams them down, and after another delay pulls them out of the ground, doing damage in an AoE on the ground in front of him. Pause in your rolls at each delay, and either roll behind him or jump to avoid the final AoE.
- 6-hit Combo – Radahn twists his body to his left and holds both swords horizontally behind him. He then swings his right sword horizontally, followed by his left sword. After a brief delay, the left sword comes back the other way followed by the right sword. Then he spins and swings both swords together horizontally, then brings them both back the other way.
- Overhead Slam – Radahn raises both swords high above his head, then slowly swings them down and across his body then back up. After a delay, he then swings both swords downward. Again, you’ll need to delay your dodge between the first and second attack in this combo.
- Flip – Radahn raises both swords behind his head and together, then does a front flip and slams his swords down. He sometimes immediately chains this into a second flip. If you’re close to him, you will have to roll the initial spin as well as the landing.
- Gravity Pull & Slam/Slow Slashes – Radahn crouches and crosses his swords in front of him as they glow purple. He then pulls you towards him — if this part lands, he often crosses his swords again, still glowing purple, and slams them down, doing AoE damage in a large area in front of him. You can roll the initial pull portion of this attack by rolling as soon as X. If you miss the initial dodge, you can still avoid the followup by spamming backwards roll, away from Radahn. Immediately start spamming backwards roll if you get pulled, as any delay or missed roll will cause you to still get hit. Sometimes, instead of doing the Slam, he’ll do Slow Slashes after the pull.
- Rock Fling – Radahn’s swords glow purple, and he slowly puts his swords low in the ground and then drags them upward as he flies into the air. After a delay, rocks will fly towards you. Roll away from the boss when he jumps into the air, and if you’re close to the boss, sprint away from him until he throws the rocks. To avoid the rocks, simply sprint horizontally, perpendicular to the boss. If you’re far enough away, they’ll miss. The boss will often immediately start another move upon landing.
- Bloodflame Combo – The boss raises his left hand sword and then thrusts — it glows slightly with bloodflame where he stabs. He then quickly slashes horizontally with the same sword, leaving a trail of blood that will explode in flames after a delay. Roll past him to avoid the followup flame explosion.
- Ground Stomp & Slash – Radahn stomps with his right leg, doing AoE in front of the foot. He then brings his right-hand sword up and around then down. The stomp is jumpable if you aren’t too close to his leg.
Phase 2
Radahn retains his moveset from Phase 1 — while doing his combos, Miquella will target the position Radahn is targeting with holy damage that drops down from above. You can avoid this extra damage by dodging normally, so long as you are dodging towards the side/rear of the boss.
Radahn also gains a few new moves while piggybacking Miquella:
- Holy Aura – This is the attack that opens Phase 2 every time. The boss rises in the air and summons a column of light centered on the player’s position. A second after the boss stops rising, the column of light will damage anything still inside of it — additional holy beams will come from above and strike places where holy flames are emerging from the ground. If you start sprinting immediately when the spell is cast, you can reach the edge and roll out.
- Stomp – Radahn does his stomp, but with no follow-up. The AoE is holy damage during Phase 2.
- Miquella’s Influence – Radahn squats with his swords held outward, and glows with holy light. He then does a small hop, and as he comes down, grabs at the player. If the grab lands, Miquella casts a spell on the player — getting grabbed again will remove all of the player’s HP and send them back to the site of grace. You get a gesture for letting this happen, so if you’re collecting everything, let this hit you a few times before attempting to actually beat the boss.
- Mirror Slashes – Radahn raises his swords above and behind his head, and glows with holy light. He then dashes forward and slashes repeatedly. If you’re close to him, you can stand directly between his legs and avoid this attack, otherwise roll twice as soon as the boss starts moving towards you.
- Mirror Dash – The boss dashes horizontally, trailing holy light. He then dashes towards his target and slashes twice. Sometimes, the boss will send a disc of holy light at you first, which can be rolled. You can roll twice in a row to avoid the slashes.
- Leaping Mirror Strike – The boss leaps into the air, glowing with holy light. He then attacks with mirror images 4 times at the same speed, then a 5th very quickly, then follows up with two horizontal slashes. After a delay, he then swings both swords up and then down towards the target. Sprint horizontally, perpendicular to the boss, and roll horizontally immediately after the 3rd sword strike, then roll twice more immediately around the right side of the boss to avoid the followup strikes. Wait to dodge the final strike.
- Meteor Strike – Radahn crouches and glows with holy light, then leaps into the air. After a long delay, he crashes back to the ground at your previous location. Start sprinting immediately when he begins to crouch to avoid this attack.
