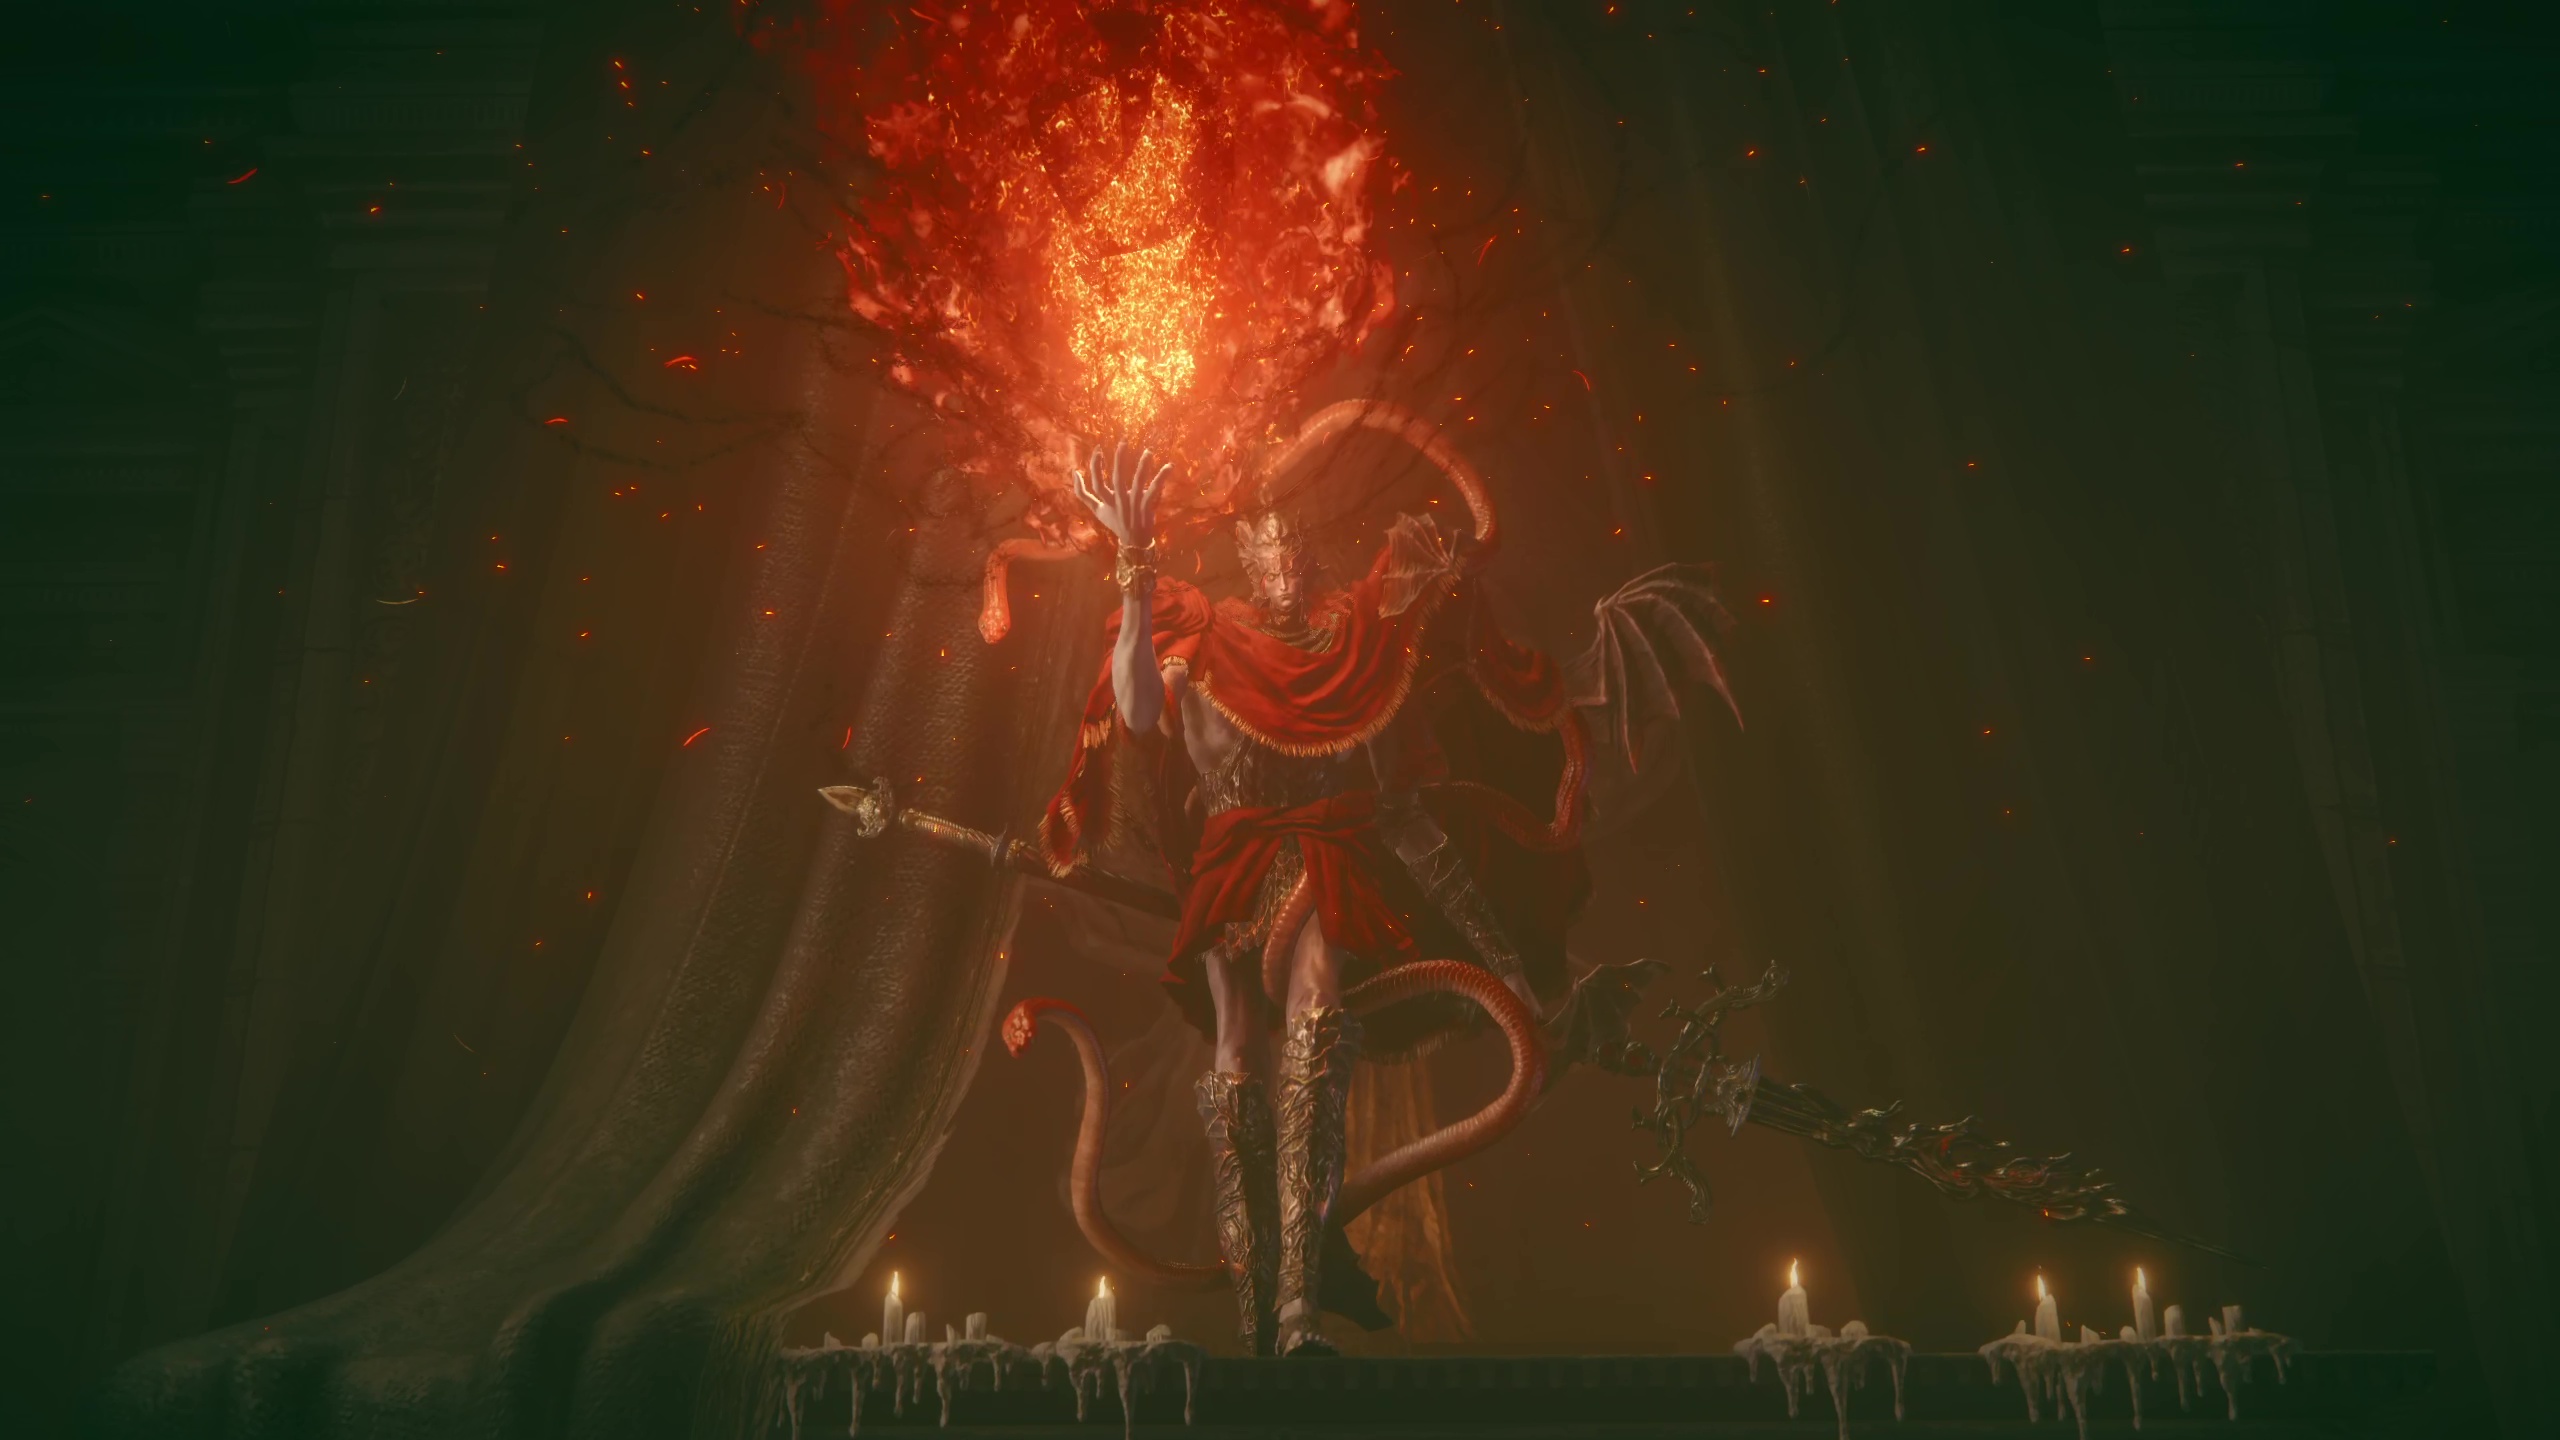
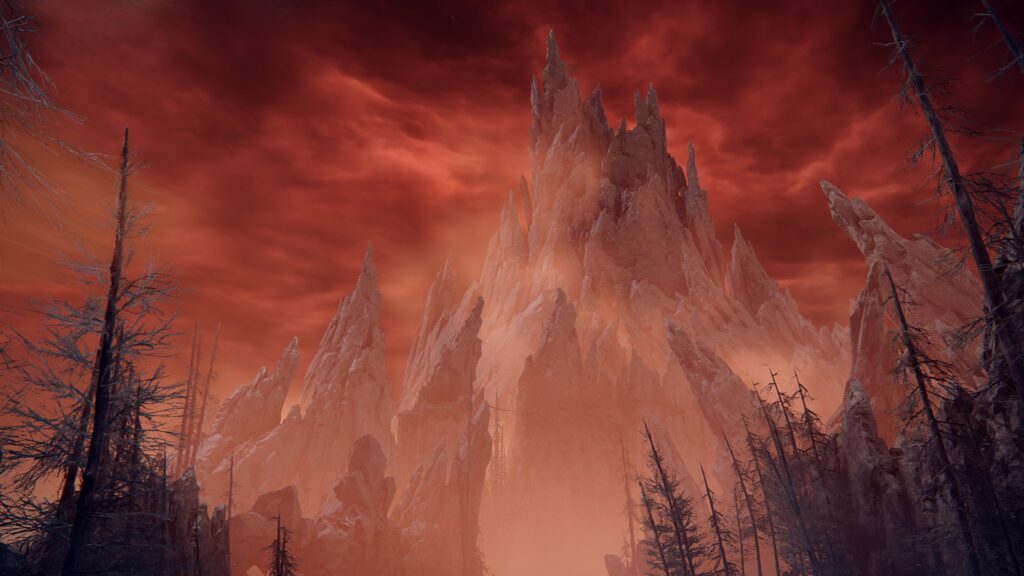
After you’ve battled through the Shadow Keep and finally scaled the large Specimen Storehouse tower, you’ll find Messmer the Impaler. He plays a very important part in the story of the Shadow of the Erdtree DLC, and you will have to defeat him to progress the story to its finality. He is a daunting boss to take on, but the taste of victory is sweetest when earned against a worthy foe.
This guide will first inform readers on some general tips that will come in handy during the fight. The strategy section essentially breaks down each facet of the fight, and elaborates thoroughly on the tips. The last section covers all the boss’s moves, so if there’s one in particular that’s giving you trouble, that’s a good place to check. Let’s dive in, and figure out how to cut the head off the snake!
General Tips
You can summon two NPCs for this fight: Hornsent and Jolan’s summon sign will be in the boss arena, if you’ve progressed their stories.
Your character should try to be around level 150 and have level 10 on their Scadutree Blessing to fight this boss.
After half of his health is gone, he transforms into “Base Serpent Messmer”. This means that he can turn into a giant serpent / use giant serpents to attack you, and his combos / attacks have more variations along with more mobility.
Use status ailments like bleed, rot, and frostbite. All of them work on him, although rot is harder to inflict in the second phase.
Learn his moves (see Moveset section below). Many of his moves are better if you roll into them, as the flames will hit you if you back roll. The timing is different for most of his attacks / combos, if you learn them all, your survival skyrockets.
You’ll want a fully upgraded Mimic Tear +10 for this fight. It’s the best summon that can survive into the second phase, meaning your chances of success increase drastically.
Strategy
This is one of the Elden Ring bosses where you should have a plan of attack. If you go into it without proper preparation and consideration, then you could be stuck here for countless attempts. This is a large section that will cover all the dimensions of this fight. We’ll first provide pre-fight strategy, and what you can do to increase your odds of success before ever even getting impaled or burned.
The next two sections are dedicated to the two phases of the fight, and will go step-by-step with how and when to attack. Both of these phases will also have dedicated parts for both melee users and ranged attackers.
Pre-fight Preparations
First, let’s discuss the preparation that any build can do to make this fight easier. The most obvious is to have a stronger character. Unless you’re a god at this game, you’ll probably have to have reached a certain level to even attempt this boss. We recommend a character level of around 150. Depending on the build, this means that you’ll have a high enough vigor stat (55-60) so that you’re not being one-shot by most of the boss’s moves.
It’s not very obvious how much of an effect your Scadutree Blessing has on damage output and negation, but it is agreed upon that you should have a Scadutree Blessing level of around 10 for this boss. If you need help finding more, you can always use your walkthroughs to find them in the region that you’re currently exploring.
NPCs that Help Fight Messmer
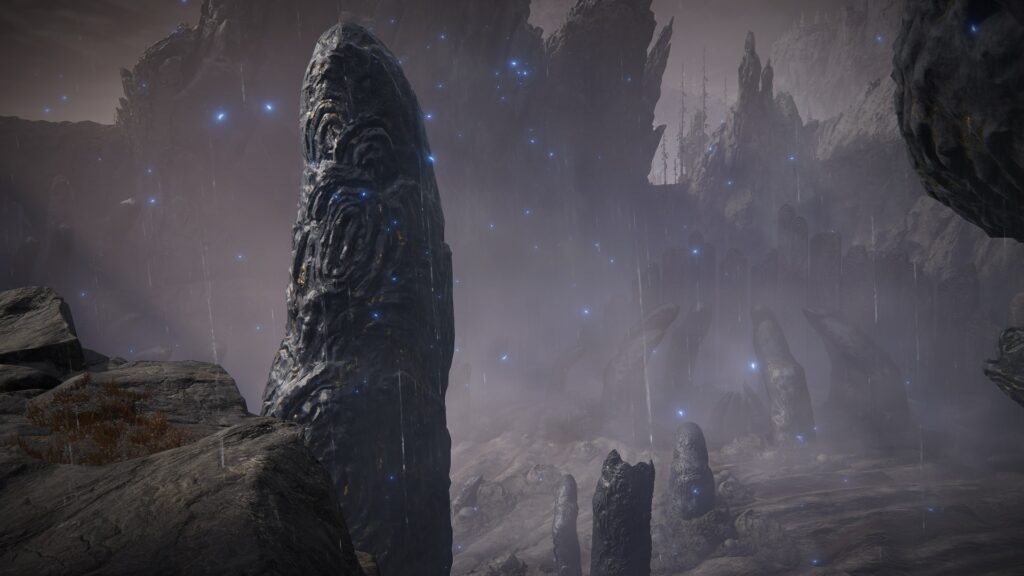
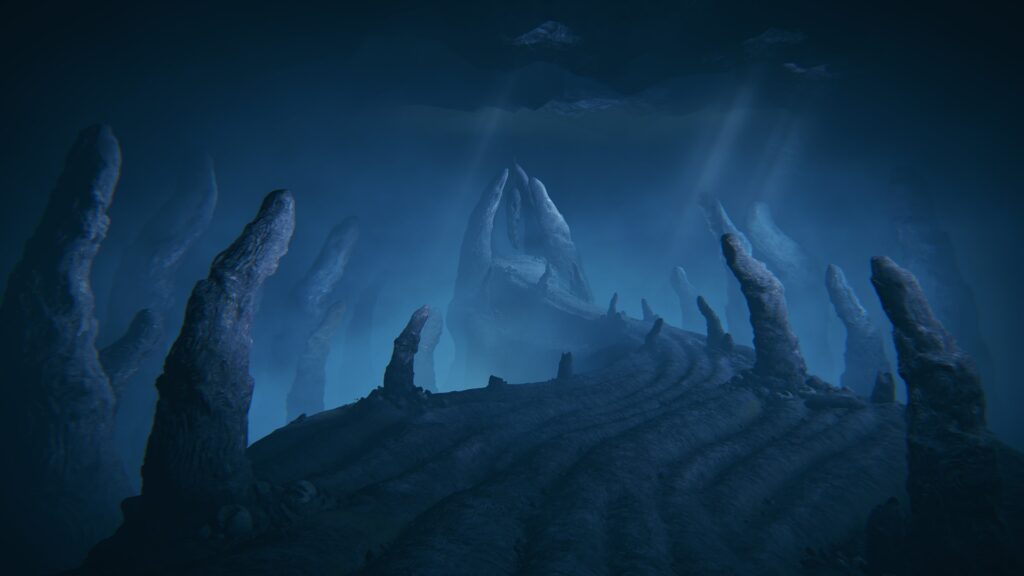
Having friends is another valuable asset in this fight. Make sure that you have spoken to Leda and Hornsent at Highroad Cross sites of grace and sided with Hornsent in his questline (if you want); this will make his summon sign available in the arena. You can even get a second companion, Jolan, to join in the brawl by doing the start of Ymir’s questline. You can find Ymir at the Cathedral of Manus Metyr, and Jolan’s sign will appear in the arena after you’ve rung the bell at Finger Ruins of Rhia.
Negating Messmer’s Damage
Another important aspect of preparation for this fight is damage negation. Here’s a list of the various ways to reduce the damage you receive from the boss, along with analysis for what parts of the fight they’re useful for:
Firedrake Talisman +3 – Many of Messmer’s attacks have a flavor of fire damage to them, and this talisman will always help against that. Can be found in Fort of Reprimand.
Opaline Hardtear – An ingredient to use in the Flask of Wonderous Physick that provides three minutes of 15% damage negation. That will almost always last the entire first phase.
Boiled Prawn / Boiled Crab – Provides player with substantial physical damage negation. Players will have to play through the Blackguard Big Boggart quest line to purchase these items. Both items last one minute.
Fireproof Pickled Liver – Provides even more fire negation than its dried counterpart, and it can also be crafted after finding the Forager Brood Cookbook [2] near Prospect Town.
Incantations – These types of spells require a seal and certain level of the Faith stat to cast.
Golden Vow – Provides +10% to all damage negation, and a +15% damage increase. Last 80 seconds. Found on Mt. Gelmir in the Corpse Stench Shack (location early in “Part 1” of our guide).
Flame, Protect Me – Great incantation for a 60% protection against fire damage for 70 seconds. If you notice that you’re having a hard time with his flame spells, then this might be a better choice over Golden Vow. Can be found at the Giant-Conquering Hero’s Grave.
Flame, Grant Me Strength – Excellent incantation for a 20% damage protection for both physical and fire. Works well, but only lasts for thirty seconds. Found in Fort Gael in Caelid (scroll down on Caelid guide’s “Part 1” to find it).
By using a mix of talismans, Wonderous Physick ingredients, items, and incantations, you can really beef up your defenses, making poor Messmer have to work extra hard to kill you (which is a good thing).
Build Planning and Messmer’s Weaknesses
Moving onto more specialized considerations, you should be thinking of a way to inflict a status ailment on Messmer. The consensus so far is that the best ones to target him with are frostbite, bleed, and rot. Whichever one you decide to use will probably depend on your build, and what you have available.
We personally found success with rot, but it was difficult to reinfect him in the second phase, since ailments are erased in the transition to “Base Serpent Messmer”. There are various techniques for wielding all three of these, and those methods are usually locked behind builds, weapons, and stat allocations:
Frostbite: – Affecting him with this ailment slows his speed, making his moves easier to dodge, and increases damage to him.
Changing your weapon to deal cold damage is a good tactic. Using a strong and compatible Ash of War can also make it more effective. Examples would be Divine Beast Frost Stomp, Ghostflame Call, and Chilling Mist. You could also use Freezing Grease to give your weapon the cold boost.
Hemorrhage (Bleed): – A classic and powerful effect because it takes away a percentage of the target’s life.
There are many weapons that can cause this ailment. The usual favorites are Uchigatana, Rivers of Blood, and Reduvia (for its special ranged skill).
As for the magic side, there are both incantations and spells you can use, but making him bleed is usually best reserved for melee users. If you really want to use a ranged bleed spell, then Impenetrable Thorns is a strong option.
Scarlet Rot: – Causes tick damage that takes off a certain percentage of a target’s health over a period of time. If you’re finding it hard to damage Messmer due to his agility, then this can be effective.
Rot triggered by weapons is weaker than rot afflicted by incantations. As a result, it’s more viable to use an incantation, which will tick away a third of the boss’s health, as opposed to a sixth from a weapon. We used Scarlet Aeonia, and timed it to hit him as he finished a combo on our summons.
Giving Messmer rot will slowly drain his health bar
If you plan around using one of these ailments, you will see that the fight can go much more smoothly. However, there are also ways to defeat Messmer without using these at all. Some more unorthodox strategies have you put on the heaviest armor available with a good shield, and use either guard counters or a fast firing sorcery like Great Glintstone Shard. With this setup, you can hide behind the shield for some crucial attacks, and either guard counter Messmer to death, or use your cheap spells while he’s attacking your summons or an NPC.
Messmer First Phase
Before walking through the mist, be sure to use your damage negation incantations and items (see section above). It might feel like a waste of time when you just want another go at the boss, but it really pays off.
As soon as you walk through the mist, you’ll have a brief moment before Messmer meteors himself at you, and proceeds to explode. You can learn the timing to dodge this attack pretty easily, but what’s more important is doing productive things in the moments before the attack. We recommend summoning your Mimic Tear +10 and using a flask to fill back up your health. You have just enough time to do both of these actions, and still dodge the flaming opener.
Messmer’s opening attack
In the unfortunate circumstance that you don’t have the Mimic Tear to summon, then you should rather quickly go to each of the NPC summon marks — located to the left and right when you enter — and bring both Hornsent and Jolan into the fight (see section above for details). Usually you’d do this after your Mimic Tears has the boss’s aggro, but in this sequence, you can use the NPCs, then summon your spirit ash later on so that it hopefully lasts into the brutal second phase.
The fight will now start in earnest, and you’ll be inundated with long combos, and flame-enhanced attacks. Make sure that you’ve locked onto him for the fight so you can follow his moves. Speaking of which, you’ll need to start paying attention to every move he does when starting an attack. Each movement will telegraph to you what combo he is starting so you can dodge and react. For a much more detailed explanation of his moves, see the dedicated section below, but let’s go over some general patterns to look out for:
At the beginning, he loves a simple combo of whipping his lance around behind him, then scraping it along the floor before quickly lunging and stabbing at you. The scrape along the floor is the signal to dodge the lunge.
He has a grab where his right hands lights on fire and he runs at you. The timing to dodge this is delayed, because he does a wind-up at the last second. It’s possible to to tank this grab if you have good damage negation, though.
For many of his longer combos, dodging forward (or diagonally forward) is preferable.
There are two combos that end with him jumping in the air and diving down at you. The diving down part of the attack has very different timing for each of these combos.
Those two diving combos above both start in a similar way, but you can tell the difference:
The first has him twirling his spear around, then leaping over you to attack your flank. He dives down from the air quickly at the end of this combo.
The second combo has him jump in the air then swipe forward at you with the spear (less spear twirling). He hangs in the air a moment longer at the end before diving down at you.
Ranged Attacking
Your windows of attack are going to be similar whether you’re using ranged or melee. As is the case with most difficult bosses whose attacks span a wide range, your attacking moments are the small time intervals in between his combos / attacks, and when he is attacking an NPC or your summons. However, even if he’s attacking someone else, don’t let your guard down. He will often switch to attack you, especially if you’re pelting him with ranged attacks.
The main difference between ranged and melee users is how you will dodge his last attack of a combo. Unlike his combos’ starting and middle attacks, you can dodge any direction to avoid his combos’ final attack. You’re probably already doing this out of habit, but you want to roll away from him, then attack with your ranged spells or weapons.
Rolling away from his attacks gives you some space for ranged combat
A strategy that easy to forget because you want to do damage so bad is to not him attack him at the end of combos, and instead let your NPC helpers or summons attack to get the aggro / attention off you. This can give you more time to use a spell / incantation / ash of war that requires a longer cast time. This is a particularly good strategy when you have a big attack to cause an ailment, like Scarlet Aeonia or Adula’s Moonblade.
Melee Attacking
You’ll generally want to position as far away as possible from Messmer inbetween his combos — this makes it much easier to run away from the grab, and should sometimes allow you to stay out of range of some attacks. Depending on your weapon speed, you might be able to attack Messmer in between combo attacks, or you may have to wait for him to finish combos. The combo pictured below is the easiest one to attack in between certain moves.
Depending on your weapon’s speed, this will be possible (or not) in different parts of different combos
Rolling diagonally towards Messmer and to the right, past his spear, seems to be the safest option, sometimes causing him to miss you even if you mistime your roll, but there is time between every attack to roll regardless of the angle you choose.
Otherwise, it’s the usual deal: wait for a combo or attack to be finished, then get in as many attacks as you can. This is a long fight, so you should limit test at first — attack until you get hit after each combo, so you learn exactly how many swings of your weapon you can sneak in. You can heal right next to him after he finishes a combo, so long as you start the animation as soon as his weapon stops having a hitbox.
Messmer can be parried, but you have to parry him three times to stagger him, so parry gods only need apply. It does not appear that you can parry his leaping attacks, or his attacks where he drags his spear on the ground before striking, but all the other non-magical spear attacks can be parried.
Messmer Second Phase – Base Serpent Messmer
After a charming cutscene, Messmer transforms into a serpent…man. Many parts of the fight will still be the same, and some will not. For example, this phase starts the same way as the previous, his massive snakely figure will form a giant fireball in its mouth then come crashing down on you to detonate an explosion. The timing of dodging the meteoric crash might be a little more delayed (you should dodge a moment after the head goes offscreen), but dodging the explosion is the same.
For the most part, many of his combos are the same, except some attacks have more fire flavoring. Also, he will be more nimble, often doing somersaults after combos, which makes it harder to hit him. His new attacks mostly involve massive snakes lunging at you. Unlike the first phase, it’s best to dodge sideways to avoid these serpents’ strikes. You can find more detailed info of these attacks below in the Moveset section.
Multi-snake attack – watch the snake heads to time the dodges
Ranged Attacking
Fighting Messmer with range in this second phase is pretty similar to the first. The main differences are that if you were attacking him from really far away and avoiding most of his attacks, then you’re going to need to me more cautious because his snakes attacks will probably reach you now.
One big problem that you’ll likely run into is that the NPCs and your summons will probably die during the second phase. If you were relying on them to take the heat off you to cast bigger spells or ashes of war, you will want to shift to faster lighter attacks.
Melee Attacking
All the same principles apply here, but he does a lot more moves that take him out of melee range. If you’re relying on status effects, consider bringing throwables that inflict the effect to keep it from decaying — if you’re trying to stagger him, any fast-to-throw throwable will do.
Moveset
Messmer’s moves largely consist of combos, which is why it can be so punishing when you miss a couple of dodges. Shields can be very useful against this foe, but you will need to know which parts of a combo to shield, and the ones that are better to dodge.
While he does have some fire accents to most of his moves, you’ll mostly encounter physical damage from his spear. You can counterattack him after almost all his moves, the only trick is knowing when he’s actually done with the combo. To help with this, each list of his attacks will end with videos of combos he uses regularly.
First Phase Attacks
Physical Attacks:
Spear Throw – The boss jumps into the air and hurls his spear at you. This is one of the easiest moves to recognize, dodge, and punish. For melee, dodge towards him and attack as he lands back on the ground. Range players should dodge sideways or backwards and do a quick spell or attack.
Spear Stab Combo – If Messmer is feeling lazy, he’ll just do a basic stab combo at you. It can actually catch you off guard because he normally does more elaborate combos. This usually comes when you’re close to him. If you’re still next to him after the first two stabs, he might combo it into a third big stab. Dodge to the left or right repeatedly to avoid it.
Spear-Drag Combo – Messmer does a spinning swipe with his spear, then drags the spear’s tip on the ground before stabbing at you. He uses this quick combo fairly often. The trick is waiting for the spear drag animation before dodging.
Spear-Twirling Flank Combo – Messmer does this combo all the time. He lights his spear on fire then does a spinning leap over you, swiping at your flank, then uppercutting at you to jump into the air before quickly diving down at you. After the leap, these dodges come pretty fast. If you’re using a shield, then you can block the uppercut, but you should dodge the first and last attack. After he’s done the dive attack, you can counterattack him.
Flame Cover Combo – Snake boy will flick fire at you with his off hand, stab at you (lighting his spear on fire), side jump and do another stab, and finish with a spinning slash that throws flames outward. You’ll want to dodge forward and to the left to avoid these attacks. The timing for the dodges is pretty quick for the first two attacks, then a small pause as he side hops, followed by two more quick dodges. This combo has many variations and he uses it quickly after leaping stabs and quick double stabs. He might even swap out the last flame twirl for another big stab, or do a spear-dragging stab after the flame twirl. Unless you’re sure that he’s done, you want to wait to attack him after a different combo. The signal that he’s started it is when he flicks the flames at you with his off hand.
Flamethrower Spear Combo – The boss lights his spear on fire then does an upward motion throwing fire at you in a vertical pattern. Then he spins around to throw fire in a horizontal pattern, before uppercutting into the air, and slamming down on you. You want to dodge the vertical flames with a side roll, then the horizontal flames with a forward or side roll. You can dodge the uppercut and dive in whatever direction is best for you to counterattack him after he lands.
Spear Eruption Combo – Messmer jumps into the air, lighting his spear on fire, then dives at you while swiping his spear through you. He then turns around and does a flurry of stabs, before jumping high into the air and slamming his spear down, which causes an eruption of spears to pop out of the ground around him. This is one of his favorites. You want to dodge into the first diving swipe, then again dodge forward into the flurry of stabs, and he’ll be up in the air for longer than you expect so wait a moment before dodging. When you dodge his slam downwards, be ready to dodge immediately after for the eruption of spears. If you’re having trouble dodging the flurry of stabs, that’s a good move to use a shield on. This is a good combo to counterattack.
Don’t mind the gold, that was just my mimic doing mimic things
Special Attacks:
Fireball – He summons a fireball that floats up for a moment before zooming at you. The fireball isn’t hard to side dodge, but the boss will usually attack you while you’re dodging, so be ready to immediately roll again. This is exactly like the fireballs from the fire knights that you encountered getting to this boss.
Messmer’s Grab – The boss lights his one hand on fire and runs at you, then swing his flaming hand up to grab you. If he grabs you, then…pain, a lot of pain. Dodging the grab is hard because he fakes you out. you’ll have to delay your dodge longer than you would think to avoid this attack — it’s often best to simply run away and then roll when he begins the animation so that you’re completely out of range.
Demi-God Comet – This is the move he always uses at the very start. He jumps into the air and turns into a ball of fire. He hangs there for some time before hurling down at you. After the initial impact, he will explode. You need to time the dodge for the first impact, and be prepared to dodge immediately after to avoid the explosion. If the first phase goes on long, he might do this attack again, but you’ll likely only see it at the start.
Second Phase Attacks
The second phase attacks include all of the combos and moves from the first phase, but he uses them more sparingly, and instead ops for his new serpent attacks. He also does a few different physical attacks for which you should be looking out.
Physical Attacks:
Barrel-Roll – Messmer lunges towards you while spinning. He usually does this if you’re further away from him as a way to close-in for a combo. As soon as you flies at you, dodge. This is a hard attack to see coming, because it’s so fast, but it doesn’t do much damage. Not a good attack to counterattack him.
Back-Flip Strike – Messmer does a cheeky levitating backflip to hit you while you’re close. This is also a quick maneuver, and you’ll want to be ready to dodge. He doesn’t have much recovery after this move, so wait for a different time to counterattack.
Serpent Attacks:
Single-Serpent Strike – The boss raises his hand, then a big snake from behind him lunges at you. The snake can come from the boss’s left or his right. Dodge sideways to avoid the attack.
Multi-Serpent Strike – Messmer levitates in the air and spreads his arms out wide. A big puddle of darkness forms around him, and a group of serpents surround him to strike at you, one after the other. The first strike is actually two snakes attacking from either direction, then one snake comes down on you, and the last strikes through you. After dodging the last snake, Messmer will be bearing down on you with a dive to spear eruption (the same combo ending as the one in the first phase). The direction of your dodges isn’t as important as the timing. Be sure to watch the snakes’ heads; they will open their mouths wide just before striking.
Serpent Puddle Burst – The boss disappears and a pool of darkness forms at your feet, then a big snake will burst out of it, coiling into the air, and strike down at you. Make sure that you get off the puddle, then when the snake is in the air, wait for it to open its mouth fully to signal it’s striking down. Side dodge the serpent, then strike at the head.
Serpent Transformation Strike(s) – Messmer turns into a big snake, then proceeds to strike at you. The strike(s) can come only once, or the snake will spin around and attack multiple times. You’ll know it’s the last strike because the head will stop next to you; the other strikes just swoop past you. This is a good combo of his to punish.
You can sometimes dodge the initial strike by being past where Messmer transforms (which was totally on purpose in this clip)
After you’ve finally beat Messmer, he will drop the Remembrance of the Impaler, which you can take to the Finger Reader Enia at the Roundtable Hold to exchange for some really potent loot.
Kelson is a spud head from out west. He is most happy when holding a milky tea with too much honey and playing a sprawling role playing game or reading a fantasy novel. His video game tastes vary but his main genres are looter shooters, RPGs, and real time strategy games.