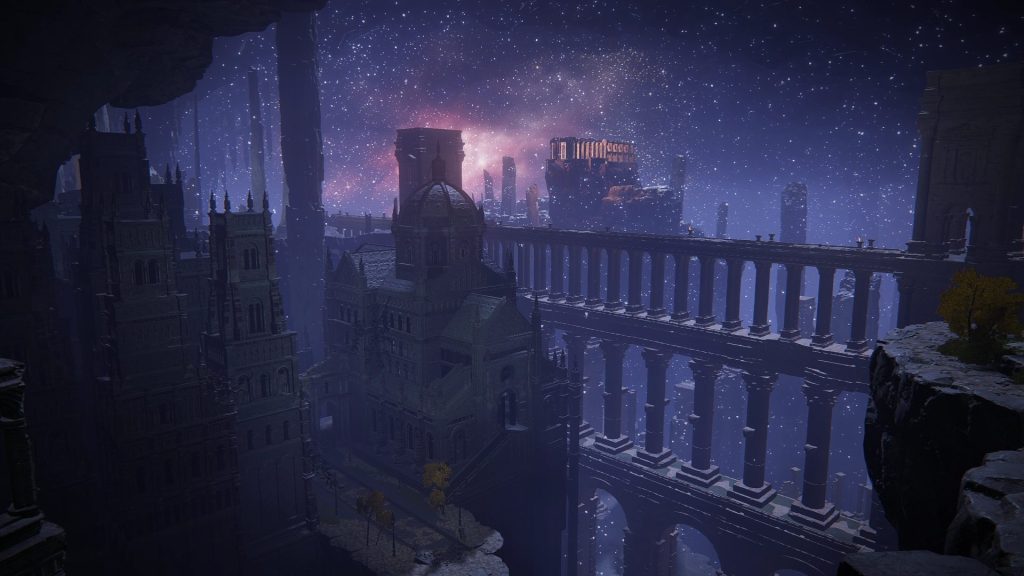
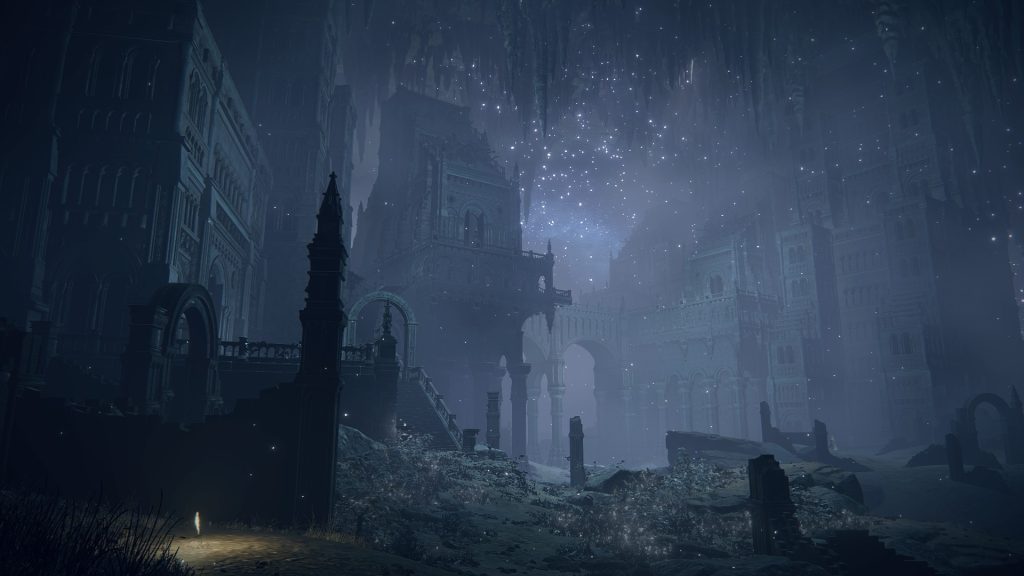
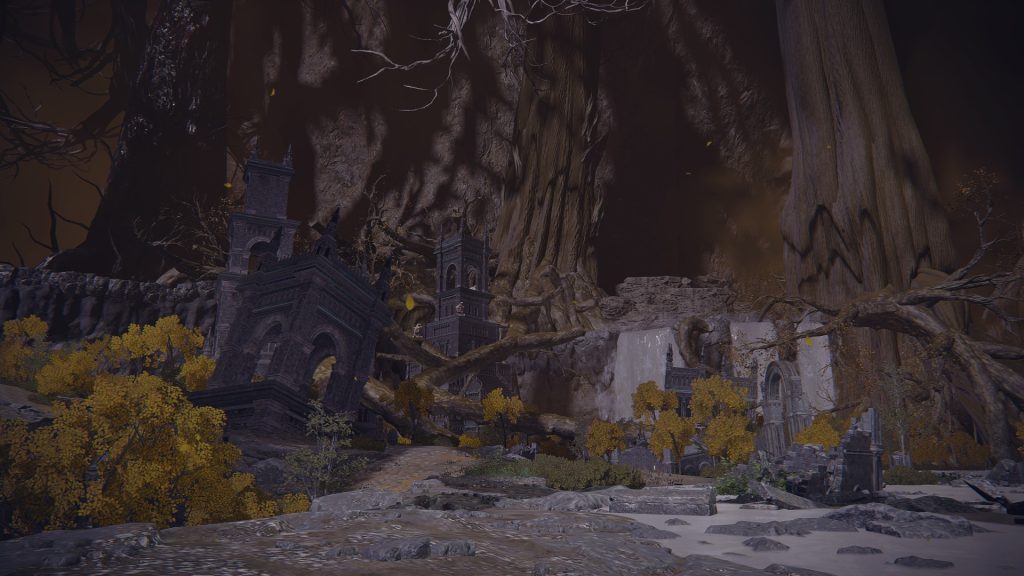
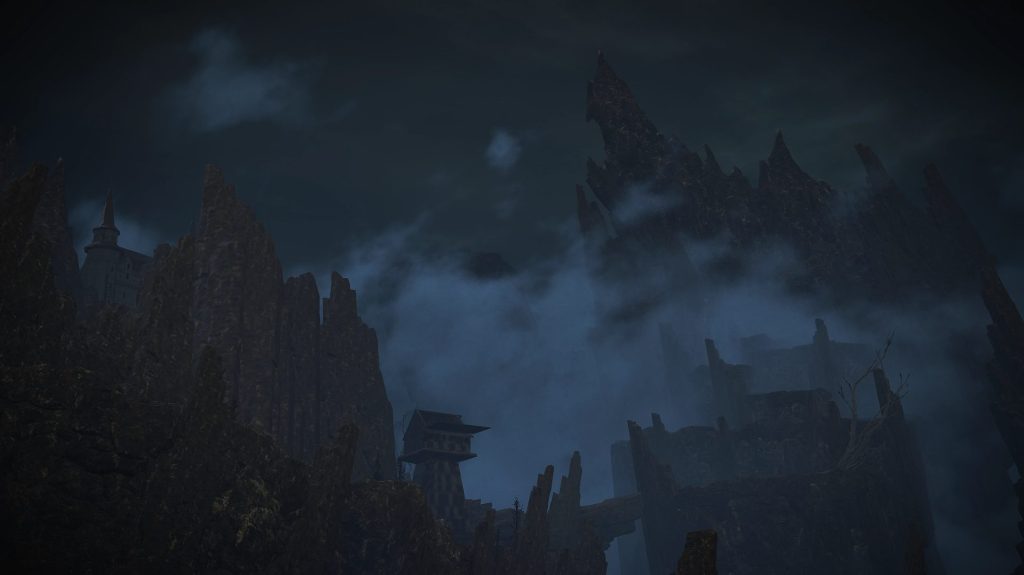
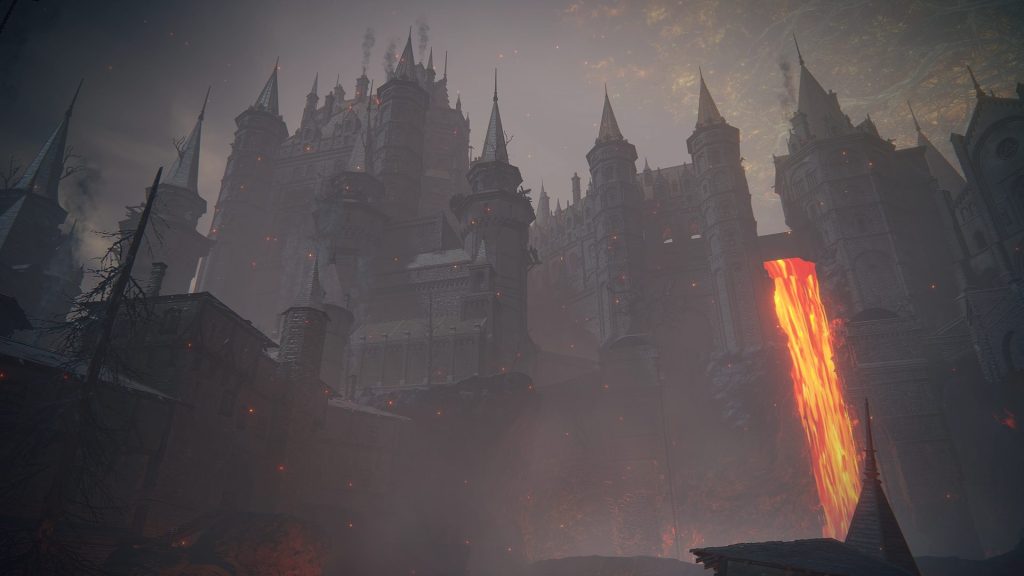
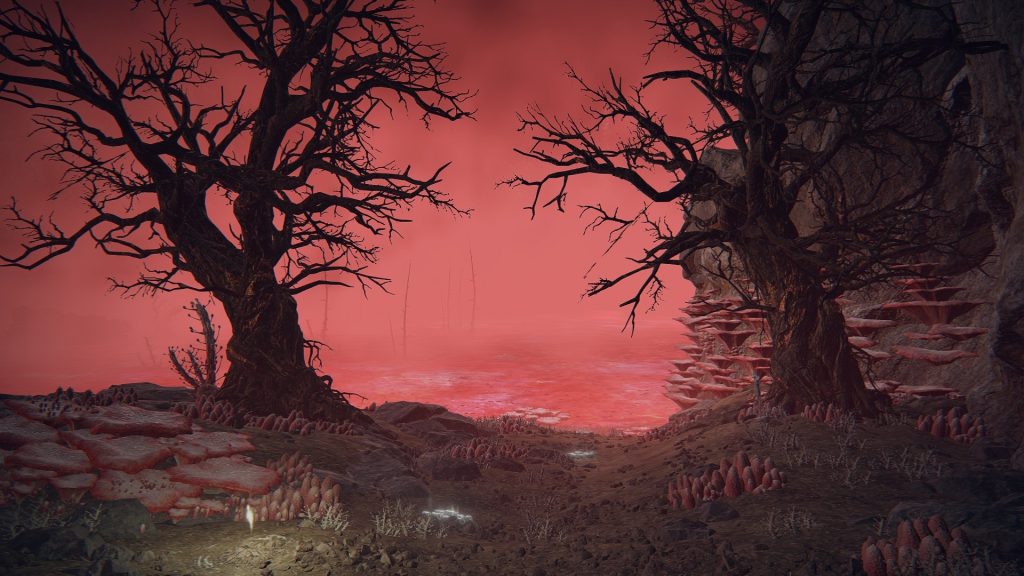
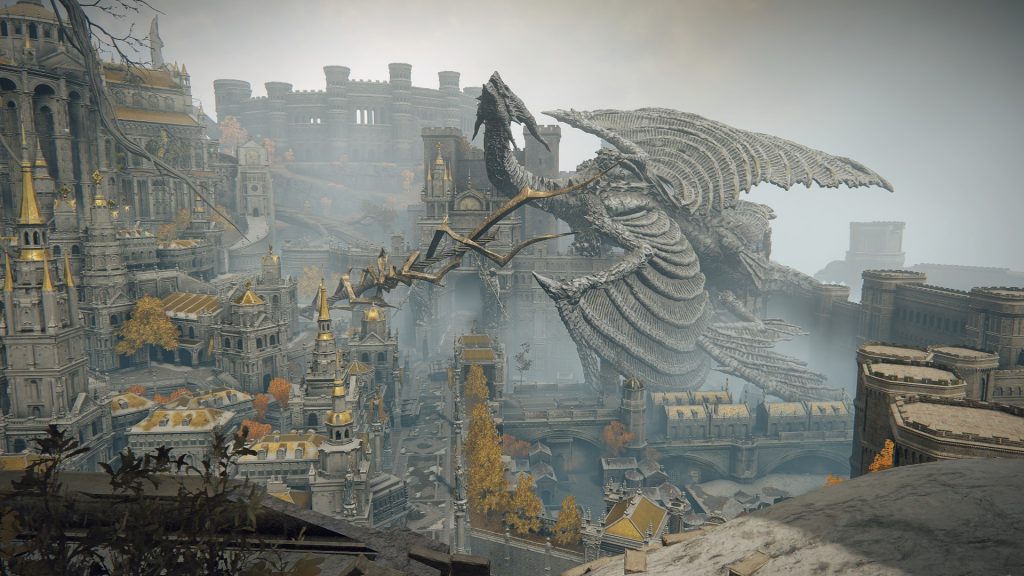
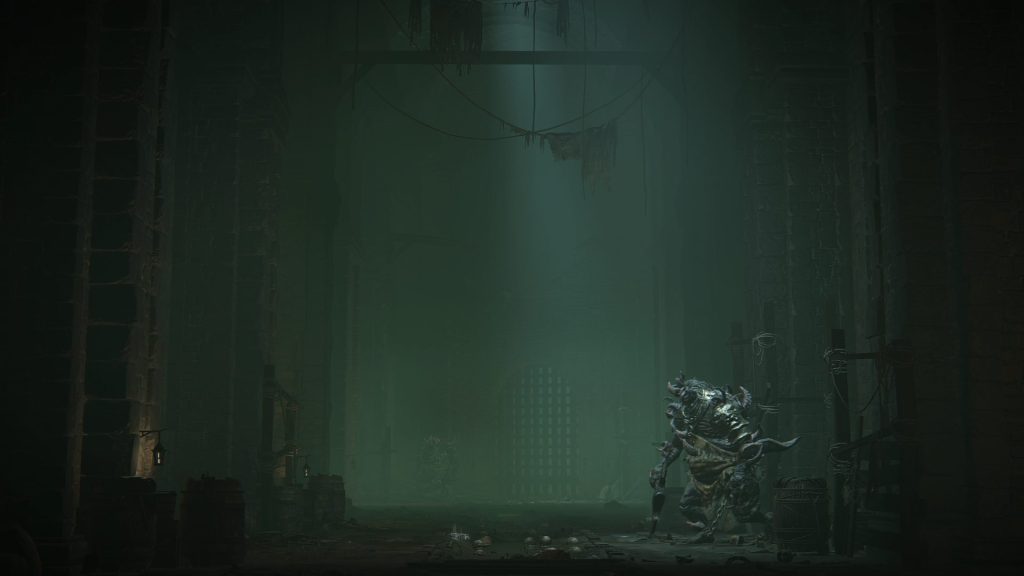
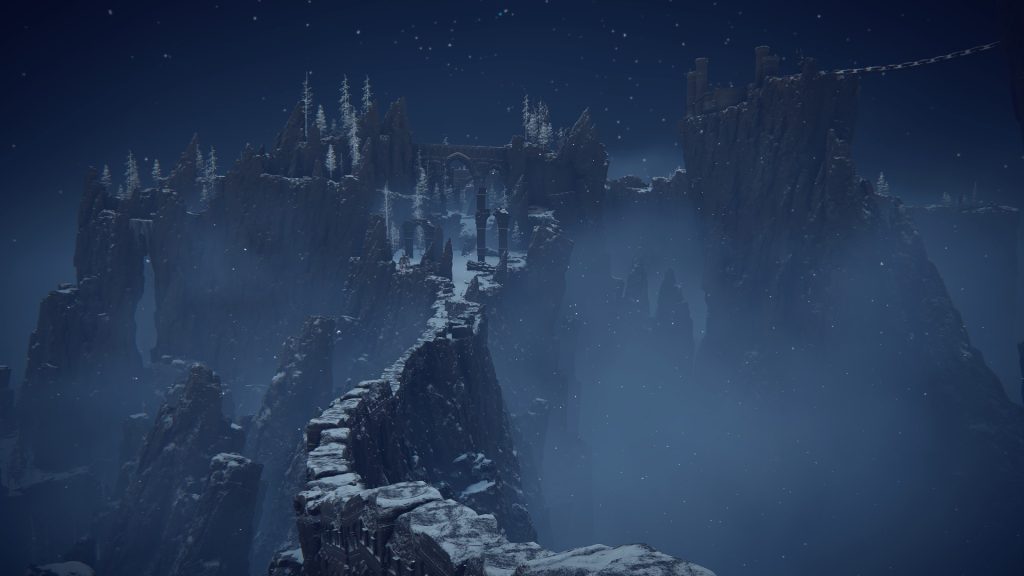
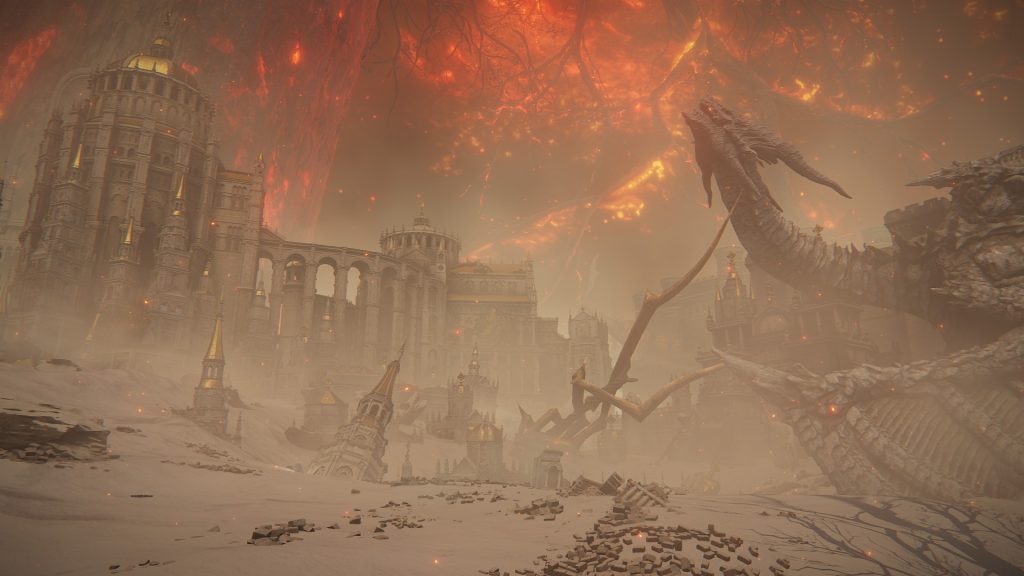
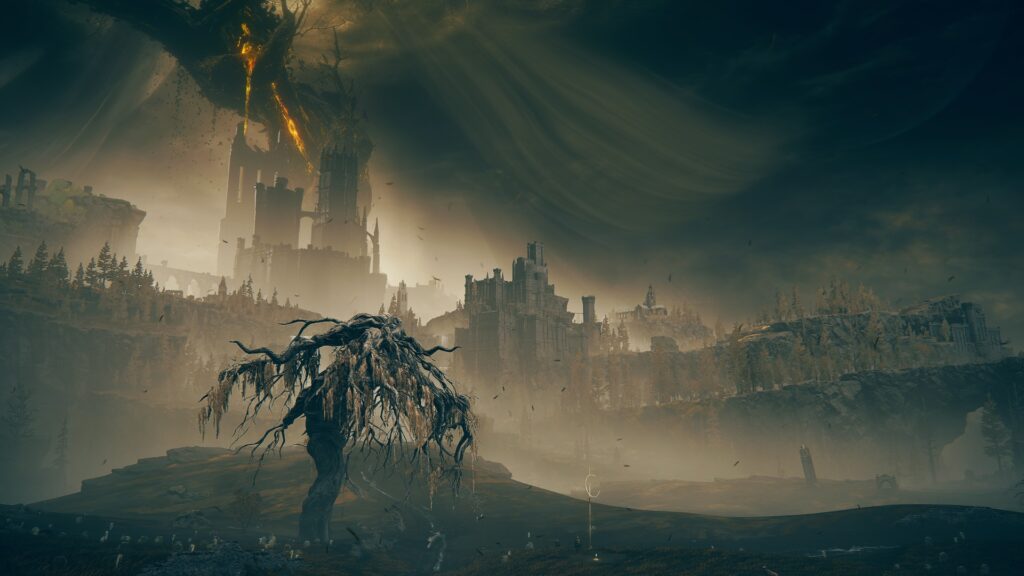
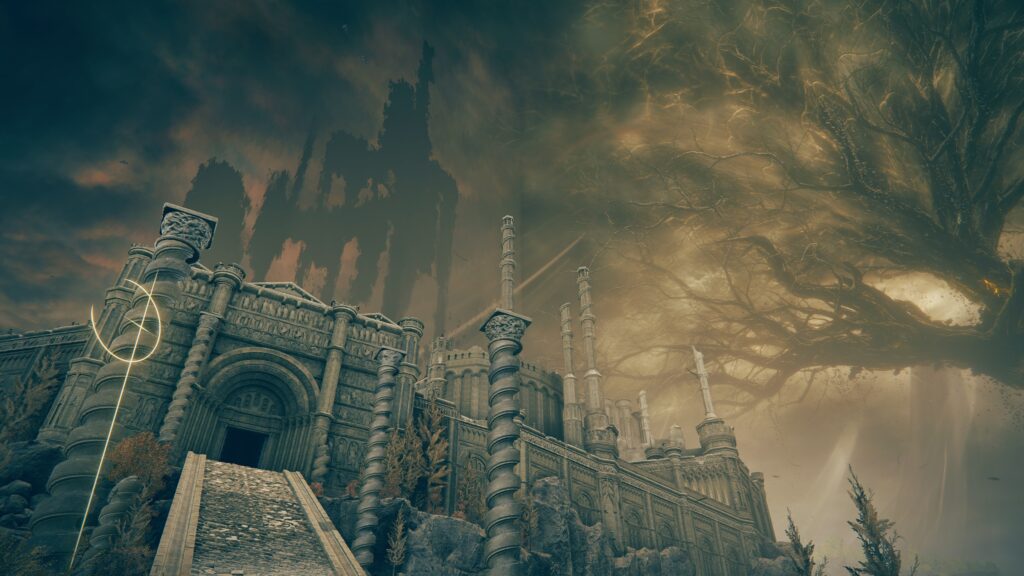
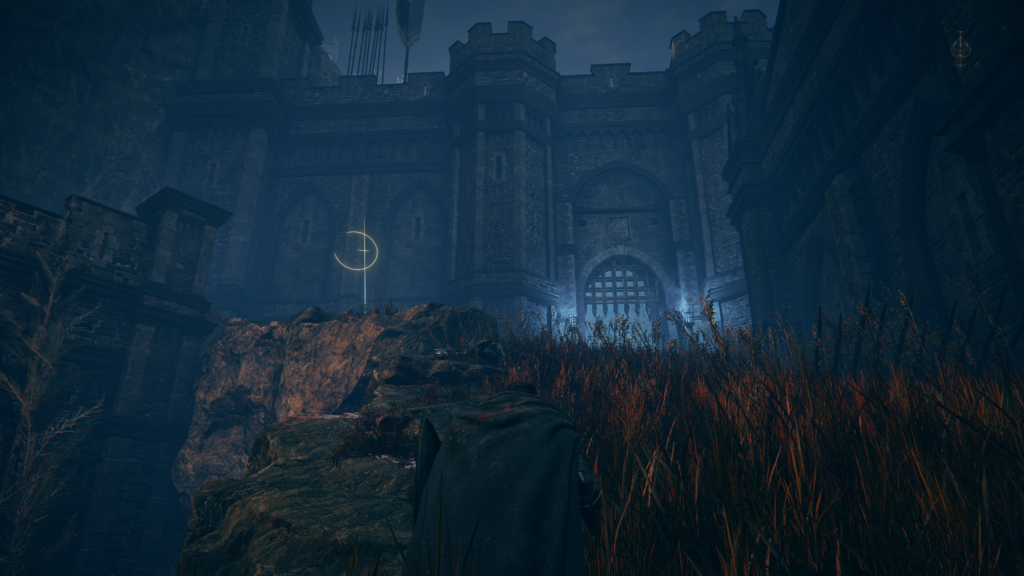
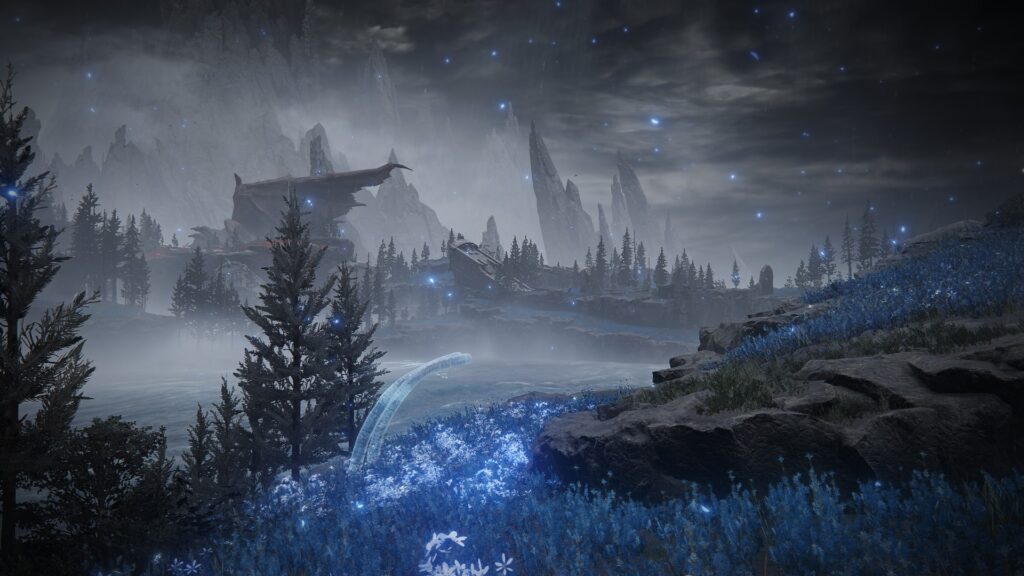
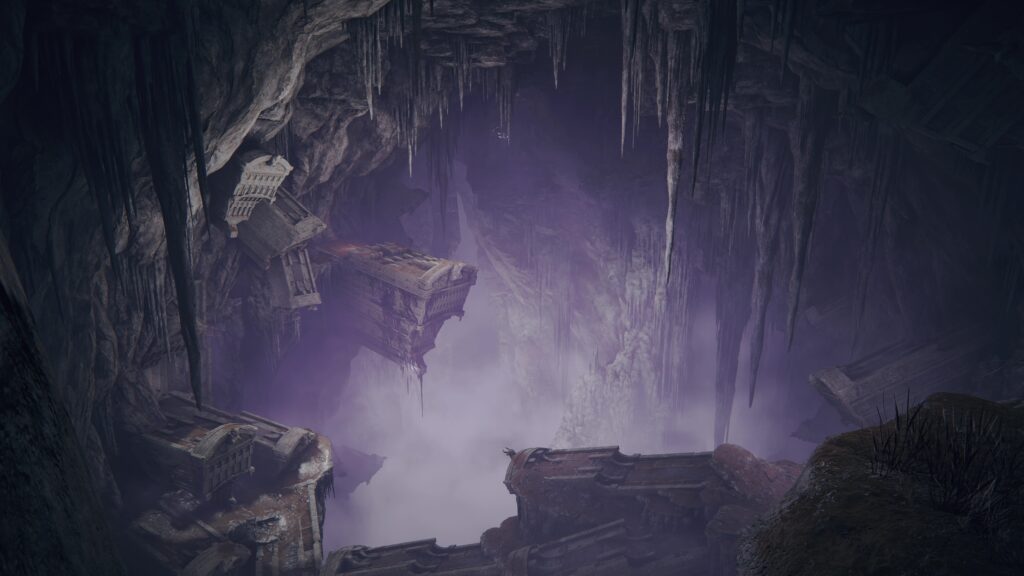
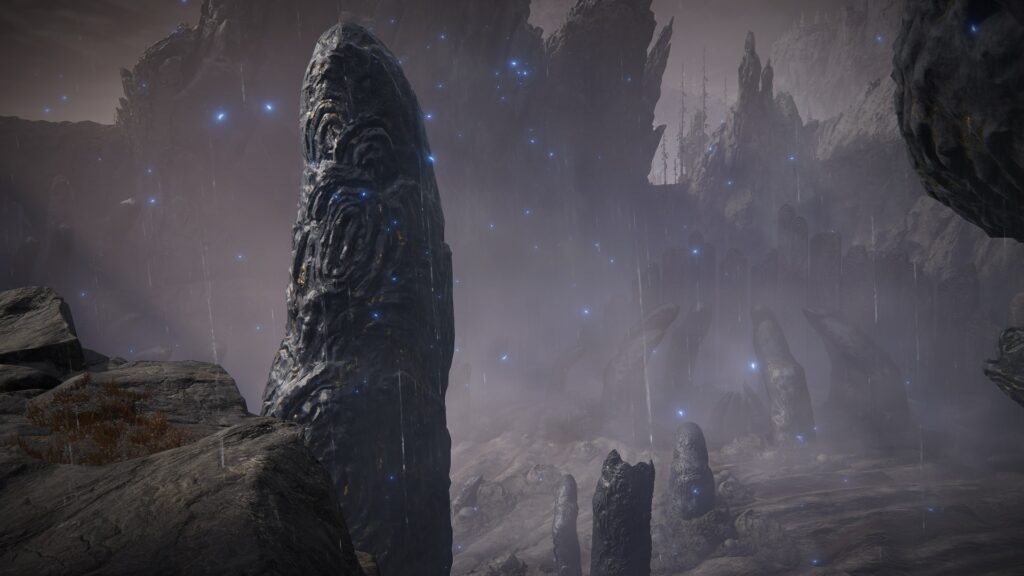
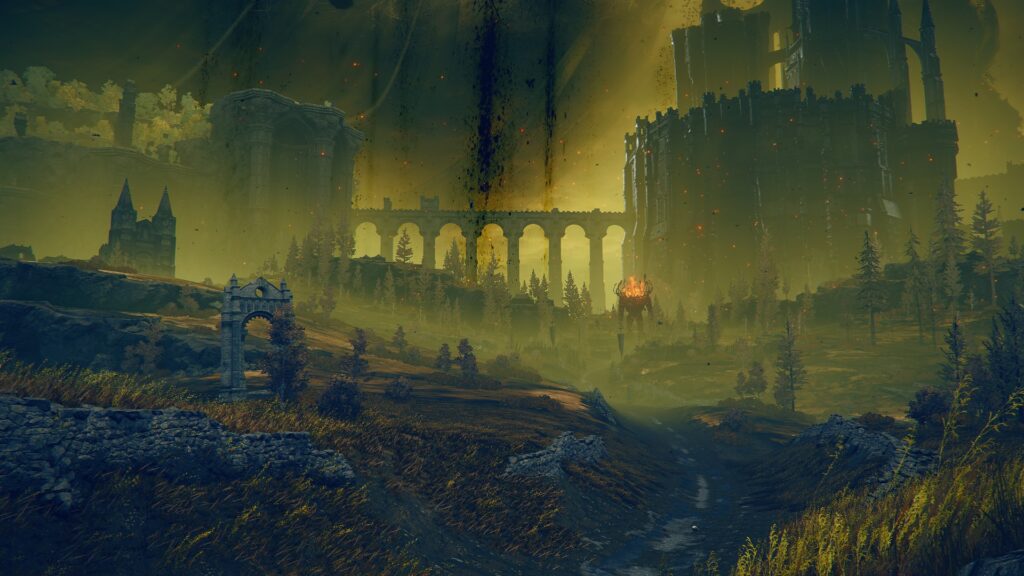
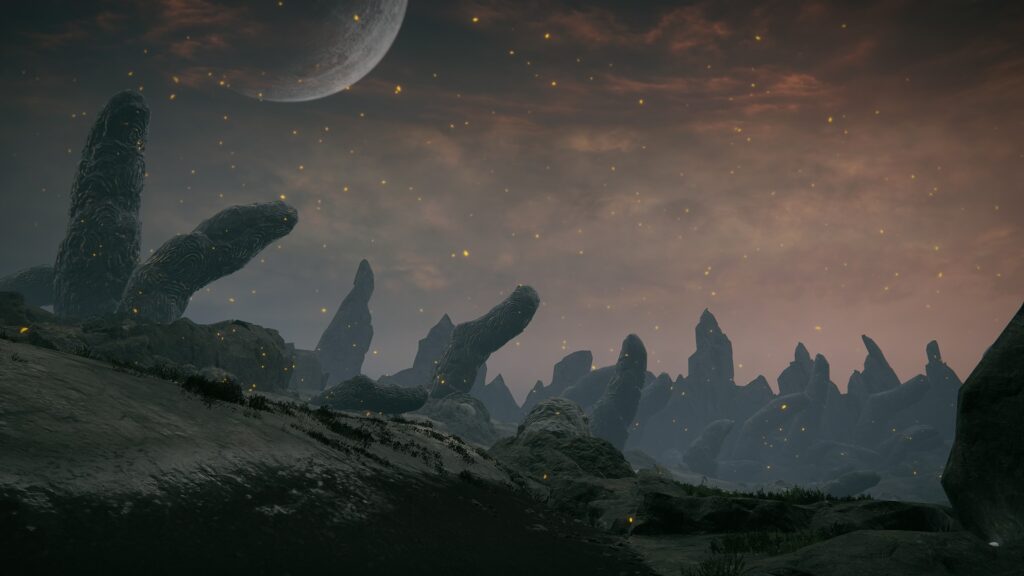
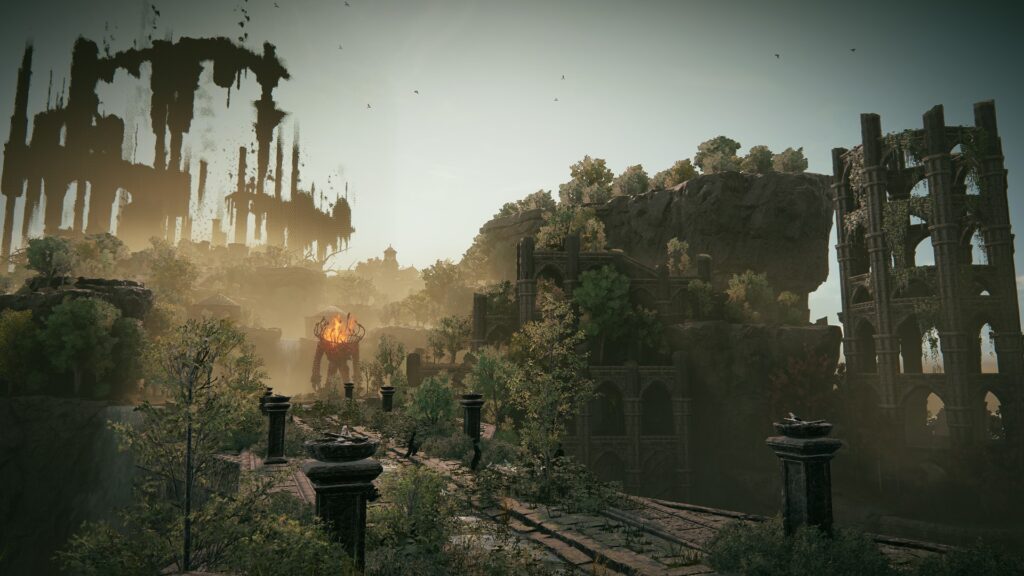
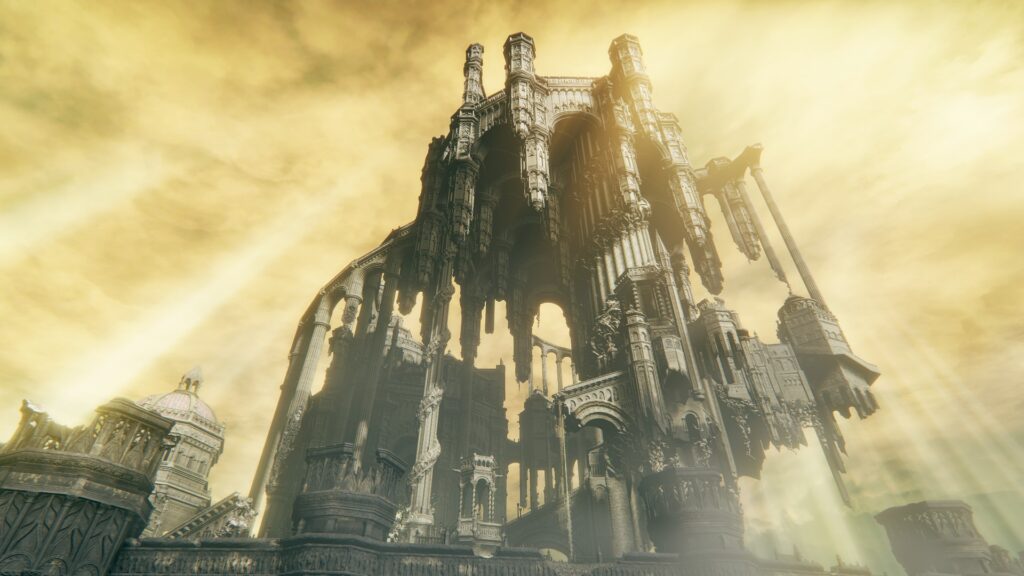
In the list below, you can find guides for bosses in the Scadu Altus region of the Realm of Shadows (Shadow of the Erdtree expansion). We also have a dedicated Scadu Altus Walkthrough to assist you in your travels (or feel free to use the walkthrough menu below).
There are 10 bosses in Scadu Altus, tying with the Gravesite Plain for the most in the DLC. While many of the bosses guard powerful equipment or even entire areas, all of them are optional.
Scadu Altus Bosses:
Read on for details on each boss, plus links to detailed guides for each fight!
- Summons Available: Varies
- Location: Highroads Cross, Bridge Leading to Village, Unte Ruins
- Rewards:
- Highroads Cross:
 10,714
- Crimsonburst Dried Tear
- Furnace Visage
- Bridge Leading to Village
 10,714
- Cerulean-Sapping Cracked Tear
- Furnace Visage
- Unte Ruins (2 Golems)
 10,714
- Bloodsucking Cracked Tear*
- Oil-Soaked Tear*
- Furnace Visage
*each golem drops one of the two tears
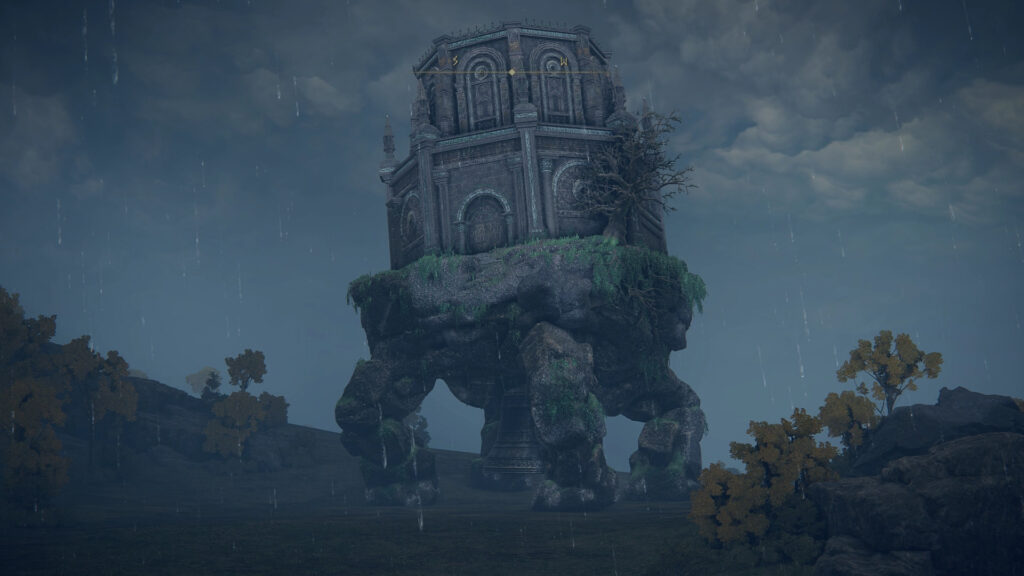
There are 4 Furnace Golems found throughout Scadu Altus, comprising half of the Furnace Golems in the Shadow Realm in total. These Furnace Golems are also stronger than the ones you are likely to have encountered before, with powerful fire attacks that give the Furnace Golems strong ranged abilities. What’s worse, only one of these Golems — the one near the Bridge Leading to Village Grace — can be easily attacked from above using Hefty Fire/Furnace Pots.
However, none of these Golems are particularly fast enemies, and so the real challenge from them comes from making sure you don’t make a mistake — which can easily kill most characters in one or two hits — while you slowly carve away at the Furnace Golems’ huge health pool. The trick is to simply stay on Torrent and weave in and out, trying to ensure the Furnace Golems spend as much time stomping (instead of using their fire attacks) as possible.
A unique spin on the dragons you can find all over Elden Ring, the Ghostflame Dragon’s skeletal appearance is more than just a fresh look. While many of the Ghostflame Dragon’s moves are the same as the moves of the base dragons, its additional ghostflame effects can prove very devastating.
This encounter with the Ghostflame Dragon is interesting, and potentially easier than the Ghostflame Dragon in the Gravesite Plain. This is because the Ghostflame Dragon will already be engaged in a battle against a large force of Messmer Footsoldiers and Knights. This can pose a challenge — the Messmer troops will fight you if you get too close — but can also aid you in damaging and distracting the Ghostflame Dragon.
- Summons Available: Yes
- Location: Fog Rift Fort
- Rewards:
 80,000
- Black Steel Greatshield
One of two optional Black Knight bosses in the DLC, Black Knight Garrew is an optional boss who can be found in the Fog Rift Fort mini-dungeon. Sharing most of the standard Black Knight moveset, with an additional signature move, Garrew is one of the simpler bosses in the DLC.
Garrew’s signature move is a dangerous (and somewhat comical) tongue attack, which can deal decent damage and comes out fast enough to interrupt many attacks. In combination with his powerful hammer and defensive shield, Garrew can pose a bit more challenge than the average Black Knight, even if the limited Black Knight moveset makes him very simple for an Elden Ring boss.
- Summons Available: Yes
- Location: Fort of Reprimand
- Rewards:
 80,000
- Aspect of the Crucible: Wings
One of two optional Black Knight bosses in the DLC, Black Knight Edredd is an optional boss who can be found in the Fort of Reprimand mini-dungeon. Sharing most of the standard Black Knight moveset, with an additional signature move, Edredd is one of the simpler bosses in the DLC. That said, Edredd’s signature wings and twinblade make him by far the more difficult of the two Black Knights.
Edredds’s signature move is a dangerous Winged Spinning Slash, which is surprisingly difficult to dodge. As well, Edredd’s twinblade is faster and deadlier than Garrew’s hammer, and his combos can easily catch an unprepared Tarnished off gaurd. Even if the limited Black Knight moveset makes him very simple for an Elden Ring boss, he can still pose a challenge.
- Summons Available: Yes
- Location: Bonny Gaol
- Rewards:
 100,000
- Curseblade Meera
A powerful, deceptive version of the first enemy you are likely to encounter in the DLC, the Curseblade Labirith not only has devastating combos and the ability to dodge attacks, but it also can use darkness to become momentarily invisible in order to ambush the player. An optional boss at the end of a long dungeon, the Curseblade Labirith is not always worth fighting.
Within the fight itself, the key is to try to keep up pressure on the Curseblade, to learn its combos, and to be vigilant enough to avoid its invisible attacks. Thankfully, the Curseblade Labirith’s main weakness is the incredible short length of its blades, letting you attack it and avoid attacks from a relatively safe position; simply backing away often causes the Labirith to miss, letting you punish.
After braving the Darklight Catacombs, you’ll take your first steps into the Abyssal Woods, where you’re met with a powerful spell-user: Jori, Elder Inquisitor. While Jori is an optional boss, he guards an entirely separate (and terrifying) region of the game.
Jori’s primary challenge is to a player’s situational awareness. Between his ranged attacks, teleportation, and spirit summons, you often have to keep in mind several parts of the battlefield at once. In addition, while his defenses and attacks are weak on their own, they can combine in ways that can easily take out your health if you aren’t careful. Because of this, careful positioning and keeping the battlefield in mind will be your ticket to defeating Jori and gaining access to the Abyssal Woods.
- Summons Available: Yes
- Location: Scadu Altus
- Rewards:
 180,000
- Pelt of Ralva
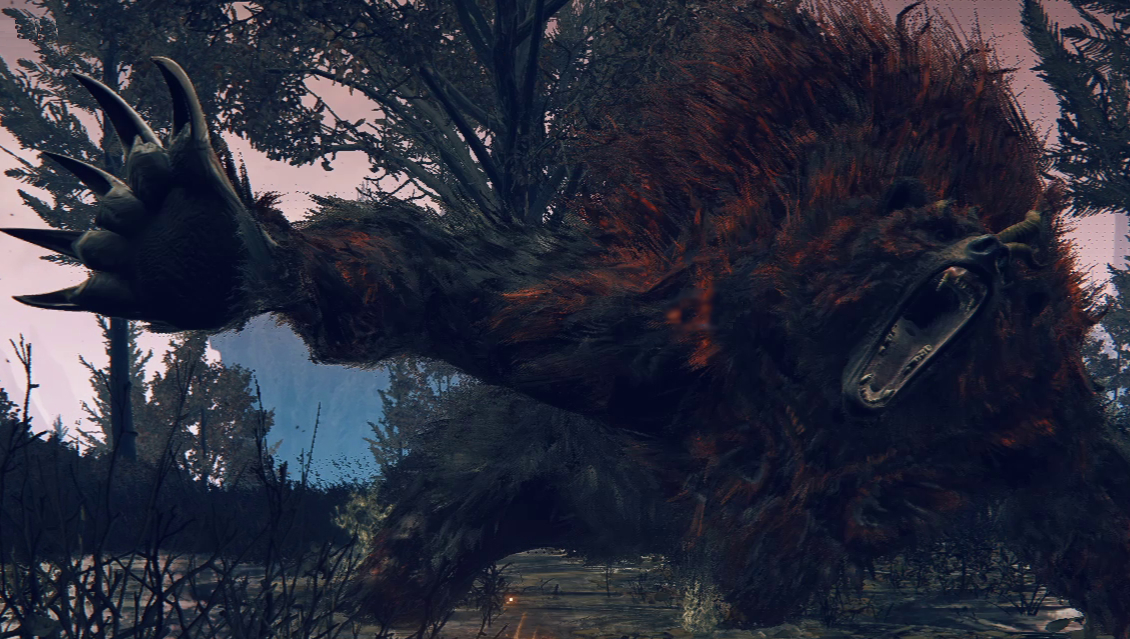
One of two optional Great Red Bears, Ralva is the first one you are likely to encounter, in a lake in Scadu Altus. While not as strong as Rugalea in the Rauh Base, Ralva is a devastating variant of the Rune Bears from the base game (Some of the deadliest enemies there, too). This makes Ralva a formidable opponent with a tough moveset that requires a lots of mobility to defeat.
With clever uses of status effects, good on-foot dodging, and good positioning in general, Ralva’s massive health bar can be carved away with relative ease, so long as you are always wary of just how devastating its claw attacks can be.
- Summons Available: Yes
- Location: Eastern Nameless Mausoleum
- Rewards:
 90,000
- Rakshasa’s Great Katana
- Rakshasa Helm
- Rakshasa Armor
- Rakshasa Gauntlets
- Rakshasa Greaves
Rakshasa is an optional Nameless Mausoleum boss, who drops one of the most interesting armor sets in the game (which can be incredibly useful for “glass canon” builds). She is also one of the hardest Nameless Mausoleum fights in the game, though that difficulty can vary heavily by build and depending on how many Scadutree Fragments you have when you encounter her.
Rakshasa has a much higher poise than most NPC combatants, and gets super-armor during many of her attacks, preventing you from interrupting them after she has begun the animation. Because of this, your only chance to break her poise will be between her attacks, requiring more careful timing than many NPC fights. If you are able to parry, however, she is one of the easier enemies to do so on, giving you a method to defeat her relatively easily.
- Summons Available: Yes
- Location: Finger Ruins of Miyr
- Rewards:
 420,000
- Remembrance of the Mother of Fingers
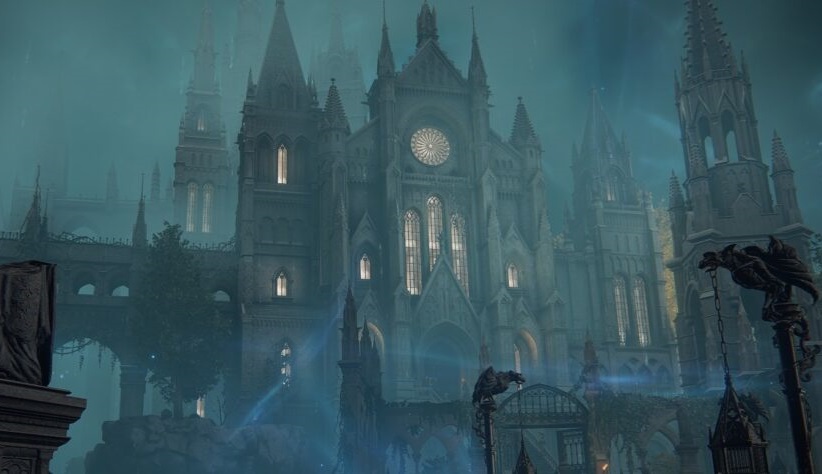
Hidden underneath the Cathedral of Manus Metyr are the Finger Ruins of Miyr. Ringing the hanging bell there will send you to the very finger-y Metyr, Mother of Fingers. One of the most challenging bosses in the DLC, finger mommy will test your dodging skills — and your ability to deal with adds — to the fullest.
The main challenge in dealing with Metyr is its difficult hitboxes, as many of its moves are either difficult to read or have deceptive range. Because of this, you should spend some time learning where it is safe to be for each of the boss’s attacks (while avoiding or killing her minions). Once you defeat Metyr, the NPCs in the Cathedral of Manus Metyr will turn hostile, allowing you to progress their quests.
- Summons Available: No
- Location: Cathedral of Manus Metyr
- Rewards:
 210,000
- Ymir’s Bell Bearing
- Maternal Staff
- High Priest Hat
- High Priest Robe
- High Priest Gloves
- High Priest Undergarments
- Cherishing Fingers
- Swordhand of Night Jolán OR Sword of Night
After defeating Metyr, Mother of Fingers, you can return to the Cathedral of Manus Metyr in order to see that Metyr isn’t the only Mother of Fingers around. Interacting with the chair at the end of the Cathedral will reveal that the title seems to have passed to Count Ymir, who will now be hostile to you.
The dexterous sorcerer is also defended by the formidable Swordhand of Knight Jolán, who you must defeat before taking him on, leading to what is essentially a double-NPC fight. While not the toughest fights in the game, Jolán’s Bleed build and Ymir’s annoying-up-close spellcasting does require you to approach both fights with a modicum of caution.
