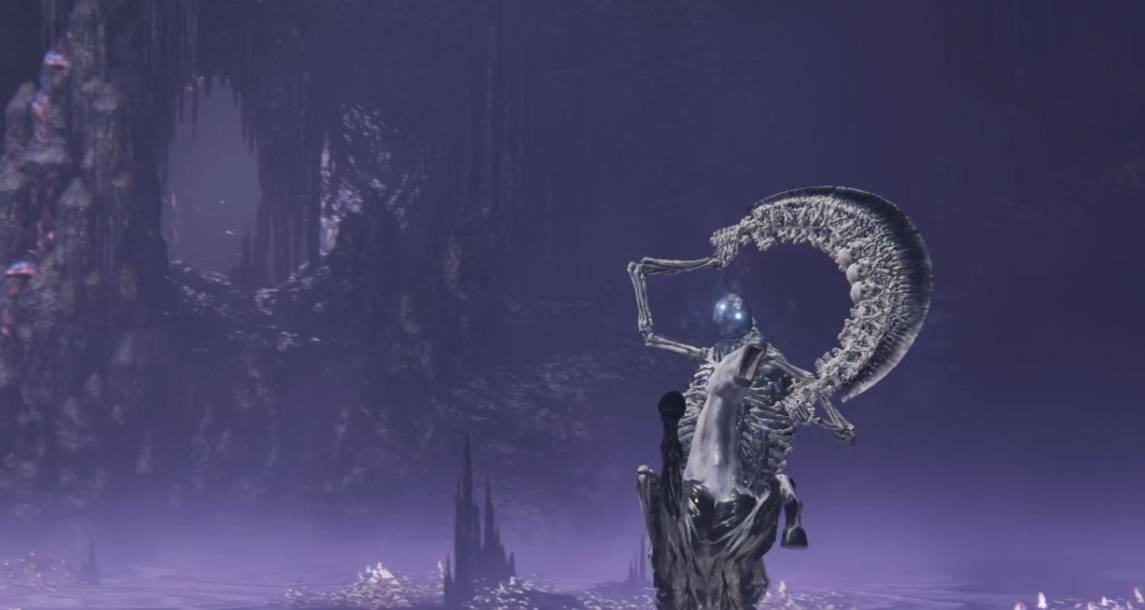
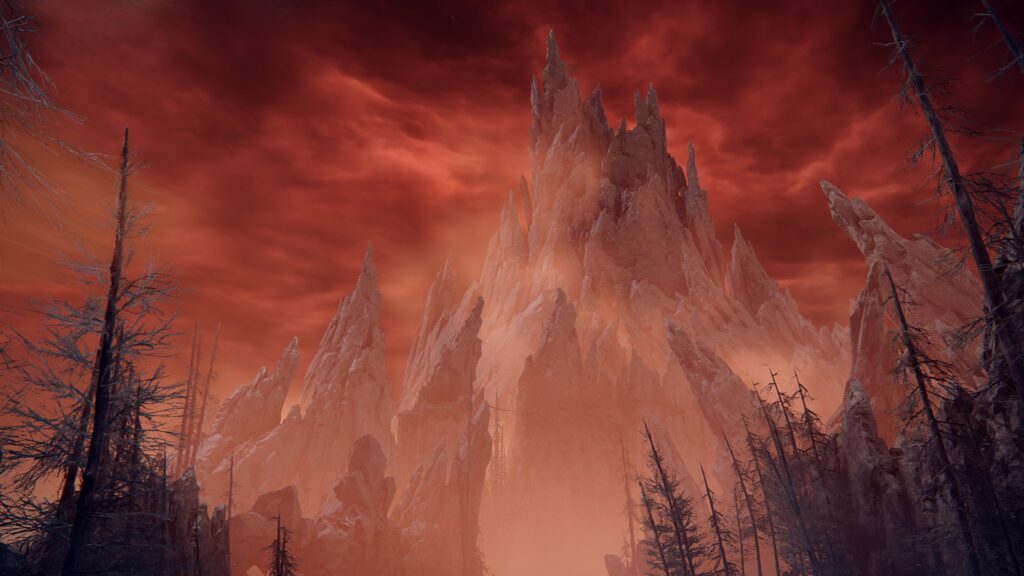
When you’ve finally made it to the end of the ghastly Stone Coffin Fissure, you’ll make the harrowing leap to its deepest depths, where you’ll find a creature unlike any other: the Putrescent Knight. As you might imagine for a boss so out of the way, this is an optional boss, and the DLC can be completed without vanquishing it. However, if you want to progress Thiollier and St. Trina’s questlines, then you must bring down this foe.
The Putrescent Knight is a mounted boss, and unlike some other mounted bosses, its horse will partake in attacking you. The boss itself is a skeleton-type figure that wields a large crescent cleaver. It will also use putrescent (ghost flame) magic frequently in large area-of-effect (AOE) attacks.
If you helped Thiollier and spoke with him until he said he’s going to the southern shore, then his summoning sign will be available to help you fight the boss.
This boss is weak to holy damage. Using weapons and spells with holy damage, and items that buff holy damage, are very effective.
The boss’s attacks will build up your Frostbite meter. If you keep dying to Frostbite, then try to increase your robustness.
After 40% of the boss’s health is gone, he will do a large putrescent magic AOE attack. Roll towards the flames to avoid them. He will keep doing this attack and other putrescent attacks in this second phase.
You’ll see this move the most: he leaps off the horse, and slams down on you, then barrel-rolls at you while slicing with his cleaver, and his horse will charge you. Don’t attack until he’s getting back on his horse, which is the sign the combo is done.
Strategy
Boss Weaknesses
Whether you’re using melee or ranged attacks, taking advantage of this boss’s weakness to holy damage can make the battle much easier. Let’s go over some options for holy damage, and techniques you can use to improve it:
While this boss is also susceptible to Scarlet Rot, it can be difficult to land hits because they’re so mobile. Focusing on holy damage is a better way to consistently do big damage.
Defending Against Frostbite
On the defensive side, this boss’s attacks will cause your frostbite meter to go up, and if it fills up to the point you get Frostbite, then you can instantly die. If you find that his combos and magic are too difficult to avoid or guard against, then you can consider these methods to strengthen your robustness, which will give you more protection from Forstbite:
A higher endurance stat will increase your robustness.
Another thing that will make this fight much easier is having some backup. There’s only one NPC that you can summon to help you in this fight, Thiollier, and unfortunately you will have had to jump thorugh some hoops before coming to Stone Coffin Fissure. Here are the steps that you had to do before the boss fight for Thiollier’s summoning sign to appear:
Go to Pillar Path Cross site of grace and talk to Thiollier before breaking Miquella’s charm (by either approaching Shadow Keep, Rauh Base, or Eastern Scadu Altus). Note: if you’re inside Stone Coffin Fissure, then you broke the charm.
Visit the Main Gate Cross site of grace and get the Black Syrup from Moore.
Deliver syrup to Thiollier and receive Thiollier’s Concoction.
Break Miquella’s charm by approaching the Shadow Keep, and defeat the Golden Hippopotamus boss.
Go back to Pillar Path Cross site of grace and speak to Thiollier until he tells you he’s going to the southern shore.
If you did all that, then his summon sign will be close by to where you land in the boss area. Other than Thiollier, the best help you can get is an upgraded Mimic Tear spirit ash. The mimic will be especially effective if you have a holy-damage build on your character.
Putrescent Knight’s First Phase
Fighting the boss is similar for both melee and ranged players. The reason being that this mounted boss has a lot of mobility and will close in on you fast. Some advice that’s given for almost every boss is especially relevant for this one: you don’t want to get greedy. Wait for the boss to finish a combo, recover from an attack, or be focused on an ally before attacking.
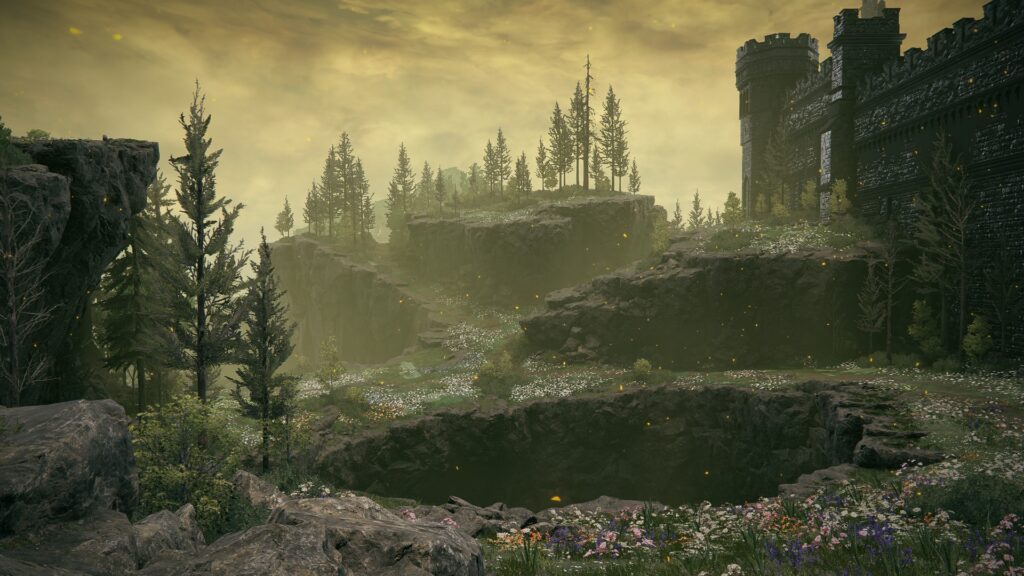
When you land in the boss area, you’ll have some time as the boss comes galloping up on his steed. Use this time wisely; summon your mimic tear, heal up with a flask, summon Thiollier (if he’s there), and if you’re using ranged attacks, lob one at the boss to let’em know you’re serious.
Thankfully, he gives you some time to get situated
In the first phase, the knight will be attacking with physical attacks and combos. The main move that he uses, and will likely attack you with first, is the slam-barrel-roll-horse combo (couldn’t think of a better name). The boss leaps off his horse, and slams down on you, then lunges at you while performing two barrel-rolls and swinging his crescent clever. After the barrel-roll, his horse will appear from your side and charge you, then he will barrel-roll again. The combo can include another round of barrel-rolls and horse charges, but you’ll know it’s done when the boss pauses and gracefully gets back on his horse.
It’s best to not try to attack him during this combo. As for defending against it, you can use a shield or dodge it. Rolling out of the way of these attacks is not easy, though. Typically, you’ll want to dodge away from the preliminary smash, then dodge into the next moves (barrel-rolls and horse charges). When he is remounting his horse at the end, it is a good time to score a hit or two on him.
The rest of the moves are fairly generic: slashing at you from his horse, slamming down on you, and throwing the cleaver like a boomerang. For most of these, you want to dodge towards the boss, even if you’re using ranged attacks. This makes it harder for him to target you again, and will make it easier for your allies to close in on the boss.
Another important tip with this boss is to choose your flask healing opportunities wisely. It can be hard to use your flask during the boss’s onslaught of attacks, but healing at an inopportune time will result in all that health going out the window anyway. Be patient and attack when you can, then after about 40% of his health is gone, you’ll enter the second phase.
Putrescent Knight’s Second Phase
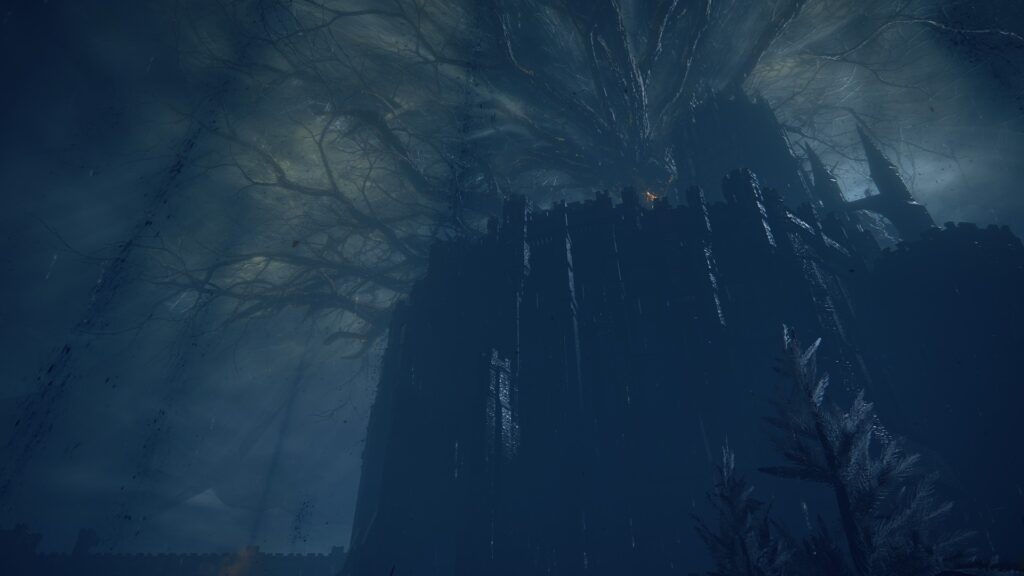
It will be abundantly obvious when the second phase starts, because the boss will rise up in a mound of putrescence, then shoot out blobs that create waves of blue flames outwards from the boss. This is actually a good time to score some hits on the boss, because this attack has some significant prep time.
Should’ve jumped…
No matter where you’re standing in relation to the boss, during this attack you will have to avoid three bursts of blue flame along the ground. The best way to do this is to jump towards the boss as the flames come at you. Getting the timing down for the jumps can take some getting used to.
Once you become familiar with his blue flame putrescent attacks, the second phase isn’t much different from the first. He’ll still use all the same combos and physical attacks from the first phase, and you can punish those moves in the same way.
Luckily, time is on your side with this fight. This boss doesn’t have a massive health pool, and he rarely targets your mimic because the boss moves around so much the mimic can’t hit him. This means that your mimic will keep their health high and almost always be a part of the fight (if not dealing damage, then at least supporting you). As long as you can stay alive, and hit him from time to time, the fight should be over relatively fast.
Moveset
First Phase:
Slam-barrel-roll-horse Combo – His favorite combo is when he leaps off the horse, and slams down on you, then barrel-rolls at you while slicing with his cleaver. After he barrel-rolls at you, his horse will appear and charge you, then this repeats at least once more. Shields can be effective against this attack. To dodge, roll backwards from the slam, then towards the barrel rolls, and the horse. You’ll know he’s done when he pauses and gets back on his horse. Only counterattack at the end of the combo.
Mounted Combo – The boss swings his cleaver at you back and forth from the side of his horse three times, then slams his cleaver into the ground with both hands. Dodge backwards away from the first three slashes, then dodge into the final slam to quickly counterattack.
Cleaver Boomerang – The knight will usually do this attack after rounding you on his steed, and when you’re at medium distance away from him. You can dodge any direction to avoid this attack. Even if he’s throwing it at your ally, you want to be ready to roll.
One-handed Slam’n Slice – The boss whips his cleaver down on you, holding it at one end, then swings it back around to slice at you. This is a hard move to counter, because he gallops away from you after slicing. You might be able to hit him with a ranged attack.
Double Two-handed Slam – The boss grabs both sides of his cleaver and slams it down on top of you twice. Dodge backwards for the first slam, then forwards for the second, so you can do a quick counterattack.
Second Phase:
Putrescent Eruption – He always does this attack at the start of the second phase. A mound of putrescence lifts him into the air, and splurts of black goo shoot out onto the ground. When they hit the ground, waves of blue flame shoot outward along the ground. The best way to avoid this is to jump over the flames towards the boss as they streak towards you. You can hit the boss as he’s starting this move, and when he finishes.
Blue Flame Wave – The boss releases some putrescence that hits the ground, creating a path of blue flame that streaks towards the player. This is very hard to dodge if up close to the boss, but if you’re a medium distance away, then you can dodge sideways to avoid it, or jump over it. Unfortunately, it isn’t a good move to counter against, because the boss will often attack right after.
Blue Flame Enclosure – The boss shoots putrescence in a wide circle around him. The black slime will hit the ground and create a circle of blue flame that goes inwards, towards the boss at the center. This is very hard to dodge because the flame will be coming from behind you (unless you deactivate targeting on the boss). Try to time a jump away from the boss to avoid it.
The Putrescent Knight will drop the Remembrance of Putrescence; take it to the Finger Reader Enia at the Roundtable Hold and she will exchange it for the boss’s cleaver, or a powerful putrescent spell.
Kelson is a spud head from out west. He is most happy when holding a milky tea with too much honey and playing a sprawling role playing game or reading a fantasy novel. His video game tastes vary but his main genres are looter shooters, RPGs, and real time strategy games.