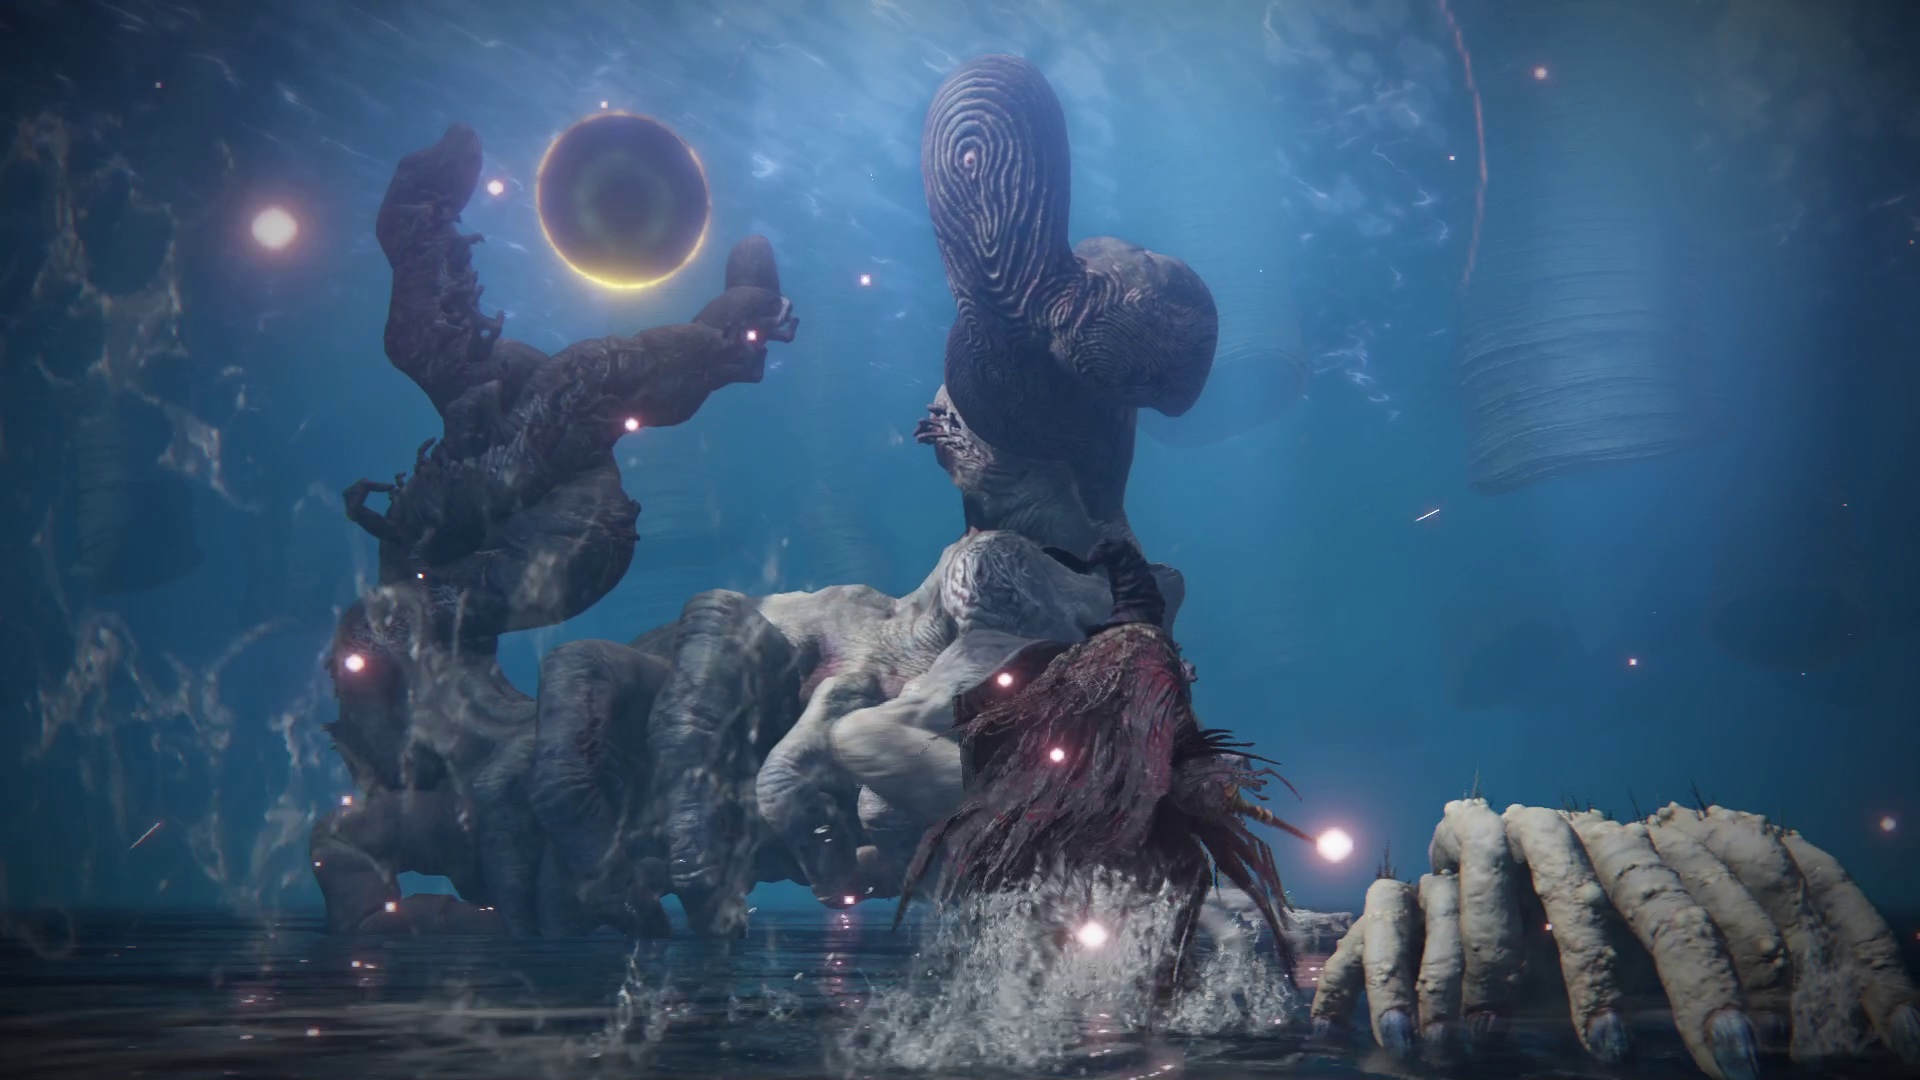
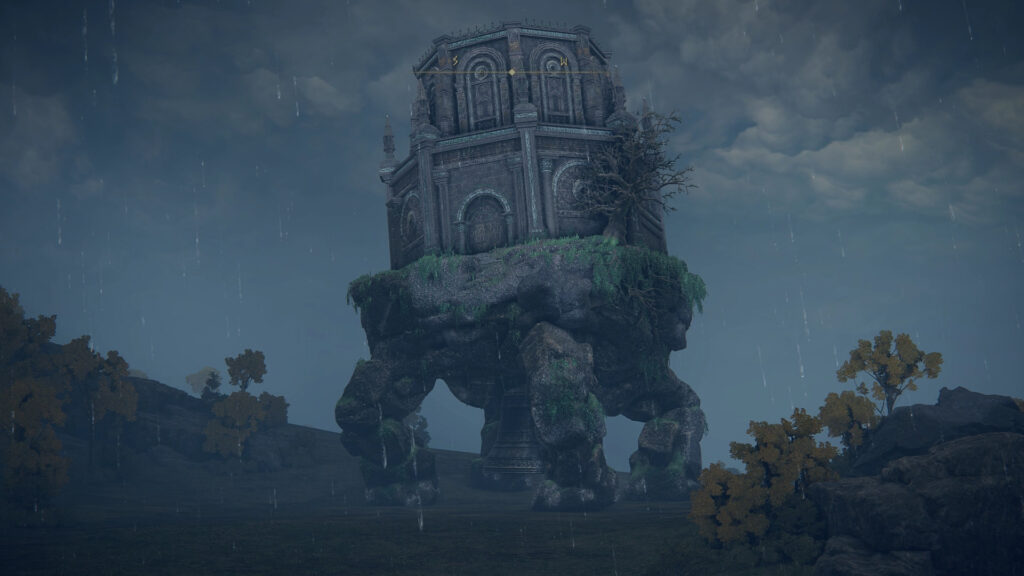
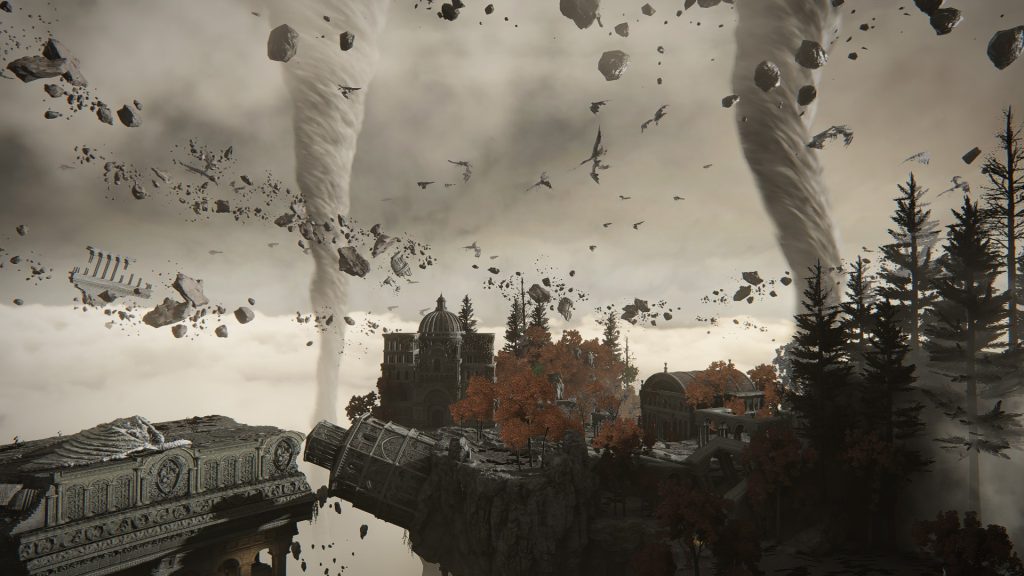
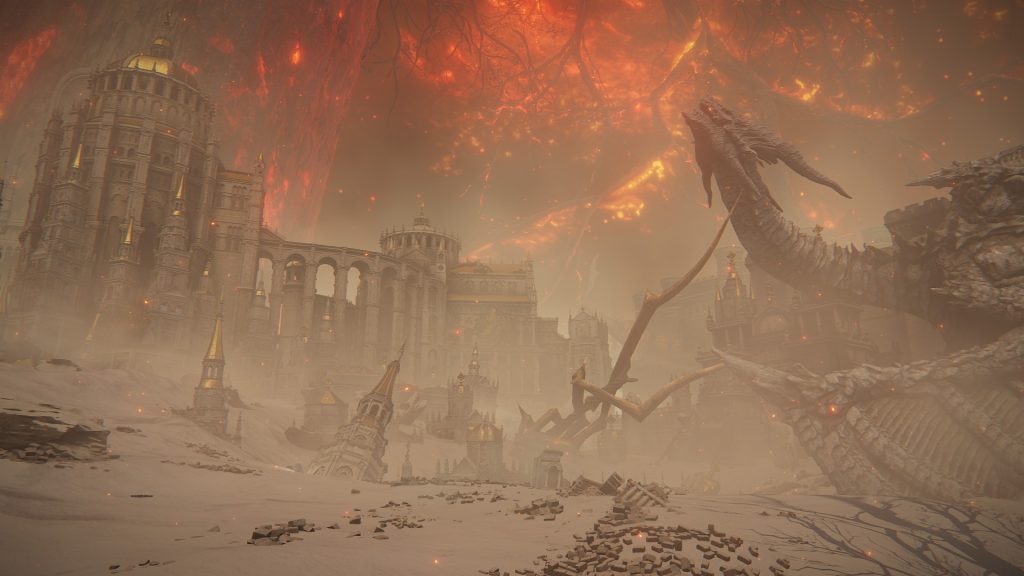
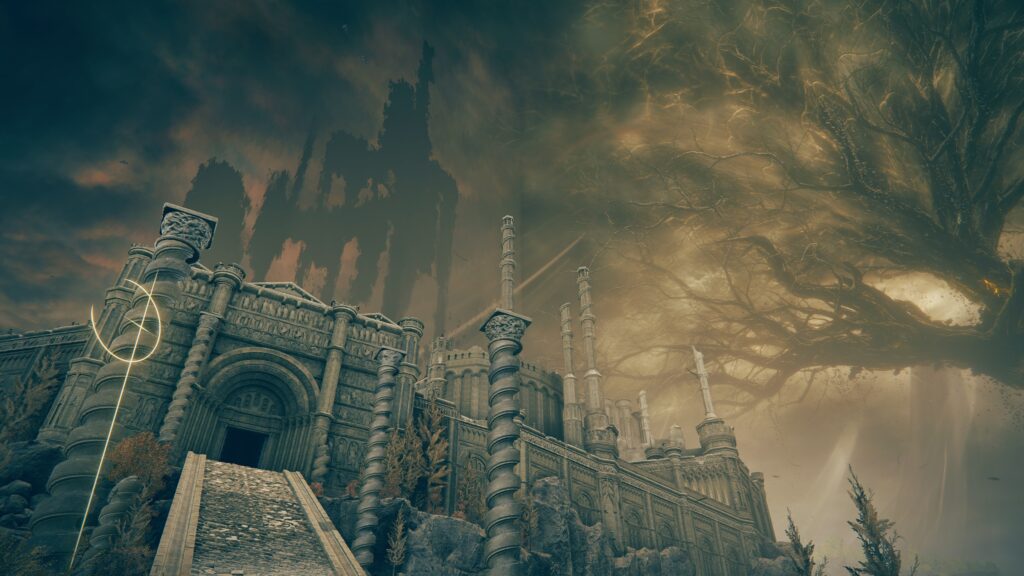
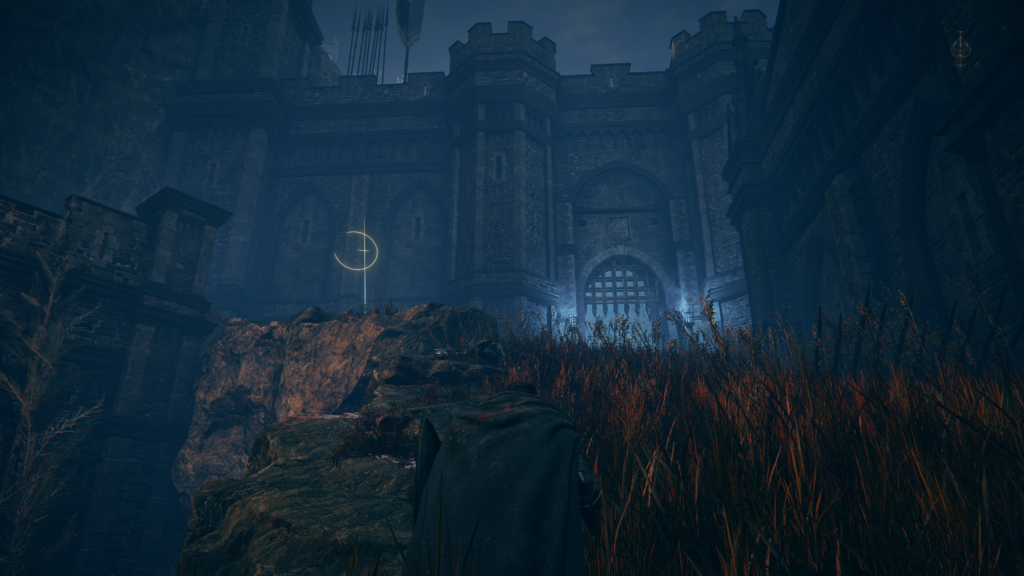
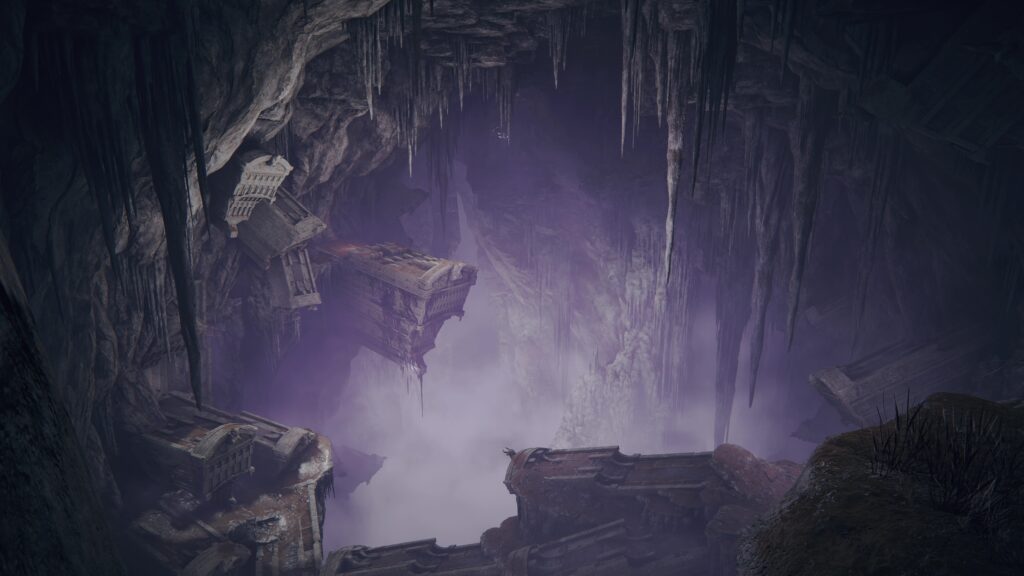
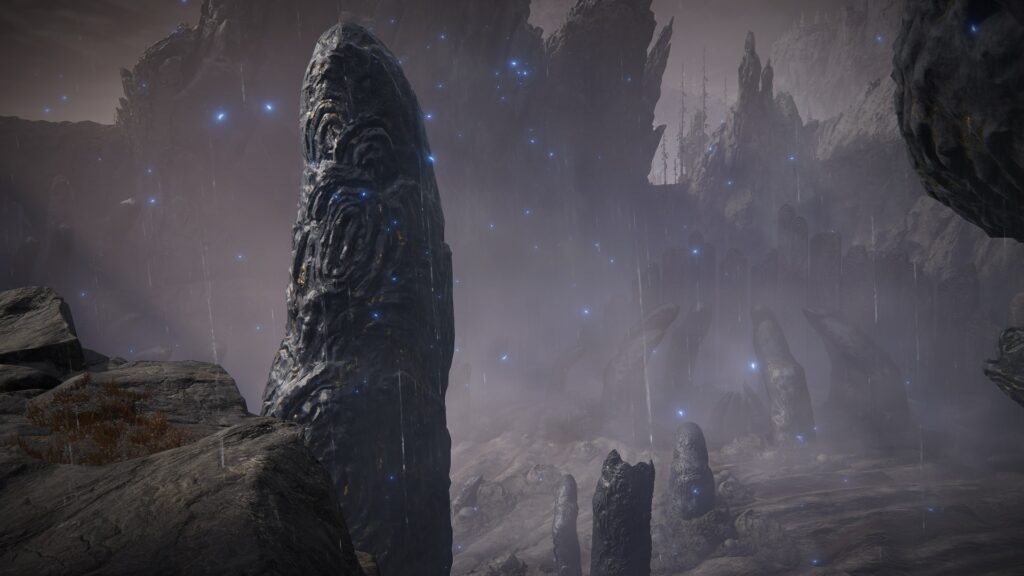
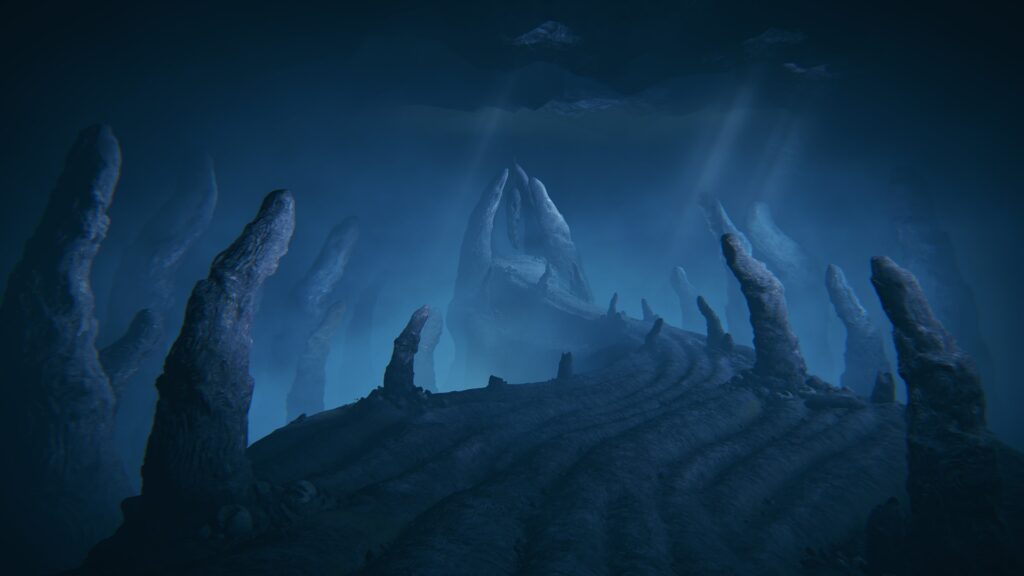
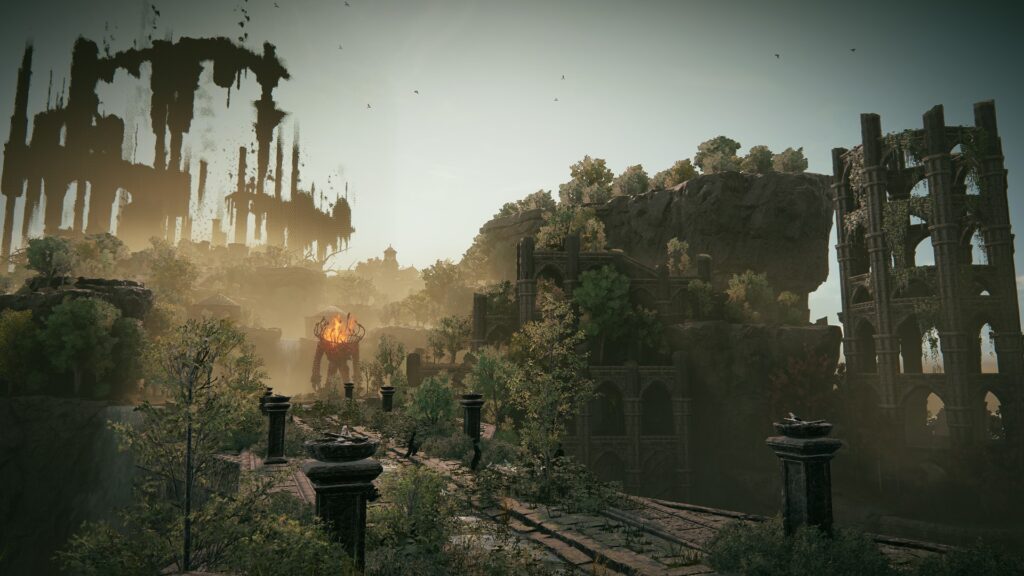
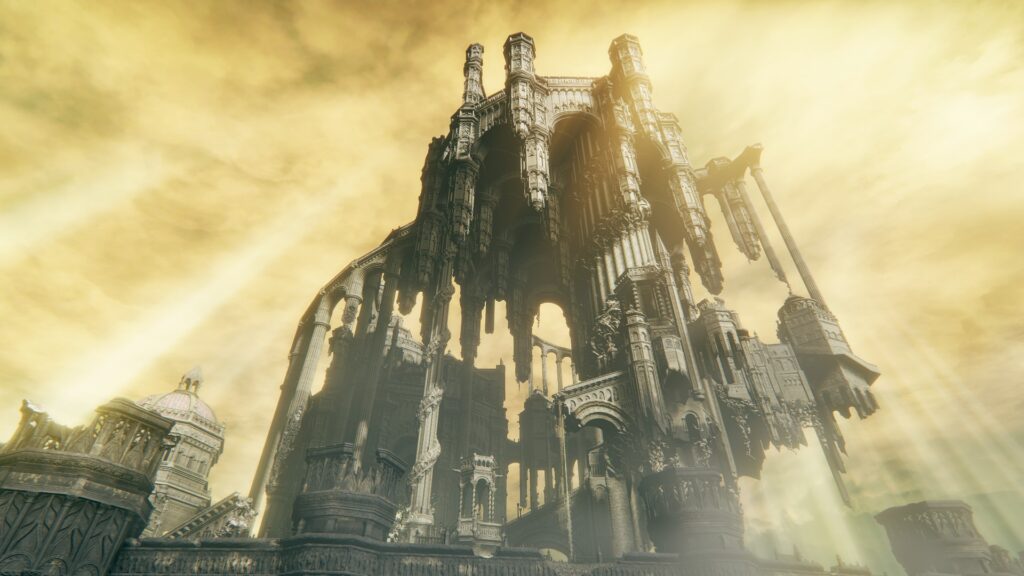
Hidden underneath the Cathedral of Manus Metyr are the Finger Ruins of Miyr. Ringing the hanging bell there will send you to the very finger-y Metyr, Mother of Fingers. One of the most challenging bosses in the DLC, finger mommy will test your dodging skills — and your ability to deal with adds — to the fullest.
- Rewards:
 420,000, Remembrance of the Mother of Fingers
 - Summons Available: Yes
- Boss Location: Finger Ruins of Miyr
General Tips
- The boss takes bonus damage if you attack the stomach (the spot on front with all the small hands and fingers)
- Metyr is exceptionally weak to Bleed, and it takes only a few hits to proc
- Bring a mobility Ash of War and some form of temporary invulnerability in order to dodge the large storm/laser combo
- Staying at mid-range will allow you to more easily avoid the scarier Phase 2 attacks
- If you aren’t at Scadutree Blessing level 10 or higher, consider coming back later
Strategy
As with all the major DLC bosses, Metyr has a massive health pool. Because of this,  Hemorrhage or
  Frostbite are your best bet for whittling down the boss’s health ASAP. If you’re having trouble dodge rolling in this fight, there’s an easier way for phase 1: equip a big greatshield, hold block, and R1 the boss’s vulnerable belly. With a reasonable amount of stamina, you can tank any combo the boss has and attack during it, then let go of block and regenerate your stamina in between combos. This generally works for phase 2 as well, though you’ll sometimes want to run away in between boss combos in order to avoid the large storm attack (see below). Keep in mind when the boss does the slam attacks or jumps up in the air, you can’t block if you’re too far under the boss (the attack will go over your shield).
If you’re a ranged build, you can probably ignore the fingercreeper adds that Metyr launches out of her stomach every so often; melee builds will want to clear them asap — wait until you’ve avoided an attack from the boss, or are far away, then clear the adds.
Consistently getting behind Metyr should trigger her to leap away more often — this is very important to do in Phase 2, as it allows you to be out of range of the difficult to dodge Phase 2 combo. If she instead walks towards you, she’s usually going to do a melee move instead, which you can punish while getting behind her. If you are low on healing resources, you should sneak a few hits in after an attack and then start sprinting away immediately — this should allow you to avoid the initial AoE storm from the extended storm + big laser combo (see below). Once you’ve seen the move, you can play aggressive for a minute or two, as the boss usually doesn’t do the big storm for a while after doing it once.
Dodging the storm + big laser
TL;DR: Use a mobility spell for the storm, and another one or Opaline Bubbletear for the laser
This move is such a pain it needs its own section. While this move can feel unavoidable, there are actually a number of ways you can deal with it. Avoiding the initial AoE damage from the storm is really tough — you’ll need a mobility Ash of War or spell, or else already be out of range. Miriam’s Vanishing (purchased from Ymir, ironically) works well to get you out of the storm’s AoE. However, none of these options are particularly great or easy to pull off — which is why it’s so important to try and trigger the leap away, and to always be running away until you’ve seen a different move start winding up.
As for the laser, the simplest way is to use the  Opaline Bubbletear — drink your flask before the first laser sweep.
  Vow of the Indomitable is another option that works much the same way, allowing you to fully block the damage from the laser.
You can also use mobility spells to avoid or pass through the laser:  Raptor of the Mists works, as does Miriam’s Vanishing chained into Bloodhound Step. Finally, you can straight up dodge through it if you’re at Light equip load. You have to dodge into the laser opposite the direction it is traveling.
However, if you’re far enough away when this attack starts, you can sprint away from the boss — get far enough in time, and the first sweep of the laser will fall short. You can then sprint towards the boss and stand right on the edge of the storm — there is a safe zone in between the laser and the storm where you have a ton of time to get ranged attacks off!
Moveset
Moves that the boss does from the front should be rolled by rolling towards the side of the boss. Attacks that start on the side should be rolled away from unless you’re close to the front or back of the boss, in which case that direction is also valid. In both phases, the boss will sometimes leap away if you are close — these leaps are often followed by a ranged attack, like one of the Laser moves.
Phase 1
- Triple Slam Combo – Metyr places her arms on the ground, then falls forward, slamming her head into the ground. She then leaps up into the air twice, attacking with her head each time she lands.
- Quad Slam Combo – The boss raises both arms high, then after a delay, slams her left hand down, immediately followed by the right. A moment later, she raises both arms high, then slams them down twice.
- Slow Slam – The boss rears and puts her arms in front of her stomach, then slams her body downward. This move has a long recovery time, and is a good attack to punish.
- Quick Slam – The boss raises her head, then slams her head and chest down. If you aren’t in range, the boss will crawl forward before starting the attack. This slam also has a decently long recovery time.
- Leaping Head Sweep – The boss leaps into the air and rotates to face you, then sweeps her head from her left to right. This attack seems to occur mostly when you are on the boss’s side.
- Arm Swipes – The boss extends and then swings its right arm, followed by the same motion with its left arm.
- Finger Spread – Metyr curls her fingers inward, then spreads them quickly, damaging everything nearby. This attack only occurs if there is a target on the boss’ side.
- Finger Tickle – The boss raises her fingers high, then slams them down repeatedly. This attack only occurs if there is a target on the boss’ side. Either be out of range, or roll away if you aren’t already blocking.
- Front Finger Tap – Metry puts her hands in front of her belly and rises up a bit, then attacks with both of the front fingers to either side of her belly. You can avoid by rolling backwards or towards the sides of the boss.
- Worm Shower – Metyr puts her hands in her belly and leaps forward, spraying little worms out as she flies. If you’re close to the boss, the attack (which does damage upon landing) should miss you.
- Laser Blast – The boss’ head glows with purple light, and then the boss fires a laser at you. If you’re behind the boss, this will miss, otherwise just sprint perpendicular to the boss.
- Laser Sweep – The boss’ head glows with purple light, and the head hunches down; a laser beam then sweeps from your right to left. If you can get on the side/rear of the boss, this cannot hit you, otherwise roll just before it reaches you.
- Eruption – The boss hugs itself and its head glows with purple light; after a delay, it slams its head into the ground, sending out streaks of pink light on the ground towards its target. After another delay, areas on the ground with the light will erupt, doing damage to anything on top of it. Sprint away from the boss and look down, staying off the light, to avoid.
- Finger Friends – The boss rears back and sticks its arms into its belly, then leans forward and pulls out three small fingercreepers. If you’re close to the boss when this “attack” begins, you have time to get a lot of damage off, including slow spells (you can also take this opportunity to refresh buffs).
- Elbow Drop – Metyr leans diagonally away from her target, then slams her elbow into it. Try not to stand on the front corner of the boss, as this attack comes faster than you’d think and it’s better to avoid it.
Phase 2
At around 60% HP, Metyr will go into Phase 2 — a purple orb will form on her tail, and she’ll rise into the air, with purple light appearing around her. The light then explodes and sends a wave of damage outwards. Anything inside the light after a few seconds will take damage and be knocked down, as will anything hit by the wave (you can avoid the damage with roll i-frames).
Metyr retains all of her Phase 1 moves, except for the attacks that instead become stronger versions.
- Spinning Leap – The boss’s orb glows, and it rises up into the air while spinning. After a delay it spins more rapidly and lands while moving towards its target. It travels a significant distance further in that same direction after landing. If you’re close enough to the boss when it takes off, or far enough away, start running perpendicular to the boss and this can miss completely. If she does land near you, spam rolls, as she continues doing damage for a long time after she lands.
- Orbs – Metyr rises into the air, and orbs splash out of the water around you. These will explode after a delay, so run away from the boss and look at the ground to see where the orbs will pop up (so you can avoid them).
- Triple Laser Blast – The boss’s head glows for a few seconds, and then it fires three lasers. Be behind the boss, or else sprint perpendicularly to avoid.
- That One Combo – You know the one. The boss rises into the air, and its orb begins glowing and drawing in bits of purple light. After a brief delay, a ring around the boss will spin with purple light, damaging anything inside, while a giant laser sweeps counter-clockwise. The first pass of the laser is right next to the central storm, while the subsequent pass is further out. (See Strategy section for tips on avoiding this attack).
