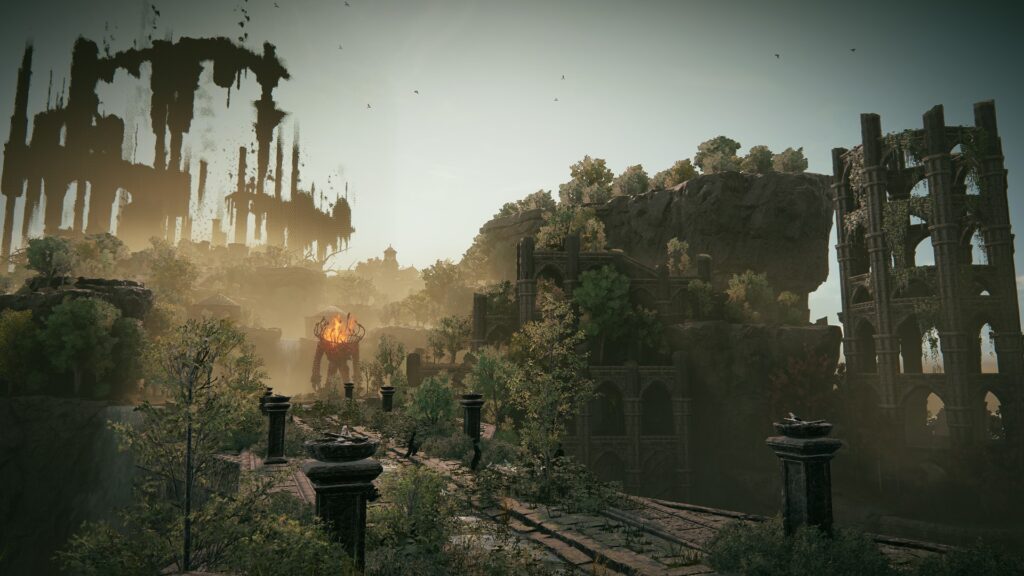
In the list below, you can find guides for bosses in the Gravesite Plain region of the Realm of Shadows (Shadow of the Erdtree expansion). We also have a dedicated Gravesite Plain Walkthrough to assist you in your travels (or feel free to use the walkthrough menu below).
The first region that you will come to in the Shadow Realm, the Gravesite Plain is also tied (with Scadu Altus) for the region with the most bosses in the DLC. This filled-out area has a total of 9 bosses, and while they are all optional, there are very powerful items and entire regions hidden behind several of them.
Gravesite Plain Bosses:
Read on for details on each boss, plus links to detailed guides for each fight!
- Summons Available: No
- Location: Western Nameless Mausoleum
- Rewards:
 70,000
- Greatsword of Solitude
- Helm of Solitude
- Armor of Solitude
- Gauntlets of Solitude
- Greaves of Solitude
One of the first bosses that you can come across in the Shadow Realm, the Blackgaol Knight showcases exactly how much of a step up the DLC is in terms of difficulty. Armed with a huge magical greatsword and a repeating crossbow, the Blackgaol Knight’s true challenge is akin to that of the first Tree Sentinel; it primarily exists to teach you that you can come back later once you’ve acquired more Scadutree Fragments.
That said, the Blackgaol Knight is still no pushover. Like many NPC fights, the trick is going to be responding to his attacks in order to get enough time in to punish, and then to keep punishing in order to prevent the Blackgaol Knight from responding himself. Lacking summons, the best way to take on the Blackgaol Knight — once you’ve acquired enough Scadutree Fragments to keep from being two-shot by him — is with aggression and concentration.
The Divine Beast Dancing Lion is the final challenge at the end of Belurat, Tower Settlement, and is well worth that position. With an otherworldly design and some very odd movement patterns, learning this boss can be very difficult, and that’s before factoring in the different elemental phases that it can go through.
With a hefty list of resistances and weaknesses, and a steep learning curve, the Divine Beast Dancing Lion gives you a good reason to experiment and plan before you go in. By learning the patterns (and maybe making use of Redmane Freyja’s high aggression), you will be able to take on this oddly-shifting beast and acquire its head, which you can use elsewhere in Belurat for some really good soup.
A unique spin on the dragons you can find all over Elden Ring, the Ghostflame Dragon’s skeletal appearance is more than just a fresh look. While many of the Ghostflame Dragon’s moves are the same as the moves of the base dragons, its additional ghostflame effects can prove very devastating.
The first encounter with the Ghostflame Dragon in the Gravesite Plain is the simplest, being essentially the same as most dragon fights in the game. However, its later appearances in Scadu Altus and on the Cerulean Coast each add in a new element, from added skeleton allies to a large group of Messmer Knight mutual enemies trying to take it on. So long as you keep in mind the fundamentals of dragon fights, however, you should be able to take on this morbid version of a familiar foe.
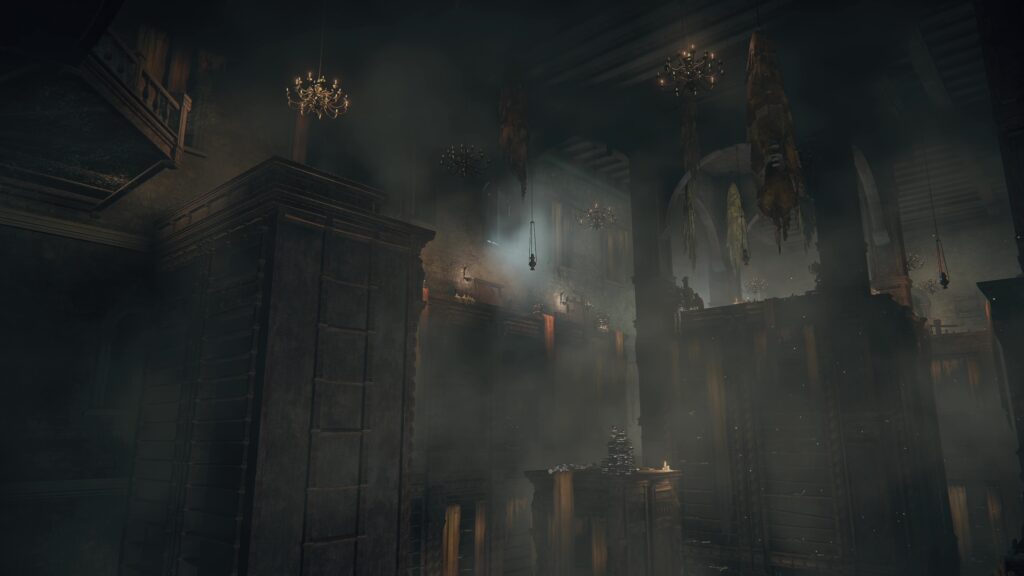
- Summons Available: Yes
- Location: Belurat Gaol
- Rewards:
- 80,000
- Demi-Human Swordsman Yosh
At the end of the Belurat Gaol, you can find this tiny, spinning swordmaster. The Demi-Human Swordmaster Onze puts up a deceptive tough fight, with very fast combos and lots of very fast movement. However, if you are able to stagger him (especially with a summon), than you can stunlock him for a long enough time to deal huge damage.
One of the most fun and efficient ways to fight Onze is to focus on parries. Because of his small size and frequent combos, Onze can be parried more easily than most enemies in the game, meaning that this fight can be a good reason to equip a buckler. If you do opt to parry Onze, be ready for his aerial attacks, but otherwise you can make easy work of him with good timing.
- Summons Available: Yes
- Location: Dragon’s Pit
- Rewards:
- 130,000
Ancient Dragon-Man, found at the bottom of Dragon’s Pit (by jumping down into a pit that shockingly doesn’t kill you), is the guardian of the Jagged Peak region and the powerful Dragon-Hunter’s Katana. Having encountered him already as an NPC fight near the entrance to the dungeon, you should already be aware that Ancient Dragon-Man is an especially aggressive, but surprisingly frail, NPC boss who can be dealt with by using the usual methods.
The Ancient Dragon-Man has a number of Dragon Communion Incantations, all of which can deal heavy damage but are easy to dodge and punish. Much more threateningly, the Ancient Dragon-Man’s high amount of aggression with his sword can easily catch a player off guard, and it can be difficult to find time to heal between his attacks, requiring careful positioning.
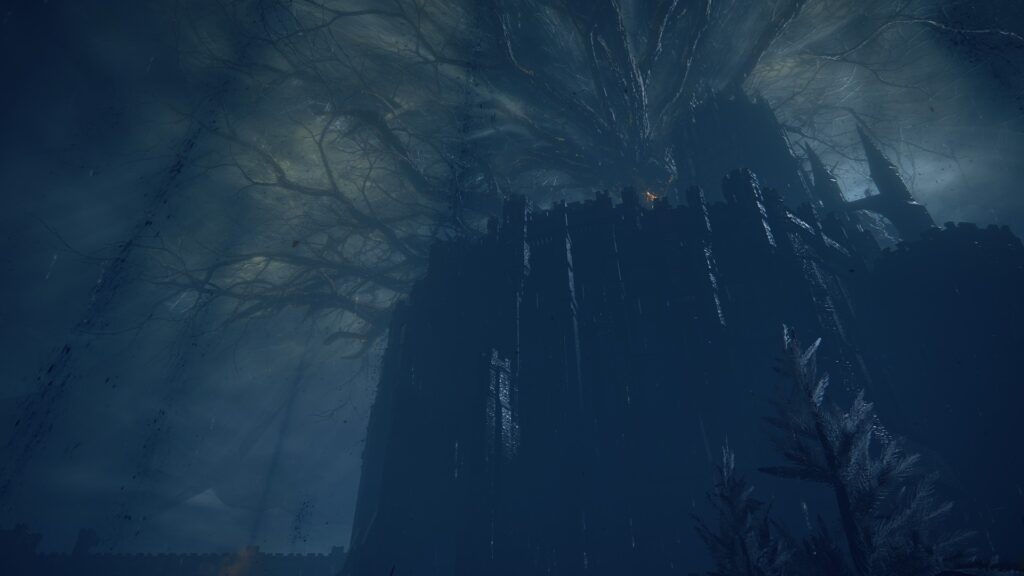
- Summons Available: Yes
- Location: Fog Rift Catacombs
- Rewards:
- 110,000
- Death Knight’s Twin Axes
- Crimson Amber Medallion +3
At the end of the Fog Rift Catacombs, you can find one of the two optional Death Knight bosses. These lightning-infused enemies attack with high mobility and long combos, meaning that they are best taken on with caution so that you don’t get caught out and punished for it. This is especially true for the Death Knights’ signature grab attack, which not only deals massive damage, but also heals the Death Knight.
However, despite these difficulties, the Death Knights’ both have fairly low HP, and are weak to the common Holy damage, meaning that they can be destroyed fairly easily so long as you avoid their devastating attacks. Since the Fog Rift Catacombs Death Knight has a fantastic medallion that increases health, it can be well worth taking it on.
- Summons Available: Yes
- Location: Rivermouth Cave
- Rewards:
- 80,000
- Bloodfiend Hexer’s Ashes
Hiding deep within the Rivermouth Cave dungeon, the Chief Bloodfiend is a special variant of the Bloodfiend that, predictably, uses a lot of Bleed attacks that can devastate a player (if they get hit). The most dangerous part of the Bloodfiend is this bleed, which nearly all of his moves have.
Thankfully, this boss moves slow, and can be practically disabled by simply staying behind him. By rolling into the Chief Bloodfiend and staying behind him, you can deal massive damage with little risk. Because of this, the Chief Bloodfiend — while only in possession of a fairly weak ash — is one of the easier bosses in the DLC.
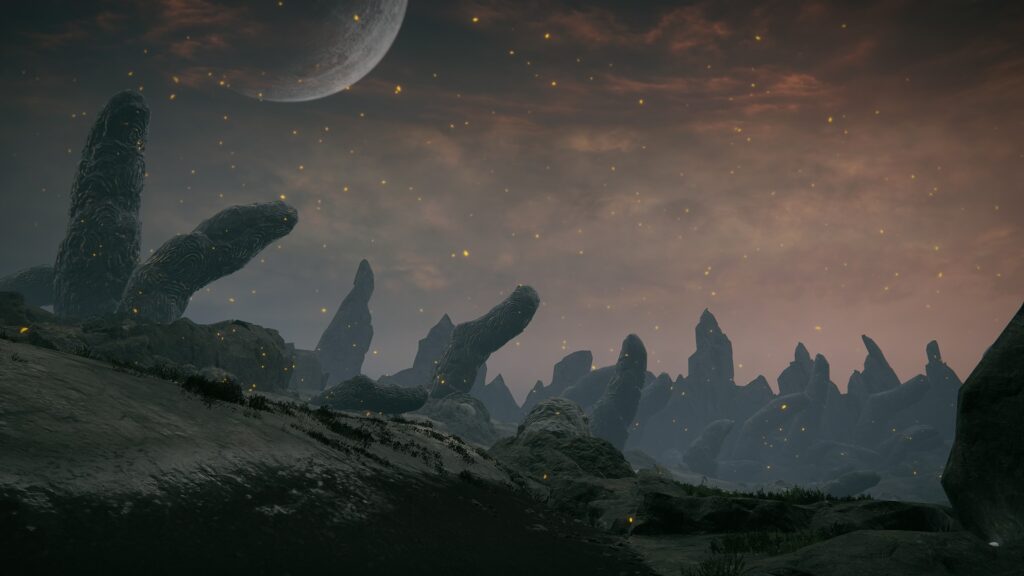
- Summons Available: Yes
- Location: Three-Path Cross
- Rewards:
- 9,524
- Deflecting Hardtear
- Furnace Visage
This first Furnace Golem is one of the most massive enemies you can take in all of Elden Ring, and has a health bar to match. Being far from any cliff, it is also impossible to cheese by attacking it with Hefty Fire/Furnace pots from above, requiring you to fight it on the ground using Torrent.
The Furnace Golems, owing to their size, all move incredibly slowly, giving you plenty of time to move away from or jump over attacks on Torrent, meaning you can continuously move in to attack and move away to avoid in order to slowly whittle away at the Furnace Golem’s health. Given that it drops one of the best and most interesting Hardtears in the game, it is well worth the time it will take to eliminate such a massive foe.
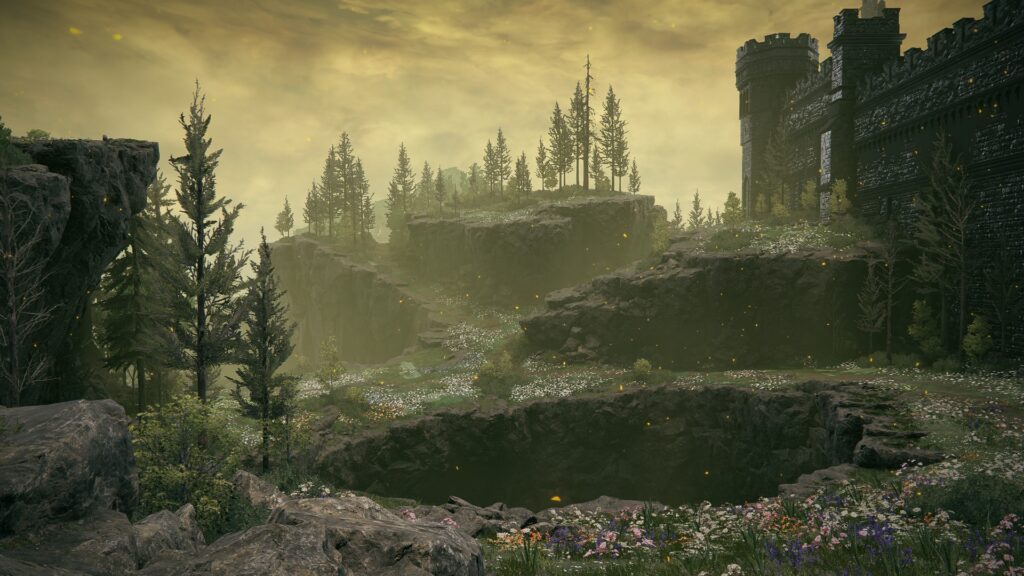
- Summons Available: Yes, Needle Knight Leda
- Location: Castle Ensis
- Rewards:
- 240,000
- Remembrance of the Twin Moon Knight
Rellana, Twin Moon Knight is the final challenge you will face before leaving Castle Ensis and entering Scaudu Altus. While Rellana can technically be skipped by using the Spiritspring near the Divided Falls, it would be a shame to miss this epic Remembrance fight. While very challenging, the real difficulty in fighting Rellana is mostly just about getting the timings right with all of her many, many different moves.
The key to Rellana, for most players, is not to completely avoid being hit, but rather to be able to survive the hits you do take. This can mean equipping items that can negate as much damage as possible, and it can also mean to learn to find openings to heal in between her long combos. Alternatively, Rellana is also one of the most parryable bosses in the DLC, as she is stance broken with only a couple good parries, giving you the chance for massive damage.