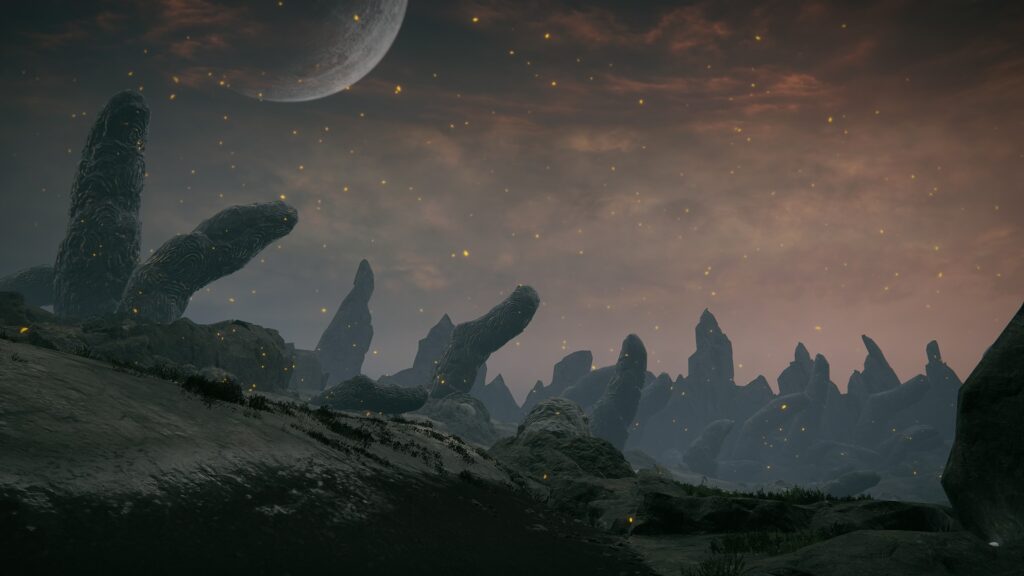
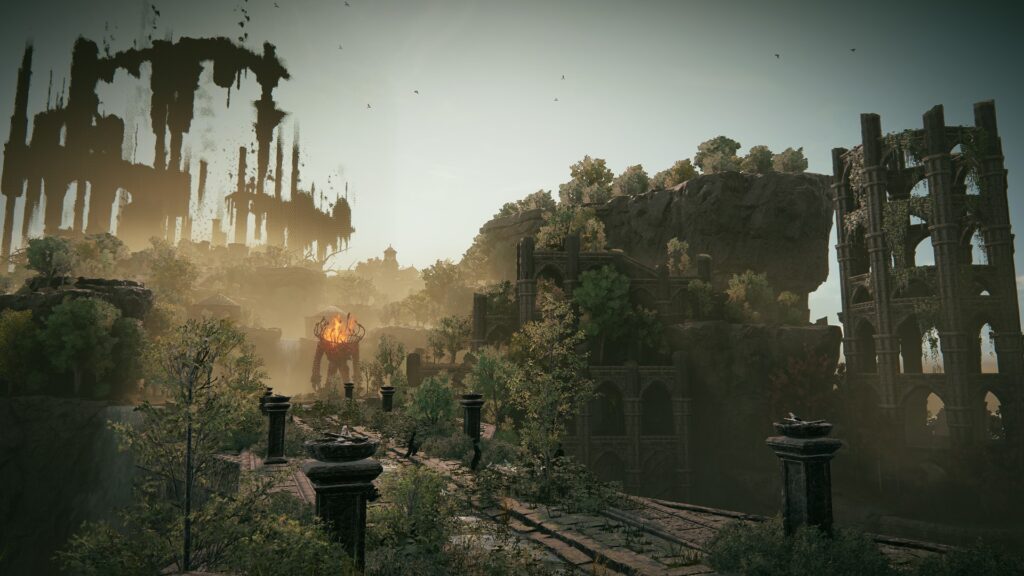
Darklight catacombs is a deep dungeon on the far reaches of Scadu Altus with an interesting twist on navigating the puzzles. It has loot that you won’t want to miss, a unique boss (who may or may not be challenging), and the dungeon acts as a path to the Abyssal Woods from Scadu Altus.
Unique Rewards:
Big Mouth Imp Ashes
Barbed Staff-Spear (drops from Boss)
Death Knight Set (Death Knight Armor, Death Knight Helm, Death Knight Gauntlets, Death Knight Greaves)
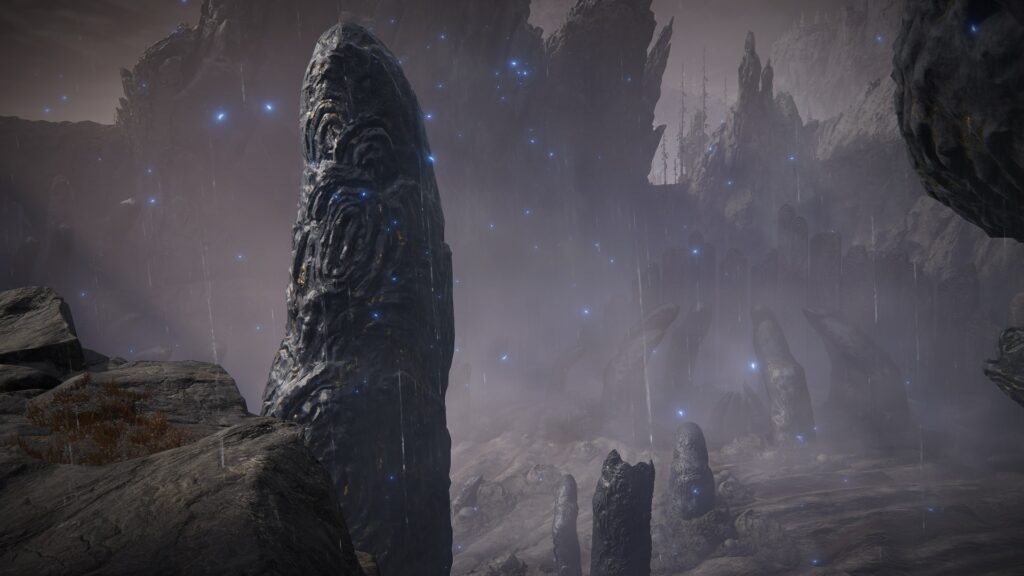
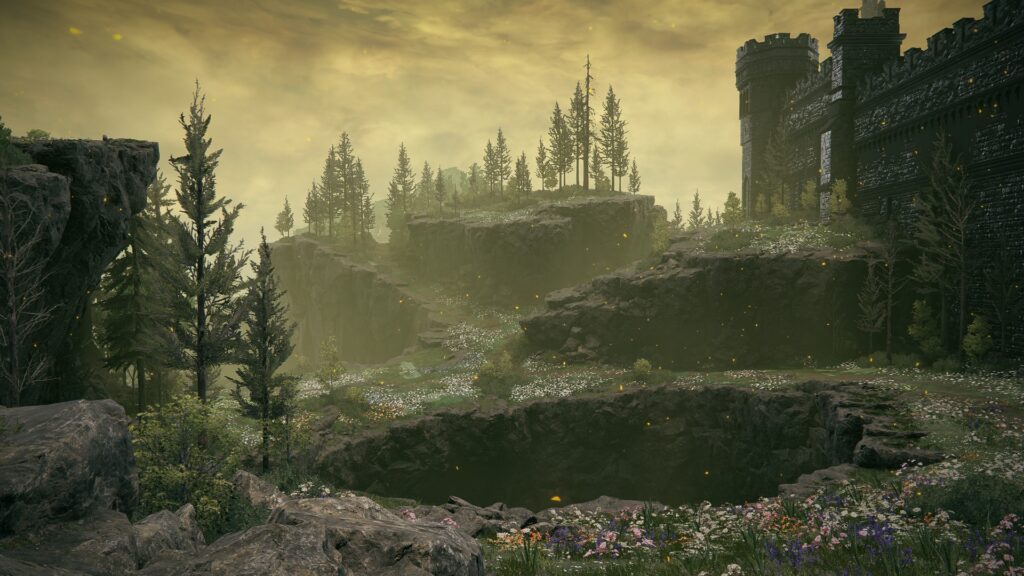
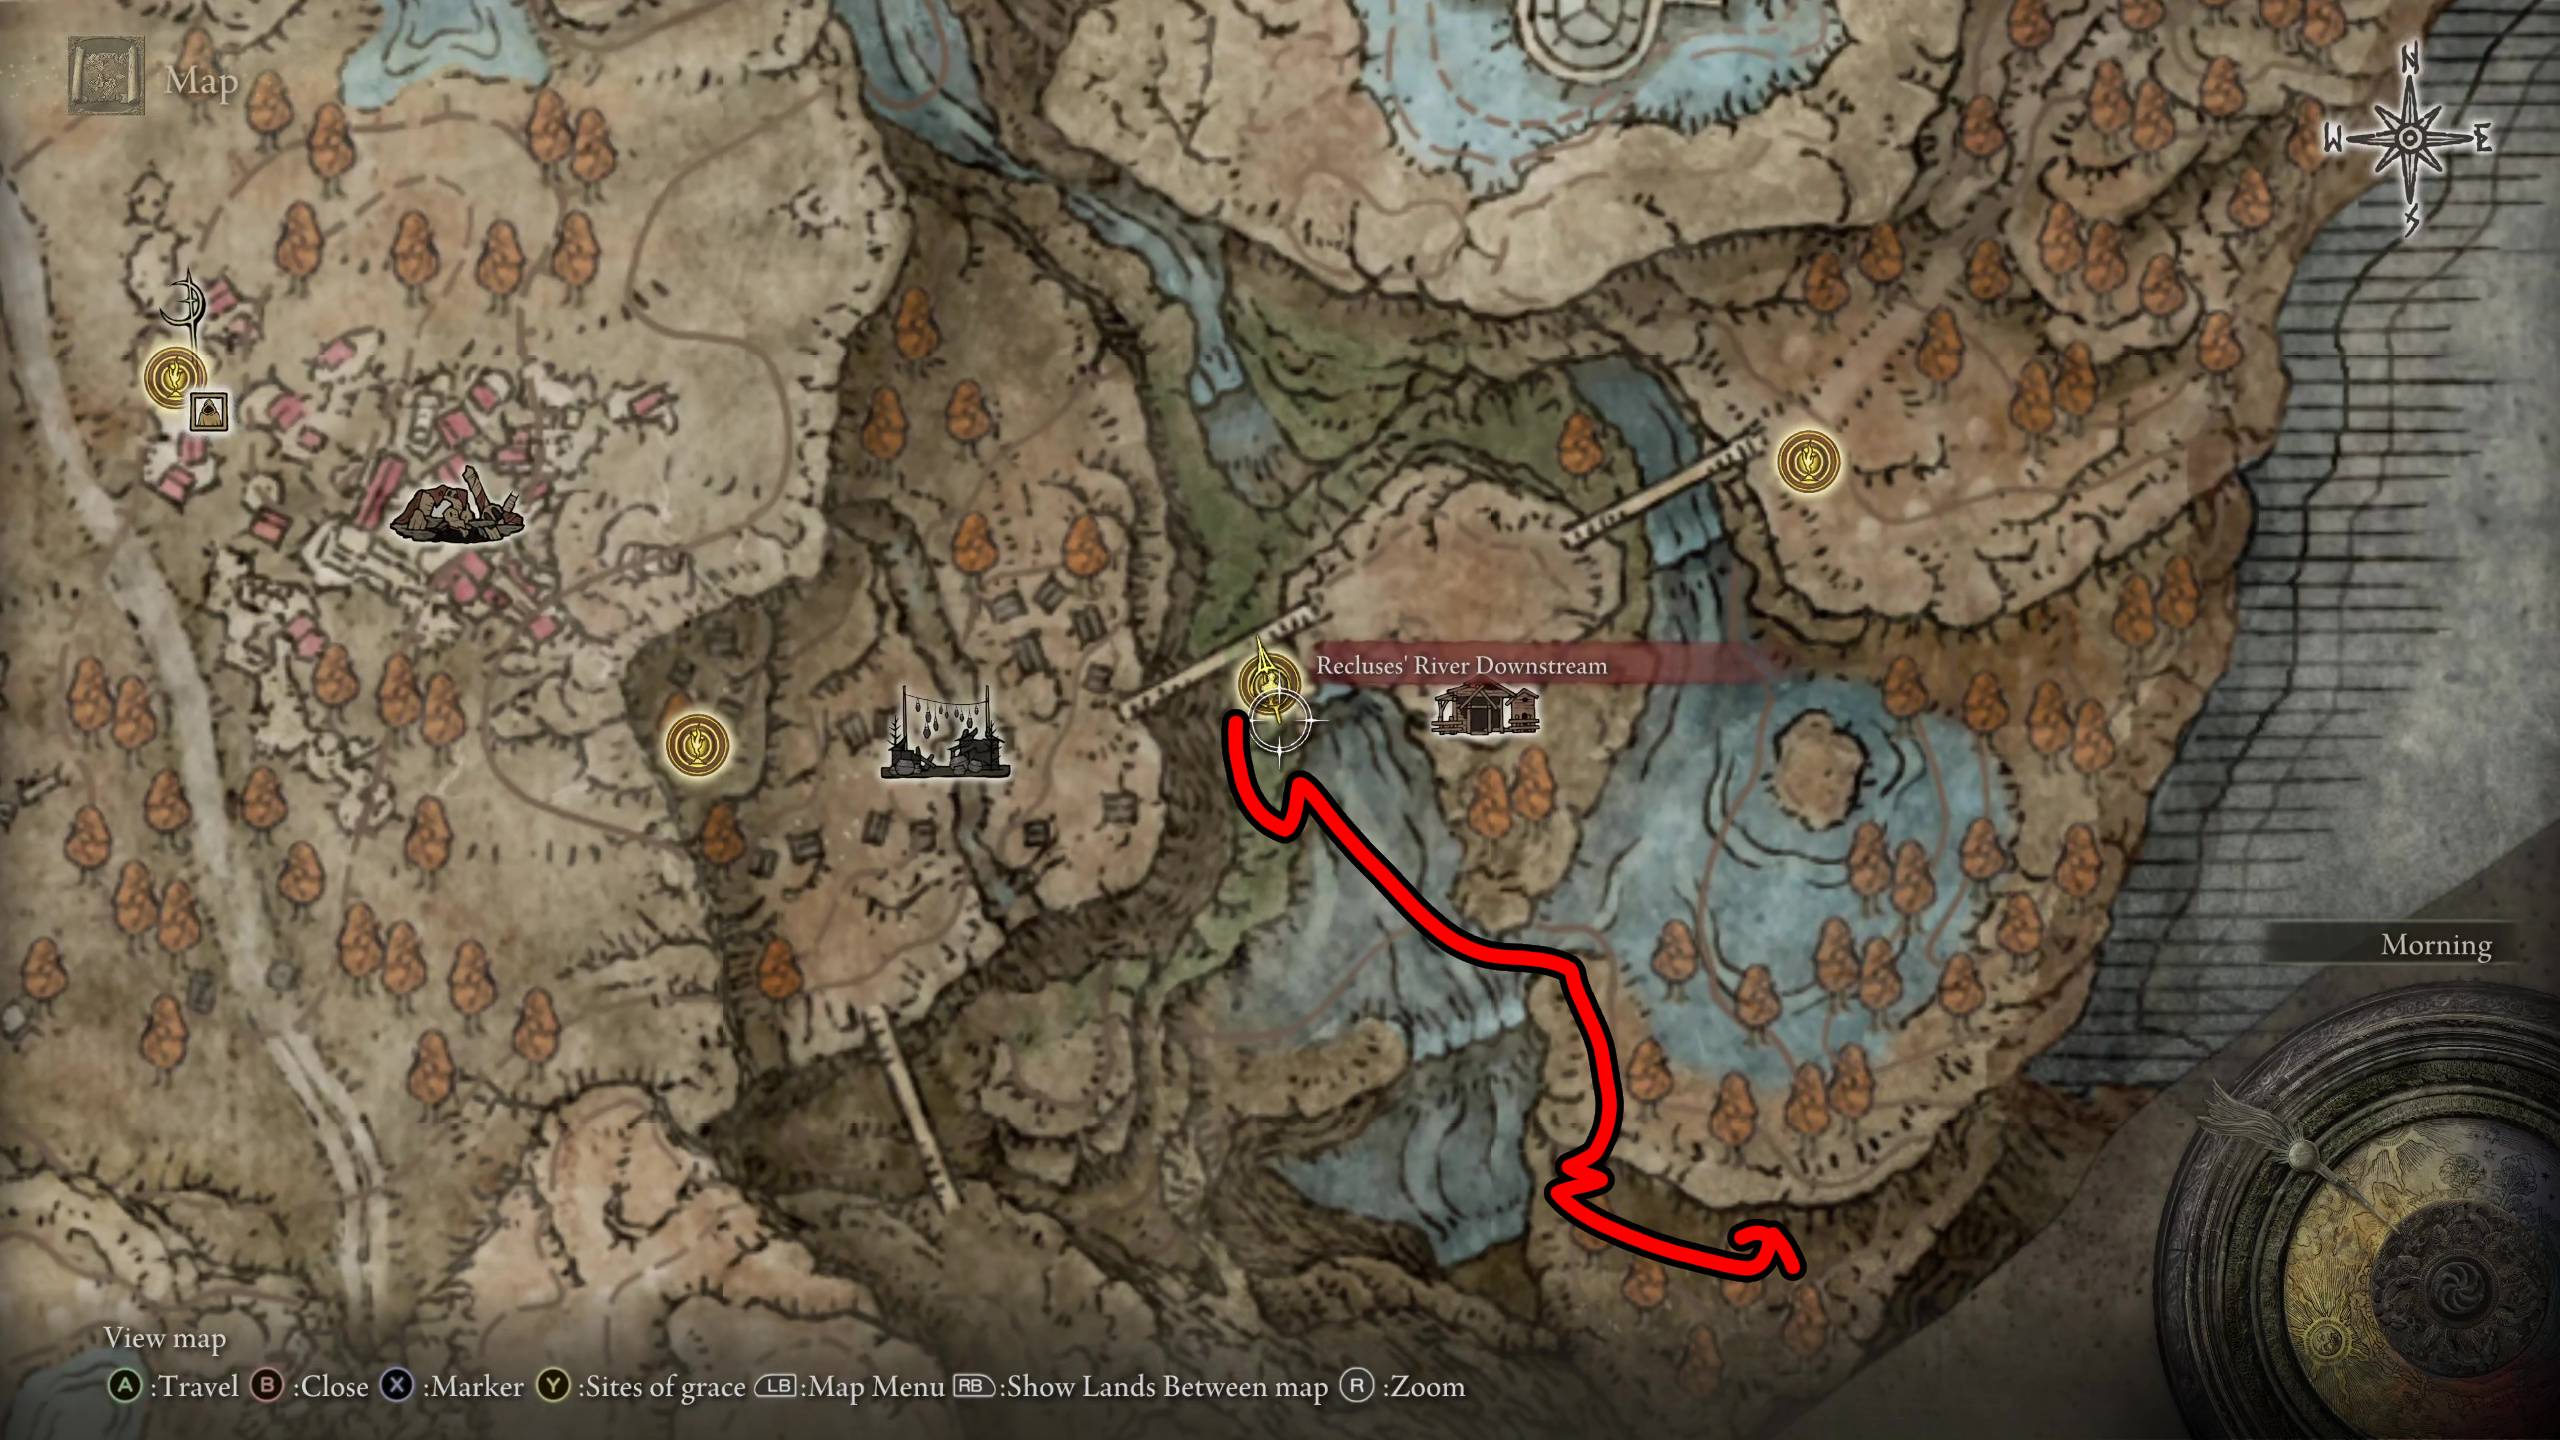
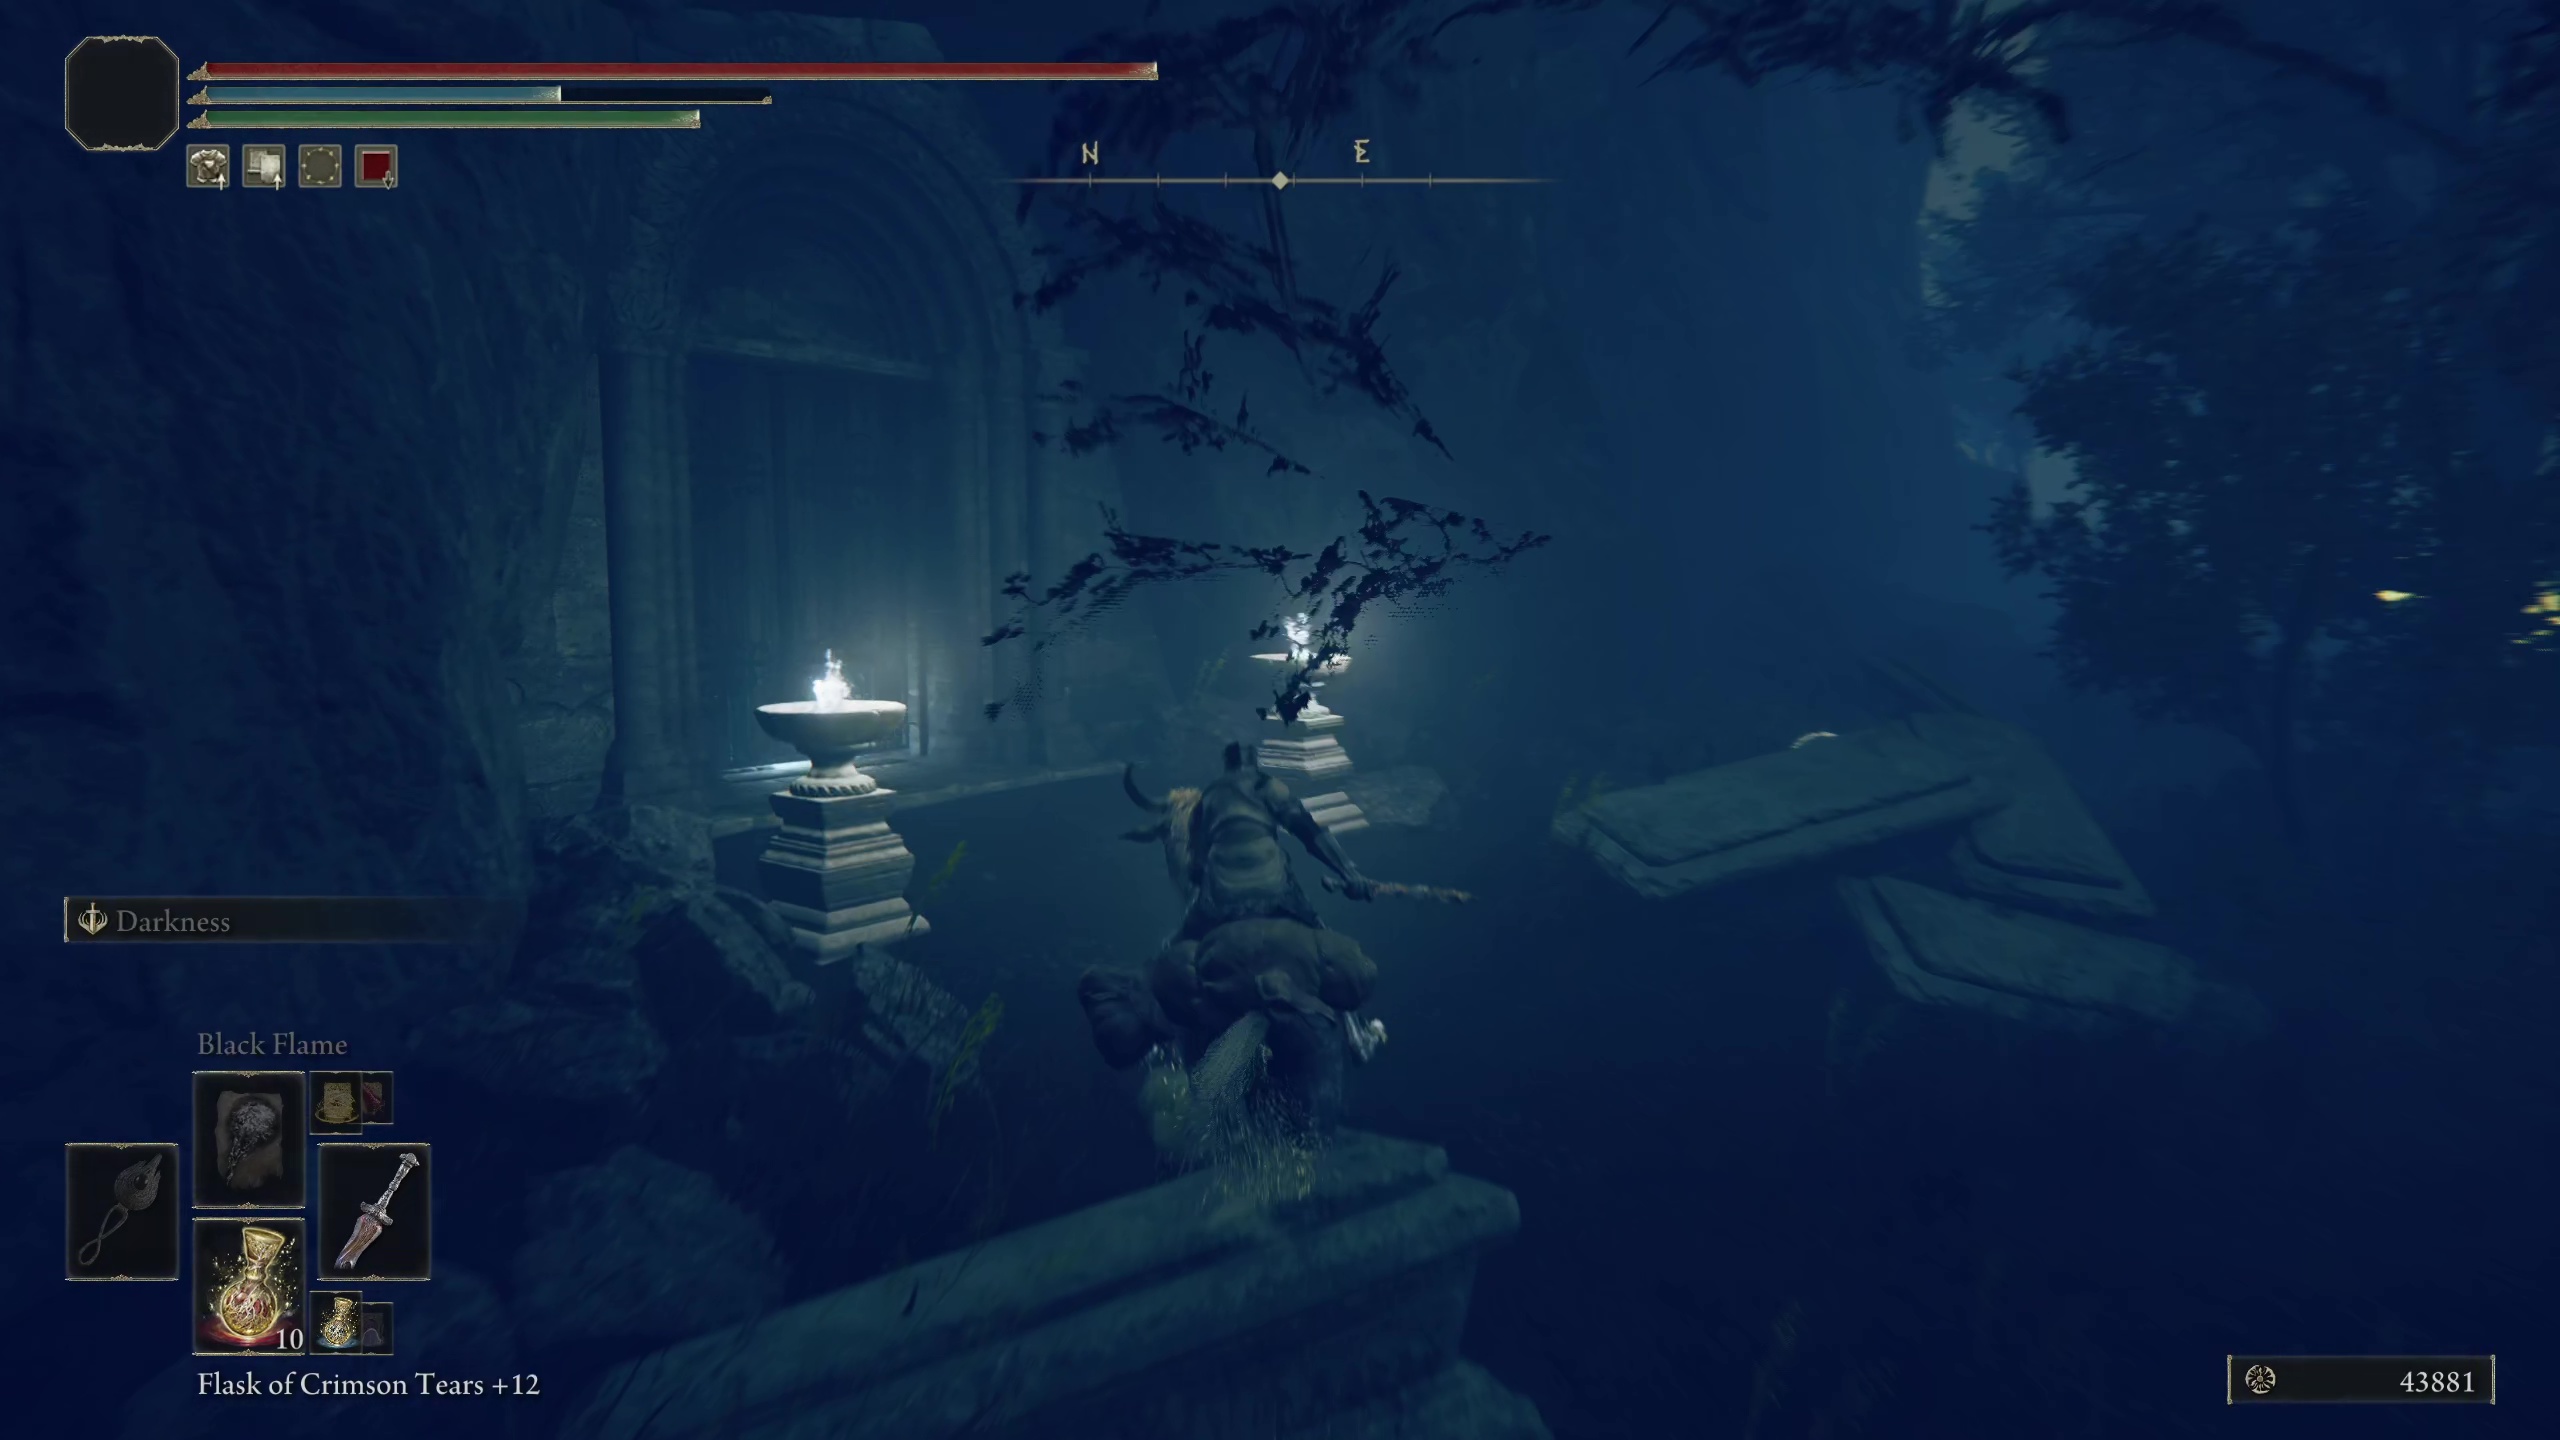
The Darklight Catacombs are can be accessed from the Recluses’ River Downstream site of grace. Along the cliff south of the site of grace, you’ll be able to jump down on massive gravestones sticking out of the rock face. Head southeast, and you’ll see more large gravestones leading down along a cliff next to a waterfall. At the bottom, the dungeon entrance goes into the cliff to your left.
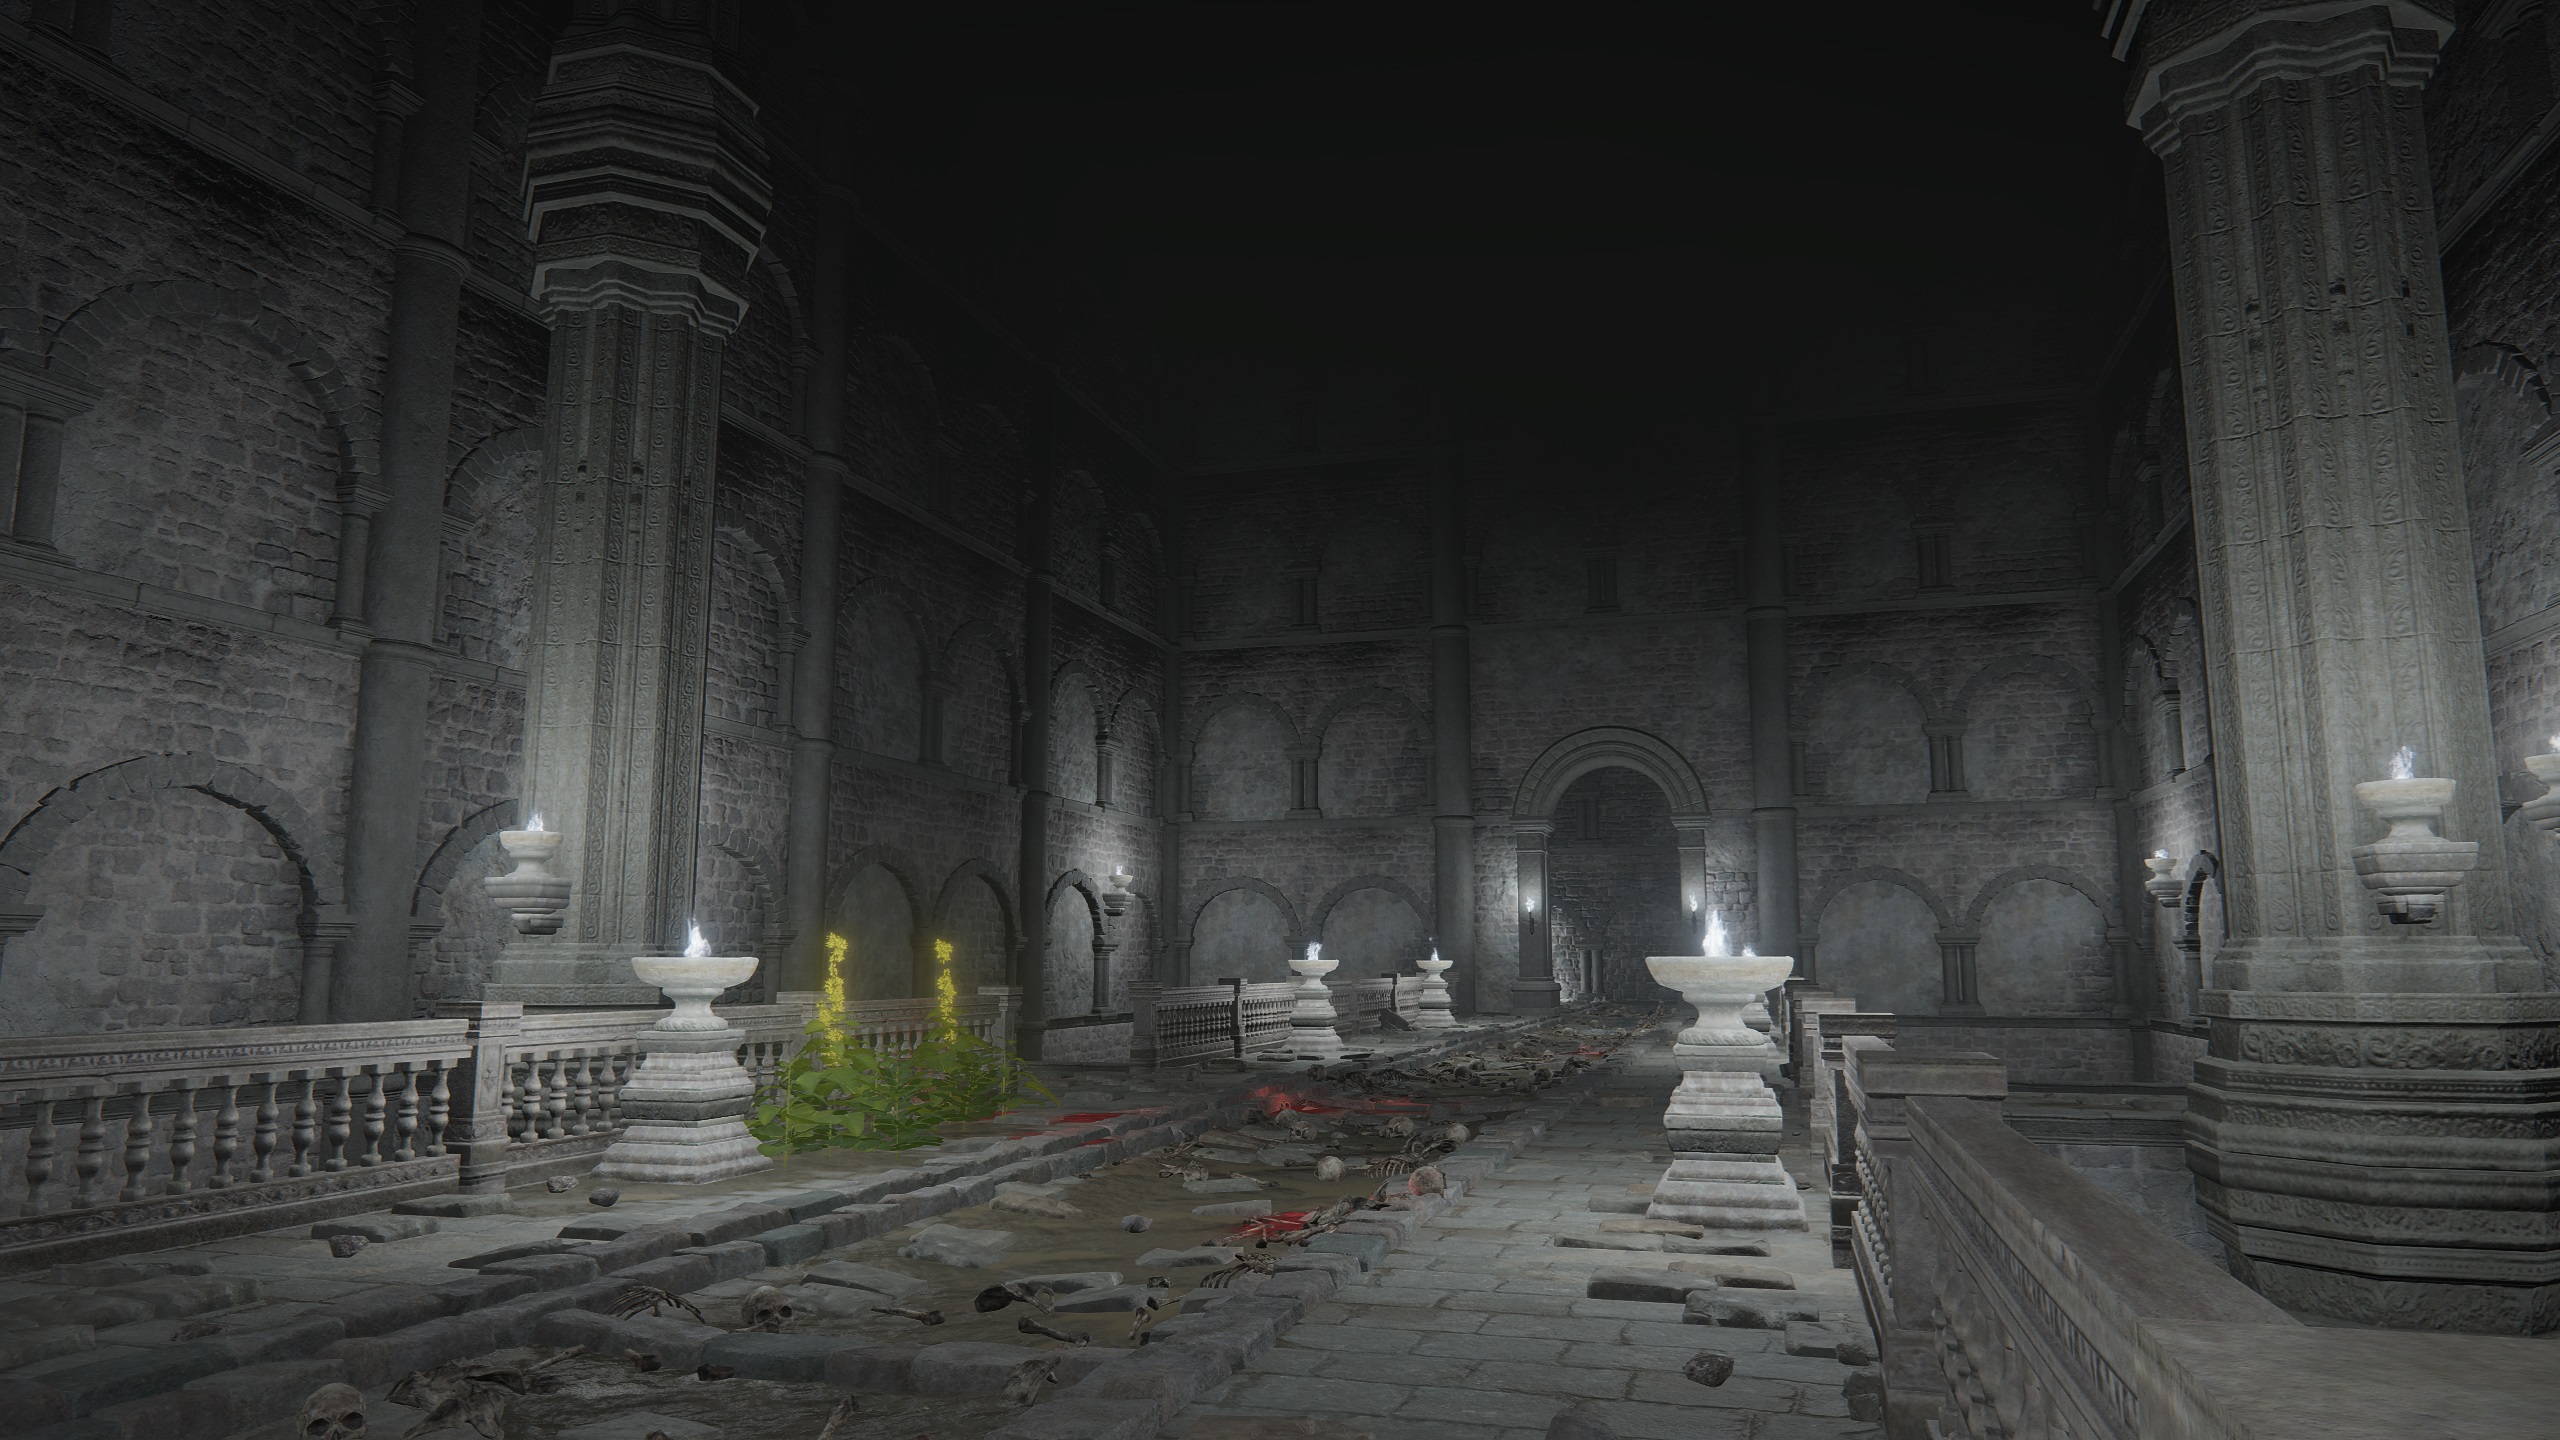
The entrance has two “darklight” torches
Darklight Catacombs First Level
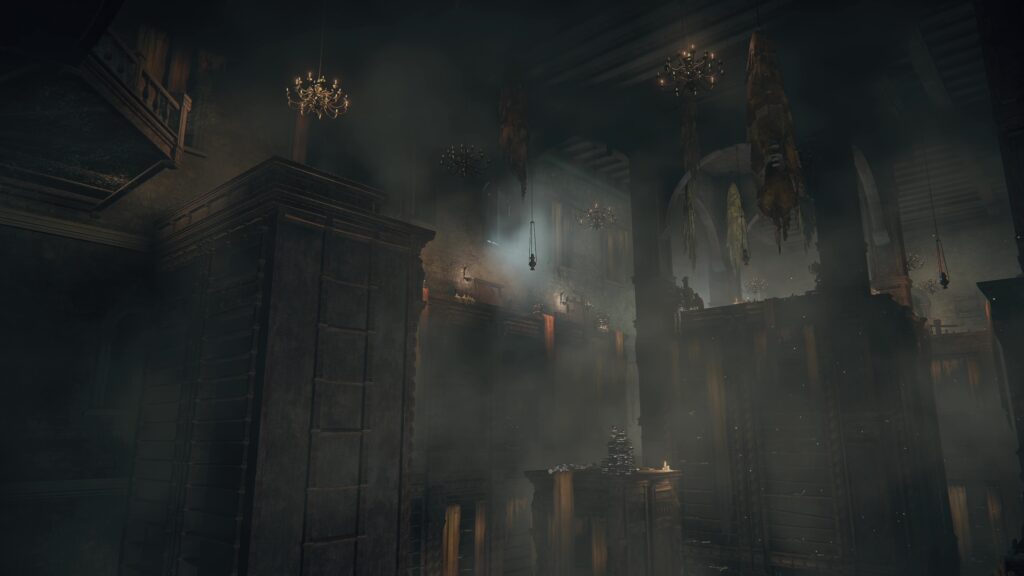
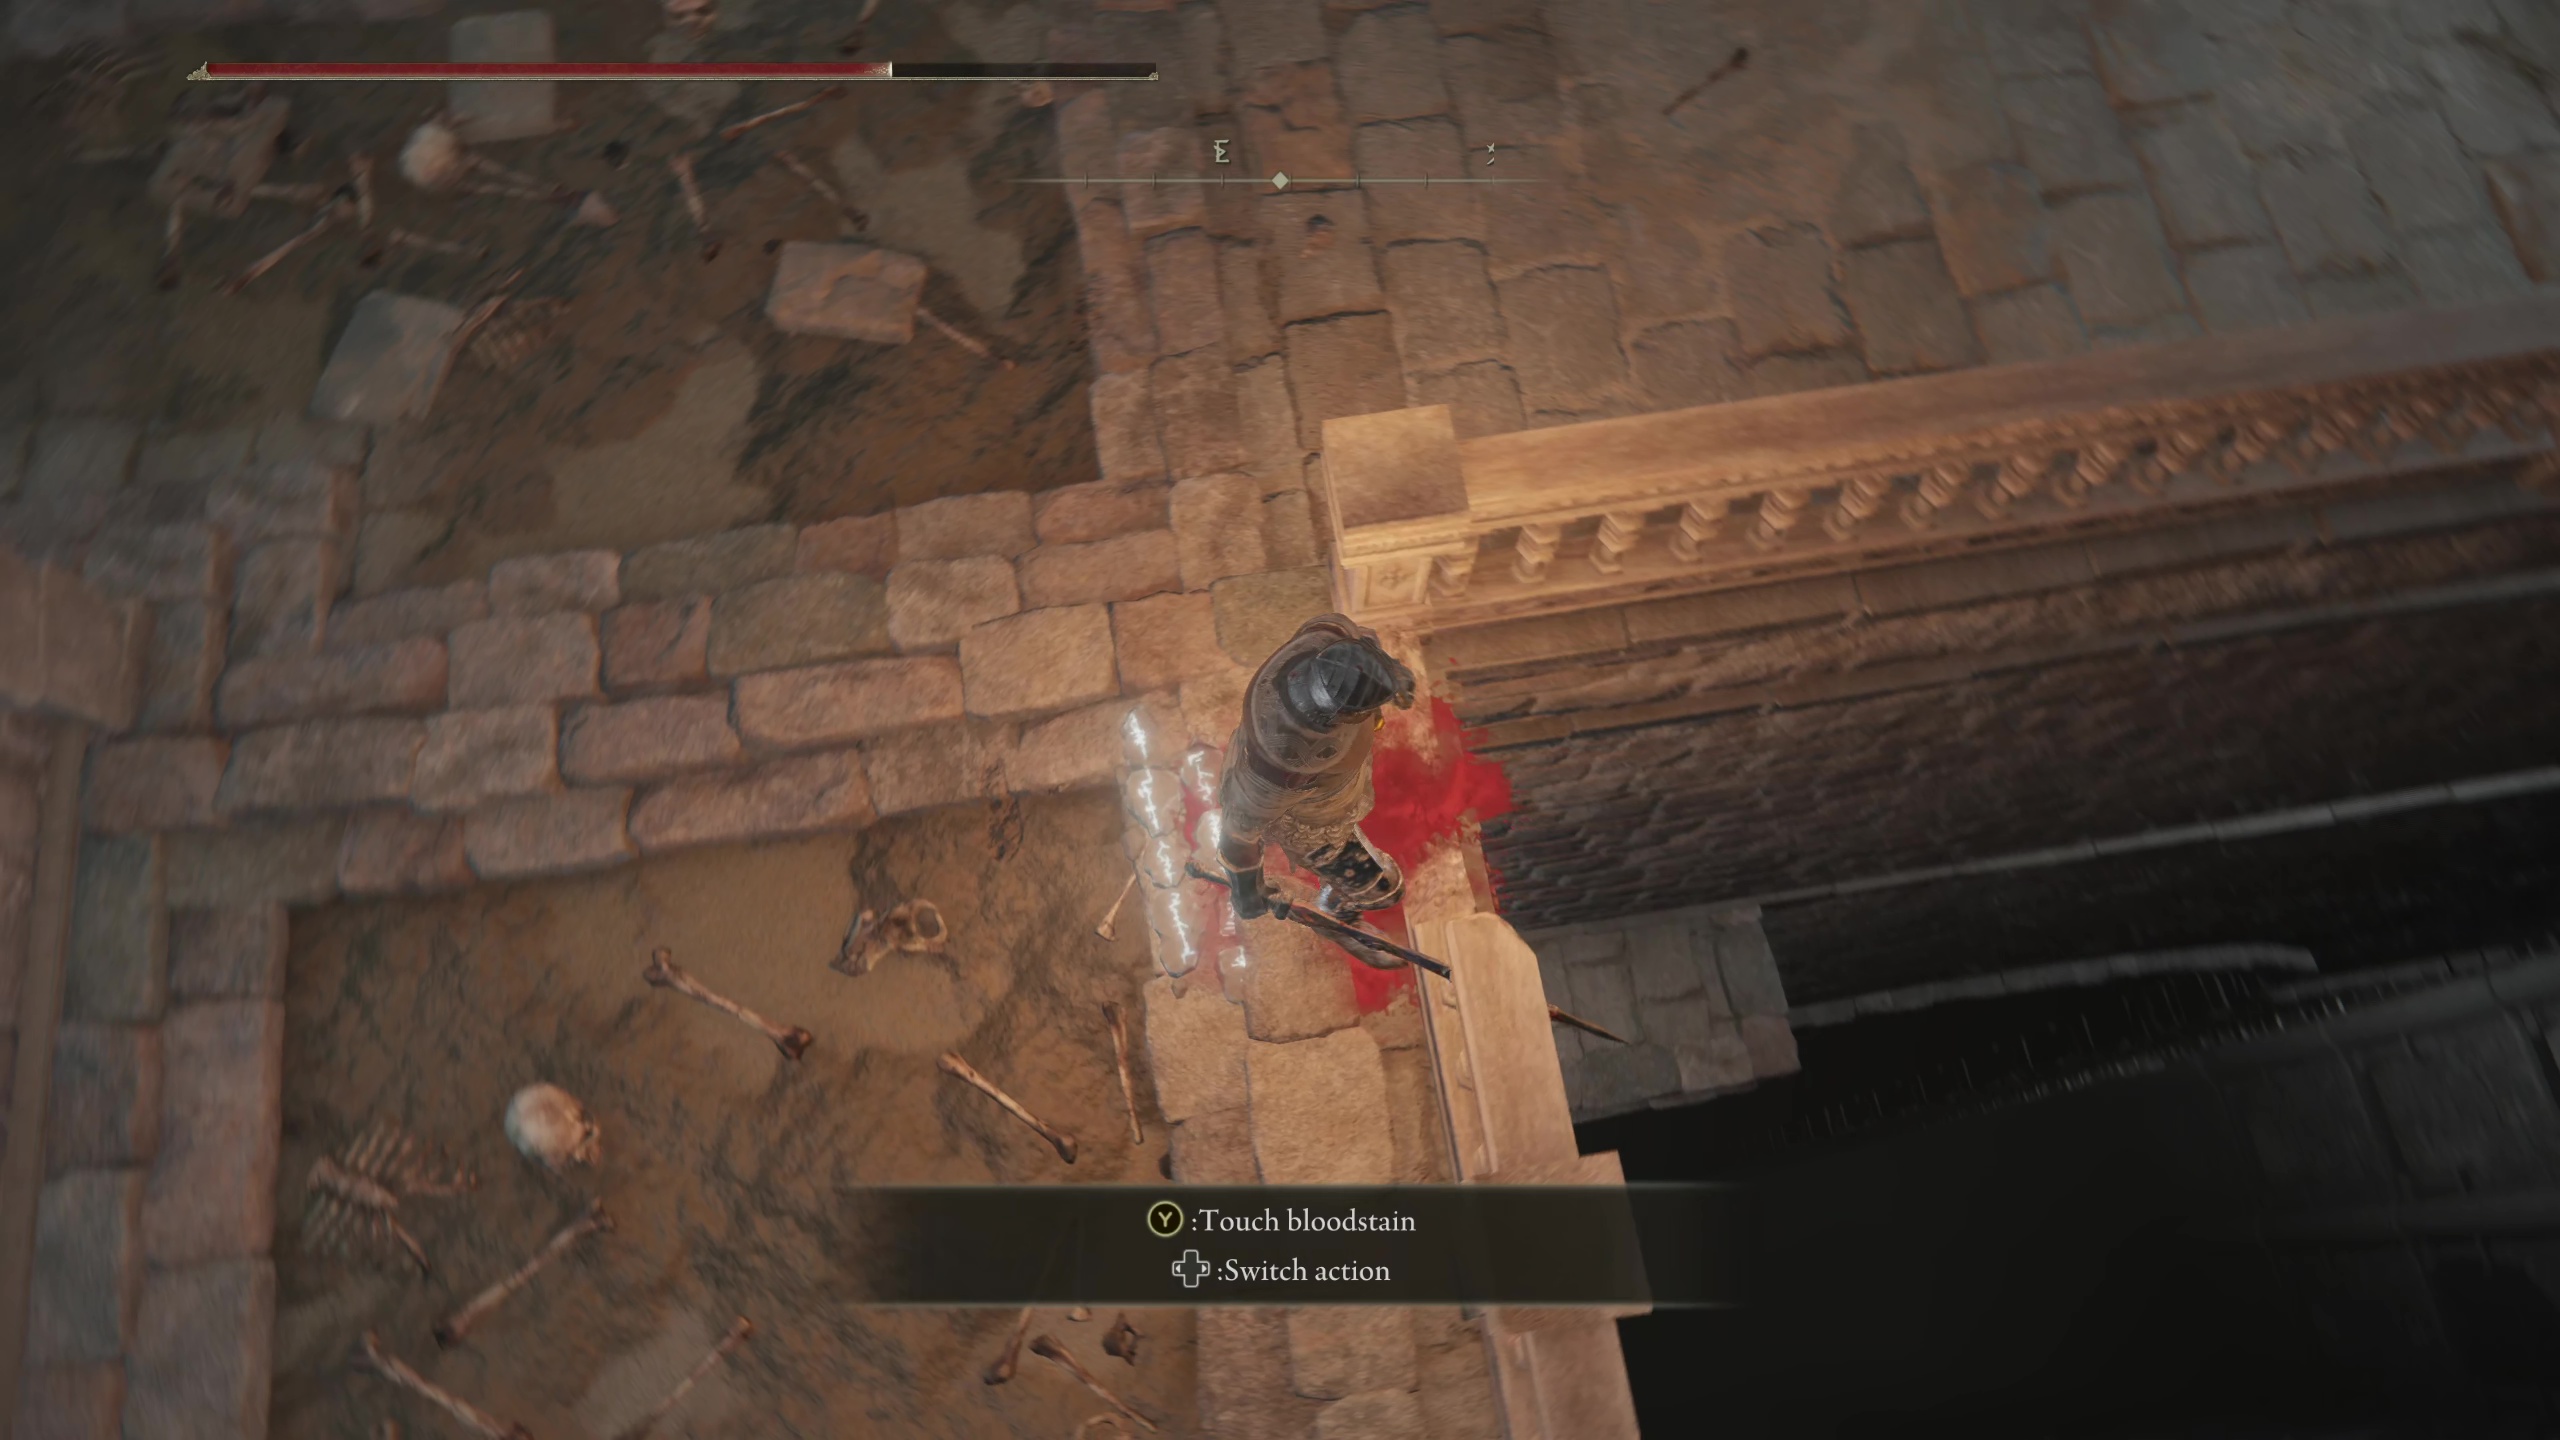
When you enter the dungeon, step onto the elevator and down to the site of grace. This dungeon has lots of platforming, so you will want to make sure you don’t forget to “Touch” the save point. The very first room you walk in will be dark, and there will be an item in front of you. Equip your Lantern, so that you can see in these dark areas. A Pogo Stick Imp will attack you from the left, so kill it, then claim the Grave Glovewort [5].
Note: There are no secret doors that have been found yet in this dungeon, so don’t waste your time hitting walls (despite what the messages say). The shortcuts in this dungeon all involve jumping.
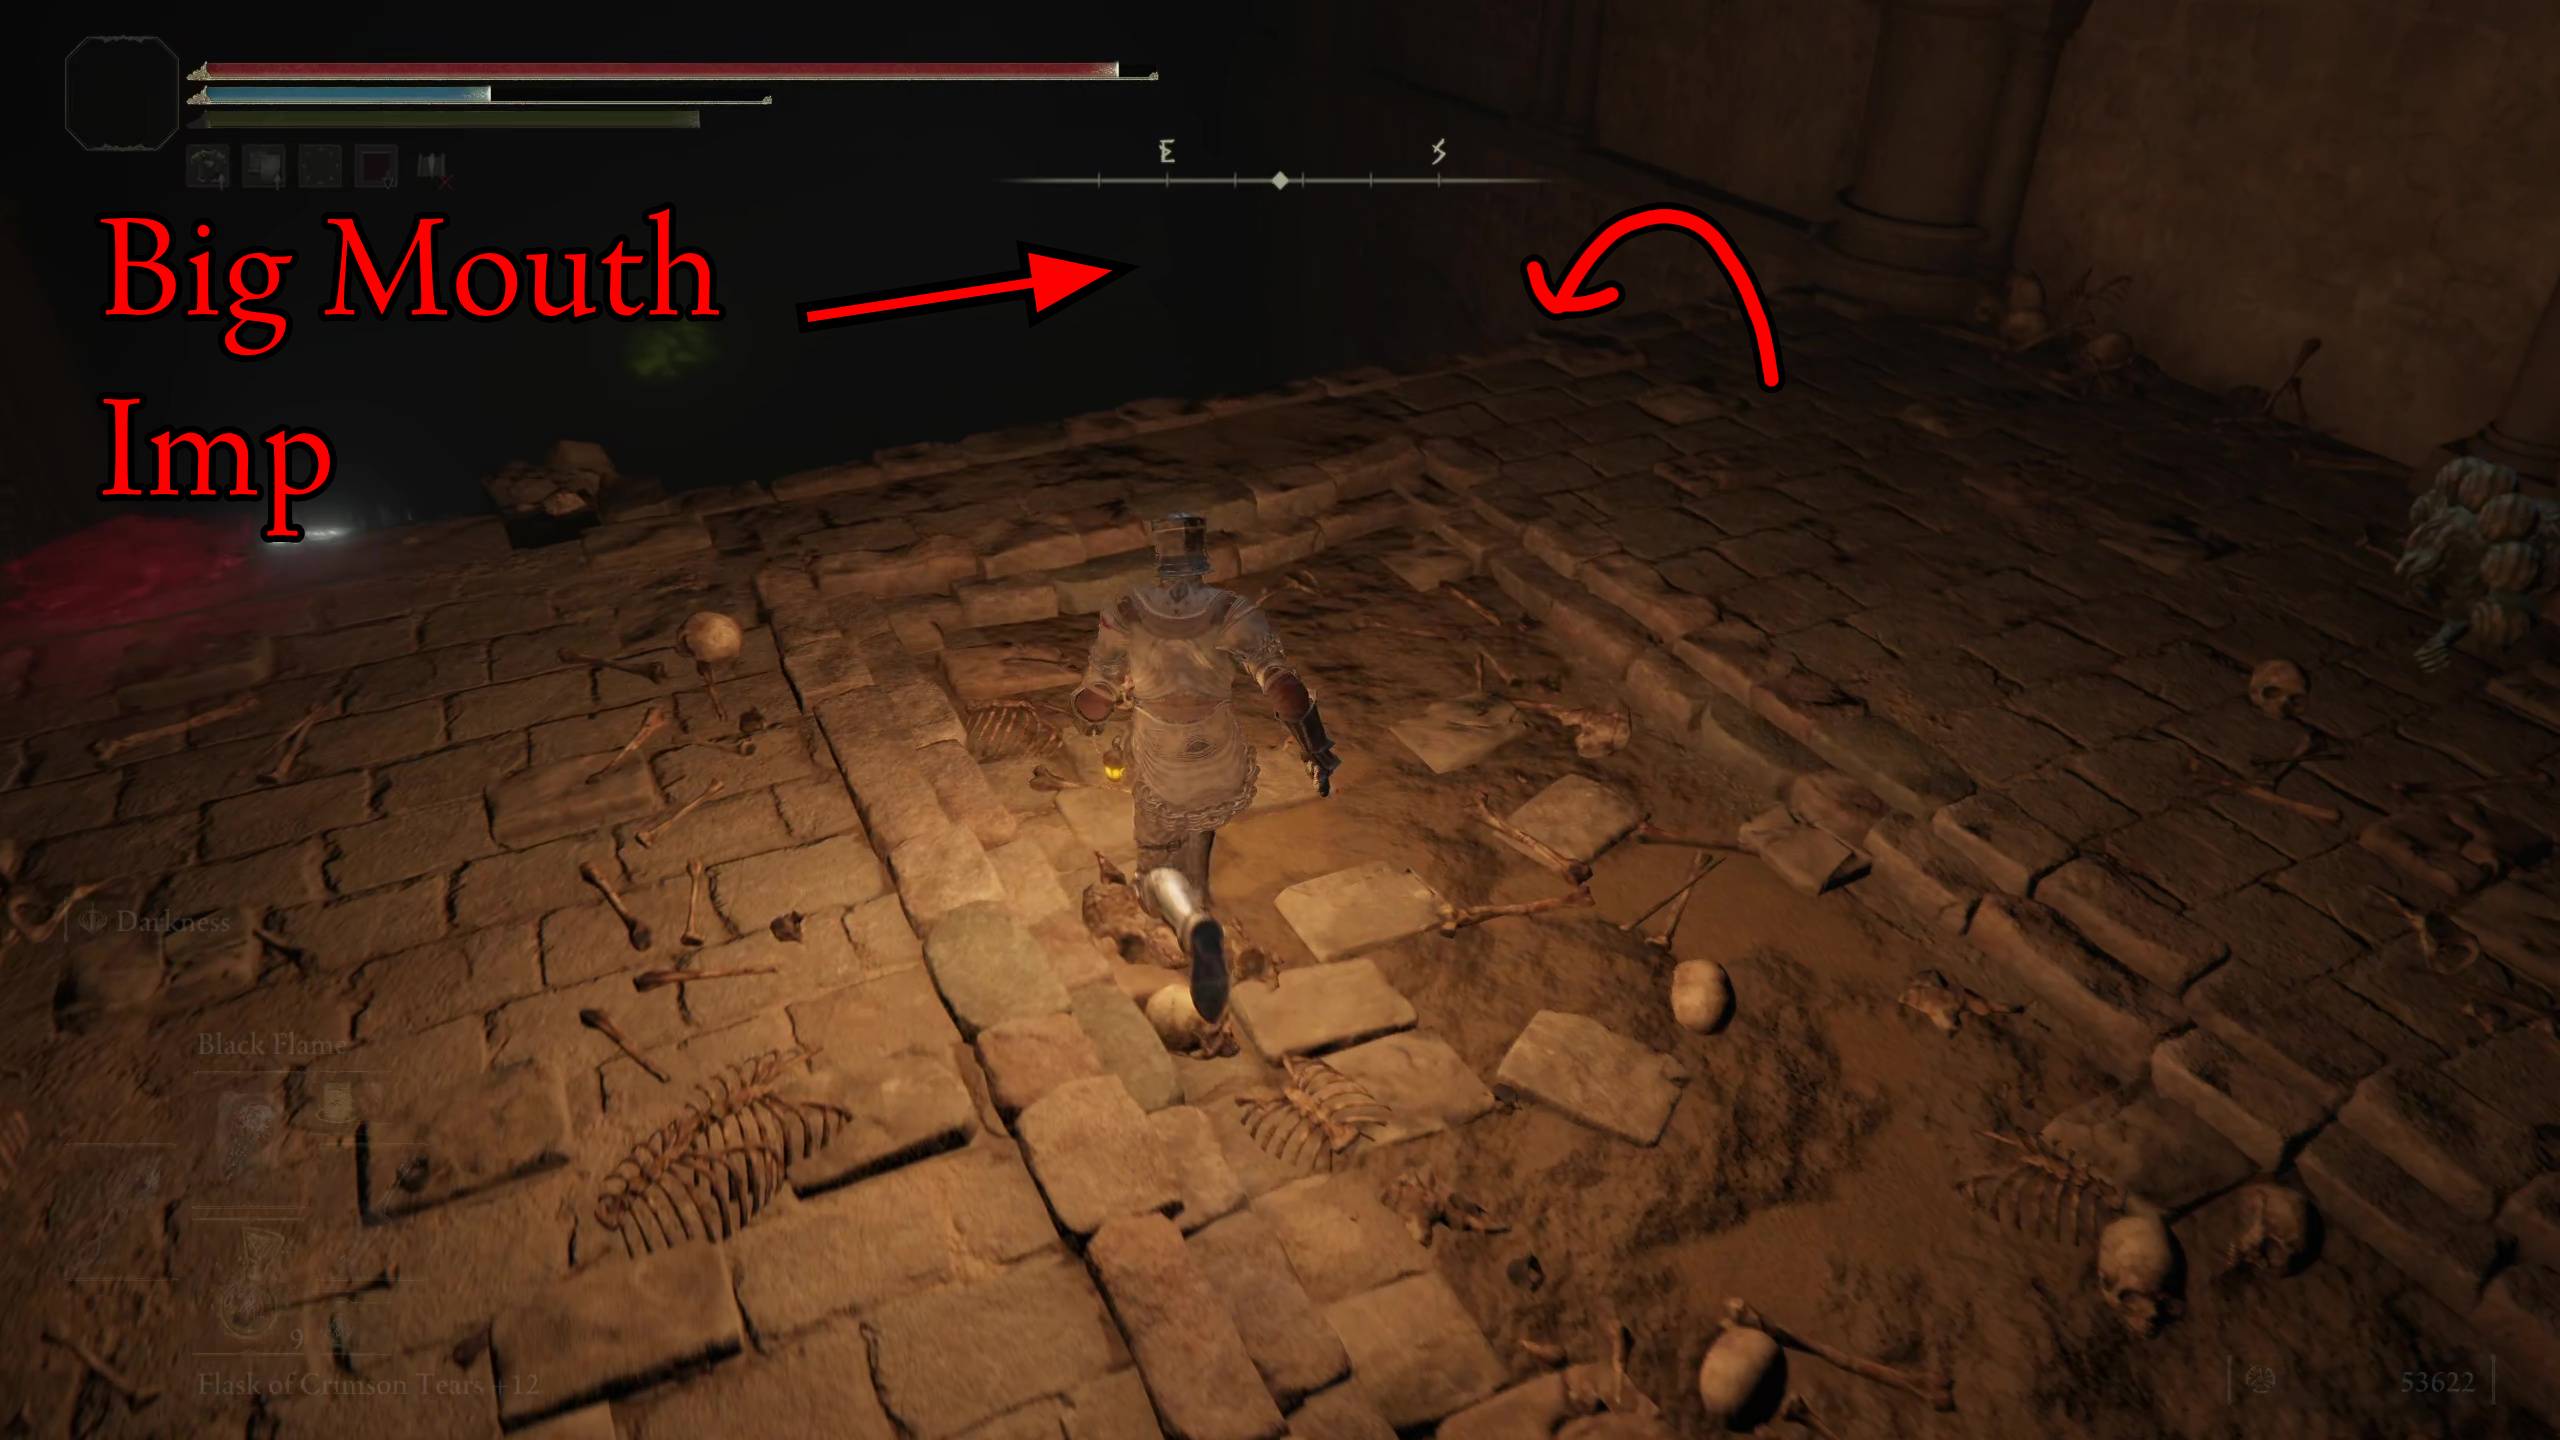
Proceed down the hallway to your right that’ll lead you to a balcony. Take the stairs to your left to an area with a couple imps. Backup the stairs while fighting them, and hopefully they won’t be able to double-team you. There are stairs leading to the left of where you fought the imps; don’t go down them. Instead, jump off the ledge to the right so you can attack the Bog Mouth Imp before it hurls a fireball at you.
Don’t go down the stairs, take the ledge
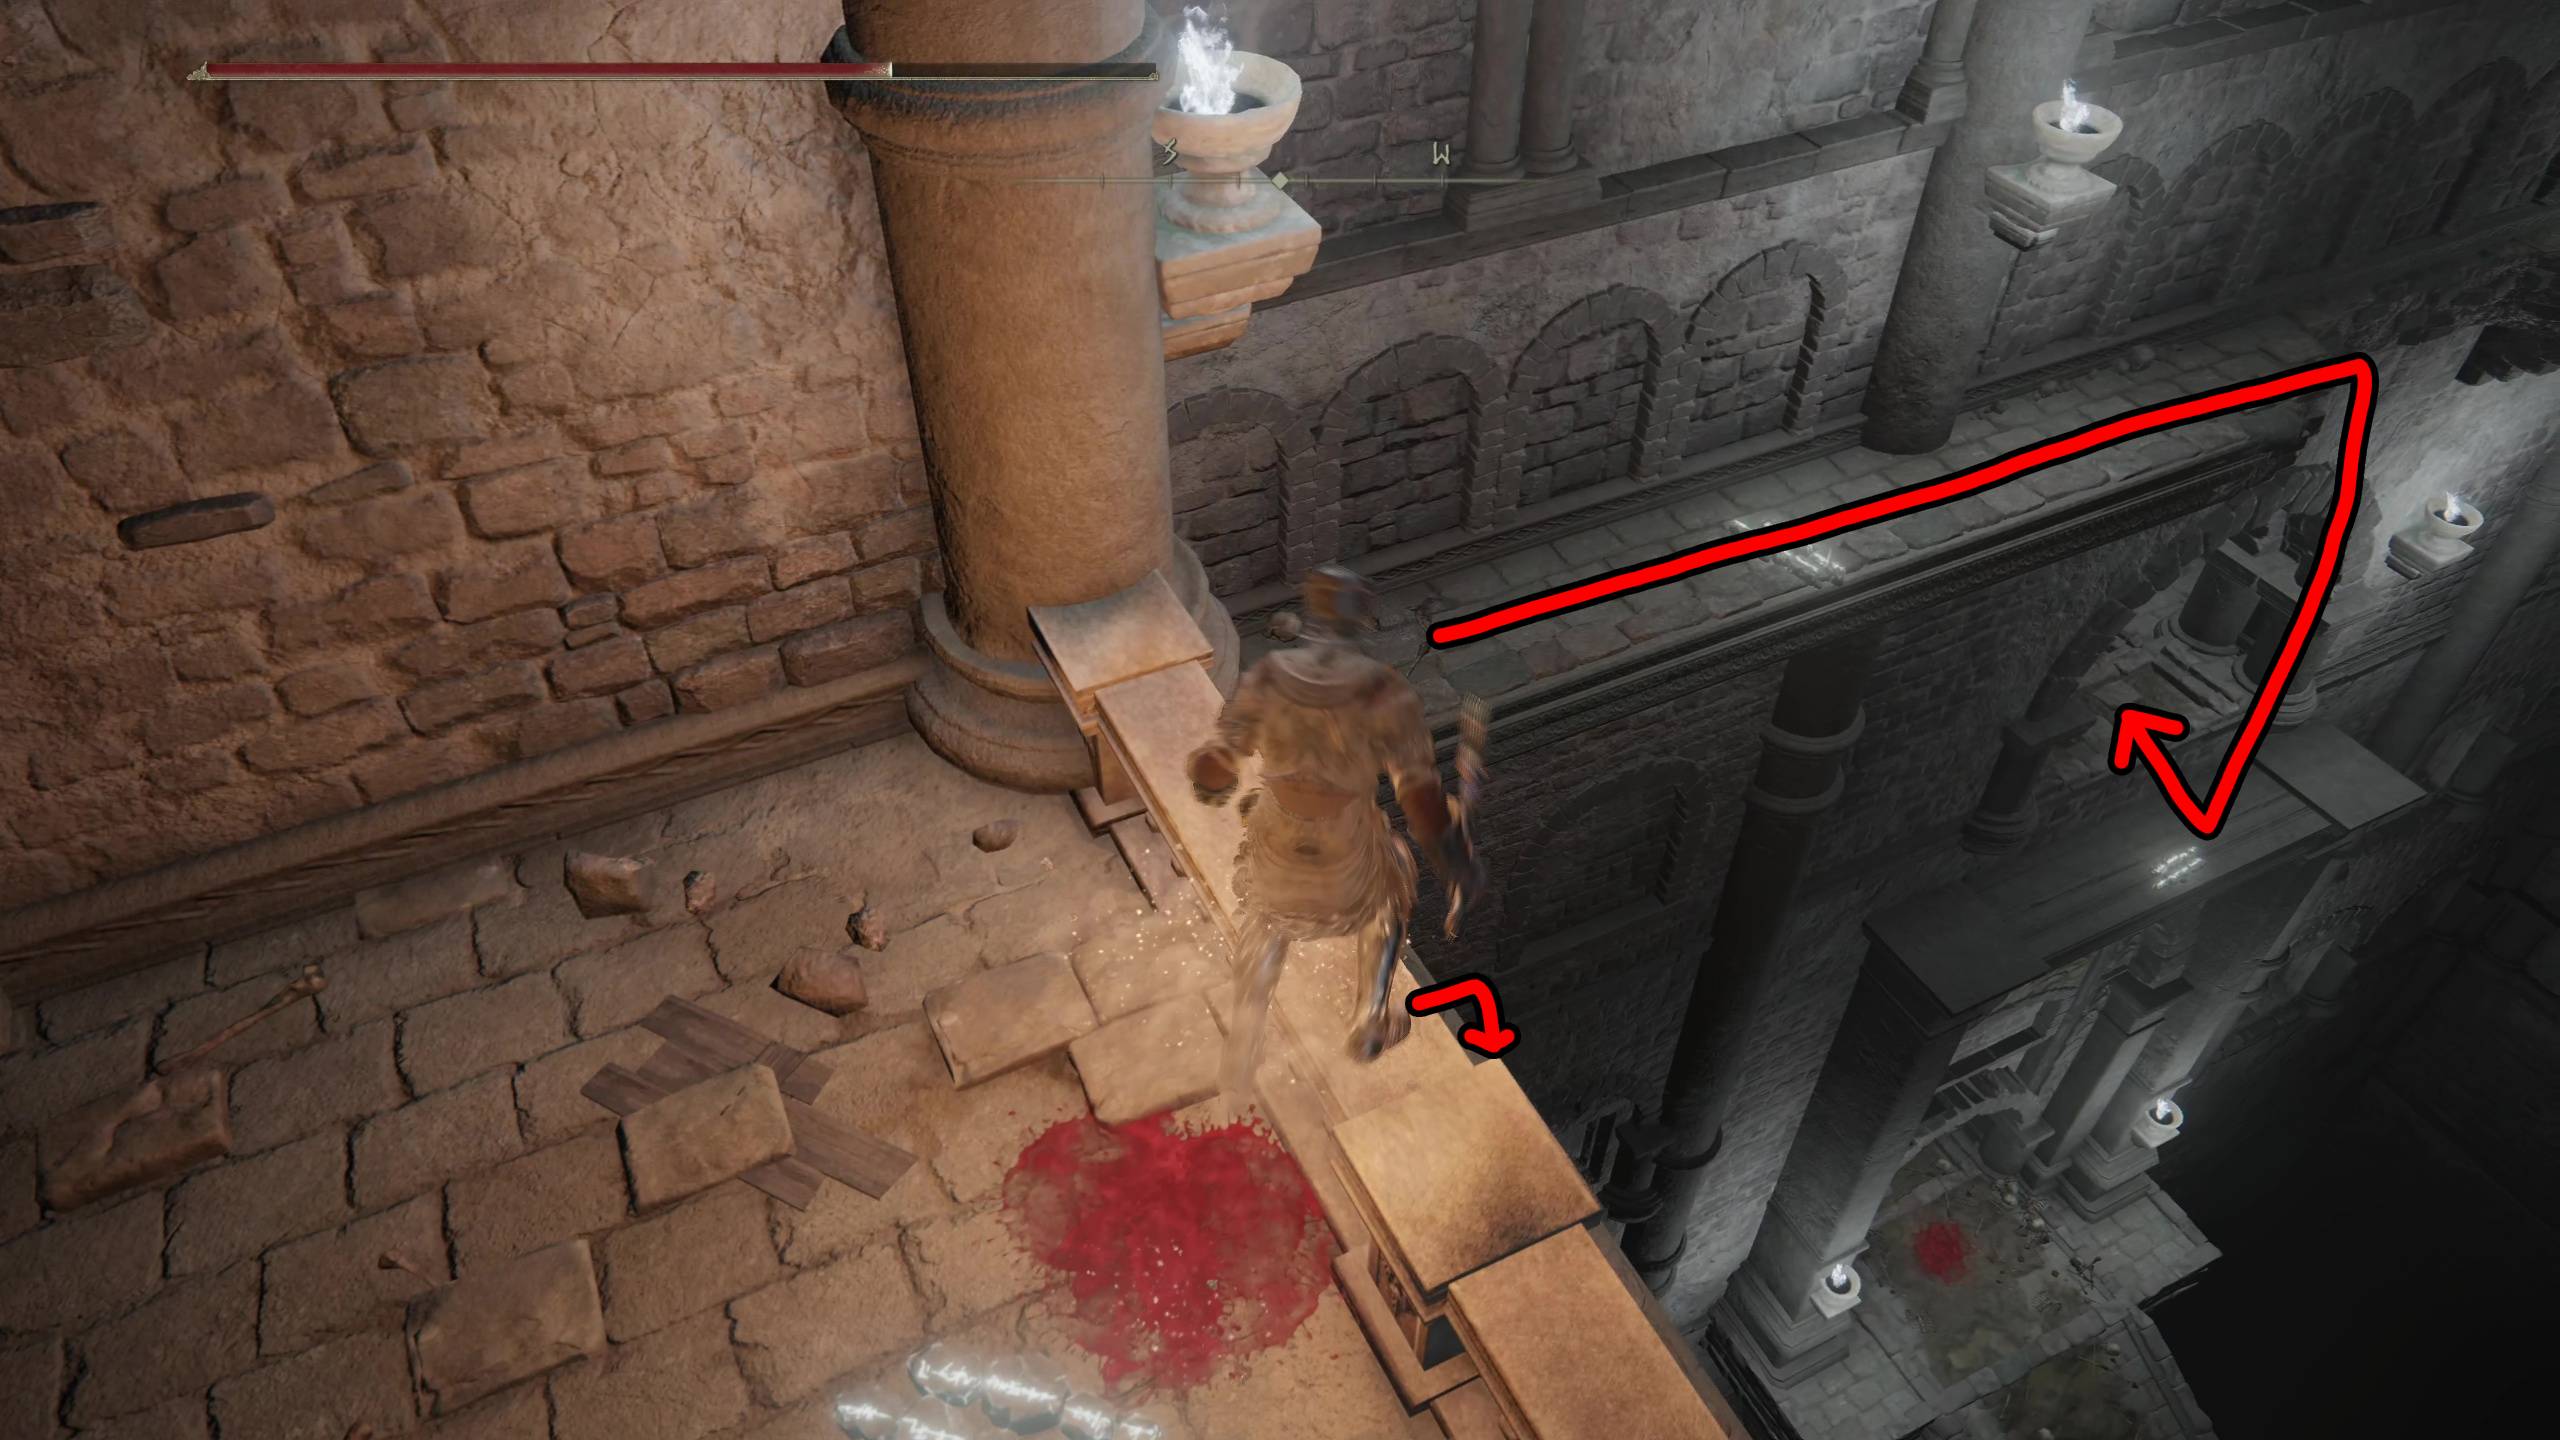
After killing the fire-blasting imp, head through the passage under the ledge you jumped off, and you’ll find a lever that will turn on the torches for the area. Head around to the passage where the Big Mouth Imp was, and you’ll find a balcony. Jump onto the balcony’s banister, then slowly walk off to land on the ledge below. Follow the ledge around, then drop onto an area where you’ll find a chest that contains the Viridian Amber Medallion +3.
Don’t miss this nice Talisman
Dropping from here, you can go down the slope and take the elevator to the next area. You can retread the small area you just skipped, and fight the magic caster and imp, but all you’re missing out on is some Yellow Fulgerbloom, and a Ghost Gravewort [1].
Darklight Catacombs Second Level
Once the elevator has stopped, step off and head forward. There will be a large dark room with a stair set in front of you. Next to the stair set is a ledge that you can walk off onto another ledge. This will lead to a ladder that will take you to a magic caster on a platform above a room. Defeat the caster and grab Shadow Realm Rune [5], then drop down and kill the imp protecting the Ghost Glovewort [2].
The ledge will be harder to see in the dark
Now you can head down the stairs, where you’ll fight a Lion-Head Imp. Straight ahead, there are two large pillars. If you go behind the second, a Big Mouth Imp will drop and attack you. In between the pillars is a ladder that leads up to the lever to illuminate this area.
As soon as you jump down from activating the lever, you’ll see a gap in the banister along the stairs you fell onto. Walking through this gap, you’ll land on a small ledge that leads to a shortcut. The room immediately after the ledge has a caster to your right that you’ll want to attack and kill swiftly. These magic casters can melt your health bar, so don’t give them the chance. Across the room from the caster is a corpse that you can loot for the Death Knight Set (Armor, Helmet, Gauntlets, Greaves).
Secret LedgeDeath Knight Set
From here, go down the ladder by where you killed the magic caster. In the next room, there will be another magic caster to your right. Make sure it doesn’t get the jump on you, then turn around and loot the Ghost Glovewort [9]. Hop down, and you can head down the slope to the elevator that will take you to the third level. Again, if you backtrack through the section you skipped, you’re just missing out on materials, and several imps to fight.
Darklight Catacombs Third Level
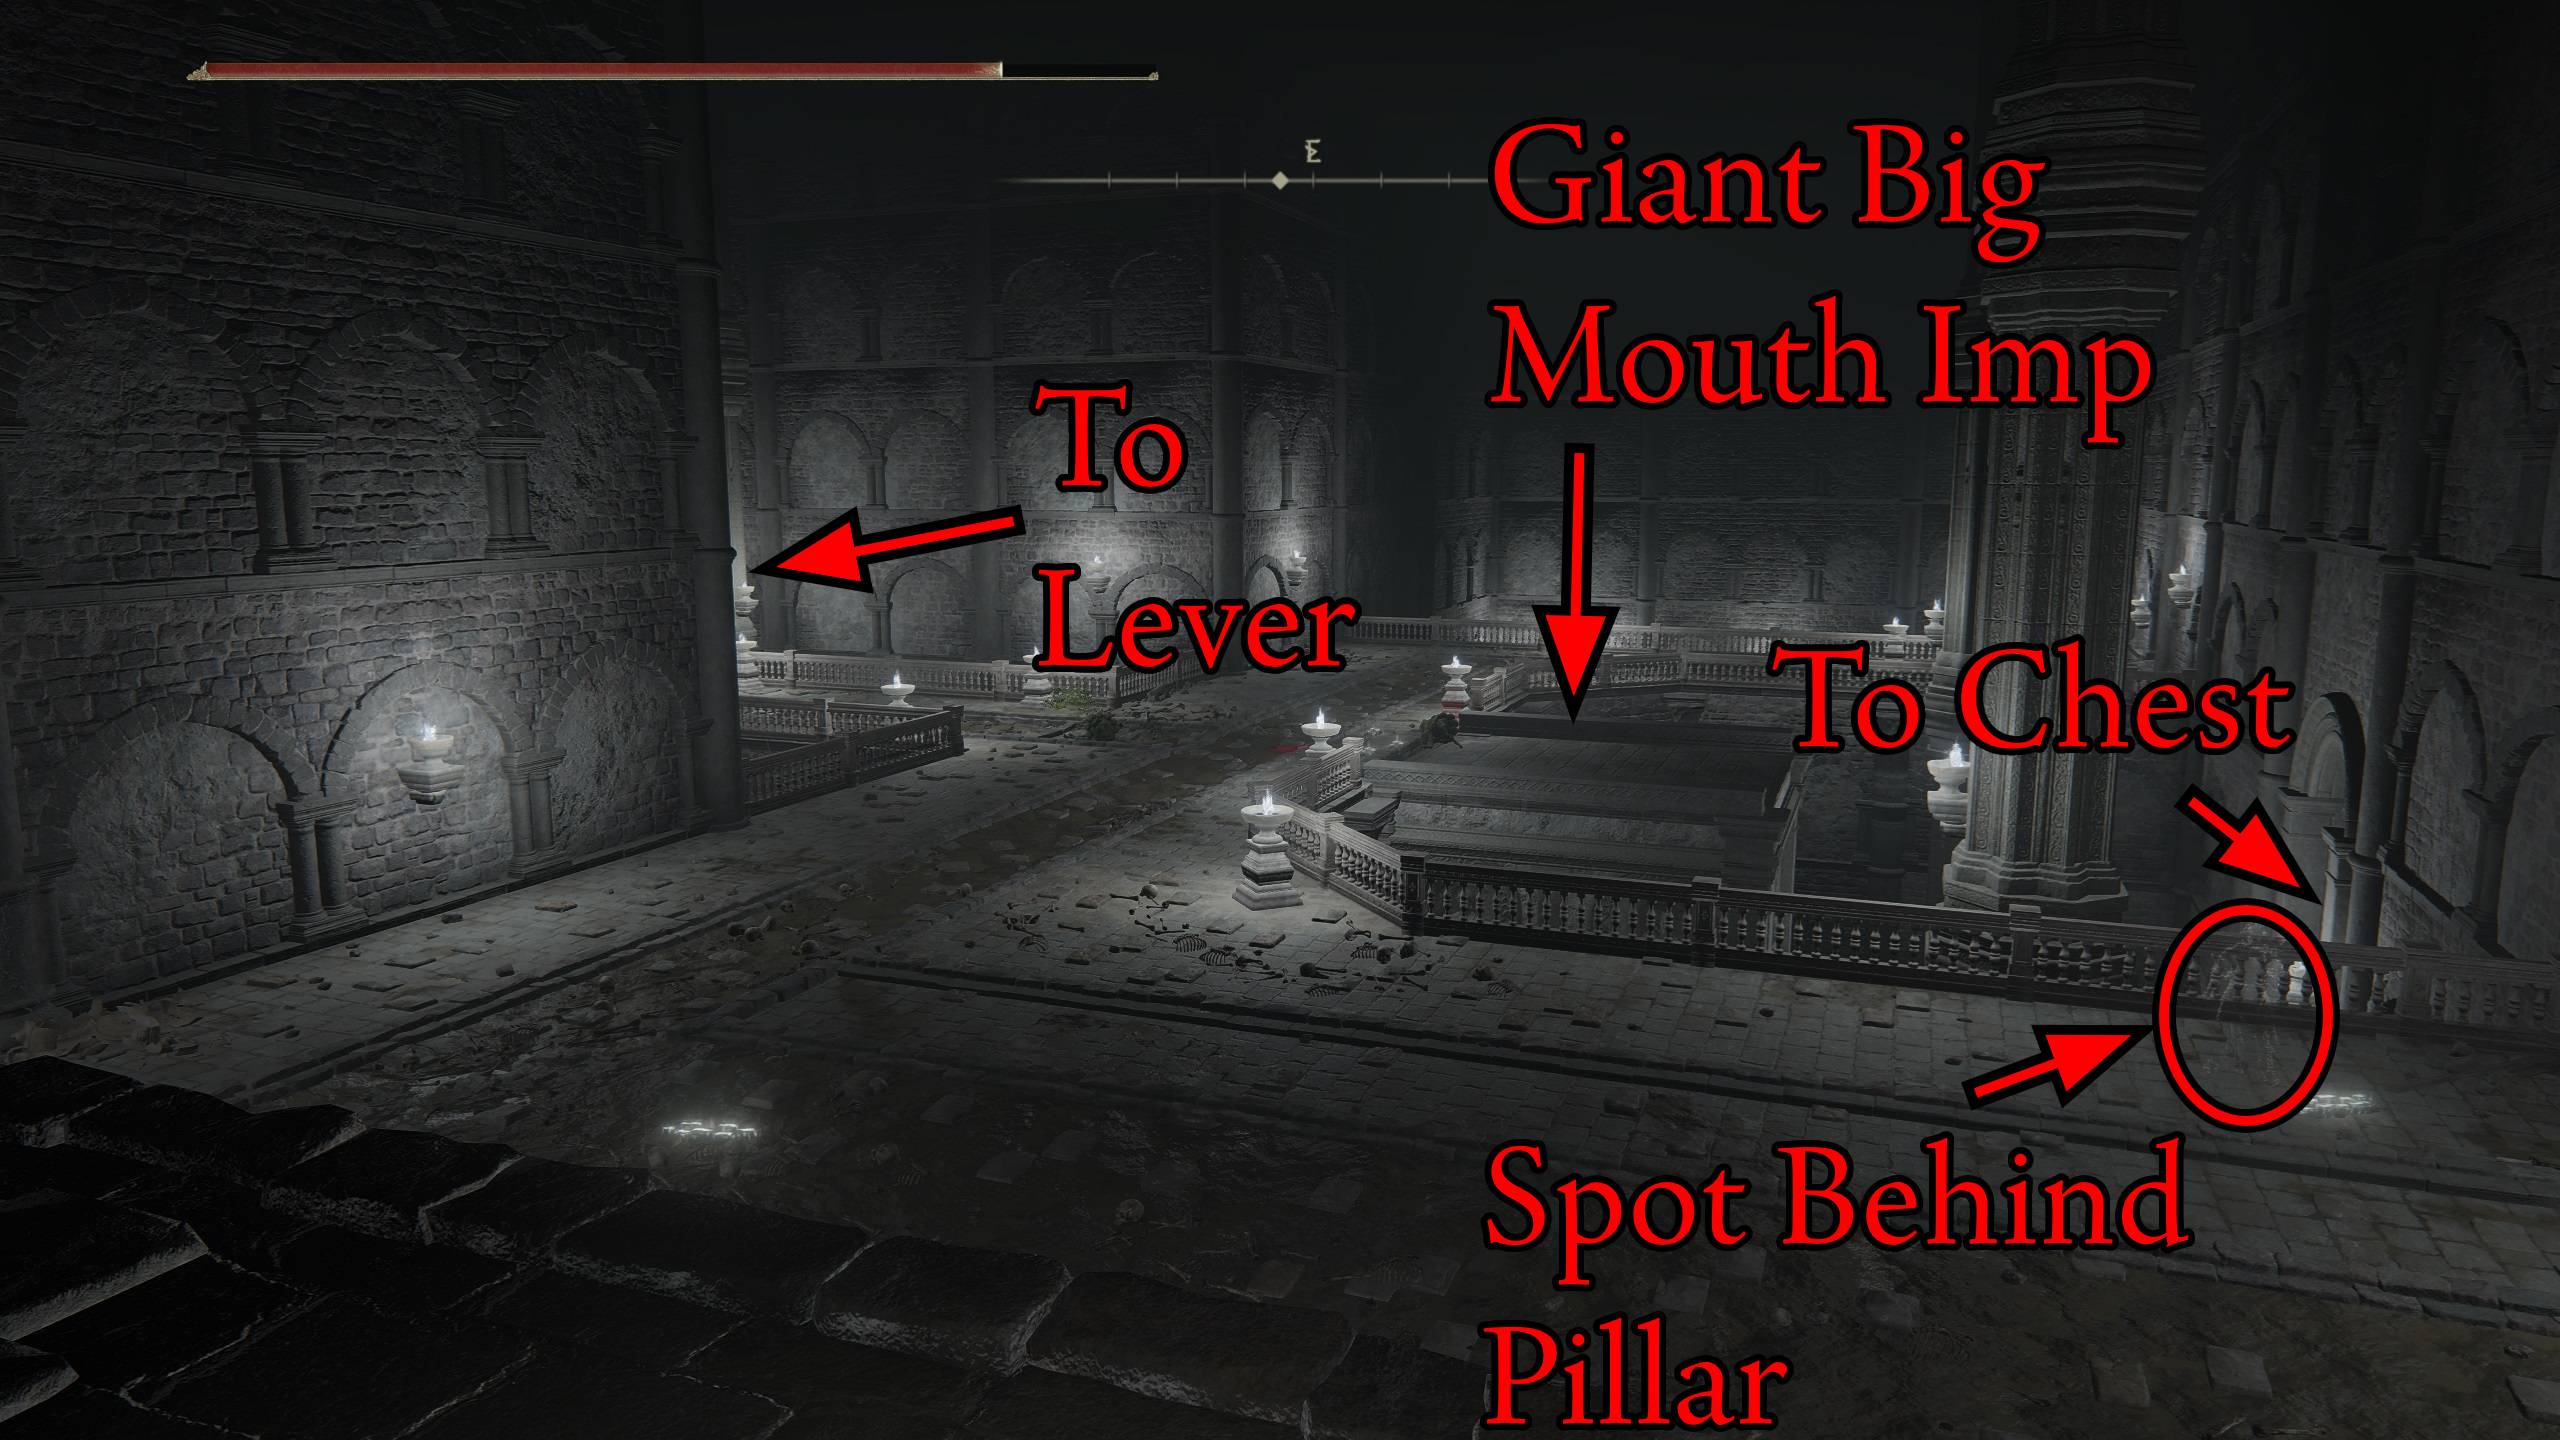
When you proceed forward after taking the elevator, you’ll go down some steps and see a massive Big Mouth Imp, and it will start firing enormous fireballs at you. These big fireballs not only have the initial explosion on contact, but they release clusters that explode moments after the first hit. This is a hard spot, and you have some options.
The easiest method is if you have a bow and can kill the massive imp from a safe distance. Unfortunately, this means that the Great Ghost Glovewort that it drops will be unattainable until after you beat the boss and return to the dungeon (which isn’t difficult or long, coming from the boss’s direction). To get a clear shot at the imp, you can run at it — dodging fireballs along the way — and get behind a pillar that’s close to it on its right side.
If you have absolutely no ranged method of killing it (no spells or bows), then you have to dodge forward when the fireballs come at you, and run forward in between each shot. You will probably get hit, but keep going forward, because dodging backwards means you’ll get hit by the clusters. As soon as you get to the massive imp, you can stand under it, and it won’t be able to hit you, but there are also two imps there that you have to kill.
Note that this is the room lit-up after pulling the lever
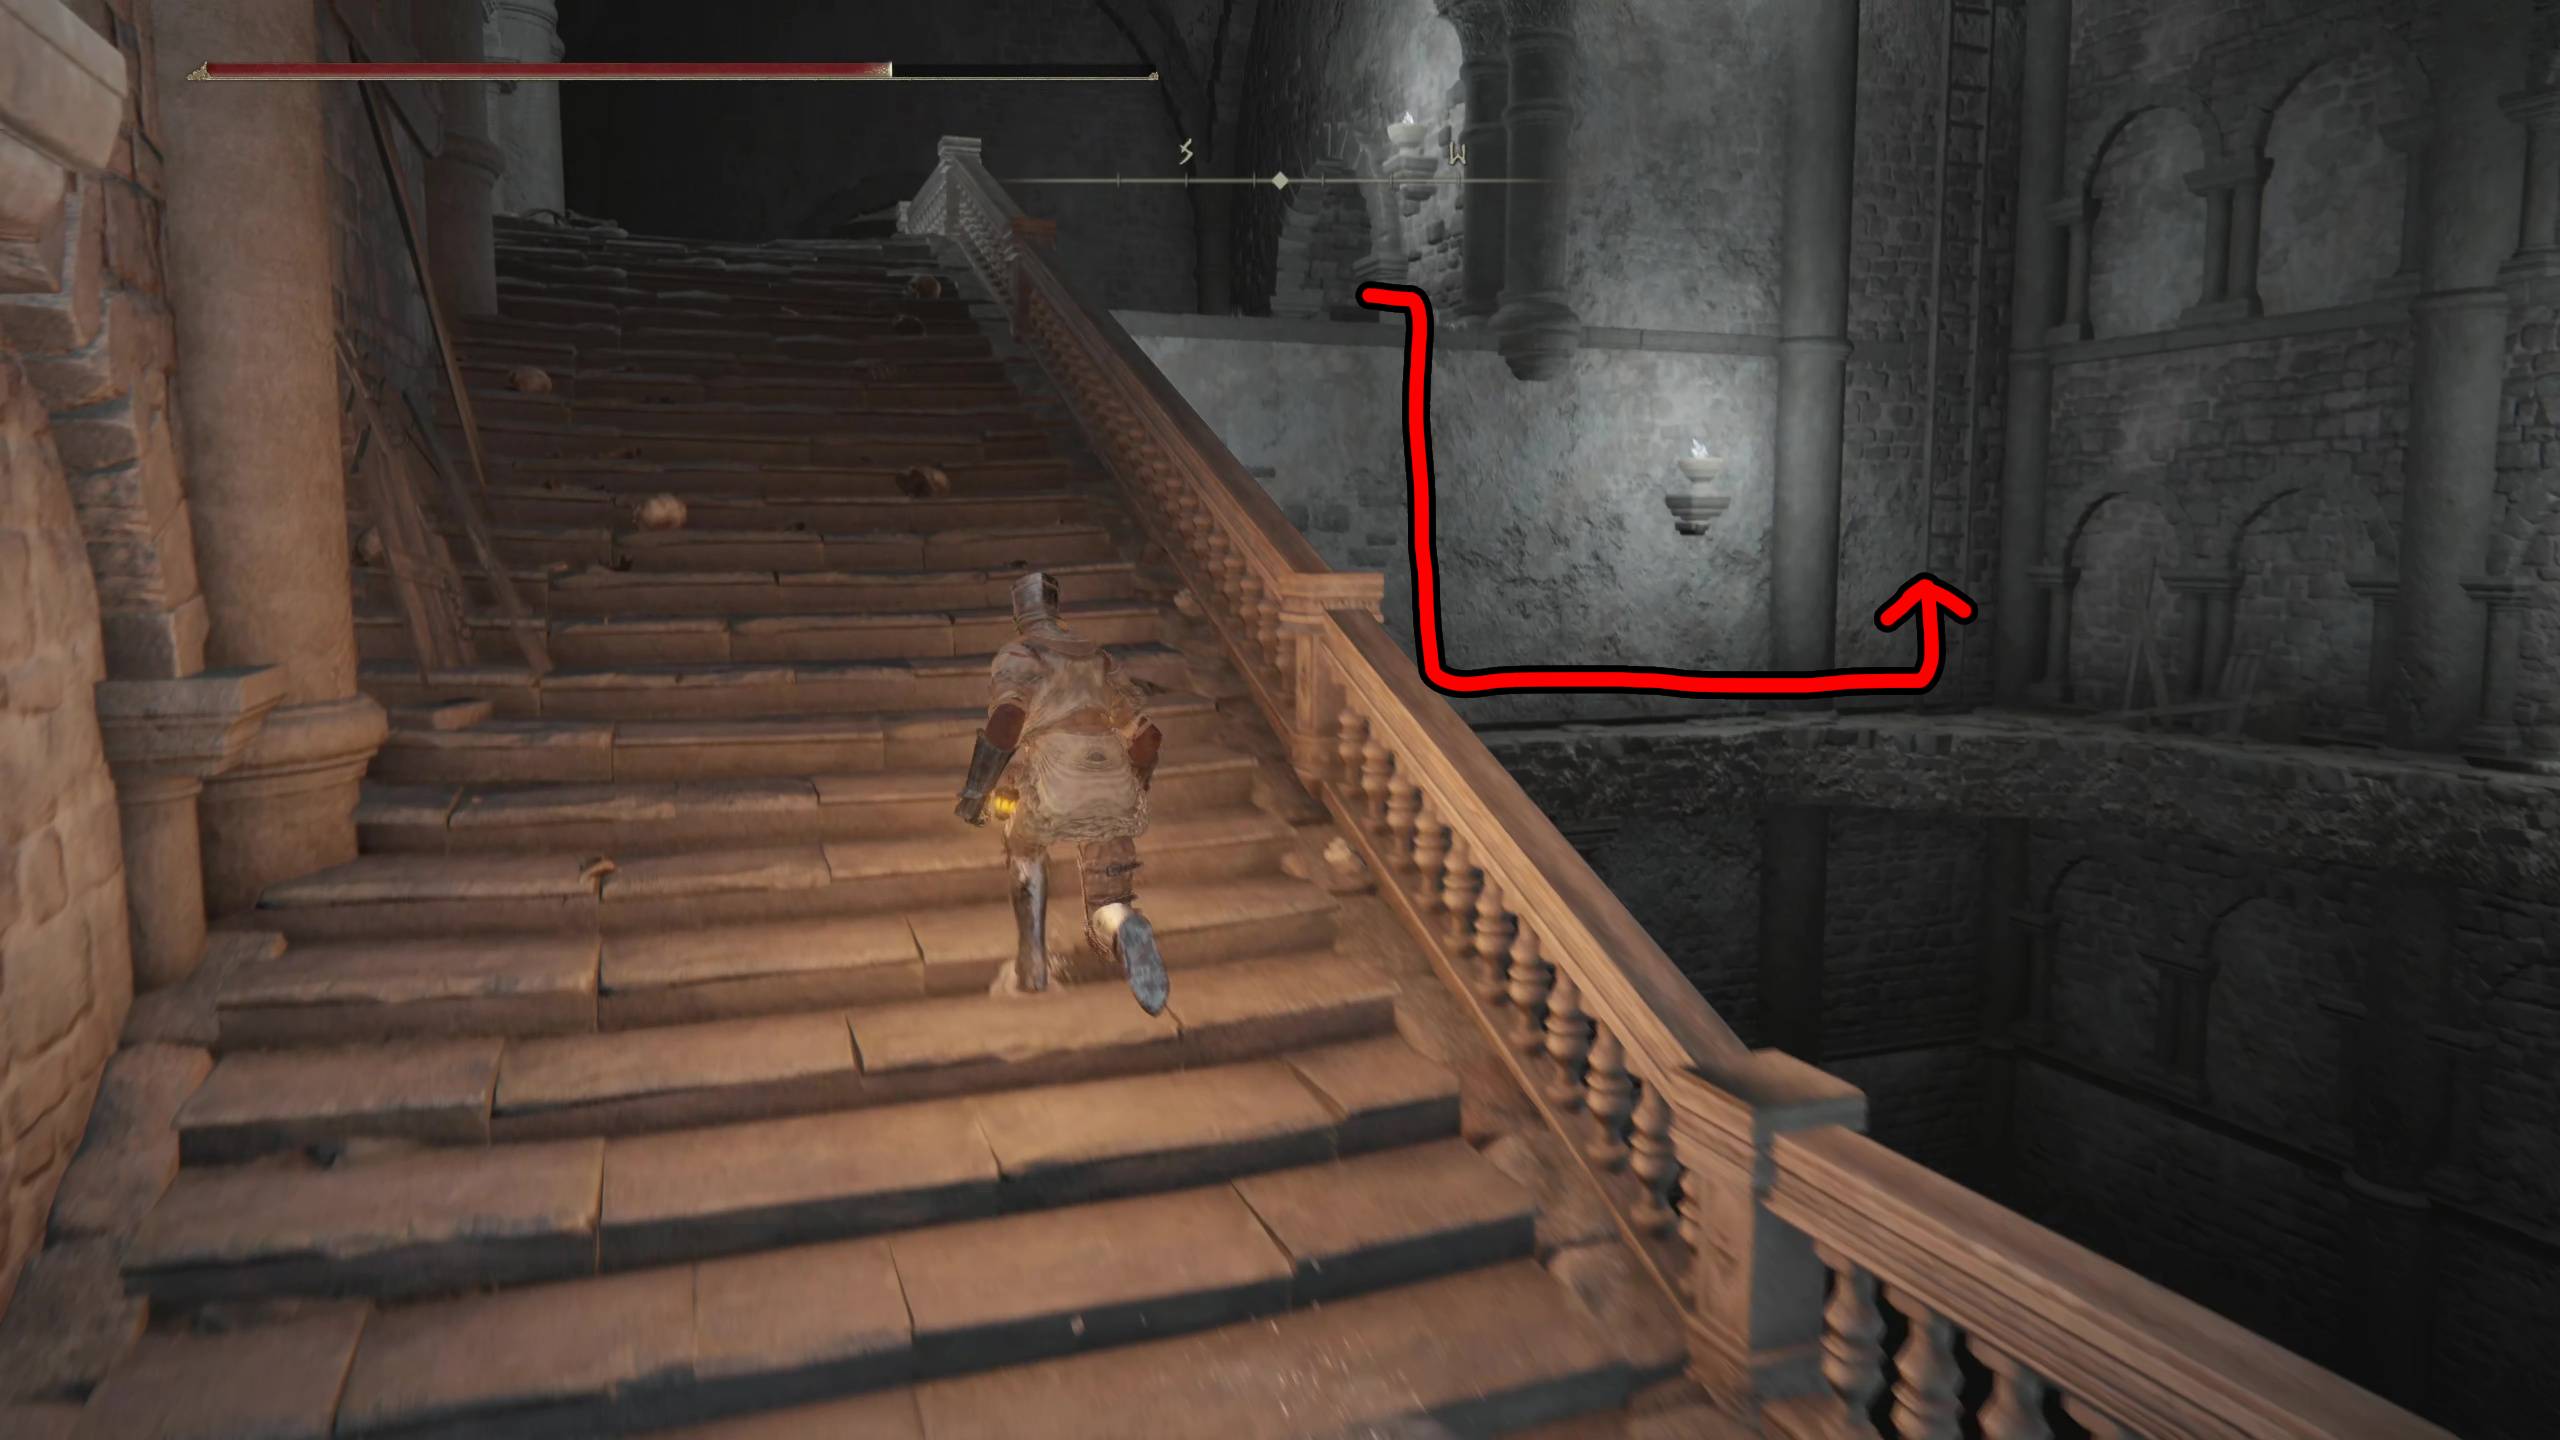
When you’re under the massive imp, you will want to run to the north, which will have an entry with two torches on either side. You won’t be able to see the imp’s fireballs coming at you, but try to time your dodge based on the sound of it firing. Once past the entry, there will be a lever on your left that will light up the area, and lower the massive imp’s platform down. Once again, run at the imp while dodging its fireballs, and now that it’s been lowered, you can kill it.
Before jumping down from the platform where you killed the giant imp, look back to the ledge and stairs you came in from. There will be an item in an alcove under the ledge, but there is also a normal Big Mouth Imp there. Kill it, and take the Ghost Glovewort [8]. Now head back and drop off the giant imp’s platform to open the chest to get the Big Mouth Imp Ashes. Go up the ladder and fight the Lion-Head Imp at the end of the hallway, then drop into the passage. Take a left and loot the Ghost Glovewort [4] off the corpse, then turn around and go to the elevator leading to the boss.
The boss isn’t the most difficult, but it will be more challenging for players that don’t have a melee focused build. If you’re a magic wielder yourself, you can offset this disadvantage by using a strong spirit ash that specializes in melee attacks. If you need any more tips, then be sure to check out our boss guide!
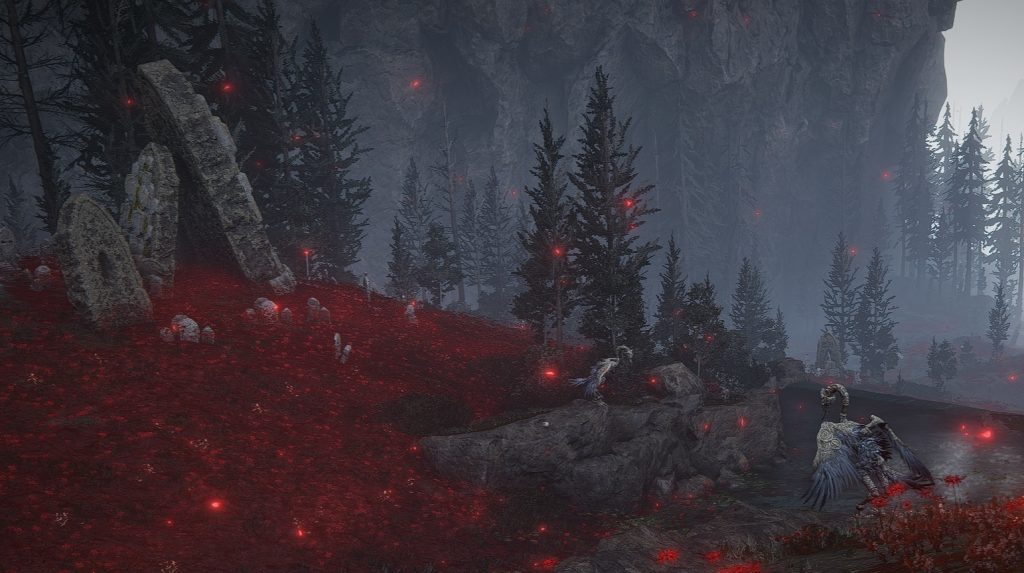
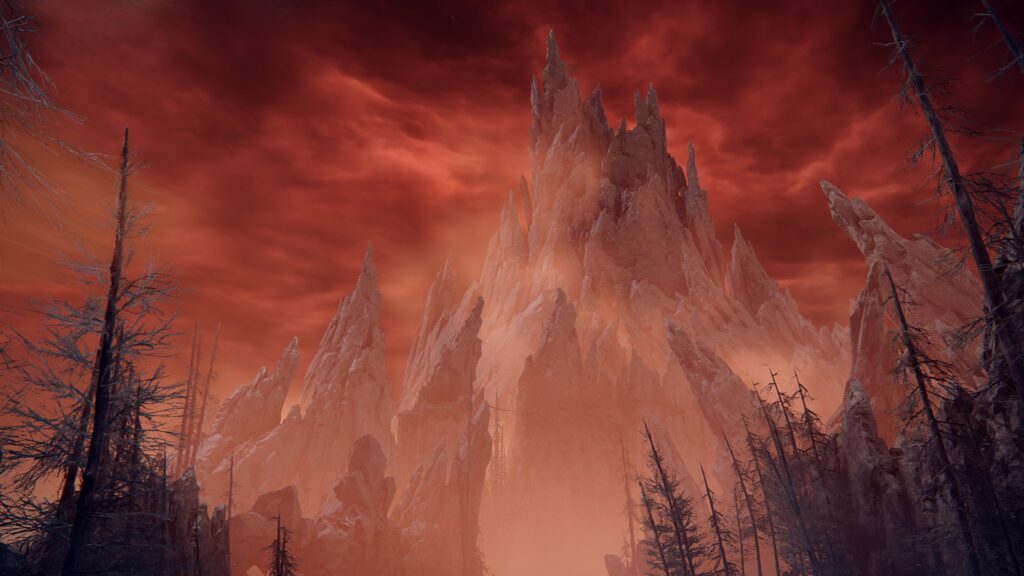
After killing the magical fiend, you’ll be rewarded with their weapon, the Barbed Staff-Spear. After you’ve rested at the site of grace, press forward into the Abyssal Woods. Also, if you need to jump back into the dungeon to kill the Giant Big Mouth Imp again to claim the Great Ghost Glovewort, don’t forget to go back to the elevator and ride it back up to the third level.
Kelson is a spud head from out west. He is most happy when holding a milky tea with too much honey and playing a sprawling role playing game or reading a fantasy novel. His video game tastes vary but his main genres are looter shooters, RPGs, and real time strategy games.