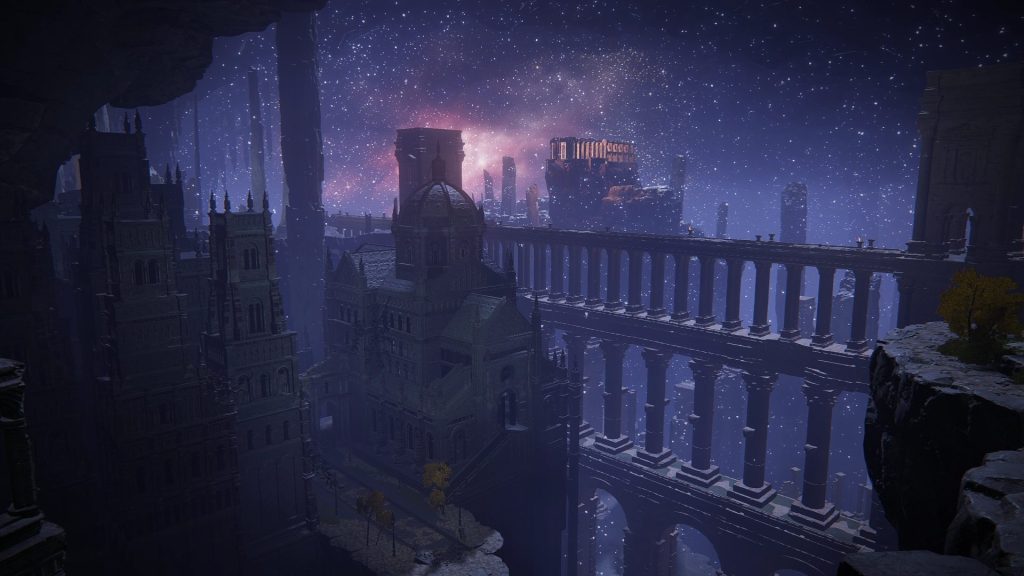
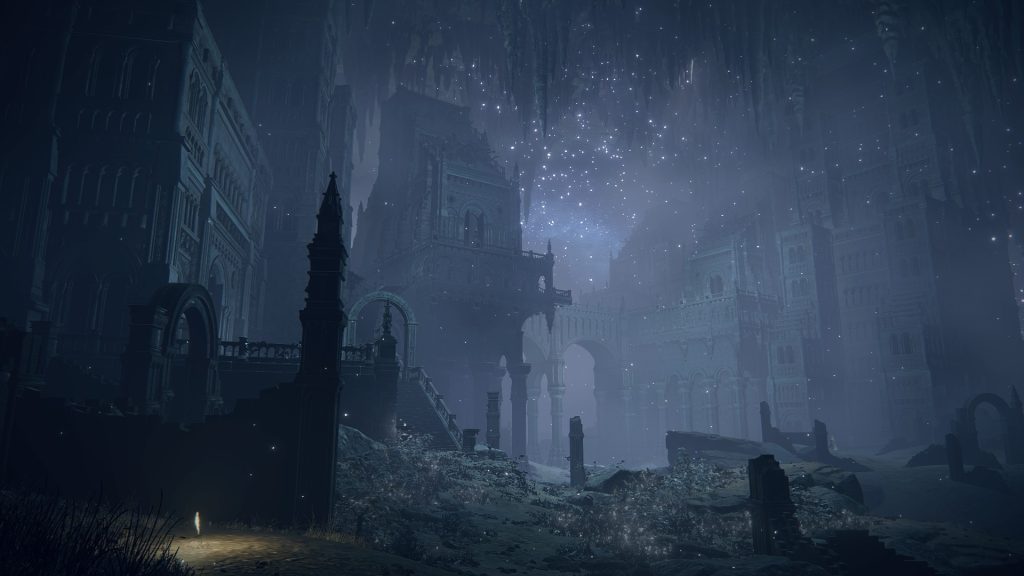
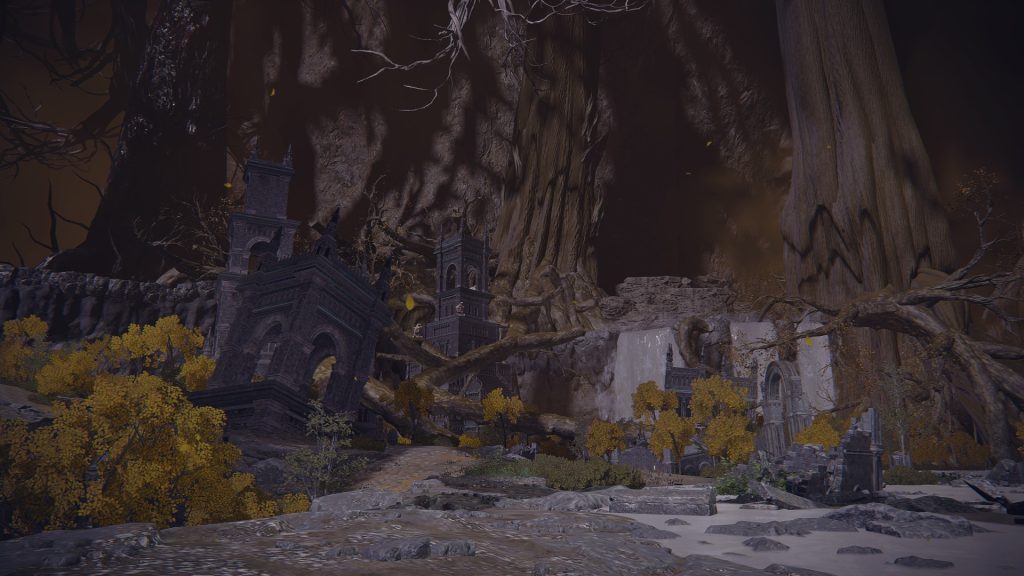
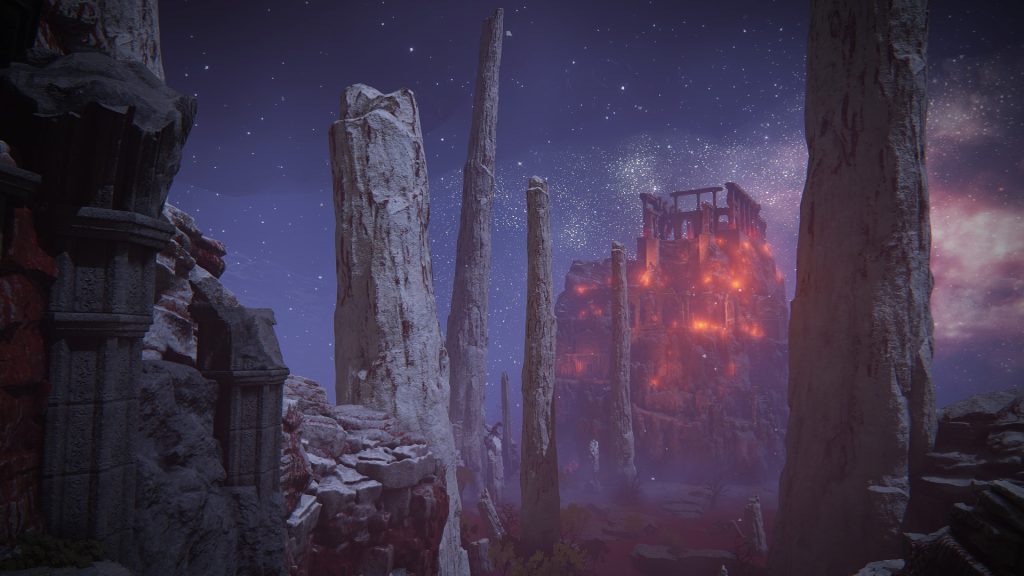
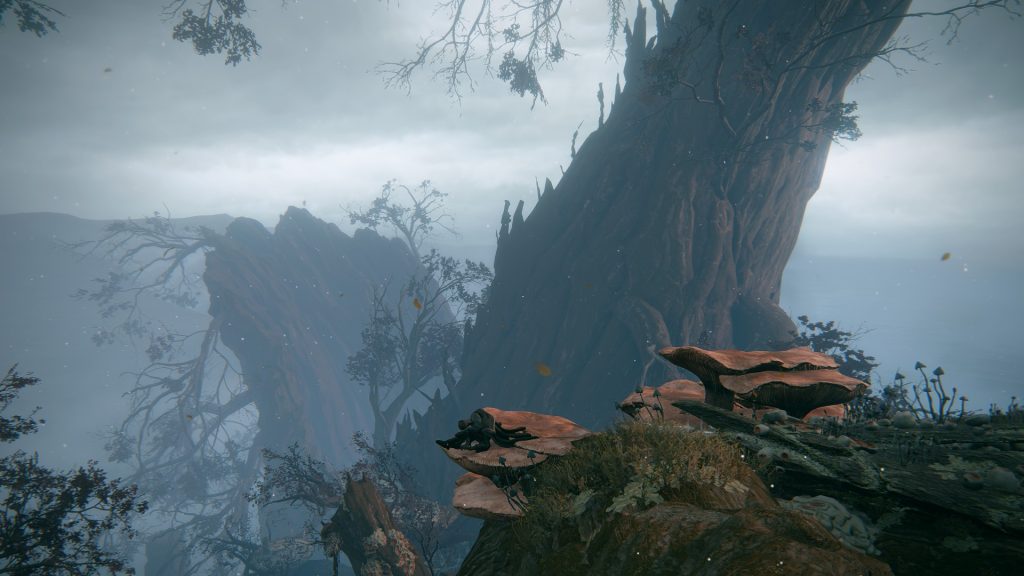
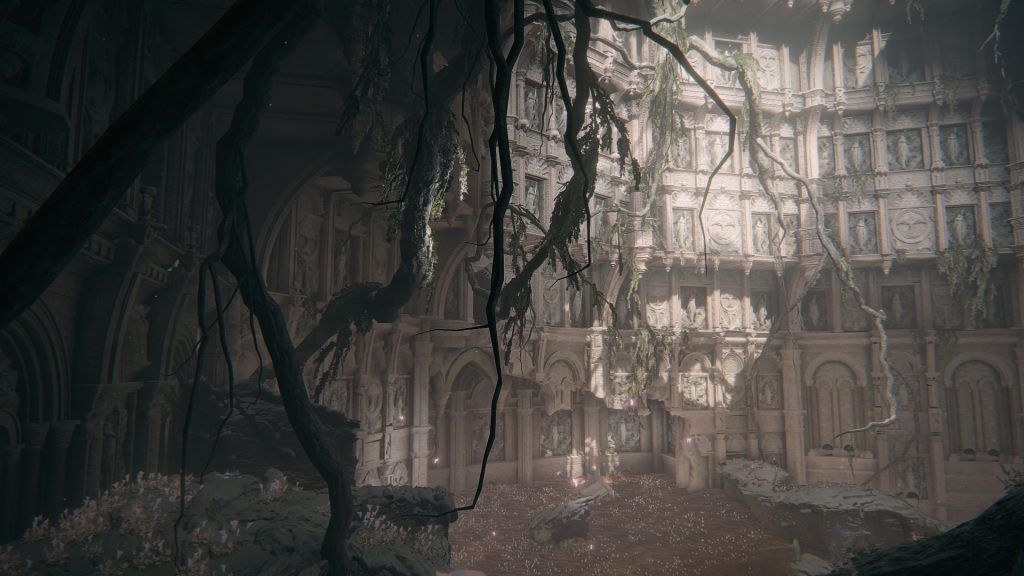
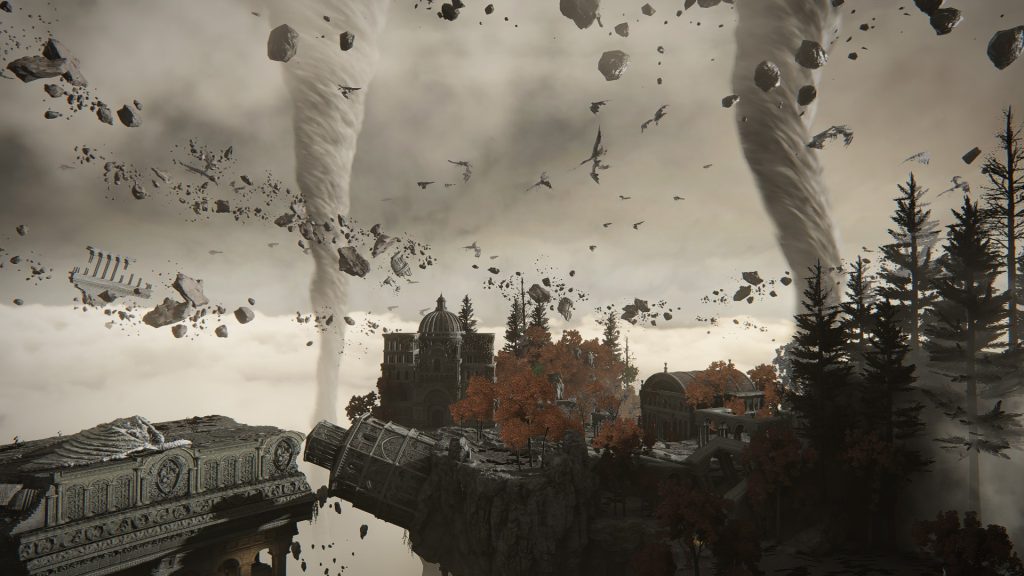
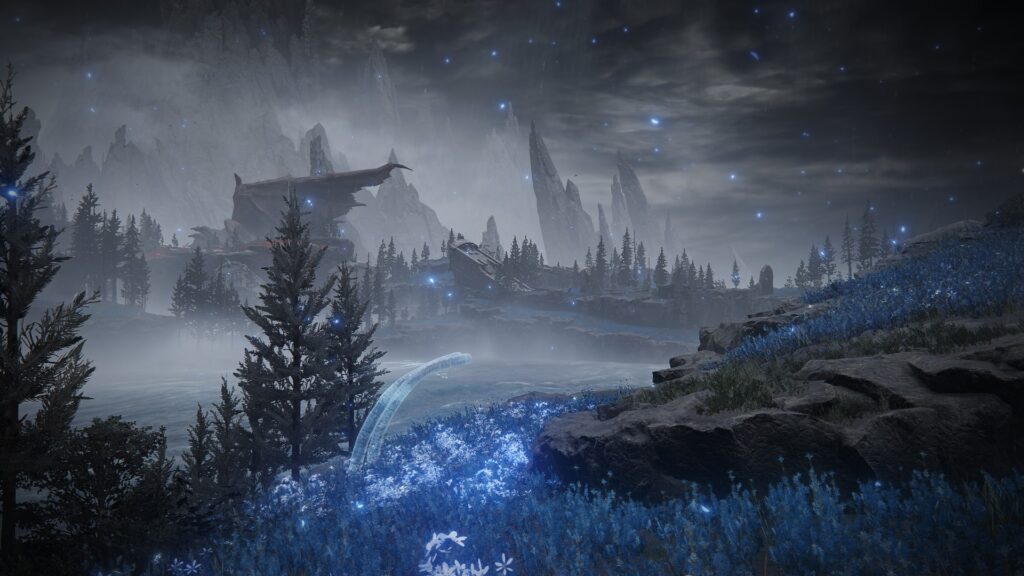
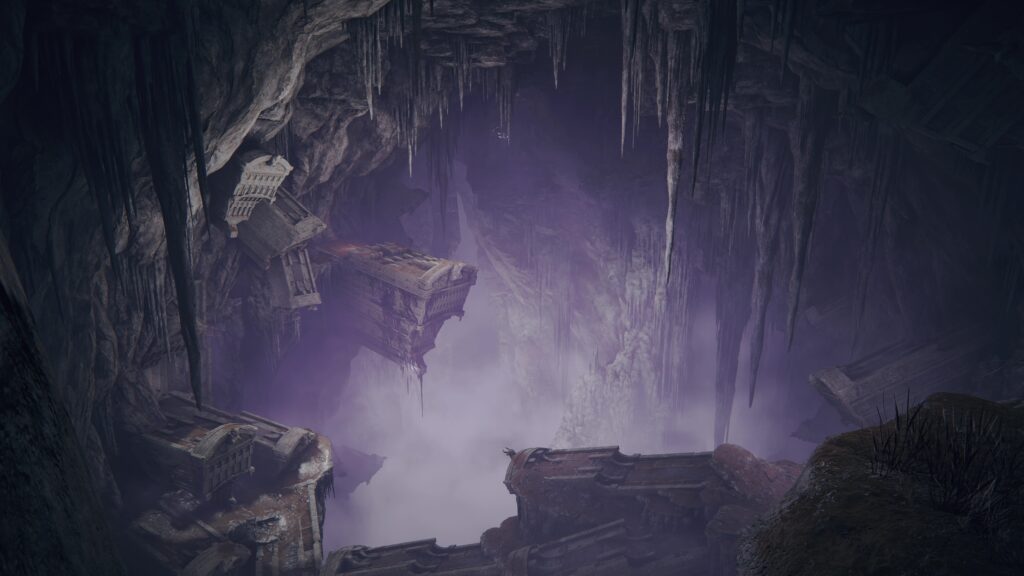
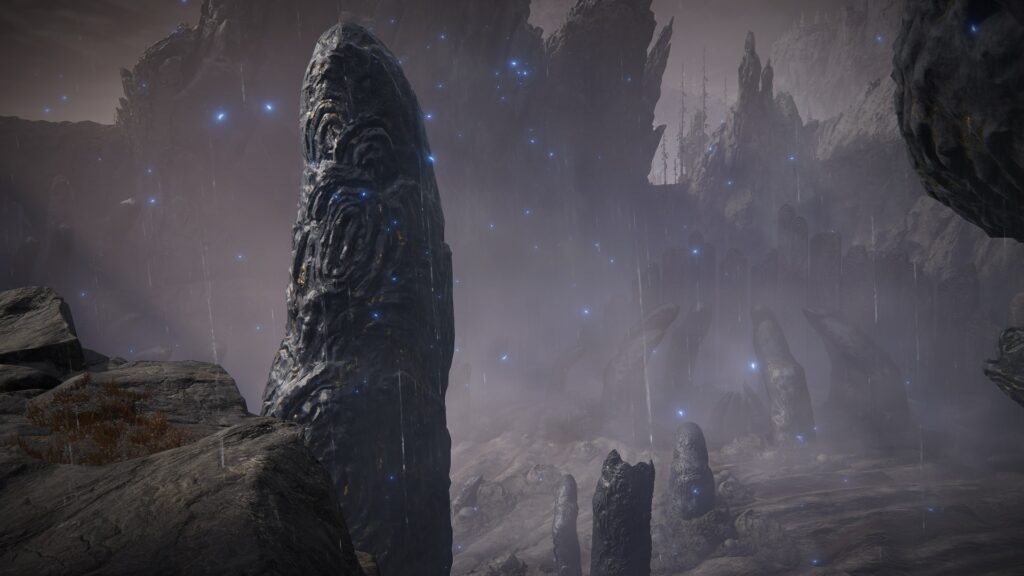
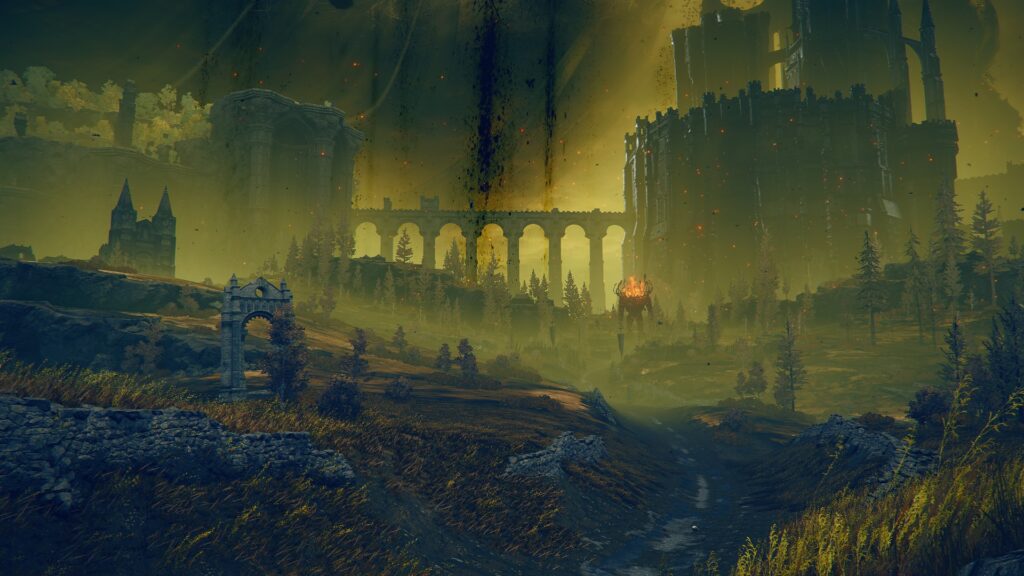
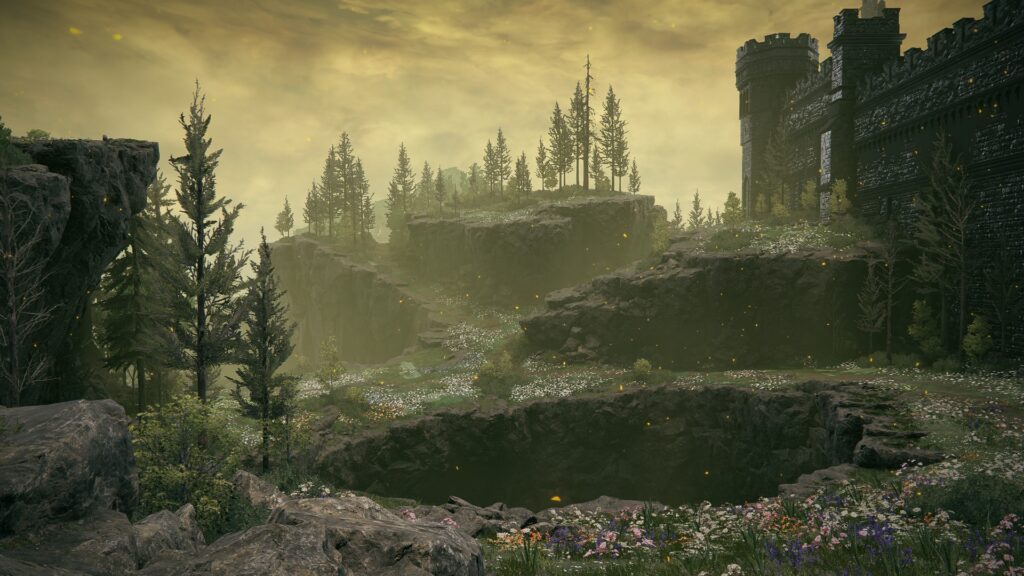
In the list below, you can find guides for bosses in the Cerulean Coast region of the Realm of Shadows (Shadow of the Erdtree expansion). We also have a dedicated Cerulean Coast Walkthrough to assist you in your travels (or feel free to use the walkthrough menu below).
The Cerulean Coast has a total of 4 bosses, all of which are technically optional, though a major questline is blocked by one.
Cerulean Coast Bosses:
Read on for details on each boss, plus links to detailed guides for each fight!
- Summons Available: No
- Location: Southern Nameless Mausoleum
- Rewards:
 80,000
- Dancing Blade of Ranah
- Dancer’s Hood
- Dancer’s Dress
- Dancer’s Bracer
- Dancer’s Trousers
An optional NPC boss, the Dancer of Ranah in the Southern Nameless Mausoleum also requires a bit of a trek to reach. Once you have, however, you are in for one of the easier NPC fights in the DLC. Showcasing a unique fighting style that includes a lot of “dancing” moves, the Dancer set that she drops is also the best gear if you want to try out that fighting style yourself.
As for her fight, the only real issues are that the Dancer of Ranah can cause stunlocks due to her fast combos, and does have a fire AoE to force you to back off. Otherwise, the fight is very manageable. Because of her low health and poise, she can be taken out fairly quickly, so long as you can get the first hit in.
- Summons Available: No
- Location: Ravine
- Rewards:
 100,000
- Star-Lined Sword
A return of a familiar enemy, the optional Demi-Human Queen Marigga is just about as simple as any of the Demi-Human Queens in the base game. With plenty of spells and a lot of Demi-Human allies, Marigga’s main challenge is finding the space to damage her while navigating around those projectiles and enemies.
That said, the Demi-Human Queen Marigga is still just a Demi-Human Queen, meaning that she hardly has any health when compared to other field bosses in the DLC. Because of this, it is often best to target Marigga even before dealing with her underlings, as you might be able to defeat her before they become a problem, whereas if you decide to fight the other demi-humans first than you will have to deal with her spells.
- Summons Available: Yes, Thiollier
- Location: Stone Coffin Fissure
- Rewards:
 220,000
- Remembrance of Putrescence
The Putrescent Knight is an optional Remembrance boss, found at the very bottom of the Stone Coffin Fissure. While not necessary to complete the DLC, the Putrescent Knight guards Miquella’s other half, St. Trina, whose quest contains important lore and allows you to use Thiollier during the final battles of the DLC.
This spectral, strange horseman has one of the most bizarre rhythms in the entirety of Elden Ring, with numerous delayed attacks and long combos that can be absolutely devastating to the “panic rollers.” Thanks to Thiollier and whatever summons you bring in, though, you can usually find good times to heal and back off when necessary.
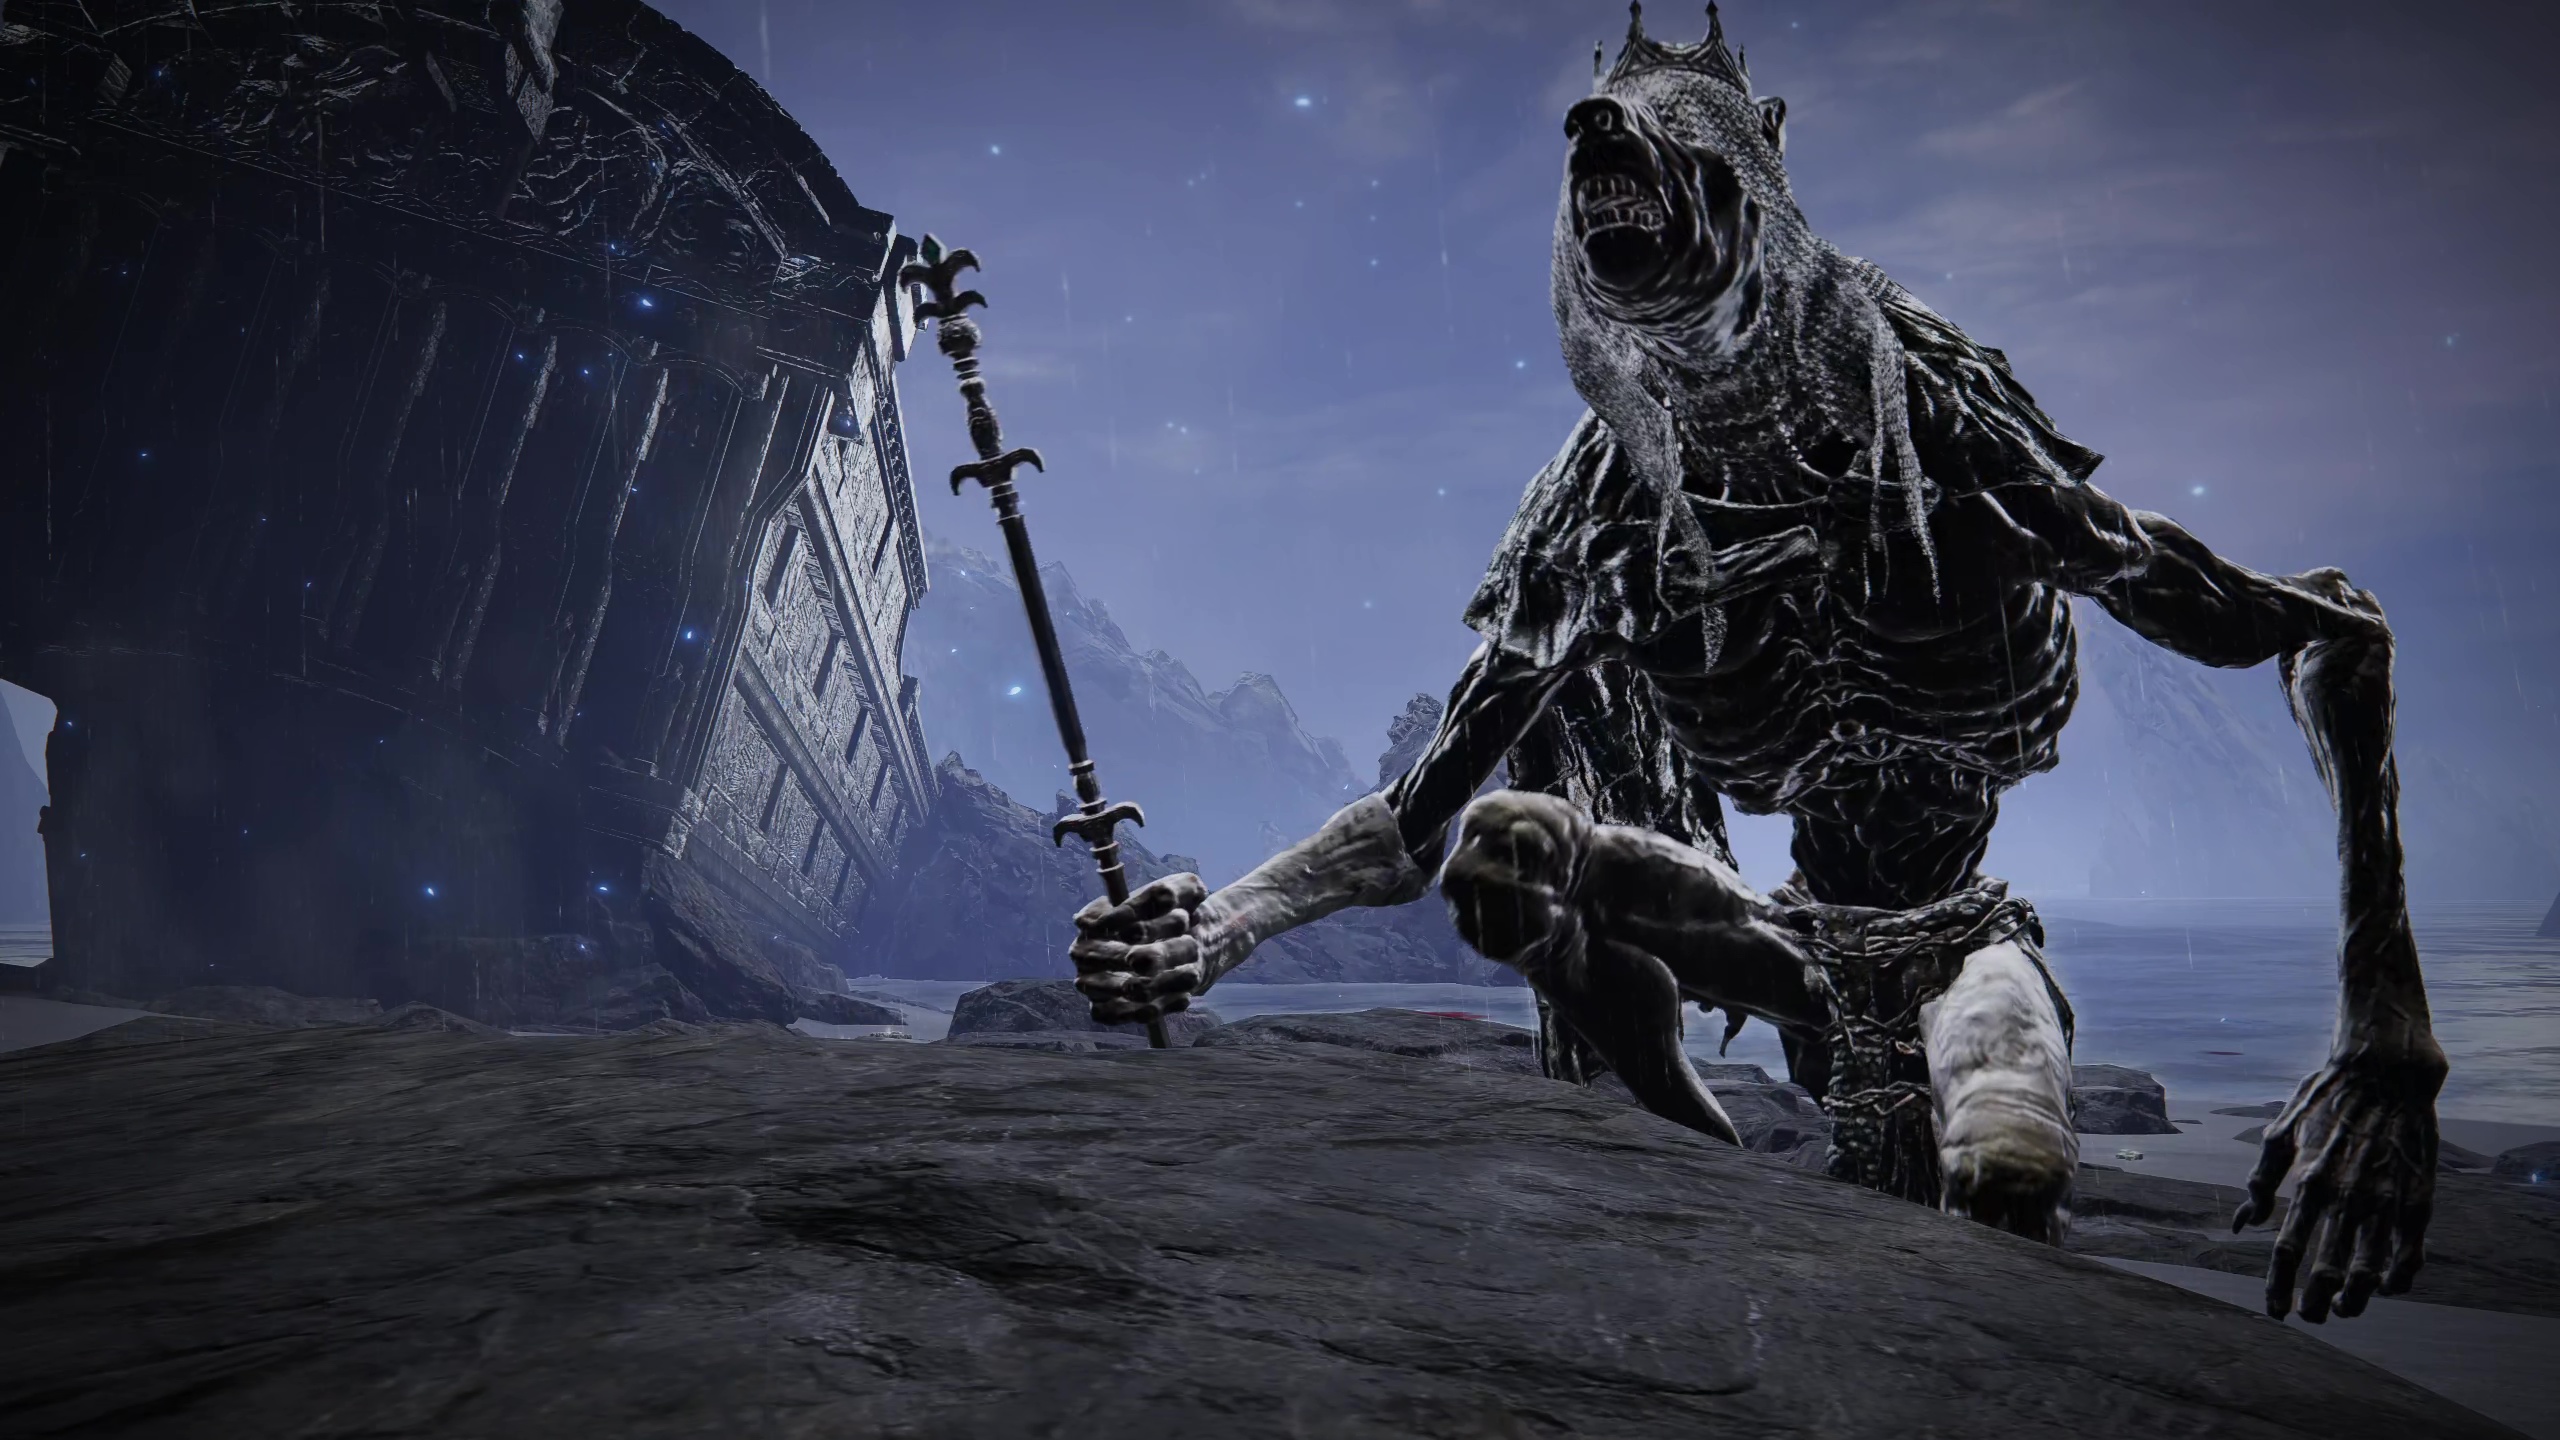
A unique spin on the dragons you can find all over Elden Ring, the Ghostflame Dragon’s skeletal appearance is more than just a fresh look. While many of the Ghostflame Dragon’s moves are the same as the moves of the base dragons, its additional ghostflame effects can prove very devastating.
The Ghostflame Dragon in the Cerulean Coast adds the most difficult extra element to the fight, as it is the only one that can also summon allies. Specifically, the Ghostflame Dragon can summon skeleton enemies, which are hard to dispatch, can easily distract or damage you while you are dealing with the Dragon, and have a habit of interrupting attacks or defenses. So long as you can deal with them, or rely on the Dragon’s mobility to avoid them, this Ghostflame Dragon is essentially the same as the ones in the Gravesite Plain and Scadu Altus.
