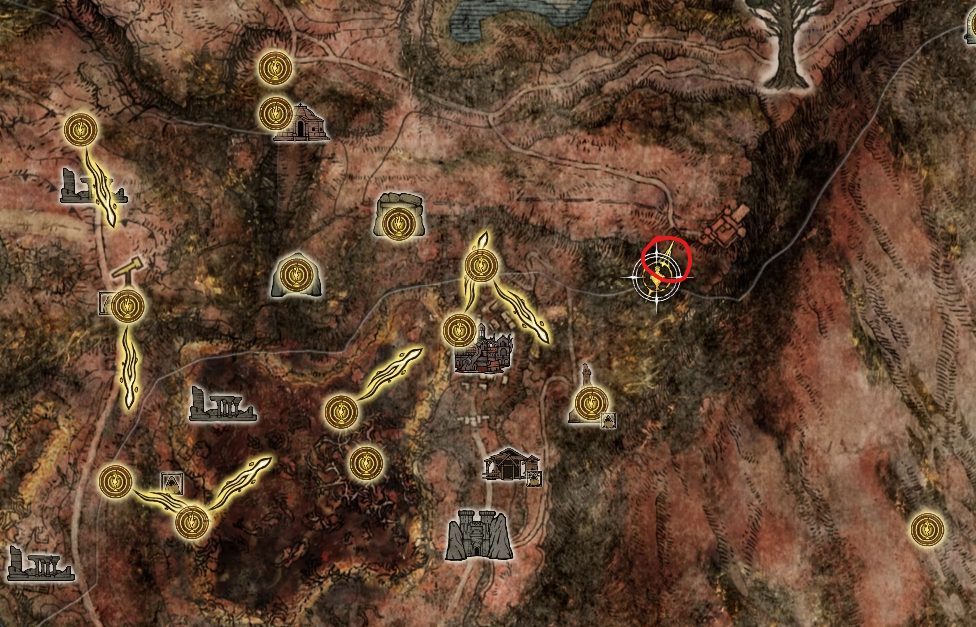
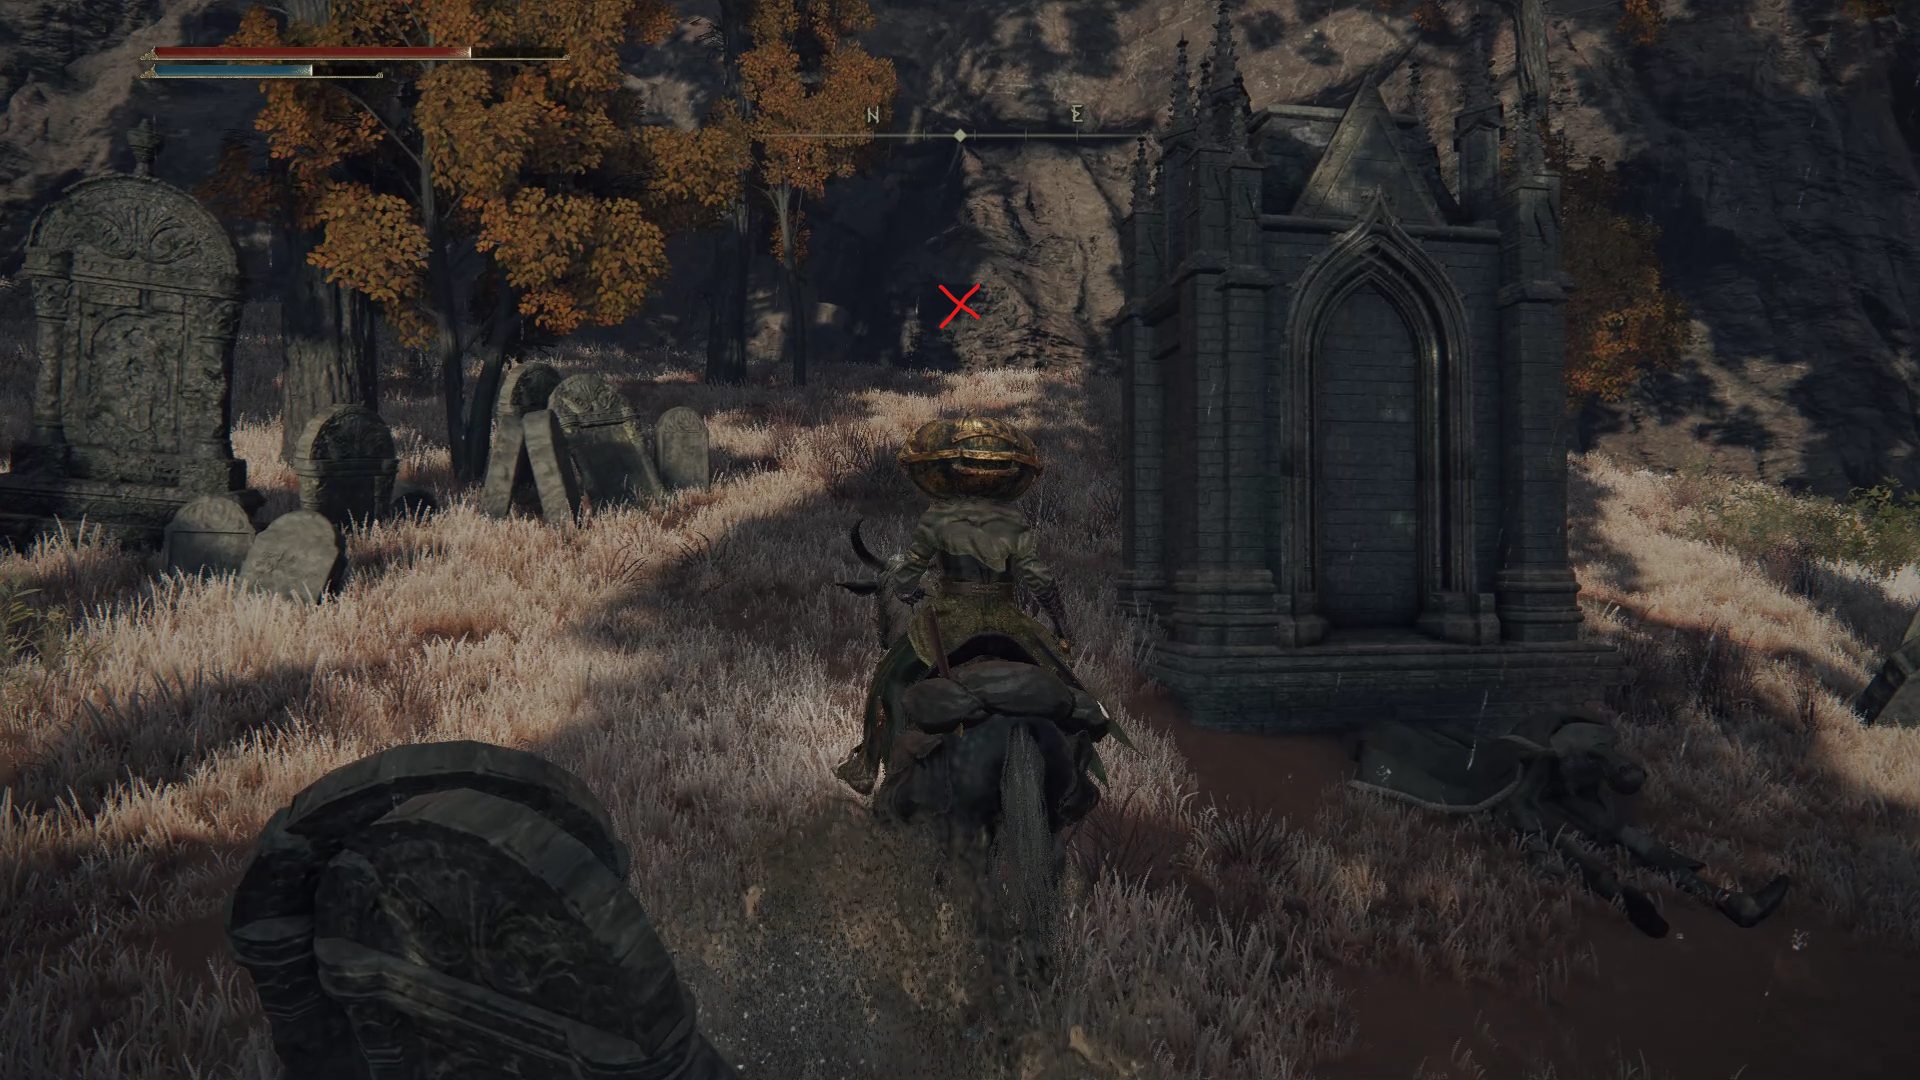
Found behind an illusory wall in Caelid, this dungeon allows you to progress Sorceress Sellen‘s quest, and houses a boss that has the potential to make you wish you had never found this dungeon in the first place.
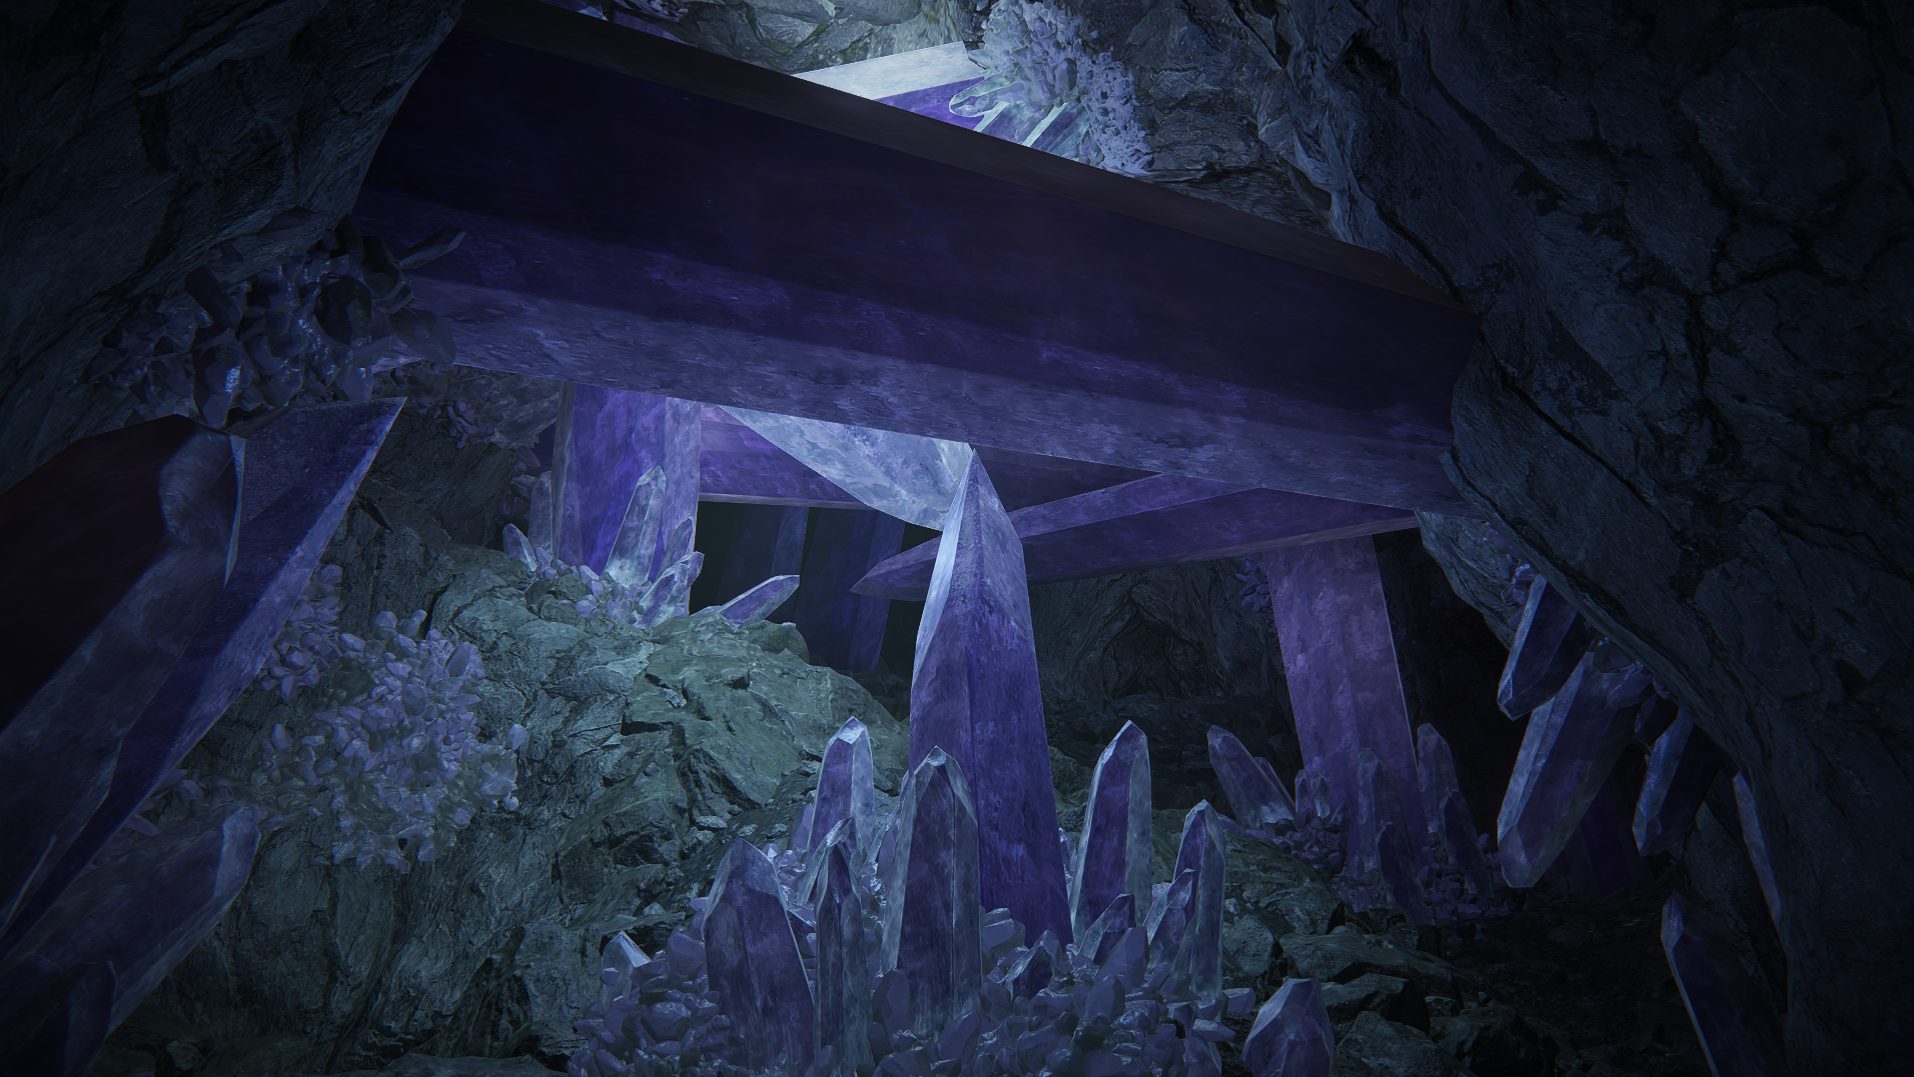
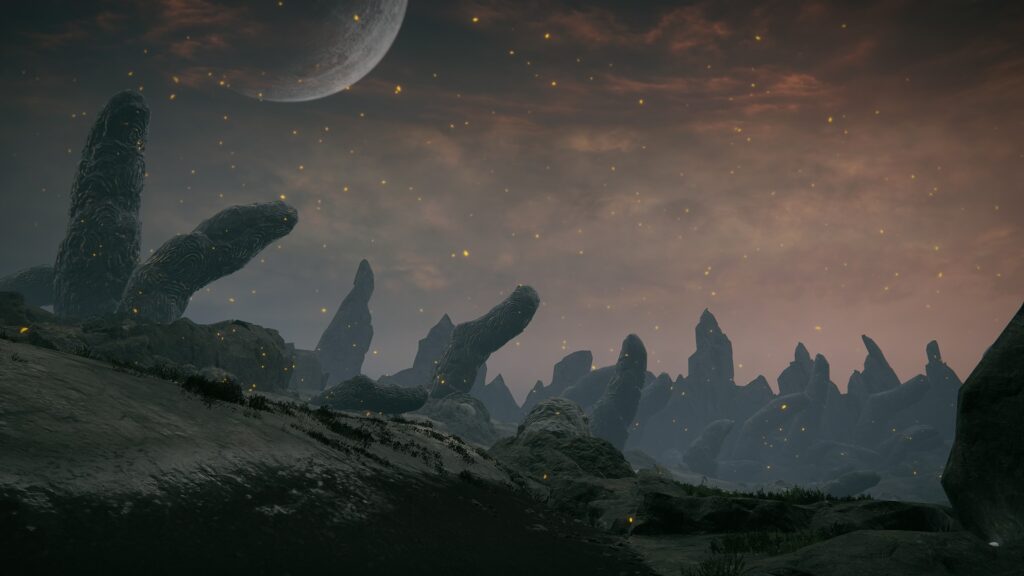
Grab the site of grace at the entrance and proceed further in until you start seeing some purple crystals in the dark. Try locking onto a target and you’ll notice a familiar type of enemy sitting in the dark: a miner. He should be easy to deal with, especially if you have access to a weapon dealing Strike damage. If you do not have one already, we highly recommend getting and upgrading a weapon inflicting Strike damage before going further, as the boss found at the end of the dungeon can be very painful otherwise.
Go past the first enemy, down the very linear tunnel, and you will find what looks like a dead end with a corpse containing a Golden Rune [3], as well as another dead end to the left with just a miner doing his job. You can ignore the path to the left entirely as there is nothing there, and instead attack the illusory wall next to the corpse to reveal a hidden tunnel.
Deal with the miner in this next section, and go all the way to the end of the tunnel to find another illusory wall that when broken, leads to a bigger, wider area of the dungeon.
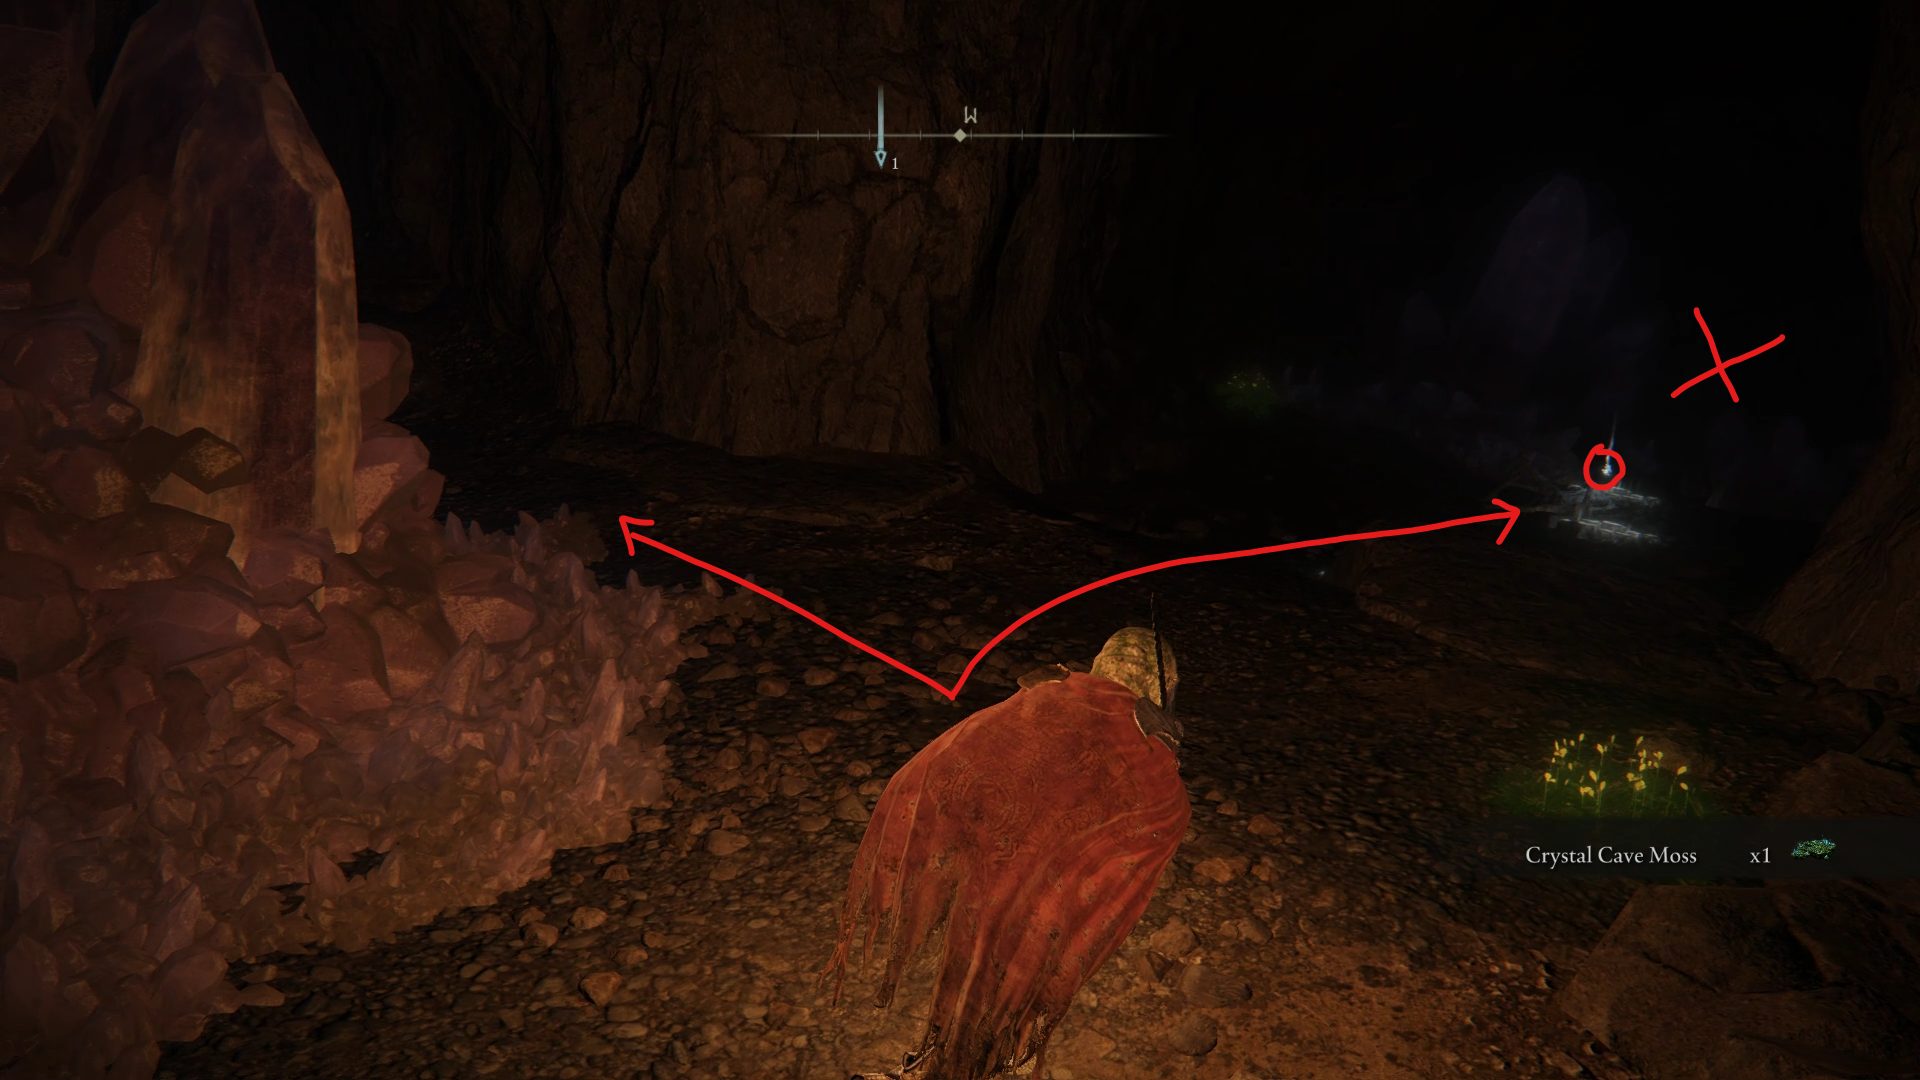
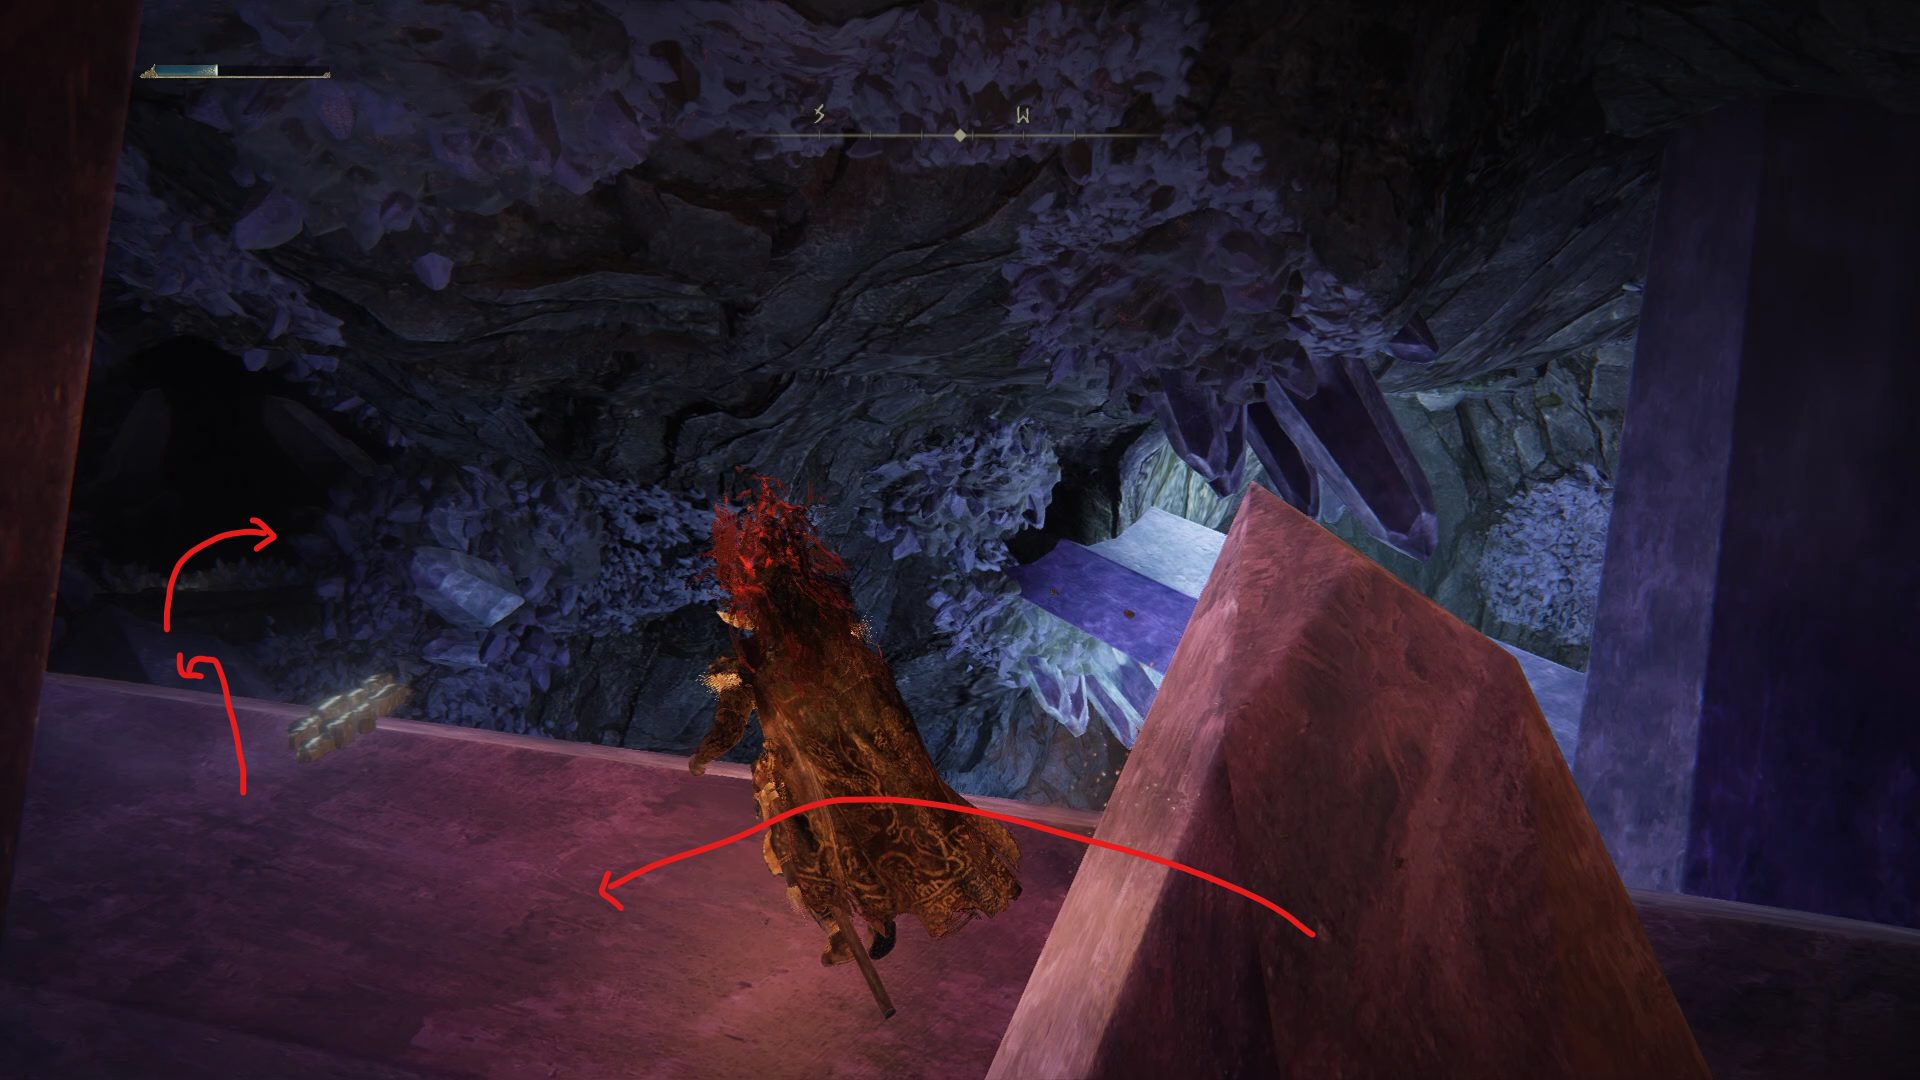
In this new area, follow the path to the right (A) to deal with the enemy behind the corner to avoid being bothered by him later on, and then go back to the purple crystal protruding across the room. Jump down to the crystal below (B) and go all the way up to find a corpse with a Golden Rune [5], and another miner enemy next to it. Once you’ve grabbed the Golden Rune, climb the nearby cluster of crystals to go back to the entrance of this section.
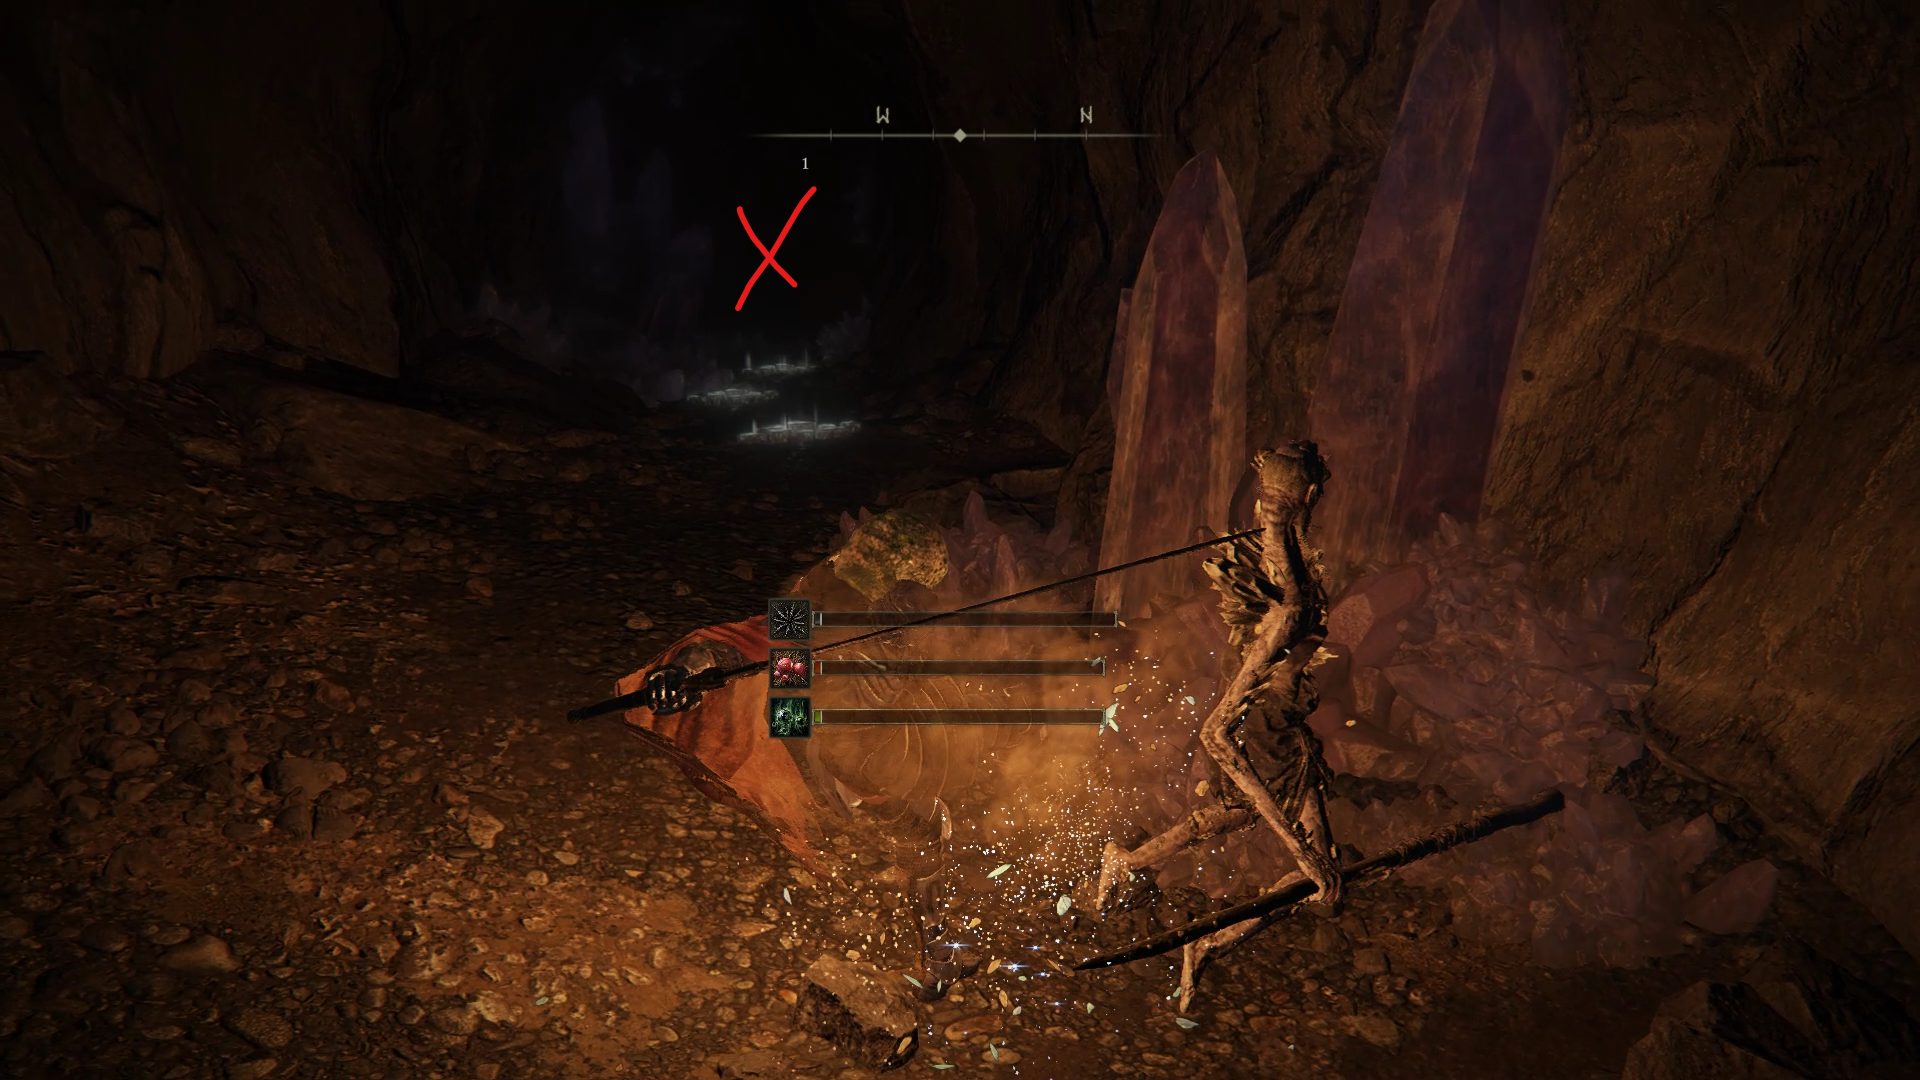
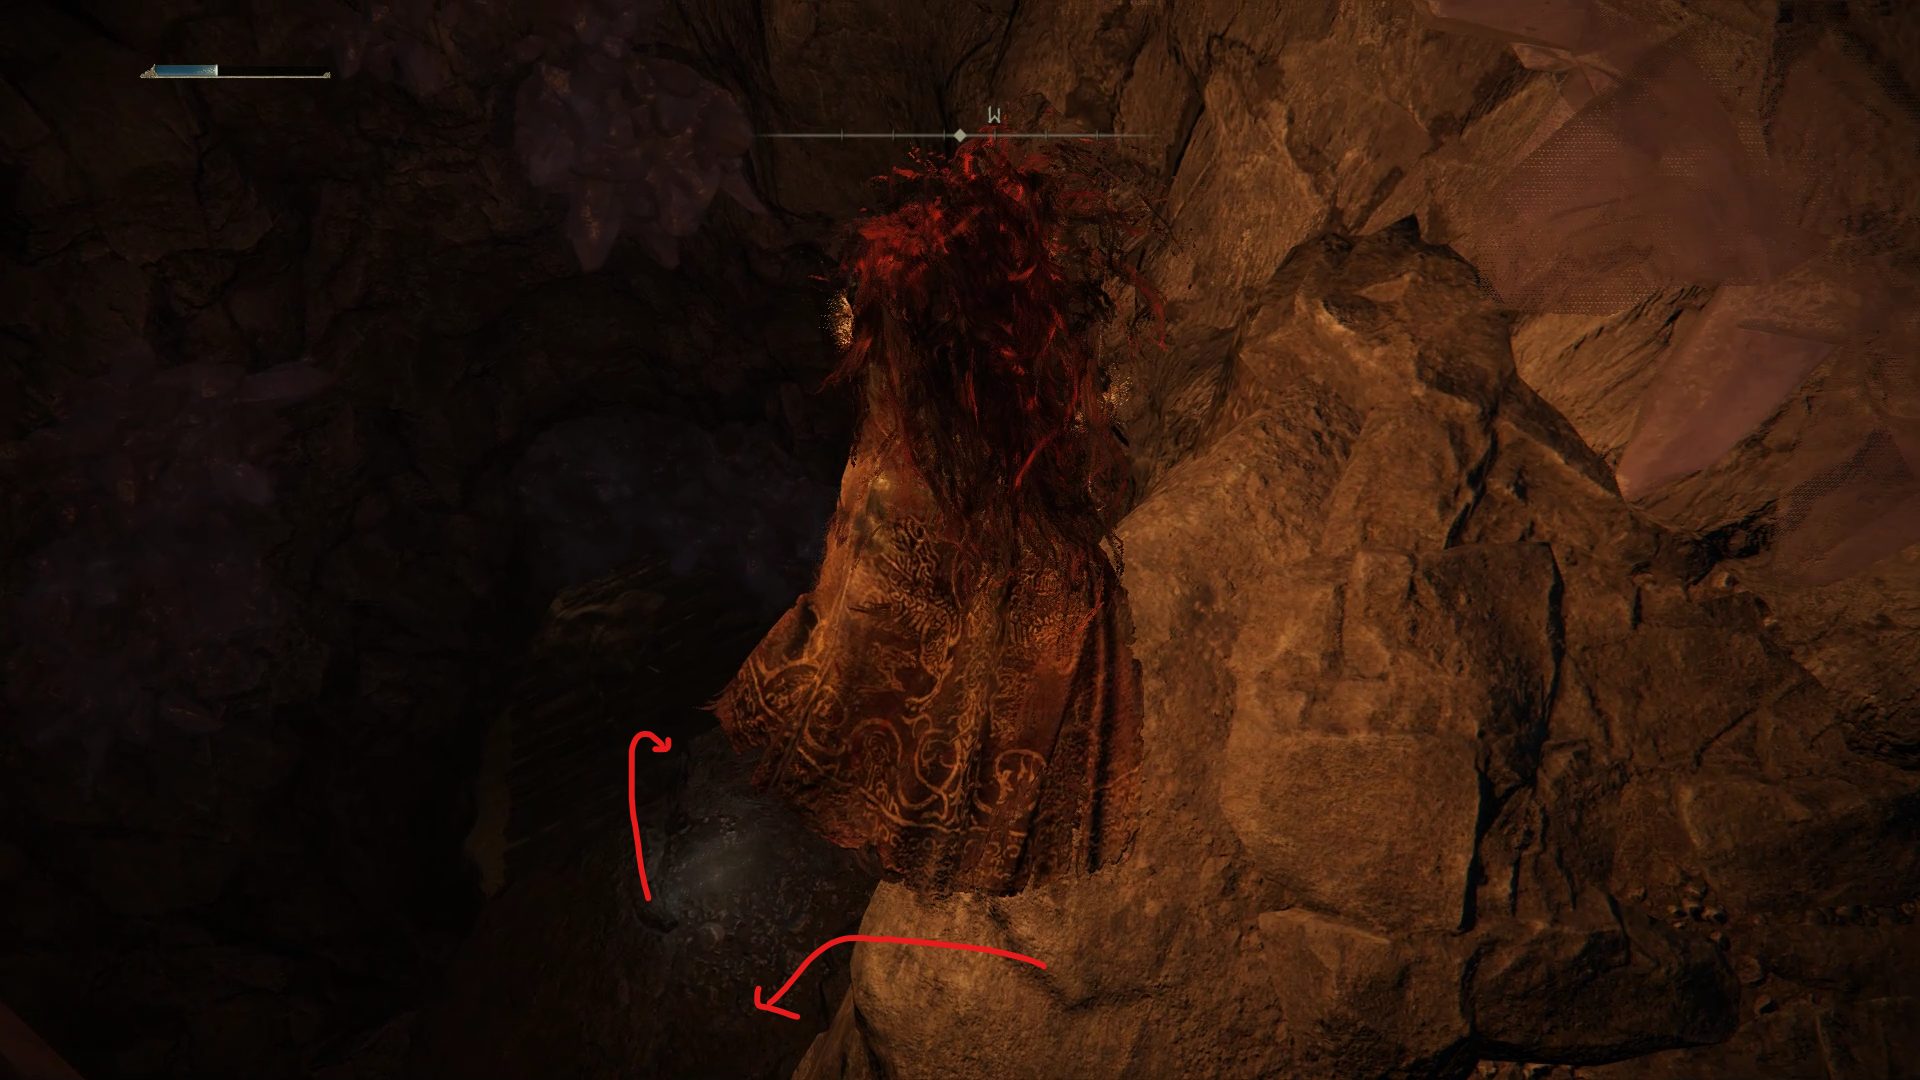
Get back to the crystal that you jumped down from to grab the Golden Rune, and instead of jumping to the left, jump down to the crystal to the right that leads north, and deal with the enemy there. While you may have noticed a small gap you can jump over to the left, we’ll be going down to the lower level first to not miss any loot. From where you killed the enemy, turn right to find a couple of crystals below you, and keep going down until you get your toes wet.
Watch out for the snail in the darkTurn around and jump down to the crystal below
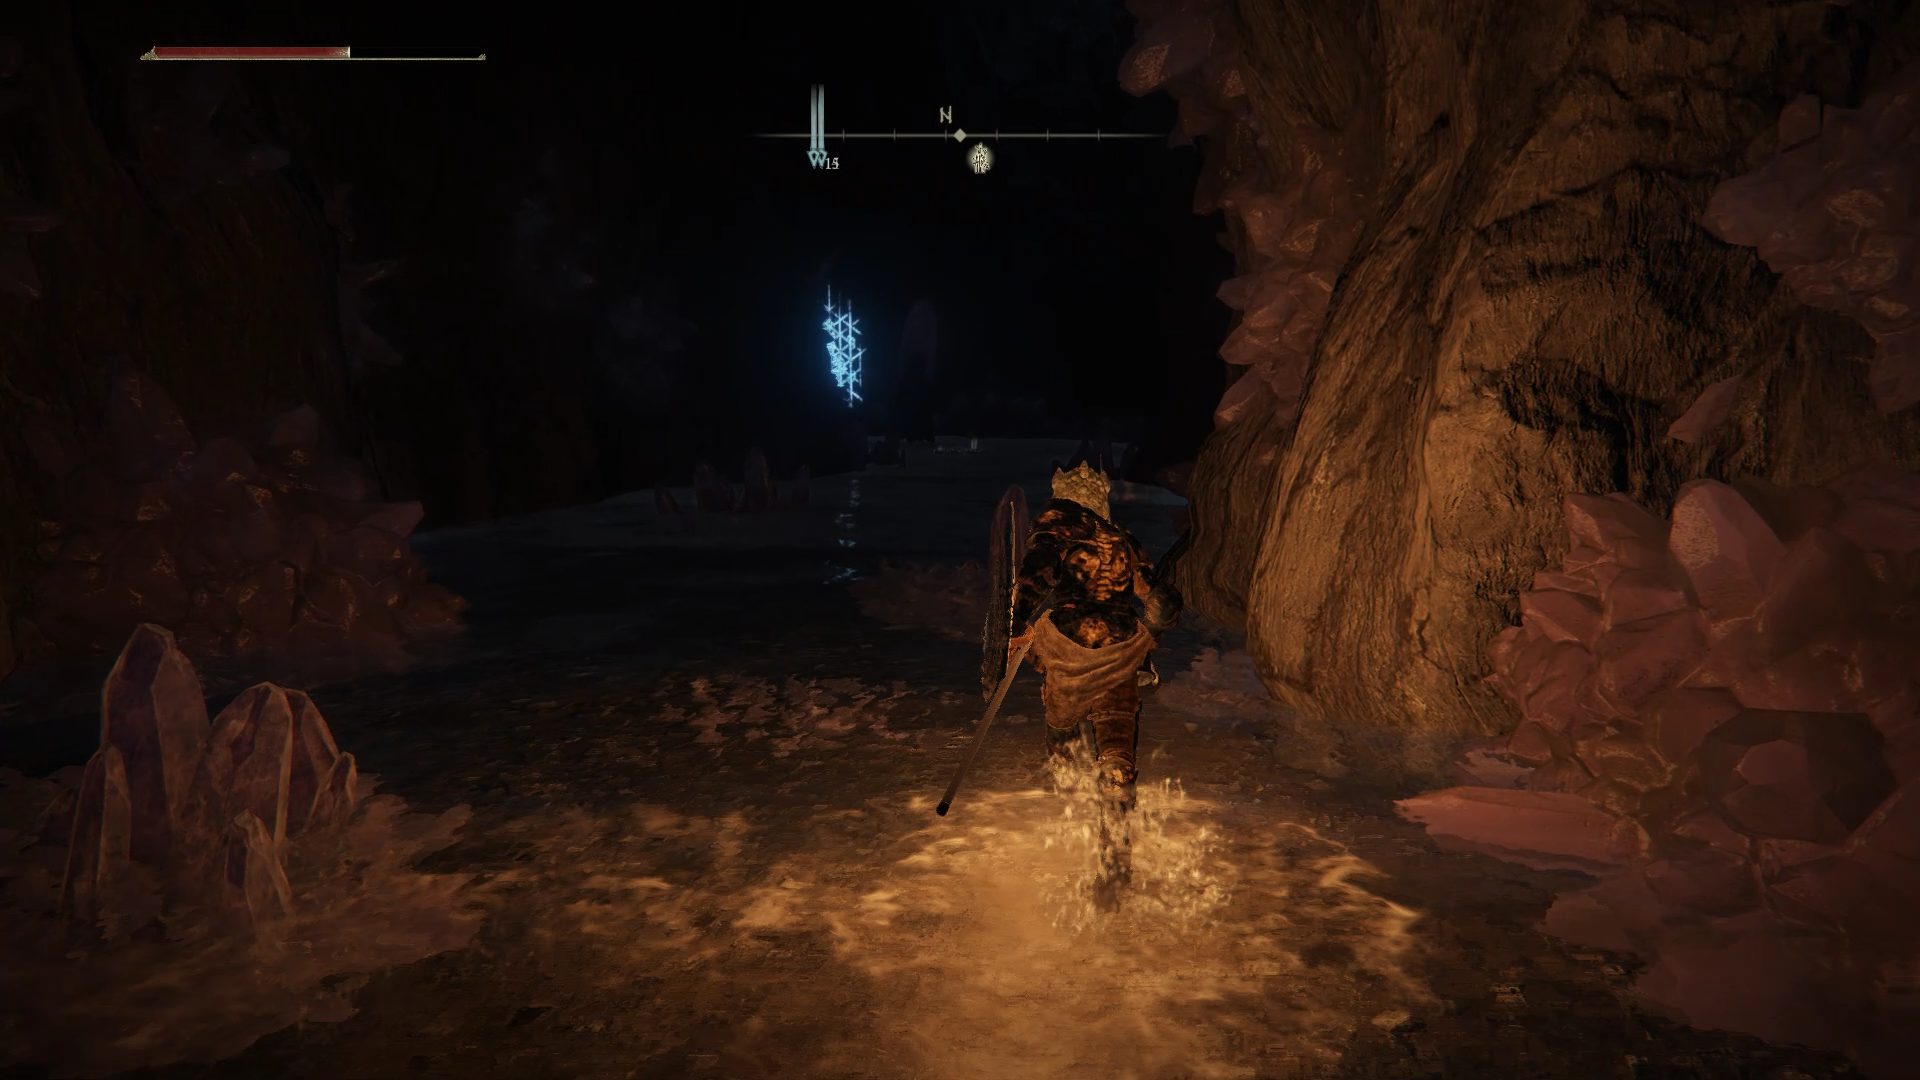
Once you made your way down, if you go north you will find a sorcerer guarding a seal, which is part of Sorceress Sellen‘s quest.
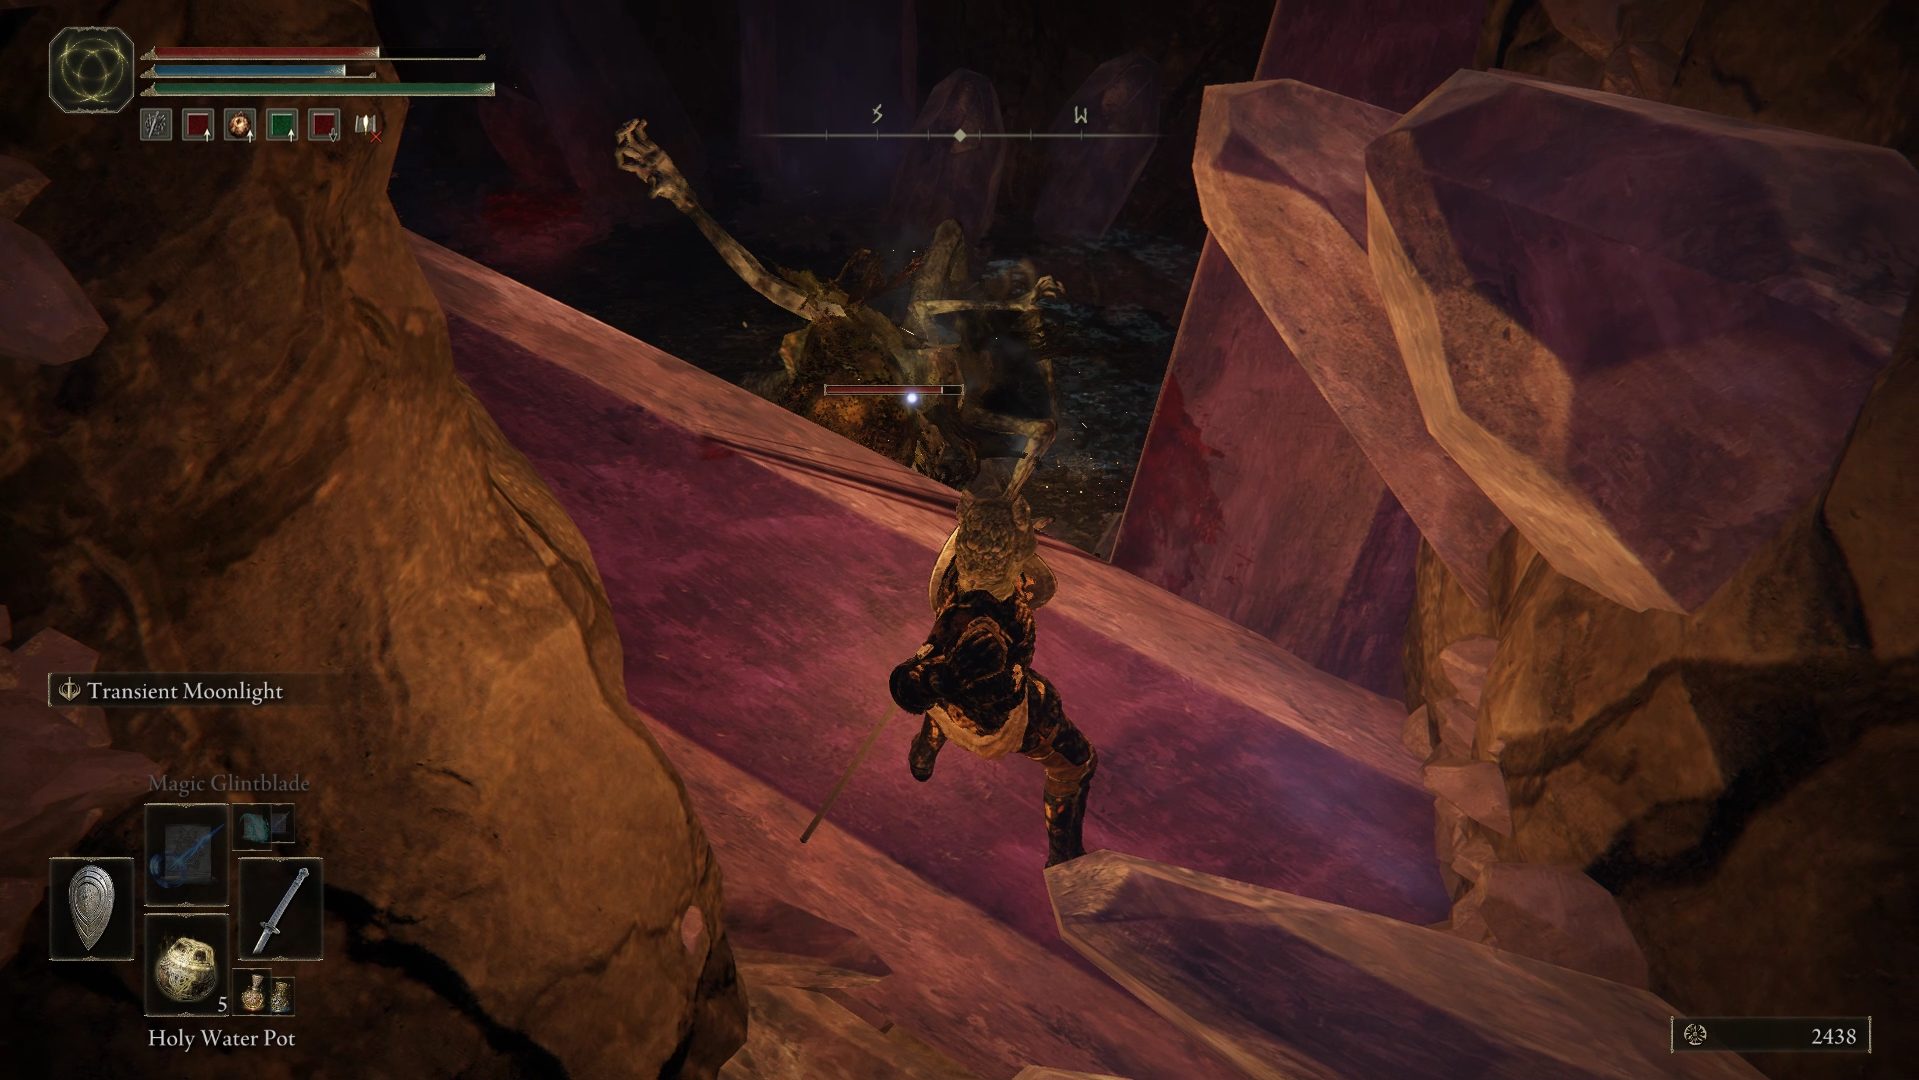
If you go southwest instead and go up the large crystal, you will find a secluded area with a Revenant enemy below. If you fought the Royal Revenant in Liurnia of the Lakes, this enemy is identical, but you have the advantage of having the high ground. Make sure to remain on that ledge so that the Revenant isn’t able to beat you to a pulp, grab his attention with a ranged weapon, and wait for the revenant be right under you.
You can fight the revenant as described in our guide, or you can use the terrain to your advantage here:
If you have access to a healing incantation such as Heal, just stay close to the edge and use it to inflict high damage to the Revenant. Doing so 2-3 times will be enough to defeat him without breaking a sweat.
If you have access to ranged attacks, just stand on the ledge and use ranged attacks/sorceries to deal with the revenant.
If you’re playing a melee character, grab a weapon with a heavy charged attack that swings downwards. Stand on the edge and keep using heavy charged attacks to hit the revenant below.
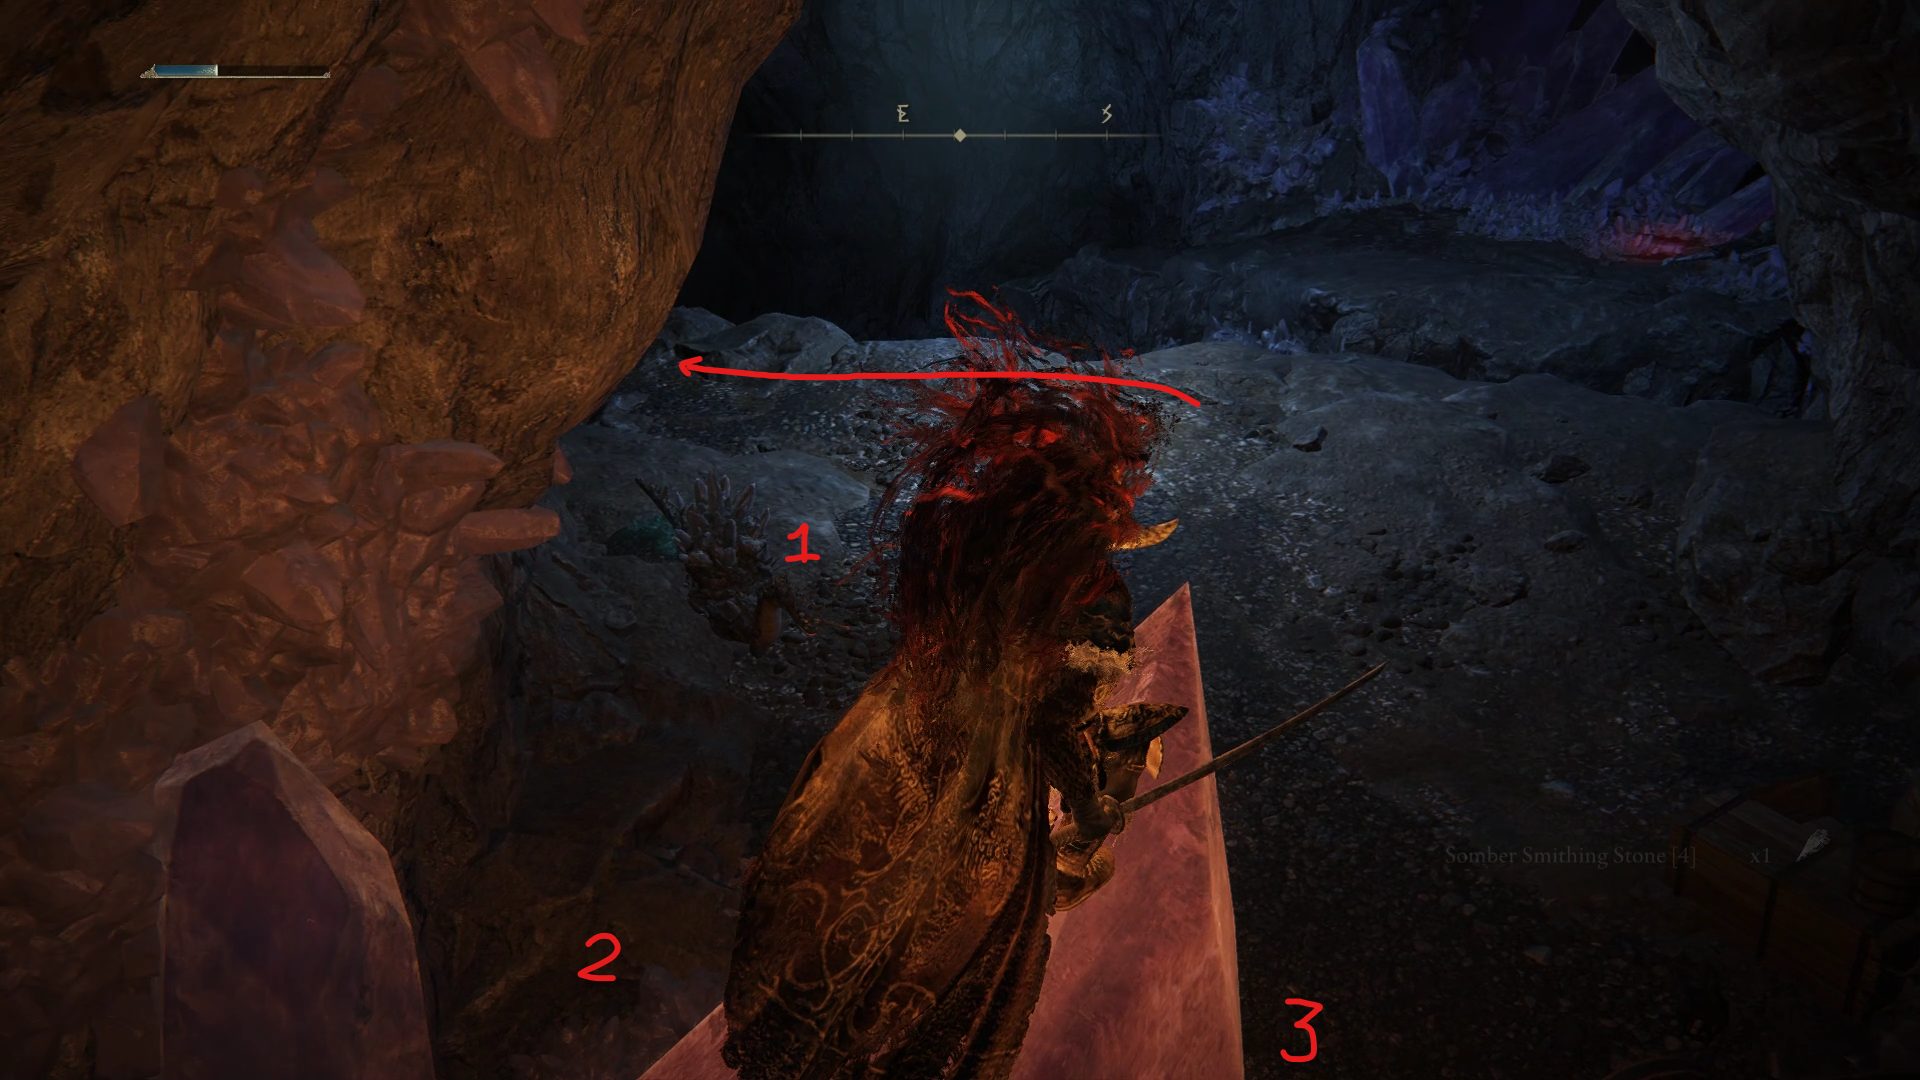
Once you’ve dealt with the Revenant, grab the 1x Stimulating Boluses, Golden Rune [5] and the Lost Ashes of War in the nearby waters, and head northwest to find a path that leads back up. On your way through there, you’ll find 1x Somber Smithing Stone [4], and you’ll eventually end up on the other side of the place you jumped down from earlier. While there will be 1 snail in front of you, watch out for the other two napping under the crystal.
3 sneaky little snails
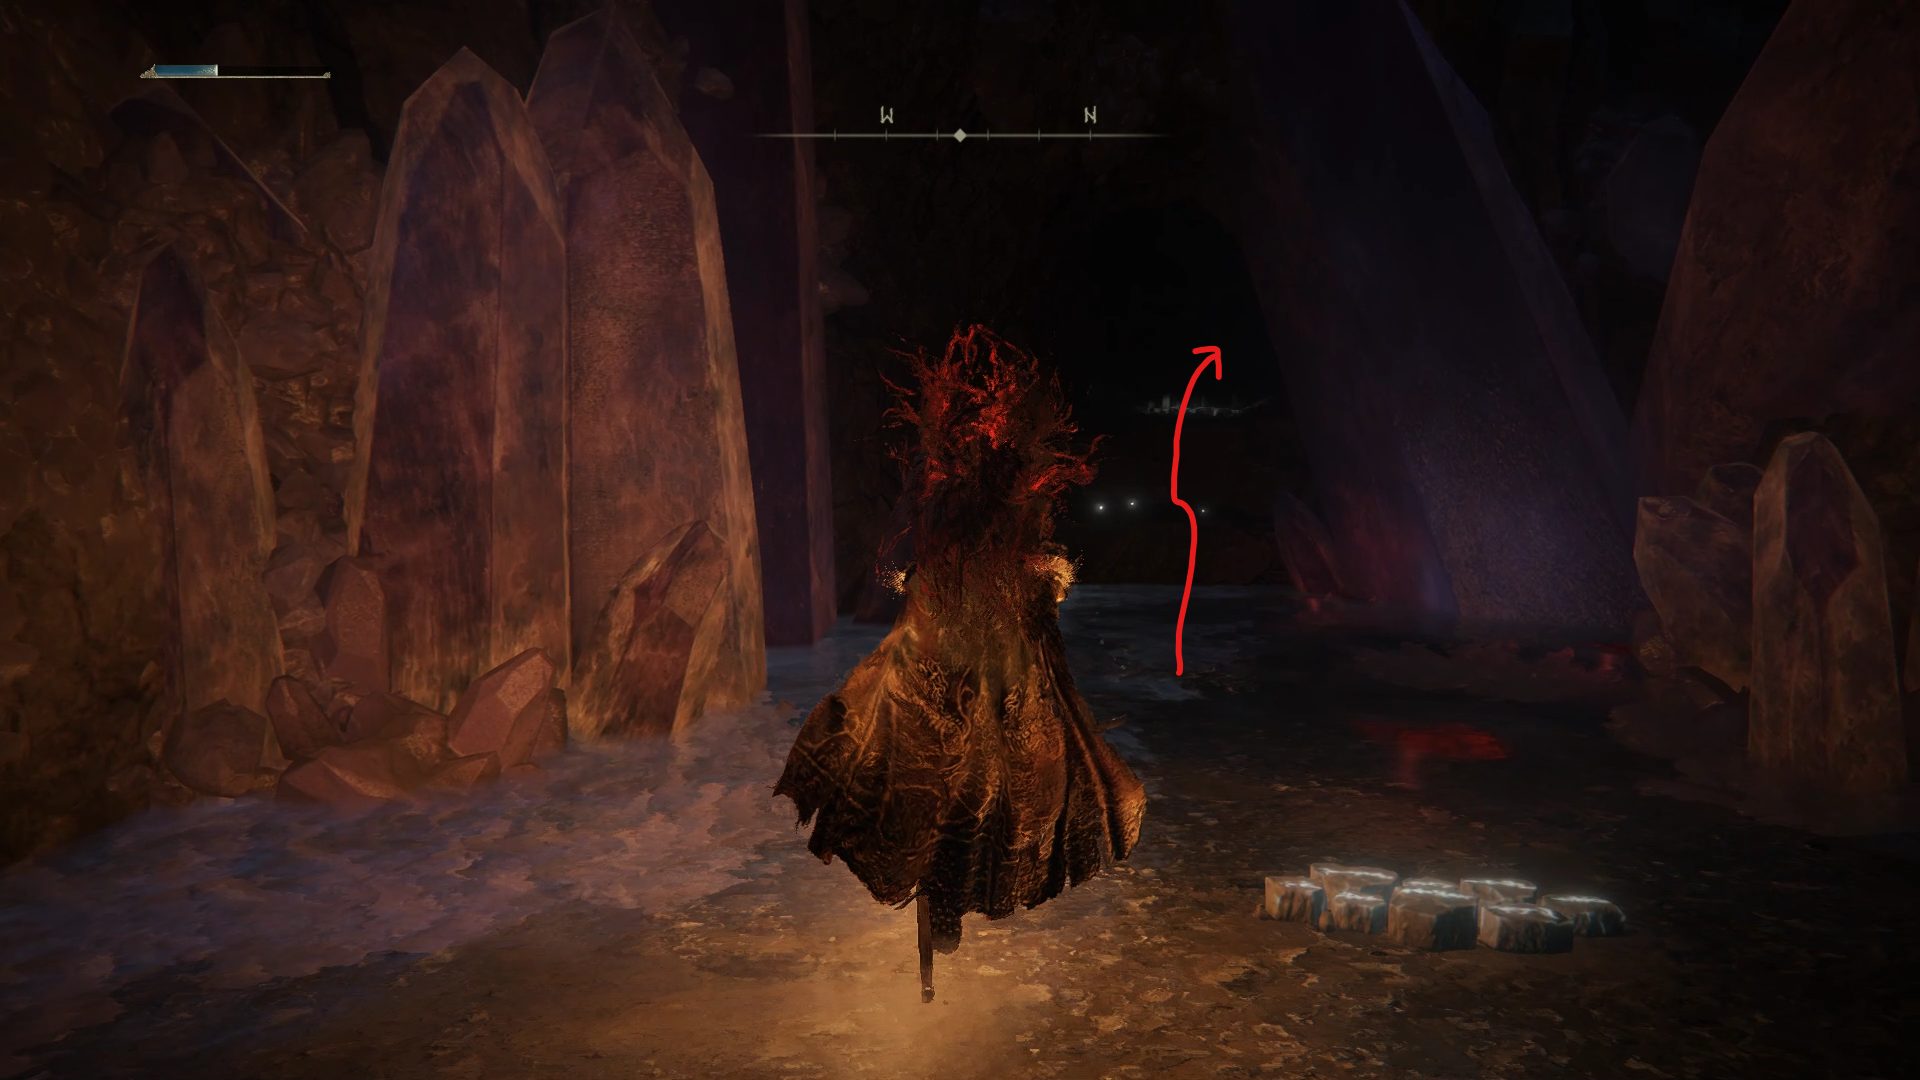
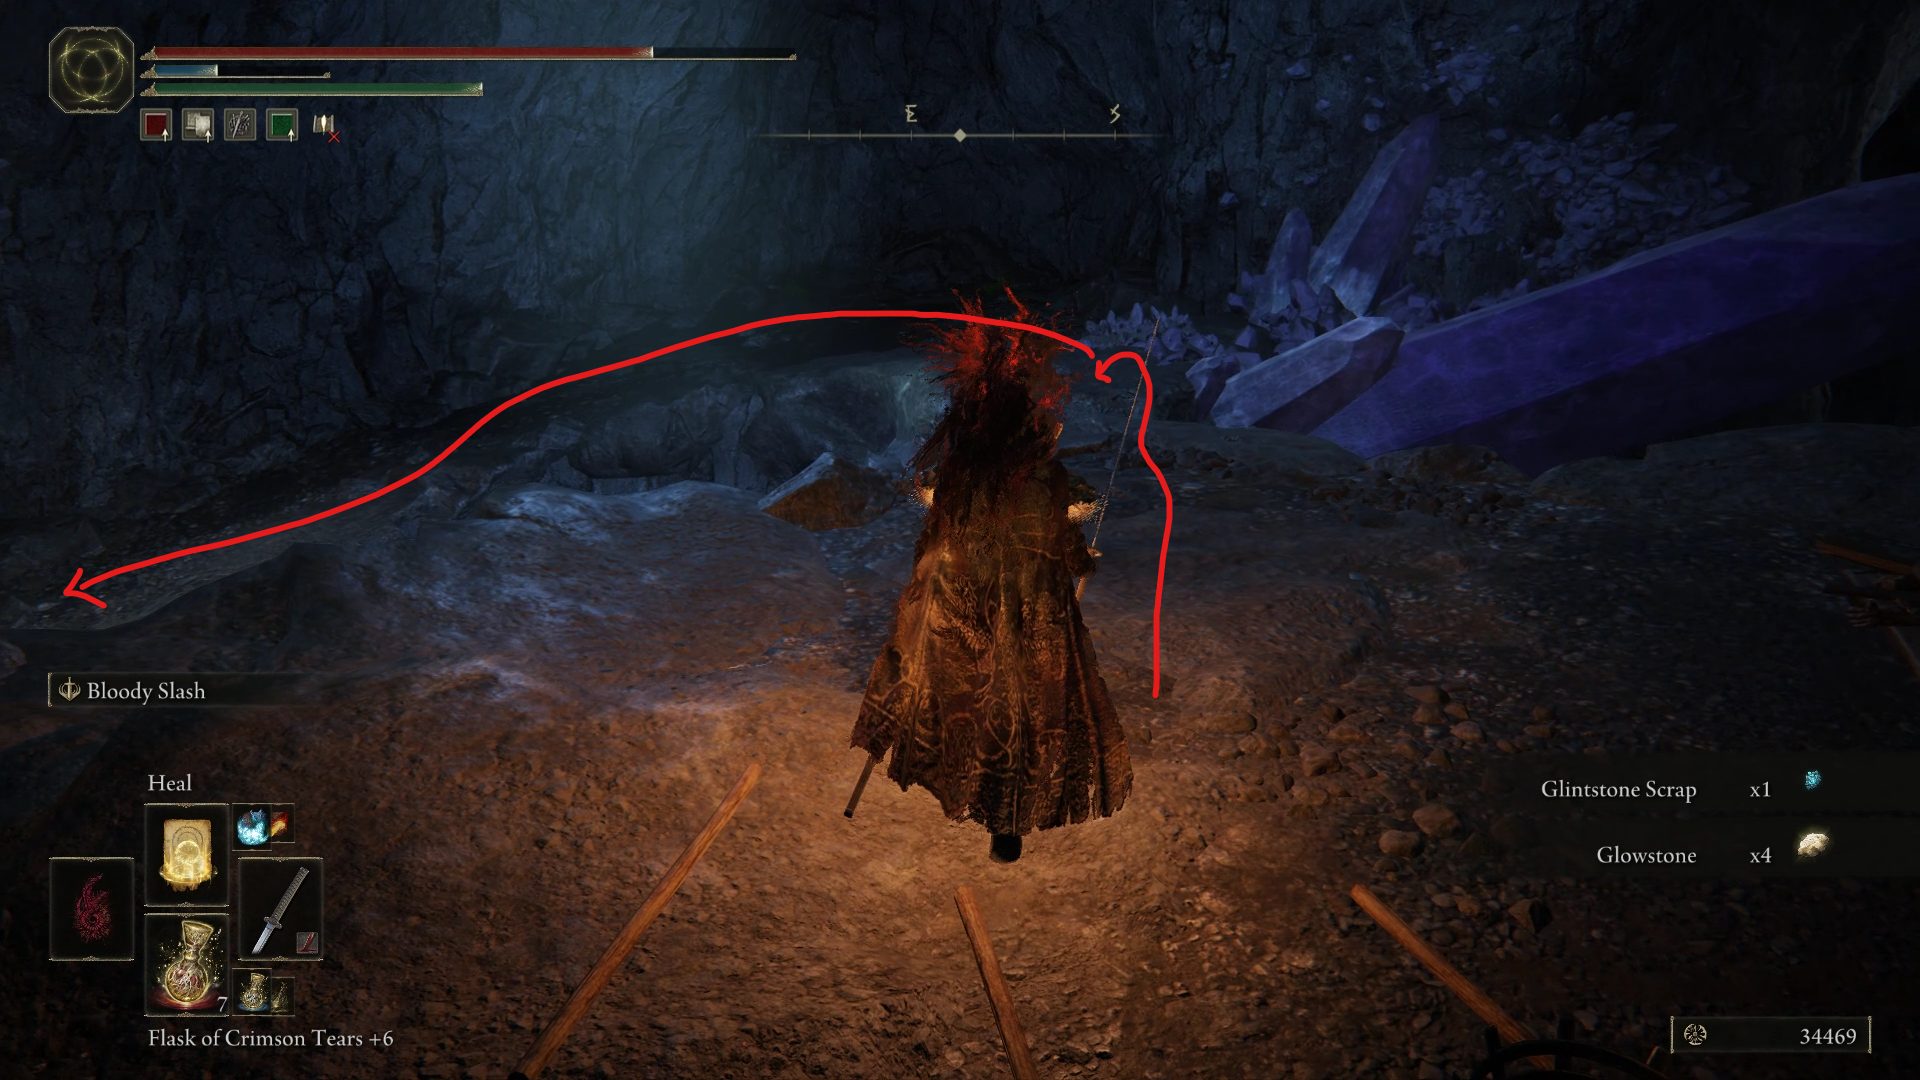
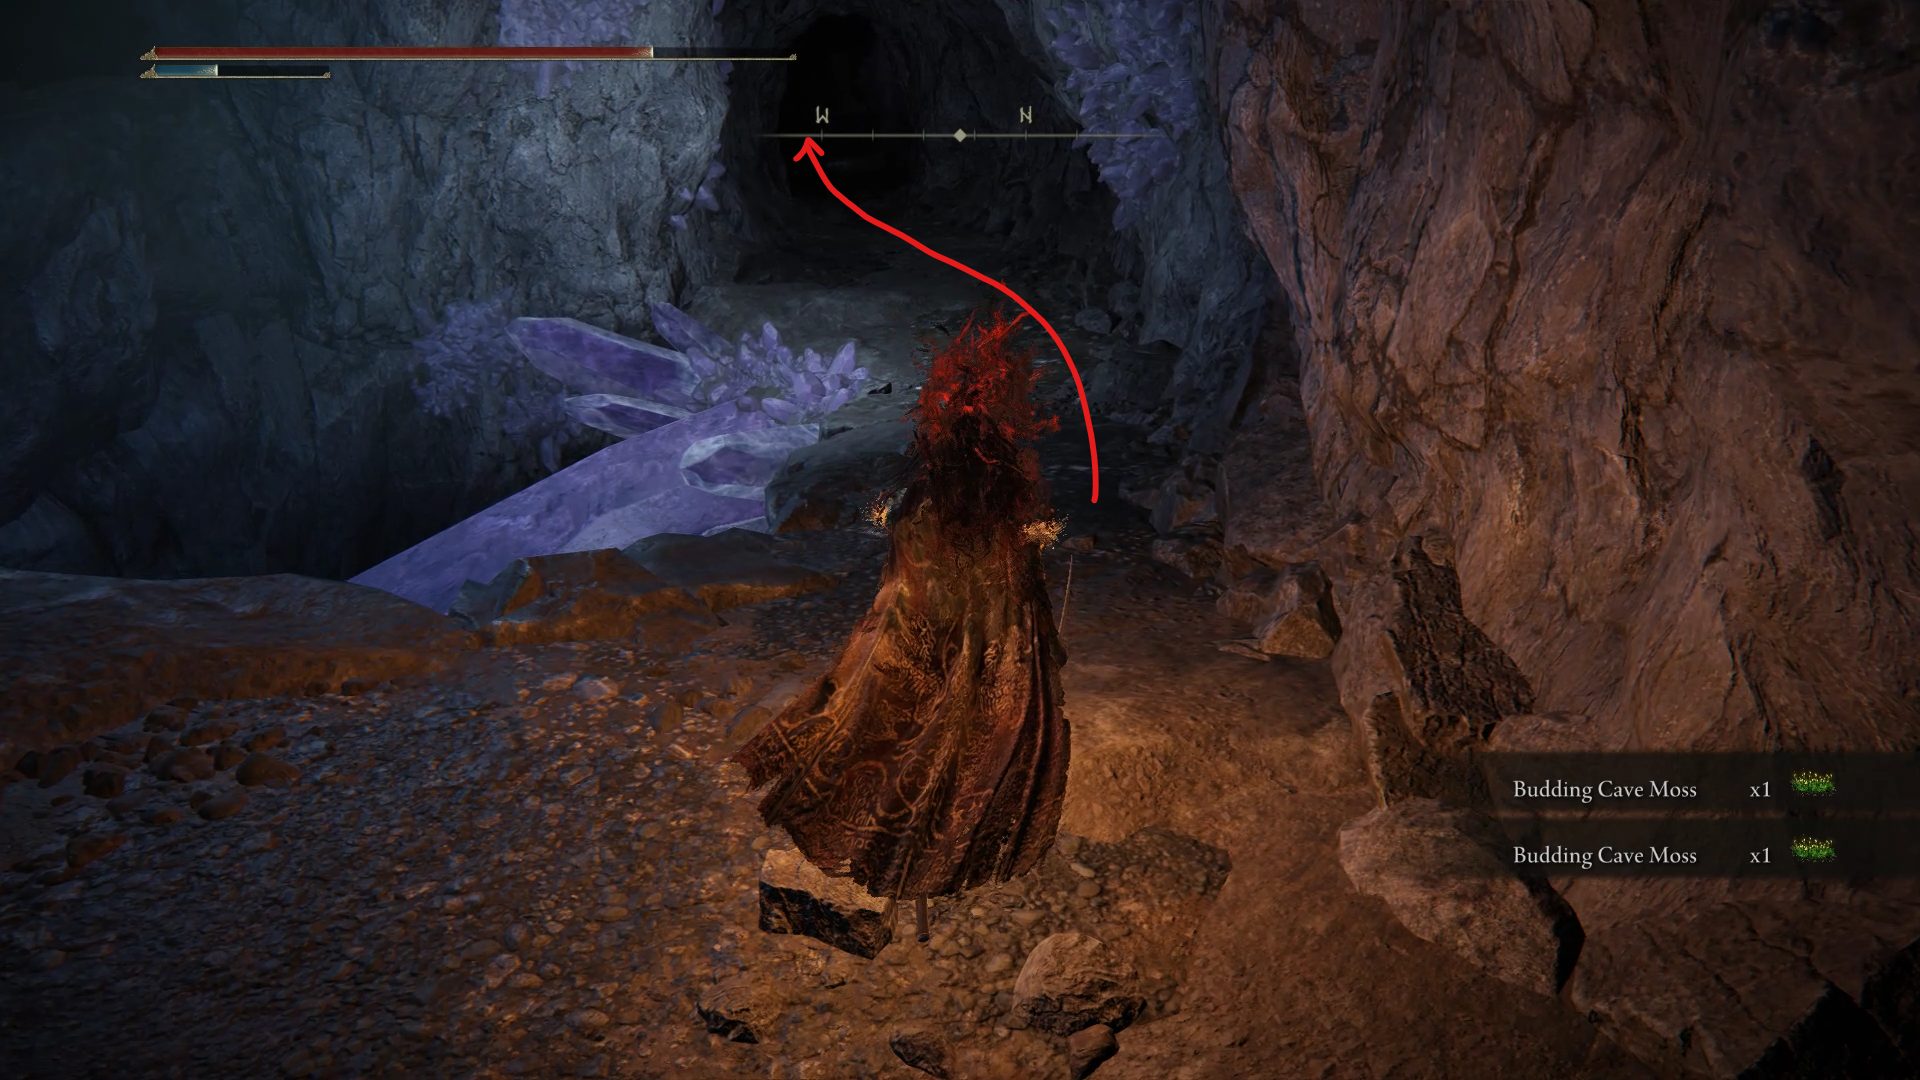
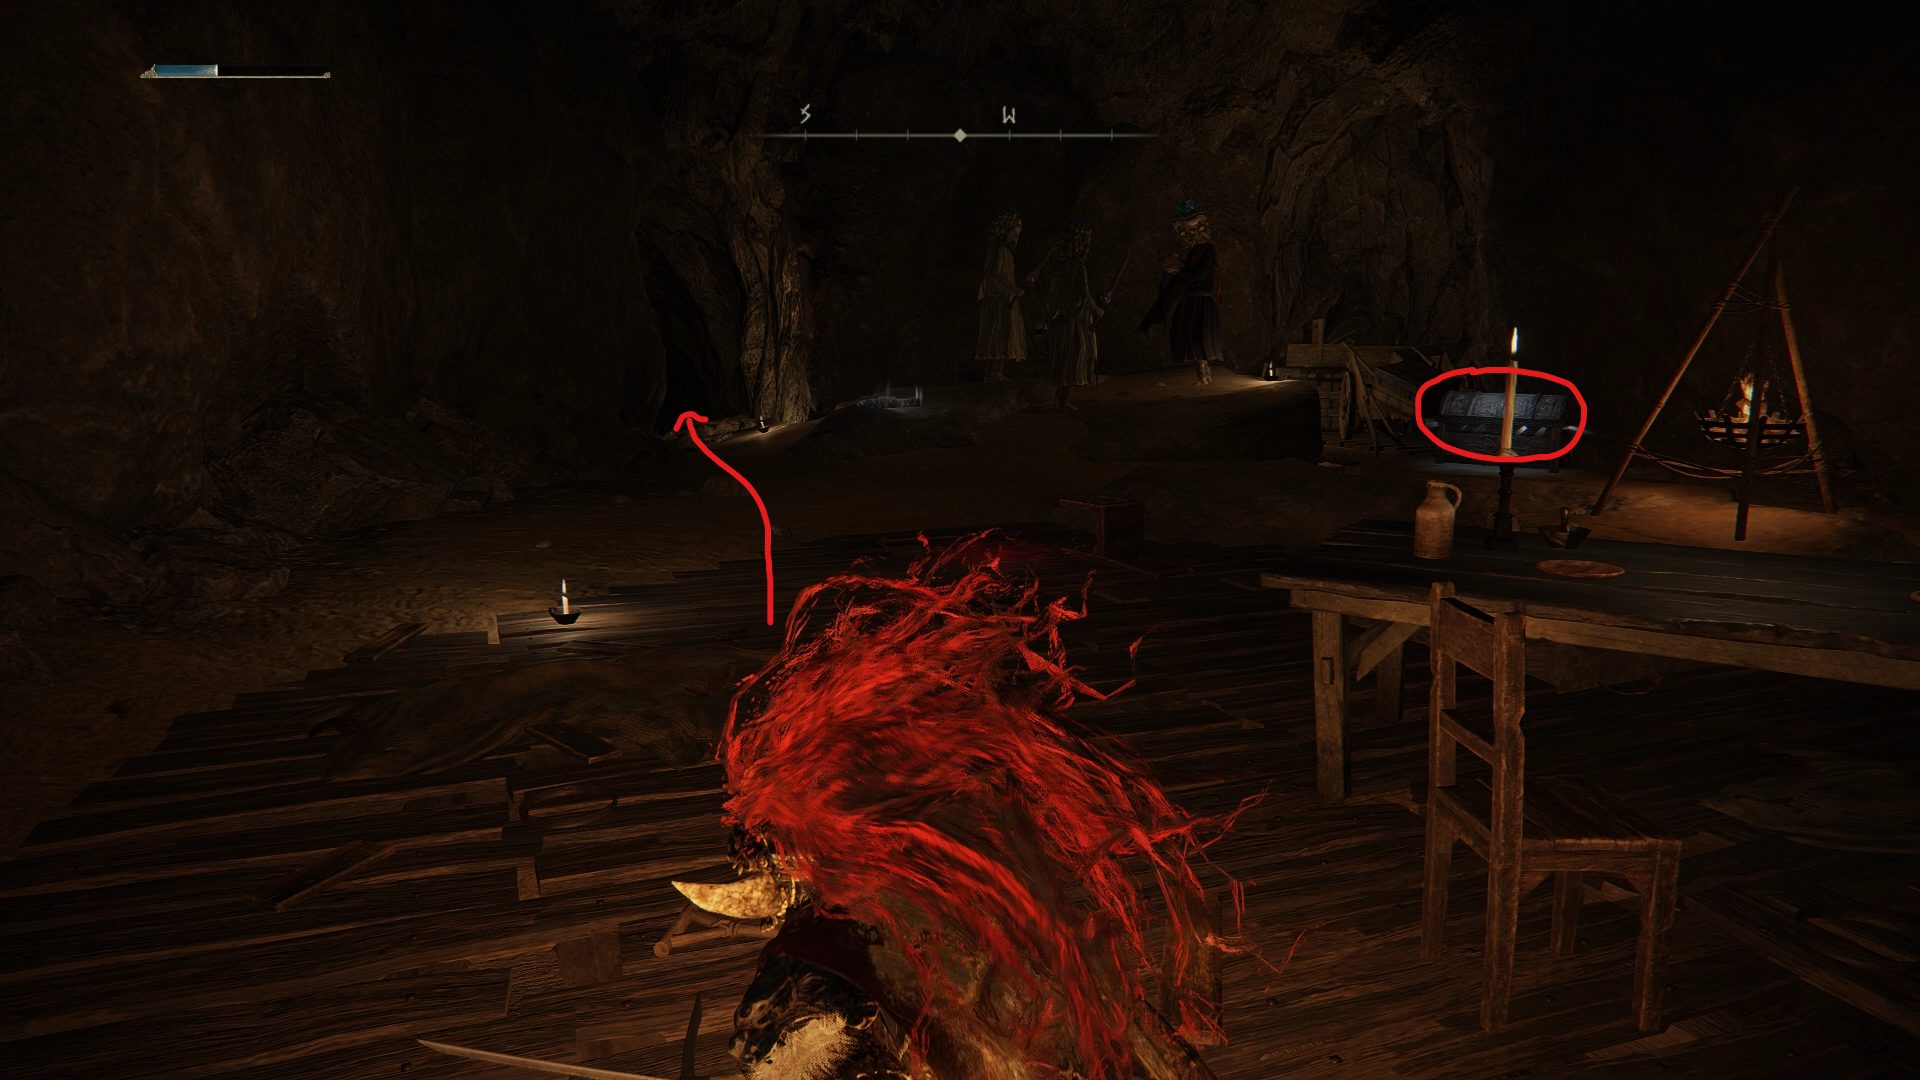
Head northeast from there until you reach a small camp with a couple of miners. The one closest to the edge will be tougher than his colleagues, so we recommend dealing with him first, before disposing of his weaker friend. When they have been dealt with, grab the 4x Glowstone from a nearby corpse, jump over the ravine east-southeast and follow the path northwest to reach this dungeon’s next section.
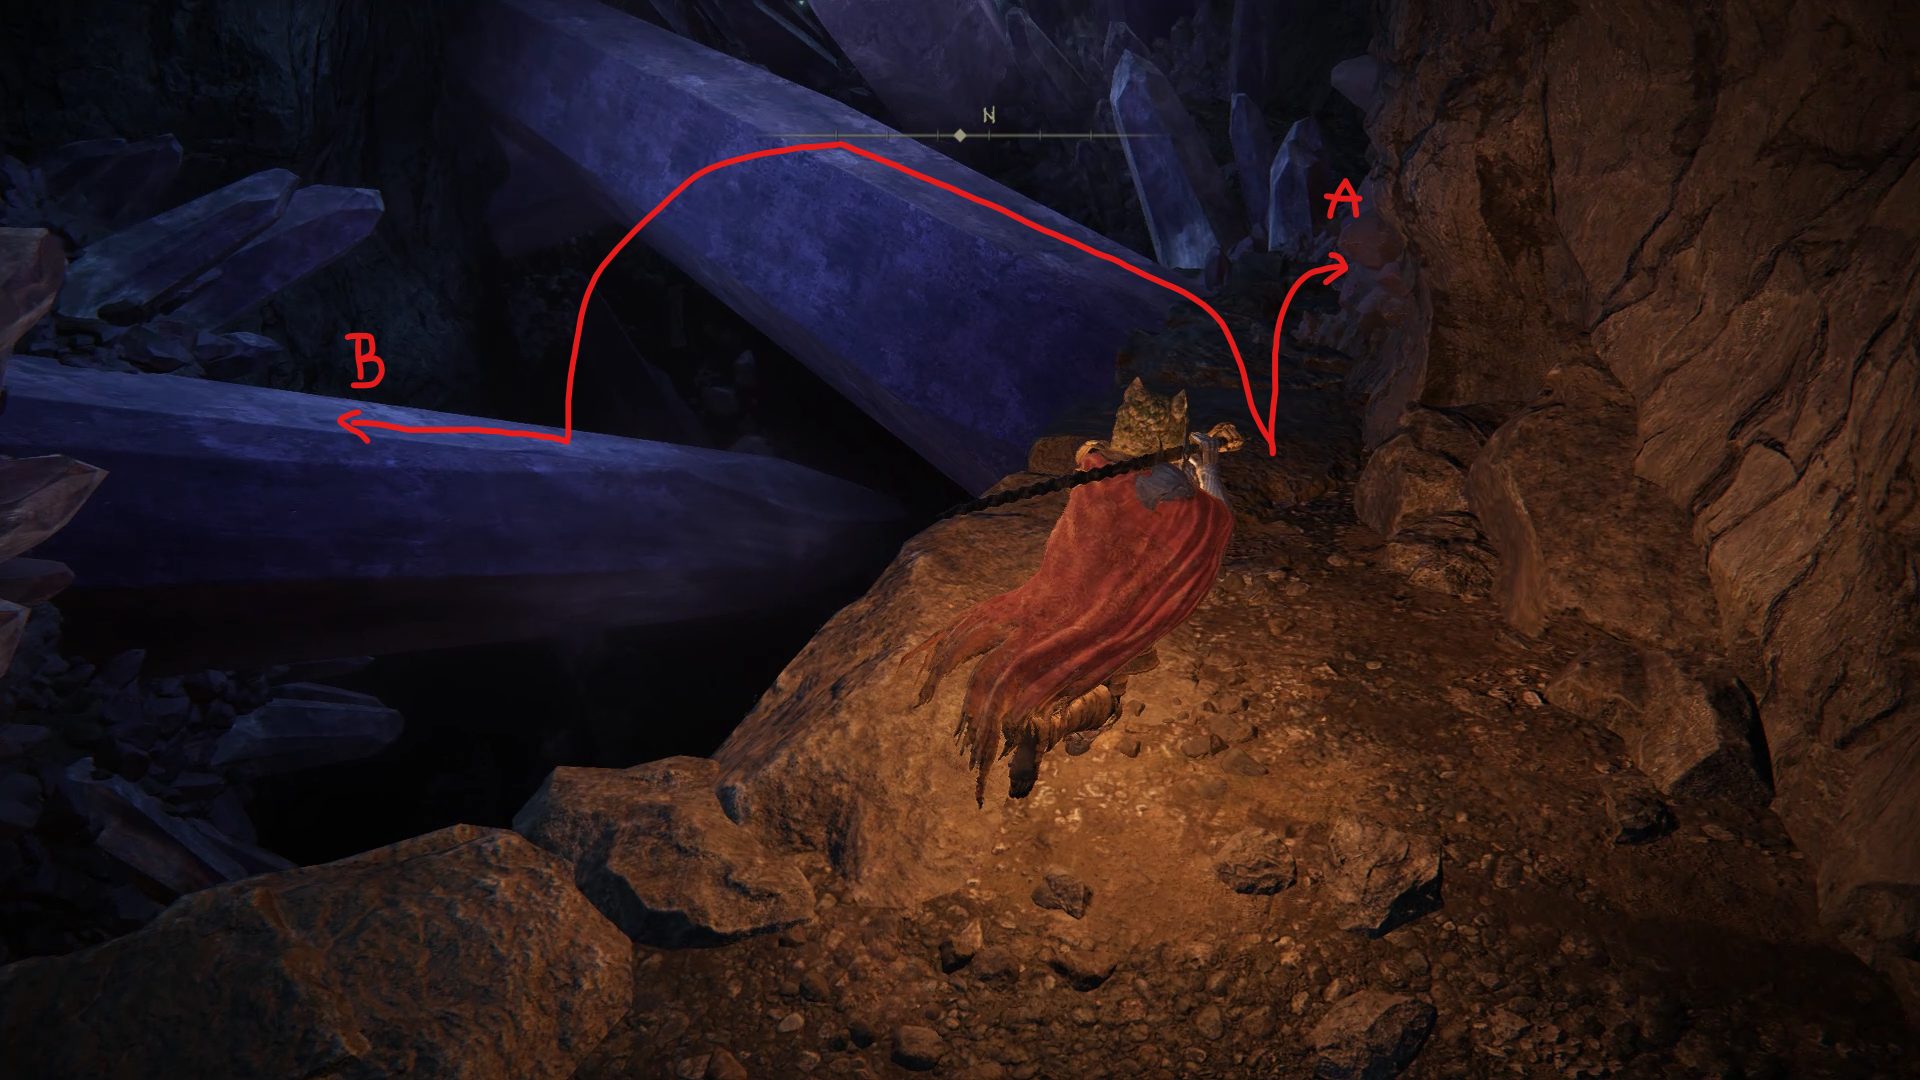
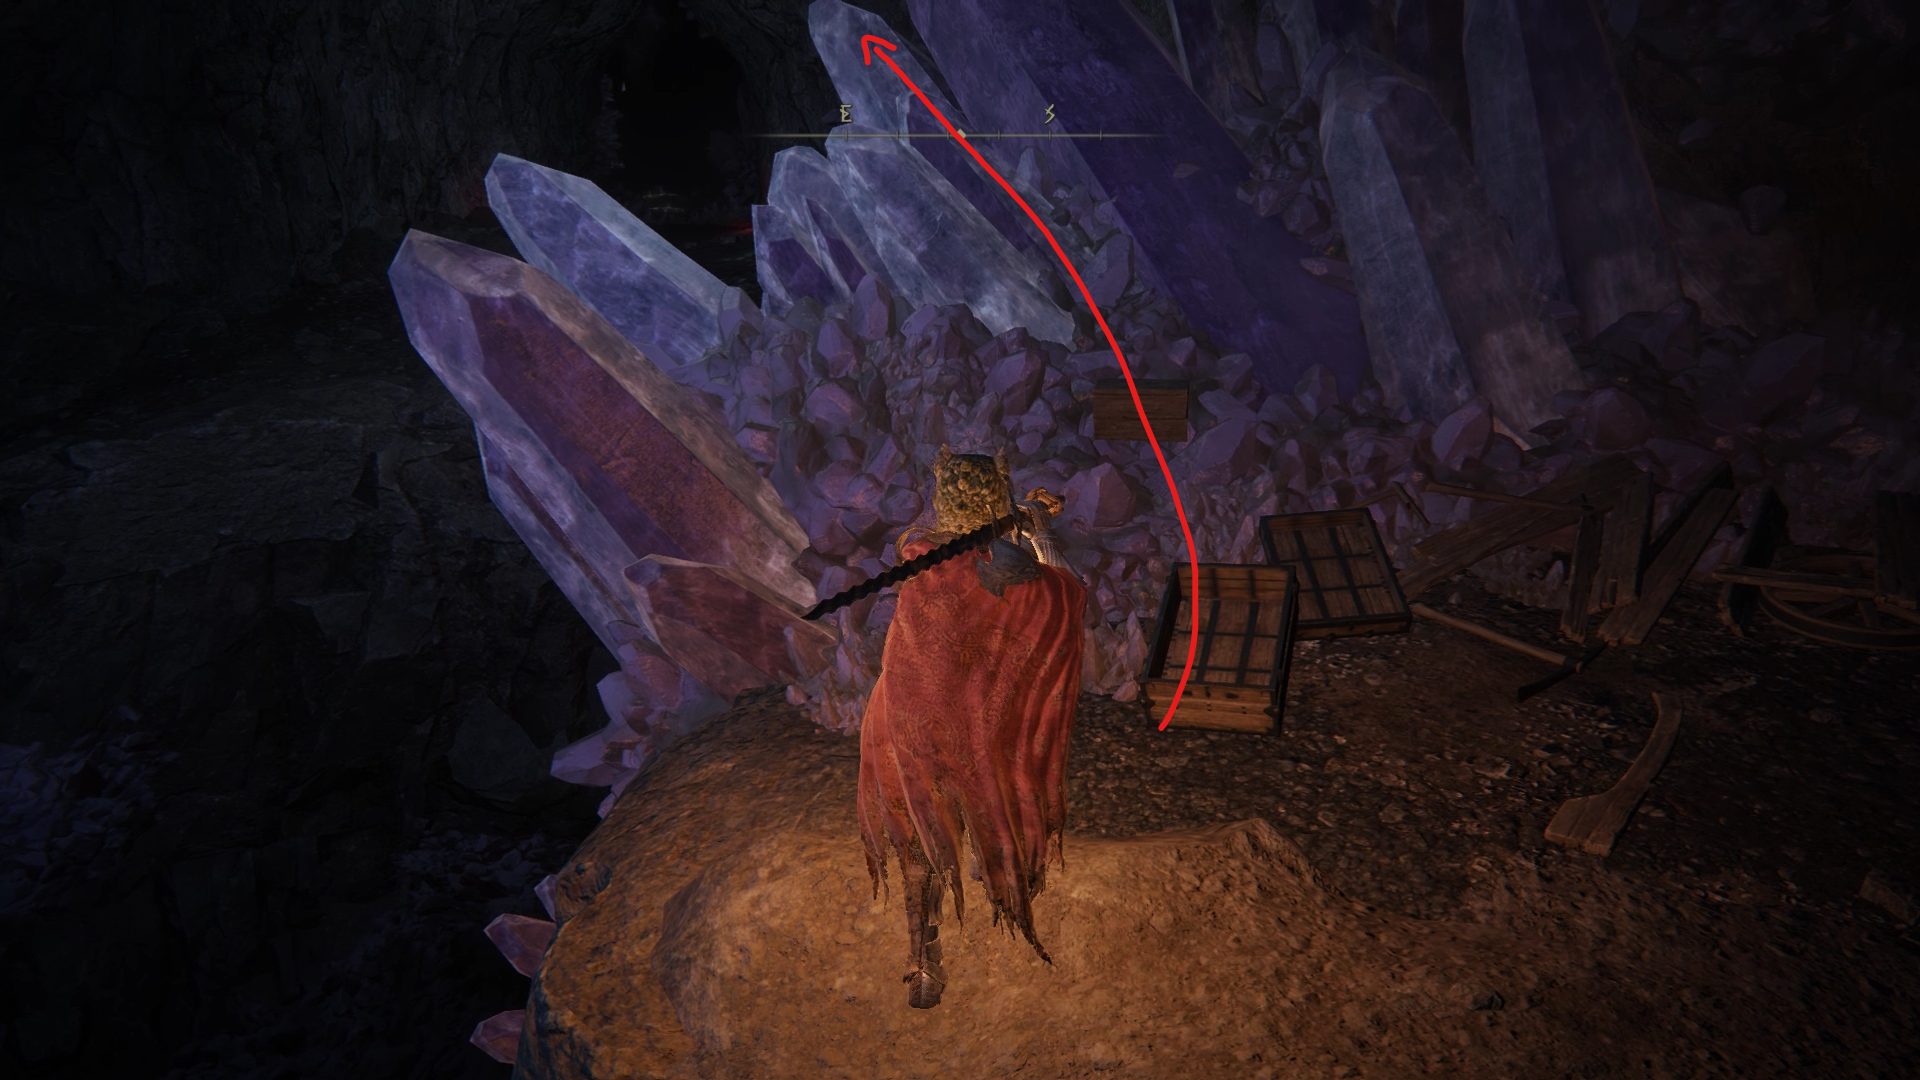
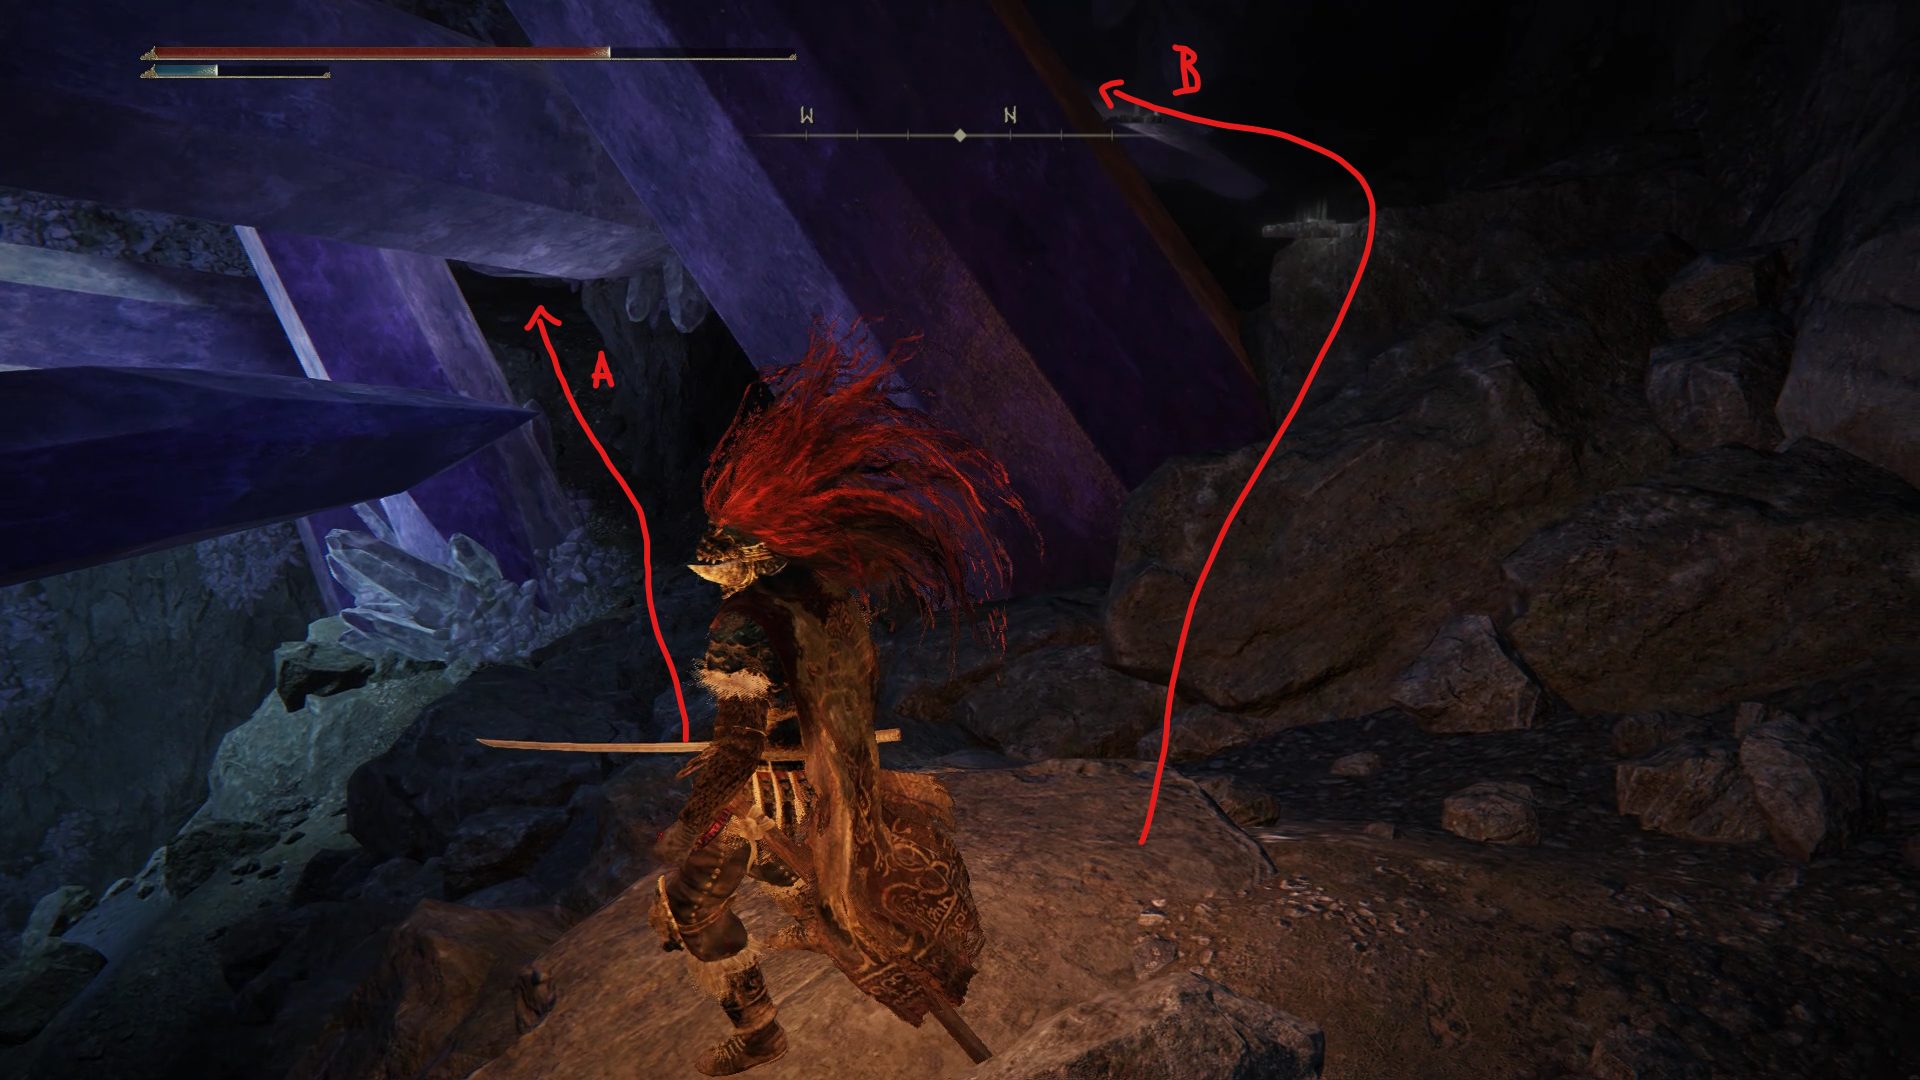
After a bit of walking, you’ll find yourself in another open area with a bunch of purple crystals sticking out. While the way forward is below, we’ll be doing a couple of small detours first. As you enter this room, look north-northwest to find 2 optional paths: path (A) leads to 3x Preserving Boluses and an illusory wall hiding a chest with the Crystal Spear, while climbing the crystal (B) will lead you to an otherwise unreachable area with the Crystalian Ashes. We recommend first taking path (A), before returning to this area’s entrance and climbing the crystal (B).
Illusory Wall + Preserving BolusesPath (B)
Once you’ve grabbed the ashes, go through the tunnels southwest of this room, kill a hard-working miner, and you’ll find yourself on a ledge above 2 more paths. Path (A) will take you to the boss room, while path (B) will allow you to backtrack to the big open area we were just in, to grab 10x Crystal Darts. Grab them or skip them and head back to the path (A).
Corpse with 10x Crystal Dart (B)Path to boss + snail ambush (A)
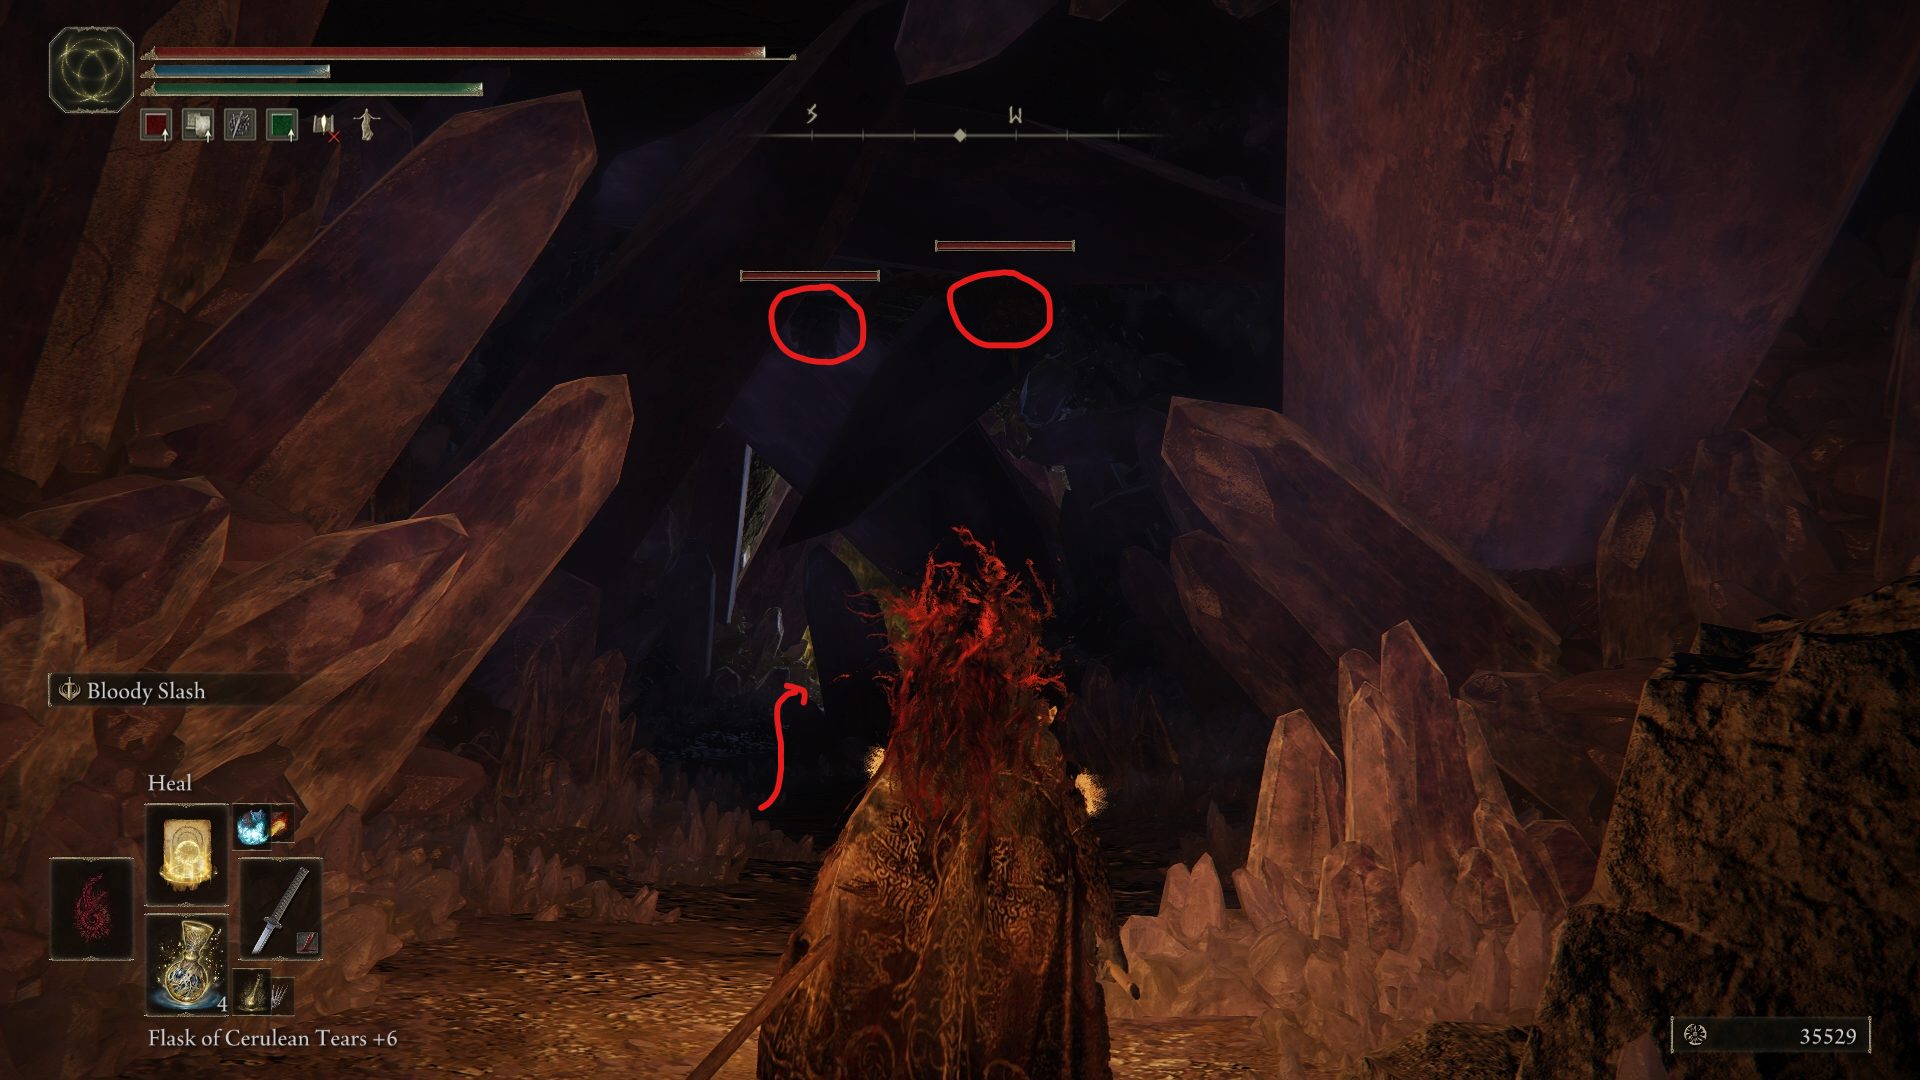
There, you will be greeted by a snail crawling around, as well as 3 more hanging form the ceiling. Don’t hesitate to use ranged attacks to force the snails to come down on your own terms. You will first have to deal with 2 of them hanging from the ceiling, and two other snails next to the boss room’s entrance, one hanging from the ceiling and another just sitting around.
Now, all that’s left is dealing with this dungeon’s boss: the Putrid Crystalian Trio.
Video game fan since TMNT: The Manhattan Project, I'm always on the lookout for games that could top Outer Wilds or Disco Elysium, or for new songs to listen to.