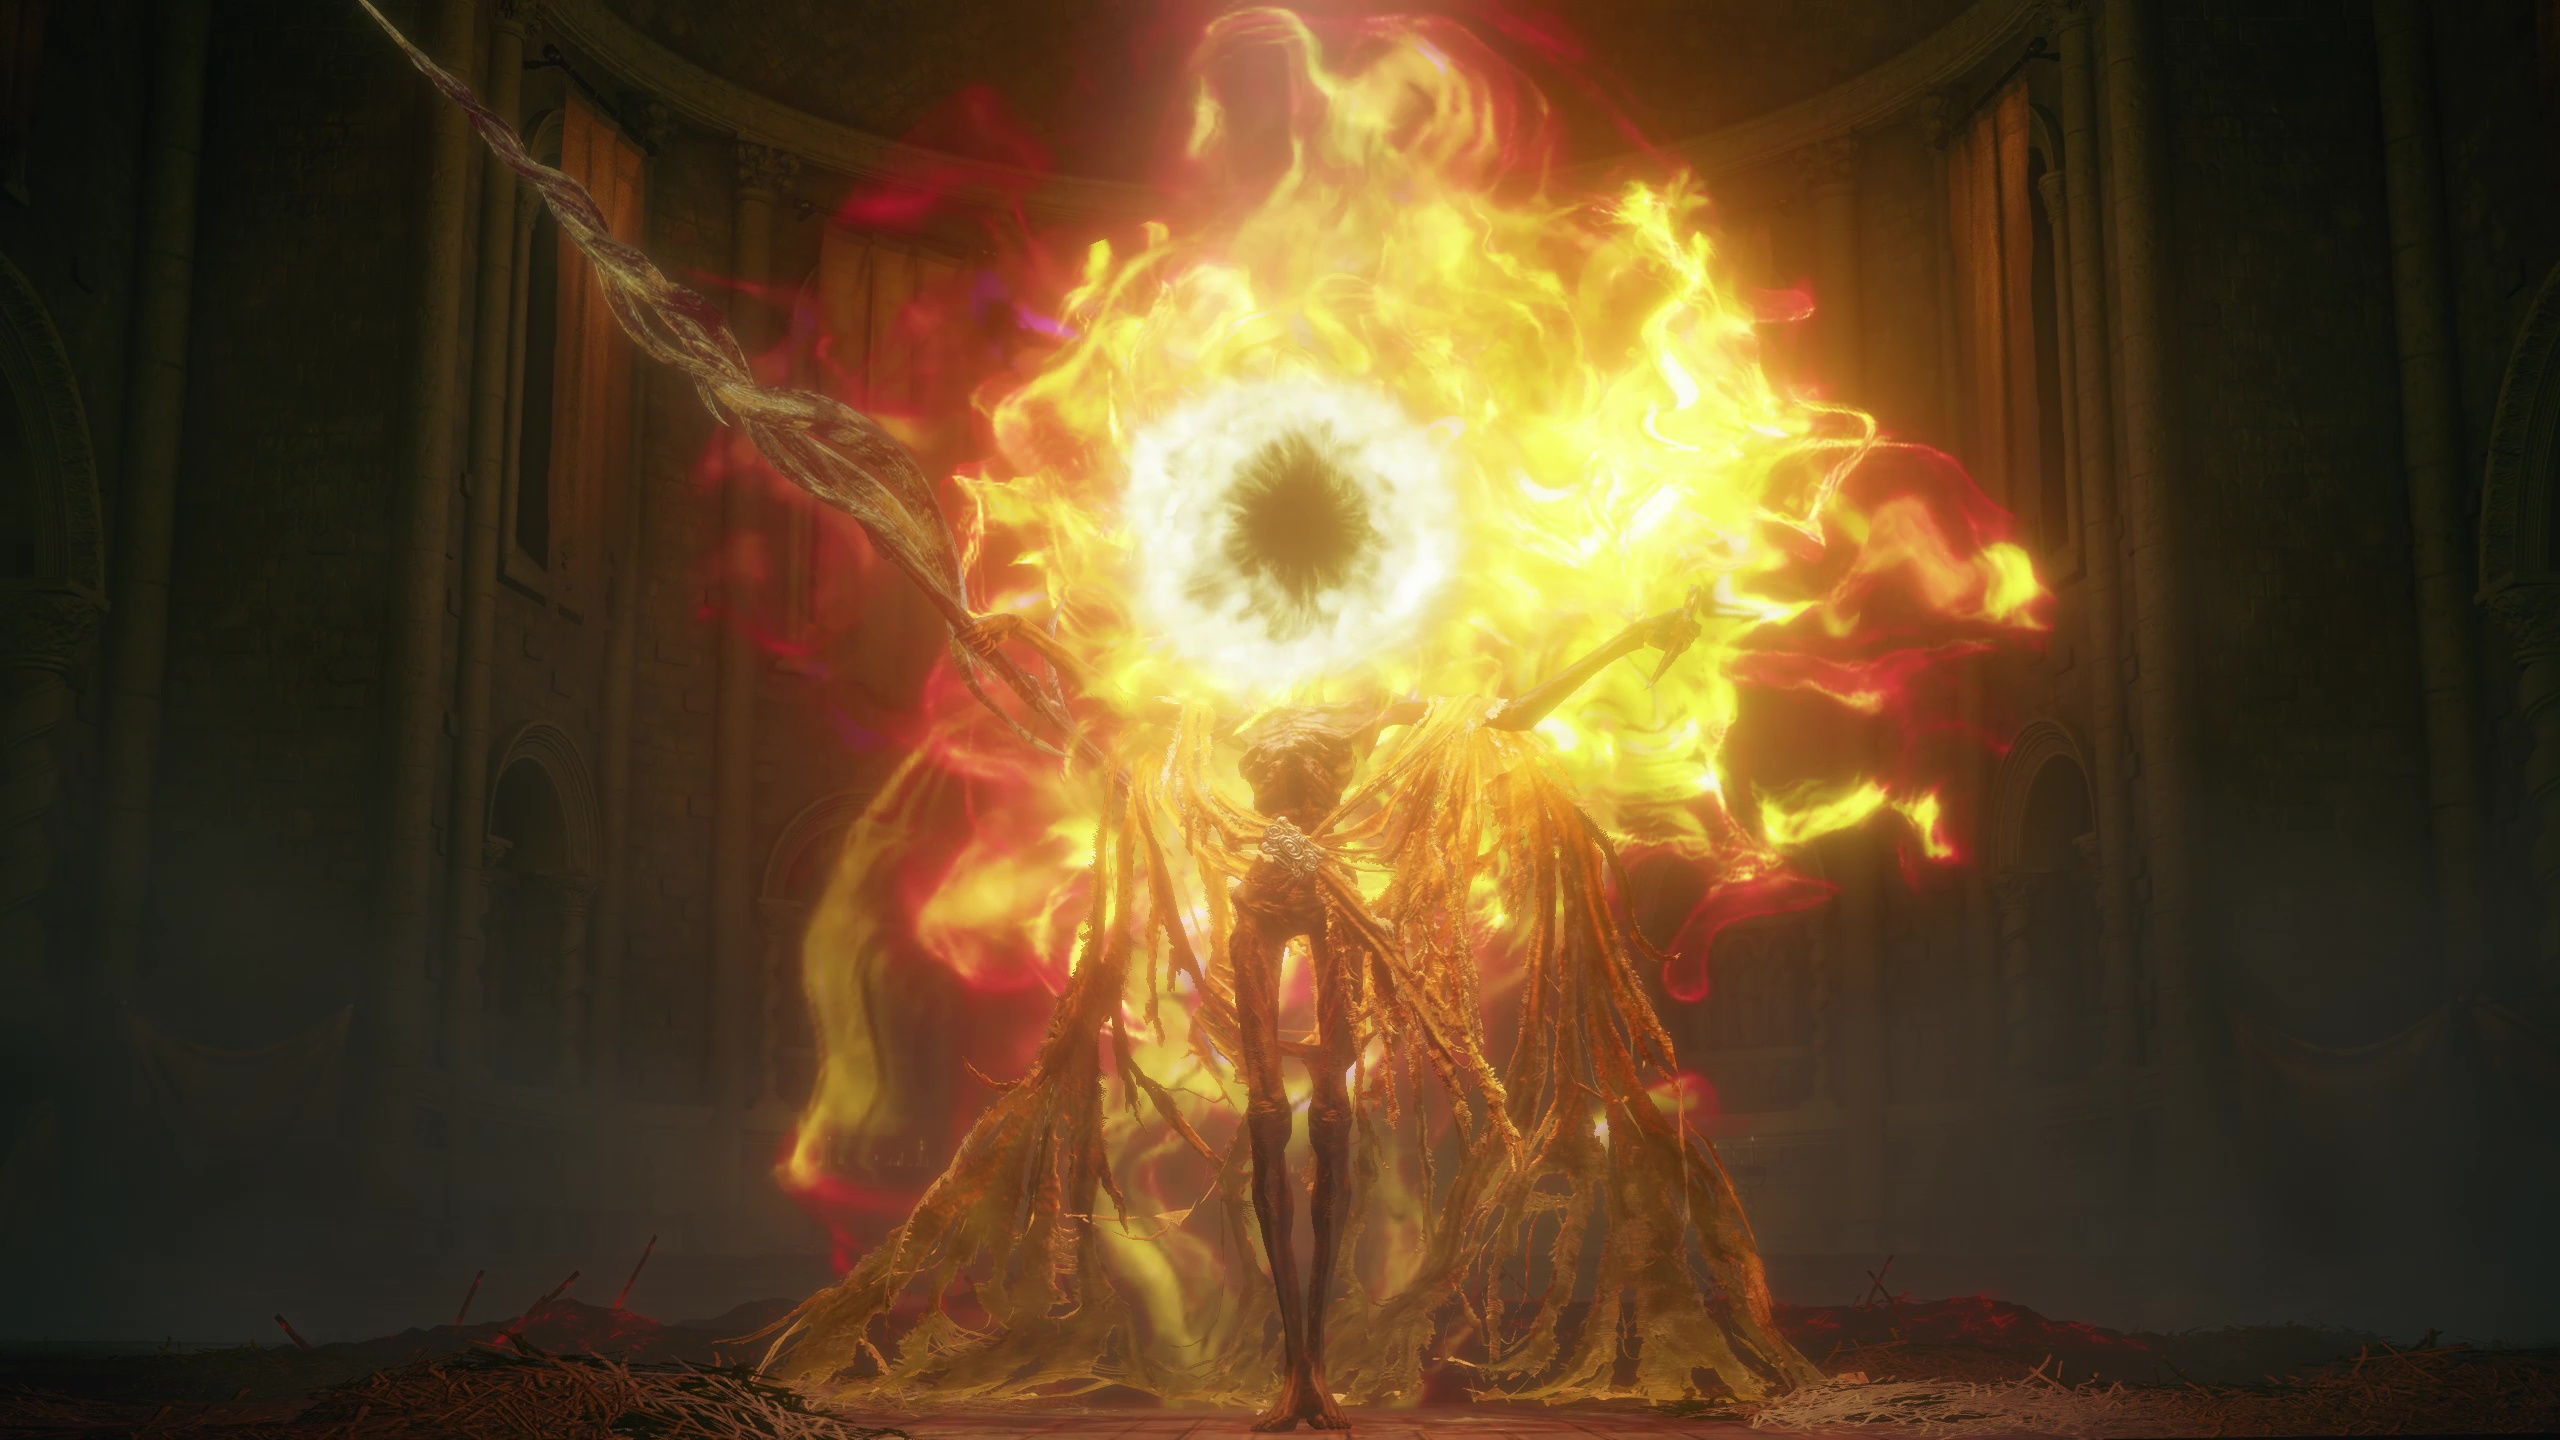
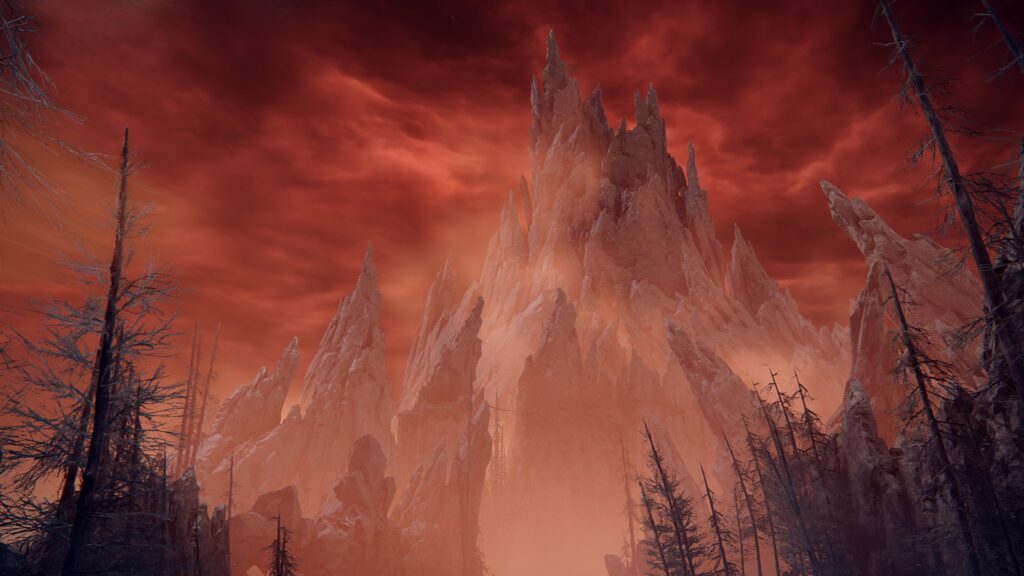
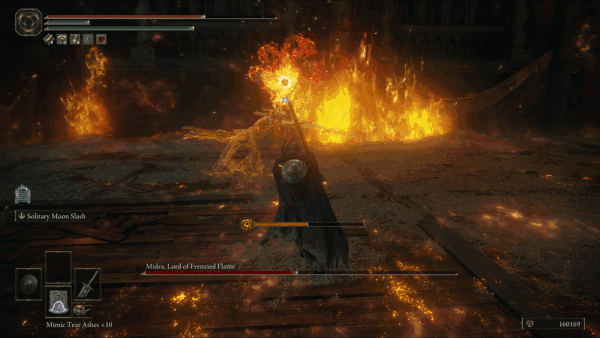
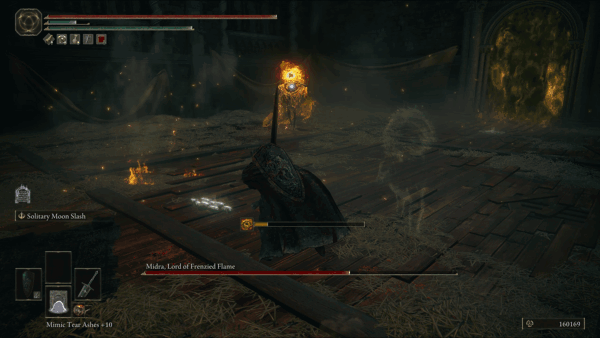
At the end of Midra’s Manse, you meet the mansion’s owner, Midra. This boss is no pushover, but you will be rewarded greatly for your efforts. As you probably gathered from the name and manse, this boss specializes in Madness, throwing out large area-of-effect attacks that cause build-up on your character. His weapon combos can also be lethal, as the timing to dodge as hard to gauge.
General Tips
Expect a high amount of delayed attacks, but not terribly long combos. While individual attacks can be difficult to learn, due to Midra’s unusual attack patterns, none are too long, and so you can easily stance break Midra by keeping up the pressure.
Use heavy attacks for melee users. He doesn’t have a lot of poise and his stance can be broken easily. Some Ashes of War that do heavy poise damage are effective, like Lion’s Claw.
Blocking is not very useful, as even blocked attacks will still cause Madness to build up.
If you are staying at range, Midra has several very punishable attacks, but can close the gap easily and with tricky-to-dodge moves.
If your Madness bar rises and you think it is about to proc, make sure you are well healed and away from Midra. If it procs, not only does it deal massive damage, but it leaves you vulnerable to attacks for a few moments — often enough to kill you.
Use Scarlet Rot to do tick damage. While he isn’t necessarily weak to the rot, there’s enough time between his combos that you can use Scarlet Aeonia to proc the effect.
Proc Hemorrhage on him with either spells or weapons. Again, not technically weak to bleed, but can effective — especially using the spells Impenetrable Thorns and Swarm of Flies.
Summons are invaluable in this fight. Many of his ranged attacks are hard to dodge, so having a tanky ally to absorb those, like Mimic Tear, Dung Eater Puppet, Greatshield Soldiers, or Taylew the Golem Smith makes this fight much easier.
Strategy
Due to incredibly unorthodox attacks, an extremely high health pool, and Madness build-up, Midra is one of the harder bosses, even in the stacked roster of Shadow of the Erdtree. That said, there is quite a lot you can exploit in order to get the upper hand on Midra.
First things first: when you first encounter Midra on any given run, he will be in a pathetic state: a withered figure, speared through the head with a truly nasty madness-yellow blade. This “Phase 0” of Midra is a joke, but one you will need to contend with every time you fight the boss. Because of this, it can be easy to get complacent and not pay attention, and take small amounts of damage or madness before the fight even truly begins. As easy as “Phase 0” Midra is, just make sure to not get cocky and to avoid his easy attacks and grabs, since the fight that follows will not be so easy.
Now for the actual fight: the trick to this fight, like many in Elden Ring, is simply to learn Midra’s combos. This will be somewhat different depending on if you prefer range or melee, but overall the process is the same. If you prefer range, than you should focus on learning how to avoid his Madness Line, Madness Sweep, and Twirling Swipe attacks, as they ranged attacks can devastate quickly.
However, many of his melee attacks and combos can be avoided simply by dodging the first strike and then running away, giving you distance to attack. In Phase 2, any combo which includes a flaming sword gets an added ranged element, so you’ll need to avoid the flame wave that comes from it.
For melee users: you’re in luck. While Midra can dish out damage, and his attacks are somewhat hard to read, his combos are relatively short. Even in phase 2, where some combos are extended, there are only a few attacks you need to avoid, and nearly all of his melee combos leave you right next to the boss. Perfect for heavy swings in order to stance break, and Midra’s stance is not very strong.
Beyond that, there are really 2 attacks that are especially difficult to avoid, both occuring only in Phase 2. At the beginning of Phase 2, and throughout it, Midra will go into the air, his head expanding, then “flop” toward you. When he lands, he will dish out a massive explosion around him. To dodge this, all you need to do is run away when Midra starts rising, and then keep running away until he lands, rolling right as he lands to be safe. You can punish this attack easily with jump attacks.
Then there is the Madness Laser, which can be very hard to dodge. If you see yellow energy getting sucked into Midra’s head and are near enough to him, you should run toward him and dodge behind him, causing the entire beam to miss. If you are at a distance, however, than your best bet is to wait until just before the laser fires, and then start spam-rolling to the left or right. Unless you get perfect dodges, this can still proc Madness, even if the damage itself misses you, but is better than tanking it.
Beyond that, defeating Midra is a simple matter of punishing his short combos, learning his delayed attacks, and avoiding Madness proccing while you are in melee range of him. Making use of summons to draw aggro can also help, though there are some caveats that don’t normally apply.
Summoning Help
Unlike many of the other remembrance bosses, this boss doesn’t have an NPC ally that can help you. As a result, you will need to rely on your own summons for aid. However, because of how vulnerable NPCs are to Midra’s Madness build-up, even the tankiest of summons might not last long. As such, it can be a better idea to summon them after Midra enter’s Phase 2 (after his gigantic AoE slam), and to not overly rely on them to take Midra’s aggro.
Moveset
Note: This moveset only considers Midra, Lord of Frenzied Flame, and not the pathetic Midra you have to fight first. Hopefully that one doesn’t give you trouble…
Phase 1
Madness Line: Midra will put his arms out and spray a vollet of Madness flame from his head down a line. He can do this twice in a row. Dodge to the left or right each time to avoid this.
Madness Sweep: Midra will lean forward and move from one side to the other, shooting Madness flame. Dodge forward or backward as the flames would hit you to avoid this.
Madness Burst: After an attack, Midra follows up with a fast burst of Madness flame from his head. Dodge into the attack to avoid this.
Quick Thrust: As a follow-up to many attacks, Midra thrusts his sword forward, sometimes following up with a Madness explosion along the blade. Dodge diagonally toward Midra to avoid this. Midra only does this when there is some distance, to punish retreat.
Spear Shank: Midra will rise into the air, turn his blade downward, and stab down, attempting to impale you and inflict massive damage. Dodge any direction as Midra falls down.
Twirling Swipe: Midra will float in the arc and twirl, closing the gap, between swiping fast with his sword. Dodge this by rolling to the right as Midra finished his twirl.
Spinning Slashes: Midra will attack from the right twice, and then — after a long delay and going into the air — spin 3 times in quick succession. The dodge windows on these are tight, requiring you to dodge twice quickly, then wait for a long delay, then dodge into the next slash to stay behind him, causing the next two attacks to miss. This attack can be parried as well.
Upward-Slash Combo: Midra will swing his blade up, then down along the same arc, and then down again along the same arc after a delay. These attacks can be parried, or dodged to the sides. Spam dodging will not work, due to the heavy delays.
Triple-Slash: Midra will slash twice quickly, then dash forward with a slash after a short delay, leaving Madness flame behind him. Dodge or parry the first two attacks, and dodge to the left or right to avoid the third slash and Madness flame.
Off-Hand Shank: Midra will attempt to stab downward with his off-hand twice. If either lands, you will be grabbed. Dodge any direction as his hand comes down to avoid this.
Phase 2
Midra gets several new attacks in Phase 2. In addition, his sword can now be wreathed in Madness-proccing flame, and so blocking is now essentially useless. Several of his combos (Upward Slash, and Triple-Slash) are extended.
Ball of Madness: To transition into Phase 2, and subsequently after, Midra will rise into the air, his flame-madness head expanding, and the will “flop” toward you, exploding in a massive Madness explosion as the head hits the ground. Run away when you see Midra rising, then dodge away from the explosion as soon as Midra lands.
Madness Laser: Midra will “suck in” yellow energy, and then fire a huge, continuous Madness laser. If you are close, get behind Midra to avoid the attack. Otherwise, after Midra sucks the energy in, spam dodge to the left or right; you will likely still take Madness, but can avoid direct damage, so long as Madness doesn’t proc.
Madness Thorns: After missing a Spear Shank, Midra will push his sword into the ground, causing yellow thorns to come up from the ground in a radius around him. After dodging the Spear Shank, dodge away right as Midra thrusts his sword into the ground.
Madness Explosion: Midra will hold his hand in front of him, and generate an exploding Madness sphere, which explodes after a moment. Move dodge roll away as soon as you see this happening.
Graves is an avid writer, web designer, and gamer, with more ideas than he could hope to achieve in a lifetime. But, armed with a mug of coffee and an overactive imagination, he'll try. When he isn't working on a creative project, he is painting miniatures, reading cheesy sci-fi novels, or making music.