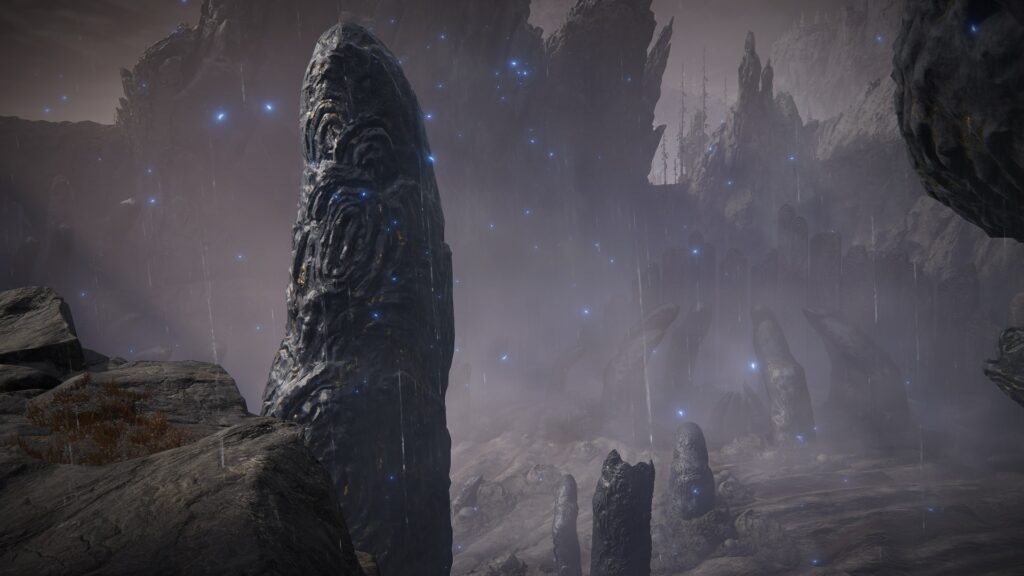
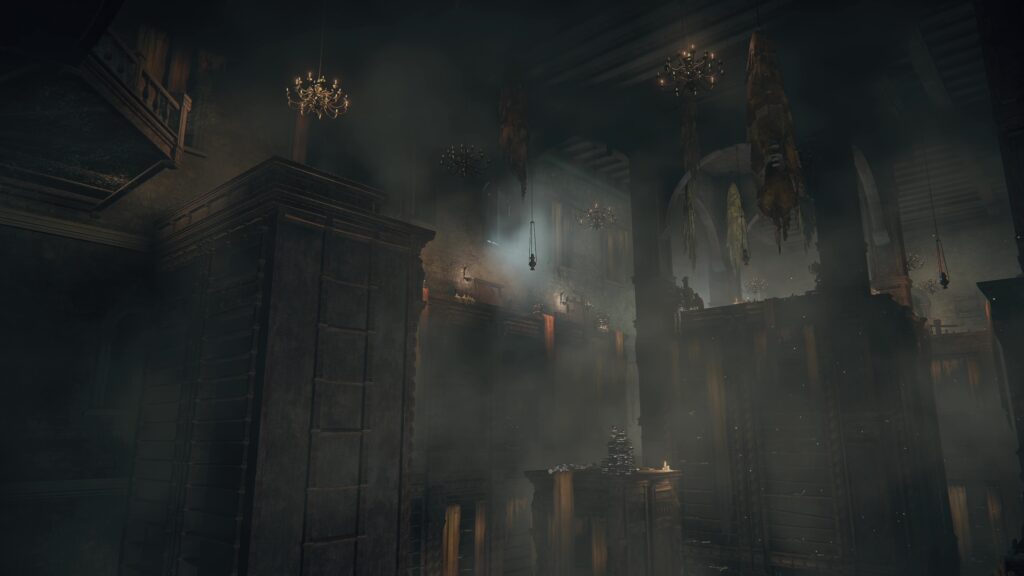
In the list below, you can find guides for the boss in the Charo’s Hidden Grave region of the Realm of Shadows (Shadow of the Erdtree expansion). We also have a dedicated Charo’s Hidden Grave Walkthrough to assist you in your travels (or feel free to use the walkthrough menu below).
There are three bosses in Charo’s Hidden Grave, with all of them being optional and two of them being among the most repeated bosses in the game (including one that makes all of its other appearances in the base game).
Charo’s Hidden Grave Bosses:
Read on for details on each boss, plus links to detailed guides for each fight!
- Summons Available: Yes
- Location: Charo’s Hidden Grave
- Rewards:
 220,000
- Ash of War: Ghostflame Call
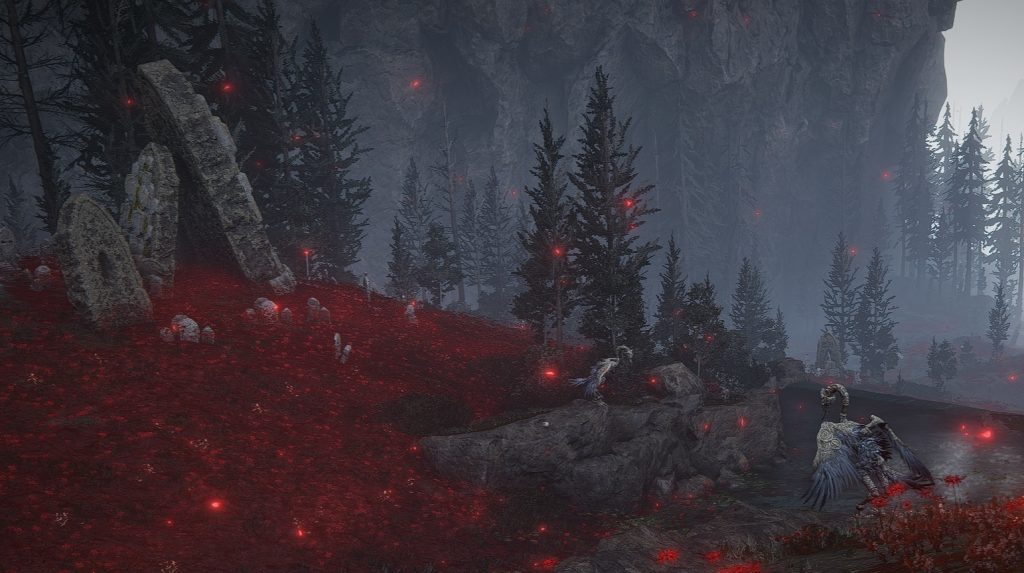
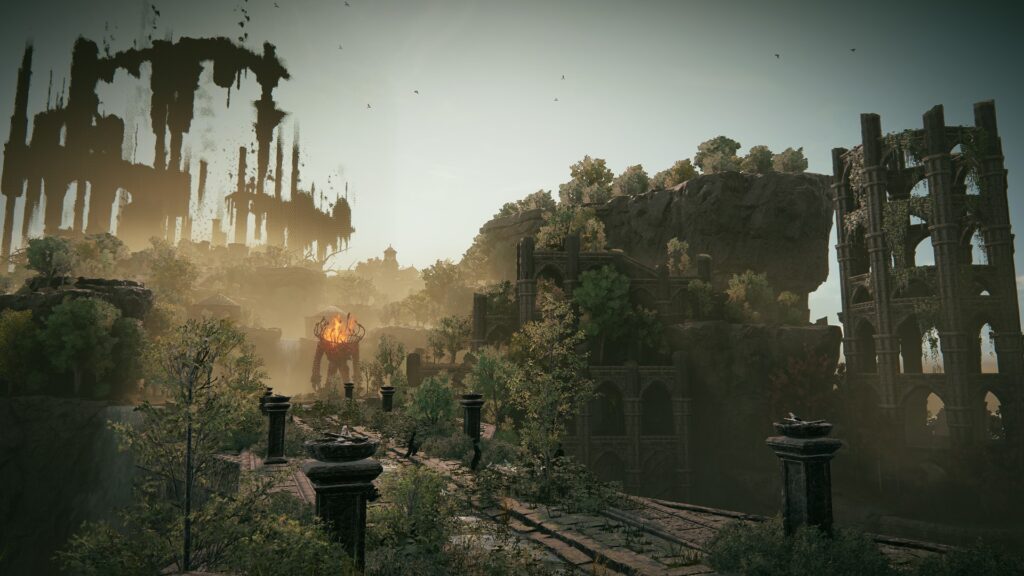
A familiar creature in the Lands Between, the Death Rite Bird makes its one and only appearance in Shadow of the Erdtree in the fields and ponds of Charo’s Hidden Grave. While retaining the same moveset as it has in the rest of the game, this version is both tougher and surrounded by Gravebirds that can join into the fray, making this common boss a bit more challenging.
The Death Rite Bird is one of the more challenging field bosses in Elden Ring, meaning this suped up version is still challenging, despite the frequency of its appearance. However, it is optional, and guards the entrance to a completely optional region of the DLC.
- Summons Available: Yes
- Location: Charo’s Hidden Grave
- Rewards:
- 10,857
- Glovewort Crystal Tear
- Furnace Visage
Holding one of the only Crystal Tears that improves spirit summons, this Furnace Golem is one of the simpler ones to defeat, so long as you know the trick to damaging them. Located right next to a Spiritspring that positions you above the Golem on a cliff, you can use that in order to drop Hefty Fire Pots or Hefty Furnace Pots into its brazier, dealing huge damage and staggering it.
Even with that said, it still has a fire attack that can create dozens of homing fire meteors that can pose a danger to you even from above. So long as you keep that in mind and can avoid those meteors, however, this Golem is one of the easier in the DLC.
- Summons Available: Yes
- Location: Lamenter’s Gaol
- Rewards:
- 160,000
- Lamenter’s Mask
A disturbing foe in concept, the Lamenter is nontheless one of the easier bosses in the entire Shadow of the Erdtree DLC. The only real threat is the Lamenter’s gimmick, which can allow it to slowly add Lamenter Skulls to your character if you allow any of its clones to live. After you’ve accumulated 7 of these Lamenter Skulls, you will instantly give in to despair (and die).
However, in all other ways, the Lamenter is a fairly simple boss fight. It will vanish for long enough to allow you to heal or buff, and then it will reappear with 7 clones, all of which die in a single hit. After a certain amount of time, any remaining clones will disappear, adding Lamenter Skulls for each one. However, so long as you prioritize the clones when they are around, the Lamenter’s actual moveset is incredibly simple, allowing you to make short work of the real one after you’ve dispatched its clones.