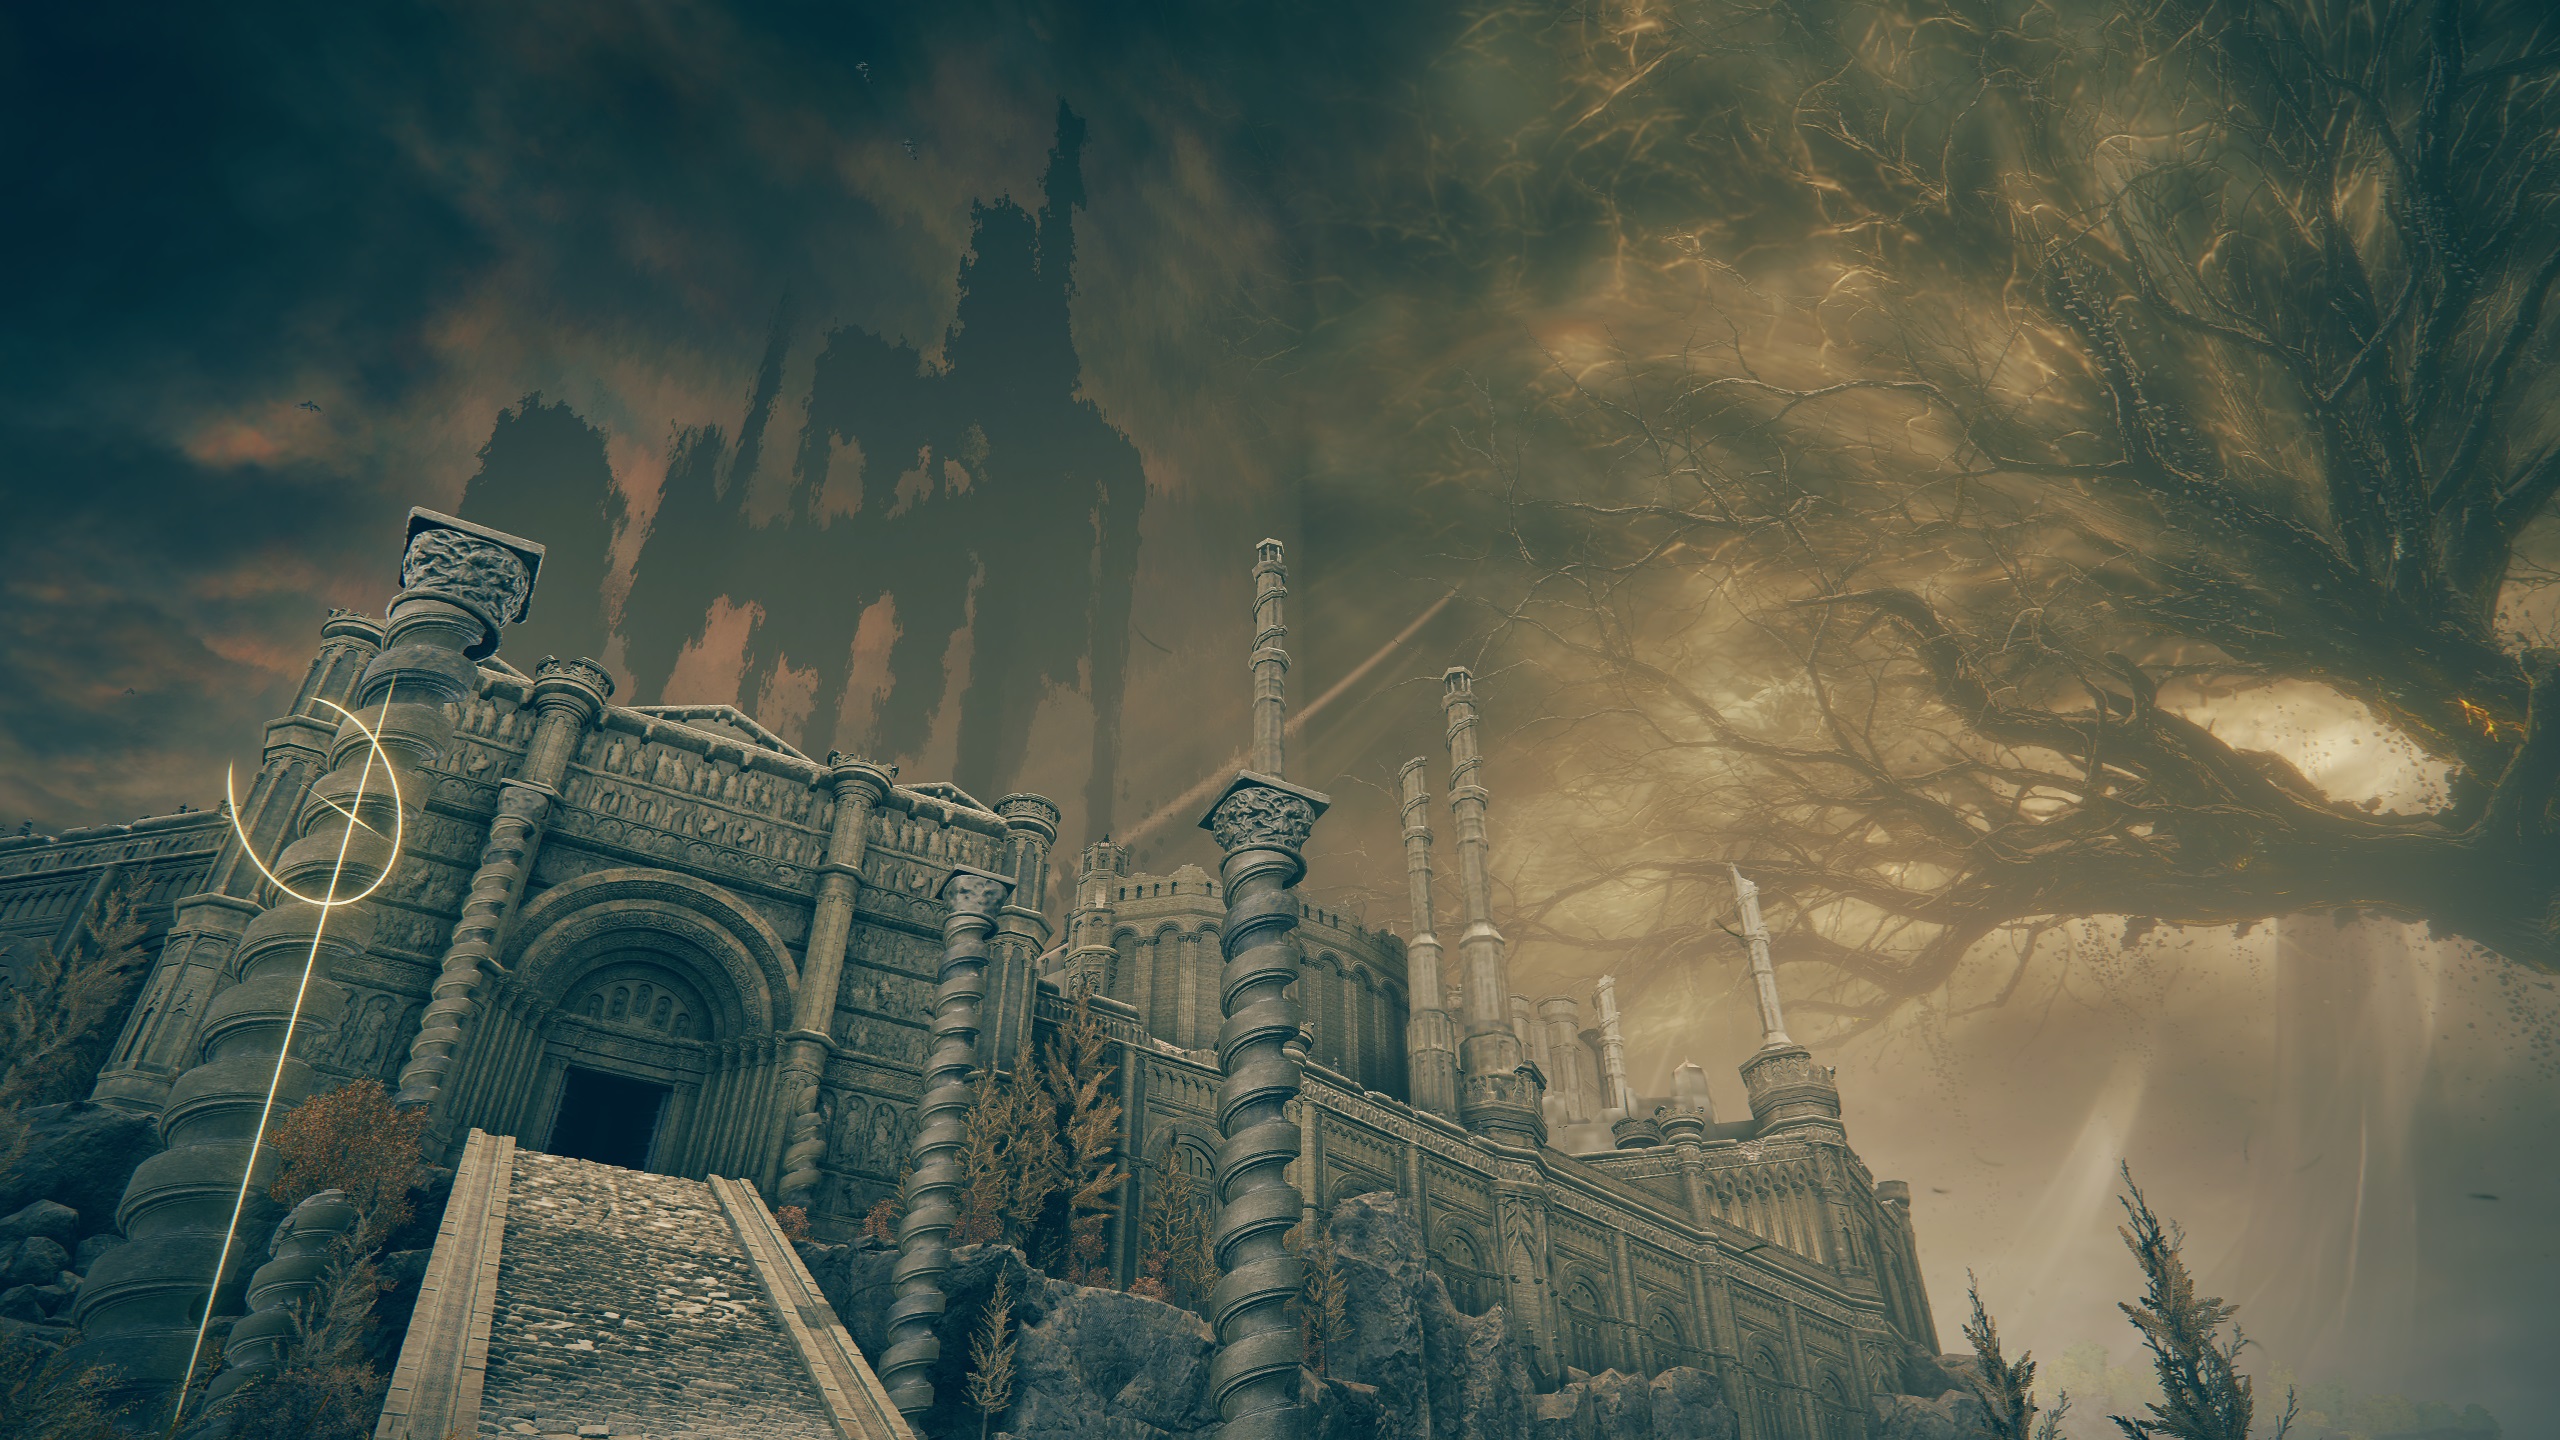
Belurat, Tower Settlement is the first legacy dungeon that players will encounter in Shadow of the Erdtree. It’s quite easy to access and is just a short Torrent ride across the Gravesite Plain. Belurat has all the hallmarks of a classic legacy dungeon: a challenging boss, secret areas, and a maze-like structure.
Please note that this guide is a work in progress, and we will continue to update it as we discover secrets — let us know in the comments if we missed anything!
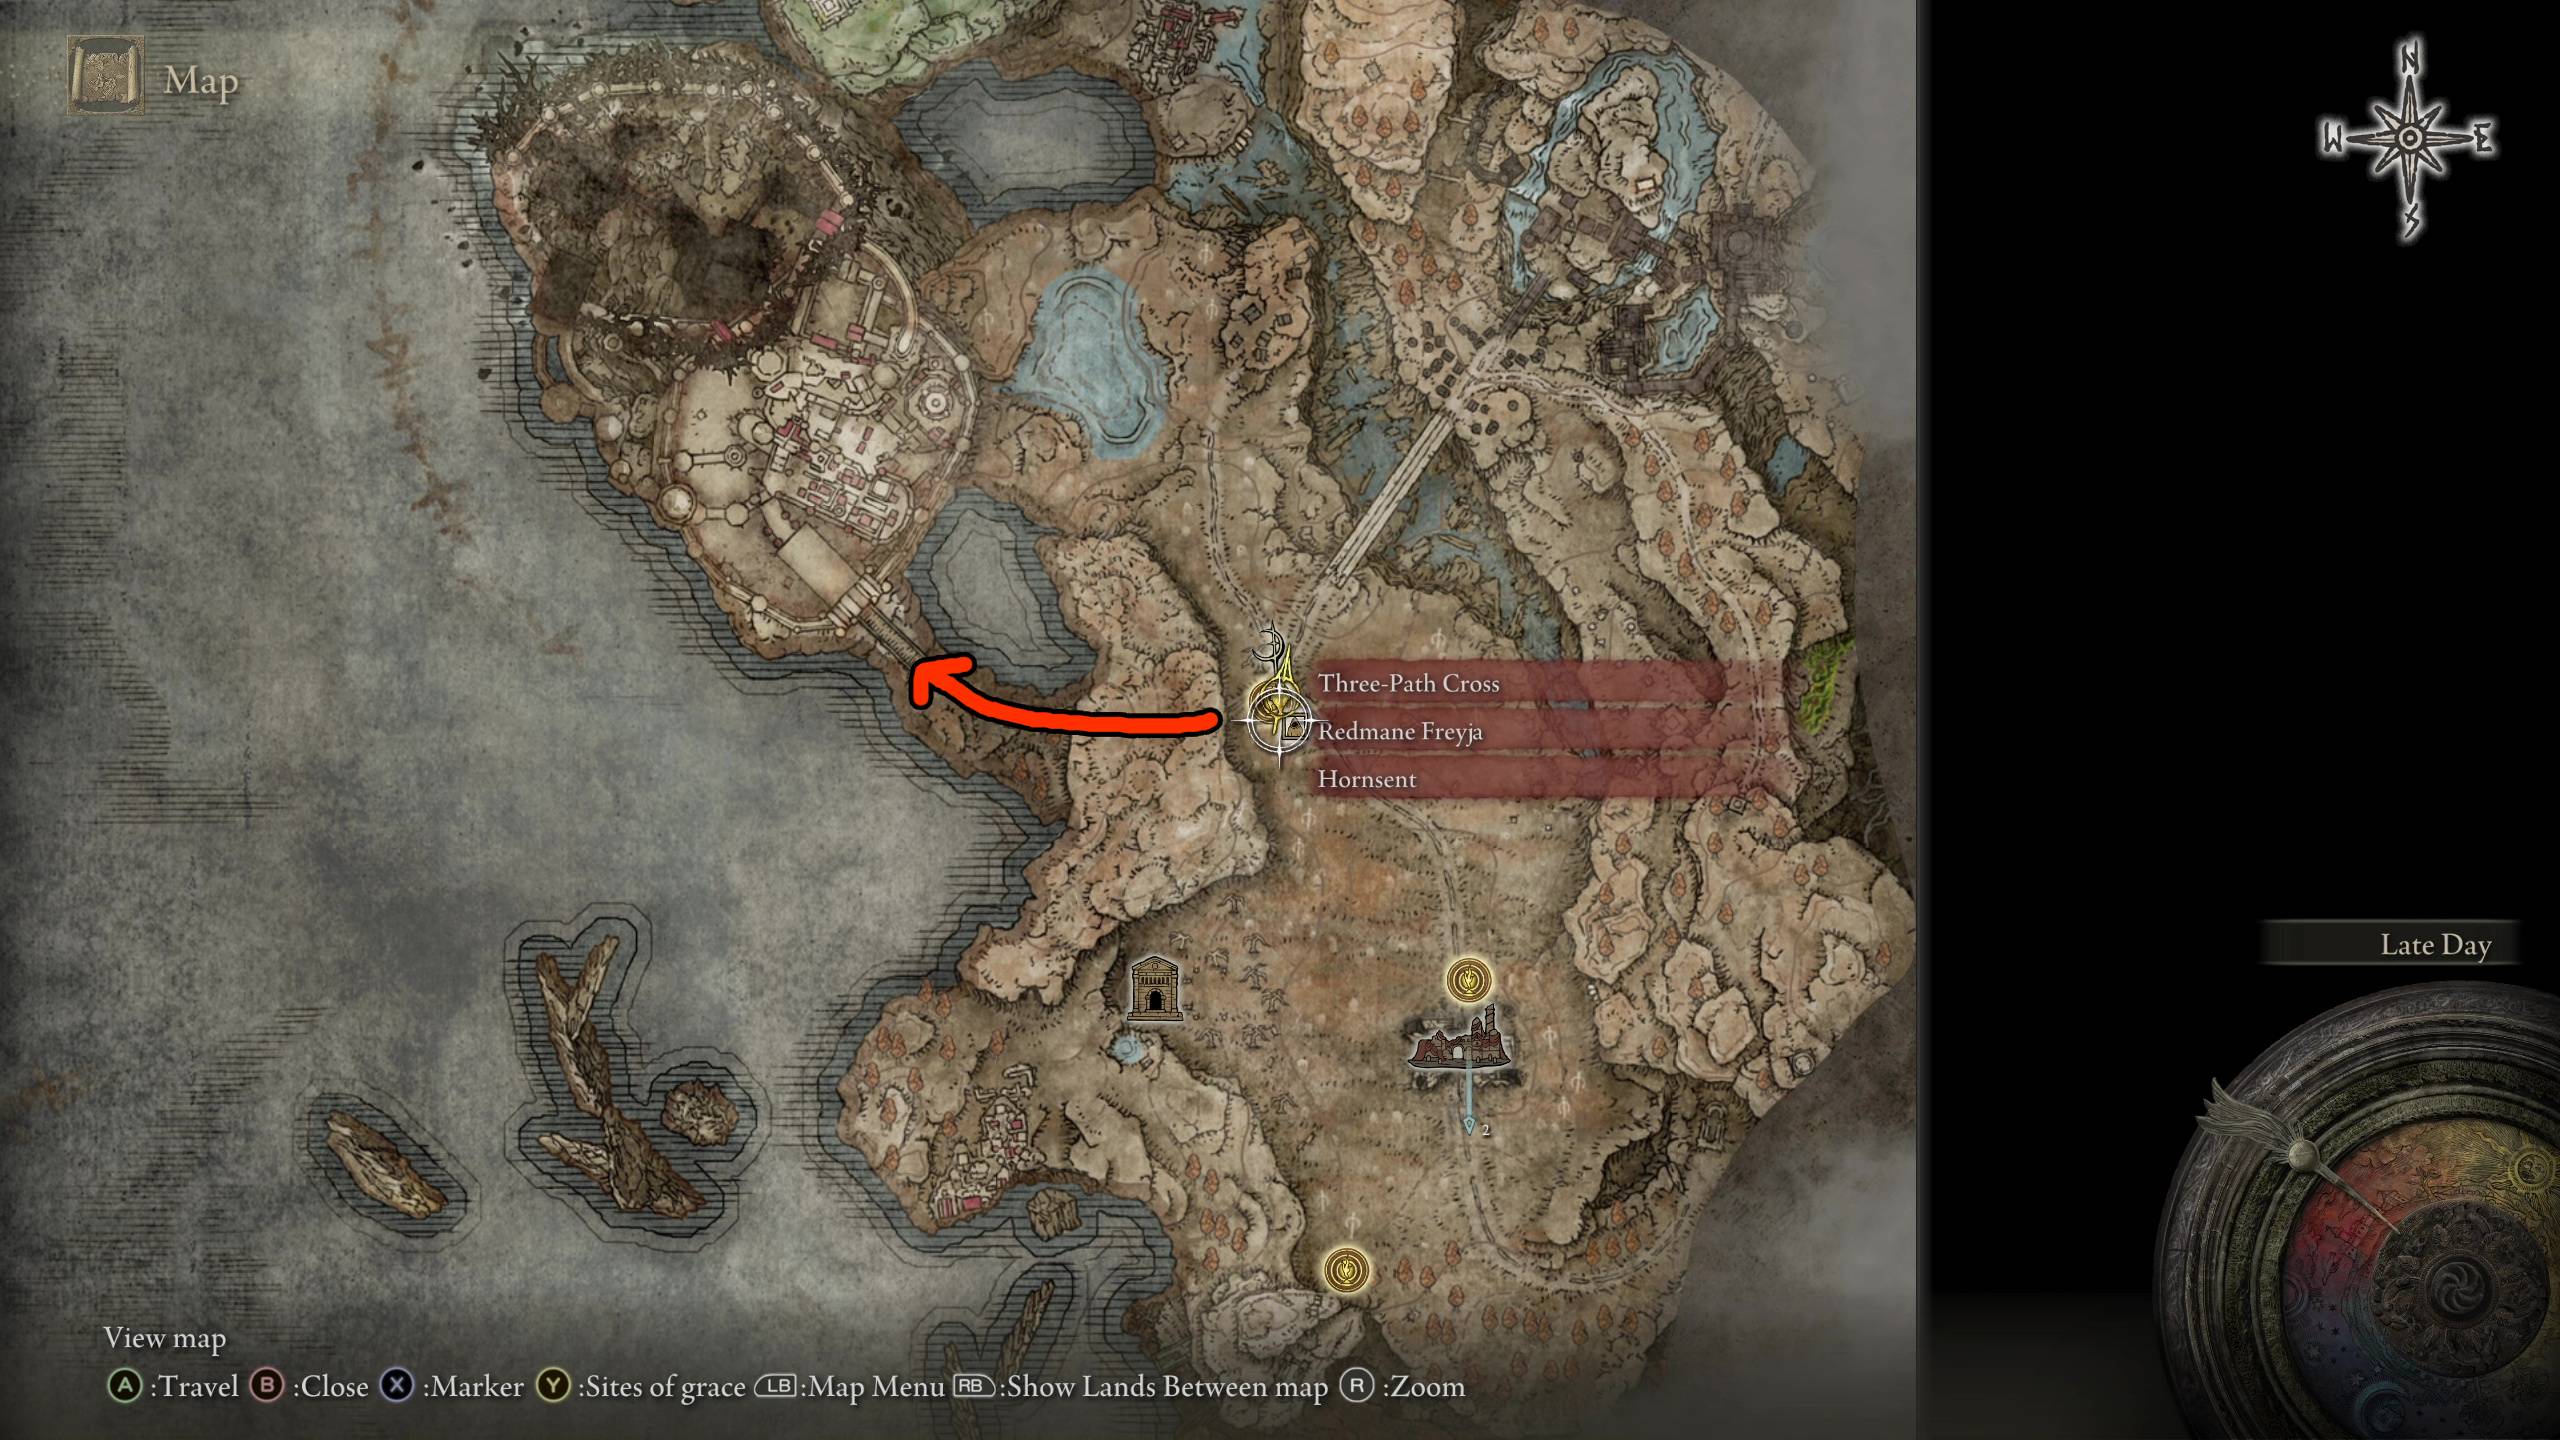
Belurat, Tower Settlement can be found by heading west from the Three-Path Cross Site of Grace.
When you’re at the Main Gate Cross site of grace, just outside the walled city of Belurat, be sure to grab the Scadutree Fragment by the cross. If you want to have an easier time in Belurat, then collect all the Scadutree Fragments scattered throughout the Gravesite Plain before entering.
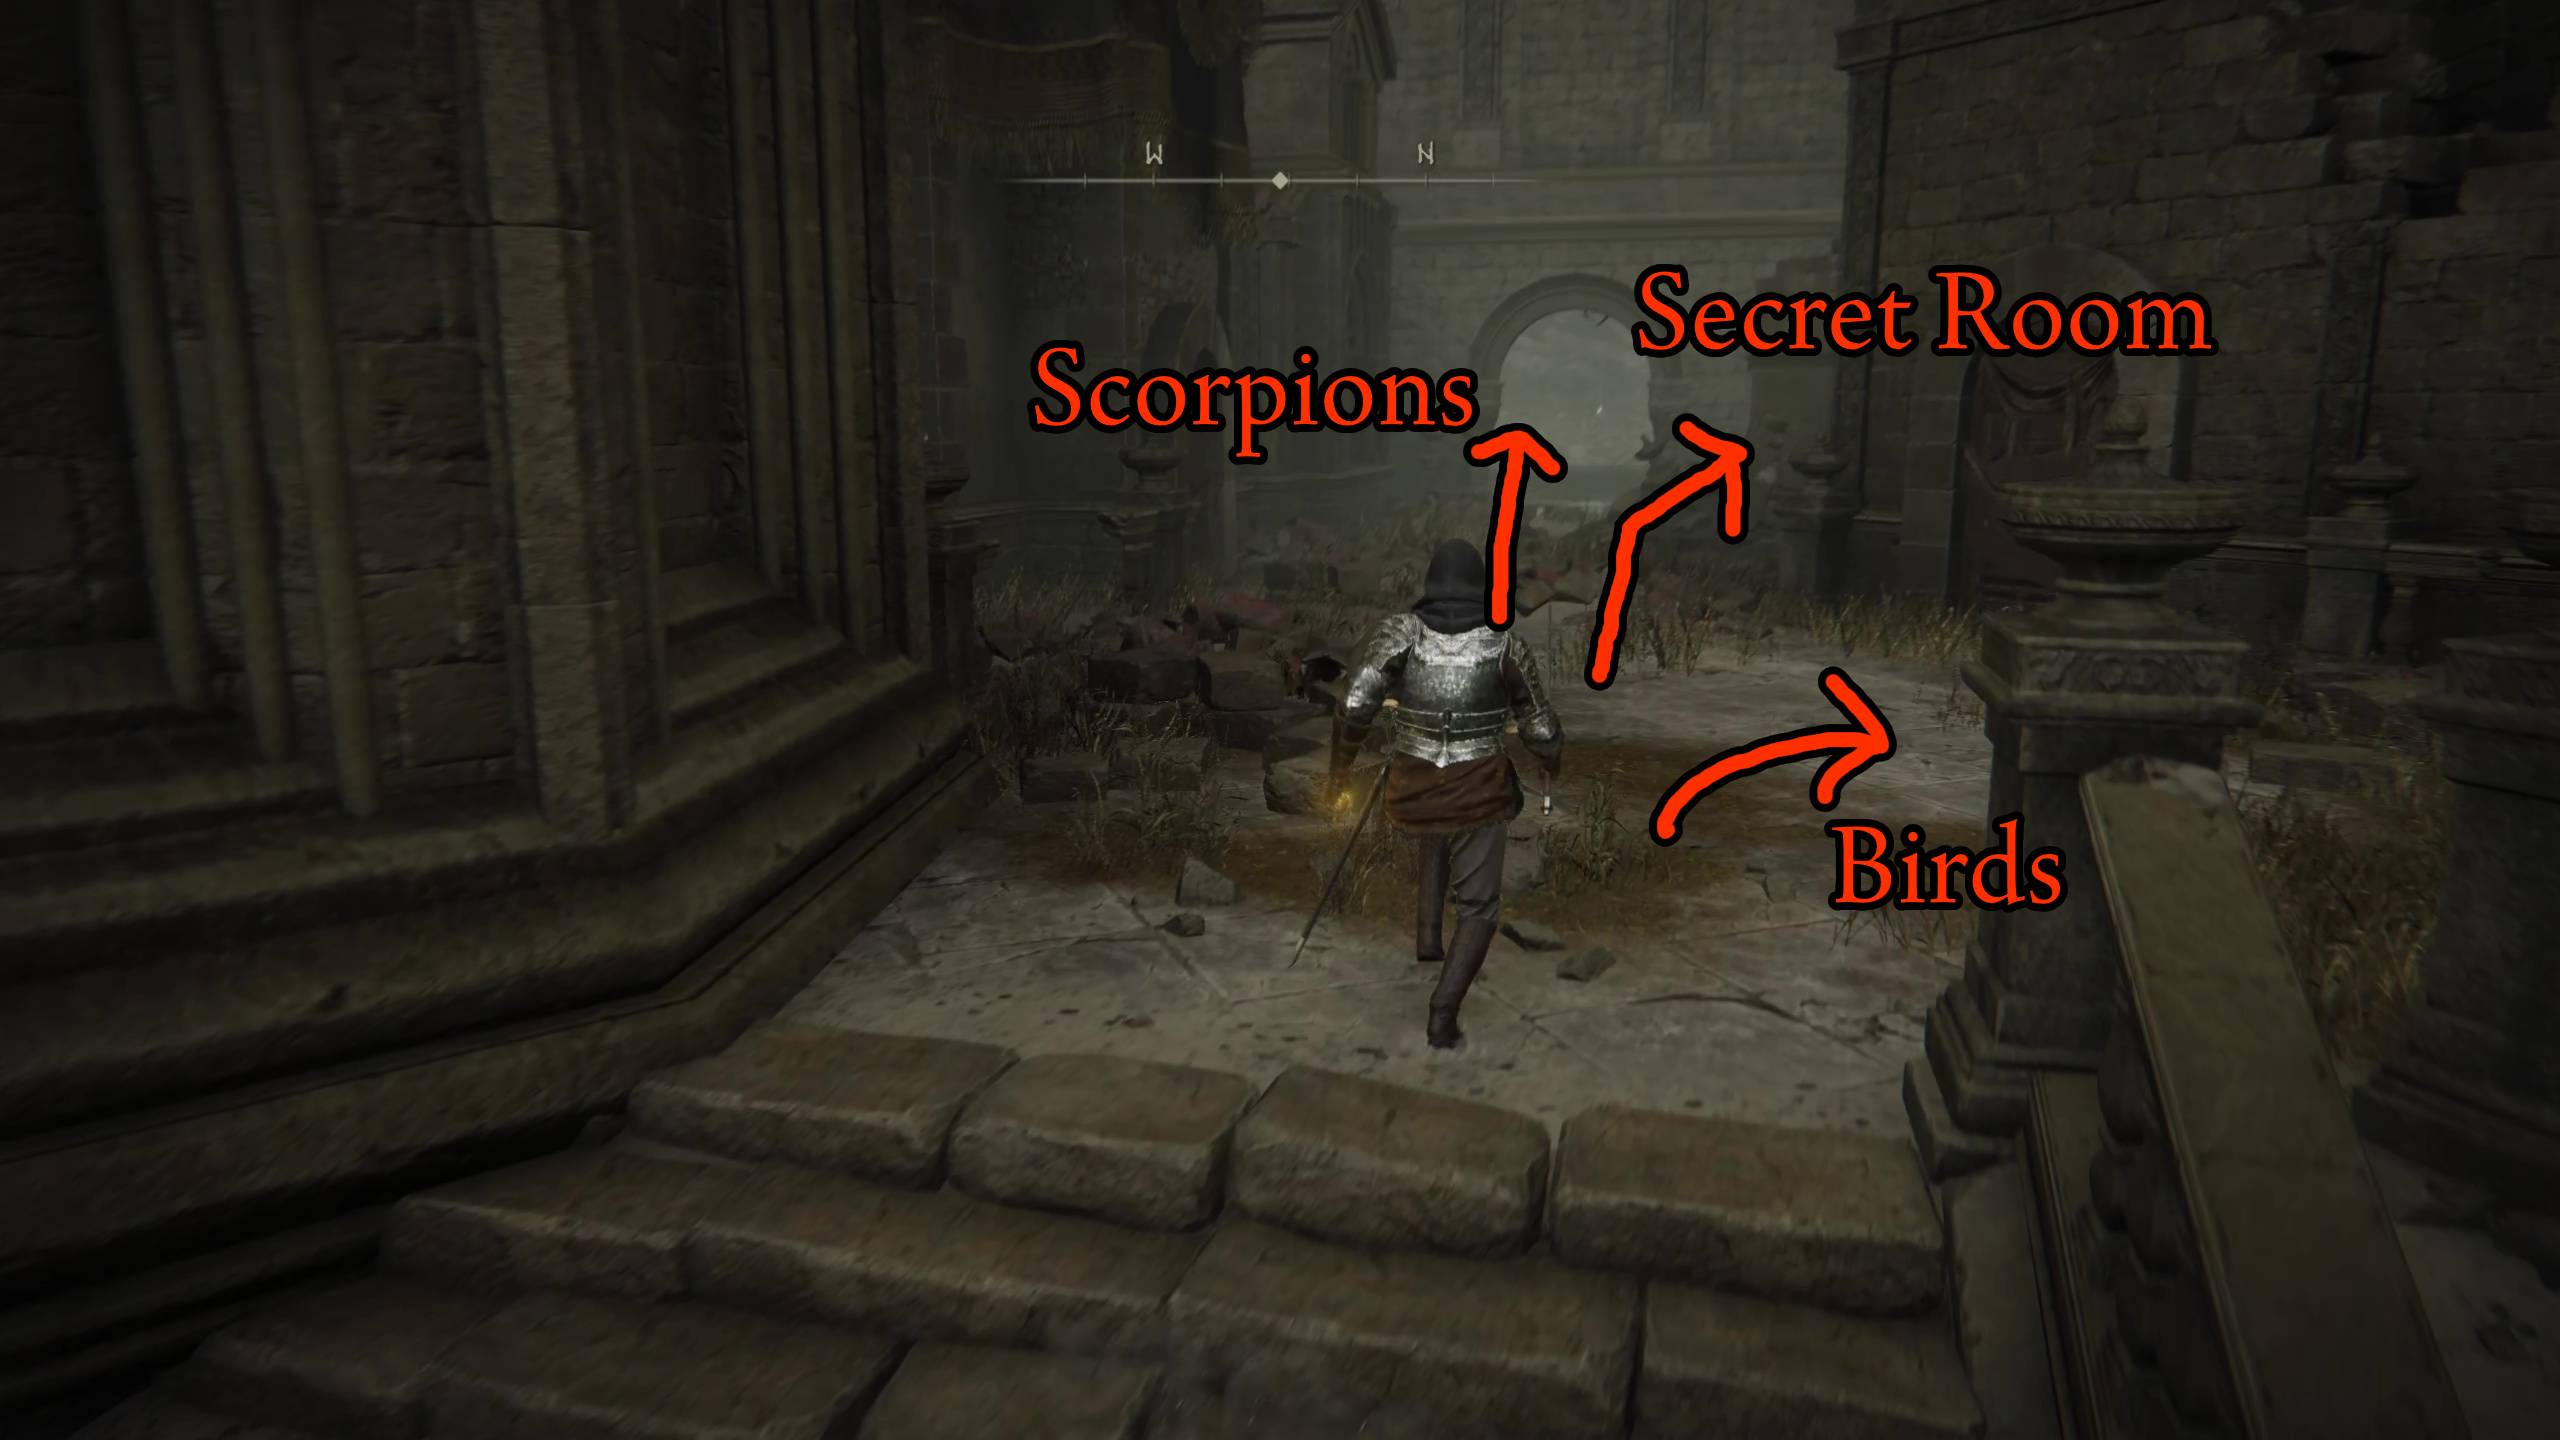
You can also exhaust the dialogue with Sir Ansbach while you’re at the Main Gate Cross, before heading up the stairs and opening the massive doors to the city. Inside, you’ll immediately fight a large scorpion. We found that fire magic did great damage to these foes. The next room has a bunch of little scorpions; just back up while killing them one at a time, and don’t let them group up on you. In the middle of the room is a statue holding a Revered Spirit Ash.
Always look out for these statues, and grab the item they’re holding
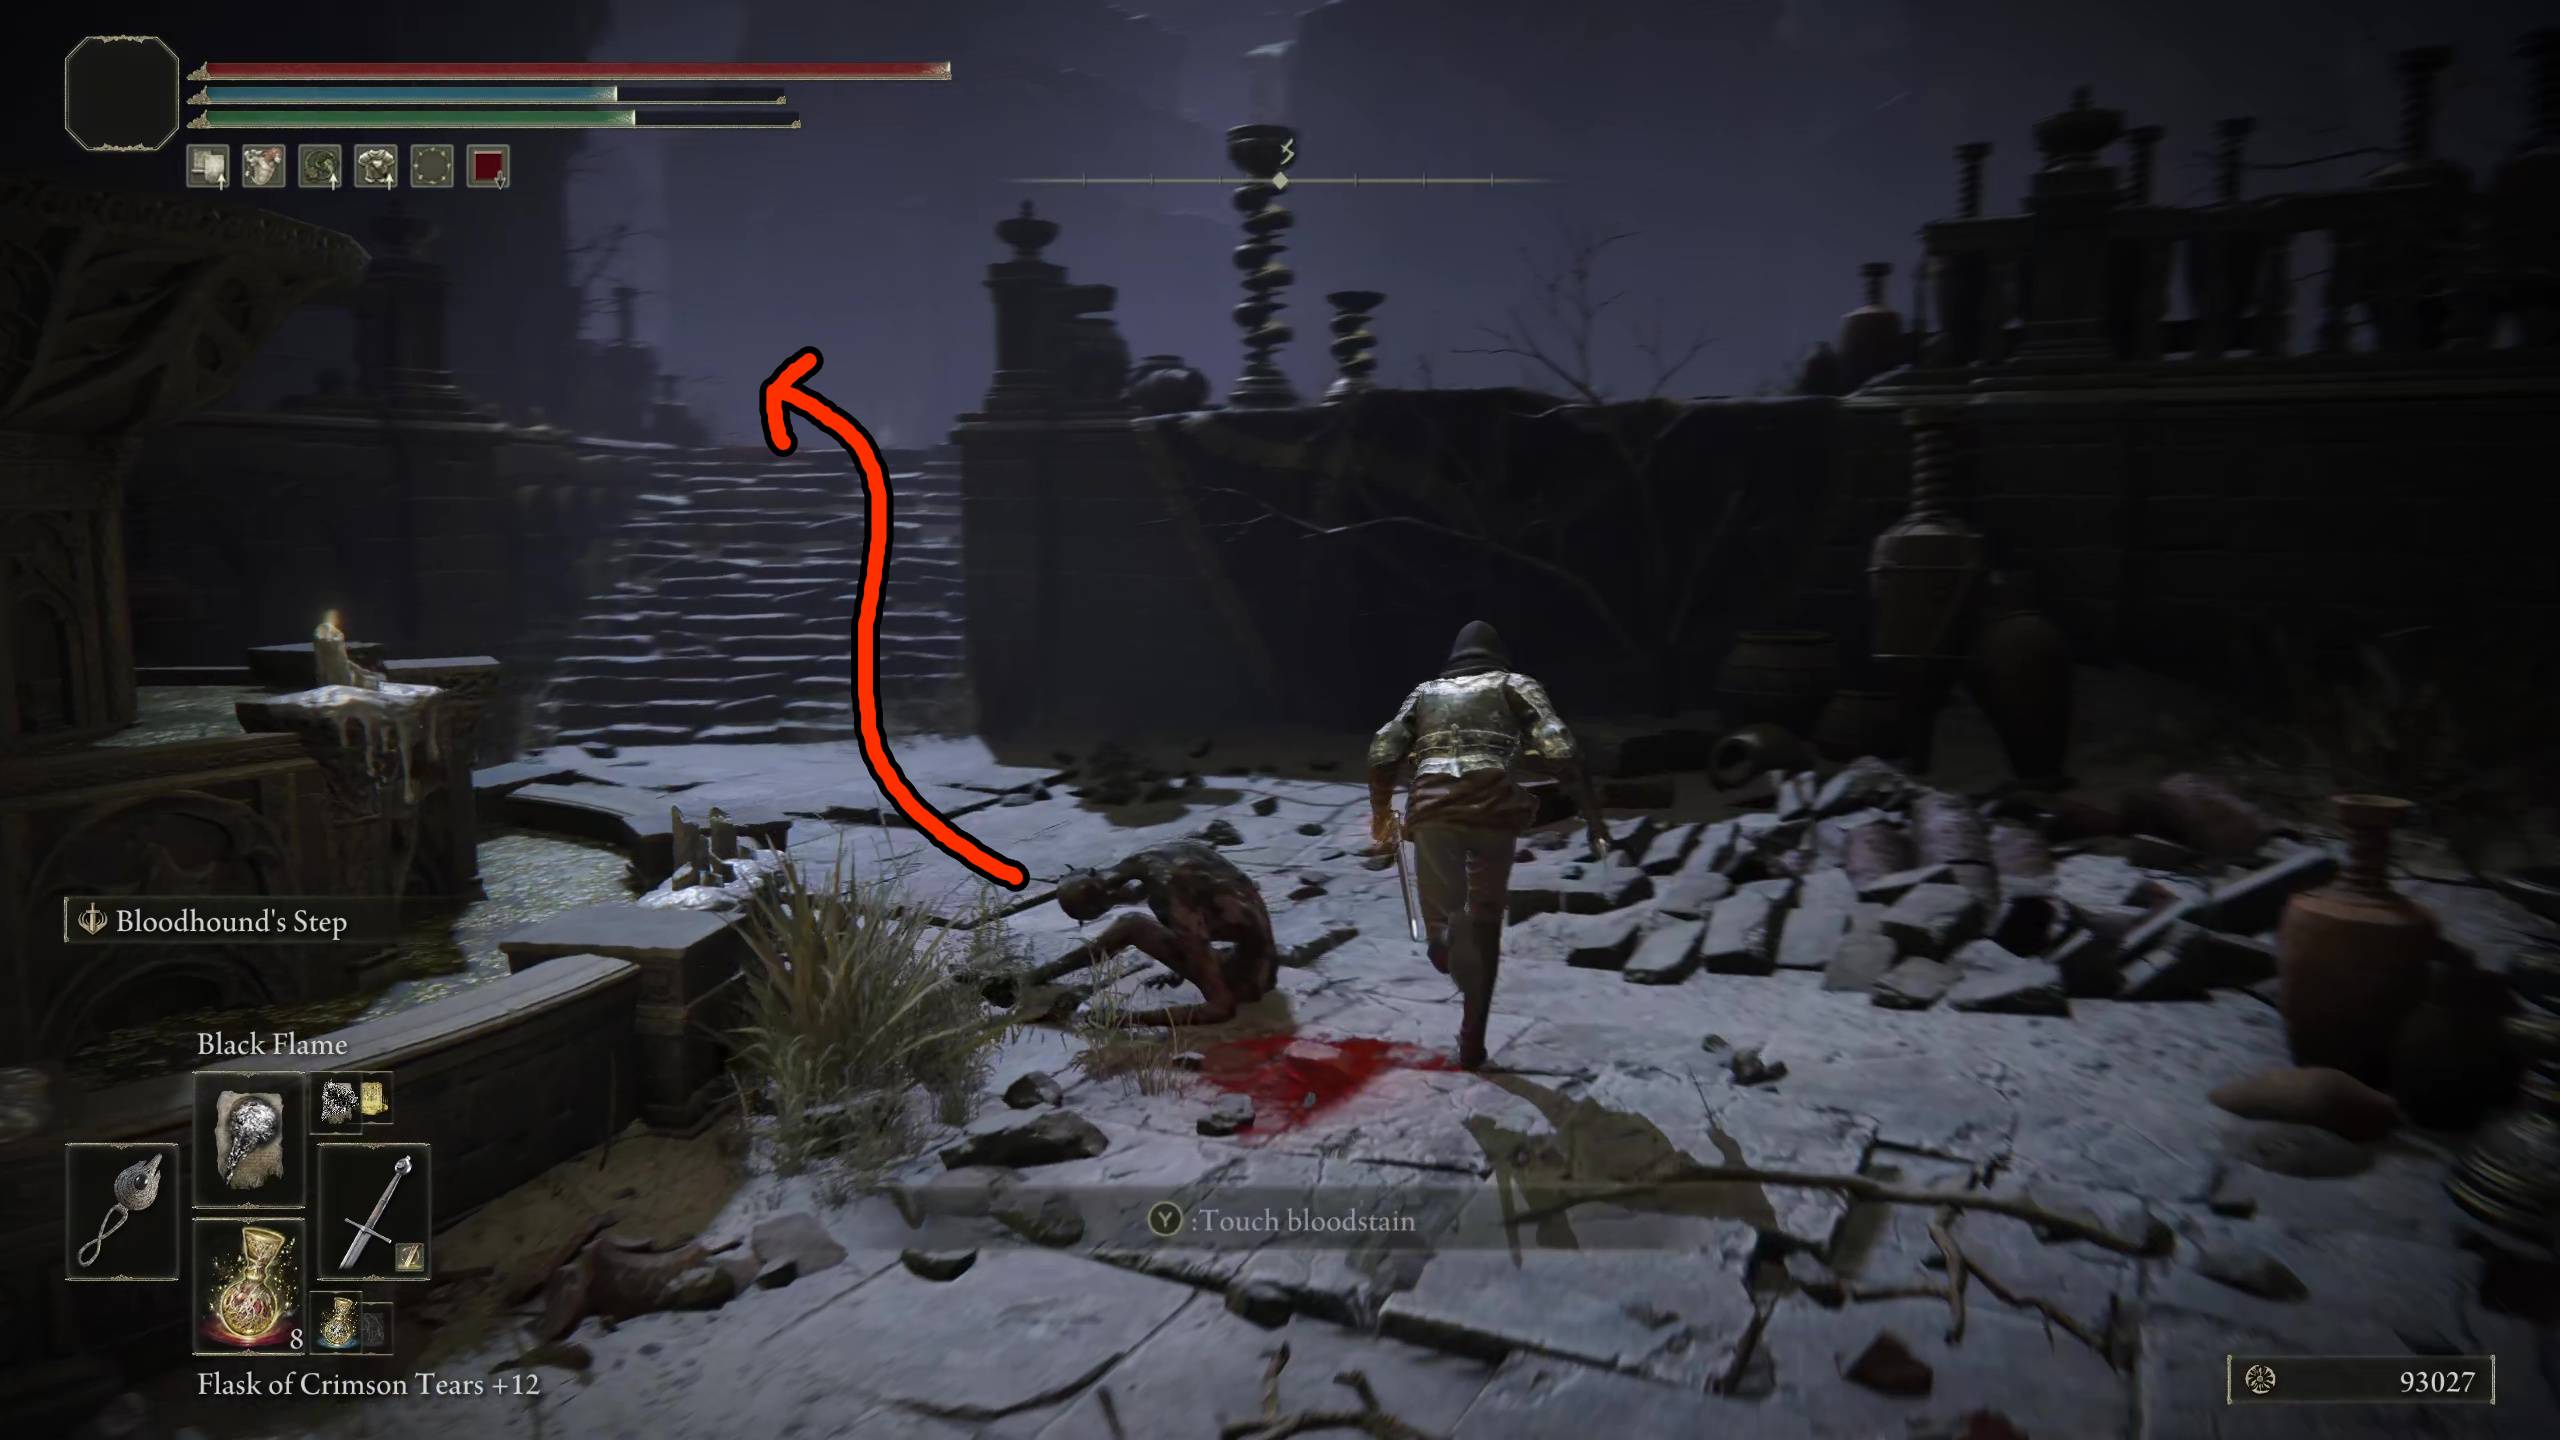
Up the stairs from where the little scorpions are is a big scorpion to the right. It’s protecting a Fireproof Dried Liver. Even if you don’t want the item, dispatch the scorpion, because there is another big scorpion in the narrow stair set just ahead, and you don’t want to get pinched (double entendre). Just up from this last spider, is the Belurat, Tower Settlement Site of Grace; it’s just to the left of the big doors.
Exploring Belurat, Tower Settlement
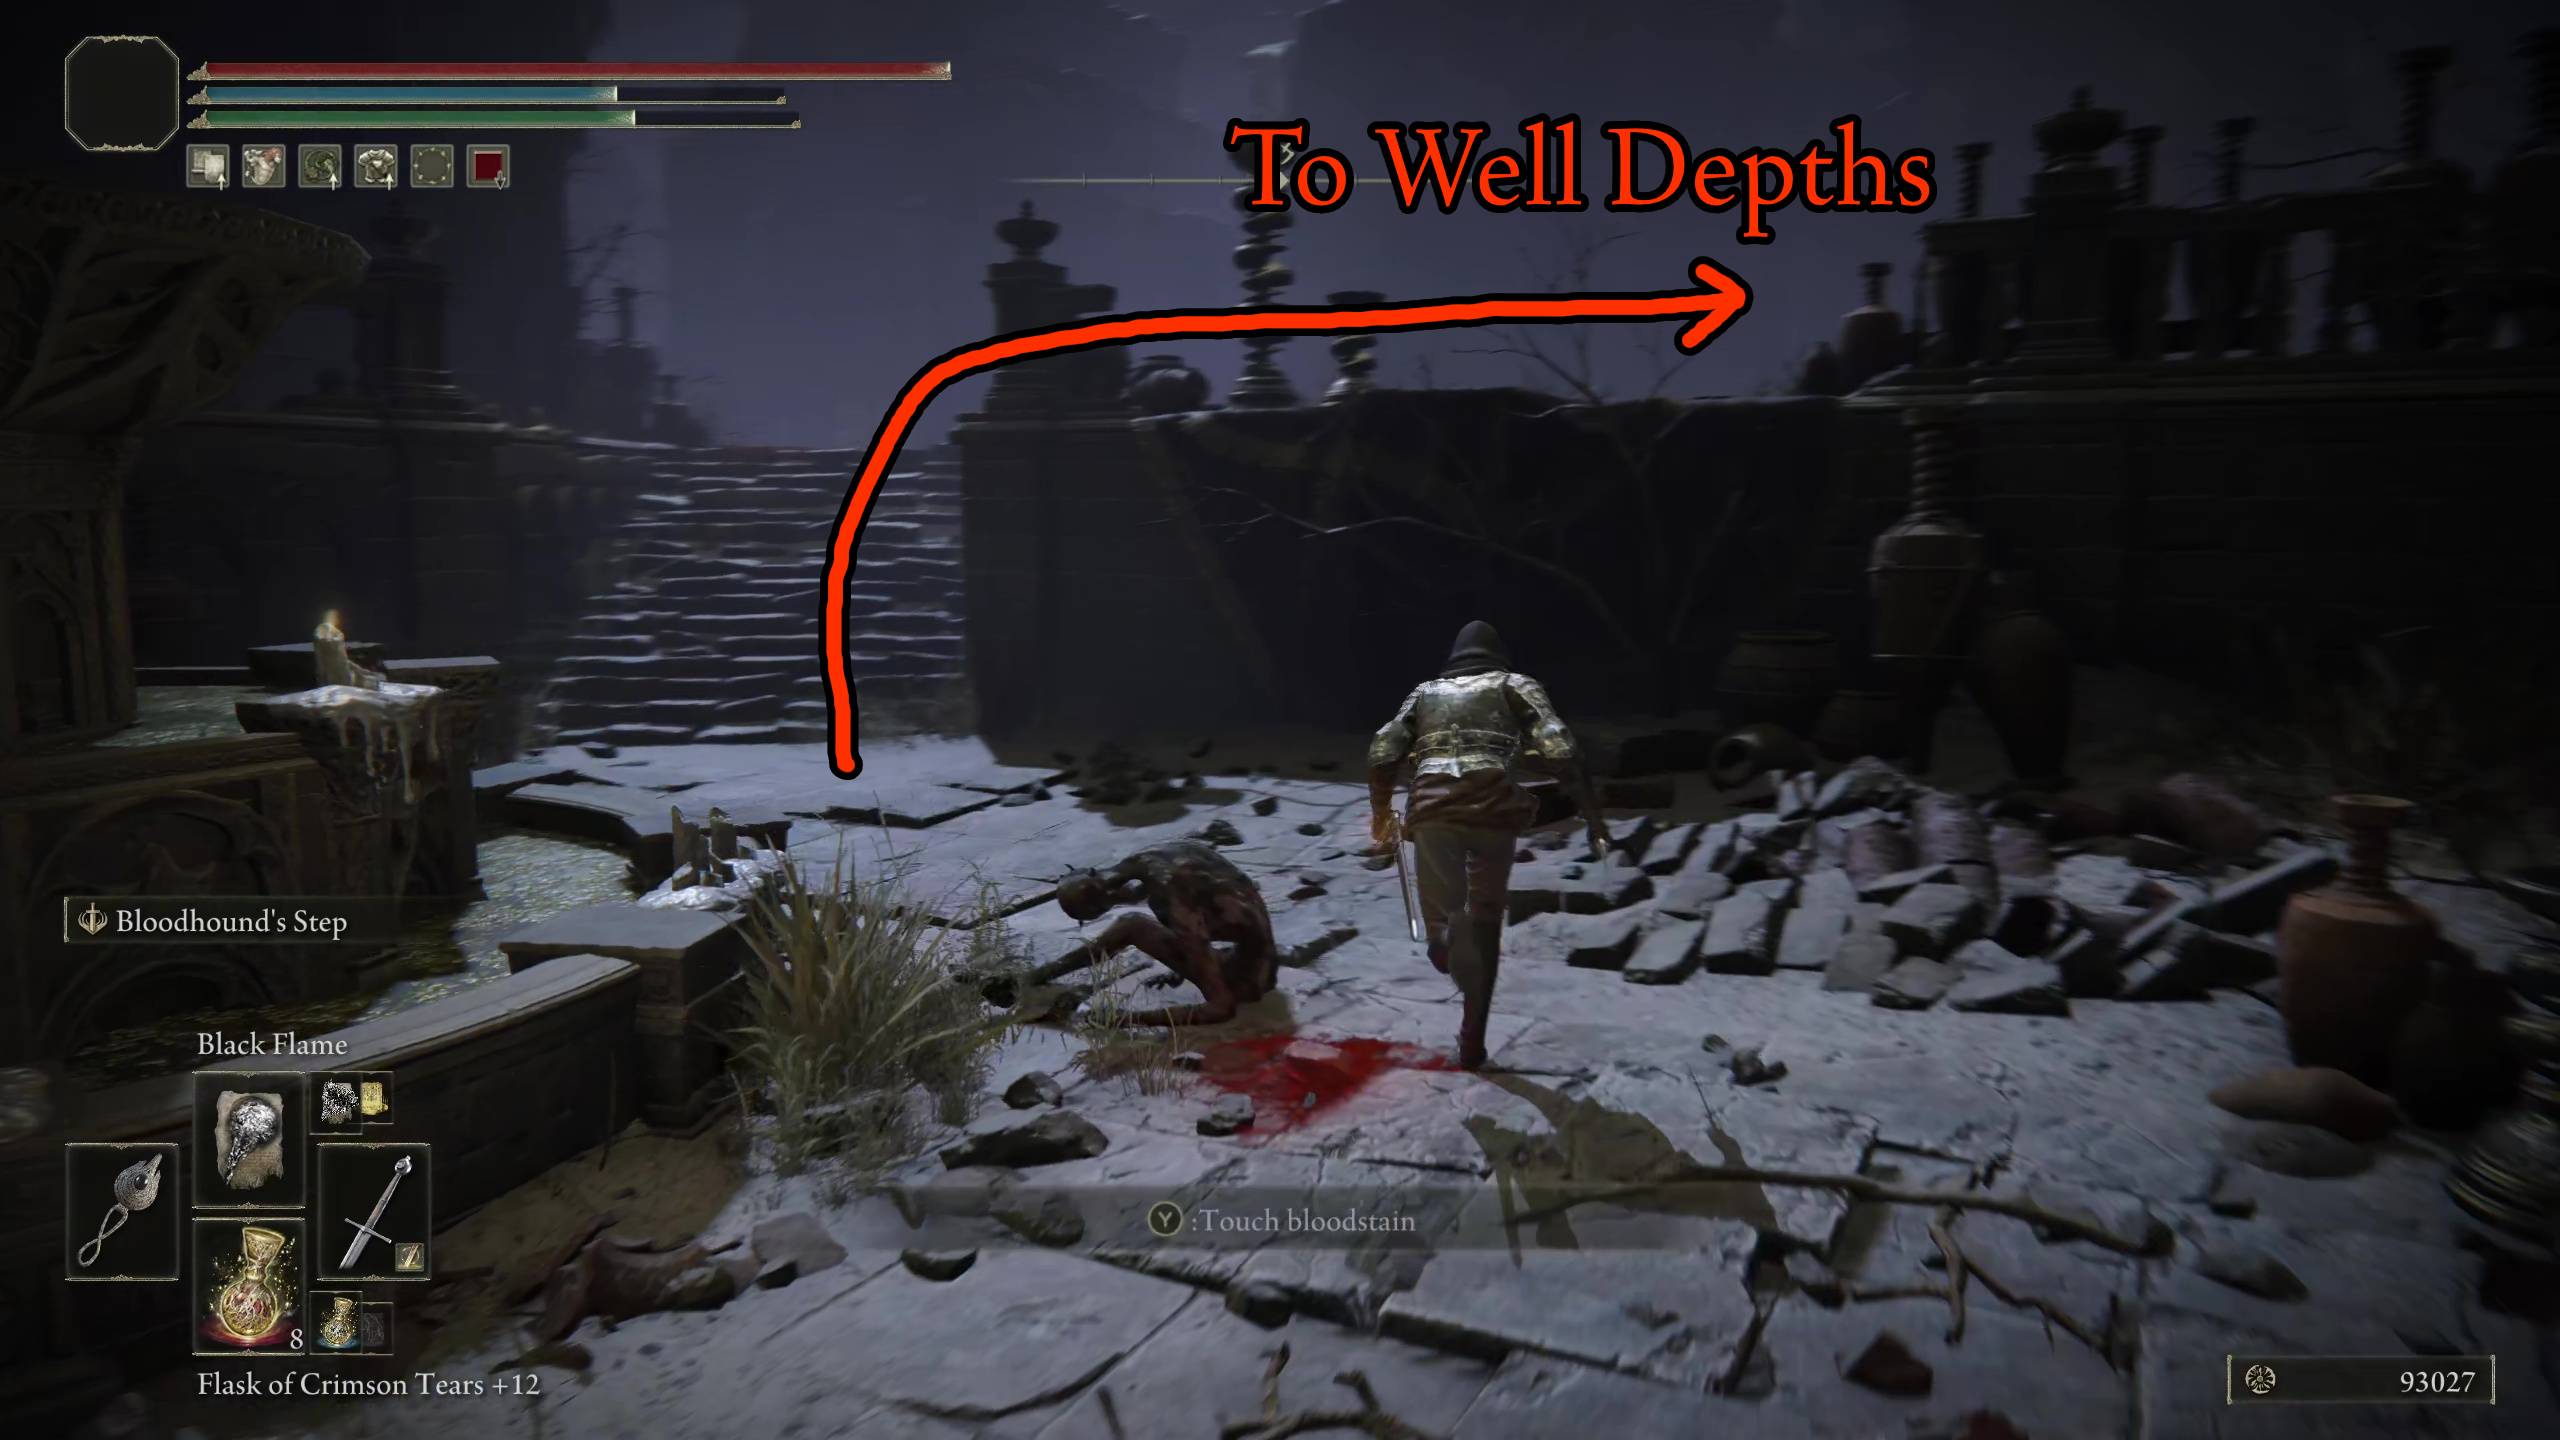
There’s only one way to go from the Belurat, Tower Settlement site of grace, because the big gate straight ahead is locked, as well as the small door to the left — so right it is! This small square you arrive in has a burly black humanoid enemy (they’re everywhere in this legacy dungeon). His attacks do a lot, so do your best not to get hit. There’s x3 Knot Resin under the adjacent waterfall, but be careful because another burly enemy will leap out at you.
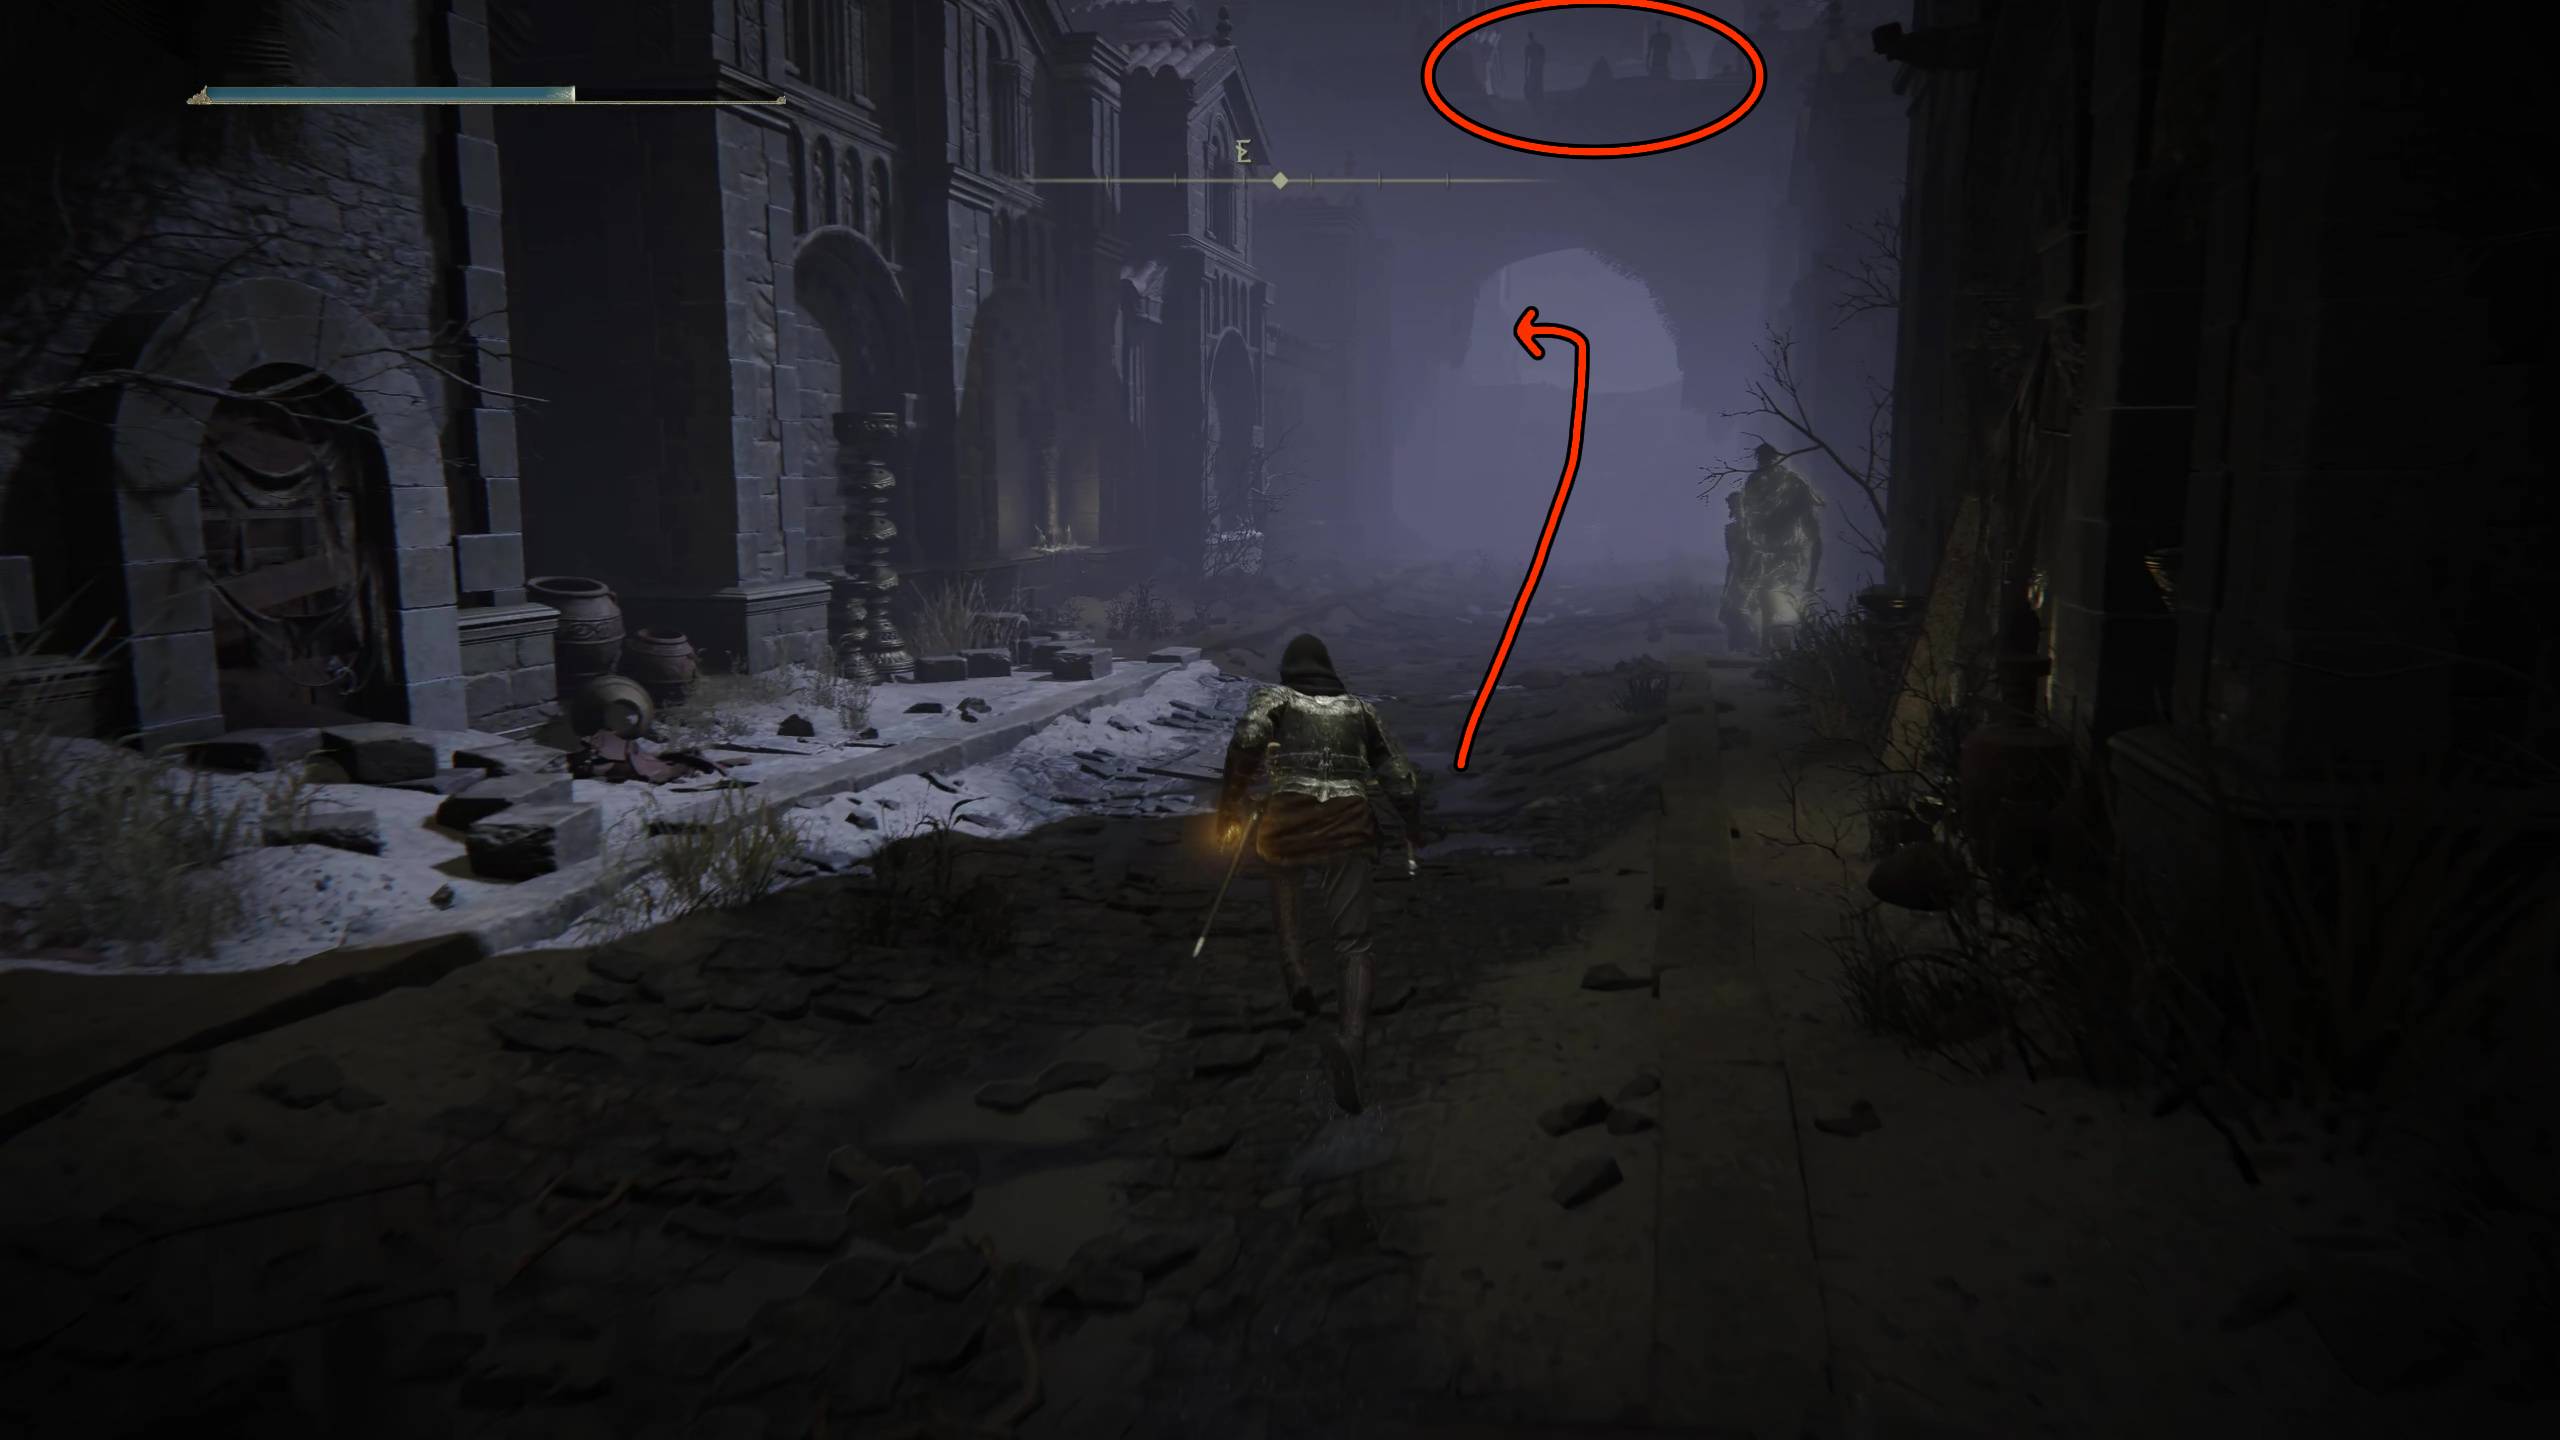
Remember this square, as you’ll return to it a bit later on! Leaving the square, will want to head to the left. To the right, you’ll find some weak enemies surrounding a Somber Smithing Stone [3], and a well that leads to a currently locked door. You’ll want to be careful continuing to the left, because there are more of those bigger enemies, and there are magic wielding enemies attacking from a sky bridge. Lure the enemies out of the magic’s range, deal with them, then you can run under the range casters — or kill them if you have ranged attacks. There is a side road to the right that has more enemies and a Messmerfire Grease, if that interests you.
There’s an open door to the left, after running under the sky bridge. Inside are some weak enemies, and a hidden Silver Horn Tender behind some pots in the corner. You’ll be relieved upstairs because there you’ll find the Small Private Altar site of grace. Continuing to the left leads you to the magic users on the skybridge, and a locked door. So head up the stairs to the right, but be careful. There’s a large sword-wielding enemy that’s very dangerous. We recommend sneaking past him to the right because he respawns, and the fight isn’t worth the runes.
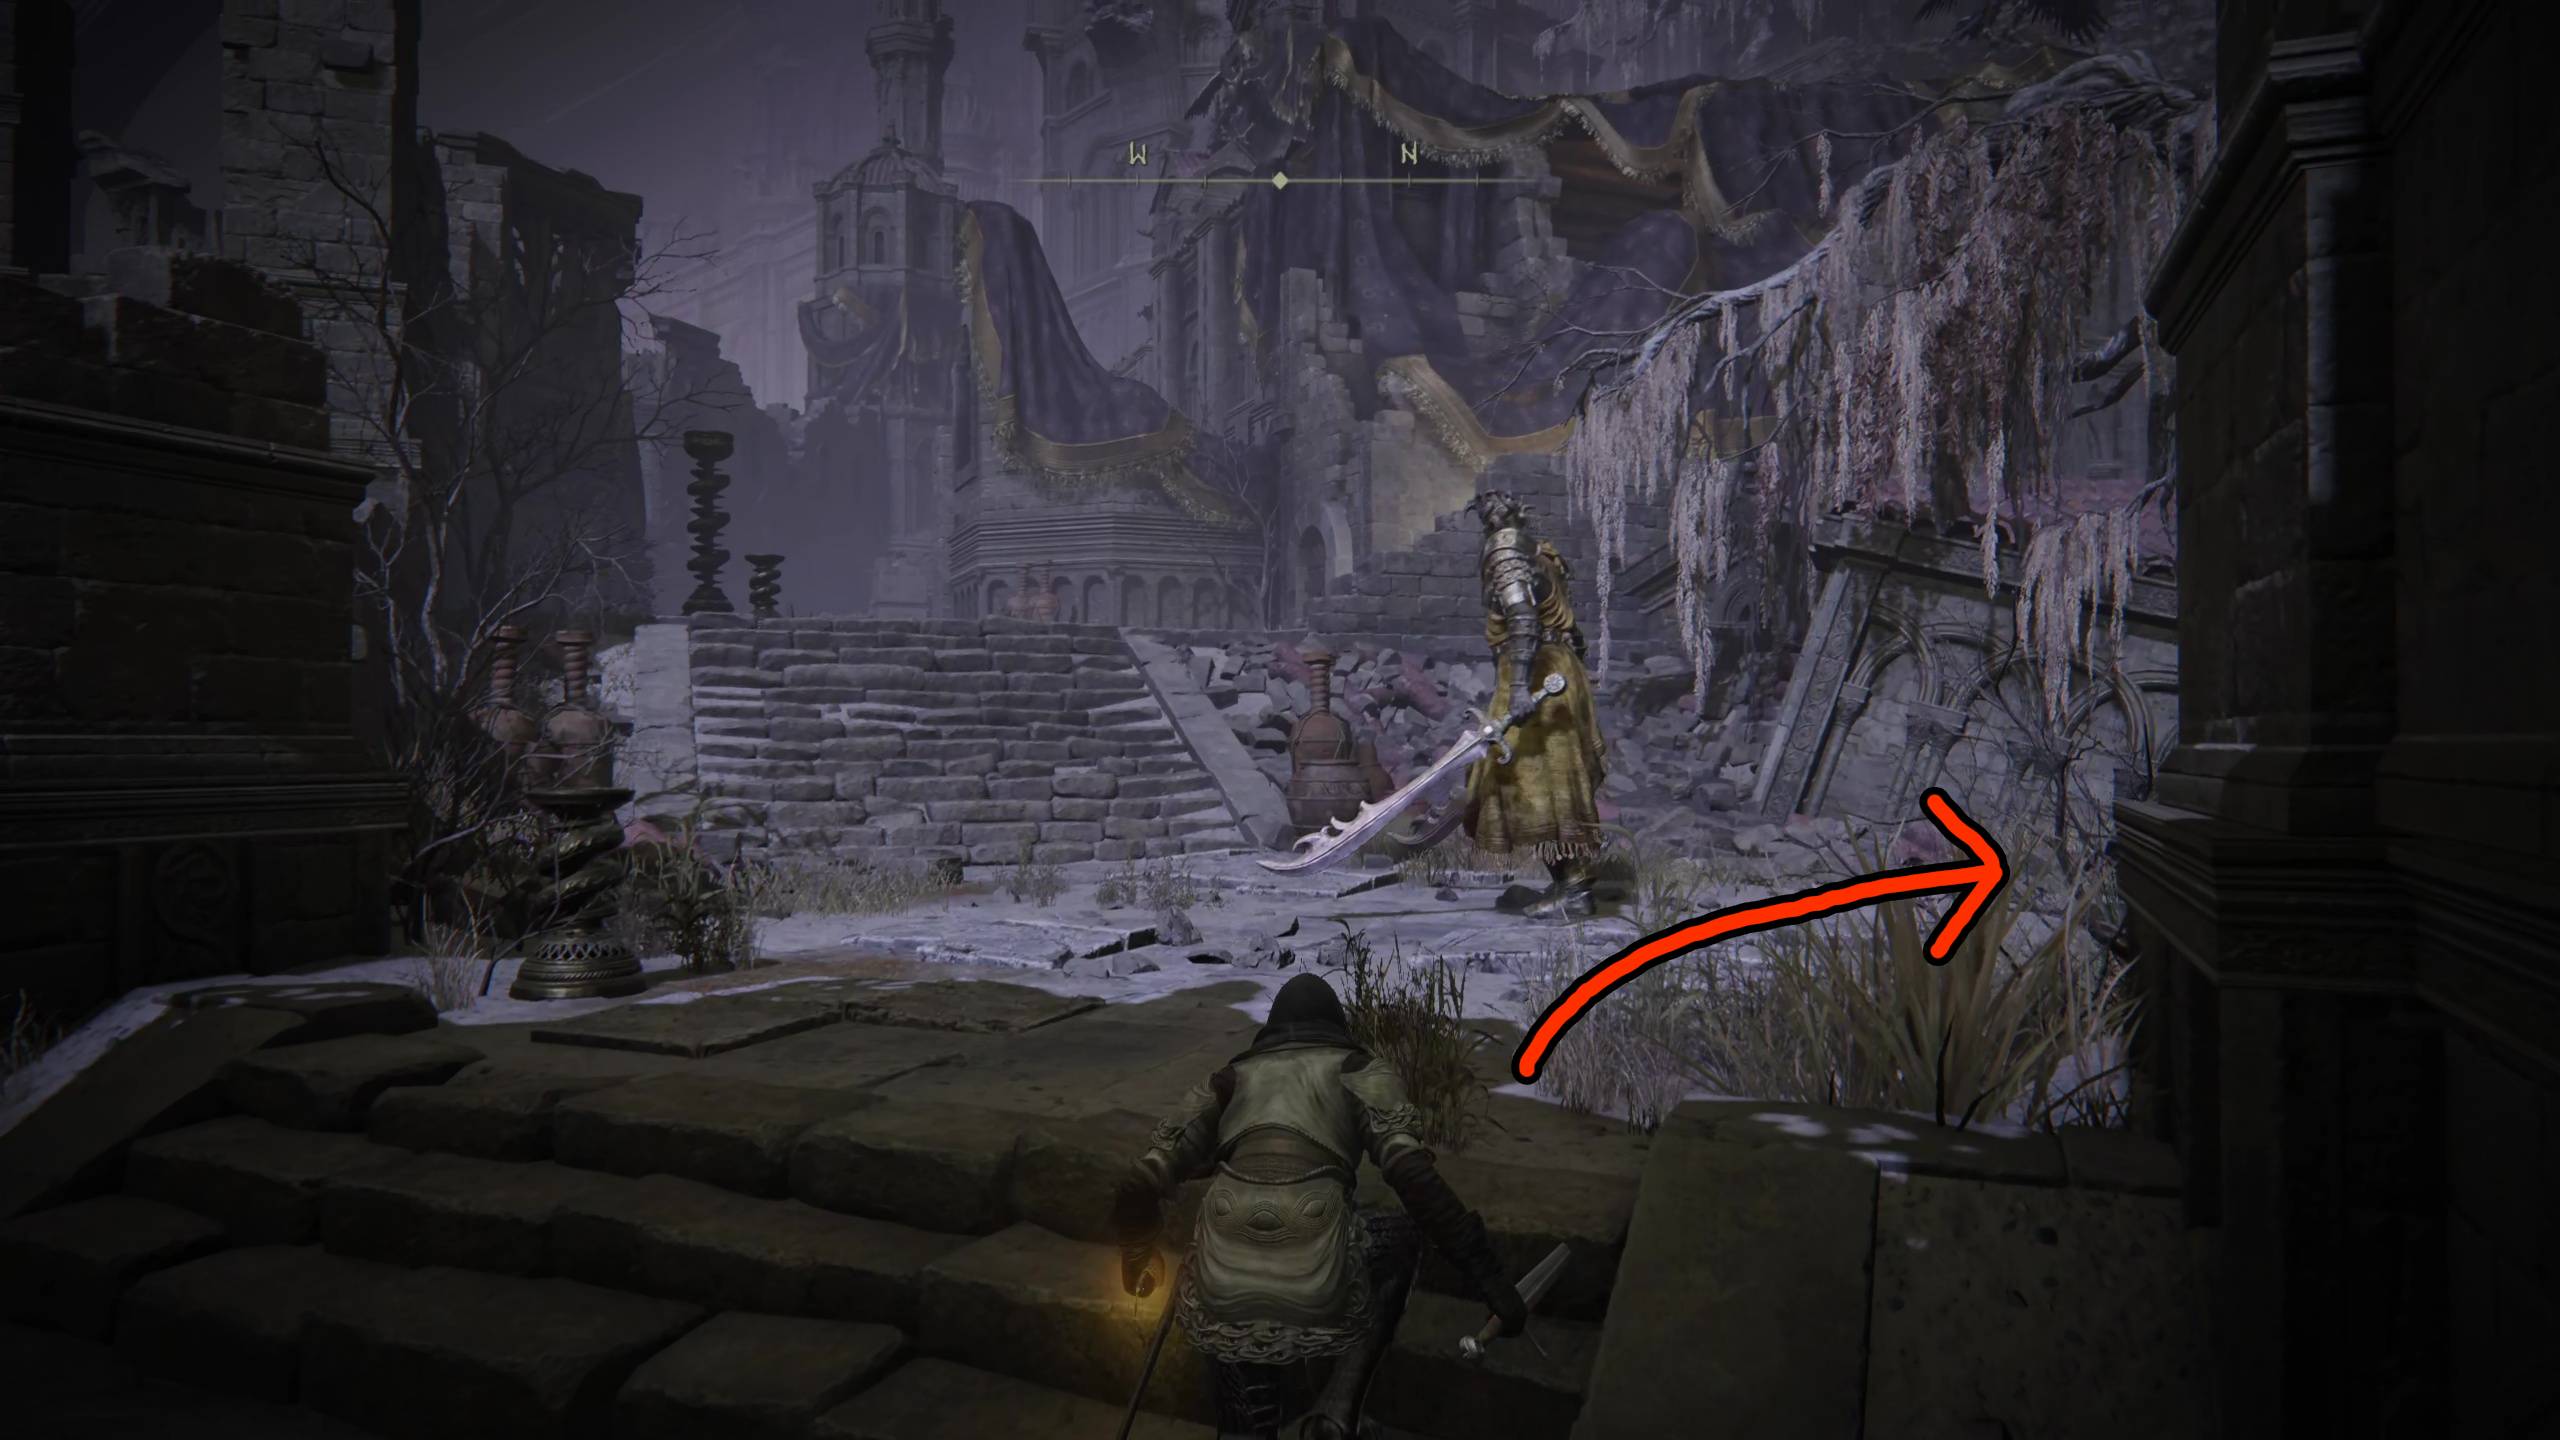
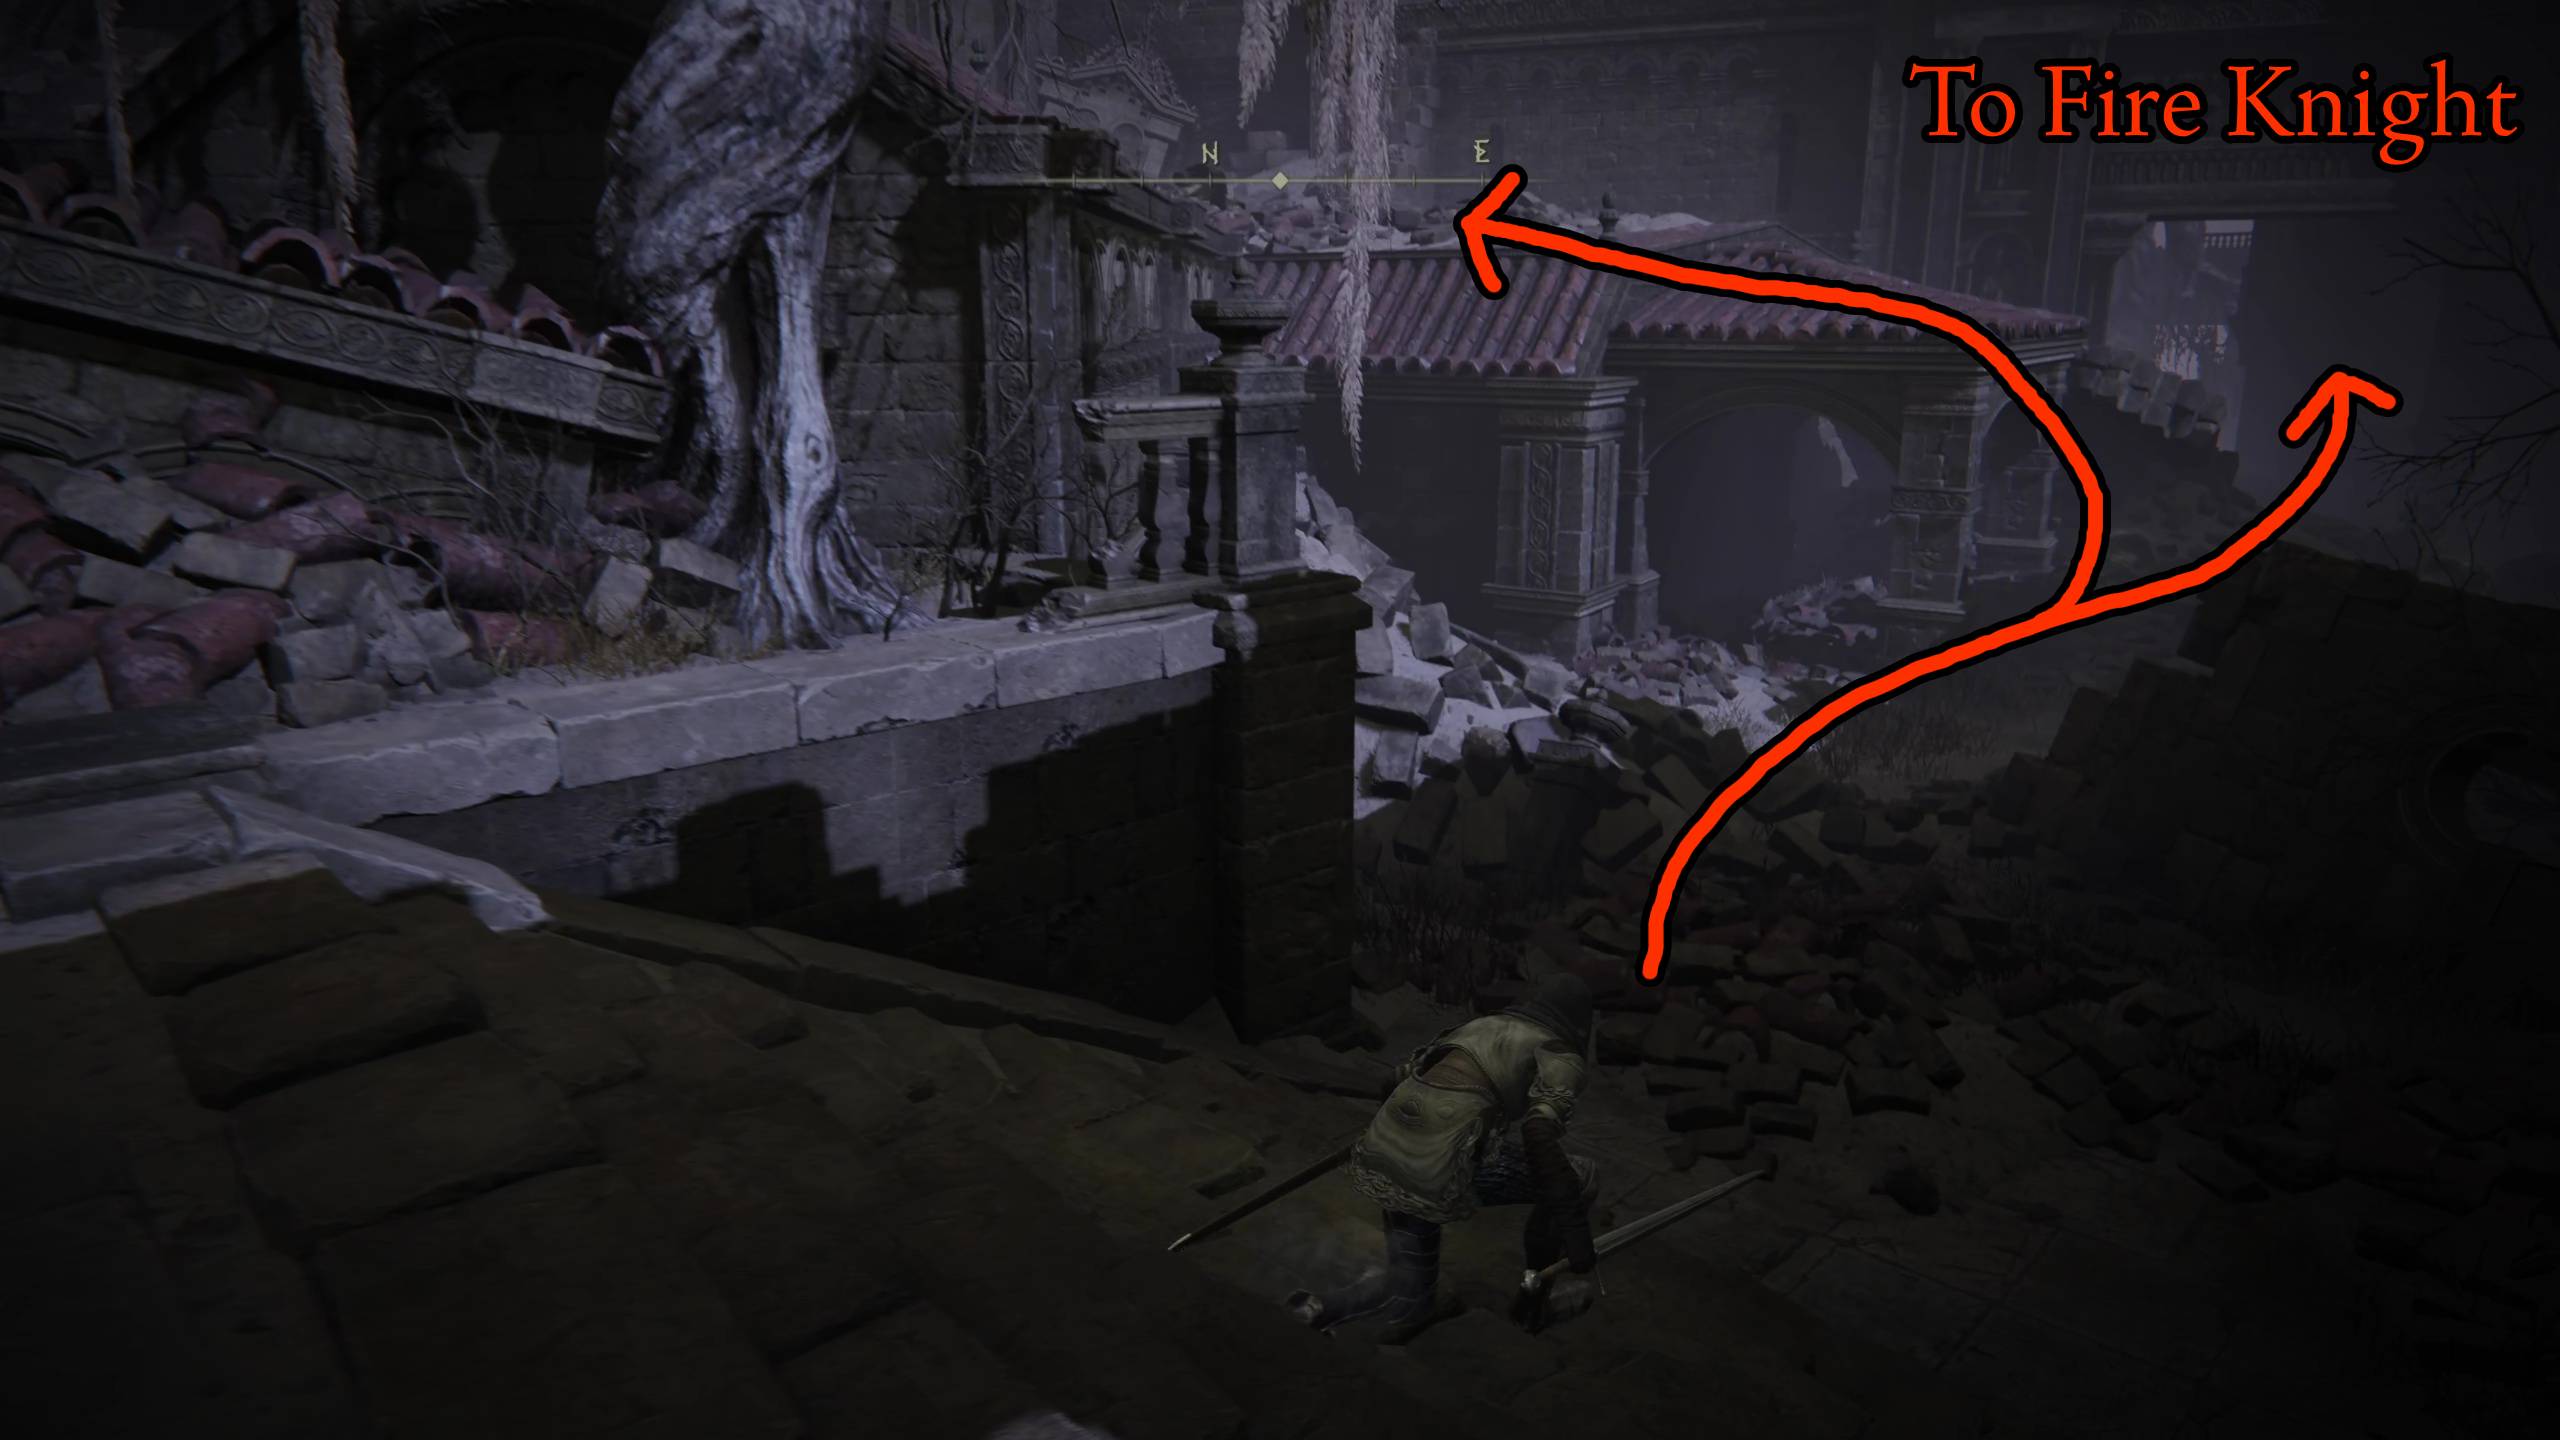
From this path you can go straight, which will lead to a large area where you’ll fight Fire Knight Queelign. They are a tough enemy that can dish out a lot of damage quickly. Patiently take down their health with single light attacks to defeat them. When they’re dead, you’ll receive the Crusade Insignia talisman . The arena where you fight them is a dead end, but there is a unique item on the dead body in the middle: Ash of War: Shriek of Sorrow. You can continue forward by going over the houses in the previous area.
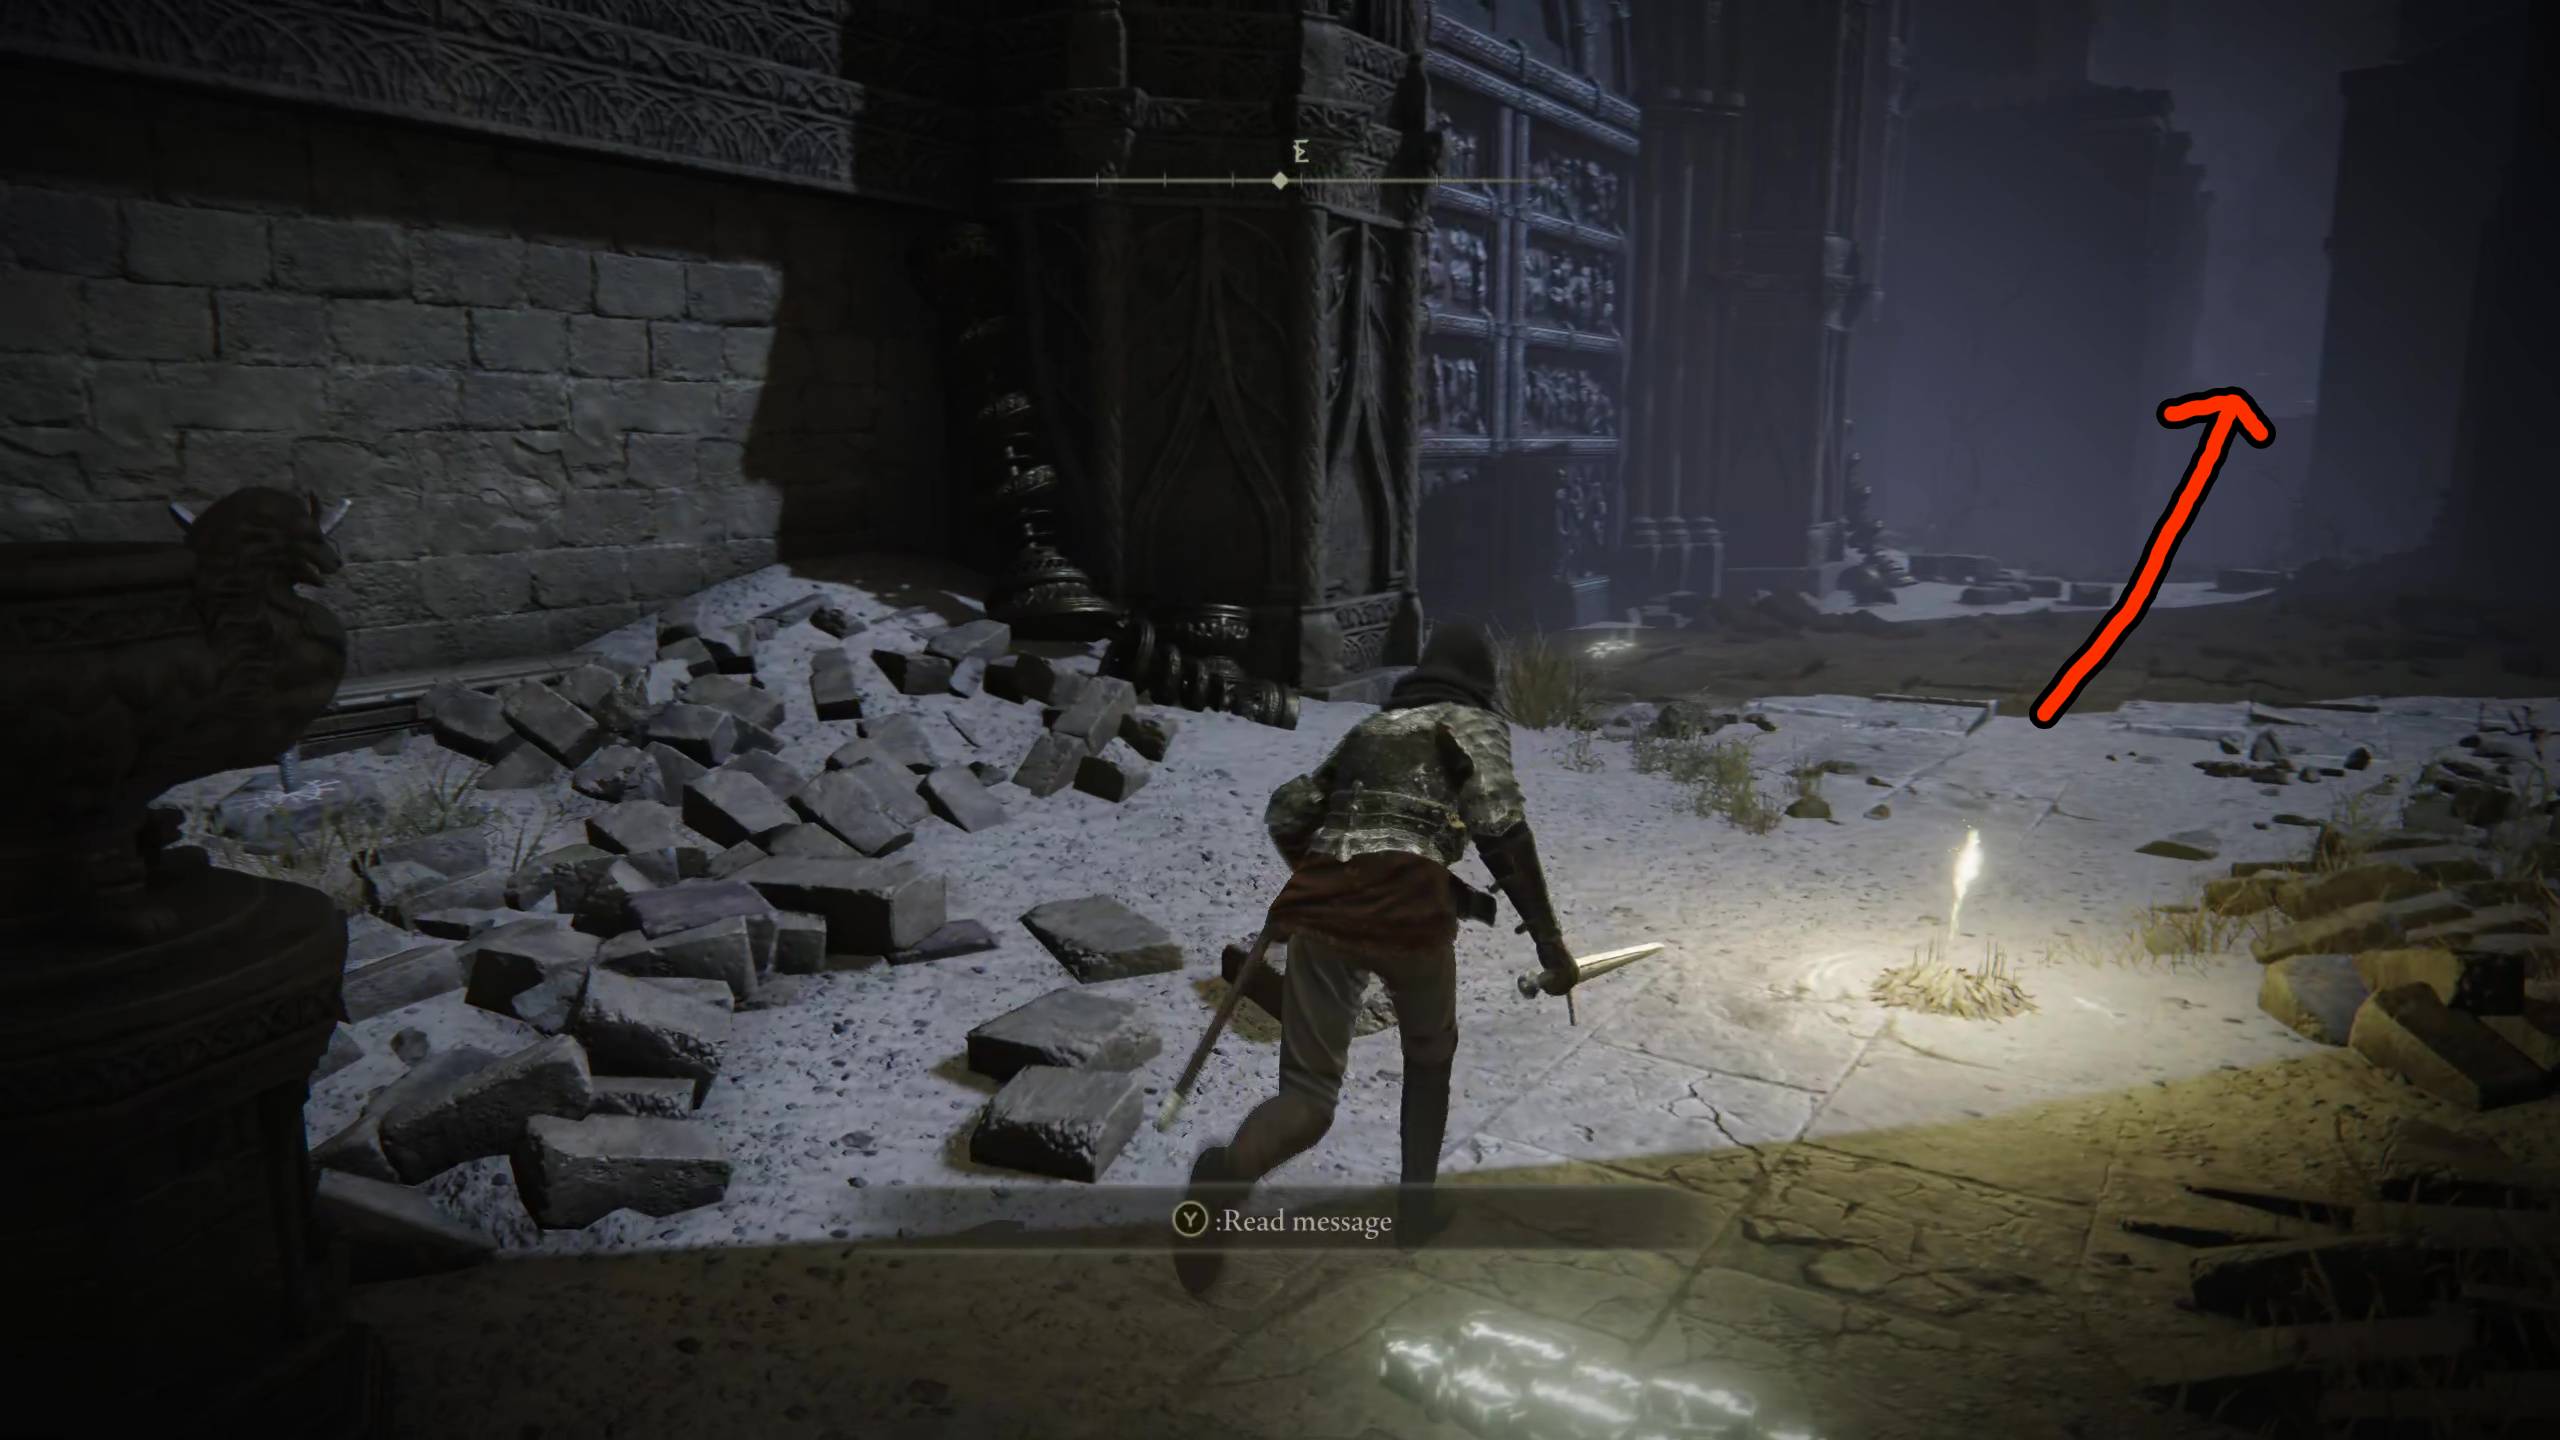
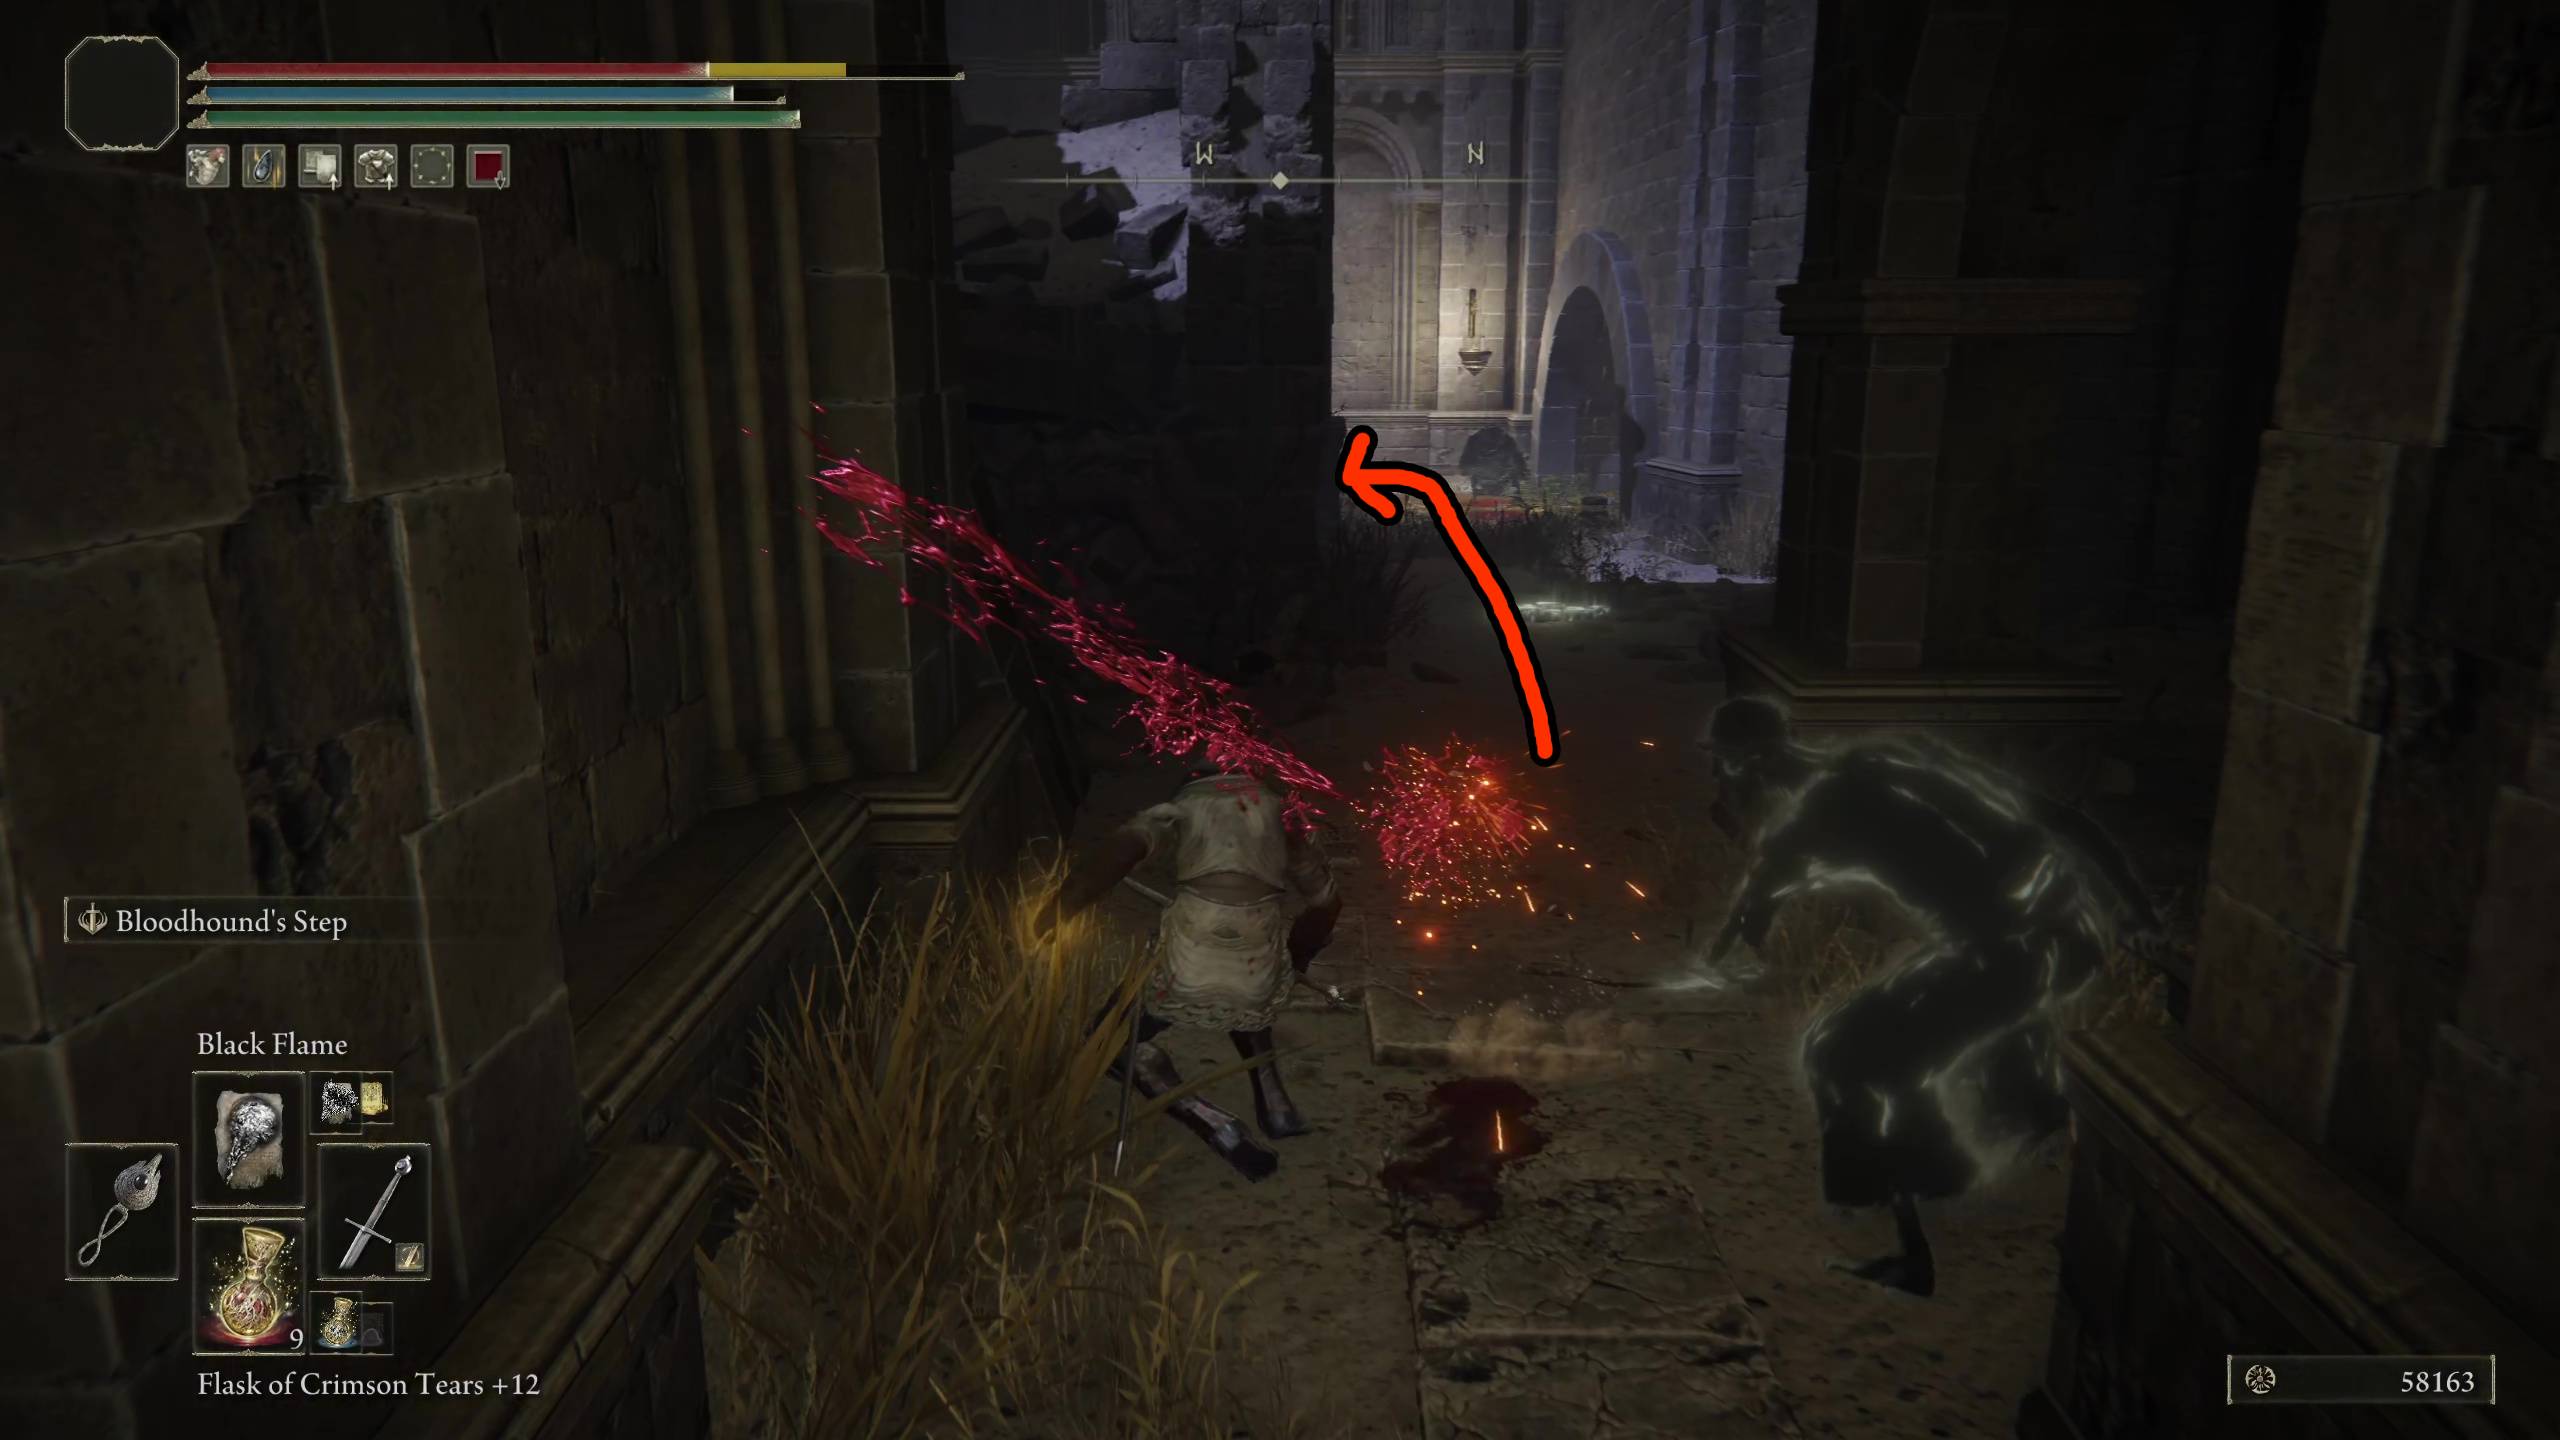
Over the houses, you’ll find a path that leads through a drainage stream. You will want to kill each of the enemies as you find them, because they will chase you when you run past. Be very careful of this sneaky dastard in the image. Follow the path around the corner, then there’s an open door to your right. Head up the ladder and loot the Storeroom Key off the body there.
Be careful of sneak attackStoreroom Key
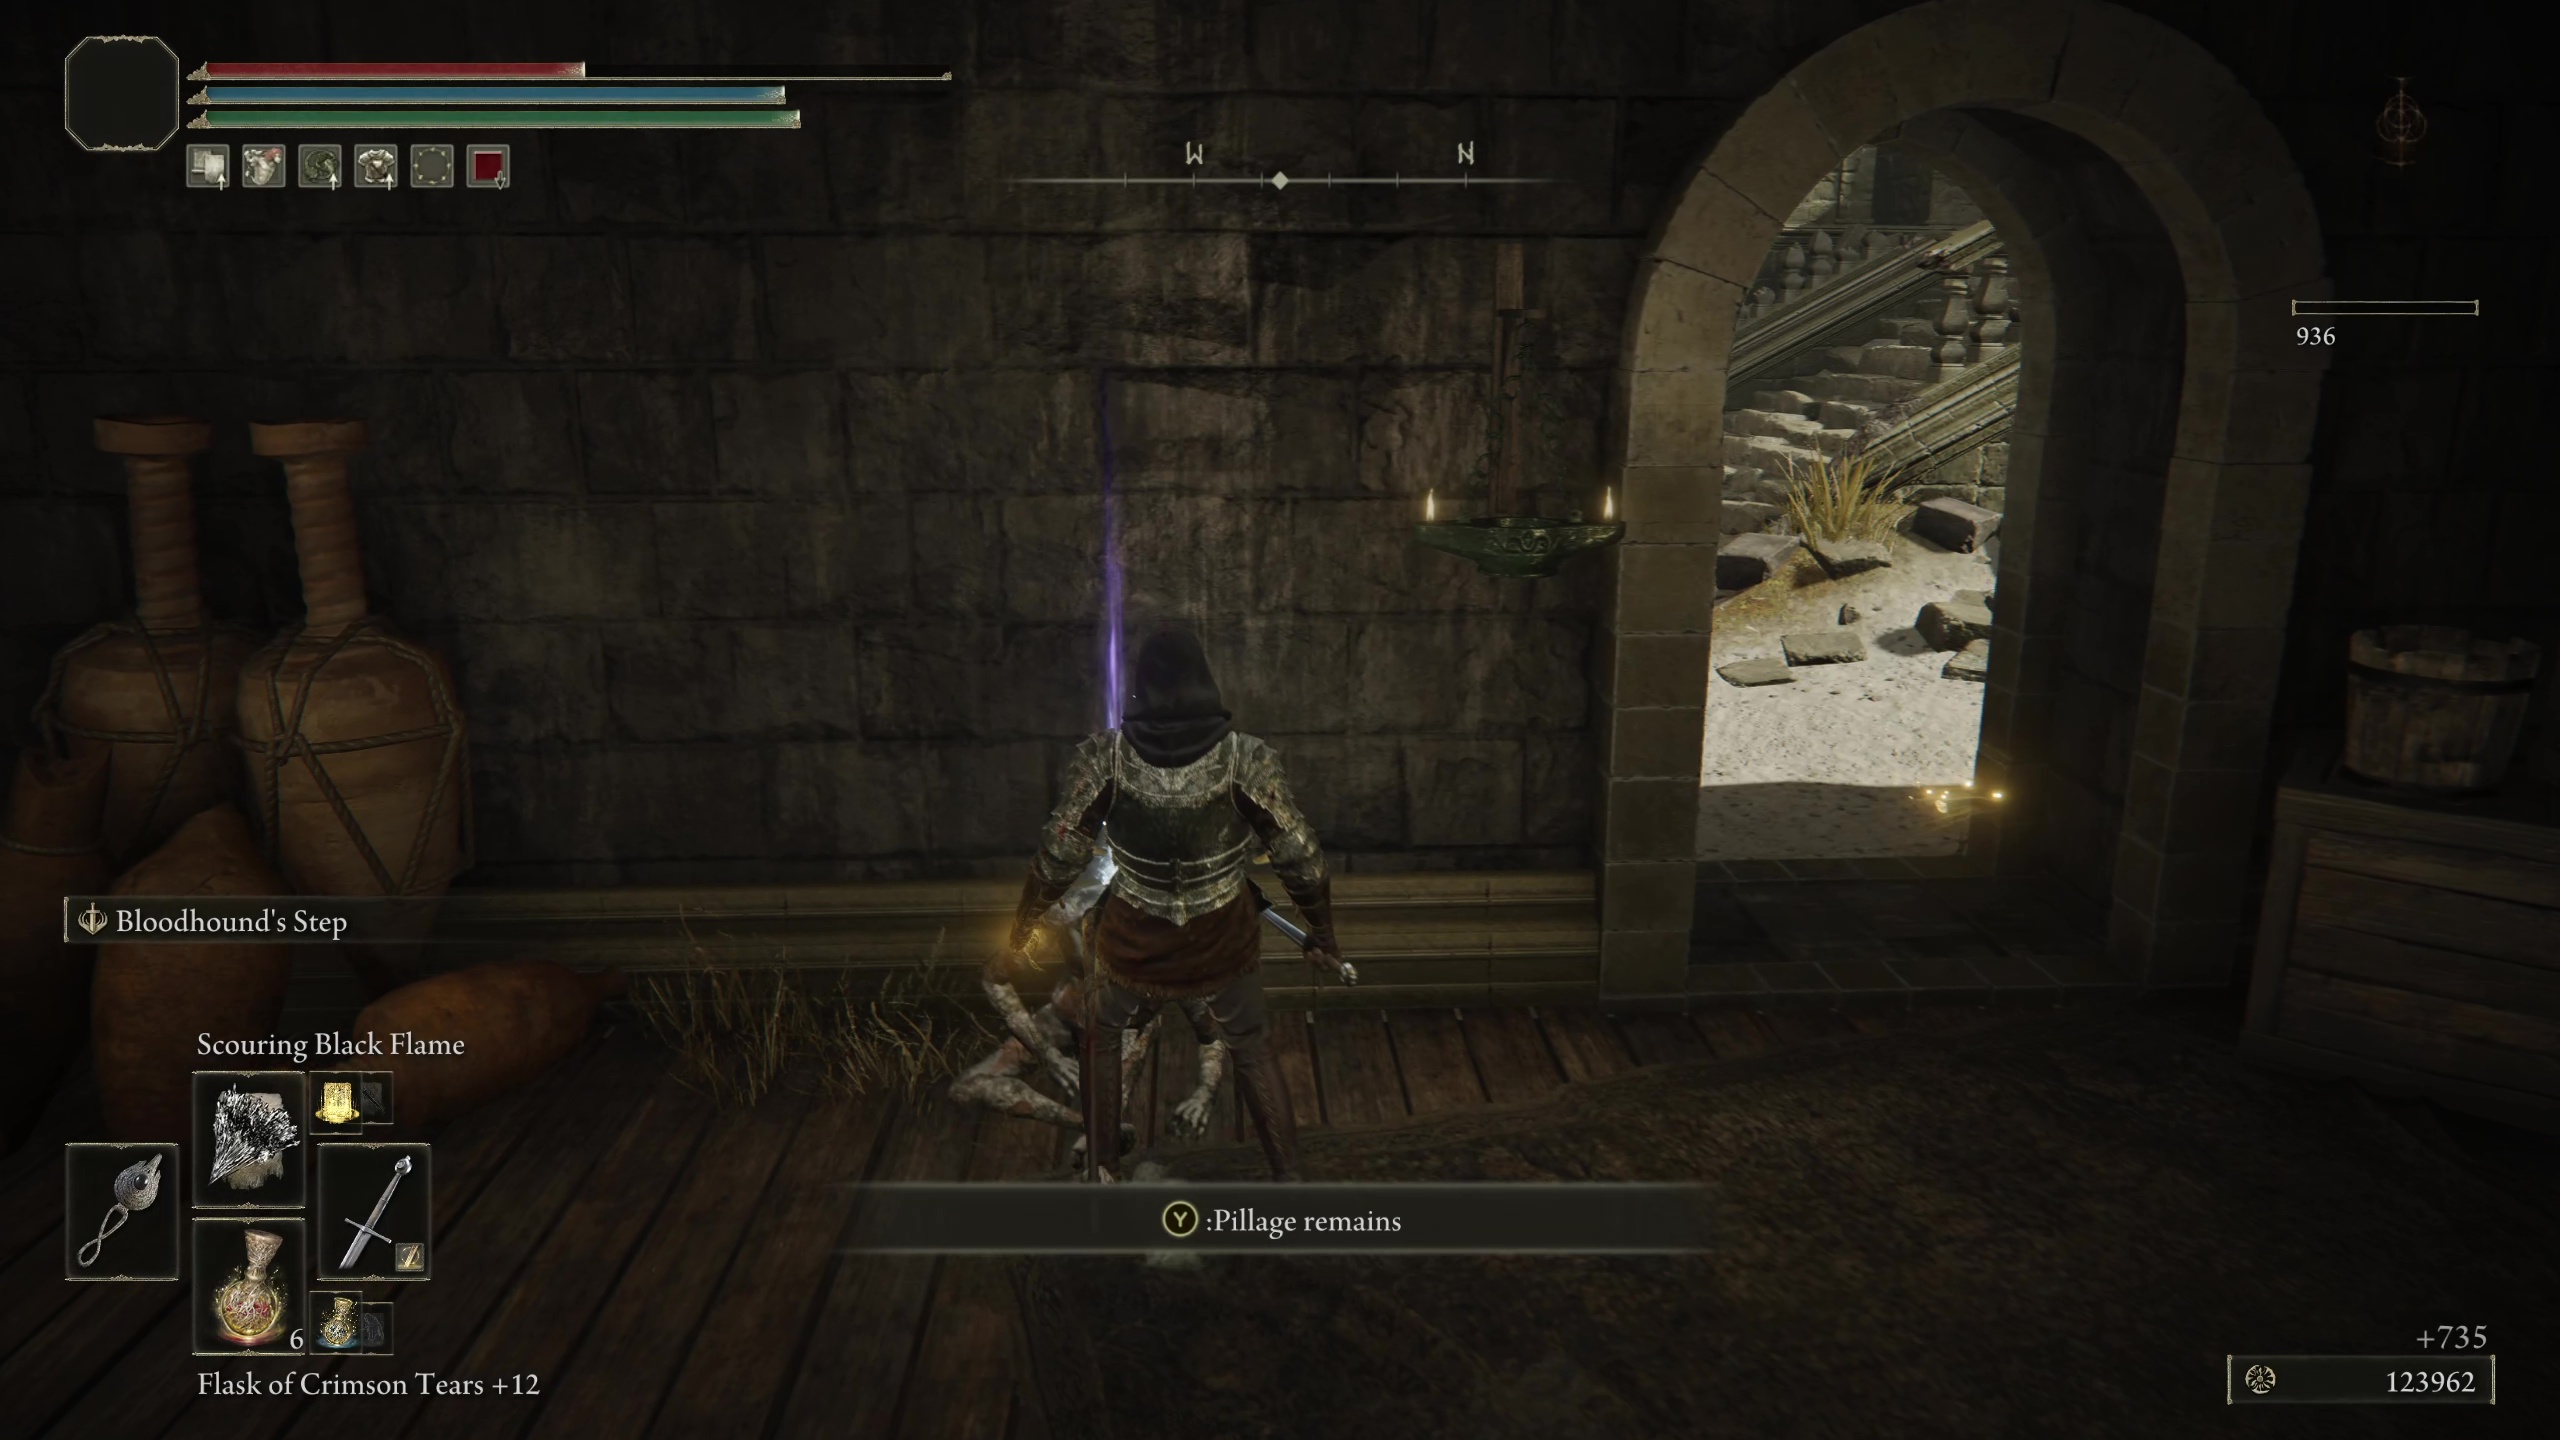
There’s actually another key in this area we also need to grab. Take a left out of the house, and kill the enemies down there. You will see a roof ledge that you can jump onto, and it will lead to a bridge you can jump onto. The bridge connects to a room with the Well Depths Key. There is another weak enemy that will sneak attack you when entering this room.
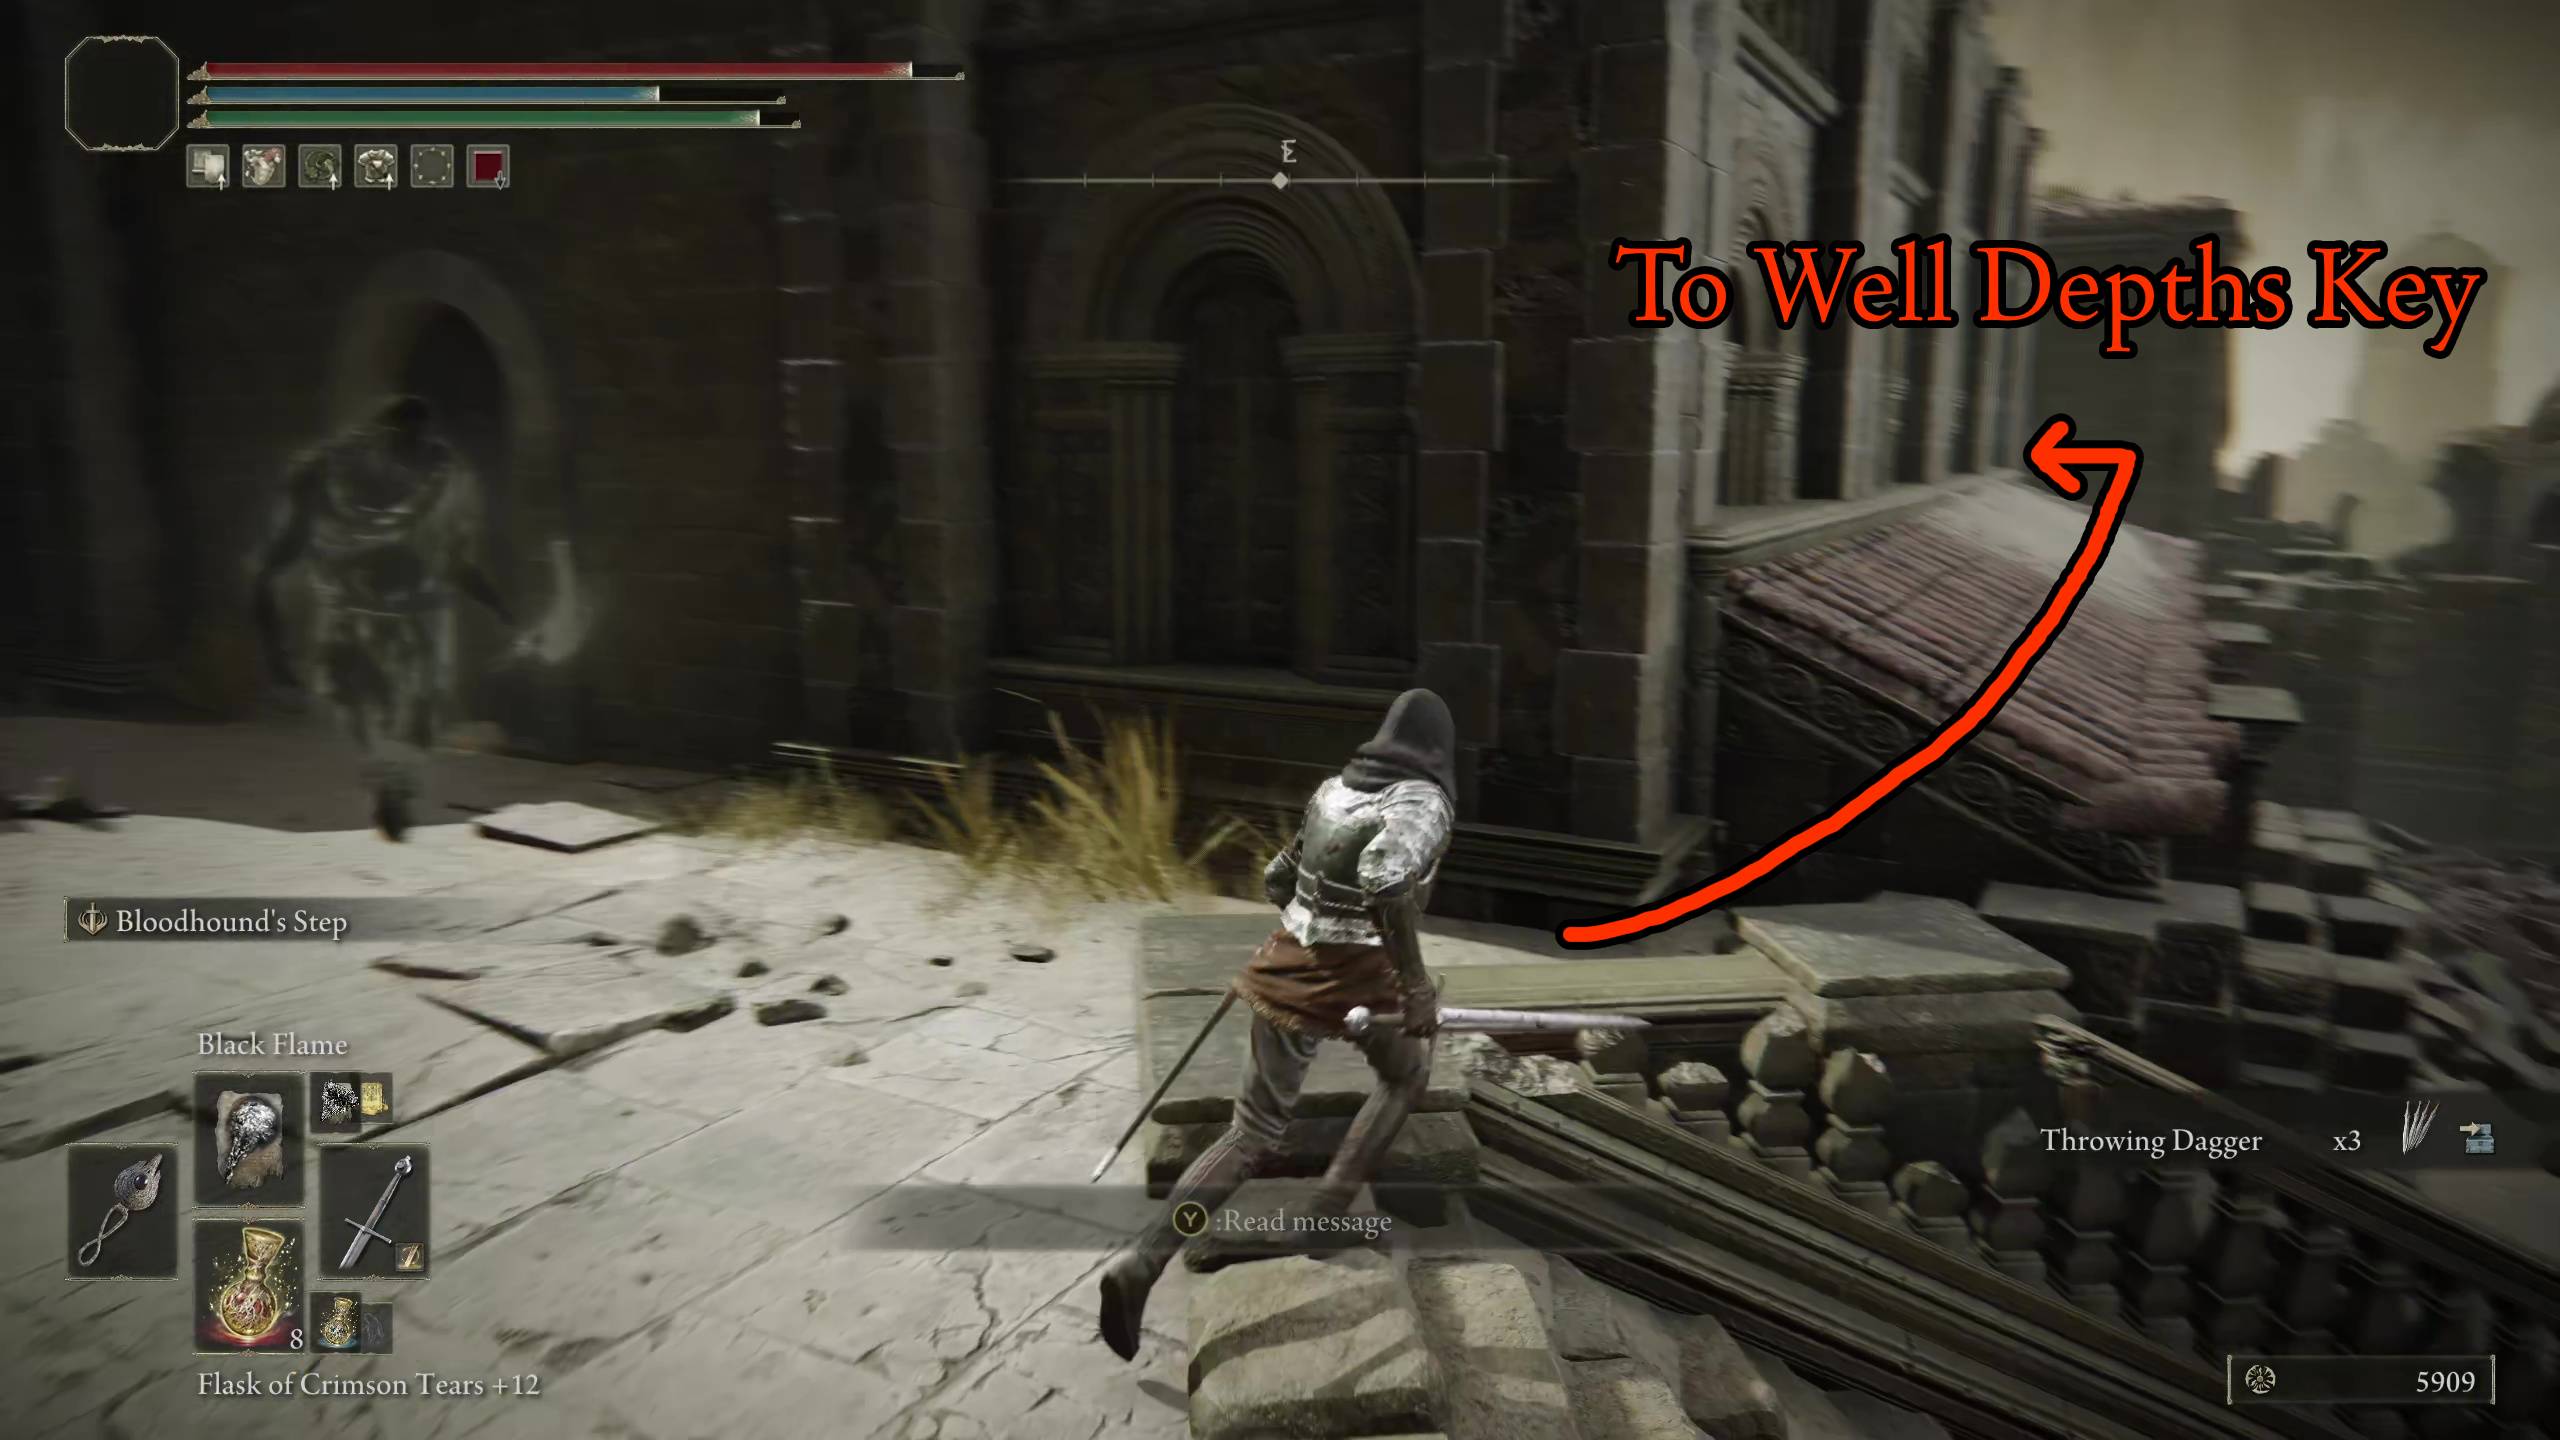
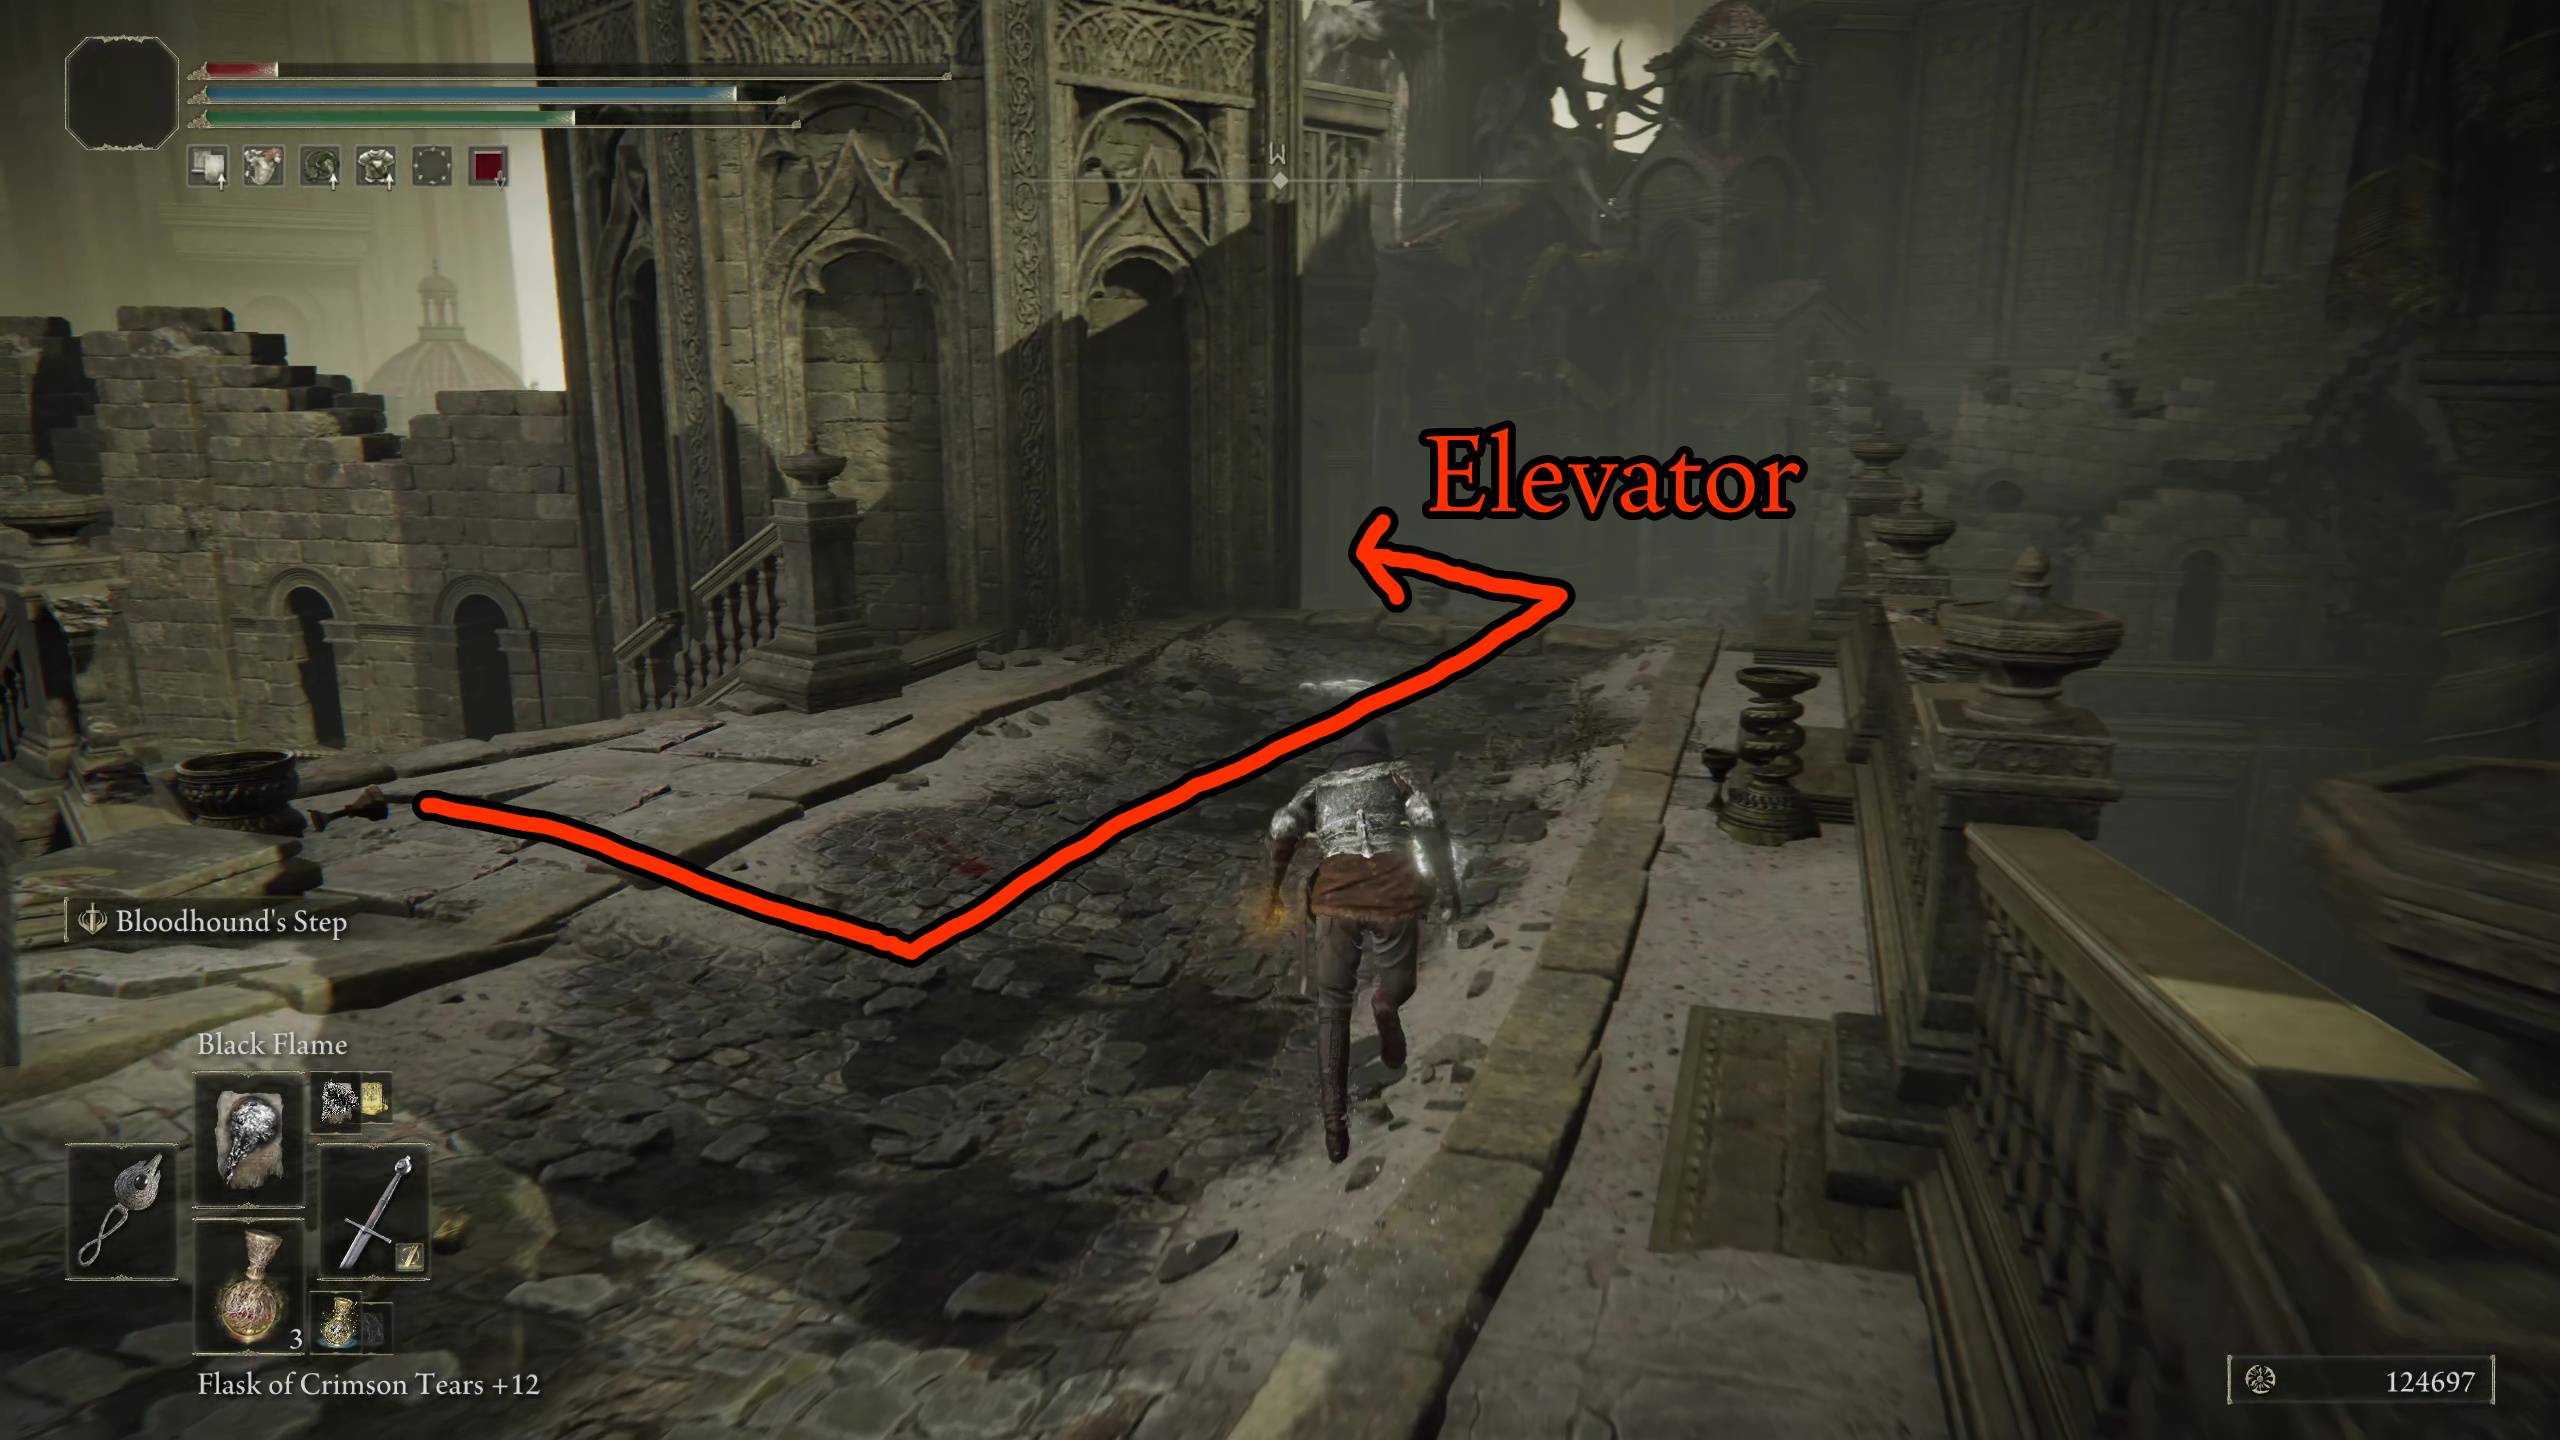
We know you want to go straight to the well and use the key, but don’t fast travel. Instead, go back to where you found the Storeroom key, and go up the stairs to the right. From the top of the stairs take a left, and another left, and you’ll go down to an elevator that brings you to the Belarut, Tower Settlement site of grace.
Exploring the Well Depths
From the Belarut, Tower Settlement site of grace, go back the same way as last time to the first square and take a right to go down the well to the depths, which is an optional area. Let’s list the loot you can grab down there, in case you want to know if it’s worth it:
Notable Items
Horned Warrior’s Sword
Poisoned Hand
Immunizing Horn Charm +2
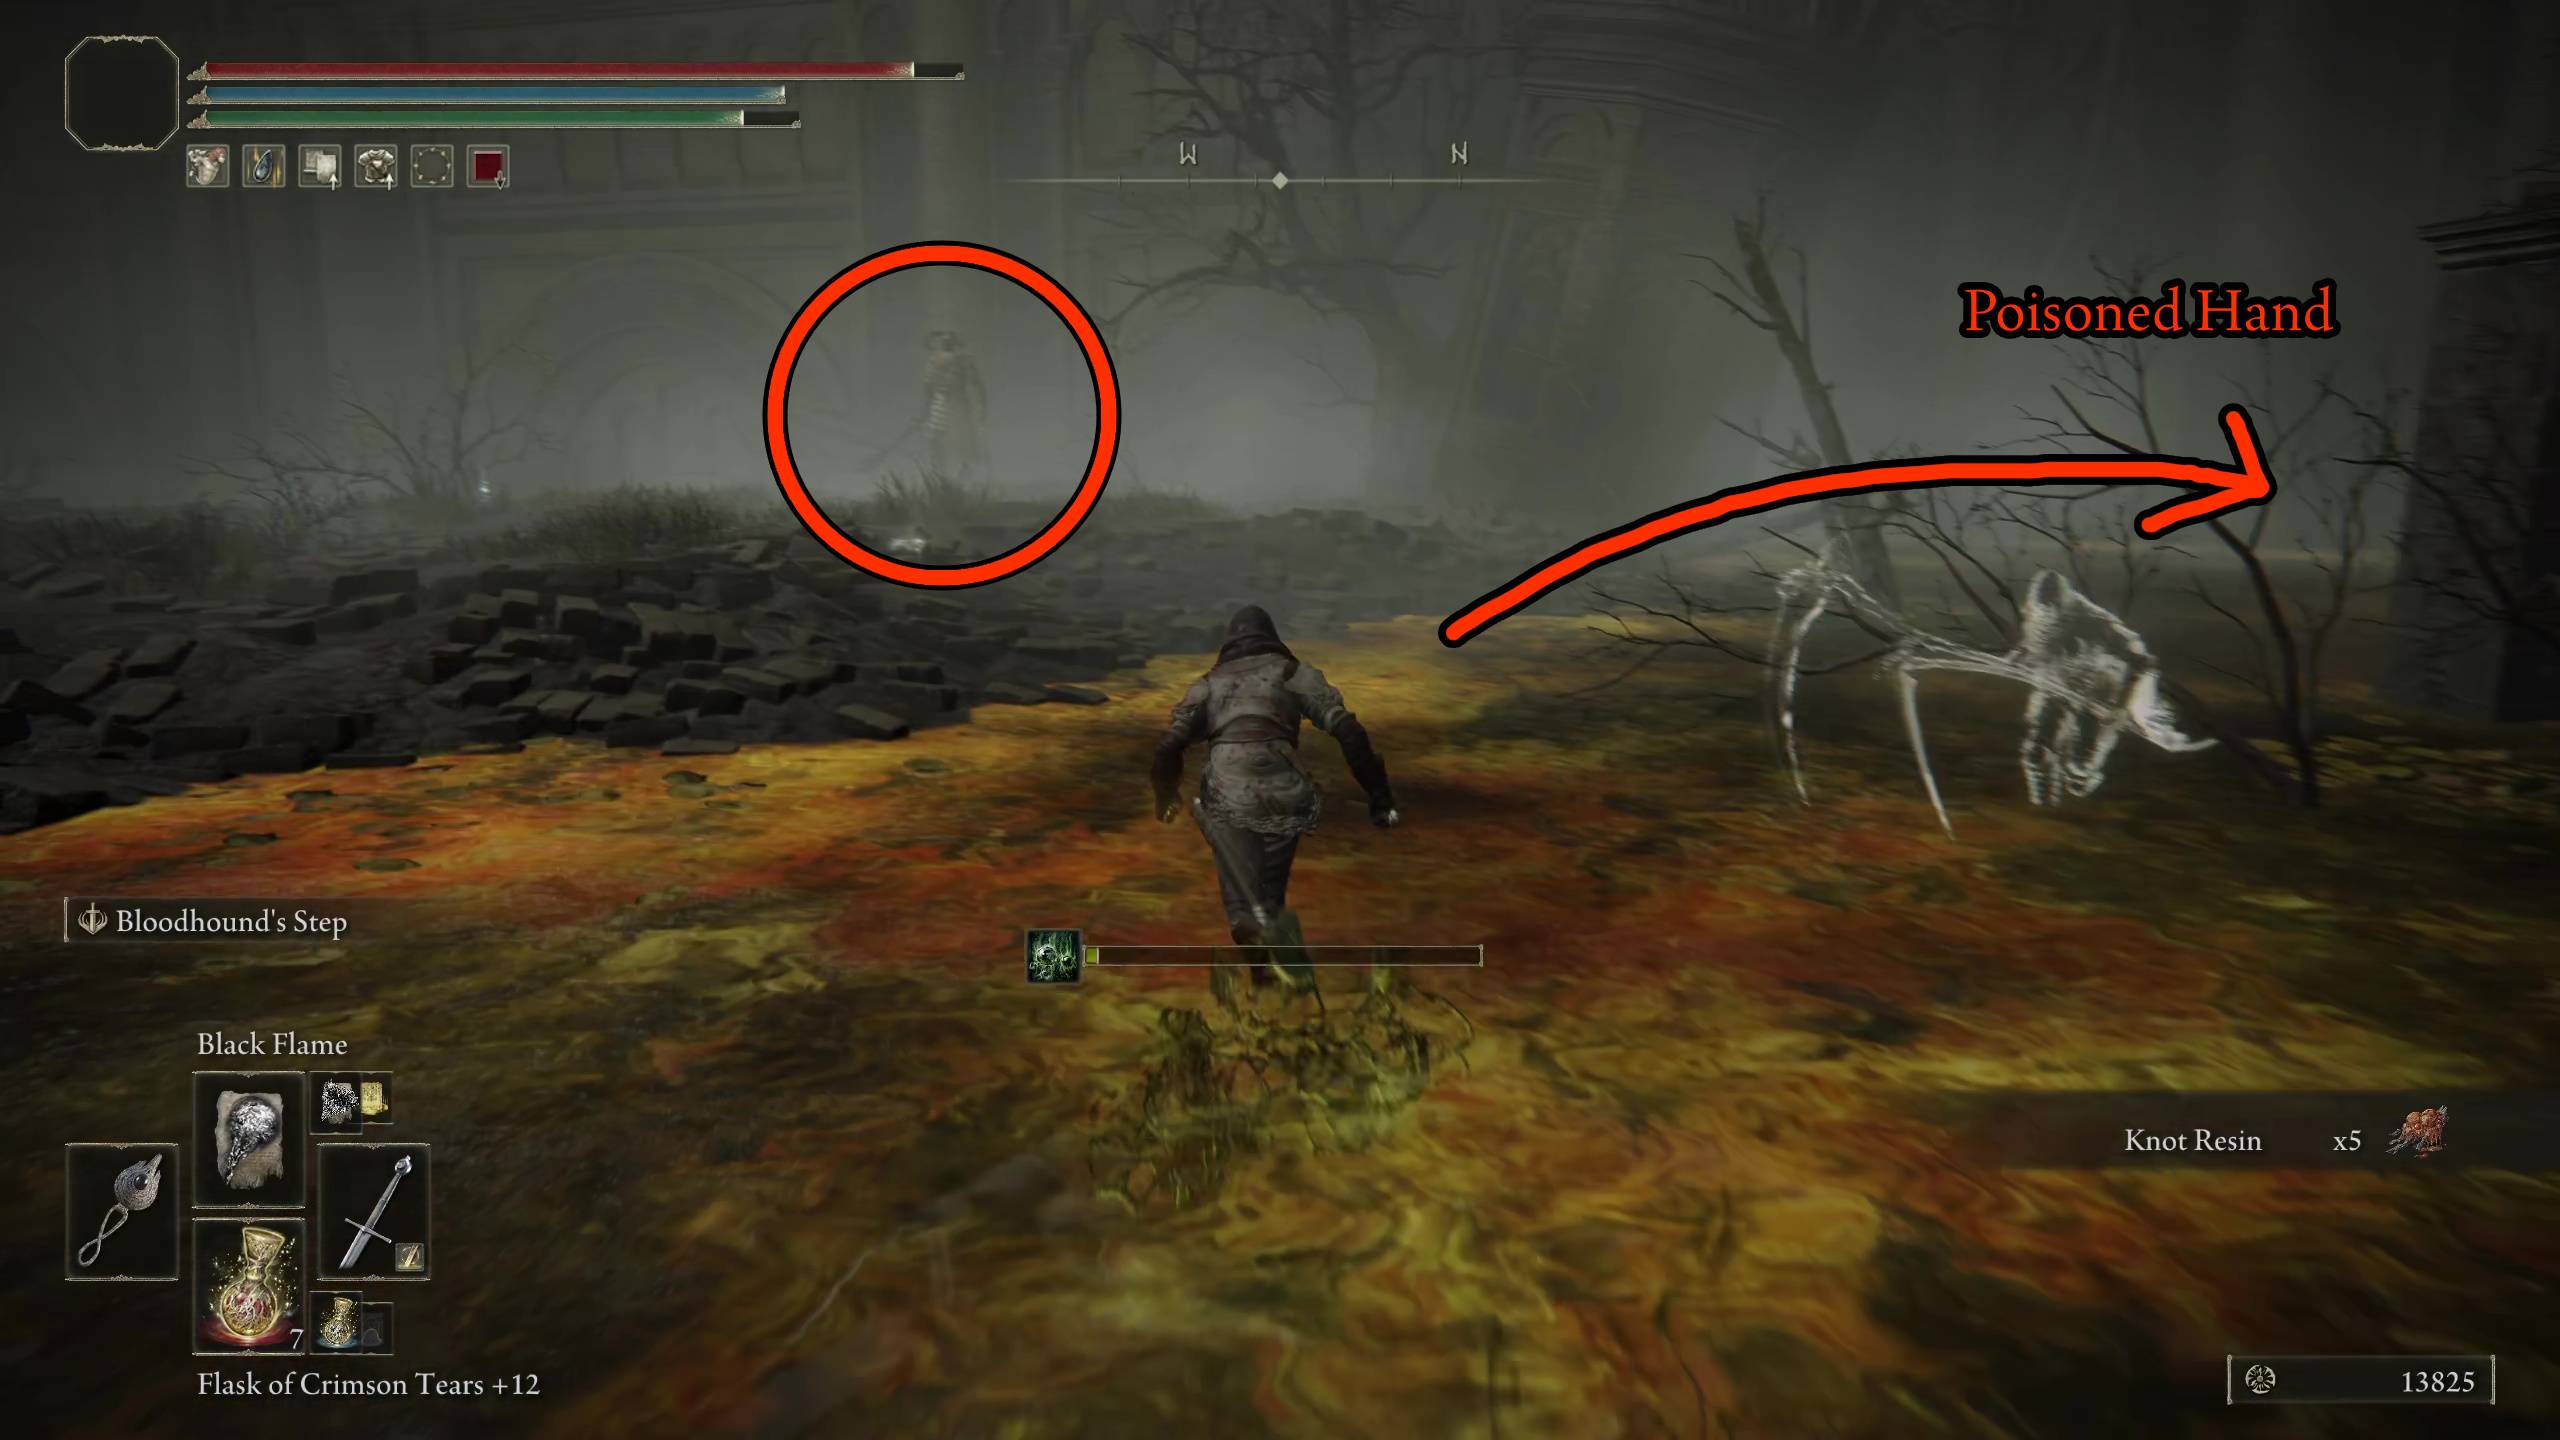
There are some weak enemies by the locked door, so take care of them. The area ahead is a poisonous bog that will give you a poison debuff if you stand in it too long. There are also loads of the fly enemies in this area, which are easy to kill, but they can grow into large numbers if left alive.
Firstly, head to the north-west quadrant of this area, and you’ll find a horned warrior. It is a powerful enemy that does both magic attacks, and savage sword swings. Be sure to kill all the fly enemies in the surrounding area before you engage, otherwise they’ll ruin your duel. A good strategy is to either use ranged attacks on him, or dodge backwards until he finishes a combo and then score a quick hit. He’ll drop the Horned Warrior’s Sword after you defeat him. Right next to where you fight him, there is also a Poisoned Hand (fist weapon). If you go east from here, you’ll find a ladder going back to the Belurat, Tower Settlement site of grace.
Now it’s time for the big bad in the well depths, a poisonous version of the Lesser Ulcerated Tree Spirit. To the southeast is a wide open area, and you’ll know a boss will emerge because you can summon your spirit ashes. It’s a tough fight because you will certainly get poisoned — consider equipping spells or items that can remove the poison and/or increases your resists. What makes it worse is there’s no Stake of Marika, so when you die, you will have to return from the Belurat, Tower Settlement site of grace. The one move you will want to look out for is when the wyrm screeches and then tries to grab you. This was able to one shot us, so be sure to dodge it. When you defeat it, you’ll earn the Immunizing Horn Charm +2.
Reaching the Top of Belurat’s Towers
Now that you have the elevator open, you can fast travel back to Belurat, Tower Settlement site of grace and use it to continue where you left off. After taking the elevator, you can go up the stairs and then left to fight a couple of difficult scorpions and get the Bone Bow. If you have any ranged fire attacks, just attack them from the door.
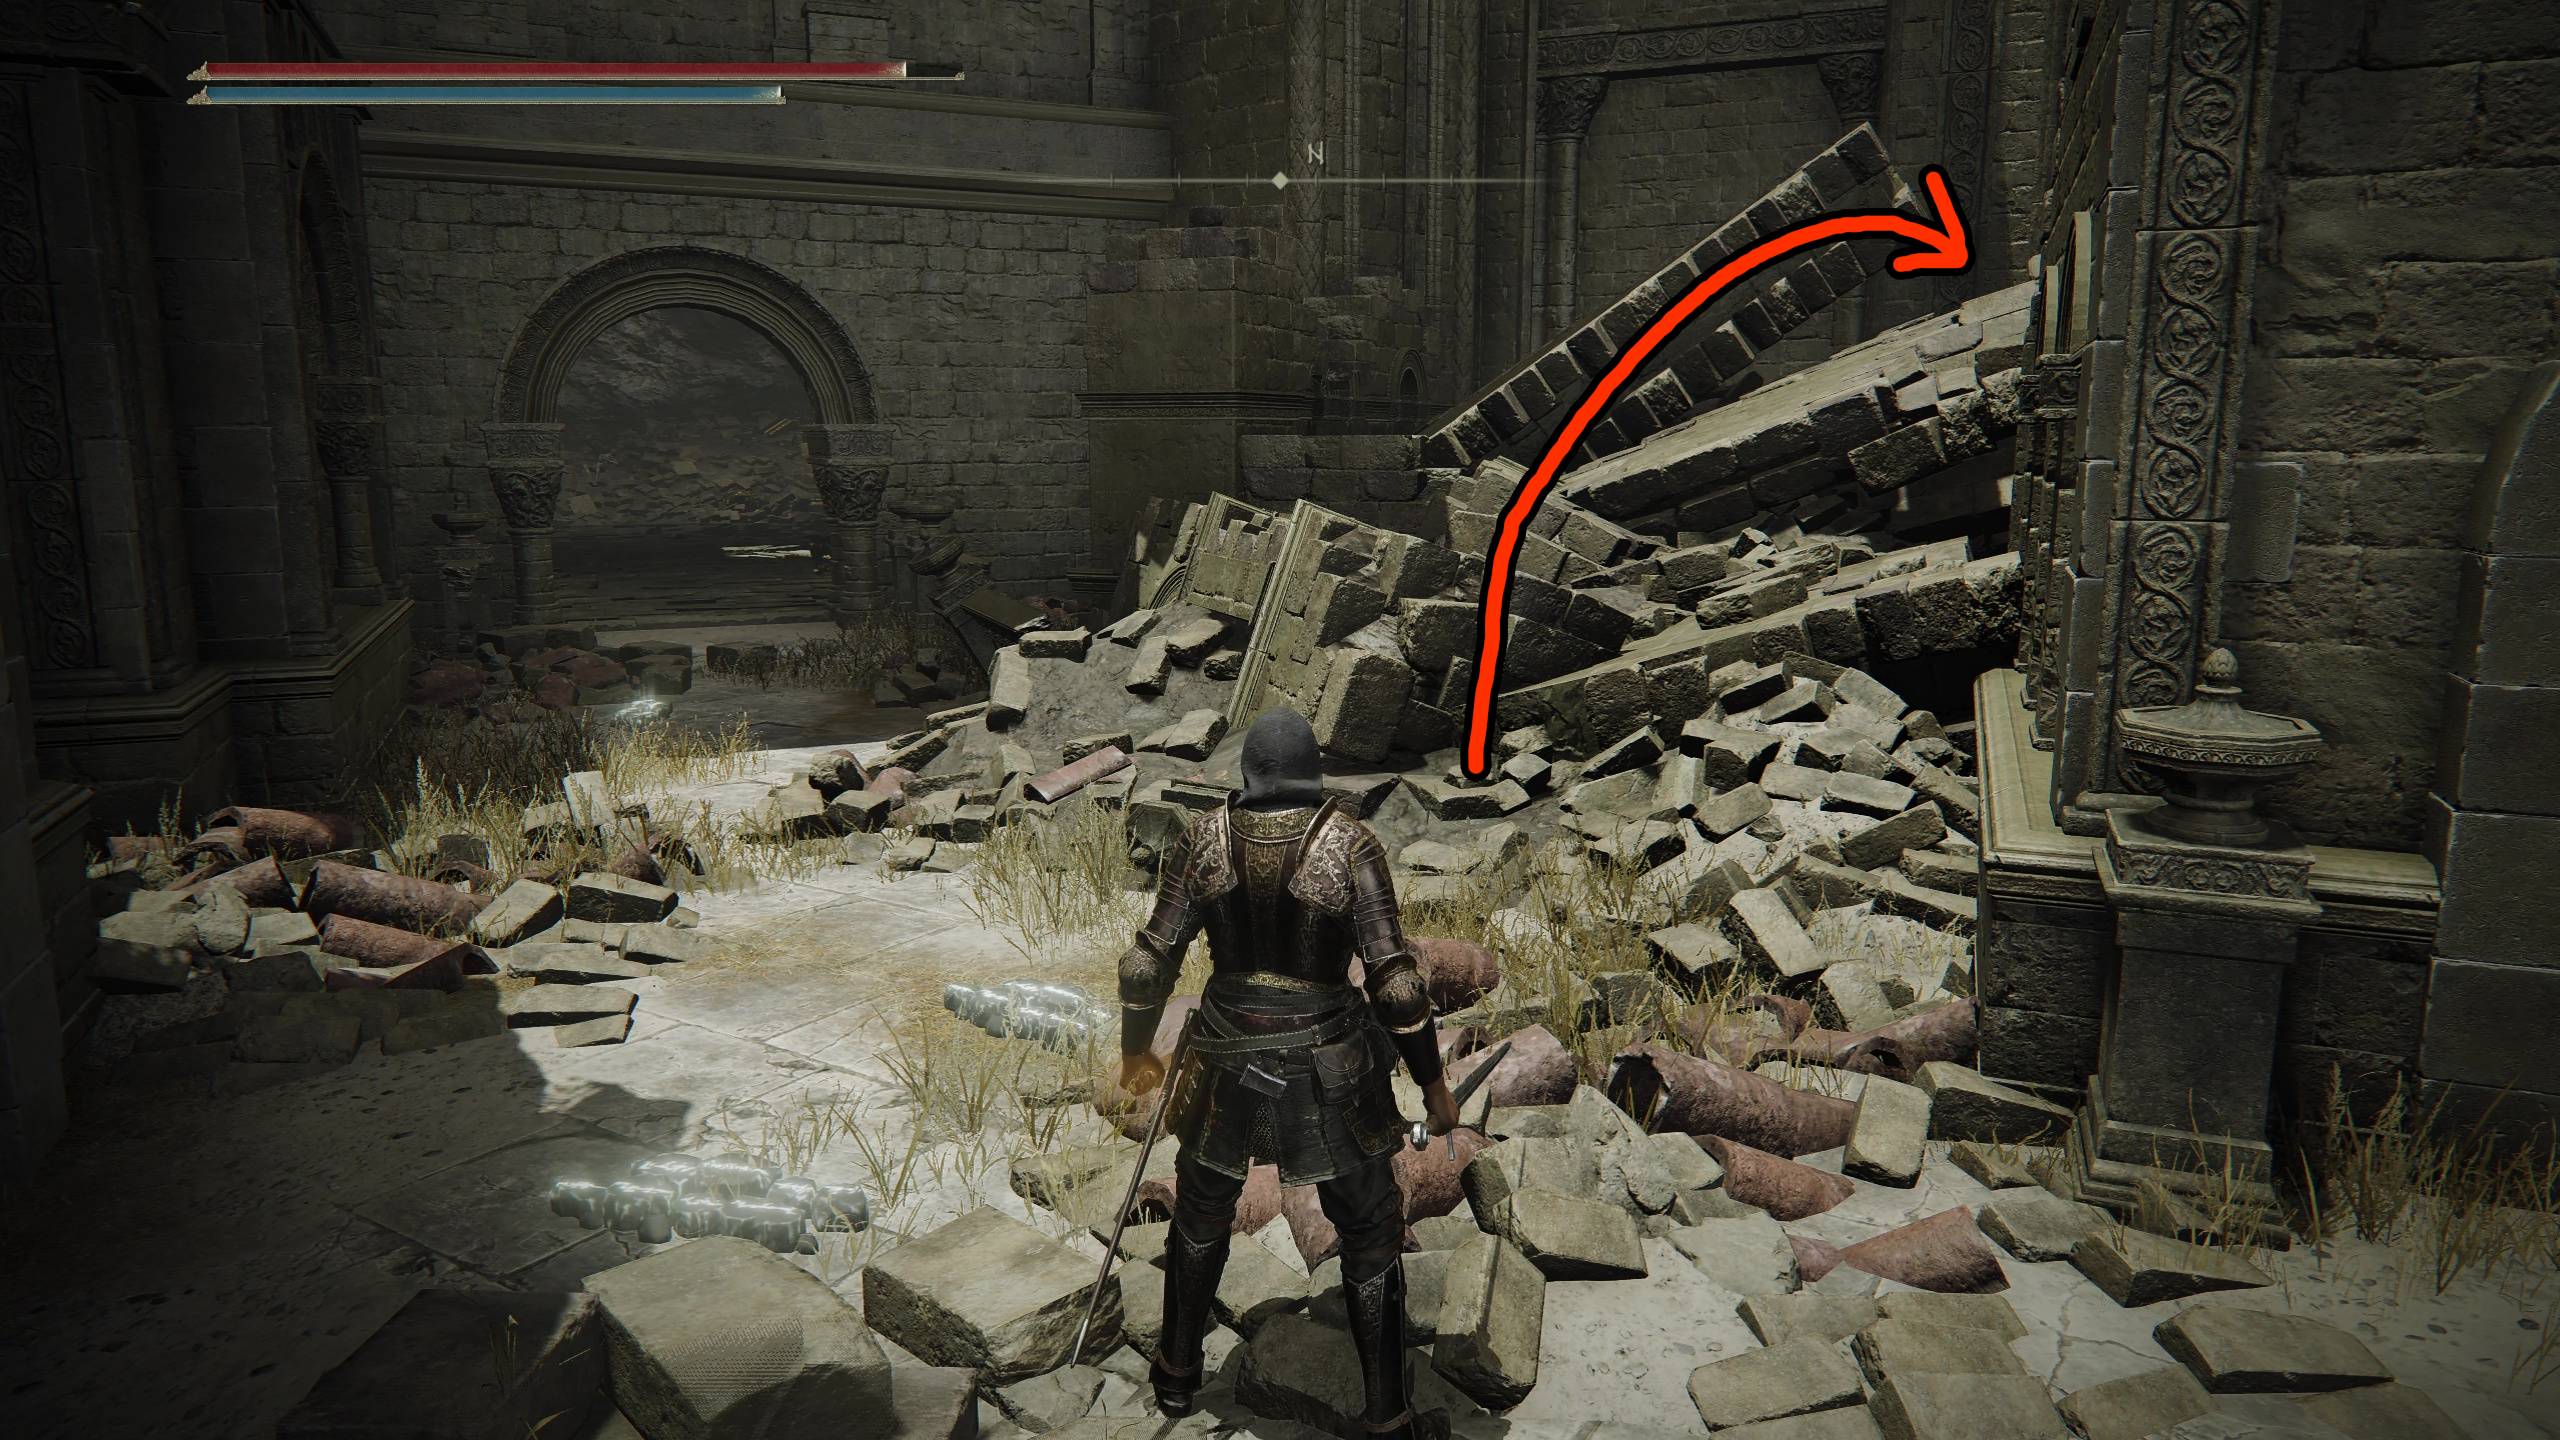
Right next to the scorpion door is a pile of rubble that you can climb and drop down into a secret room. The room is filled with the fly enemies. Not only is the secret room path an easier way to proceed, but it has two important items: a Scadutree Fragment, and a talisman called Dried Bouquet. The fragment is next to a golden cross (you can’t miss it), and the talisman is at an altar to the left after leaving the cross room. This path will have you skip fighting the birds in the next paragraph.
If you don’t take the secret room path, then you’ll have to fight birds on the rooftops. The first section of roof has you fighting two birds, the following section has another two birds. If you still don’t have the Well Depths Key, you can drop into the room containing it on the southeast corner of the theese rooftops.
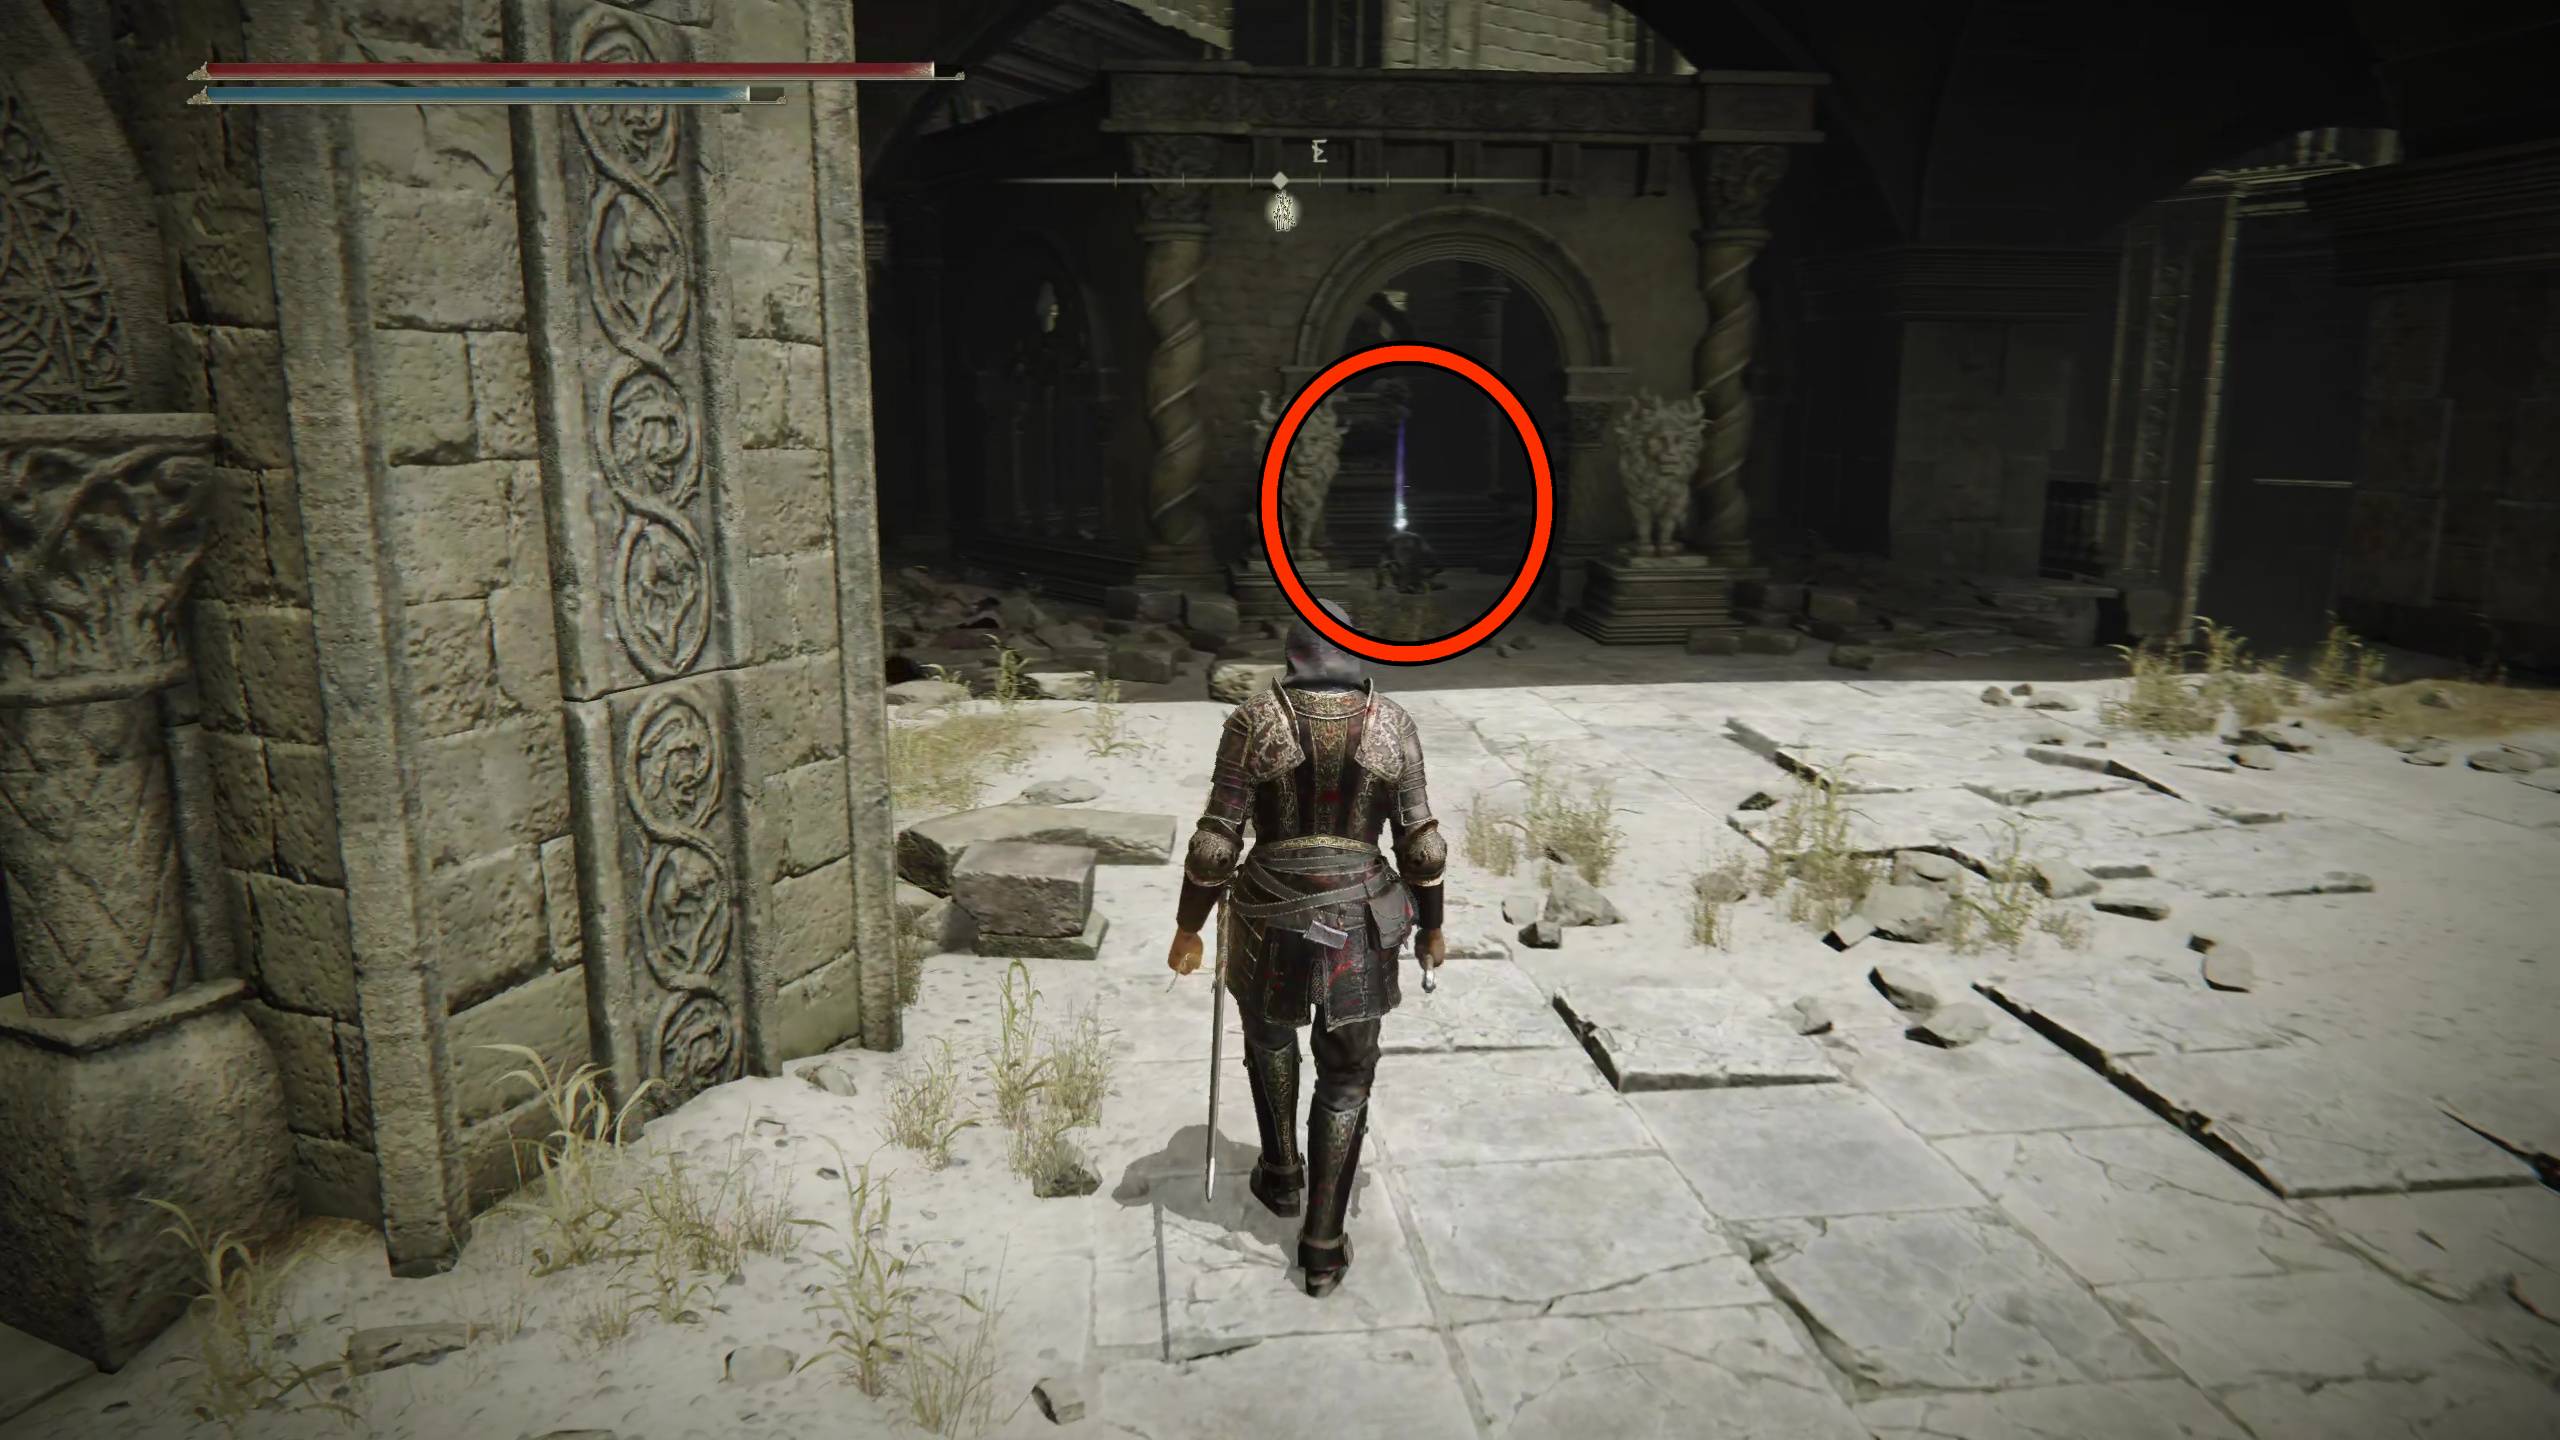
When the birds are dead, you will then see a sparkling enemy holding a pot by a bridge; kill it to acquire a Golden Horn Tender. When you cross that bridge, there will be a Horned Warrior blocking your way. This is a tough fight, so take your time.
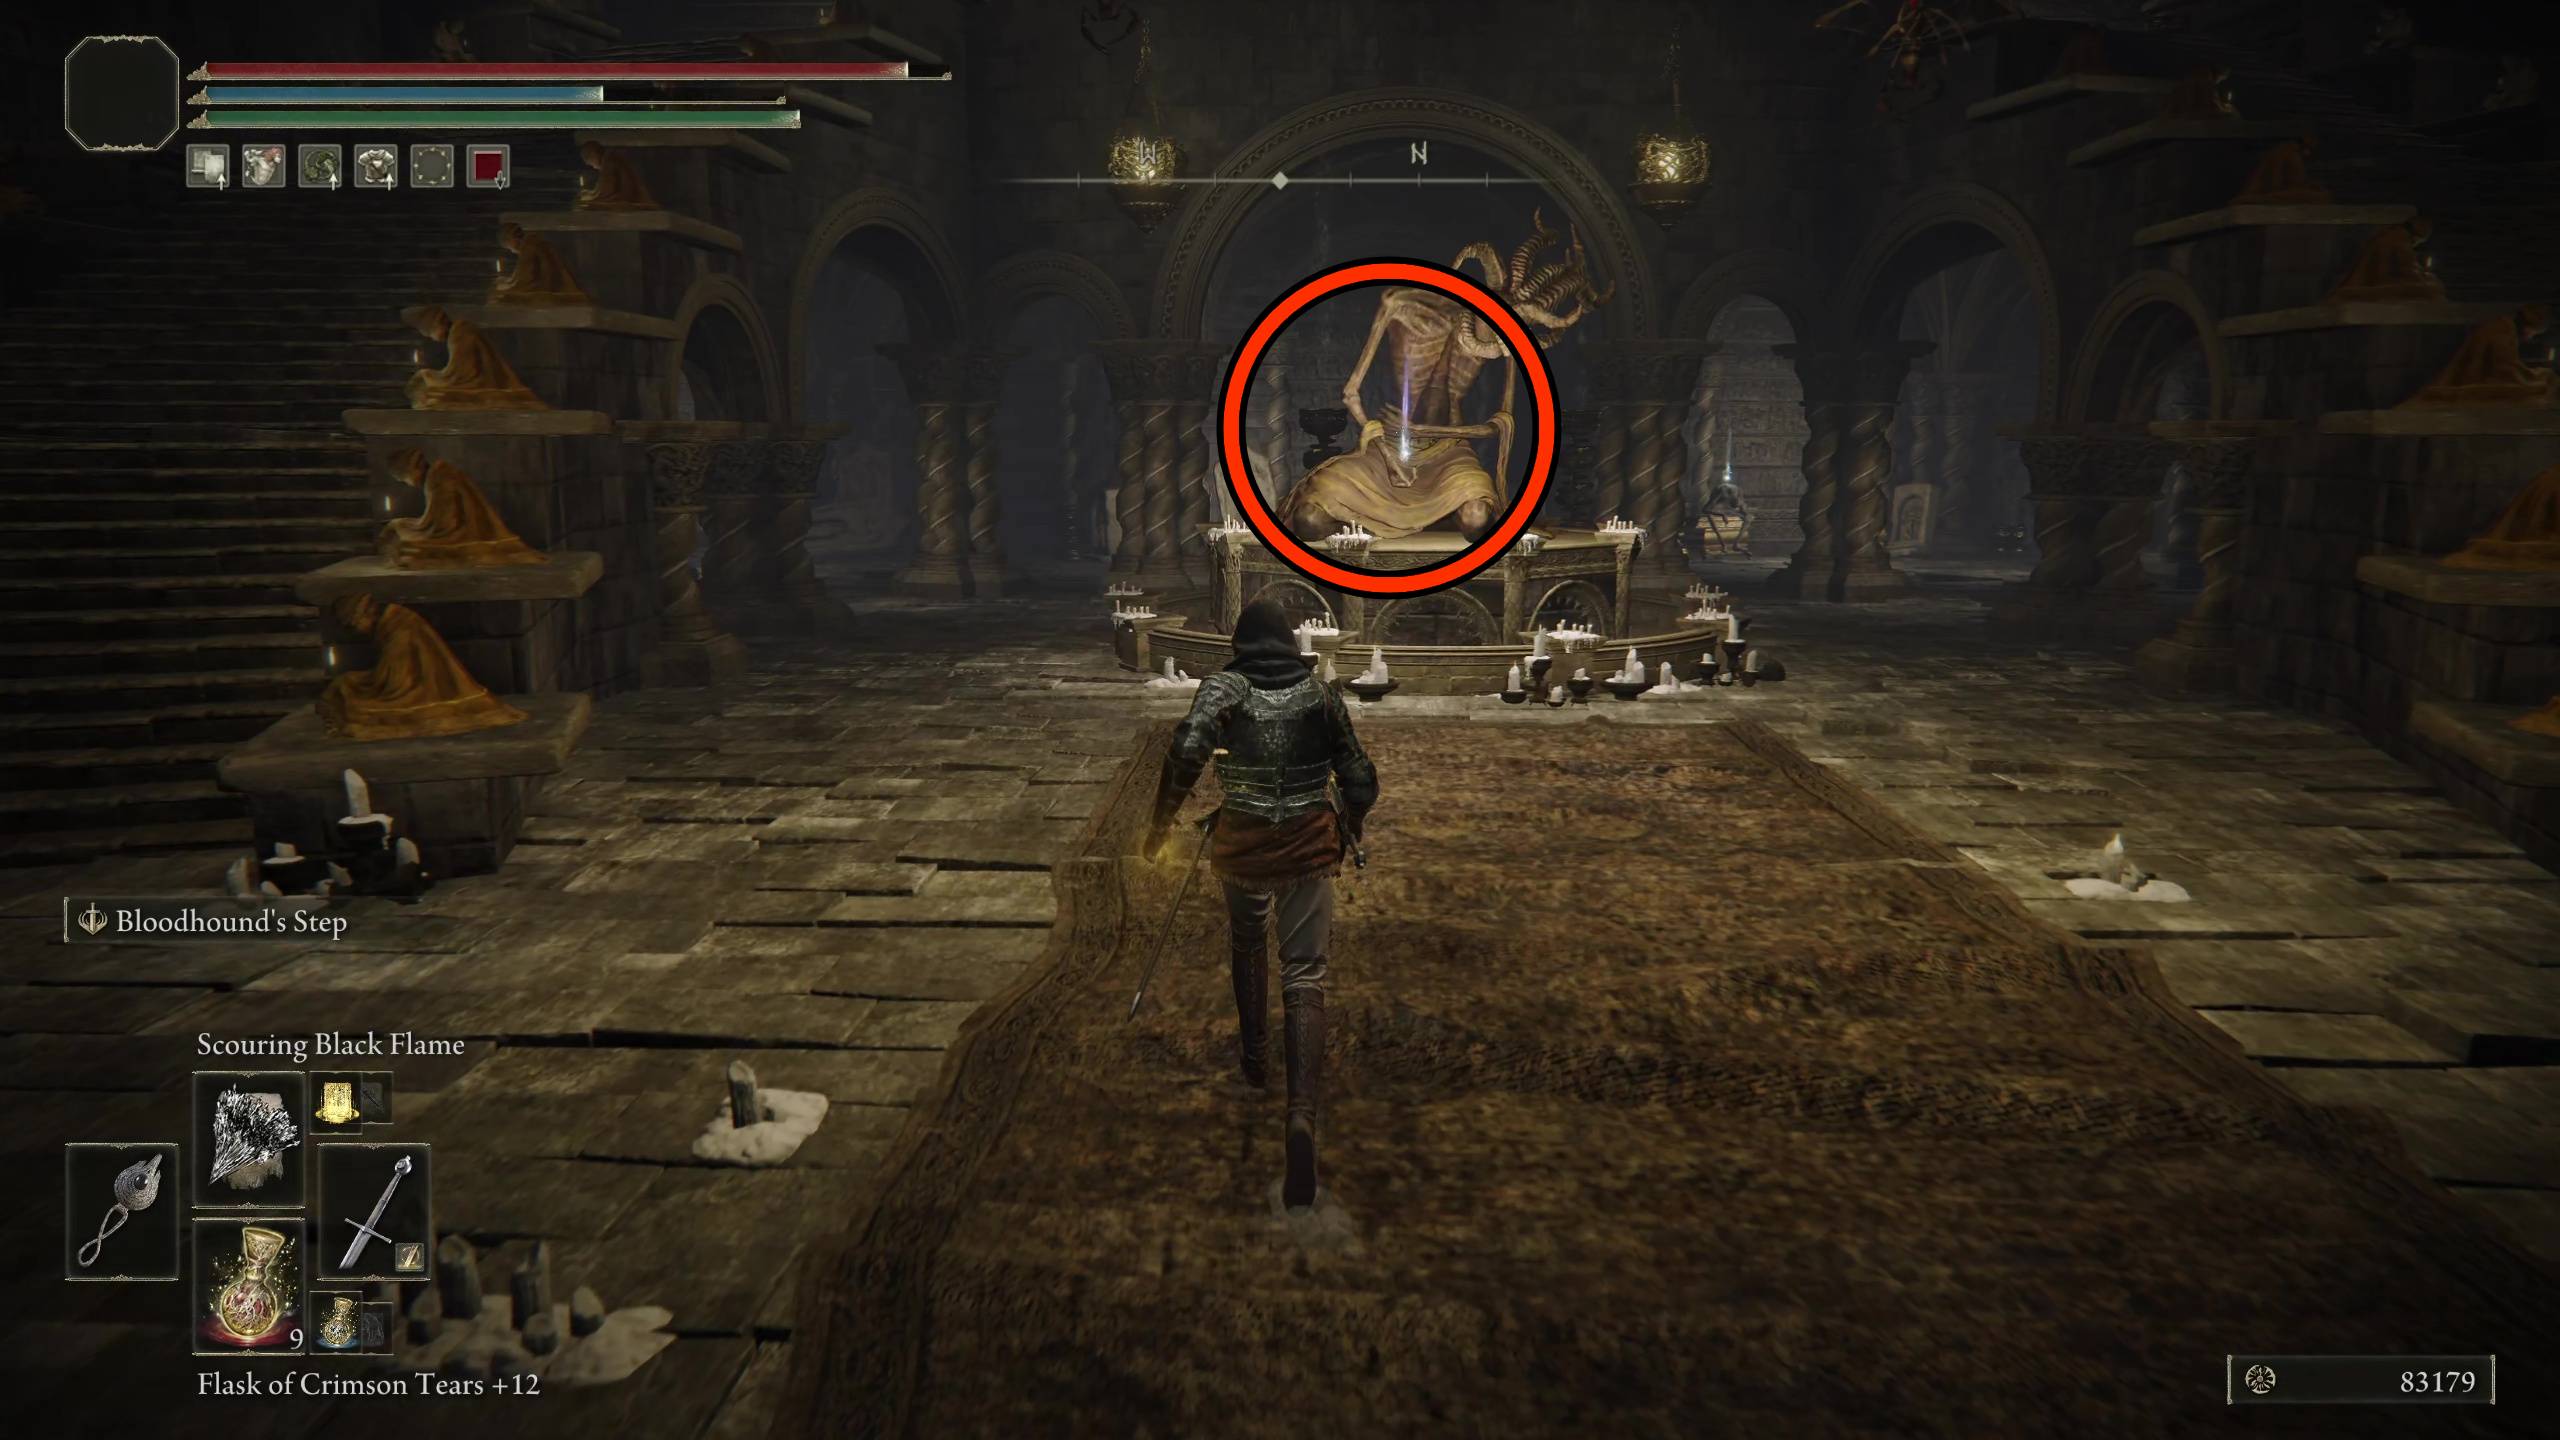
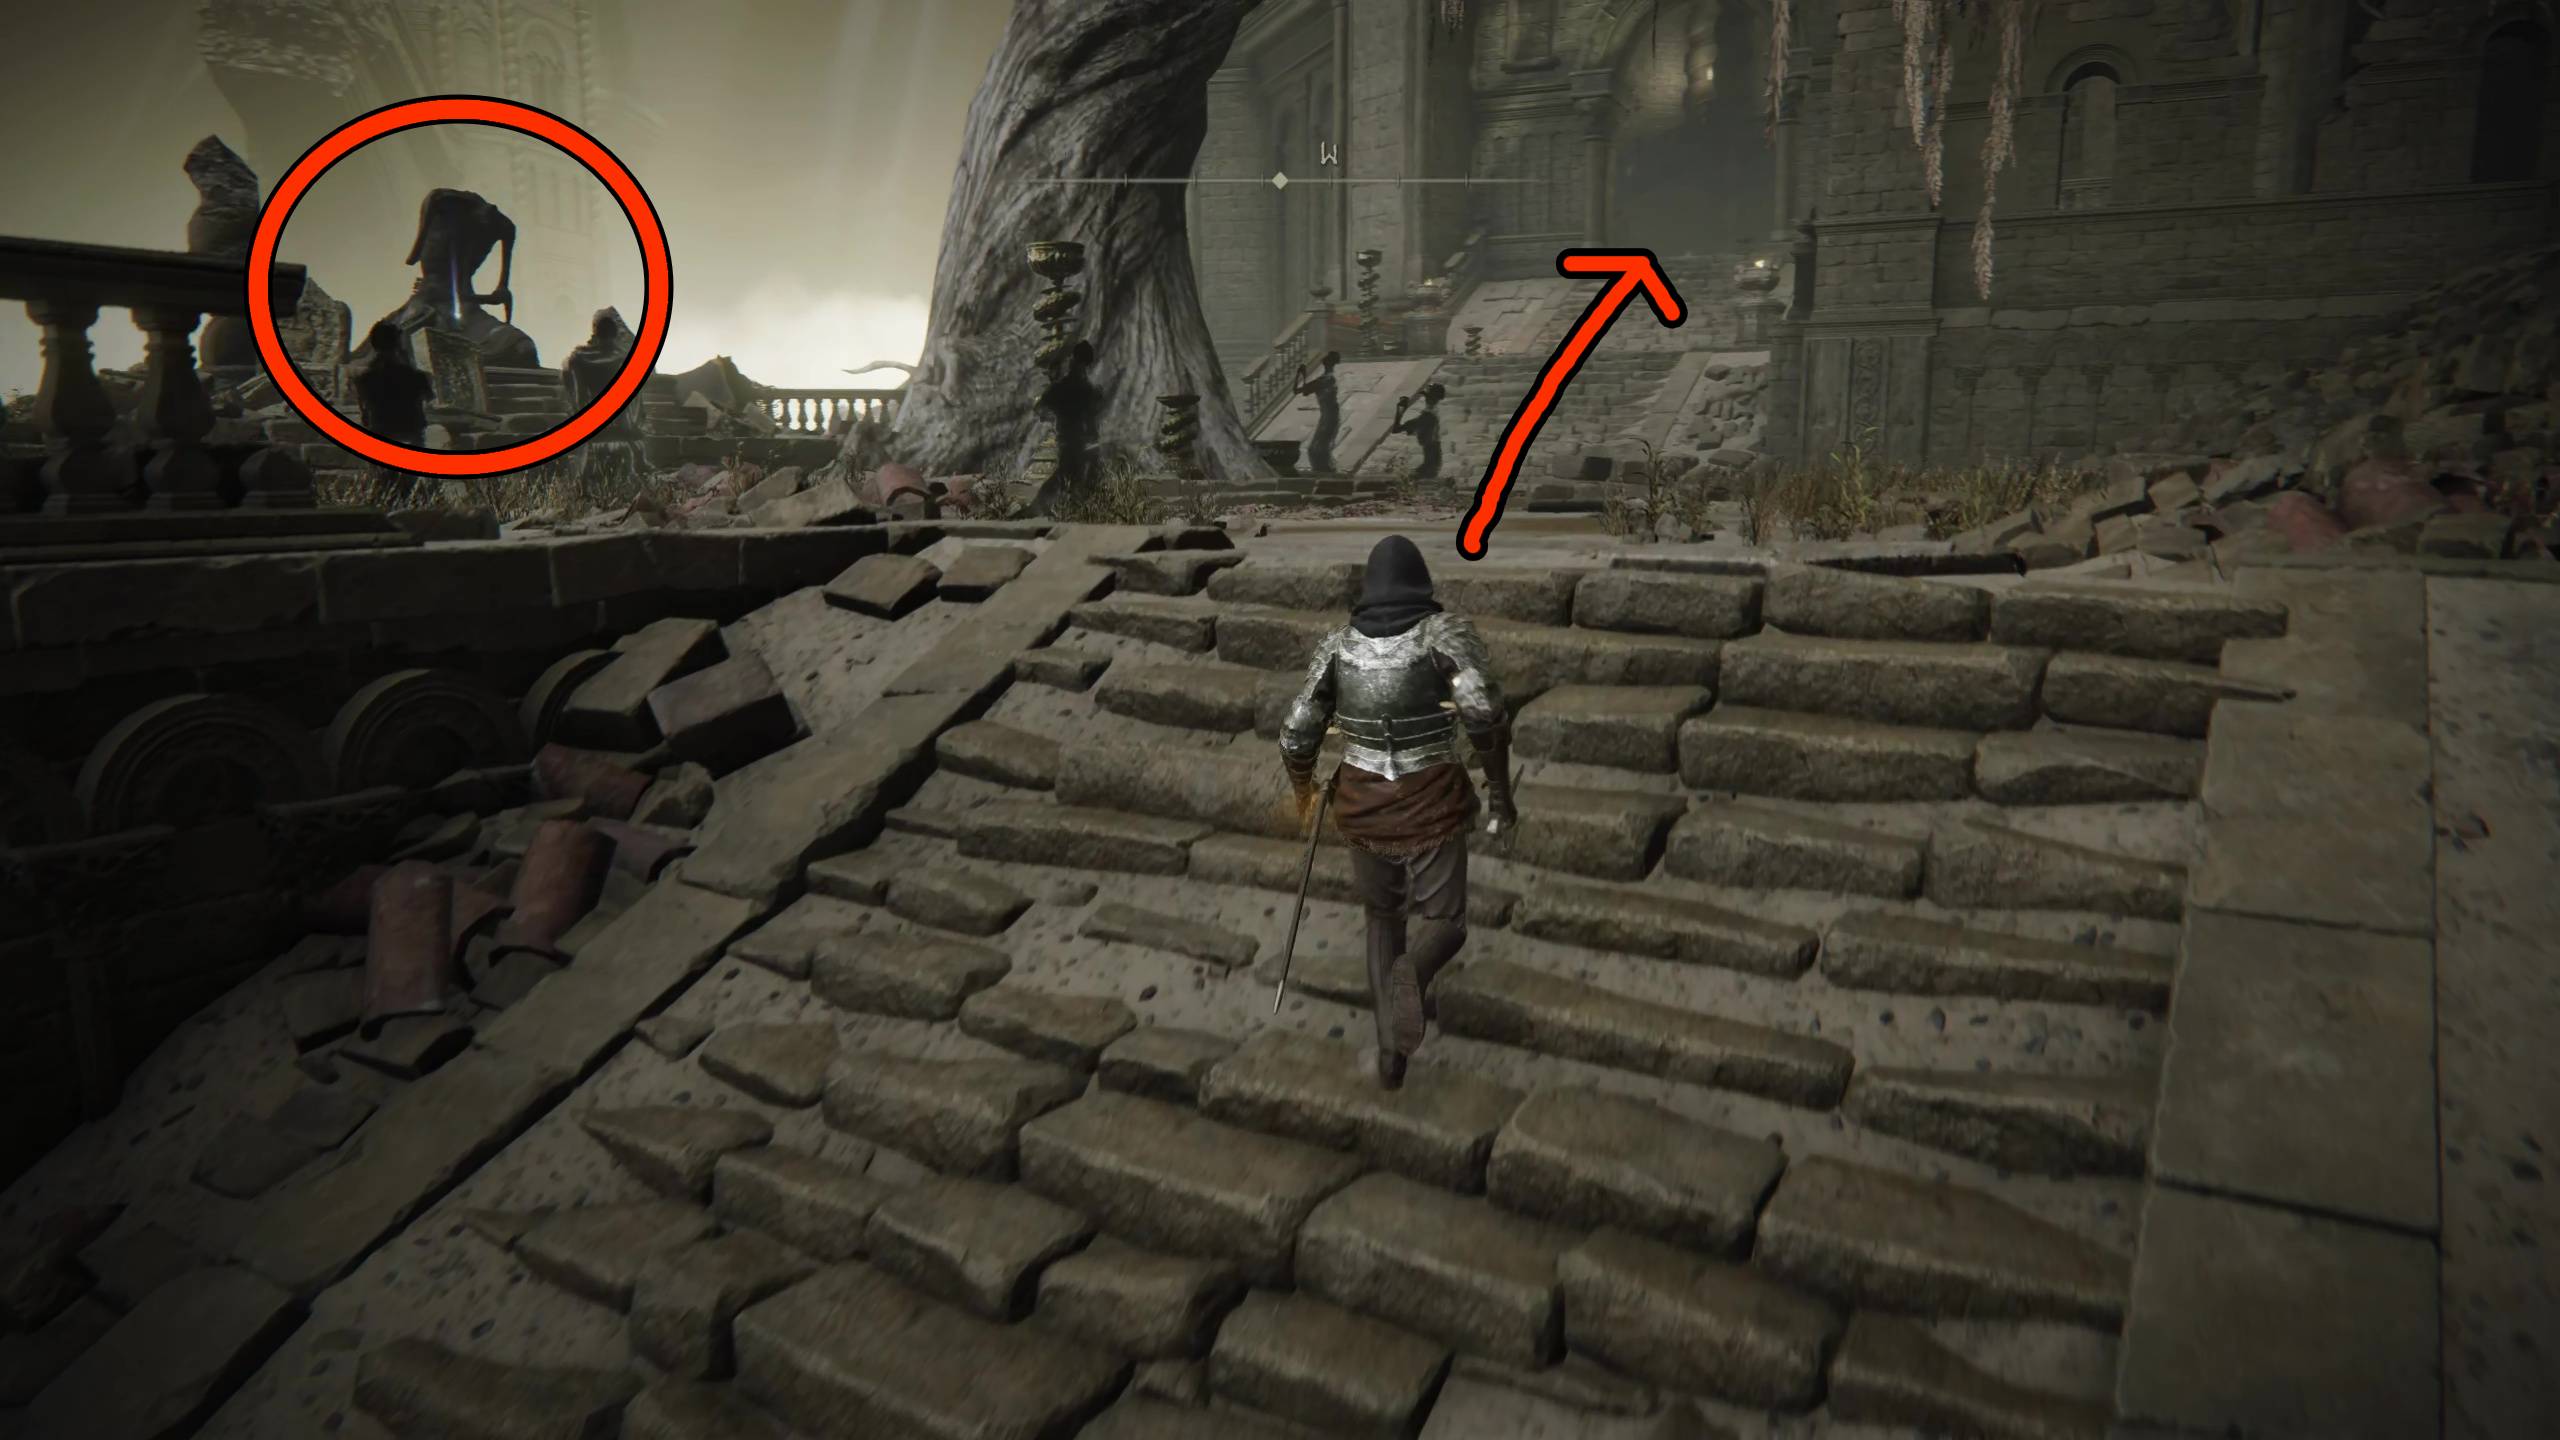
If you go right after the bridge, you’ll come to a room with a ladder. The ladder leads to the swampy area that you could’ve fallen into while fighting the birds on the rooftops, or where you would’ve arrived if you took the secret room path. When you go left after the bridge, it’ll take you to a large group of enemies worshiping a statue. Pick the enemies off one by one, then loot the statue for a Revered Spirit Ash.
Now you will be in a circular tower. The stairs going down break off, and this is actually the area with the big scorpions protecting the Bone Bow. If didn’t kill the scorpions yet, and you have a good ranged attack, this is an easy opportunity. However, going up the stairs will have you run into a powerful foe wielding two circular blades. Their attacks do bleed damage, and they’re extremely fast. They can be staggered, though, so landing attacks with bigger weapons is a good strat. Luckily, if you die, there is a Stake of Marika nearby.
At the top of the tower, you’ll find the Stagefront site of grace. This is the save point before the Divine Beast Dancing Lion boss fight. We recommend that you give it a try for yourself a couple of times (because it’s really cool), but if you’re having trouble, then use our guide to defeat it!
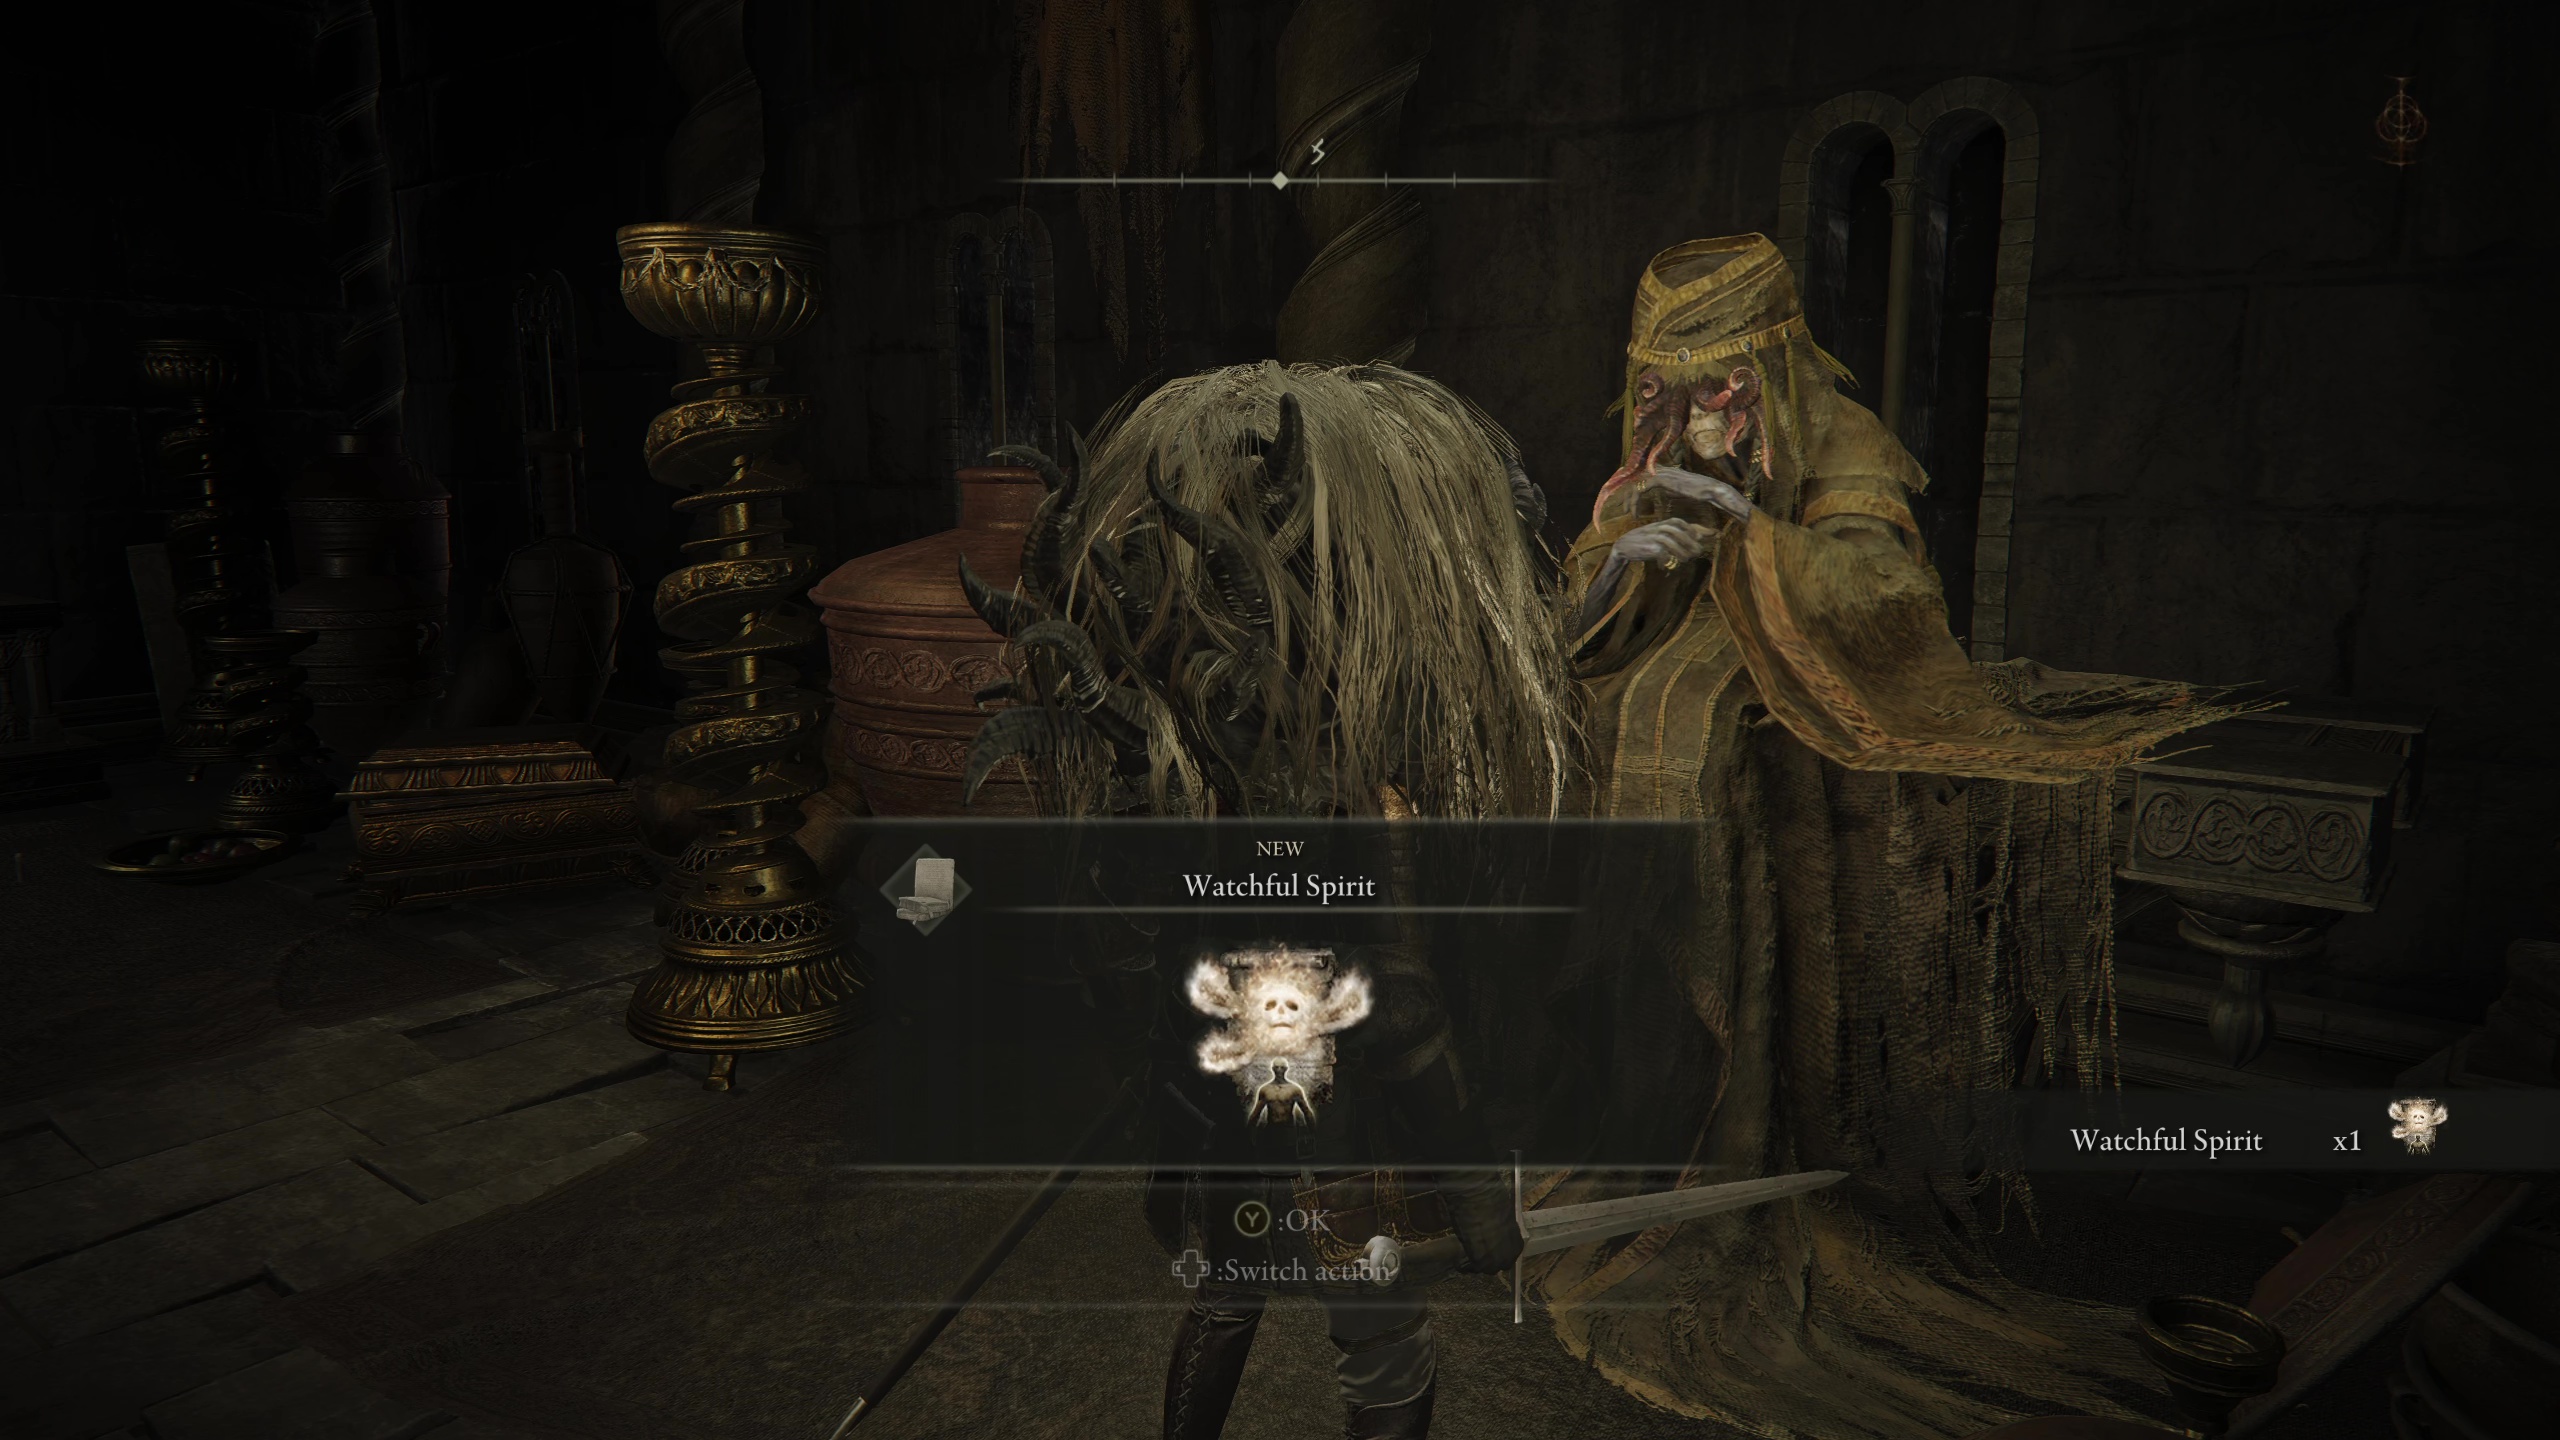
Upon killing the main, you’ll receive a new helmet: The Divine Beast Head. Souls games are always metal, and wearing the head of your fallen foe is metal. Anyway, this item can actually be used to get another item. Remember the Storeroom Key? That’s right, we never used it, but now is the time. Fast travel back to the Small Private Alter site of grace, and go over to the locked door past the magic users on the sky bridge.
When you open it, you’ll find an old blind lady named Hornsent Grandam. If you speak with her, she won’t be very welcoming. However, if you wear the Divine Beast Head and speak to her, then she will give you a new incantation, Watchful Spirit.
Leave the area and return, and she will give you a Scorpion Stew, which you can give to the Hornsent or use yourself. Whenever you return without a Scorpion Stew, she will give you one. You can also return to Hornsent Grandam after killing Messmer the Impaler, and she will give you Gourmet Scorpion Stew.
The last thing you need to do is head back to the site of grace where you defeated the Dancing Lion, Theatre of the the Divine Beast. When you arrive, you’ll find an elevator right next to the site of grace. Take it upwards, open the big doors, and grab the Revered Spirit Ash on the statue.
Then follow the steps up to the locked big doors of the Tower of Shadow. You won’t be able to open them for a while, so don’t worry. What’s more pertinent is that you’ll find the Tower of Shadow Message, which basically says “go east!” That’s a little vague, but to specify, you’re next stop is Castle Ensis, which is in eastern Gravesite Plain.
Where to Go Next
You can follow the Tower of Shadow Message’s advice and go east to Castle Ensis, but it’s best to first clear out the Cerulean Coast — doing so will let you get a couple more crucial Scadutree Fragments before facing the tough enemies that await you in the castle.
Kelson is a spud head from out west. He is most happy when holding a milky tea with too much honey and playing a sprawling role playing game or reading a fantasy novel. His video game tastes vary but his main genres are looter shooters, RPGs, and real time strategy games.


What’s with the plural enemies? I keep looking for more than one.