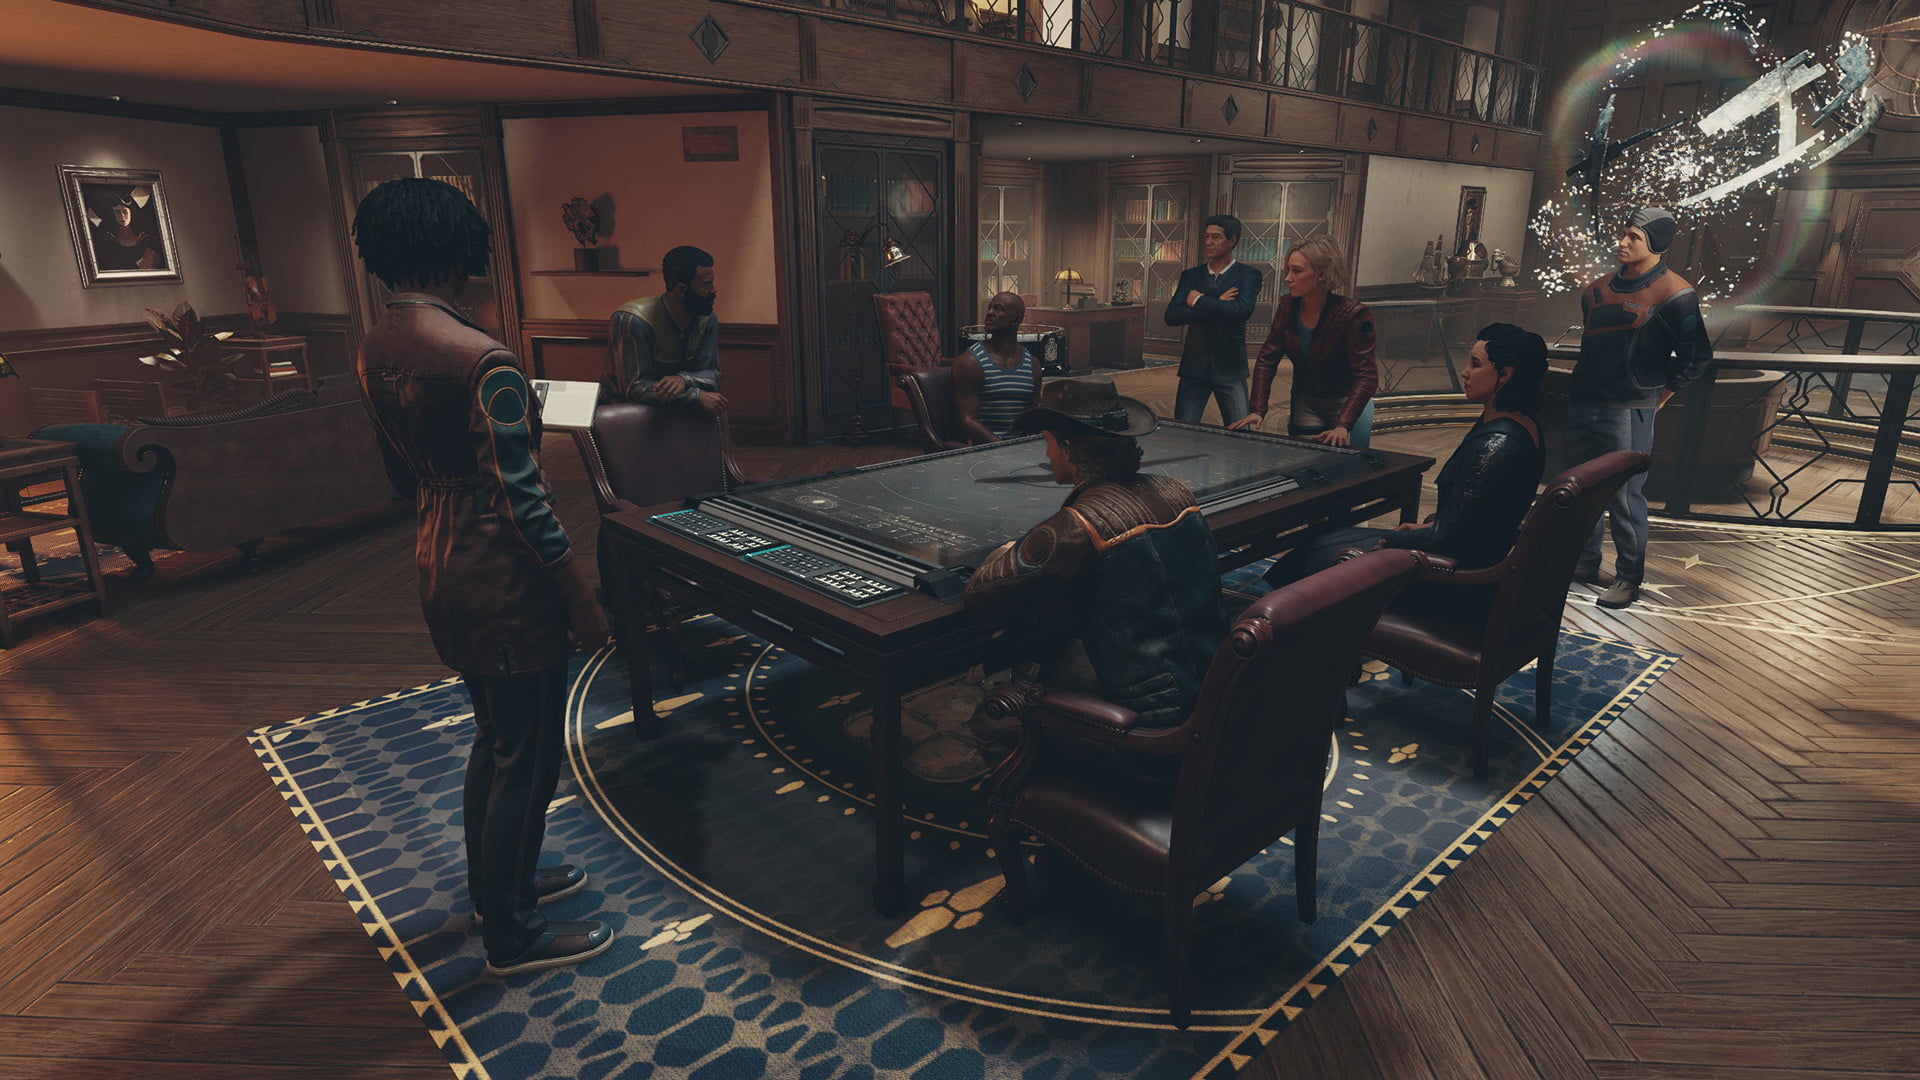
Upon taking off from the city of Neon after completing the mission All That Money Can Buy, you’ll arrive in orbit around the planet Volii Alpha and immediately receive a transmission from a strange looking ship called Helix. They will demand the artifact you’ve just obtained, saying you aren’t worthy of it. You can say whatever you want for the first two responses. Then you’ll have to make a choice (Image 1). We’ll cover each of the three options below.
Option 1: Grav Jump to Anywhere
If you say “Full evasive manuevers. Let’s get out of here,” you’ll have to quickly power up your Grav Drive and make a jump to any other system. To power up the Grav Drive, use the right and left arrow keys or buttons on the D pad to select the meter marked GRV in the lower left of the ship interface. Then use the up arrow key or the up D pad button to give it at least one bar of power. Open your data menu and choose a destination, set course, and jump. If you sit there too long, the Helix will destroy your ship, so try to do this quickly. You can also change your mind and fight the Helix instead (see Option 3).
Option 2: Surrender the Artifact
If you say “I’m going to jettison the Artifact. They can have it,” you’ll have to confirm this choice with a second response. You can back out and choose Option 1 above by selecting the last option. The other three options will cause you to lose Artifact Nu, the one you’ve just obtained, and any Constellation companions you have aboard your ship will dislike this choice. The Starborn will be appeased and will jump away.
Option 3: Fight the Helix
If you say “I’m blasting them into space dust,” you’ll have to fight the Helix. Although Walter will warn you that this ship looks way more advanced, it can be defeated. You won’t be able to loot or board it, however – when you get its health to zero, it will simply jump away. You can also choose to power up your Grav Drive and jump away as if you had chosen Option 1.
Image 1
Attend the Lodge Meeting
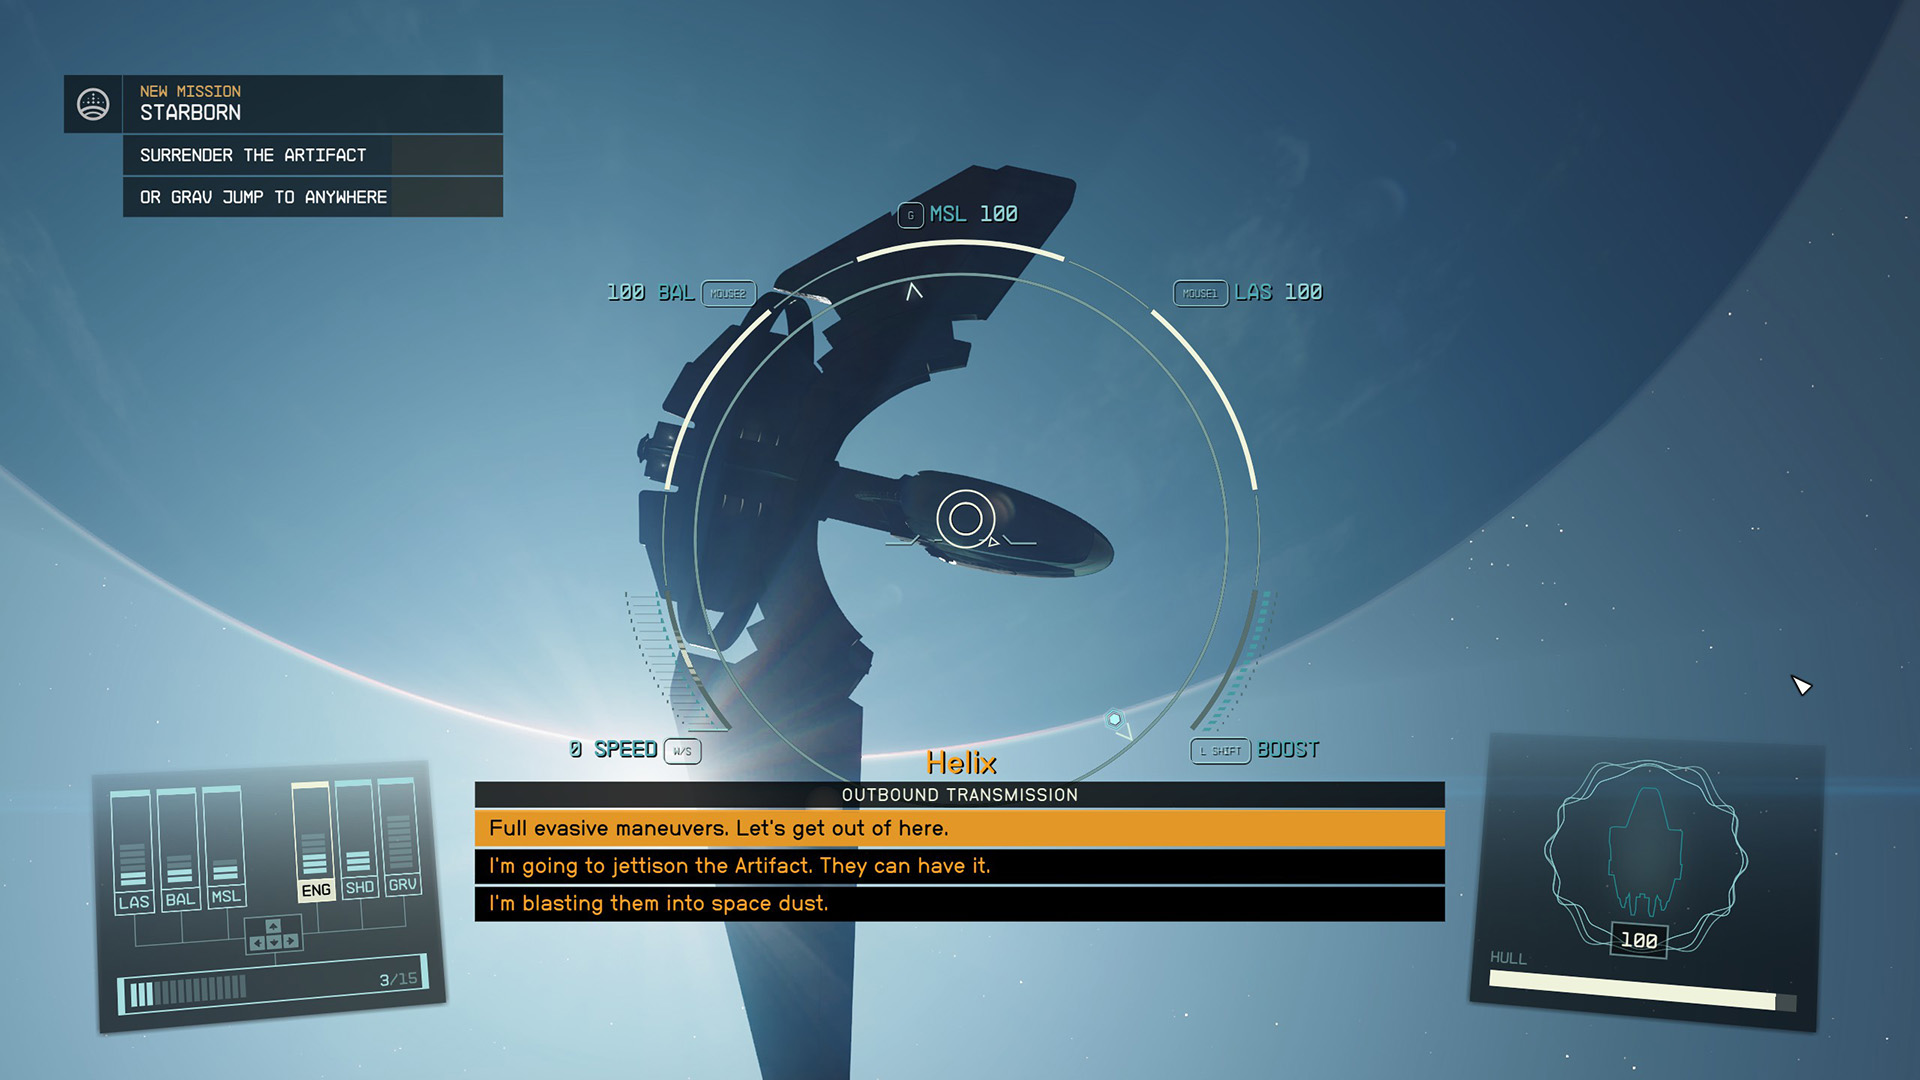
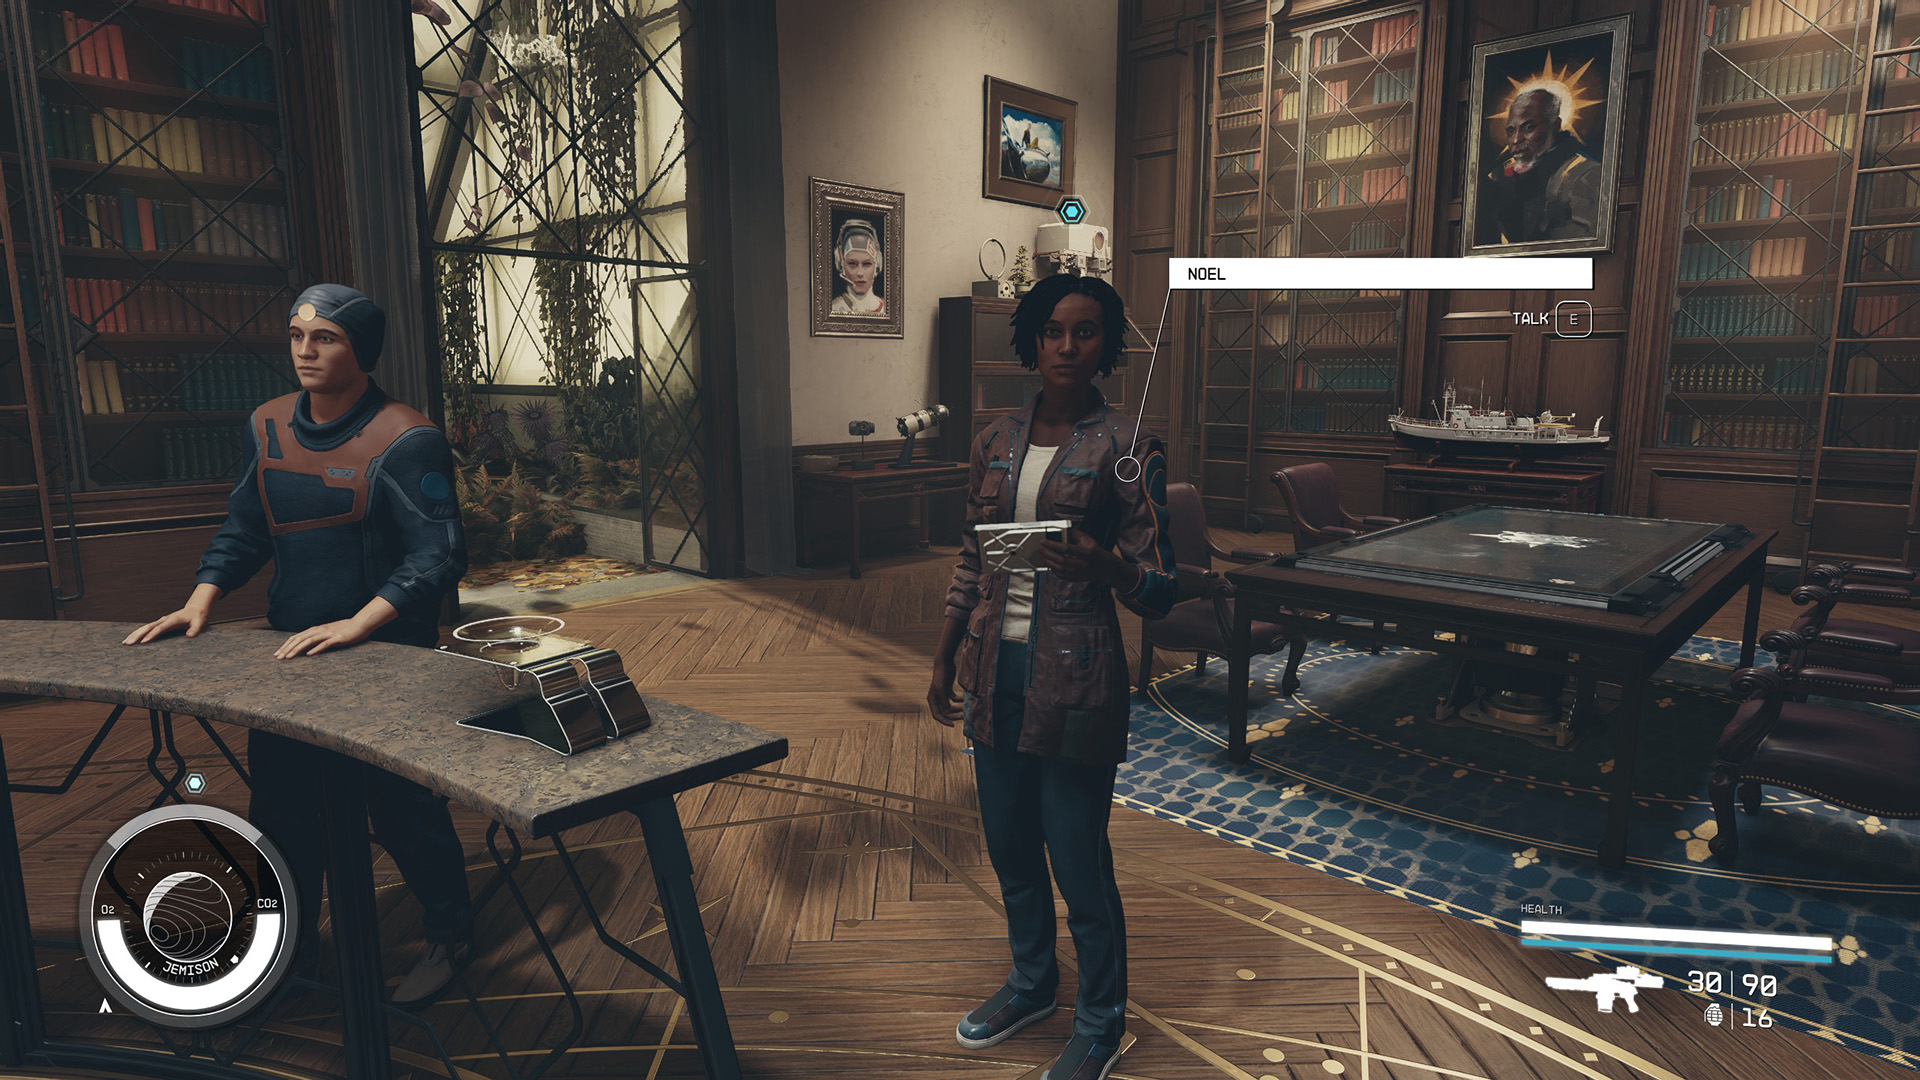
Use your mission log to set course for the Lodge. Land and go inside. Talk with Noel, who is standing near the Artifact Collection (Image 2). She’ll walk over to the table behind her and call over the other members of Constellation, who will speculate about the strange ship and who the Starborn might be. You’ll have a chance to weigh in (Image 3), and your response may gain or lose you some points with your Constellation companions:
“I’m with Sam. That starship design could easily be human.”
Sam will like this option.
Sarah Morgan and Barrett will dislike this option.
“To Barrett’s point, the Artifacts clearly aren’t human made.”
Sarah Morgan will like this option.
Barrett will love this option.
“Matteo’s metaphor has merit. They acted like they were judging us.”
None of your companions will react to this option.
Whatever you choose, the mission will conclude and you’ll receive a new one: Further Into the Unknown. If you didn’t surrender Artifact Nu, you can now add it to the Artifact Collection in the center of the Lodge.
Image 2Image 3
What to Do Next
If you haven’t completed “Power From Beyond,” you may want to do so in order to acquire some more powers. You might also want to take a break and complete some side missions or faction missions. When you’re ready to continue with the main story missions, head to our Further Into the Unknown mission walkthrough.
I love RPGs, sandboxes, survival, and sim games. Anything that lets me build and decorate or just has a really good story. I've spent hundreds of hours in Bethesda games and even more time modding them. I also play a lot of World of Warcraft.