Time to take the fight to the Terrormorphs! This is one of the more exciting missions, and you’ll also be happy to hear that you’ll also get some good loot. While this mission is technically another fetch quest, it does a much better job at building suspense and making the stakes feel higher. The Red Devils have formulated a plan for taking on the Terrormorph threat, but to pull it off, you and a crew will have to grab data and materials from a planet swarming with Terrormorphs.
Note: this mission is like the prior mission in that there will be opportunities to tell Hadrian that her father is alive. Remember that telling her will lock you into a specific ending,while not telling her will give you another repeatable generic mission (like a mission board) after the final mission.You can also decide to tell her later, so we recommend keeping it a secret for now.
Follow and Speak to Hadrian
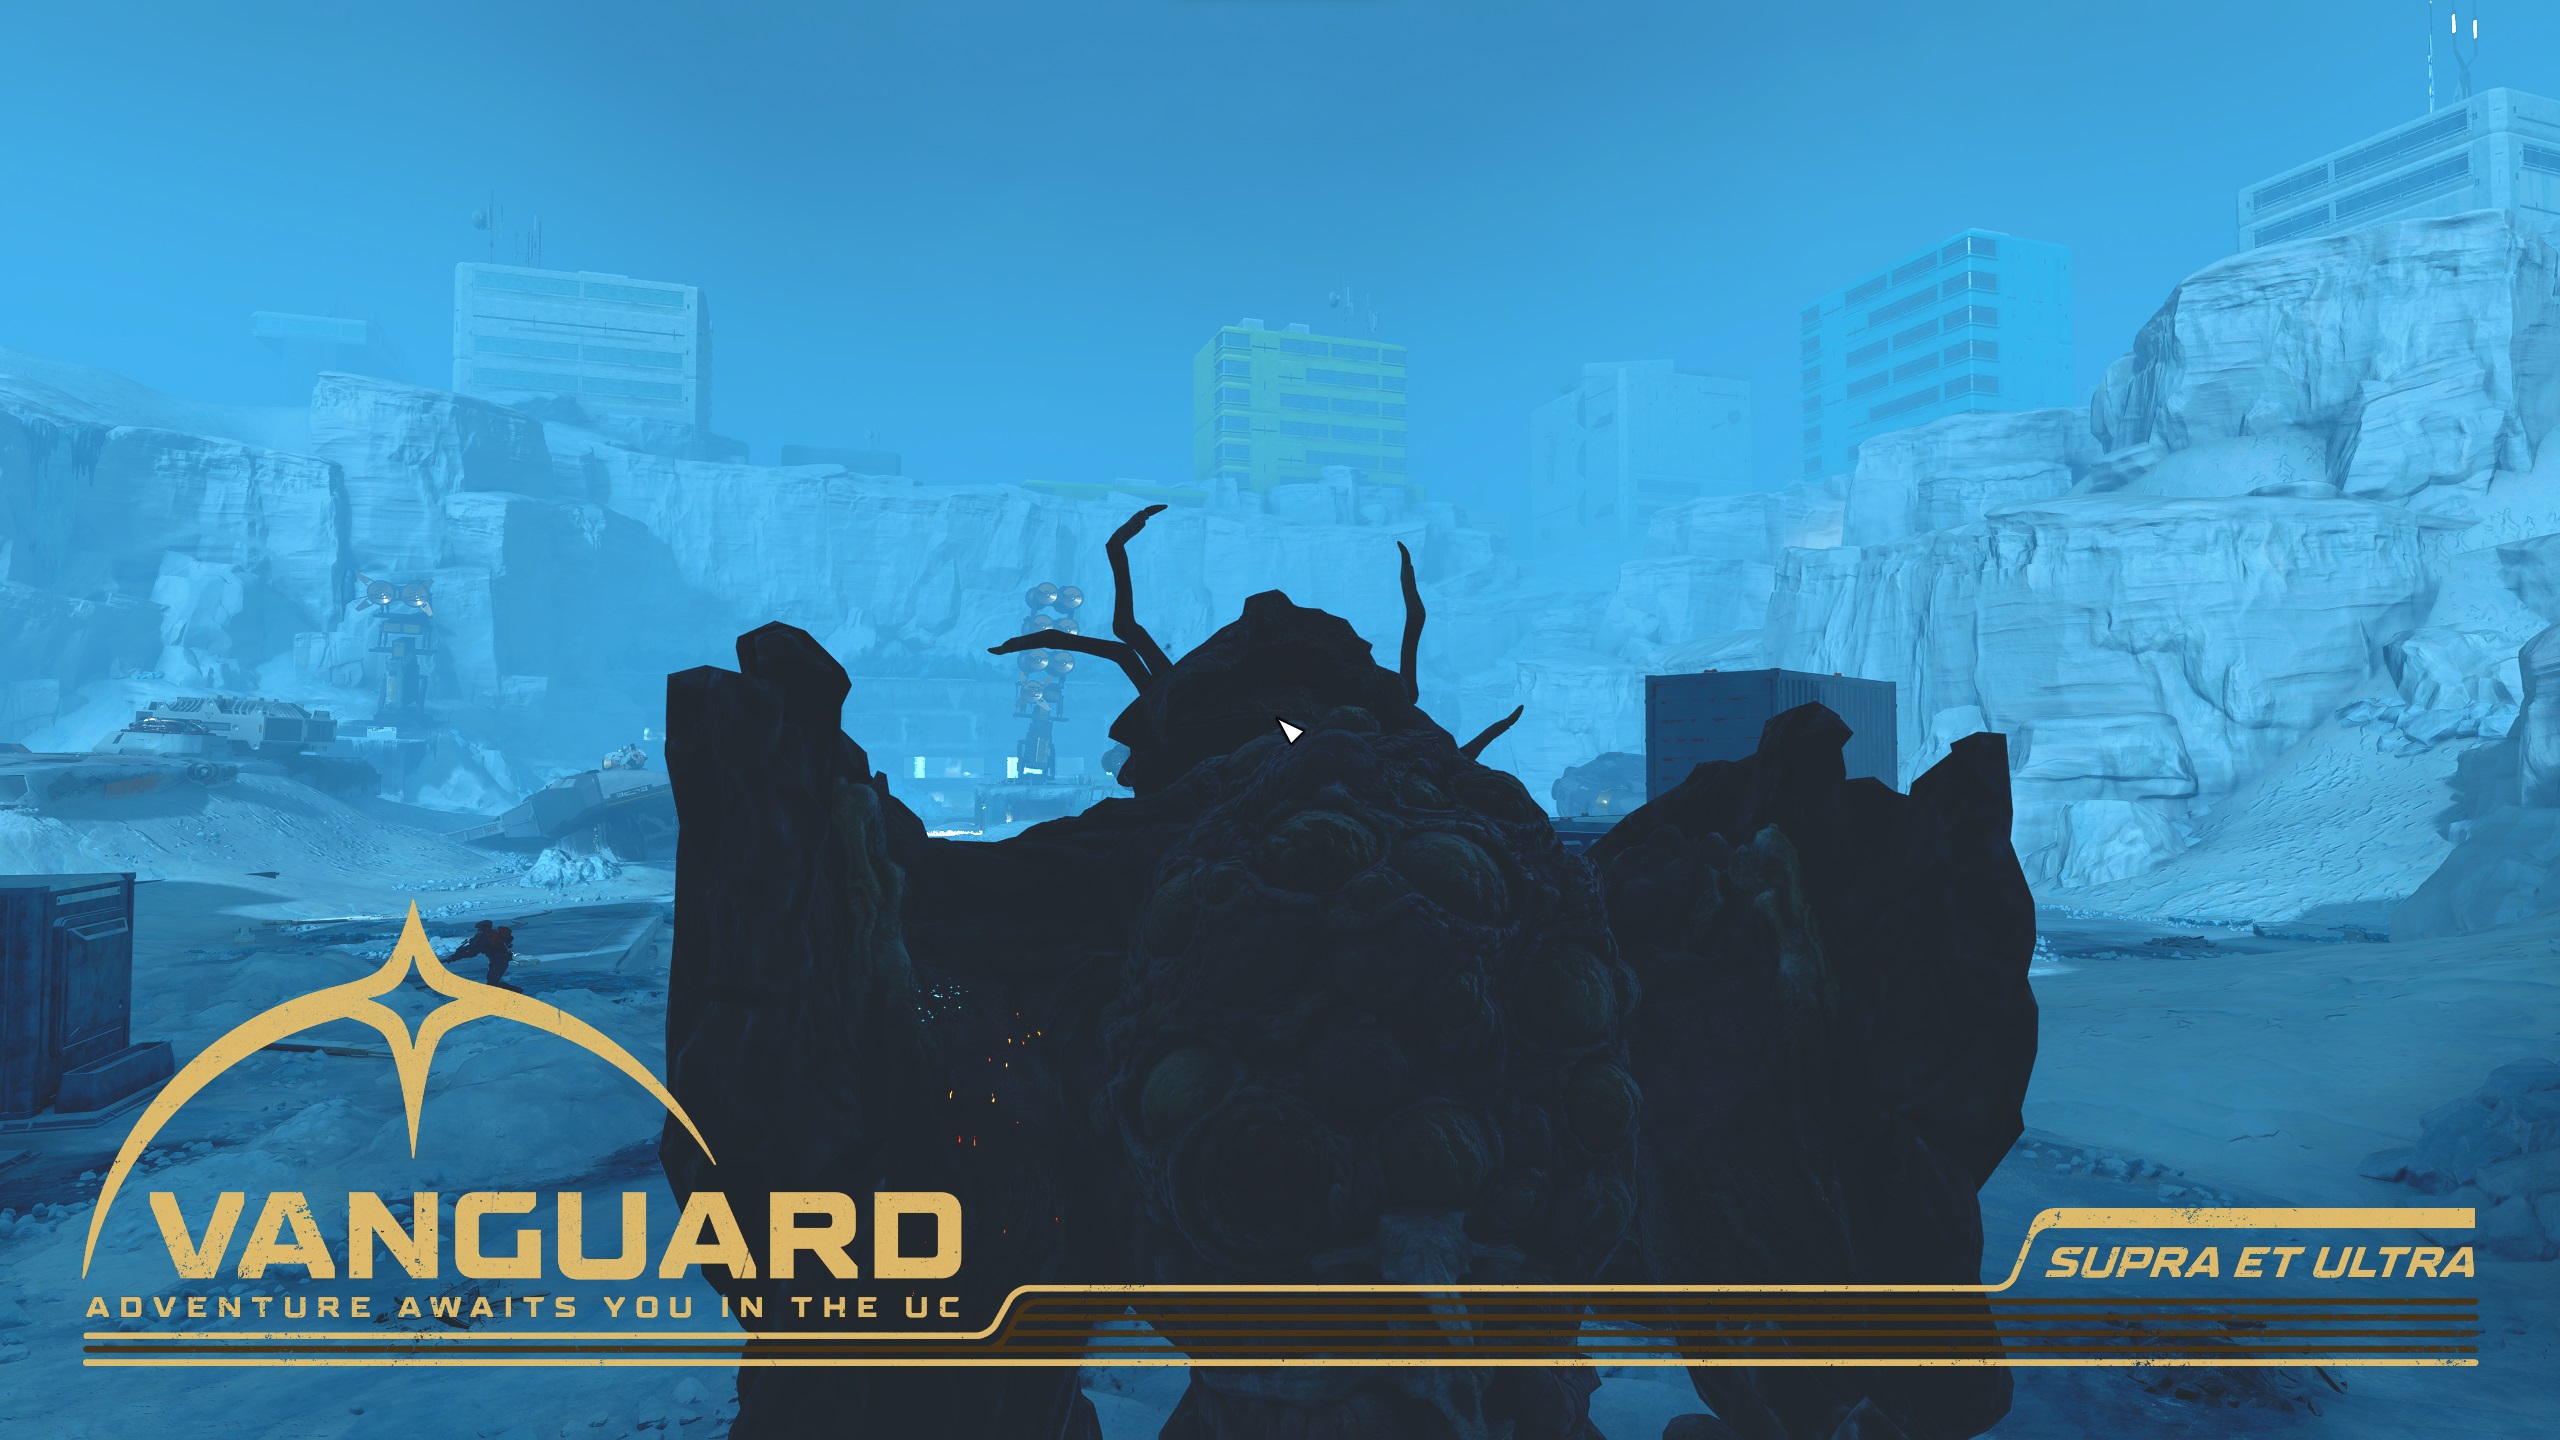
At the end of War Relics, you’ll follow Hadrian down the stairs, then speak to her about their plans for the Terrormorphs. The two ideas are either breeding animals that eat Terrormorphs (Image 1), or creating a microbe to wipe out all Terrormorph cells. With either plan, you’ll need to run a mission to grab materials from Londinion.
Image 1
Visit Lt. Azevedo to Purchase New Gear (Optional)
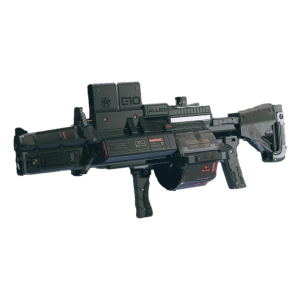
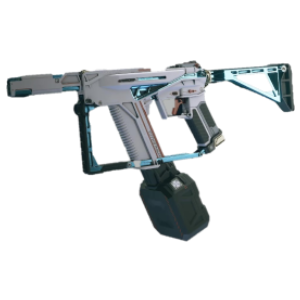
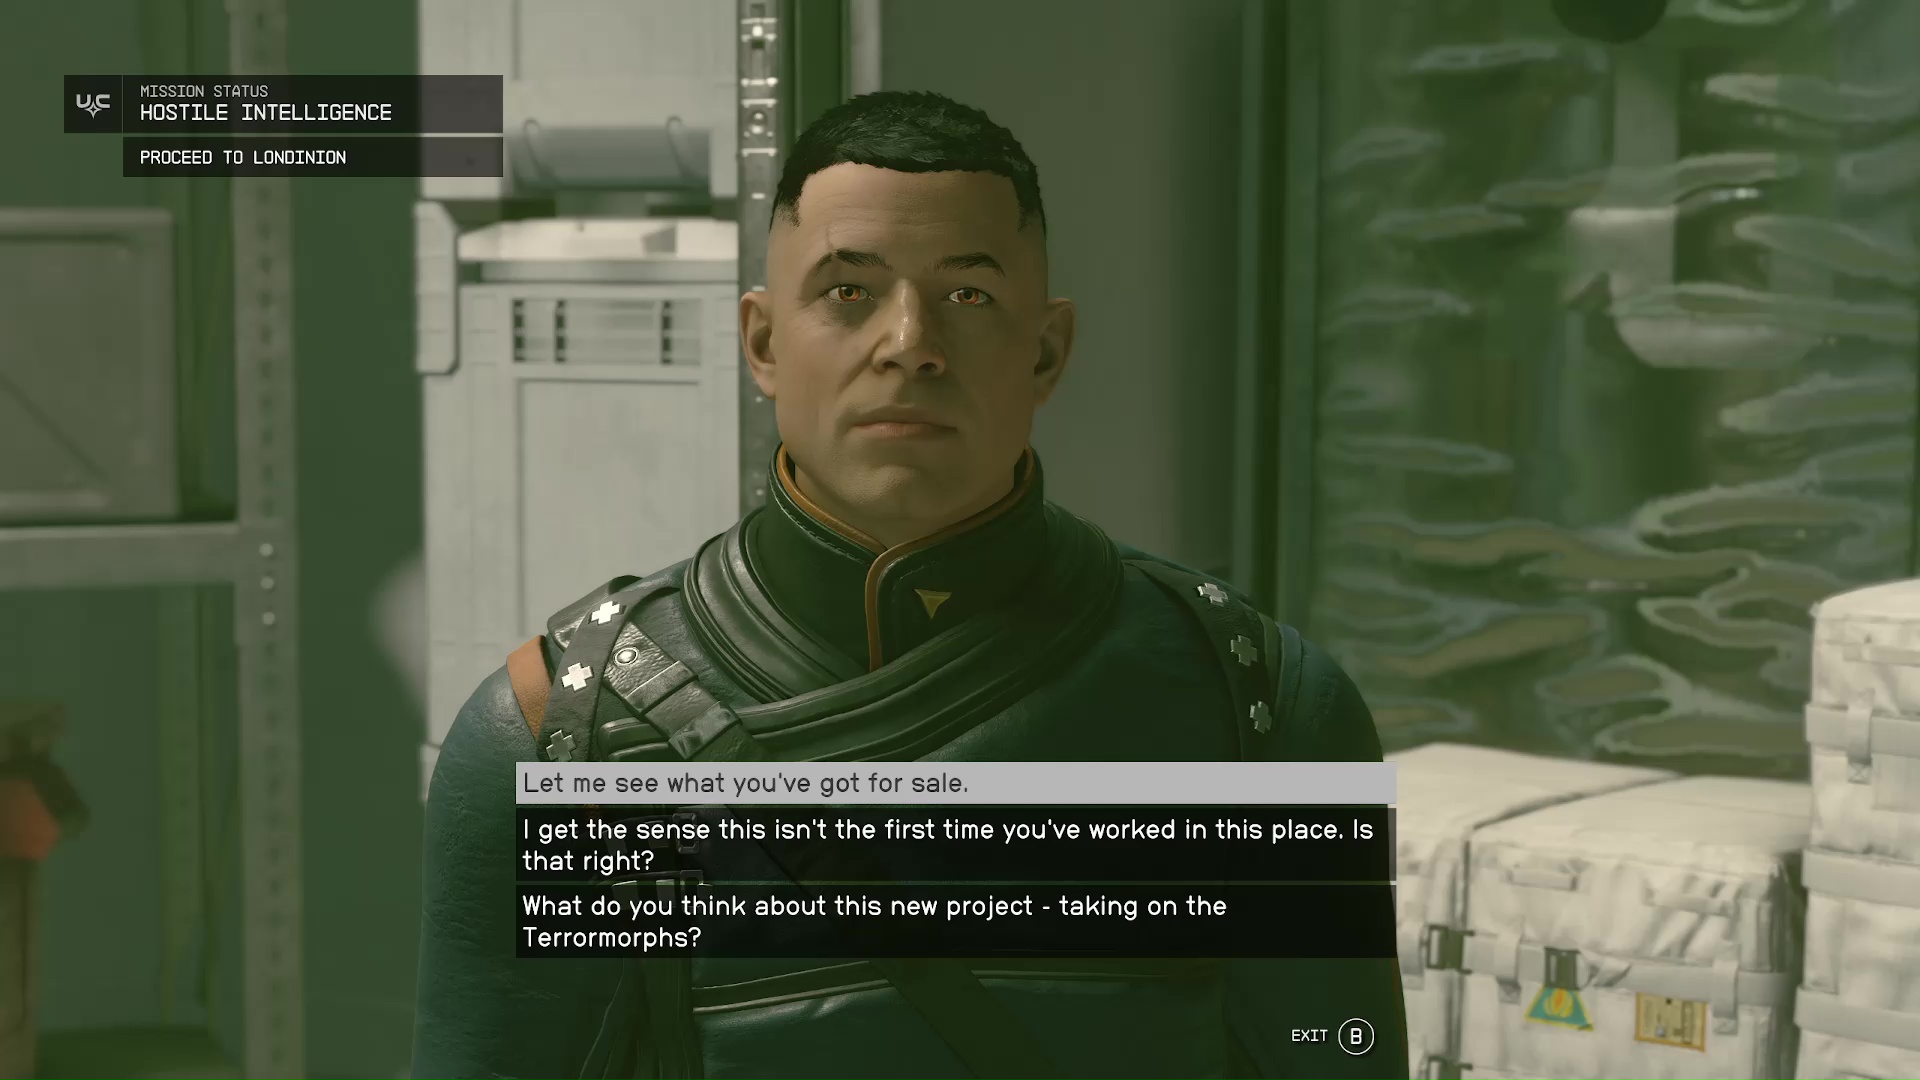
Since you’re going to a dangerous place, you might want to stock up on some weapons for dealing with hostile aliens. This optional task will have you walk over to the other side of Red Devils HQ and ask the lieutenant what he has for sale (Image 2). He does have a couple unique weapons for sale, too: Reckless Bombardment and Vampire’s Gift.
Image 2
Proceed to Londinion
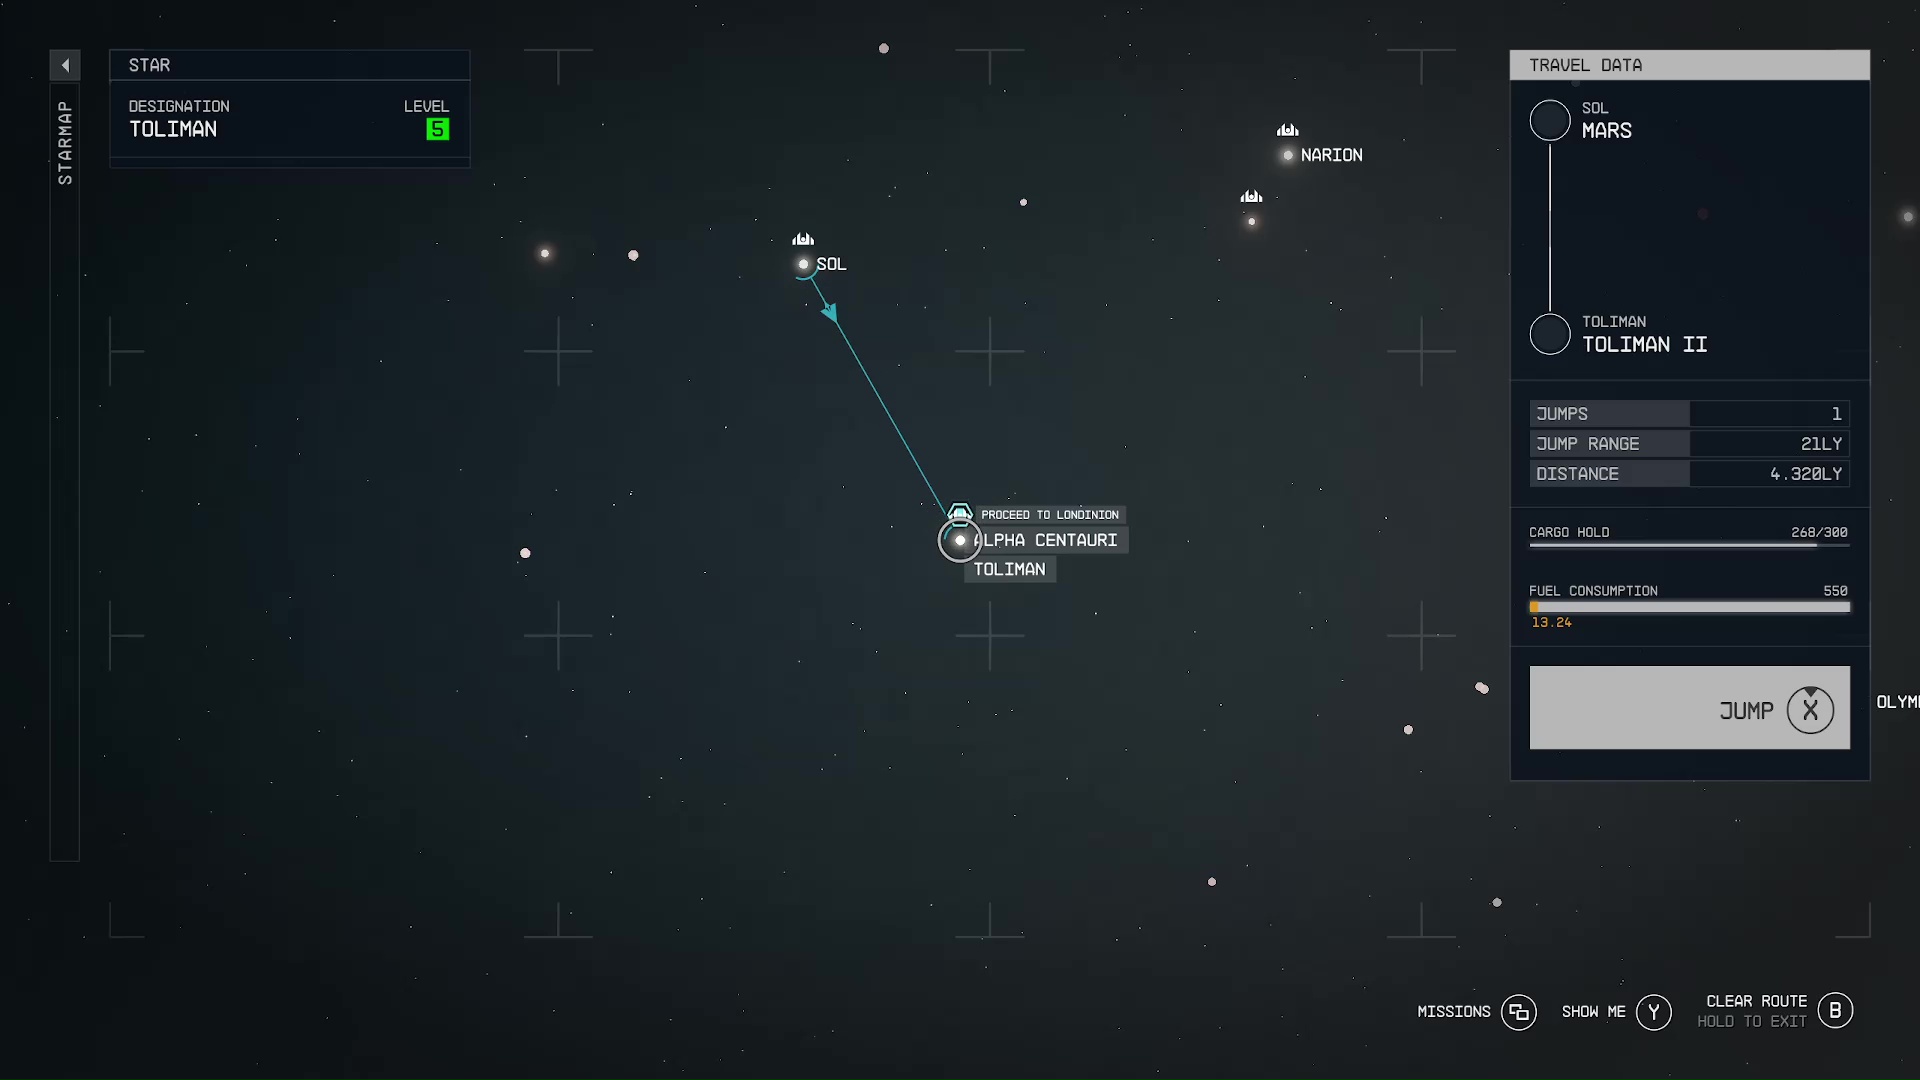
Londinion is in the Toliman System, which is the system in the same area as Alpha Centauri (Image 3). You can simply follow the , but the location is on the planet, Toliman II. When you arrive in orbit, you will be stopped by a guard ship that will verify your authorization to land. After that’s done, pull up the planet map and land at the Forward Base 441 (Image 4).
Image 3Image 4
Proceed to the Command Post and Speak to Commander Hatoum
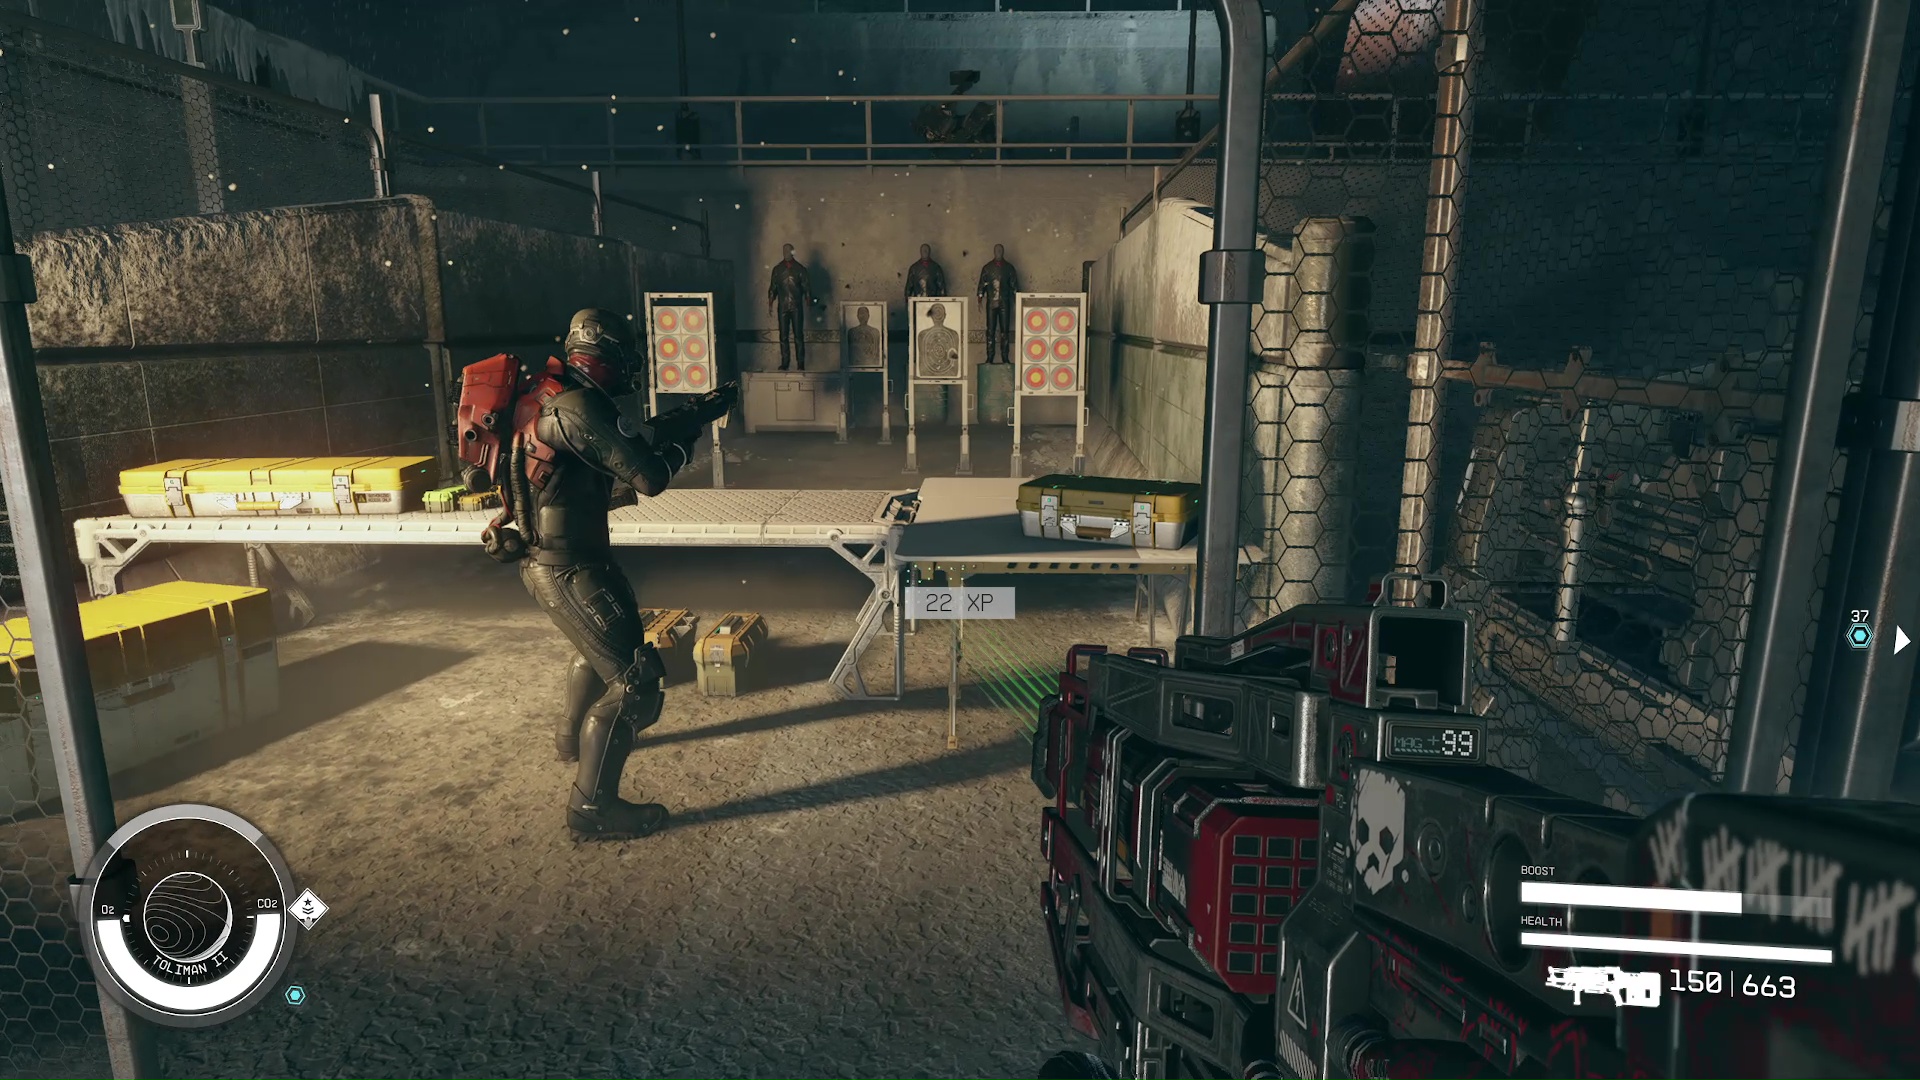
Walk past the barrier and the soldier will tell you the commander is waiting for you in the command post. As you walk there, you’ll pass a shooting range where you can grab some extra ammo and guns (Image 5). Walk past the big statue of an aceles and follow the to a building on your right.
Image 5
Inside you’ll see a bar that also has some spare weapons and ammo you can requisition. Don’t forget about the guns on the wall behind the bar, too (Image 6). When you’re ready, talk to Commander Hatoum. After some pleasantries, your Red Devils crew will arrive for a mission debrief. Hatoum will give you a run-down of the area, and basically tell you that it’s dangerous.
Image 6
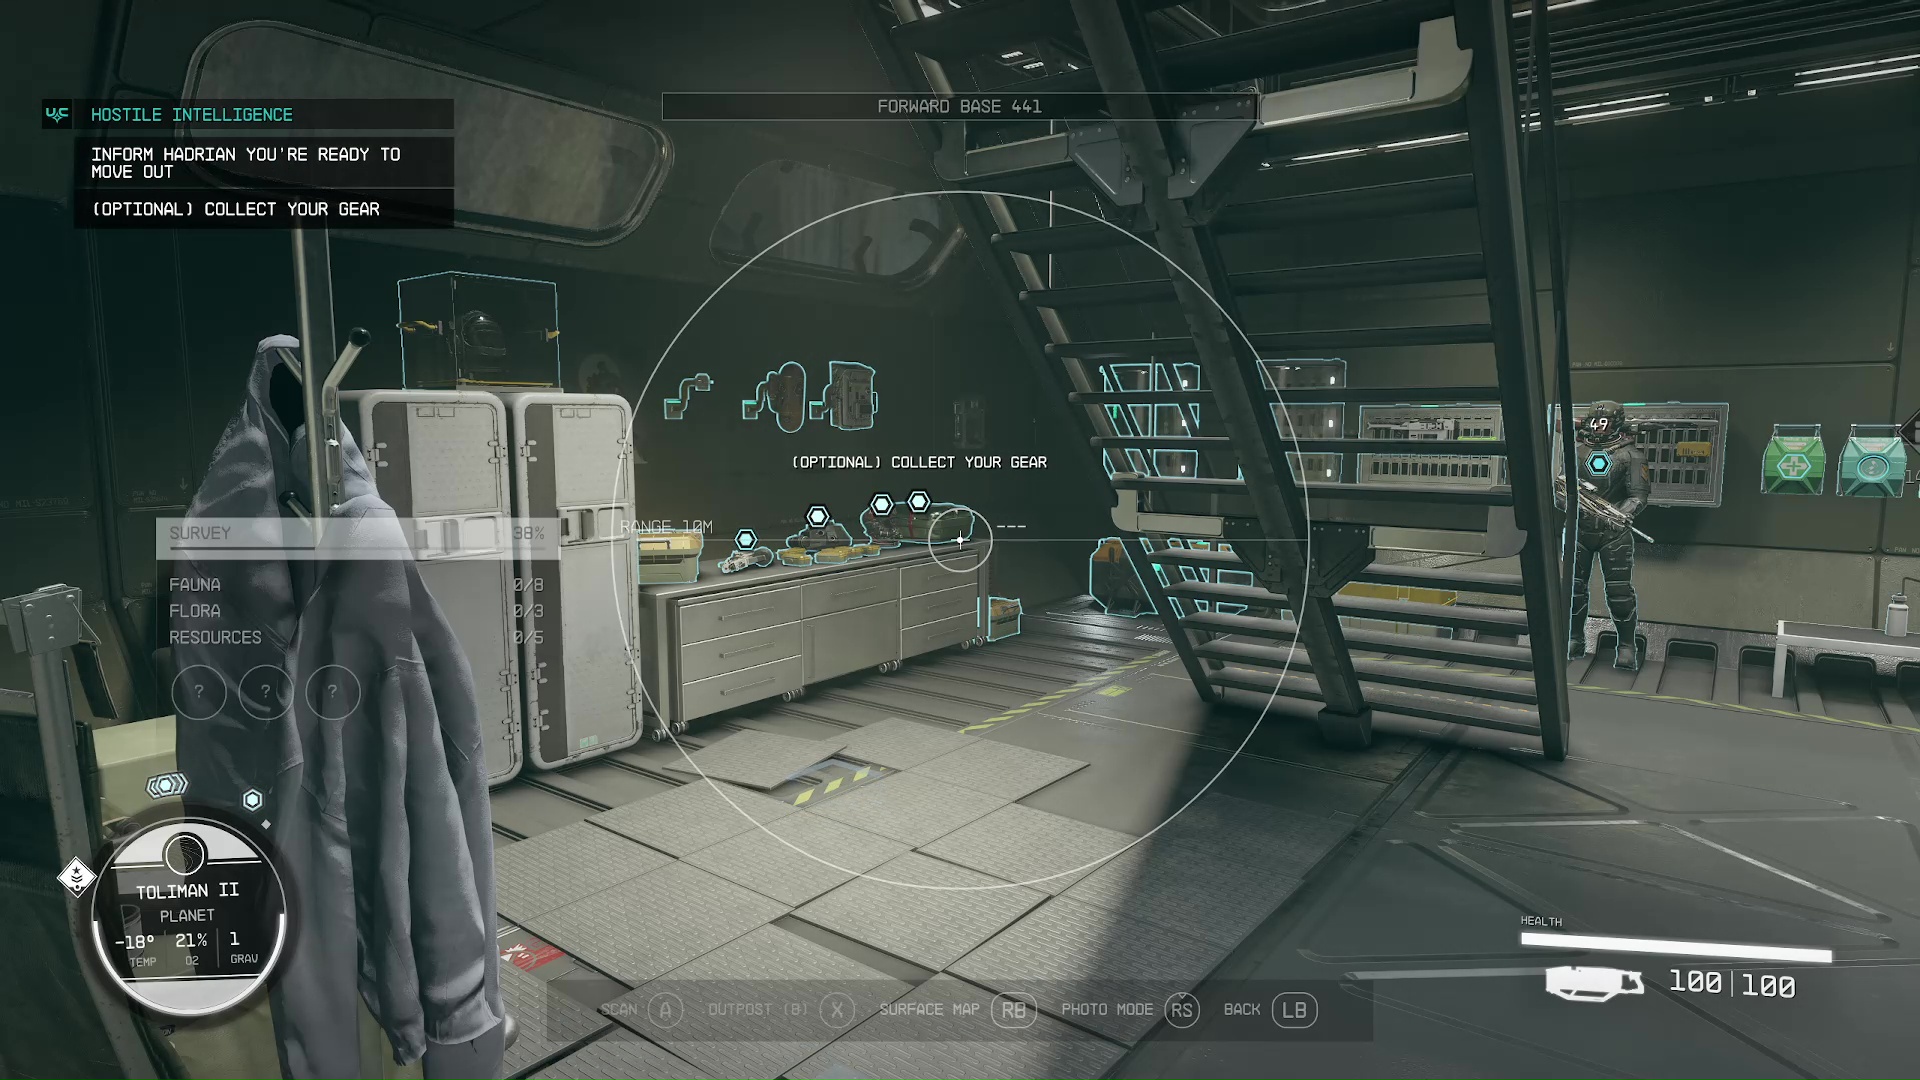
Collect Your Gear (Optional)
This is optional, but”¦ it’s excellent gear, so go and grab it. The armory is at the base of the tower, which is right in front of the command post exit. If you can’t find it, just use your scanner and look for the . Inside, you’ll find a lot of guns and ammo, as well as the antixeno gear (Image 7). We recommend equipping it immediately, because it offers some good buffs against alien enemies.
Image 7
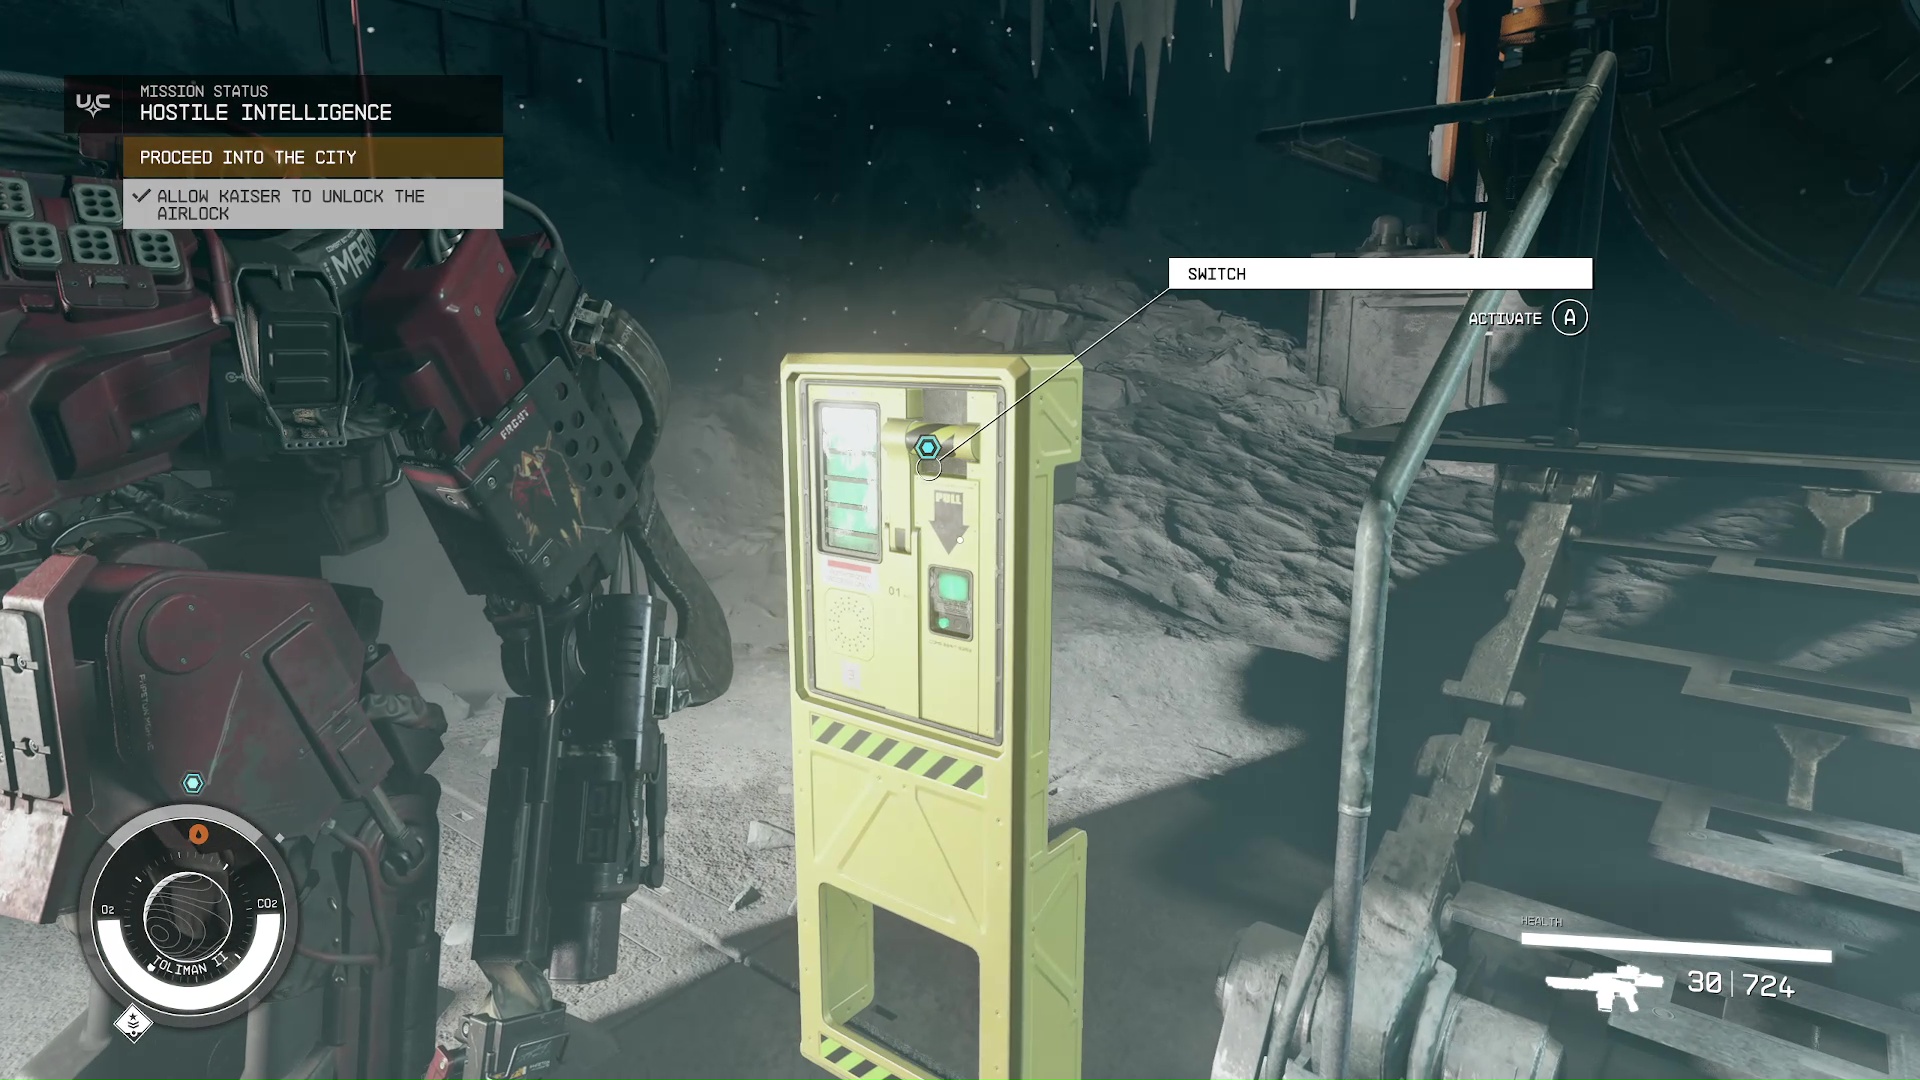
Inform Hadrian You’re Ready to Move Out and Allow Kaiser to Unlock the Airlock
When you’re all ready, and you’ve looted all the ammo, gear, and guns you can carry, follow the to speak to Hadrian. She’ll nervously verify that you’re ready, then tell Kaiser to open the airlock. He’ll route power to the switch, then you can flip it (Image 8).
Image 8
Clear the Processing Plant
On the other side of the airlock, you’ll start to see some thralled animals under the domination of a Terrormorph. You’ll need to cull all the affected animals in order to proceed. You shouldn’t have any problems; Hadrian and Kaiser will be there to provide support, and the enemies aren’t tough.
Explore the Base Cache (Optional)
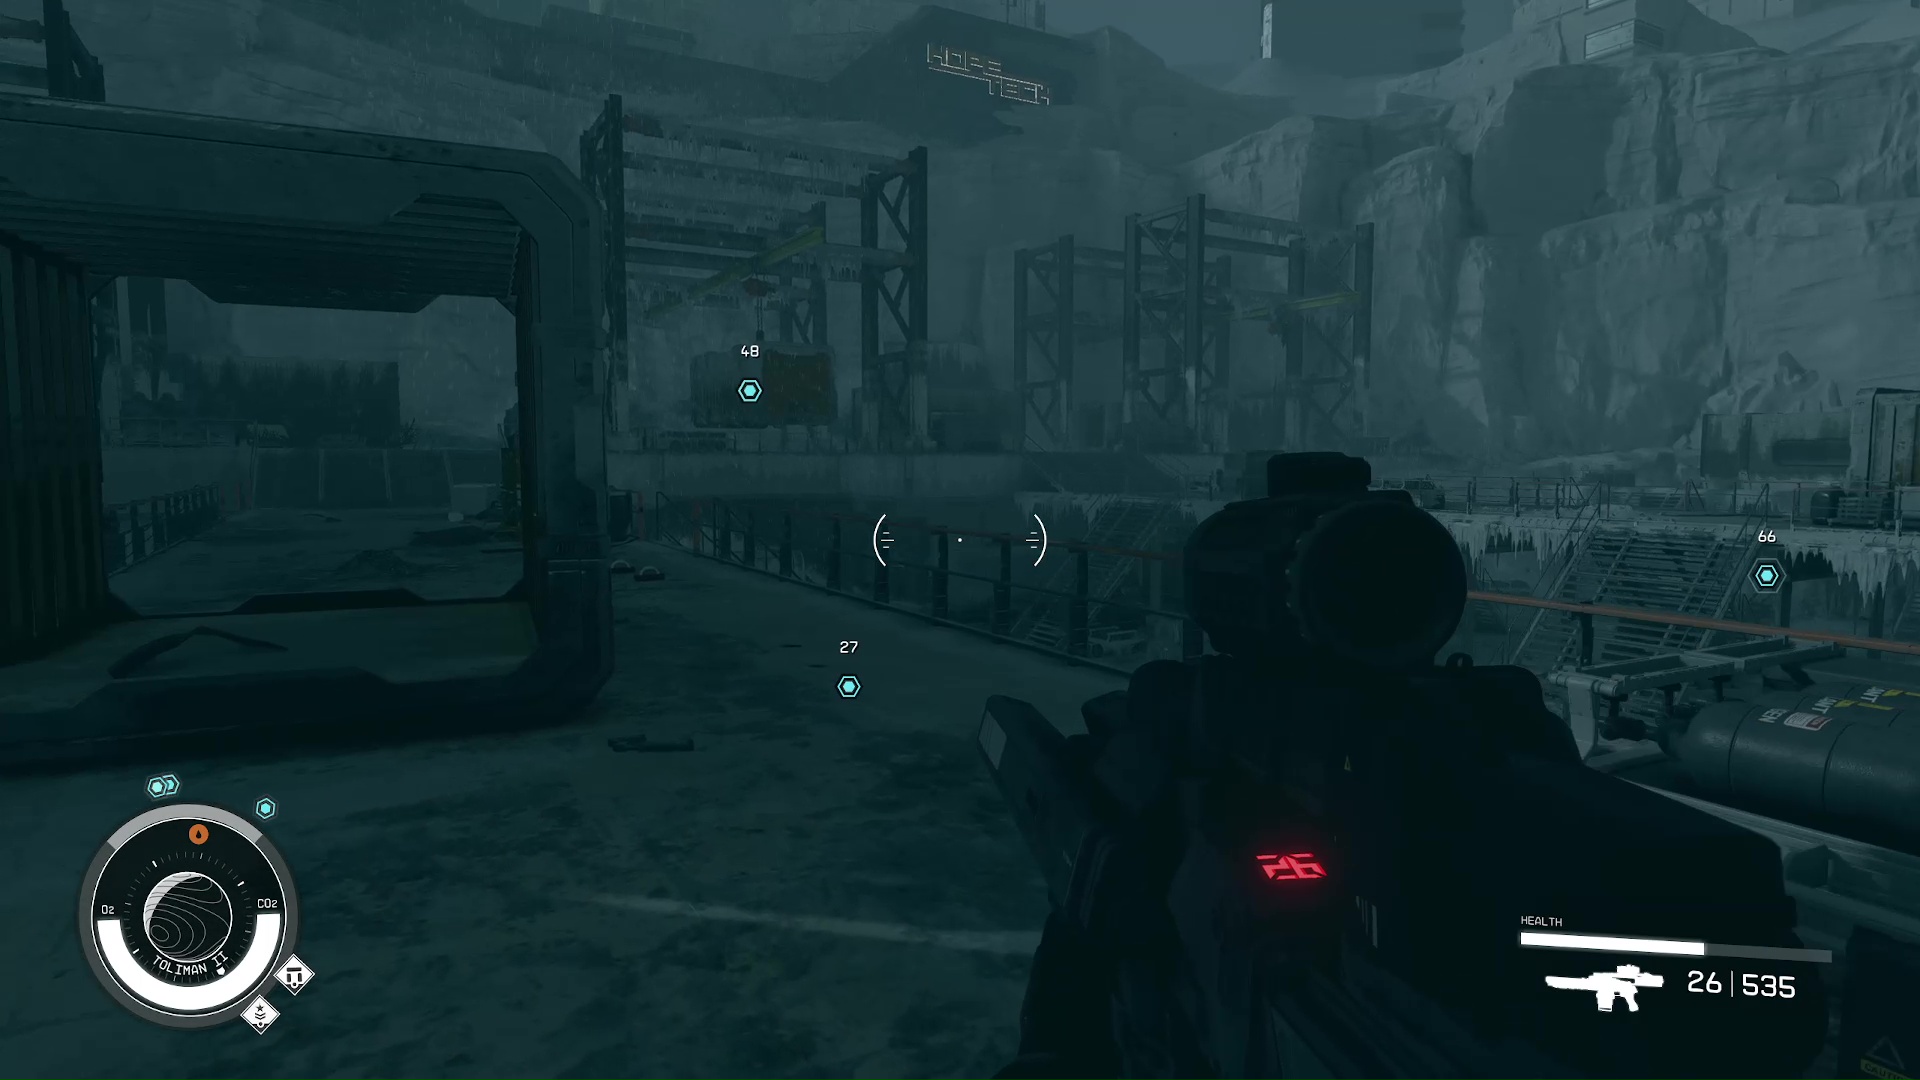
There is a nice supply cache of weapons and ammo in the building leading to the next area. Use your scanner and it should lead you right to it. It’s pretty hard to miss it, but you don’t want to pass up all this ammo (Image 9).
Image 9
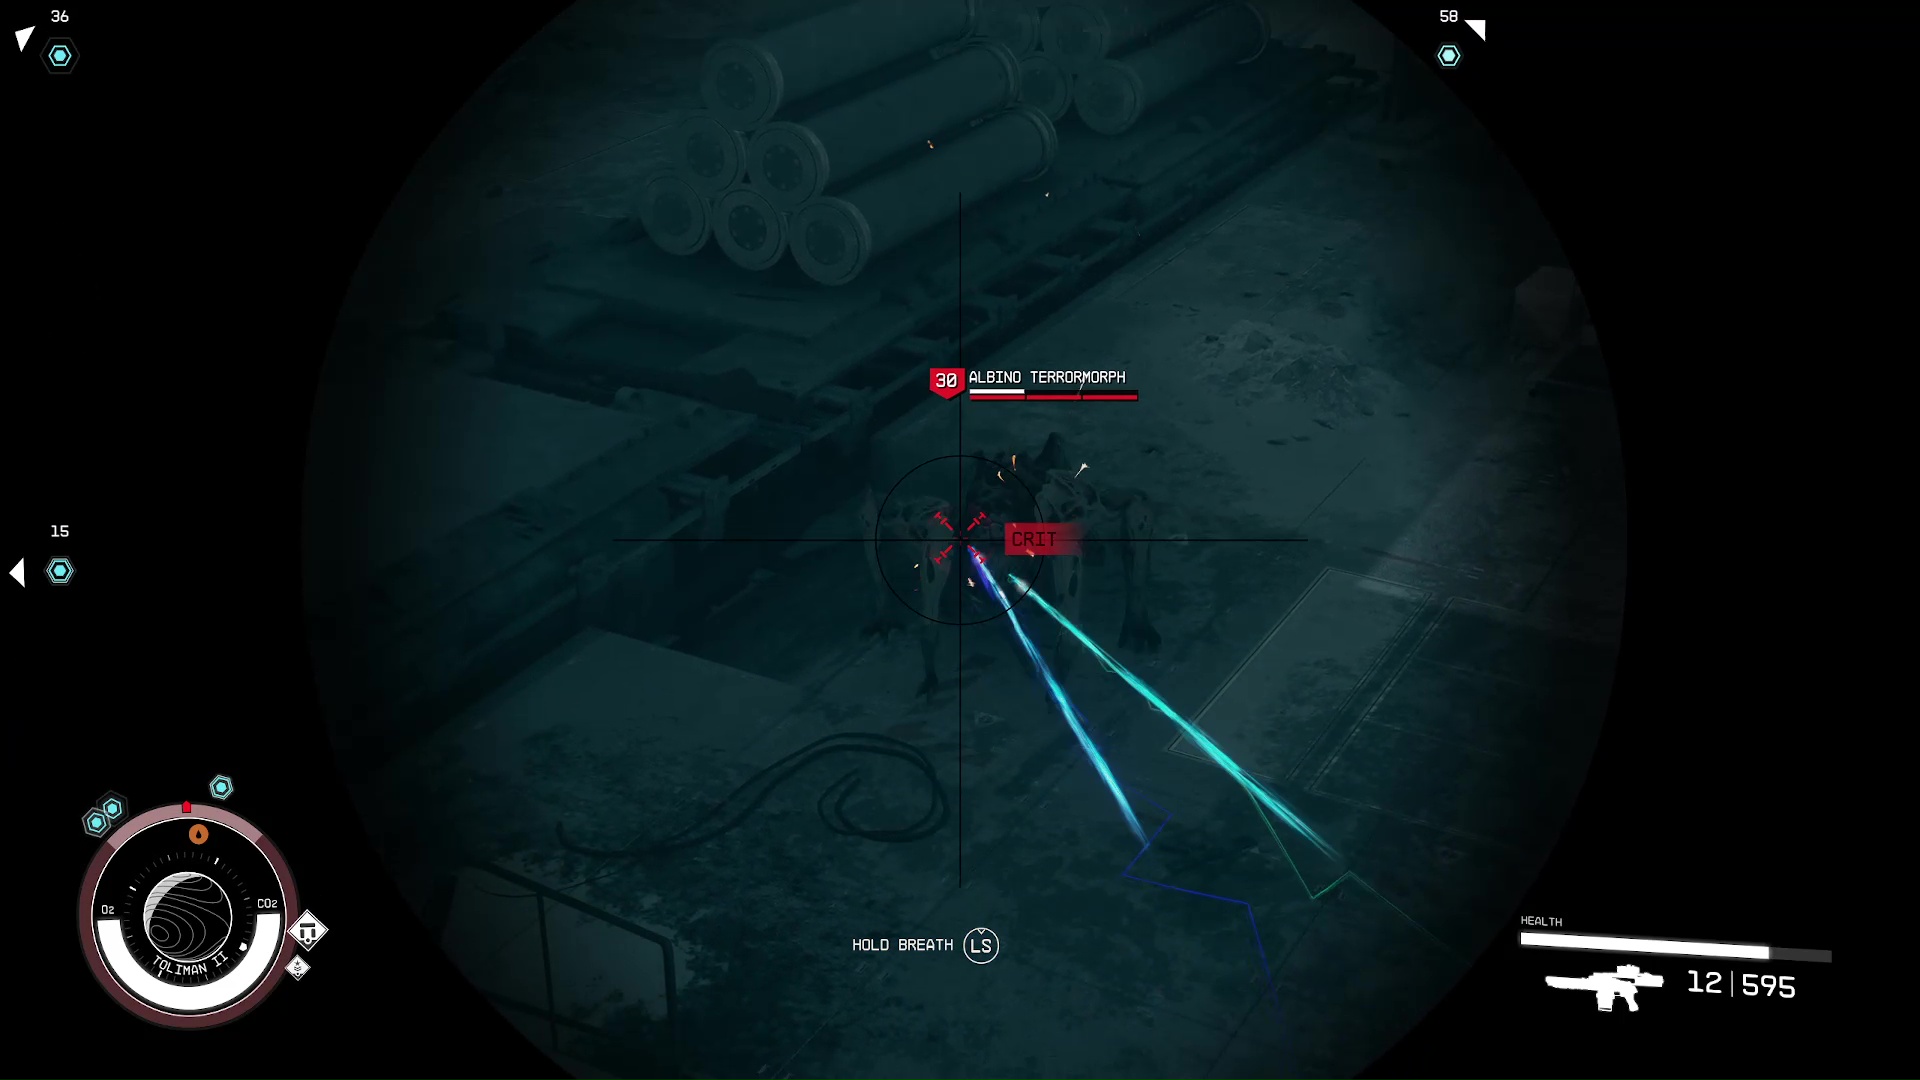
Collect the Aceles Samples
If you leave the supply cache room and turn right, you’ll see the Aceles sample area, with a bunch of shipping containers. There are some cloaked Terrormorphs around, so you will want to get the jump on them and prepare for a fight. Set up some mines, or try to get a sneak attack on them.
This is a fairly easy fight, as long as you don’t let yourself get cornered by a Terrormorph. Use your jetpack and keep moving while chipping away at monster’s health bar. After the first Terrormorph, a second Albino Terrormorph will attack. Make sure you have your med packs ready in case your health is low after fighting the first creature.
Image 10
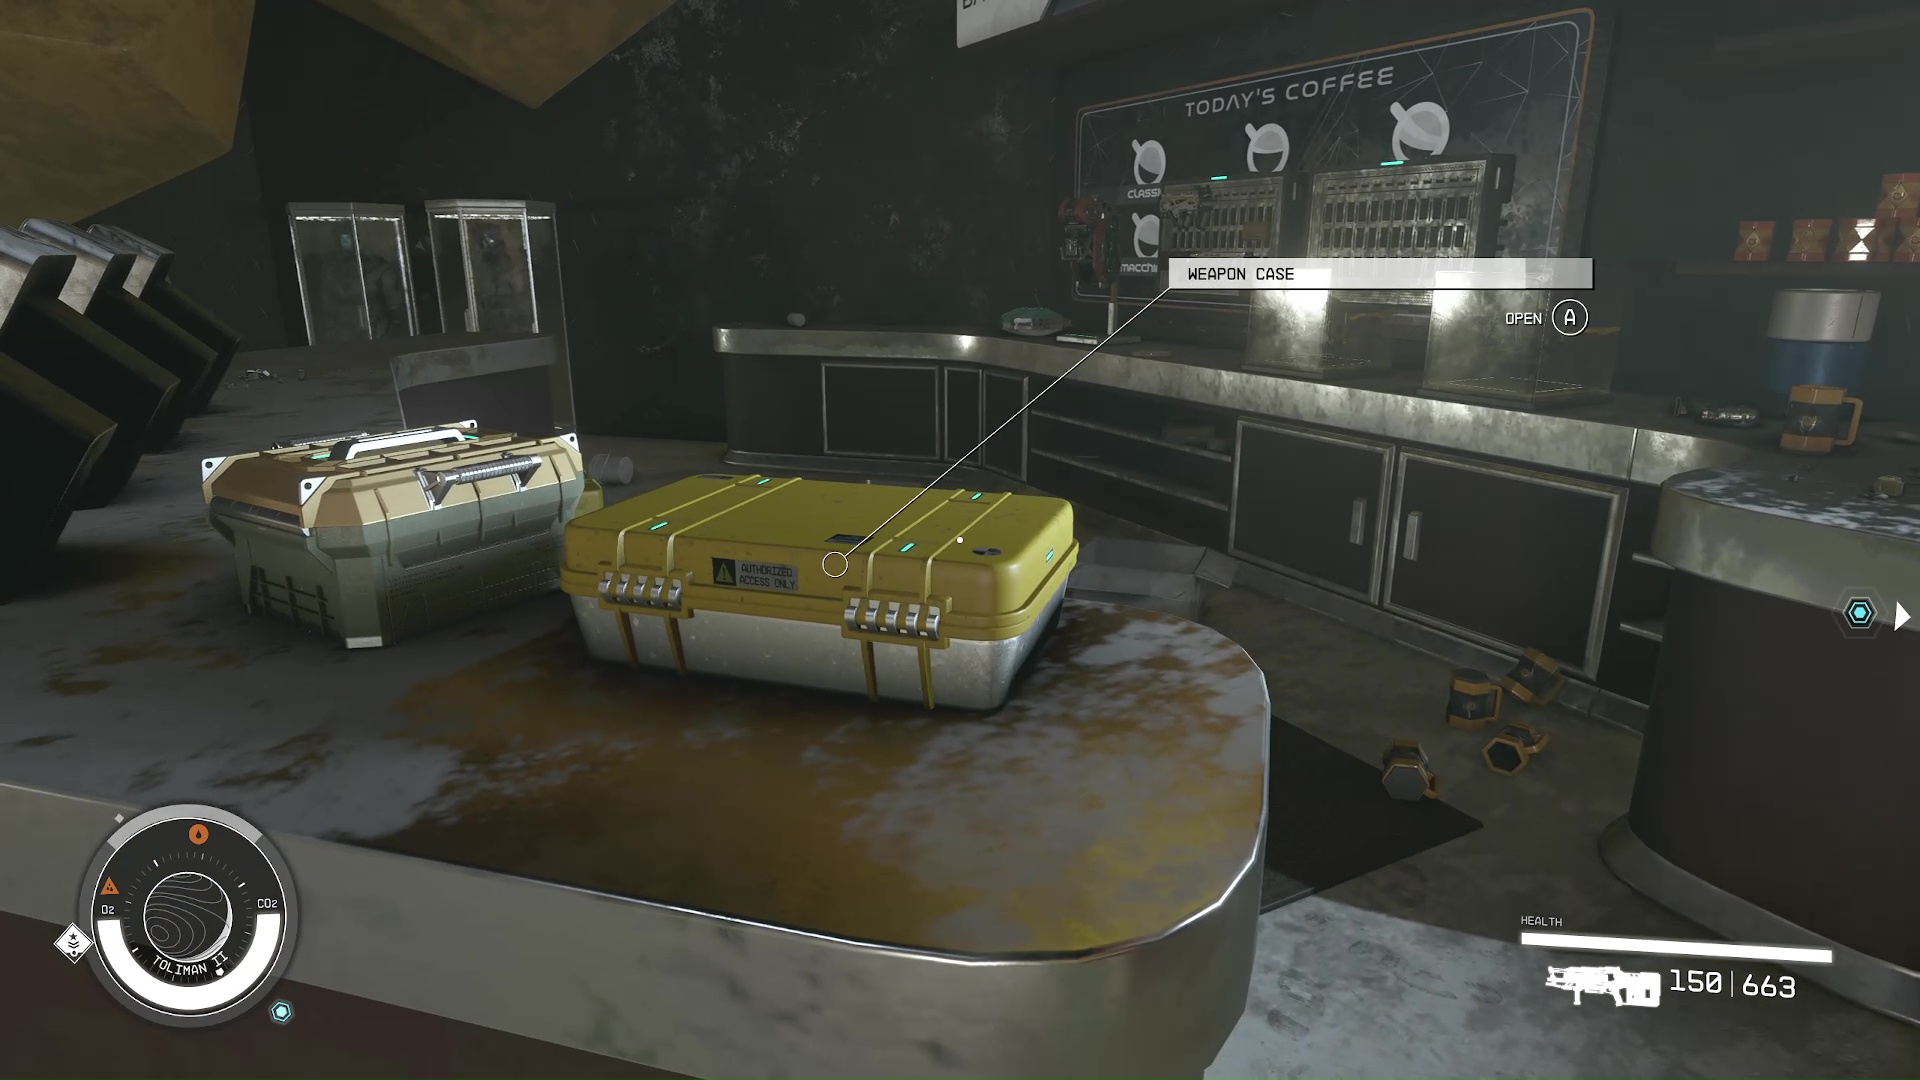
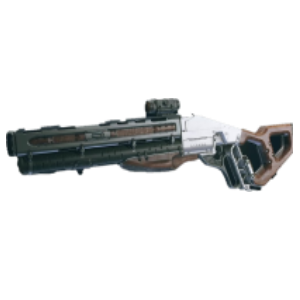
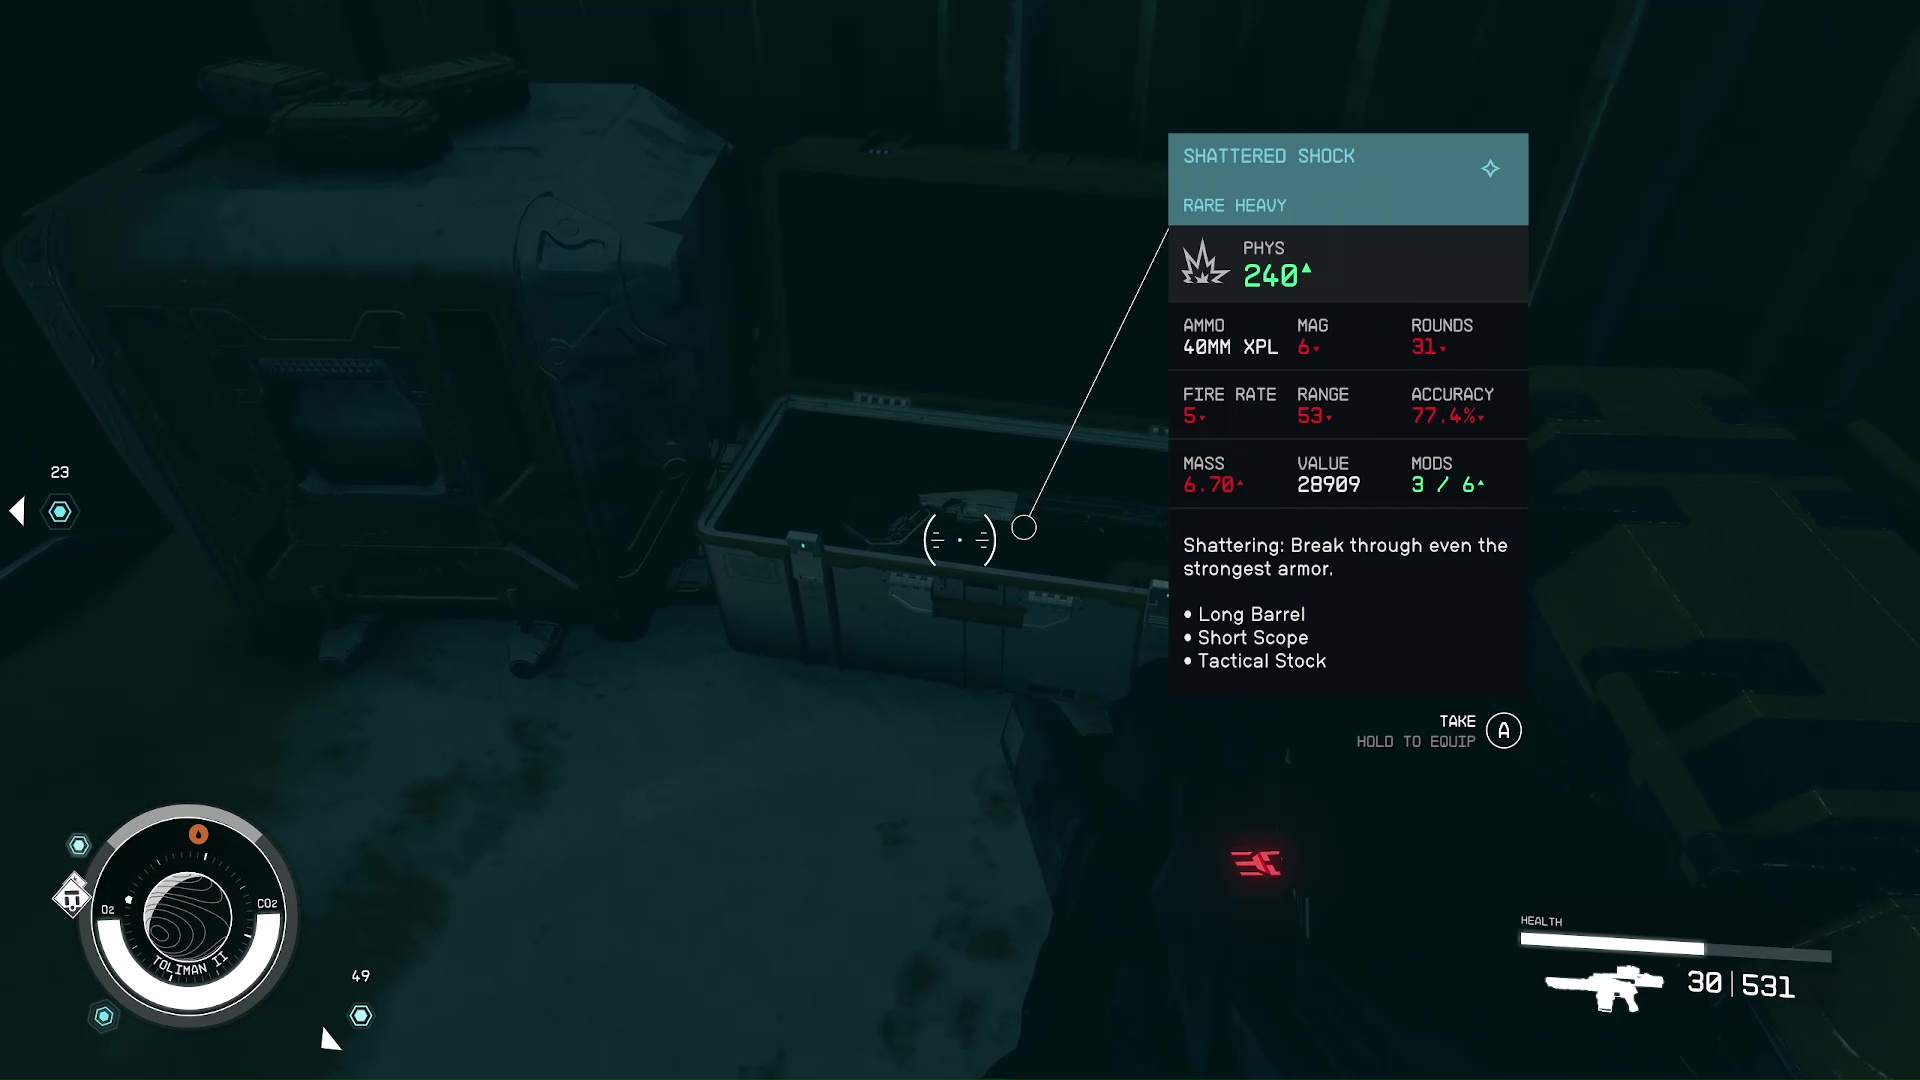
Now that the Terrormorphs are dead, you will have to collect the samples in the three containers around the area (Image 11). One notable thing here is that in the container suspended in the air, there is a unique weapon in a weapon case, Shattered Shock (Image 12).
Image 11Image 12
After you have collected them all and given them to Kaiser, there will be some dialogue about how to continue. The crew will finish their planning, then you will head out to the steam tunnels.
Proceed to the Steam Tunnels
Head back out the way you came in and turn right (or just follow your scanner). You’ll enter the tunnels, and you’ll hear some exposition about the local Lazarus Plant. Keep going, and the crew will find themselves in a room observing the Lazarus Plant in bloom.
Observe the Lazarus Plant with Hadrian
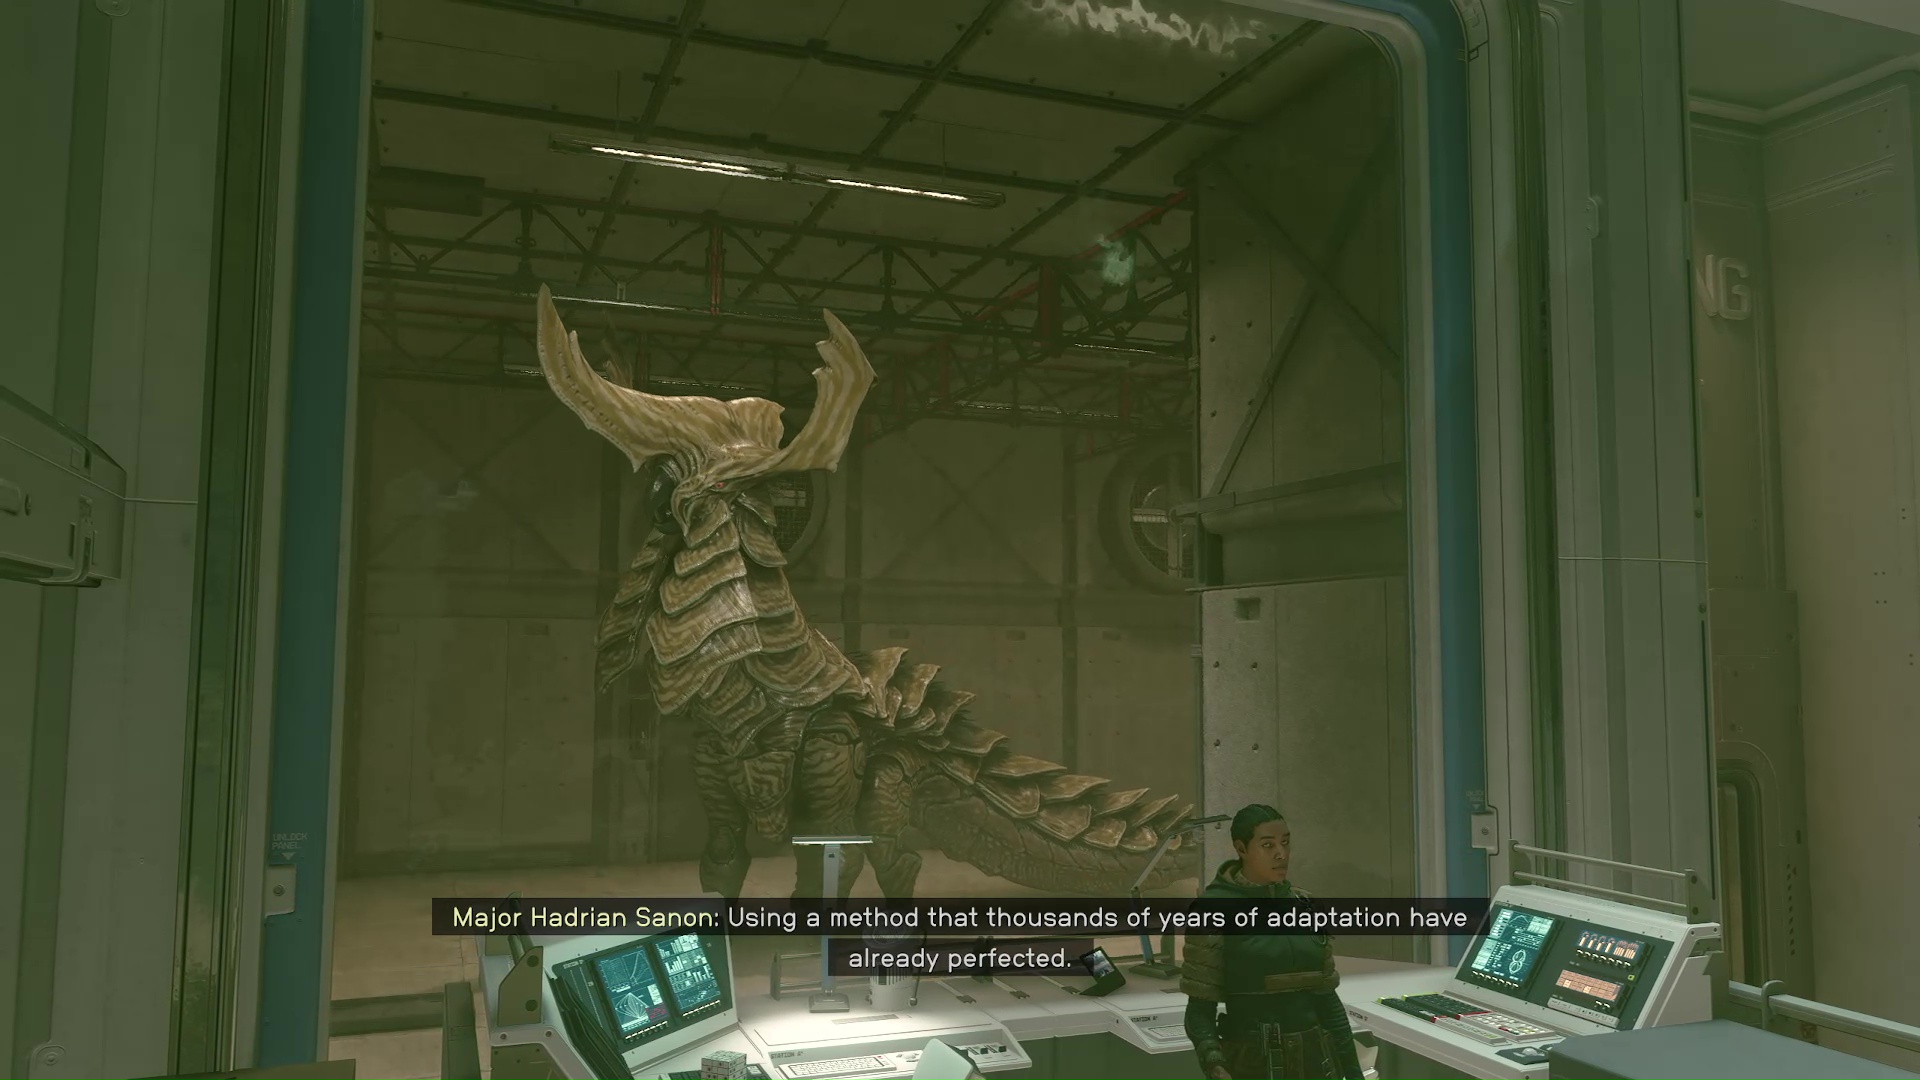
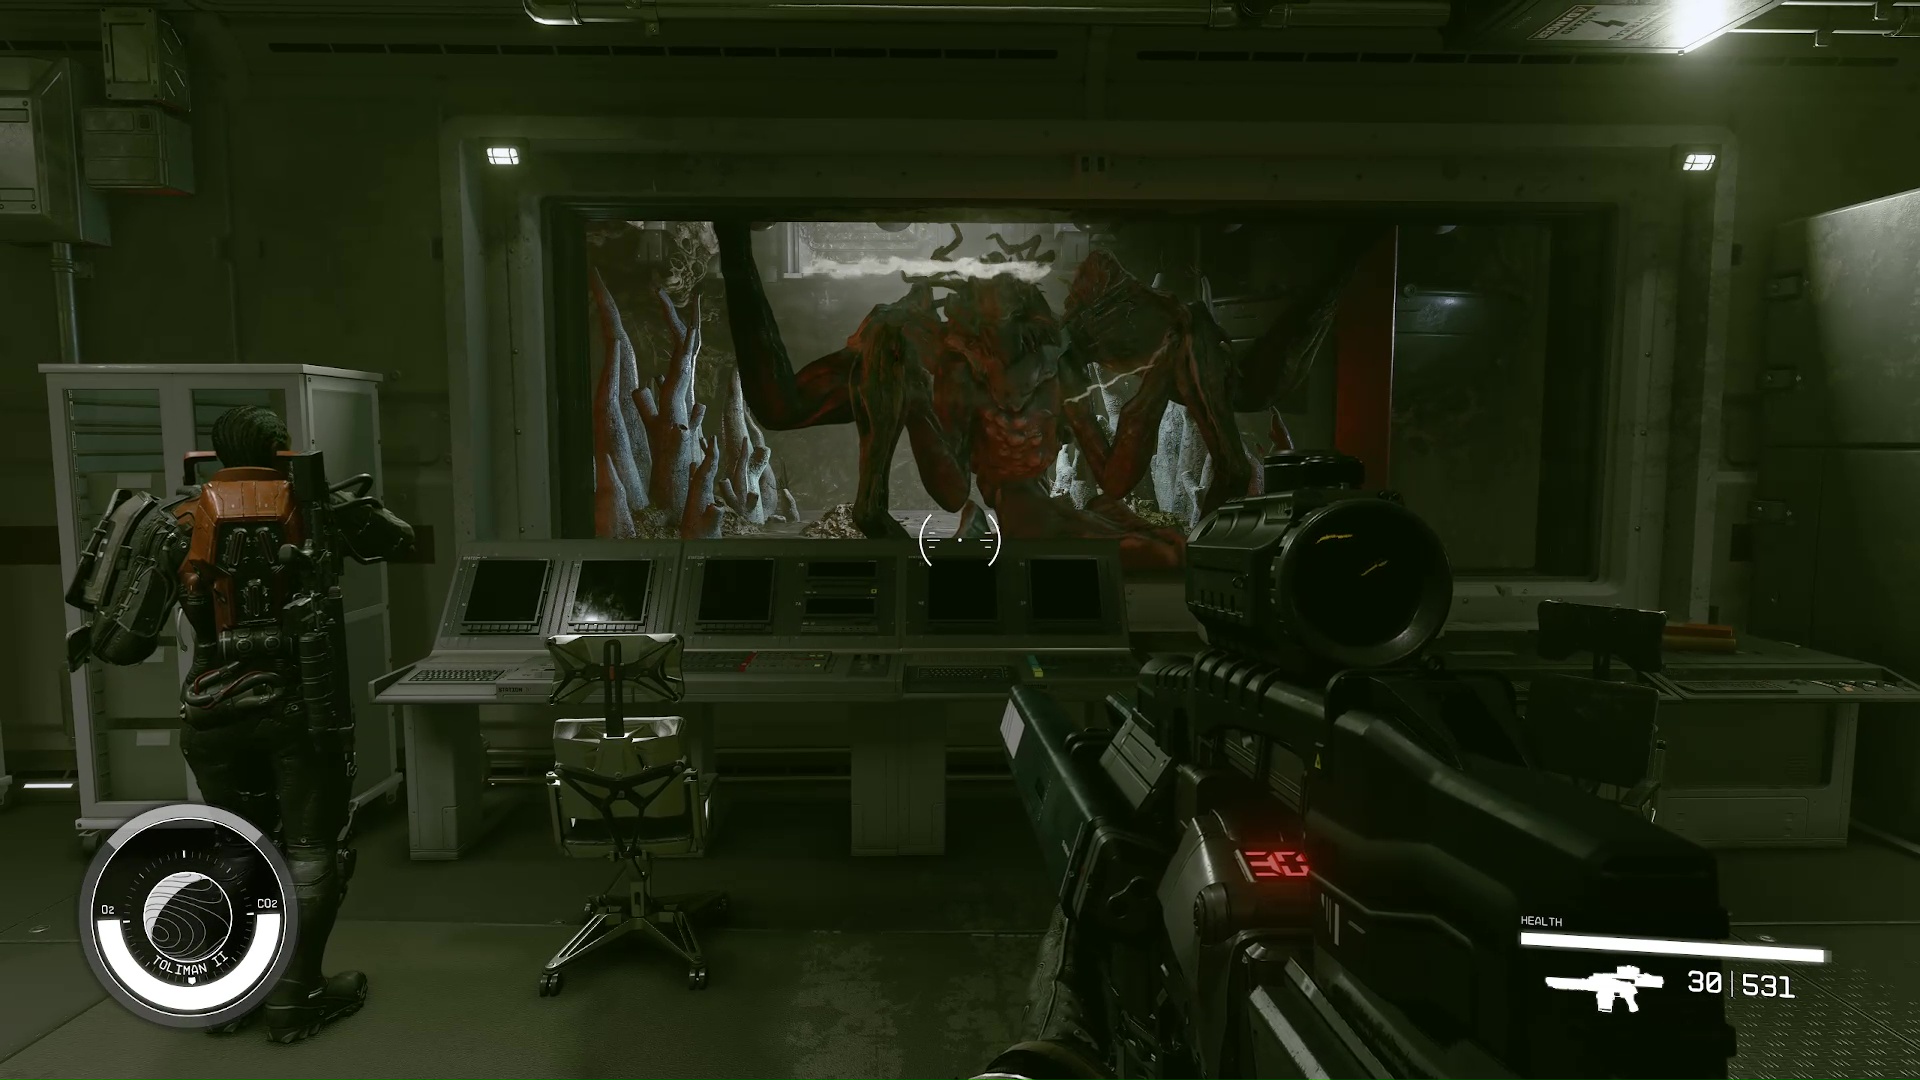
Looking through the glass window, you’ll see a Heatleech transform into a Terrormorph from the Lazarus Plant bloom (Image 13). This revelation forces dialogue with Hadrian. There will be speculation about the attack in New Atlantis, but ultimately you’ll need to go and collect a sample from the creature to be sure.
Image 13
Kill the Terrormorph
Follow the tunnel to the area with the Terrormorph. This newly-transformed Tarrormorph isn’t as deadly as the other two you’ve already fought on this mission. Kill it, then collect the sample and hand it over to Kaiser. He will quickly analyze it and conclude that someone used the plant to trigger the attack in New Atlantis.
The team will discuss further, and you can guess who might be behind the attack. The team will decide that they need to carry on. Kaiser will lead you to a door that is locked and needs power.
Restore Power to the Spaceport Access Hatch
Initiate System Reboot
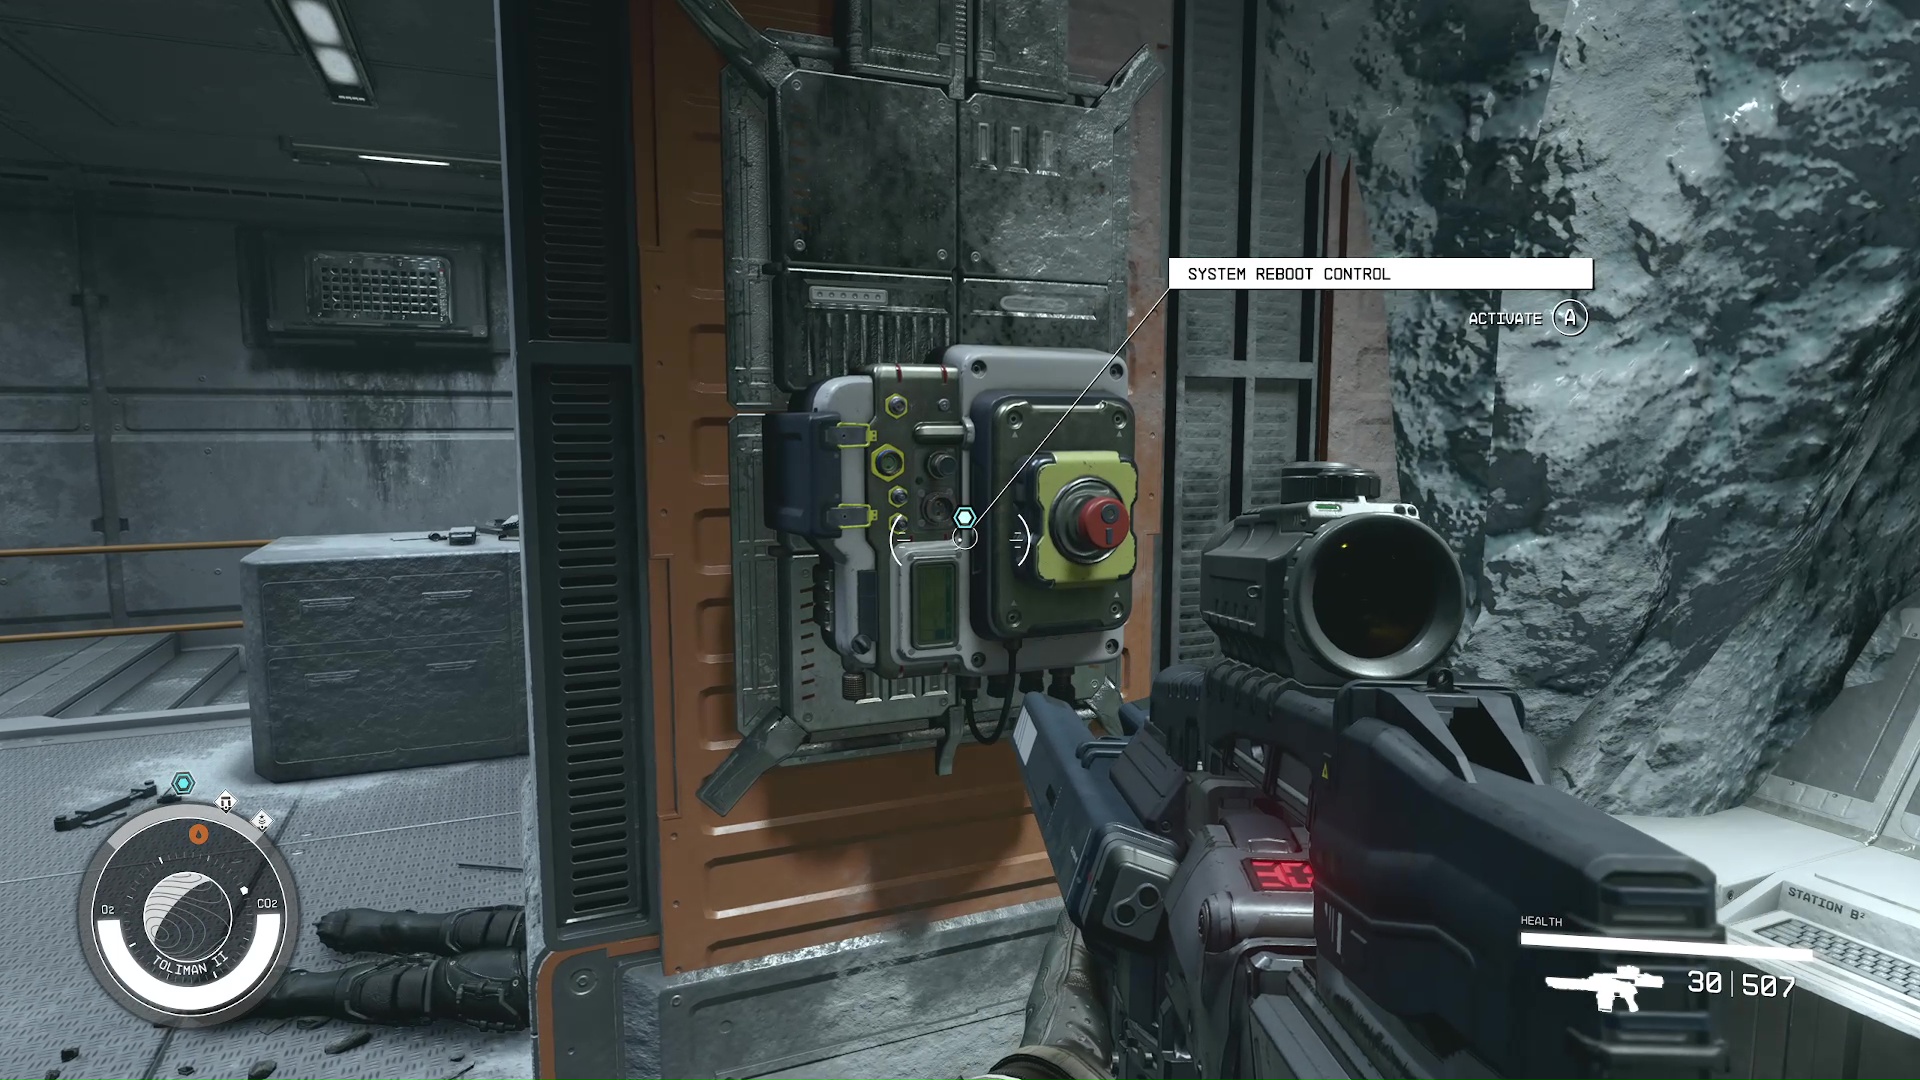
Follow your scanner up the stairs next to the hatch to the office overlooking the area. There are some healing aids in this room if you’re running low. You will then activate the Utility Controls and initiate the system reboot (Image 14), which will prompt an automatic playing of a recording from the past – a recording of Vae Victus.
Image 14
Collect Recording and Speak with Hadrian
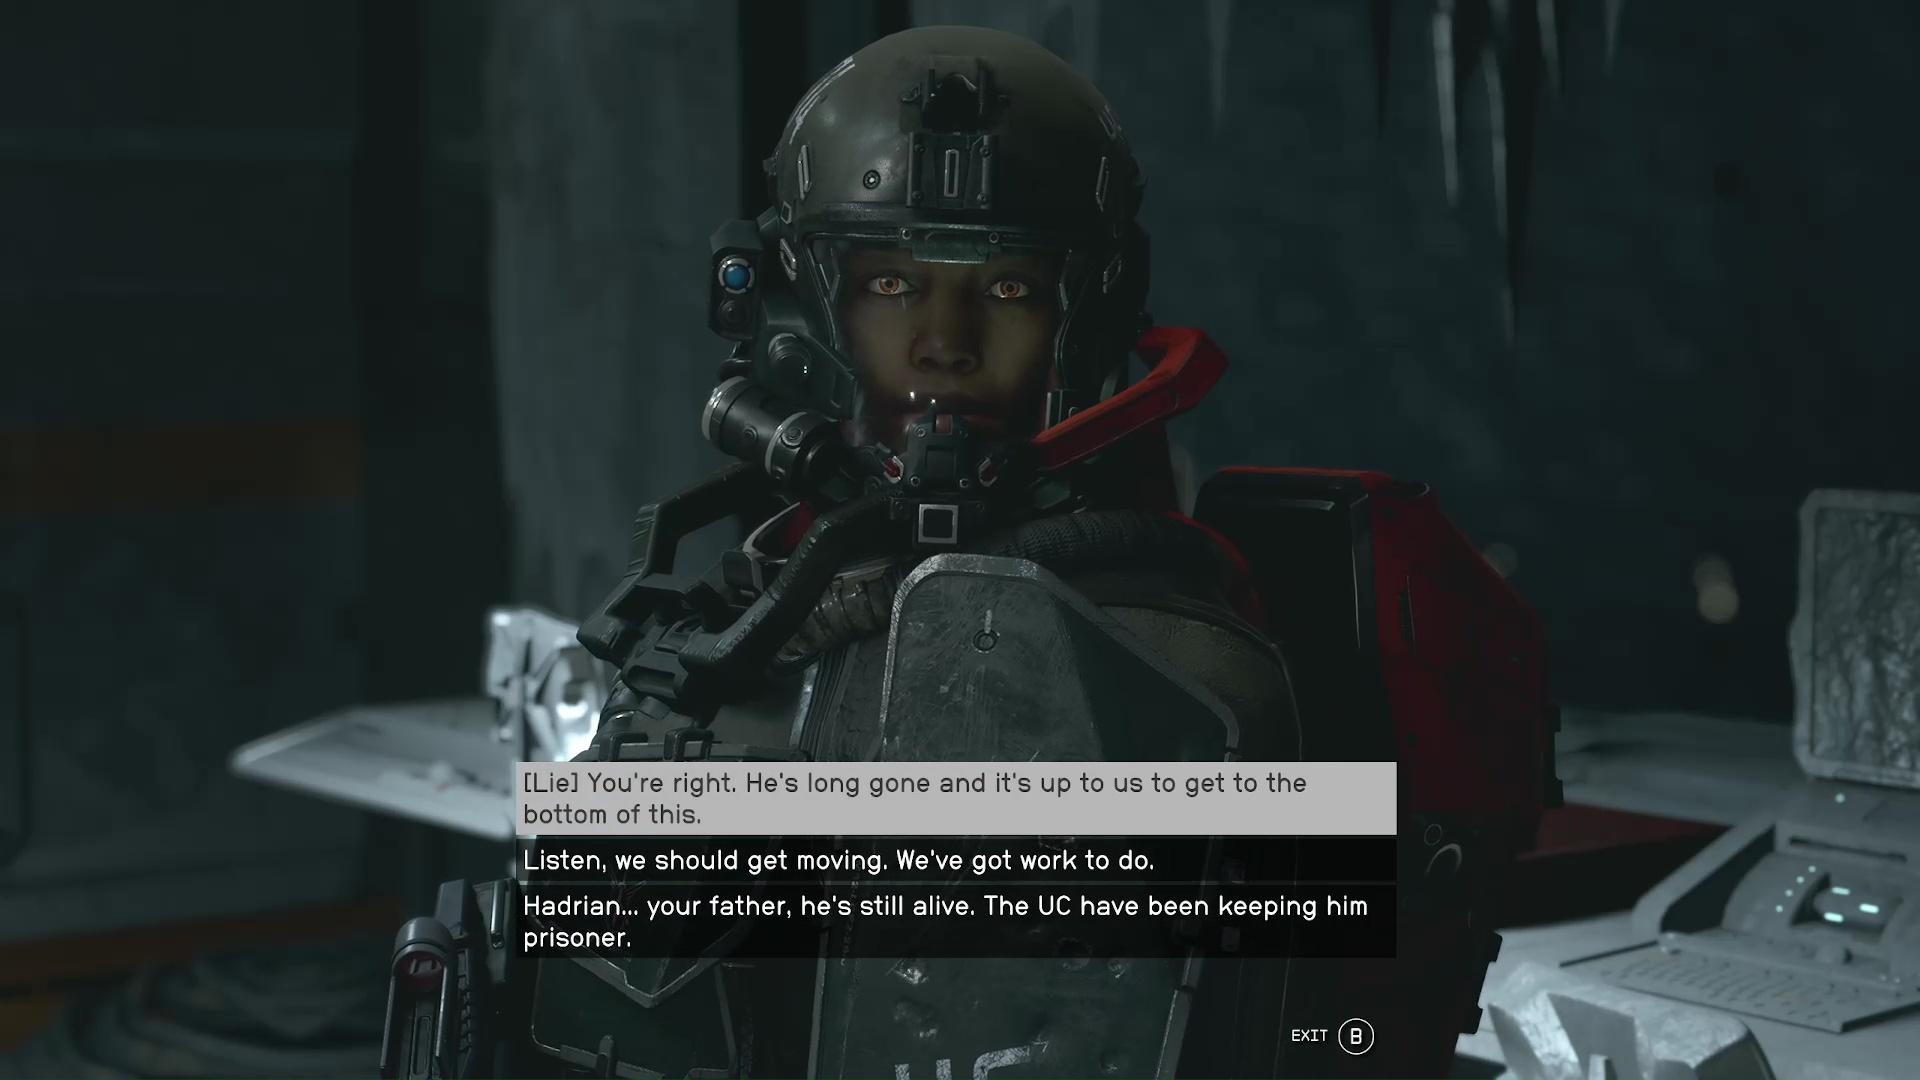
The recording will outline that Vae Victus killed everyone working on the planet to make sure that the information about heatleeches and Terrormorphs stayed a secret. Collect the recording after it is done, then Hadrian will want to talk. This another one of those opportunities to tell Hadrian the truth about her father being alive. It is up to you, but we recommend not telling her, yet (Image 15). If you do, then you’re locking yourself into an ending for this faction.
Image 15
Find and Secure the Final Sample
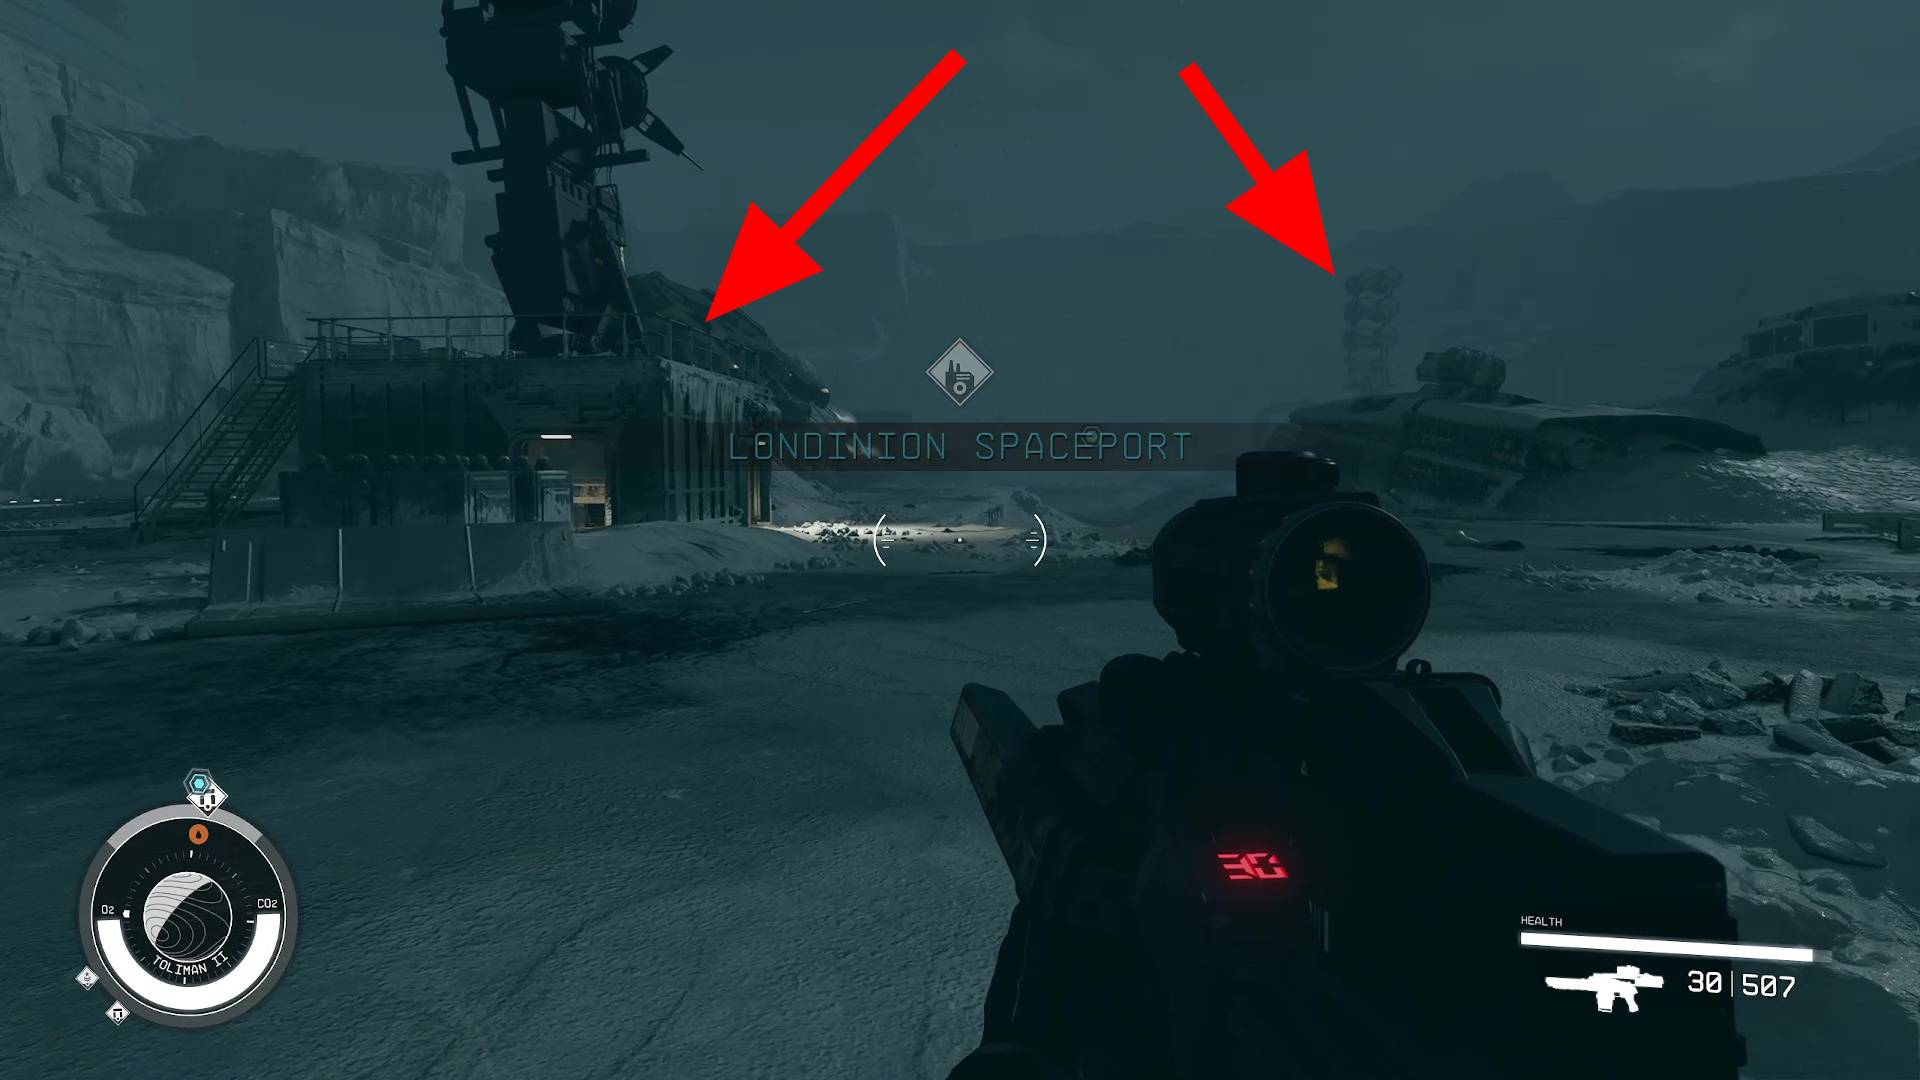
Return to Kaiser and he will open the door to the boss area. All you have to do to start the boss encounter is approach the by the snowy cliff in the back. However, before you do that, there are a couple outposts with antennas above them (Image 16) in this area that have guns and ammunition that you can loot. You will want to make note of those outposts because you might have to return to them during the fight. Another good idea is to save your game before fighting the boss.
Image 16
Shortly into the fight, the Terrormorph Anamoly will send out a signal to enthrall animals to come and help it fight. After this happens, Percival will tell you that he can block the signal if you activate the antenna towers in the area; they will be marked with s. On lower difficulties, this generally isn’t necessary. However, if you’re on a higher difficulty then you will probably want to use this mechanic to take the thralls out of the fight, so you can focus on the boss. When it’s dead, you must take the sample off its corpse, then hand it over to Kaiser.
Return to Forward Base 441 and Discuss Findings
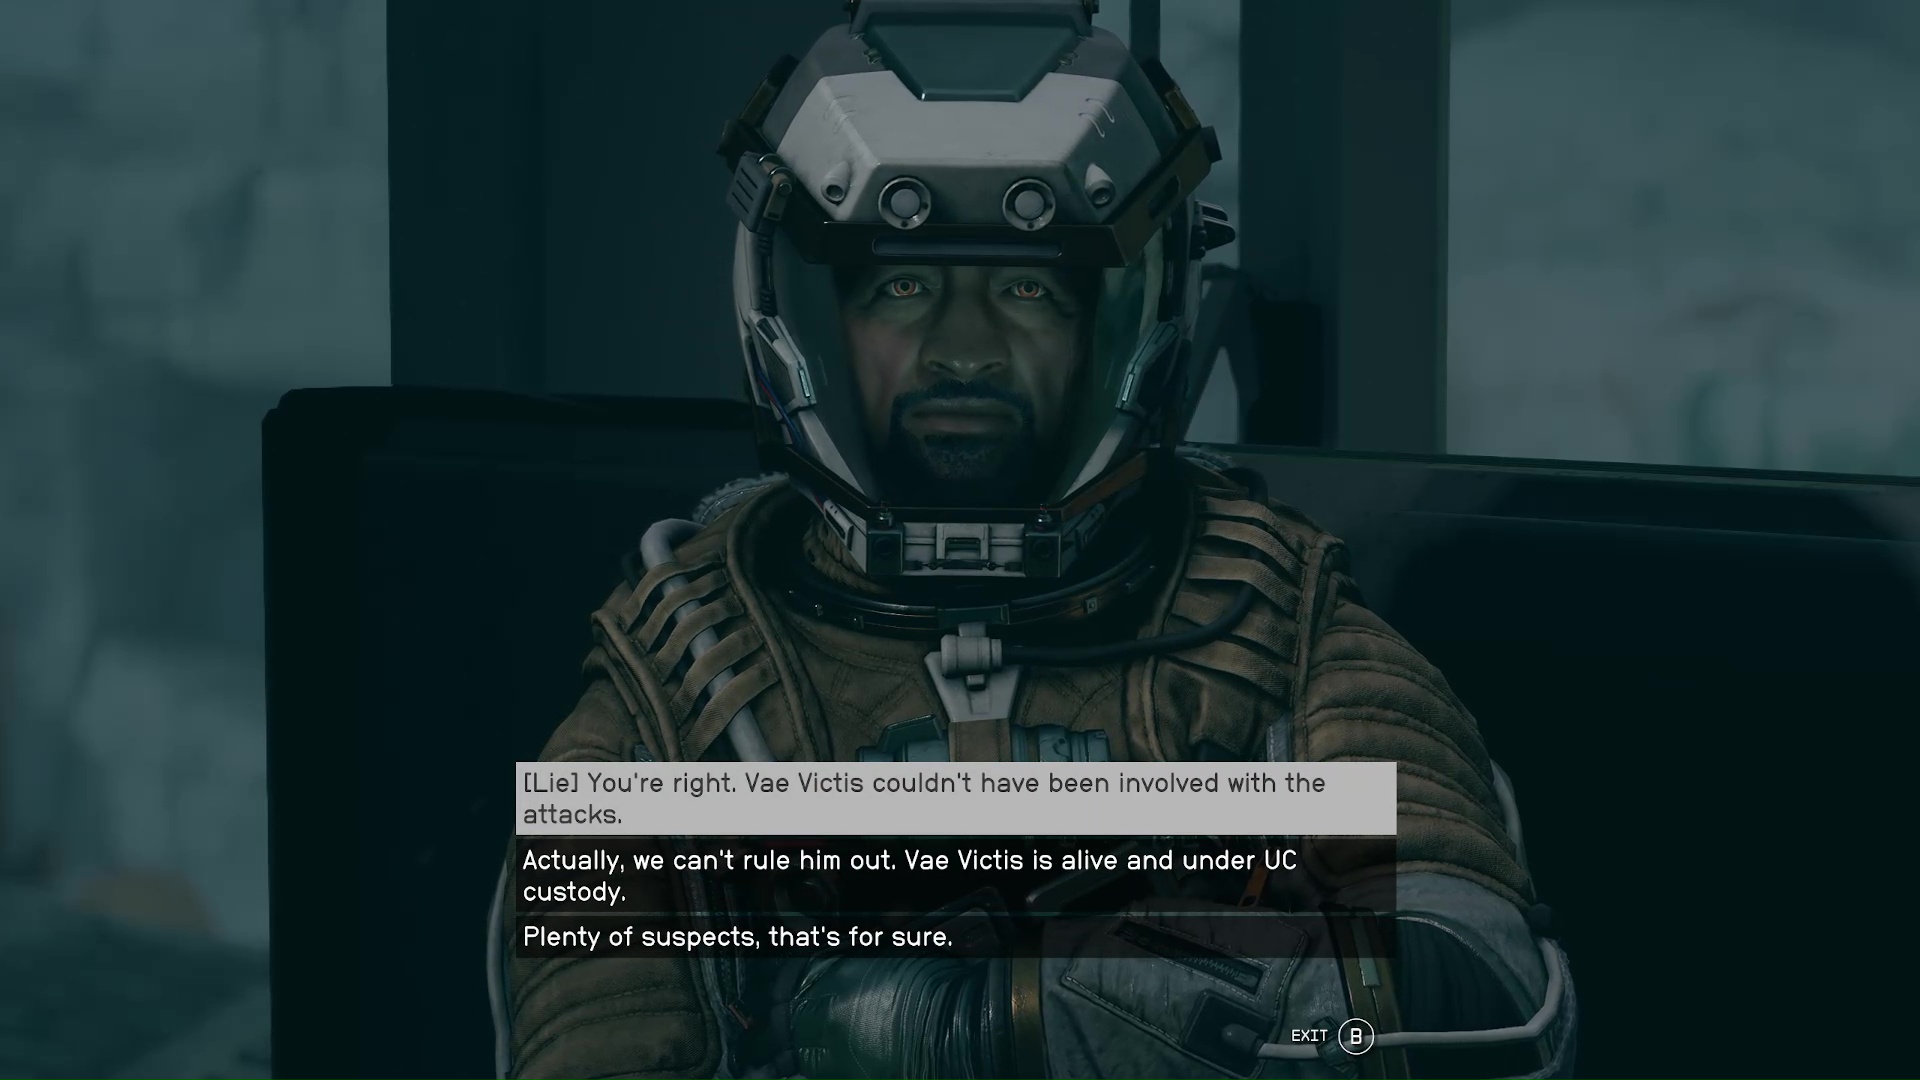
With the mission winding down, all that’s left is to wrap things up by talking to the crew. Follow your scanner to Percival, and he’ll clarify some things he heard, including that Vae Victus had something to do with the Terrormorph secret. Once again, you have the chance to come clean with Hadrian about her father, but we think that for every player, it’s a good idea to hold off and lie (Image 17). You can decide later if you want to tell Hadrian, and this keeps your options open for the last mission.
Image 17
After lying to your crew, they’ll decide they need to analyze all the materials you’ve gathered. They’ll task you with looking into the plot of who triggered the Terrormorph attacks on New Atlantis, and that will start the next mission.
Kelson is a spud head from out west. He is most happy when holding a milky tea with too much honey and playing a sprawling role playing game or reading a fantasy novel. His video game tastes vary but his main genres are looter shooters, RPGs, and real time strategy games.