It is apt for a space cowboy’s or cowgirl’s climactic mission to be a huge, drawn-out gun fight. In this penultimate faction mission of the Freestar Rangers, The First has circled the wagons at their HQ, and it’s up to you to reach their ringleader; this walkthrough will make sure you enter prepared.
It is crucial that you take the time to load up on provisions, like ammo and medpacks, before attacking the First. Nothing’s worse than getting halfway through, and realizing you need to flee to get some medpacks from a store, then making the long trek back – we totally didn’t have to do that.
Go to the Meeting Room and Sit Down
You will have just turned in the last encrypted slate to Alex, when you are prompted to go to the meeting room in The Rock. When you enter, you’ll be asked to sit down next to the Marshal and Emma. This is an interesting part of the quest because the two of them will go over how you’ve handled yourself so far. It would be more exciting if your choices impacted the story — but they don’t.
Alex will come in after encrypting the slates and let the group know where The First are headquartered. After that, the meeting will end, and you’ll be tasked with going to find them. Unfortunately, none of the three rangers in the room offer to come help you fight an entire company of mercenaries.
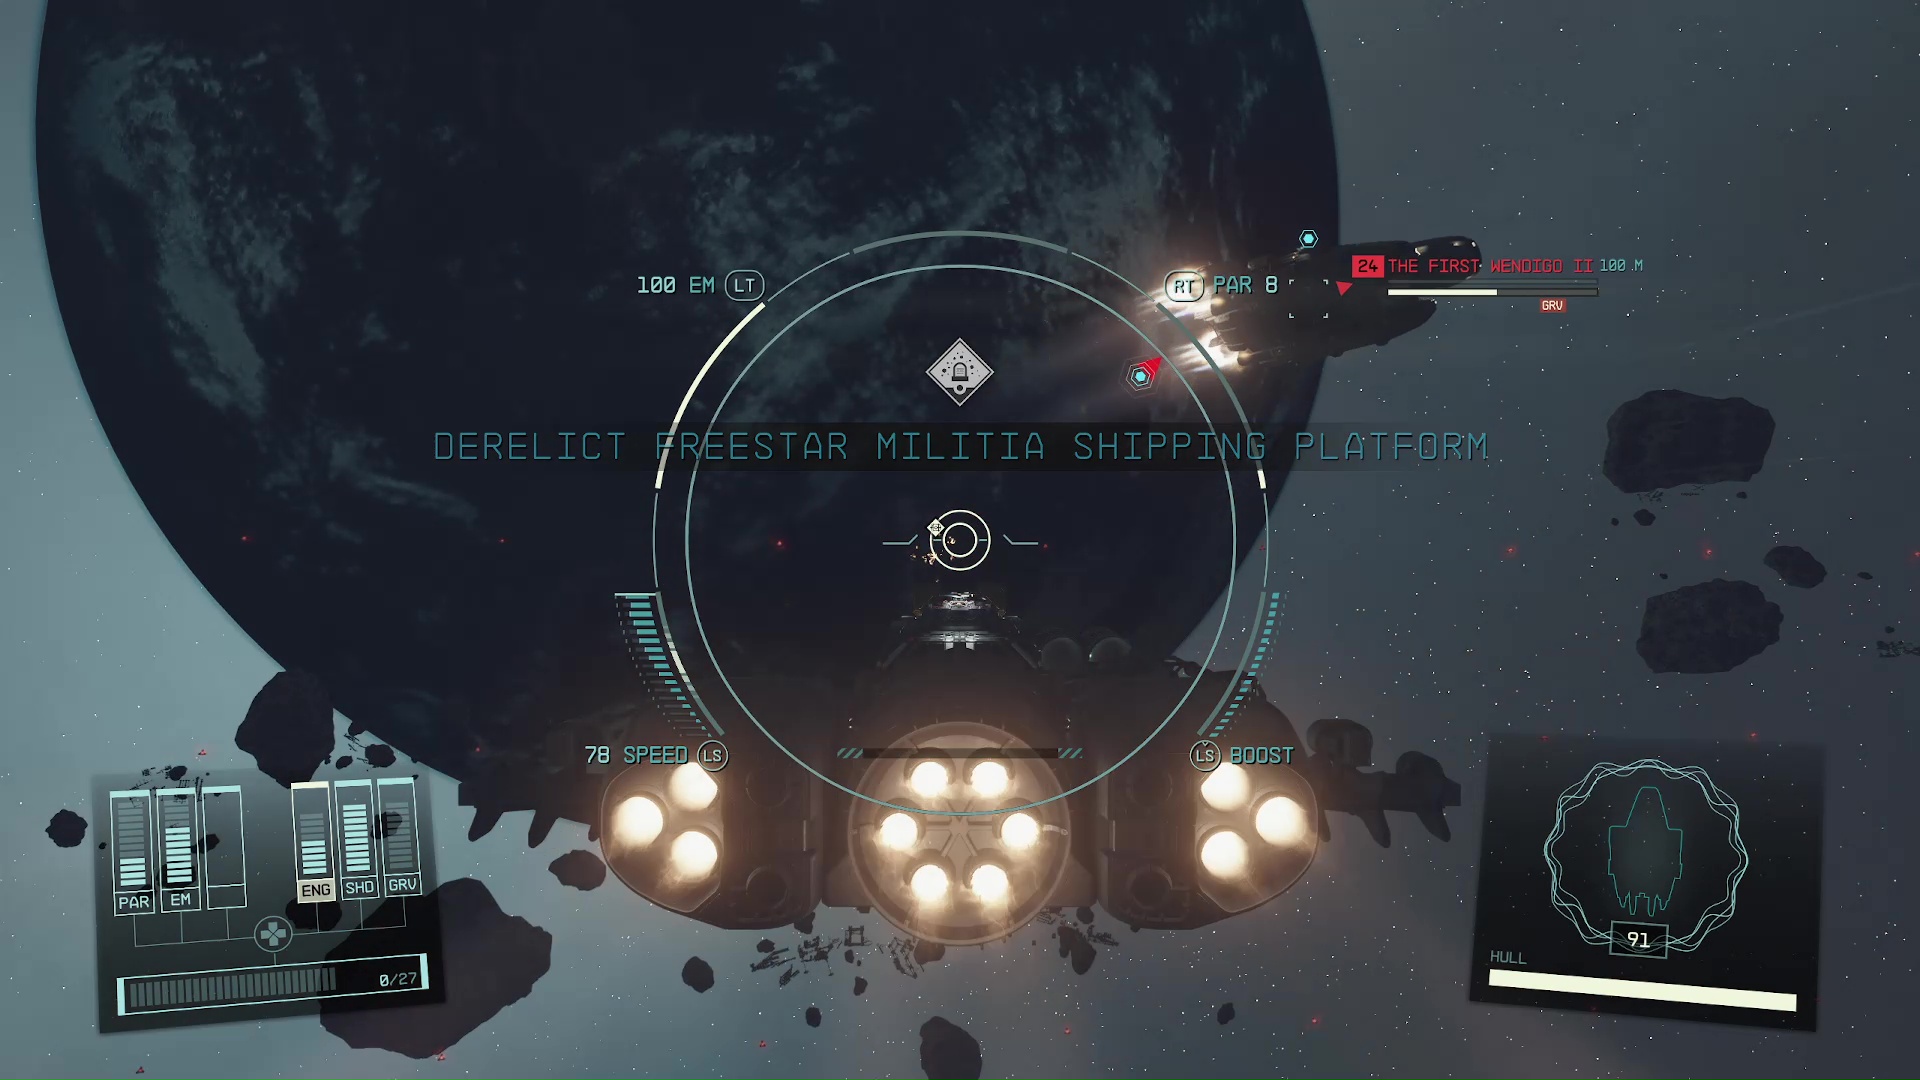
Travel to Arcturus II and Destroy the Mercenary Patrol Ships
After you’ve fast traveled to Arcturus II, you’ll be immediately set upon by enemy patrol ships (Image 1). It’s a good idea to make some upgrades to your ship beforehand if it’s not up to snuff. If you need some help doing that, check out our guide on How to Upgrade Ships.
Image 1
This isn’t the hardest spaceship fight, but it’s definitely not the easiest. There will be three waves of two ships; the next wave will come in after the prior one is defeated. If you need to heal between waves, fly the opposite direction from the enemy ships when they arrive and use your ship parts. Here is some general advice if you’re having problems:
Use your boosters – A faster target is harder to hit.
Use the correct weapon – Some weapons are only good against certain defenses!
Missiles (MSL) – Effective against shields and hulls, but slow reload.
Ballistics (BAL) – Effective against hulls, not shields
Lasers (LAS) – Super effective against shields, not hulls.
Electromagnetic (EM) – Super effective against ship systems.
Particle (PAR) – Effective against both shields and hulls.
The Best Defense is a good offense – Taking out enemies as fast as possible can be an effective strategy. Let your weapons recharge to full instead of shooting one shot every five seconds, then try to take out two ships in one pass.
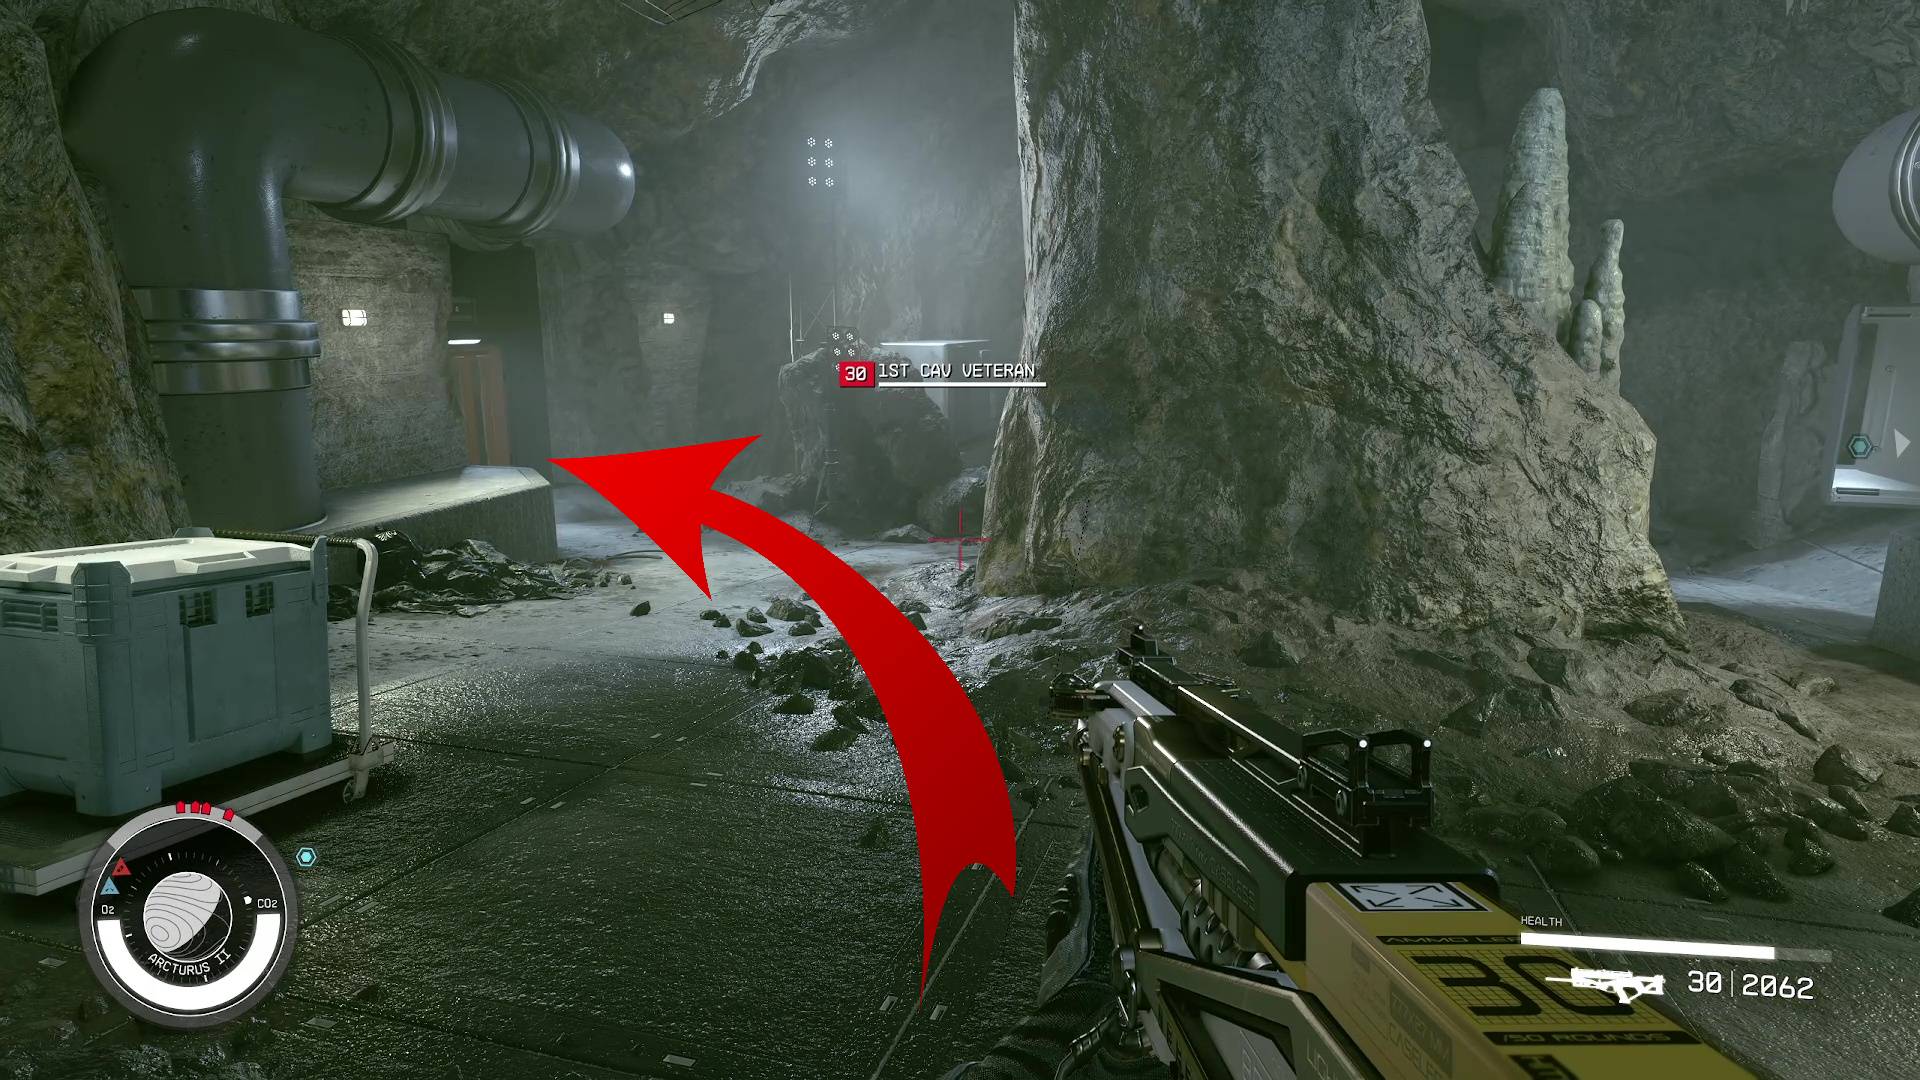
Investigate the Freestar Mech Factory
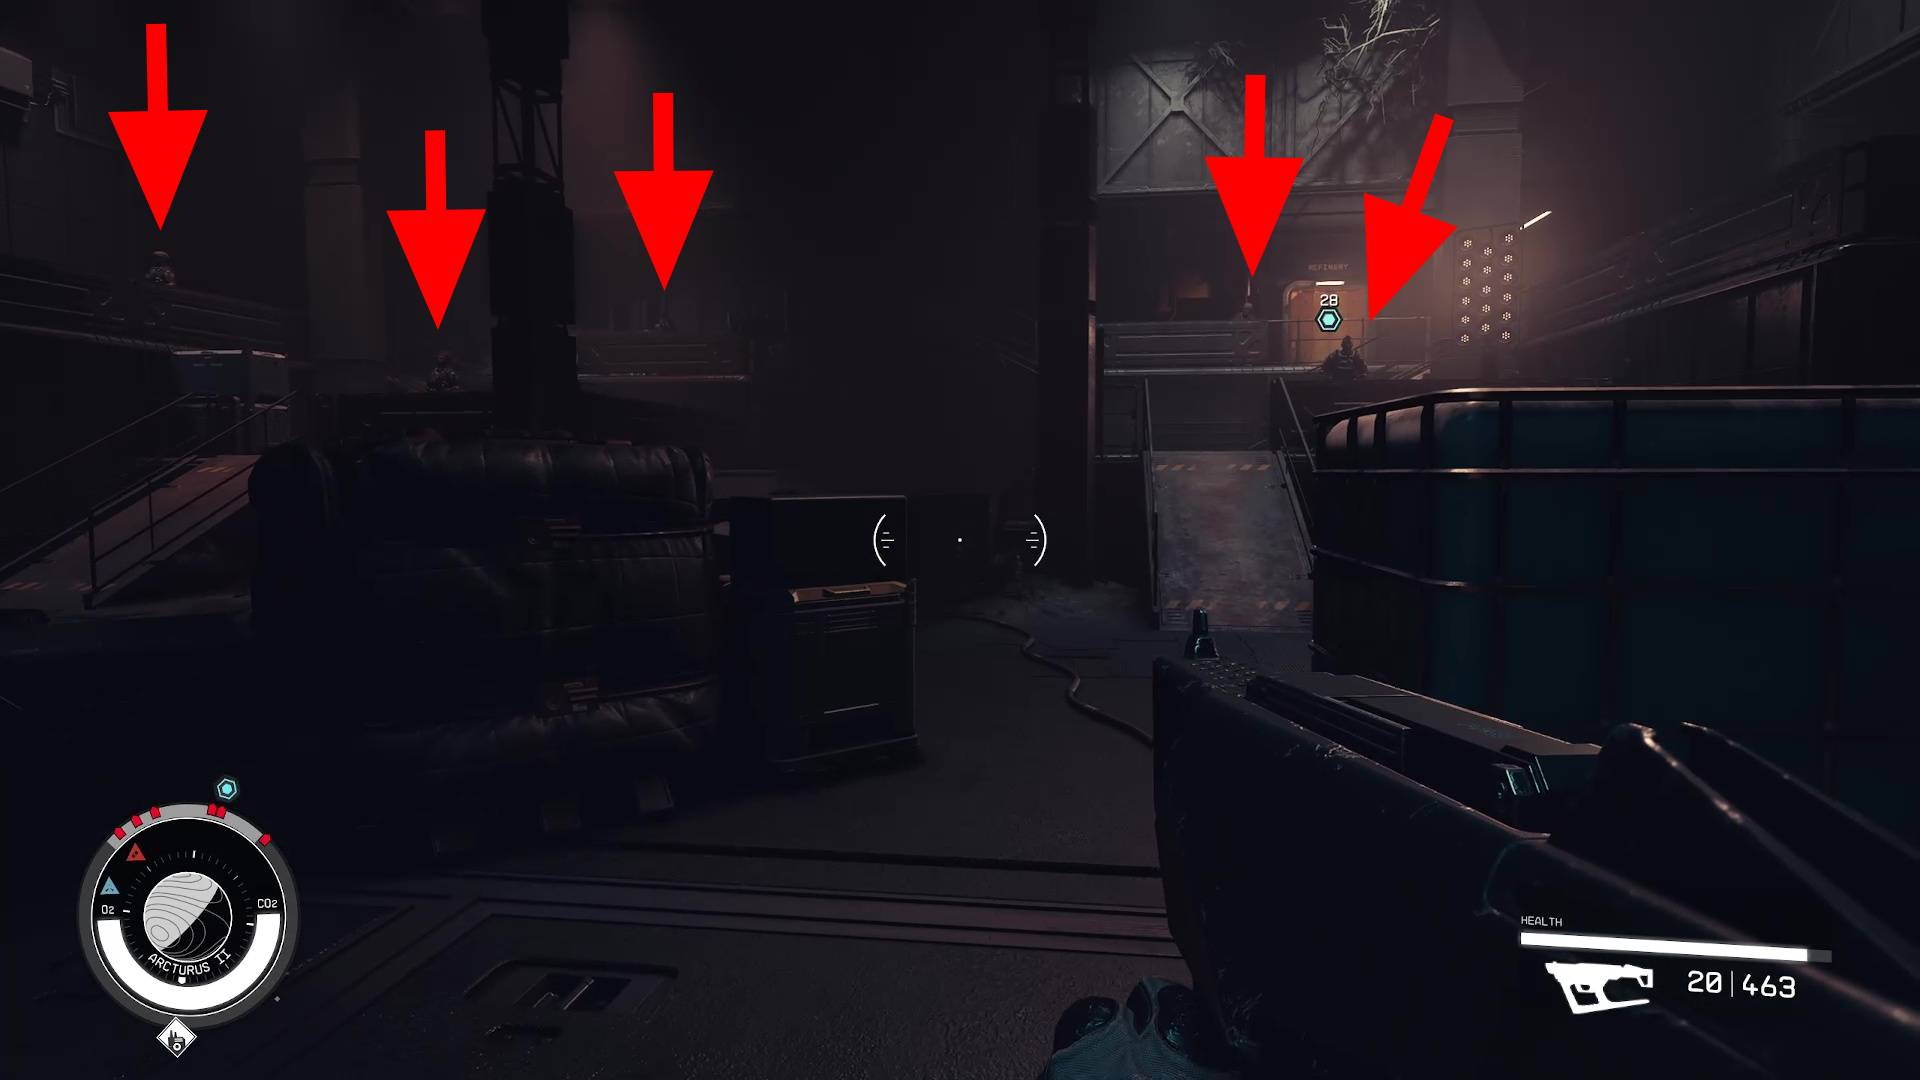
Now that all the patrols are space dust, you can open up the planet map and land at the Freestar Mech Factory. When you exit your ship and approach the factory doors, the commander of The First, Paxton Hull, will talk some trash to you over the intercom, then open the doors for you. This part of the mission is all combat; you will be clearing out rooms of enemies, so it’s a good idea to loot them for ammunition after each room is finished.
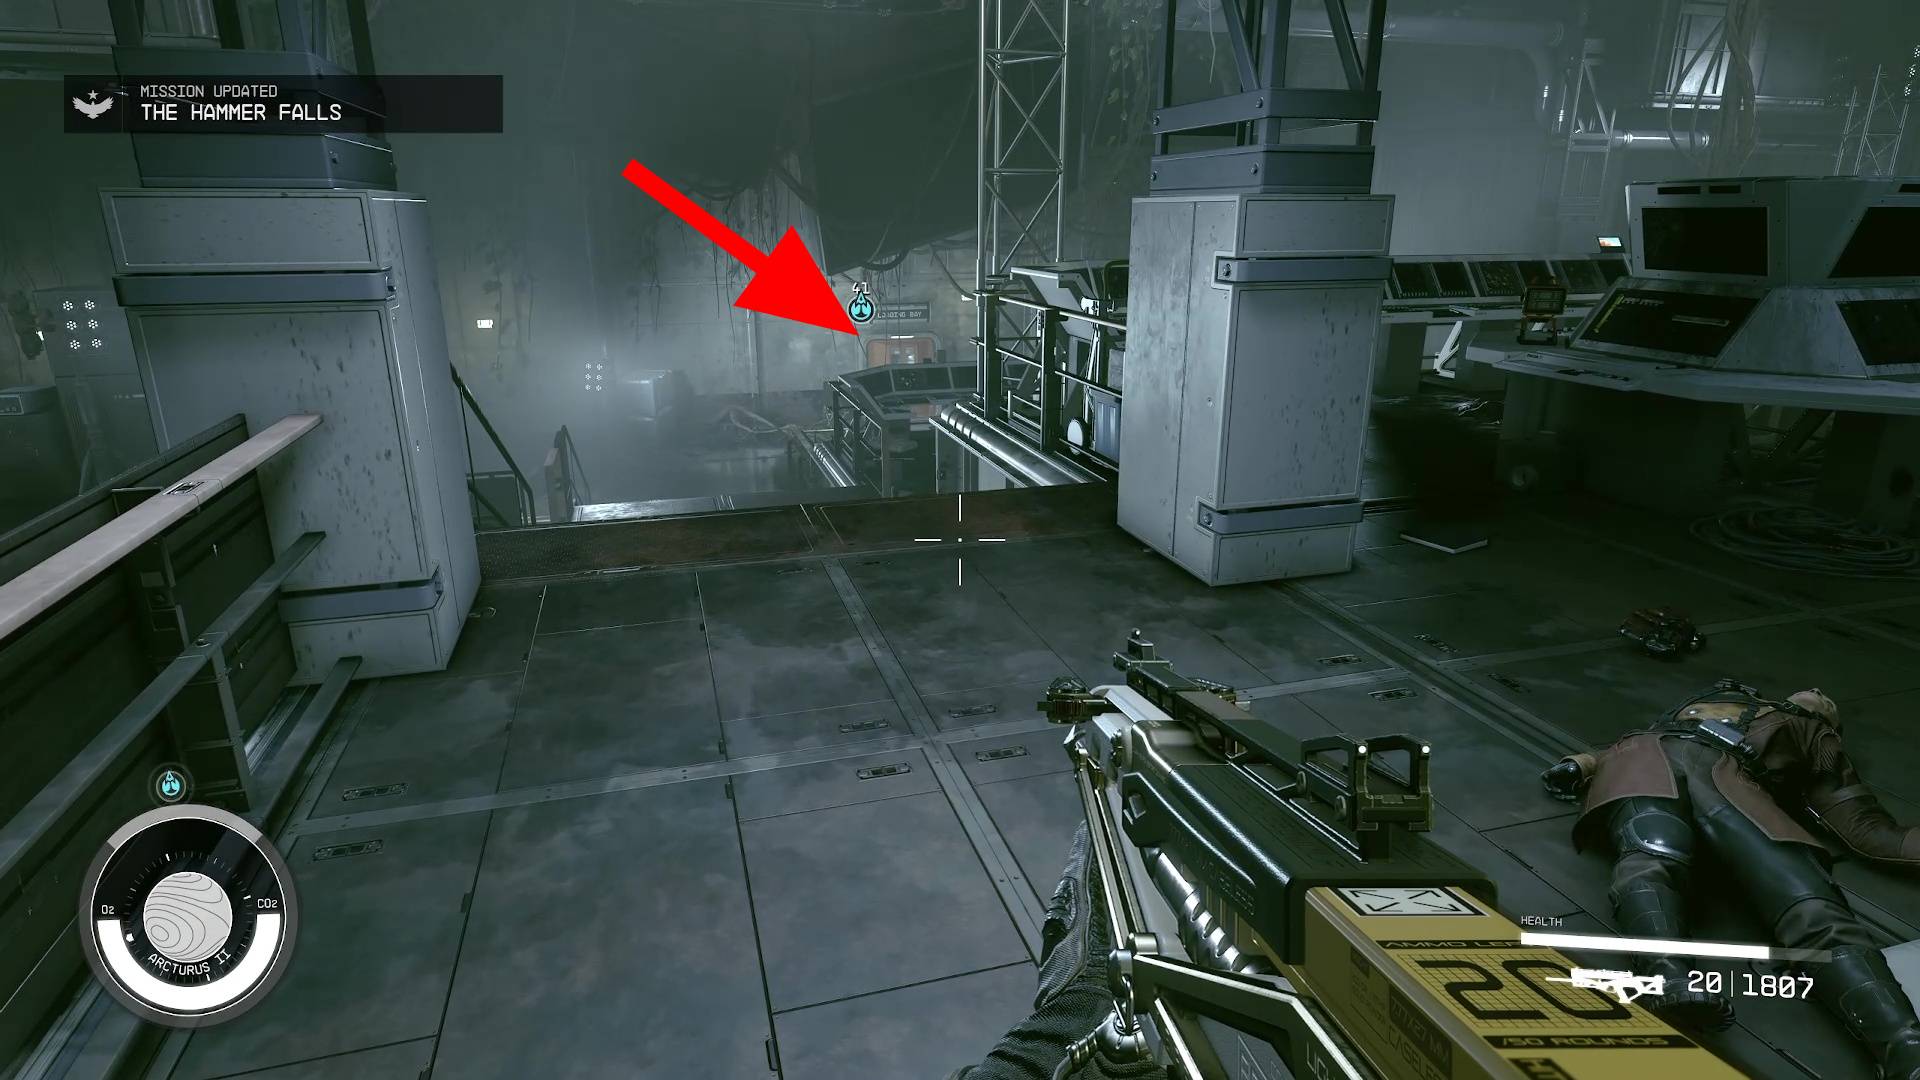
There are about a half dozen soldiers in the loading bay hanger that will pop up when you get close and start shooting at you (Image 2). They seem to wait for a moment before initiating the attack, which gives you some time to close the gap and take them out. We recommend choosing either the left or right ramp and using a high-burst-damage weapon like a shotgun. With half of them gone, the fight becomes much more manageable.
Image 2
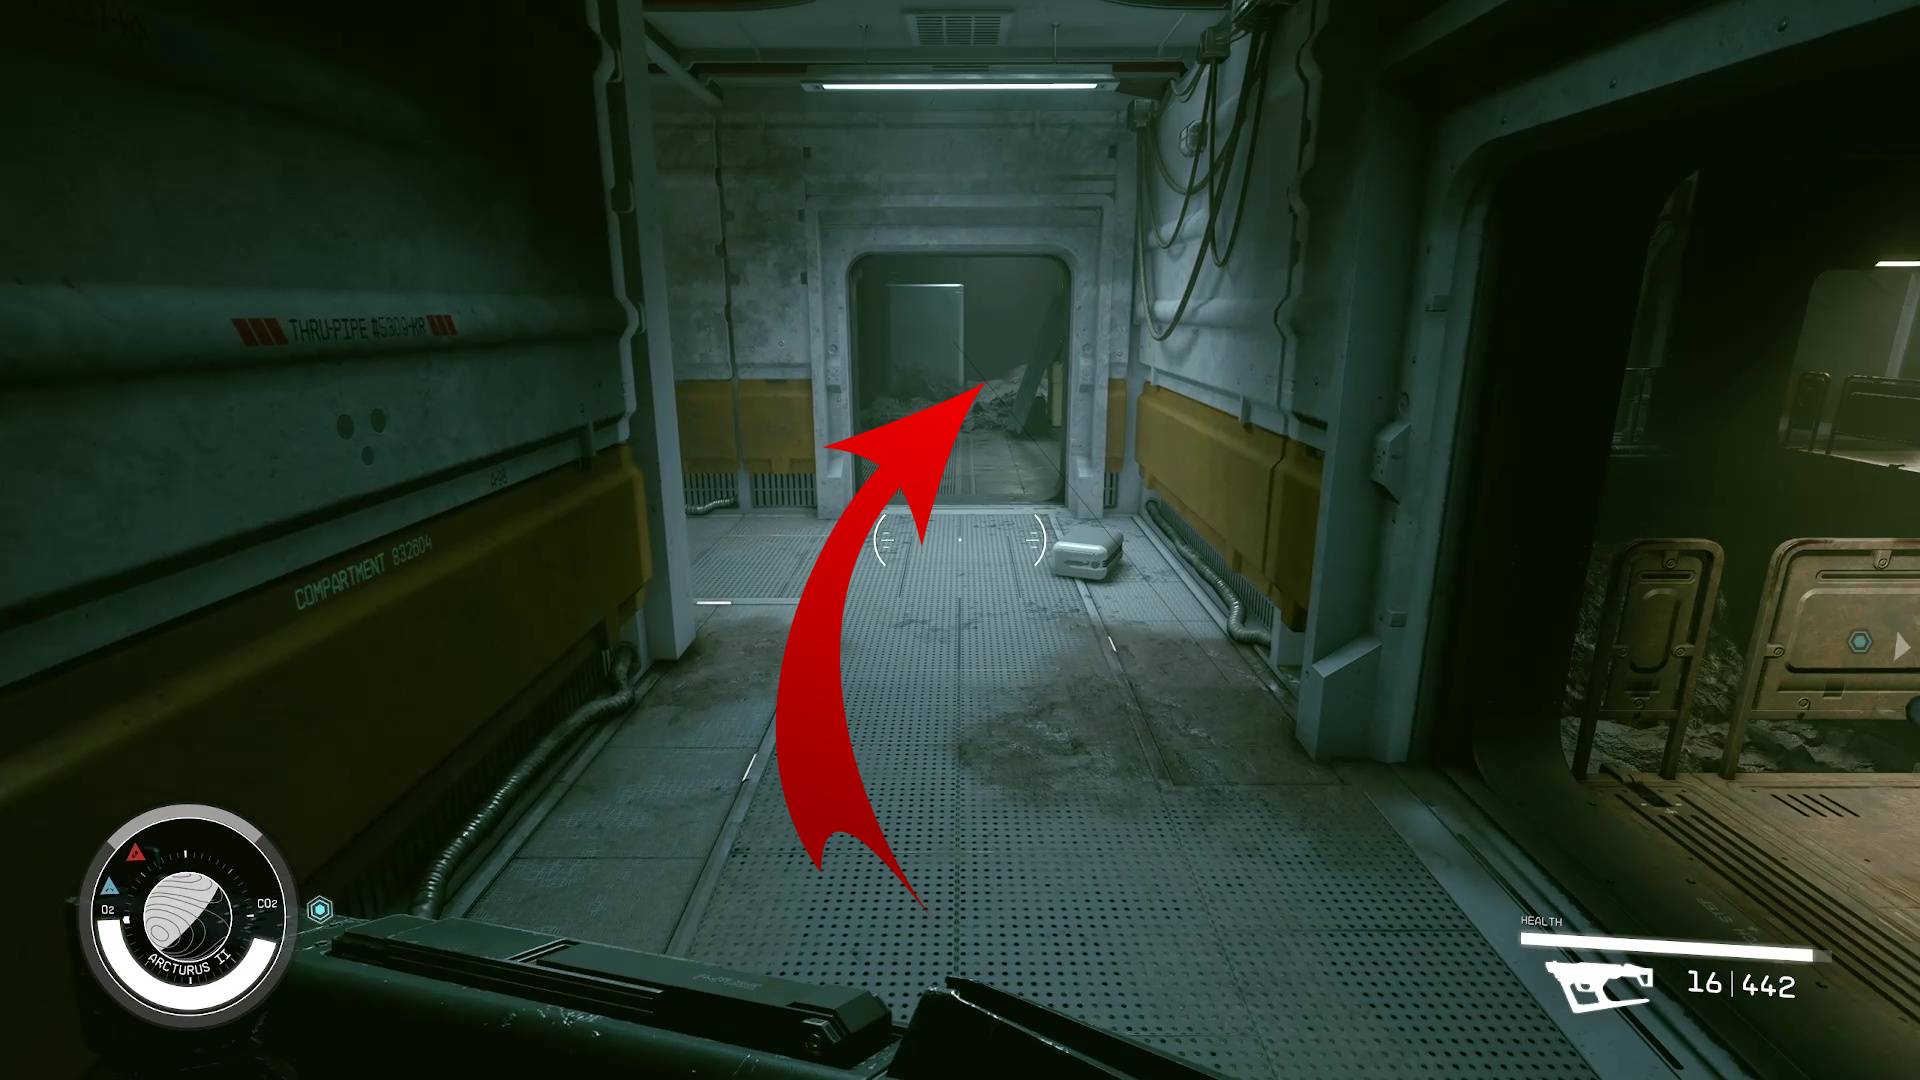
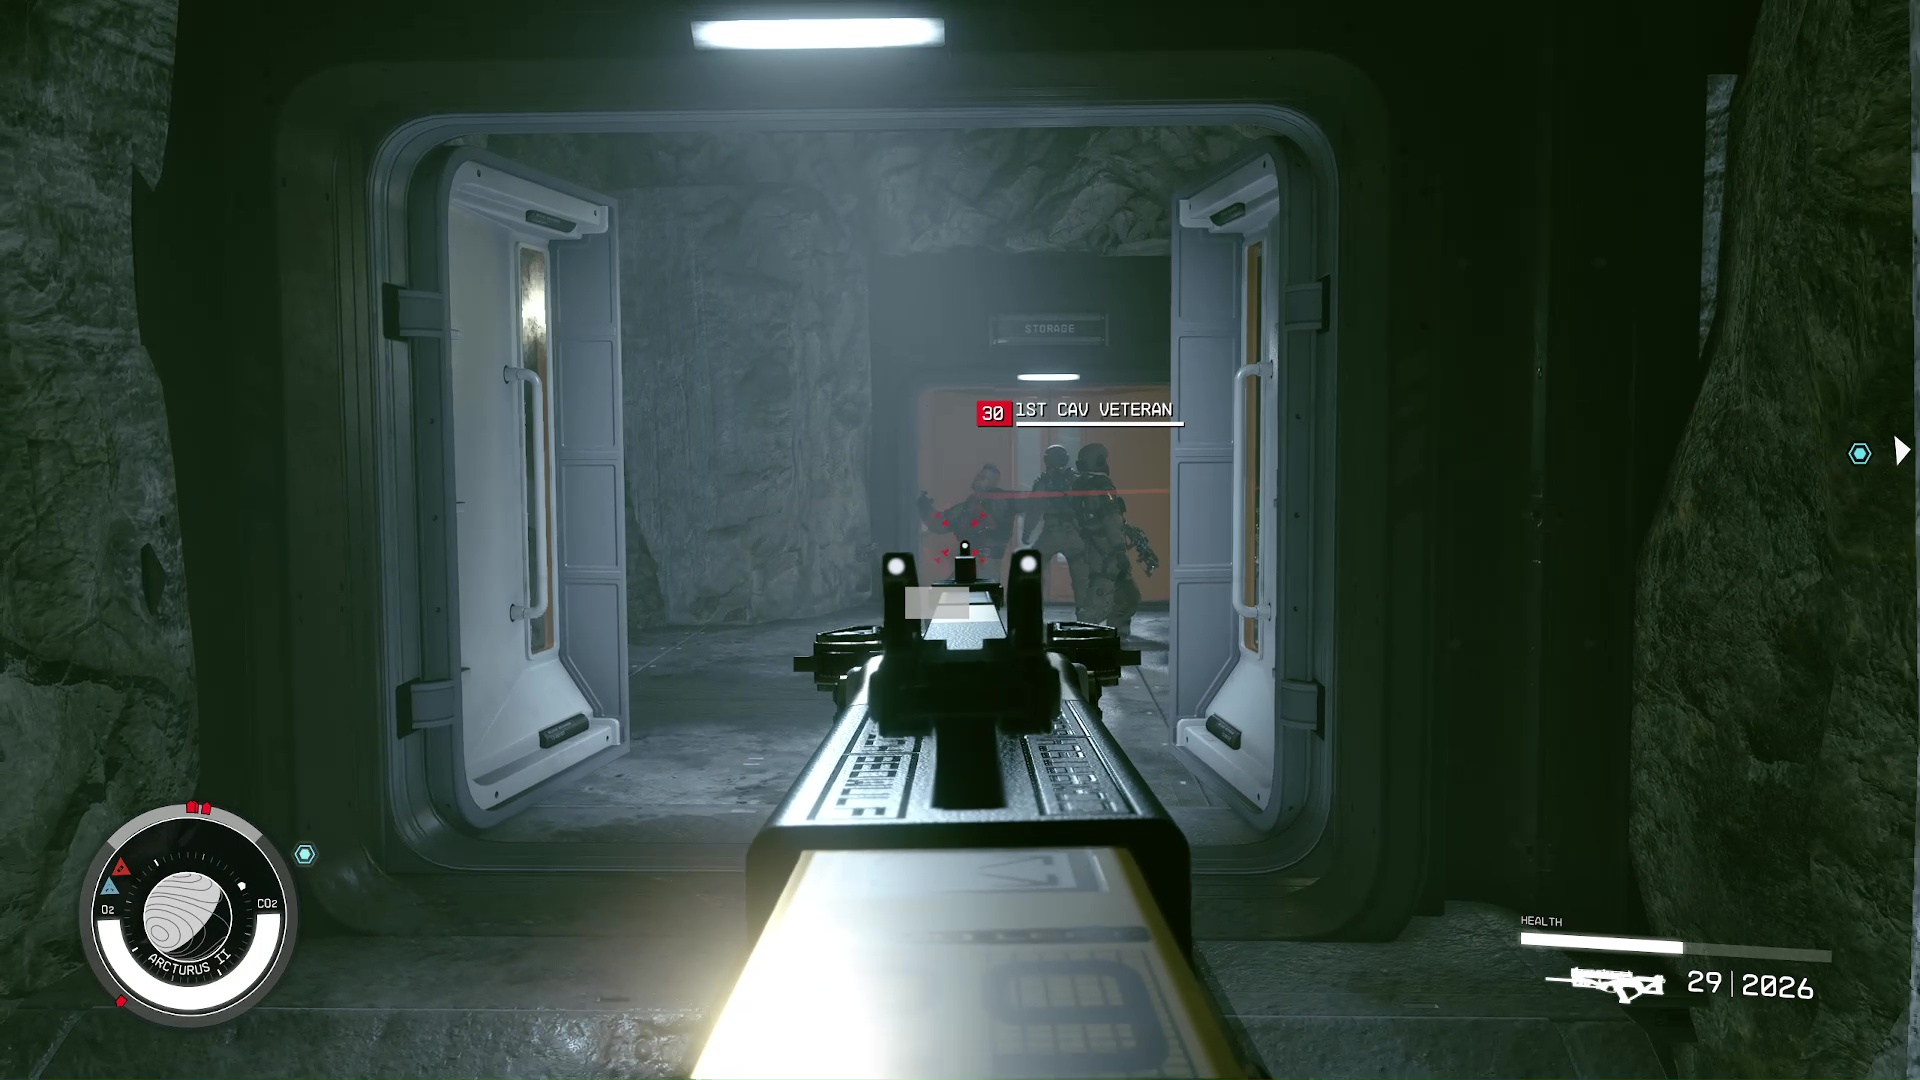
Follow the and it will lead you inside the factory. You’ll continue down some stairs and run into a couple more soldiers. After they’re dealt with, you’ll have to jump across a broken bridge (Image 3), then there’s another set of stairs. At the bottom of these stairs, you will want to go straight, not right, because some enemies will shoot at you from cover. Going straight (Image 4) lets you get the jump on them instead!
Image 3Image 4
This next room is where the heat turns up – metaphorically, because of the enemies, and literally because there’s lava. You’ll find that you’re in the control room overlooking the foundry. It is a good vantage point, but the enemies will be blasting at you with heavy weapons and throwing grenades.
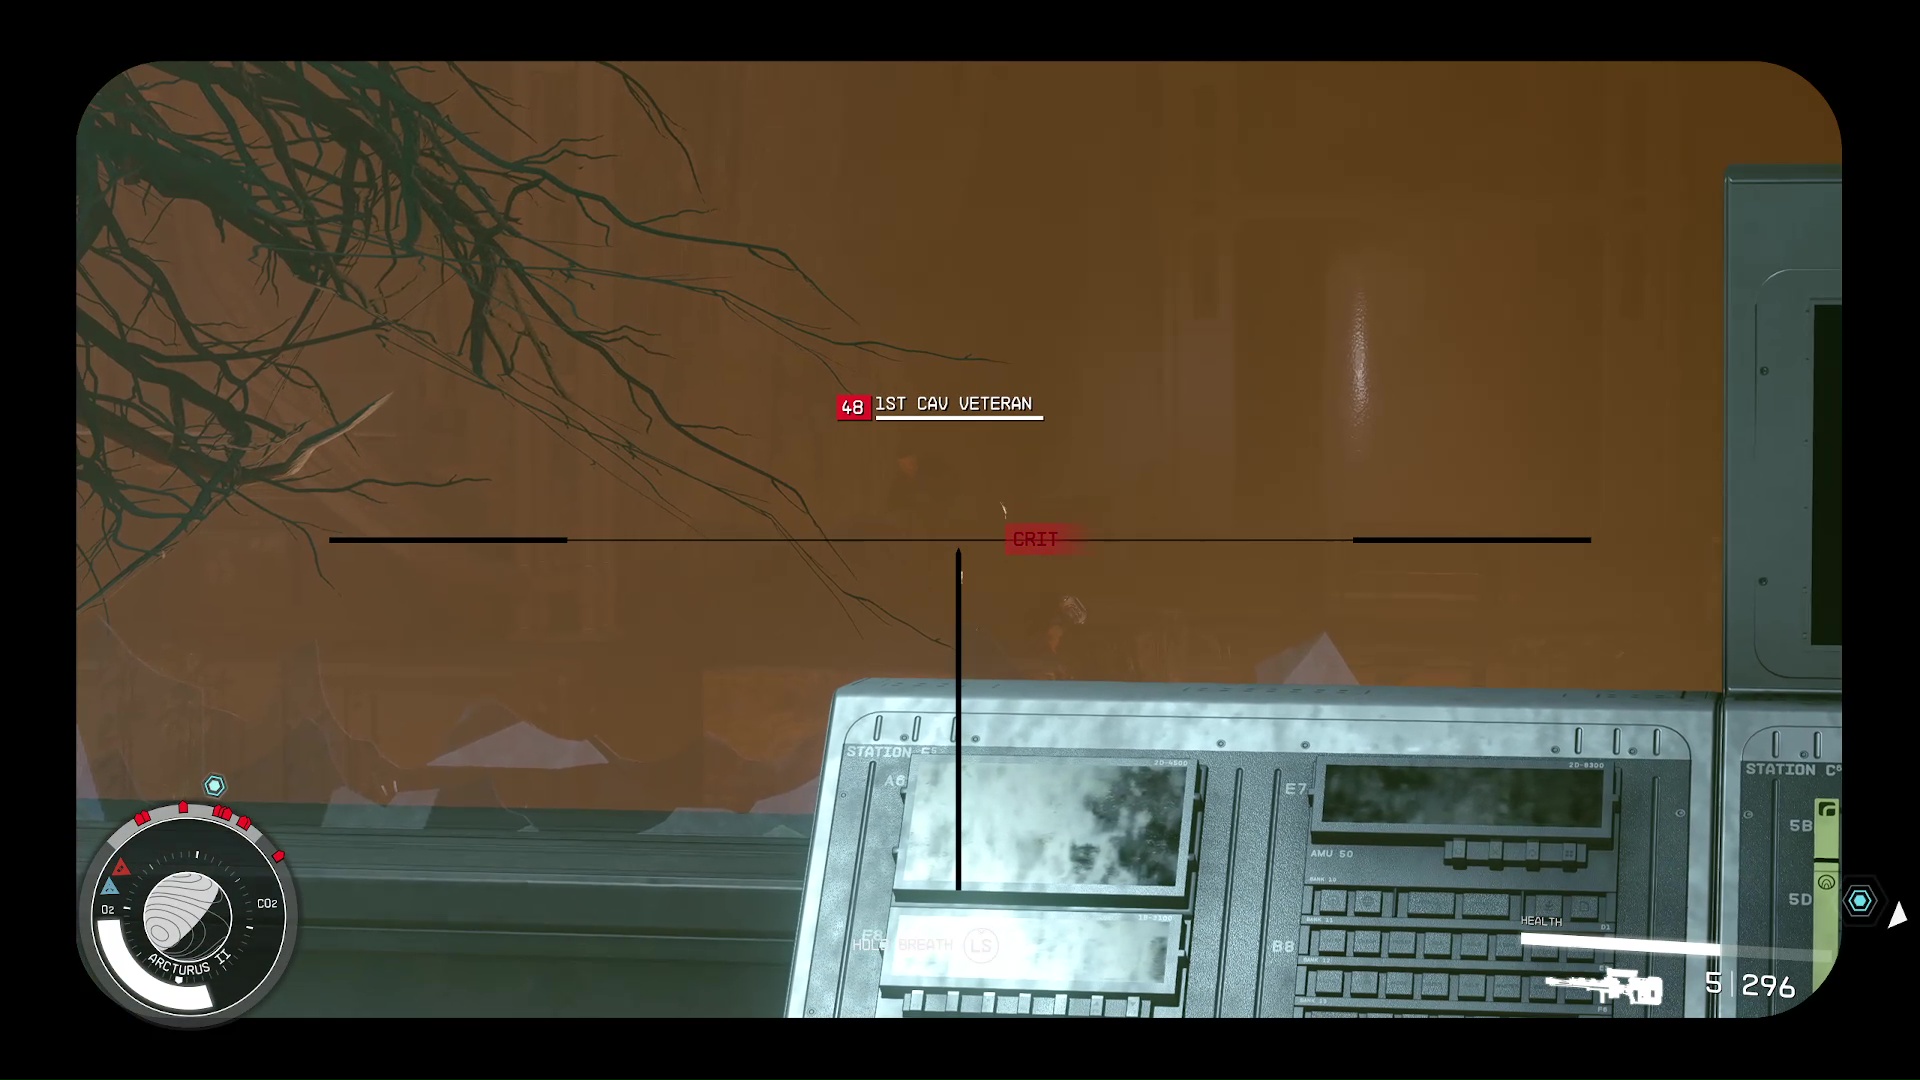
We opted for the safer strategy of thinning out the enemies with a sniper from the control room (Image 5). There are probably 10 or so soldiers in the foundry; thus, rushing them isn’t advised. You’ll notice while shooting that some are launching missiles at you. As soon as you see one coming, you want to duck into cover to avoid the blast. Continue picking them off until a few remain, then you can go down and finish them off.
Image 5
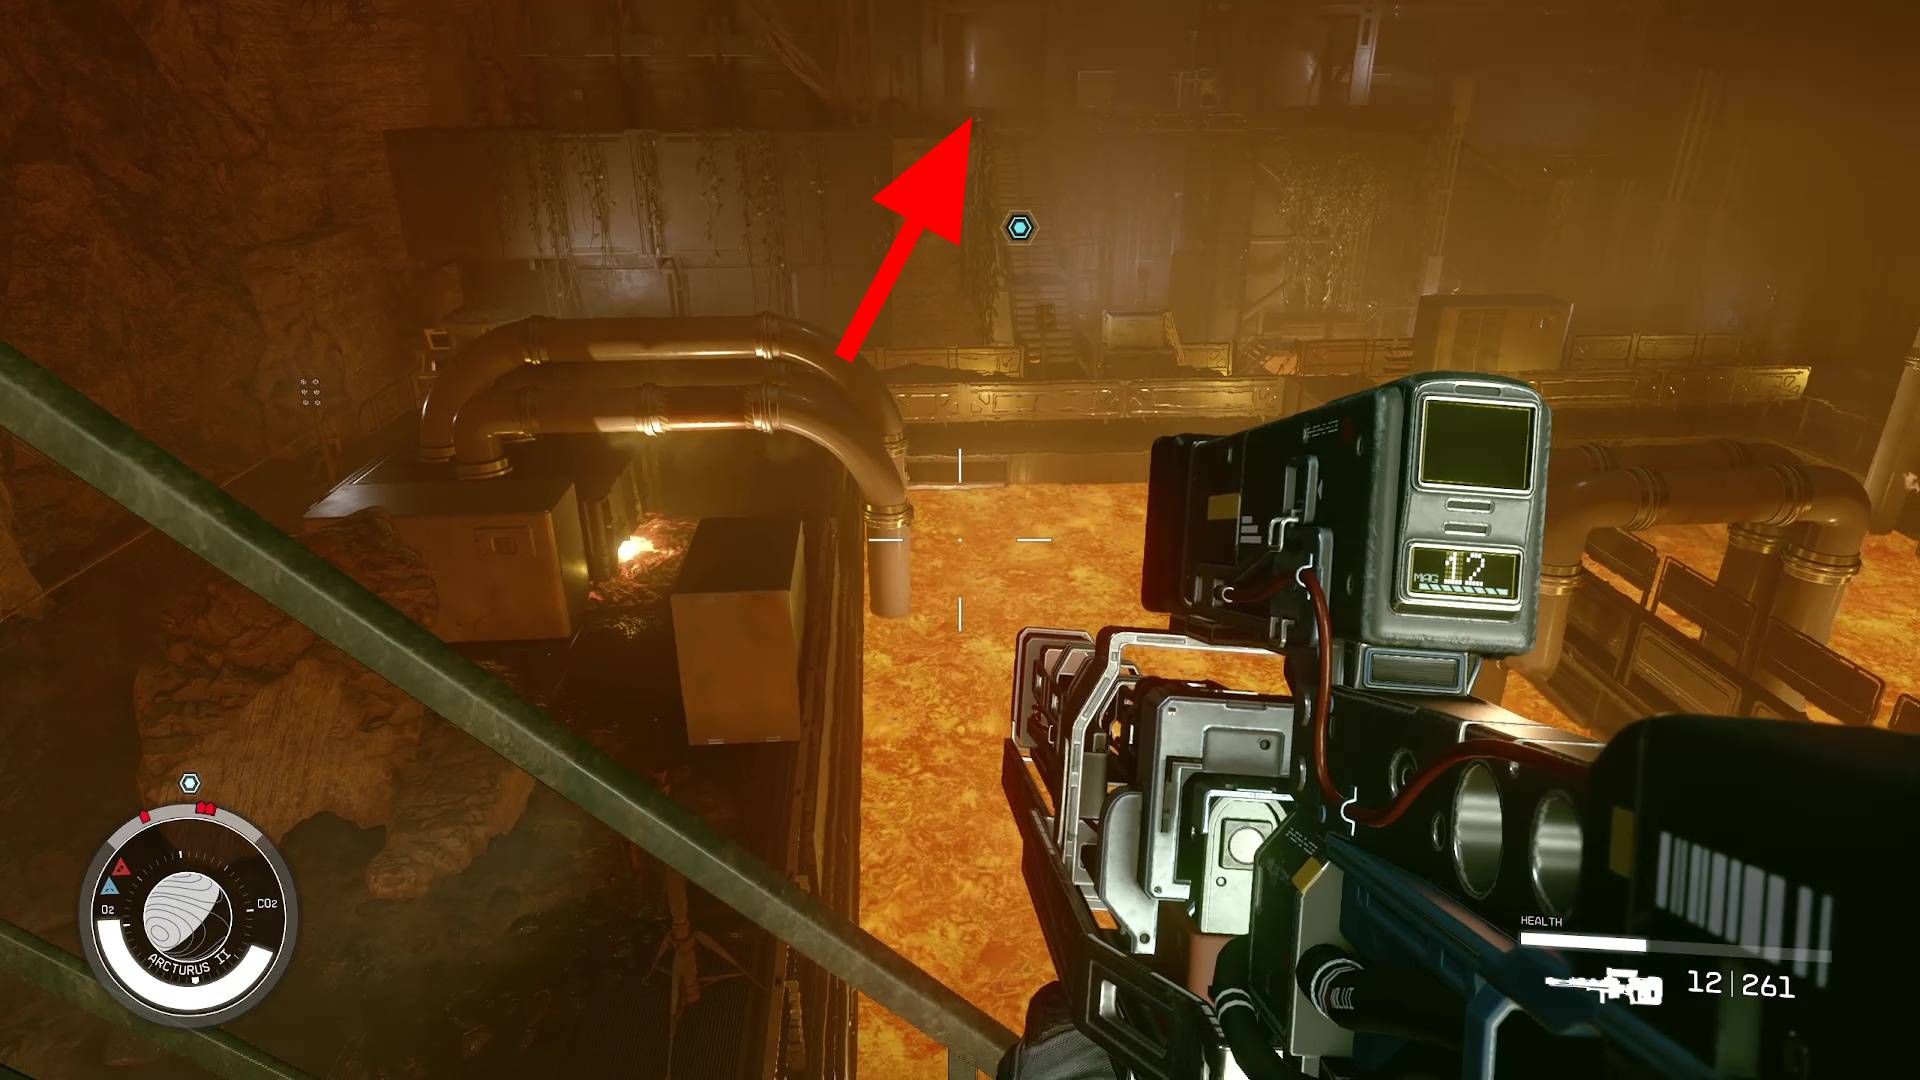
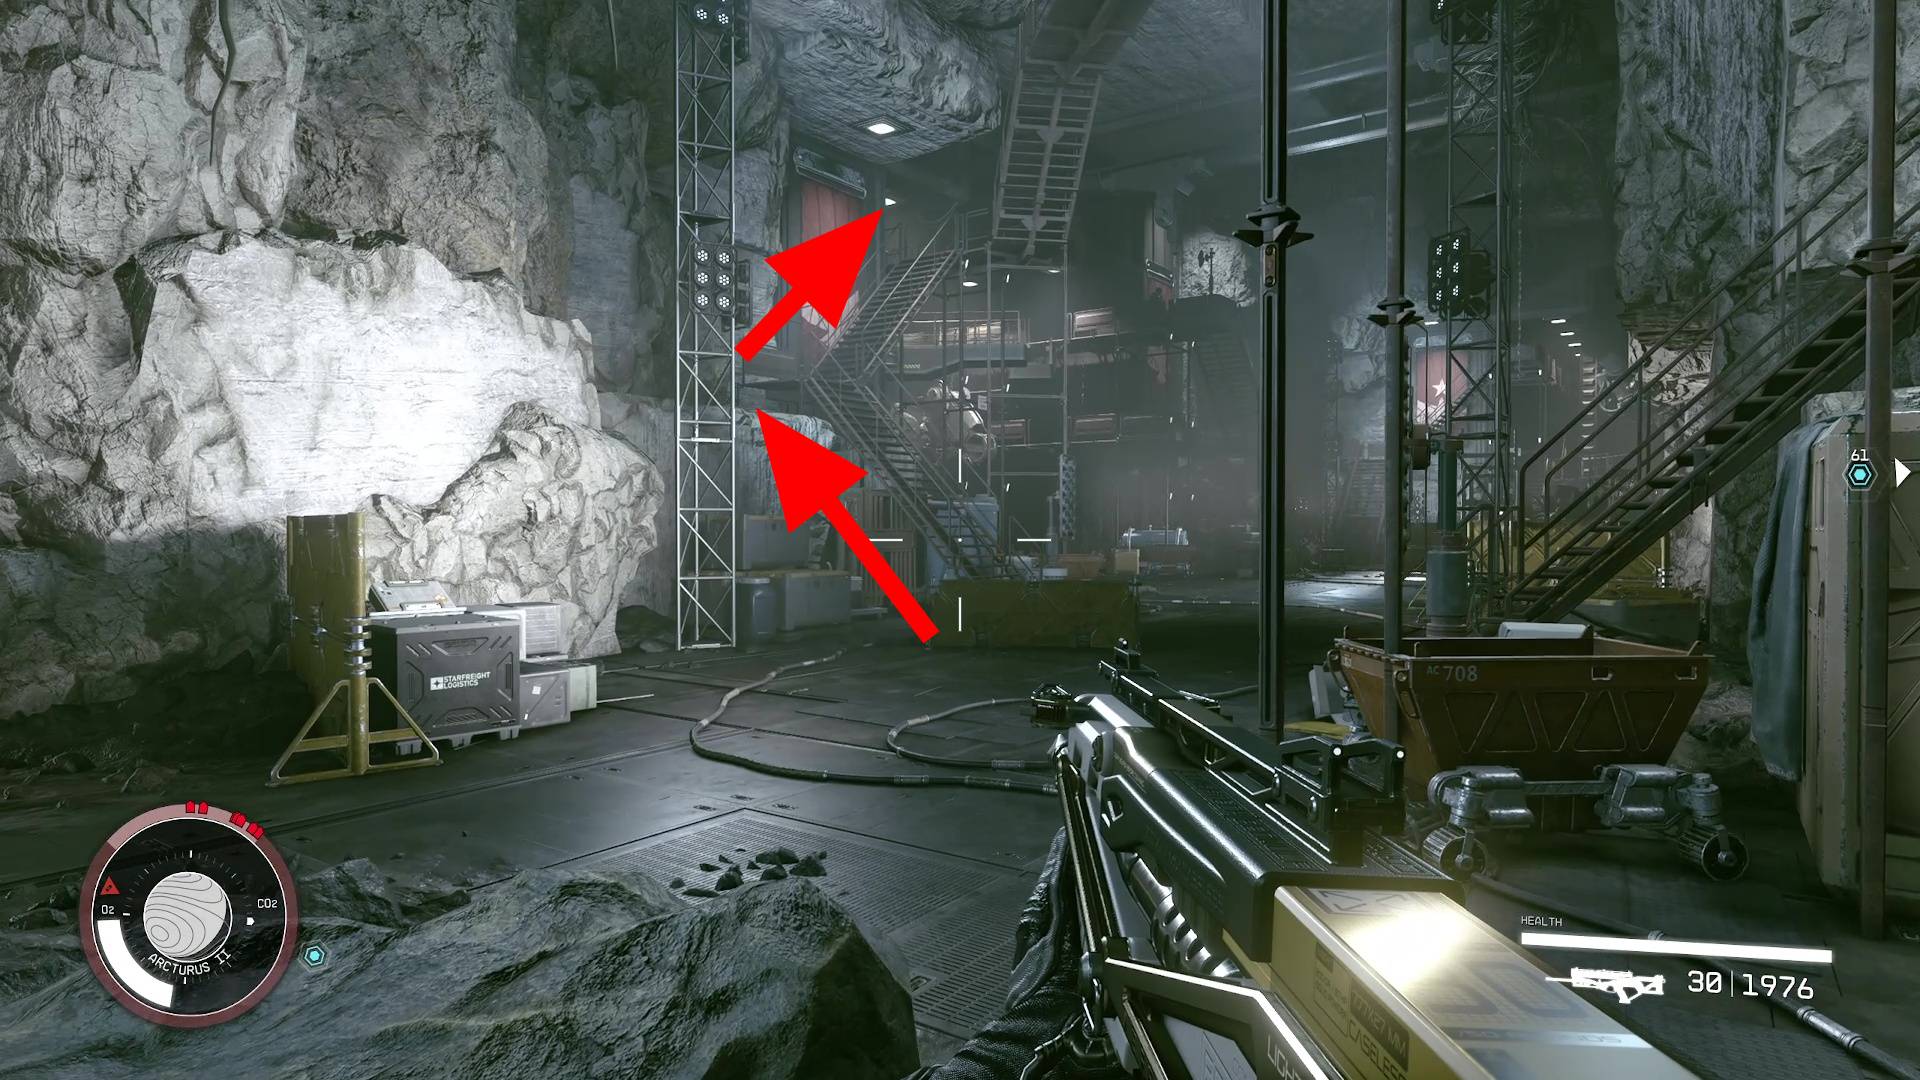
With that main part of the foundry cleared out, you will want to proceed by going up the stairs across from the lava (Image 6). The reason being that there will be some enemies down below you in a passage (Image 7), and you can shoot at them even if they’re in cover. There’s also a two turrets behind those soldiers, so approach with caution. Continue through that hallway – following the – and you’ll arrive at the Mech Factory Assembly.
Image 6Image 7
This is about the halfway point in The First’s Headquarters; it’s a good idea to save your game, and ready your weapons and quick swap settings for even more fighting. The start of the assembly section is filled with narrow corridors and soldiers. You will see some soldiers swarming up the corridors to you. Take them out with a close-quarters weapon, then go through the door labeled “Bypass A” (Image 8).
Image 8
These bypass doors are the perfect way to flank the soldiers that are set up to attack you when you come down the main corridor. Just be ready to fire as soon as you open the door on the other side. When the soldiers are taken care of, you want to do the same thing: don’t continue down the main corridor, take the side door opposite the door you just exited from (Image 9), and use it to flank the entrenched soldiers down the hall (Image 10).
Image 9Image 10
After that group is dispatched, you’ll do the same thing – take the side door to the next section (Image 11). This next part is different, though, it is a large assembly area with different bays and lots of catwalks and stairs. When you go through the door, you’ll come out looking at one of these bays and the soldiers in it (Image 12). Take out the soldiers, then run into the bay.
Image 11Image 12
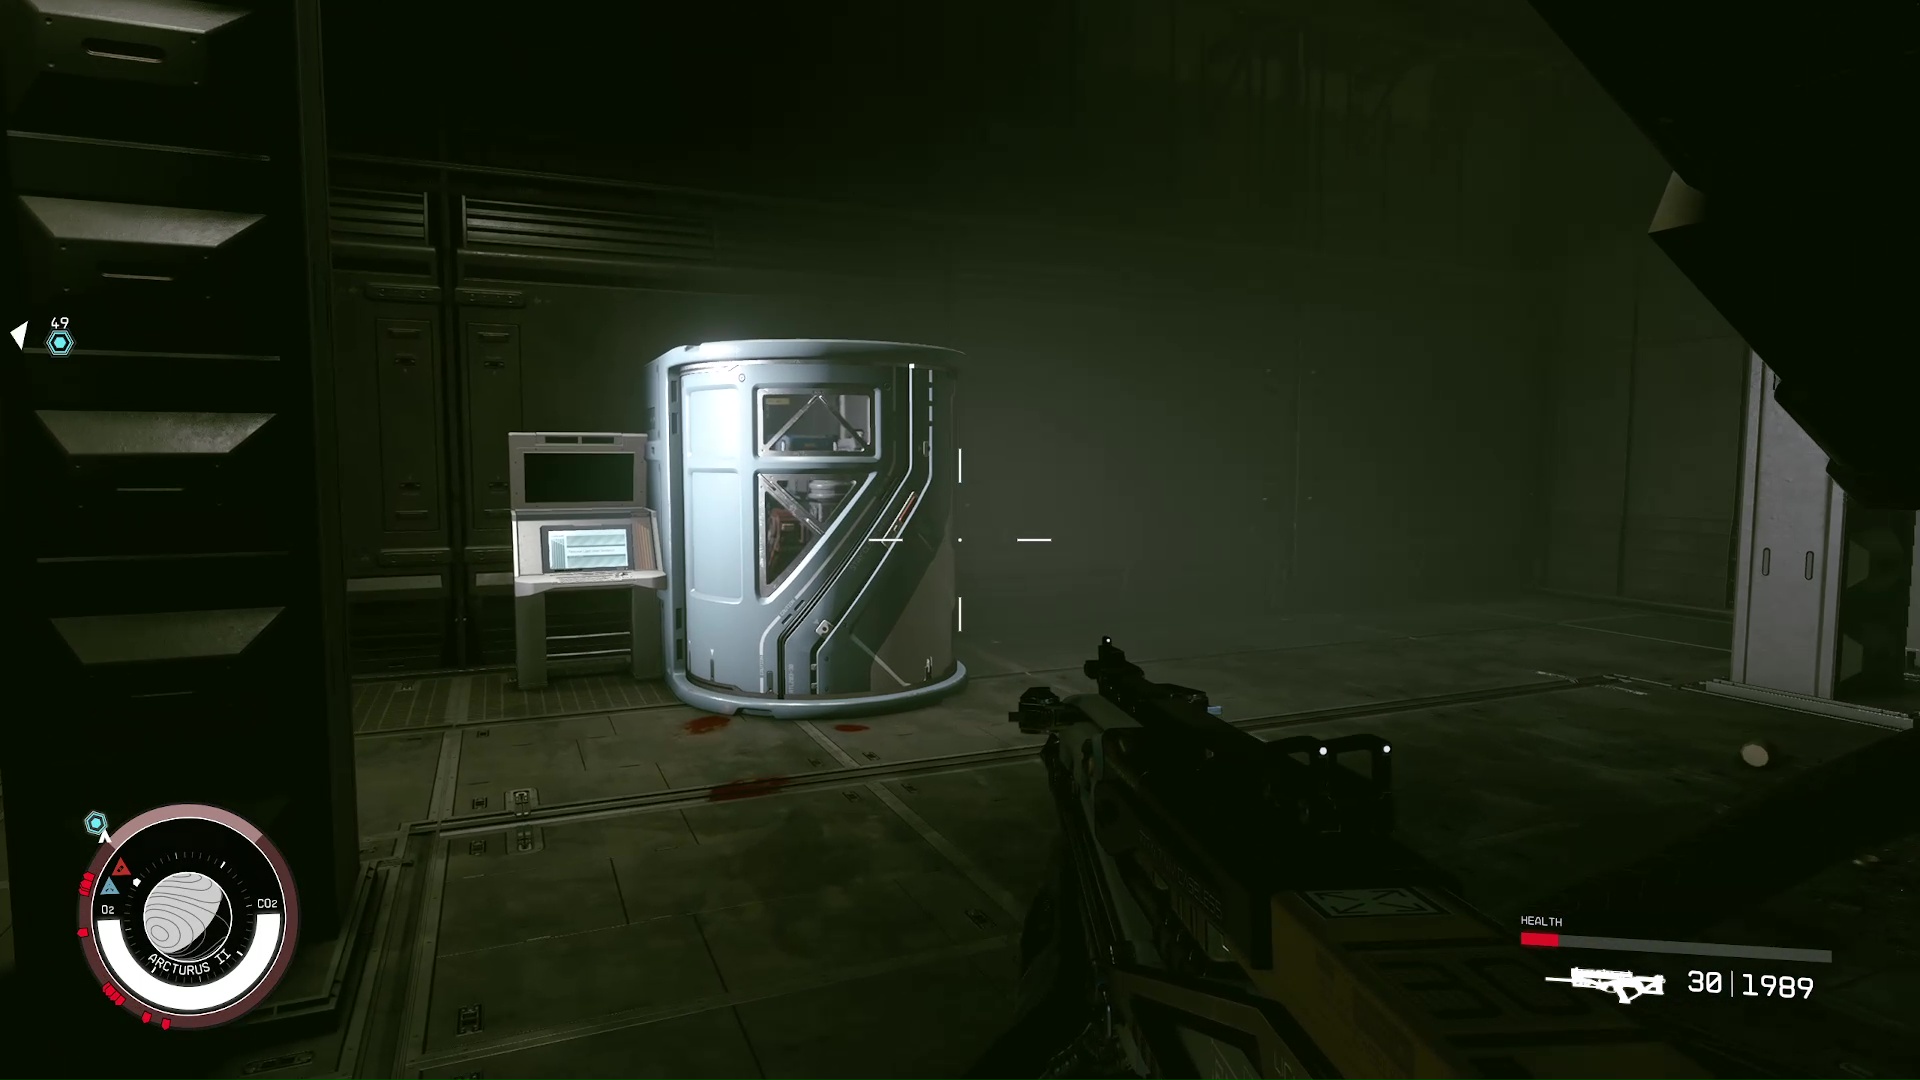
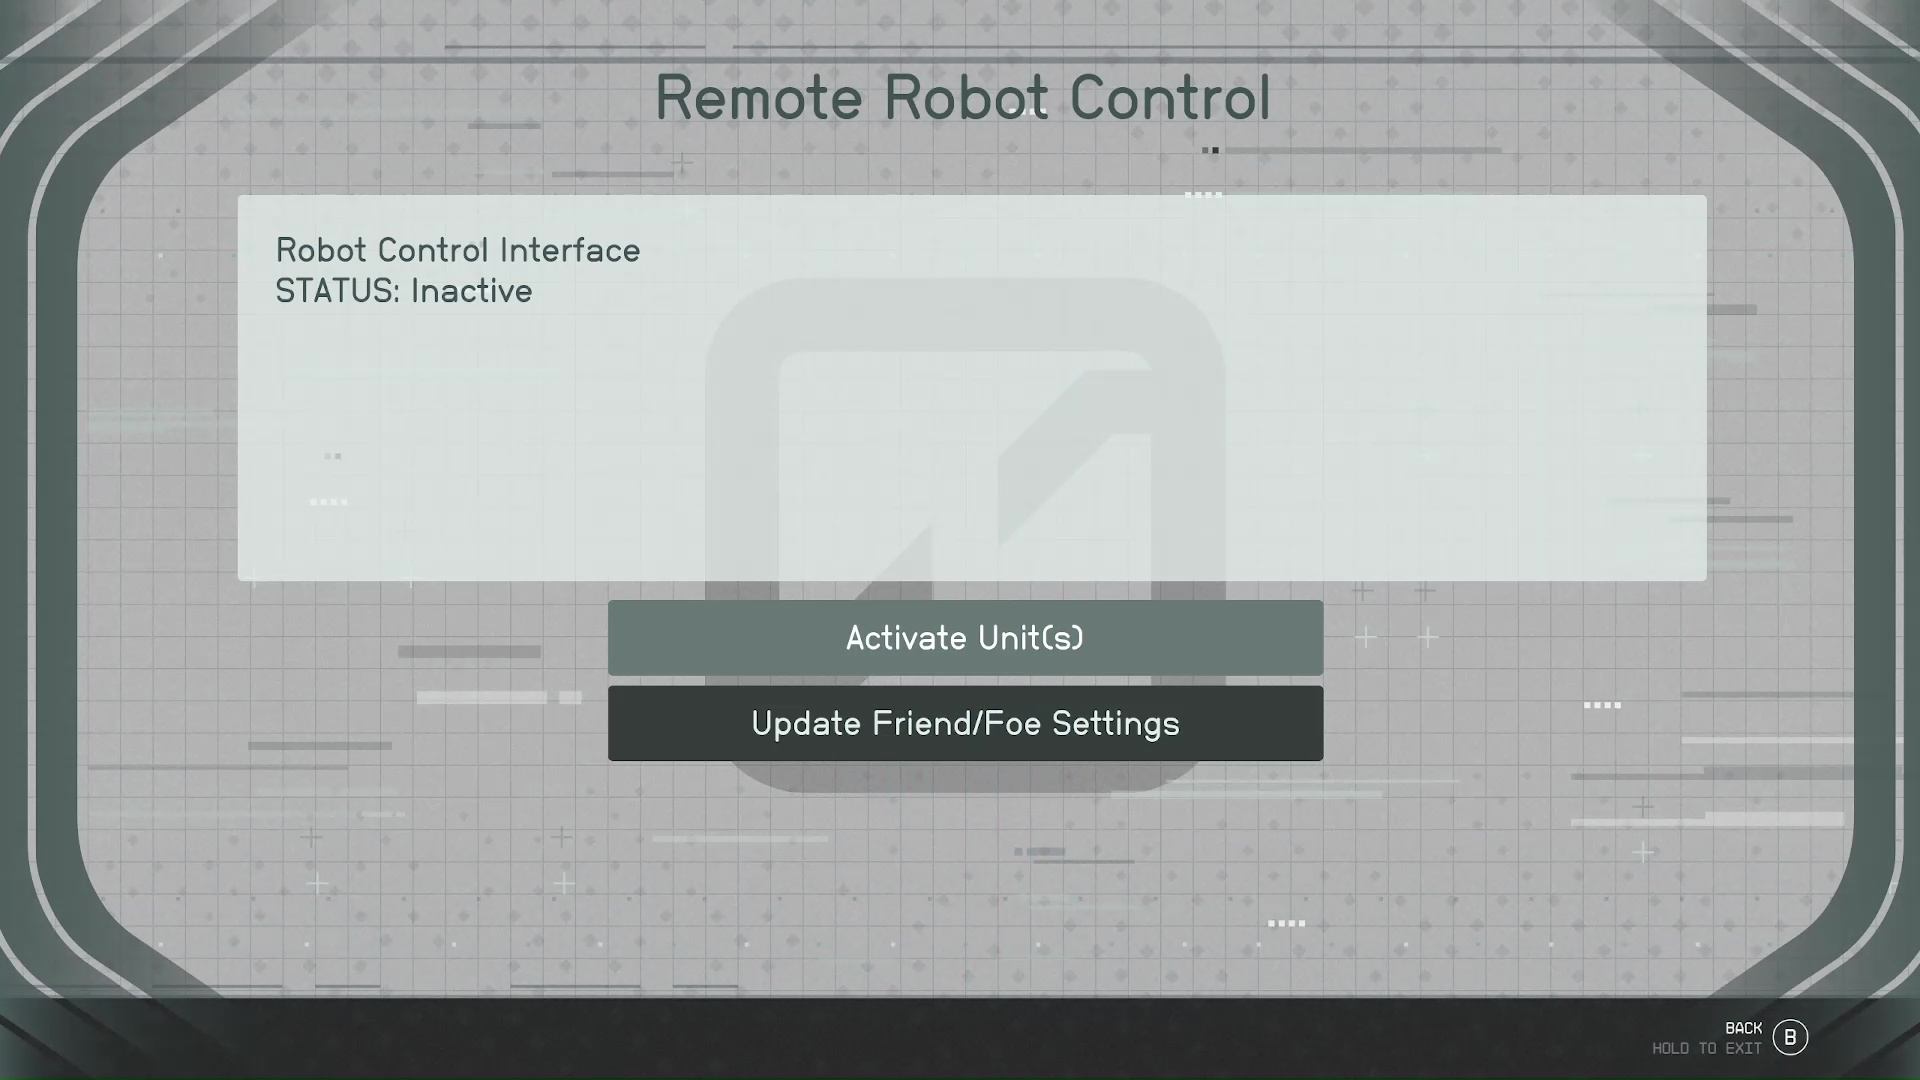
Behind the out-of-order mech is a small terminal with a robot capsule next to it (Image 13). Use the terminal to boot up the robot by pressing the buttons for updating the friend or foe settings, and activating the robot (Image 14). The robot will go out into the main area and draw fire from the enemies, letting you maneuver between the bays.
Image 13Image 14
This next part is the most difficult part of the mission. There will be a lot of enemies shooting at you from the next two adjacent mech bays. The enemies are also at all levels of the bays, meaning they have good vantage points. While your robot is distracting them, run up the stair set (Image 15), then clear the top level of the first bay. With the elevation advantage, you should have clear shots at most of the enemies below.
Image 15
Turn the corner on the top catwalk, and do the same for the next bay. Prioritize the enemies on the top level, then go for the soldiers below. The way forward on the ground level has some turrets; make sure you take them out at a range so they don’t light you up. Only go down to clean up the stragglers after you’ve shot most of the soldiers.
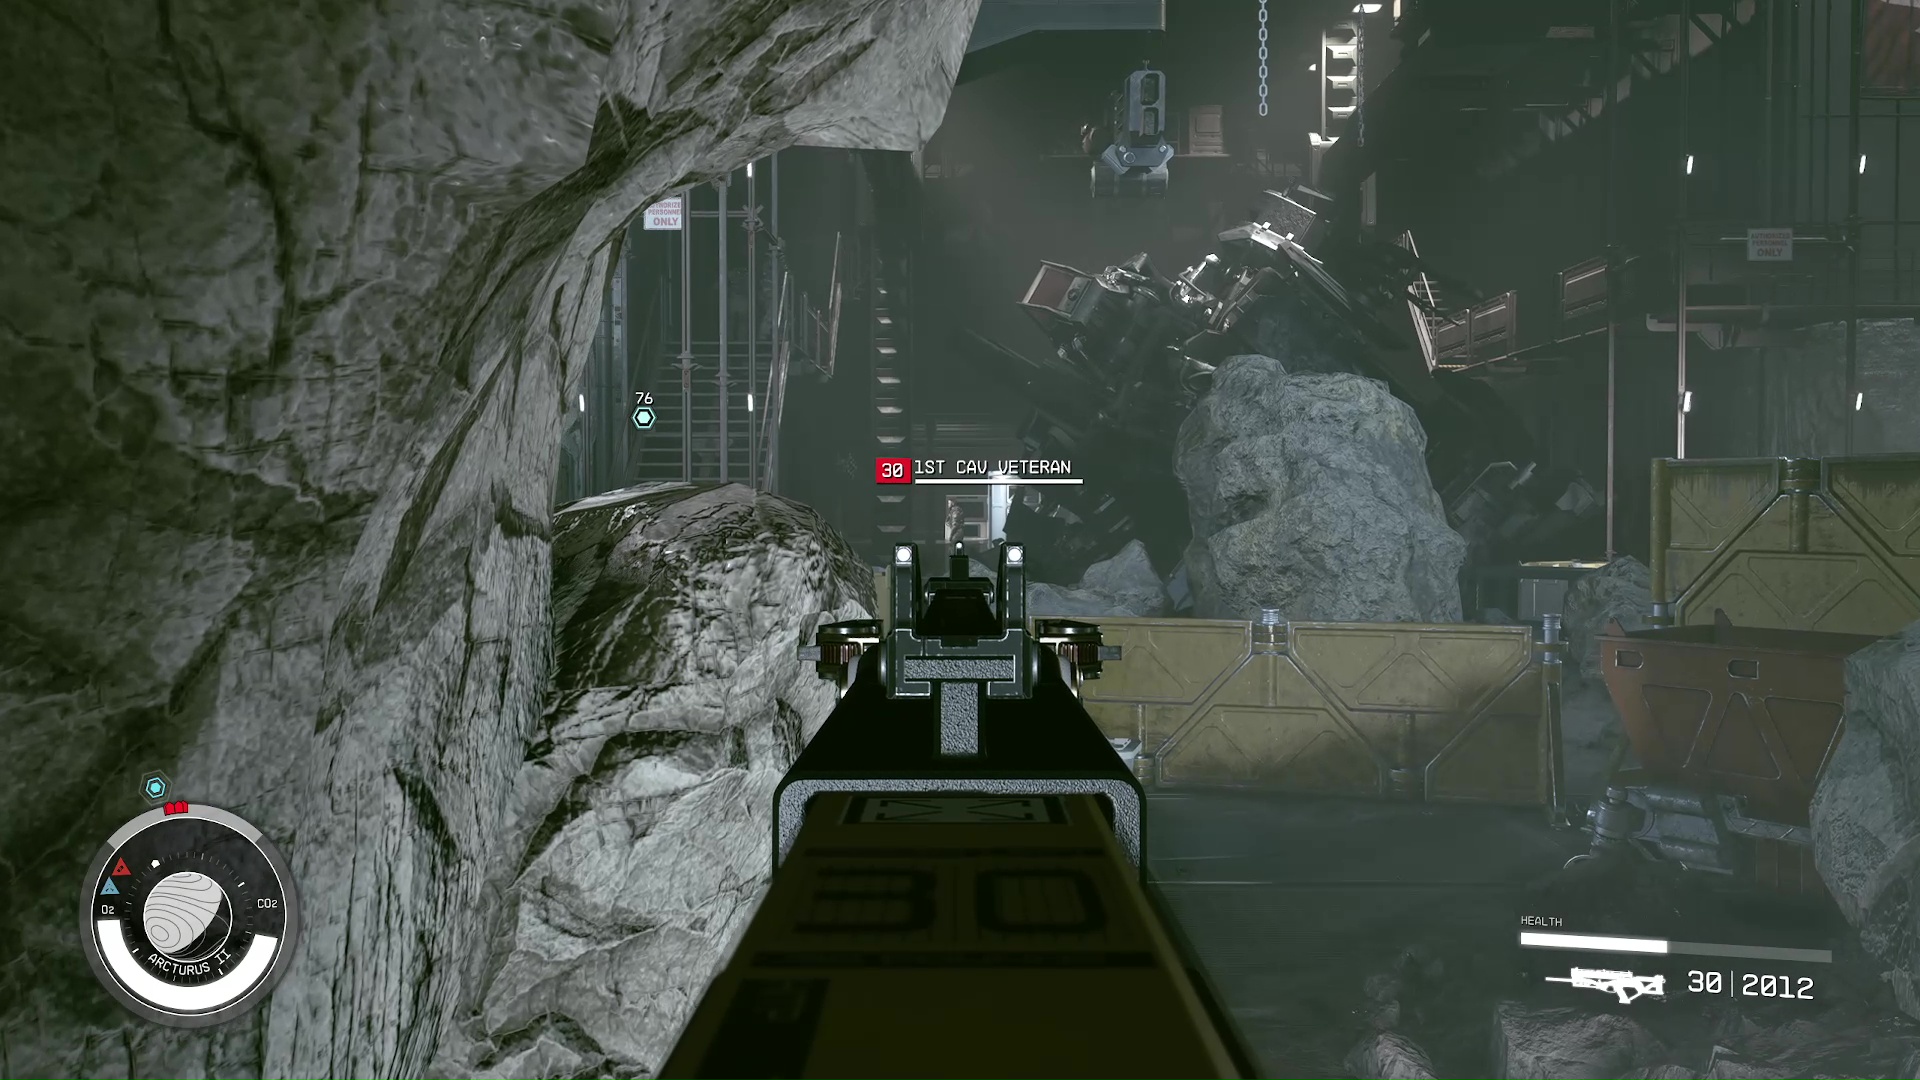
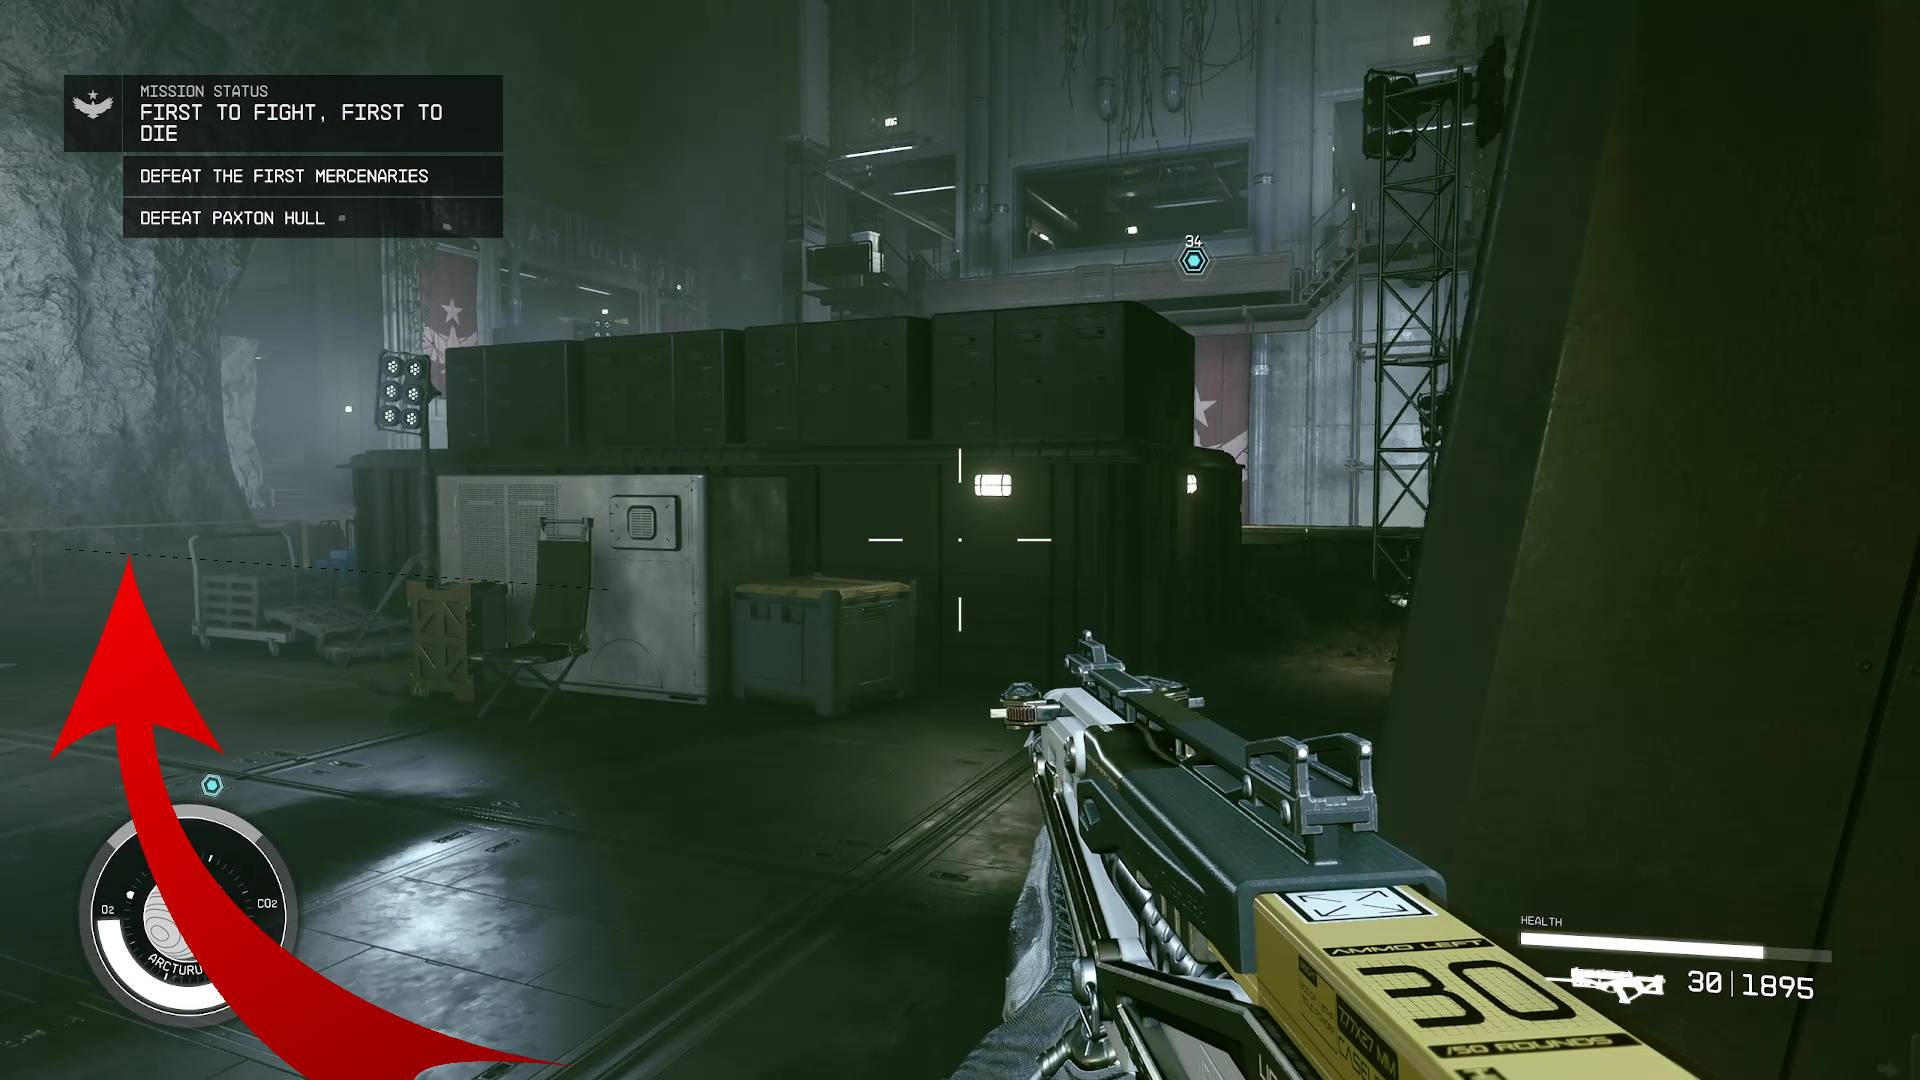
After decimating the soldiers in the assembly section, the path to the final operations area will be clear. Be sure to save the game before tackling this last battle. This part isn’t as difficult — as long as you don’t rush to the center where the is placed. There are a lot of enemies around the periphery, so you actually want to swing around the flank and eliminate the soldiers encircling the first (Image 16).
Image 16
You’ll encounter a lot of turrets and soldiers, but as long as you have enough medpacks, you shouldn’t have a problem. Keep moving and clear the soldiers surrounding Paxton Hull, then move in and finish off the commander.
Talk to and Kill Paxton Hull
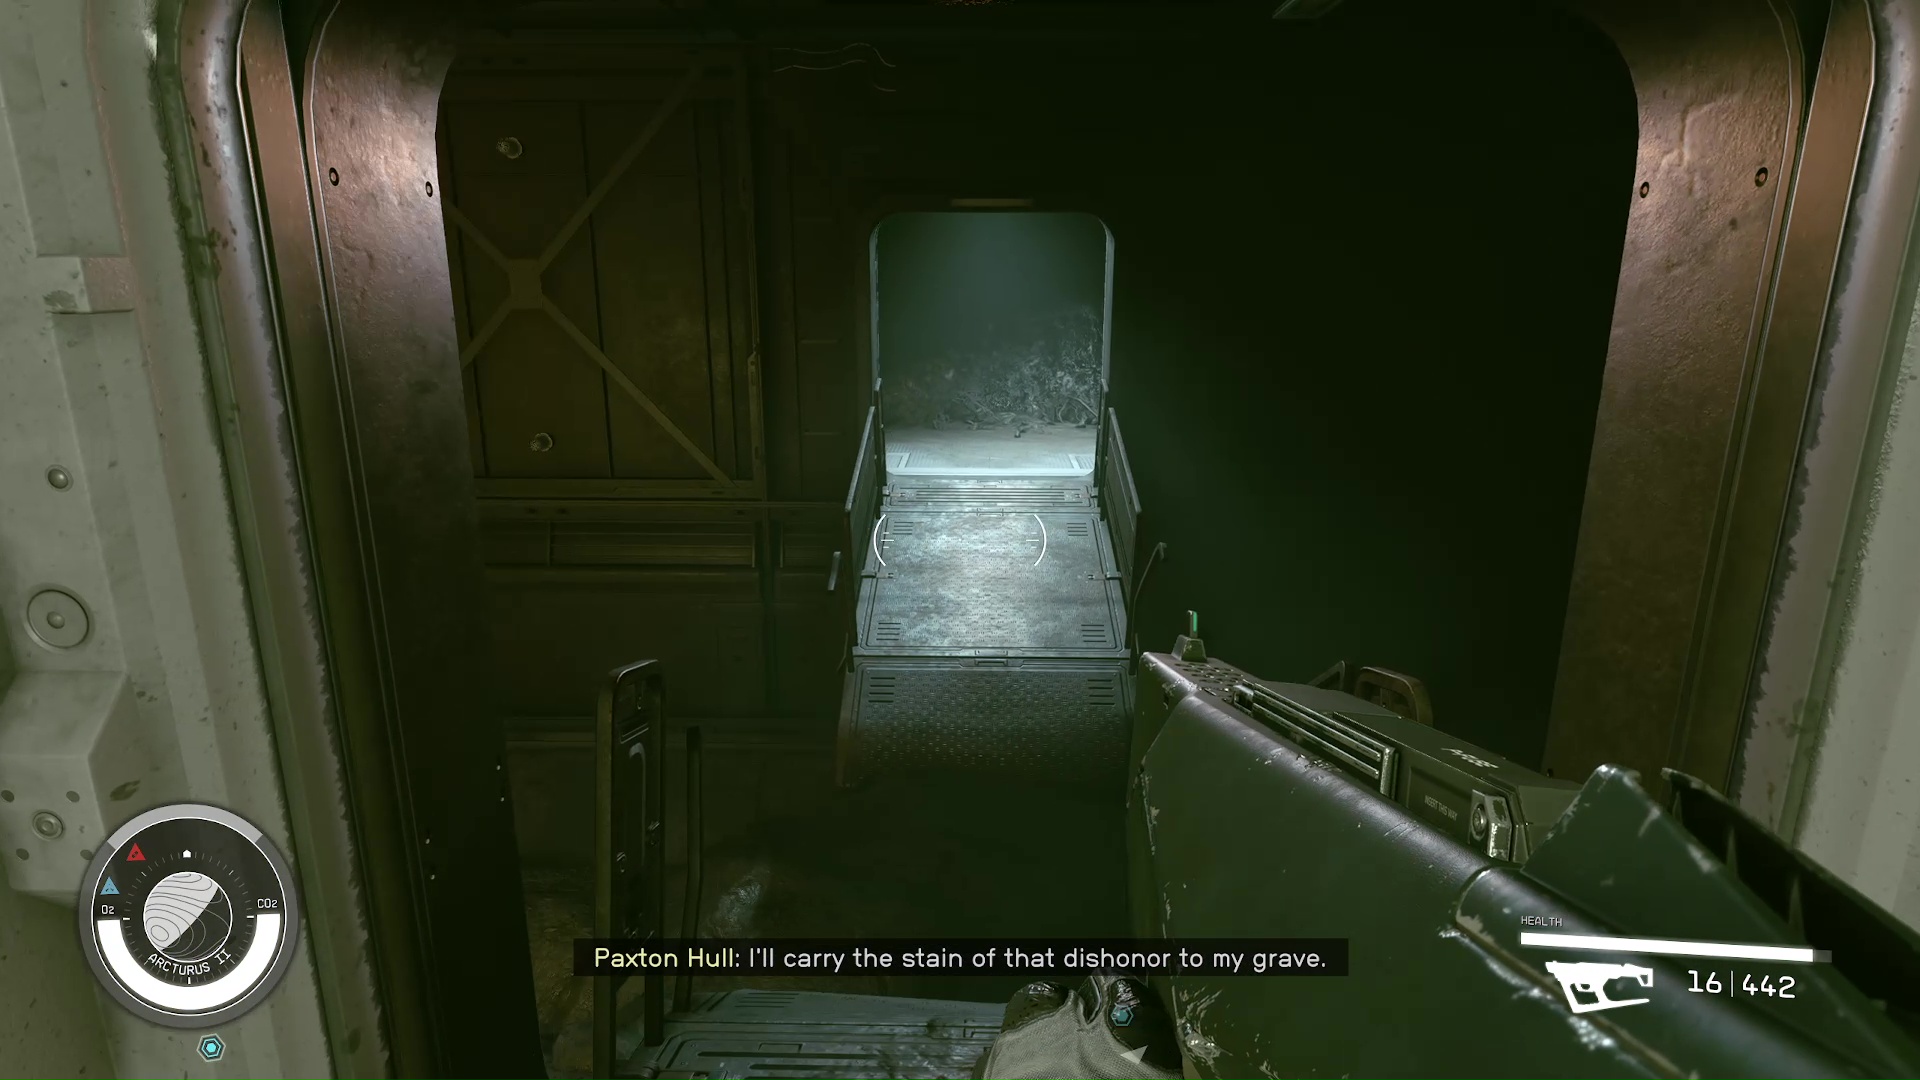
Paxton won’t die after you deplete his health bar. Instead, the mission objective will change and have you speak with him. He’ll tell you that Ron Hope is actually the person that hired him to take over the farms. Regardless of how you respond, he’ll give you evidence against Ron Hope, then you will have to kill him again – his health miraculously comes back.
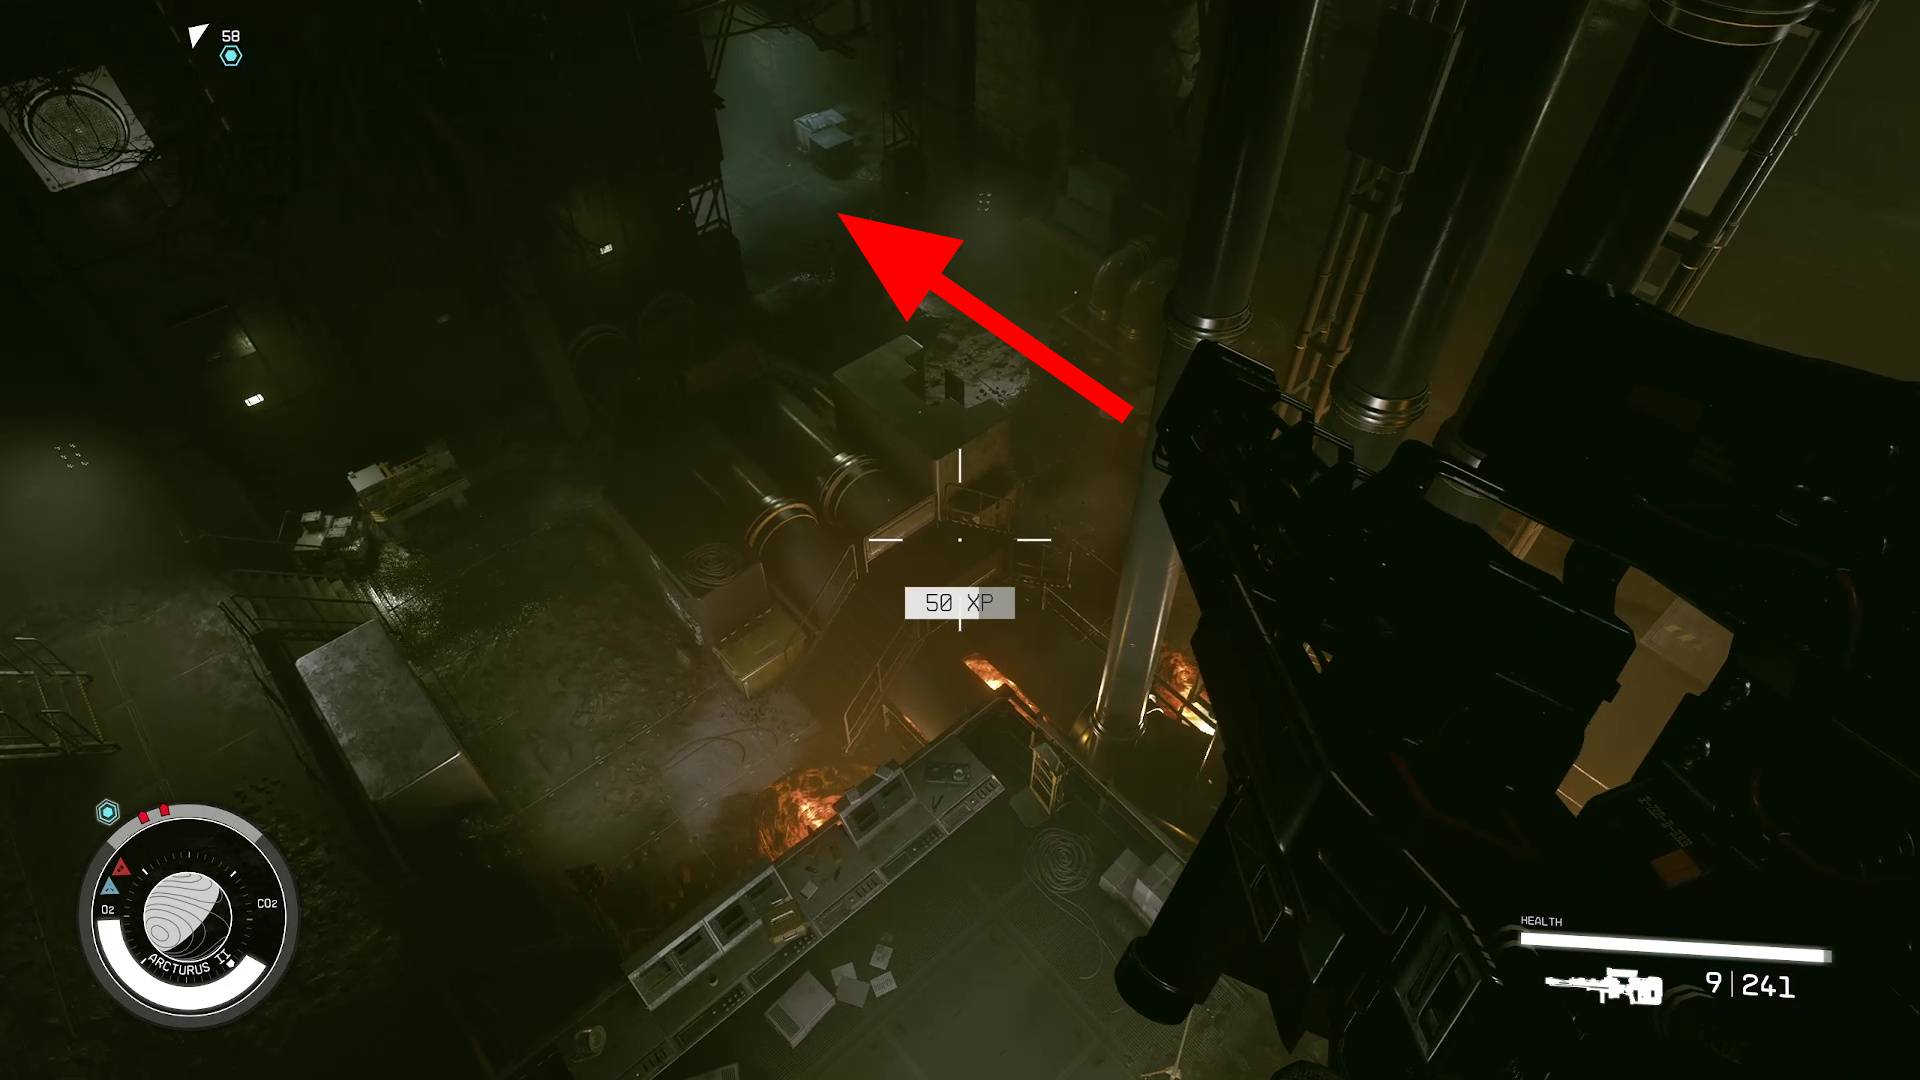
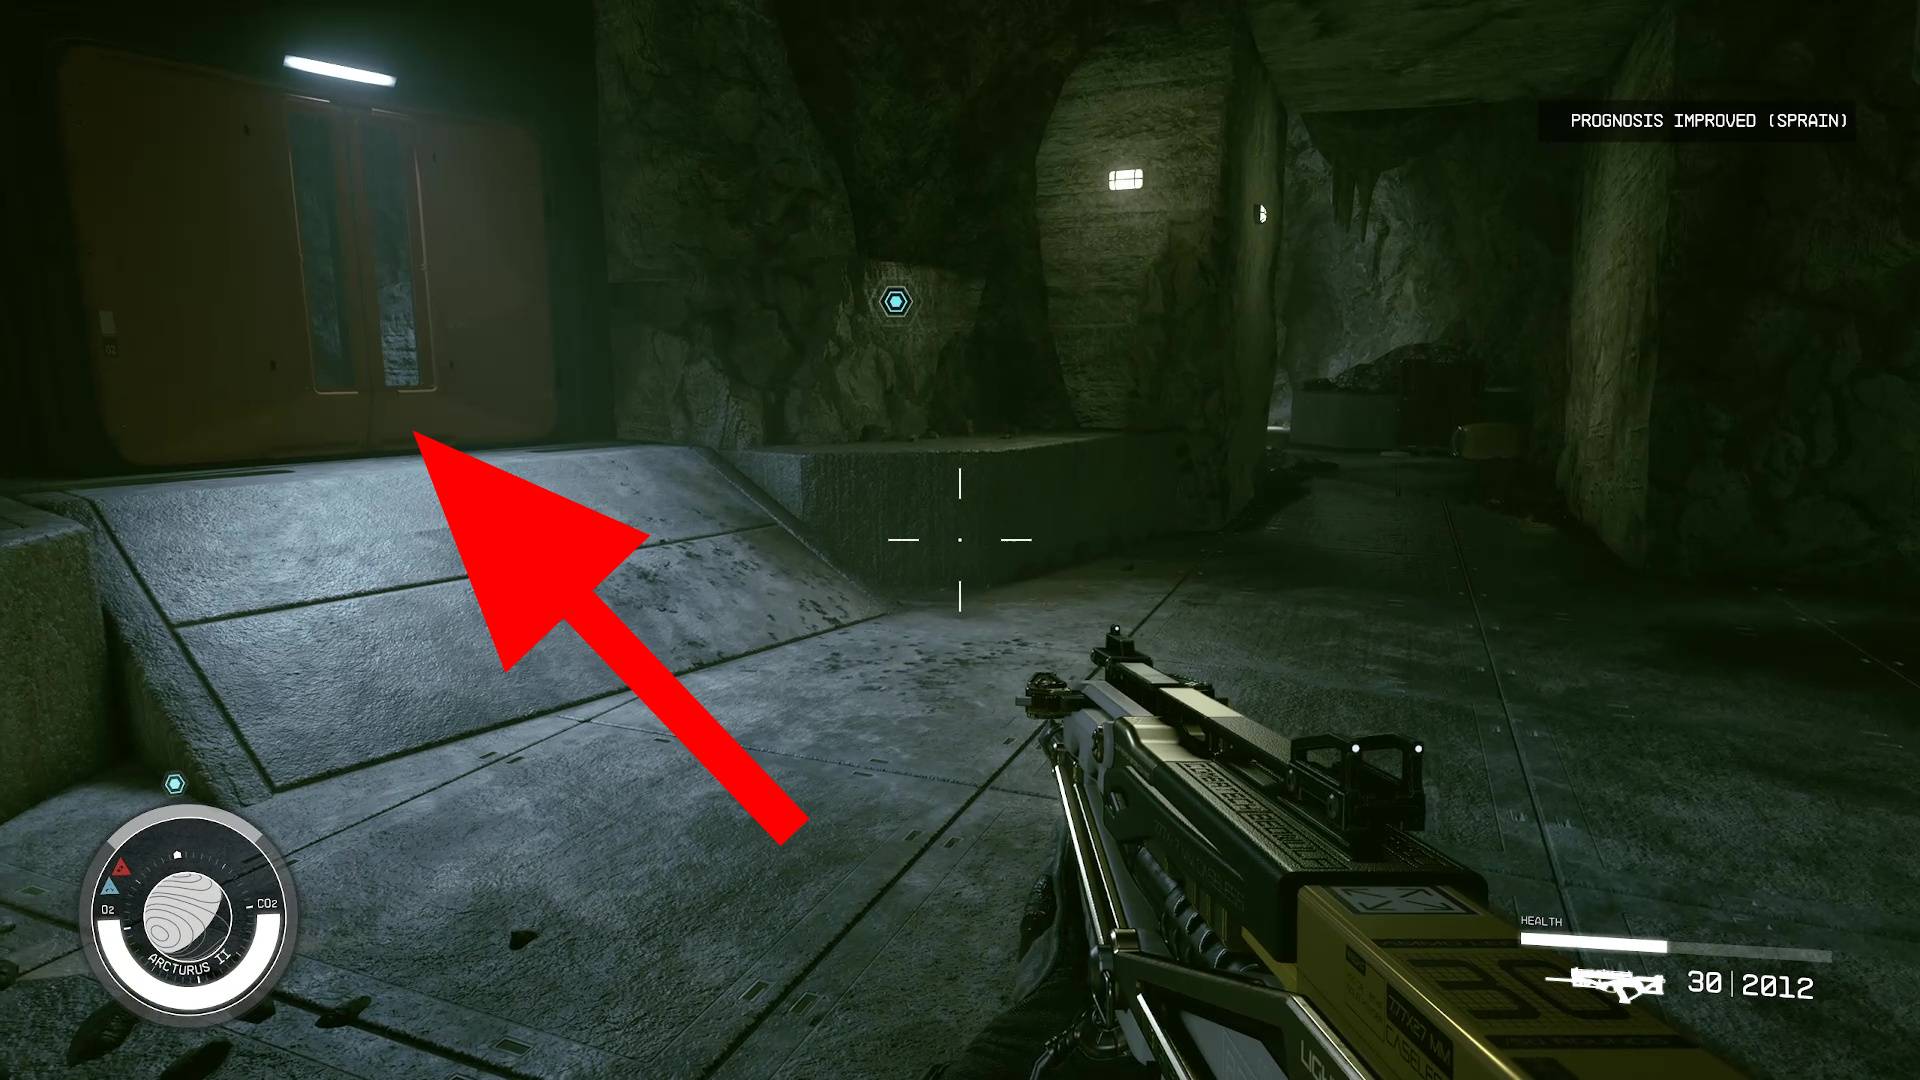
He’s not a very tough enemy, though, and after it’s over you can grab the elevator key off his body to leave. With Paxton dead, the mission will end, and all that’s left is to confront the real antagonist, Mr. Hope himself. The elevator is in the back of operations and should have a above it (Image 17), allowing you to leave the building.
Kelson is a spud head from out west. He is most happy when holding a milky tea with too much honey and playing a sprawling role playing game or reading a fantasy novel. His video game tastes vary but his main genres are looter shooters, RPGs, and real time strategy games.