In this story mission walkthrough, we’ll guide you through a trip to Akila City, the capital of the Freestar Collective, where Sam Coe assists you in uncovering another artifact for Constellation.
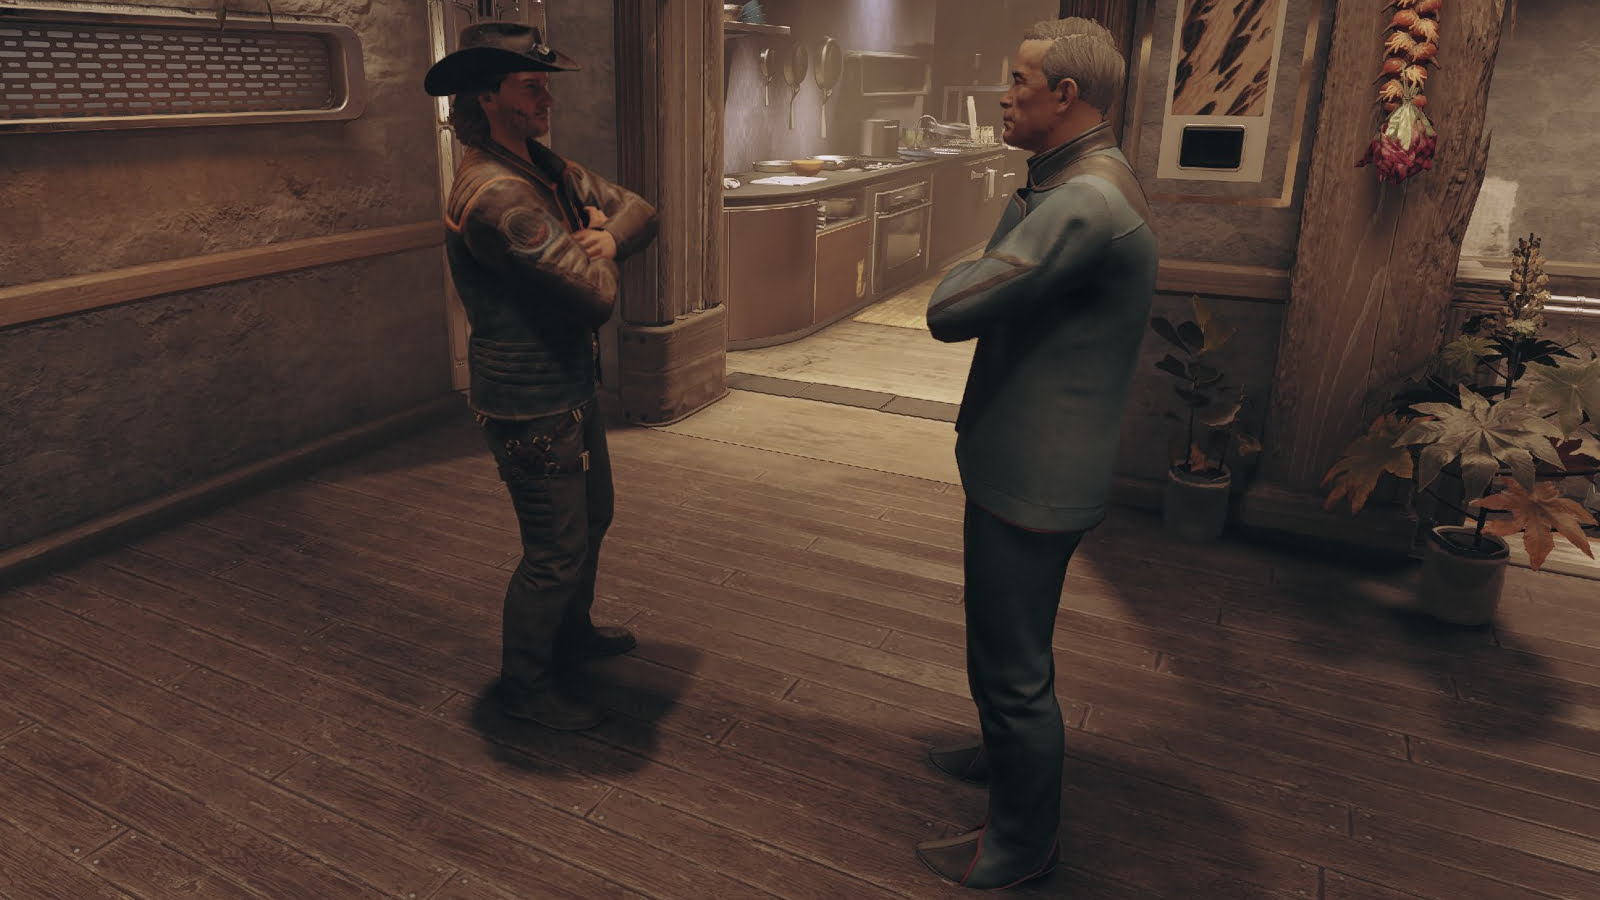
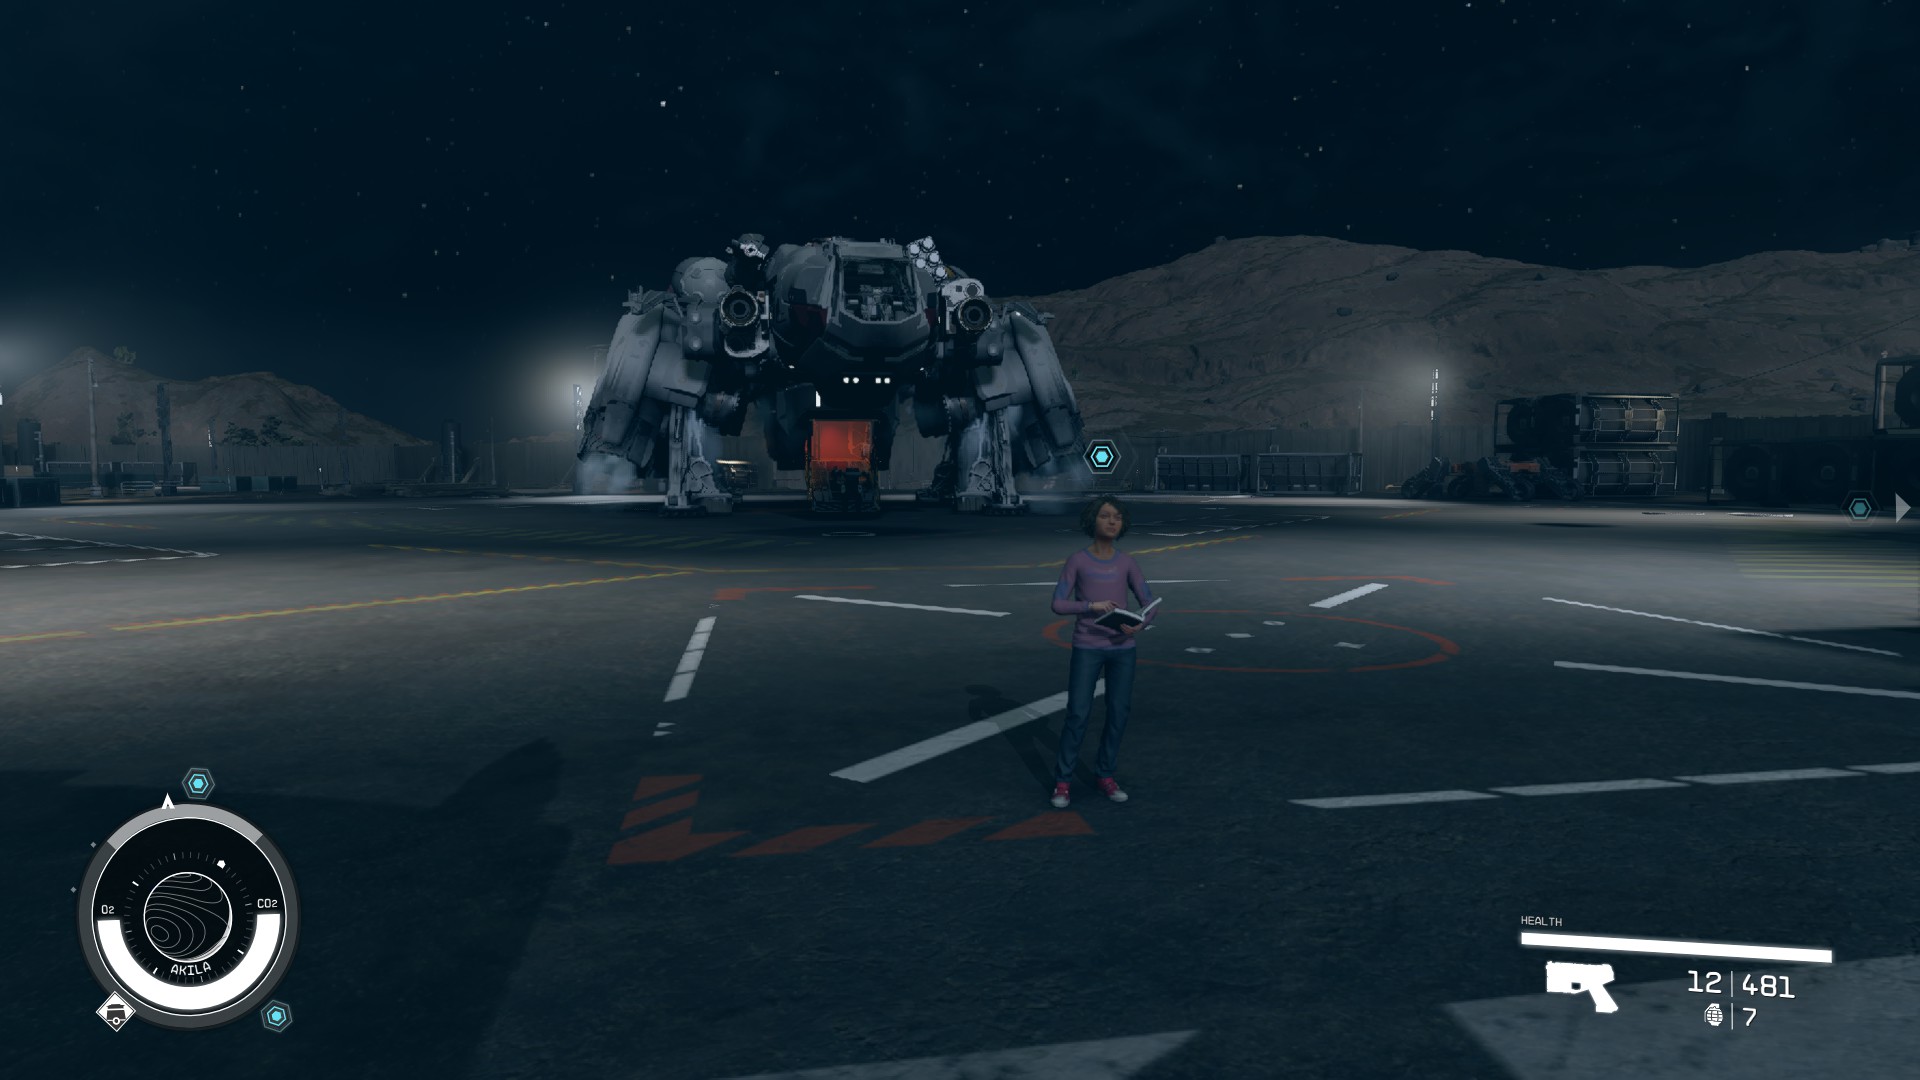
You’ll pick up this quest automatically after you complete The Old Neighborhood. The first step is to meet Constellation member Sam Coe, who will be joining you on this mission. Sam and his daughter Cora can be found in the greenhouse of the Constellation Lodge in New Atlantis (Image 1). As you approach, you’ll hear them talking about you. Then Sam will greet you.
If you choose the “Speaking of family, you two related?” option, you’ll get to hear a dad joke. Whatever option you choose, Cora will introduce herself next, and you’ll have your first opportunity to gain or lose Sam’s approval. He’ll like it if you say “Good to meet you, Cora” or “Glad to see someone so young taking an interest in space.” He will dislike “No offense, but not sure I feel comfortable taking a kid into danger.”
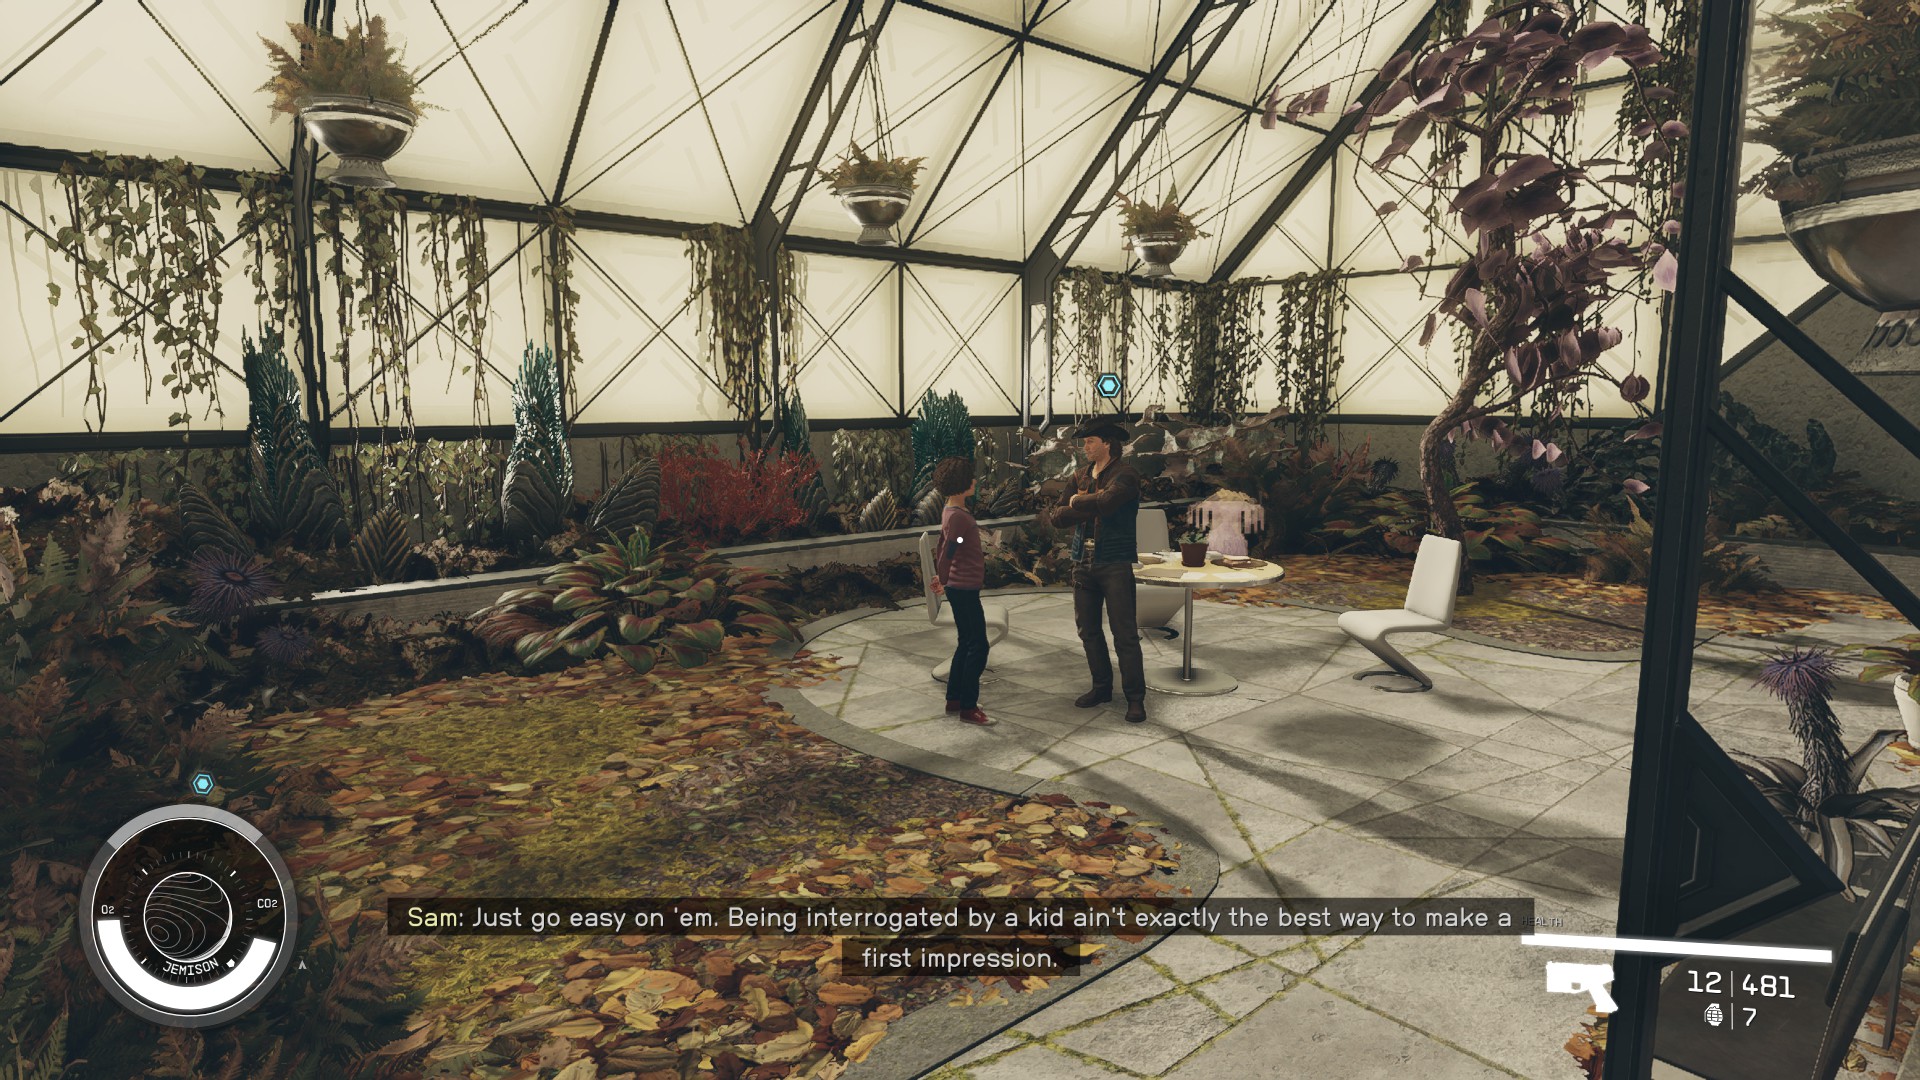
You can ask Sam a bit more about Akila. When you tell him you’re ready to go, he’ll head to your ship. You can now fast travel to meet him there and then set course for Akila via your Mission Log (Image 2).
Image 1Image 2
Travel to Akila City
Once you land in Akila City, you can meet Sam just outside your ship. He’ll ask if you’re ready to go, and the game will warn you that he will be locked in as your follower for the duration of the mission. When you’re ready, tell him “Understood. Let’s get going.” Sam Coe will become your active companion. He’ll also let you in on some more information about himself, his family, and the artifact you’re searching for.
Head through the city gates, and an Akila City Security guard will stop you and warn you of trouble at the GalBank. He’ll recognize Sam, who it turns out is a former Freestar Ranger. If you offer to help, Sam will like that. Even if you don’t offer, finishing the conversation will start the quest Job Gone Wrong, which you’ll have to complete before you can continue on with The Empty Nest. Click the button below to head to that walkthrough, and then come back here when you’re ready to continue with this quest.
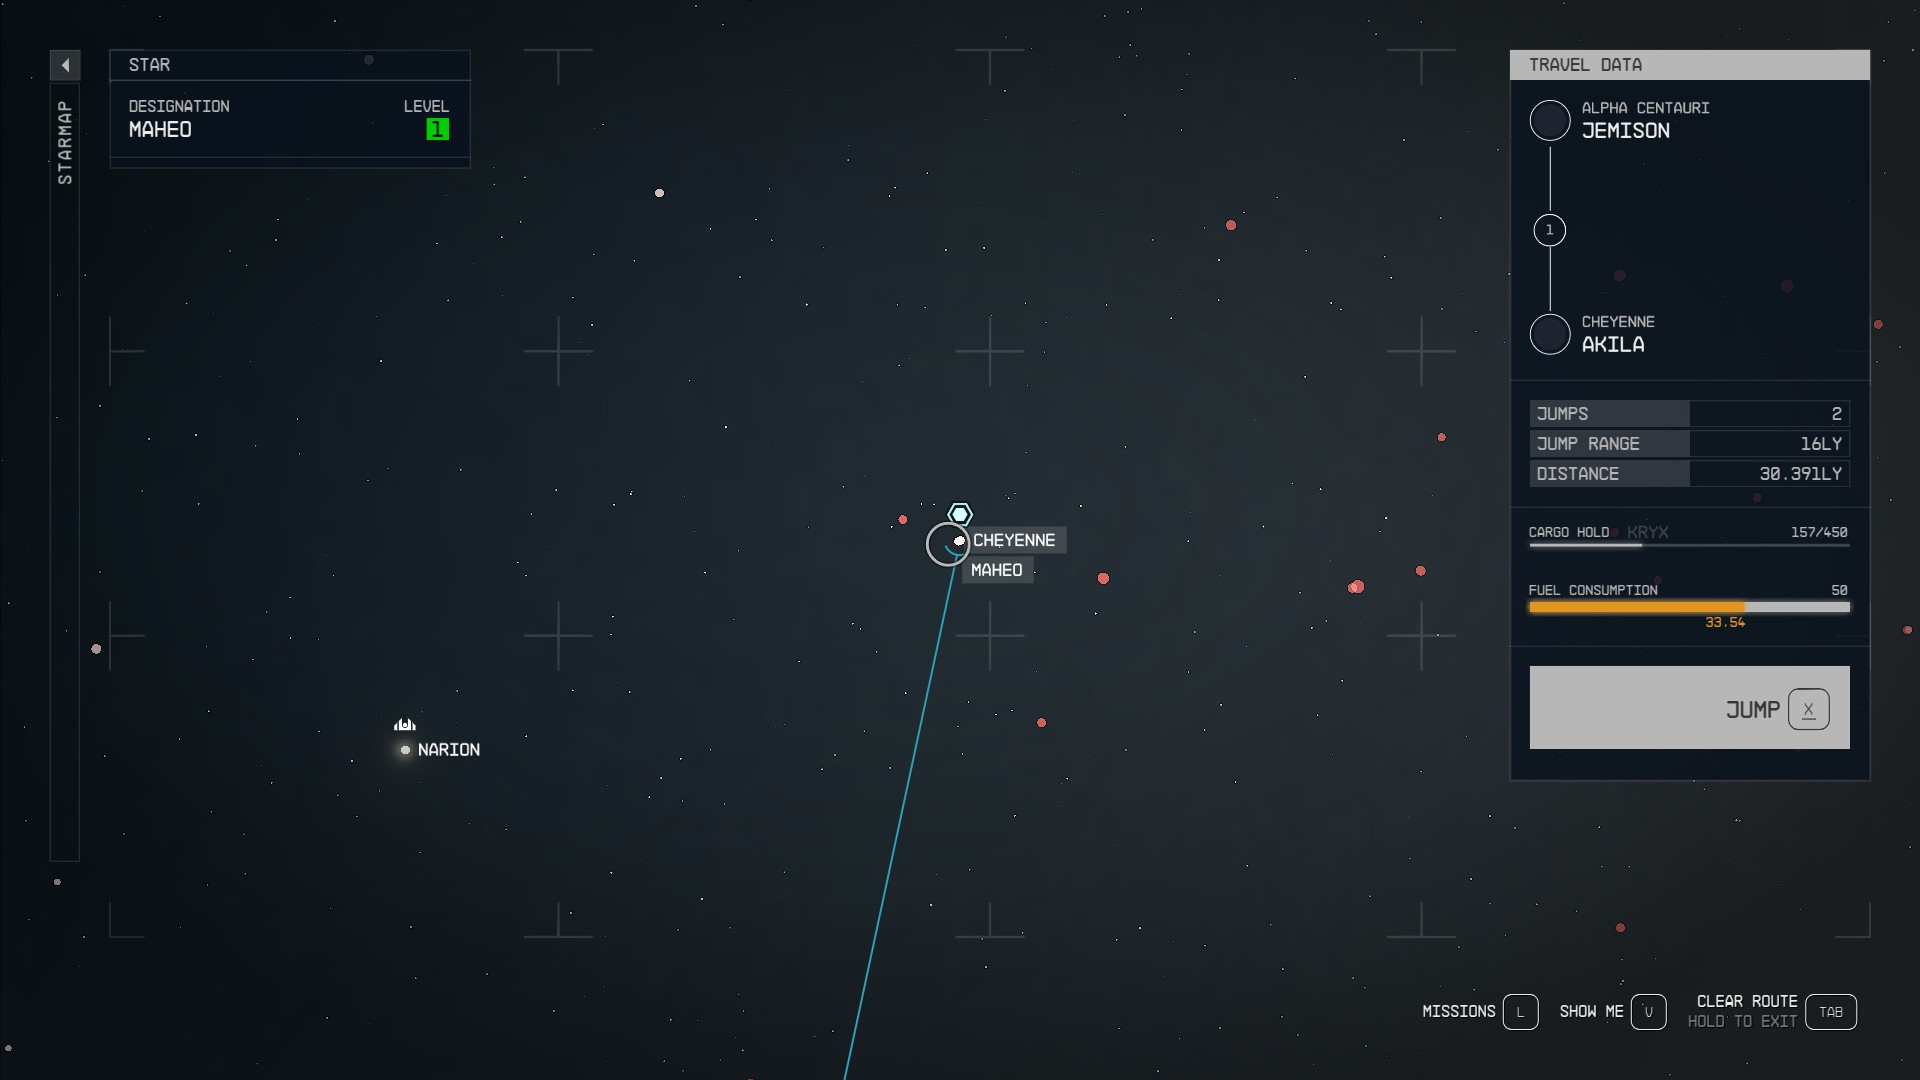
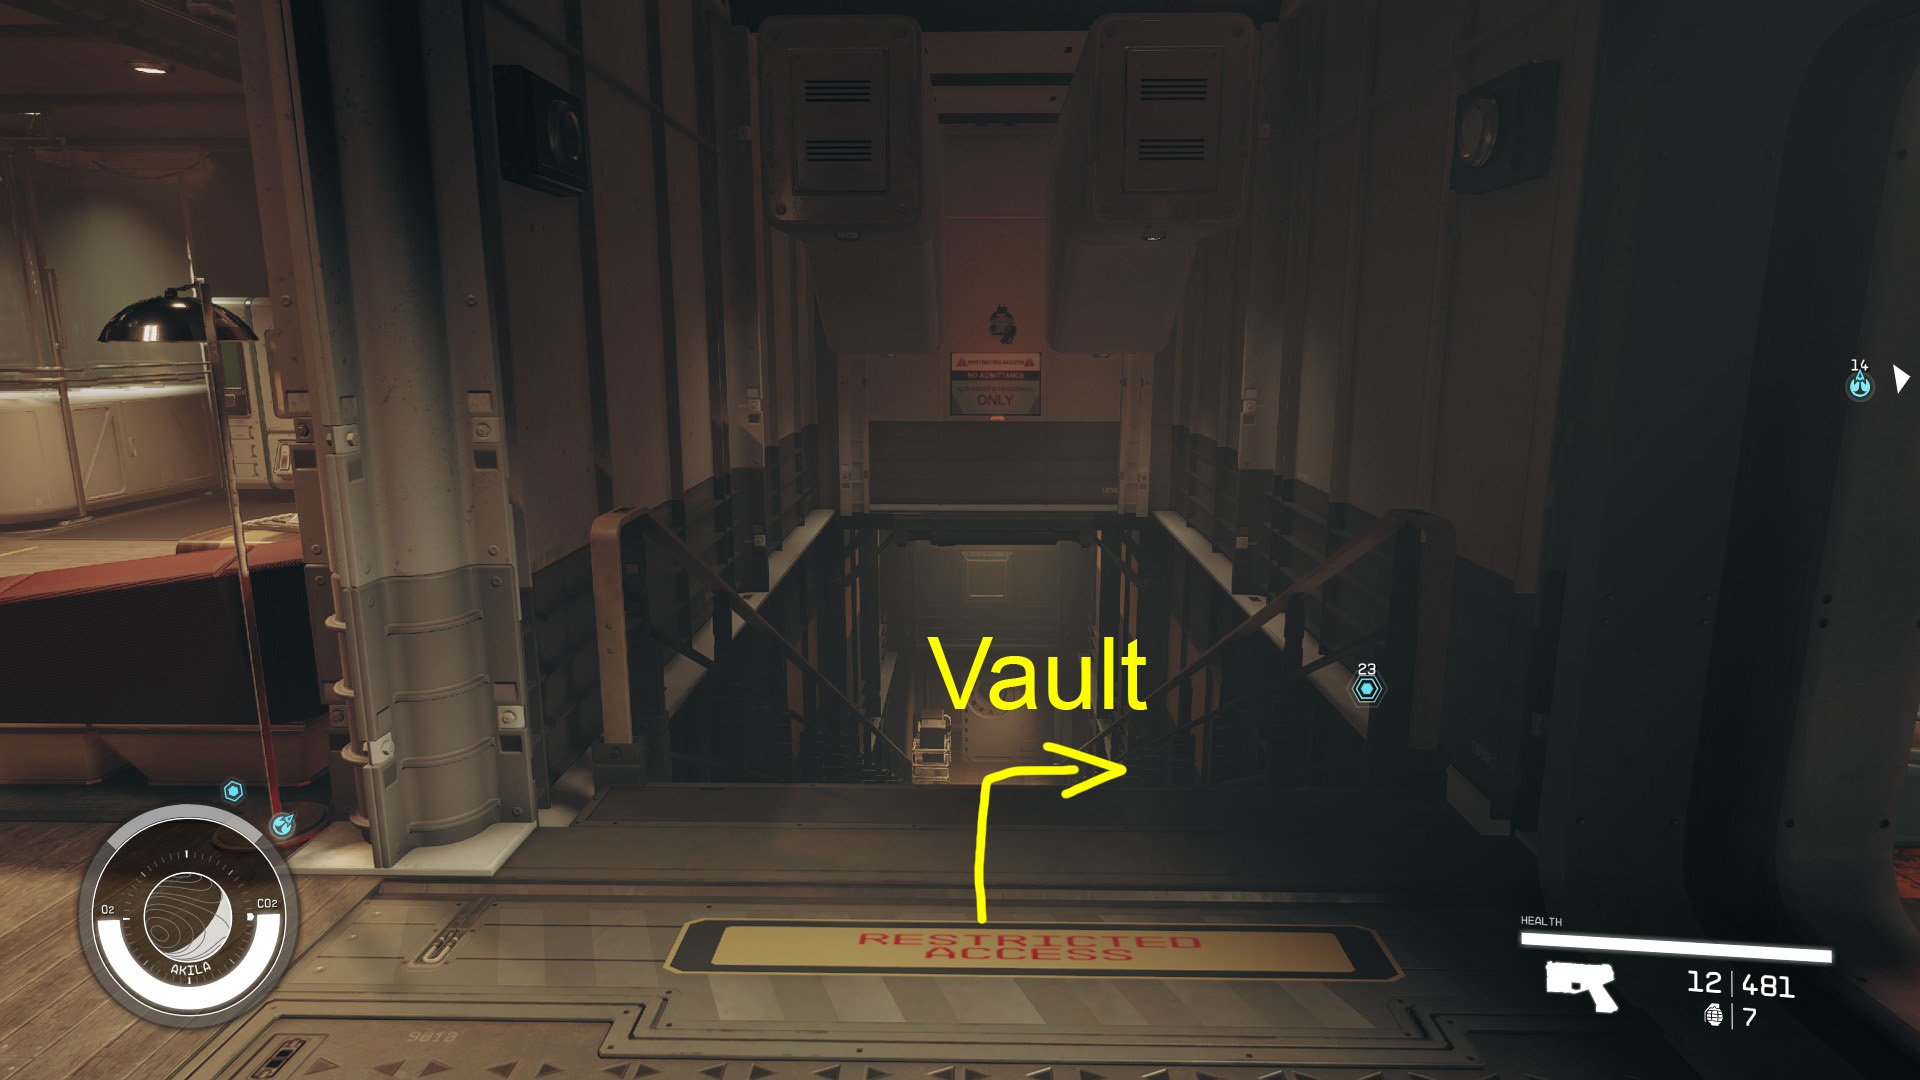
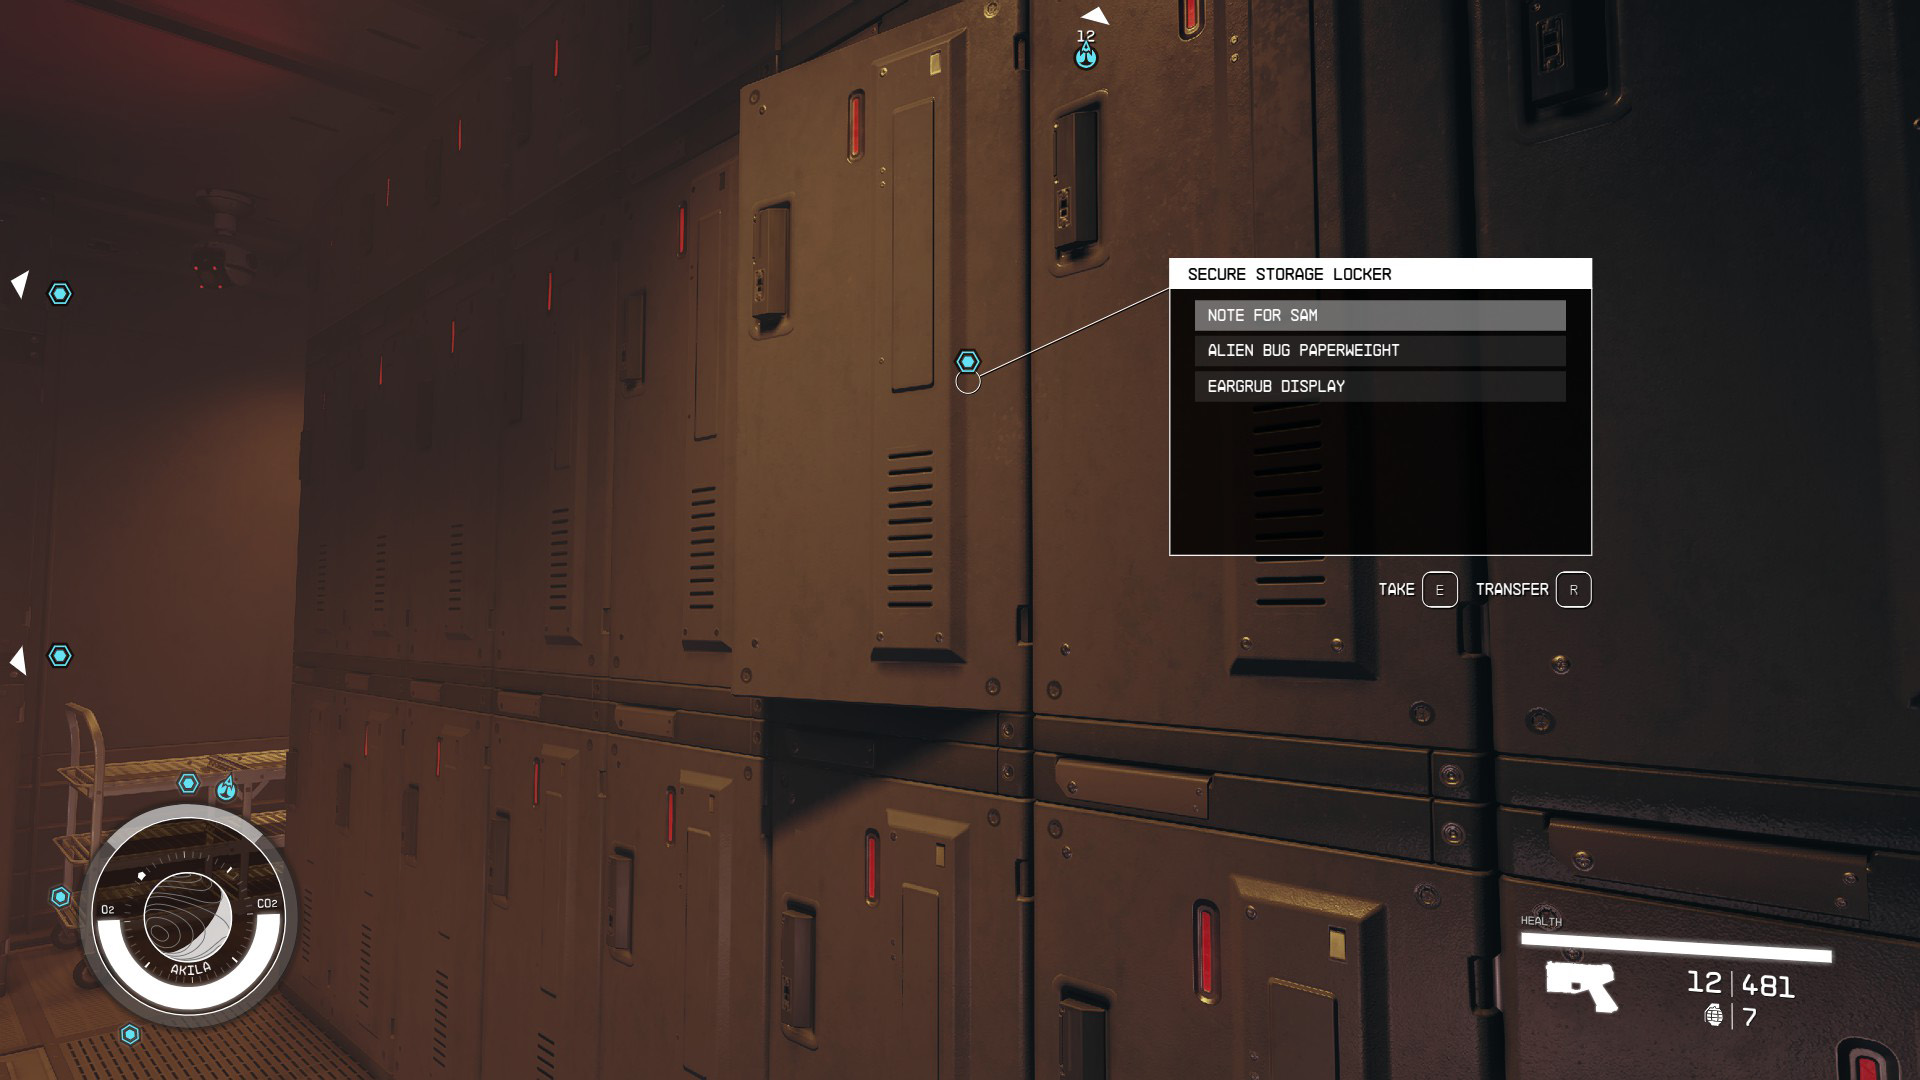
When you’ve dealt with the bank robbers, head back inside the GalBank and go down the stairs to the vault (Image 3). Sam will lead you to one of his family’s deposit boxes and give you the key. But you won’t find what you’re looking for inside, only a note to Sam from someone named Jacob (Image 4).
Image 3Image 4
Bring the note to Sam. He’ll be reluctant to talk about Jacob, but if you can succeed in persuading him, he’ll admit that it’s his dad. He’ll like it if you do succeed in persuading him, and he’ll also like it if you thank him for opening up to you. Regardless, your next task will be to visit Jacob at the Coe Estate.
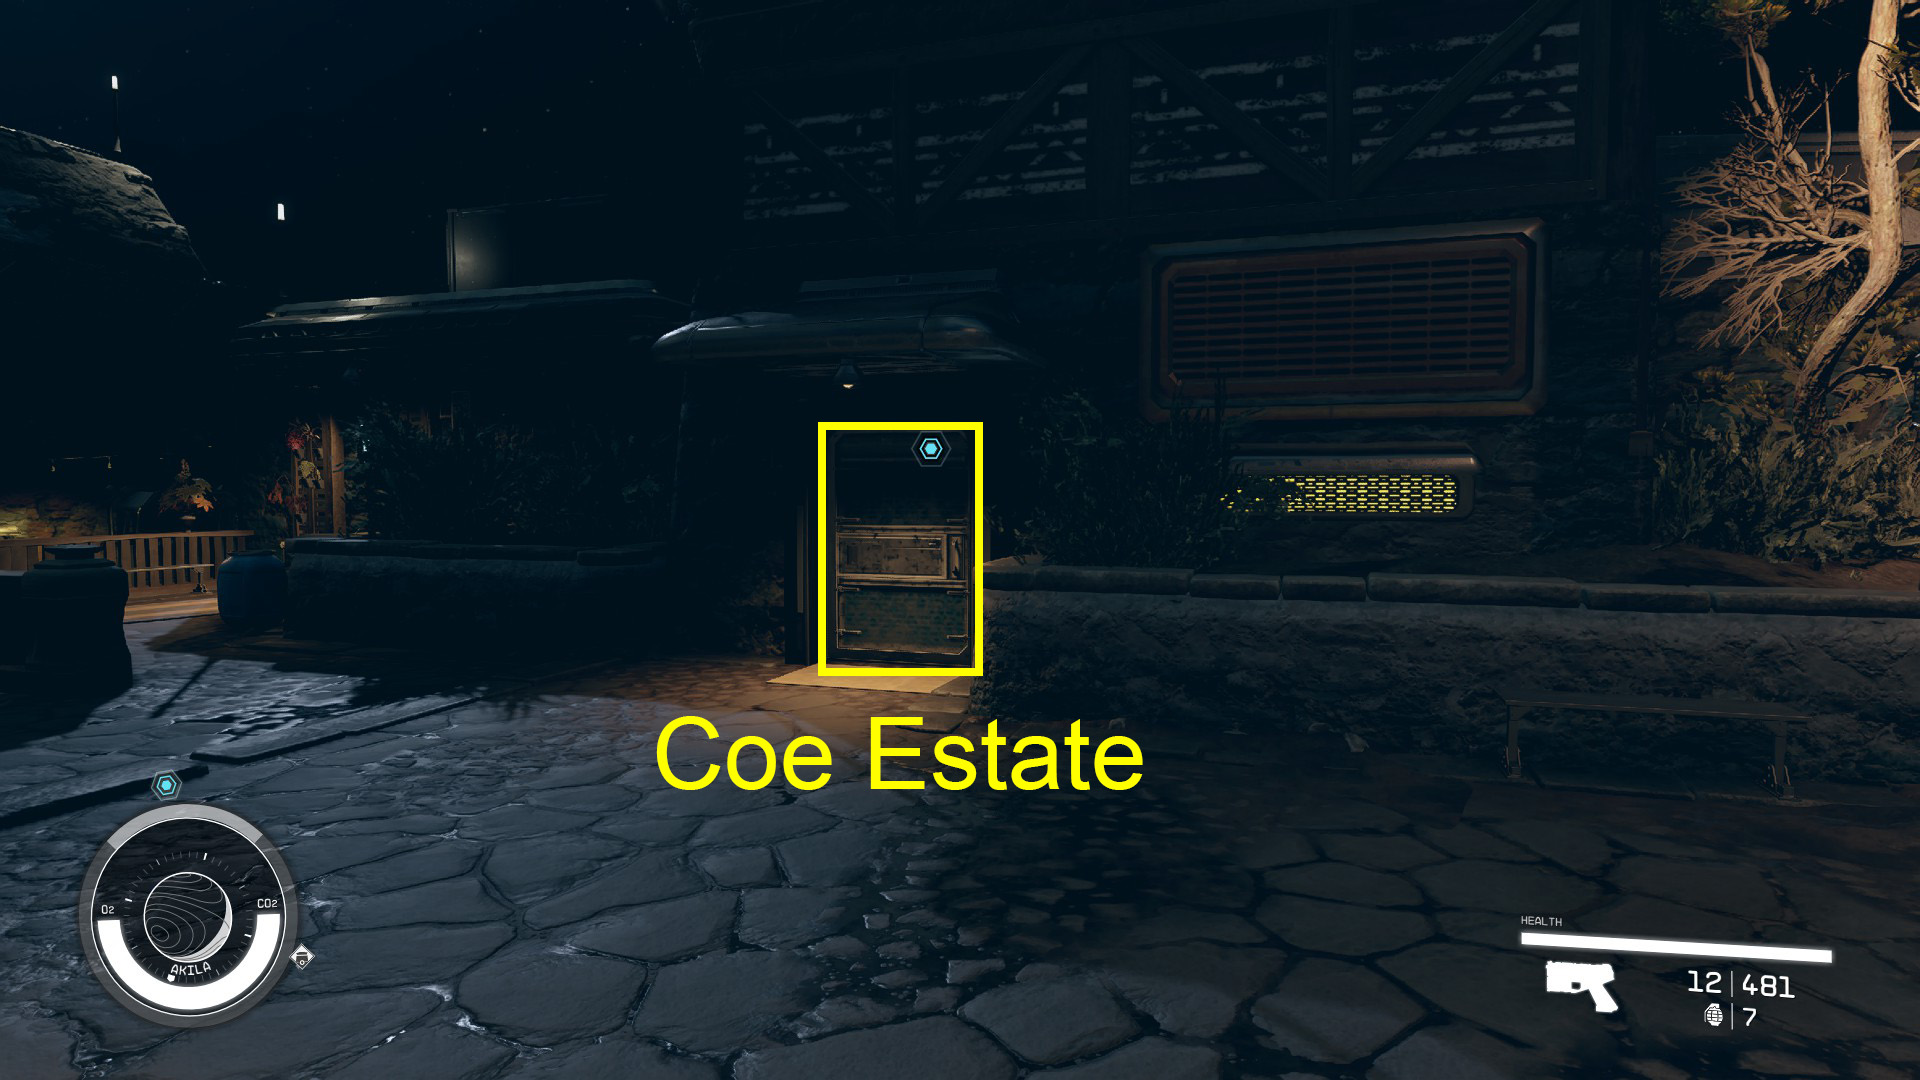
Head back out through the front door and follow the mission marker further into town, up a series of steps (Image 5). Continue straight back along the path until you reach the Coe Estate (Image 6).
Image 5Image 6
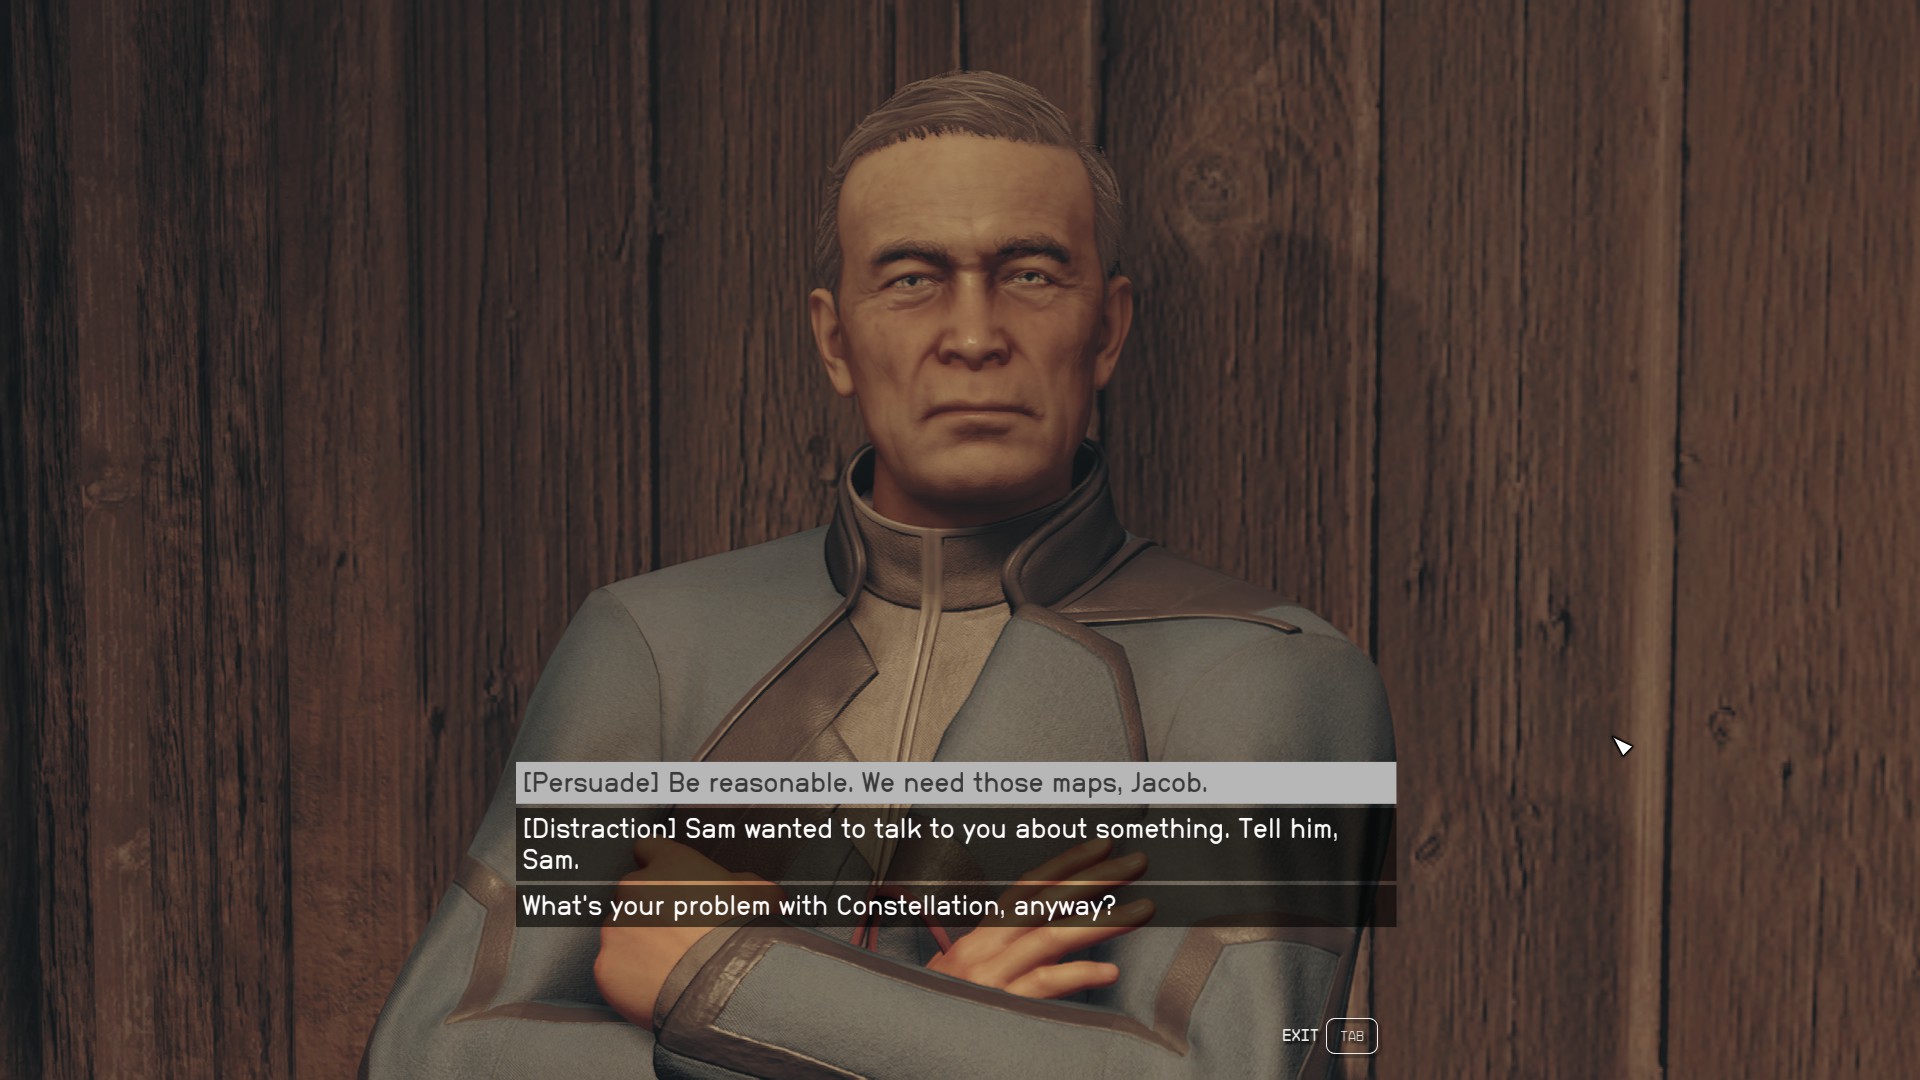
When you enter, Sam and Jacob will get into an argument. You can speak up or you can let Sam speak for himself with the [Sam Coe] option – he’ll like that. Whatever you say, Sam will ask to speak to you in private. Talk to him again. If you ask him “You need a minute?” he’ll like that. You’ll have a few options here for how to proceed:
You can offer to reason with Jacob. Sam will be skeptical, but agree to let you try.
You can suggest that Sam distract Jacob while you look for the maps. Sam will like this idea.
You can press him about bringing Cora into this. He’ll dislike it, but he’ll ultimately agree.
Regardless of which option you propose to Sam, you’ll have all three available to you as mission objectives. The goal is to get the maps one way or another. We’ll walk you through each of the three options below.
Option 1: Persuade Jacob
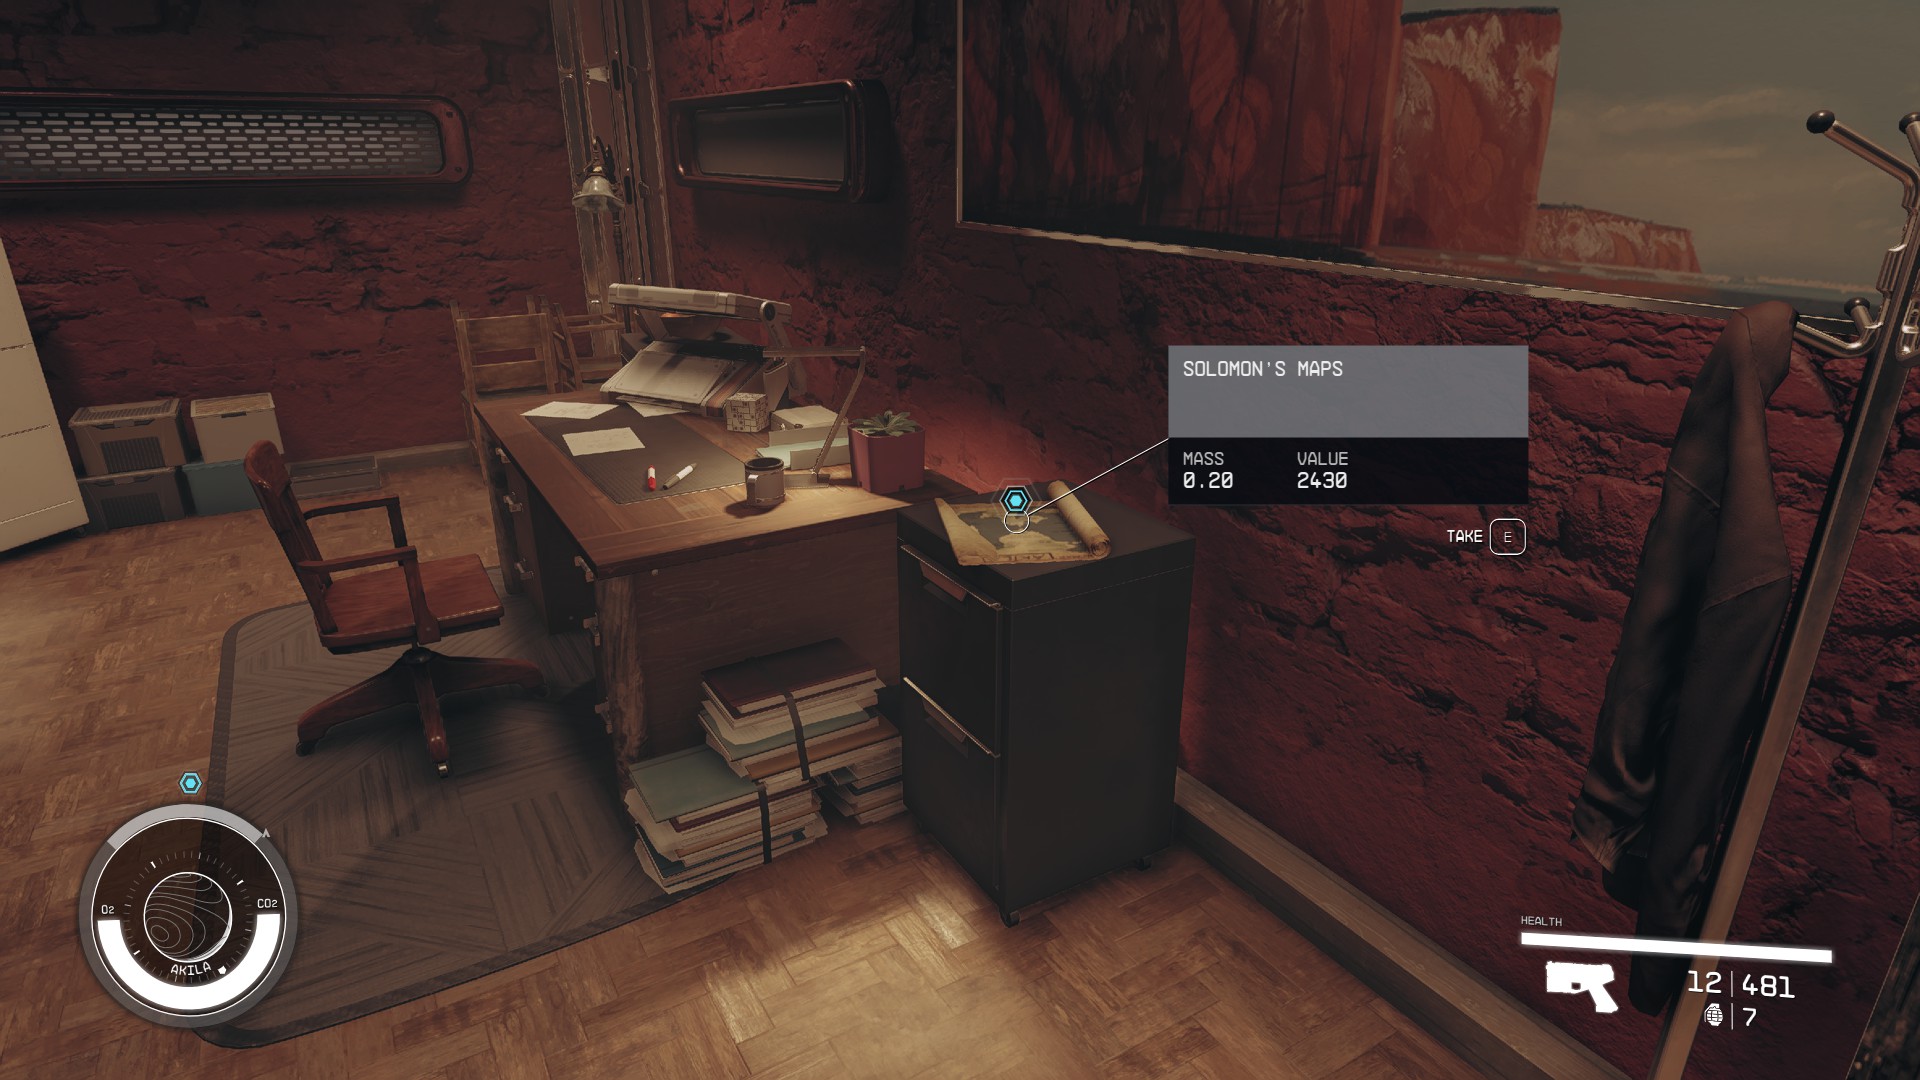
This is the most straightforward method. Talk to Jacob, who is standing nearby (Image 7). You just have to succeed a (pretty easy) persuasion minigame, and he’ll let you take the maps. You’ll find them inside the door he was standing in front of (Image 8).
Option 2: Distract Jacob
This option requires some thievery. Talk to Jacob, who is standing nearby (Image 7). Choose the [Distraction] option to cue Sam to start another argument, pulling Jacob away from the door he’s standing in front of. You’ll have to pick the lock to get inside, but it’s a novice lock, so it should be easy enough. Once inside, steal Solomon’s Maps from the filing cabinet beside the desk (Image 8).
Image 7Image 8
Option 3: Ask Cora for Help
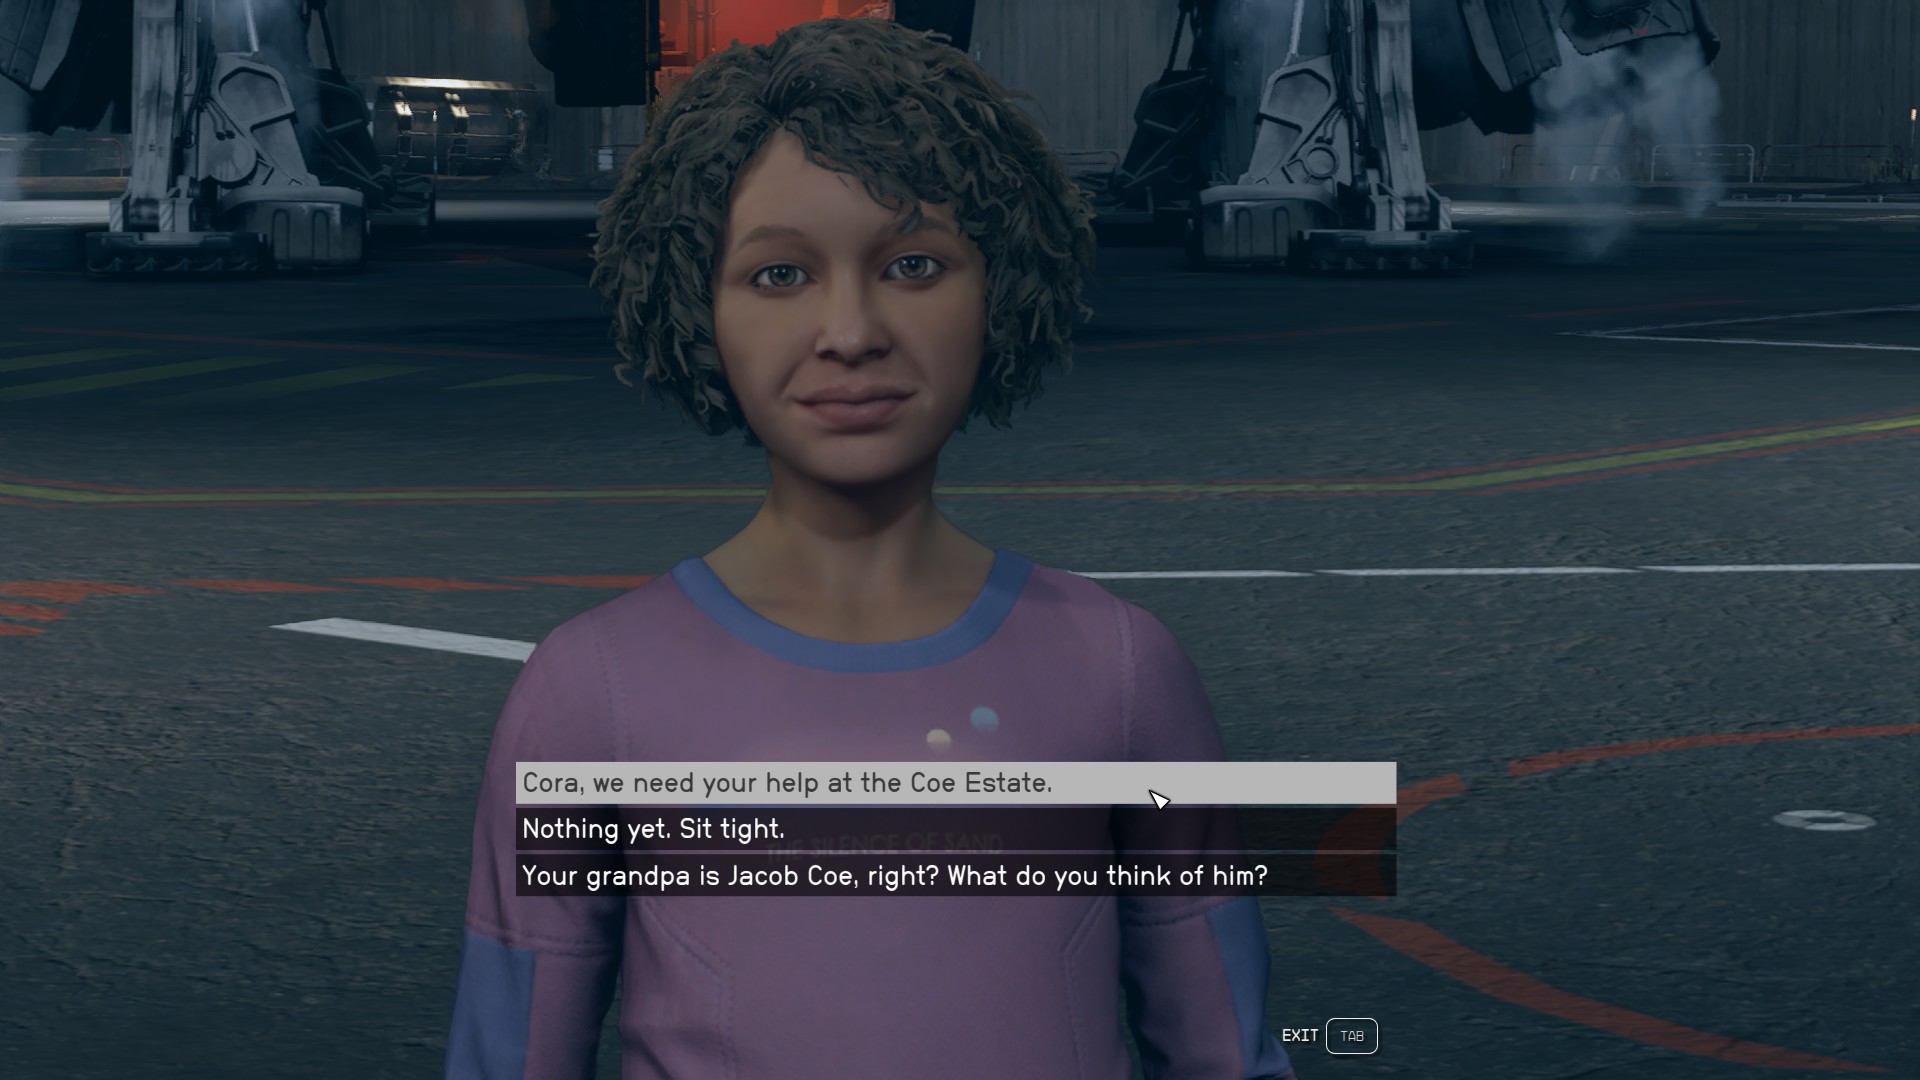
Head back to your ship. You’ll find Cora standing in front of it, facing the city gate (Image 9). Tell her you need her help (Image 10), but note that Sam will hate this. She’ll take off running toward the Coe Estate. Meet her there to watch a short conversation between the three Coes, after which Jacob will give Sam the maps.
Image 9Image 10
Travel to the Empty Nest
Once you have Solomon’s Maps, speak with Sam again. He’ll tell you the artifact is located in a cave in Shaw Gang territory. Use your mission log to locate the cave on the map and fast travel there.
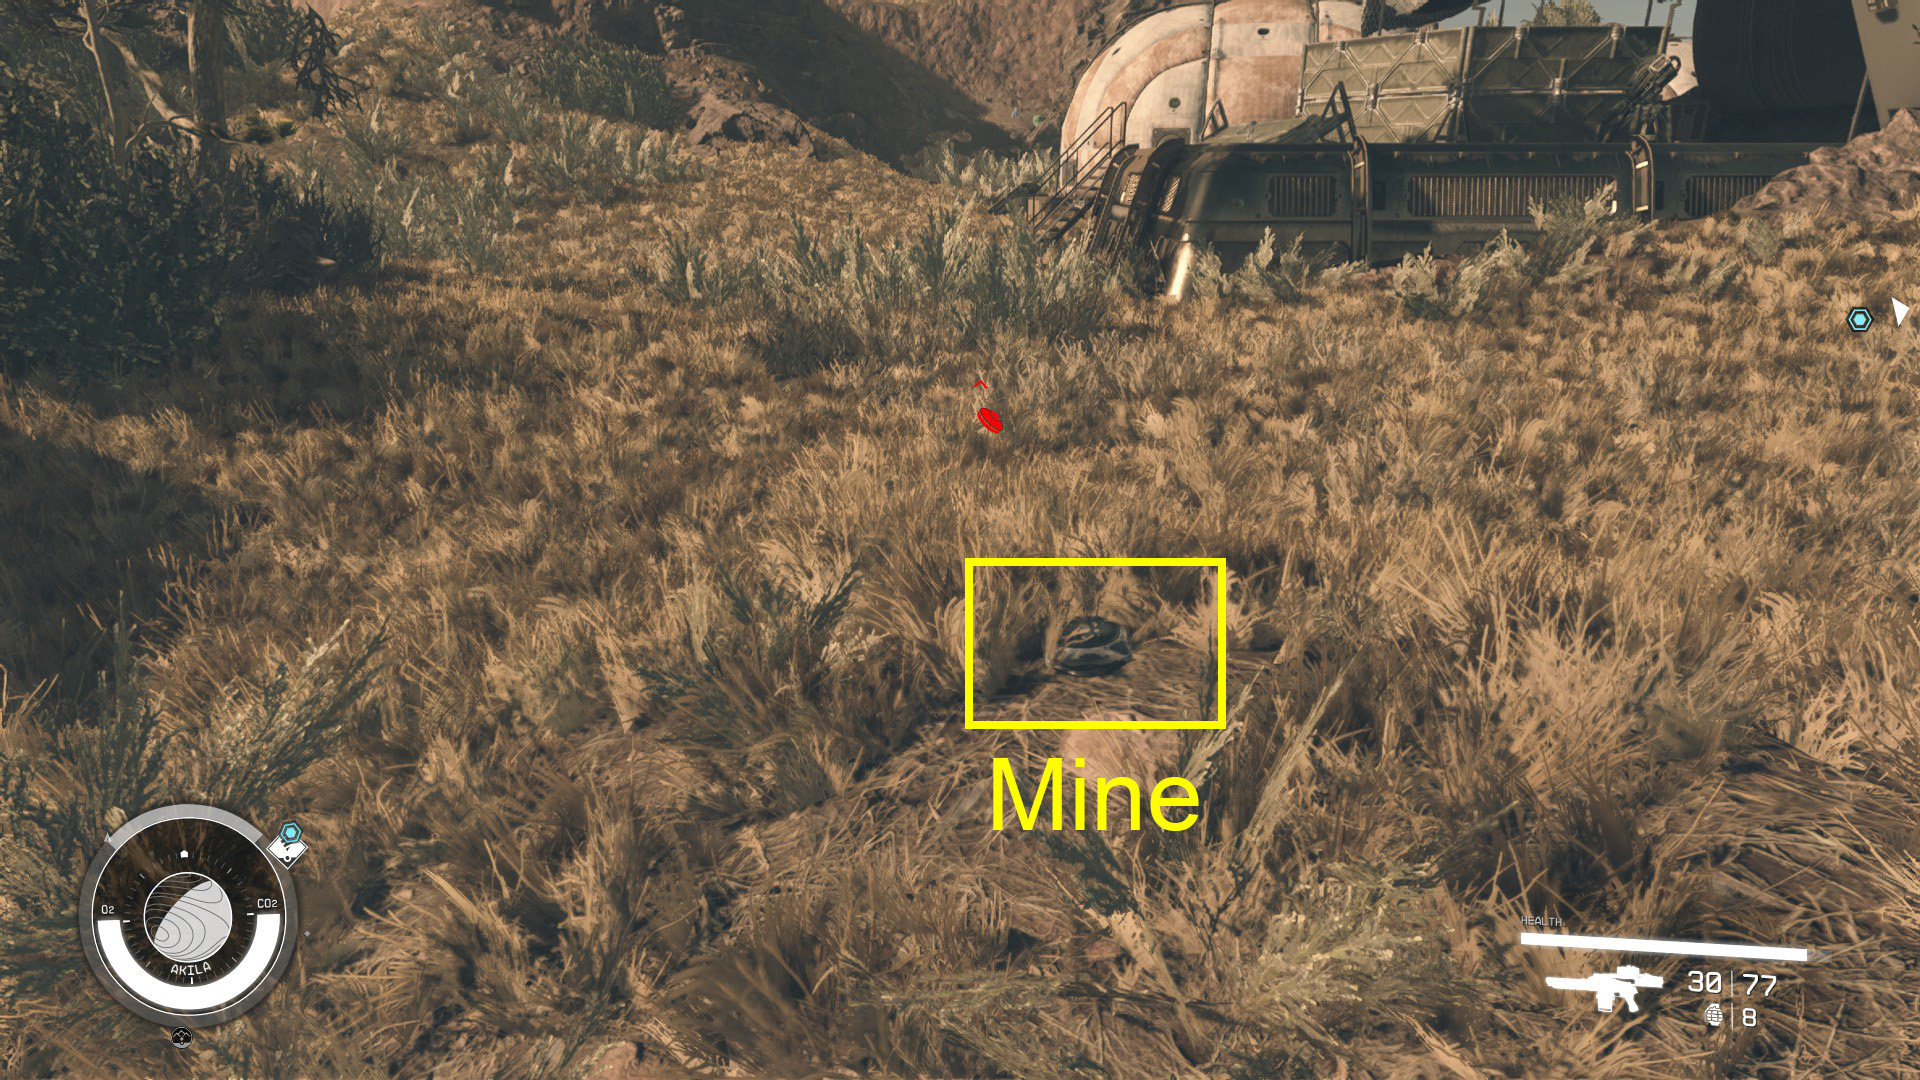
You’ll arrive close to the Shaw Gang camp. Approach carefully as there are mines littered around the area (Image 11). They can be hard to see in the grass, but your scanner will highlight them if you have it open. The base itself is defended by MK I turrets and a Shaw Gang Robot as well as several Shaw Gang members.
Image 11
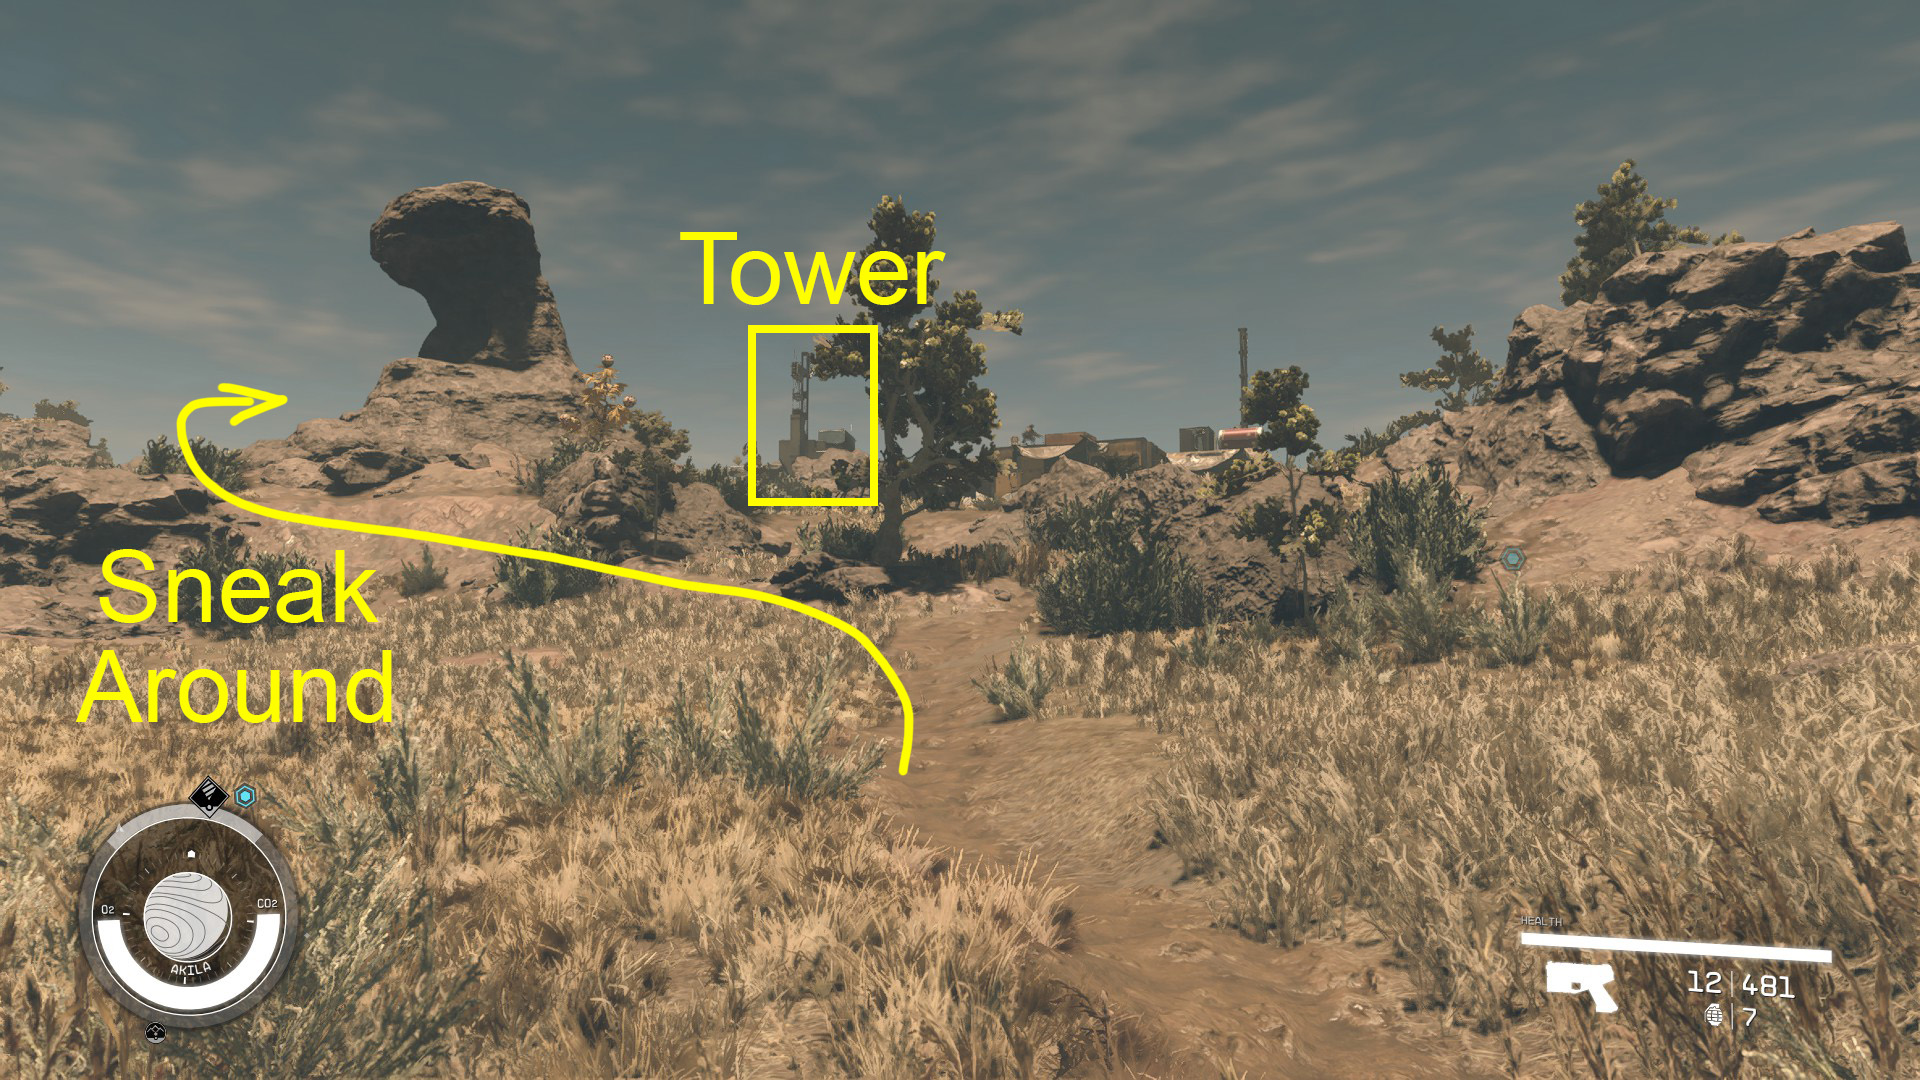
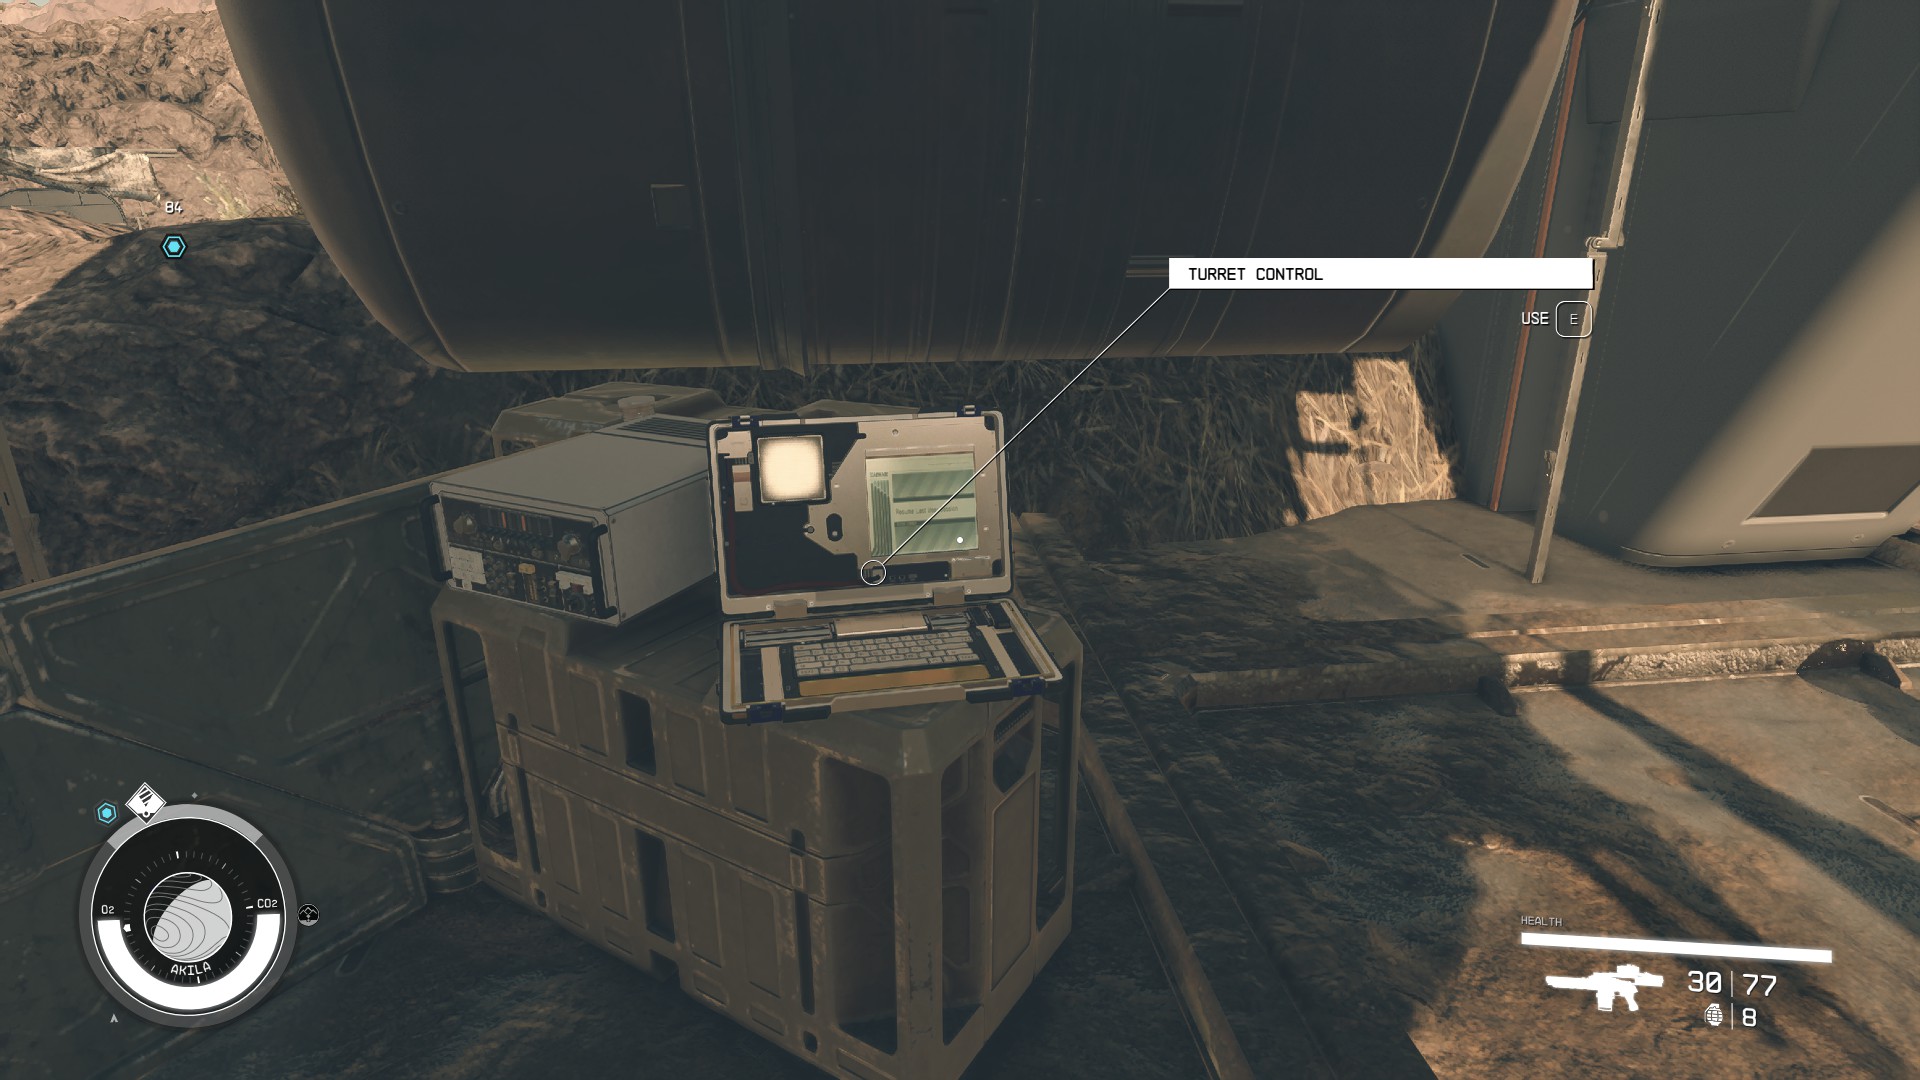
If you want to be strategic, you can sneak around the rocks on the left side of the base and approach the small tower from the back (image 12). Behind it you’ll find the Turret Control computer (Image 13). You can use it to Deactivate Turret(s), or better yet, Update Friend/Foe Settings and then Recalibrate Friend/Foe Settings to set them to defend the current user (you).
Image 12Image 13
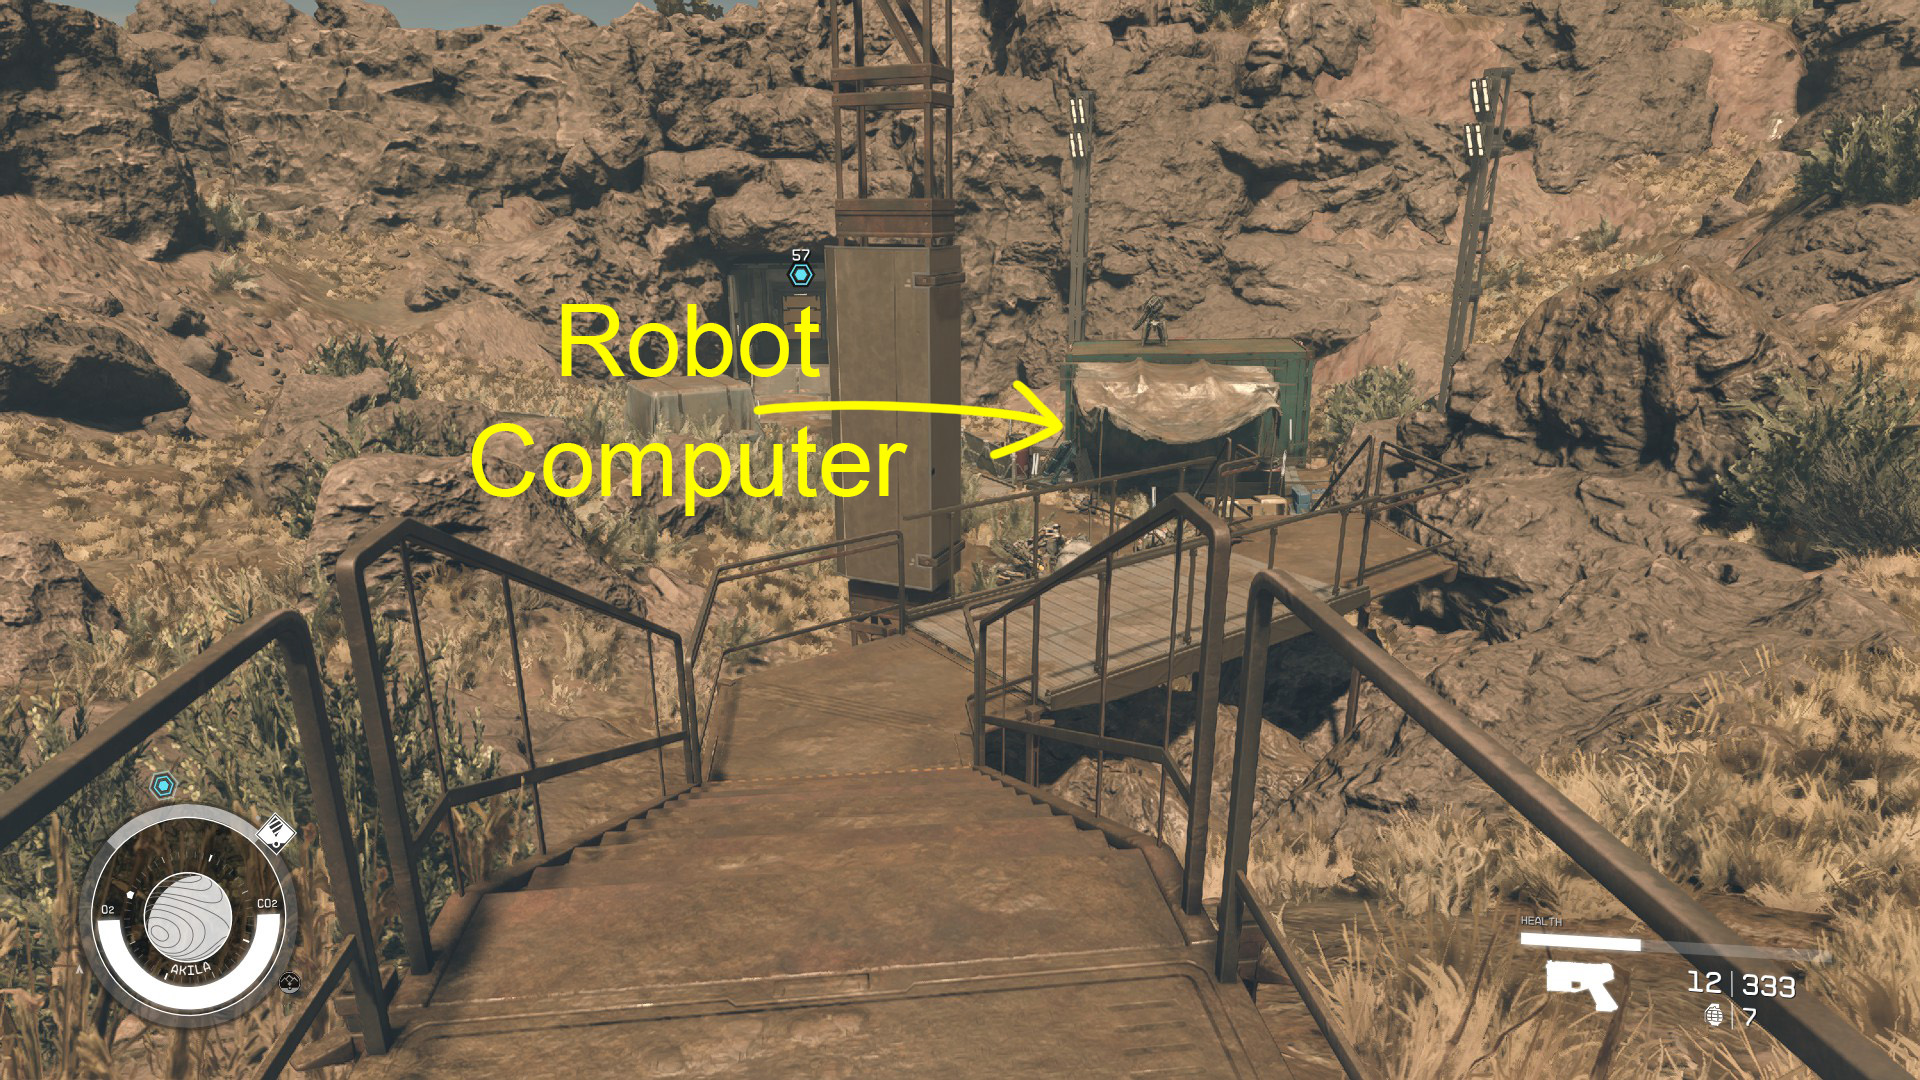
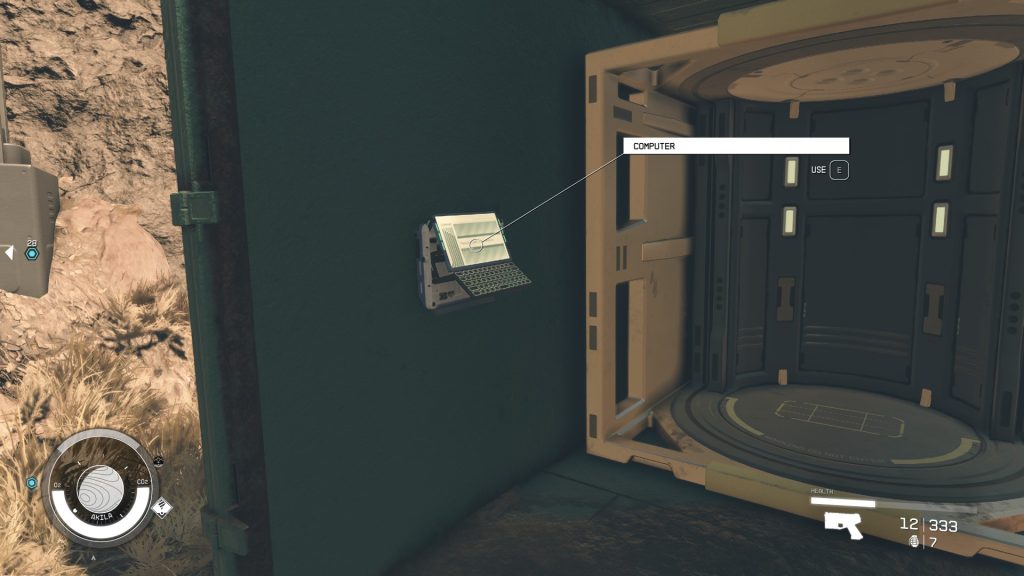
Deeper within the camp, you can find another Computer that controls the robot. It’s inside a small structure near the cave entrance (Images 14 & 15). You will have a harder time reaching this one without being seen, but you’ll have some help from the turrets now, and you can use the computer even if you’re in combat. Recalibrate Friend/Foe Settings the same way you did with the turrets. All you’ll have to do now is finish off the gang members with the help of the robot and turrets.
Image 14Image 15
When you’ve cleared the area of enemies, you can loot the camp. You’ll find a lot of crafting components among the junk. When you’re ready, head inside the door to the cave at the back of the camp.
Get the Artifact
You’ll find more Shaw Gang members inside the cave. They shouldn’t be too difficult to handle. Make your way down the path and eliminate them as you go. One of them will have a Shaw Gang Cave Key, which you’ll need in a moment.
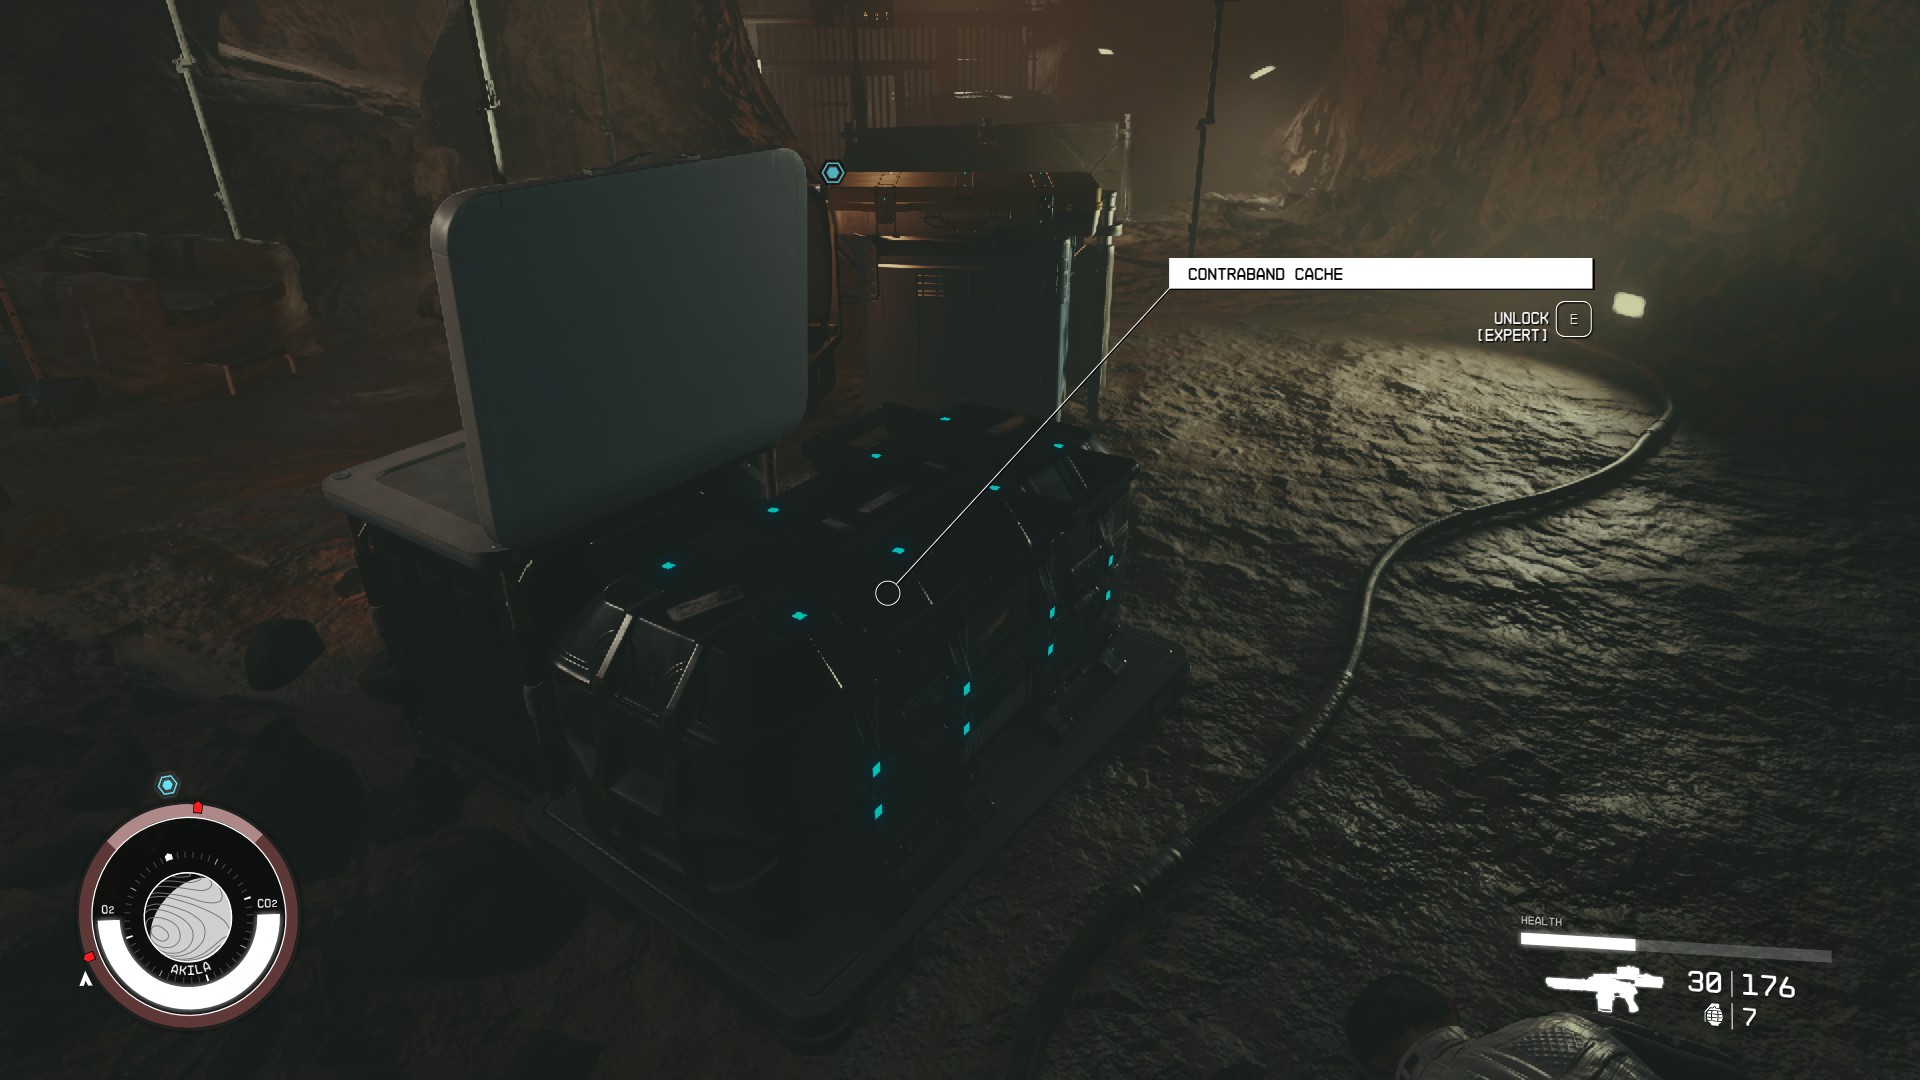
You’ll find a Contraband Cache with an expert level lock near the center of the cave (Image 15). You’ll need rank 2 in the Security skill if you want to try to pick the lock. The crate contains a single piece of contraband. Across from it you’ll find a Weapon Case that contains the unique shotgun Ashta Tamer.
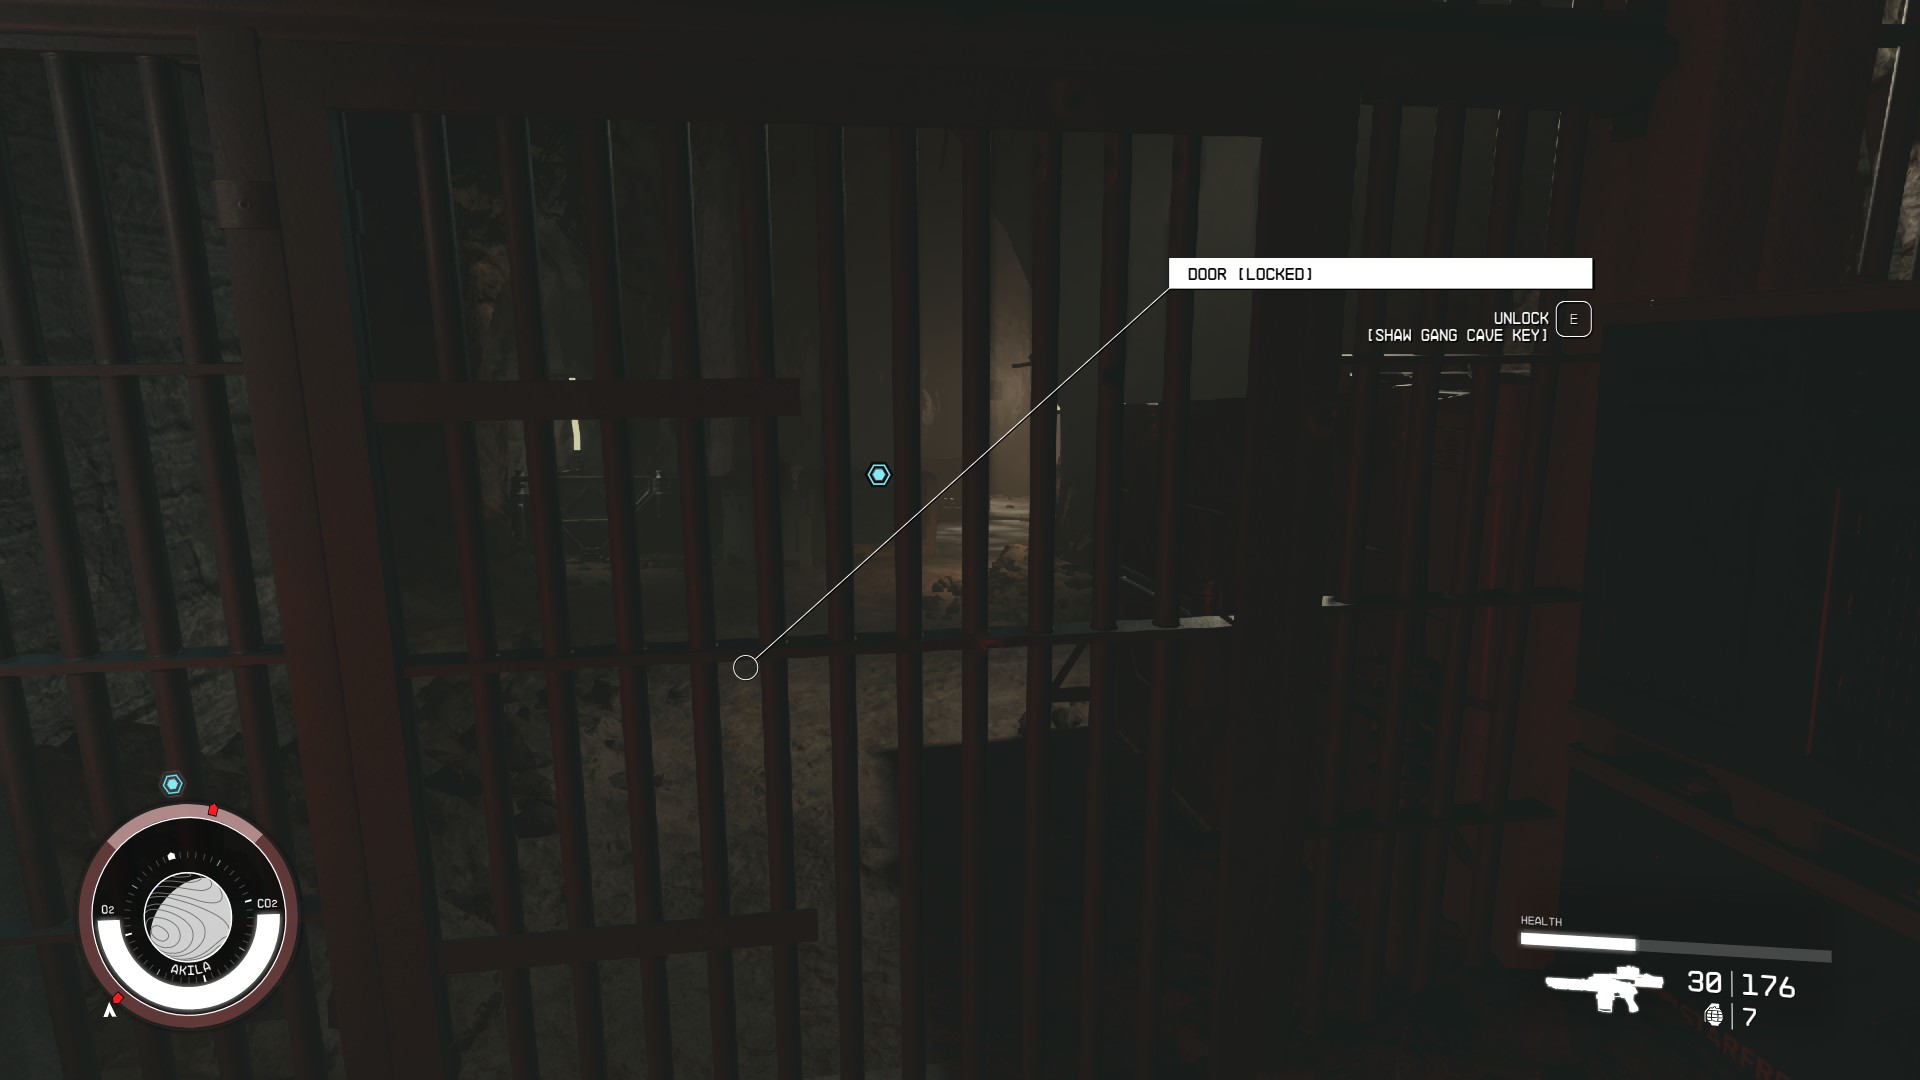
The path will lead you to a locked door that requires the Shaw Gang Cave Key to open (Image 16). If you didn’t loot one from the gang members, there should be one laying around near the Contraband Cache.
Image 16Image 17
Continue deeper into the cave, and you’ll encounter one more gang member. You’ll also find a lot of resources that can be harvested using the Cutter.
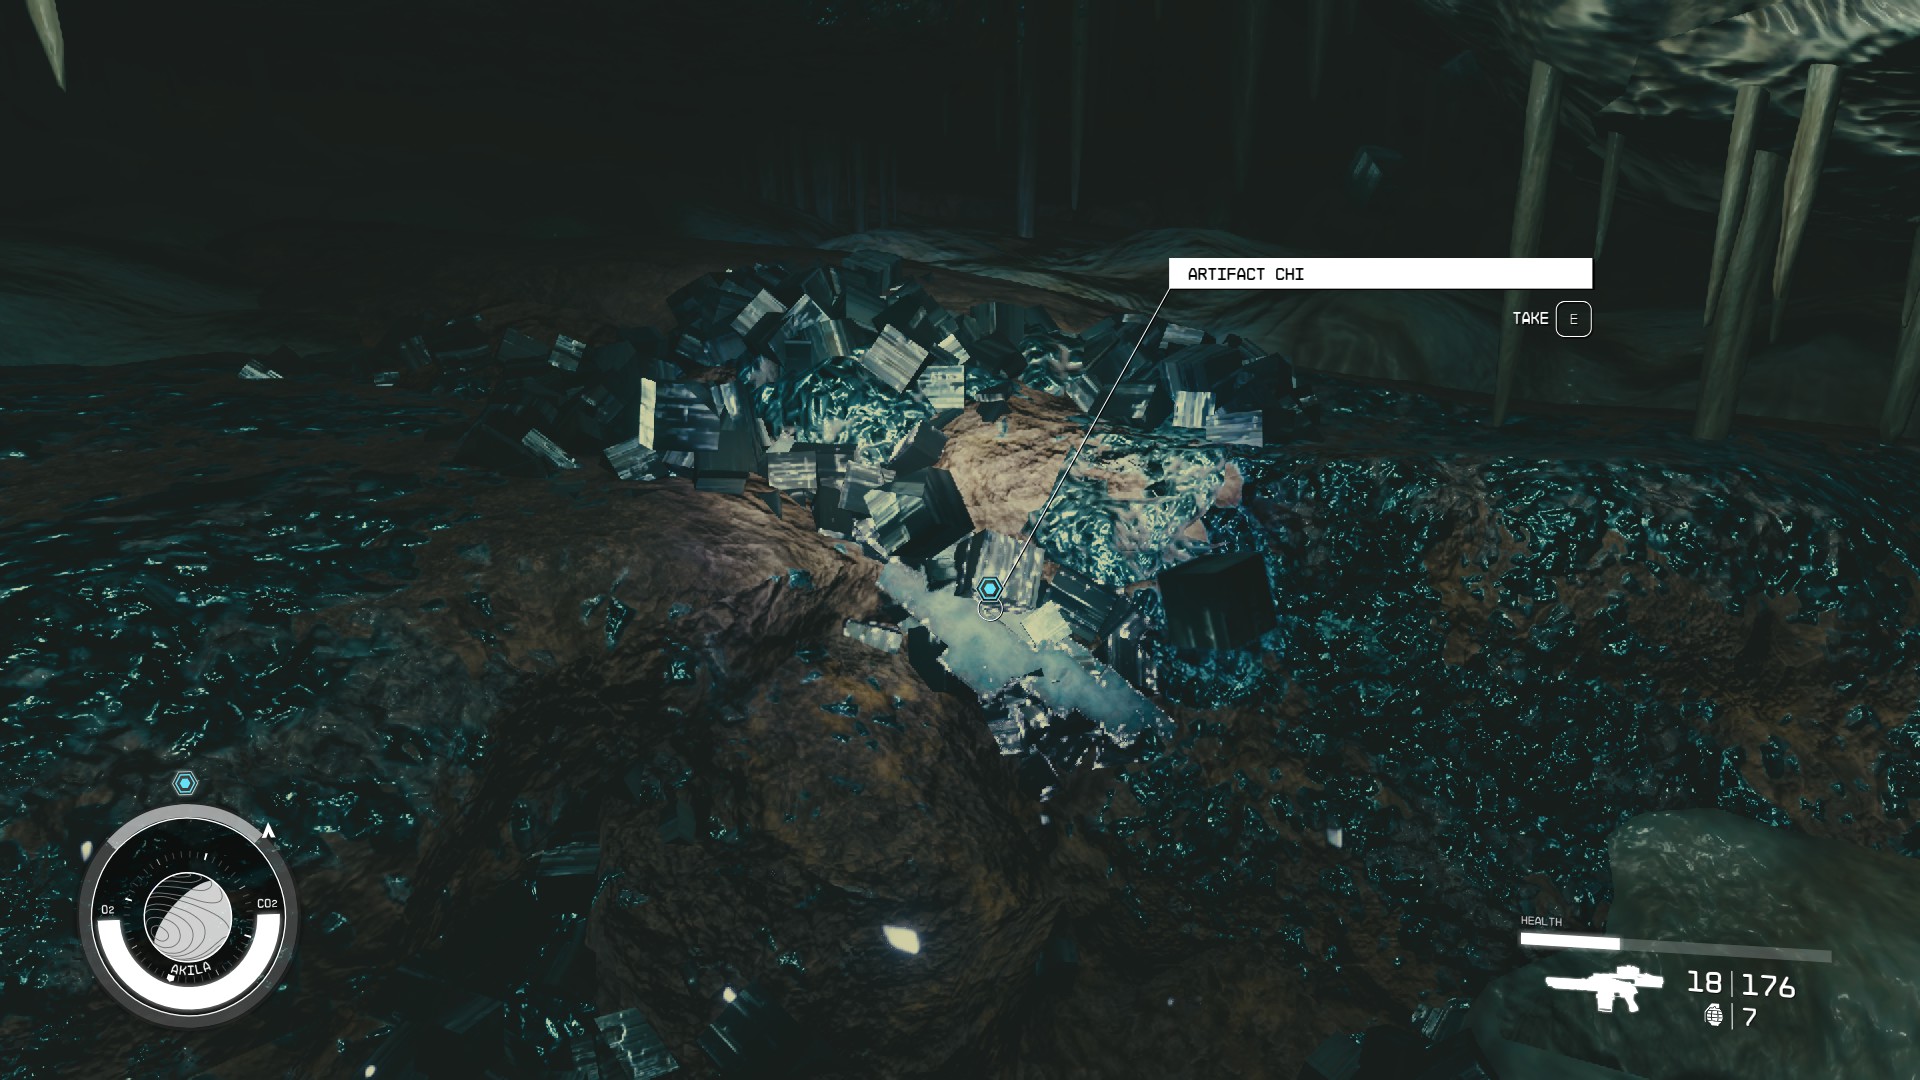
At the back of the cave, you’ll find what you’re here for: Artifact Chi (Image 17). Mine the deposit around it with the Cutter to free the artifact, and then activate it. You’ll be treated to another psychedelic cut scene like when you found the first artifact. Then you’ll be directed to leave the hideout and head back to the Lodge.
Image 18
Deal With Shaw
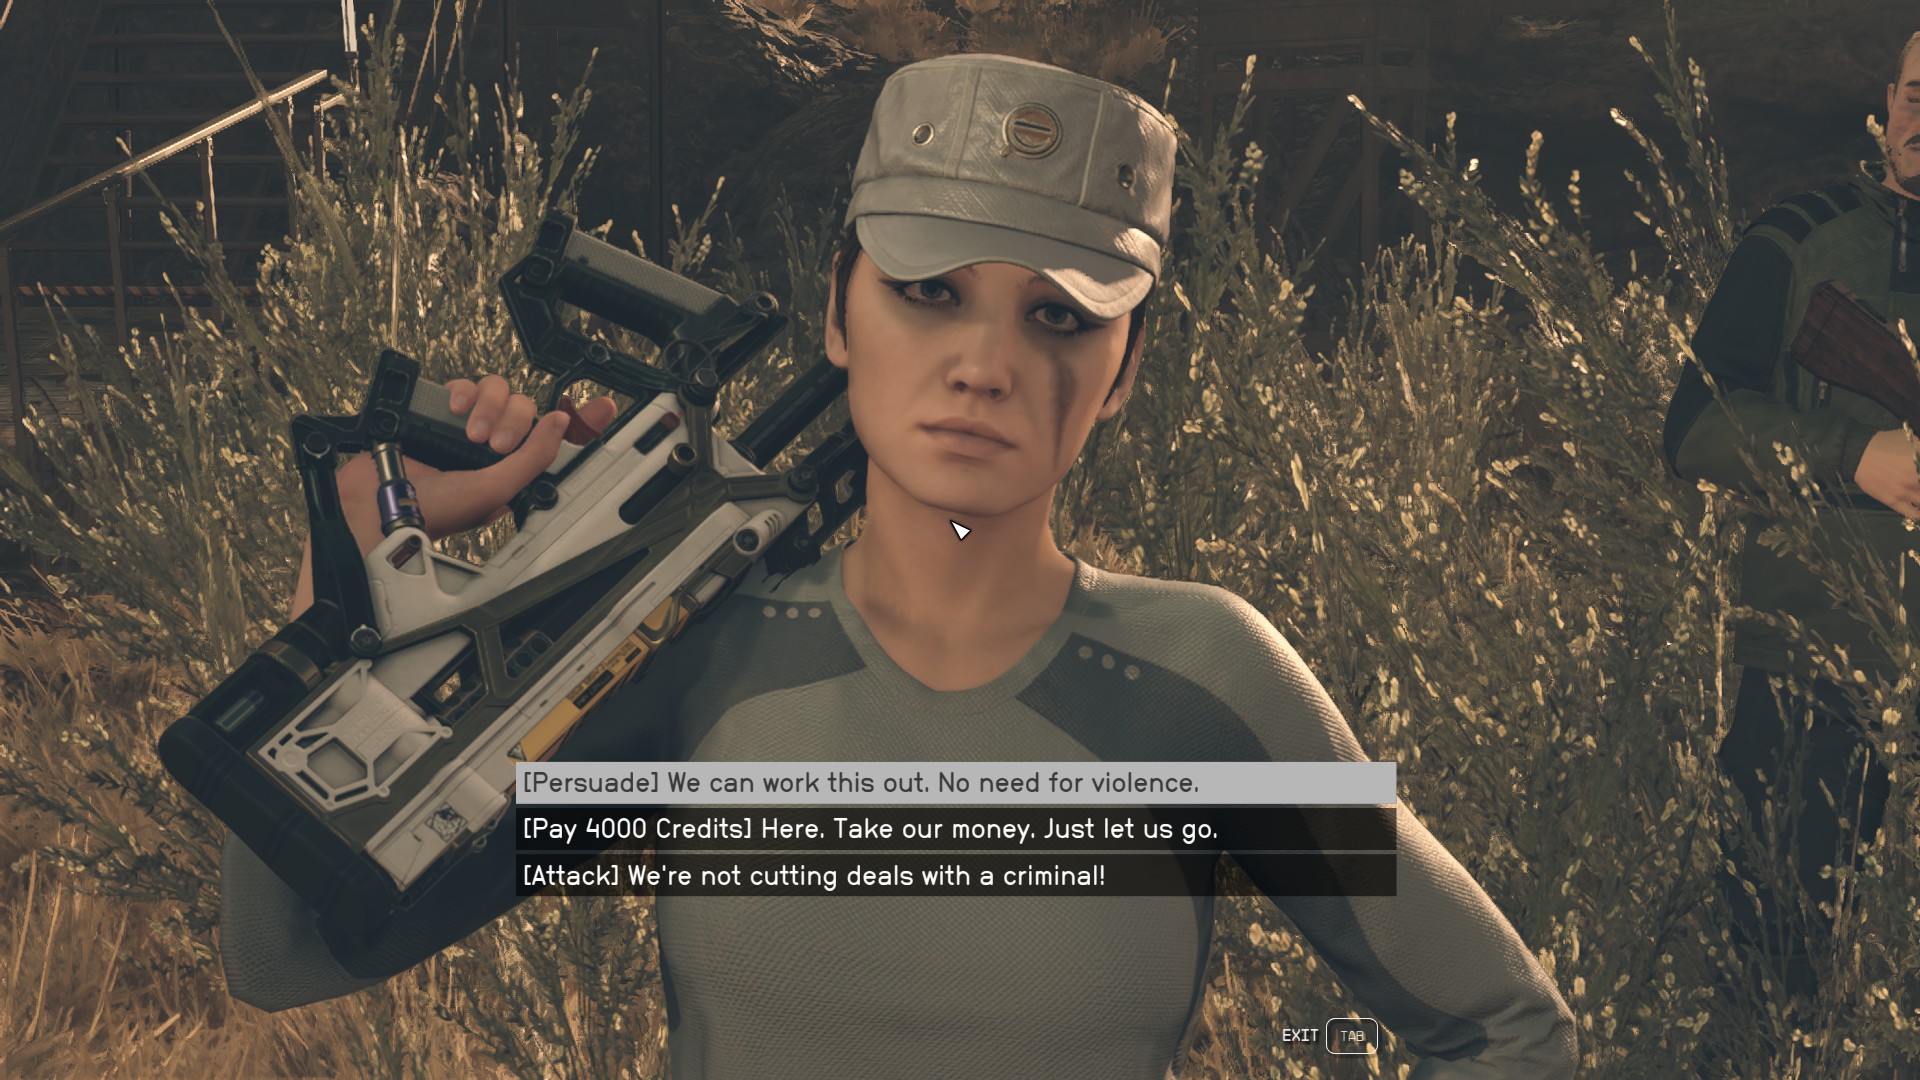
Exit the cave, and you’ll find someone waiting for you outside – it’s Shaw, the gang leader herself. She’ll demand payment to let you leave in one piece. You have three options for dealing with her:
[Persuade] her to just let you leave. Sam will like this approach if you succeed.
[Pay 4000 Credits] and she’ll let you leave without a fight.
[Attack] to fight her and her lackeys. Shaw is level 14 and her Bodyguards and Sharpshooters are level 8.
Image 19
Regardless of how you handle Shaw, several level 10 Ashta will descend upon the camp. You can stay and fight them or you can leave the Shaw gang deal with them.
When you’re ready to leave, go to your mission log to set course for the Lodge. Inside, you can approach the Artifact Collection and interact with it to add Artifact Chi.
Sam Coe will no longer be locked in as your companion. If you tell him “Actually, I wouldn’t mind if we kept traveling together,” he and Cora will stay on with you and you can continue to have Sam as a follower or crew member.
What to Do Next
There are plenty of choices for things to do in Starfield, including lots of Side Missions. If you want to continue with the main quest, there is one more quest to complete in the trio that we unlocked during The Old Neighborhood: Into the Unknown.
I love RPGs, sandboxes, survival, and sim games. Anything that lets me build and decorate or just has a really good story. I've spent hundreds of hours in Bethesda games and even more time modding them. I also play a lot of World of Warcraft.