This main story mission sees you seeking out a few more artifacts in your quest for Unity. While doing so, you’ll find yourself entangled in a strange experiment after answering a distress call.
After meeting The Emissary and The Hutner in the previous mission, you’ll need to head back to the Lodge. Go into the library and speak with Vladimir.
On your way to speak to Vladimir in the library, you’ll see Noel — approach her and she’ll speak to you about a memorial service for the companion that died in High Price to Pay. Say whatever you want, and you’ll start the mission “Missed Beyond Measure” (which you can do at any point from now).
You’ll have a conversation with the members of Constellation — say whatever you like — and then you’ll need to talk to Vladimir again. He’ll tell you he’s got more info on Artifacts, and you’ll need to choose “Thanks Vladimir. I’ll follow up on these.” to continue.
Obtain a Ship With a 21LY Grav Jump Range
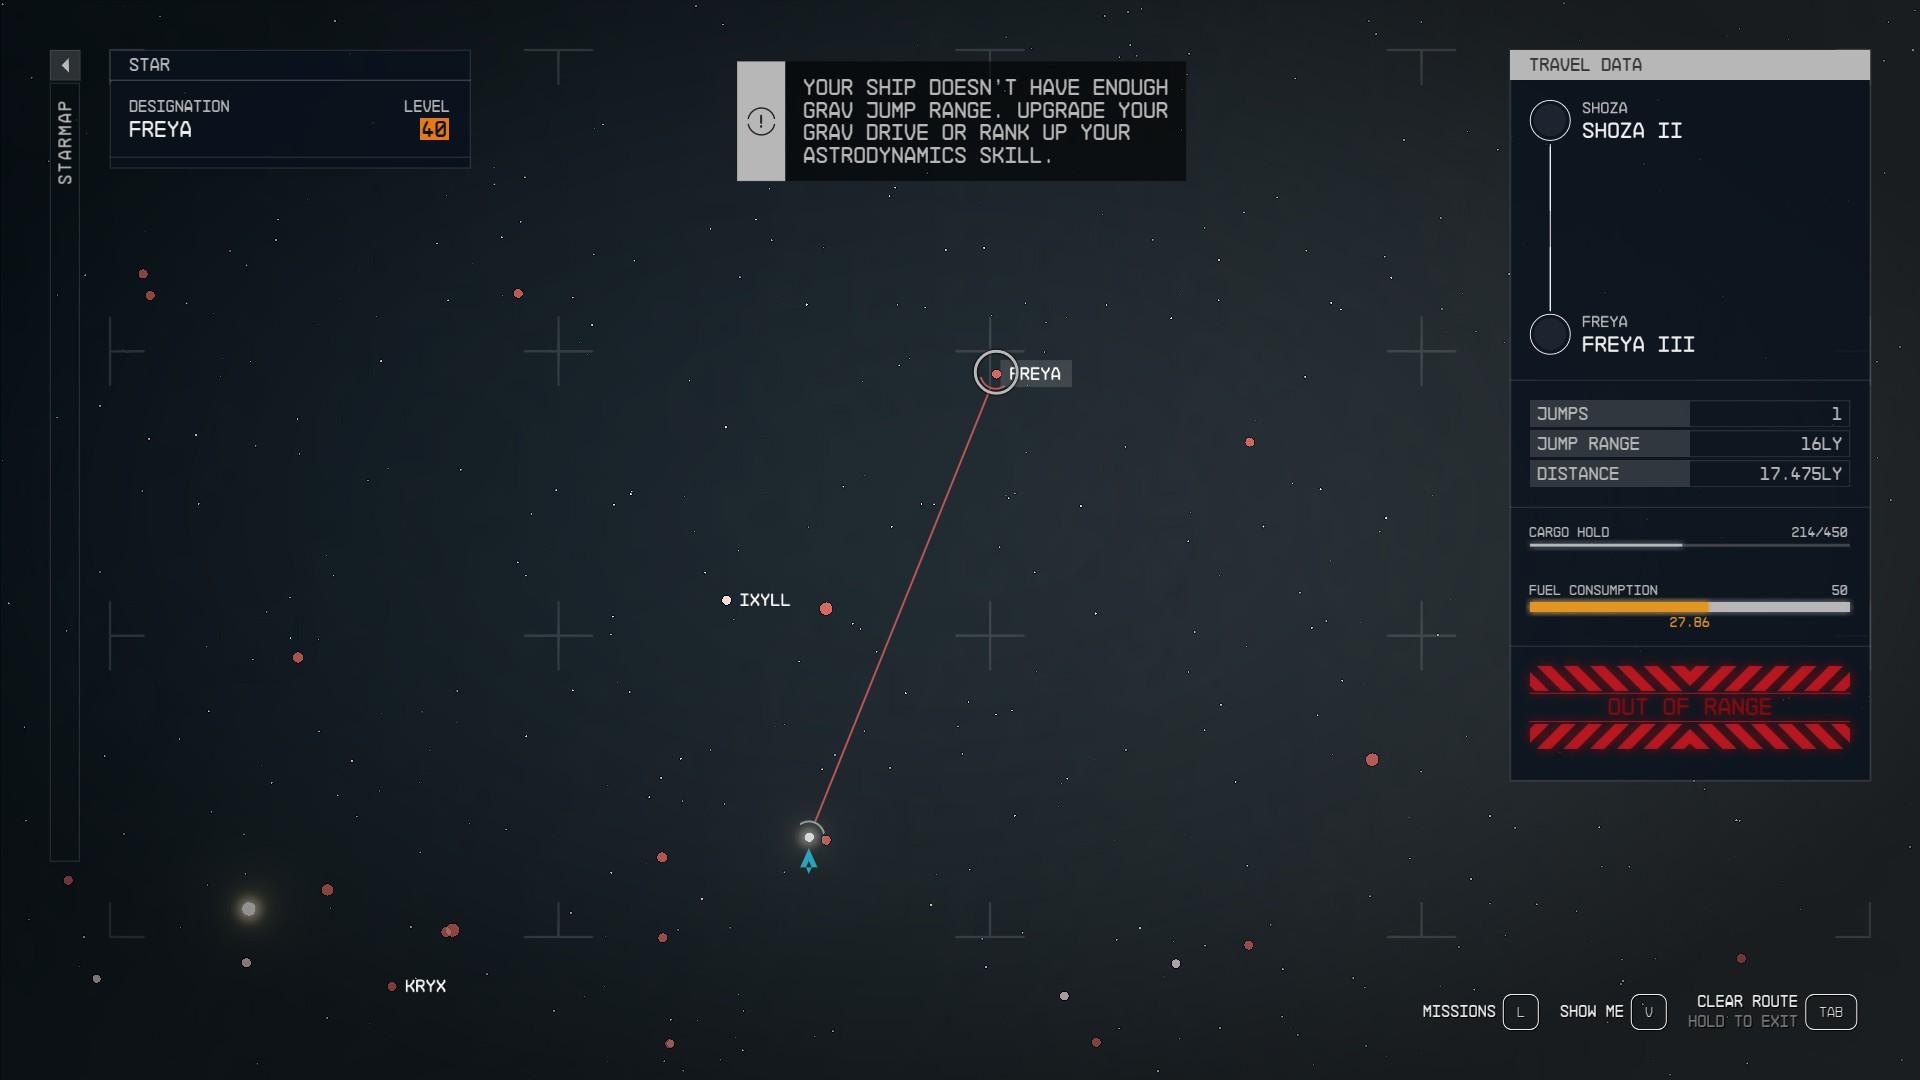
In order to reach the Freya system, the game claims you will need a ship that has a 21LY Grav Jump range — which is a greater Grav Jump range than the default Frontier’s 16LY range. However, when we tested the route to Freya, only a jump range of 18LY was required (Image 1), which is attainable using the default Frontier and one point in the Astrodynamics Skill.
If you don’t have a skill point available and want to complete this mission, you’ll need to upgrade your ship, or board and seize one with a better Grav Jump range. Fortunately, you can get to Piazza IV-C now using the default Frontier, so if necessary, you may be able to pick up the XP you need as you grab the mission’s first relic.
Go to Piazza IV-C
The Piazza system is a short jump from Alpha Centauri. Reaching the artifact should be very familiar to you at this point: use the Mission log to set a course for the planet; once in orbit, use the Mission log again to set a course for the randomly-generated landing site that contains the artifact. Since the landing site is picked from a set of random locations, we won’t give a specific walkthrough for grabbing the artifact. However, we can remind players who have trouble finding the artifact to use the old maze-solving trick of sticking to one wall (left or right).
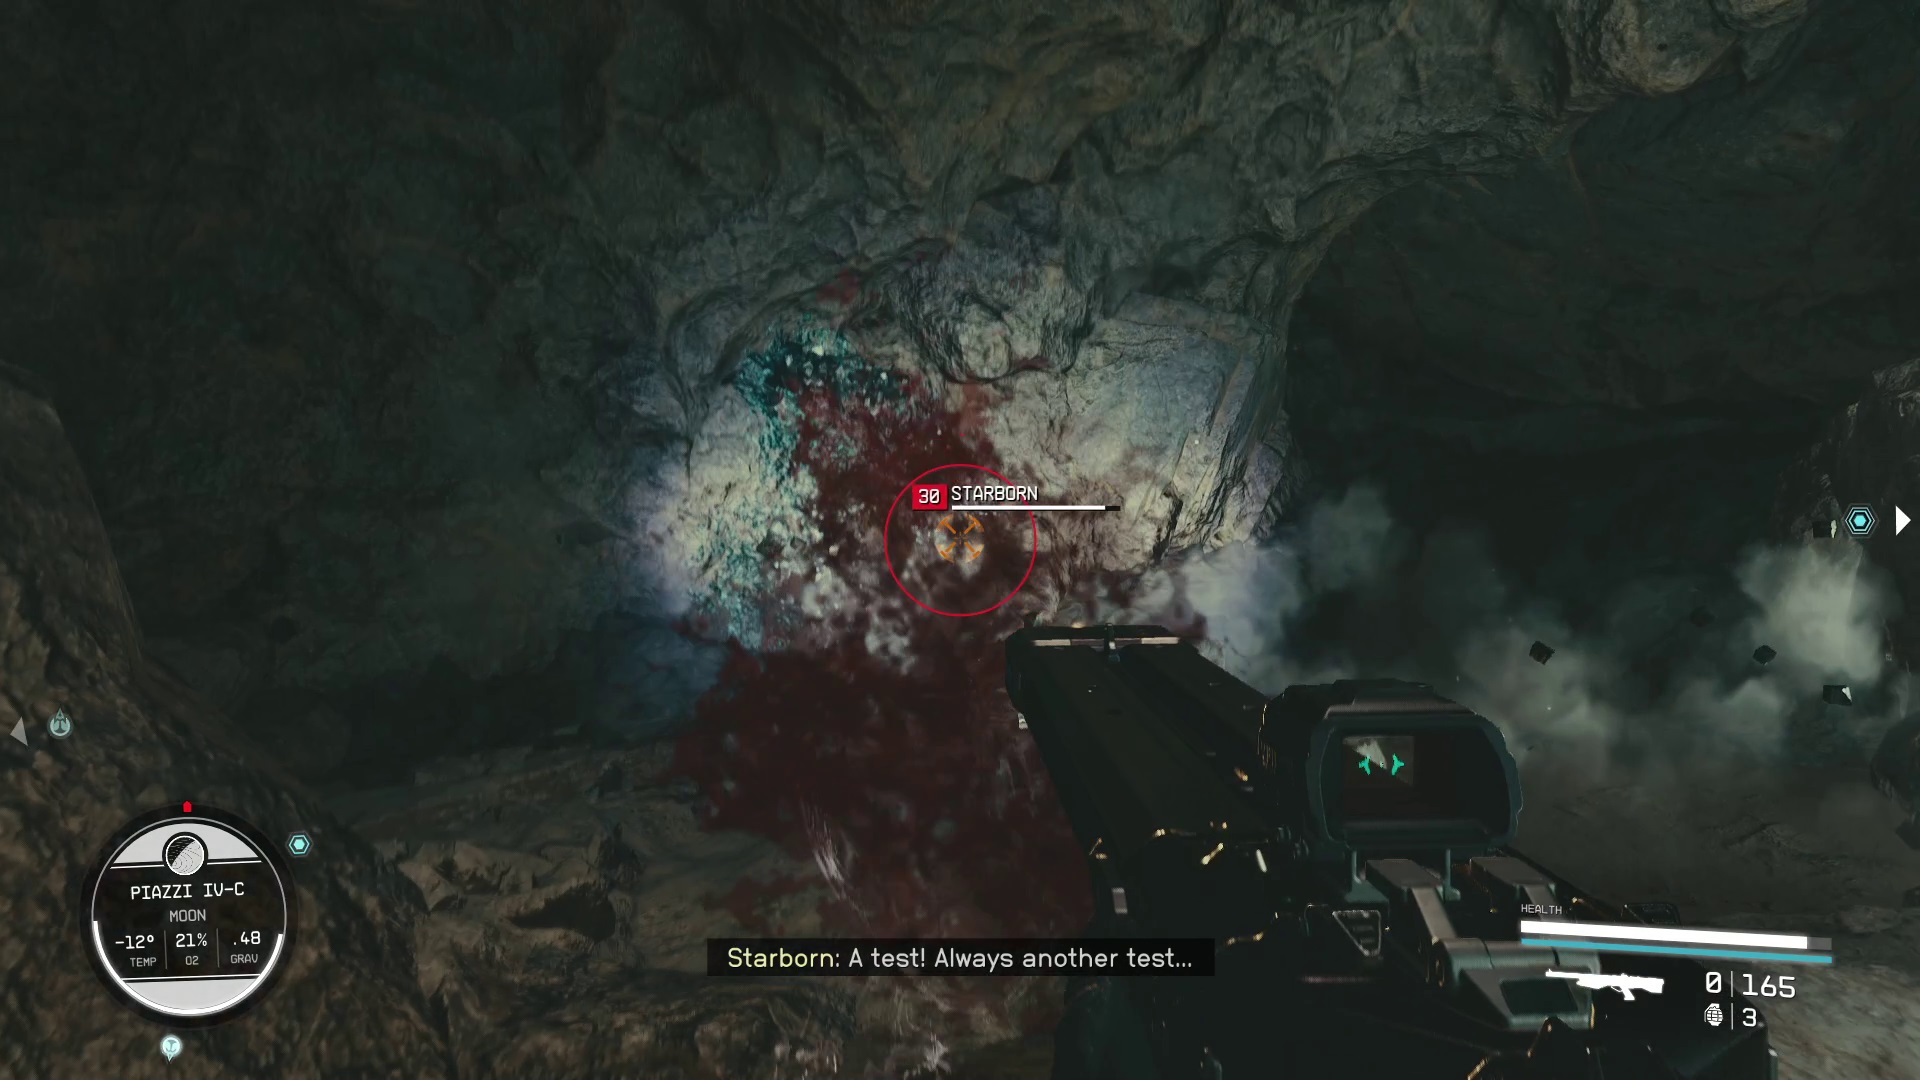
You’ll be attacked by a cloaked Starborn once you enter the chamber with the artifact, so make sure you’re ready — it will be level 30, and can be a tough fight depending on your character’s level and strength.
Once you take care of the Starborn, use your Cutter to remove the minerals from around Artifact Omicron, and then pick it up. After your psychedelic vision of the universe ends, return to your ship.
Go to Freya III
If you haven’t yet, make sure your ship’s Grav Jump range is over 18LY. That done, you can set a course for Freya — well, you can set course for some in-between systems, since it’s very unlikely your ship will be able to make it to Freya in one jump. Jump as far along the route as you can each time, and after a handful of jumps, you’ll find yourself in orbit of Freya III.
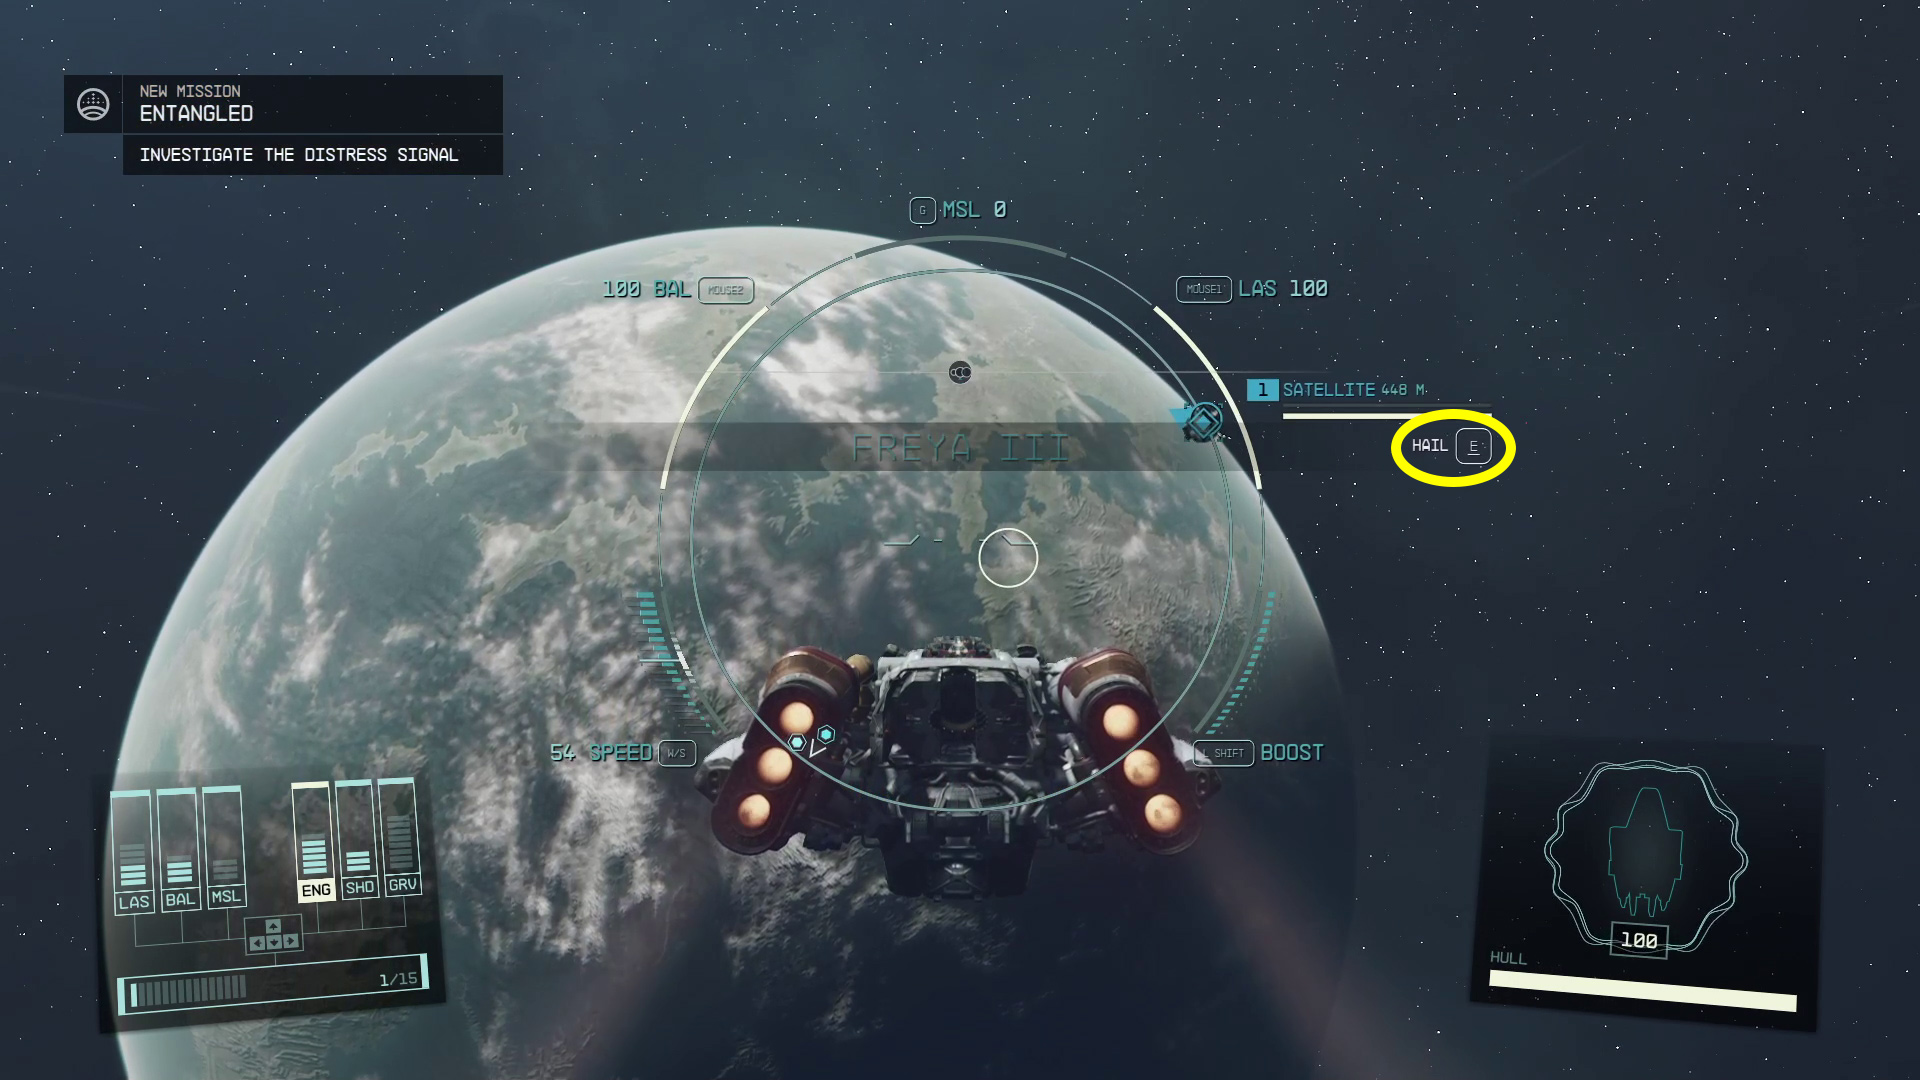
Upon arrival, you’ll be hailed by a satellite. Don’t ignore it, as it’s part of this mission. Accept the hail, and you’ll get a distress signal originating from the planet below. (If you accidentally ignore the hail, you can target the satellite and hail it — doing so will let you listen to the distress call and continue the mission.)
Complete Entangled
At this point, you’ll need to complete the mission “Entangled” in order to progress with “Final Glimpses”.
Unabashed FromSoftware fanboy still learning to take his time with games (and everything else, really). The time he doesn't spend on games is spent on music, books, or occasionally going outside.