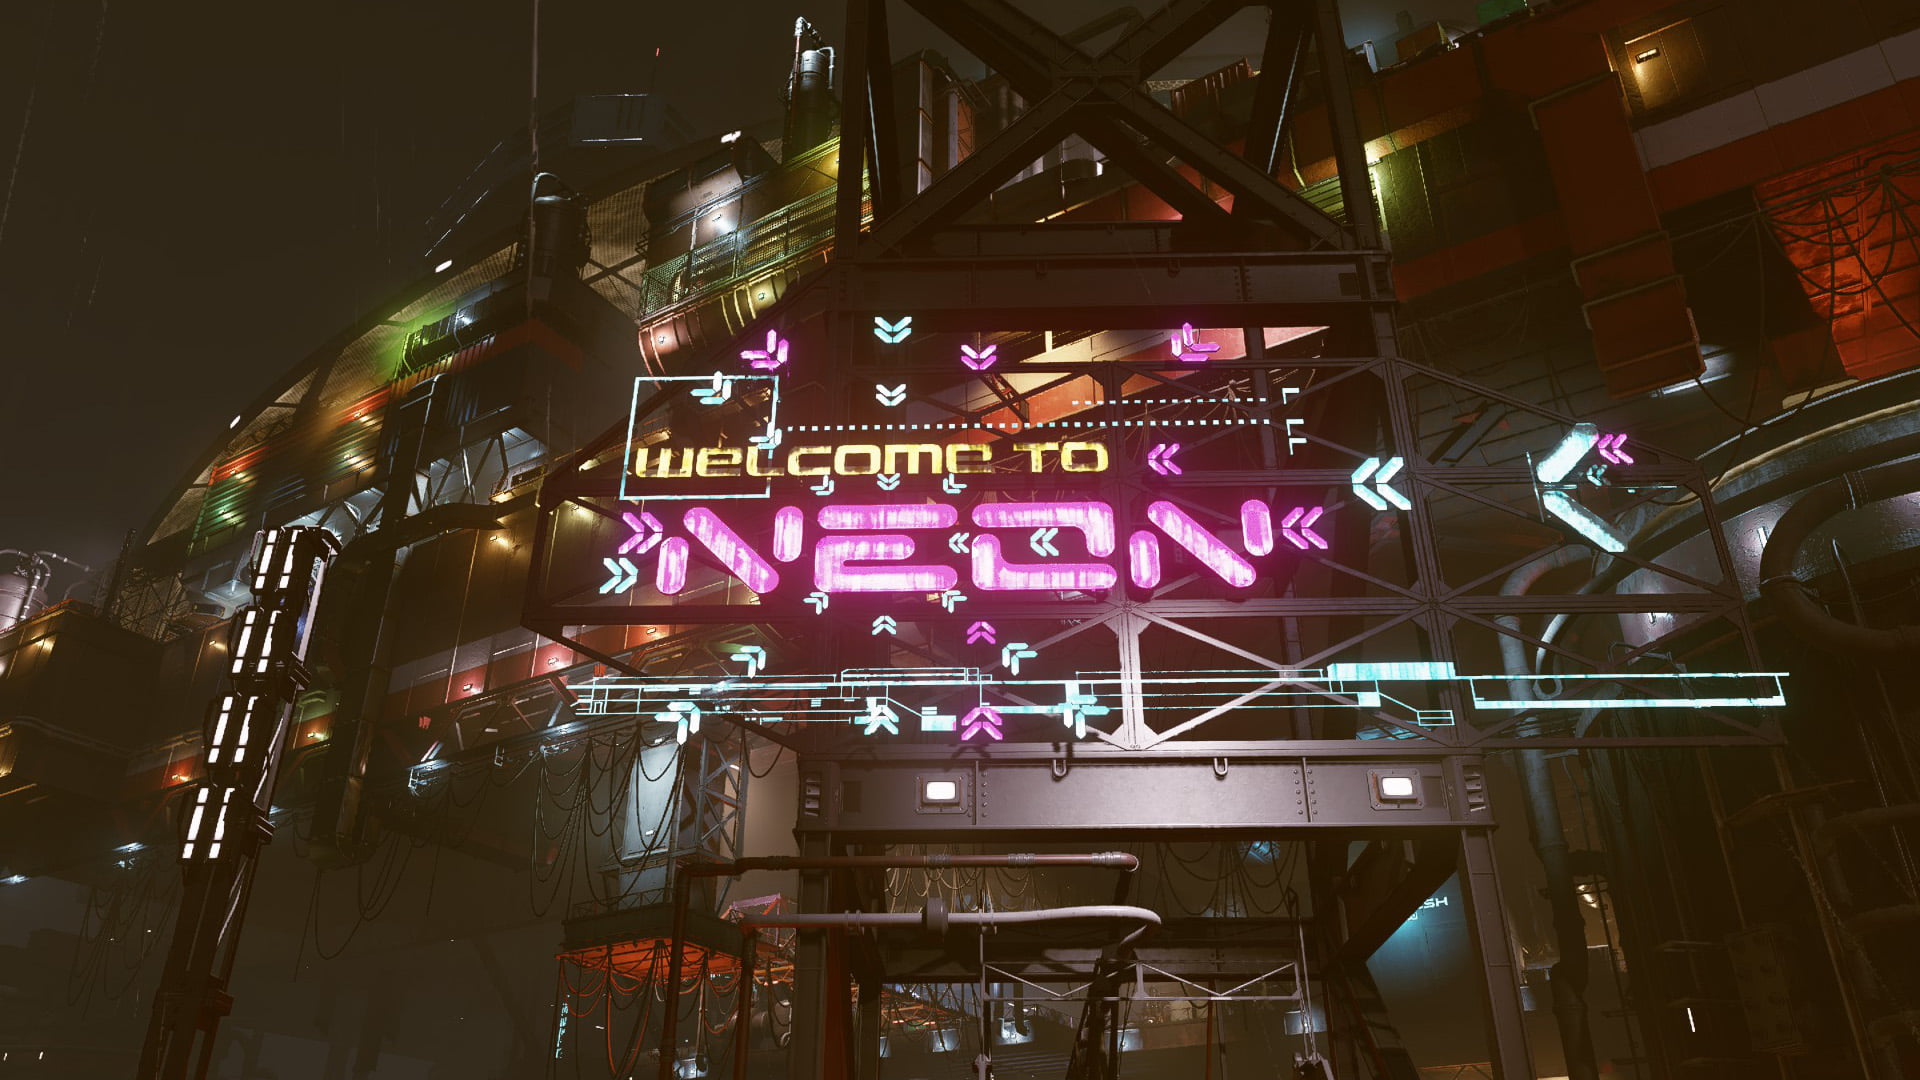
Upon finishing all three of the missions Back to Vectera, The Empty Nest, and Into the Unknown, Walter Stroud will tell you he wants to talk to you. He’s seated in an armchair in the Lodge in New Atlantis facing the Artifact Collection (Image 1).
Image 1
Talk to him, and he’ll tell you he’s located an artifact that he plans to buy in the city of Neon. He wants you to go along and help him purchase it. However you respond, you’ll wind up agreeing to help. You can tell him “Not now” if you want to take care of some other business first. When you’re good to go, tell him “I’m ready. Let’s go.”
Go to your mission log and set course for the Volii system. You’ll arrive in orbit around Voliii Alpha, and then you can land in Neon.
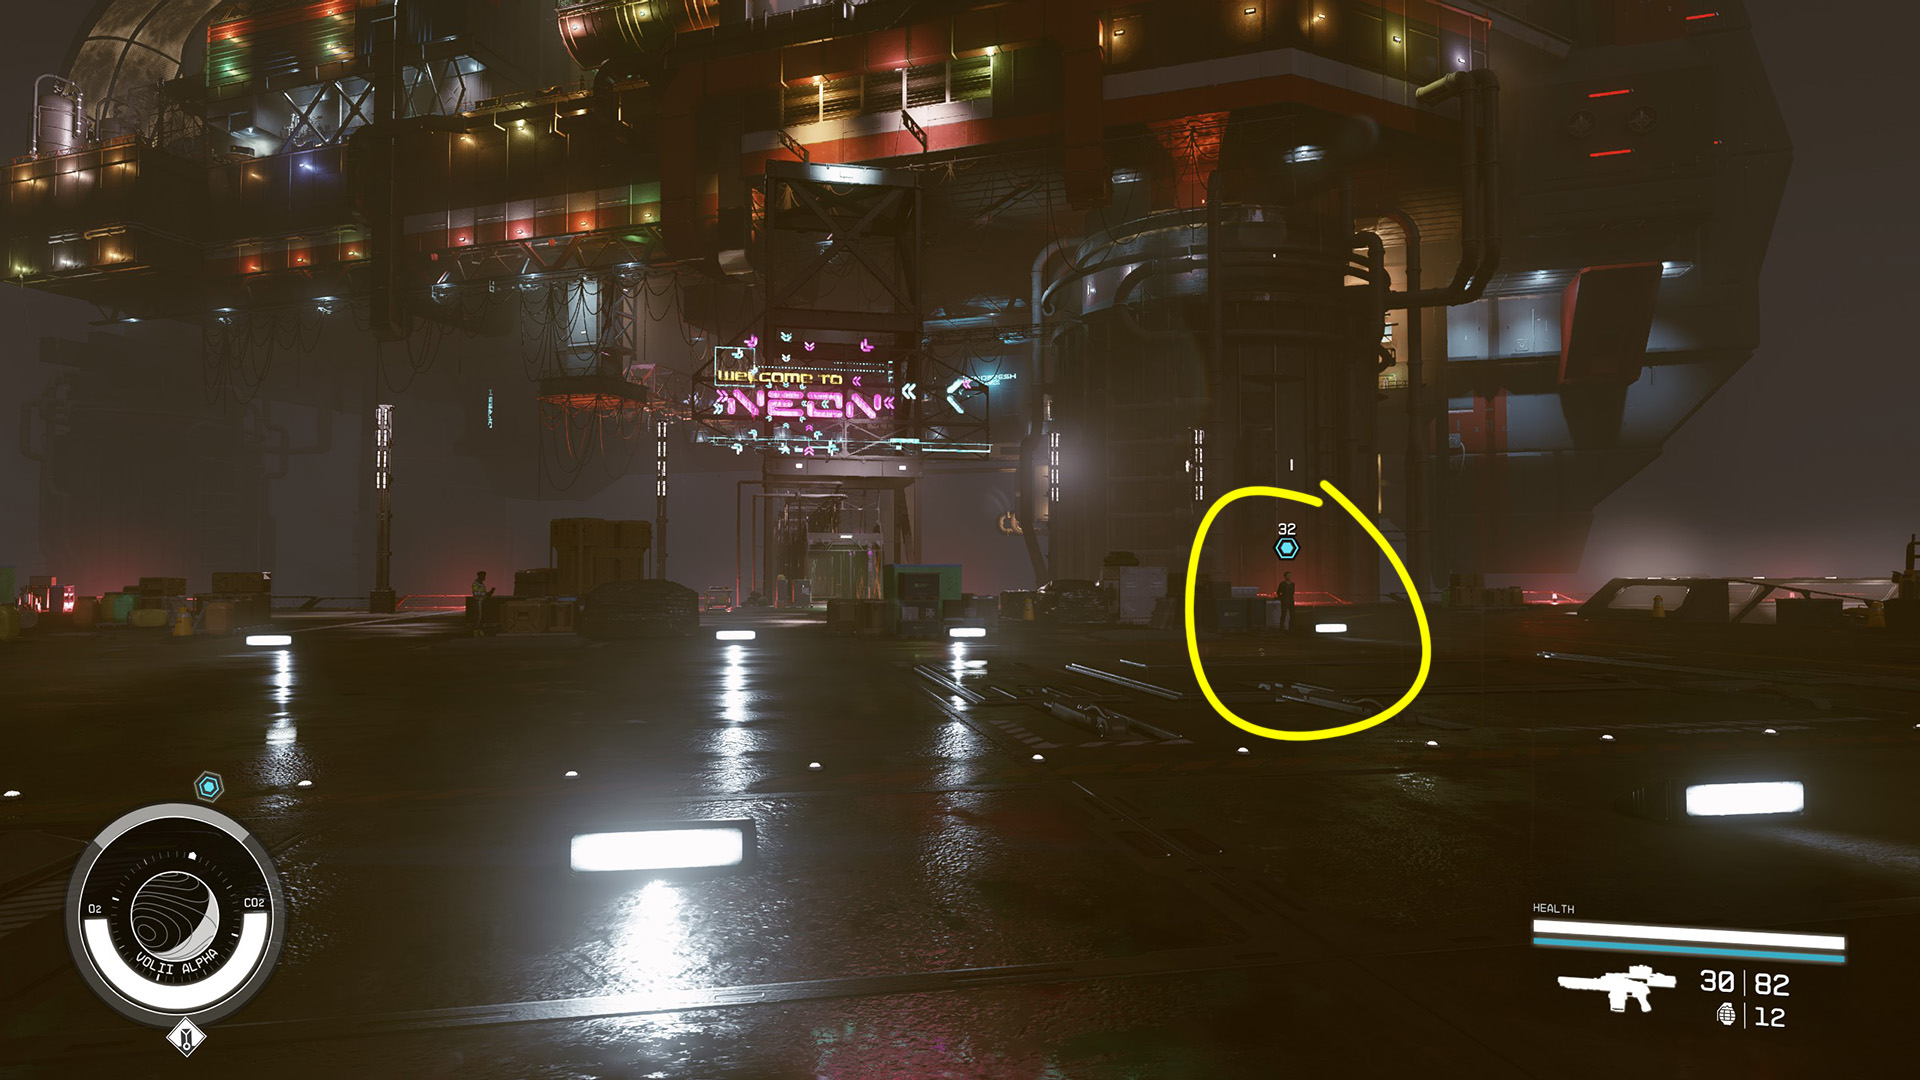
Exiting your ship, you’ll see Walter Stroud waiting for you on the platform to the right of the “Welcome to Neon” sign (Image 2). Talk to him, and he’ll tell you he needs to stop by the Stroud-Eklund offices.
Image 2
Check in at Stroud-Eklund HQ
Head into the city, crossing the bridge and passing through the security checkpoint. You’ll witness two guards arresting a man named Neshar Omani. This will start the side mission “Loose Ends.” After the arrest, you can talk to Sophie Jex, who is standing at the computer nearby, for a bit more information about the city and the drug Aurora.
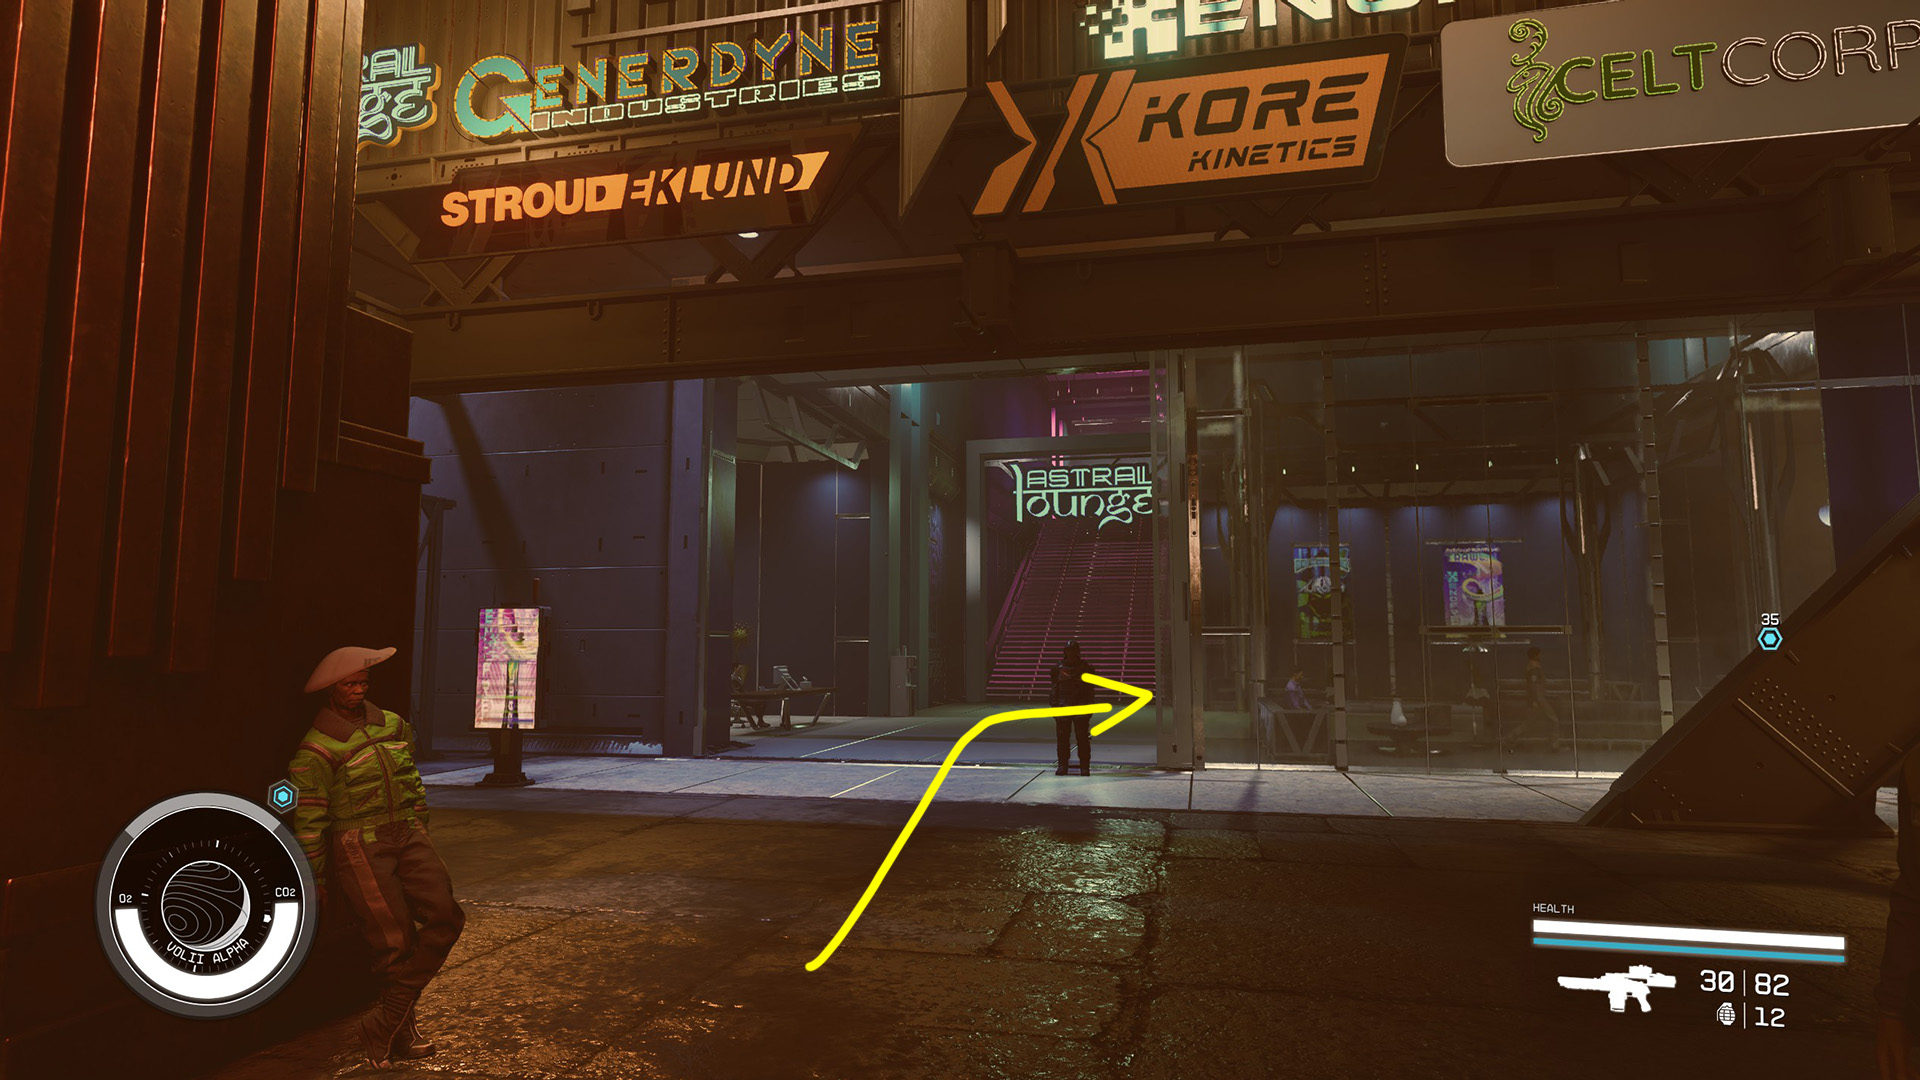
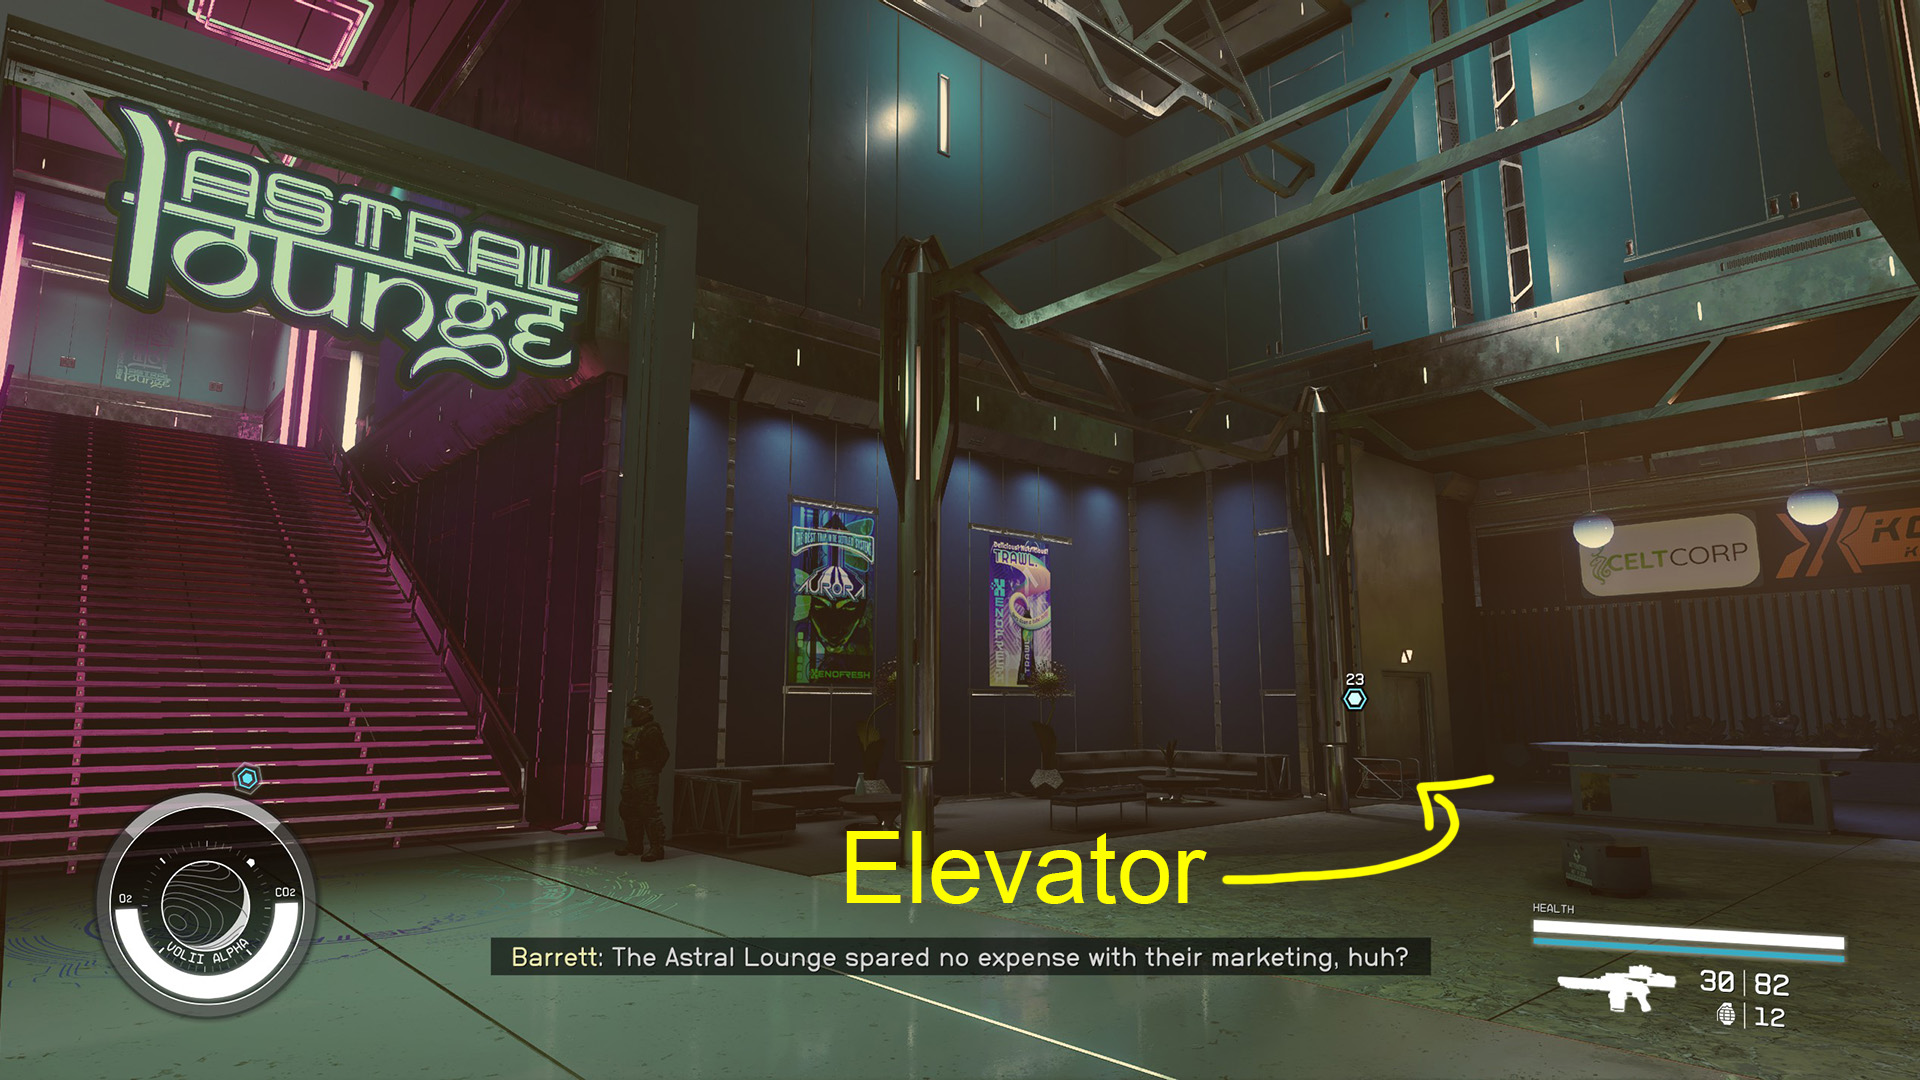
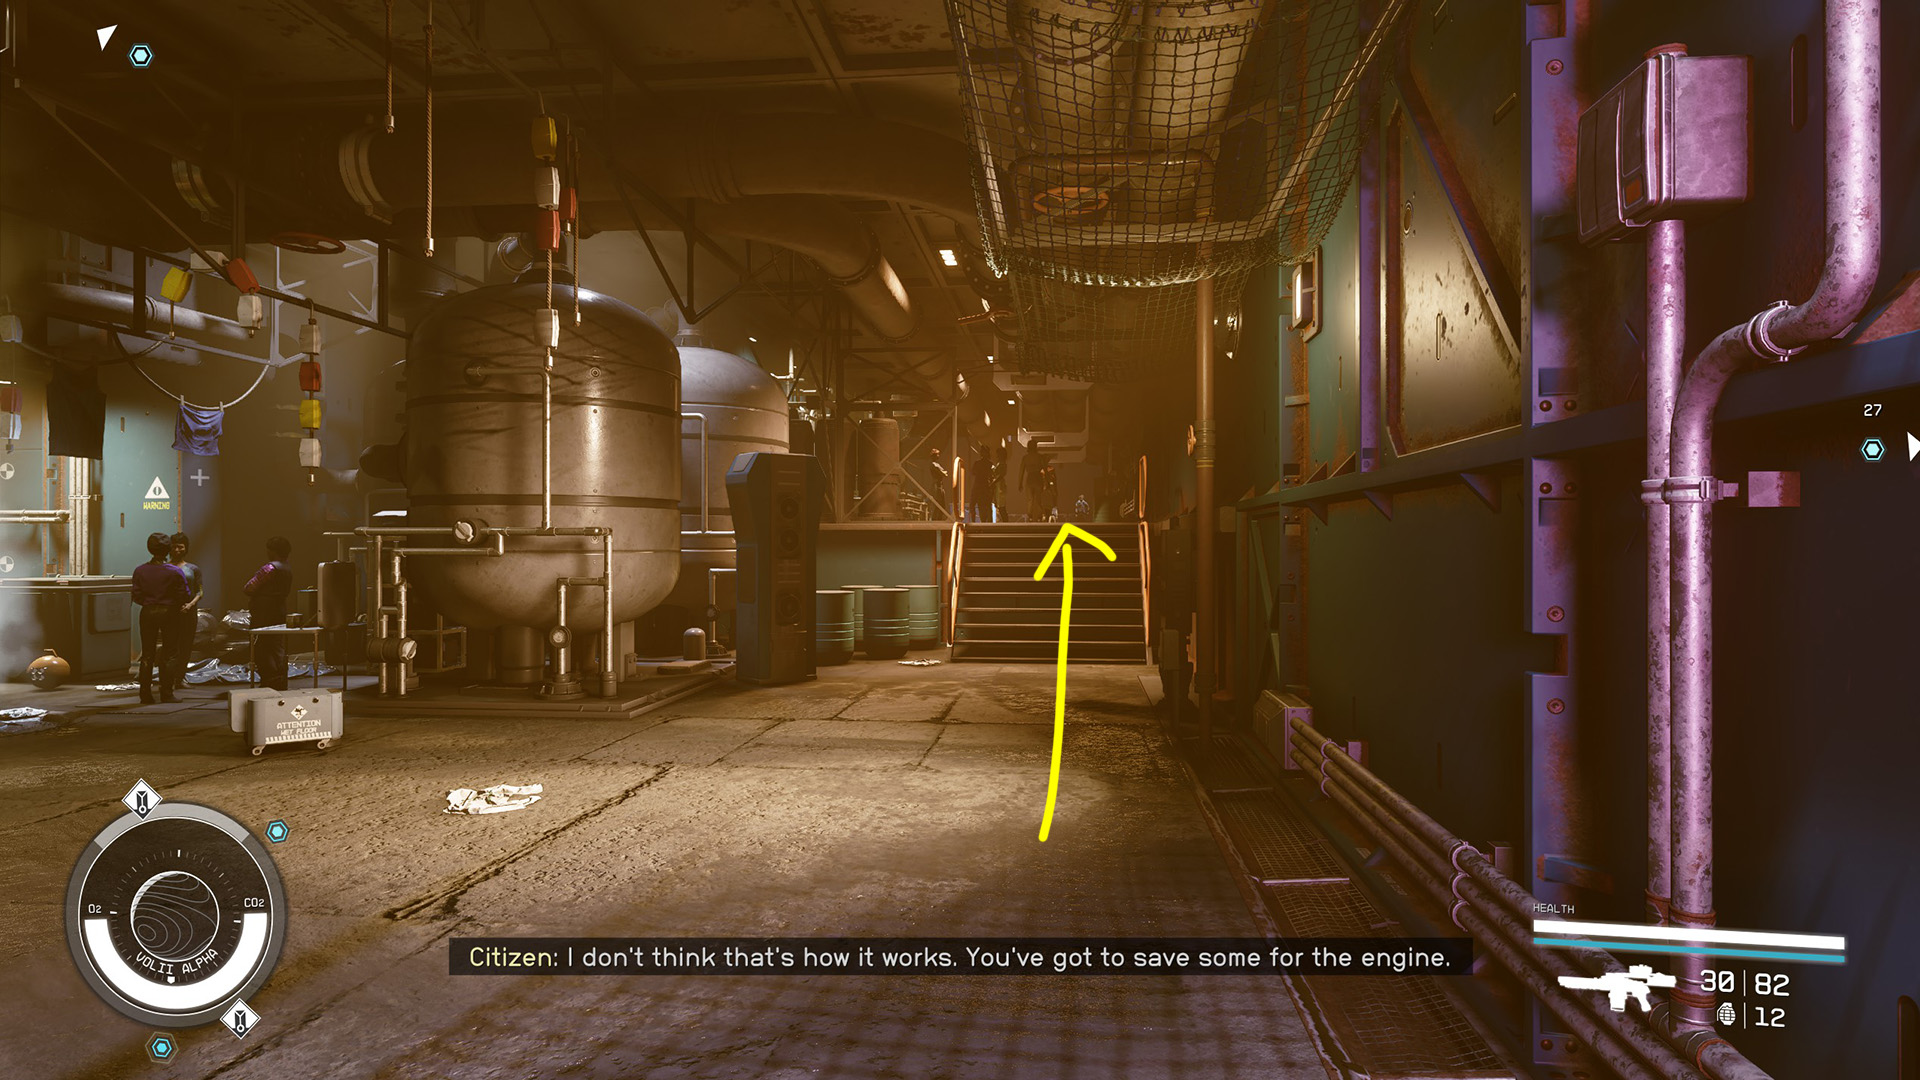
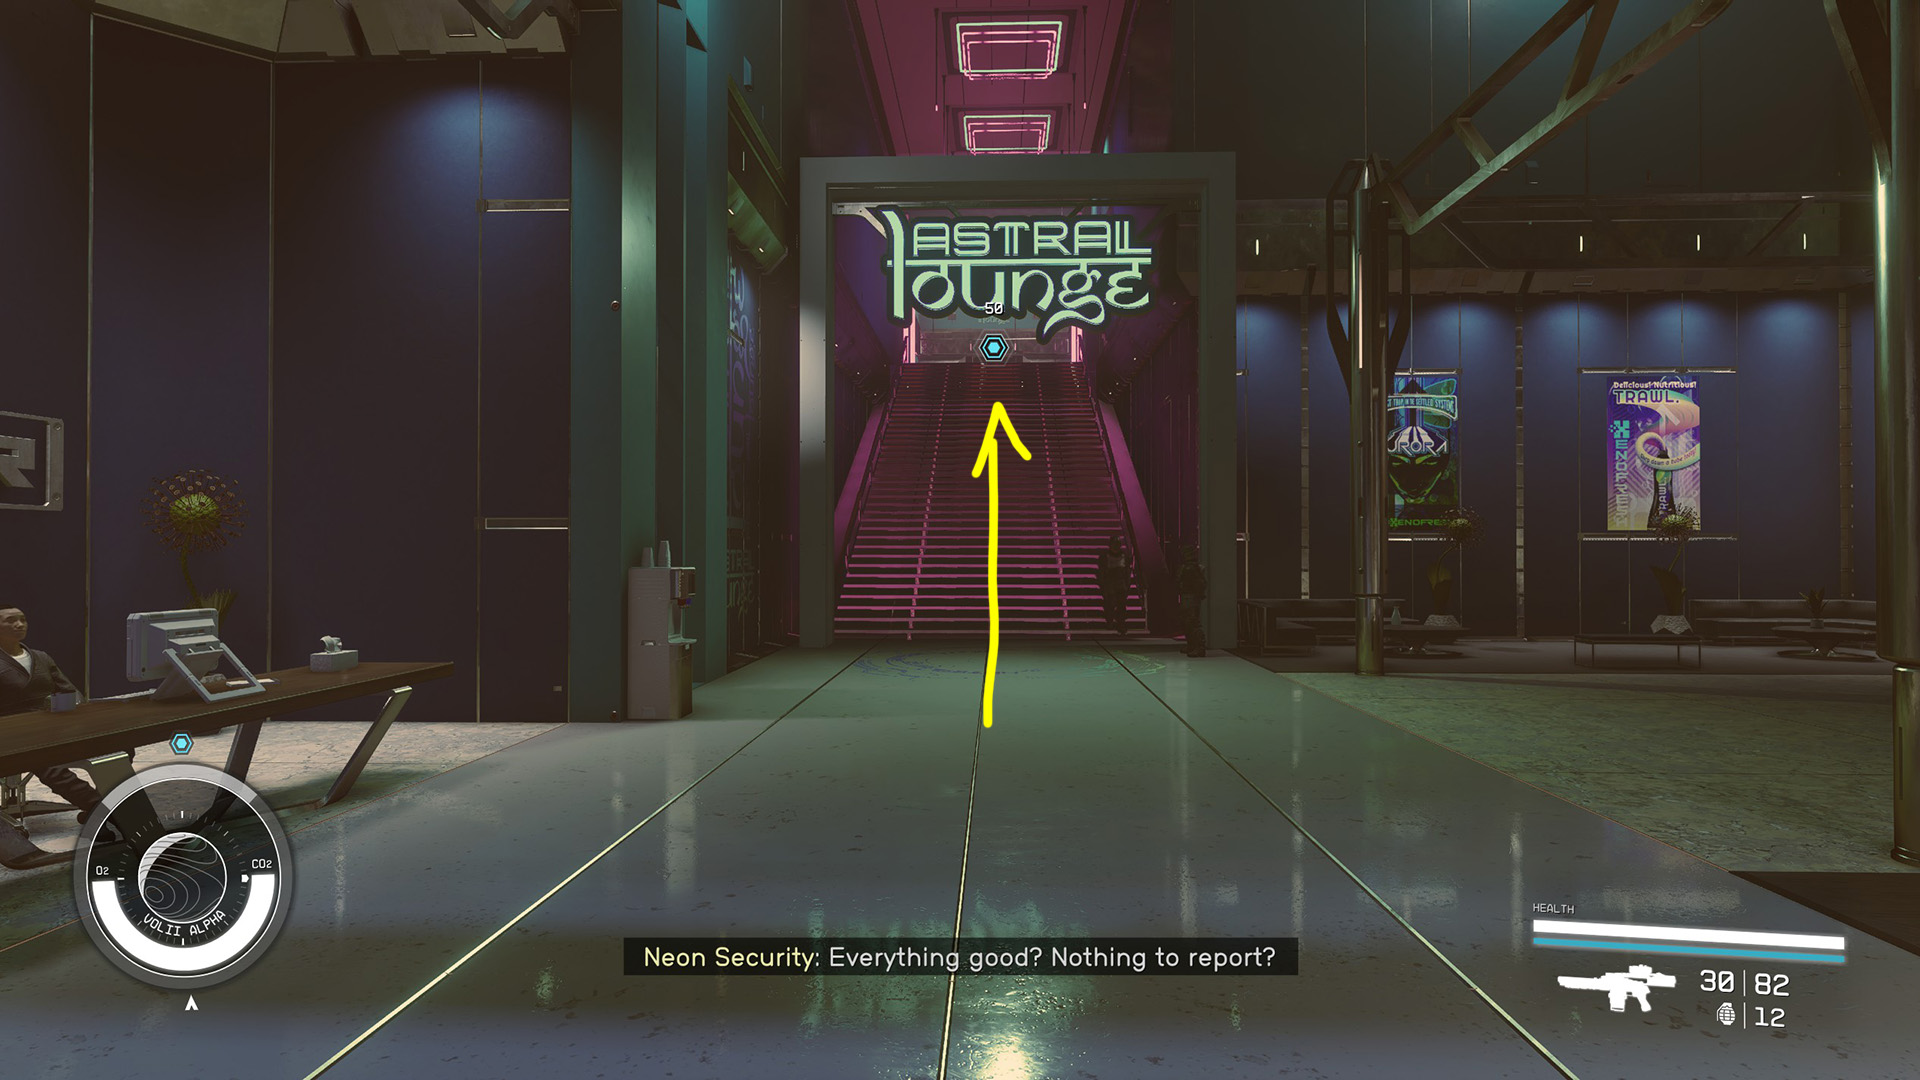
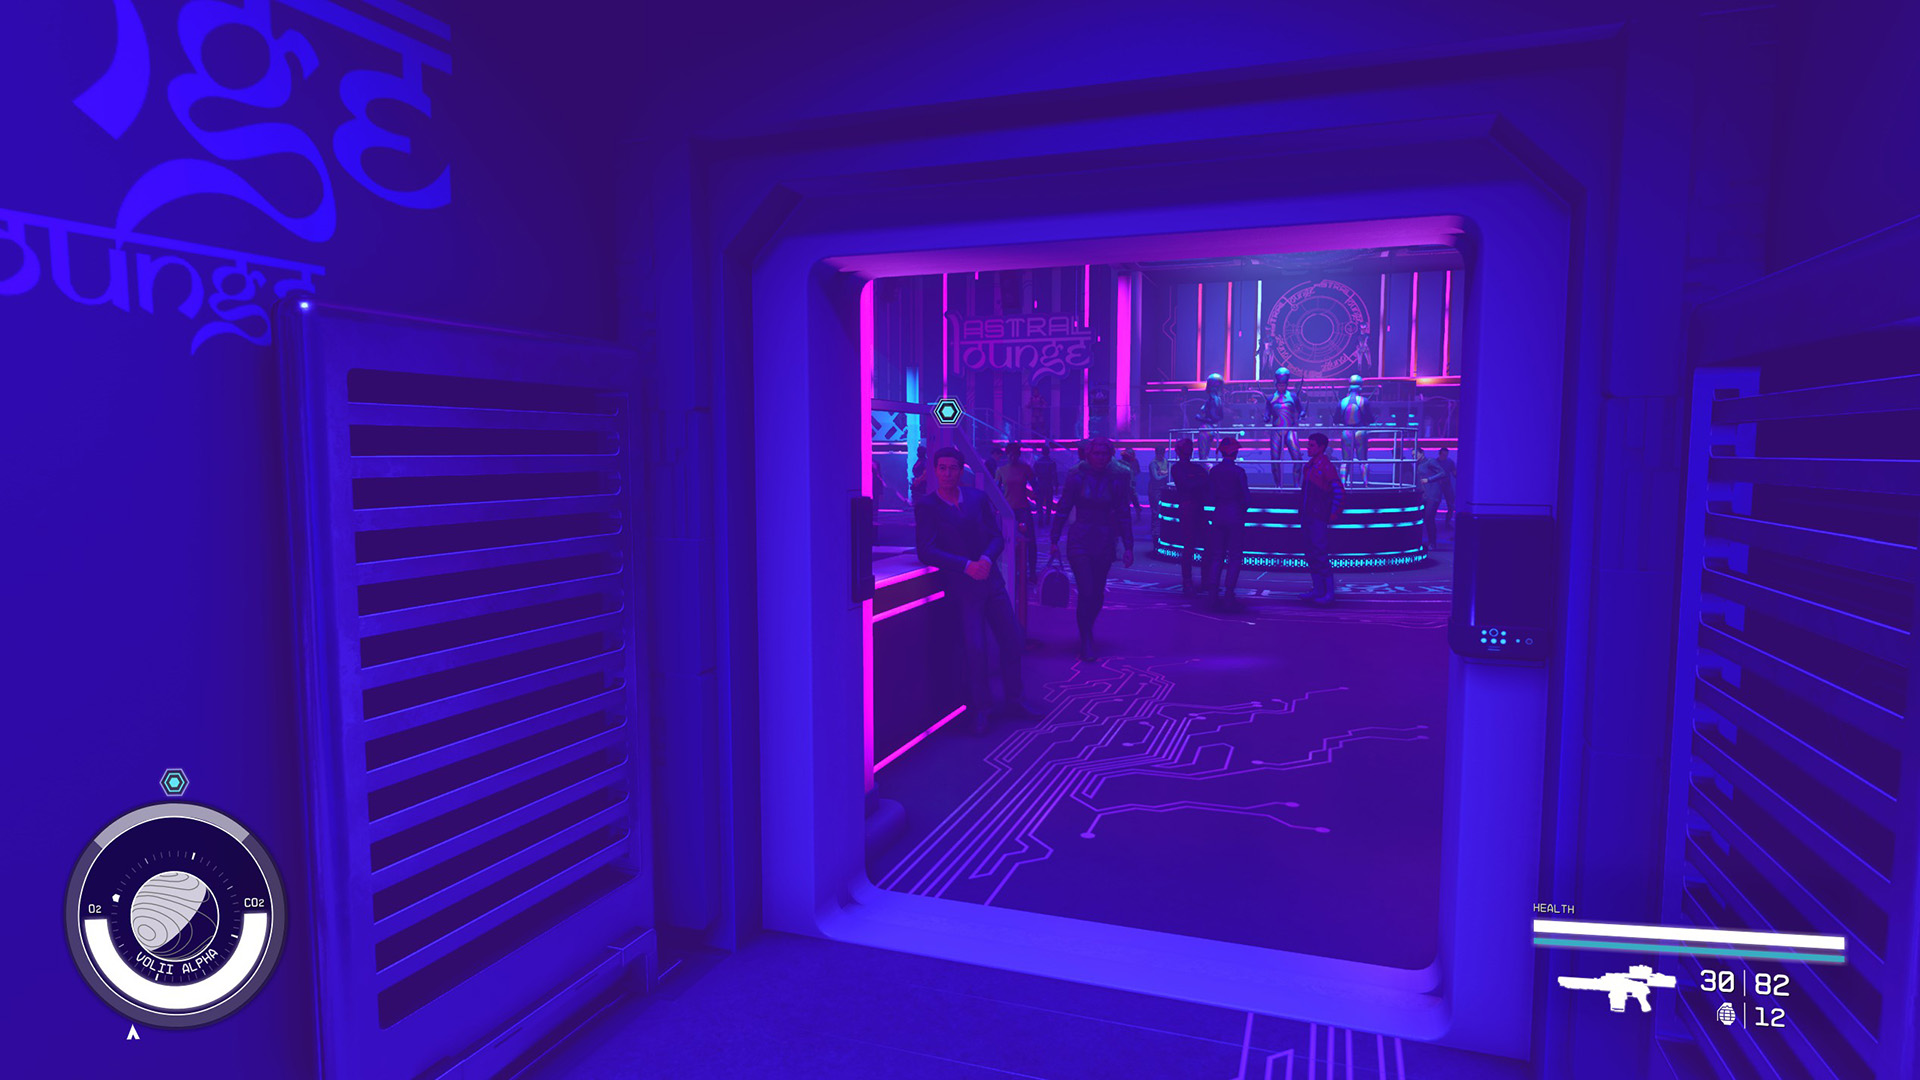
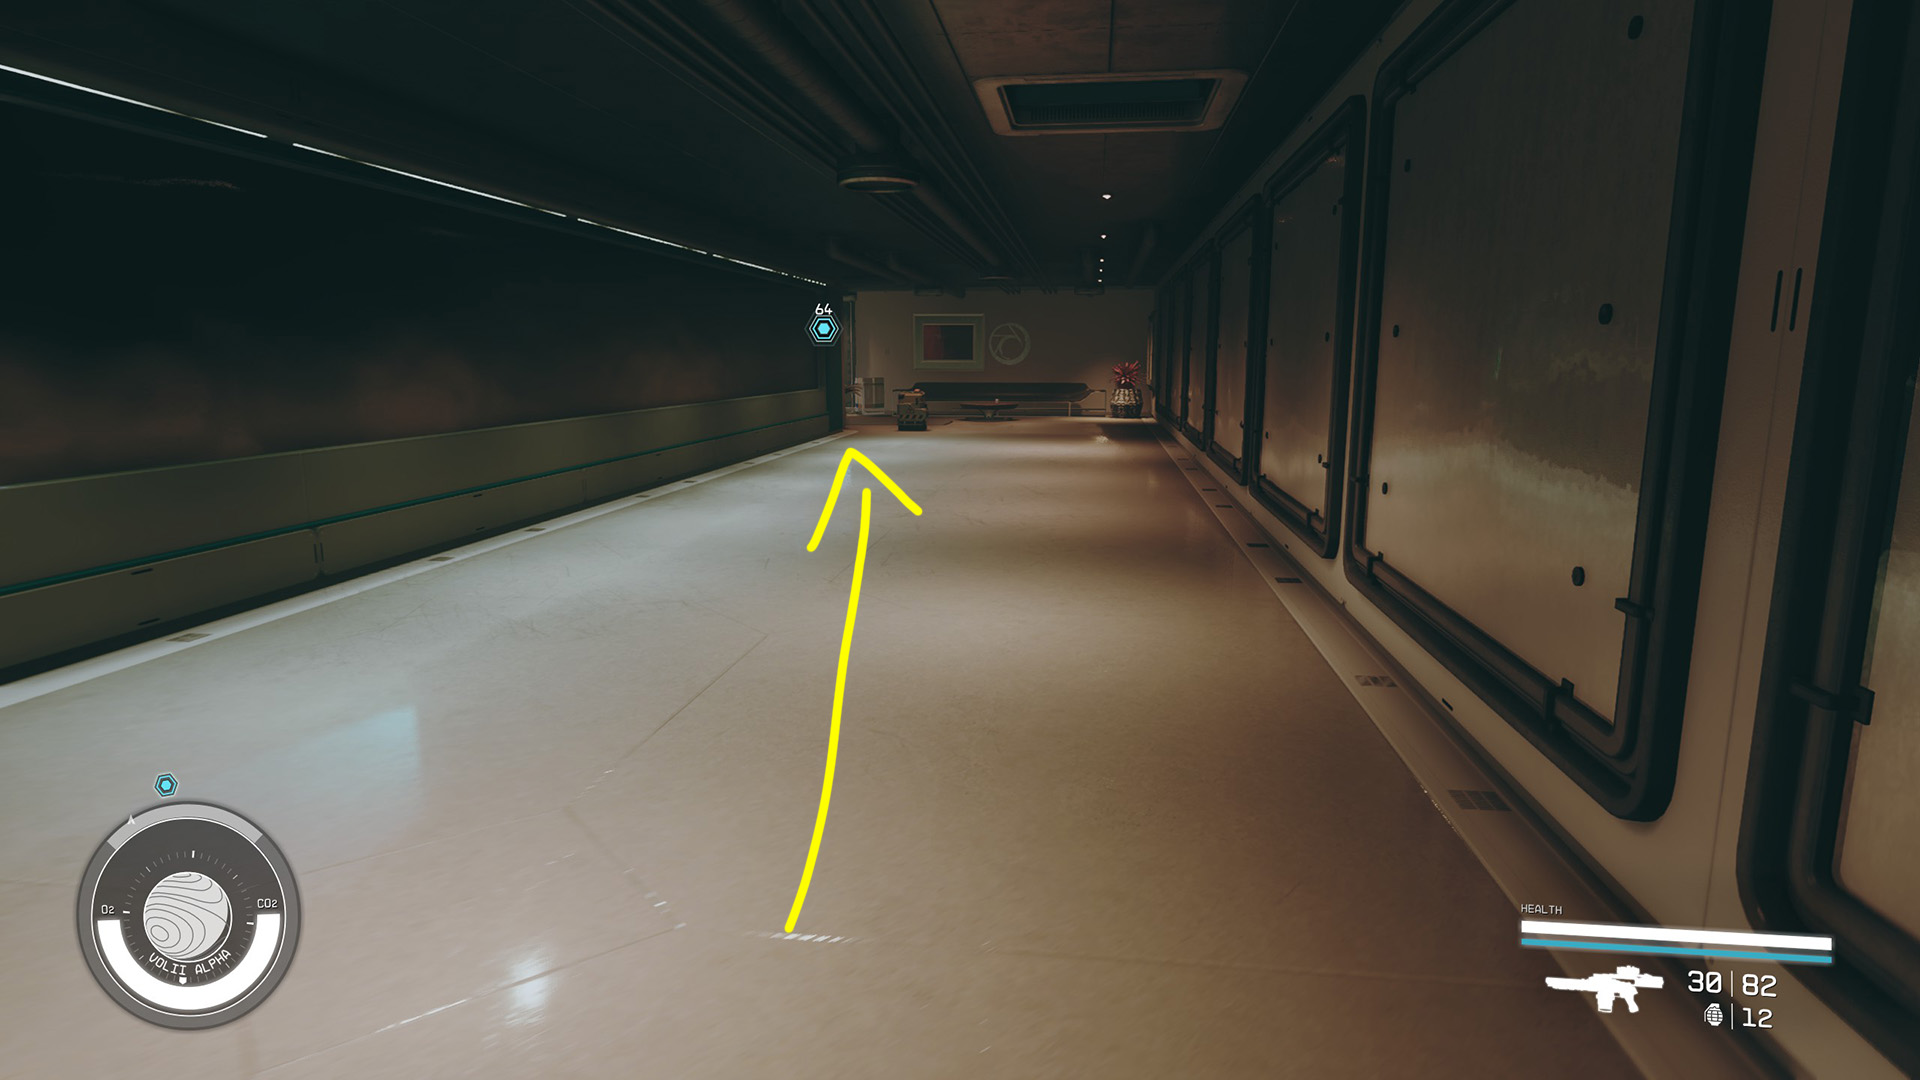
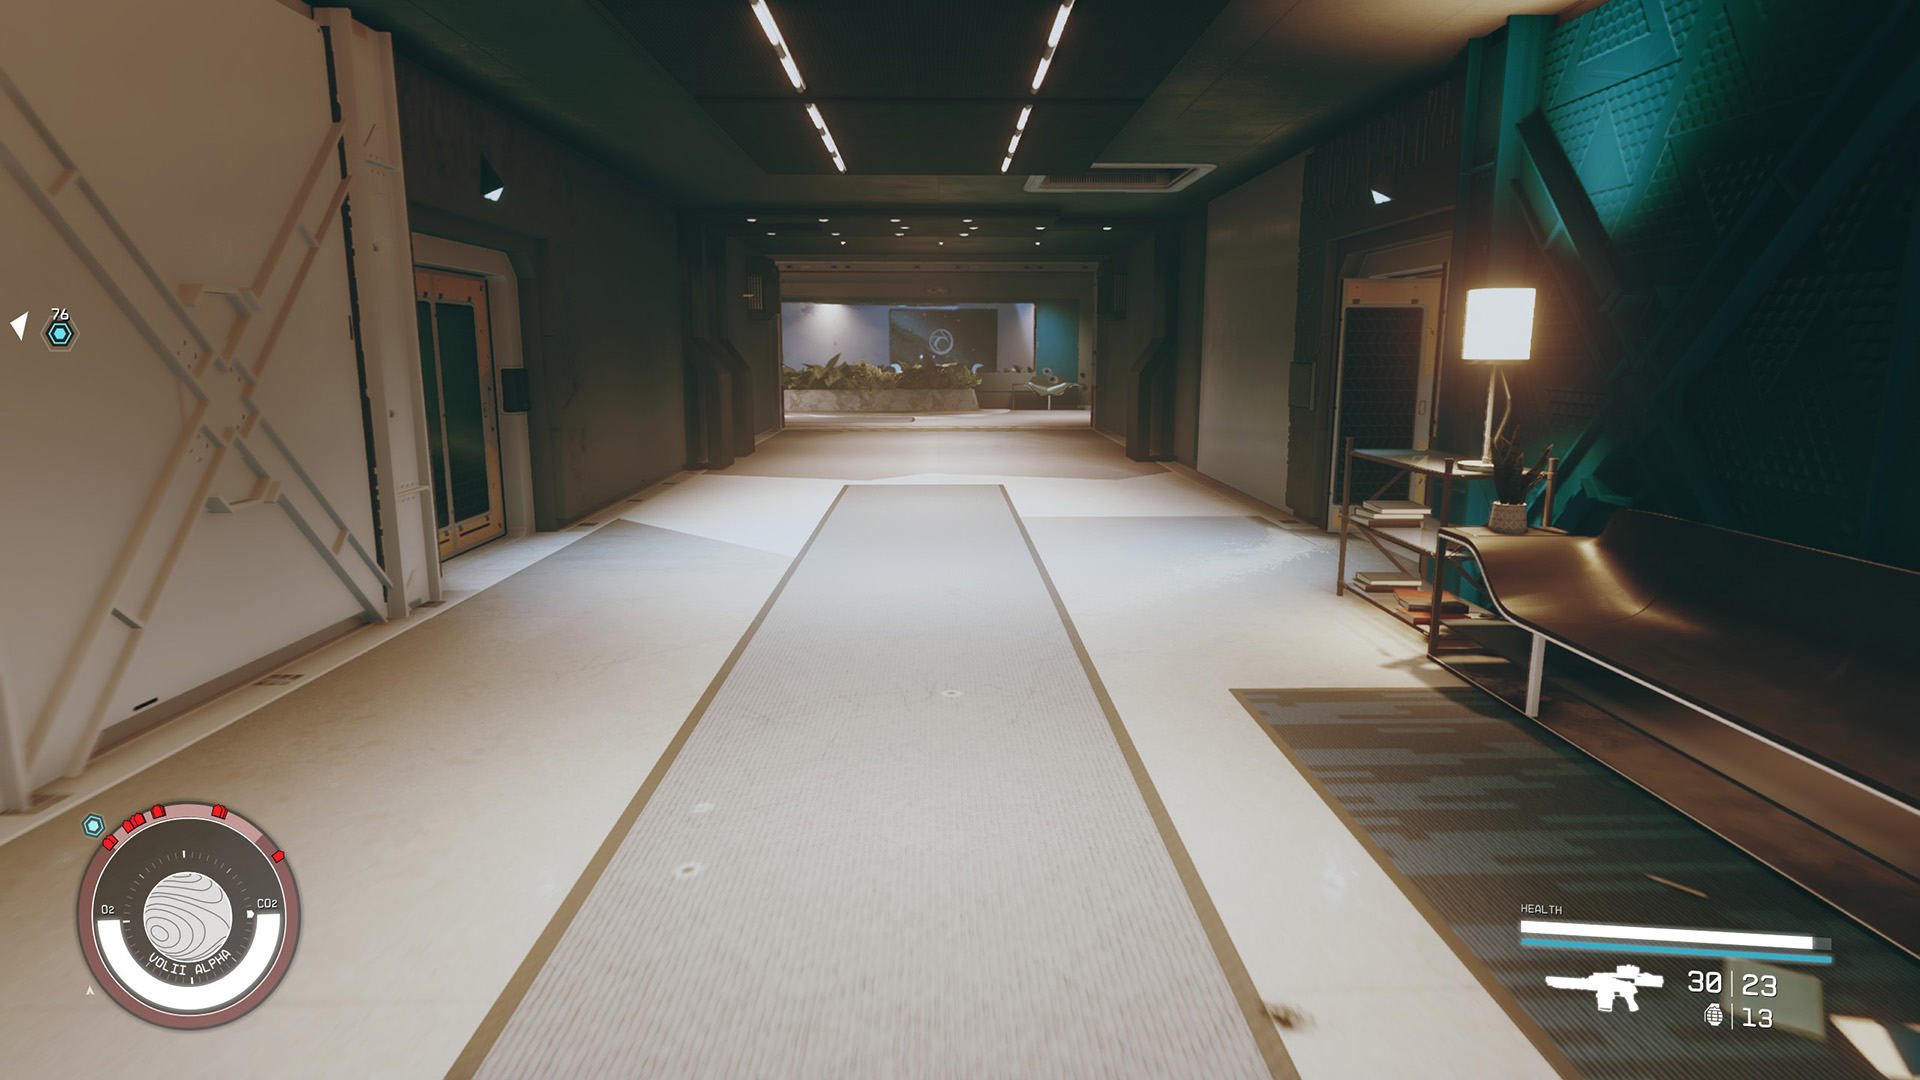
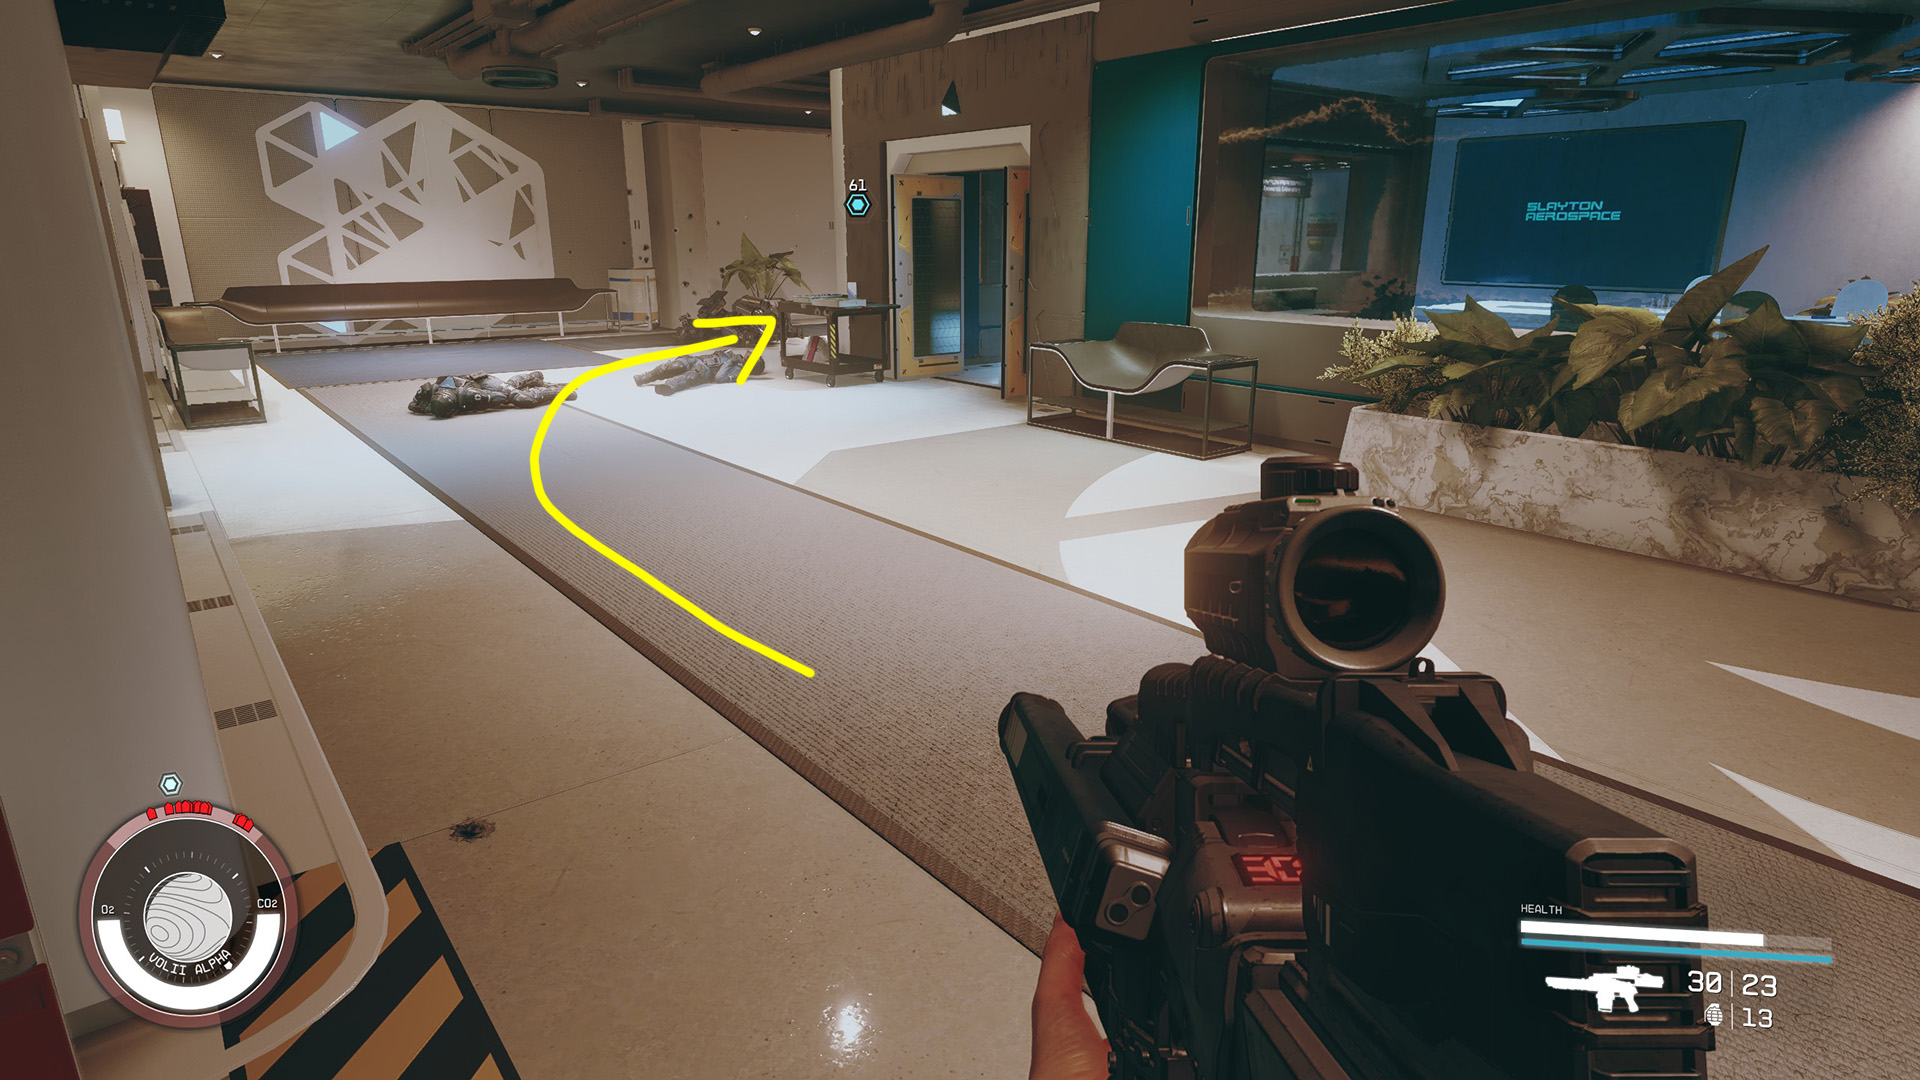
When you’re ready, walk into the elevator and use the control panel beside the door to head to the Neon Upper Platform. When you arrive, turn right and follow the path straight to the end (Image 3). At the Astral Lounge sign (Image 4), take a right and enter another elevator (Image 5). Use the panel beside the door to choose the Stroud-Eklund Corporate HQ floor.
Image 3Image 4Image 5
Walter will check in at the front desk, and then you can follow him inside where you’ll meet Issa Eklund. Issa, it turns out, is not only his business partner – she’s also his wife. The two will discuss their plans for the transaction and send you off to learn more about the location and the seller while they sort out the funds.
There’s not much to do in the offices. When you’re ready, head back to the elevator and use the control panel to return to the Lobby.
Investigate the Seller
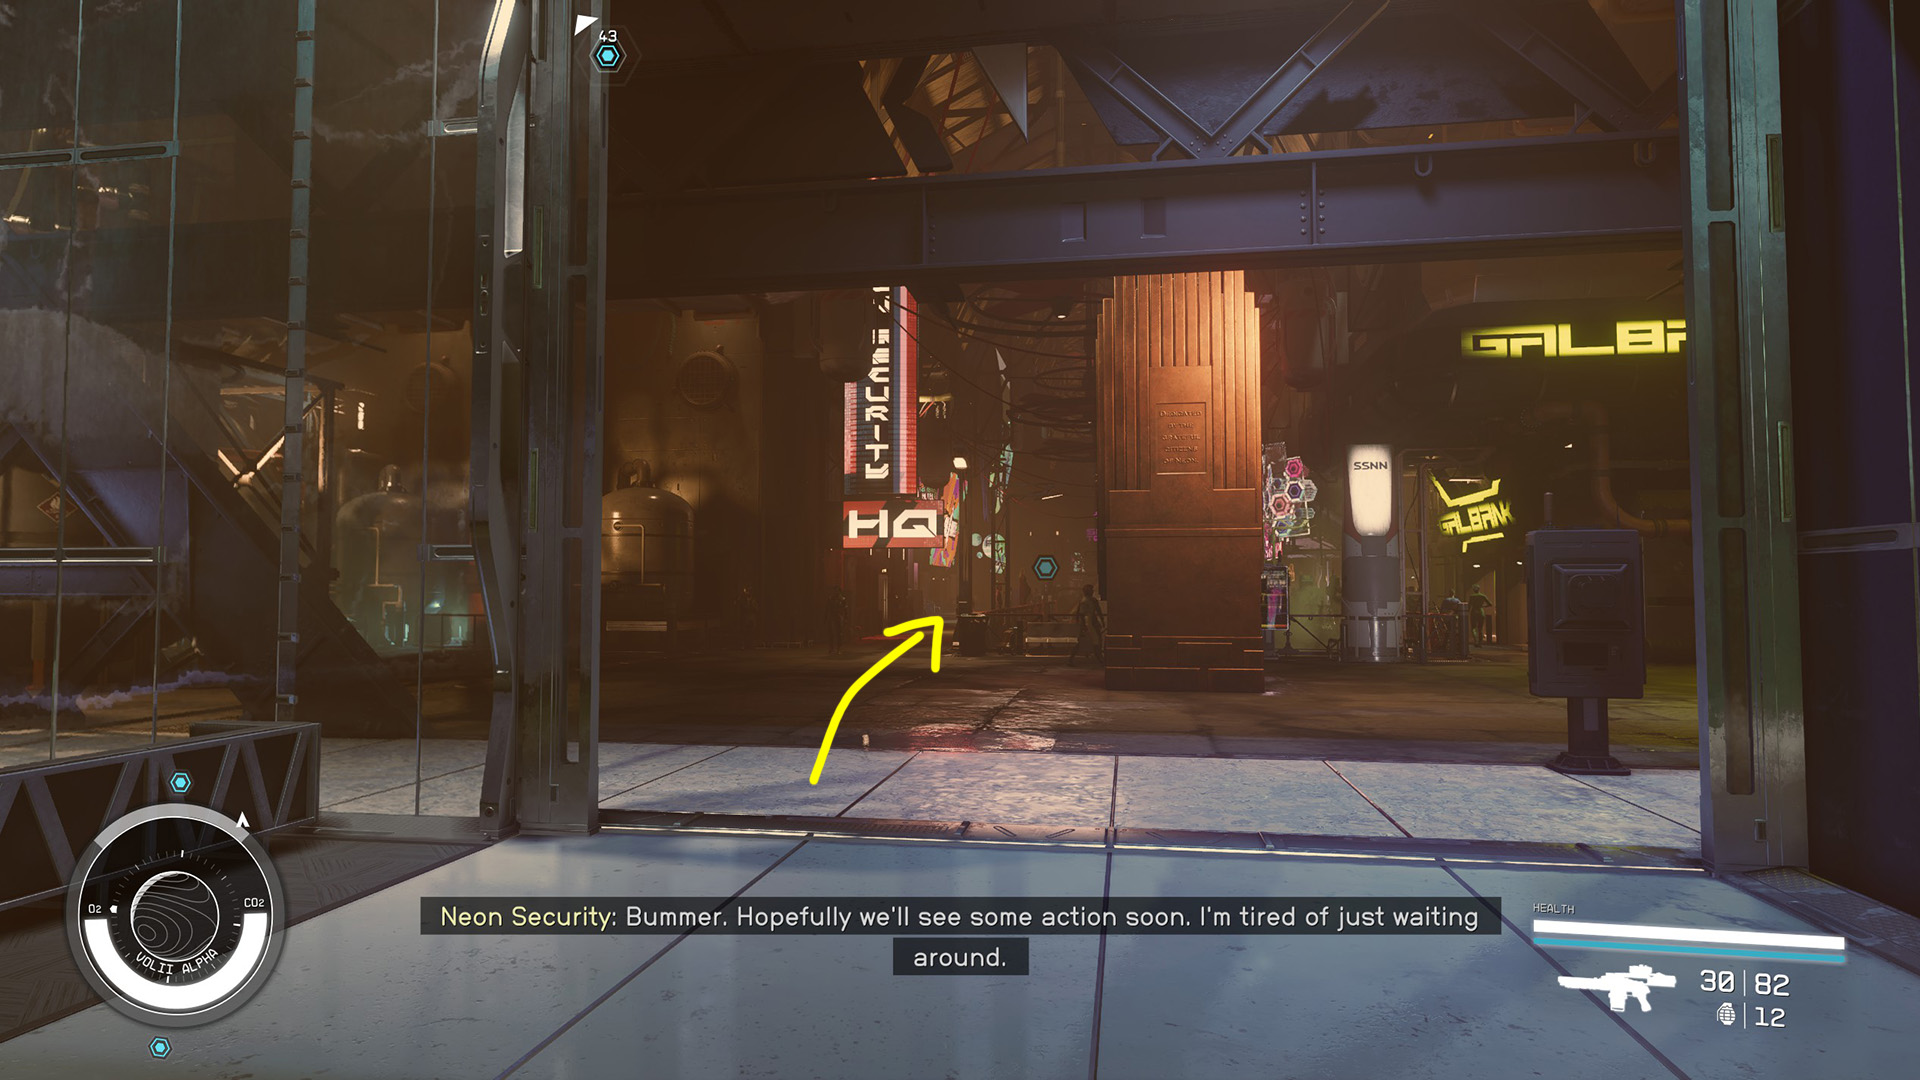
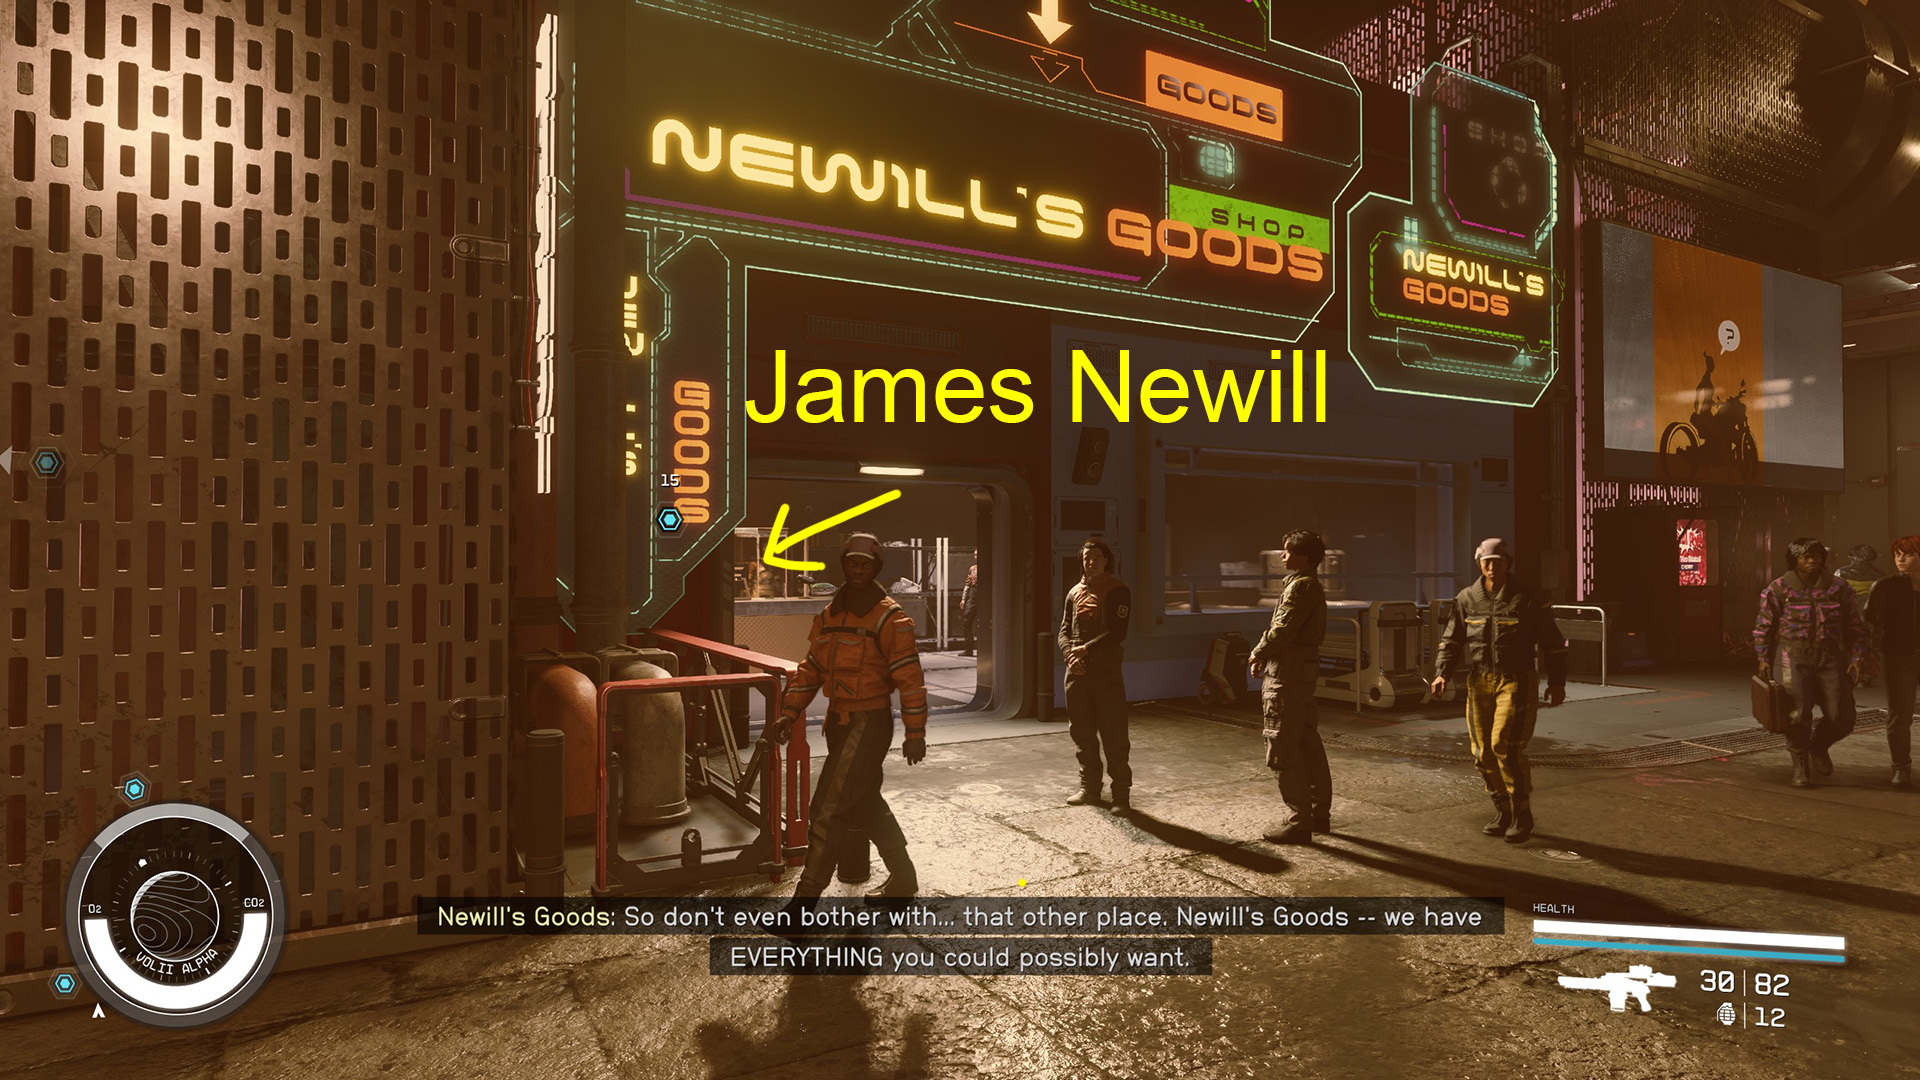
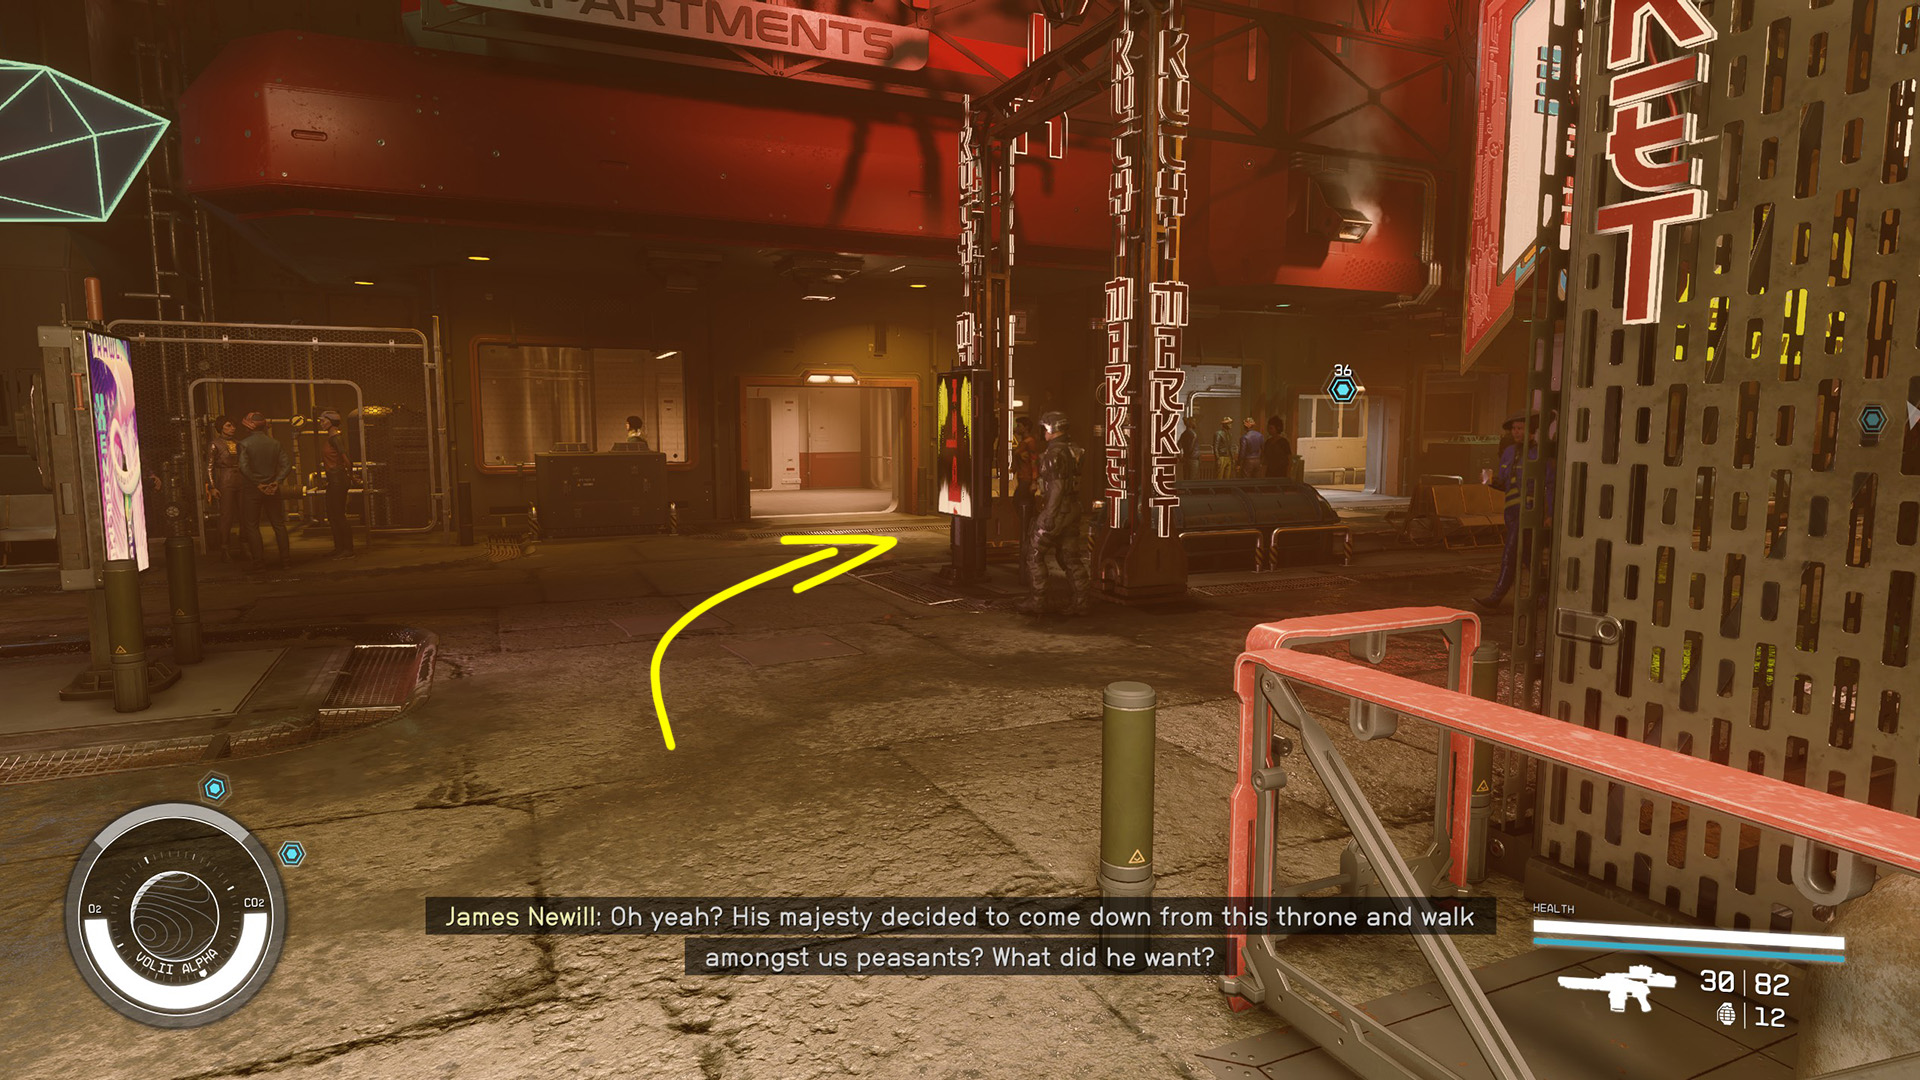
Go back in the direction you came from when you first arrived (Image 6). Continue past the elevator until you see Newill’s Goods on the left. Go inside and speak with James Newill, who is behind the counter (Image 7). He’ll tell you a bit about the rampant corruption in Neon, and complain about someone named Sieghart. If you offer to talk to Sieghart, it will start the side quest “All For One.”
Image 6Image 7
When you get the option, say “You set up a meeting with Walter Stroud recently.” He’ll play coy and you’ll have to either successfully [Persuade] him or [Pay 2500 Credits] to get him to talk. Persuading him shouldn’t be too difficult. Either way, he’ll point you to the seller’s sleepcrate.
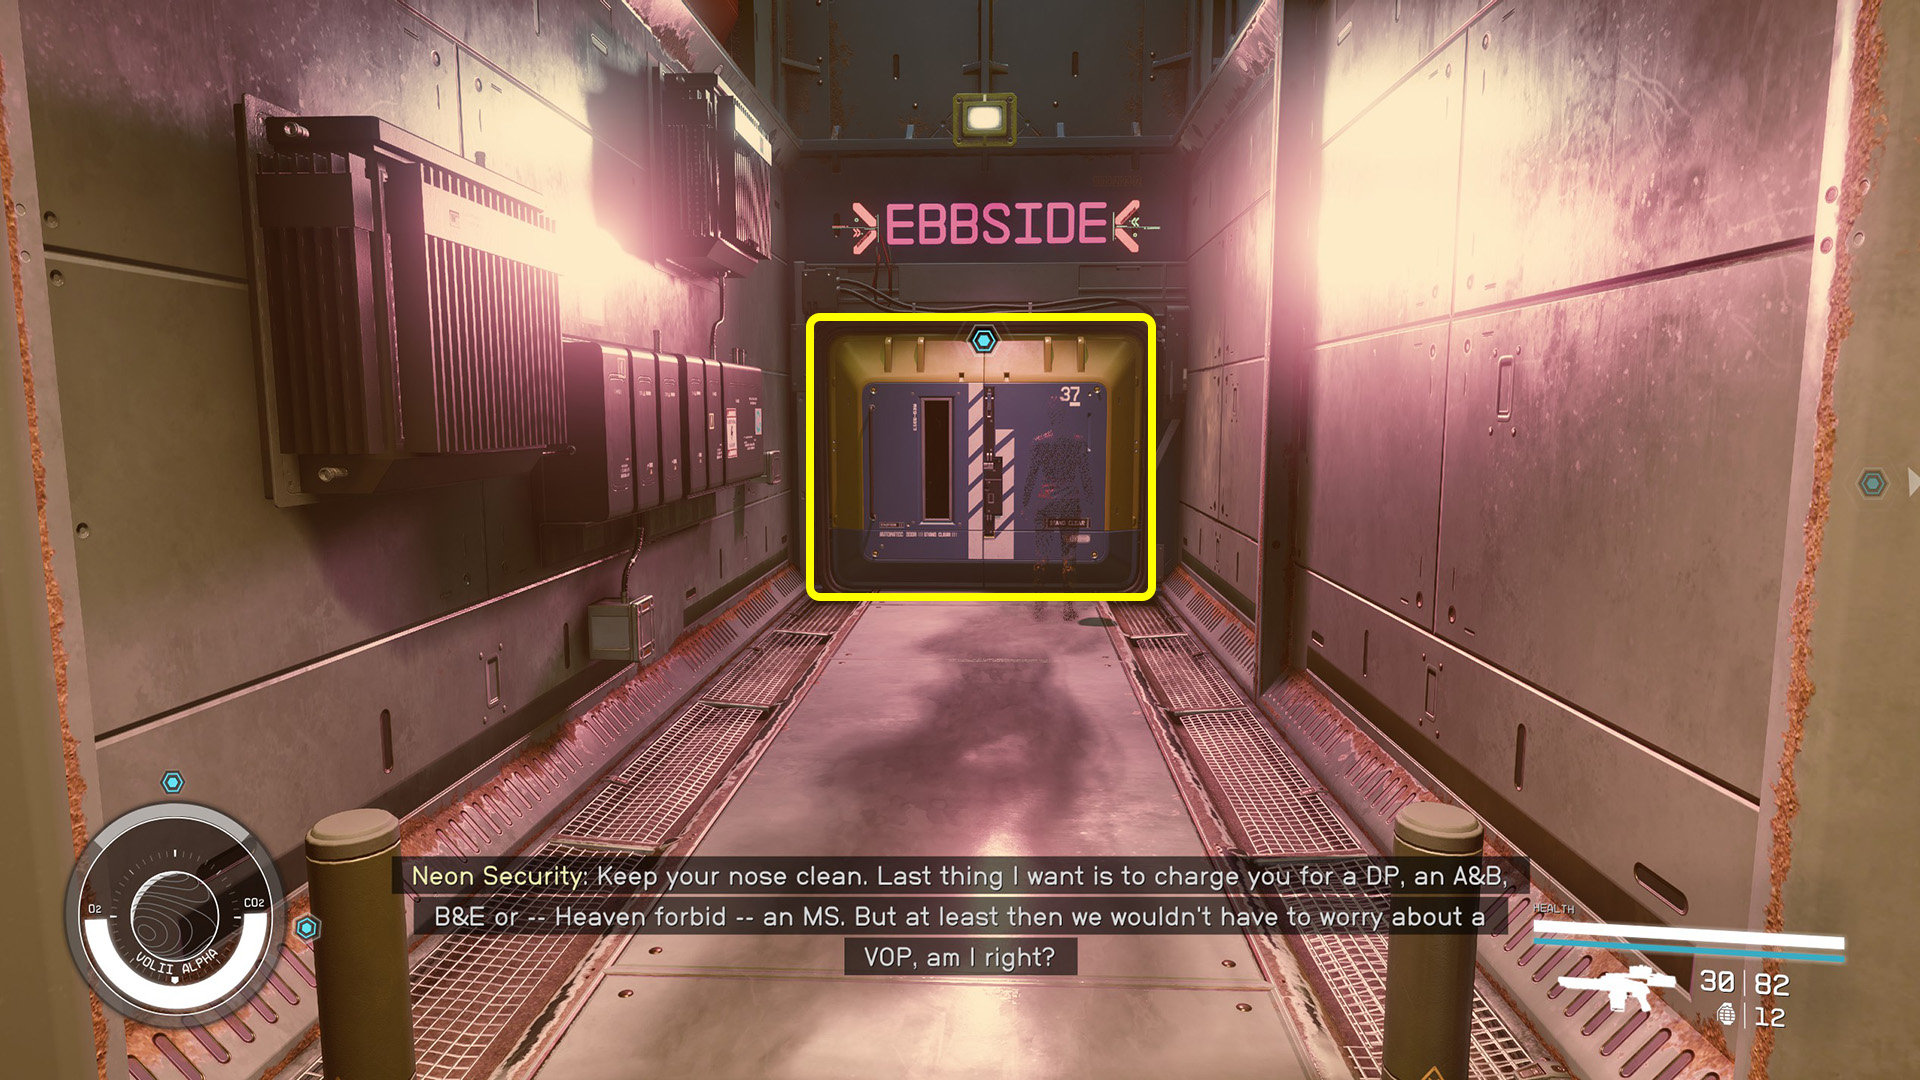
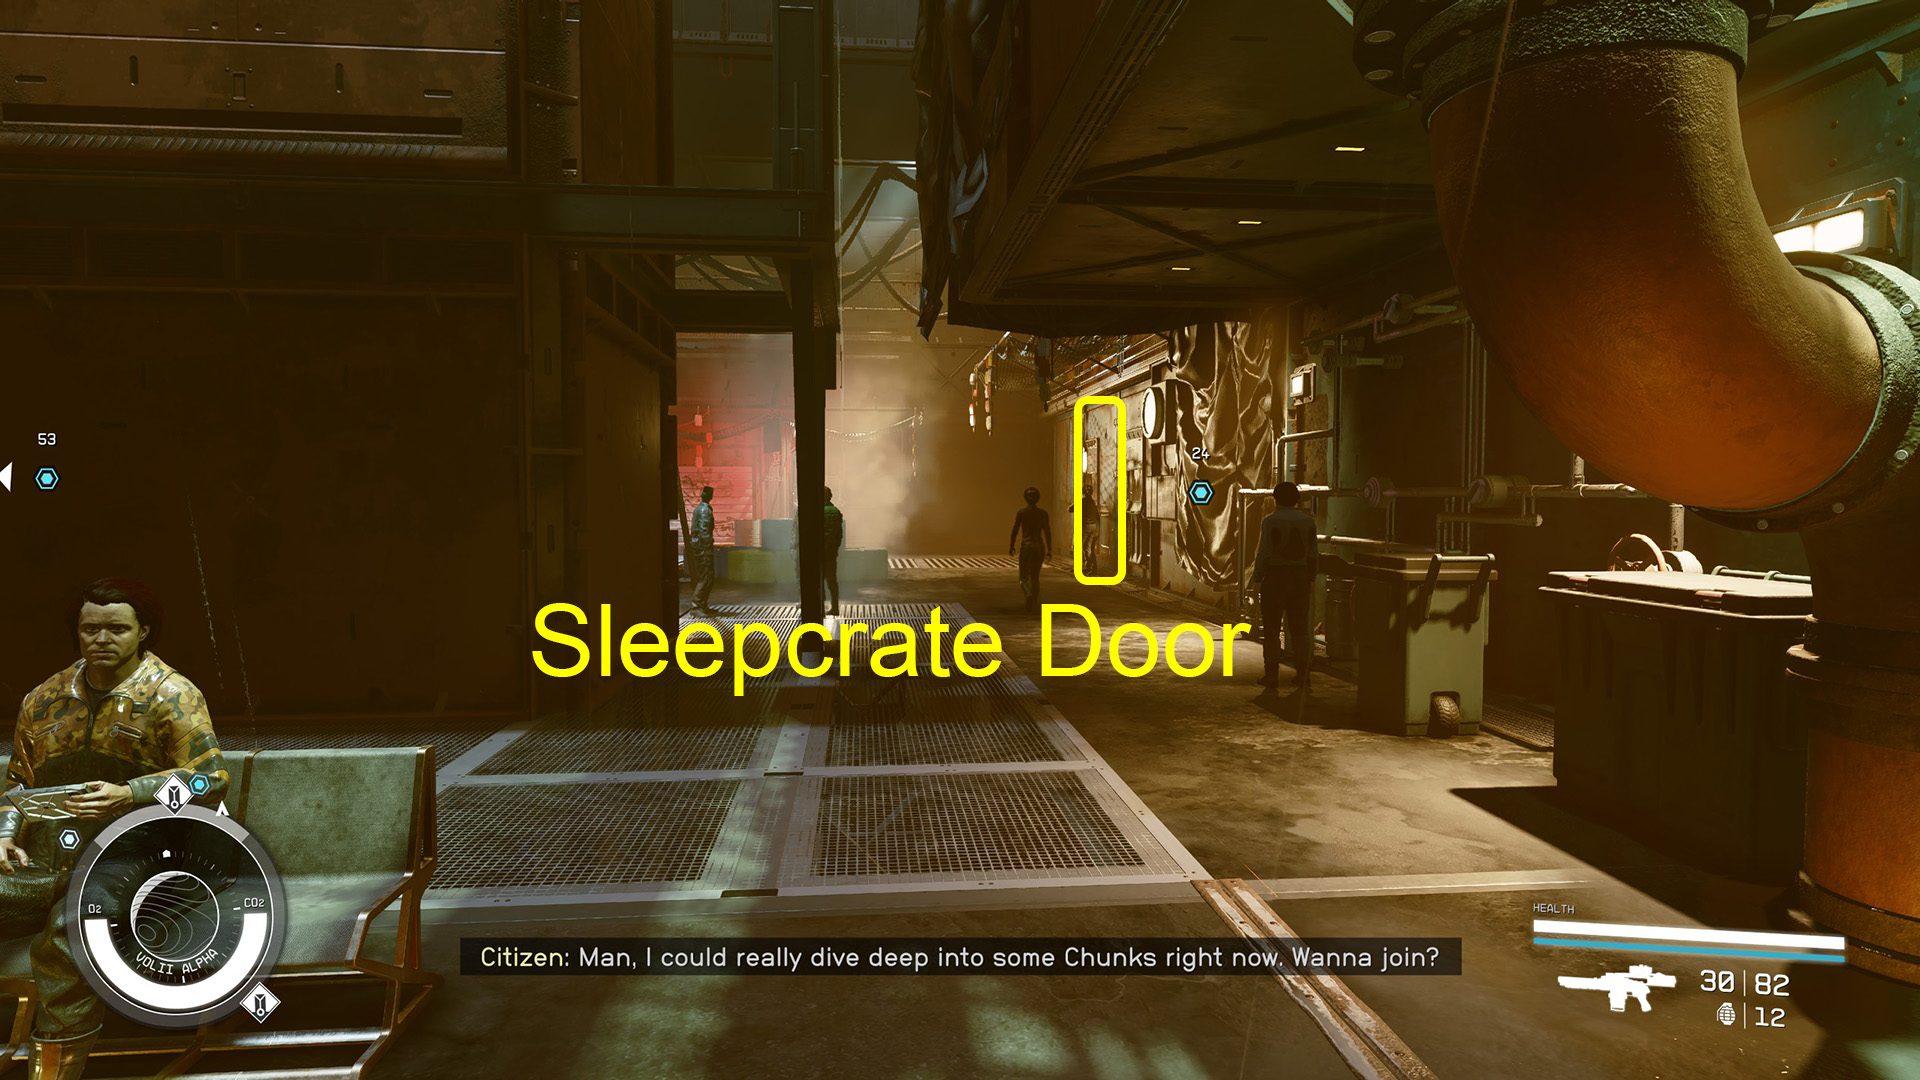
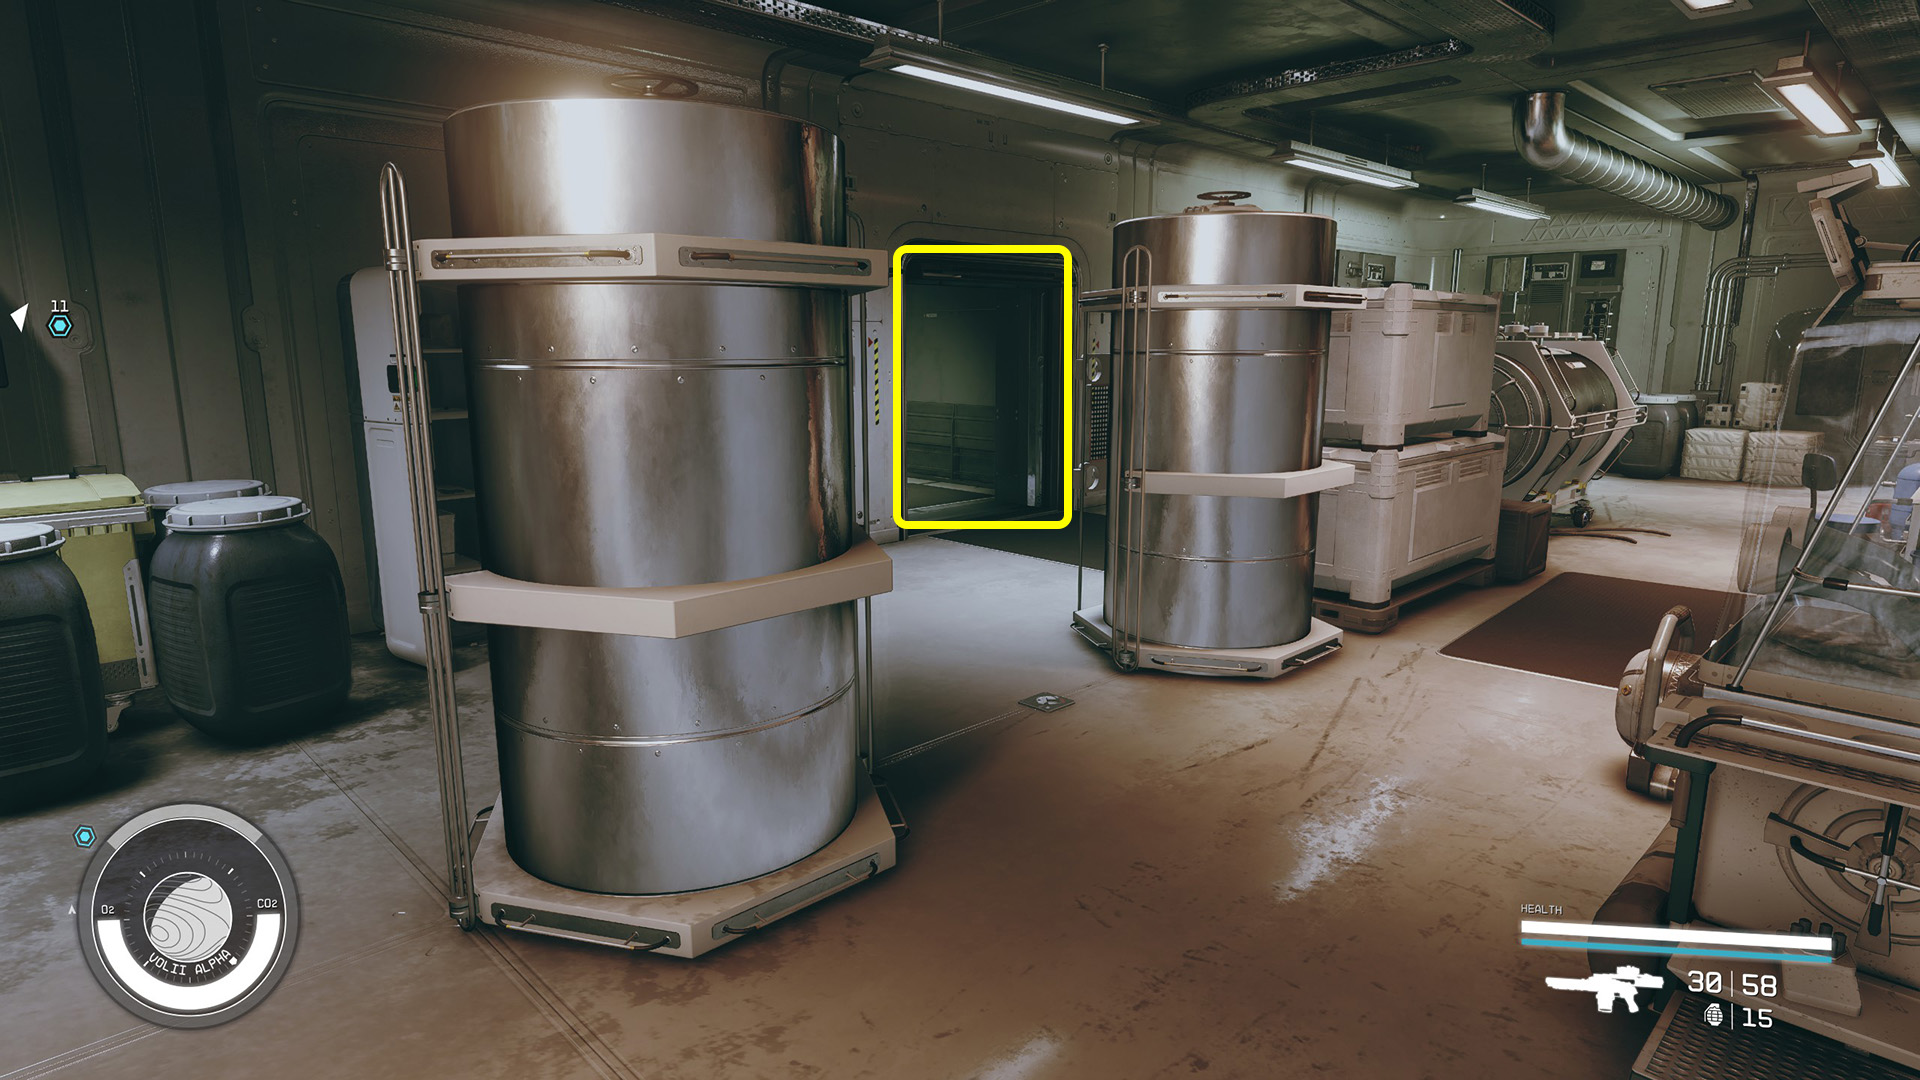
Head across the main thoroughfare (Image 8) and enter the door under the Ebbside sign (Image 9). Inside, head straight up the stairs (Image 10) and take the first right (Image 11), then turn right again where it opens up and look for a locked door on the right wall (Image 12). You’ll have to pick the lock to get in. Don’t worry, though, it’s only a novice level lock and no one around will care about your breaking and entering.
Image 8Image 9Image 10Image 11Image 12
Inside the sleepcrate you’ll find a couple of text logs indicating the owner has been laid off from their job and has almost nothing in their bank account. You’ll also find a Computer in the shower, which seems like a safety hazard. (Strangely, there is no bed in this “sleepcrate.”) Activate the computer and read the three Personal Correspondence files addressed to Musgrove, who apparently is the seller you’re looking for. This will mark the objective as completed.
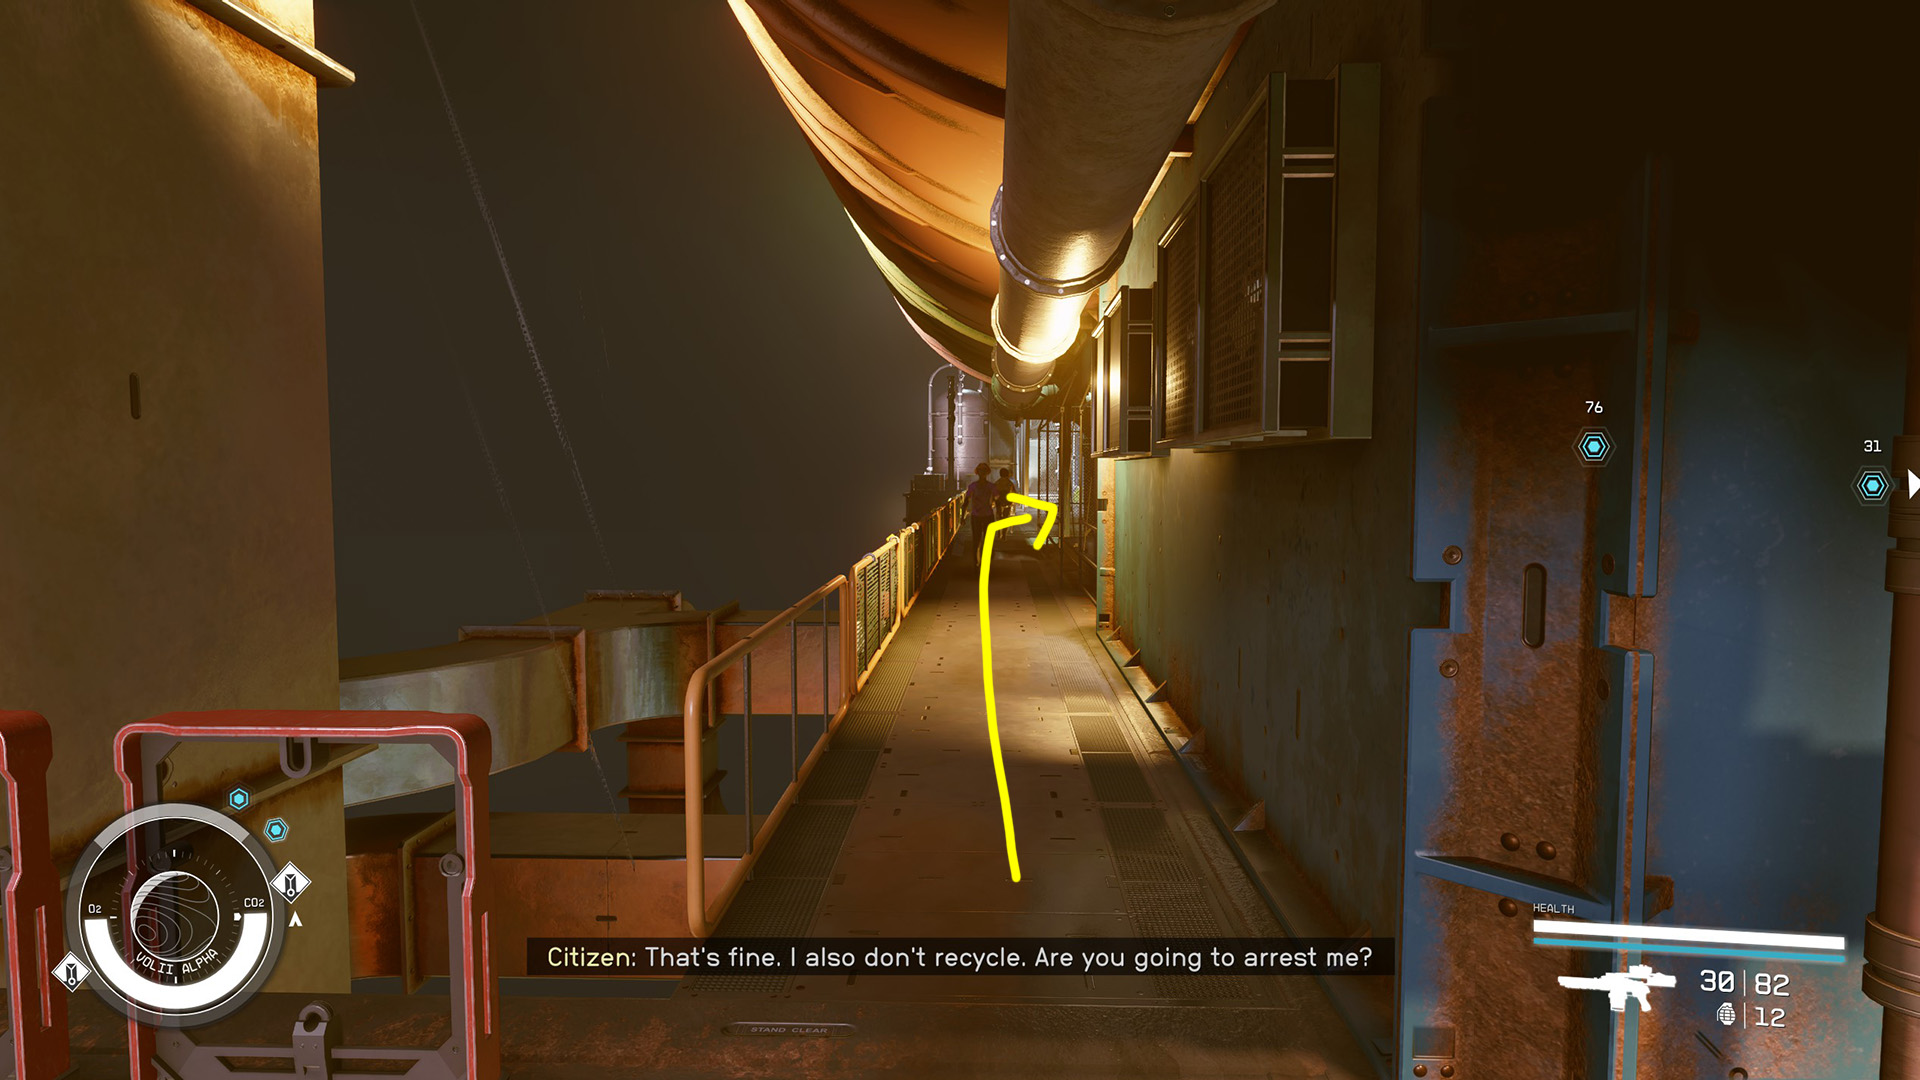
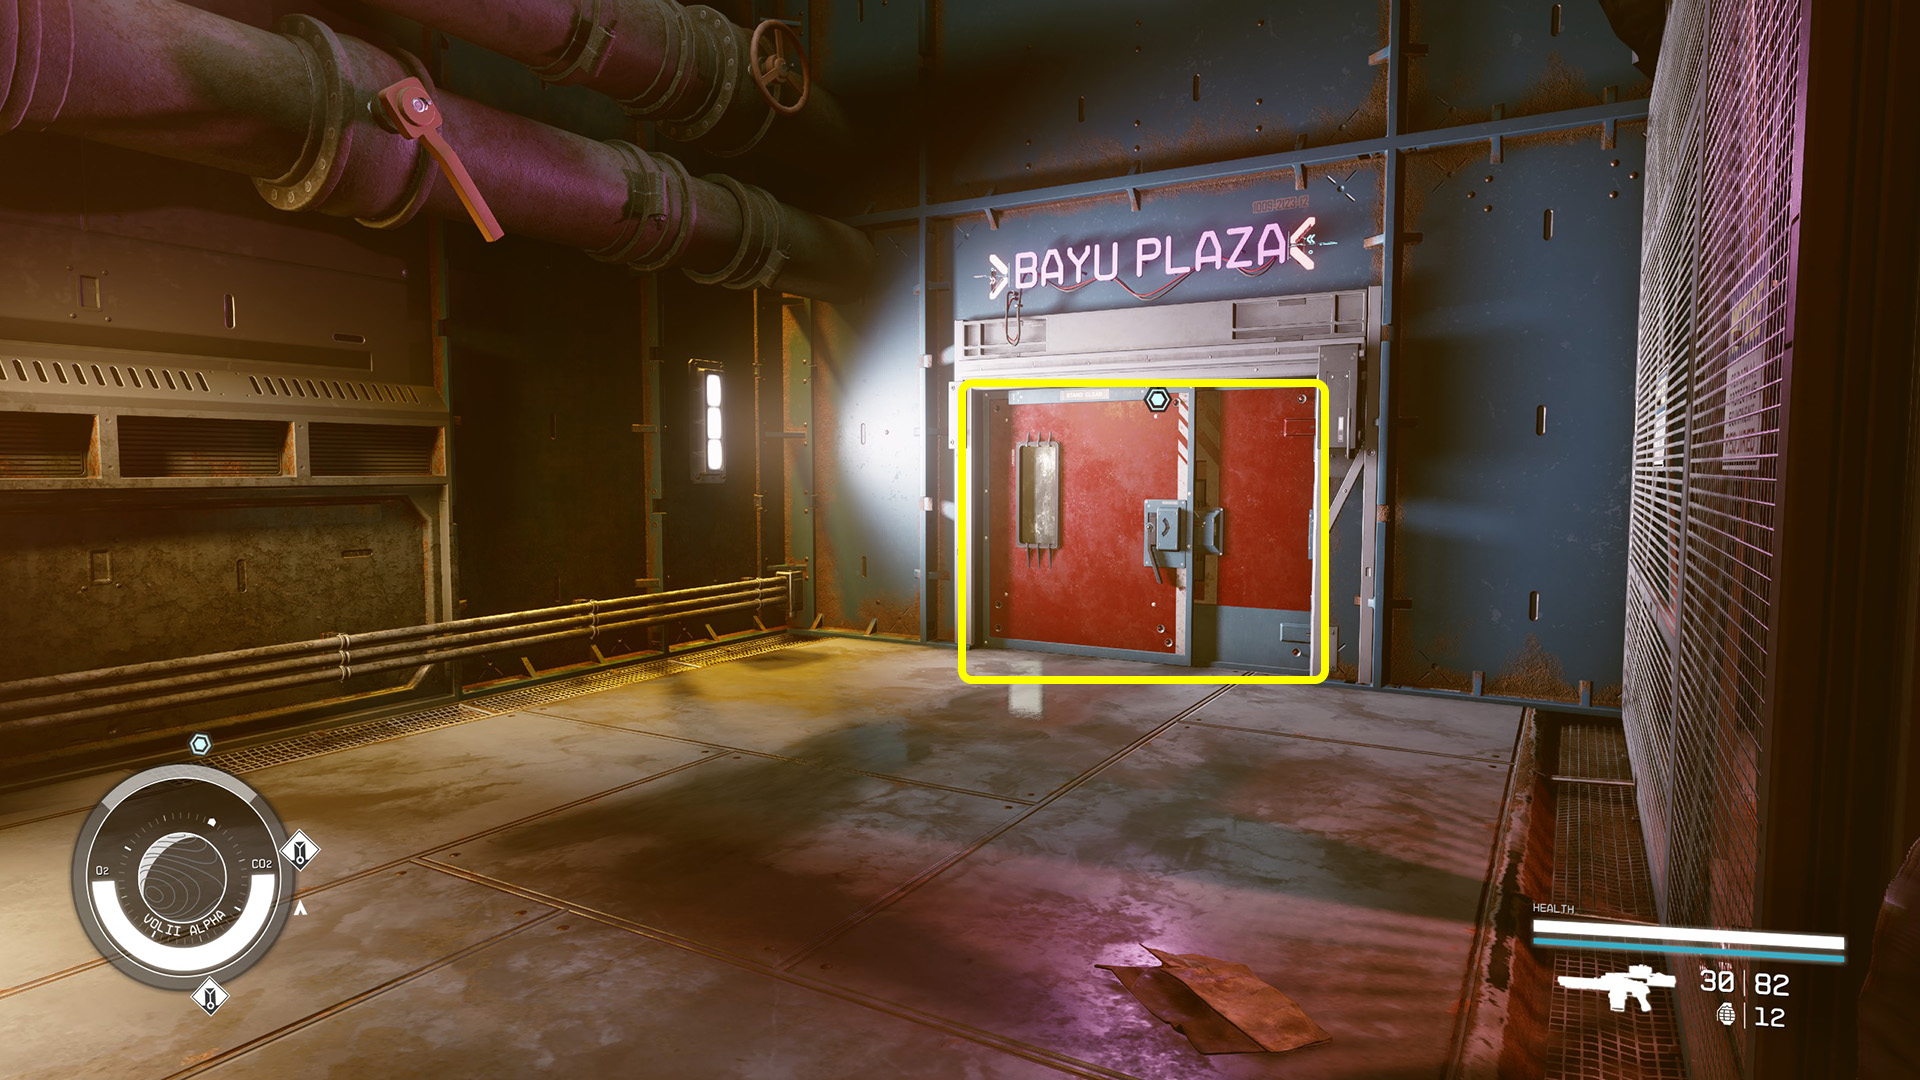
Head back the way you came, or go straight from the sleepcrate door until you see a door on the right that says “Bayu Plaza” (Image 13). Back in the plaza, take a left and follow the main thoroughfare back toward the Astral Lounge (Image 14).
Image 13Image 14
Ask About Security
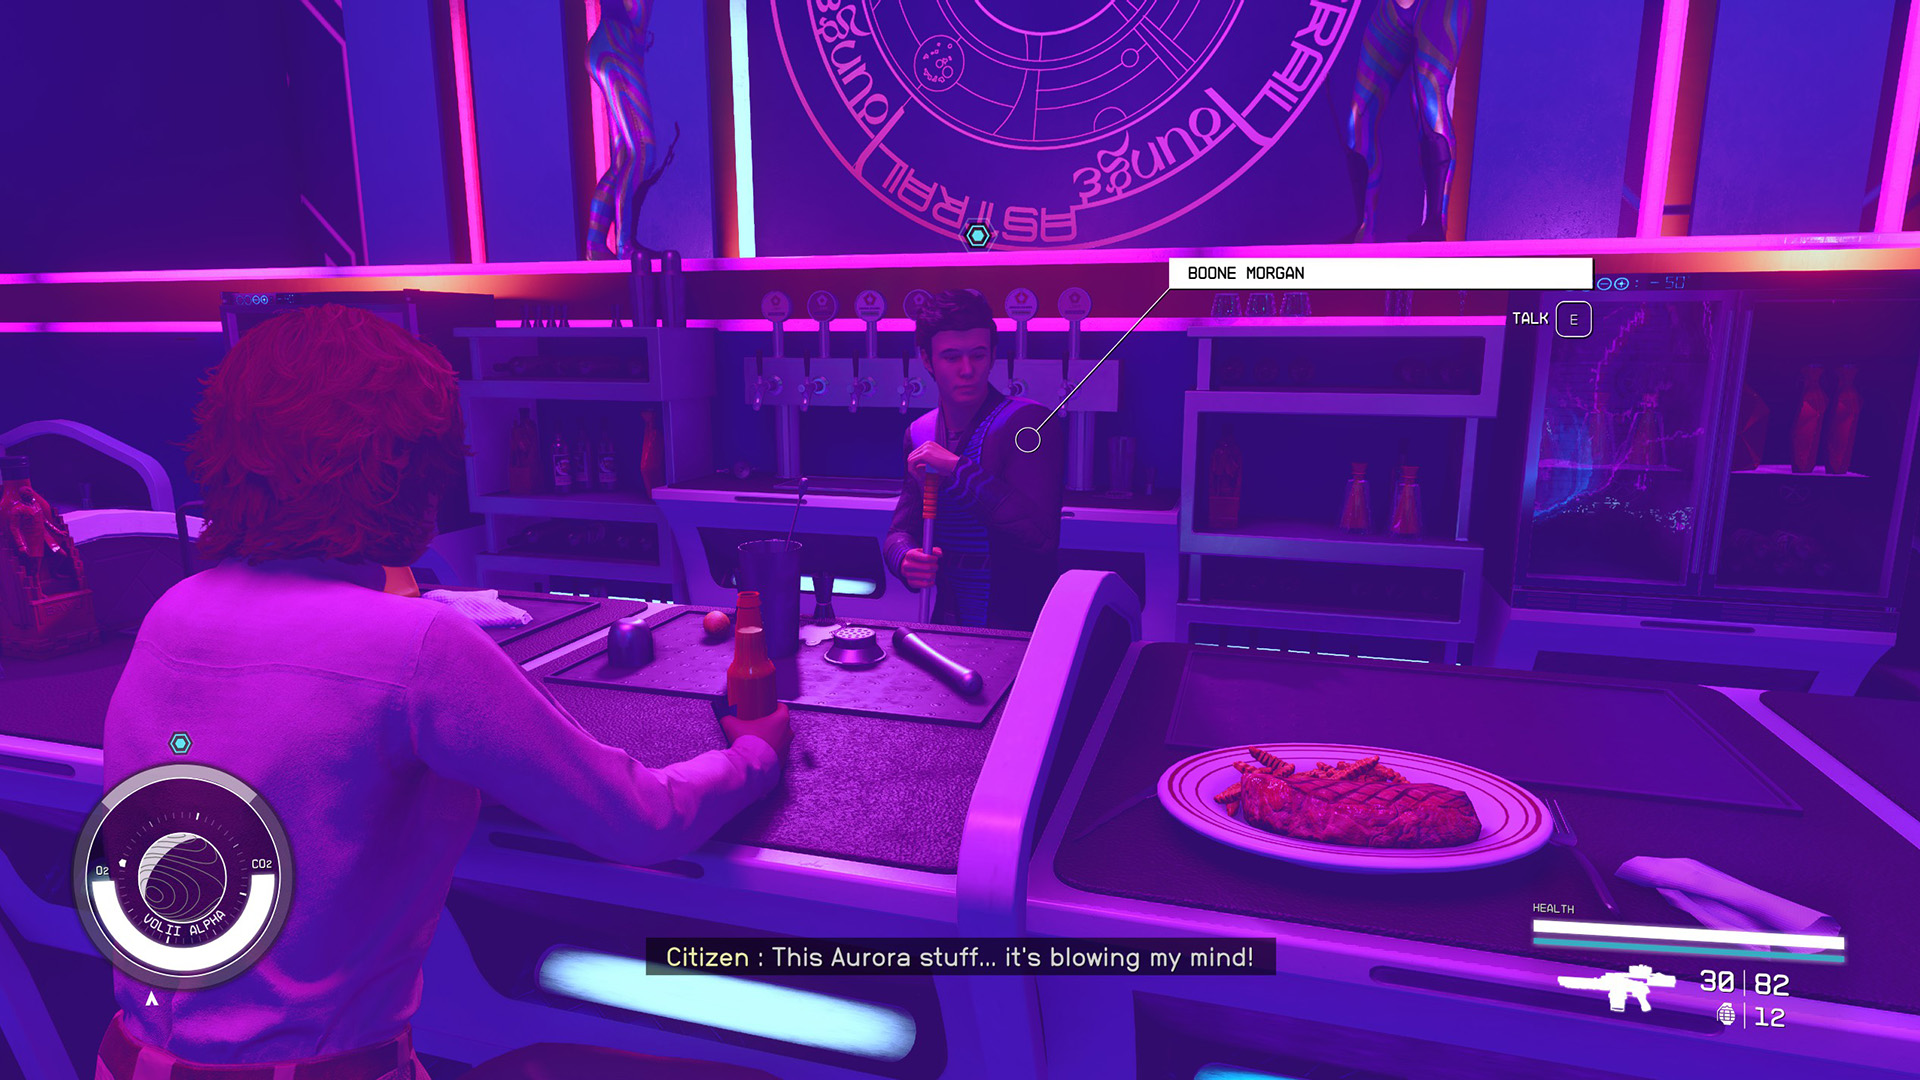
Go up the stairs underneath the Astral Lounge sign and enter the door (Image 15). Head straight to the back of the room and talk to Boone Morgan, the bartender (Image 16). He’ll tell you a bit about the city and try to sell you some Aurora. You can also ask him about buying a penthouse for 235,000 credits.
Image 15Image 16
When you get the option, tell him “I have a meeting here later. Worried about security.” You’ll then be able to ask a couple of questions. If you ask about controlling the doors, he’ll say that would be a fire hazard. Choose the option “Say I needed Security to be on my side if a fight broke out.” He’ll offer you the VIP package, which will let you hire Neon Security for the meeting. The cost is 4000 credits, but you can easily [Persuade] him down to 1000.
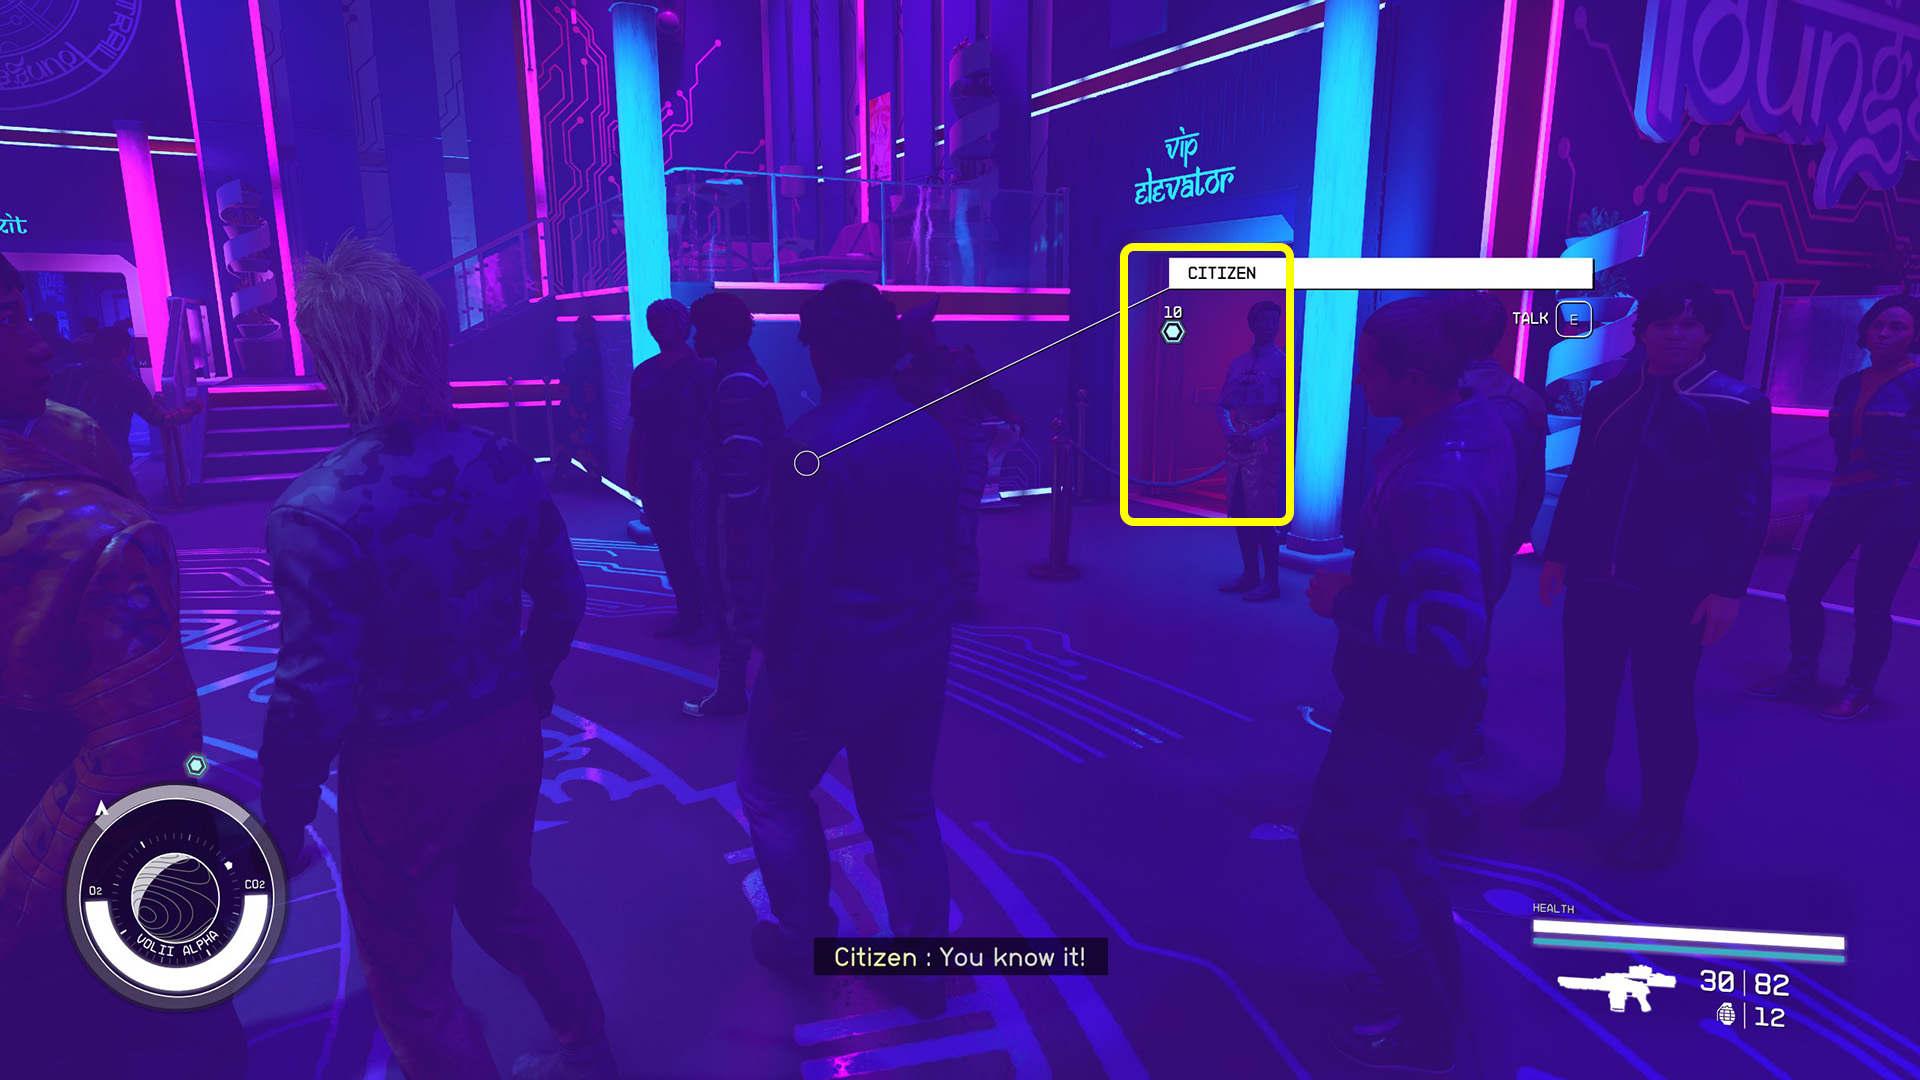
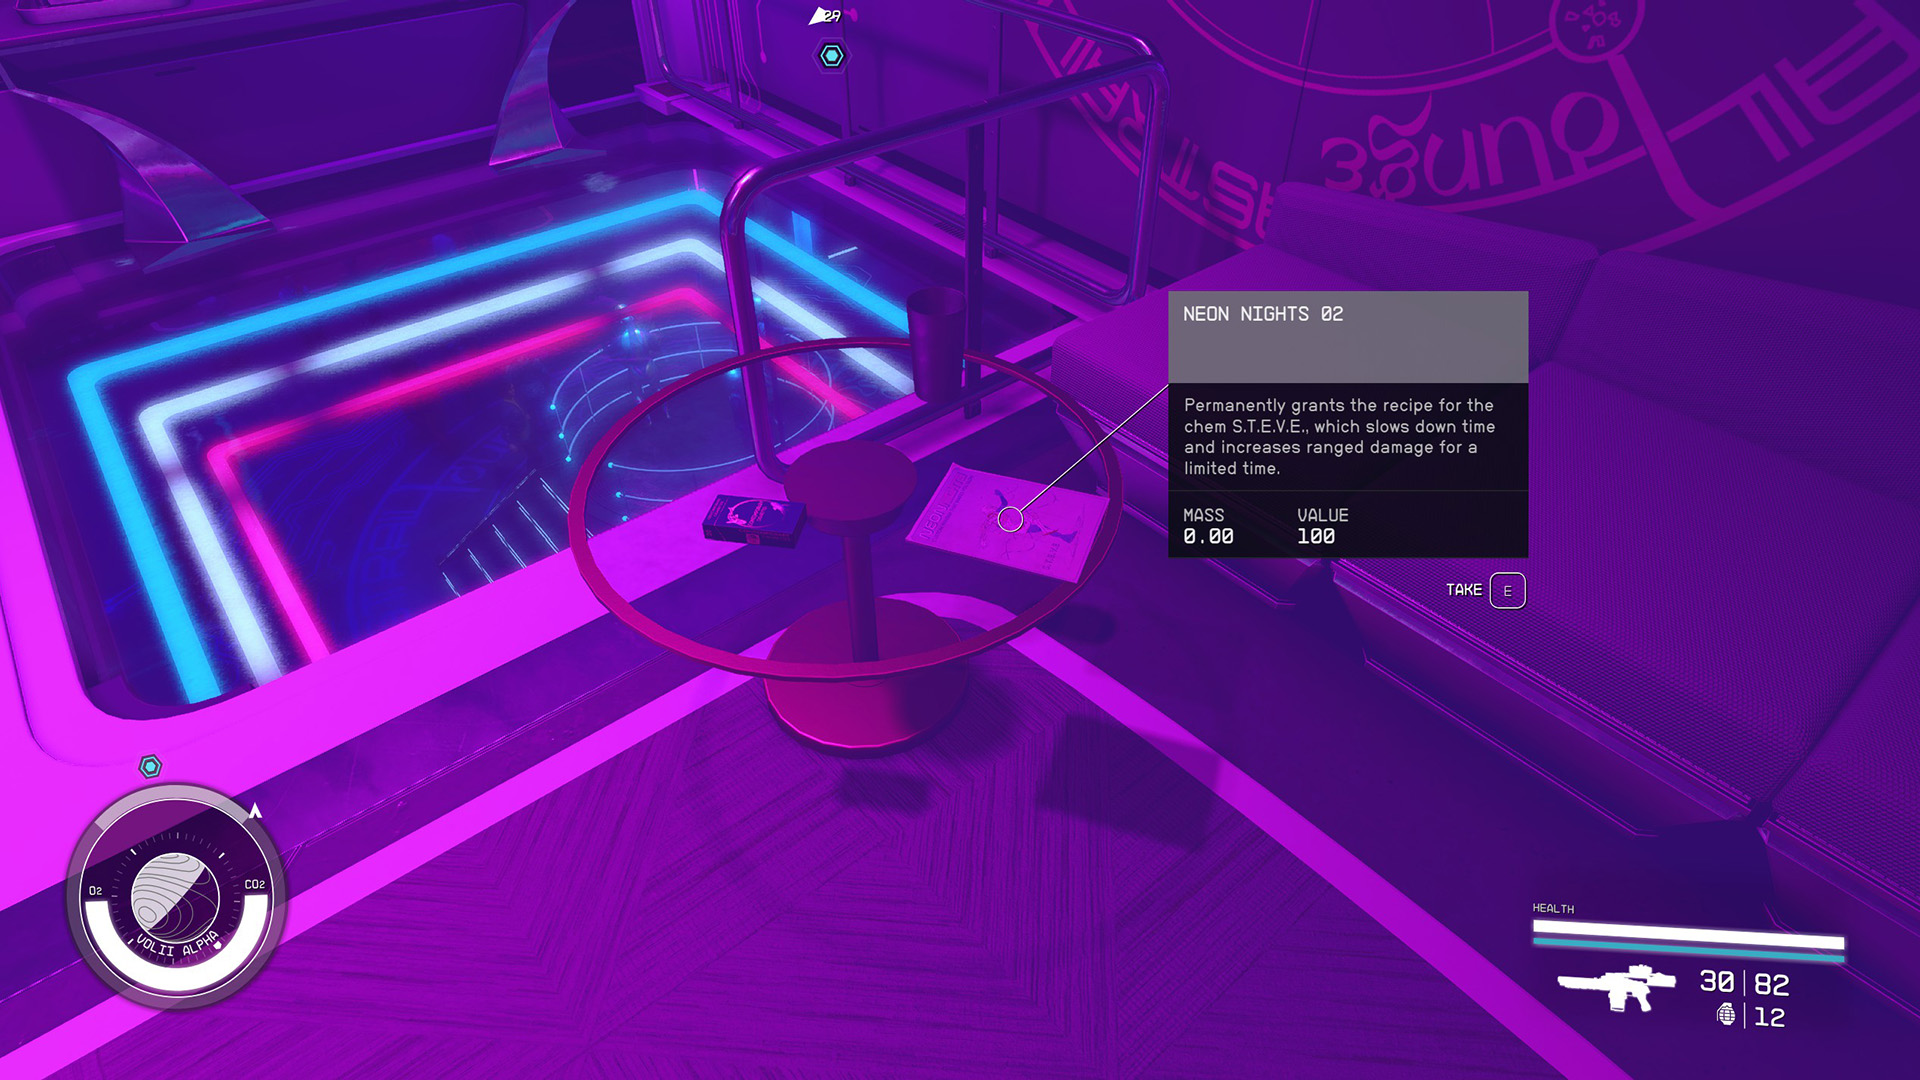
You’ll now be able to enter the VIP Elevator in the main part of the room (Image 17) and use the control panel to head up to the VIP Balcony. If you take a right and enter the staff area (Image 18), you can talk to the DJ, Borealus, who offers a side quest to find her music slate – “Superfan.” You can also find a copy of Neon Nights 02 inside Booth I (Image 19). Pick it up to learn the recipe for the chem S.T.E.V.E.
Image 17Image 18Image 19
There is lots of valuable food and alcohol lying around the VIP area if you want to do a little thieving. Following the path all the way around, you’ll find Benjamin Bayu, the Administrator of Neon, in the very last room. He won’t have much to say to you, though.
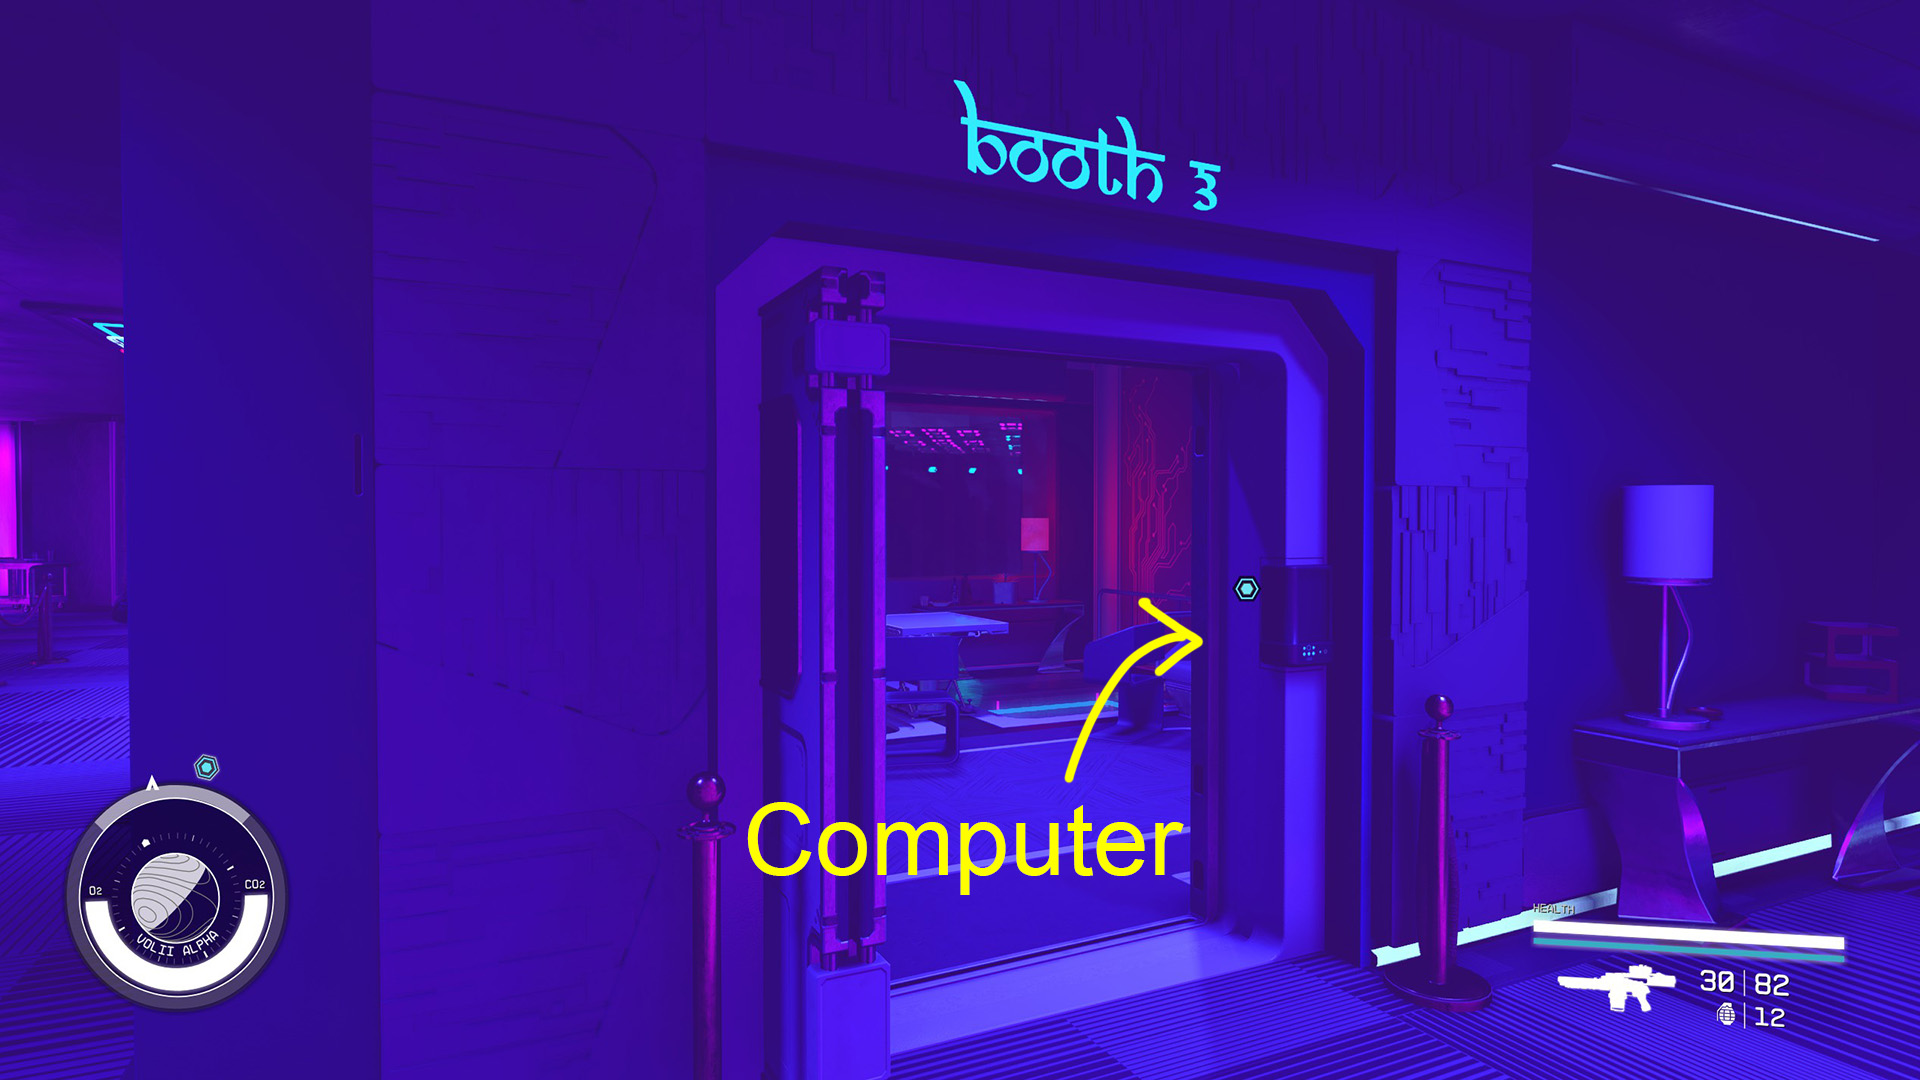
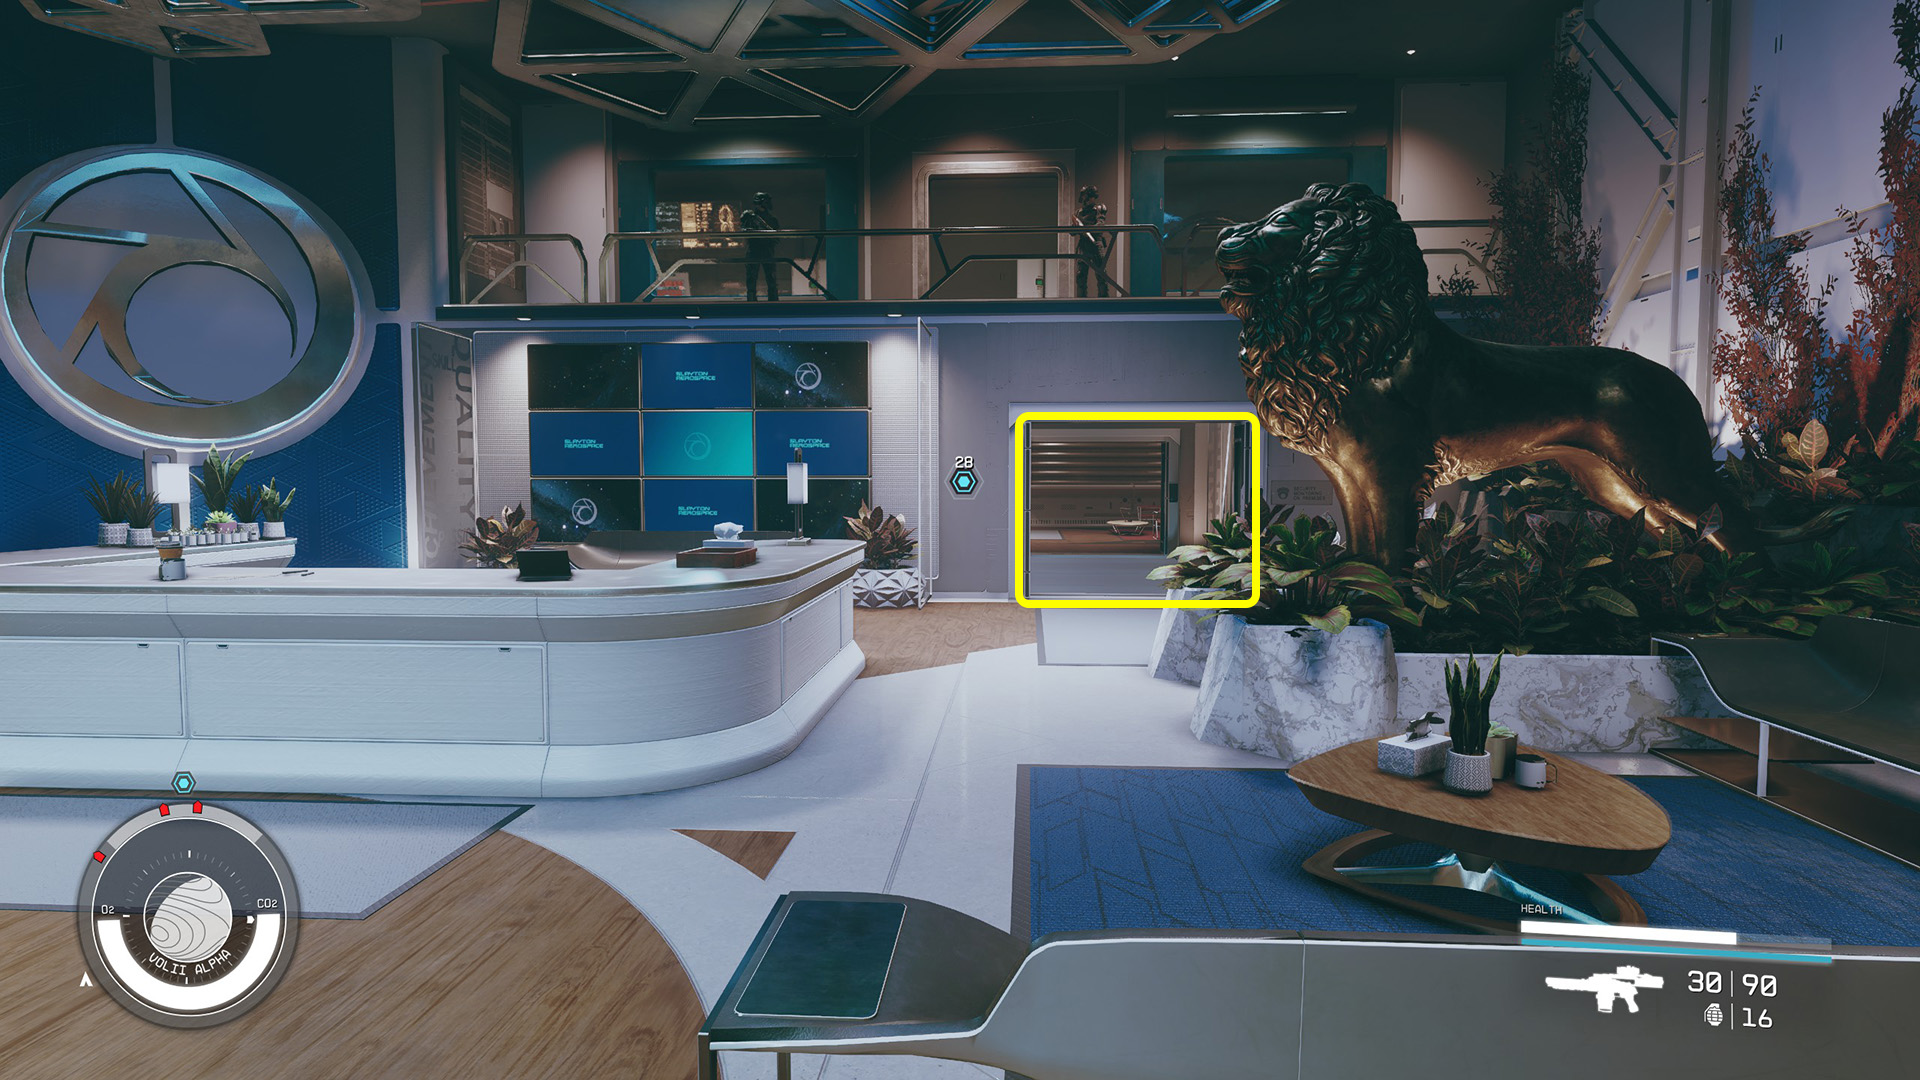
The information we’re looking for can be found on the Computer inside Booth 3 (Image 20). It has a novice lock that you’ll have to pick. When you unlock it, look at the file named Remote Door Control. You’ll now be able to override the VIP Lounge door controls when the time comes.
Image 20
Talk to Walter Stroud
Take the elevator back down to the dance floor and exit the Astral Lounge. Go down the stairs and turn left to take the elevator to the Stroud-Eklund Corporate HQ once again. Talk to Walter and choose any of the top three options to let him know you’re ready. He’ll start heading to the Astral Lounge.
Take the elevator back to the Lobby and take a right up the stairs to enter the Astral Lounge again. Walter is waiting just inside (Image 21). Talk to him and he’ll tell you the code phrase to identify the seller: “Ramsay and Travers.” He’ll also tell you that you’re looking for someone who’s carrying a large security briefcase.
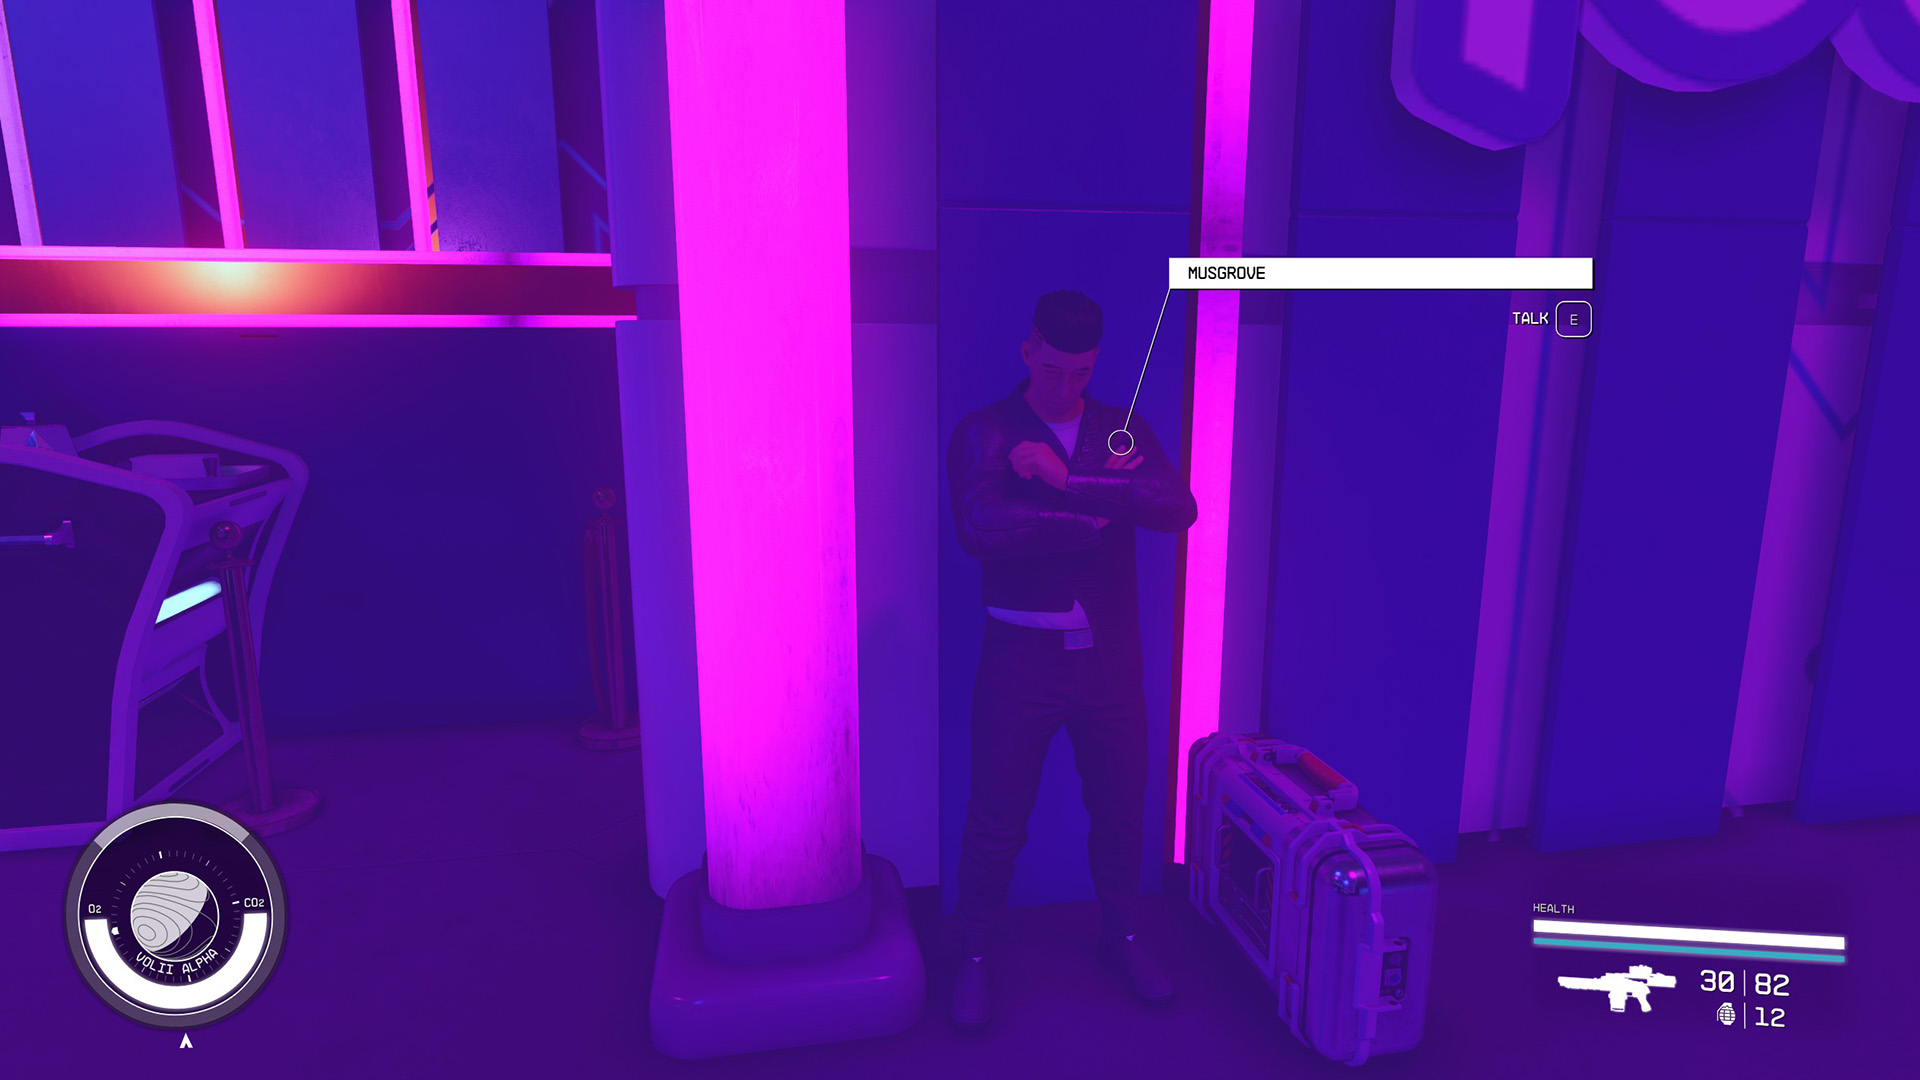
We know the seller’s name from when we broke into his sleepcrate: Musgrove. You’ll find him on the back platform standing against the wall beside the bar (Image 22). Talk to him and mention Ramsay and Travers. Then go talk to Walter again. They’ll both head up to the meeting.
Image 21Image 22
Use the VIP Elevator to head up to the VIP Balcony. Turn left out of the elevator and make your way around to Booth 3 – the room where we used the computer earlier. Musgrove and Walter Stroud will be sitting inside. Enter the room and you’ll join their conversation.
Musgrove will ask you to sit – you can choose to or not, it doesn’t really matter. He’ll then ask for double the original price. You can pretty much say anything you want here – you’ll wind up leaving with Artifact Nu regardless. If you try to attack Musgrove, Walter will stop you. You can close the door or summon security to your aid, but you don’t need to do either.
When your business is concluded, you can leave the room. A Slayton Agent will be waiting for you. You can [Persuade] him to let you go, or you can [Signal Neon Security] to remove him from the premises. If you’d rather choose violence, you can [Attack]. It’s just him – he doesn’t have any backup.
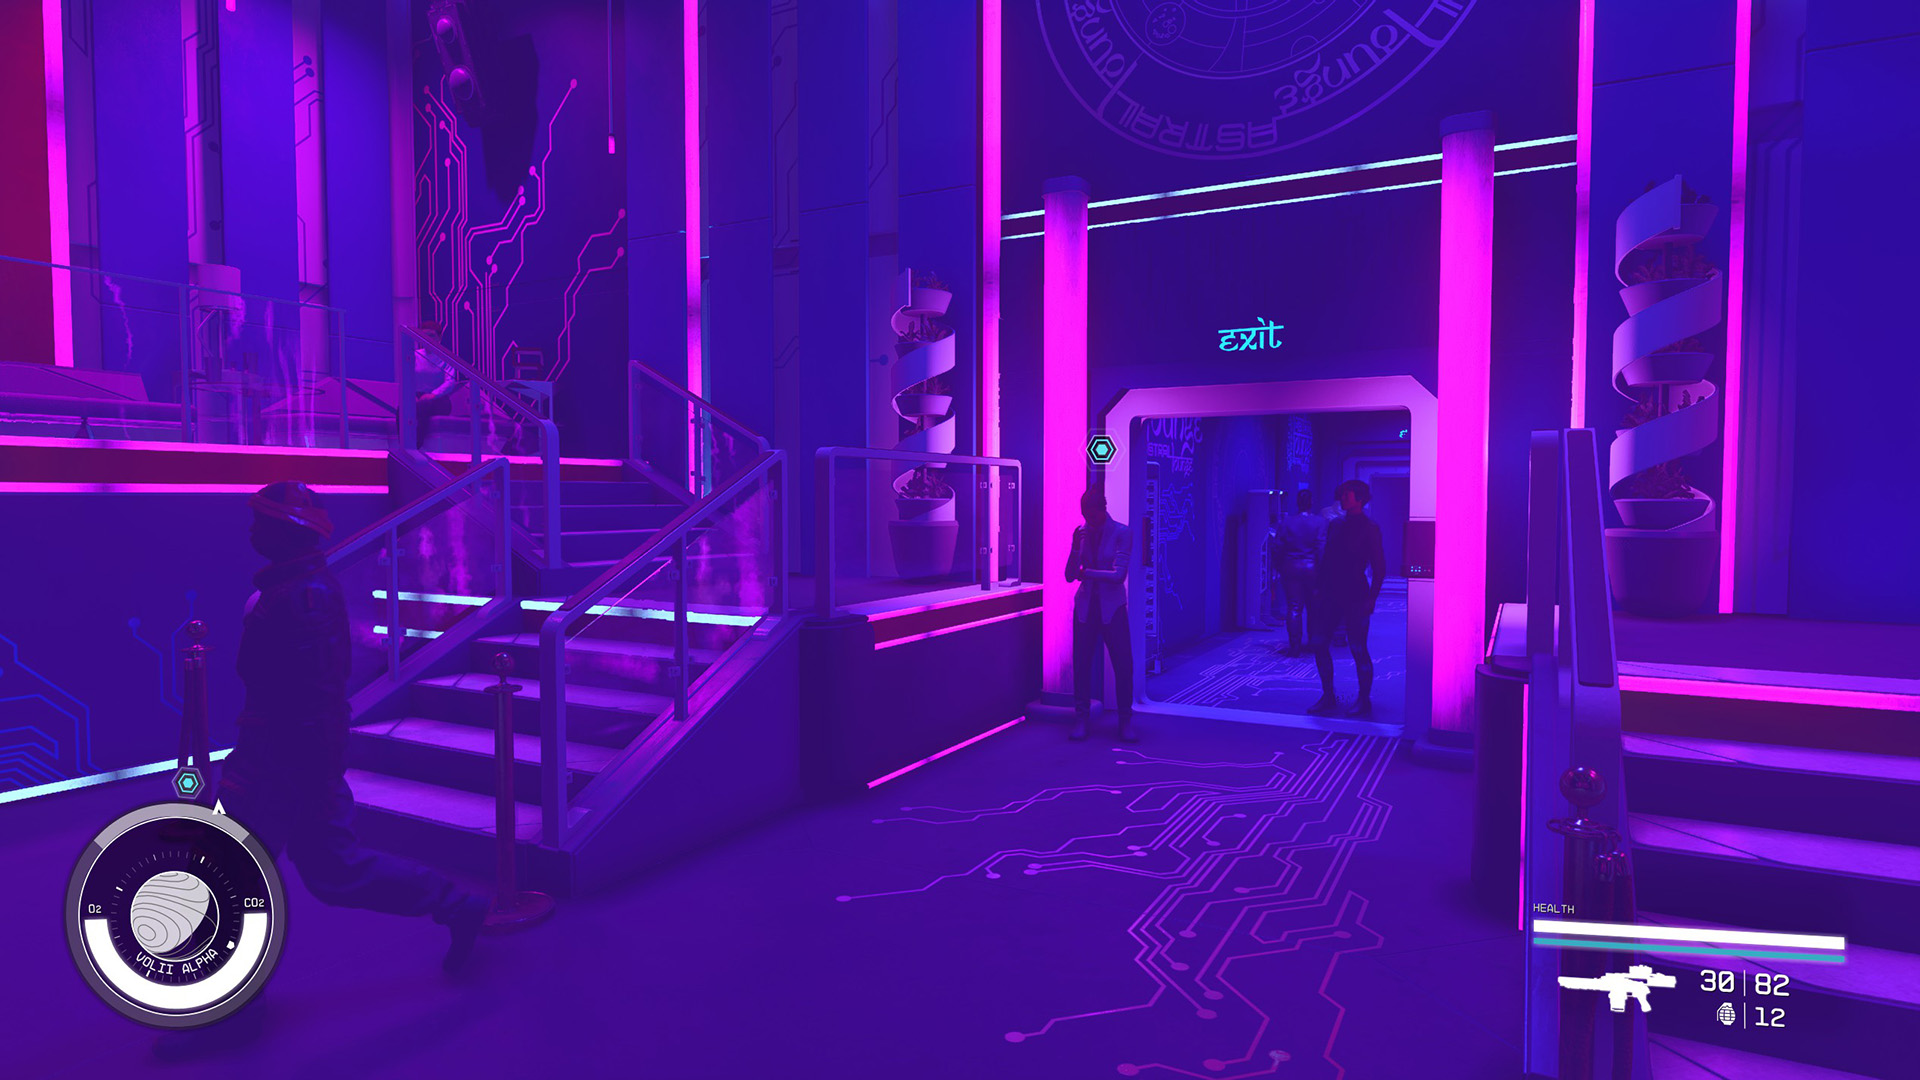
When you’ve handled the Slayton Agent, follow the path back around to the elevator and take it down to the dance floor. You’ll find Issa Eklund waiting for you at the exit (Image 23). She’ll tell you that Slayton has put a bounty on your heads and your ship has been impounded. You’ll need to go try to sort things out with Slayton.
Image 23
Go to Slayton Aerospace HQ
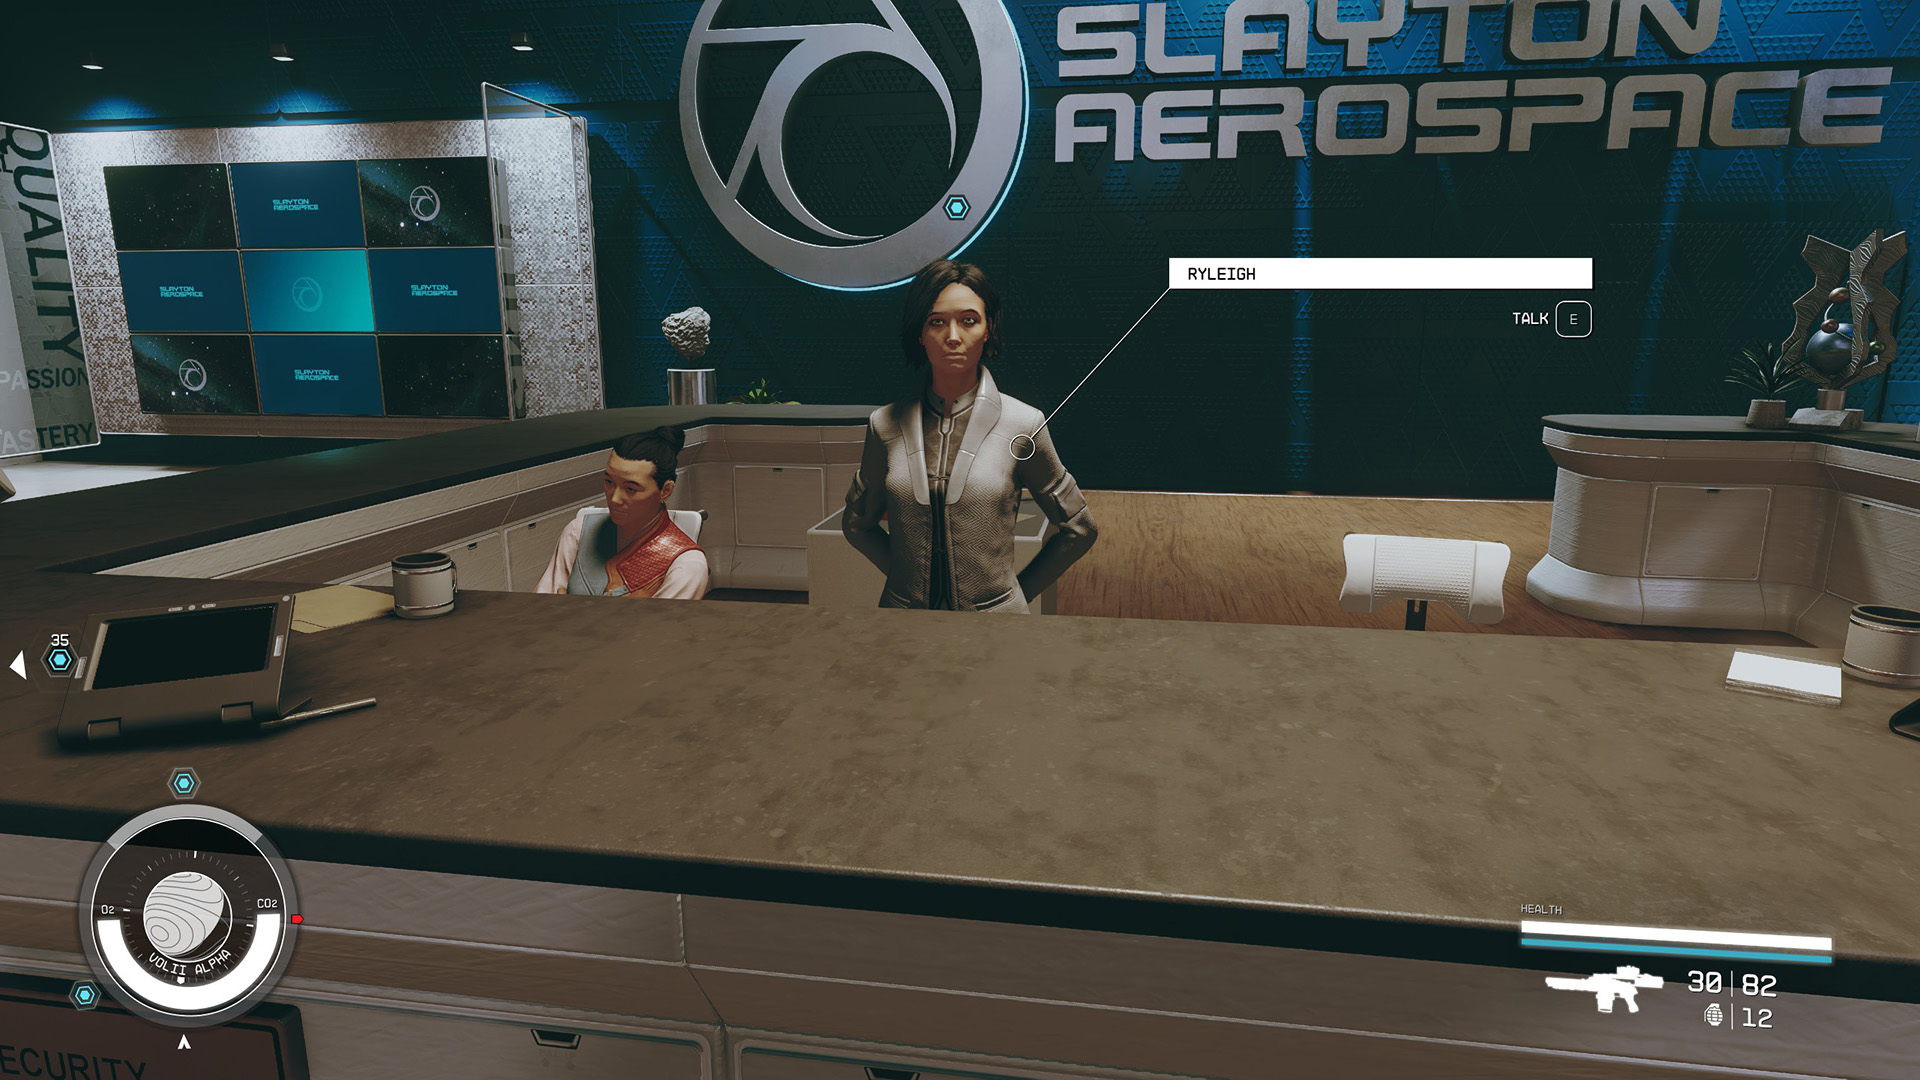
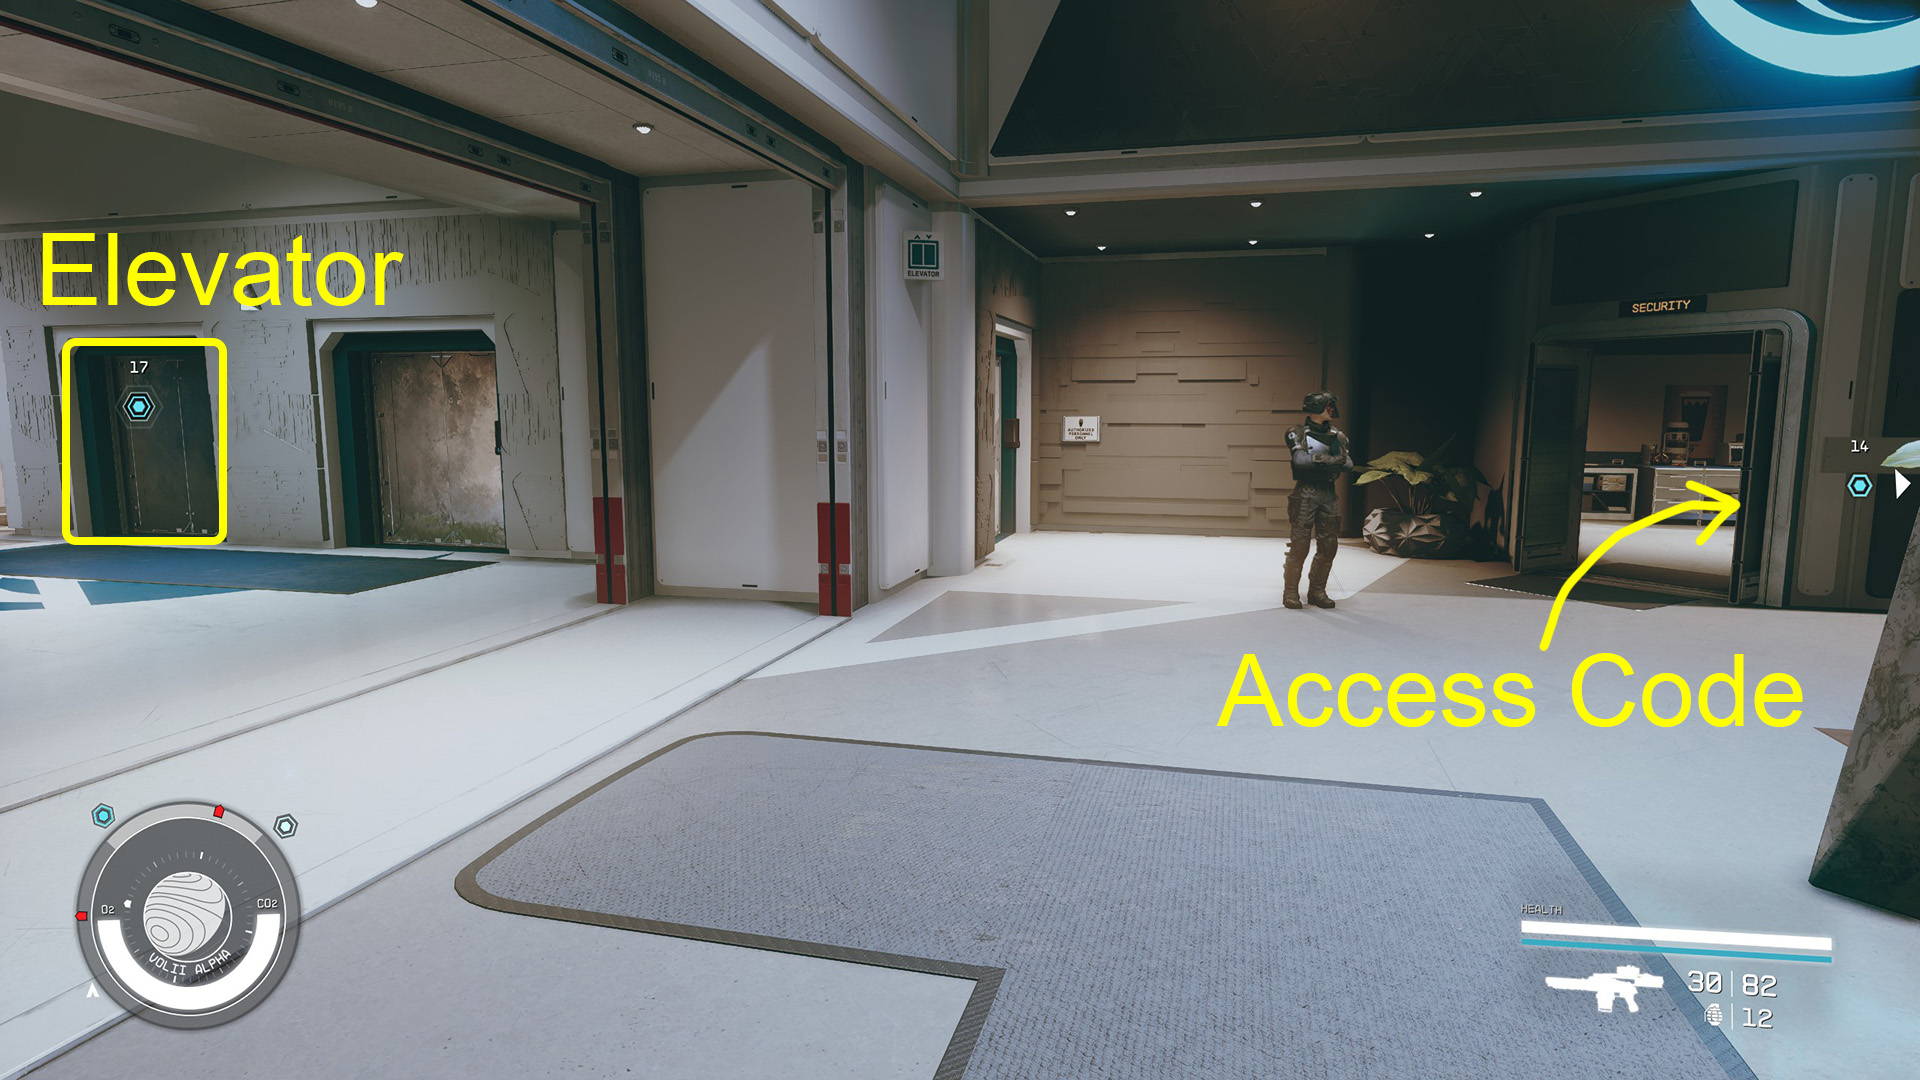
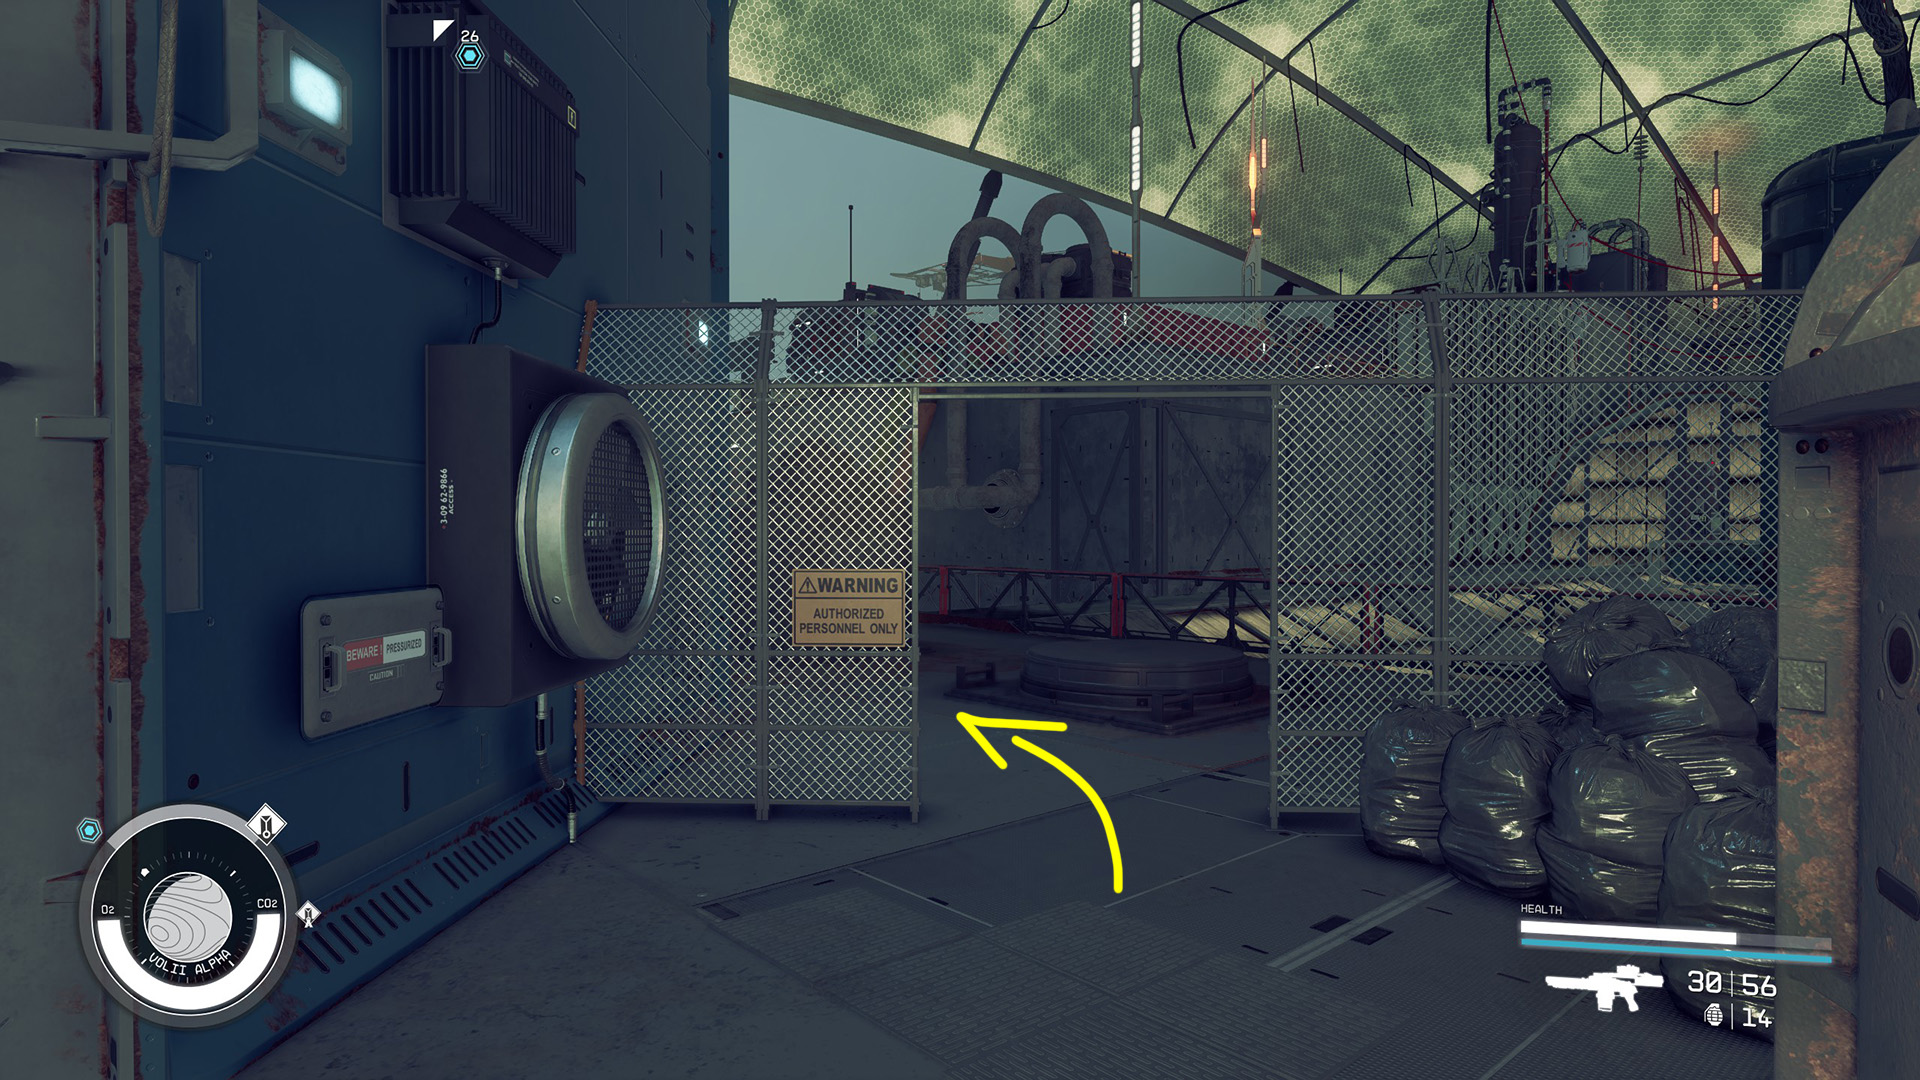
Leave the Astral Lounge and take a left at the bottom of the stairs. Enter the same elevator you took to Stroud-Eklund Corporate HQ, but this time choose Slayton Aerospace. Walk up to the front desk and speak with Ryleigh (Image 24). Note that there are armed guards all around. If you choose the [Attack] option, you’ll have to deal with all of them.
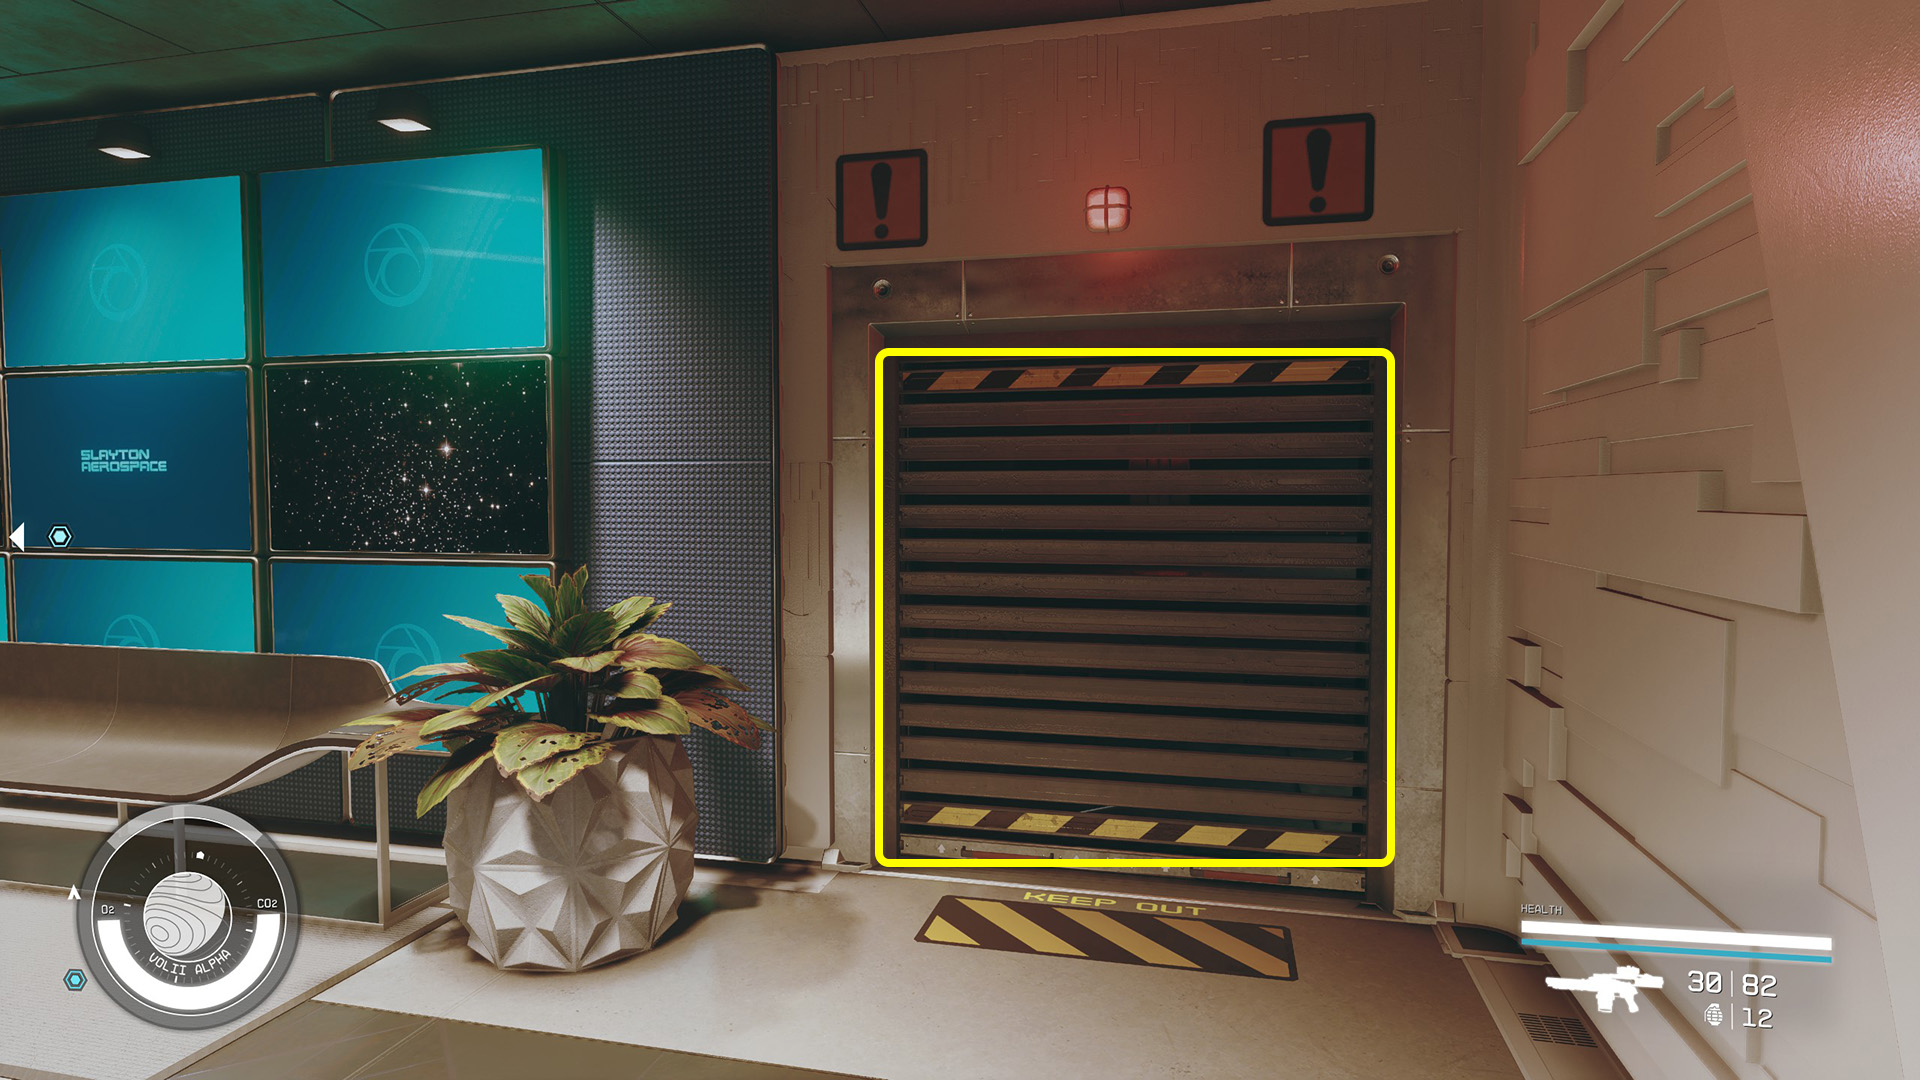
Whether you decide to fight your way through the place or not, you’ll need to find a way to get upstairs. You can try to [Persuade] Ryleigh, and if you succeed, she’ll give you an access card. You can also loot the card from her corpse if you kill her. Alternatively, you can steal the Executive Level Access Code from inside the security office (Images 25 & 26). You’ll have to evade the guard who patrols the room if you want to avoid a fight. You can also lockpick the door immediately to the left of the security office and then unlock the Elevator Maintenance Control you find inside.
Whether you’re given the code, take it, or hack the elevator controls, the next step will be to enter the elevator (Image 25) and activate the control panel. Regardless of how you gained access, the elevator will be stopped by Nicolaus Slayton. Issa will contact you saying she has temporary control of the building. She’ll open the doors for you and direct you to use the vents to get around. You can opt to fight your way through instead, but you can expect heavy resistance if you do so. The place is defended by robots as well as human guards.
Image 24Image 25Image 26
Option 1: Sneak Through the Vents
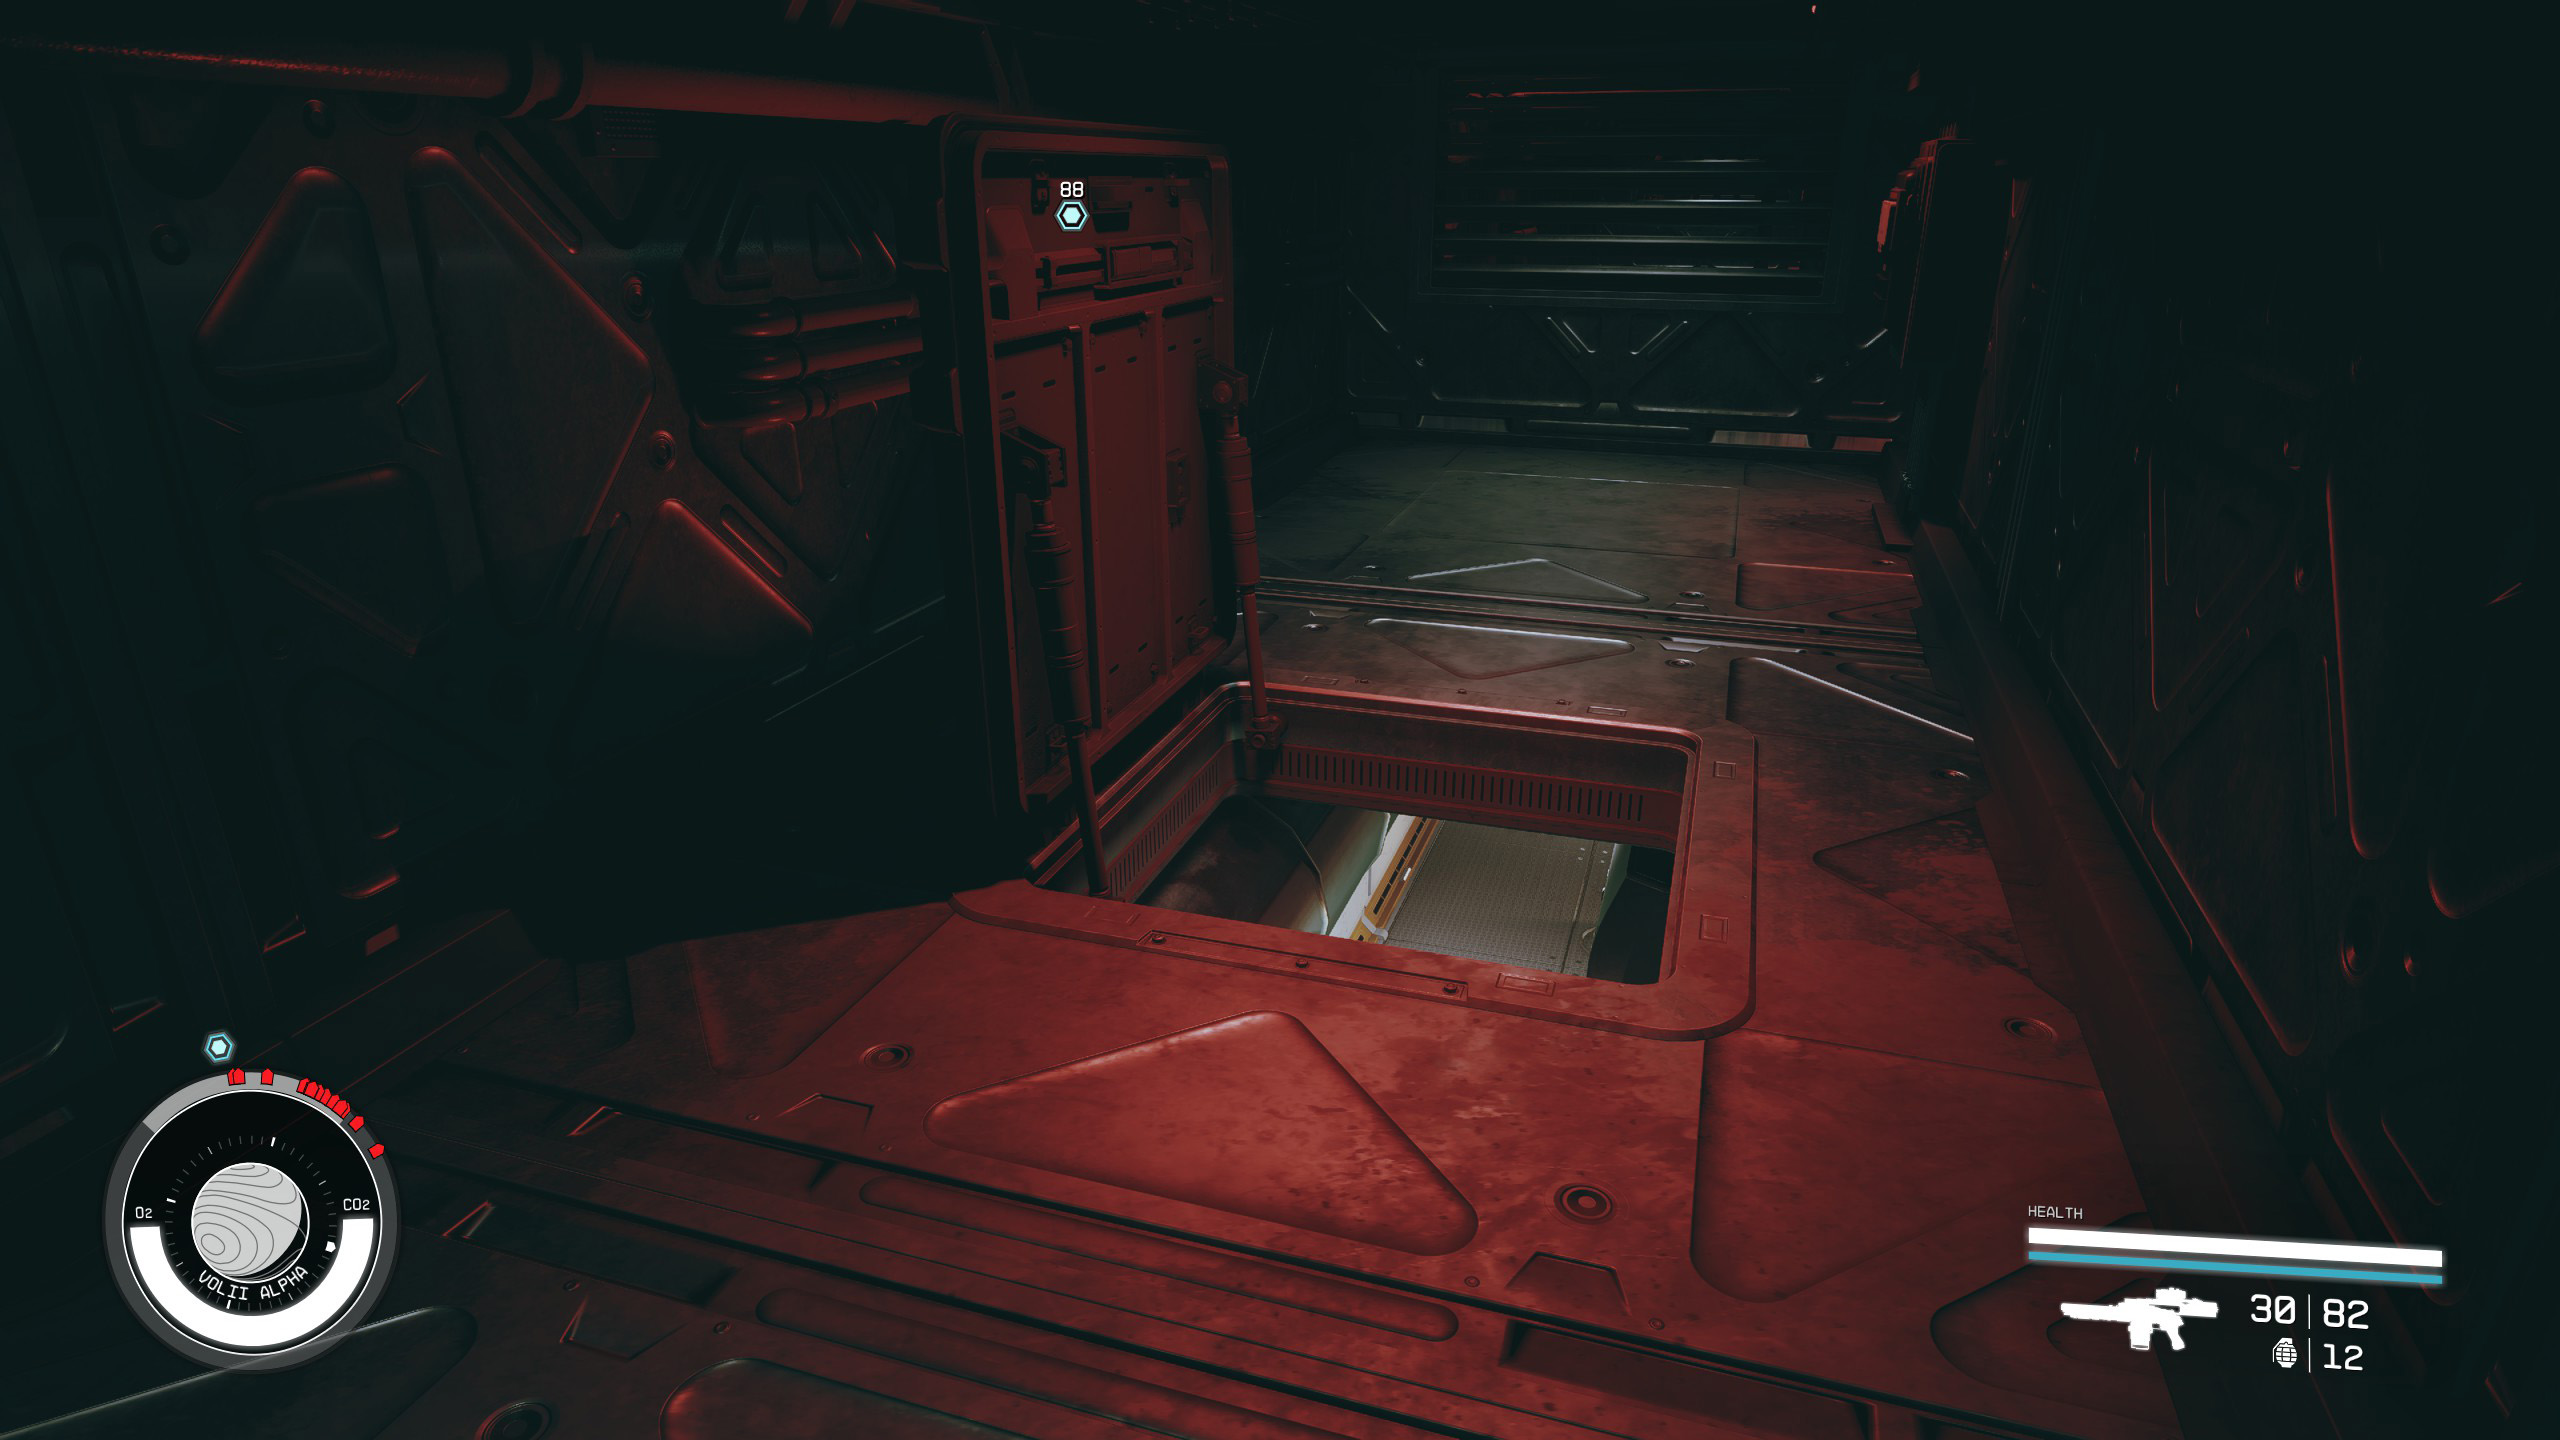
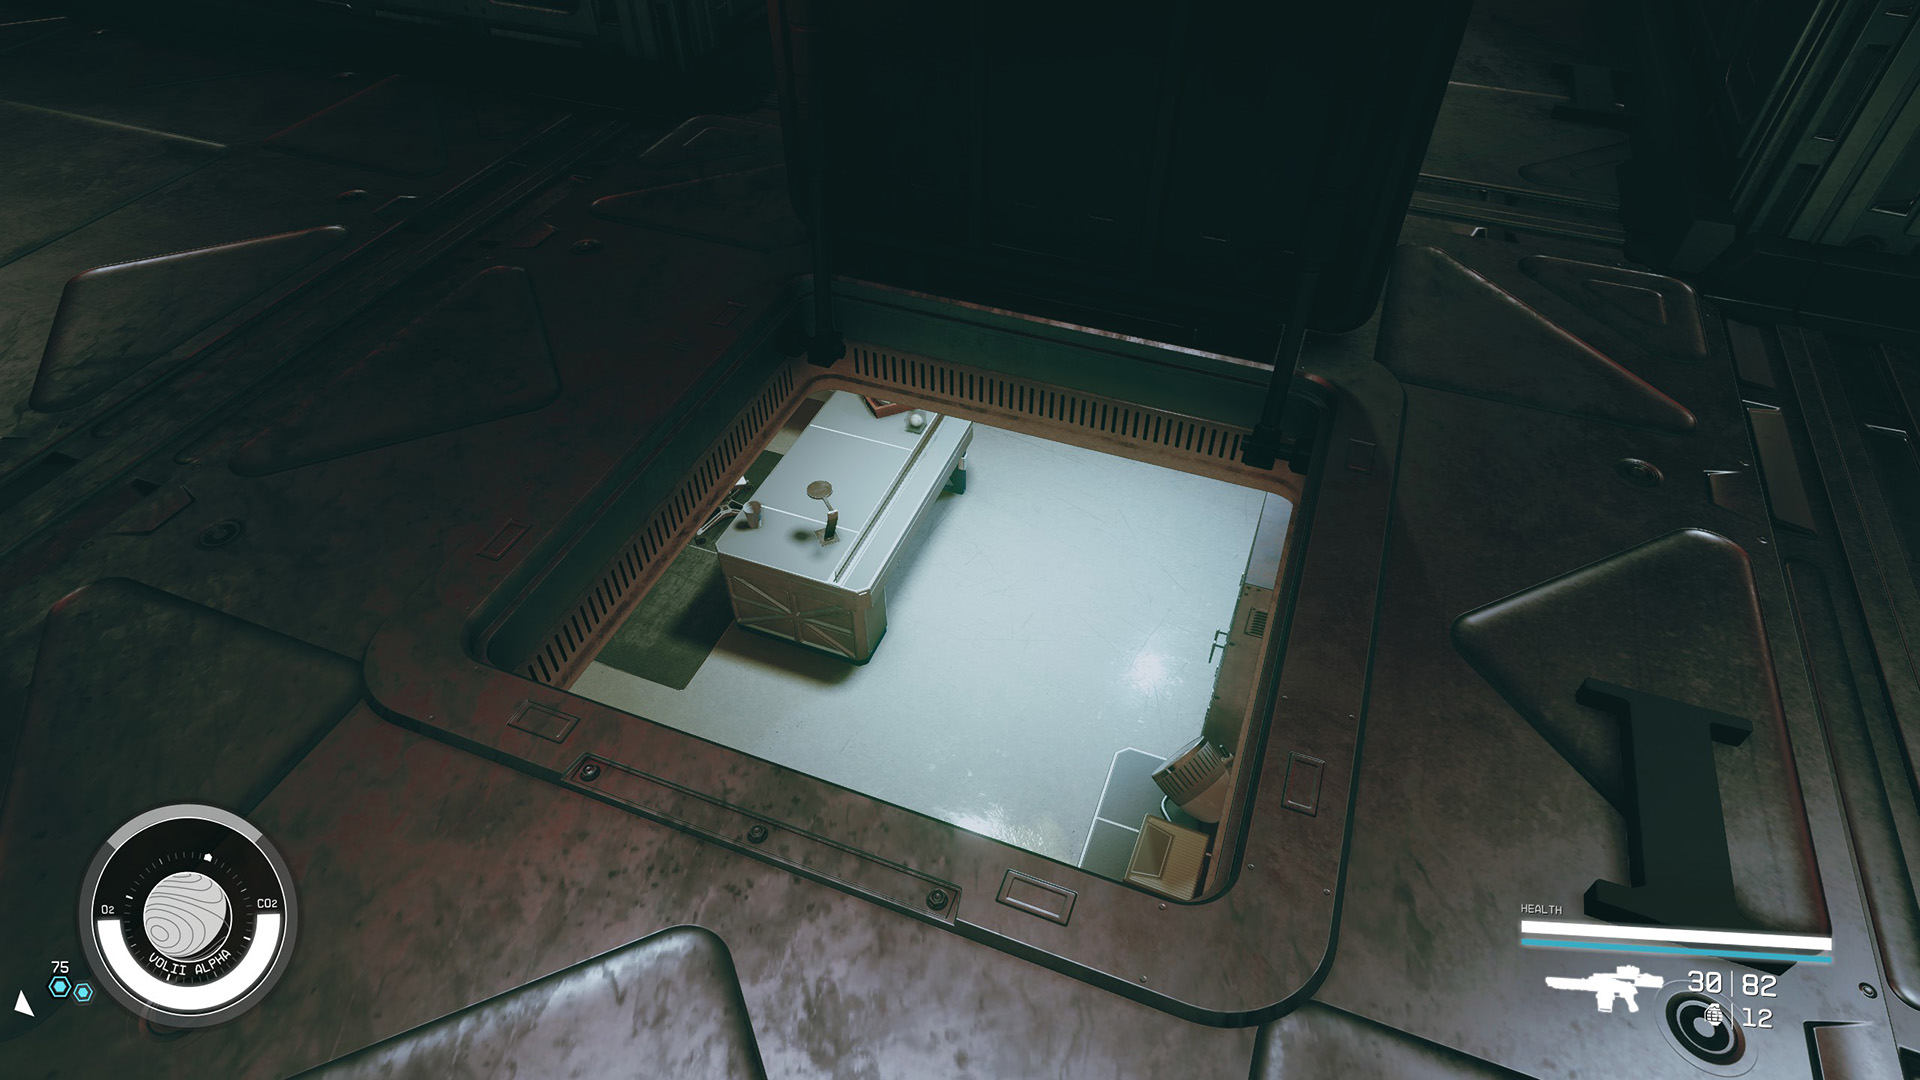
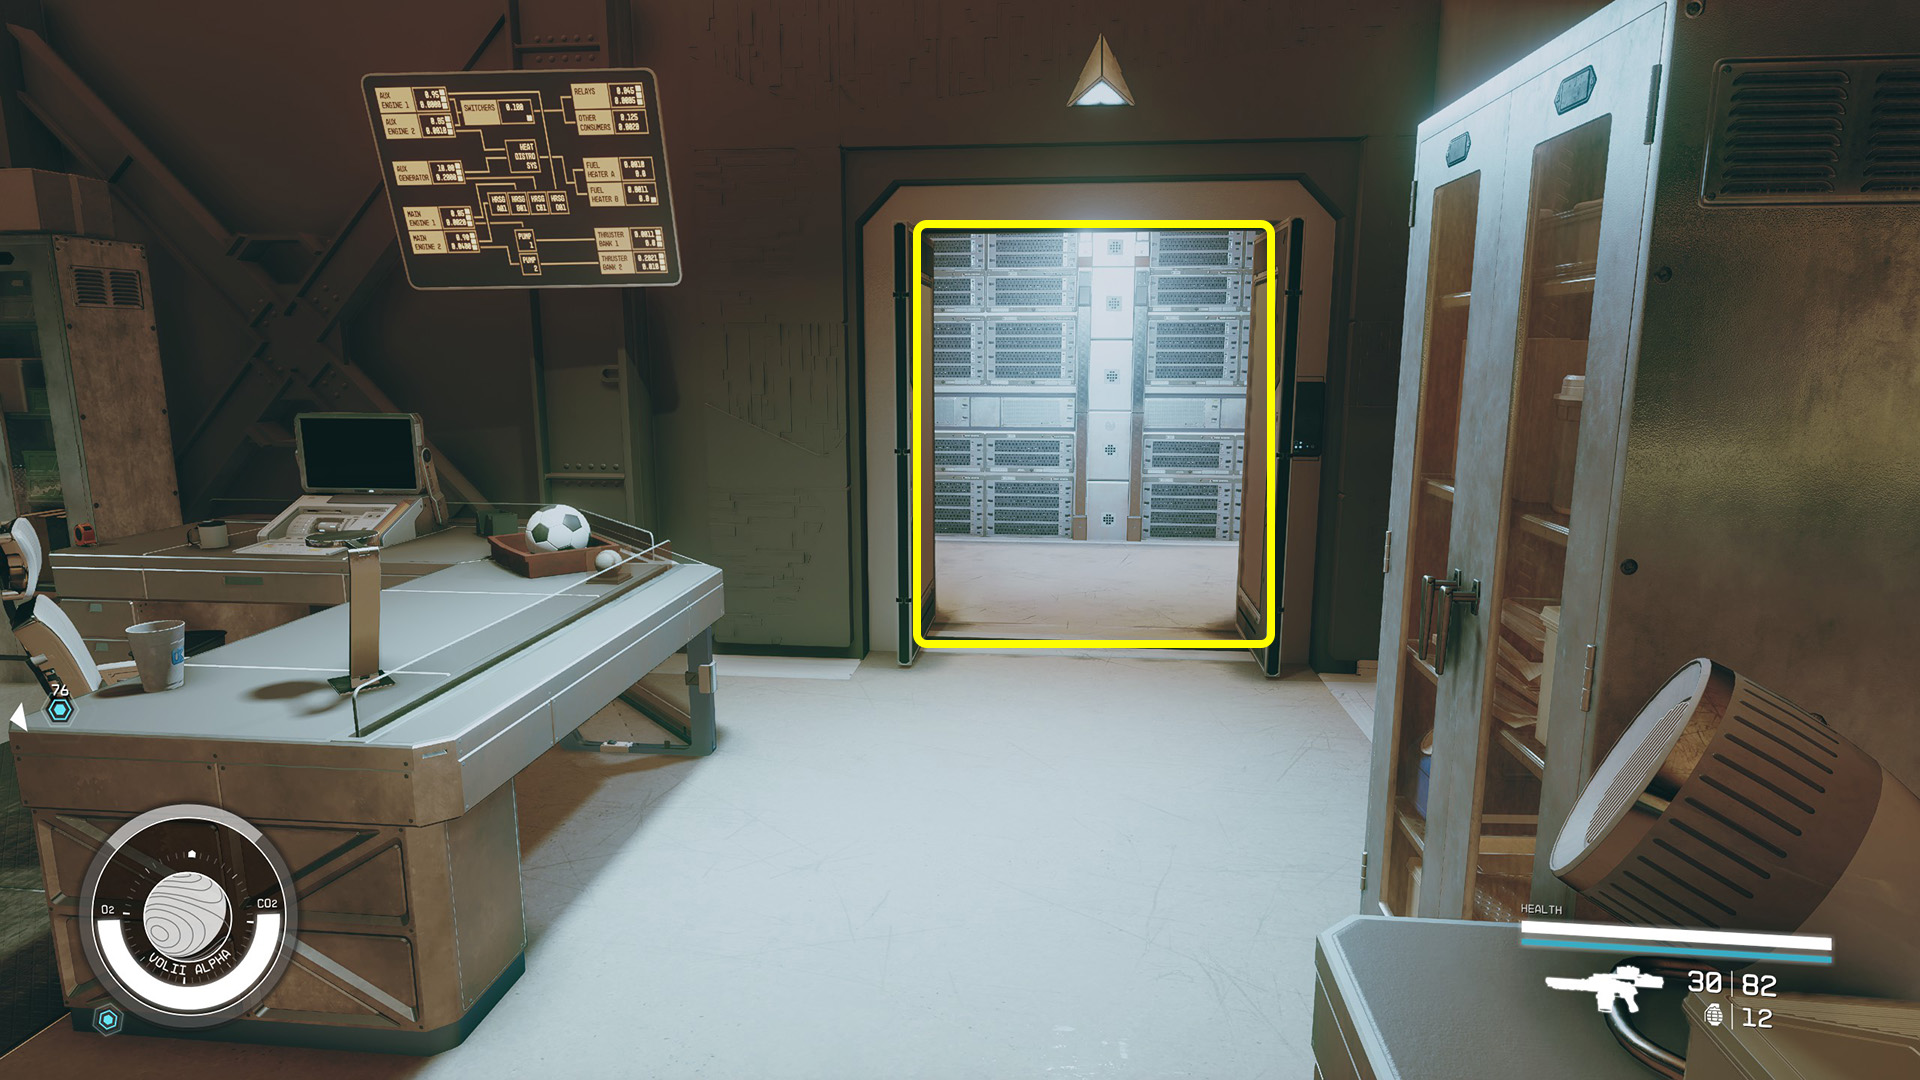
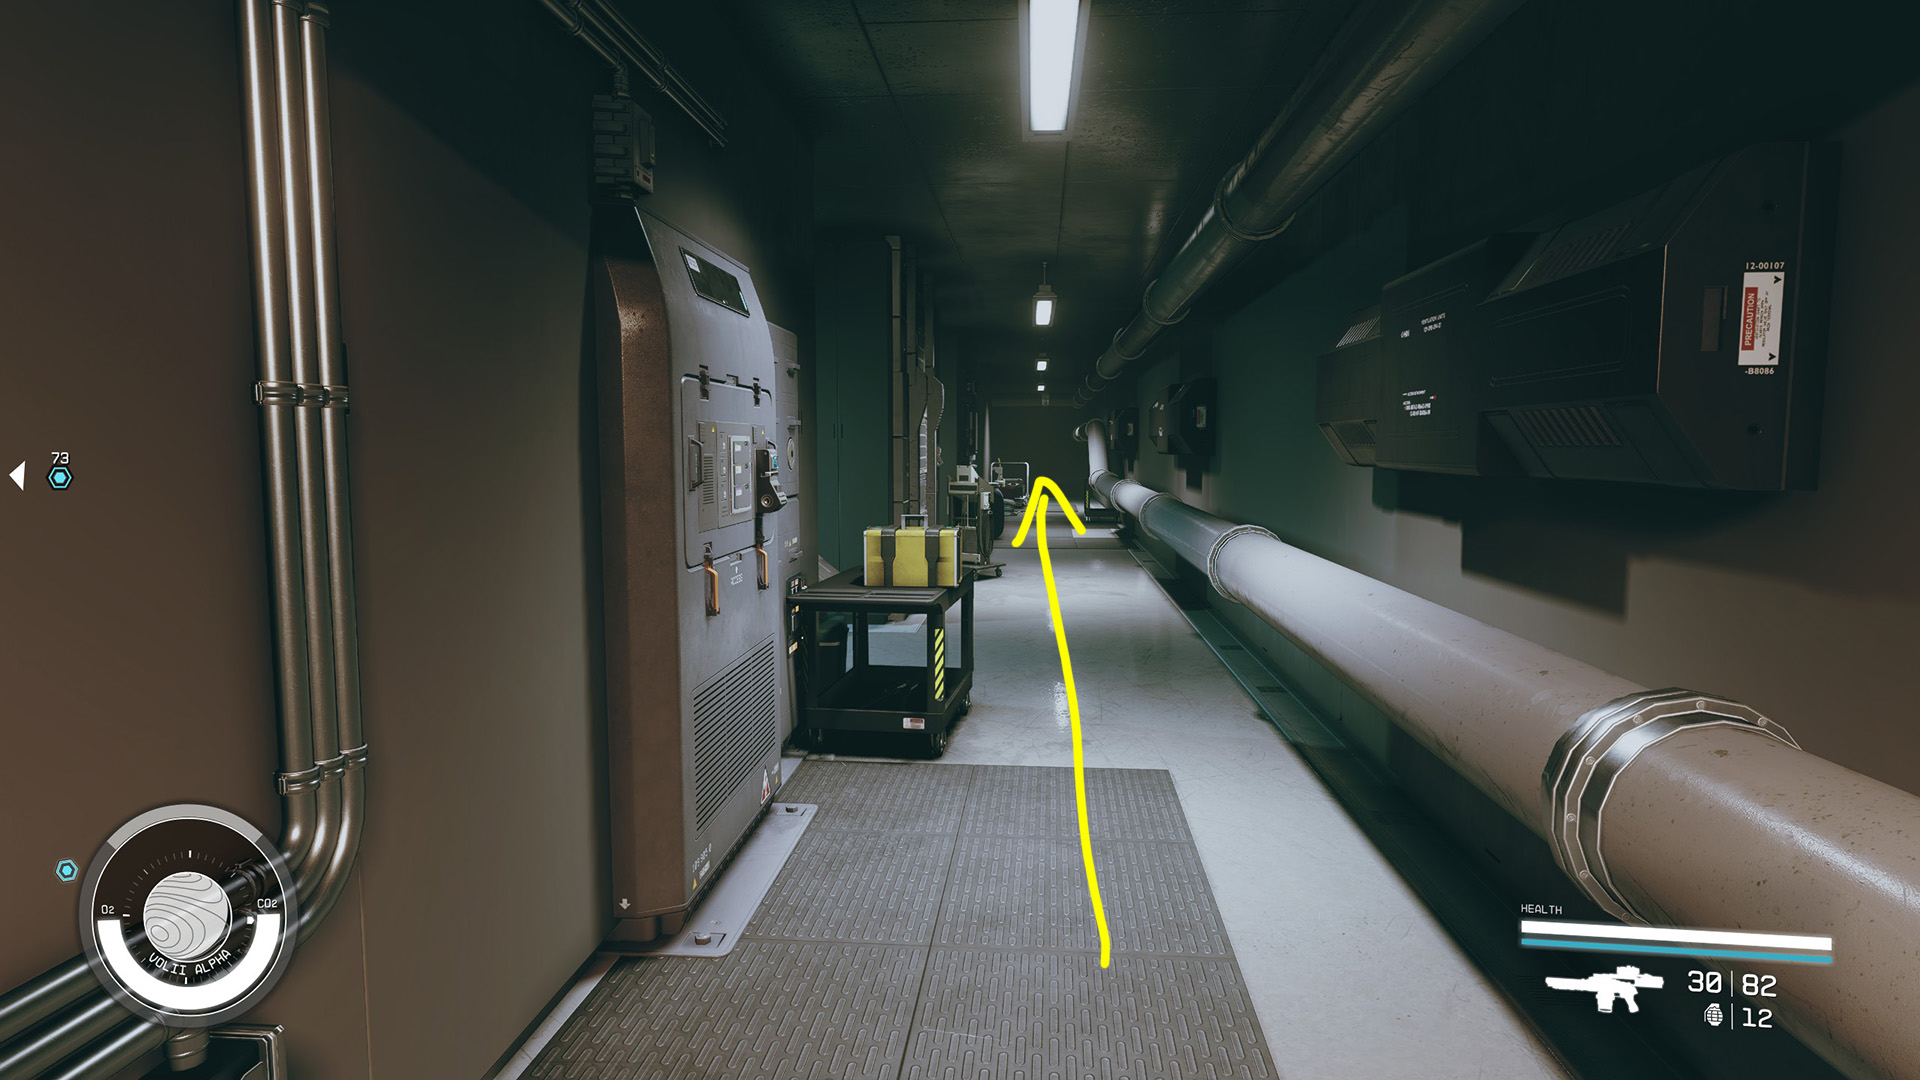
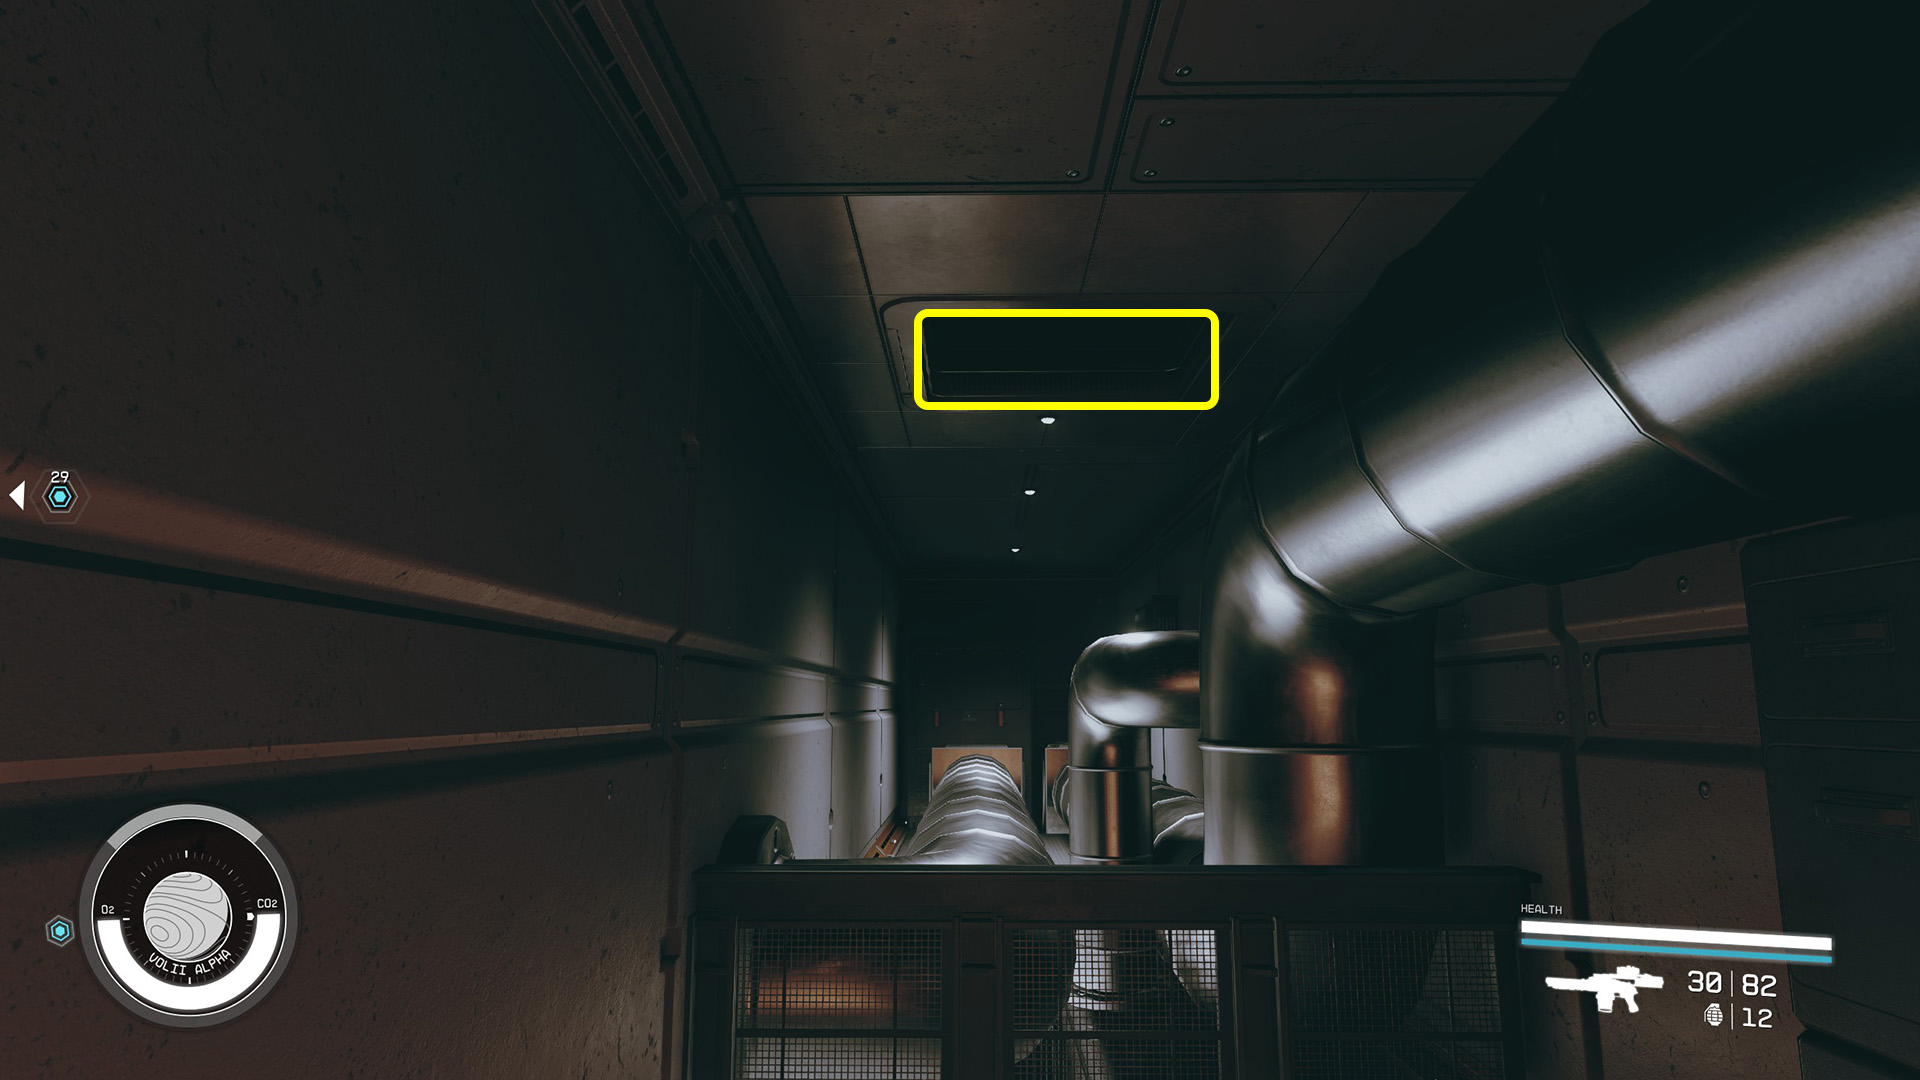
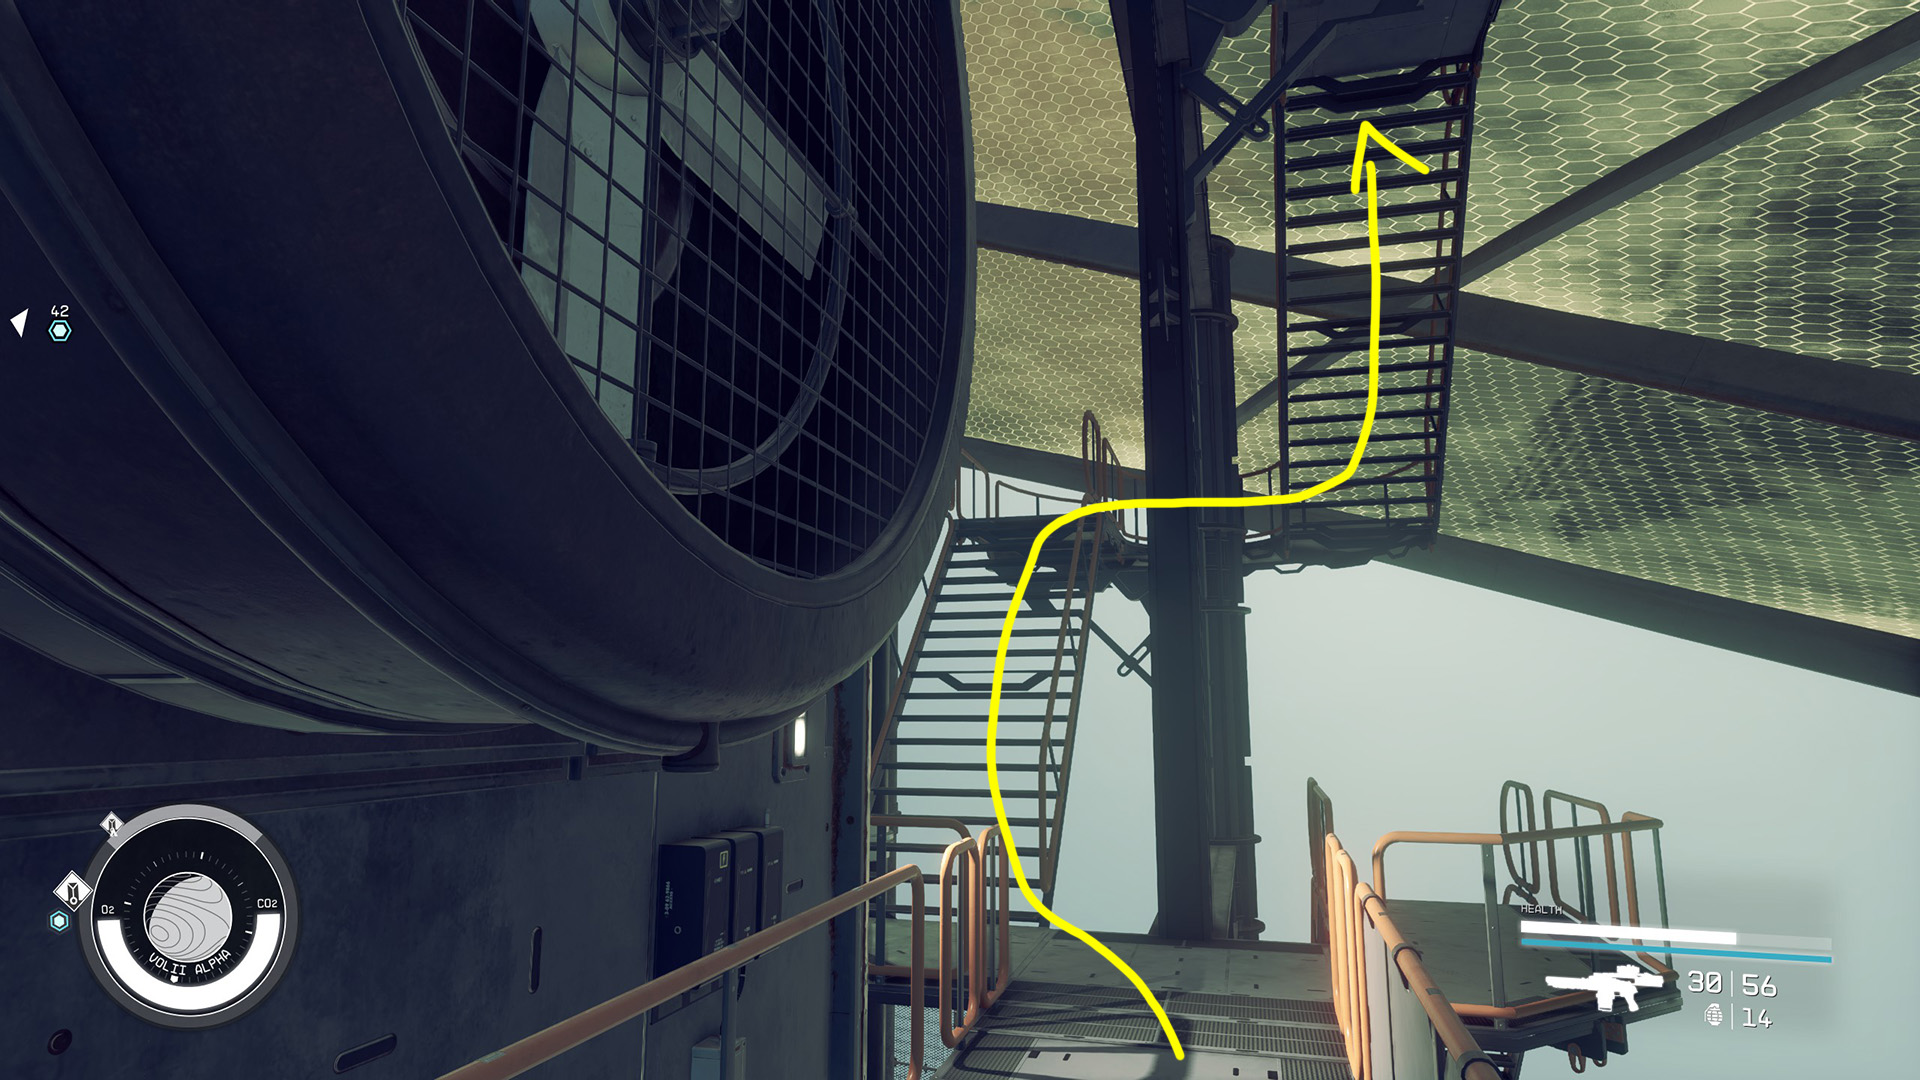
If you choose to use the vents, there’s a large door directly to the right of the elevator that will let you access them (Image 27). Follow the path around and over the elevators you just arrived on. Continue around and drop down through the trapdoor where Issa tells you to (Image 28). Follow this hallway to the end, and climb up through another trapdoor. There are a couple xenogrubs up here – kill them quietly to avoid drawing attention. If you’re seen or heard at any time, you’ll have to fight your way through instead. You don’t need to sneak, though – just avoid being in anyone’s line of sight.
Image 27Image 28
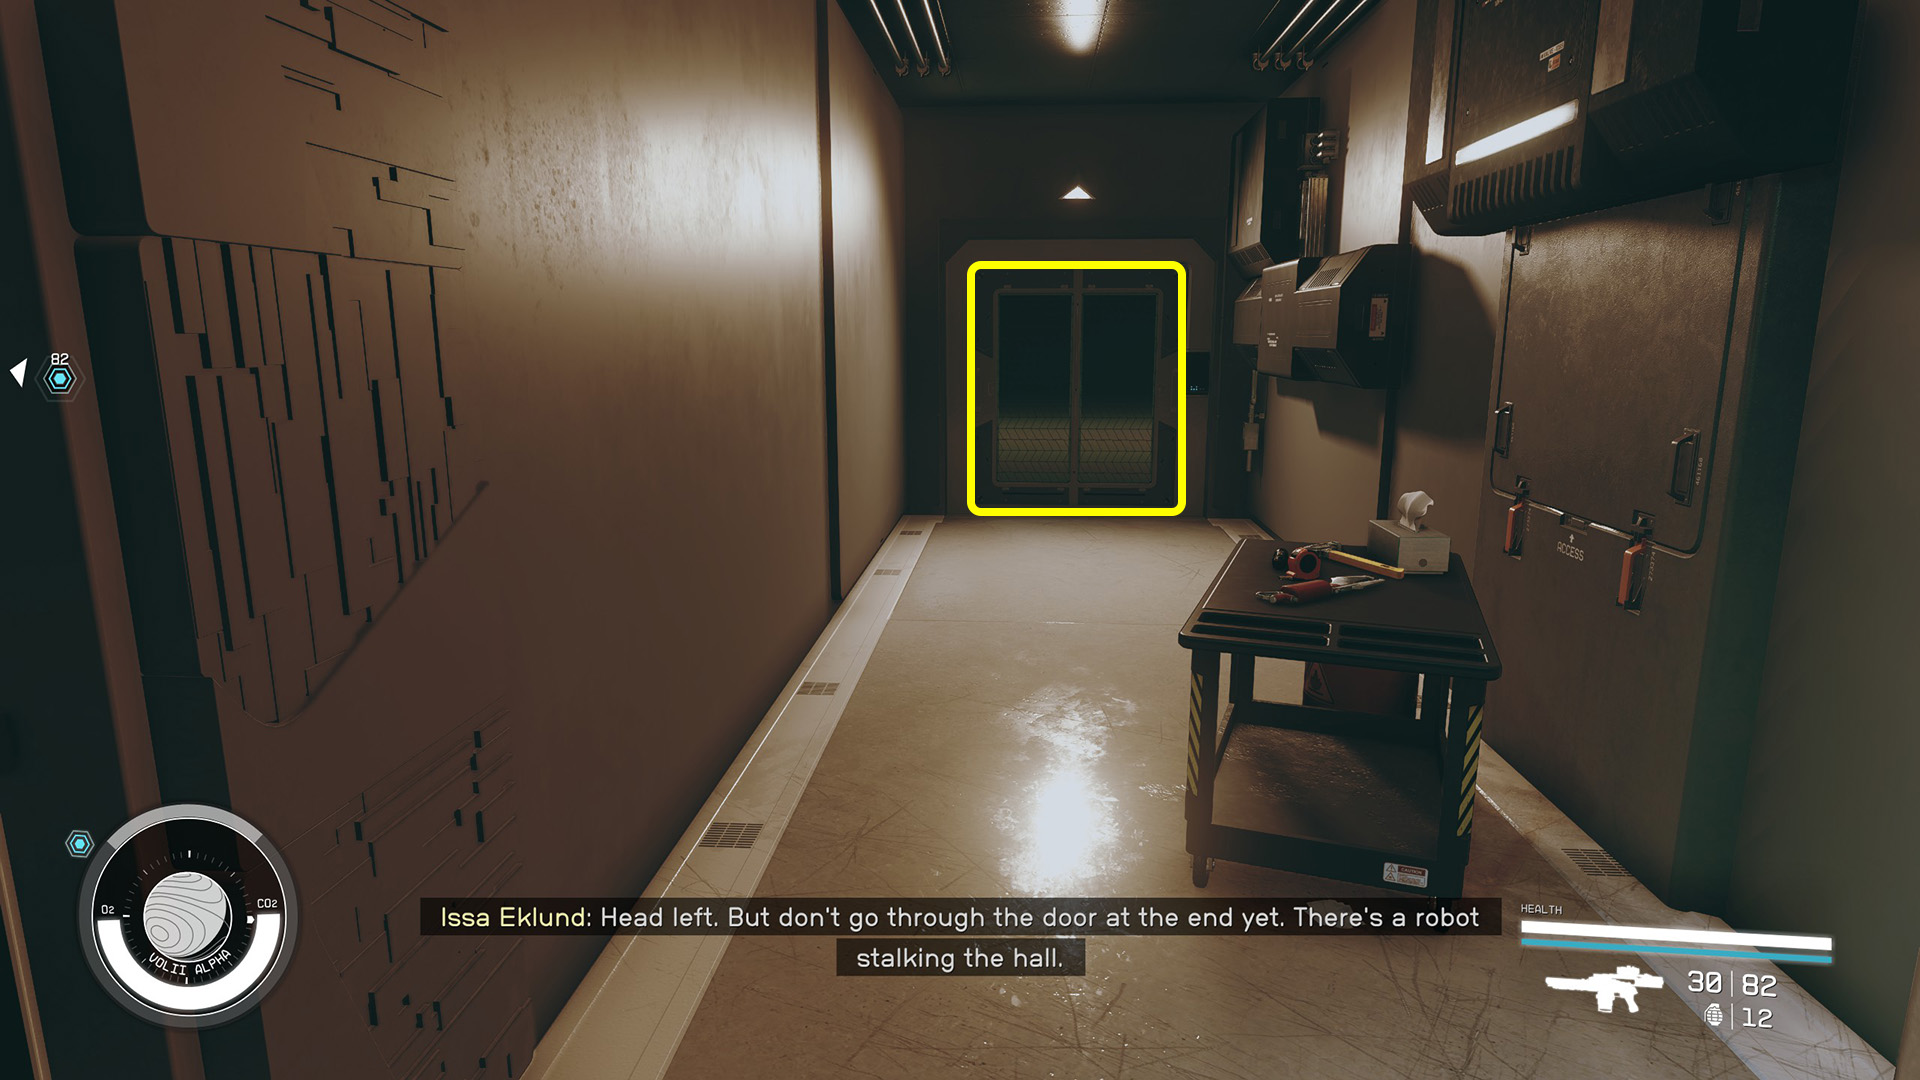
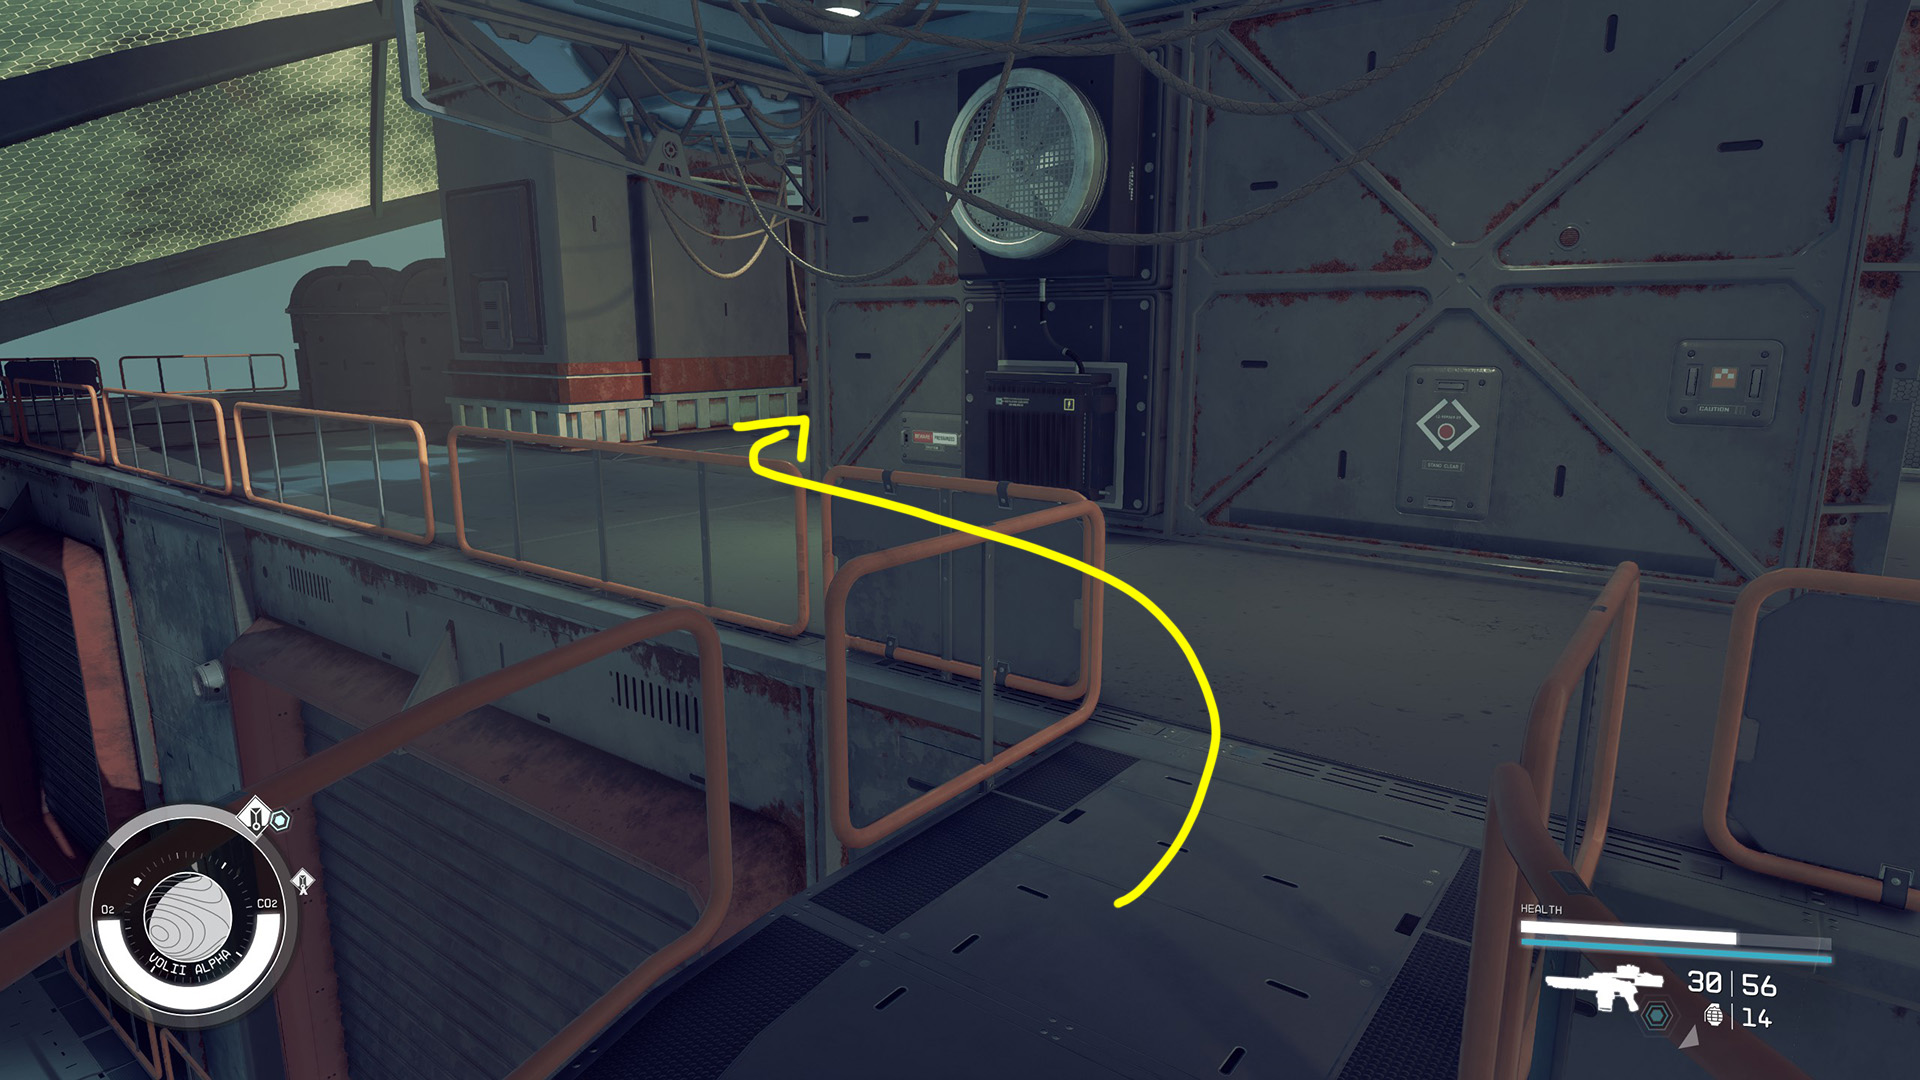
When you get to another trapdoor, drop down (Image 29). Issa will open the door on your right (Image 30). Walk through it and turn left, then wait for her to tell you it’s safe to go through the door (Image 31). Cross the hallway and enter the opposite door.
Image 29Image 30Image 31
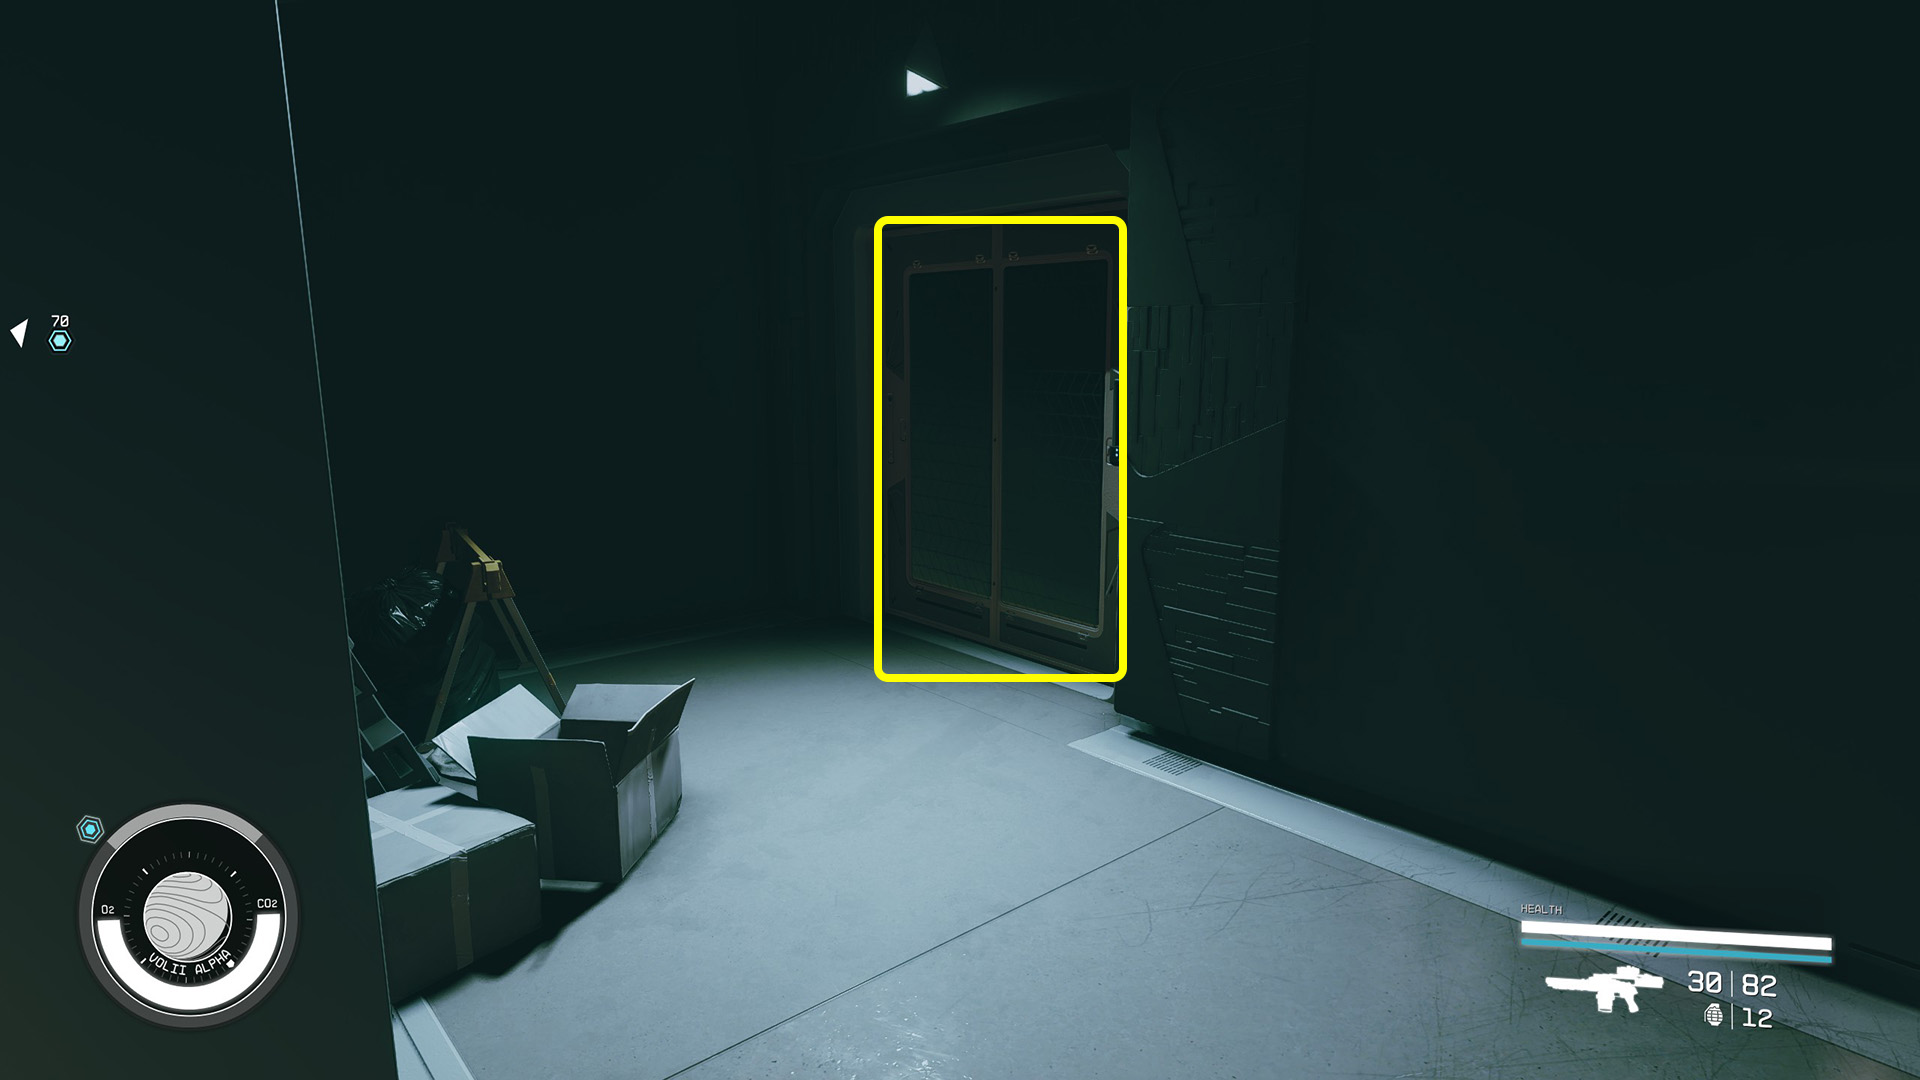
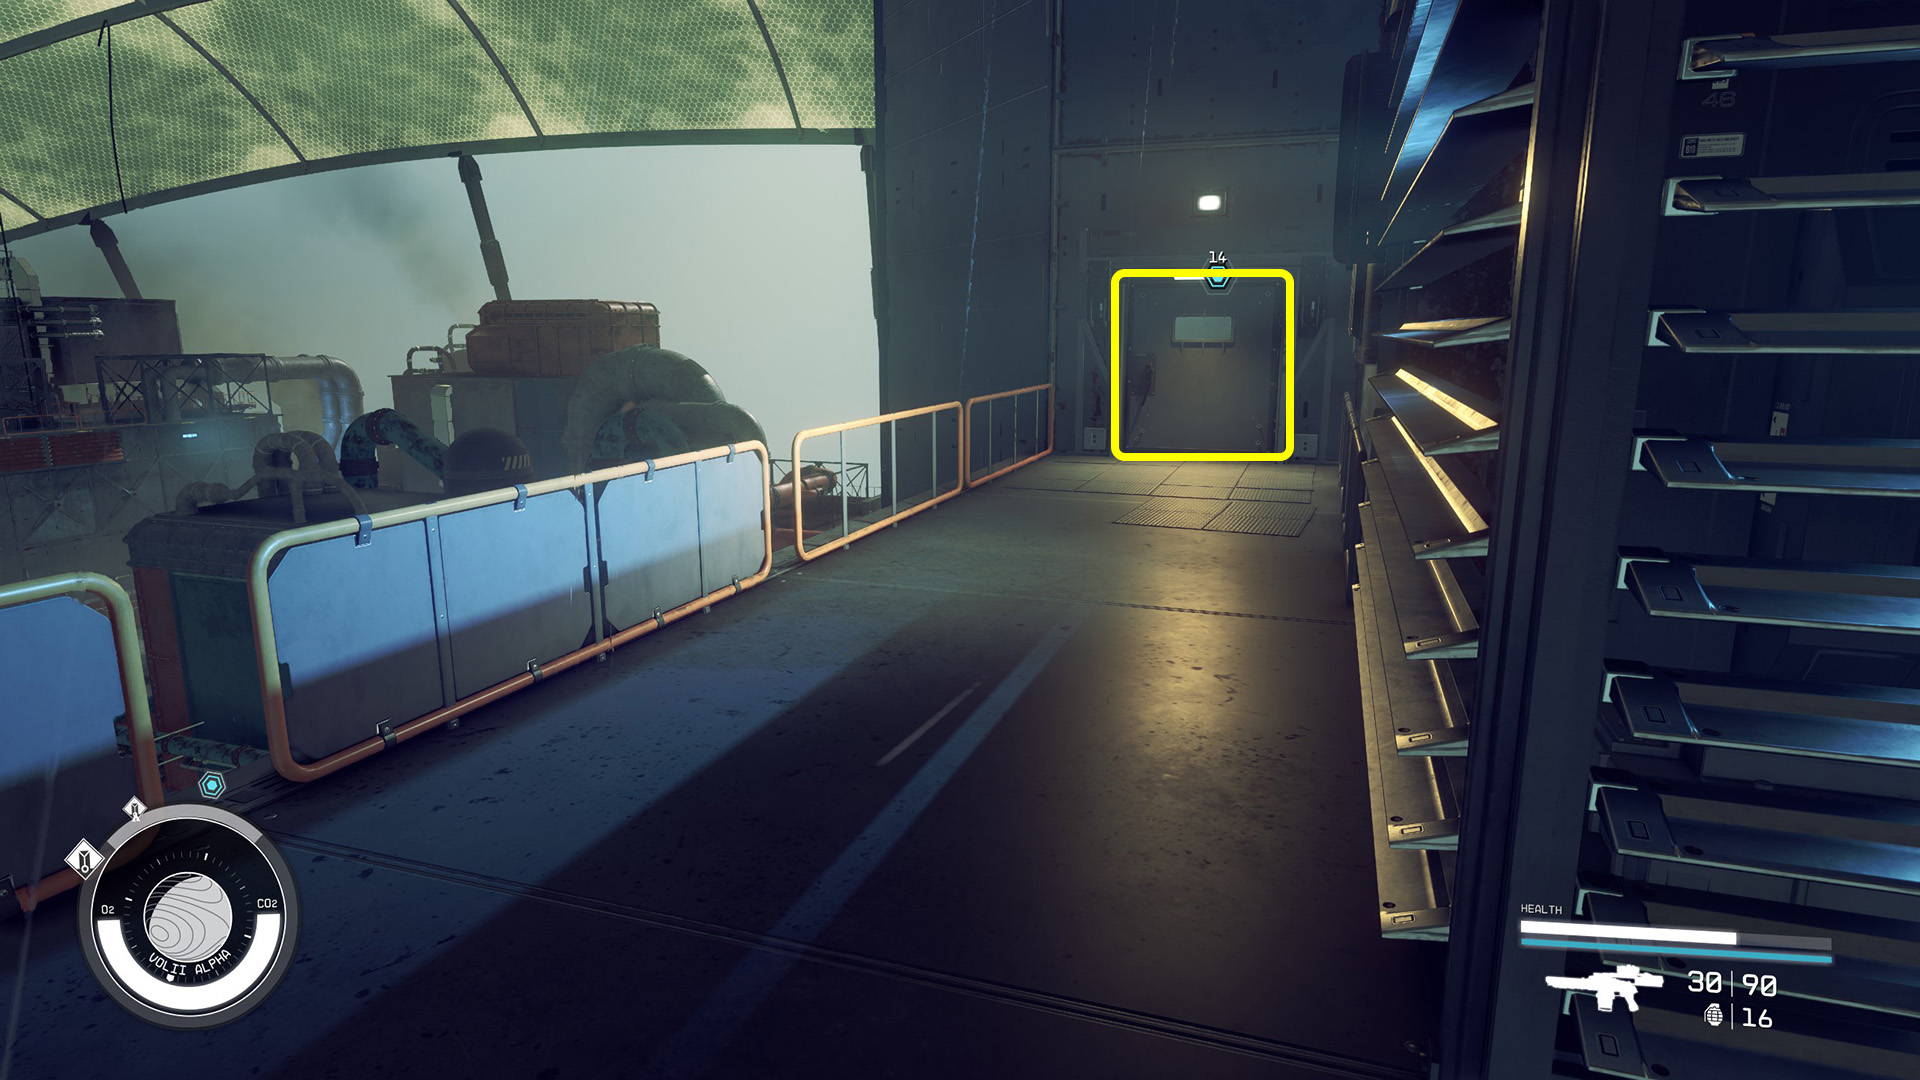
Head all the way to the end of the hallway (Image 32). Go through the last door (Image 33) and down the next hallway (Image 34), but stop before you turn the corner.
Image 32Image 33Image 34
Wait for Issa to tell you to go, then run across the hall. She’ll open the first door on the right as you approach (Image 35). You’ll find yourself in another ventilation chamber. Jump up and open the hatch in the ceiling and jump up inside (Image 36). There will be another open hatch right next to it where you can jump down. There will only be one operable door in this room, and it’s to your right. Head through it. Then cross the room and go through the windowless door (Image 37). Continue through the door at the other end of the room, which takes you outside the building. You won’t be able to sneak past the guards anymore from here on, so jump ahead to the “Climb the Trade Tower” section.
Image 35Image 36Image 37
Option 2: Fight Your Way Through
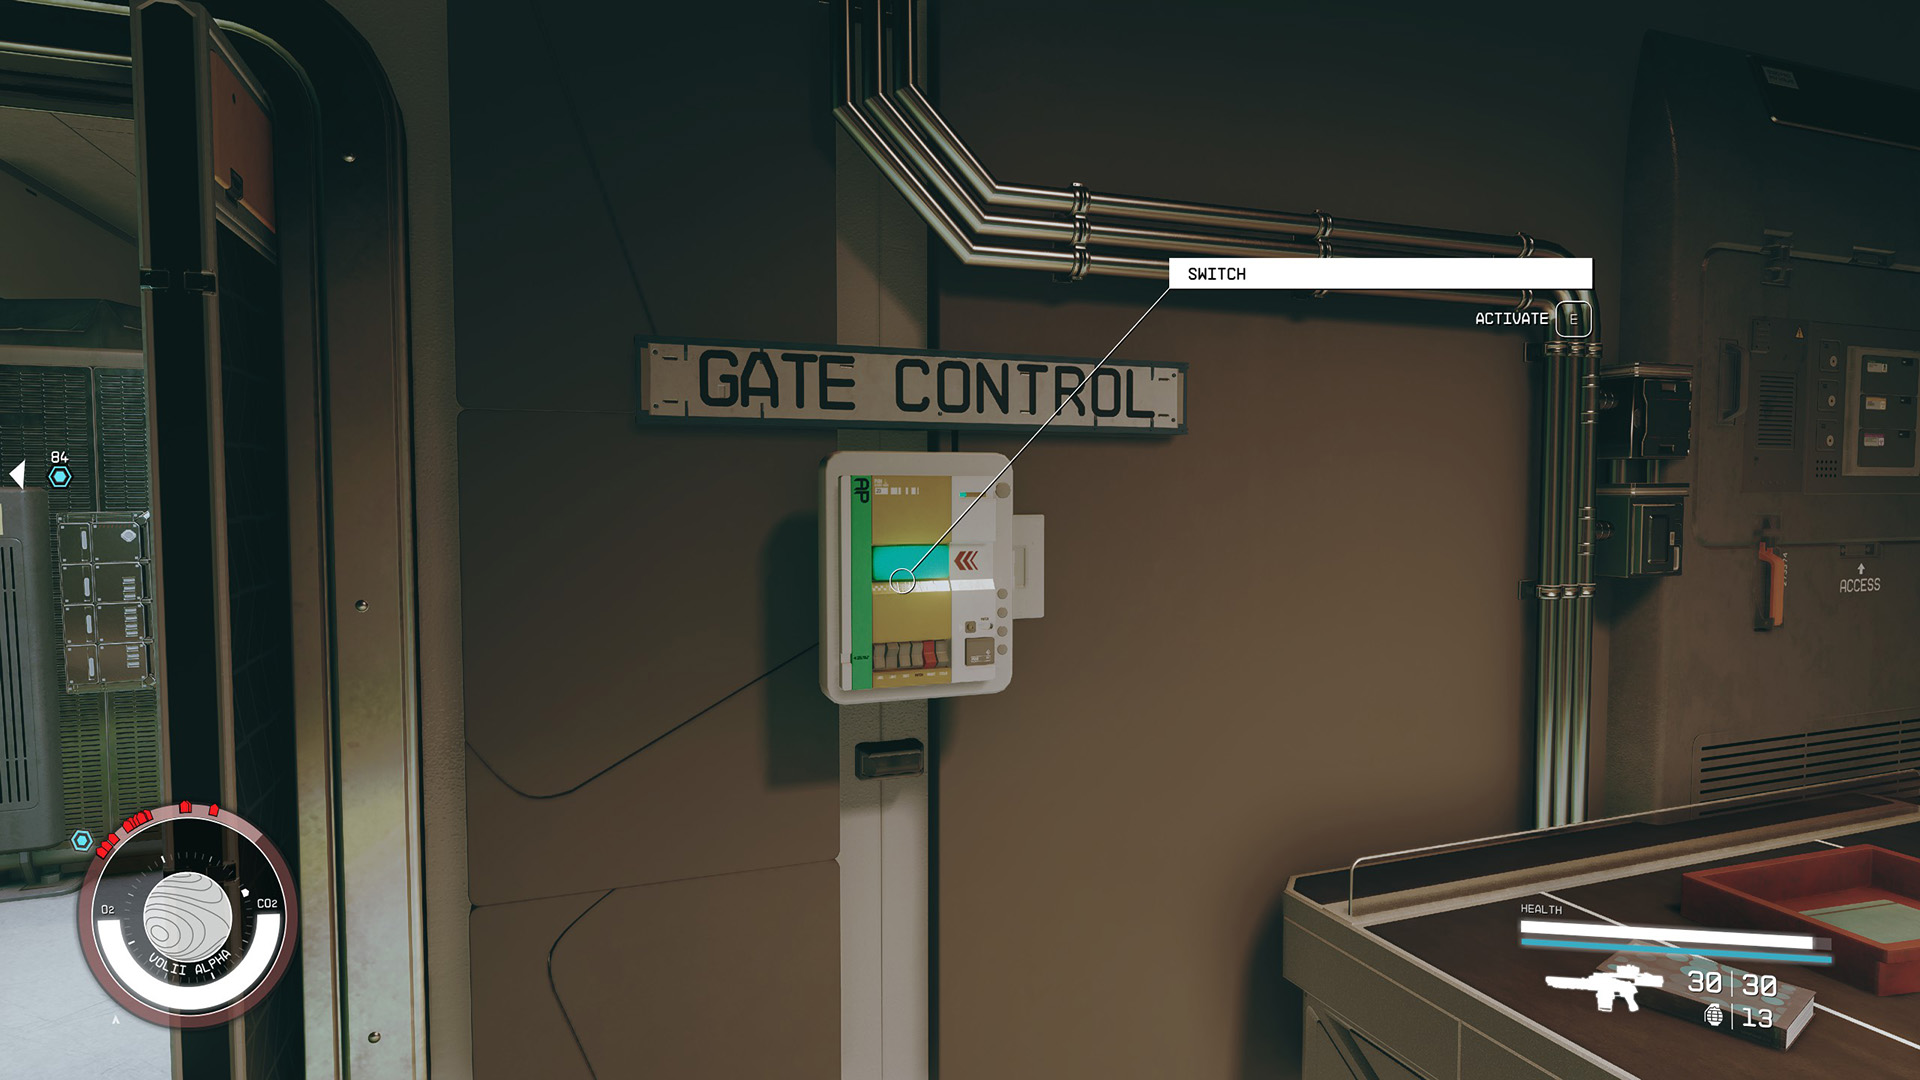
Take a left out of the elevator and go through the door into the security office (Image 38). You’ll find two Slayton Security guards inside. Take them down and use the Gate Control switch on the wall to open the large gate in the hallway (Image 39). You can go through the door next to the Gate Control and rummage around for loot, but note that it’s all considered stealing. When you’re done, head back out and down the large hallway that you opened up (Image 40). You’ll encounter some more guards and a Robot Model S.
Image 38Image 39Image 40
Feel free to loot the two side rooms. Continue to the end of the hallway and you’ll encounter more guards and another robot. Take a left, then turn the corner (Image 41) and continue to the intersection. You’ll fight a lot more guards and another robot. There will also be Slayton Employees around, and some of them may be hostile, but most will just mill about or run away. Loot the rooms if you want. There are some locked doors you can unlock, but they don’t lead to much.
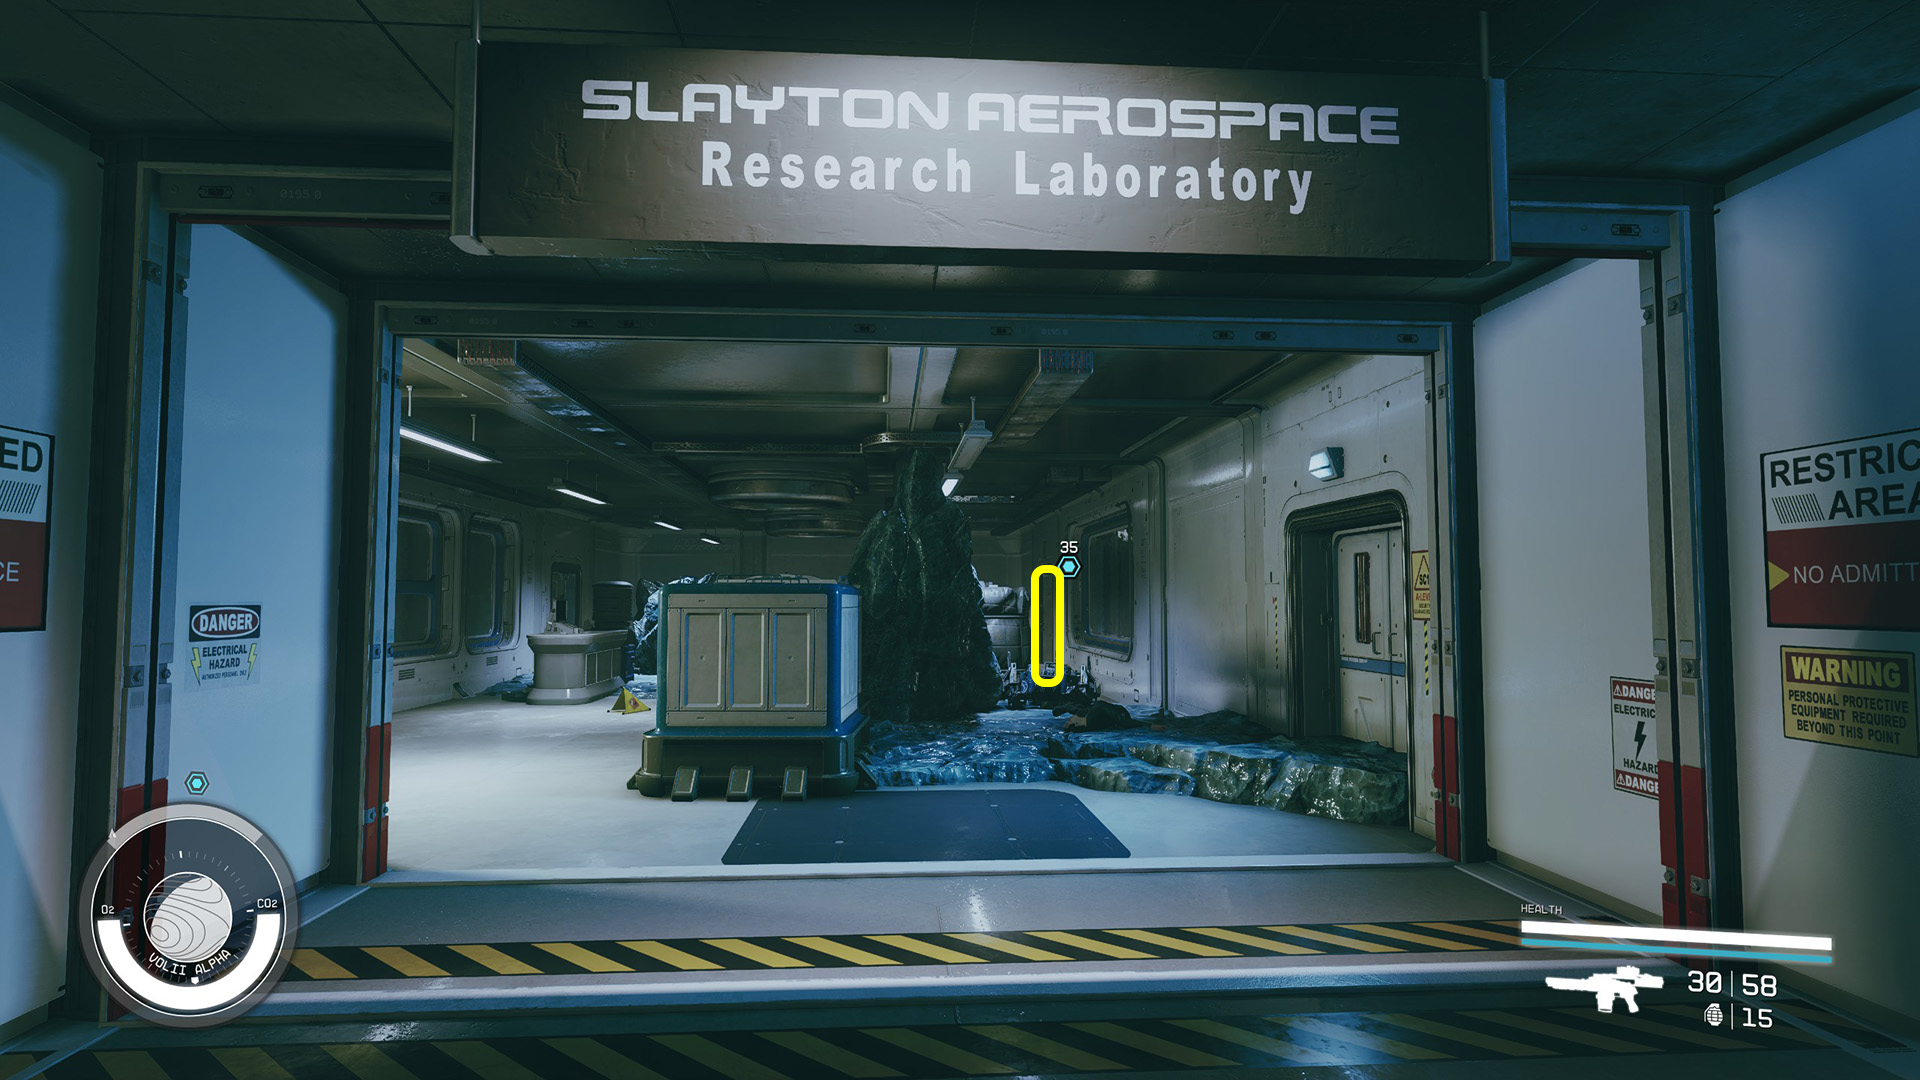
When you’ve cleared the area, enter the large room with the ice on the floor under the “Slayton Aerospace Research Laboratory” sign and go through the far right door (Image 42). You can loot this room and the one attached to it, then return here and go through the door on the other wall (Image 43). This will lead you to a door that takes you outside the building.
Image 41Image 42Image 43
Climb the Trade Tower
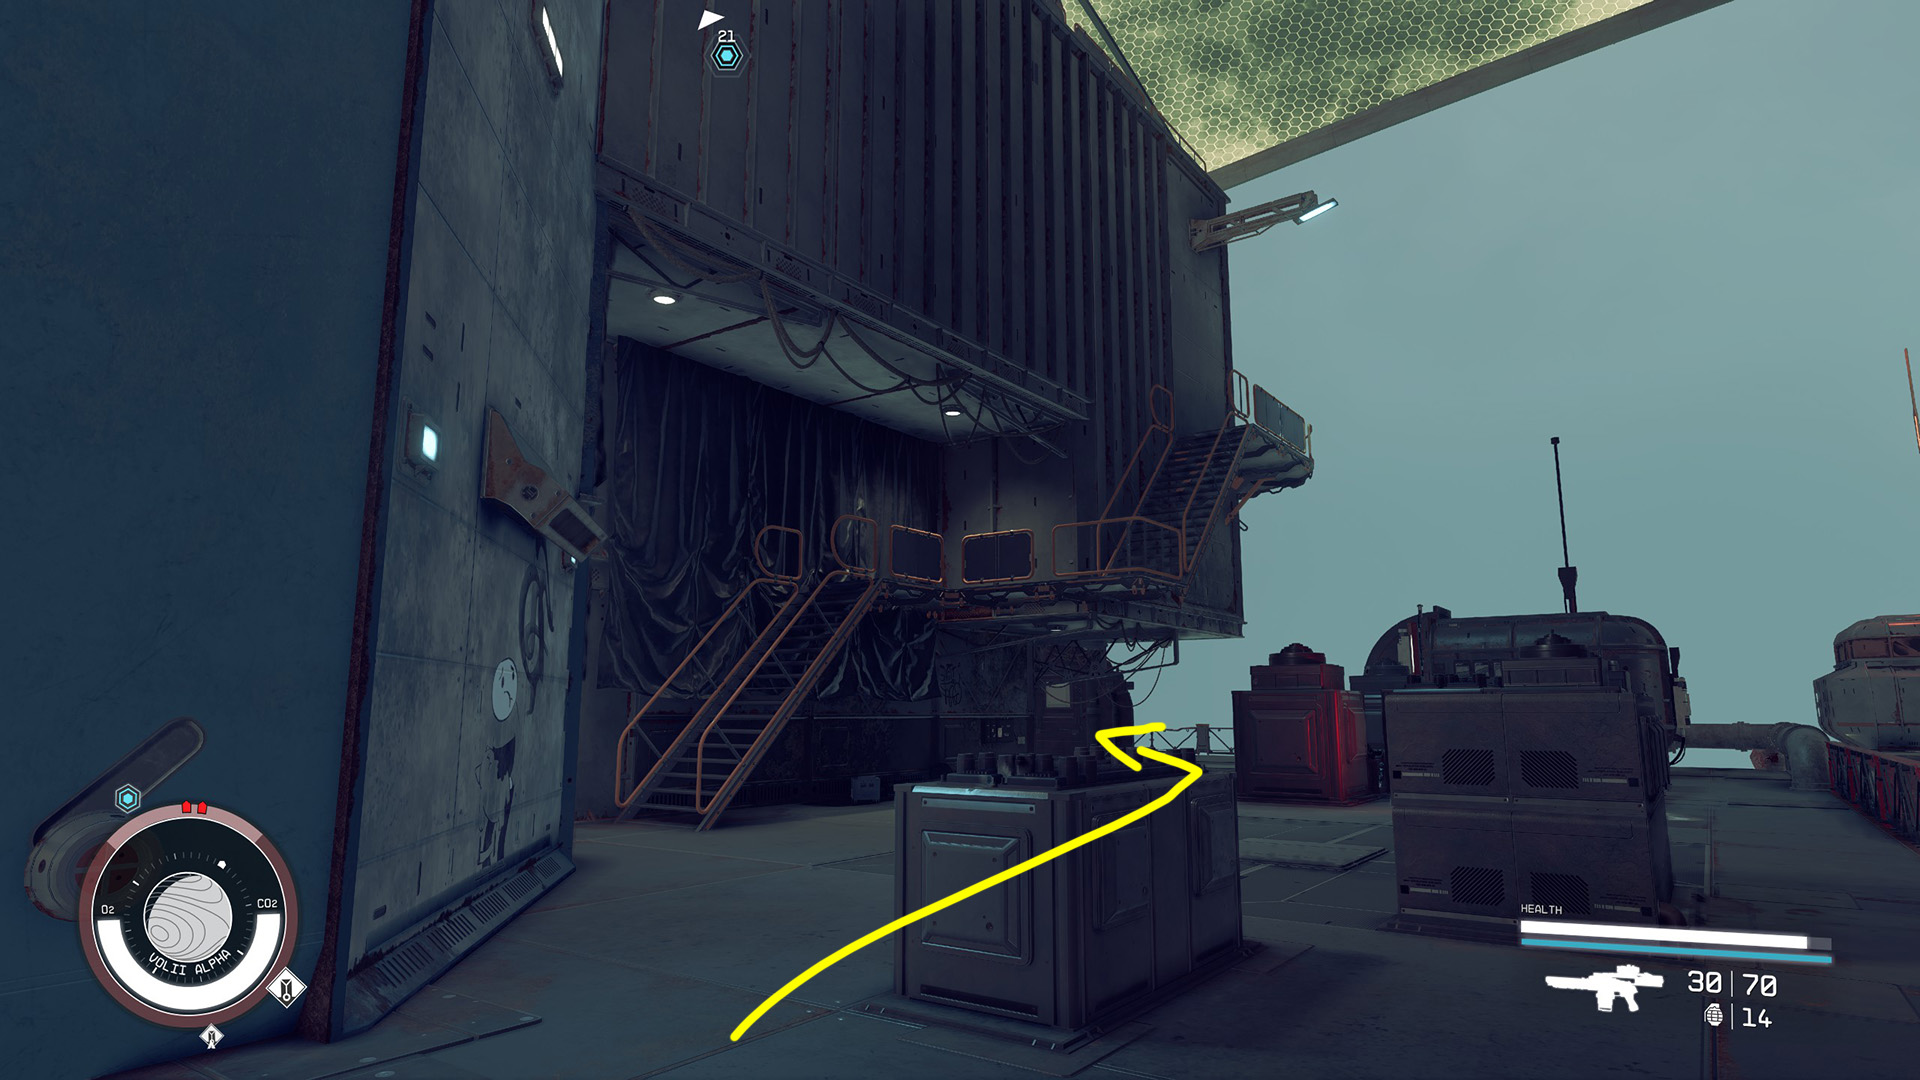
The roof is a large area, and you can parkour and boost pack around it if you want to explore, but there isn’t much to see. Head around the corner (Image 44) and you’ll have to fend off some Slayton Security guards. Follow the walkway all the way around the structure to your left (Image 45) and go up the stairs (Image 46).
Image 44Image 45Image 46
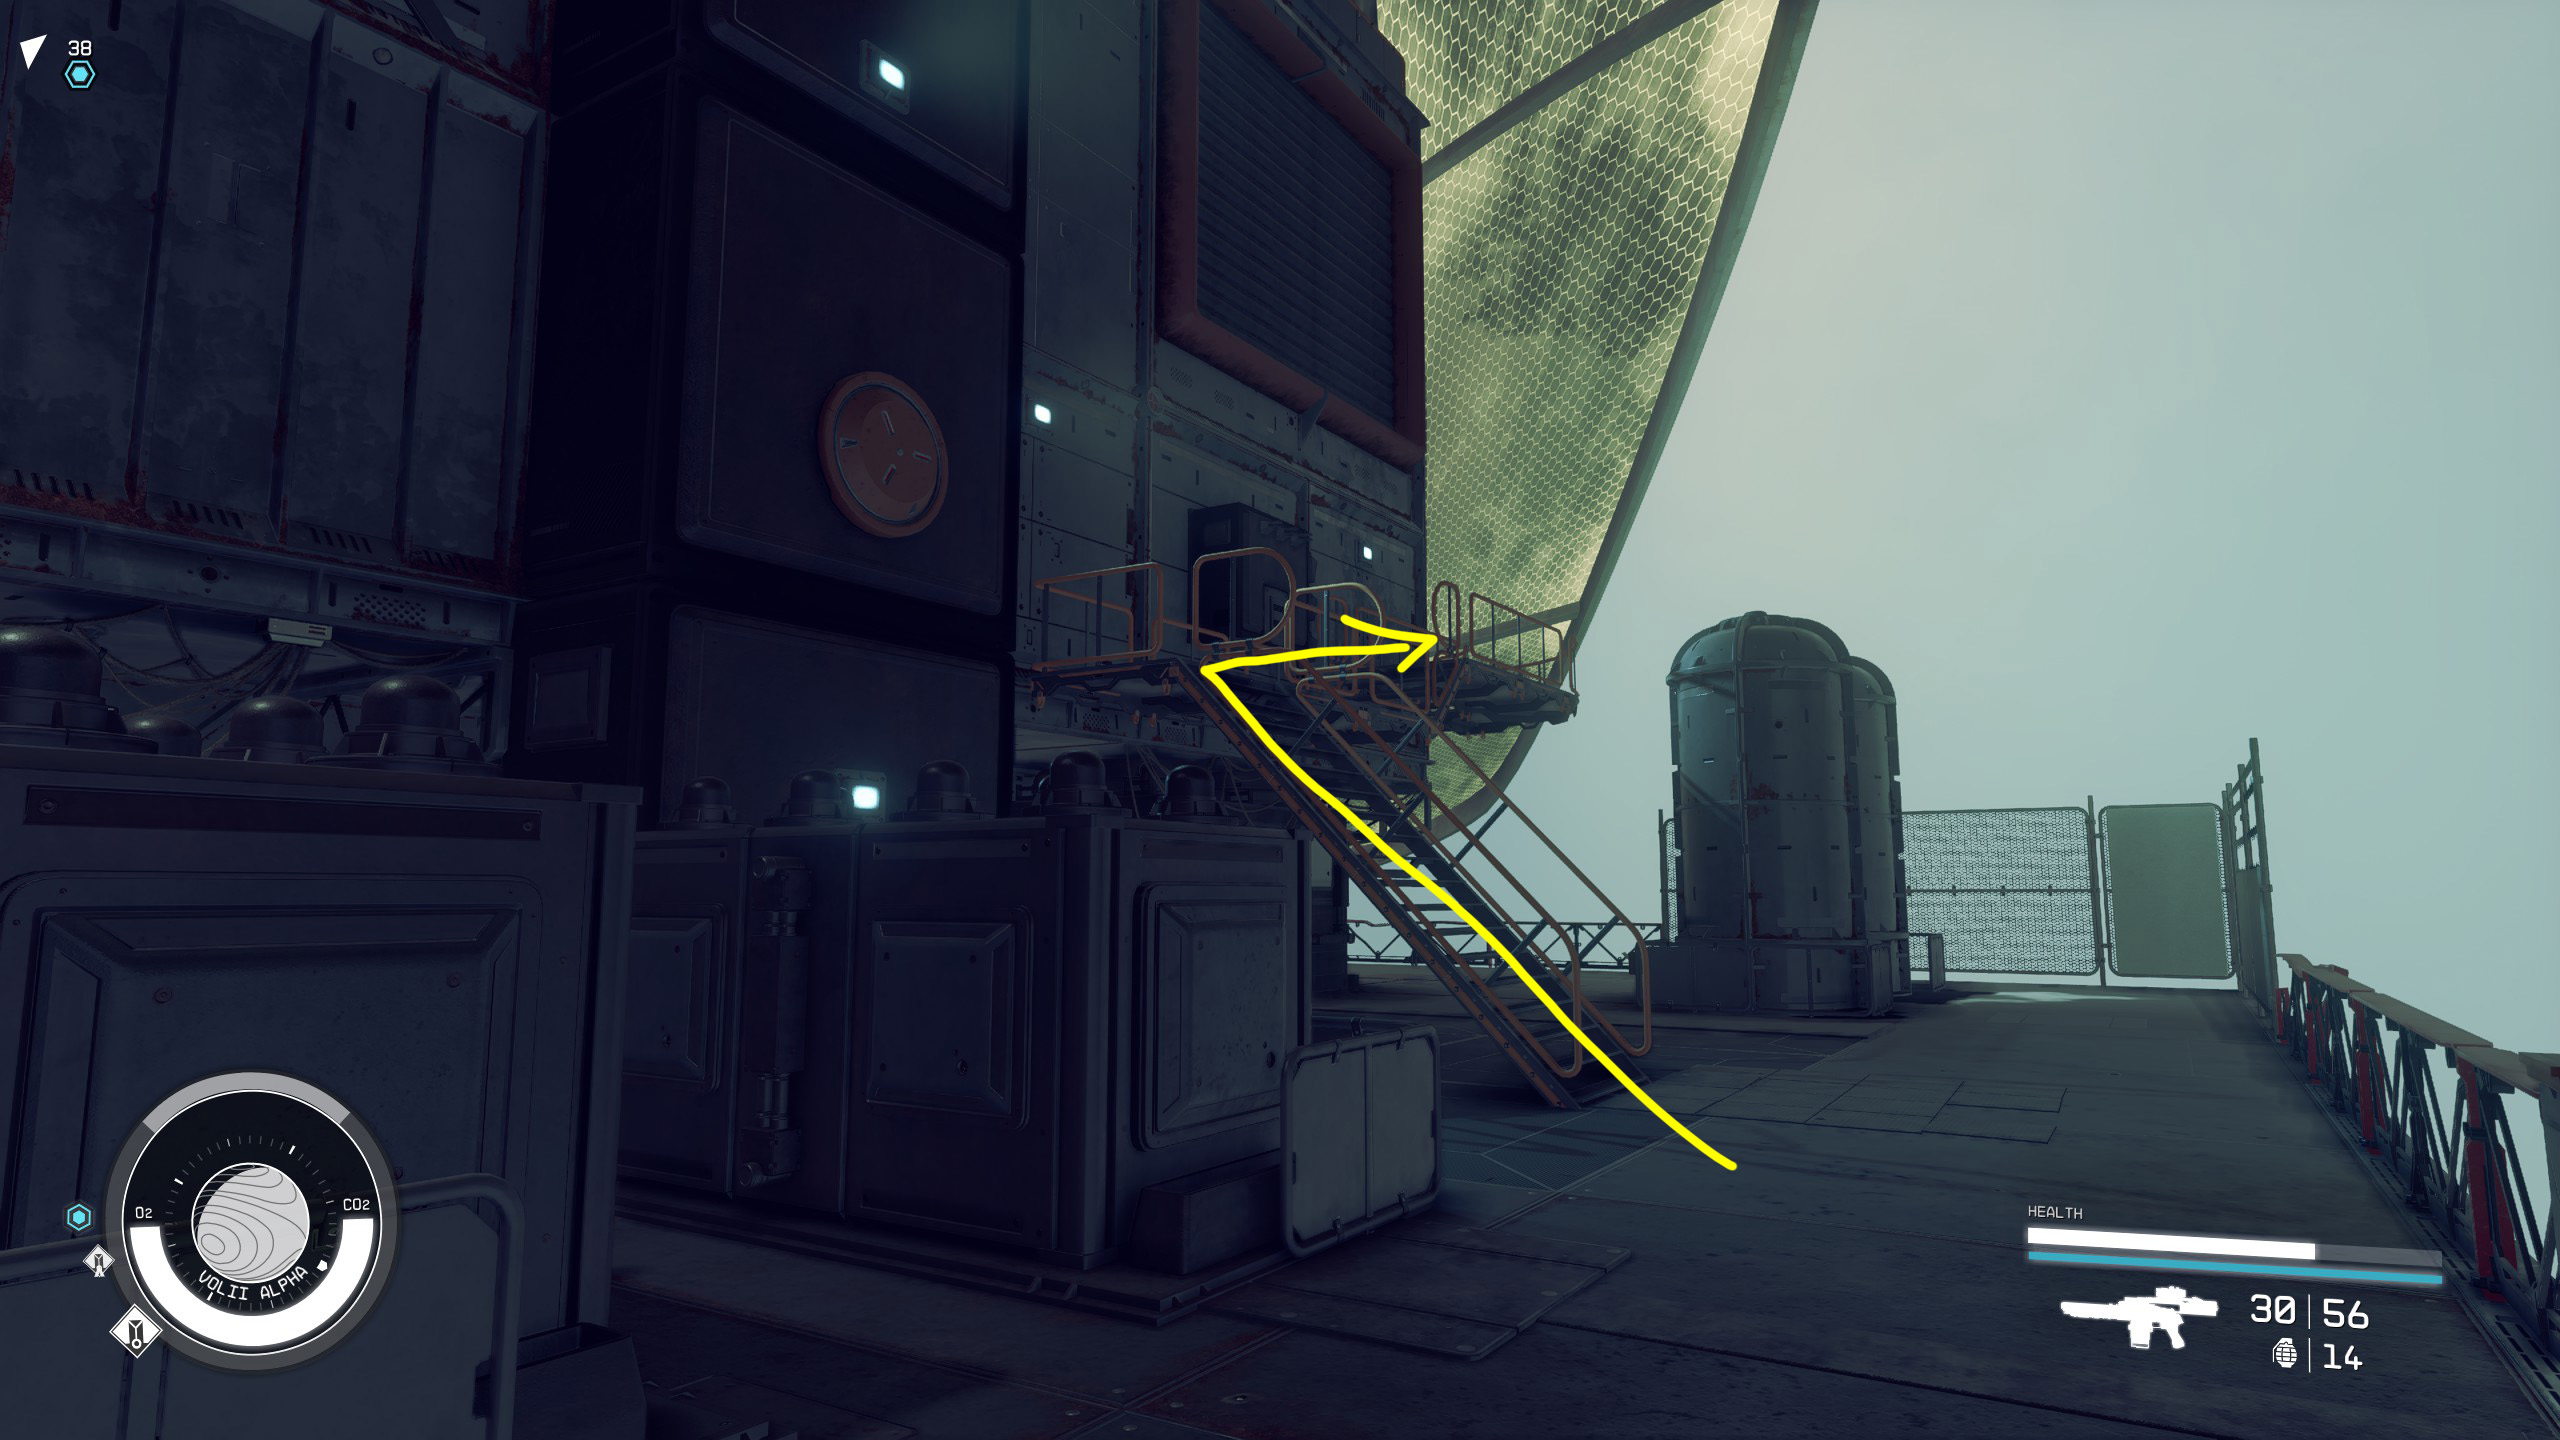
Continue all the way up the staircase (Image 47). At the top, go around the structure (Image 48) and enter the Slayton Aerospace door on the other side (Image 49).
Image 47Image 48Image 49
Back inside the building, go down the stairs and Issa will call an elevator so you can cross the open elevator shaft at the end of the hall. Prepare yourself before you jump across, because you’ll immediately be put in dialogue with Nicolaus Slayton and you may be in for a fight, depending on the options you choose.
Confront Nicolaus Slayton
You’ll have two options for dealing with Nicolaus Slayton: you can choose to [Attack] immediately, which will put you in combat, or you can work out a deal between Slayton and Stroud-Eklund.
If you [Attack], Nicolaus, his bodyguards, and all of the other Slayton forces in the area will immediately become hostile, shooting down at you from the balconies above. You’ll want to quickly duck into the door on your left (Image 50) so you’re not a fish in a barrel. Fight your way through this room and the next and head up the stairs to take care of the people on the balcony.
Image 50
If you want to avoid a fight, you can say “Call off your guards, Slayton. And release my ship.” Then choose either of the top two options. He’ll agree that a deal with Stroud-Eklund would be in his interests, but he’ll say he wants you to deal with Musgrove first. If you say “Clearly you want him dead,” any Constellation companion you have with you will dislike it. They will like either of the first two options.
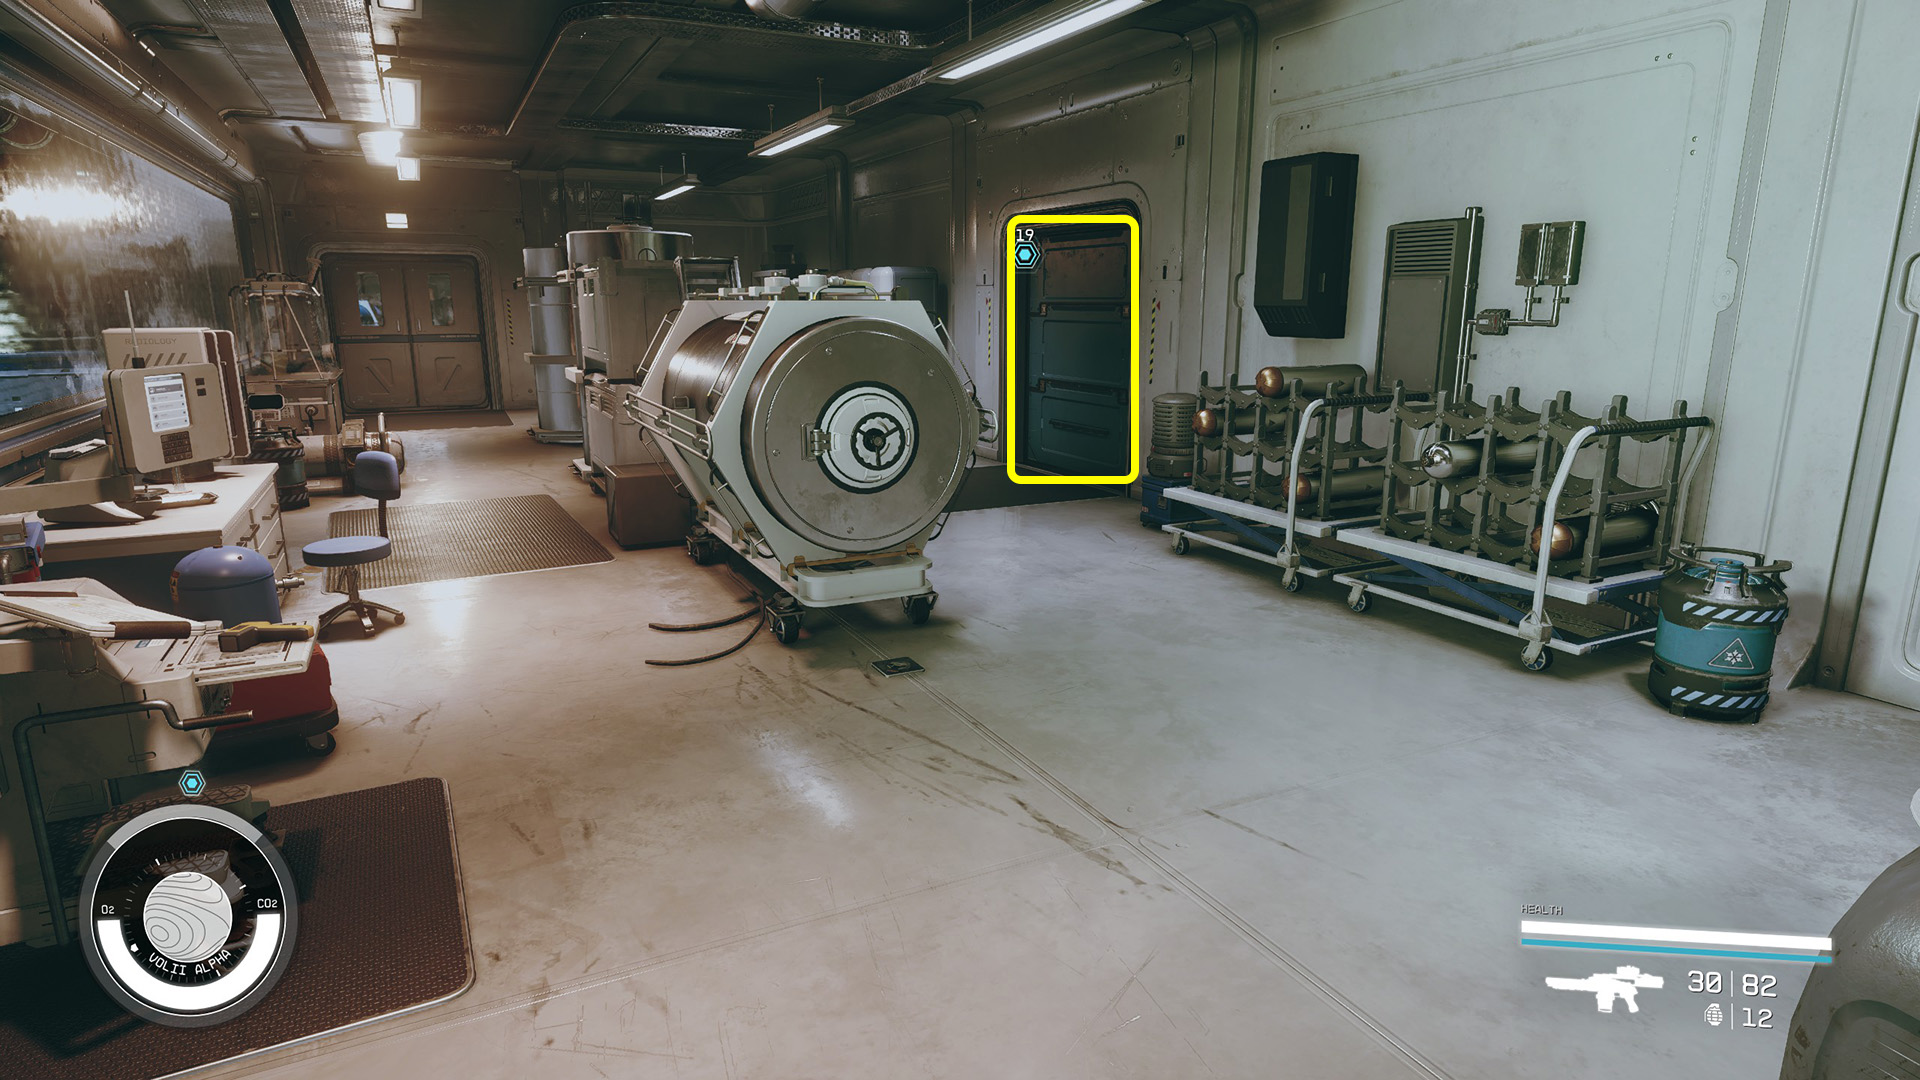
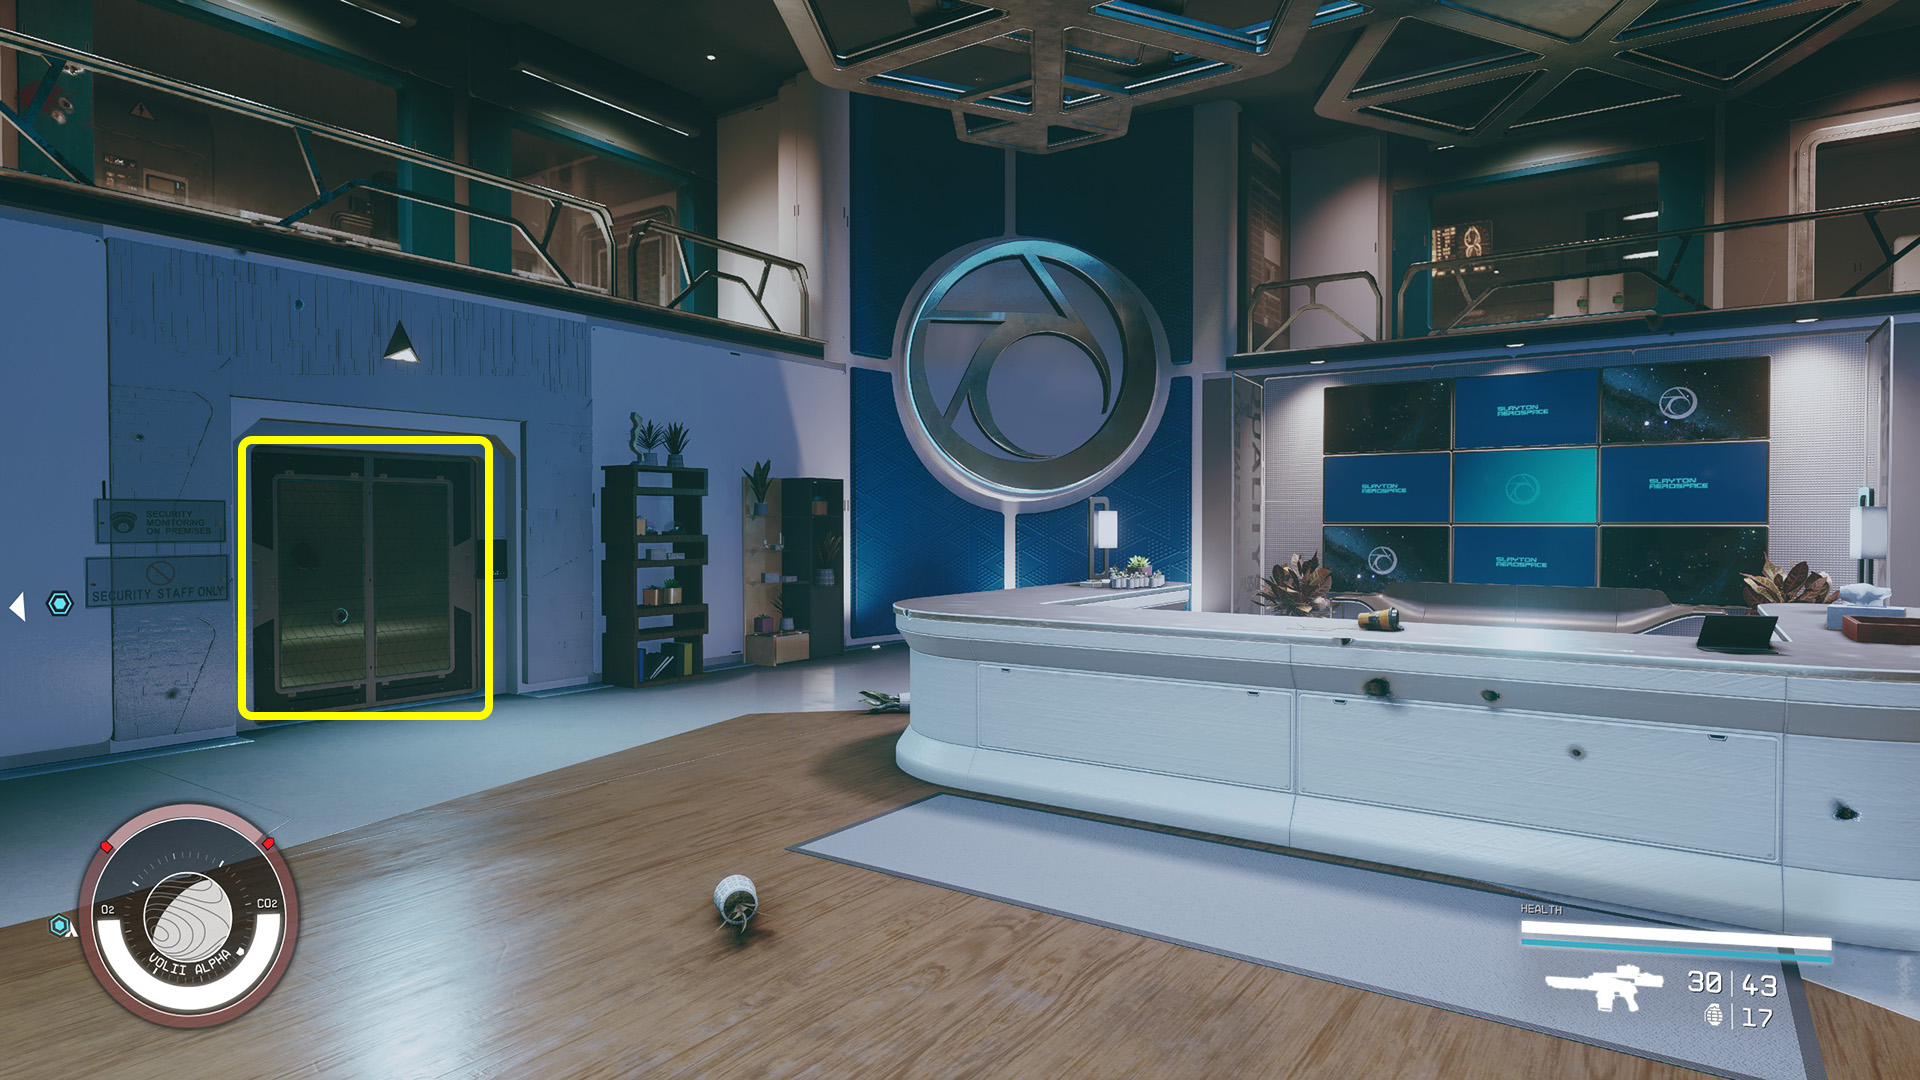
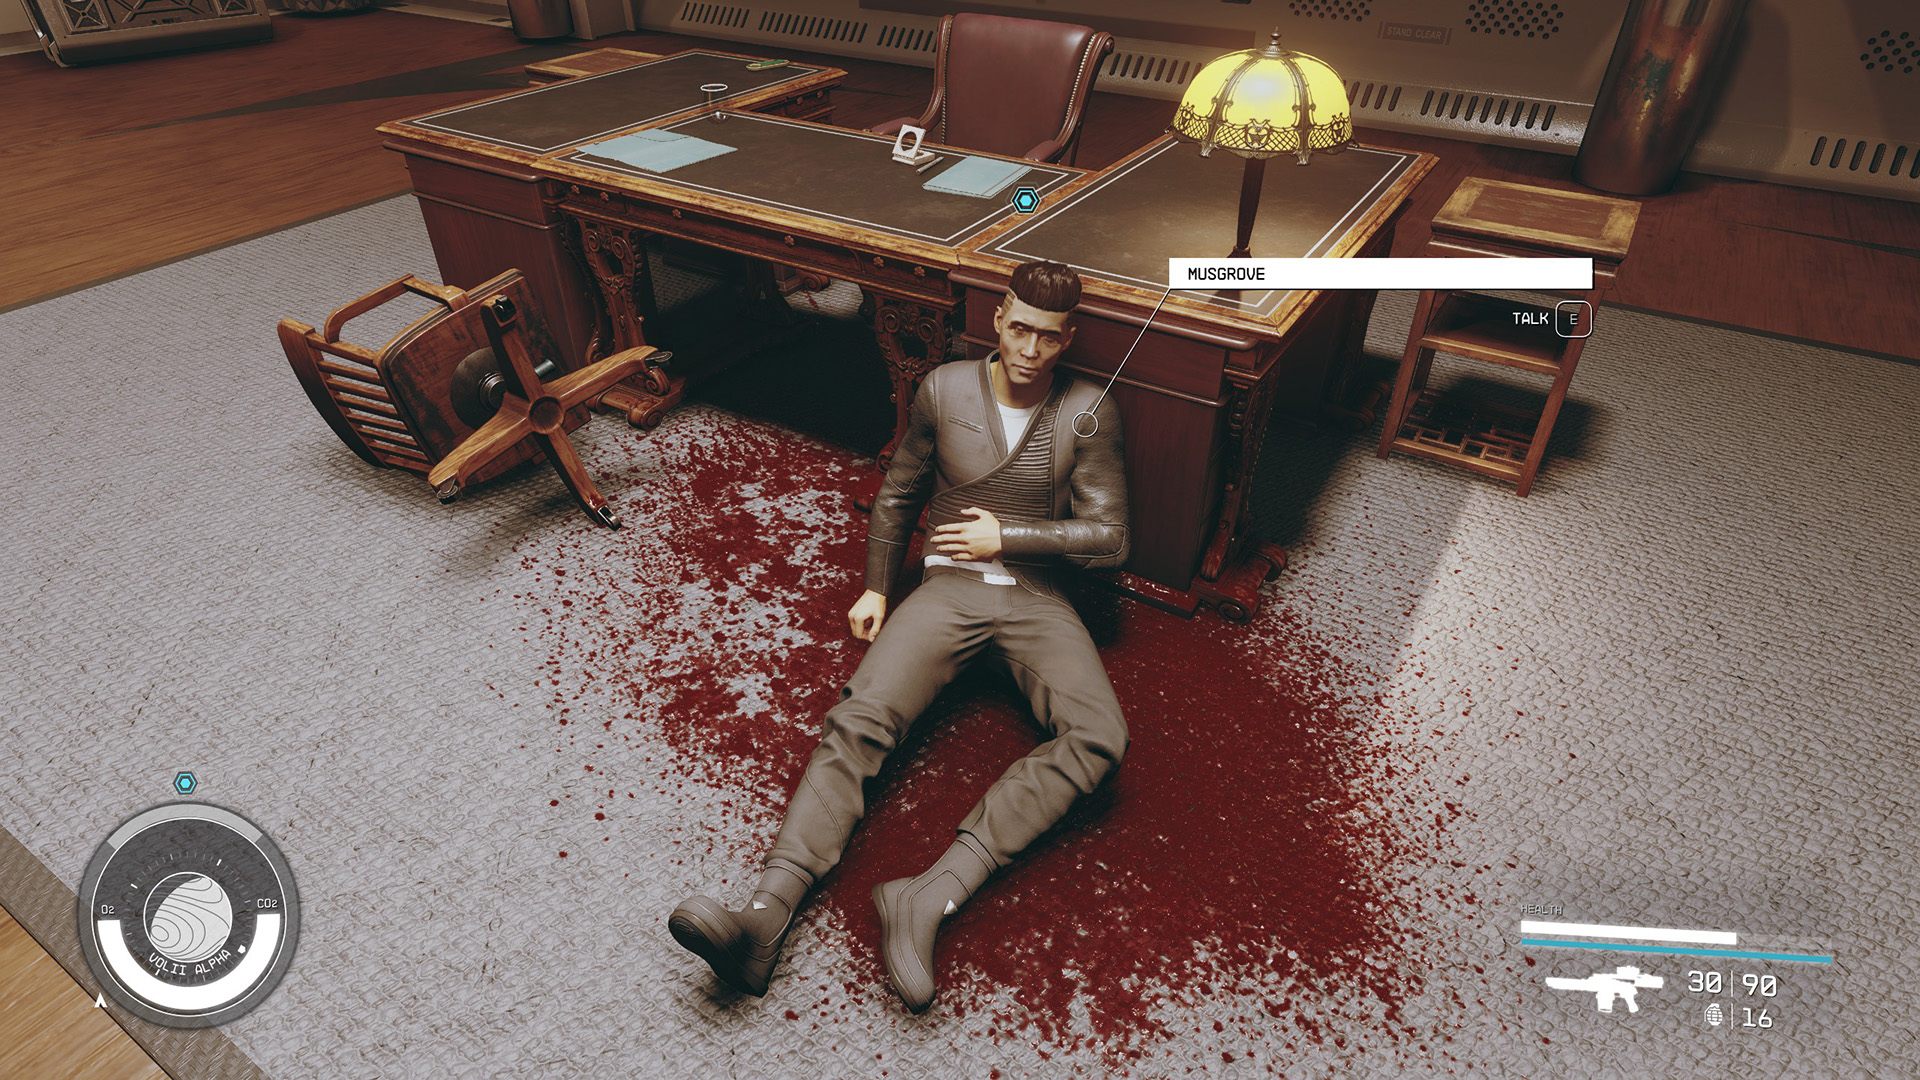
After you handle Nicolaus, enter the door in the back of the main room (Image 51), and you’ll find Musgrove bleeding on the floor (Image 52). You can choose whether to let him go, give him over to the authorities, or kill him.
Image 51Image 52
Before you leave, loot the Industrial Crate in the corner of the room – it isn’t considered stealing and it may contain some good loot. There’s also a locked Contraband Cache in the next room and plenty of good loot lying around in the security rooms, although it will be considered stealing to take any of it.
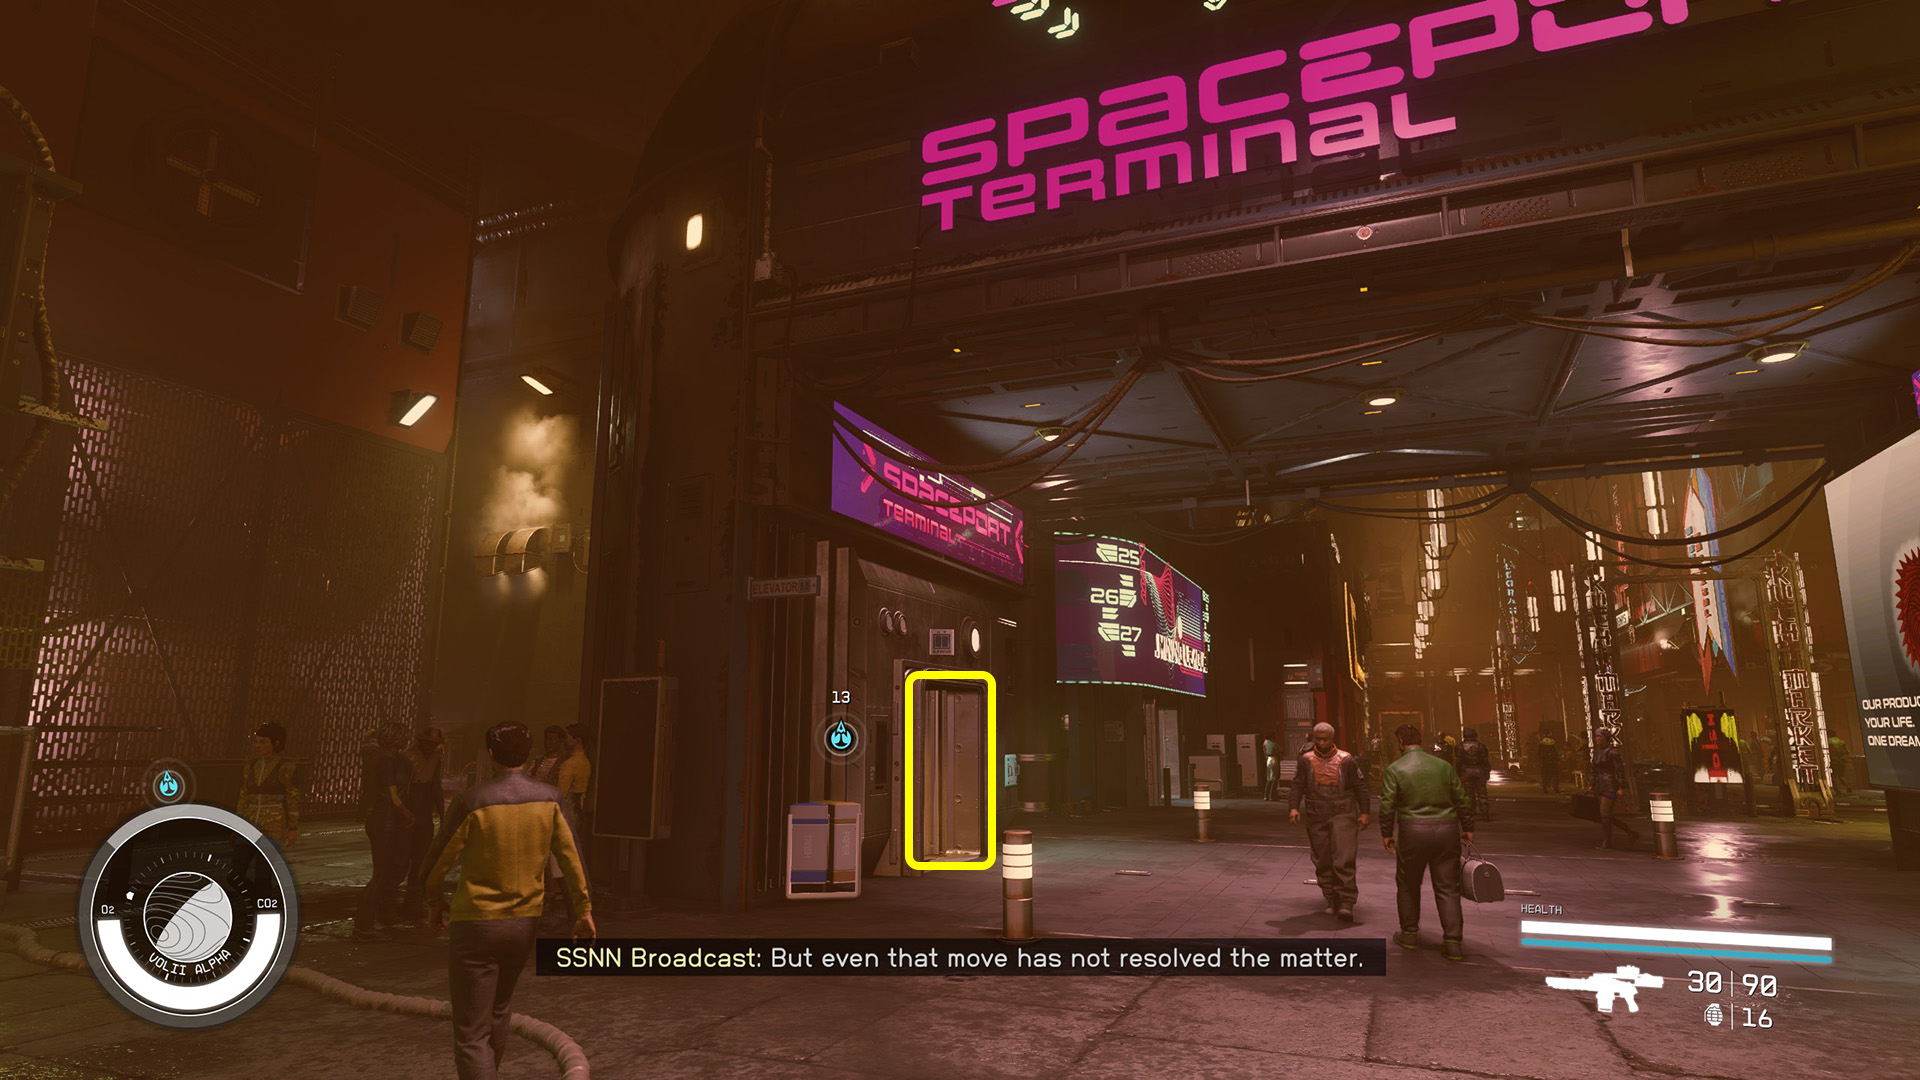
When you’re ready to leave, take the elevator to the Slayton Aerospace Lobby, then head through the lobby to the elevator that you first came in from. Choose Lobby to head down, then travel down the main thoroughfare back to the Spaceport Terminal elevator (Image 53).
Image 53
Take the elevator up, pass through security, and cross the bridge to board your ship. Sit in the pilot seat, and Walter will talk to you. Say what you want, and you’ll get your mission rewards, including the unique rifle Fiscal Quarter.
When you’re ready to move on, take off from the planet. You’ll be hailed by a strange ship called Helix. This will begin the mission Starborn, and you can go to that mission’s guide to continue from here.
I love RPGs, sandboxes, survival, and sim games. Anything that lets me build and decorate or just has a really good story. I've spent hundreds of hours in Bethesda games and even more time modding them. I also play a lot of World of Warcraft.