In this story mission walkthrough, we’ll guide you through negotiating a hostage situation in Akila City so that you and Sam Coe can access the bank and continue your search for the mysterious artifacts.
Shortly after you arrive in Akila City for the Constellation mission The Empty Nest, you’ll need to deal with a situation at the local GalBank branch that is preventing you from accessing it.
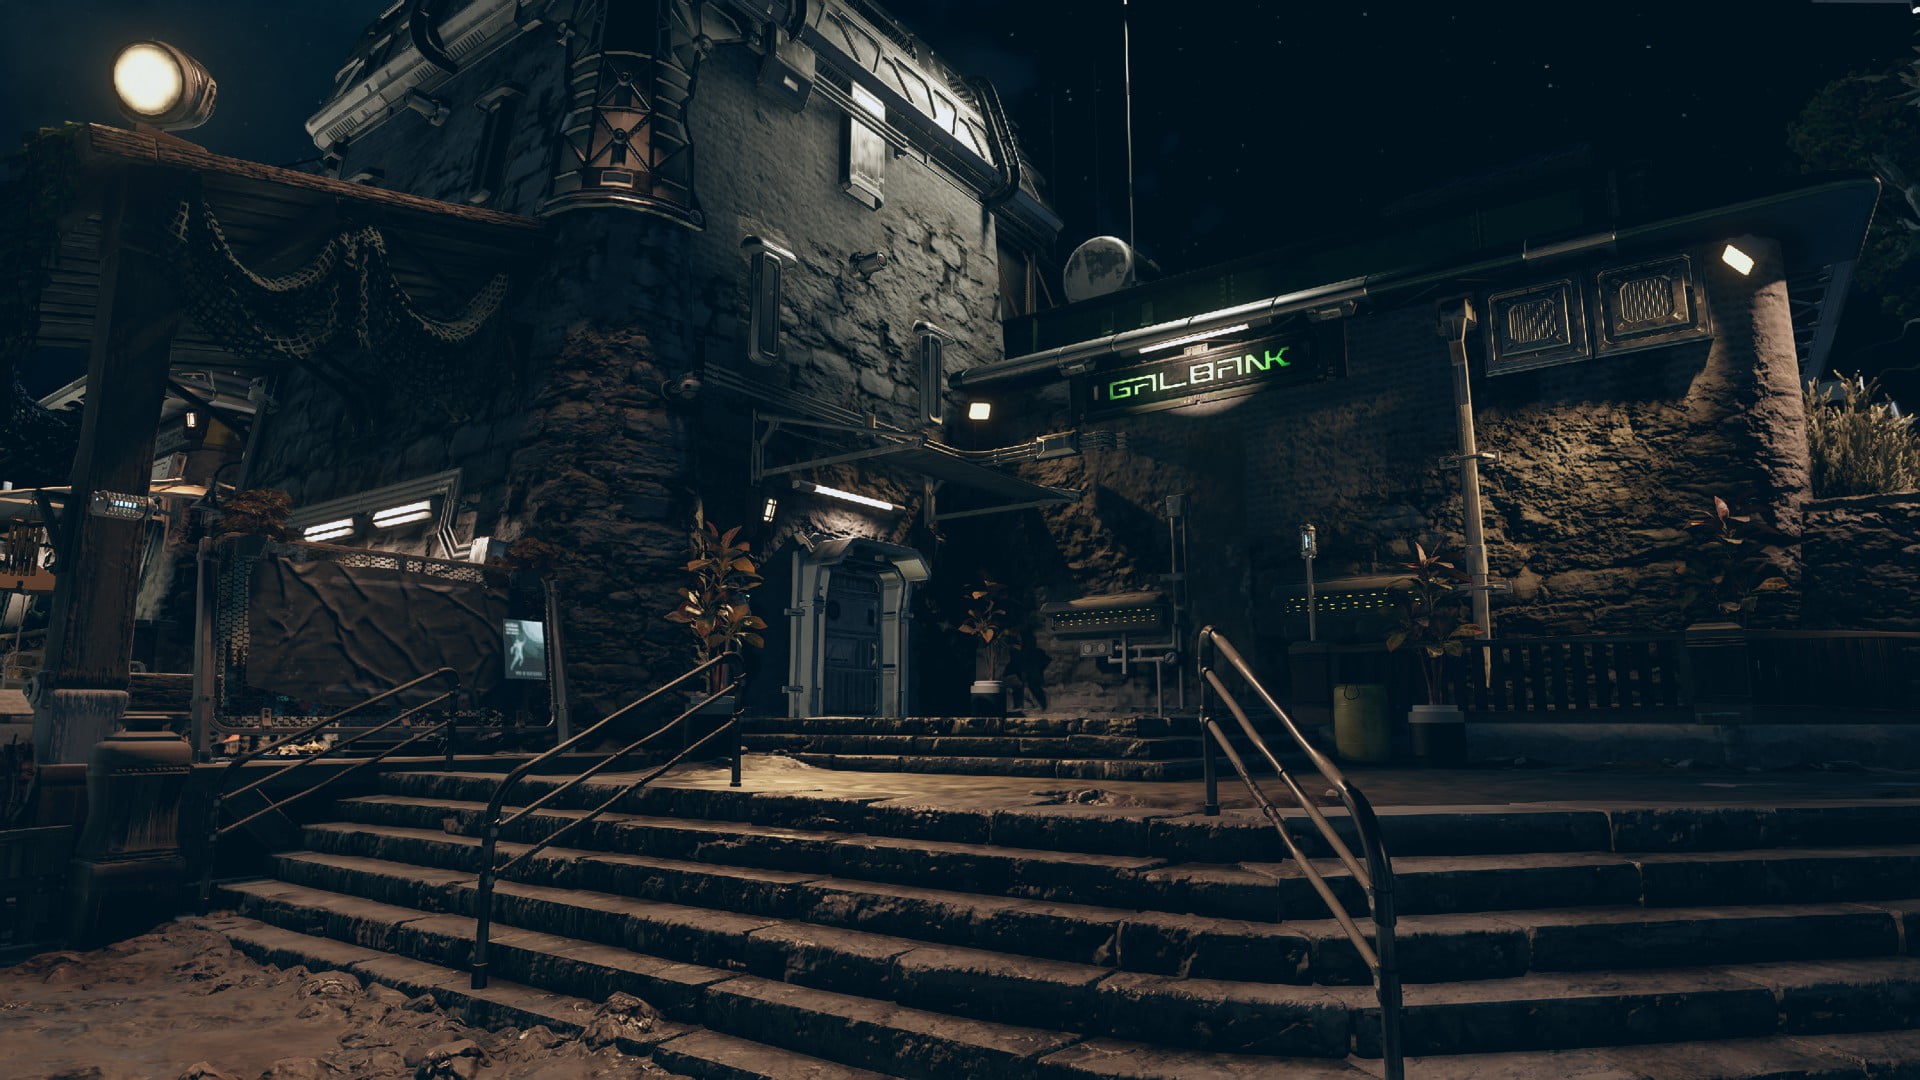
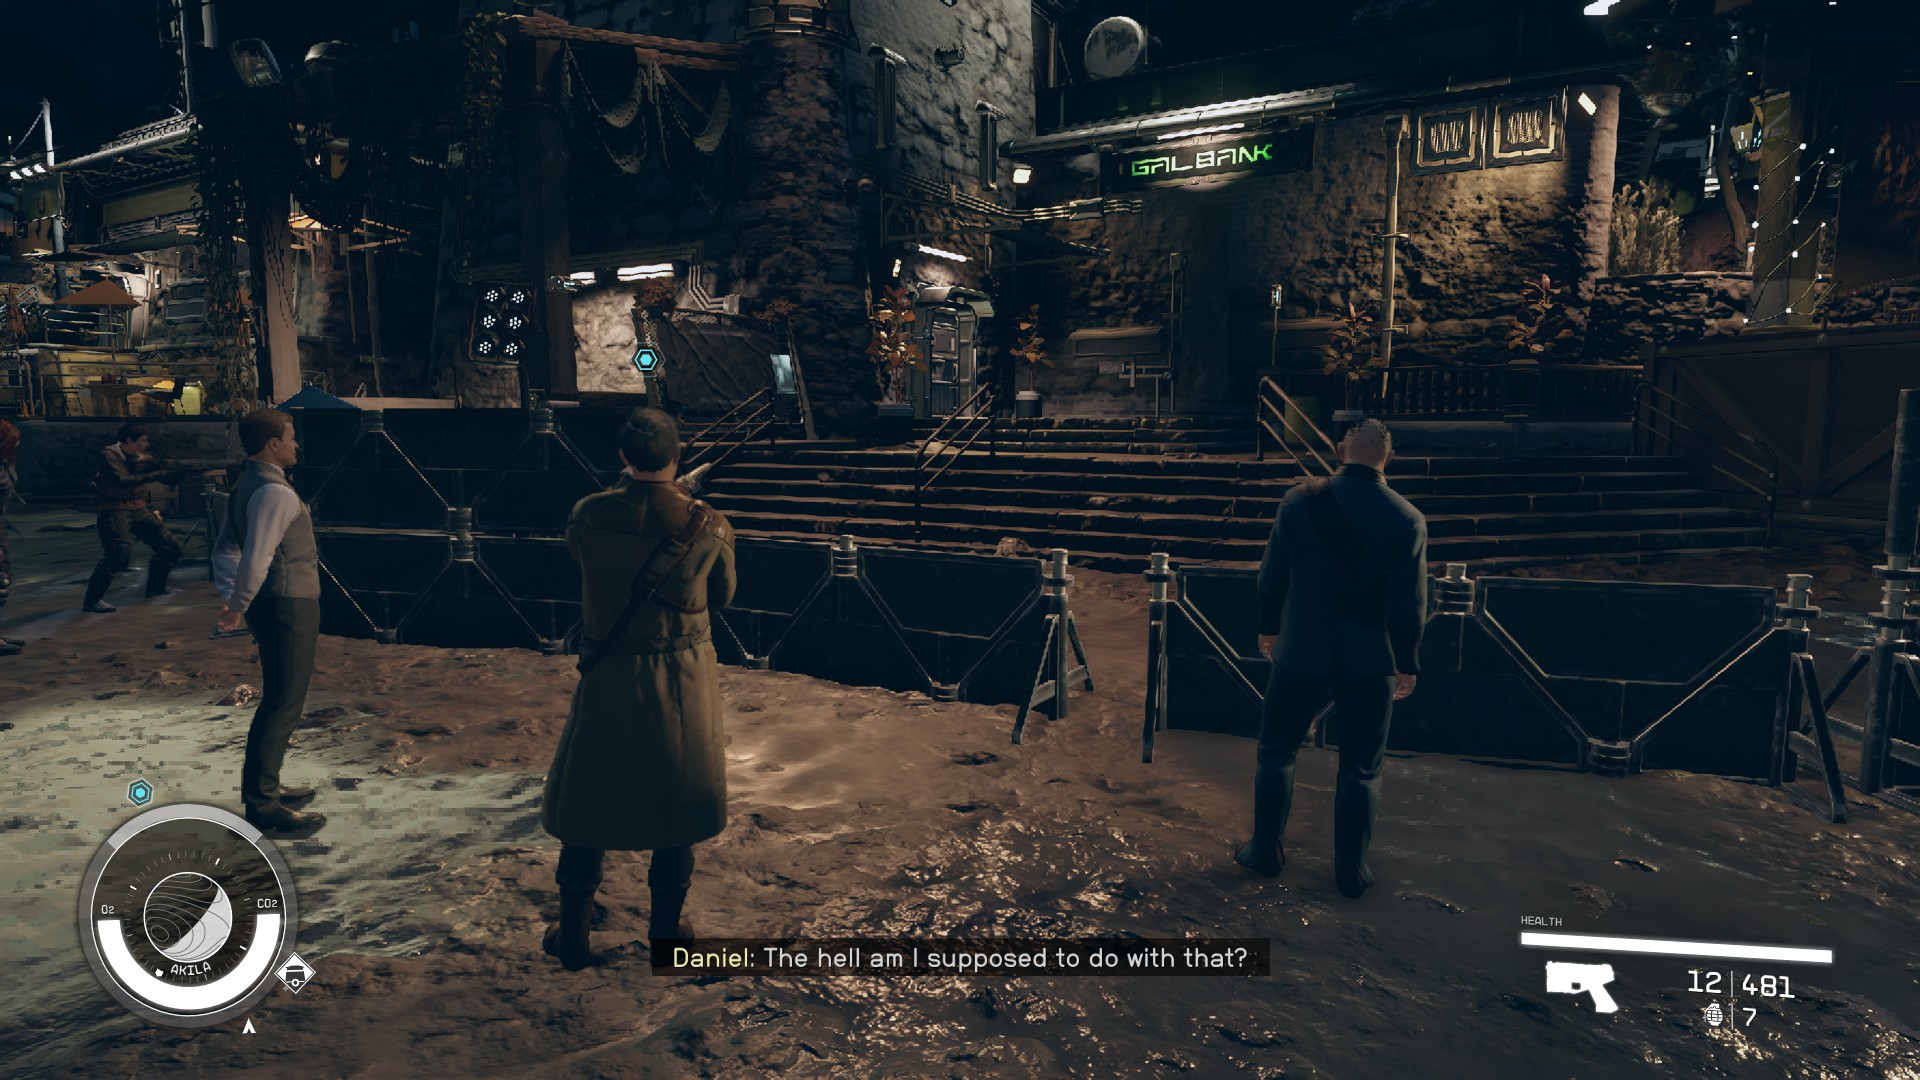
Walking past the Akila City Security guard at the city gate, you’ll see and hear the situation in question (Image 1). Speak with Marshal Daniel Blake (Image 2). He’ll brush you off at first, but then he’ll recognize Sam. Whatever you say to him, you’ll wind up being sent to negotiate with the Shaw gang, who have taken hostages inside the bank.
Image 1Image 2
Persuade the Bank Robbers to Surrender
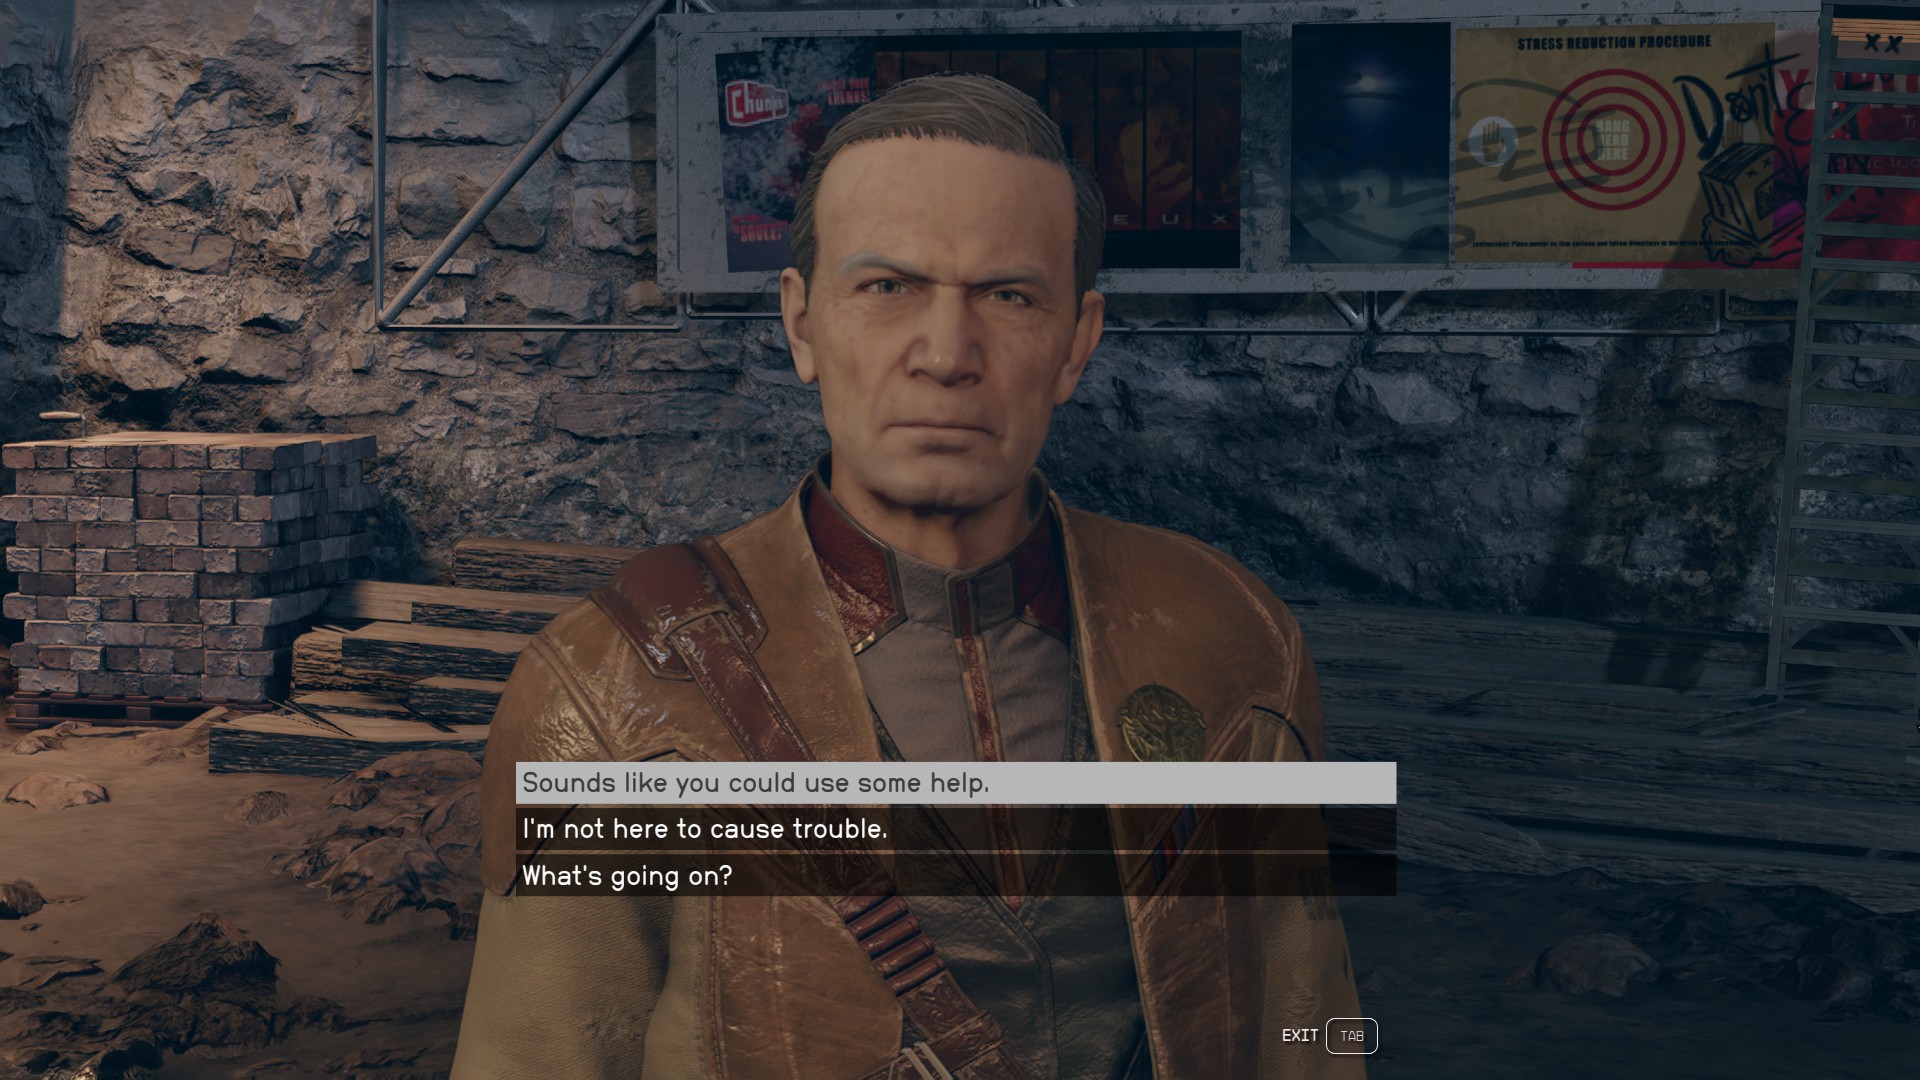
Approach the front door of the bank and look for the intercom panel (Image 3). Activating it will begin a conversation with the Bank Robber Leader. You’ll have an opportunity to persuade him to end the standoff peacefully, but you’ll have to succeed in two consecutive persuasion minigames to do so, and they aren’t particularly easy (If you have the Wanted trait, you can skip the first persuasion section by selecting the [Wanted] dialog option when it appears). If you’re willing to savescum, you can exit the conversation to save after the first successful attempt, then reload if you fail on the second. If you succeed, the gang will agree to come peacefully. You can skip ahead in this guide to the Talk to Daniel Blake section to complete the mission and continue on.
Image 3
If you fail to persuade the robbers, they’ll give you some demands to bring back to Marshal Daniel Blake. Return to him, and he’ll tell you that the only way to resolve the situation now is to eliminate the robbers. Regardless of how you respond, you’ll be tasked with getting inside the bank to take them out. You have two options for how to approach this: you can ask to be let in the front to get a look at the hostages, or you can sneak in the back.
Option 1: Ask to See the Hostages
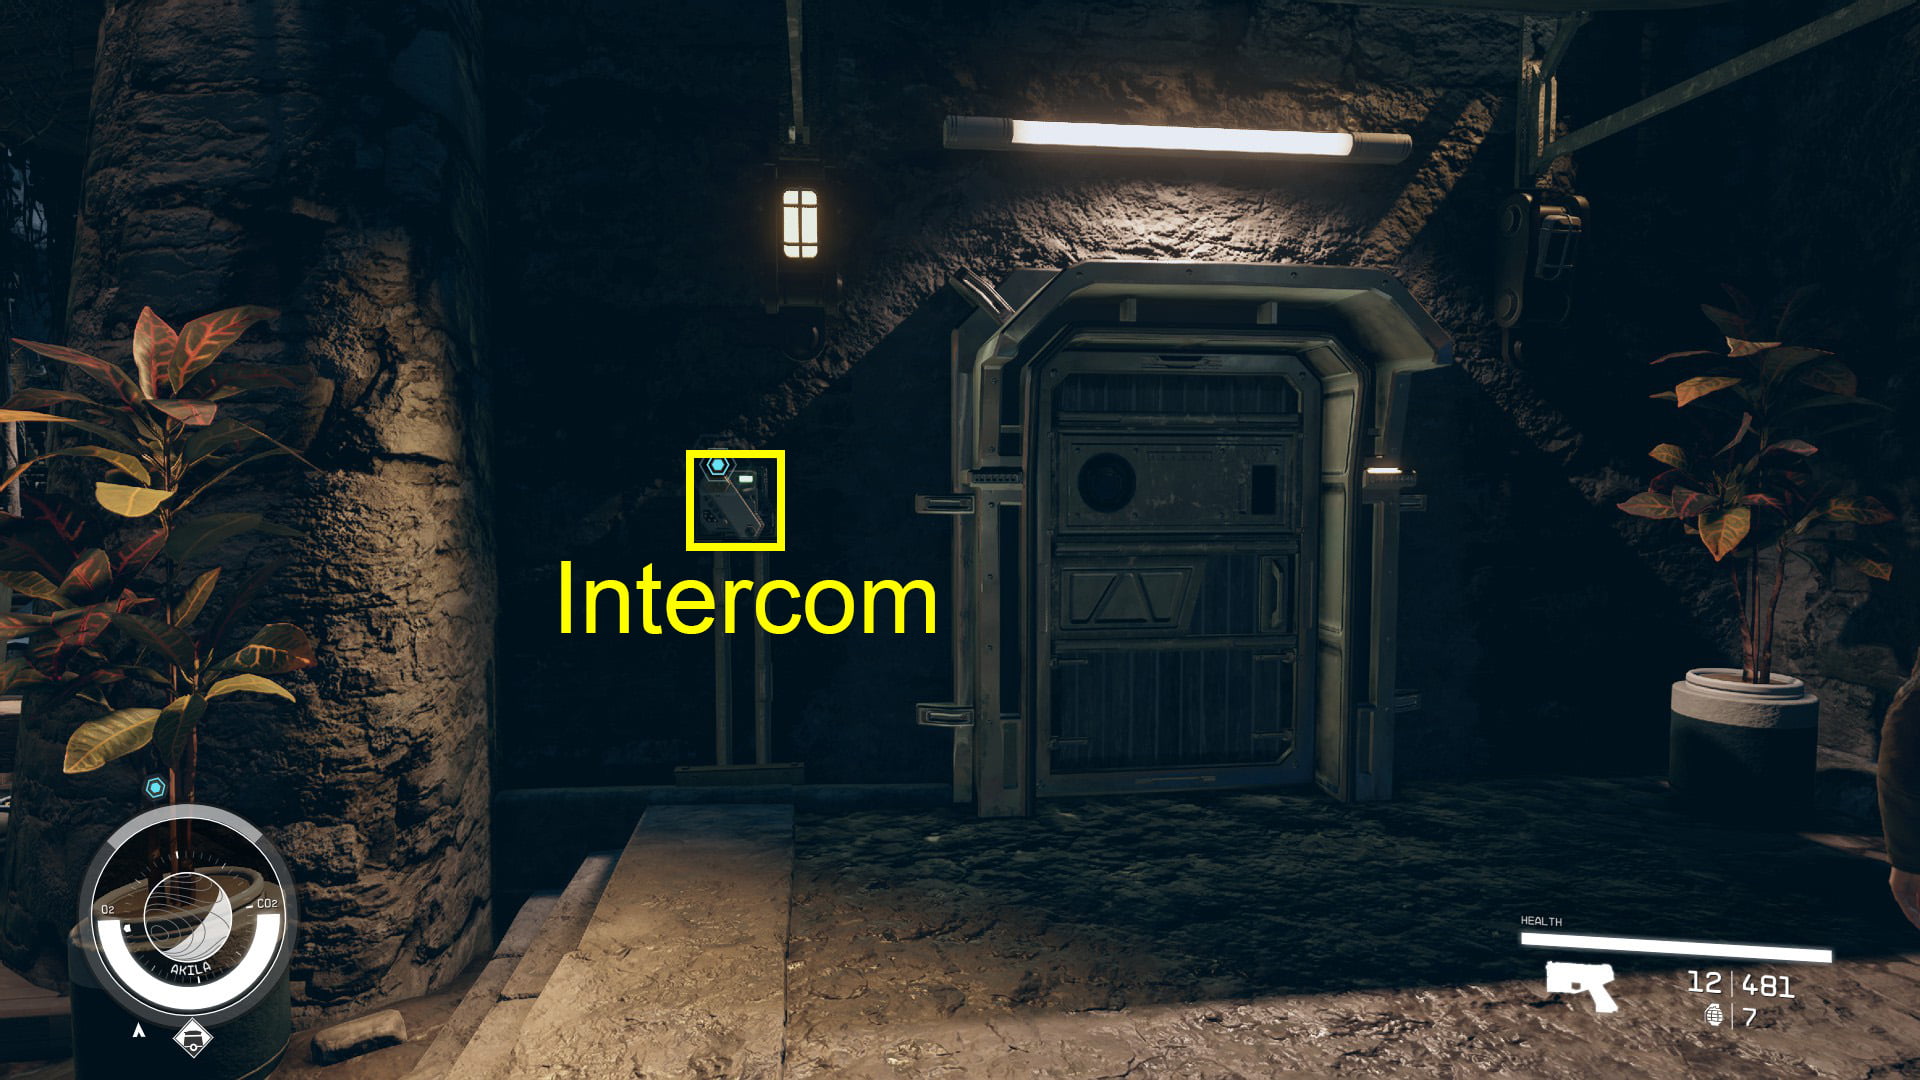
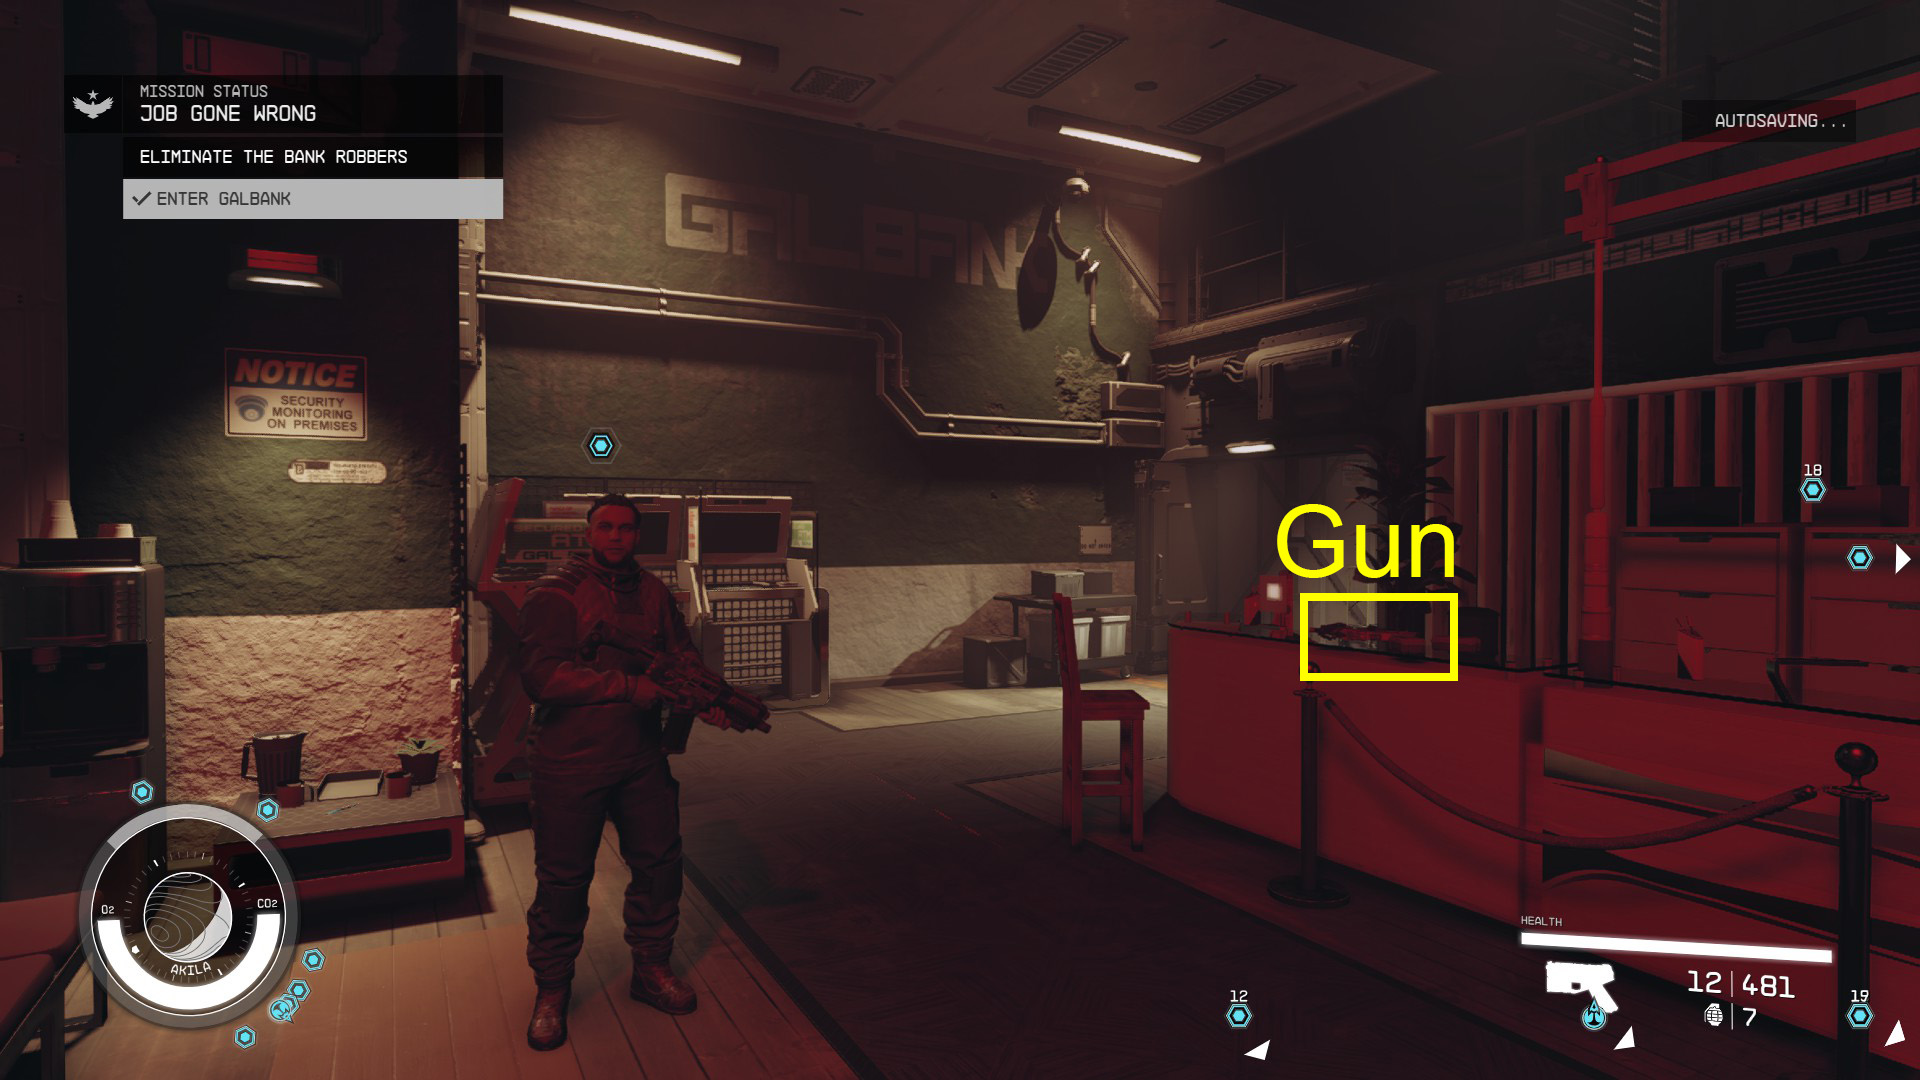
To get the Bank Robber Leader to let you in through the front door, you’ll need to go back to the intercom and tell him that you want to see the hostages. He’ll say that he’s not letting you in with any weapons. You can attempt to persuade him otherwise, or you can ditch your weapons and come back. You’ll also have to get rid of any throwable items you have. Take them back to the ship, sell them, or just dump them in the street, and then return to the intercom to tell him you’re unarmed. Don’t worry too much about not having a weapon – the gang has conveniently left a gun and some ammo lying on the counter in the front room (Image 4).
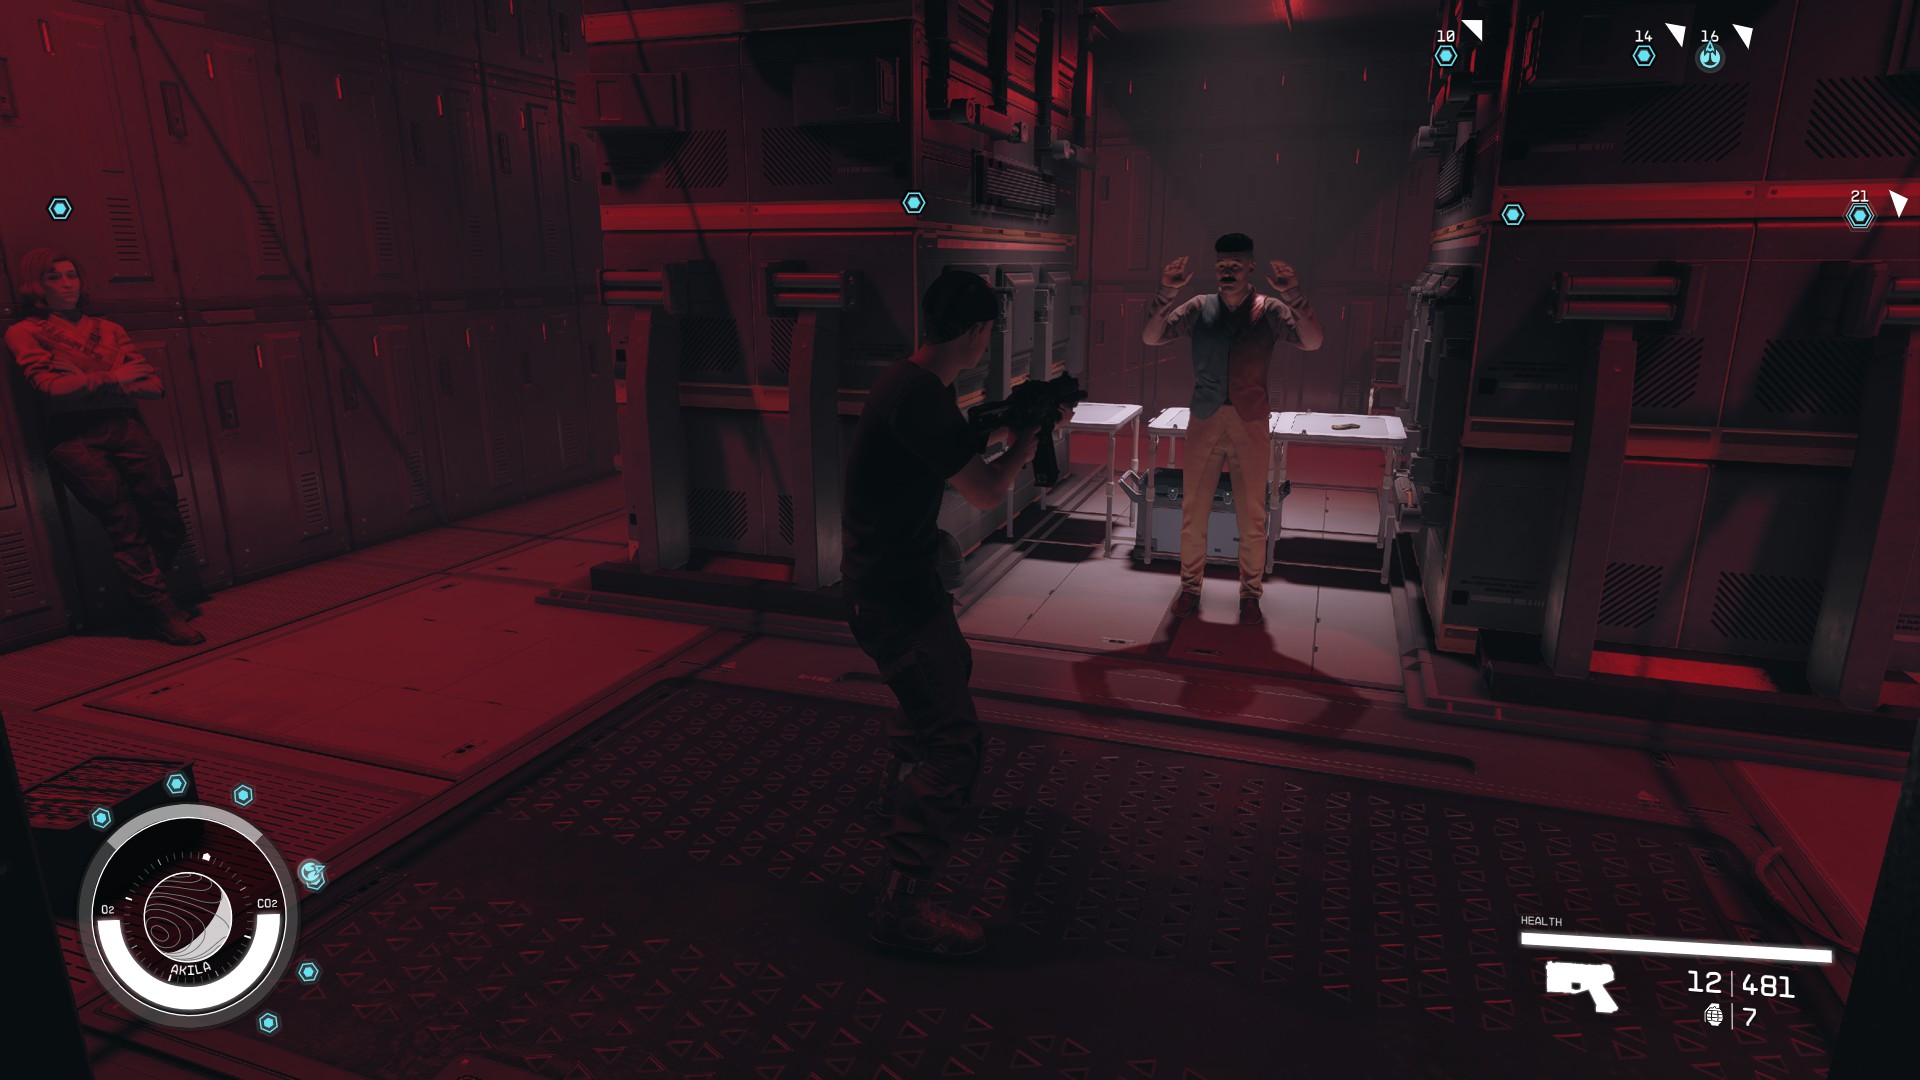
The advantage of going in through the front door is that none of the gang will be hostile at first, allowing you a chance to scope them out before you make your move. However, if you wait too long to act, one of the gang members in the vault downstairs will kill one of the hostages, William Crowley (Image 5).
Image 4Image 5
Option 2: Sneak into the Bank
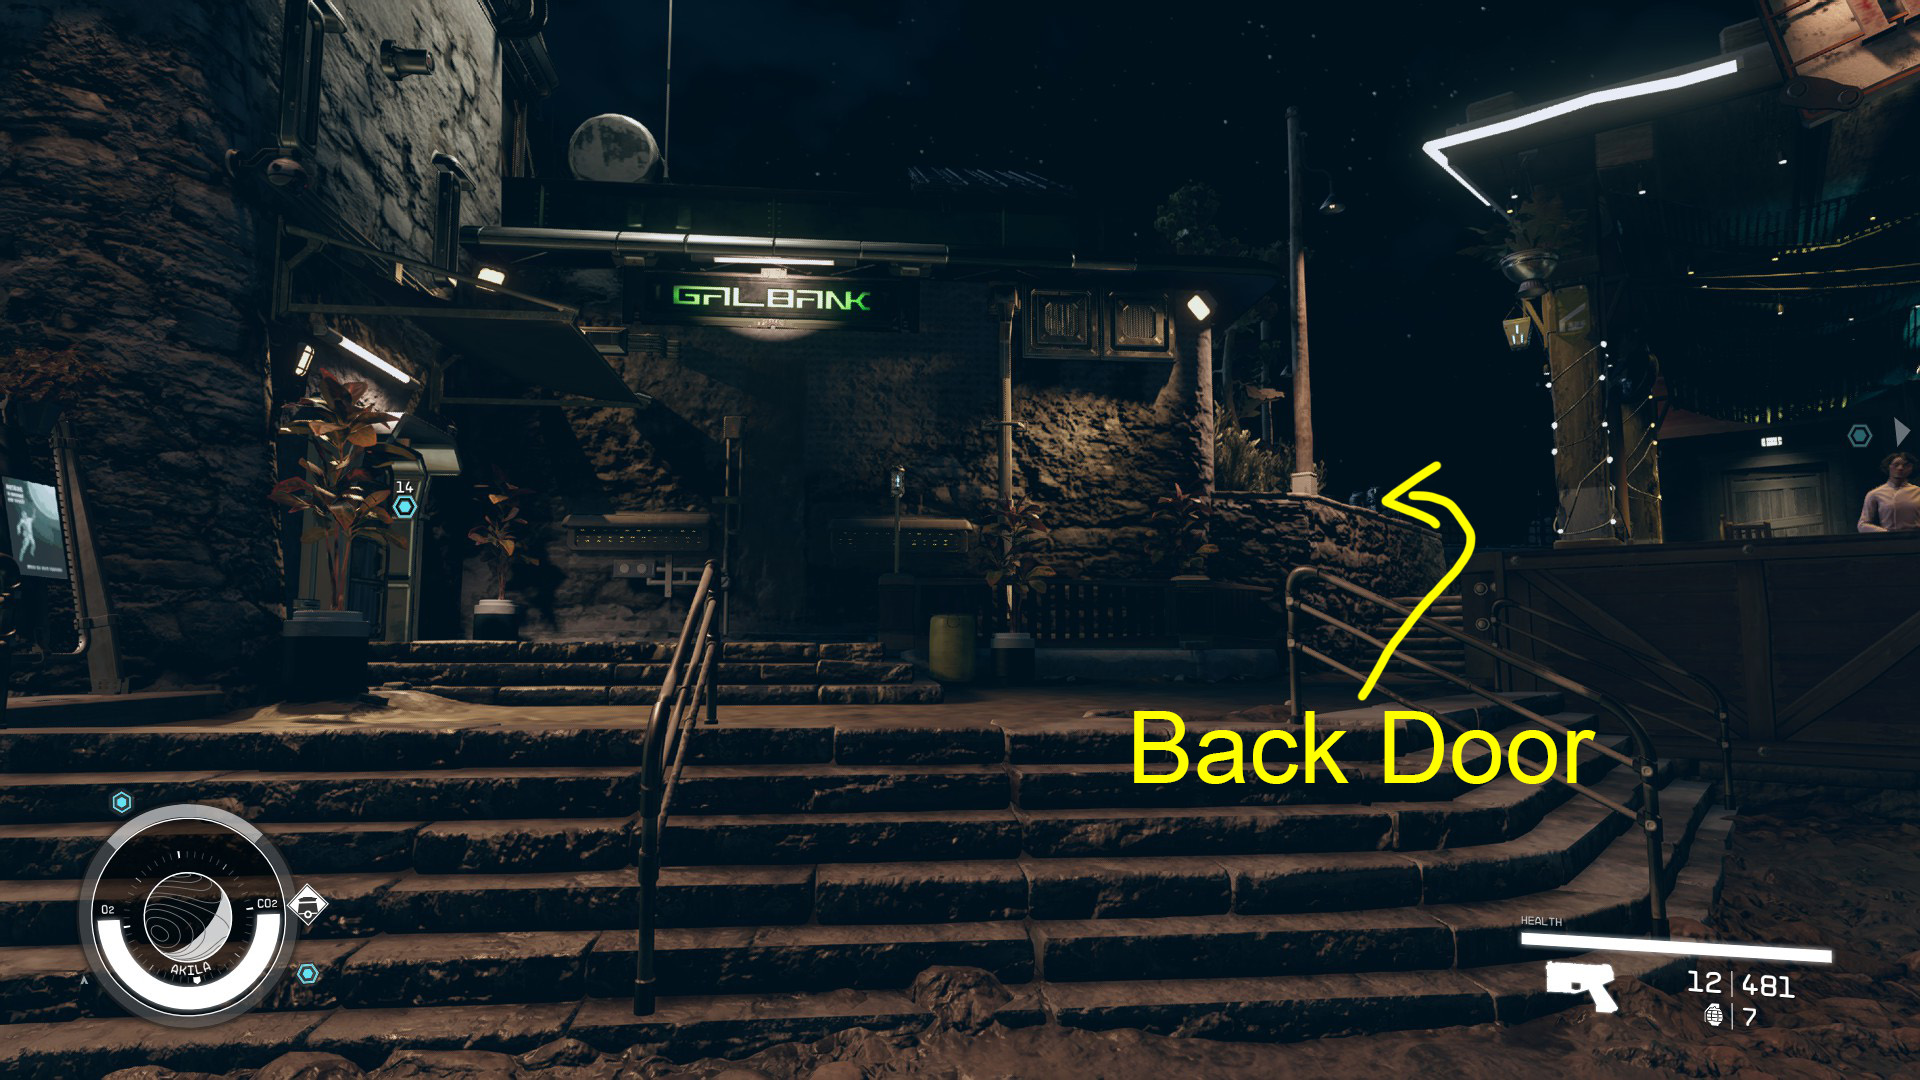
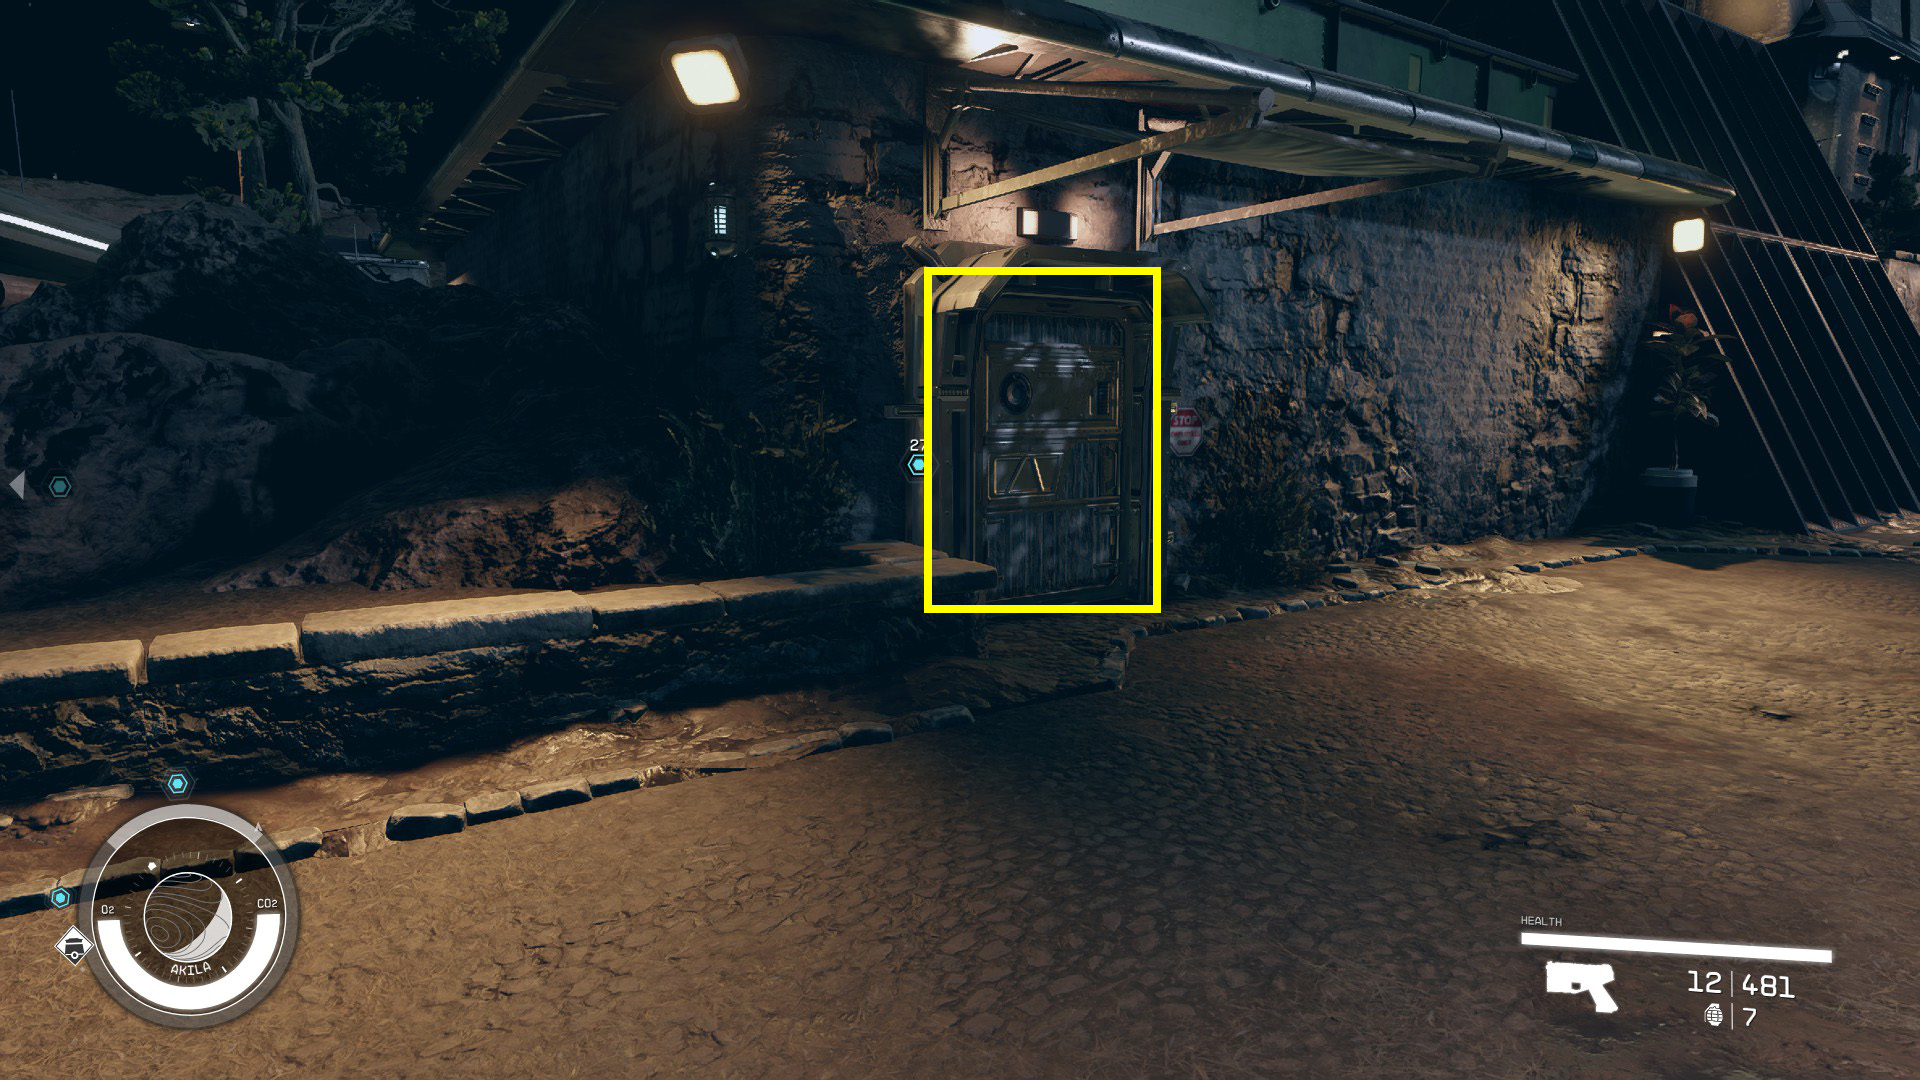
If you want to take a sneakier approach, you can go around the building (Image 6) to the back door (Image 7). The marshal has given you the key, so you can walk right in. If you go this route, all of the gang members inside will be hostile when you enter.
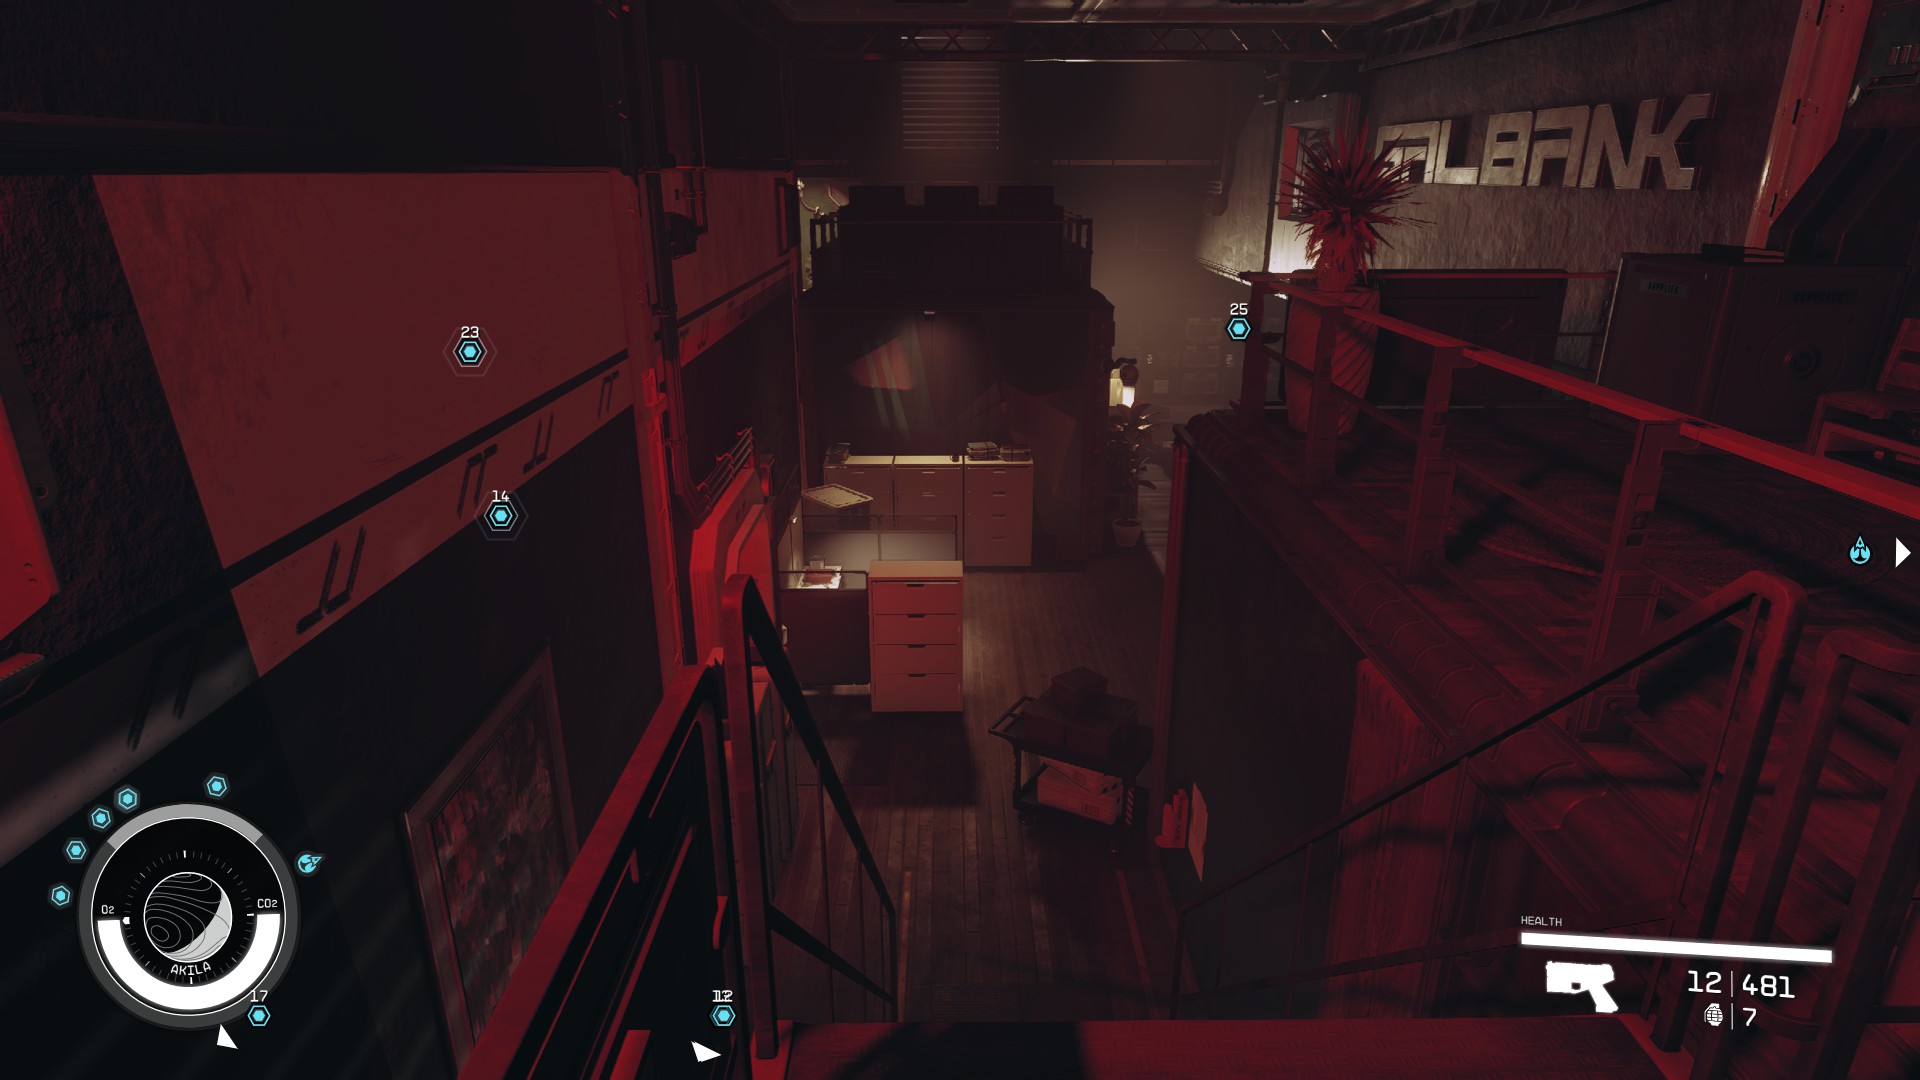
The back door enters through a small balcony with stairs leading down into the main bank area (Image 8). You can take cover near the top of the stairs and take advantage of the high ground, letting enemies come to you. One of the first gang members you’ll see is wielding a Rescue Axe and will charge at you. Others will peek out of the doorway or around the corner to shoot at you.
Image 6Image 7Image 8
Eliminate the Bank Robbers
However you approach the situation, you’ll have to take out five level 2 Shaw Gang members as well as the Bank Robber Leader, who is level 10. The bank is a fairly small space, and when you start fighting they’ll generally come running, although you may have to go downstairs to finish off the ones in the vault. Some of the gang members have boost packs and may jump up to the upper platform if you fight them in the back room.
When you’ve eliminated the gang, you can loot them. The hostages will be milling around and will thank you for saving them. You can also loot items from the bank, but taking anything valuable will be considered stealing.
Talk to Daniel Blake
When you’re done in the bank, you can go back outside and talk to Marshal Daniel Blake once again. He’ll thank you for your help and give you some credits for your trouble. He’ll also tell you that you’re Freestar Ranger material, and if you want to join up, you should speak to Ranger Emma Wilcox. This automatically starts the quest “Deputized.”
When you’re ready to continue The Empty Nest, head back to that mission’s walkthrough page.
I love RPGs, sandboxes, survival, and sim games. Anything that lets me build and decorate or just has a really good story. I've spent hundreds of hours in Bethesda games and even more time modding them. I also play a lot of World of Warcraft.