When you first arrive to the Porrima system, and in particular the vicinity of Porrima II, you’ll be able to see a large spaceship in orbit above the planet, just as you’re contacted by Chief Sugiyama informing you that the planet’s inhabitants have no idea what the ship is or where it came from. He’ll then ask you to come see him at the main security office on Paradiso, kicking off a thrilling story of generational ships and conflicting interests.
Quest Type: Misc
Location
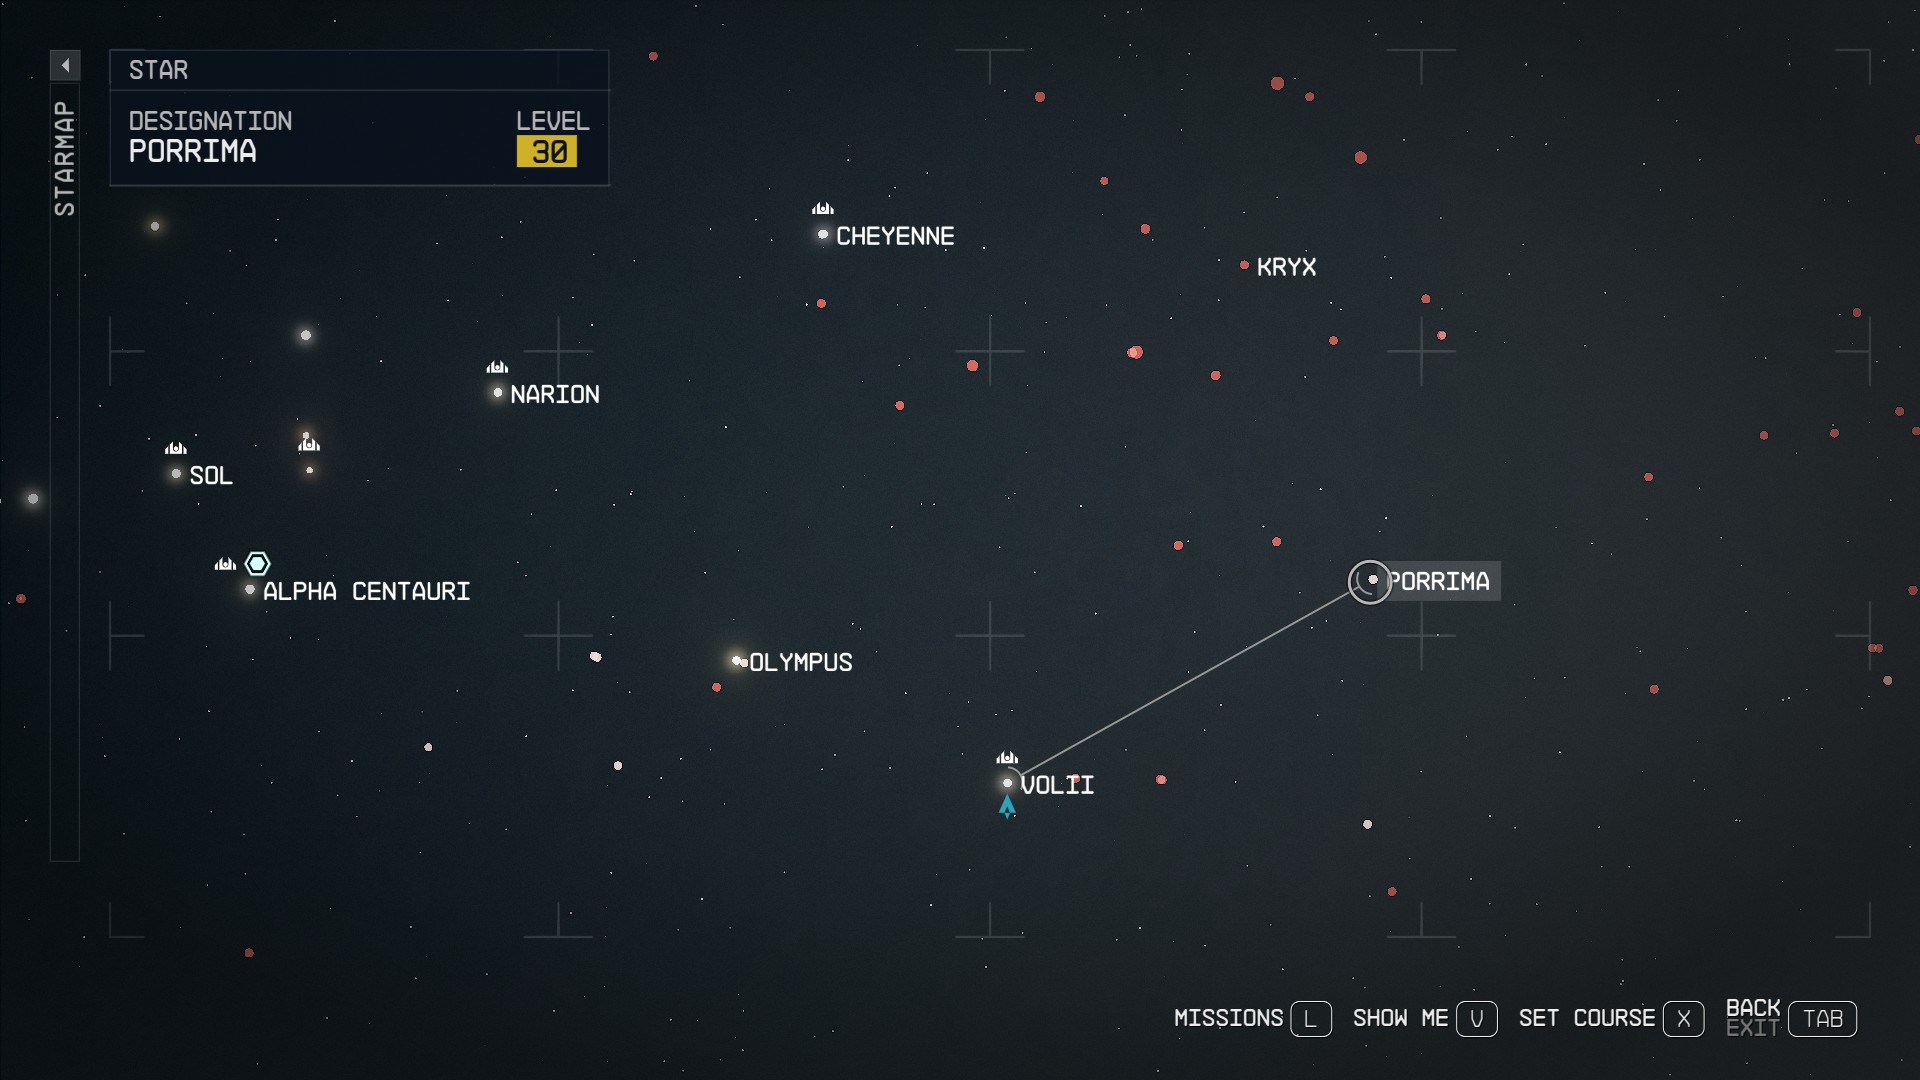
System: Porrima
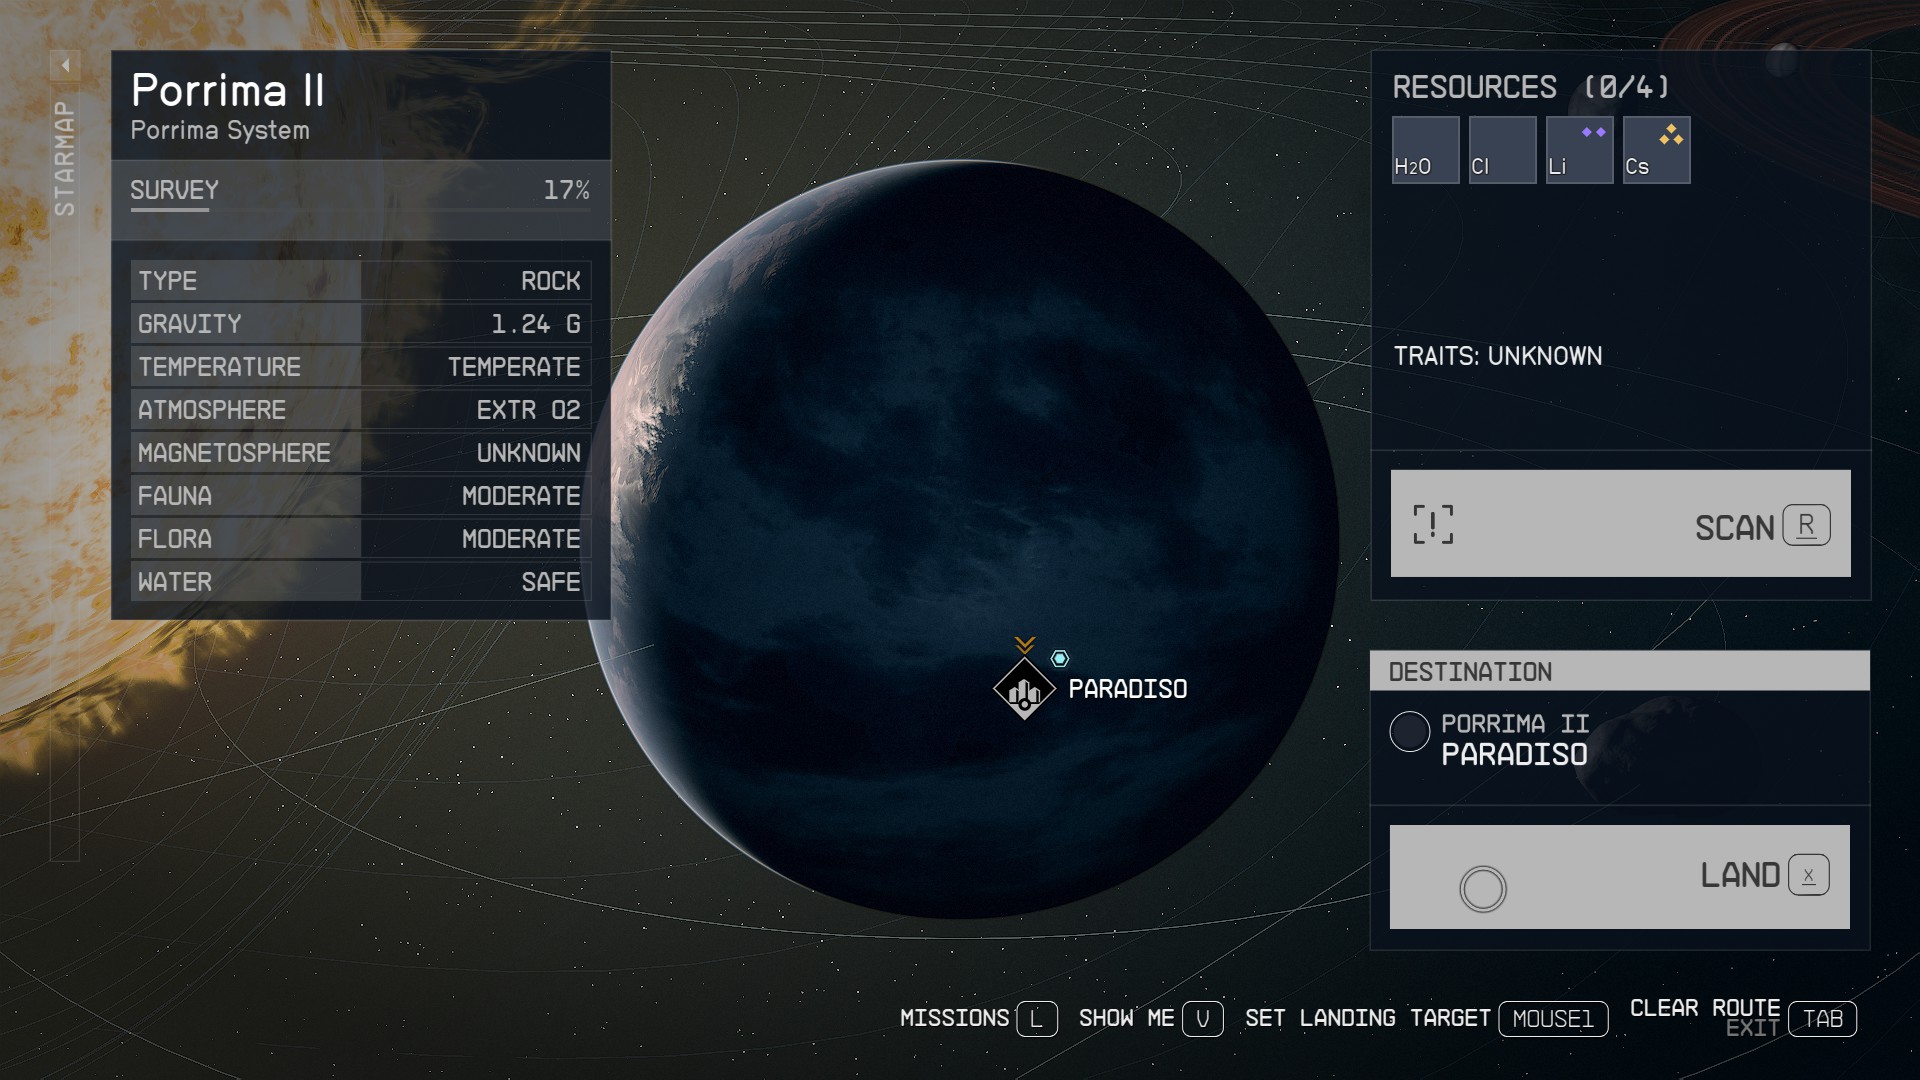
Planet: Porrima II
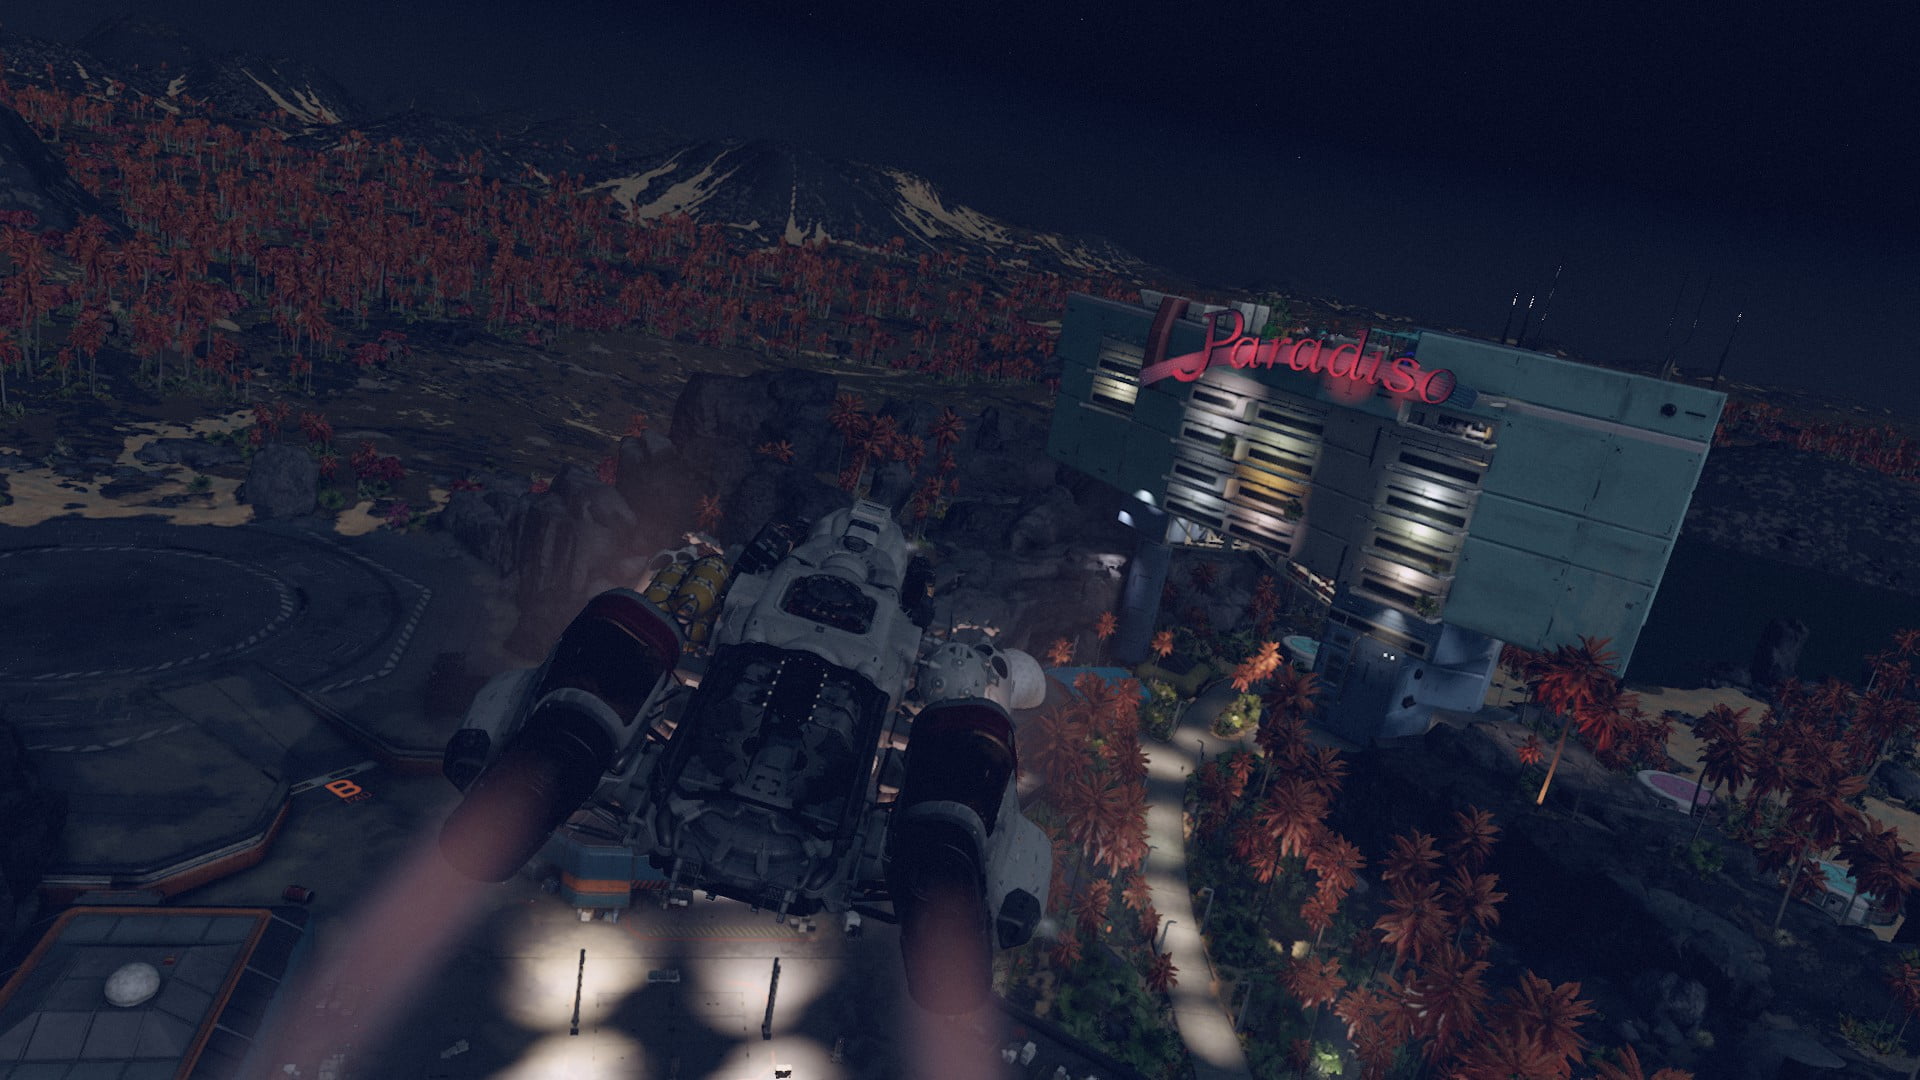
Settlement: Paradiso
Rewards
300 XP
If you install the Grav Drive or Settle the colonists
Modified XM-2311 pistol
Old Earth Antiques.
If you overload the reactor
6500
Paradiso access
Location
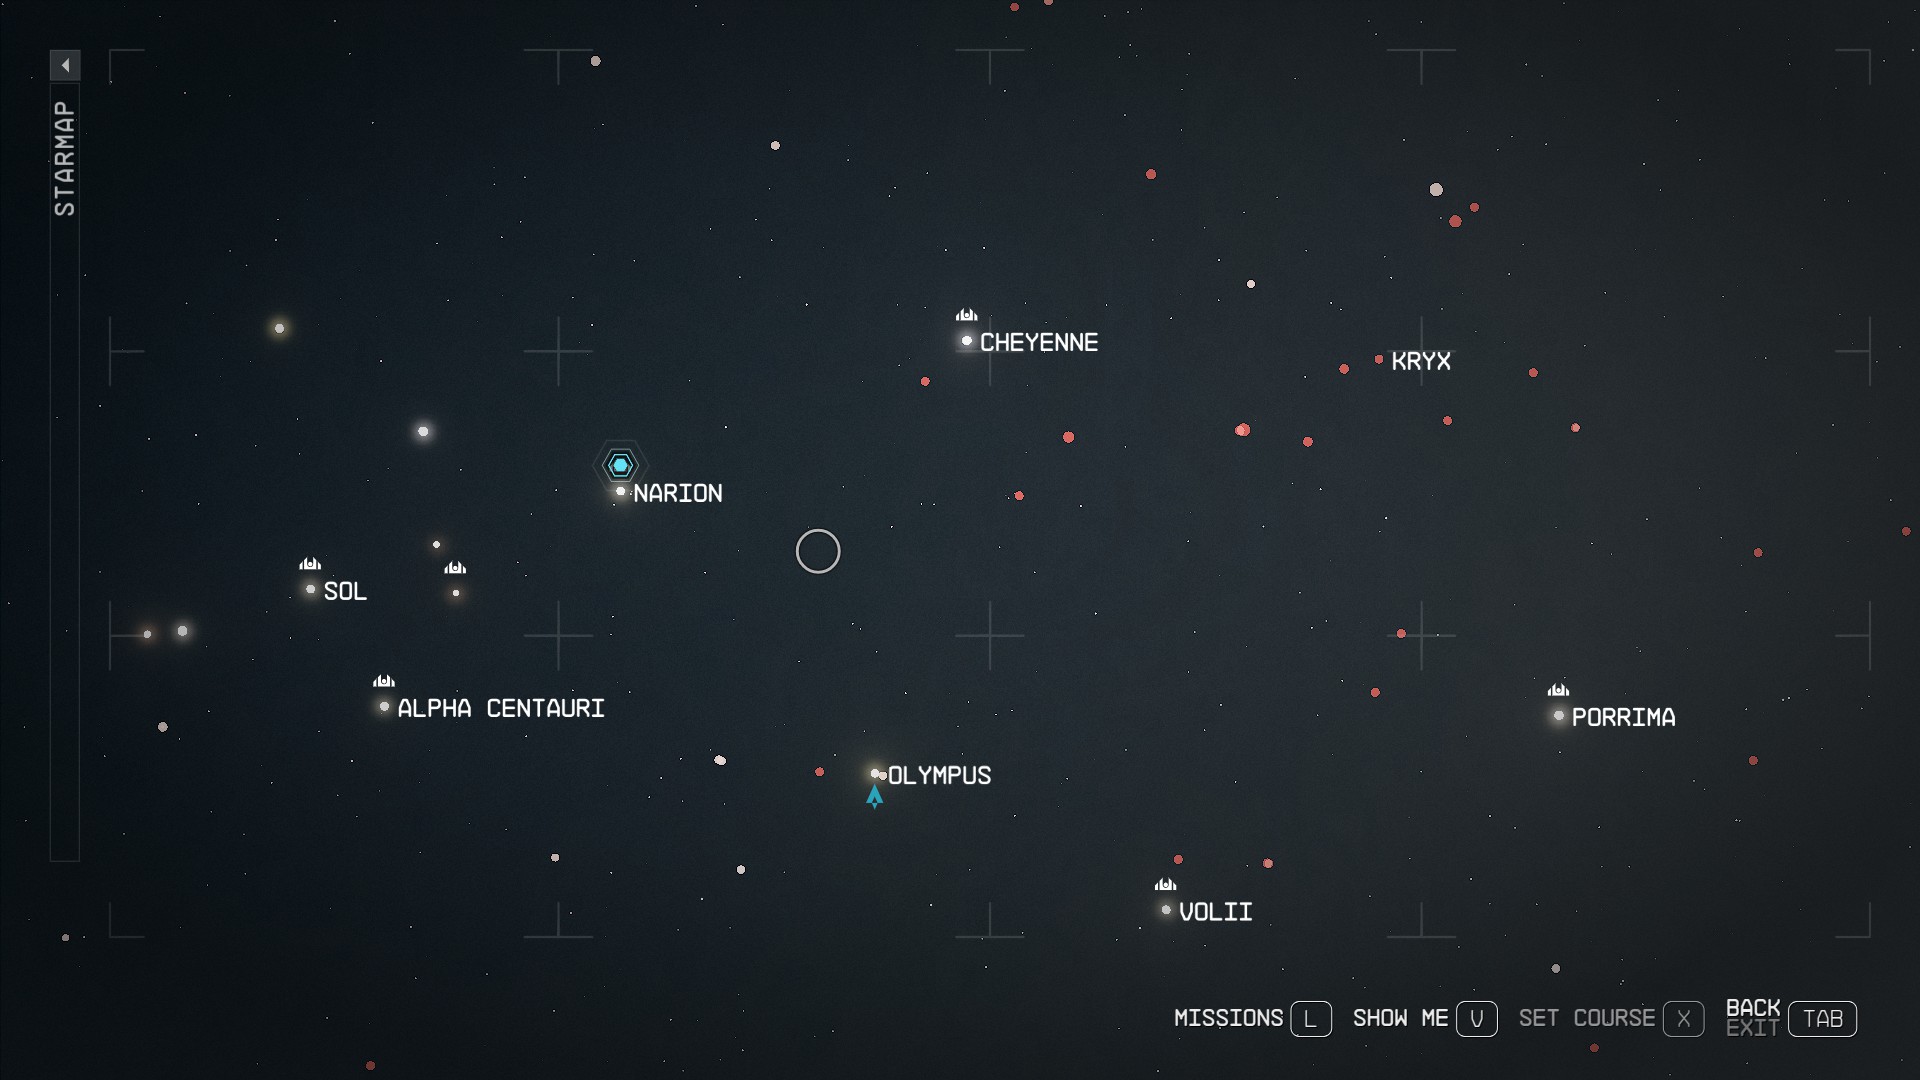
If we imagine that space has cardinal directions, then the Porrima system is located to the east of your starting position and the Alpha Centauri system where Constellation has its main lodge. Simply set your course for the Porrima system (1) and when you arrive, the mysterious ship will be right there (2).
(1)(2)
Walkthrough
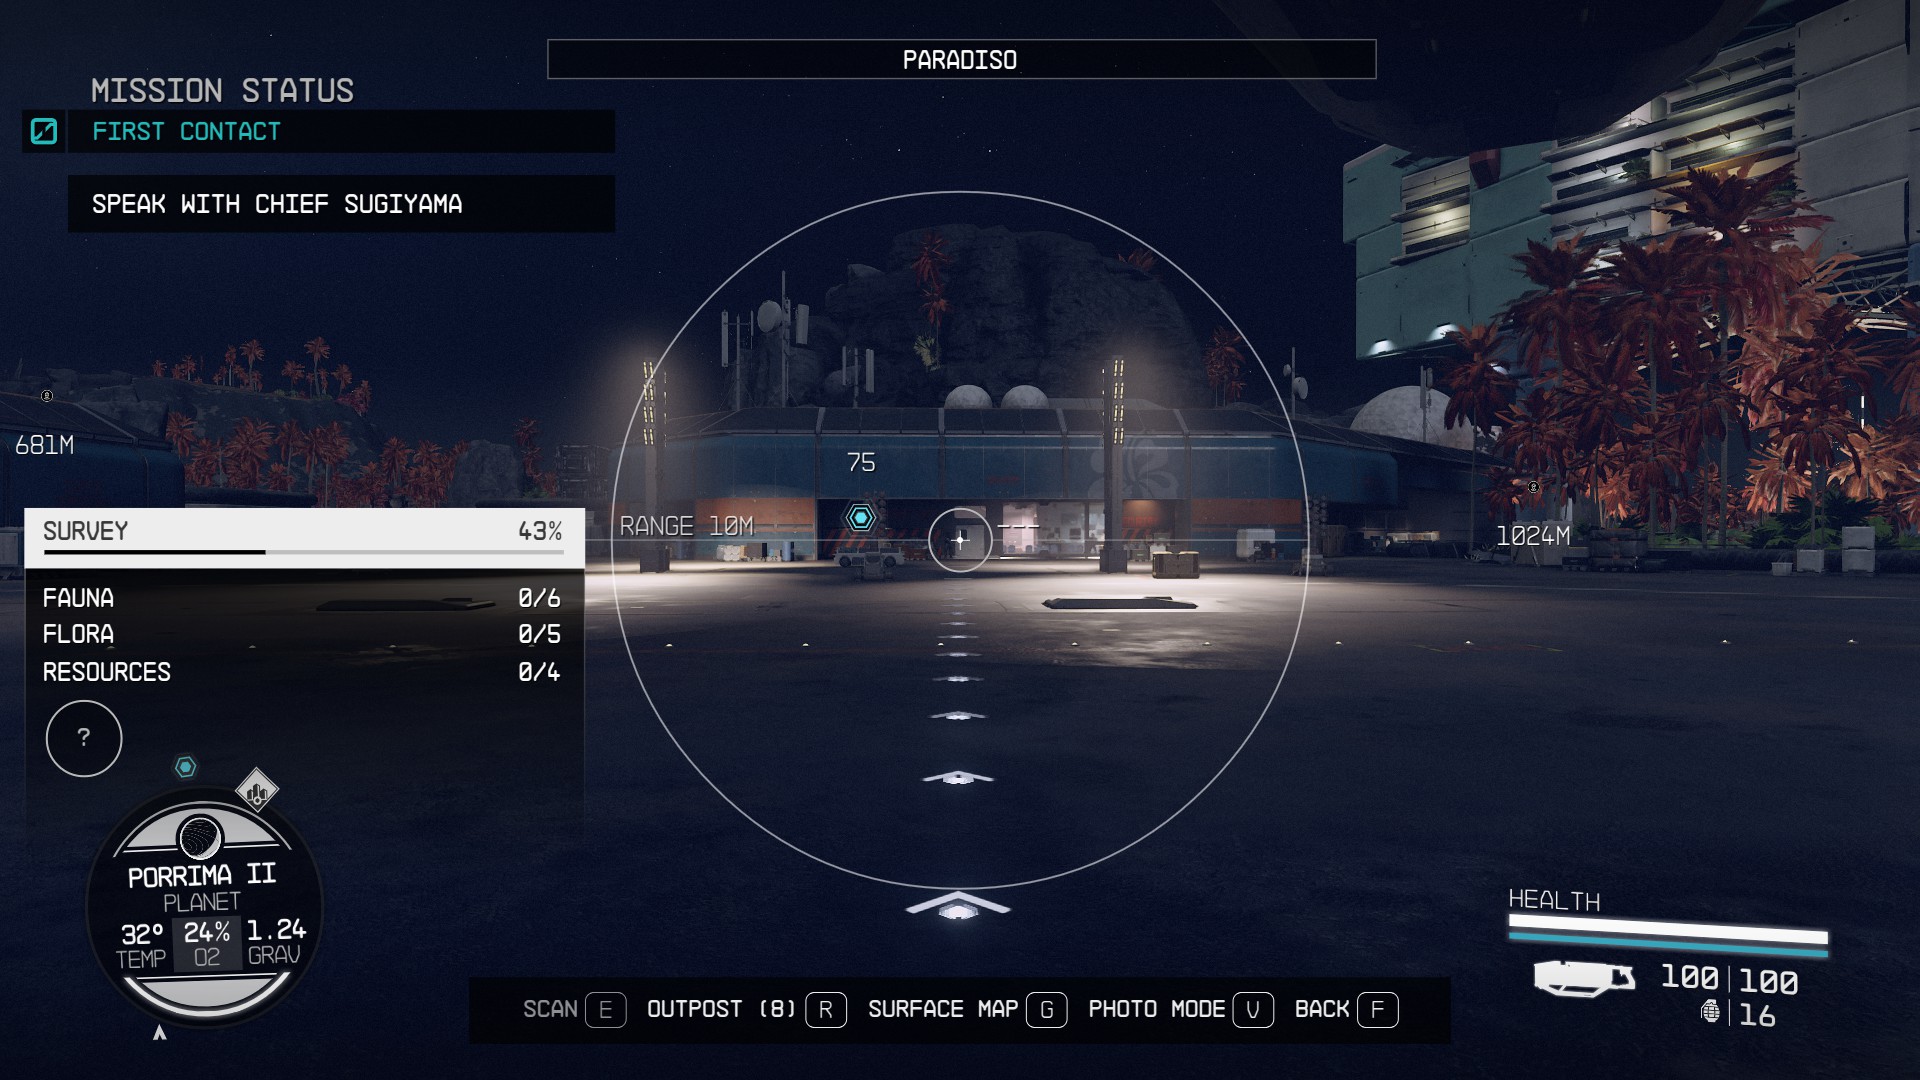
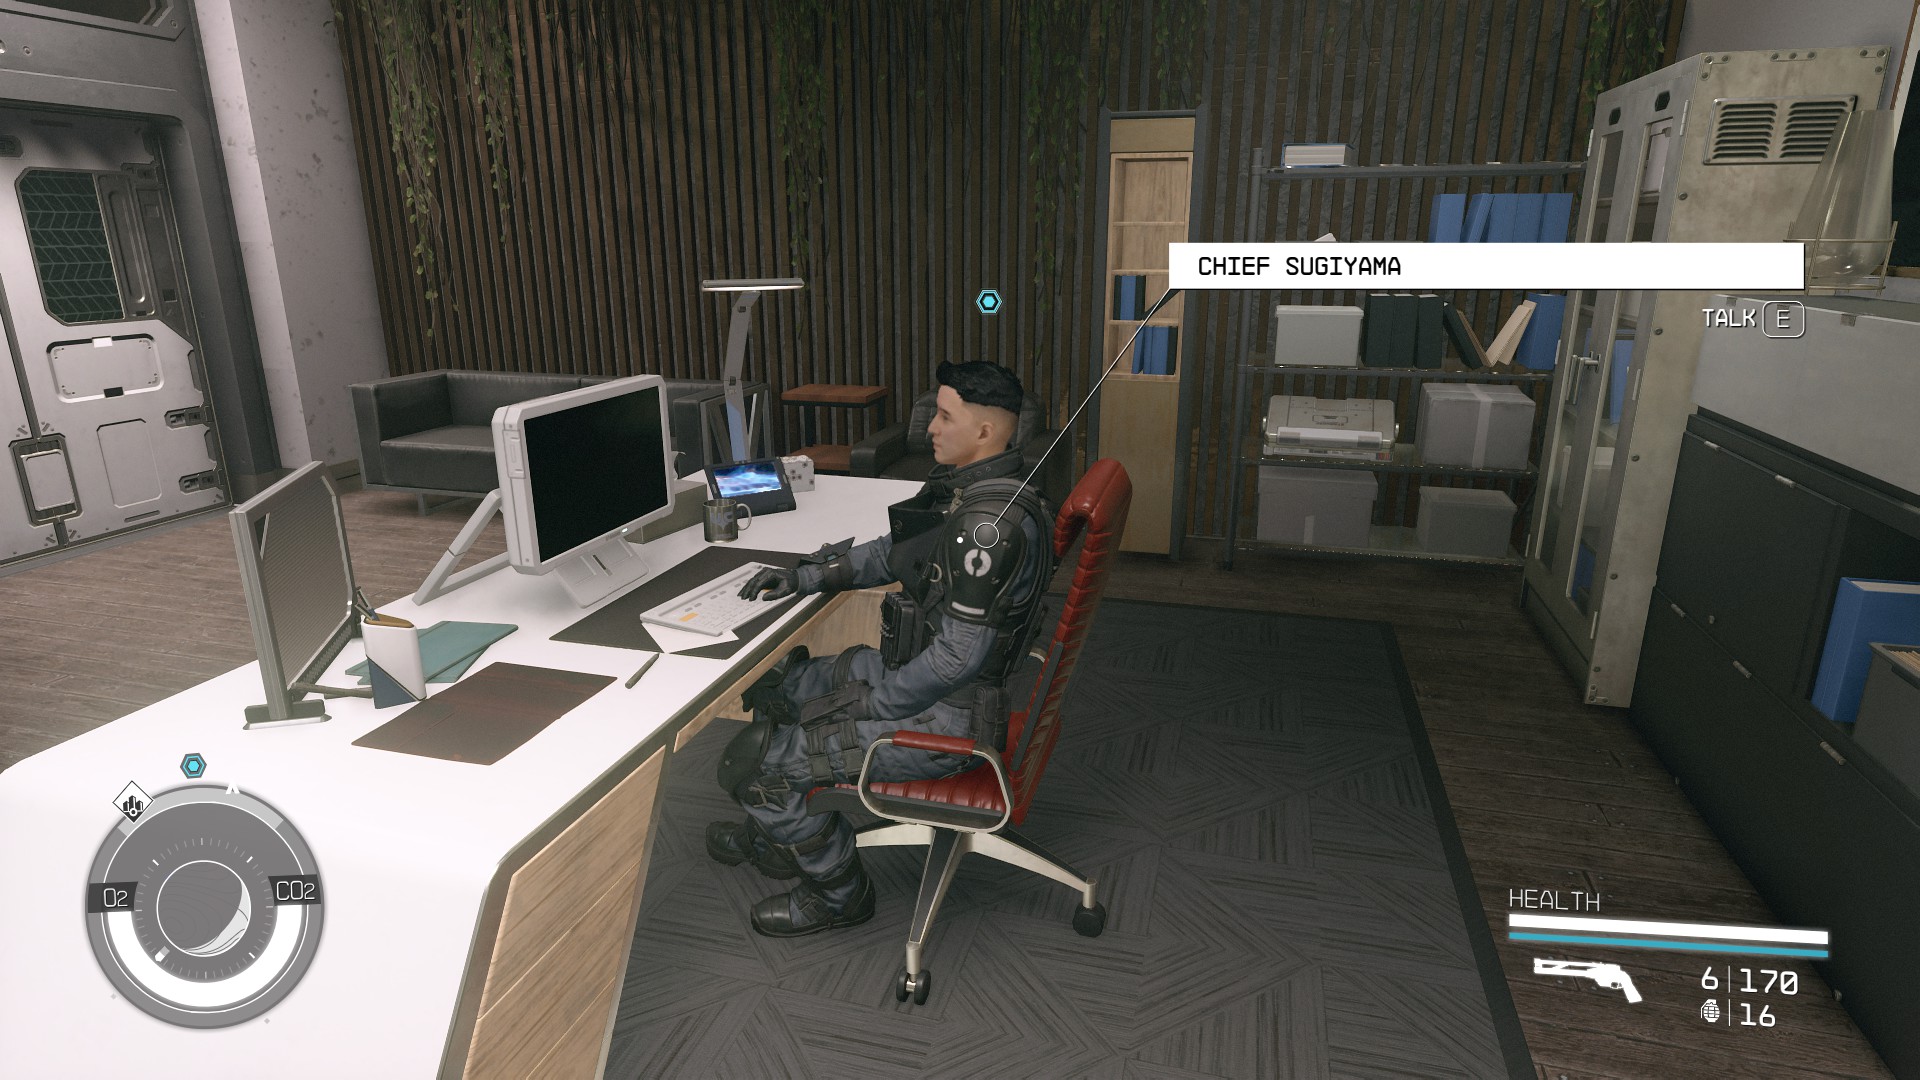
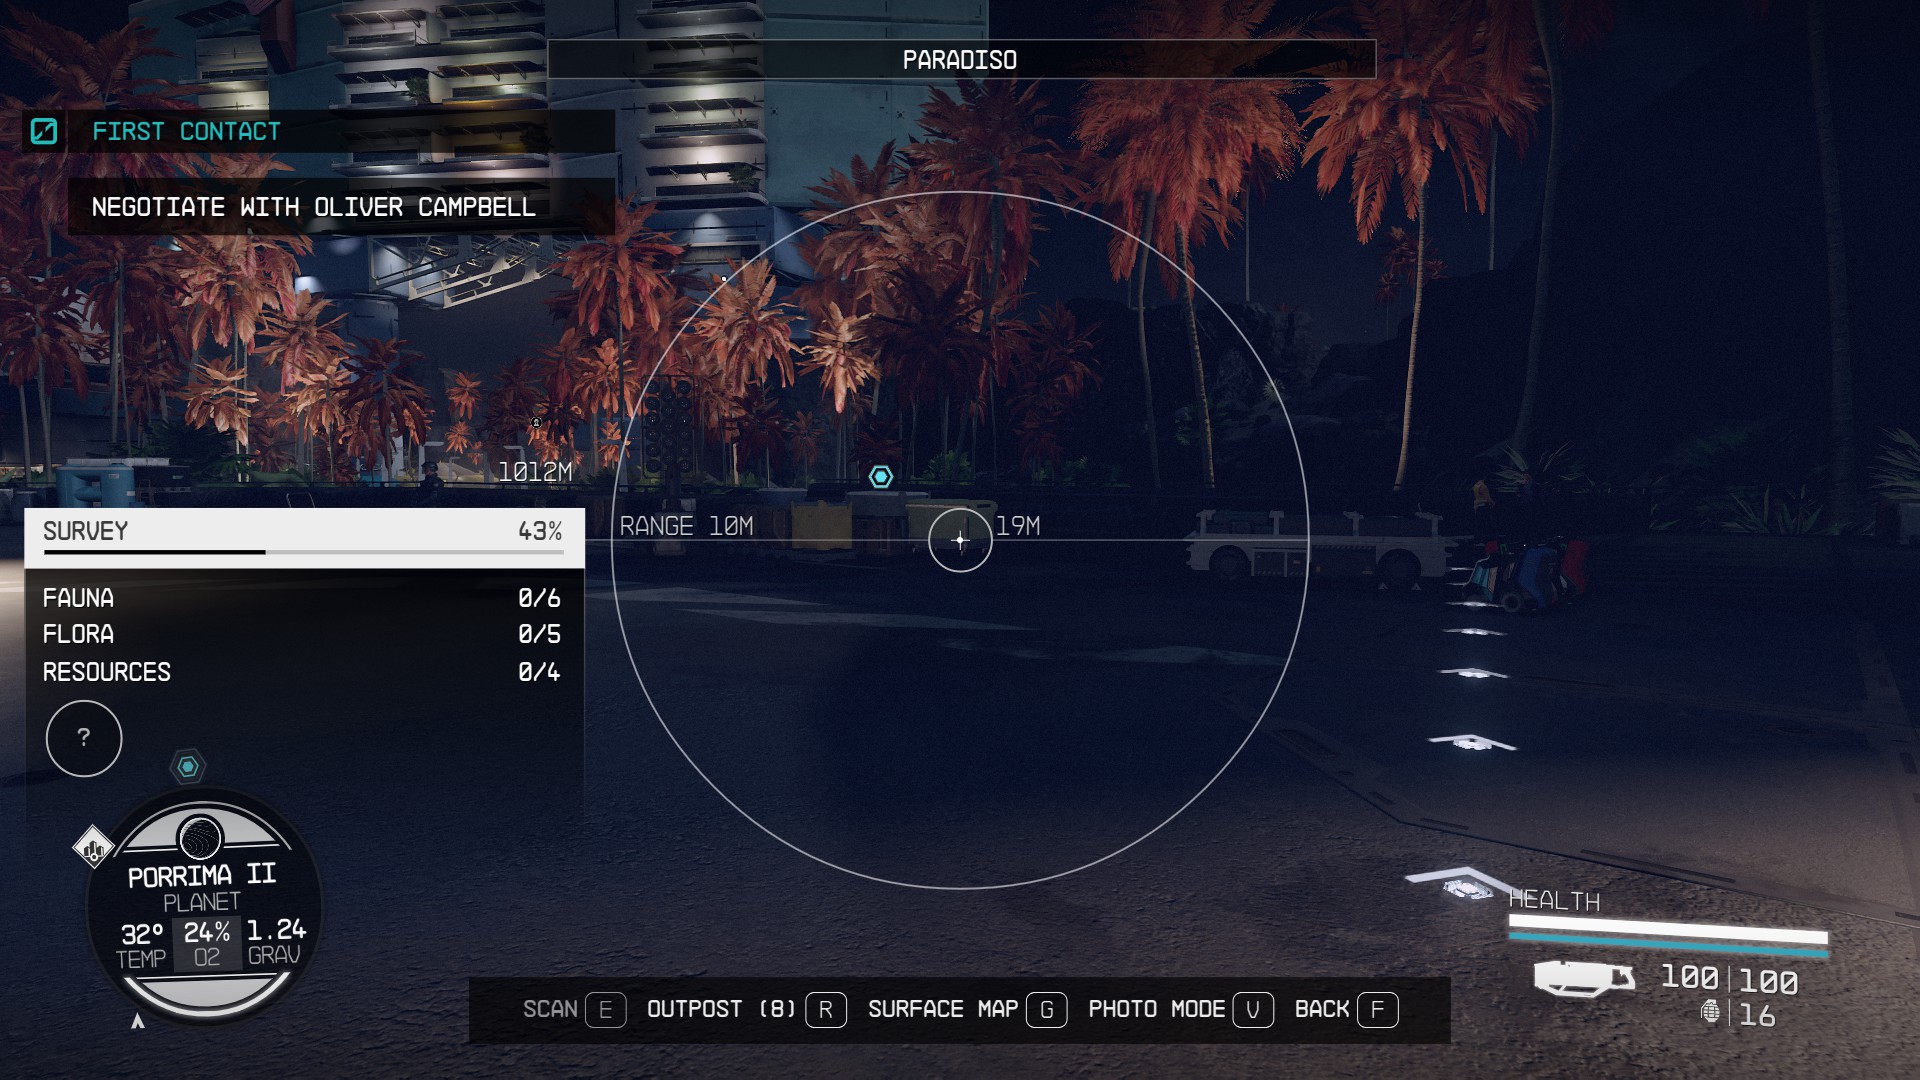
Your first task will be speaking with Chief Sugiyama on the planet’s surface. To get to him, open your map and land on Porrima II around Paradiso.
After you’ve landed, consult your hand scanner (F/LB) and follow the quest marker (3) to Chief Sugiyama’s office (4). Talk to him and he’ll swear you to secrecy before telling you more about the ship in orbit above the planet – it apparently appeared out of nowhere and all attempts to contact it have failed so far. He’ll then ask you to try hailing the ship from space.
(3)(4)
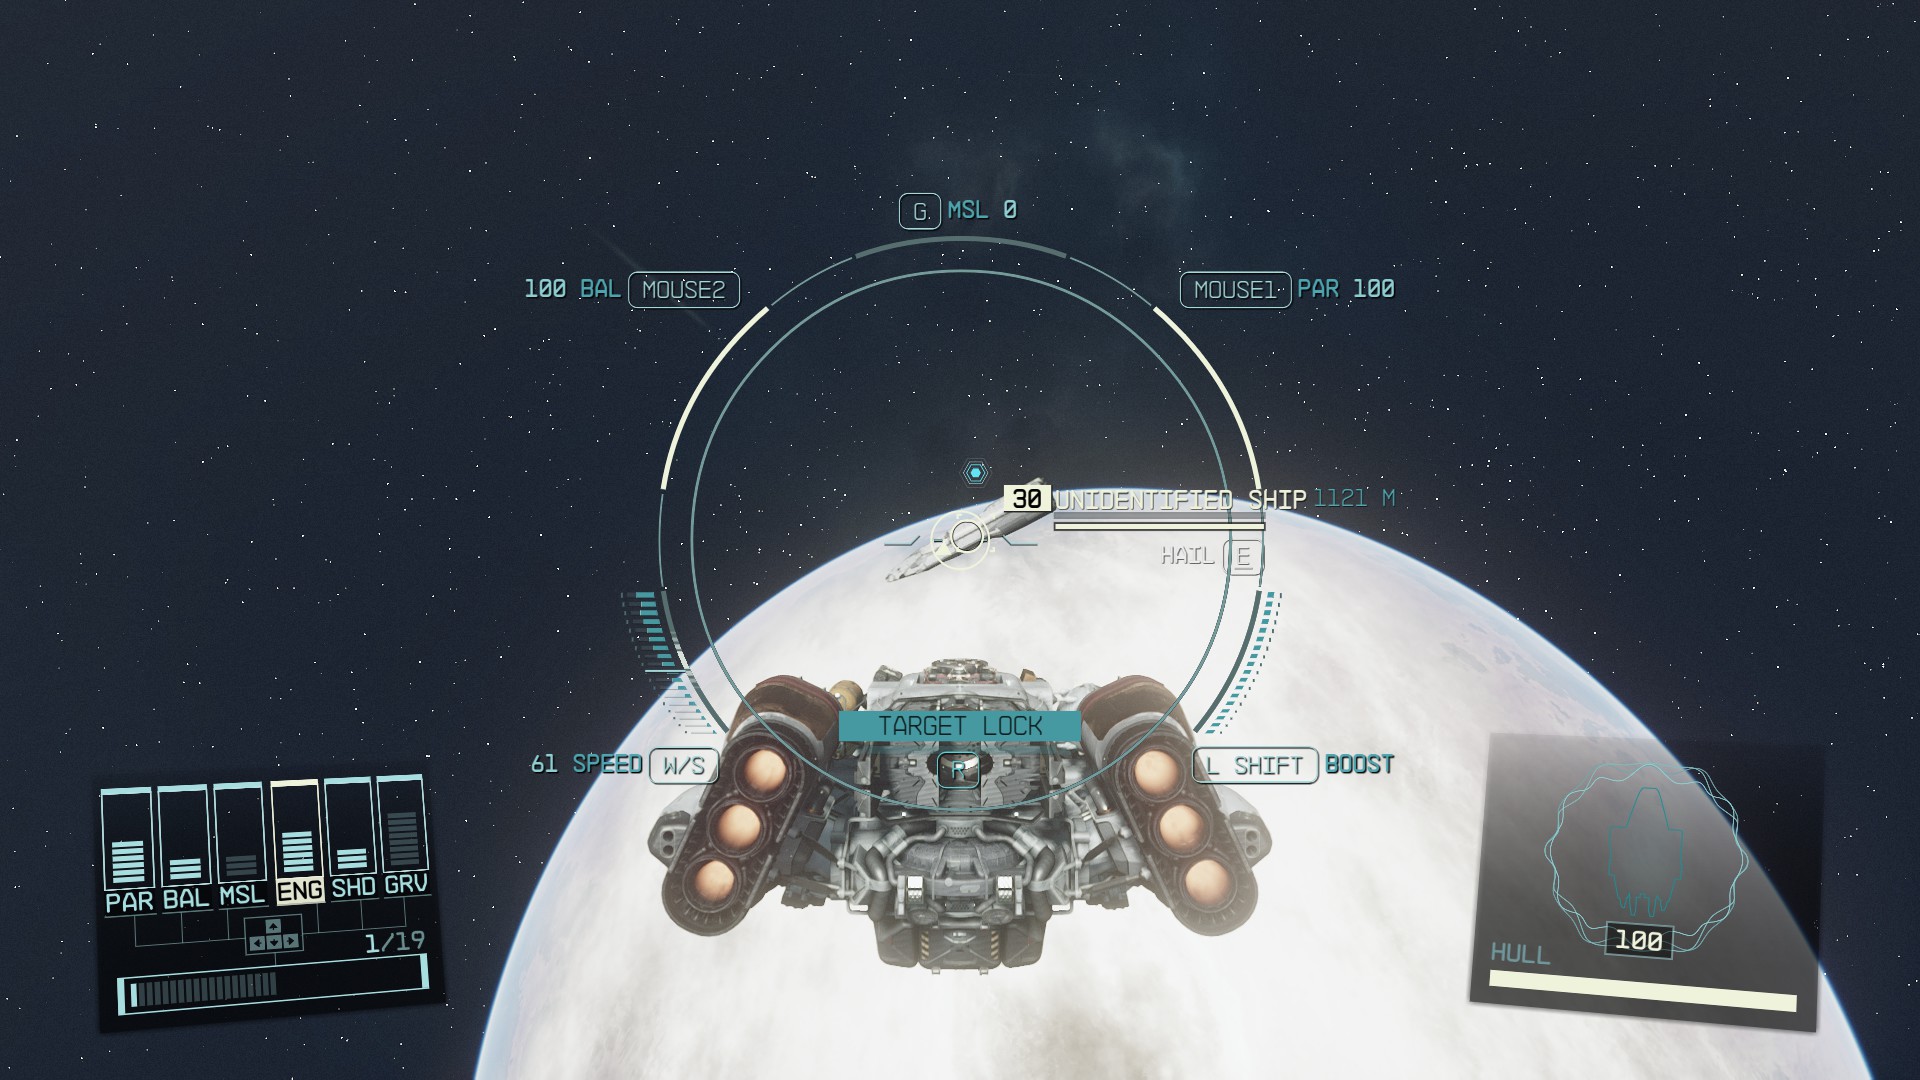
Hail the Unidentified Ship
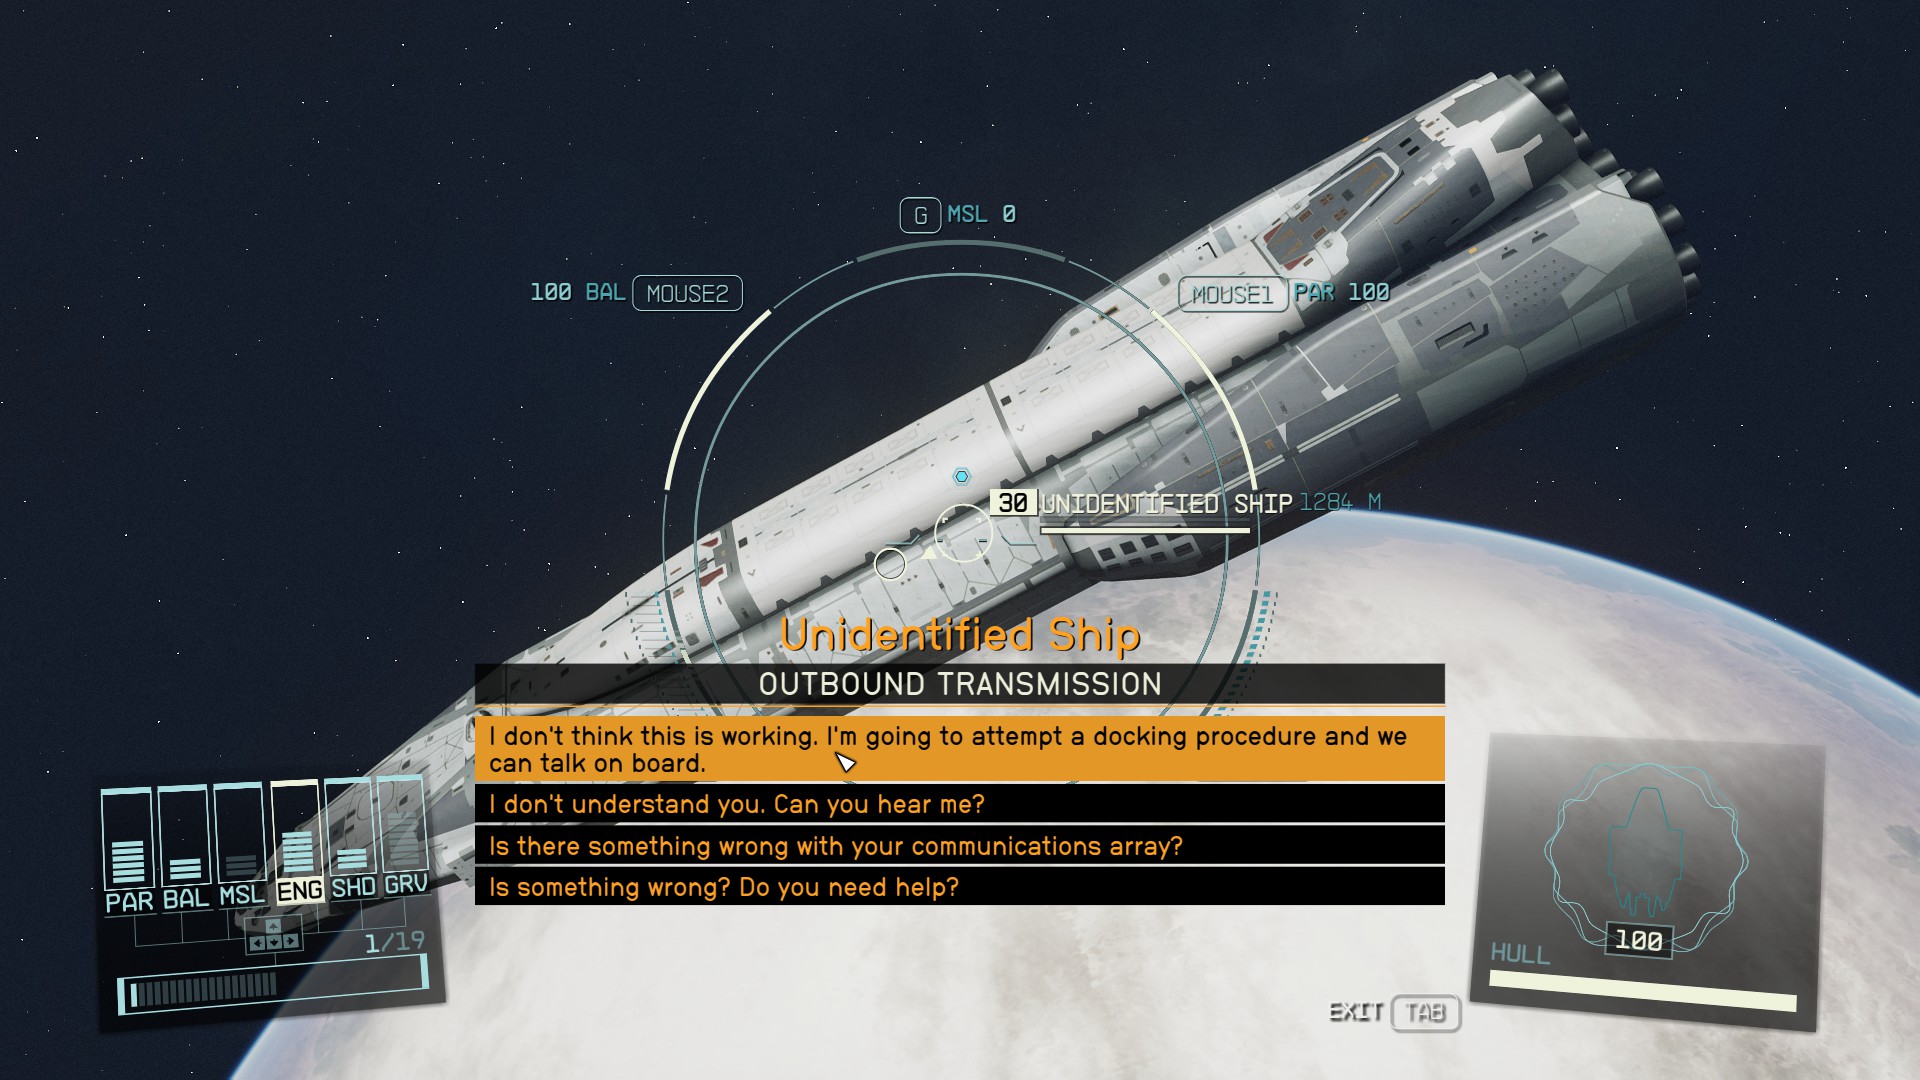
Once you’re back in orbit above Porrima II, angle yourself towards the mystery ship and select it with E/A. Long-pressing the same button again will hail the ship (5), but since that will produce nothing but static (6), all you’ll have left is brushing up on your Prime Directive and docking with the mystery ship.
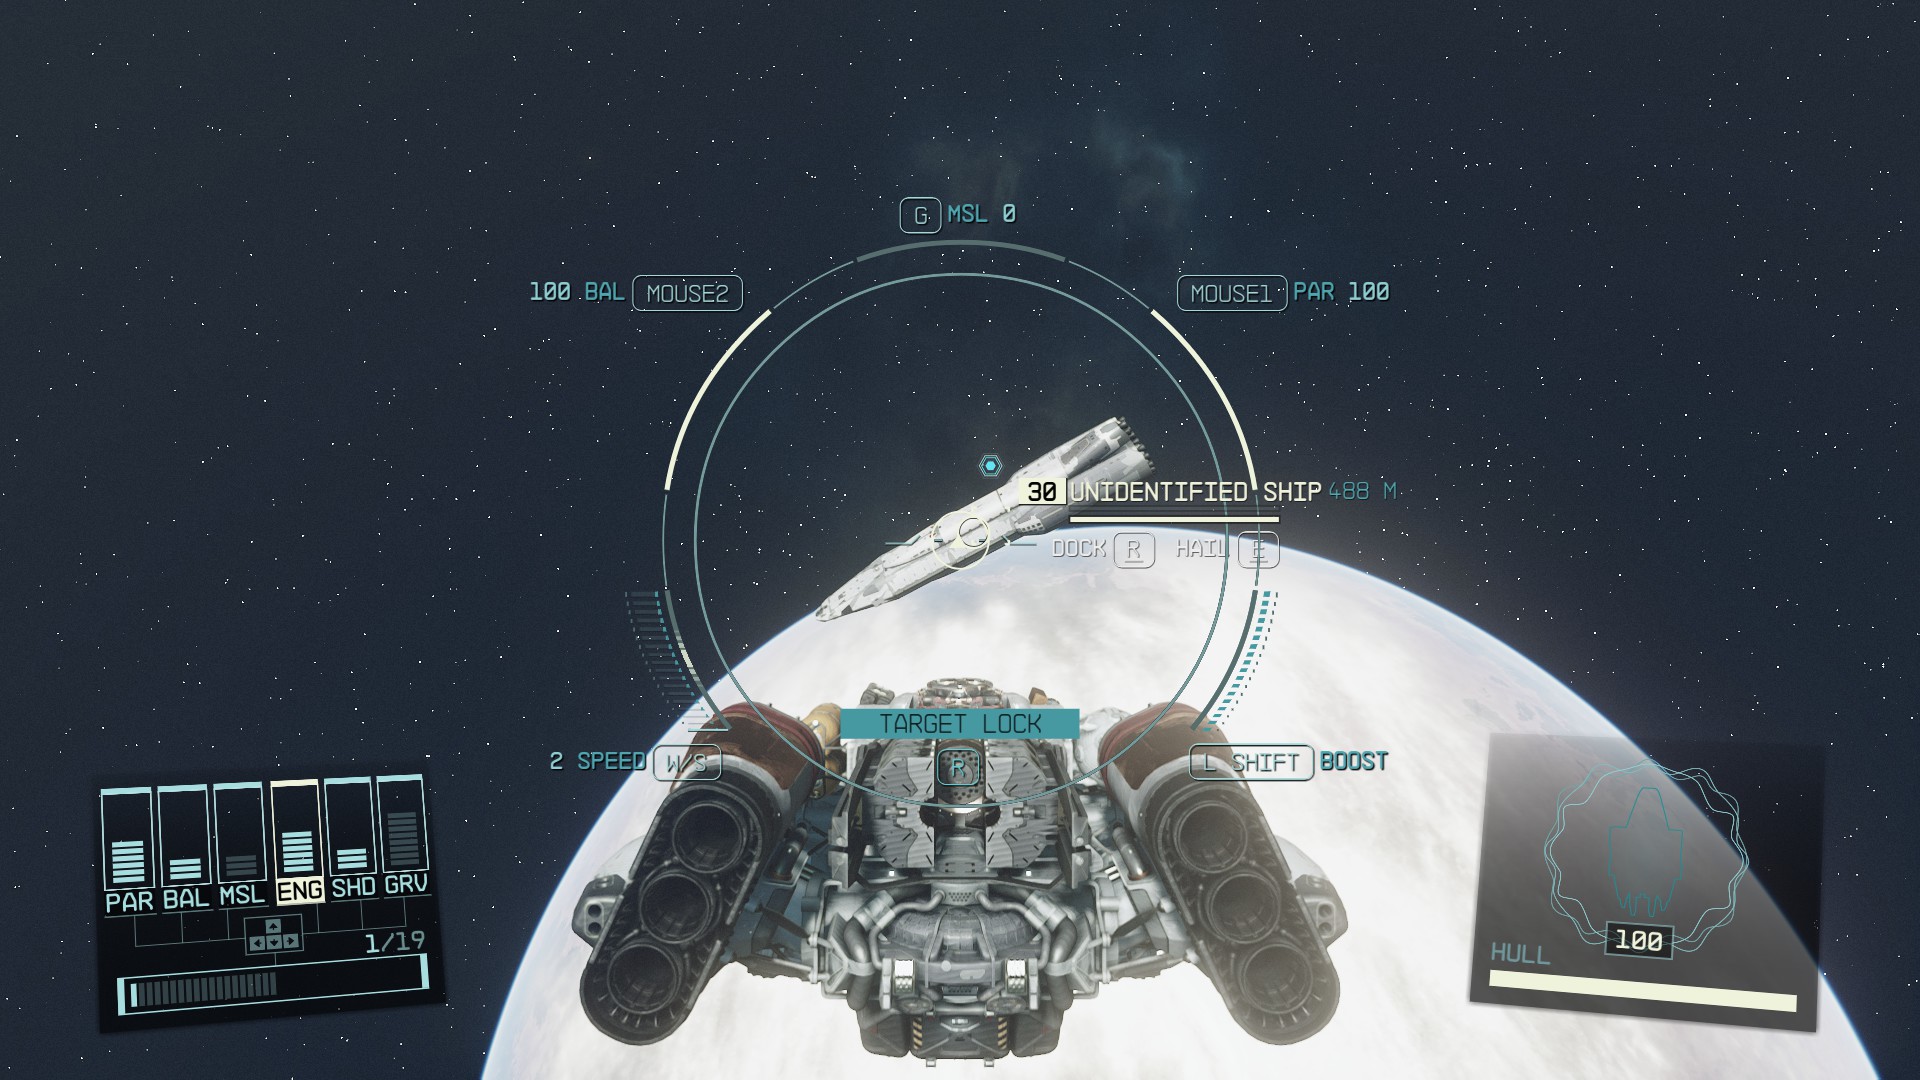
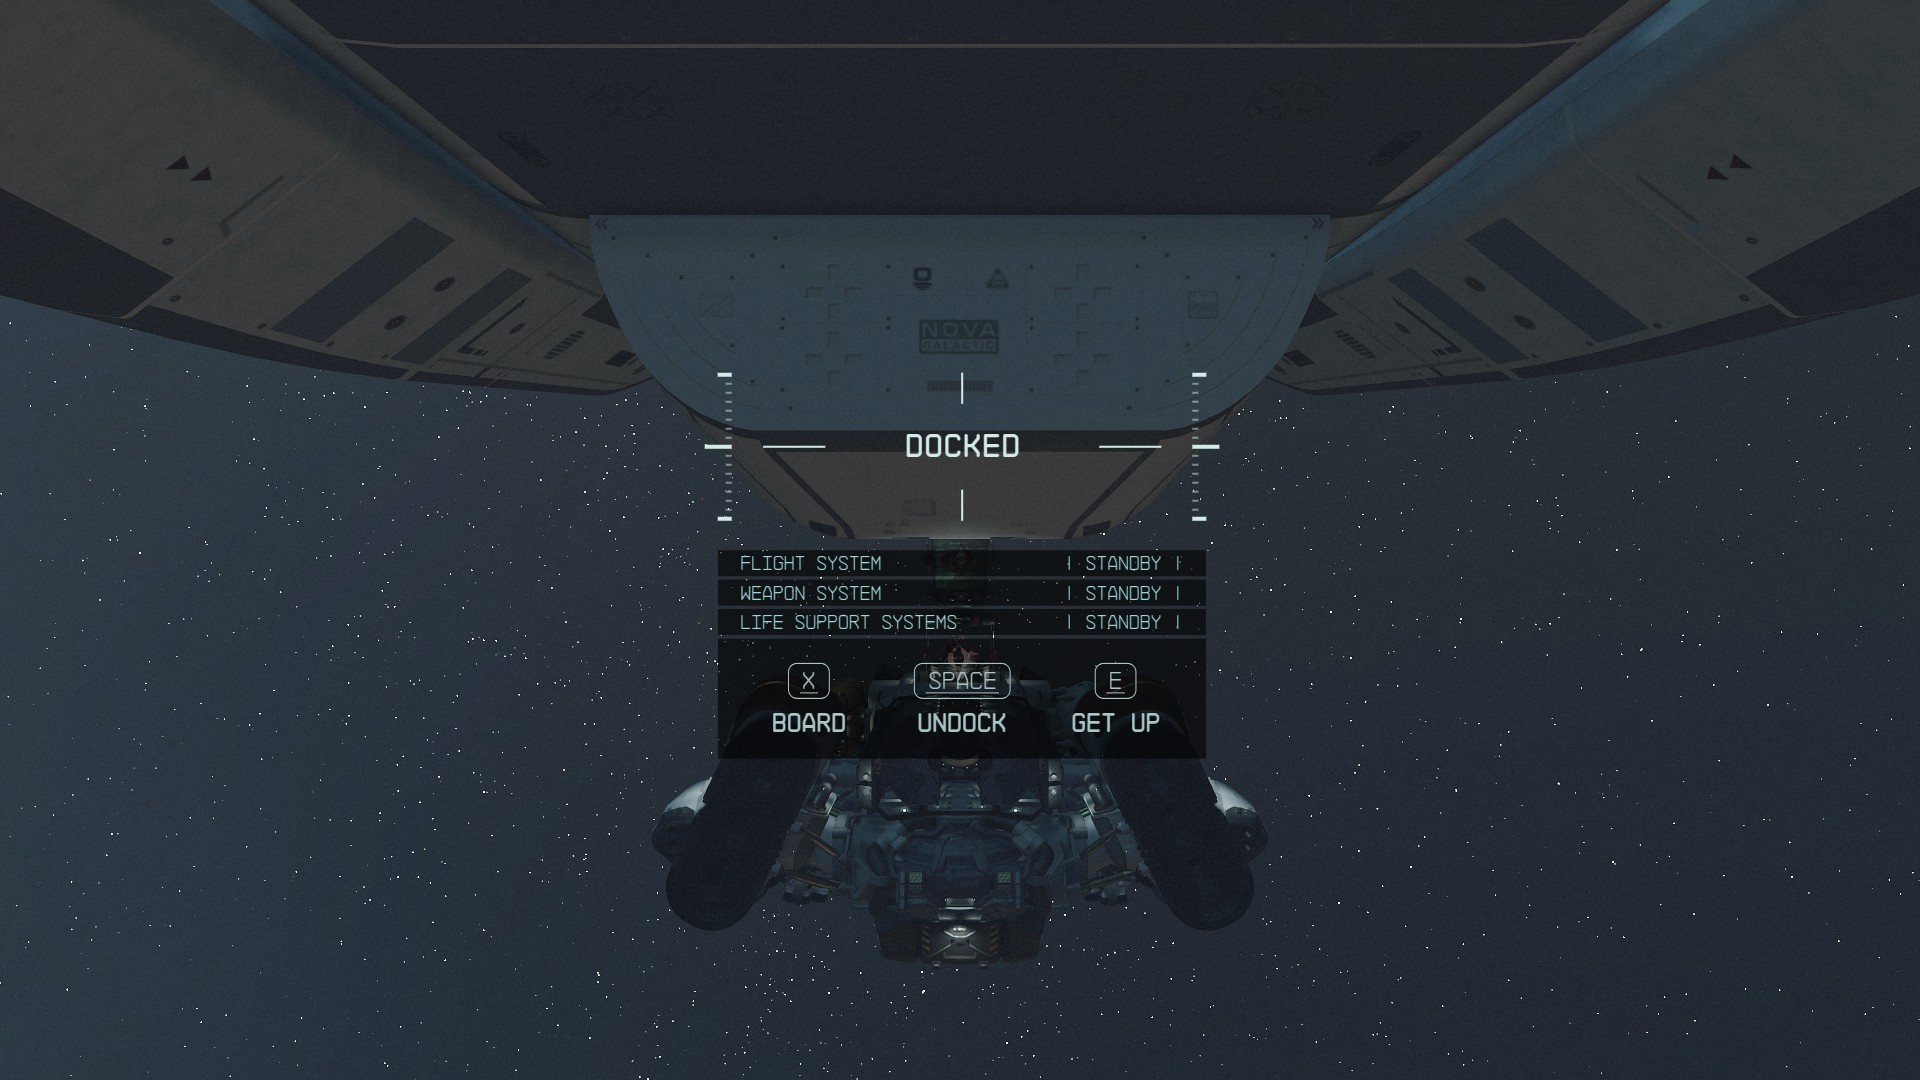
Dock with the Ship and Enter
To do so, approach it while having it targeted, and when you’re at 500m or closer, you’ll be able to initiate the docking procedure by long-pressing R/X (7). When docked, you’ll need to long-press X (on either keyboard or controller) to actually board (8).
(5)(6)(7)(8)
Speak with the Ship’s Captain
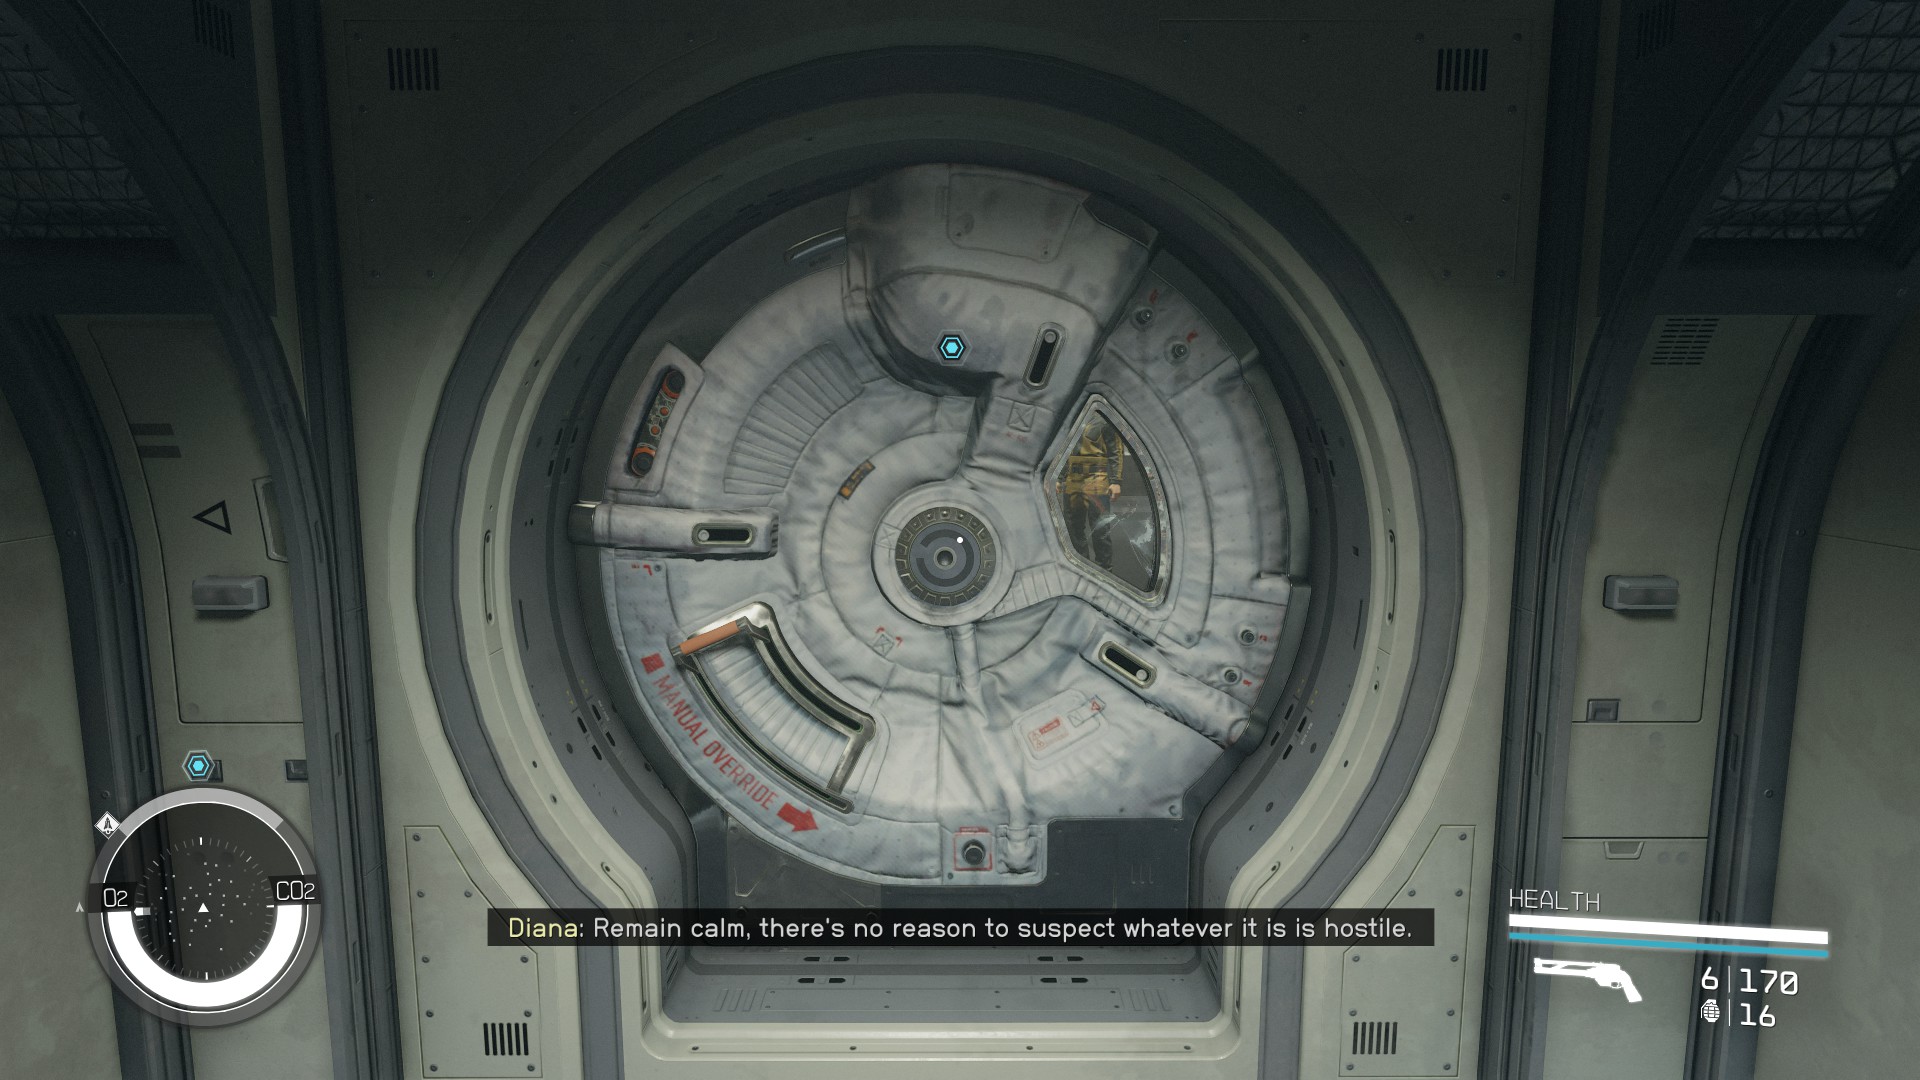
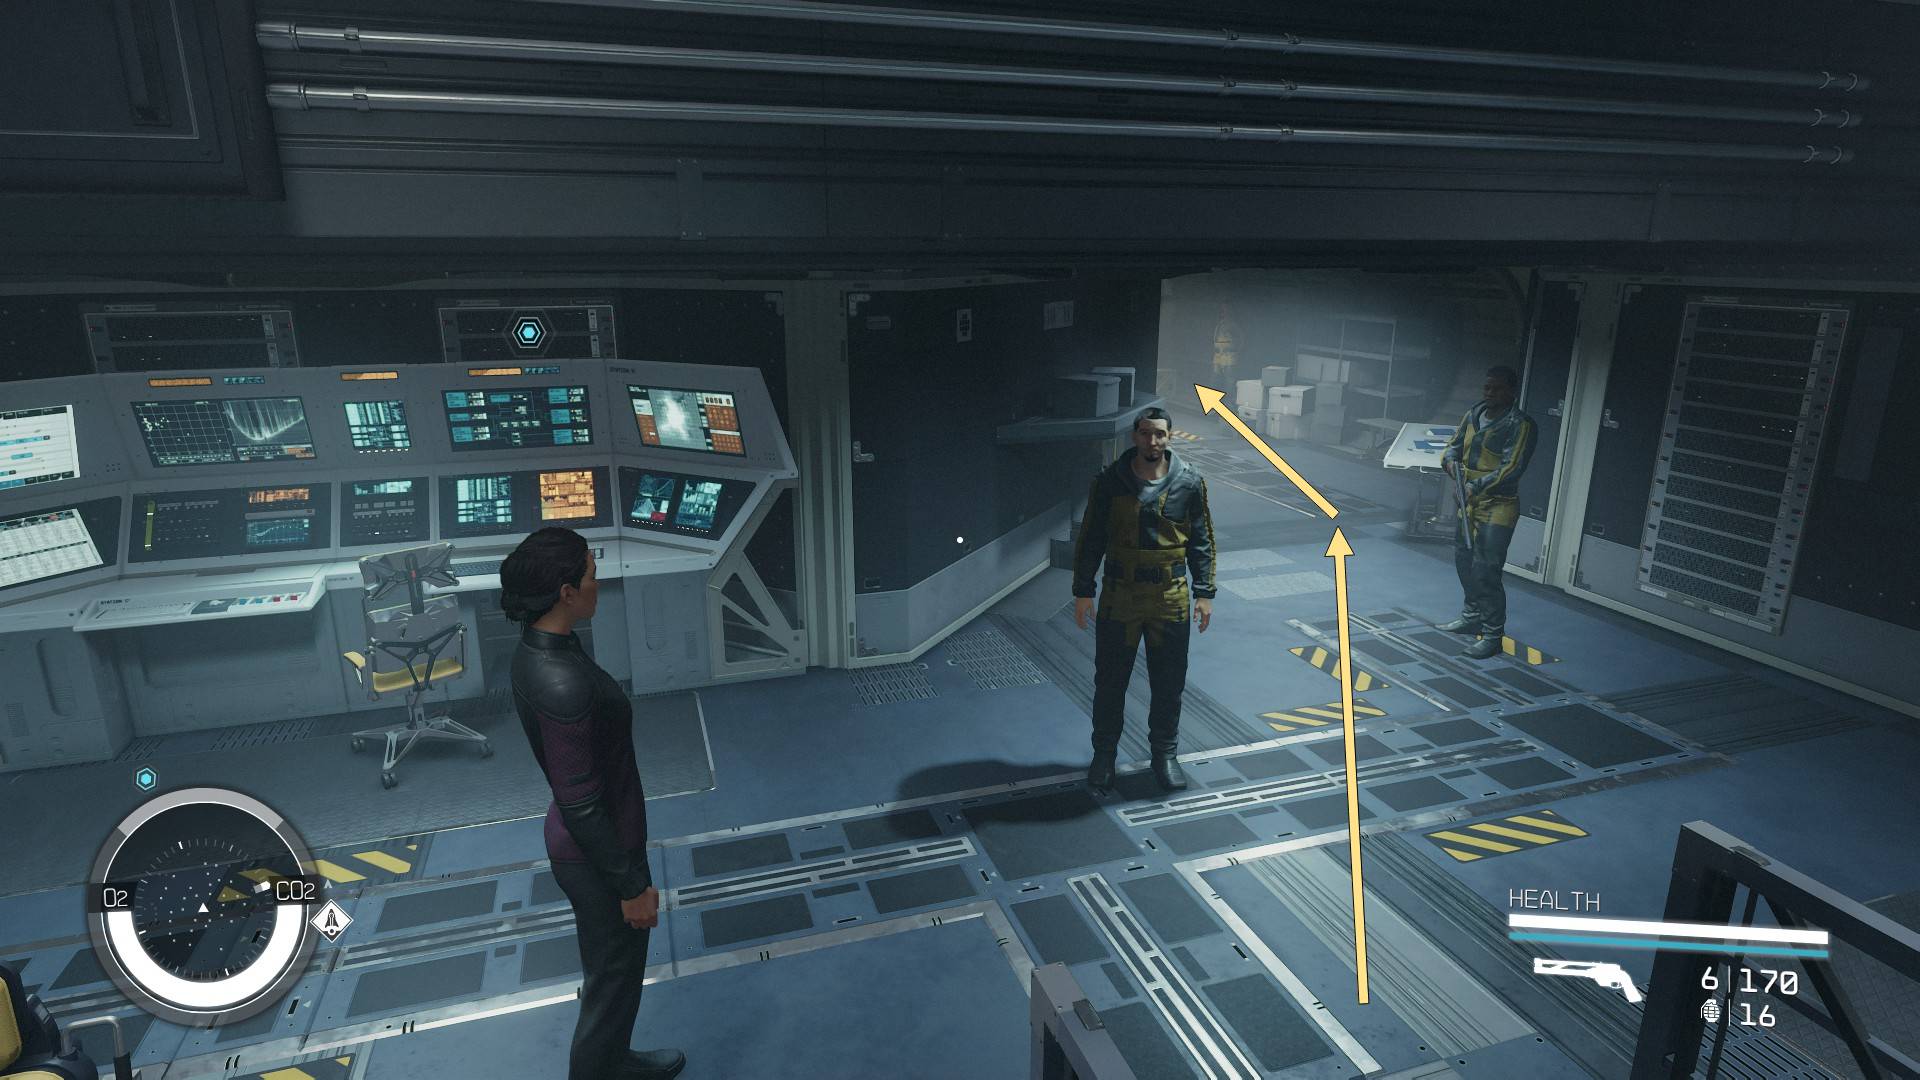
As you step inside, your quest log will suggest that you should speak with the ship’s captain. Which you can do by walking forward a few dozen meters. At that point, you’ll see a closed door and some agitated people behind it.
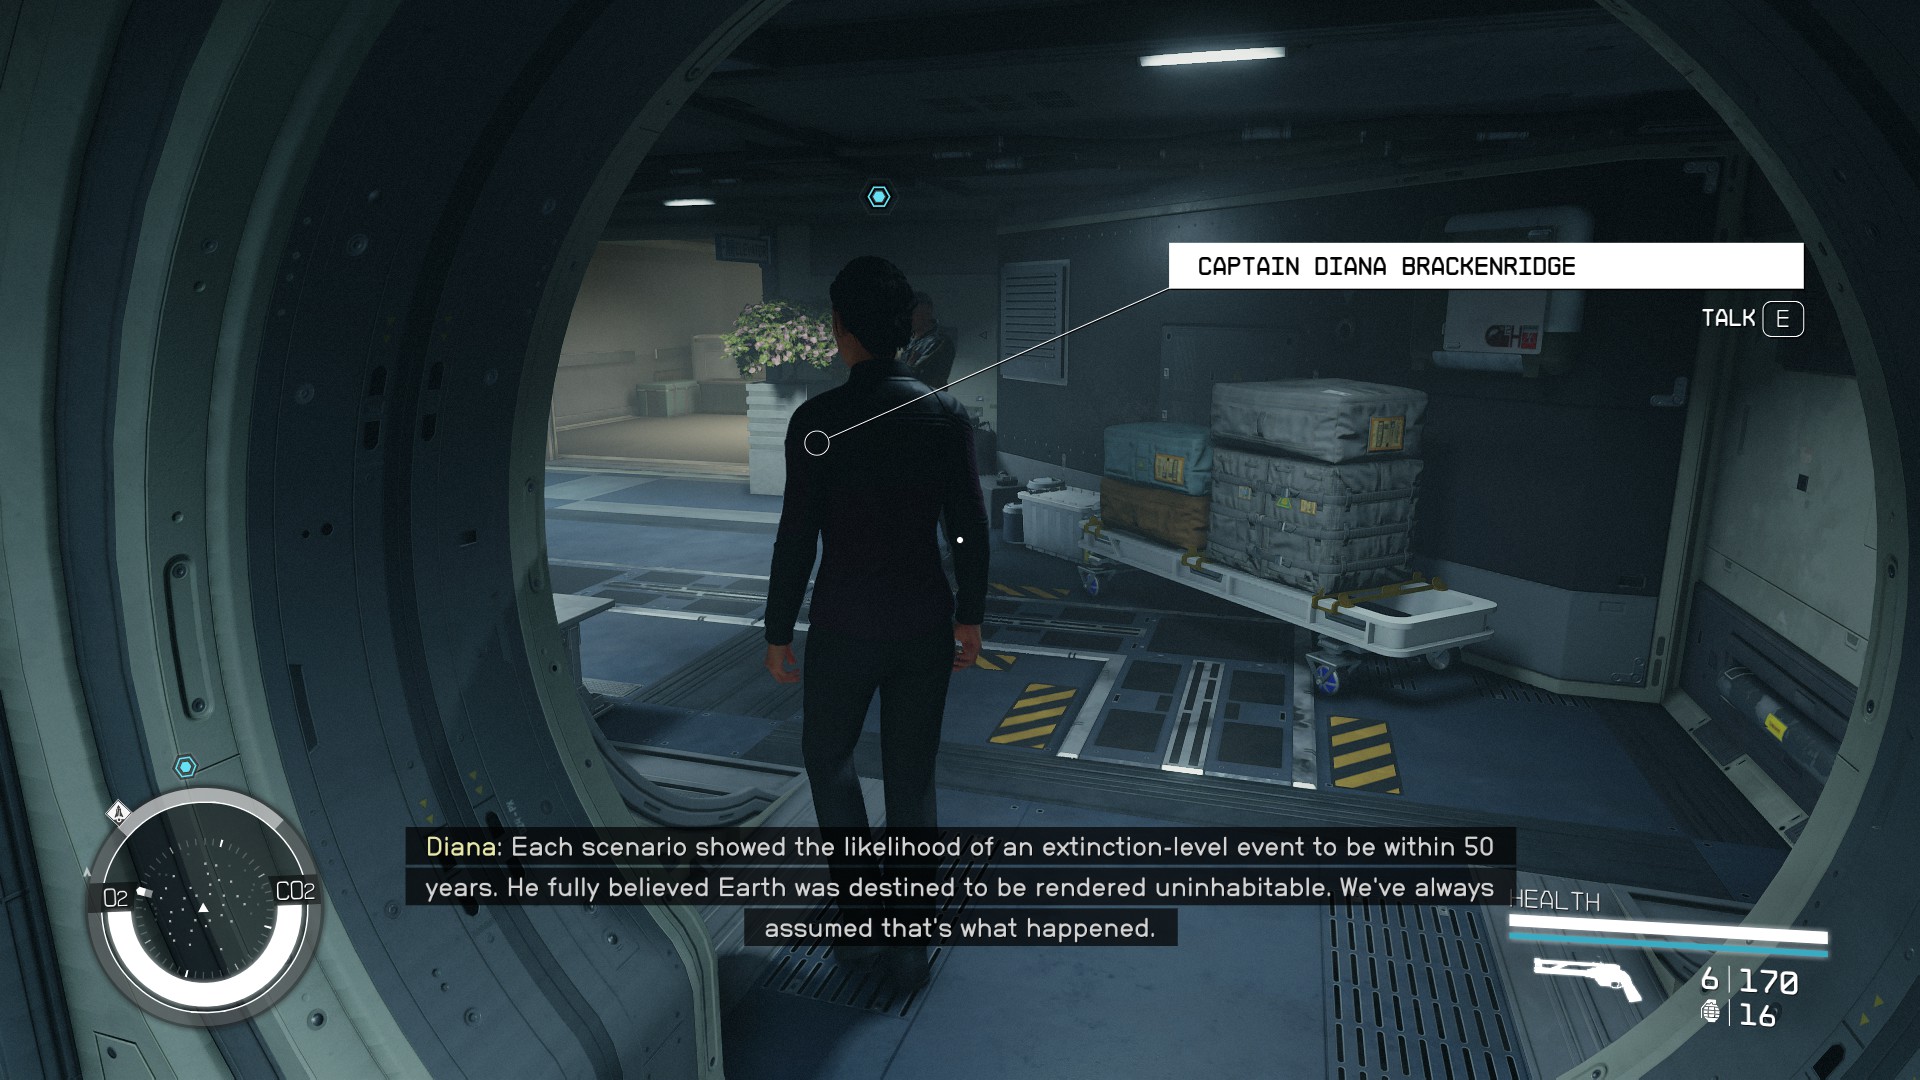
Upon walking through the door, you’ll be greeted by the ship’s captain Diana Brackenridge, who’ll be surprised to see a human. Eventually, you’ll learn that Diana and her crew are part of a generational ship that set out on its journey to colonize a new world over 200 years ago. But soon after that, Grav Jumping was invented, leading to faster than light travel, and the planet ended up colonized long before Diana’s ship arrived to its destination. She’ll ask you to be her go-between with the planet’s inhabitants. But first, she’ll take you on a tour through her ship.
Follow Captain Brackenridge
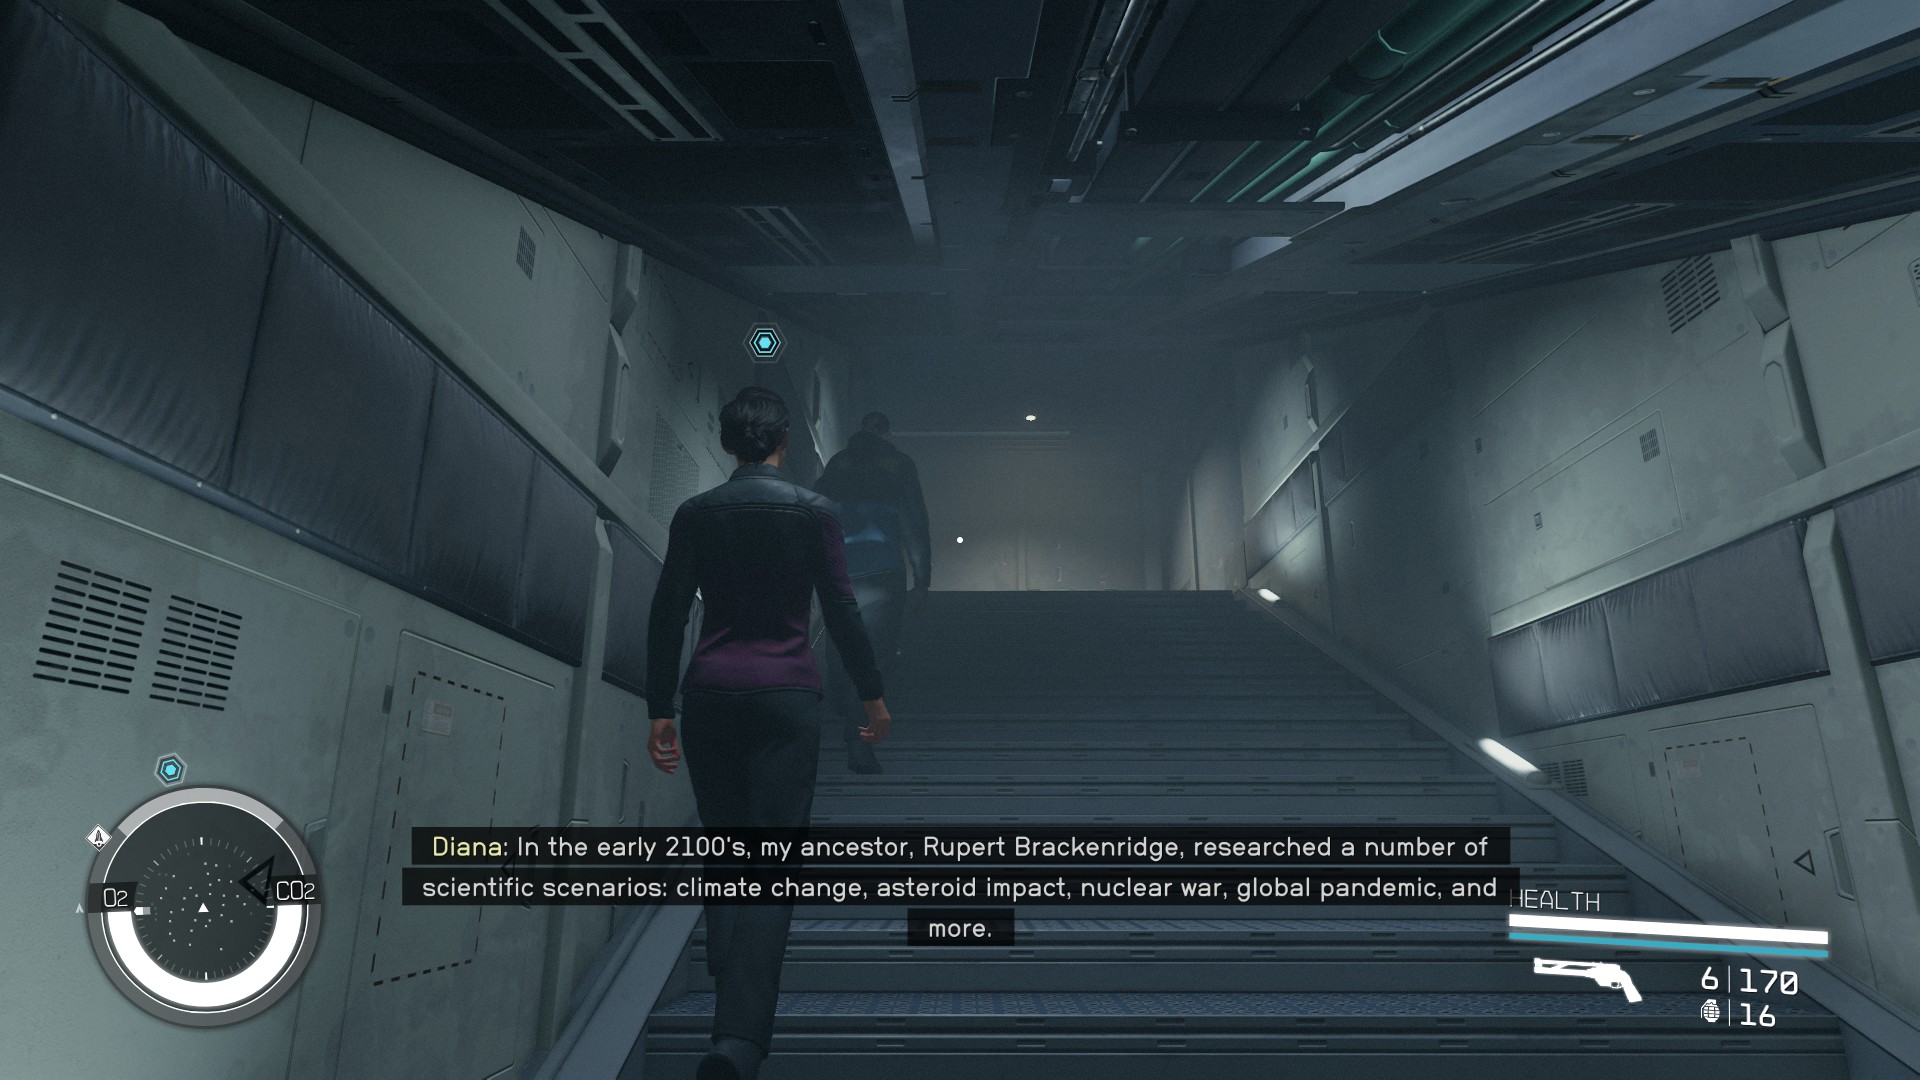
Simply follow the captain as she gives you a history lesson on the origins and the lengthy journey of ECS Constant – the state of the art, at the time, ship envisioned and created by her ancestor Rupert Brackenridge who was a bit of a doomsday prepper with the means to do something about it.
Speak with Captain Brackenridge
When you reach the bridge, Diana will ask you to negotiate a deal with the leadership of Paradiso. And while she’s open to a compromise, her preferred outcome is taking over the planet in its entirety.
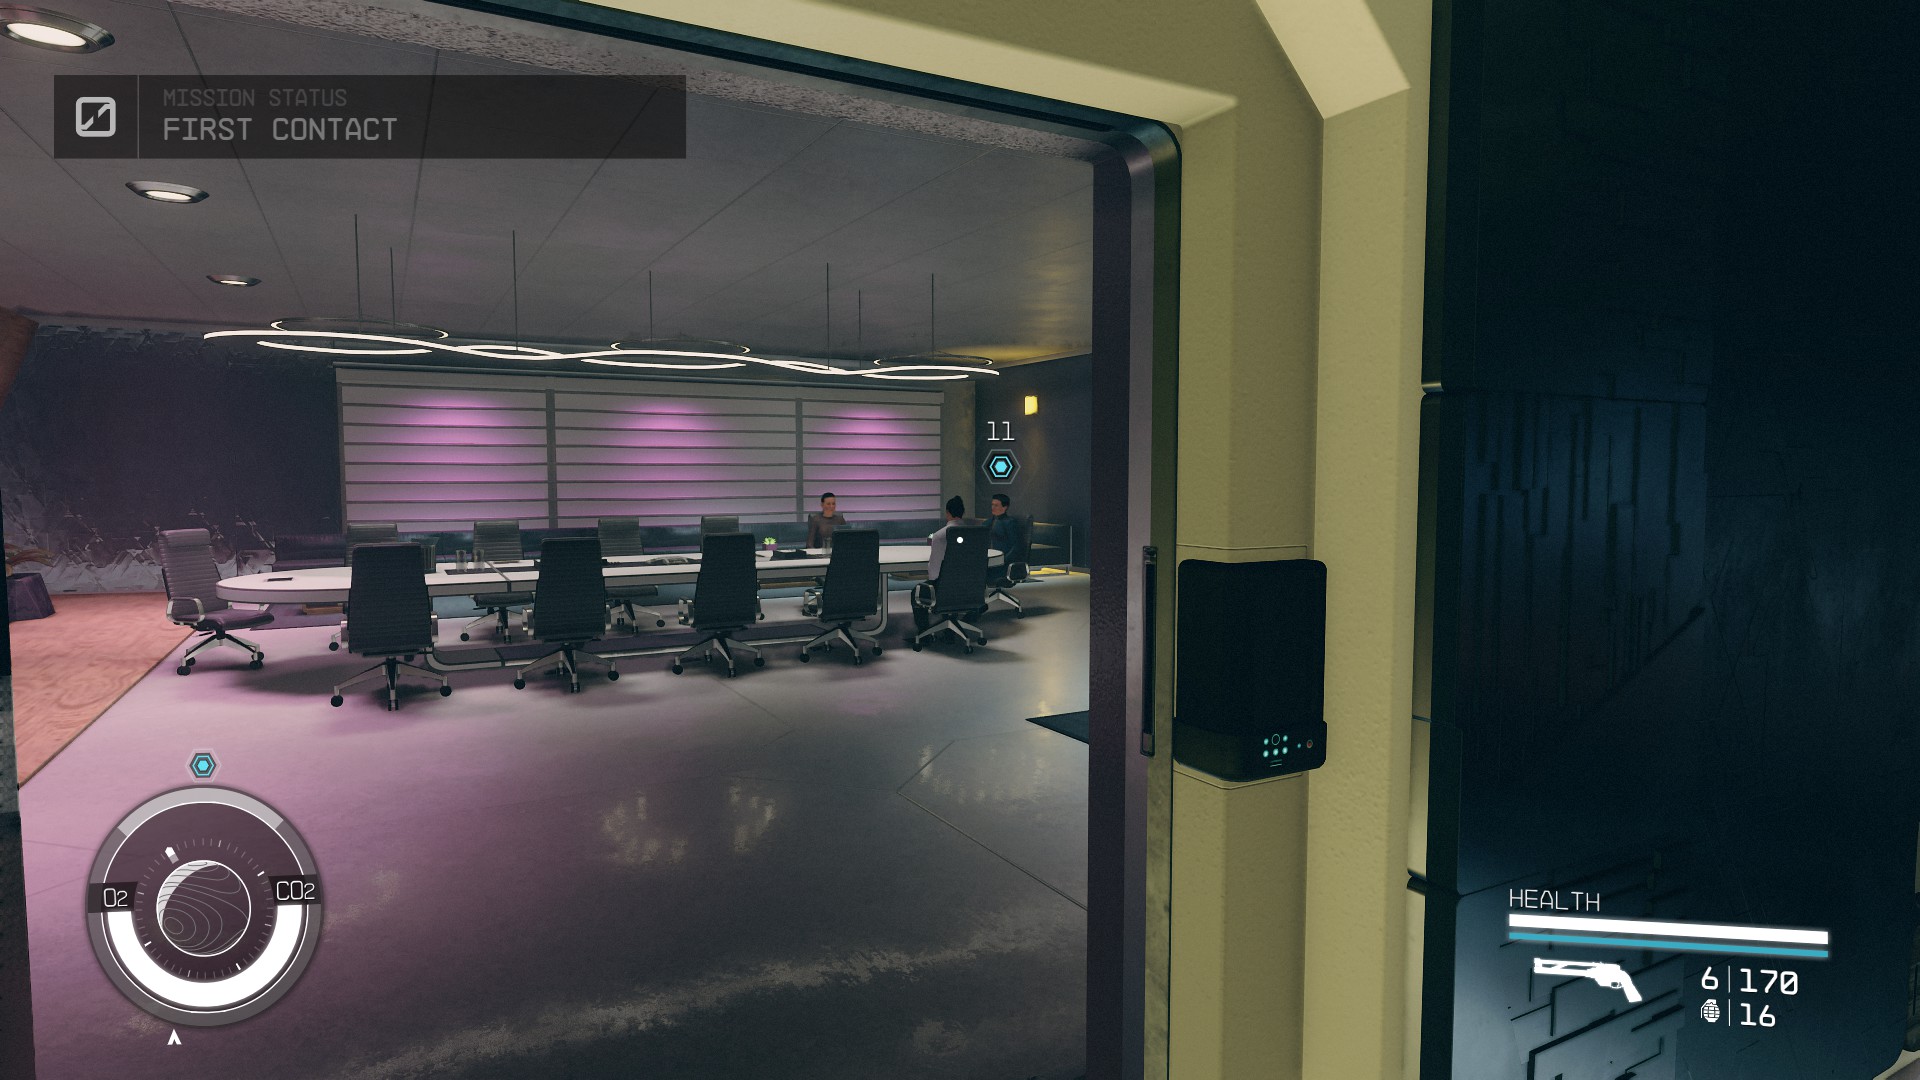
Negotiate with Oliver Campbell
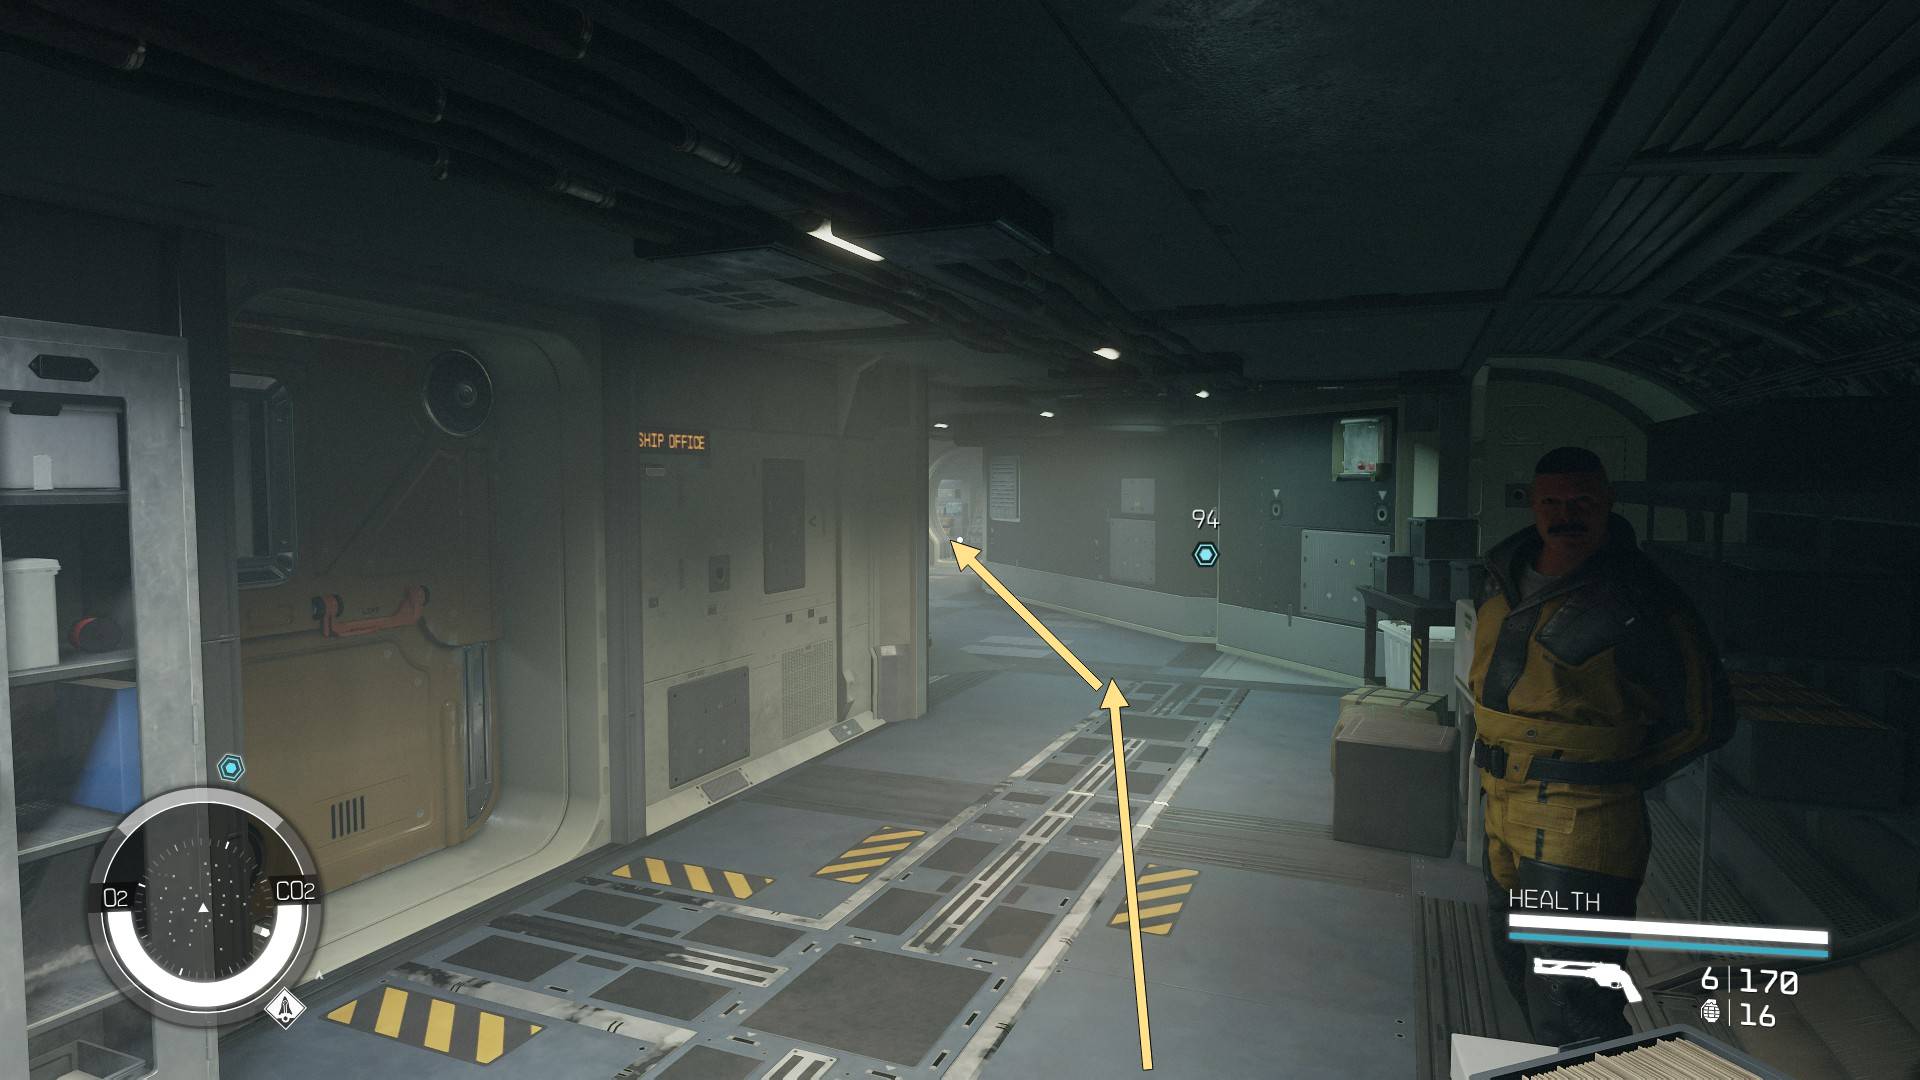
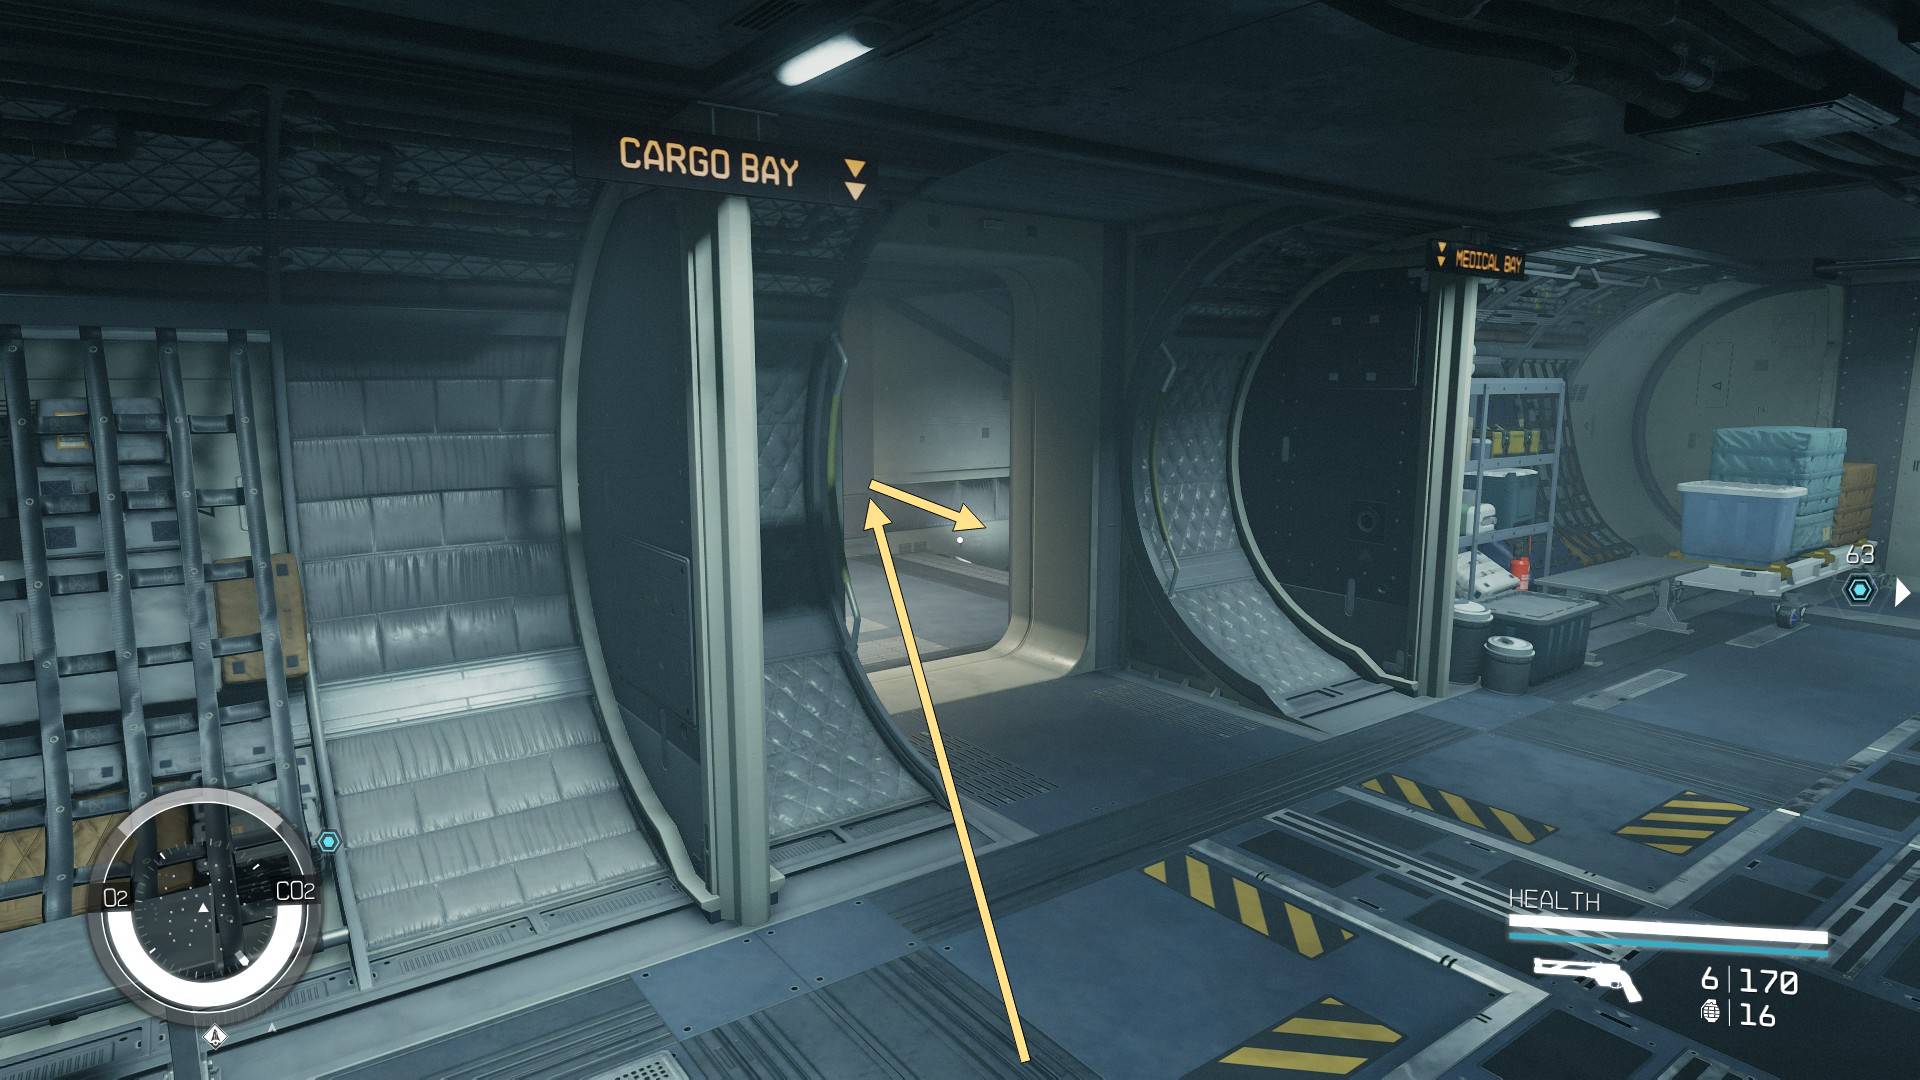
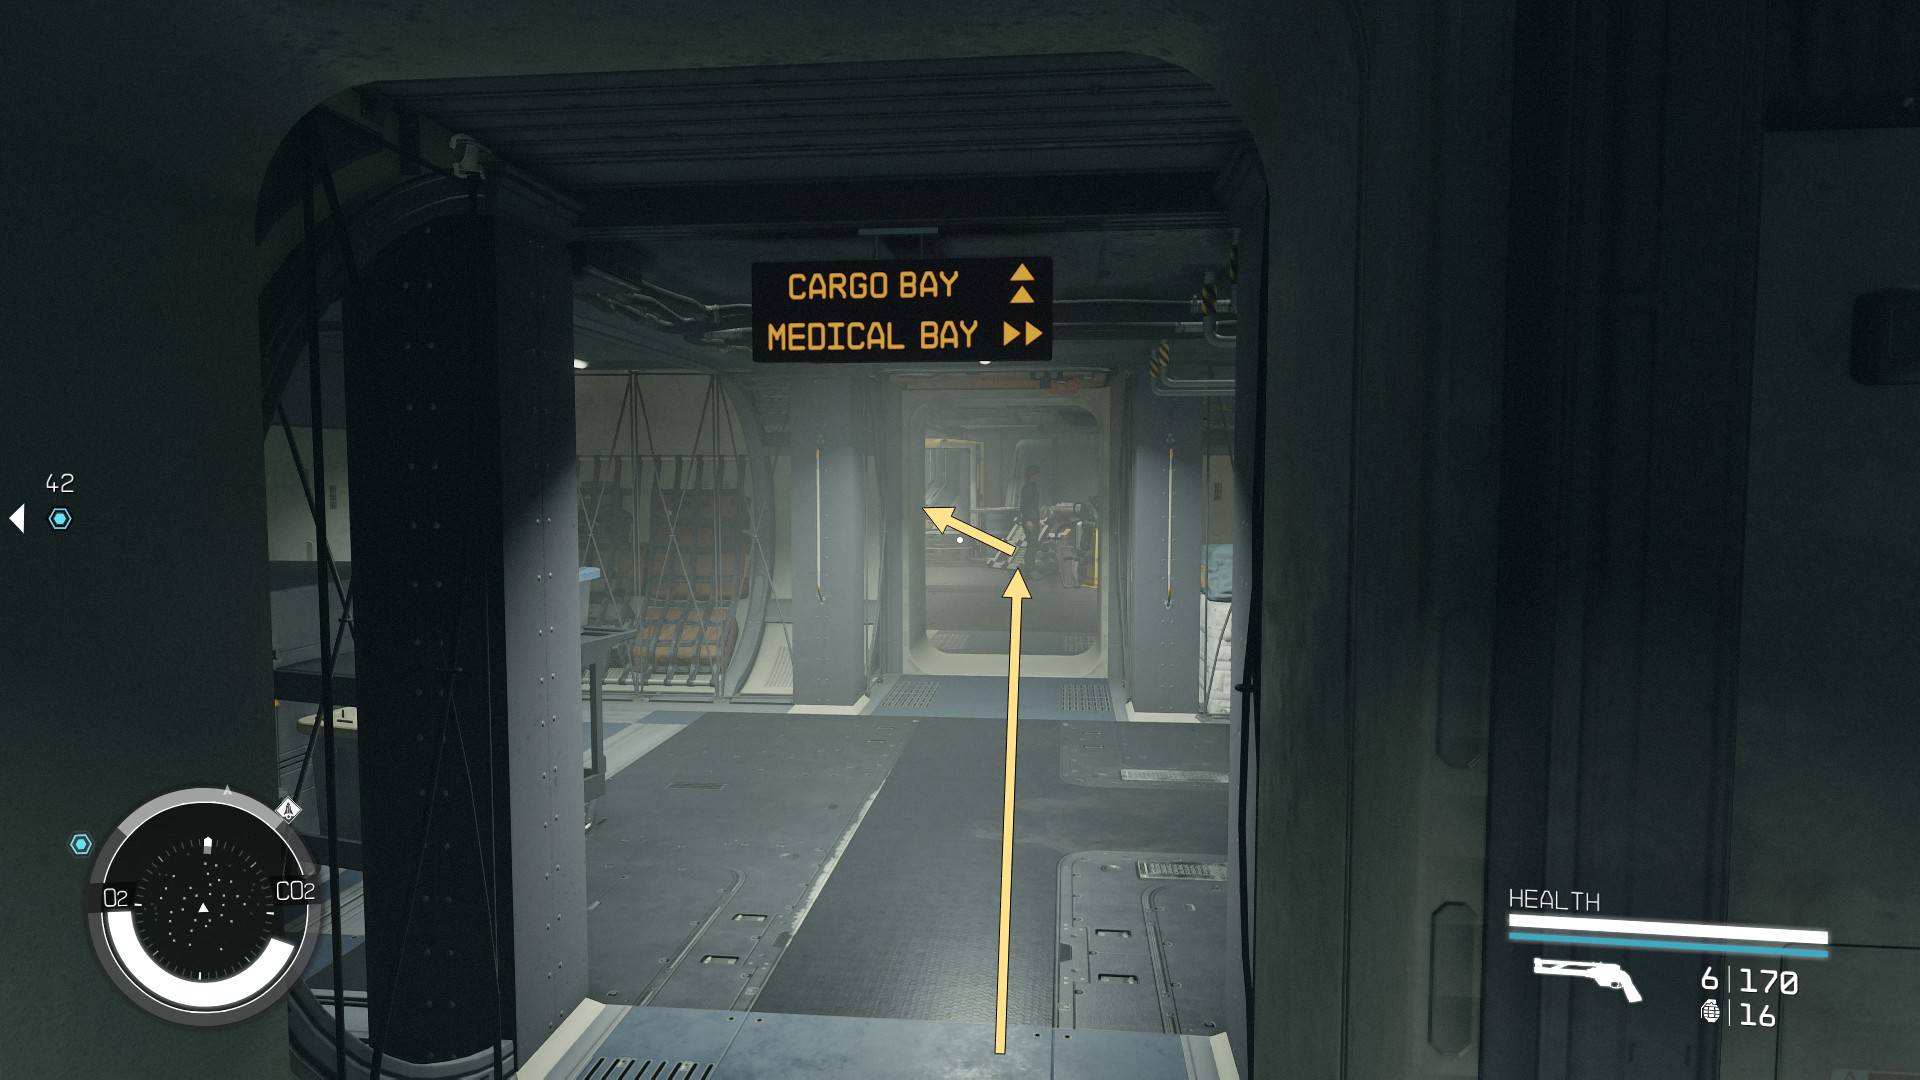
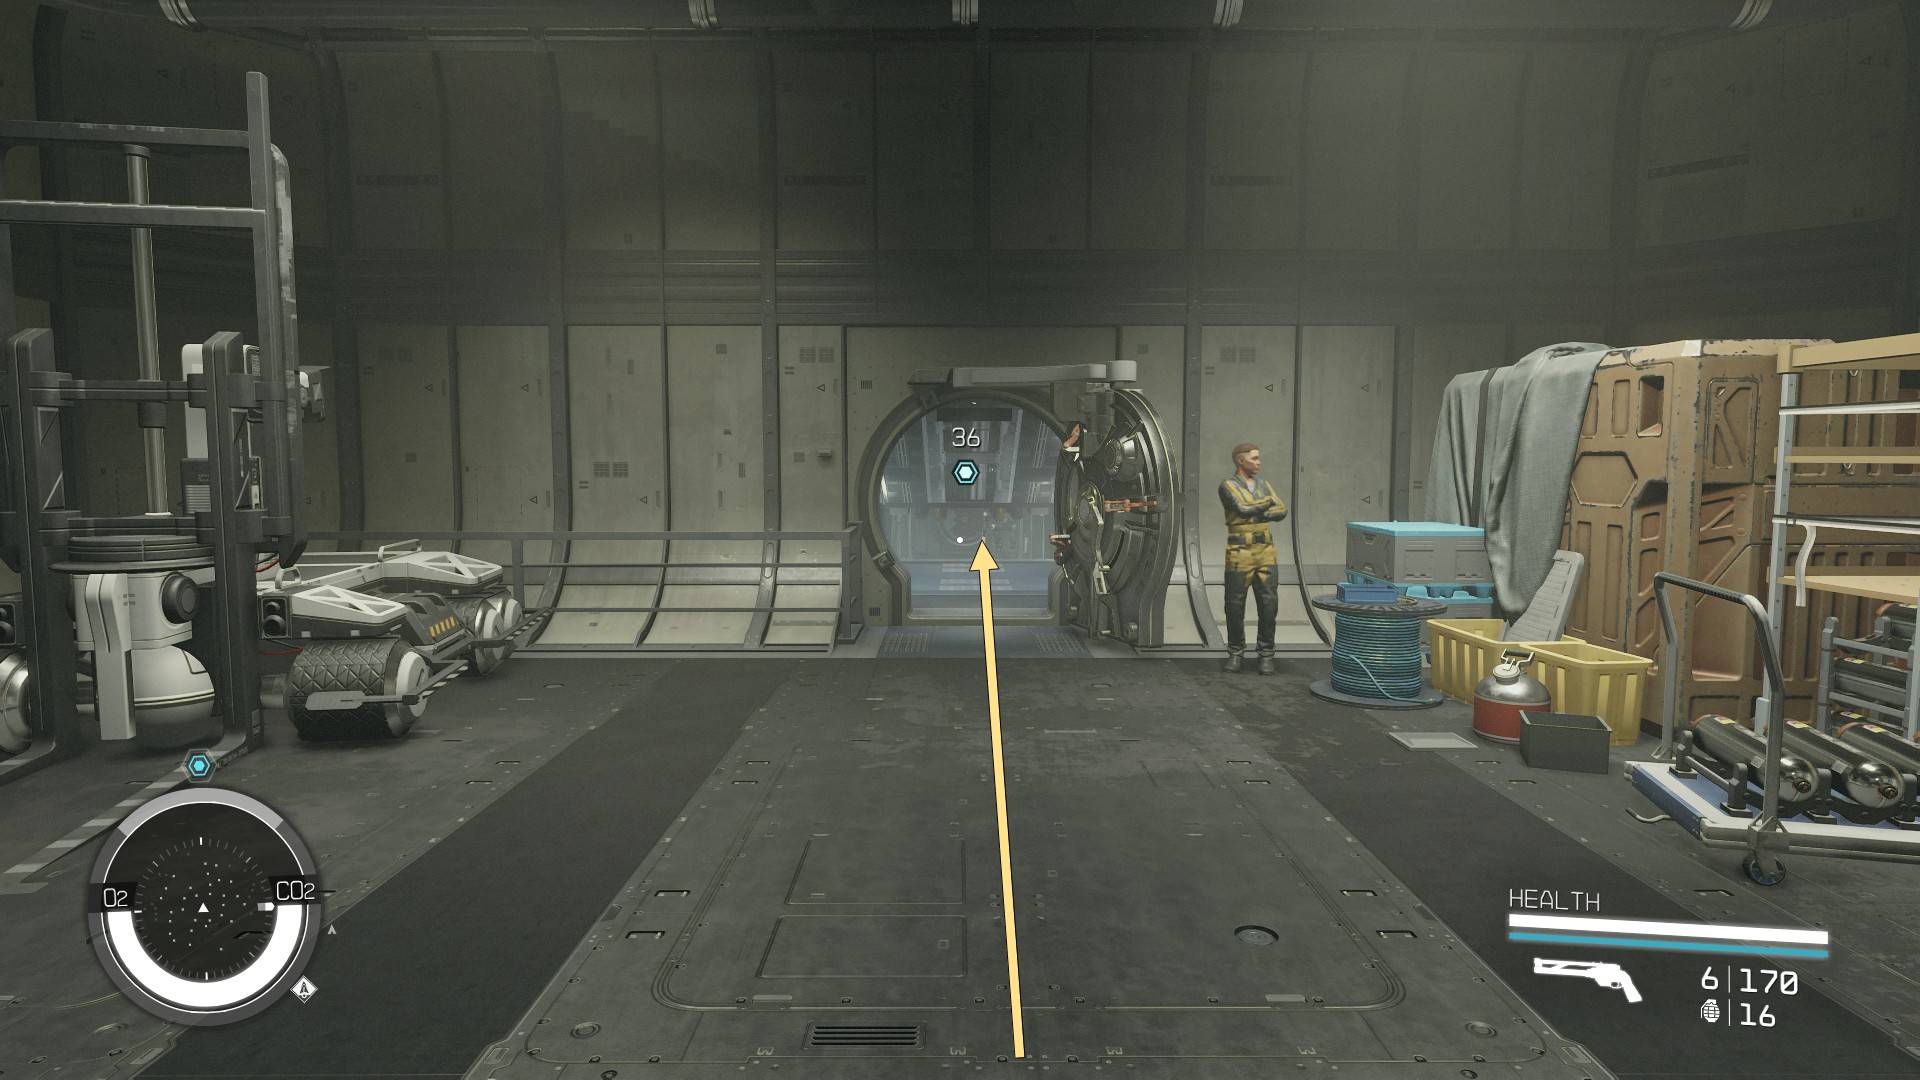
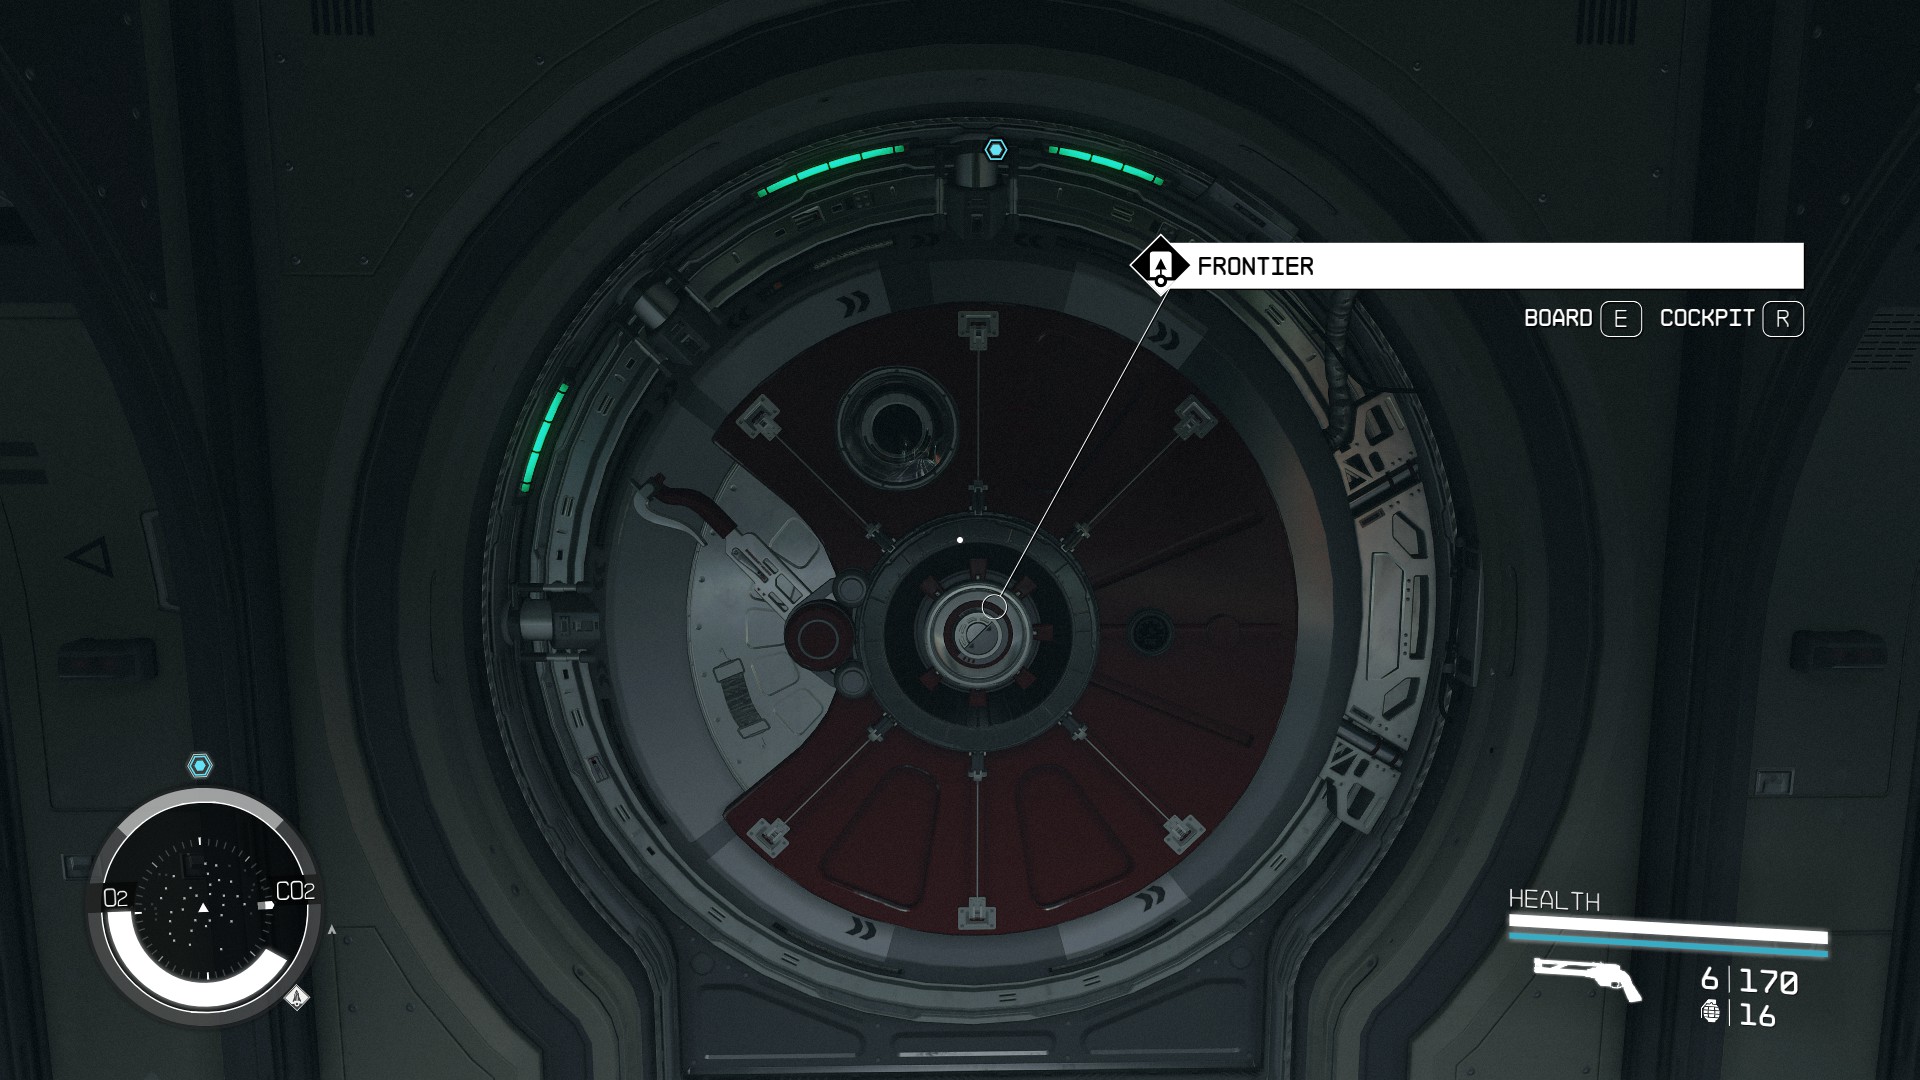
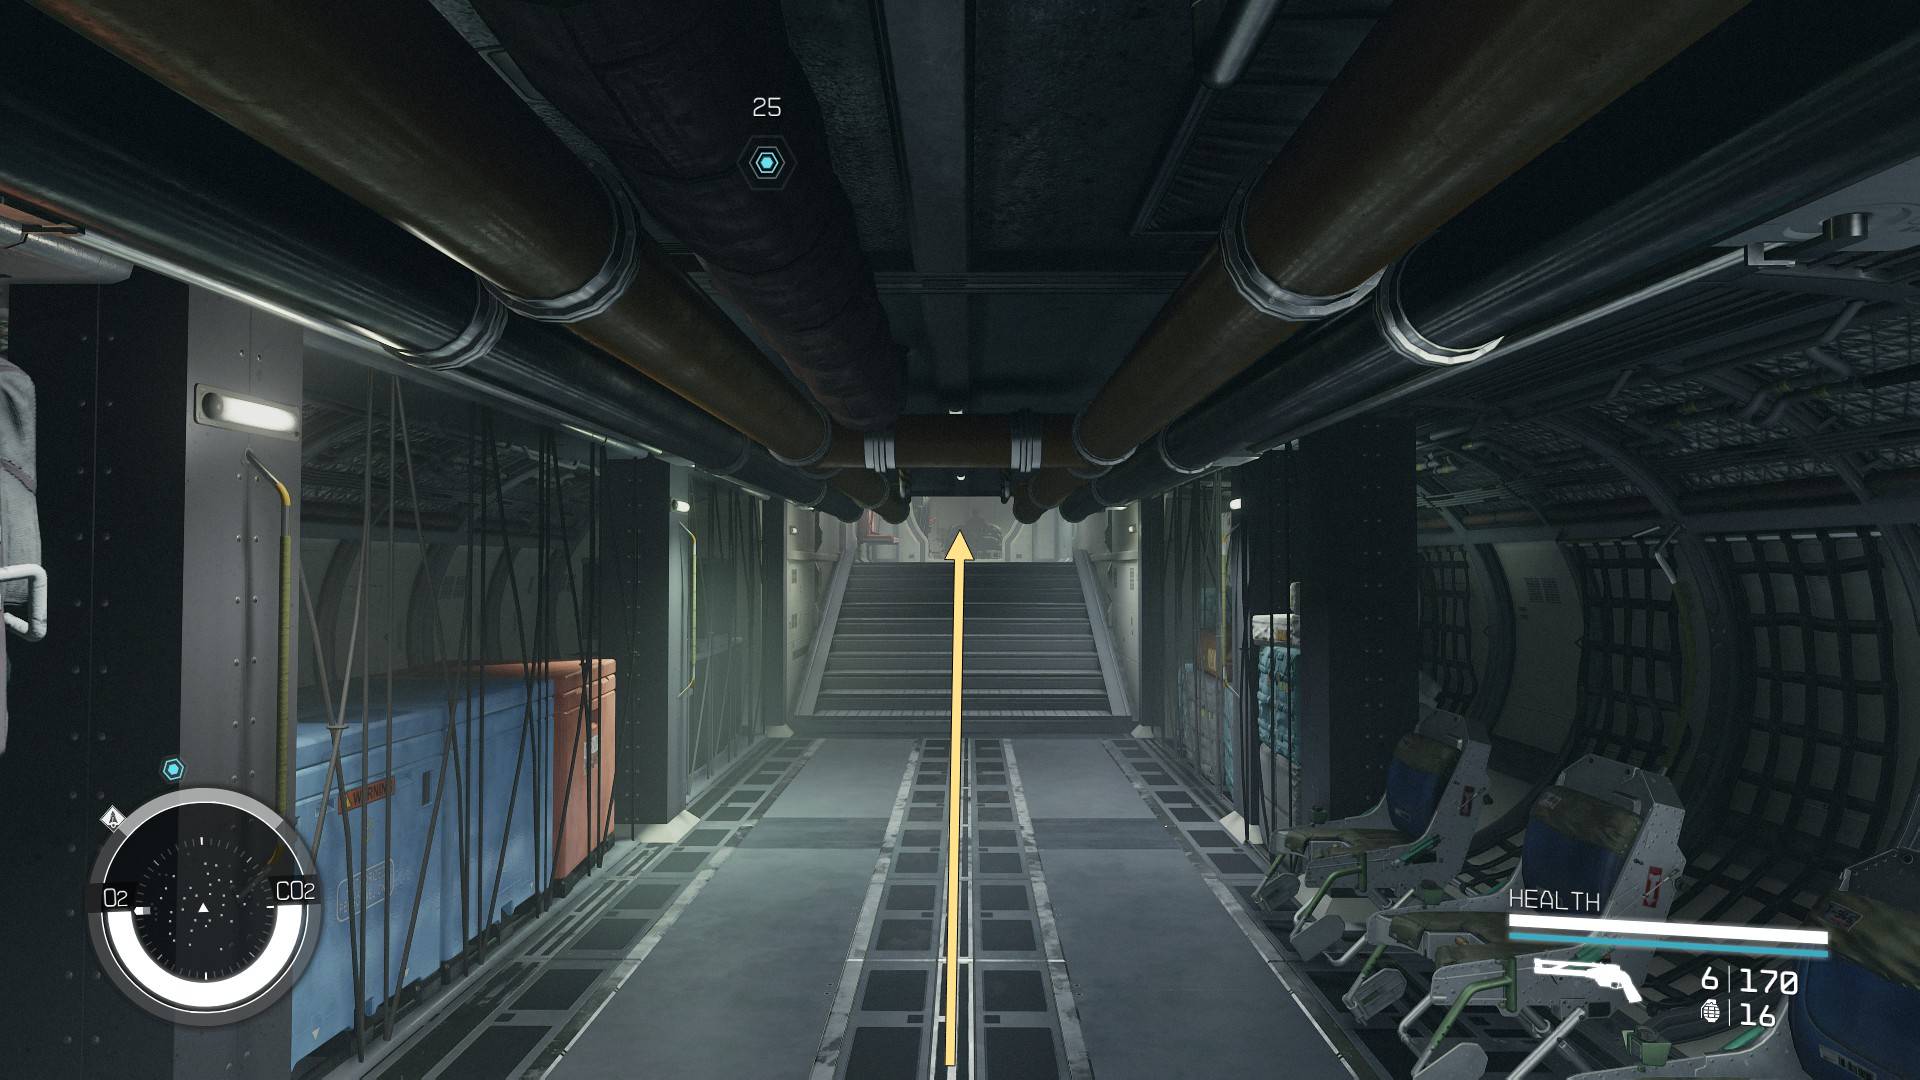
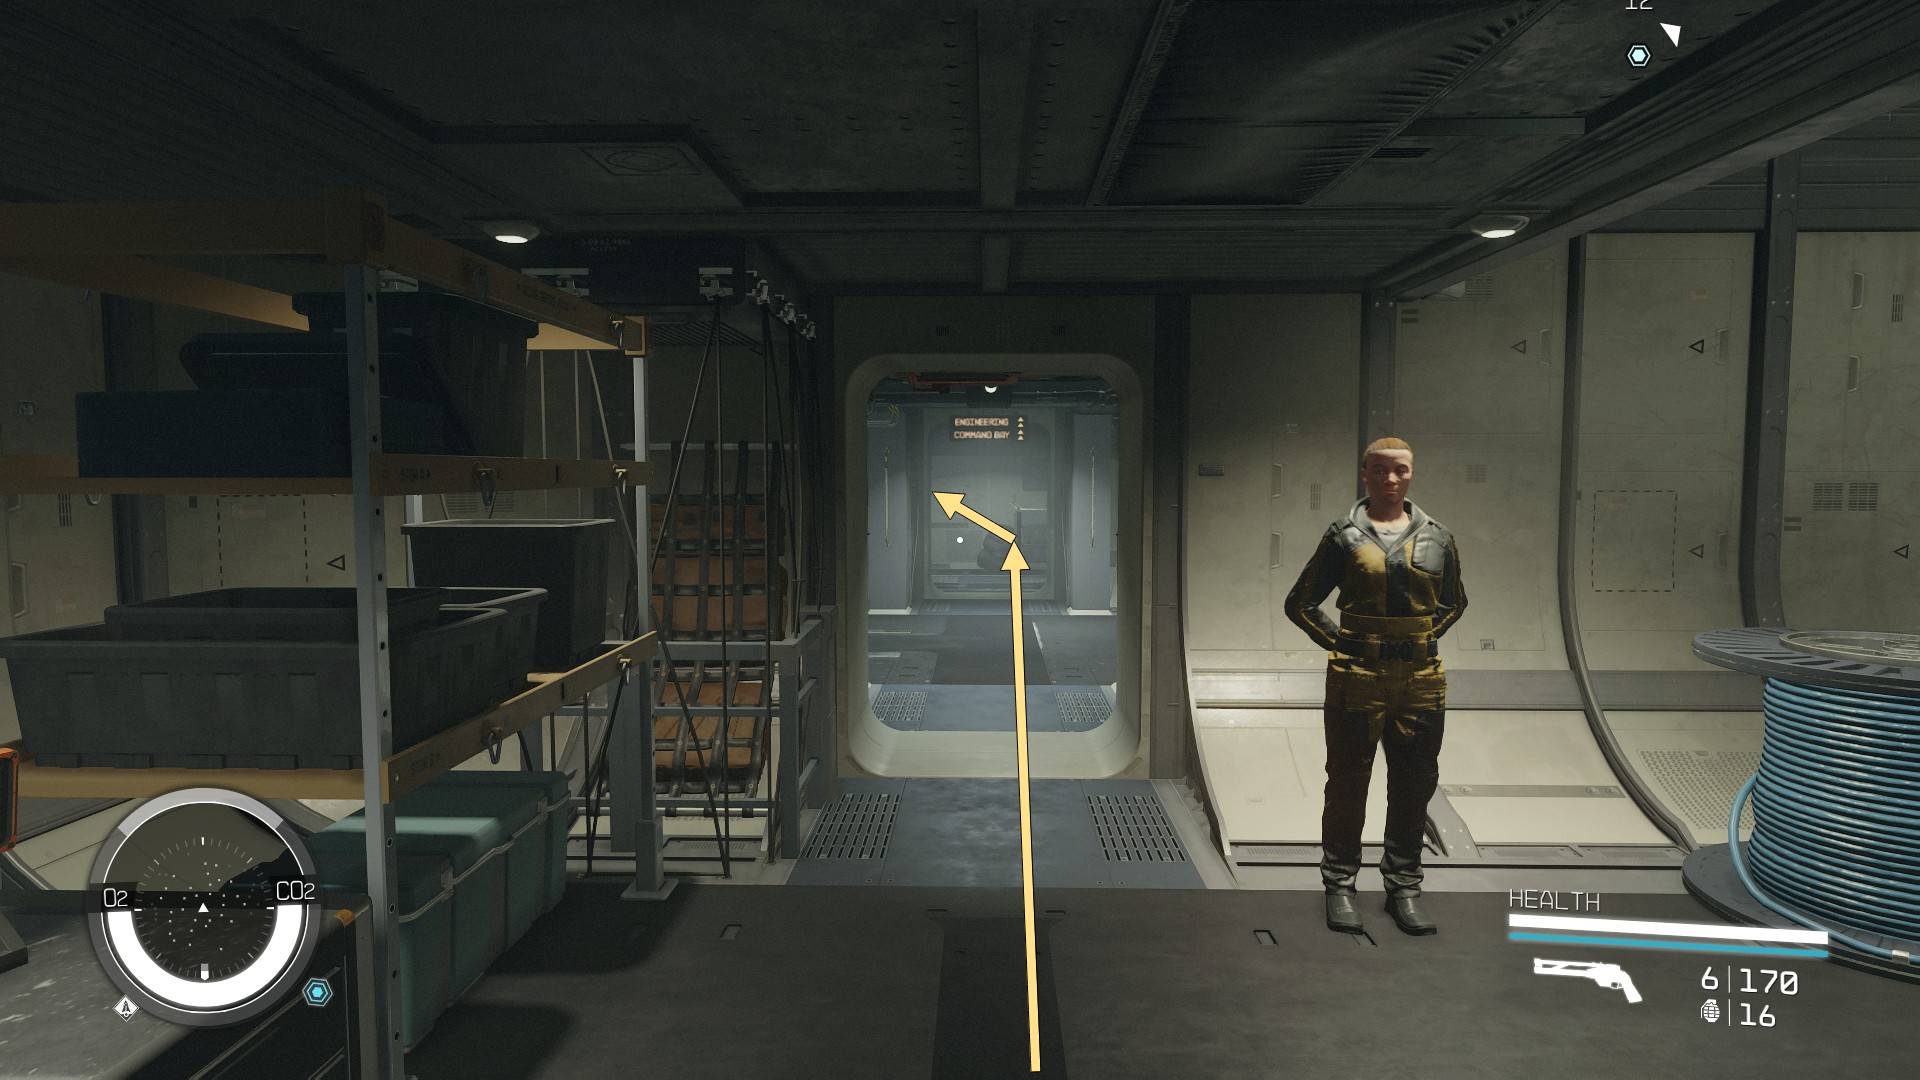
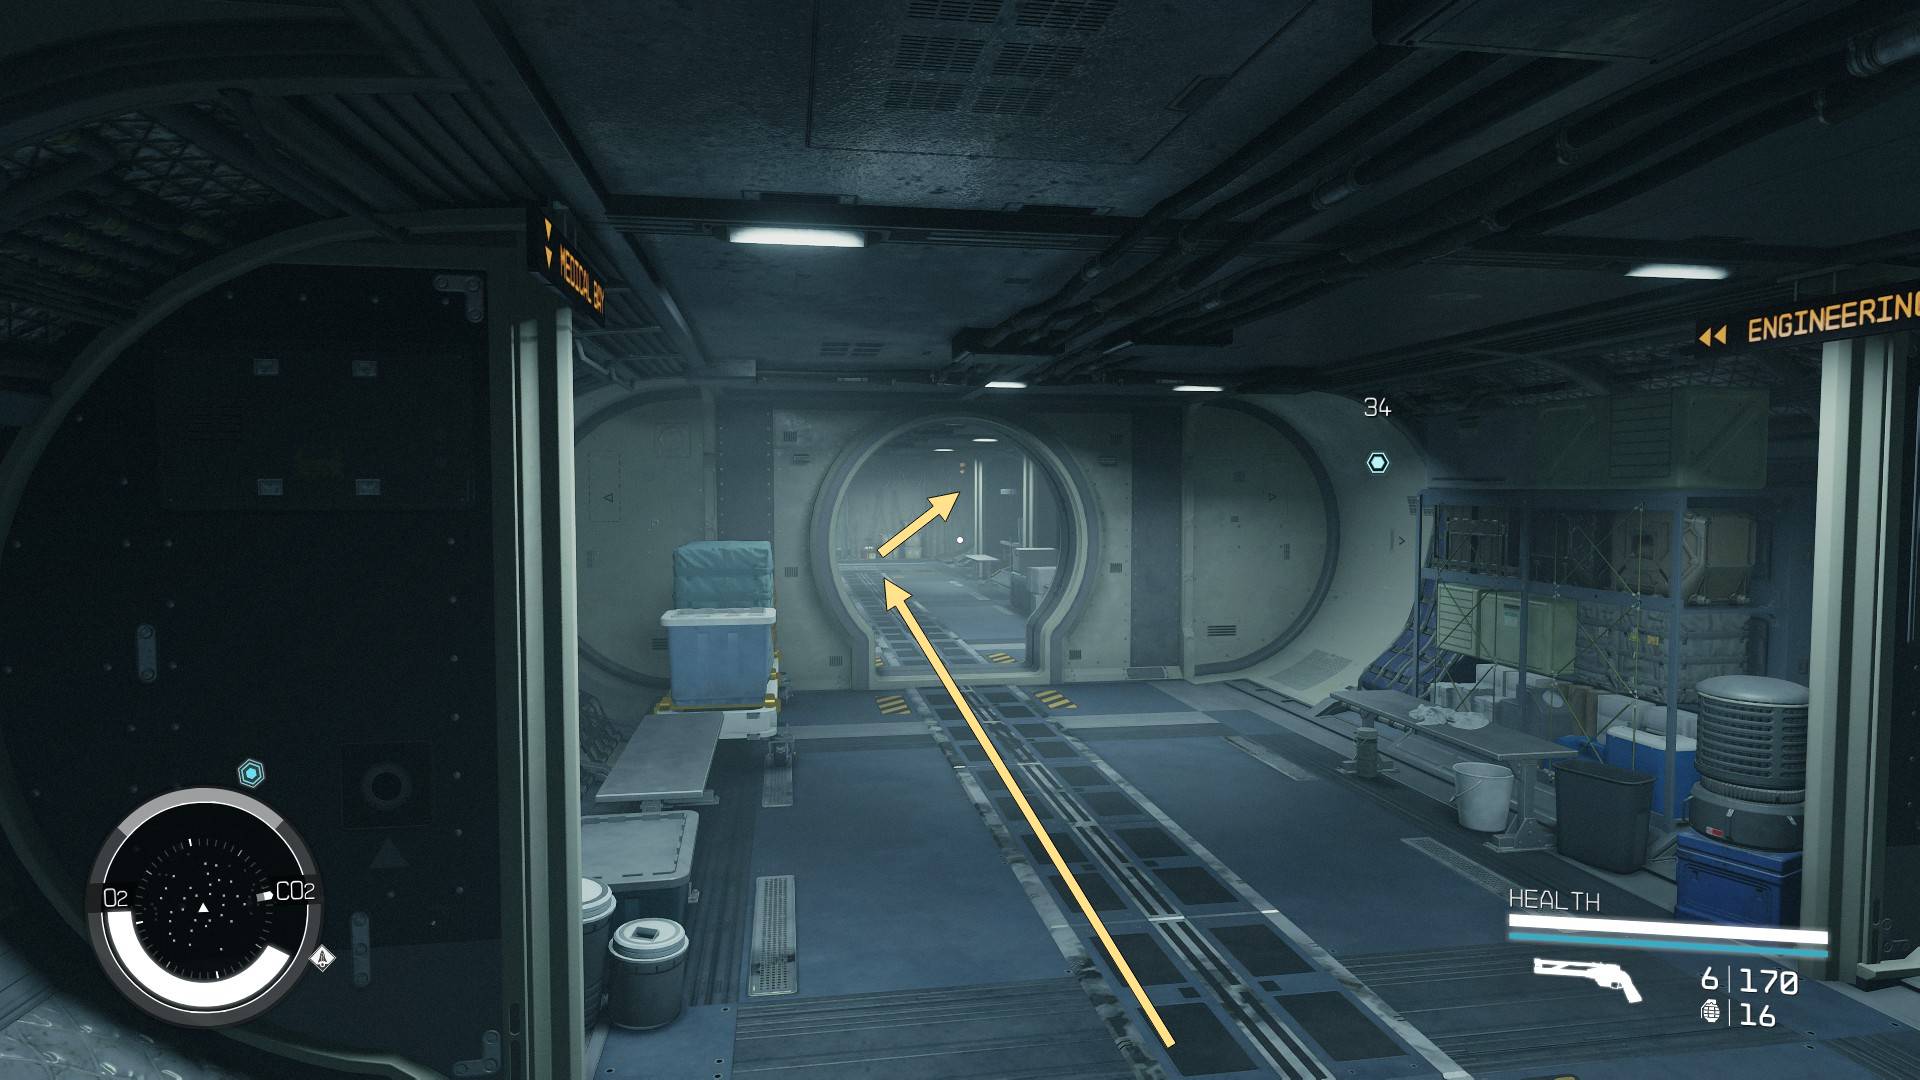
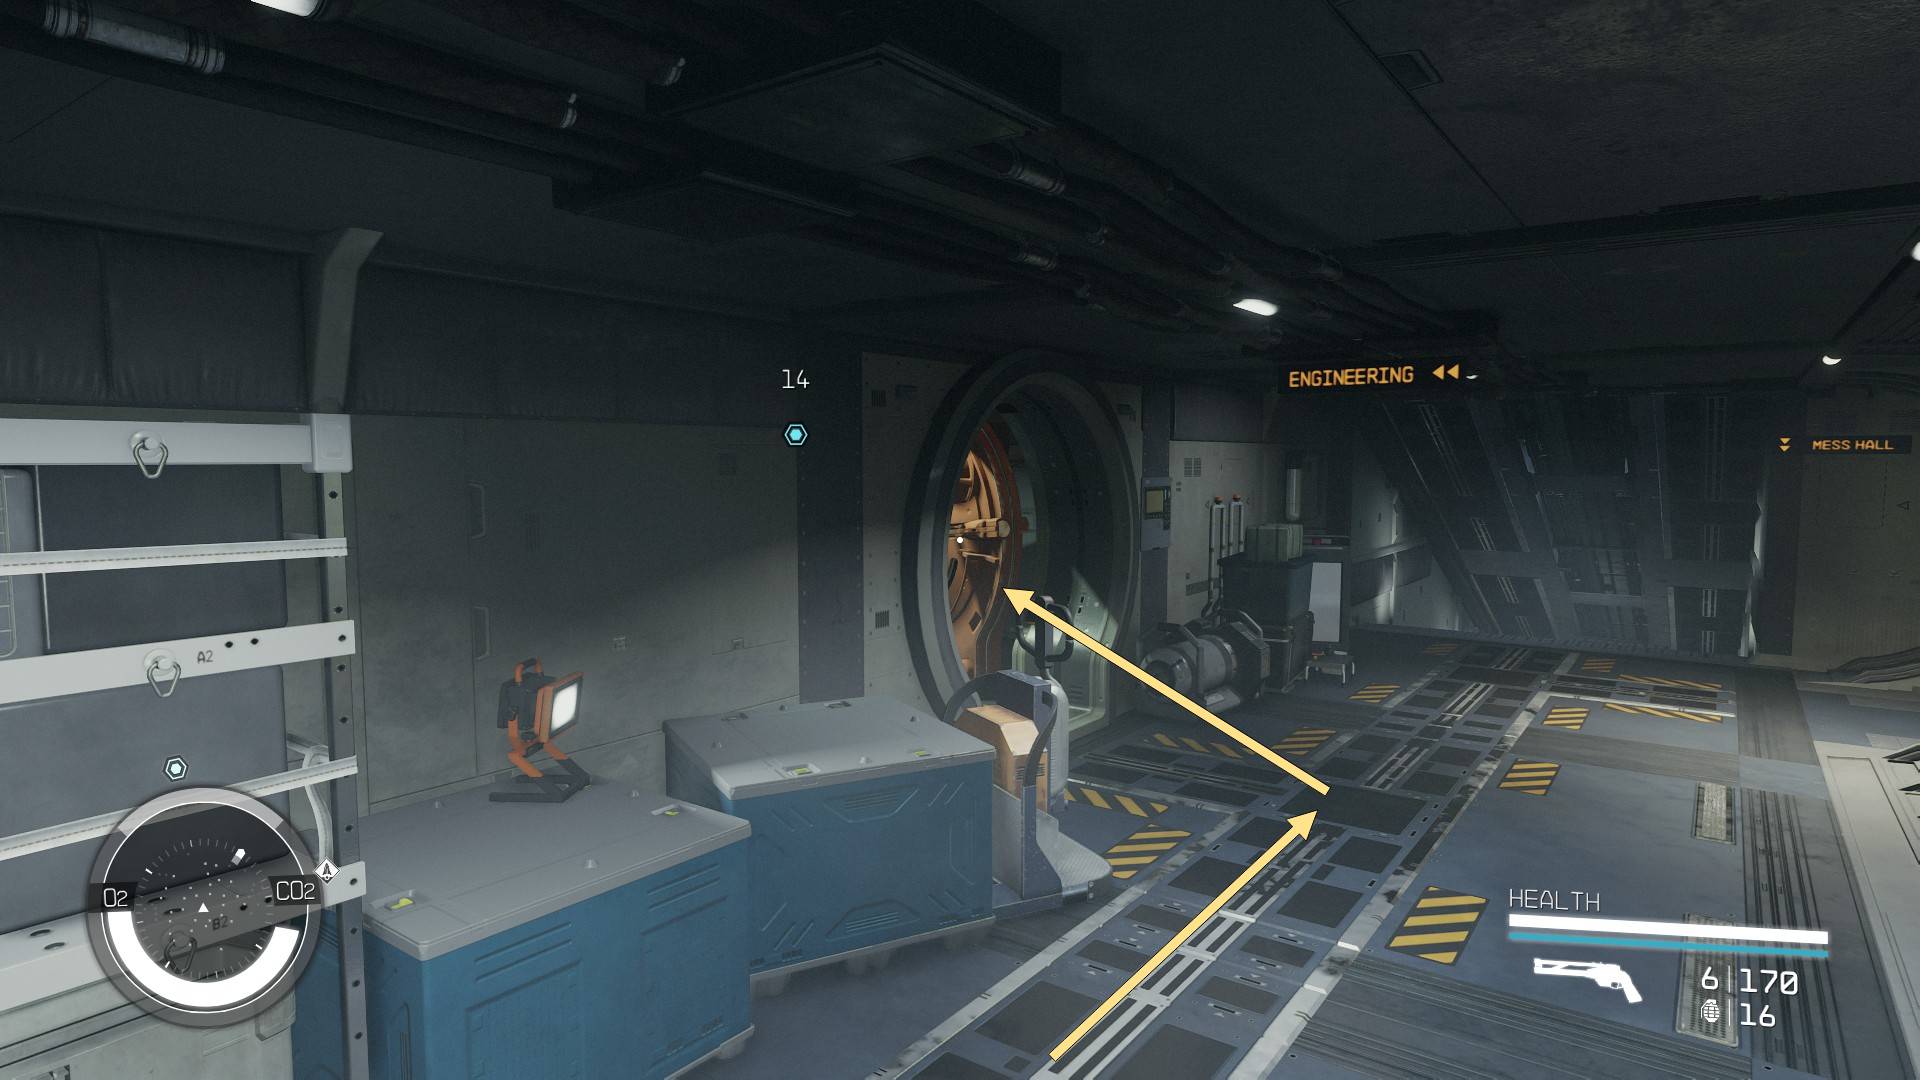
Oliver Campbell, the boss of the Paradiso resort, will be your next target, but you’ll soon realize that you can’t fast travel when you’re on board the Constant. And since it’s quite a large ship, below you’ll find a series of screenshots showcasing an easy way to return to your ship from the Constant’s bridge. Simply reverse the order when you need to do the opposite later.
Once you’re back on your ship, land on Porrima II again and follow the quest marker (9) to Paradiso’s Executive Floor, where Oliver is having a board meeting (10).
(9)(10)
A caricature of corporate executives everywhere, Oliver and his people will have several suggestions for how to deal with the colonists:
Clicking one of the above options will take you to that point in the guide.
Install a Grav Drive
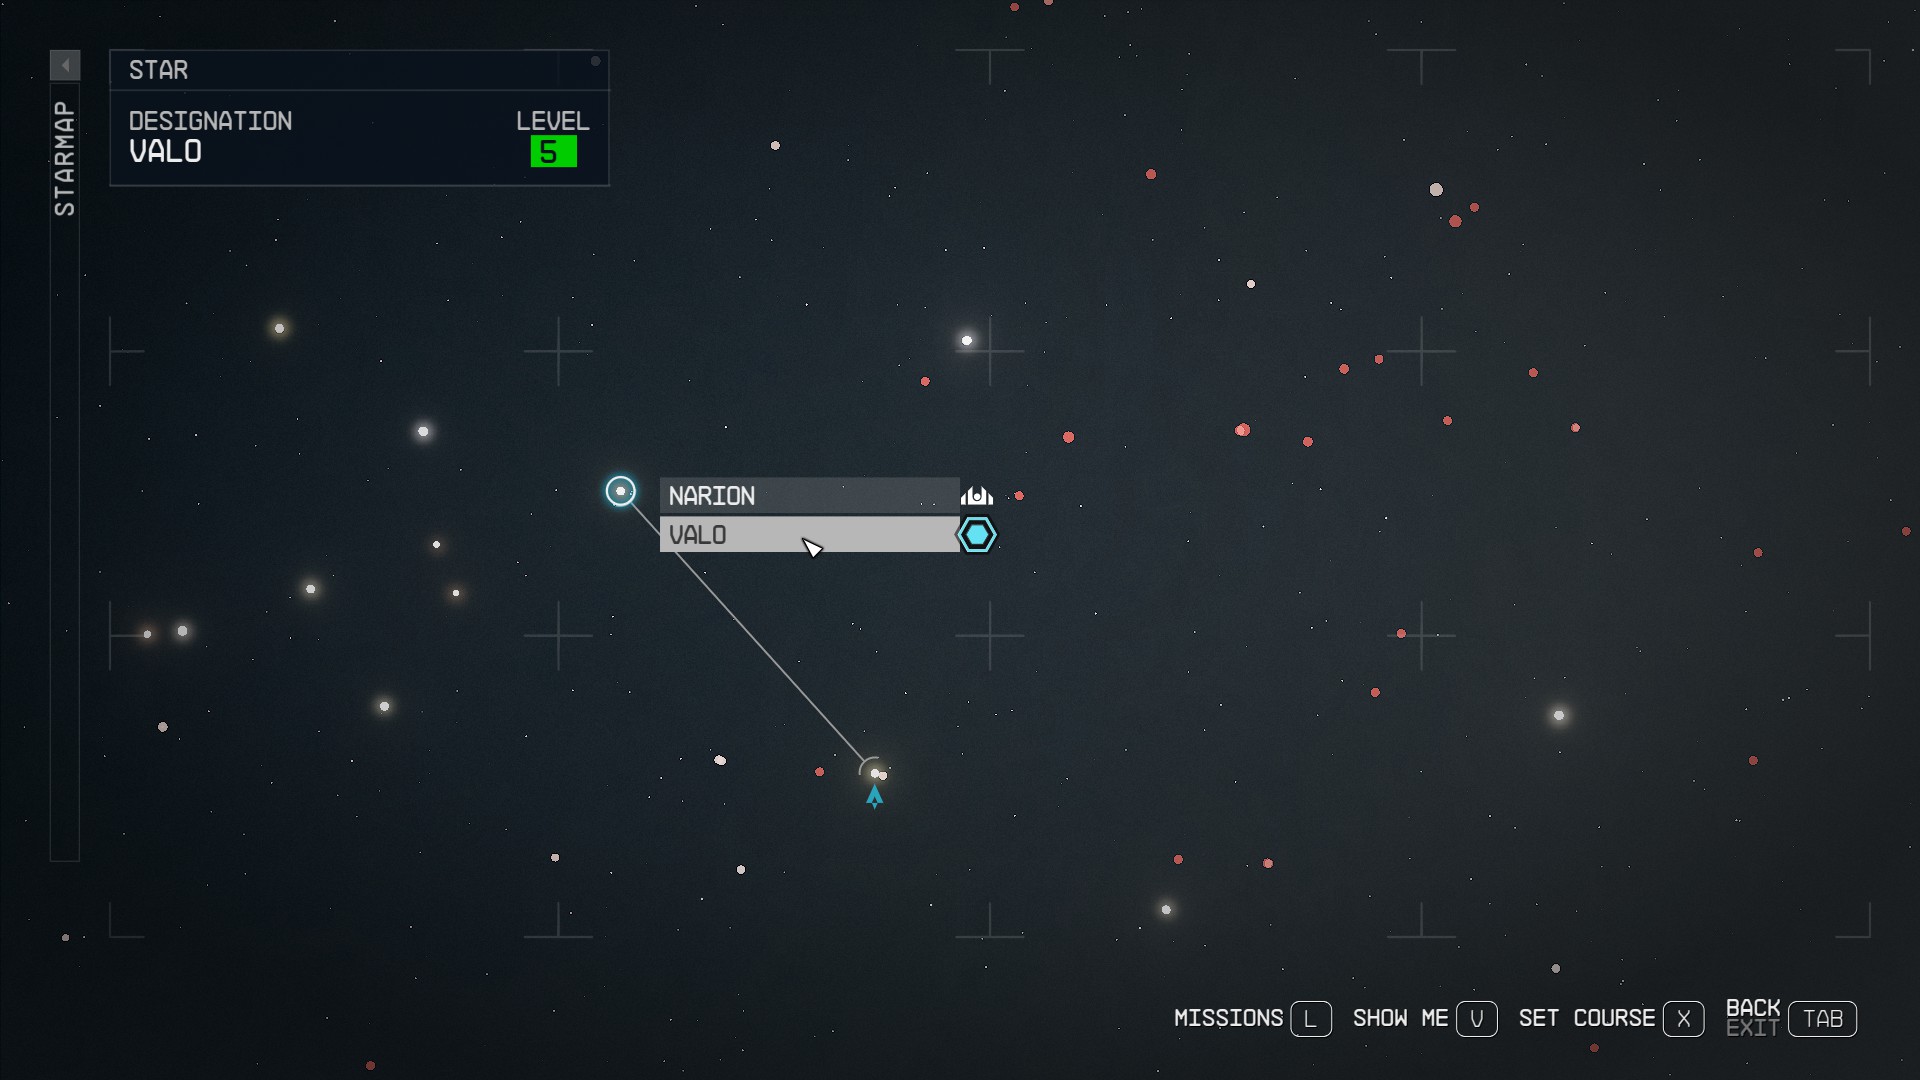
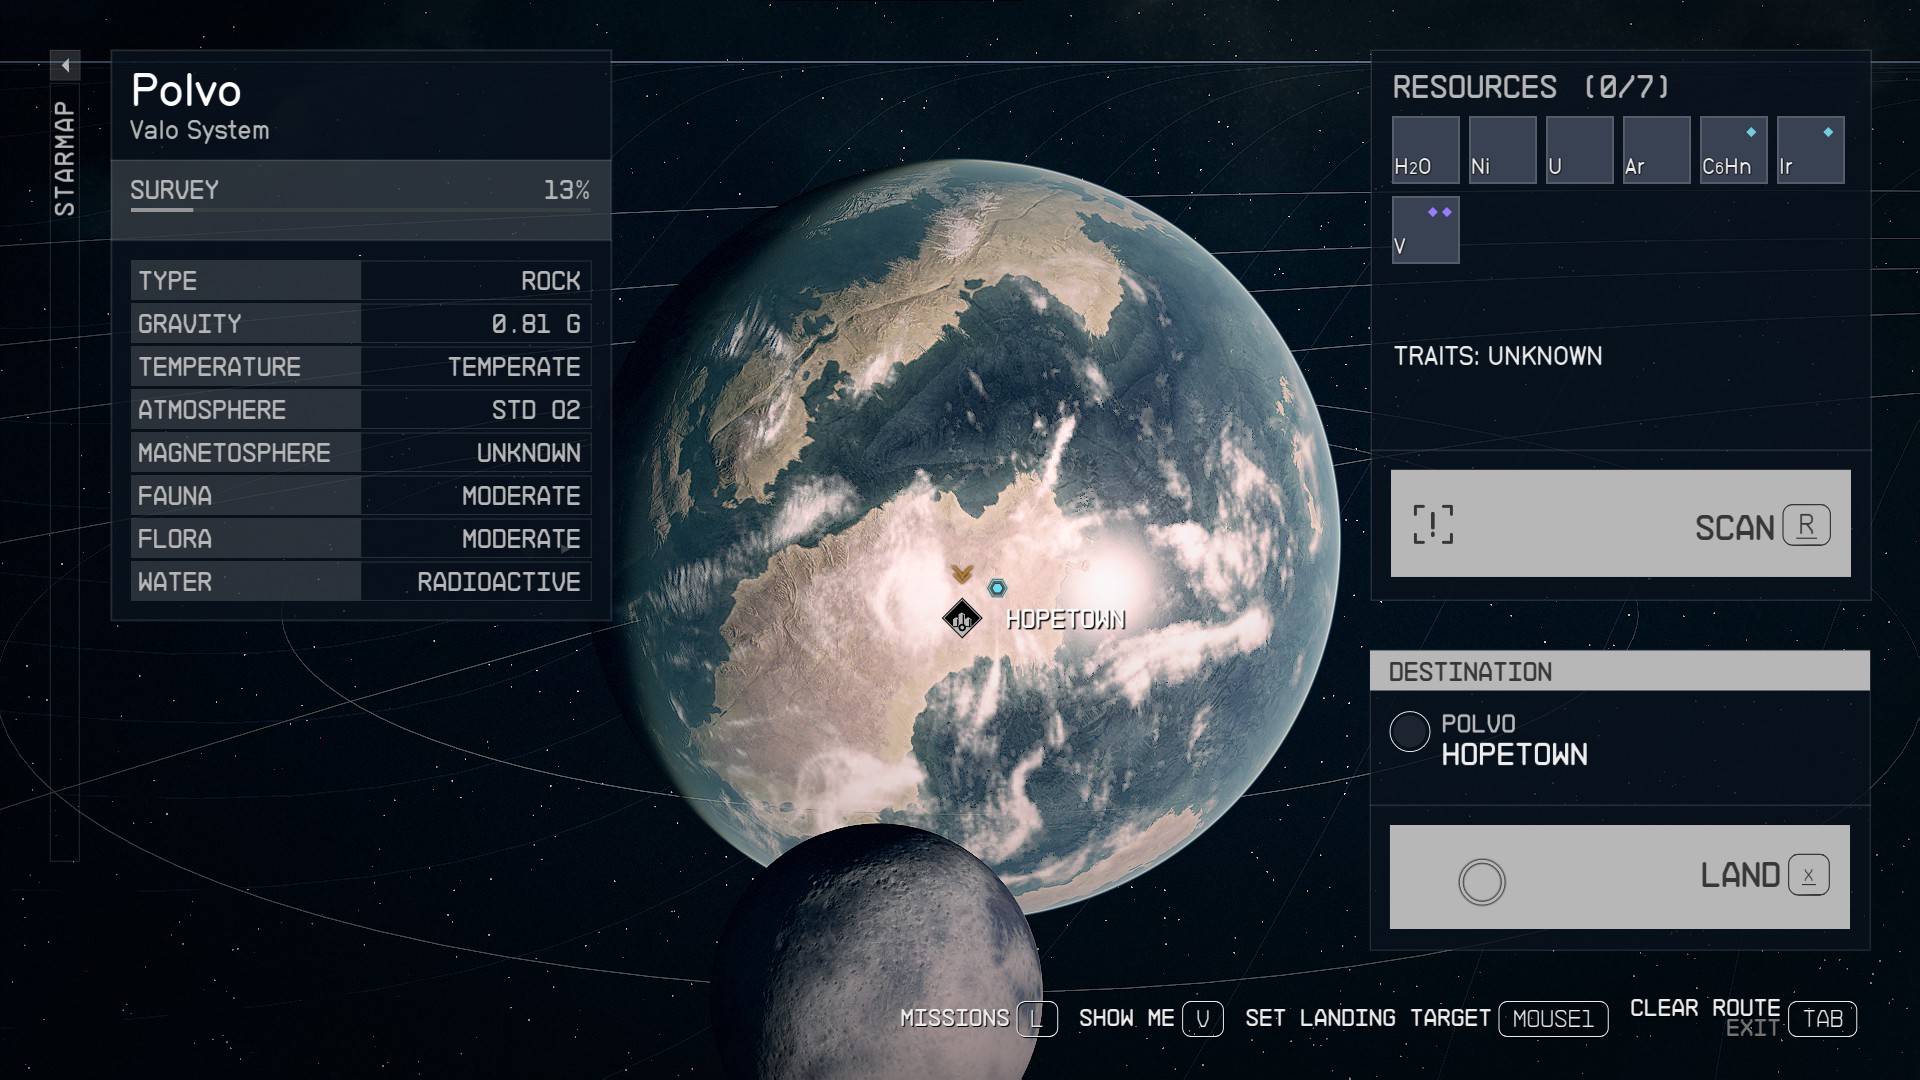
Seeing how a major corporation can’t spare what would be the equivalent of a rounding error worth of credits for them, it will be up to you to buy and install a Grav Drive for the Constant. To do so, you’ll need to go to Hopetech. The company is located in the Valo system that’s hiding under the label of the Narion system on your star map. To get to Valo, you’ll need to click on the Narion system (11) and then choose Valo in the menu that pops up (12).
(11)(12)
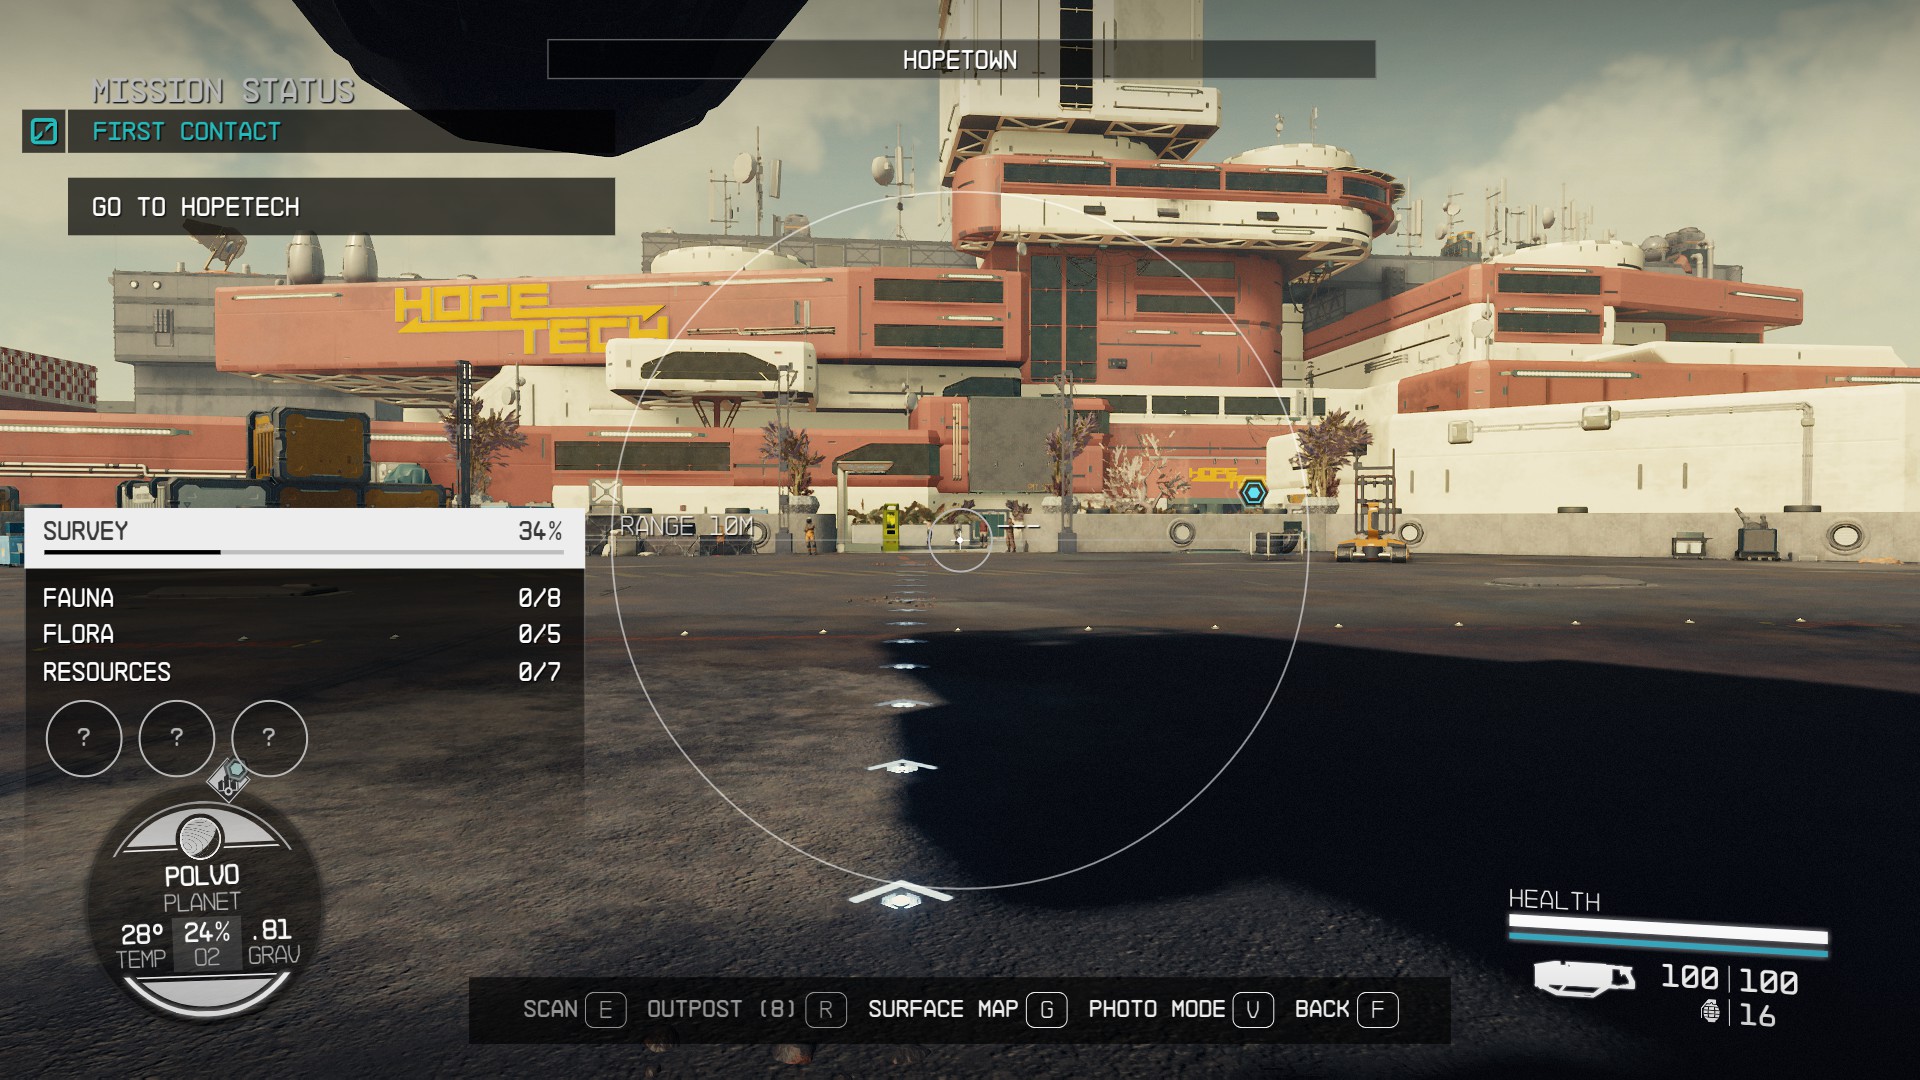
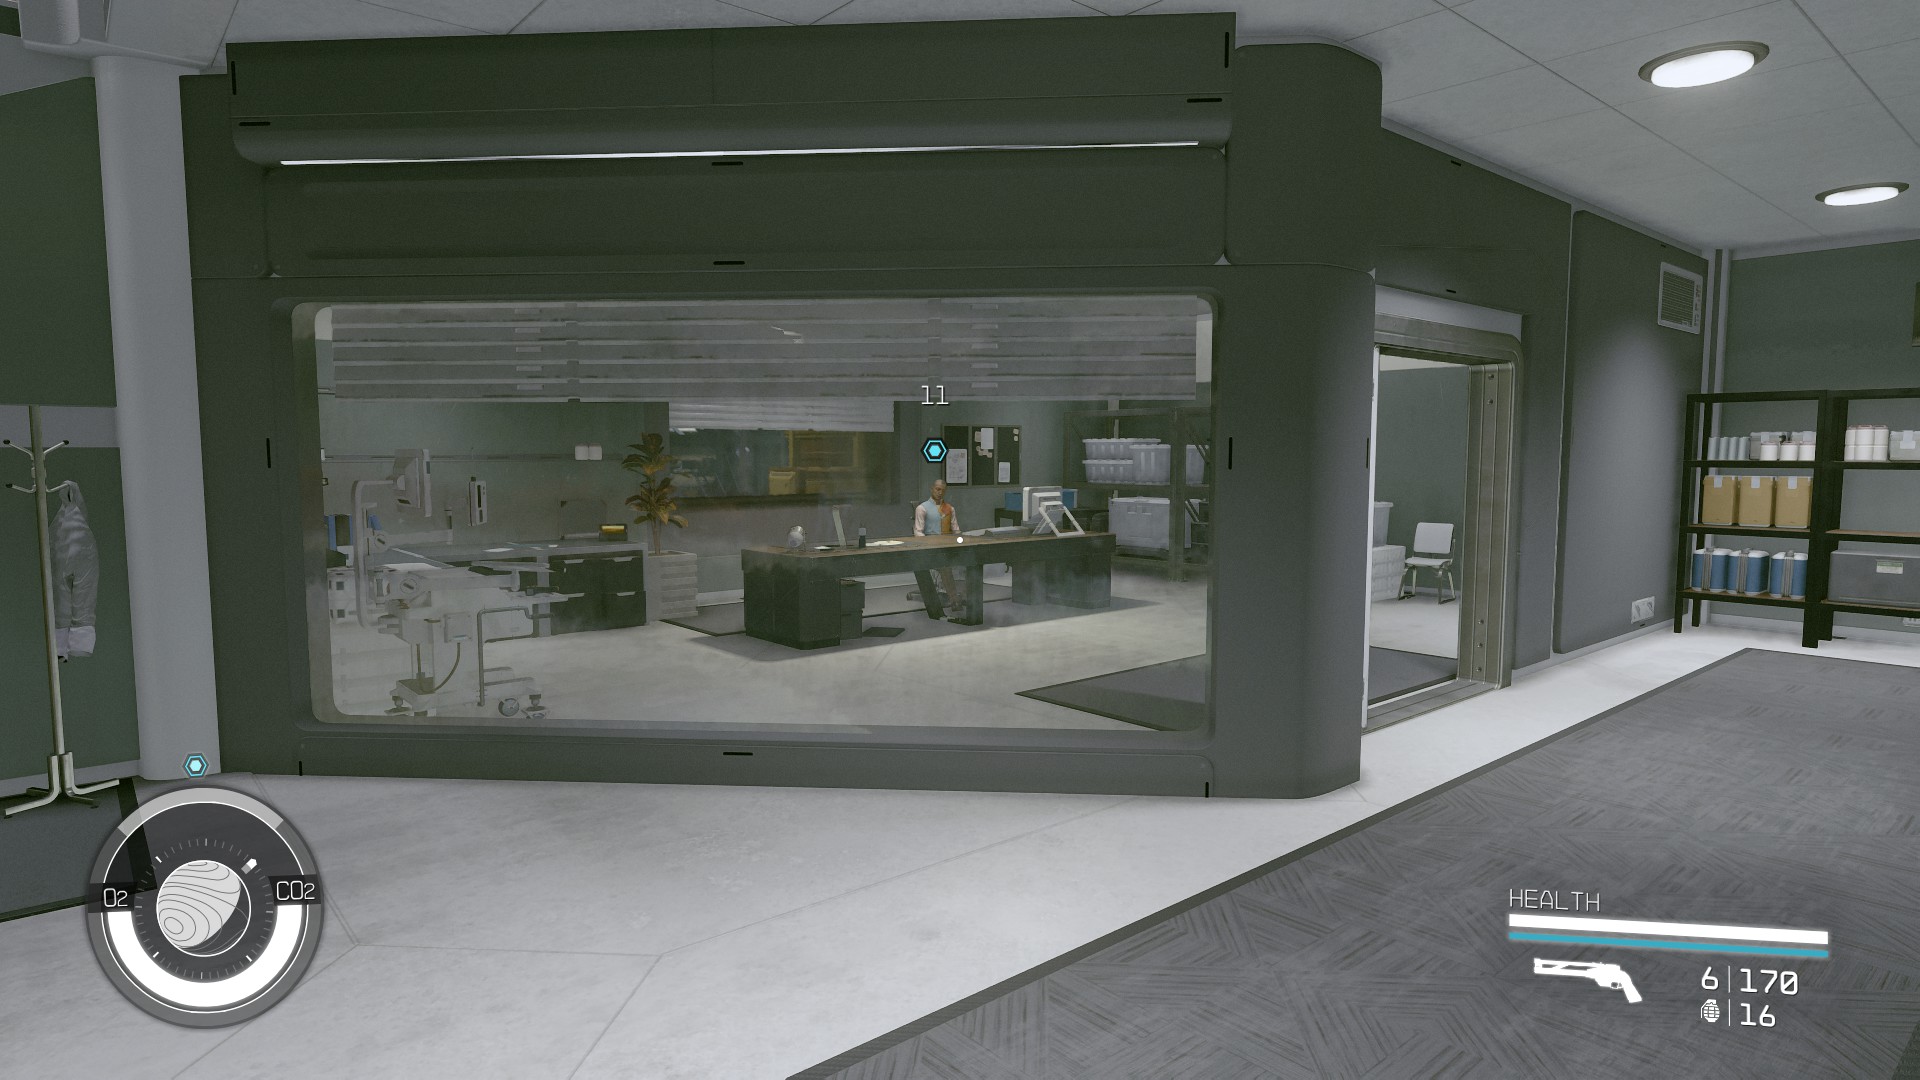
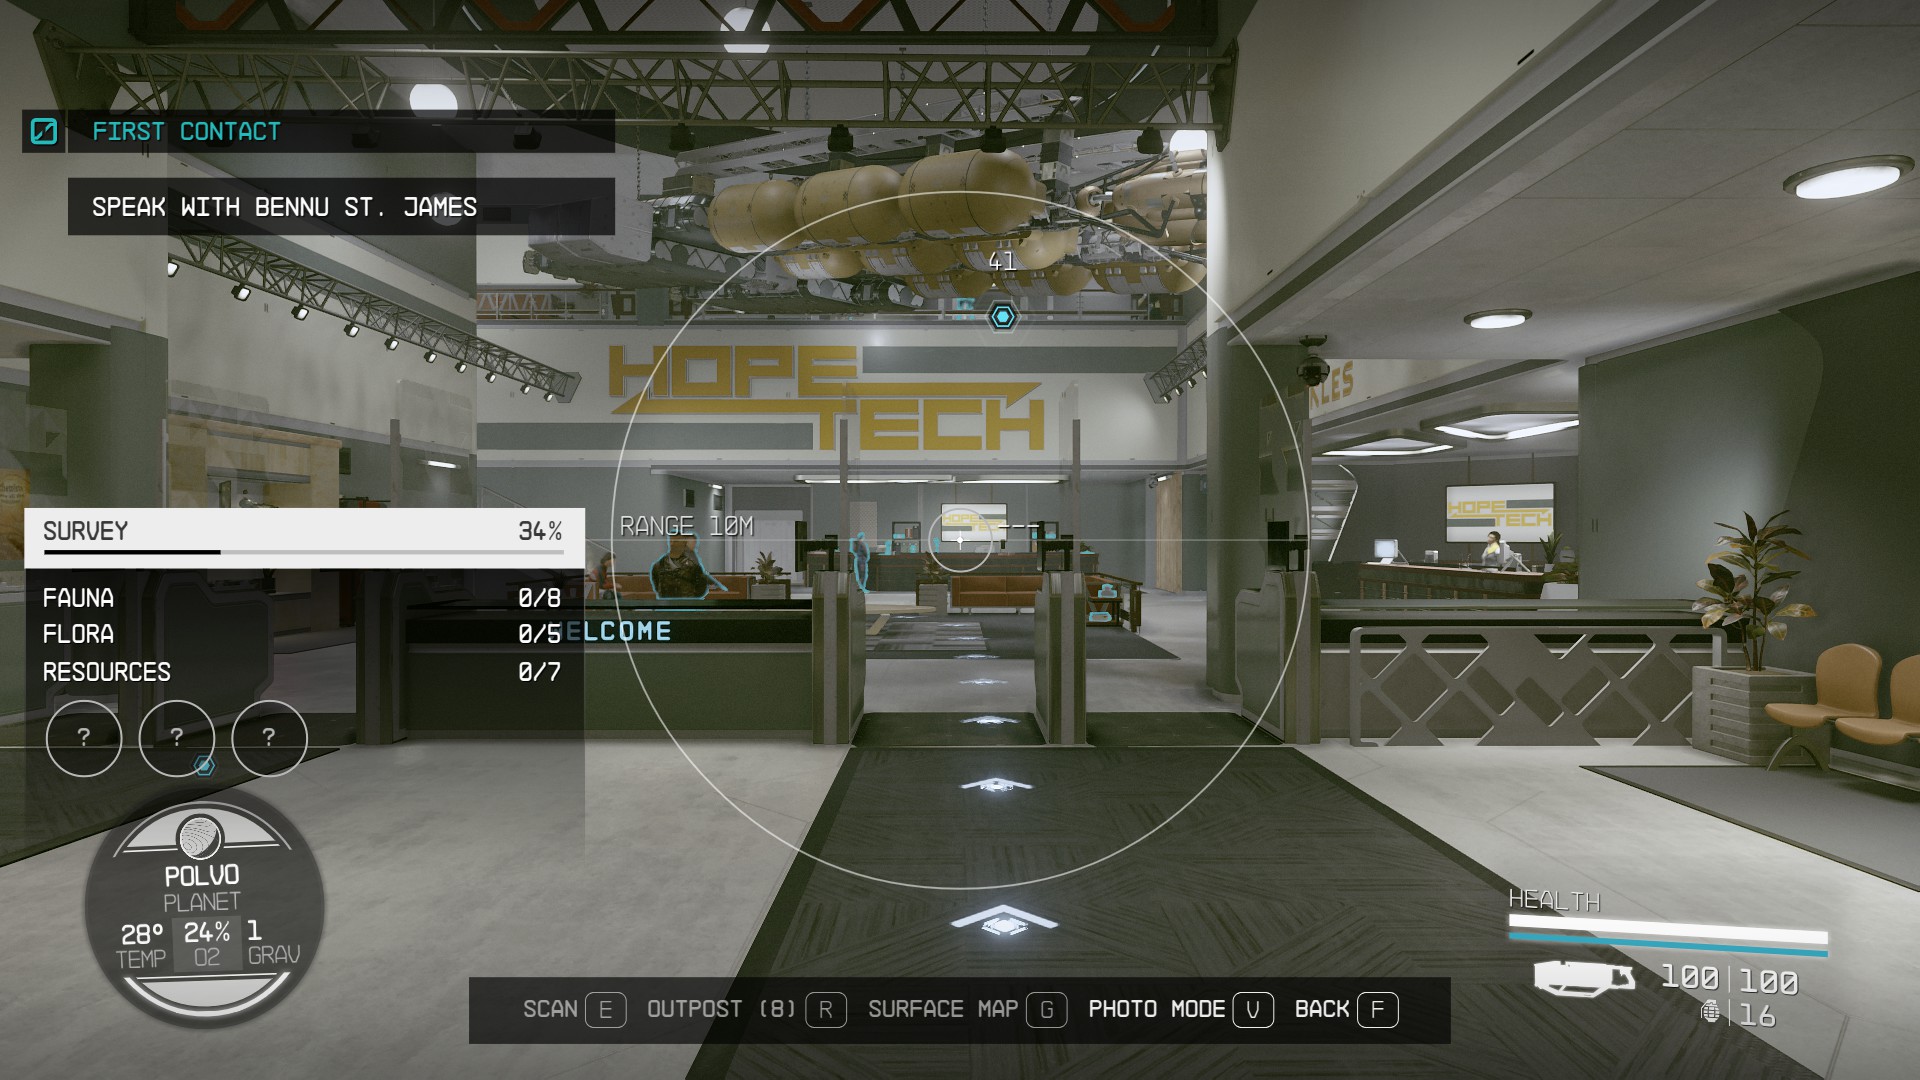
Once there, land in Hopetown (13) on the Polvo planet. Then, follow the quest marker inside the main building (14) where you’ll be looking for one Bennu St. James (15). The markers should lead you to him (16) without a problem.
(13)(14)(15)(16)
Mentioning Oliver Campbell to Bennu will prompt him to offer you a Grav Drive that’s compatible with the Constant for 40,000 Credits. A successful Persuasion check can bring that down to 25,000.
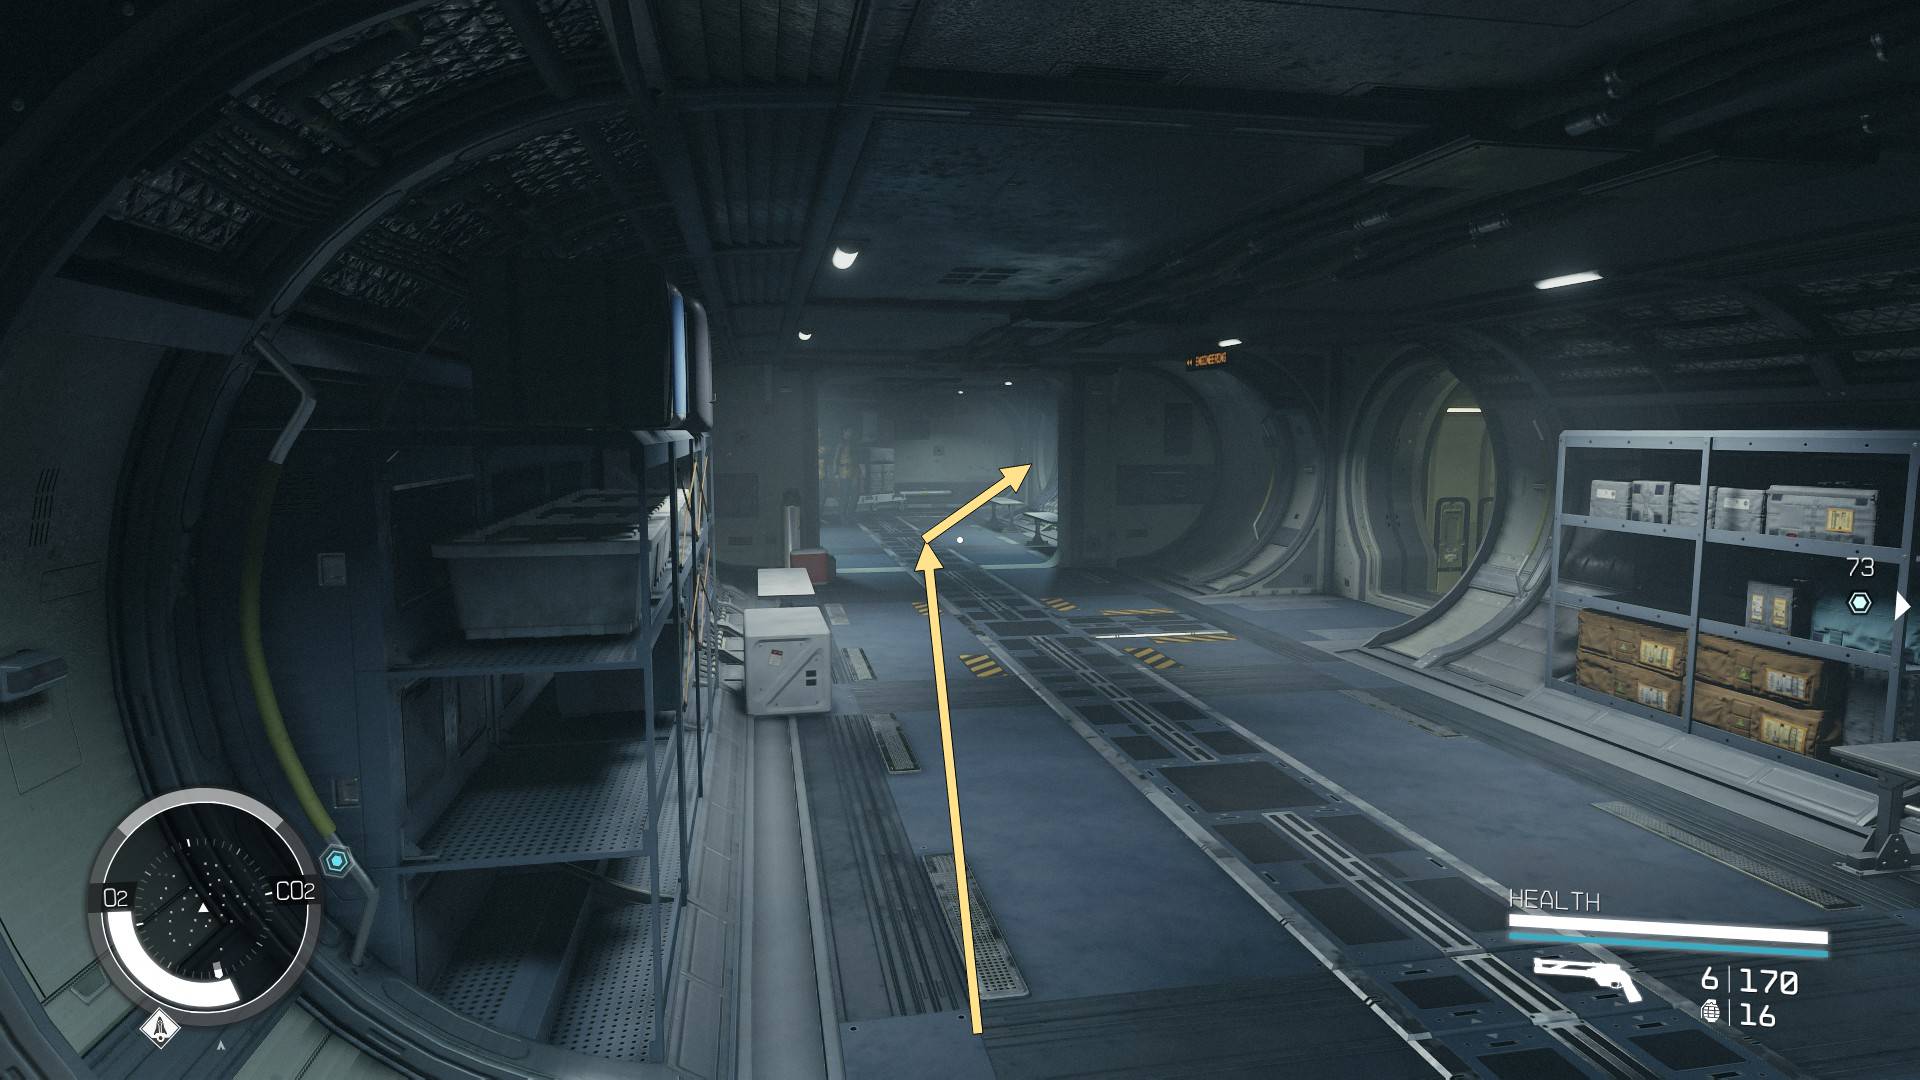
With the Grav Drive purchased, head back to the Constant where you’ll need to talk to the ship’s head engineer Amin Kazemi. Below you’ll find some screenshots that will help you find him.
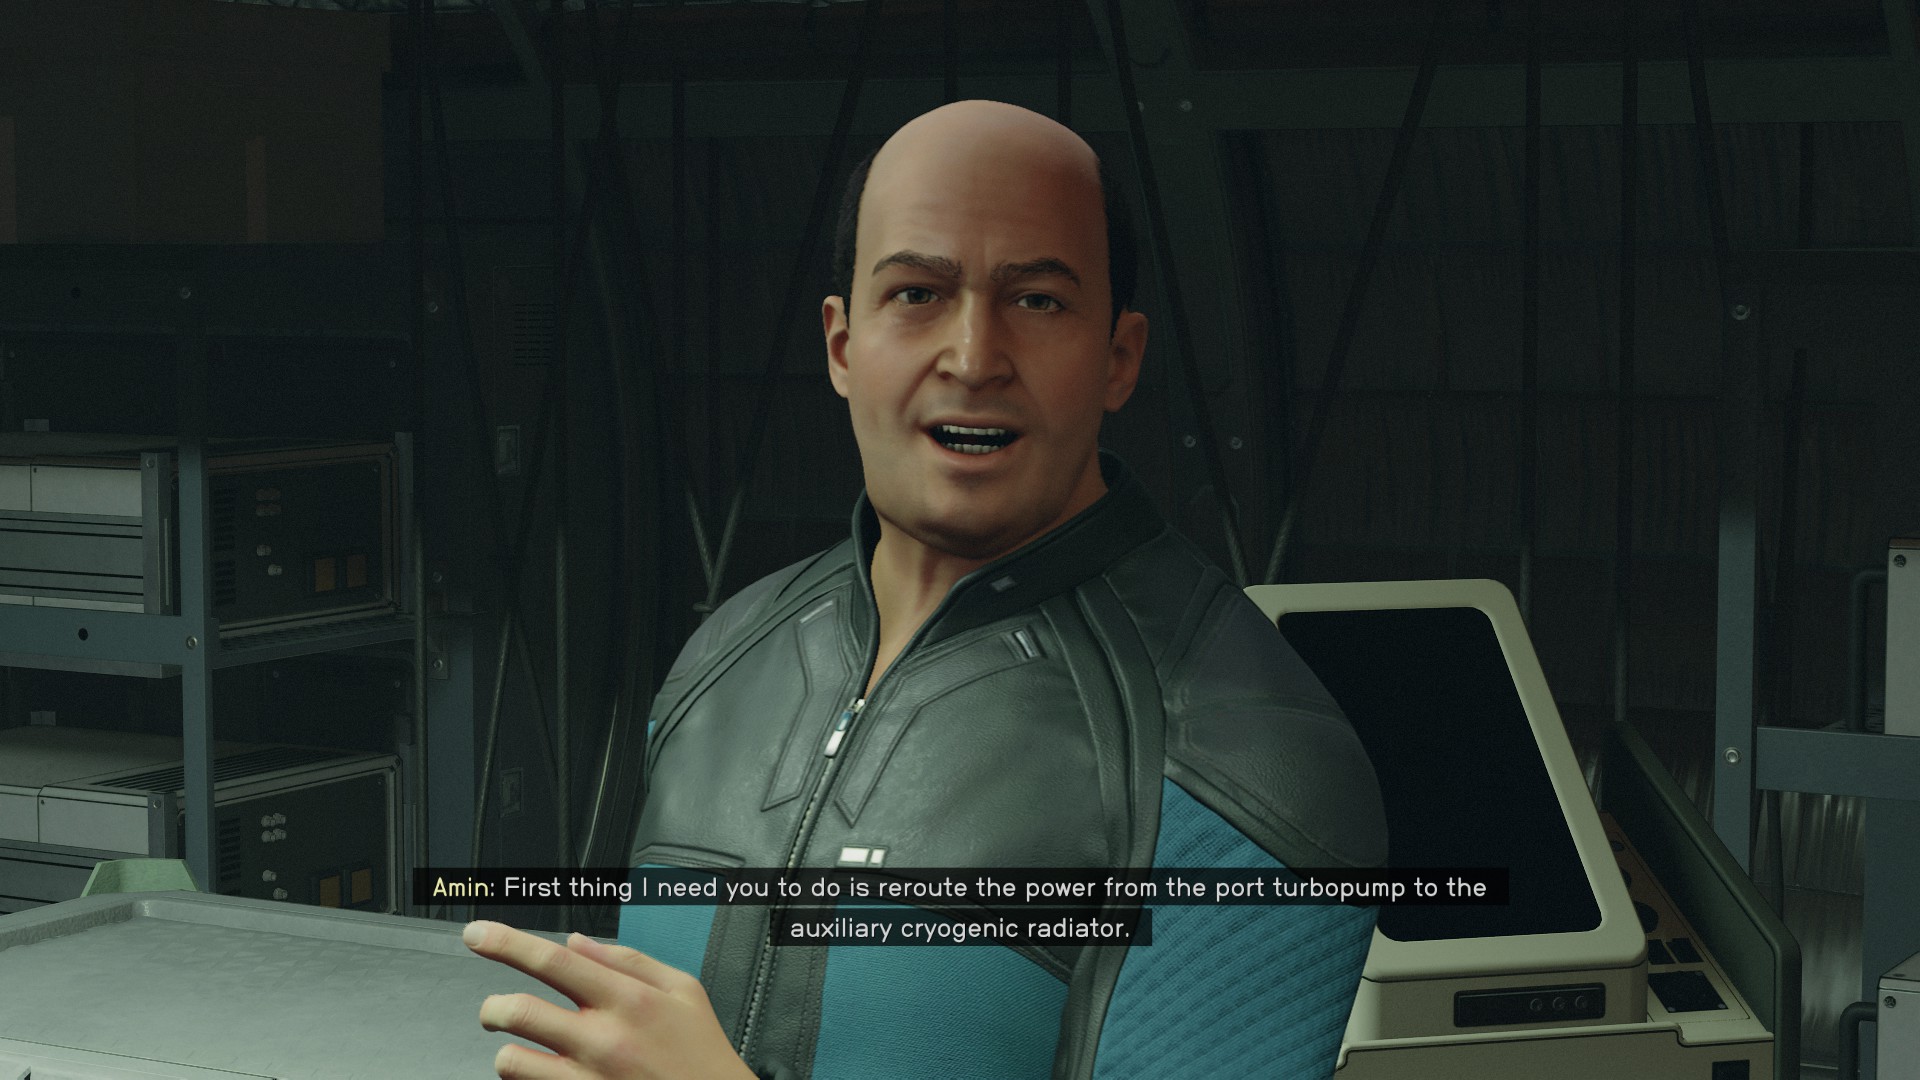
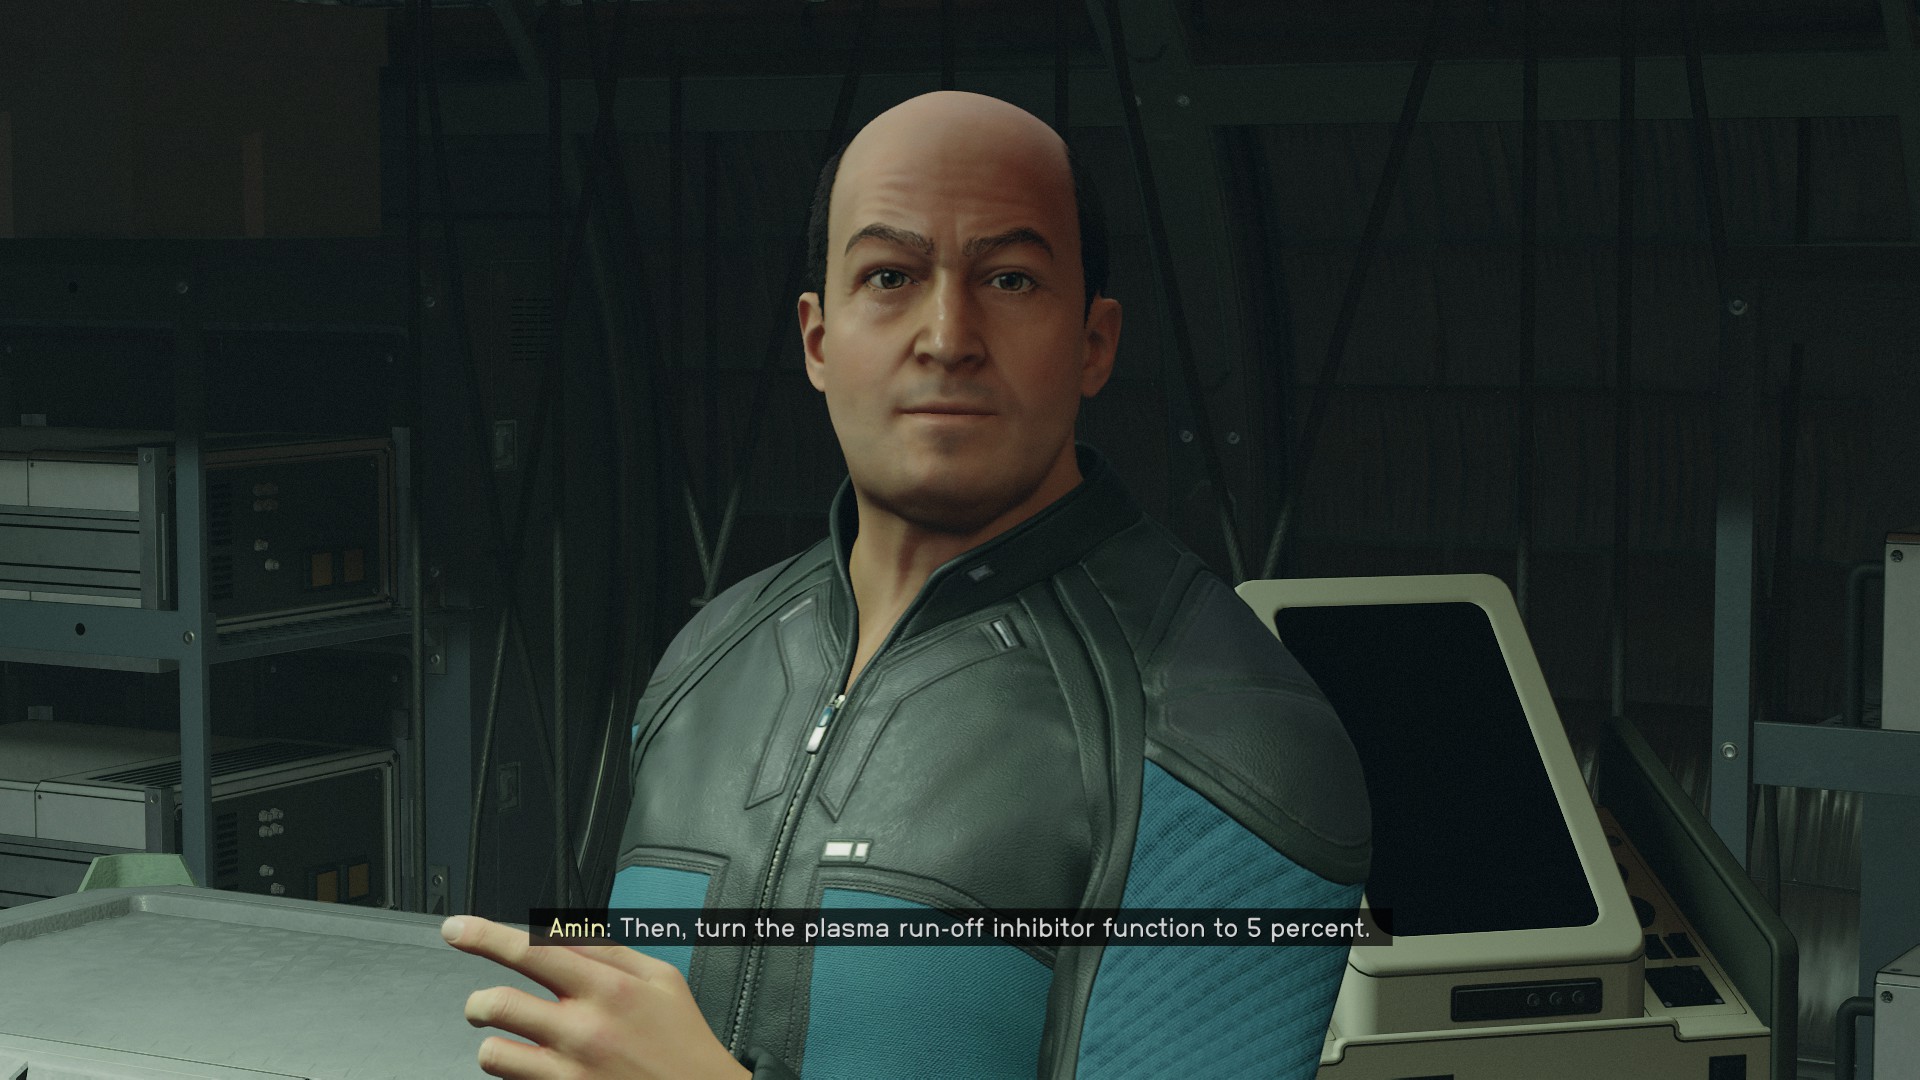
After you’re done with the introductions, tell Amin you want to help him prep the ship for the Grav Drive. He’ll ask you for some assistance and give you a series of instructions. Seeing how your last name would have to be Scott, La Forge, or O’Brien to remember the technobabble Amin pours on you, you’ll be able to ask him to repeat the instructions. But since you’re here, this is what you’ll need to do to prep the ship for the Grav Drive:
Reroute the power from the port turbopump to the auxiliary cryogenic radiator.
Turn the plasma run-off inhibitor function to 5 percent.
Decouple the magnetic flange pipe enclosures from the auxiliary module assembly.
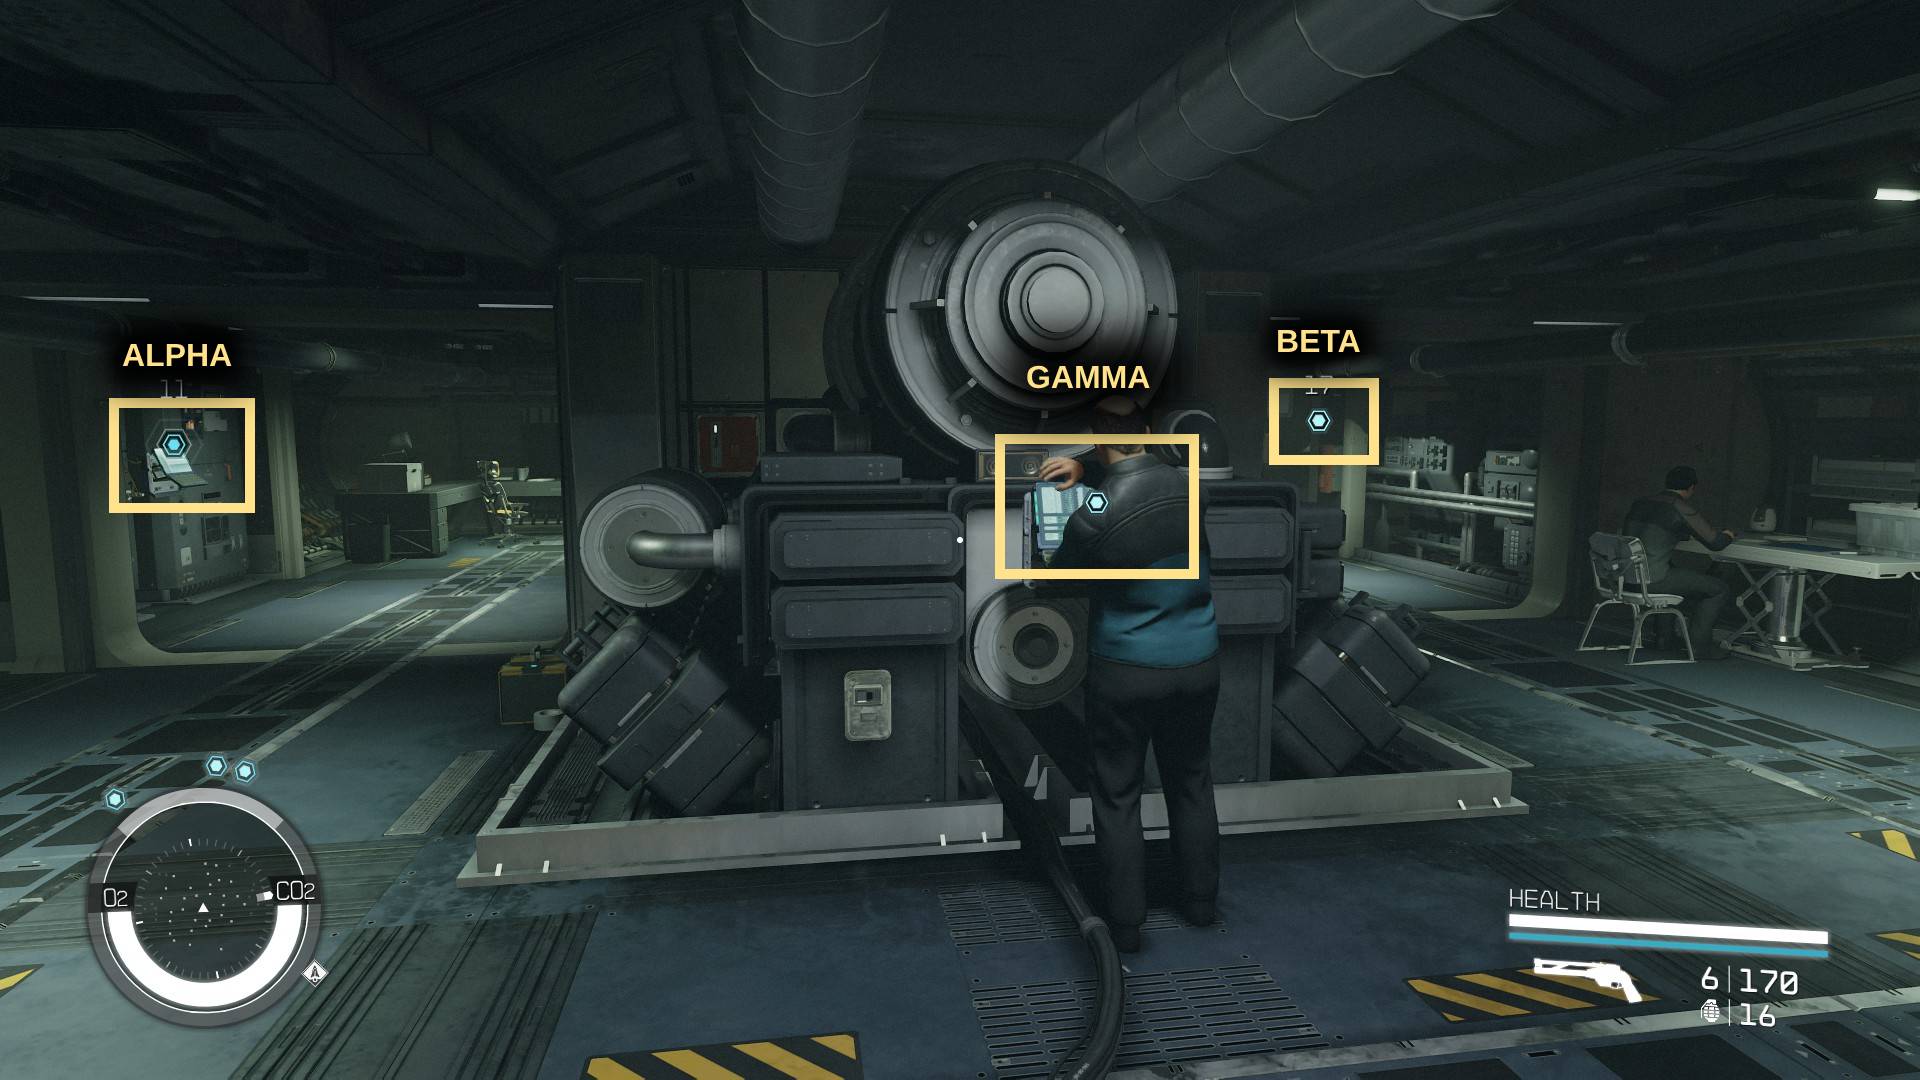
AlphaBetaGamma
You do all this on the three consoles scattered across the engineering bay. You have to hit the Alpha console first, then Beta, then Gamma.
Once that’s taken care of, head back to the captain and give her the good news. She’ll reward you with 300 experience, a modified XM-2311 pistol, and some assorted antiques.
Convince the Colonists to Take the Settlement Deal
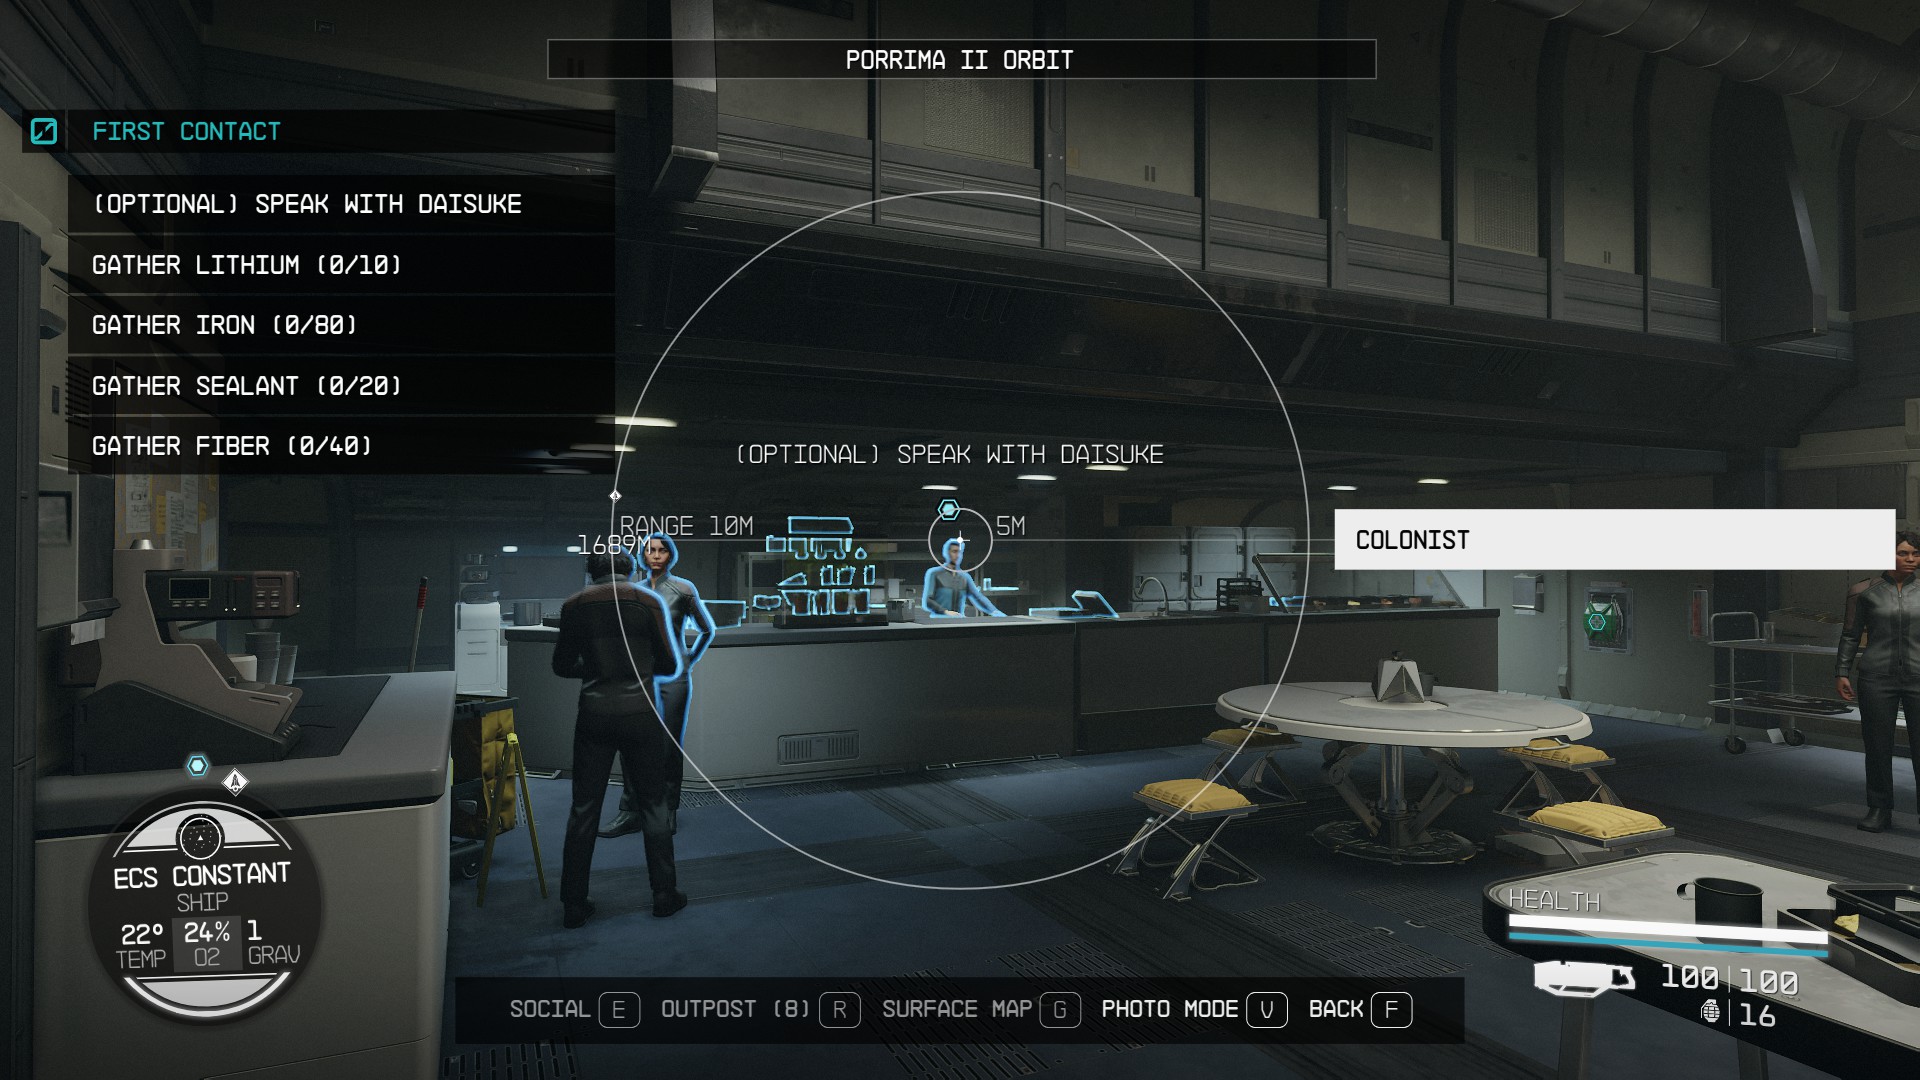
If you decide to convince the crew of the Constant to share Porrima II with the Paradiso people, you’ll first need to convince Diana to take the deal where her people will have to work off a debt to the locals for so graciously allowing them to stay. Go back to the Constant and have a chat with the captain.
Oddly enough for someone who initially wanted the whole planet, she’ll be supportive of this plan right off the bat. But, before you can proceed you’ll need to get a bunch of resources to support the resettlement. At least you’ll be able to Persuade Diana to chip in. In total, you’ll need:
10 Lithium
80 Iron
20 Sealant
40 Fiber
If you’ve managed to convince Diana to share some of her resources, go to Daisuke Levitz who’s hanging around the Constant’s mess hall. He’ll give you 4 Lithium, 30 Iron, 8 Sealant, 15 Fiber. You’ll need to gather the rest yourself. Unless you already have outposts mining resources all over the place, your best bet here is to jump all over the galaxy and hit up all the stores you can find in hope that they’ll have the resources you need.
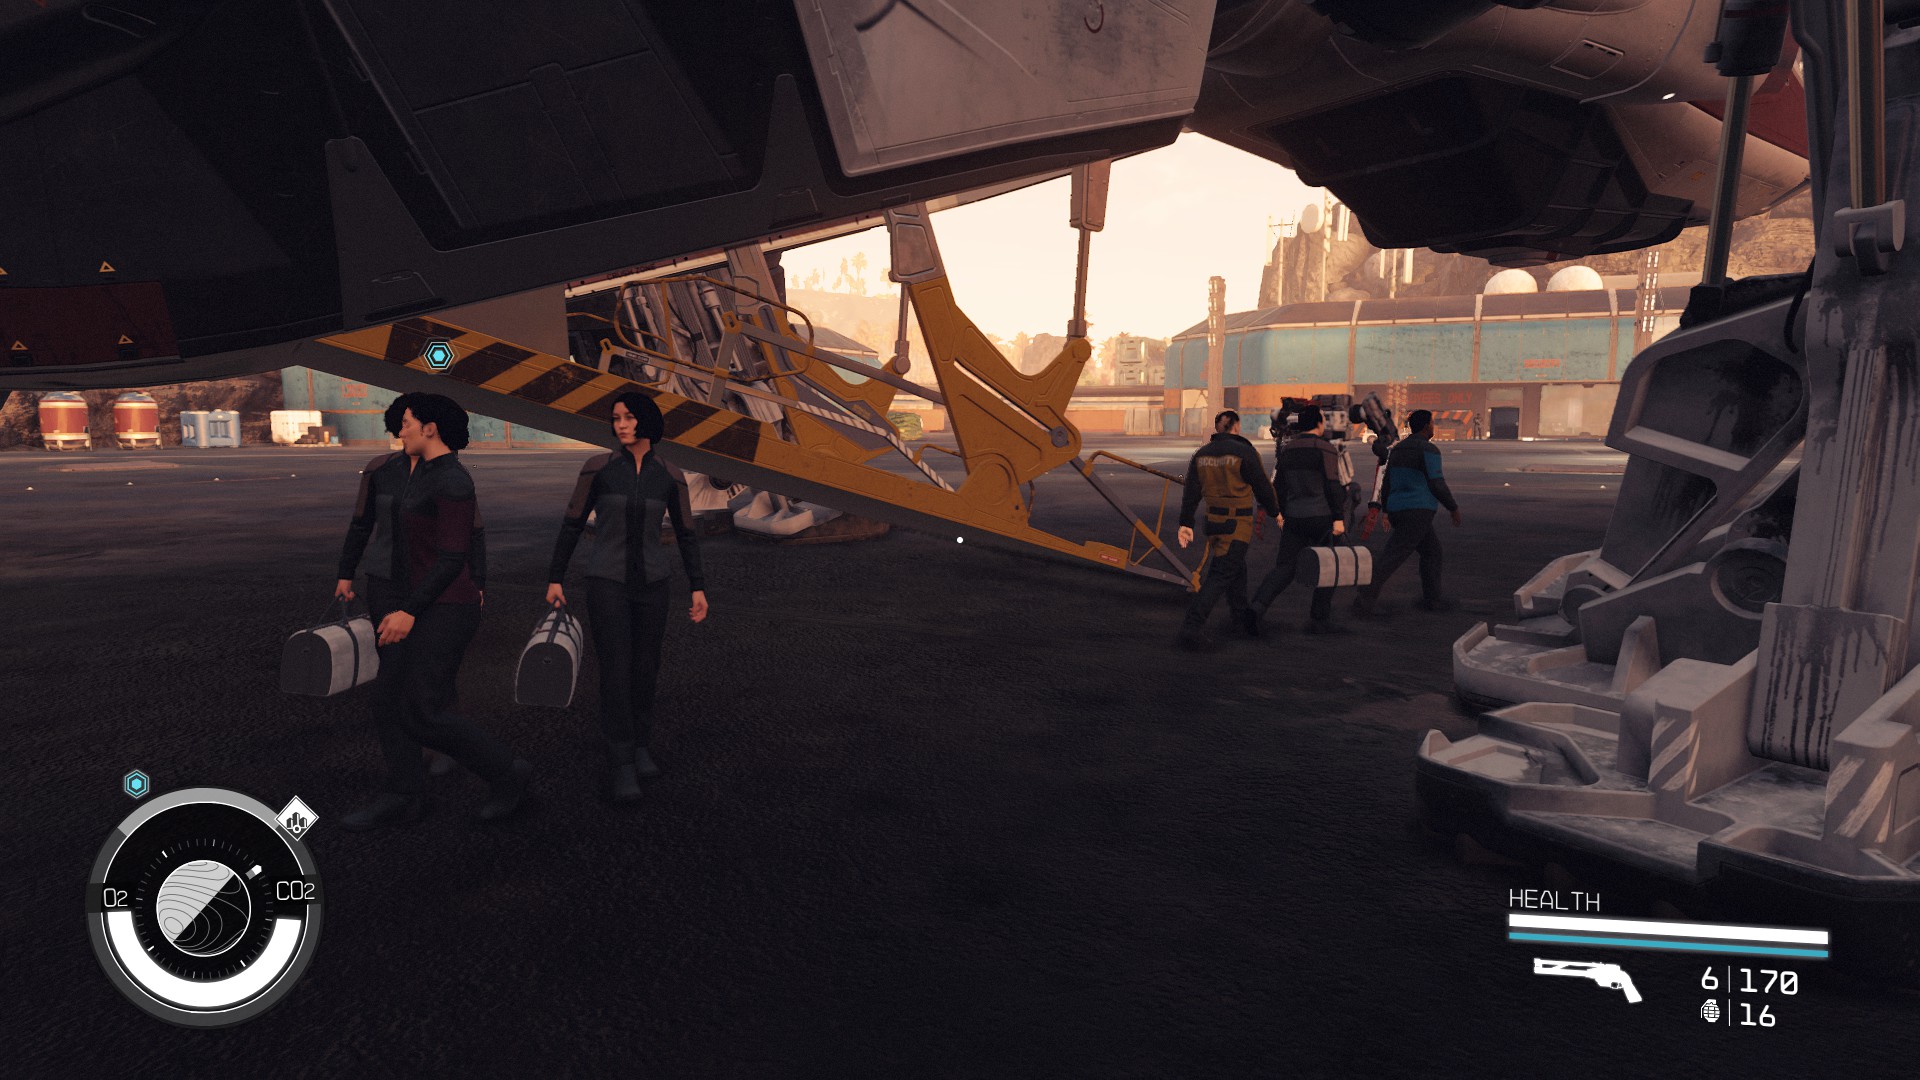
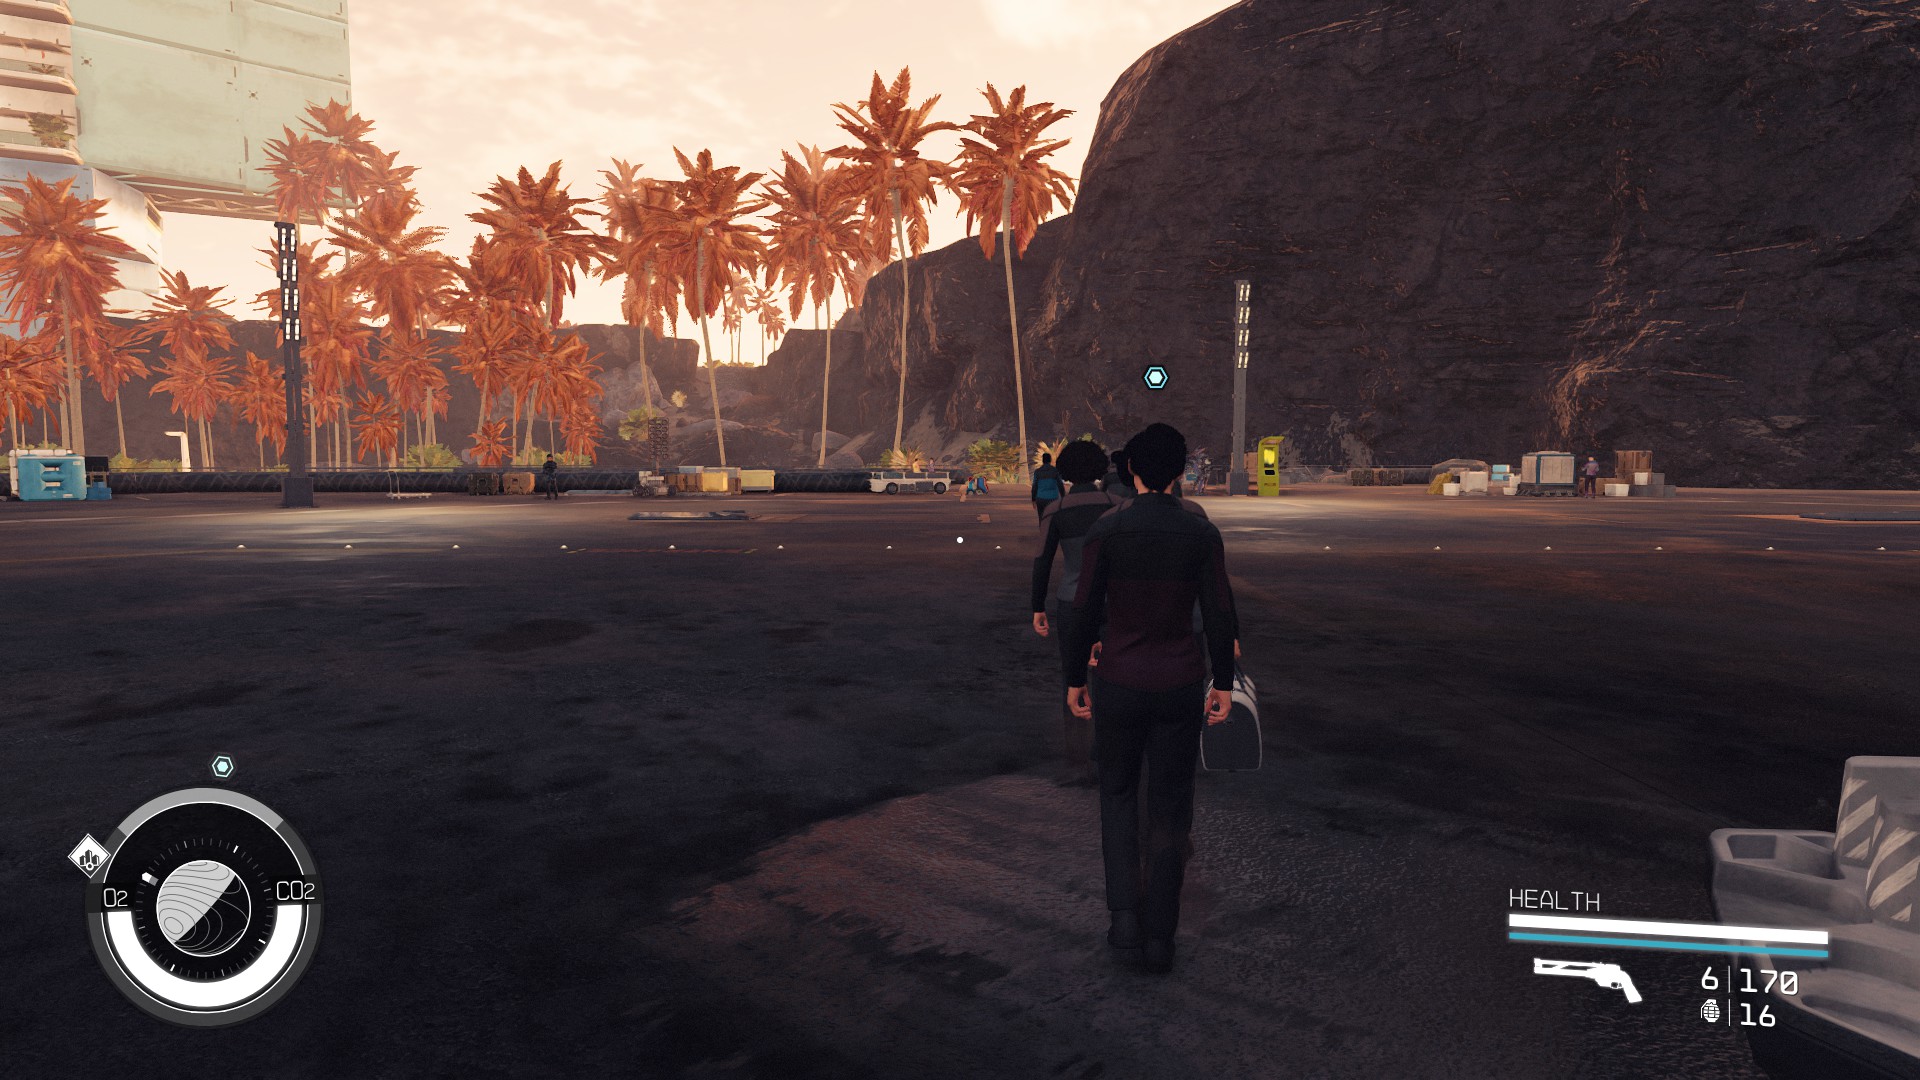
After you’ve collected all the resources, you’ll need to go back to Diana who’ll ask you to ferry the colonists down to the surface. Don’t worry about it (the quest marker will try to confuse you) and just return to your ship and land on Porrima II like you normally would. Once there, you won’t need to follow the colonists all the way to their new homes. Just wait for your quest log to update and speak to Diana. She’ll give you 300 experience, a modified XM-2311 pistol, and some assorted antiques.
Overload the Reactor
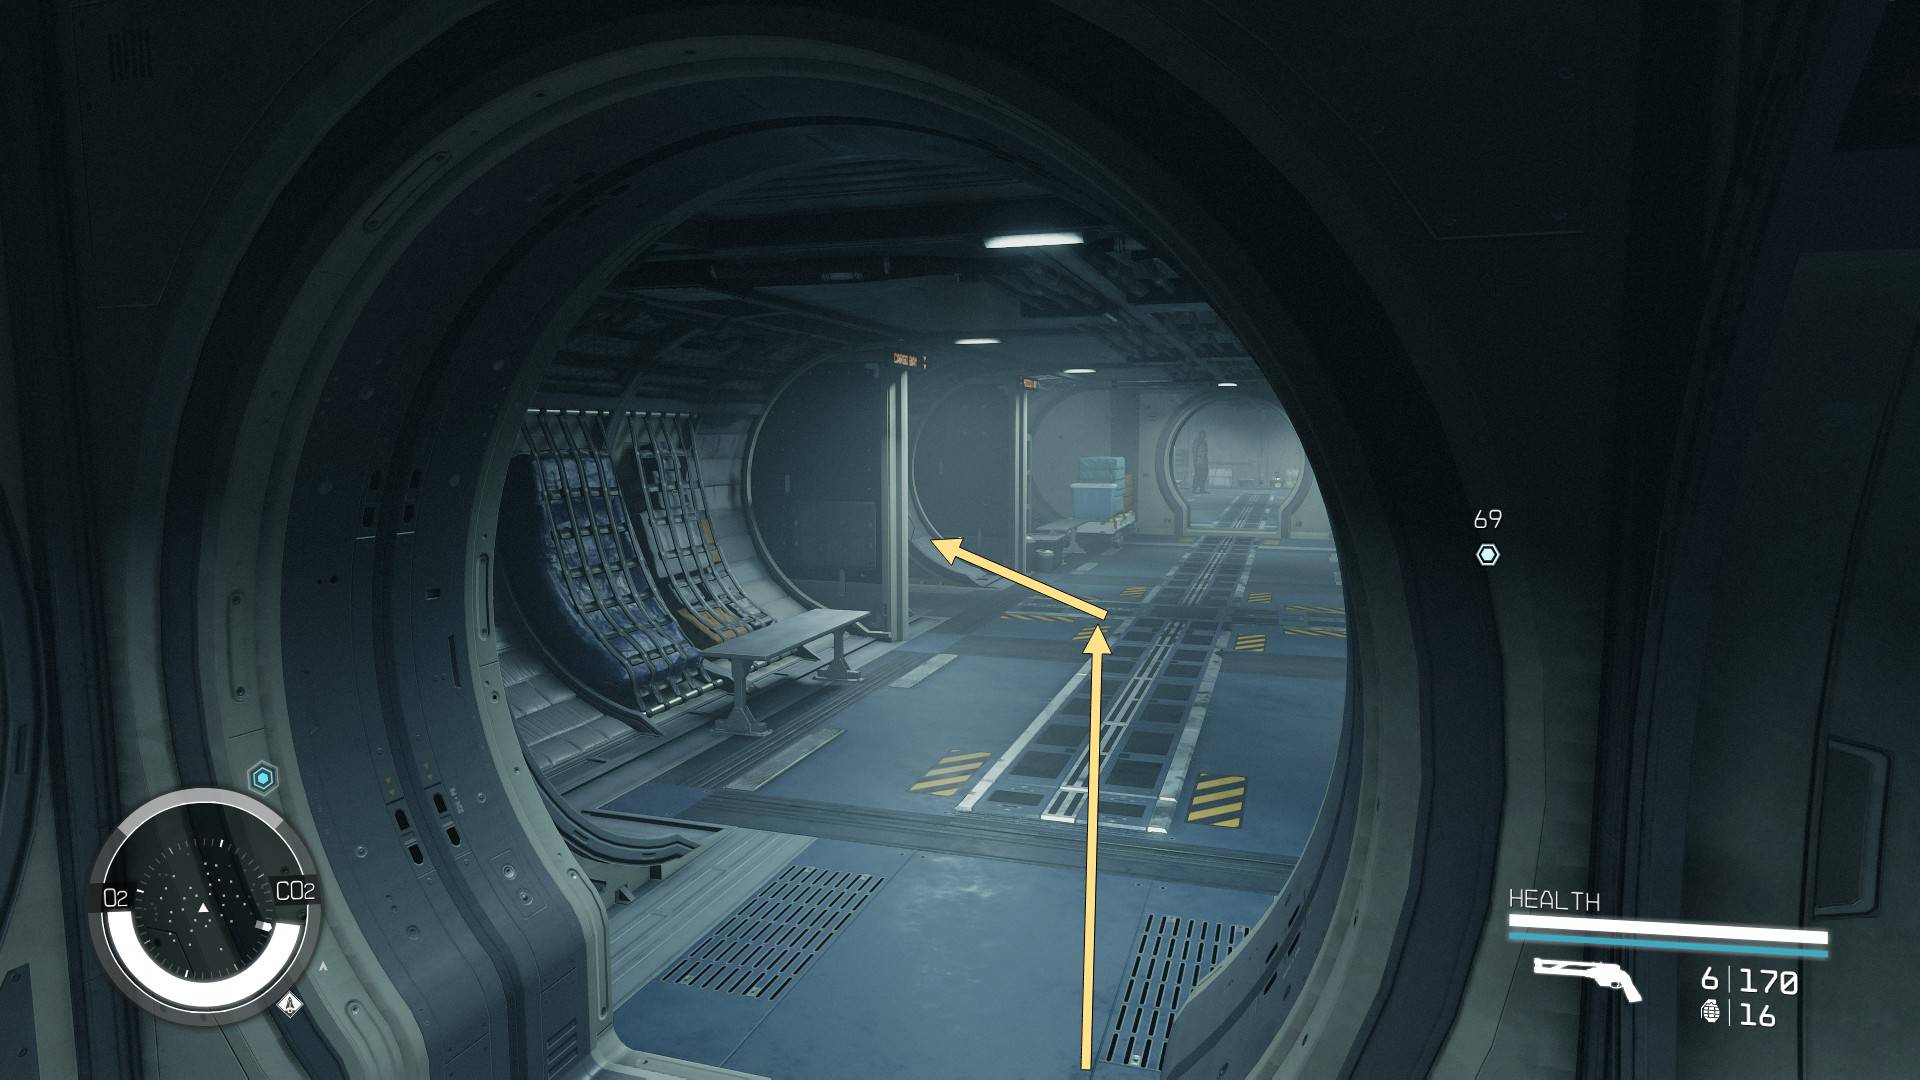
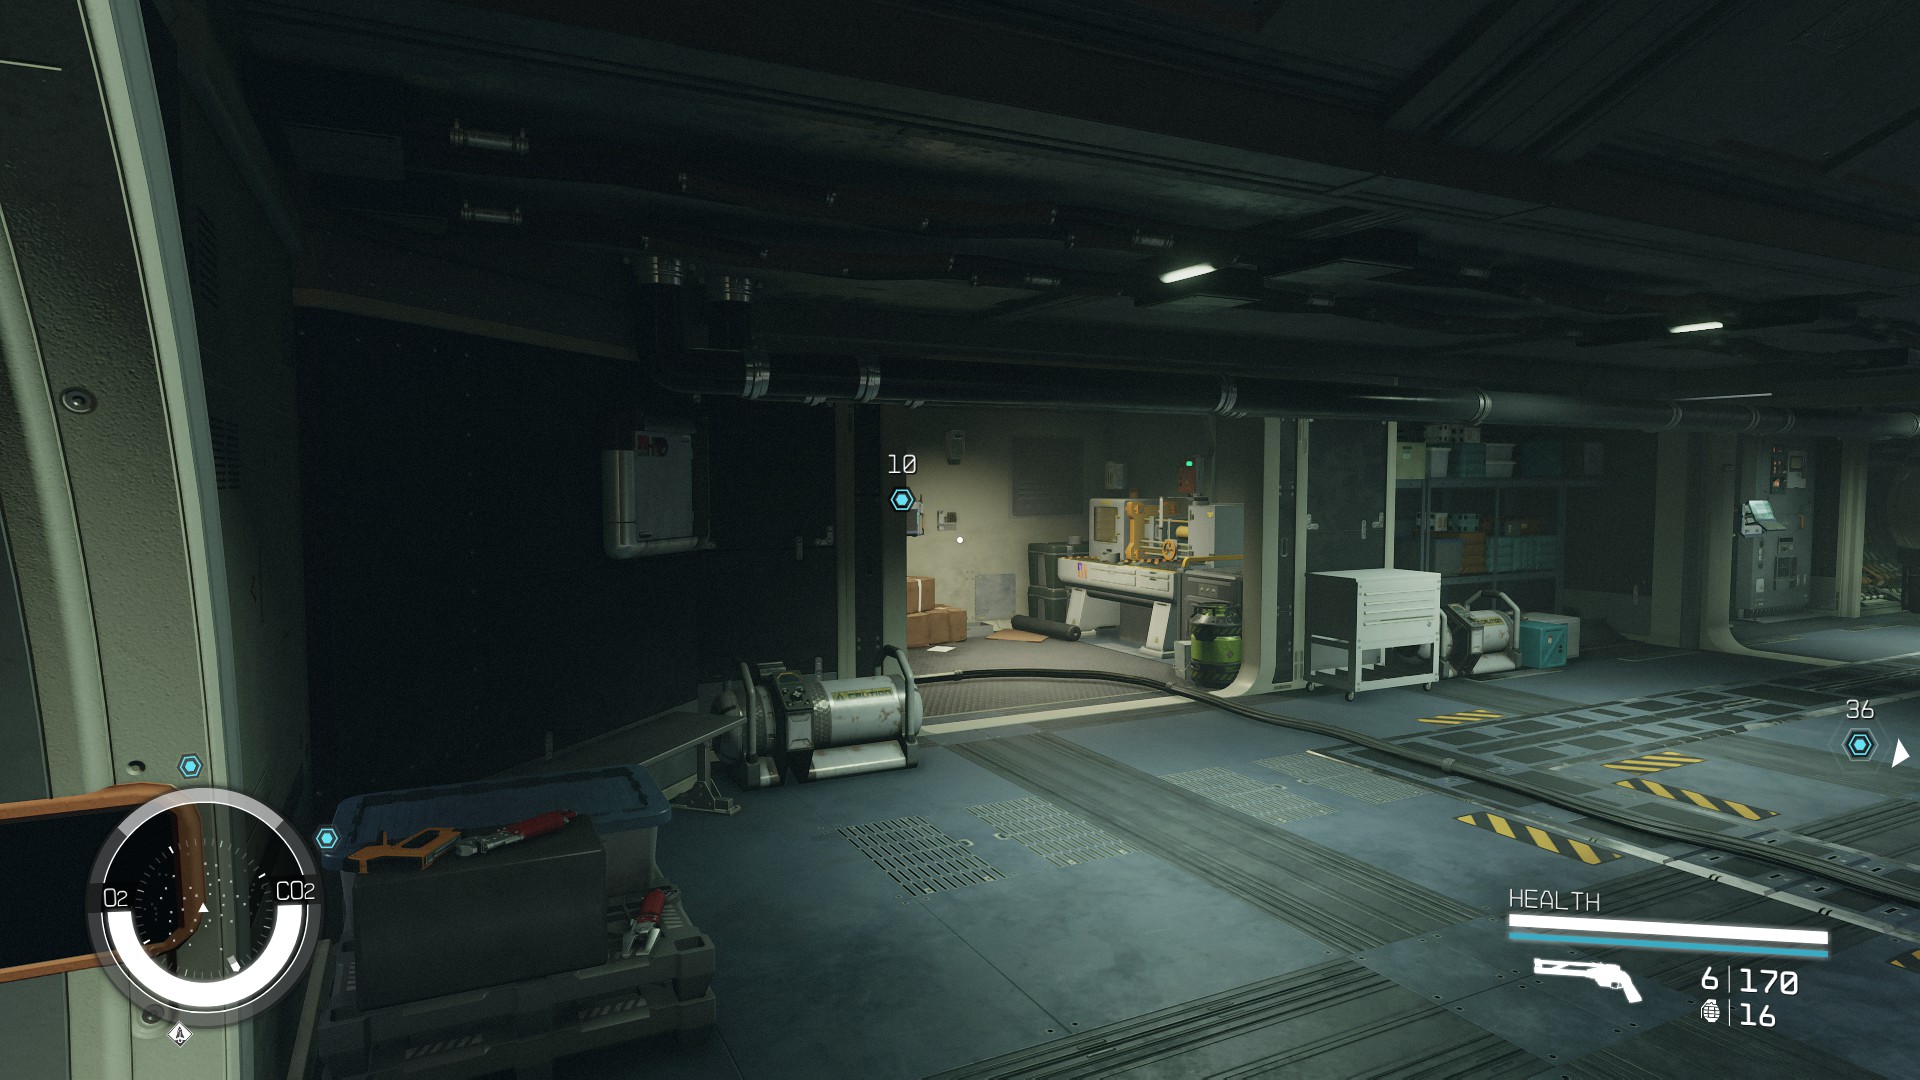
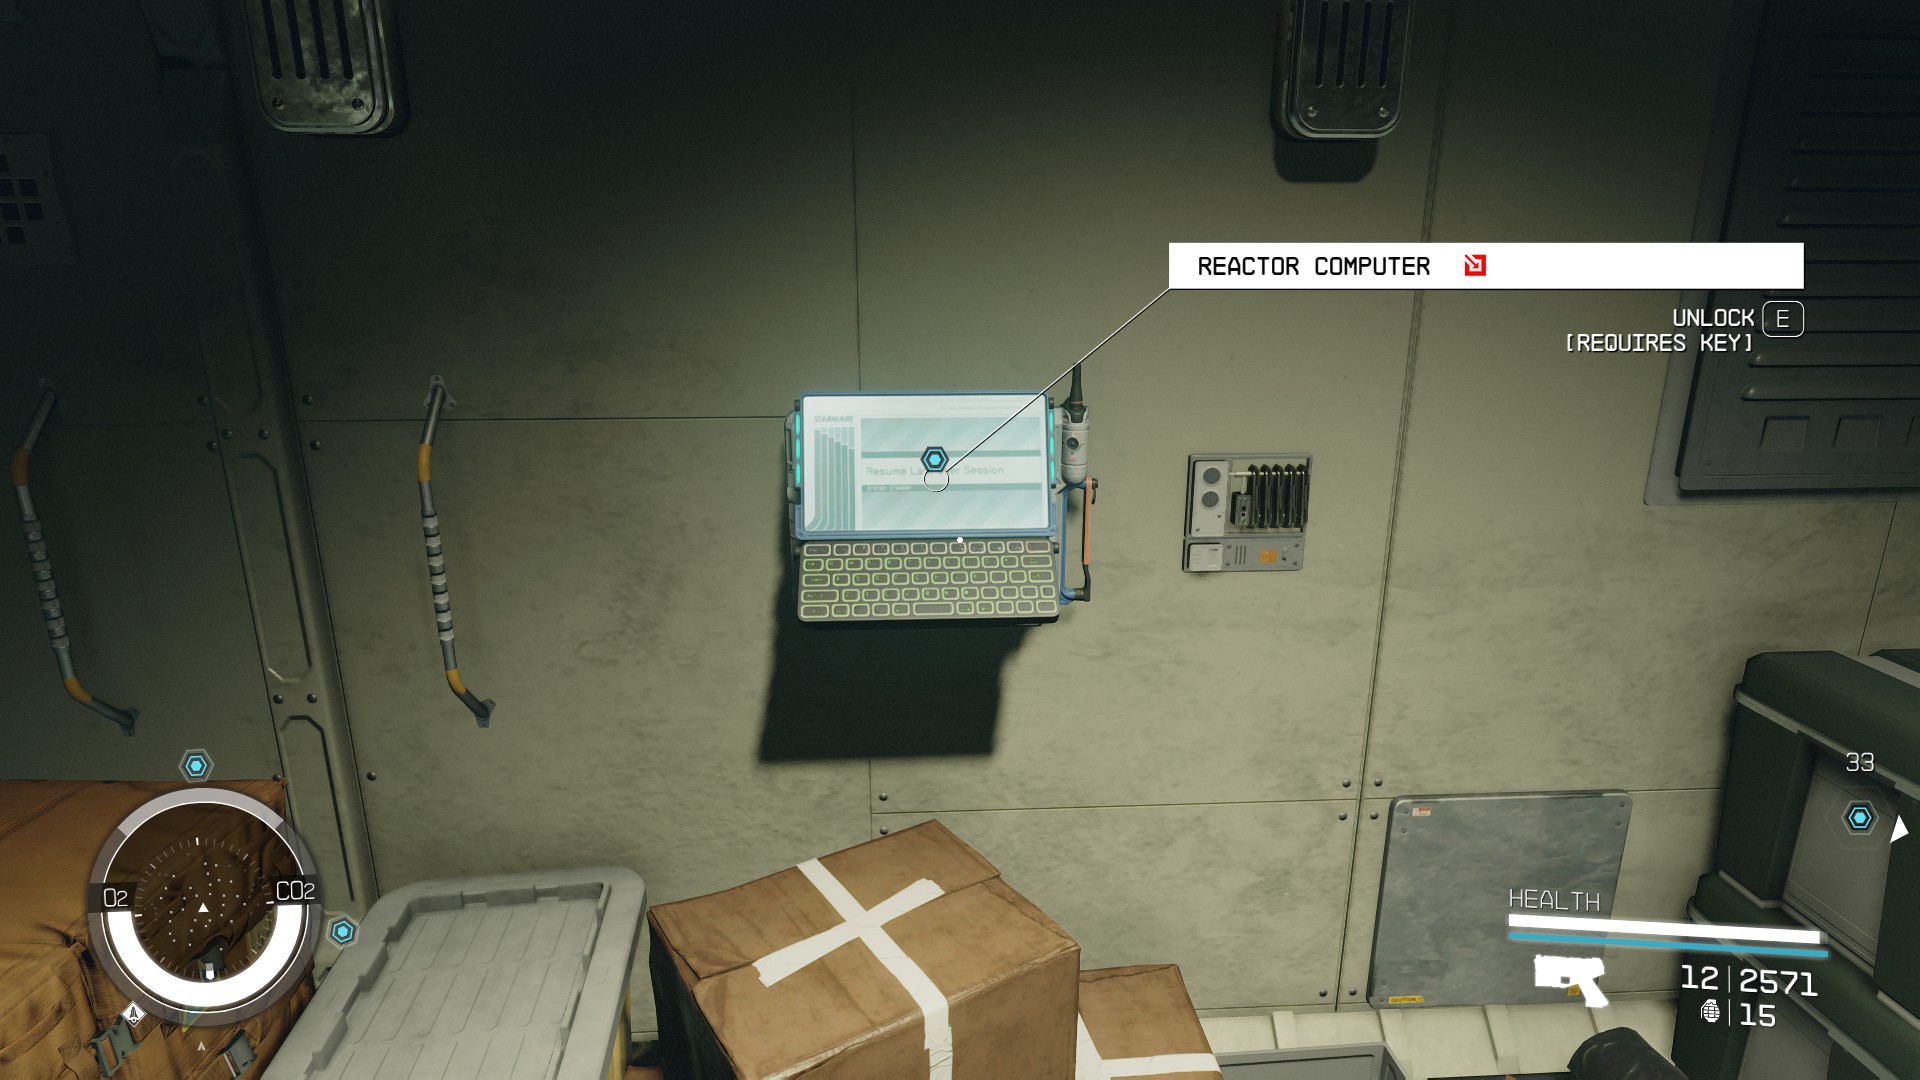
Go back into space and dock with the Constant again. Once there, follow the quest marker to Engineering and access a wall console there. In order to access the console and overload the reactor, you’ll need to have at least 1 rank of the Theft and Security skills.
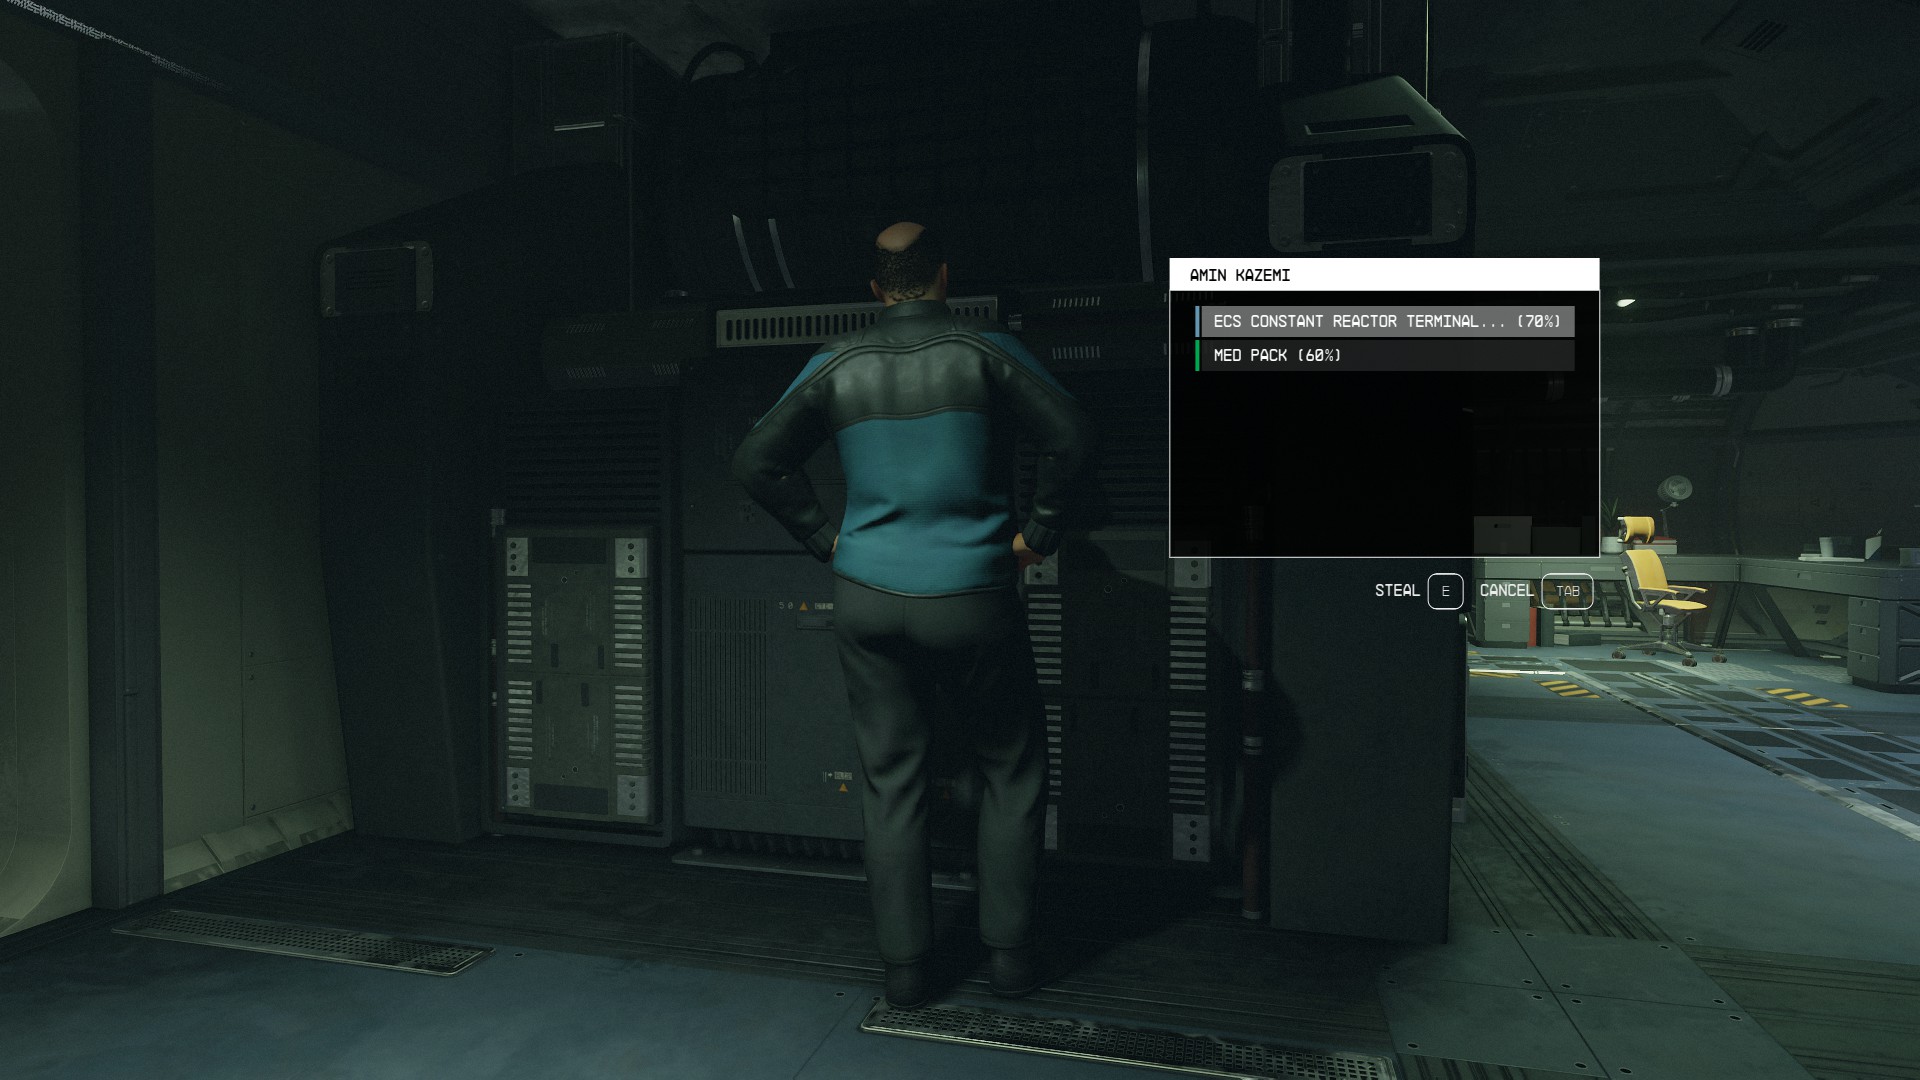
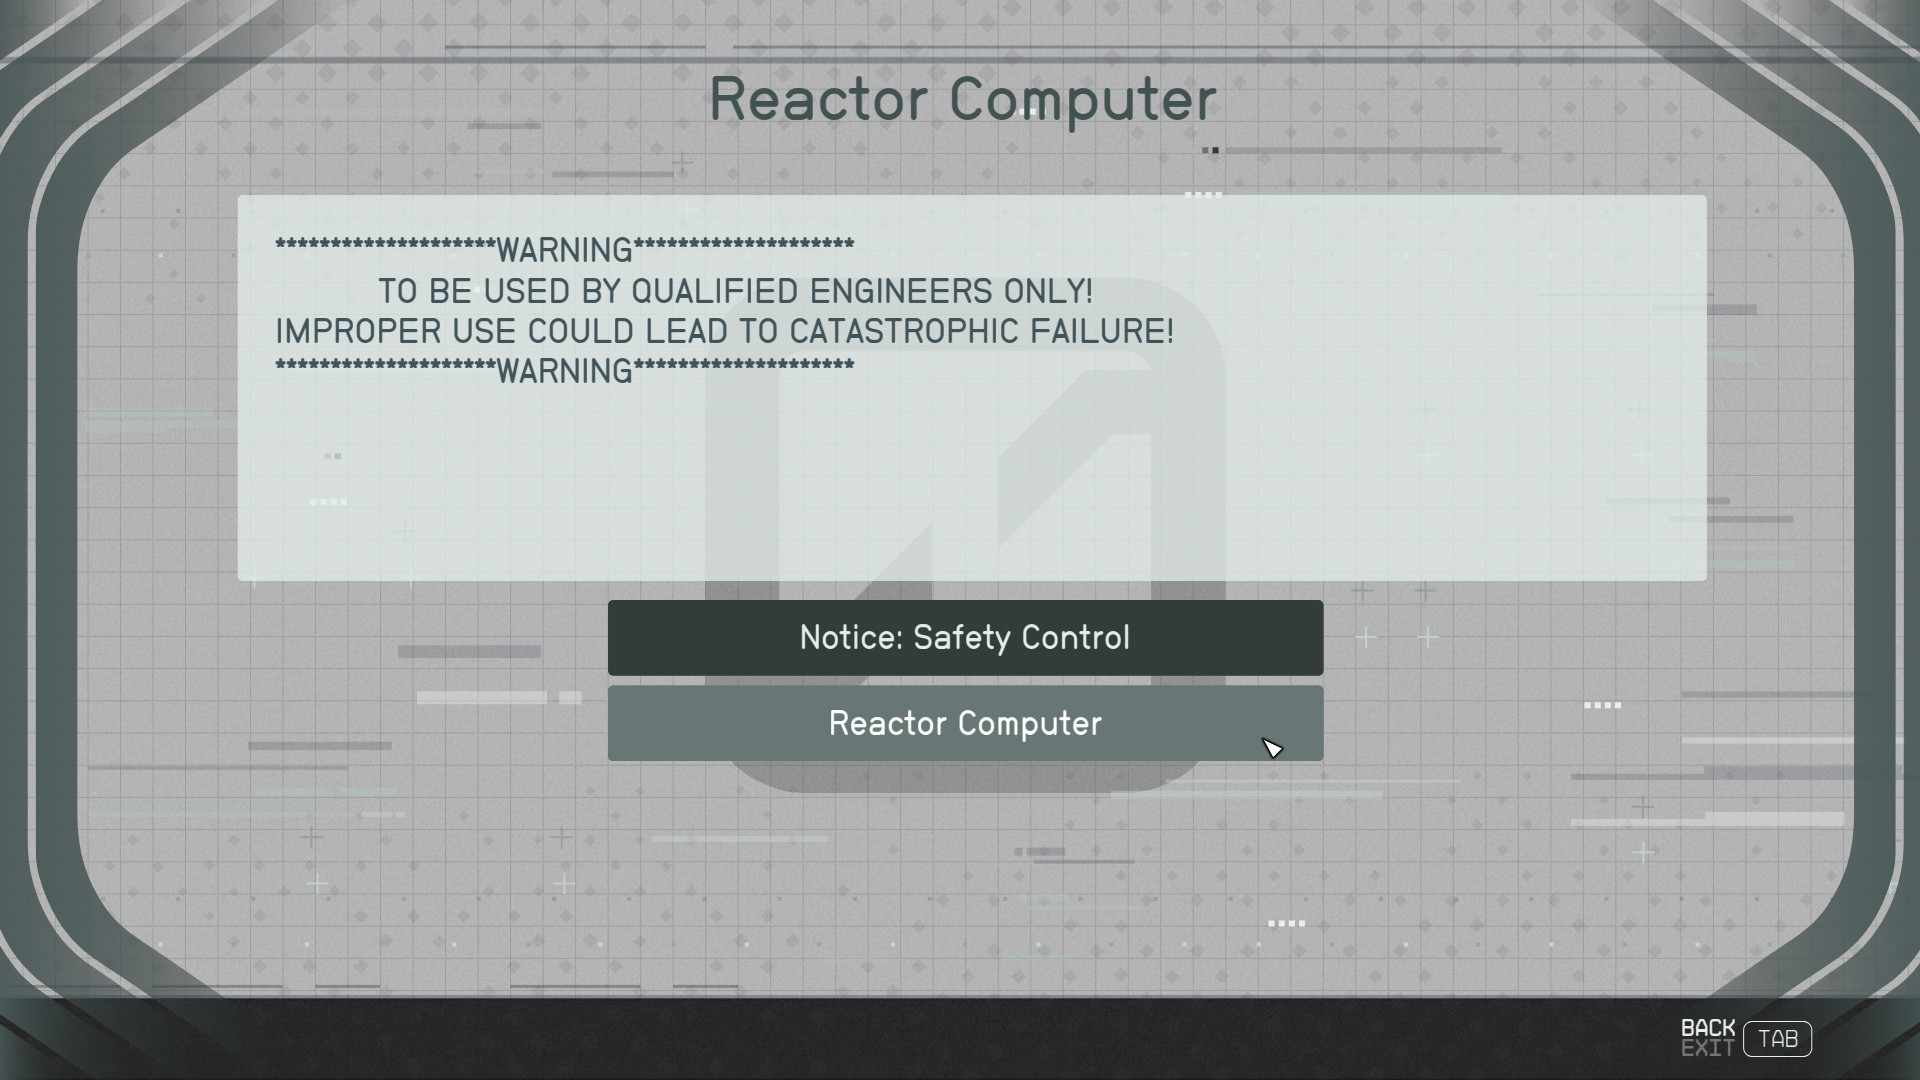
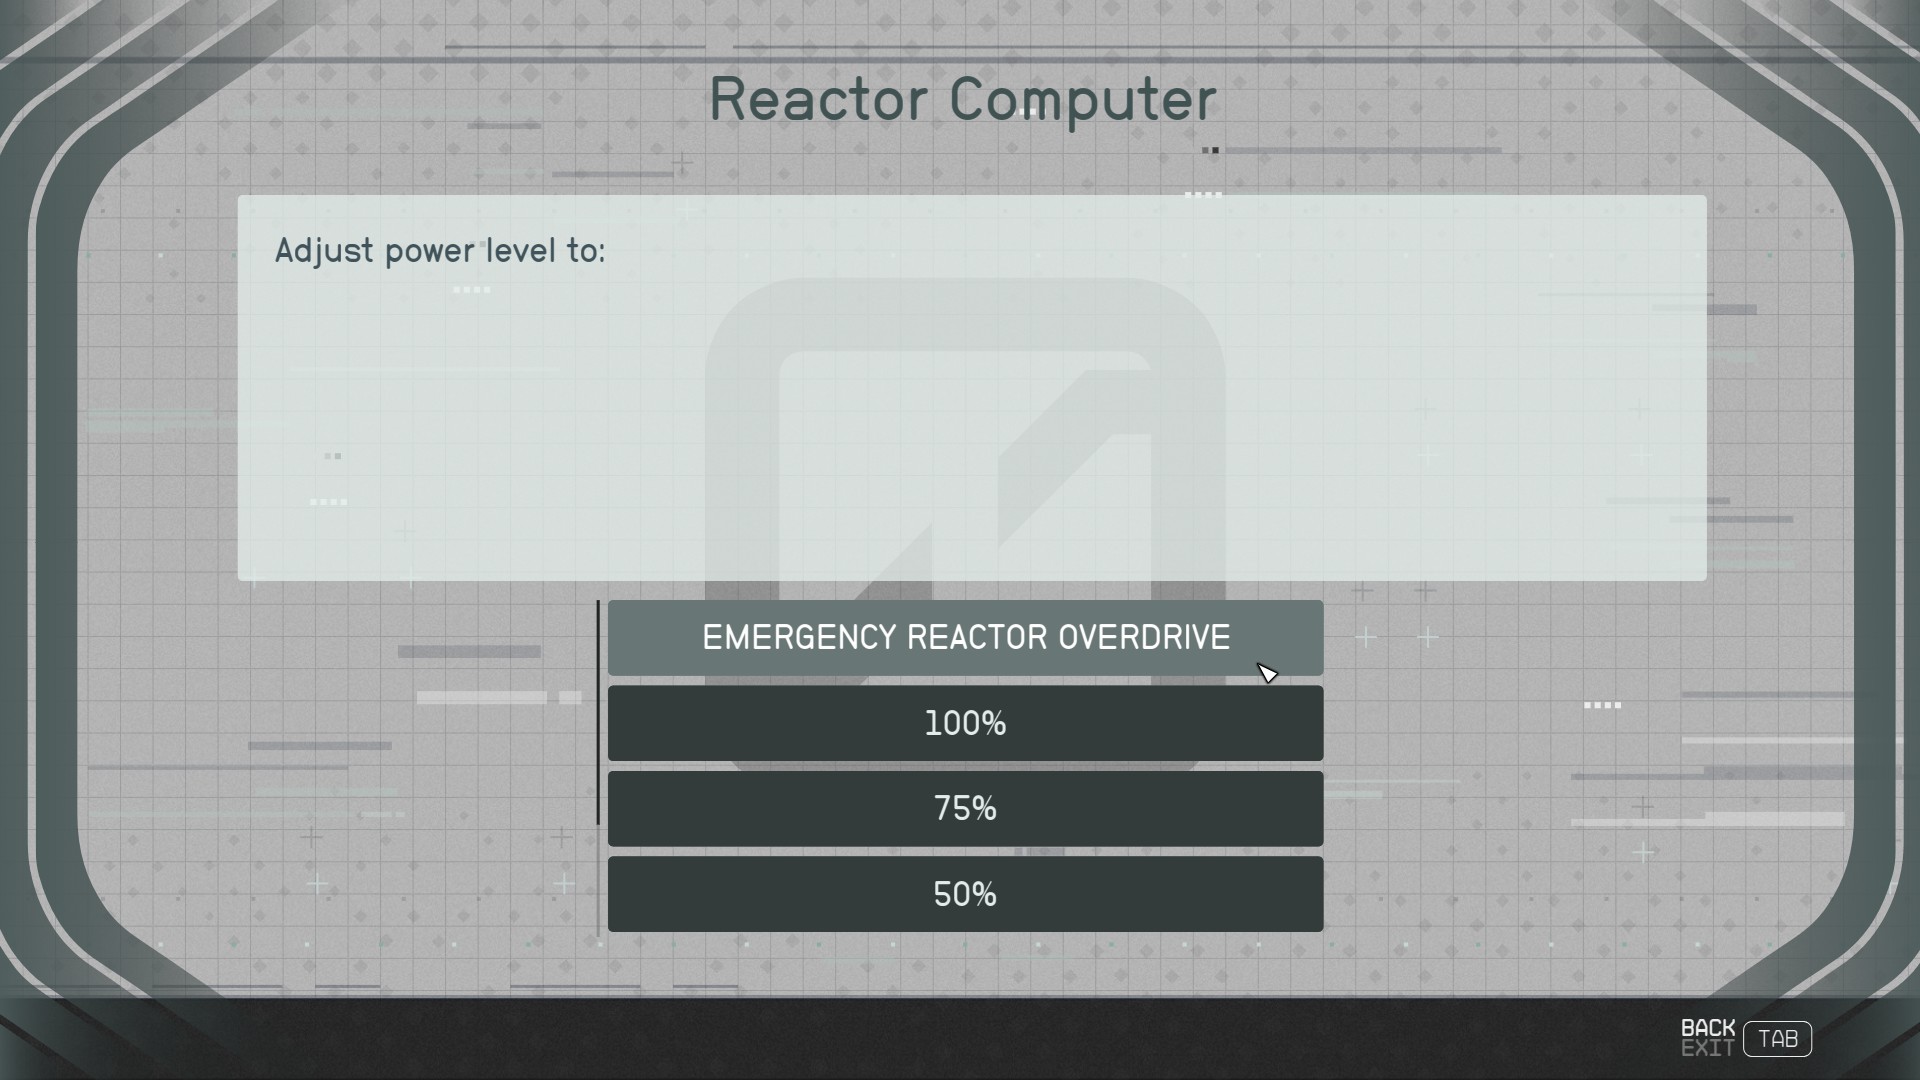
First, you’ll need to pickpocket Amin Kazemi (17), the Constant’s chief engineer for his reactor terminal key. Then, access the reactor computer (18) and adjust the power level (19) to Emergency Reactor Override (20).
(17)(18)(19)(20)
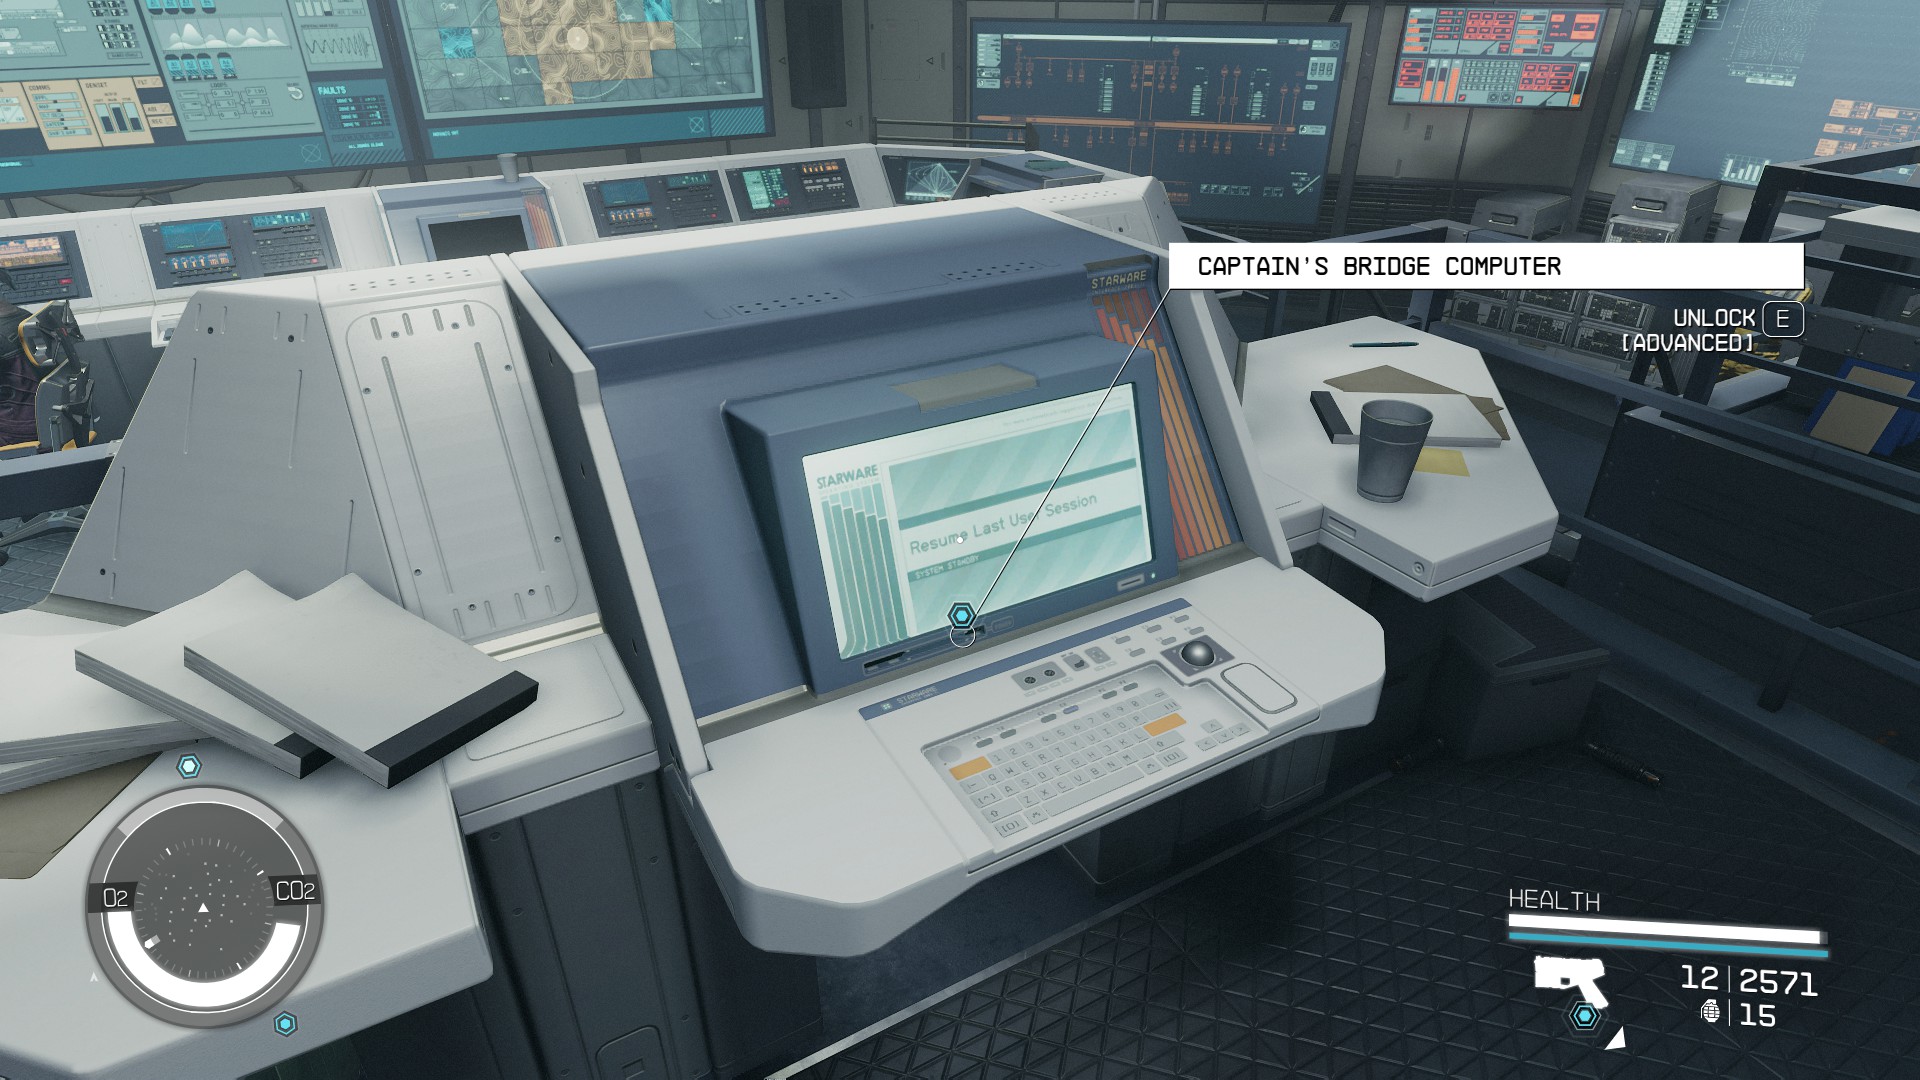
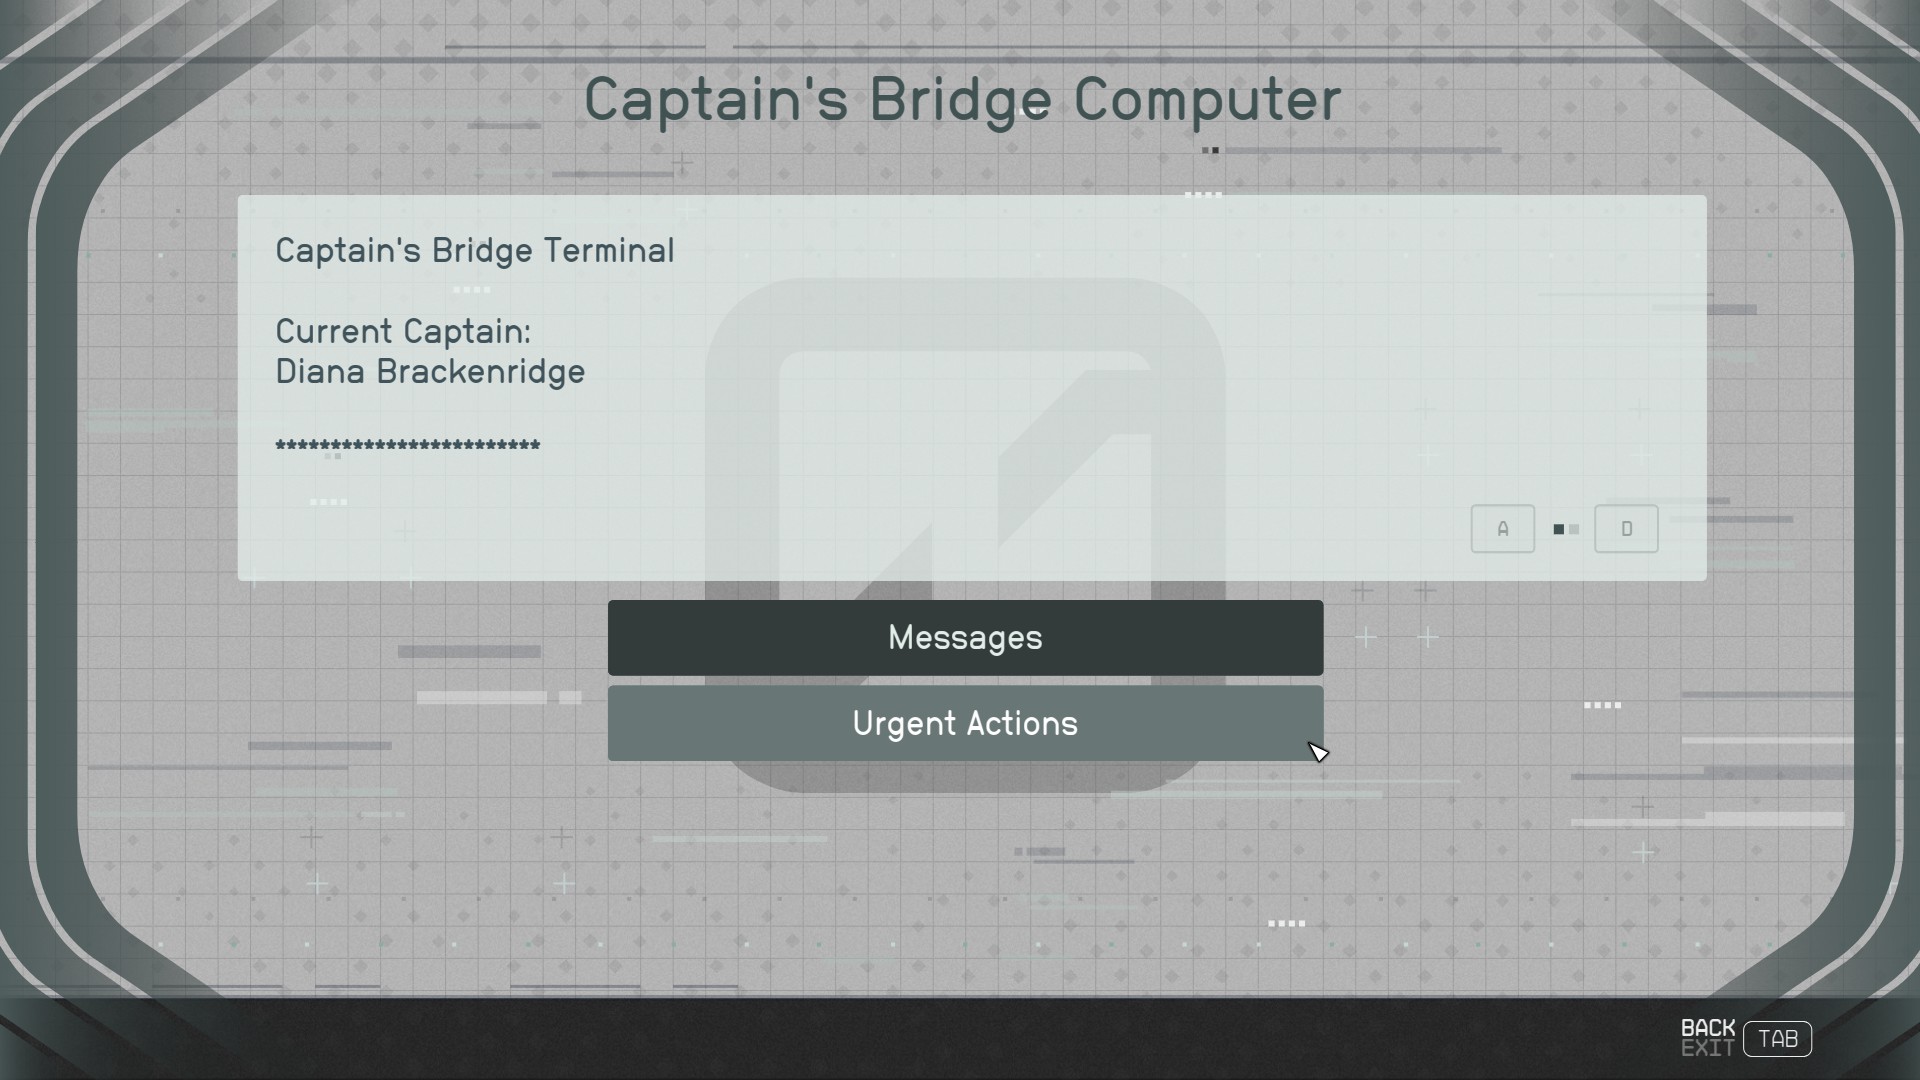
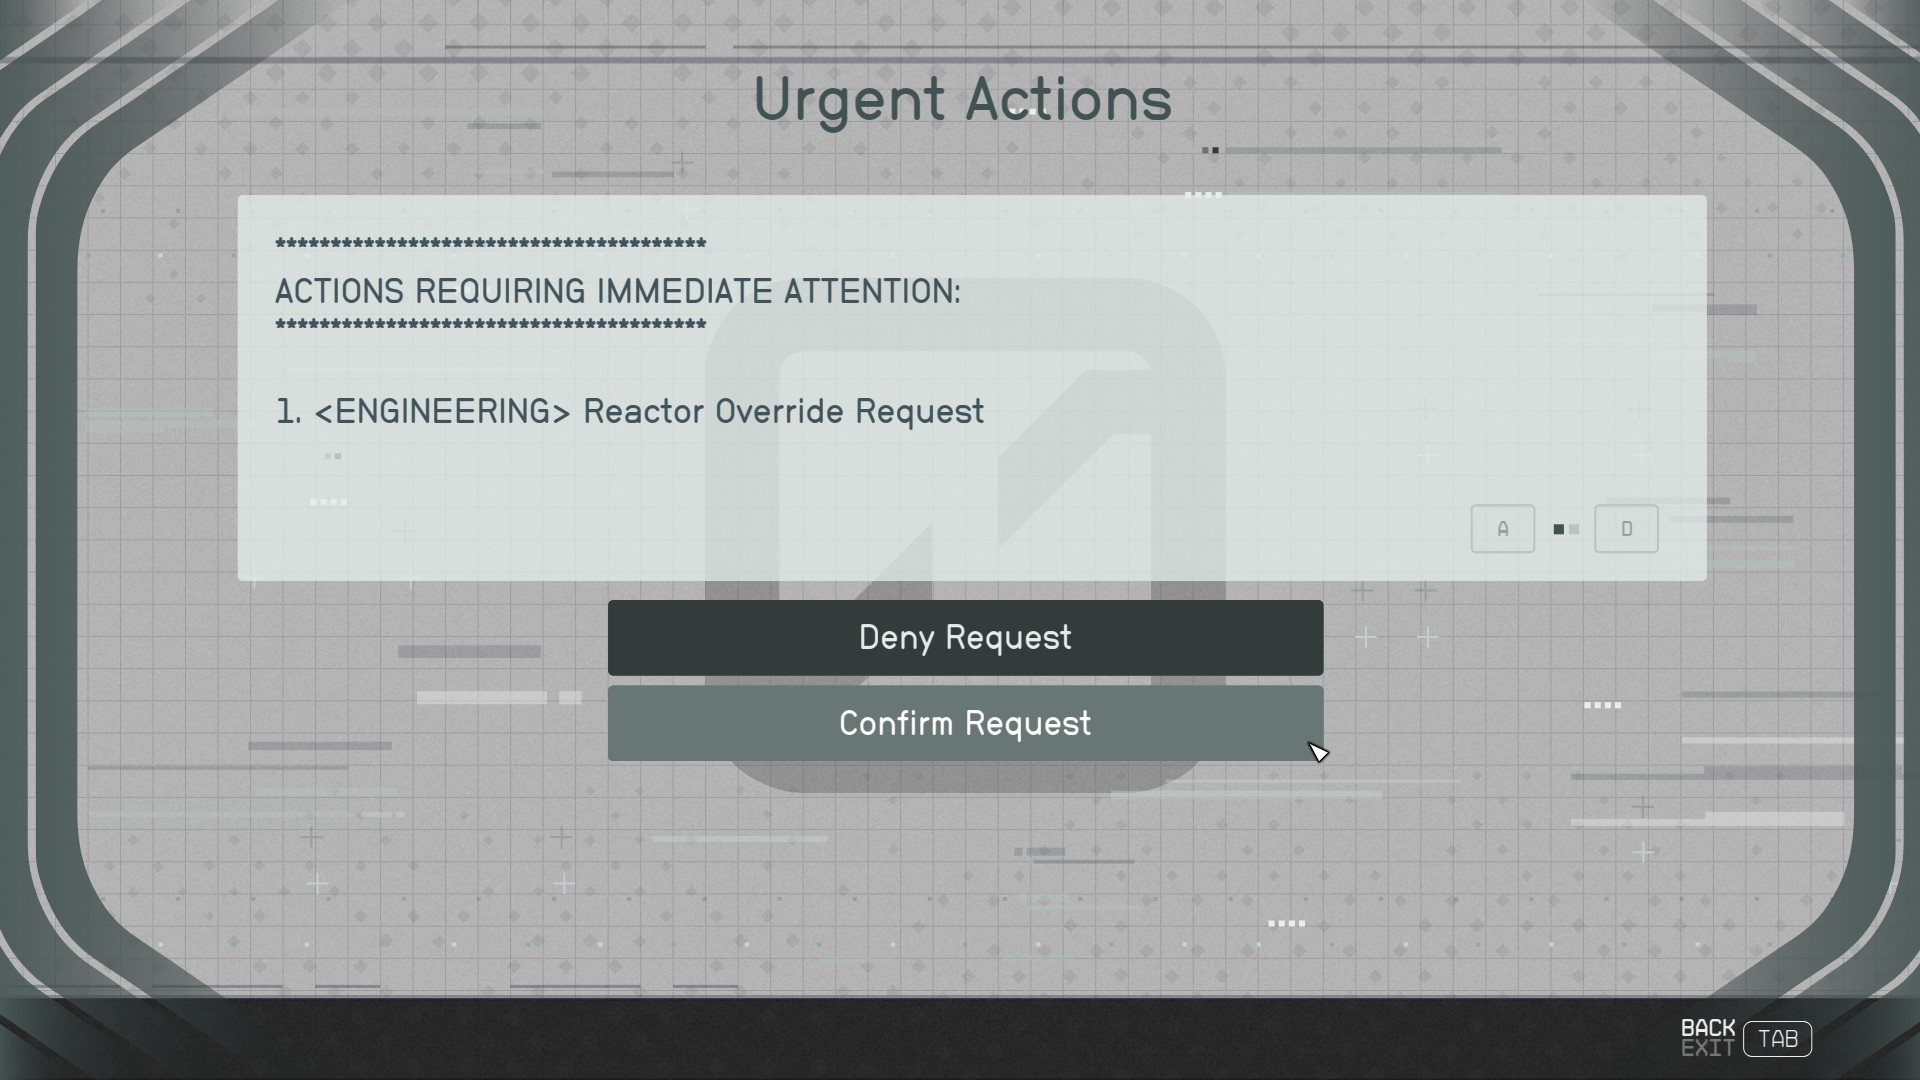
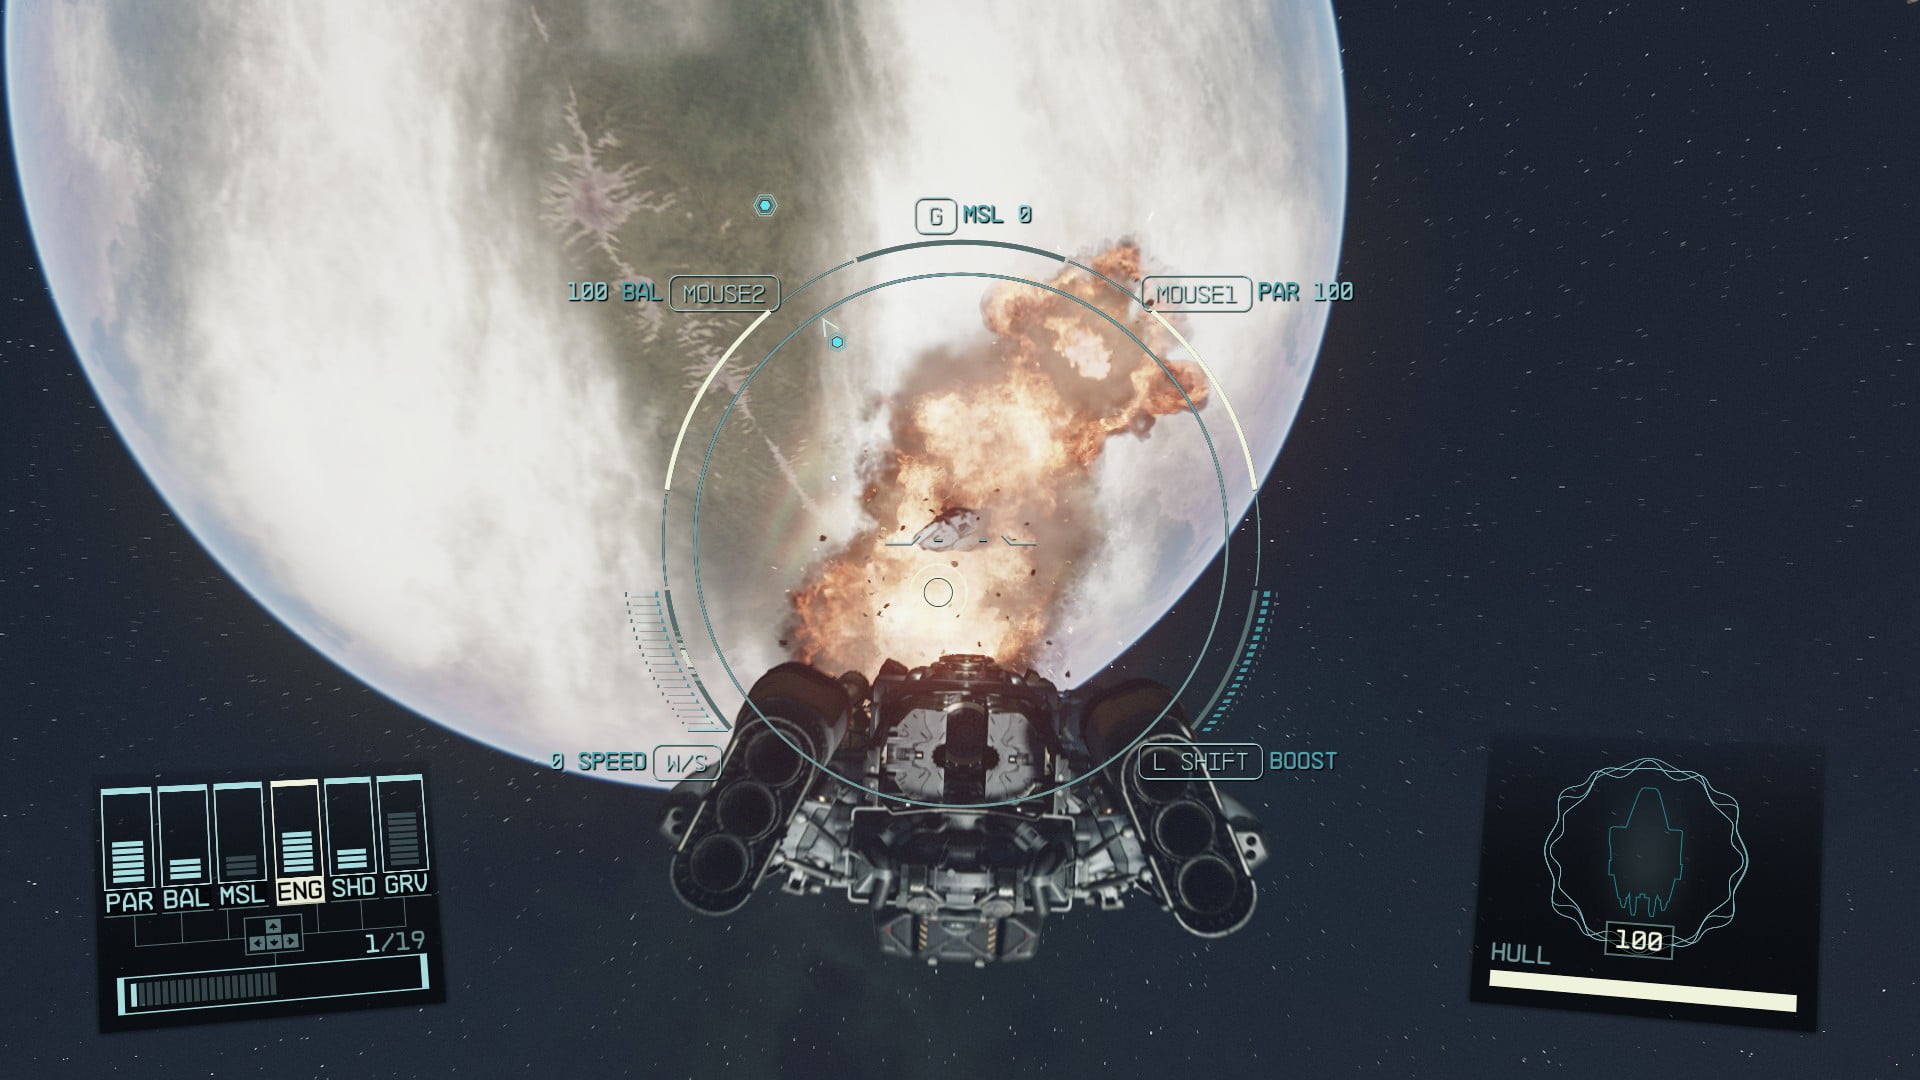
You’ll then need to confirm the override by following the quest marker to Captain’s Bridge Computer (21) and unlocking an Advanced-level lock it has (22). Consult our lockpicking guide if you need some help with that. Once you’re in, go straight for Urgent Actions (23) and Confirm Request (24). With that done, the Constant’s crew will turn hostile and the game will tell you that you have 6 minutes to get back to your ship. However, after waiting about 10 minutes on board, we believe that this is a lie, as the Constant only blows up (25) after you leave it, meaning you don’t need to rush.
(21)(22)(23)(24)(25)
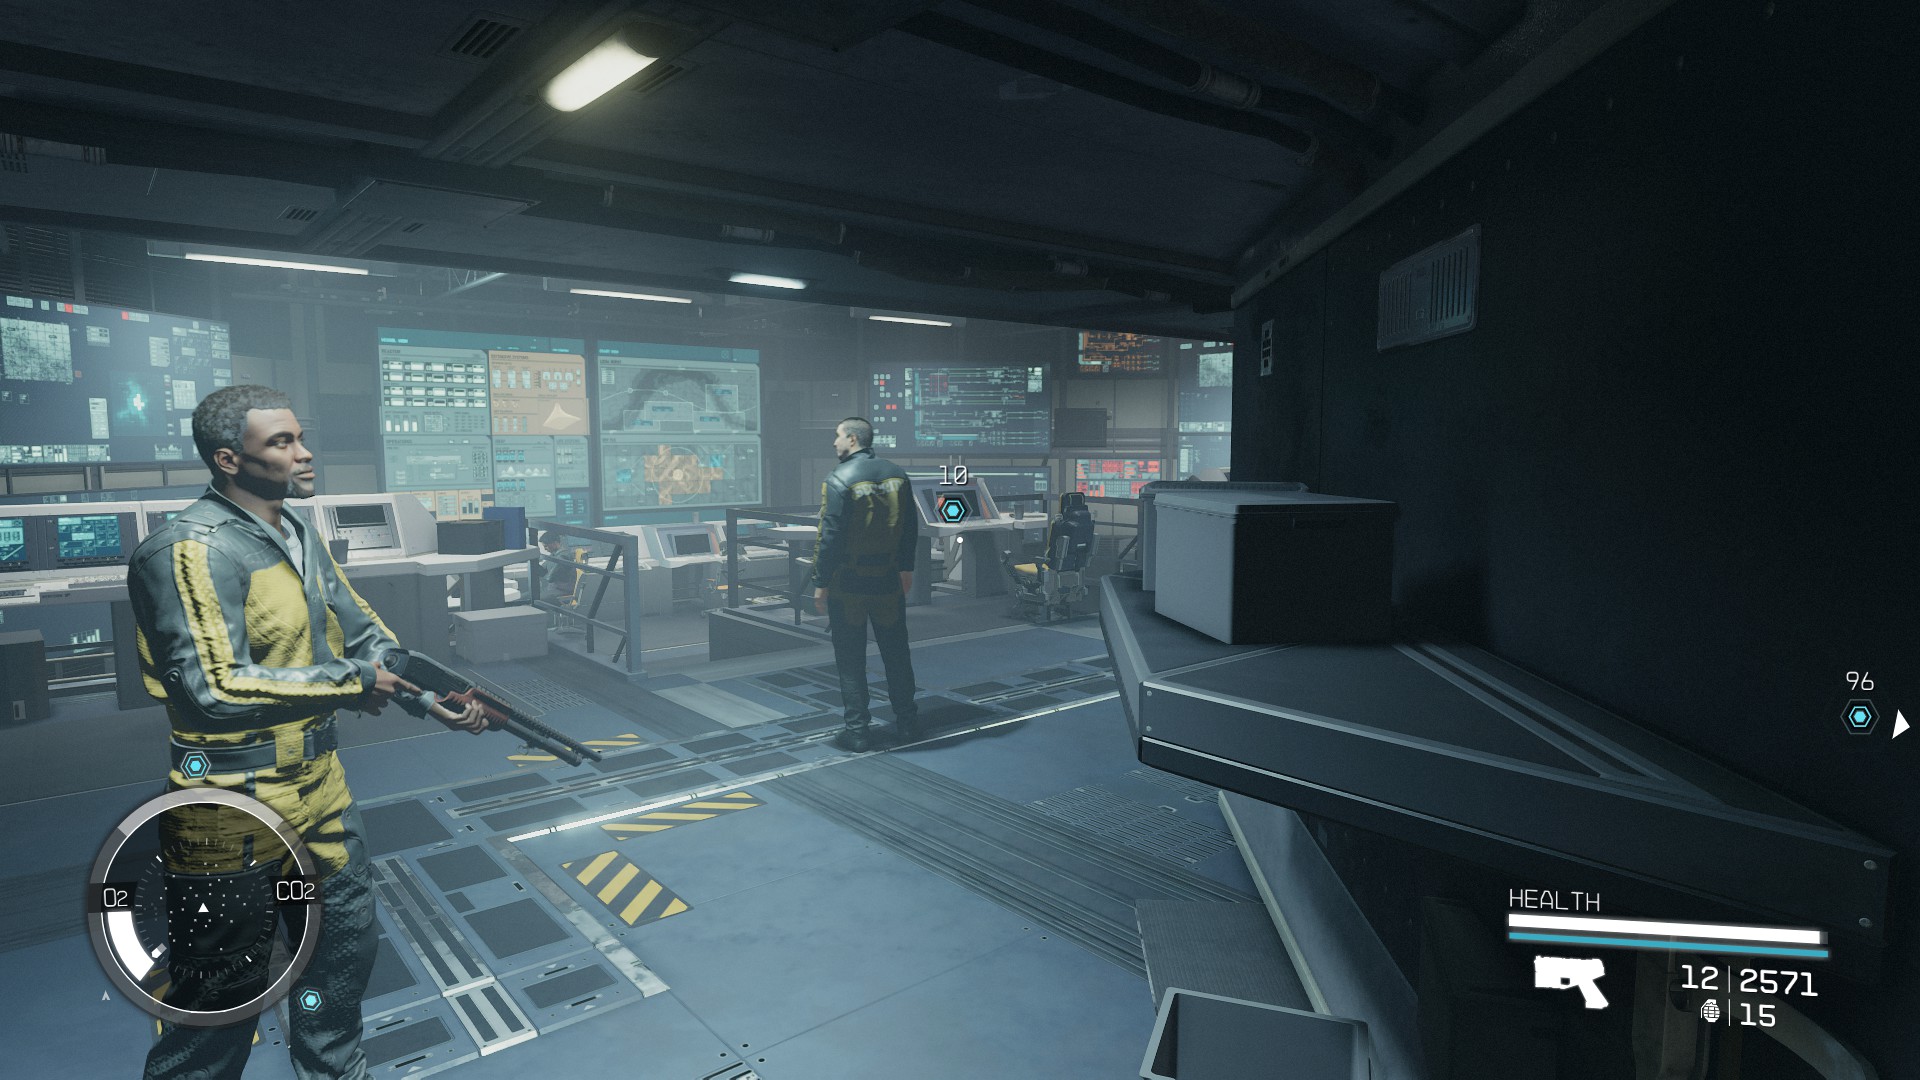
Once the ship is destroyed, you should go back to Oliver in the board room, where he’ll give you 300 experience, 6500 Credits, and allow you to stay in Paradiso for as long as you like.
Share this article:
Val Hull
Resident role-playing RPG game expert. Knows where trolls and paladins come from. You must fight for your right to gather your party before venturing forth.