In this main story mission walkthrough, we’ll guide you through an exciting Starfield mission in which you’ll have to make a difficult decision — and pay a high price for doing so.
After turning in the previous mission, No Sudden Moves, you’ll be in the Lodge, and High Price to Pay will automatically begin. Noel will say that she can’t reach the Eye, and you’ll be able to pick a dialog option (it doesn’t matter what you choose). A transmission will come in from Vladimir, saying a Starborn is coming to the Lodge — he’ll be interrupted by The Hunter, who you can try to bargain with or threaten (again, it doesn’t matter). Vladimir will tell the team to pack up shop, and then you’ll have one more line of dialog to throw in before making your decision: Go to the Eye, or stay and defend the Lodge.
This is a good time to save your game, because the choice you make will have serious consequences for one of your companions. While we haven’t been able to 100% confirm this, it seems that the game chooses the two companions you have the highest affinity with (the companions that like you the most), marks them both for death, and places one on the Eye and one in the Lodge. If you choose to go to the Eye at this point, the marked companion in the Lodge will die. If you stay and defend the Lodge, the marked companion on the Eye will die instead.
Below, you’ll find a walkthrough section for each of the two choices.
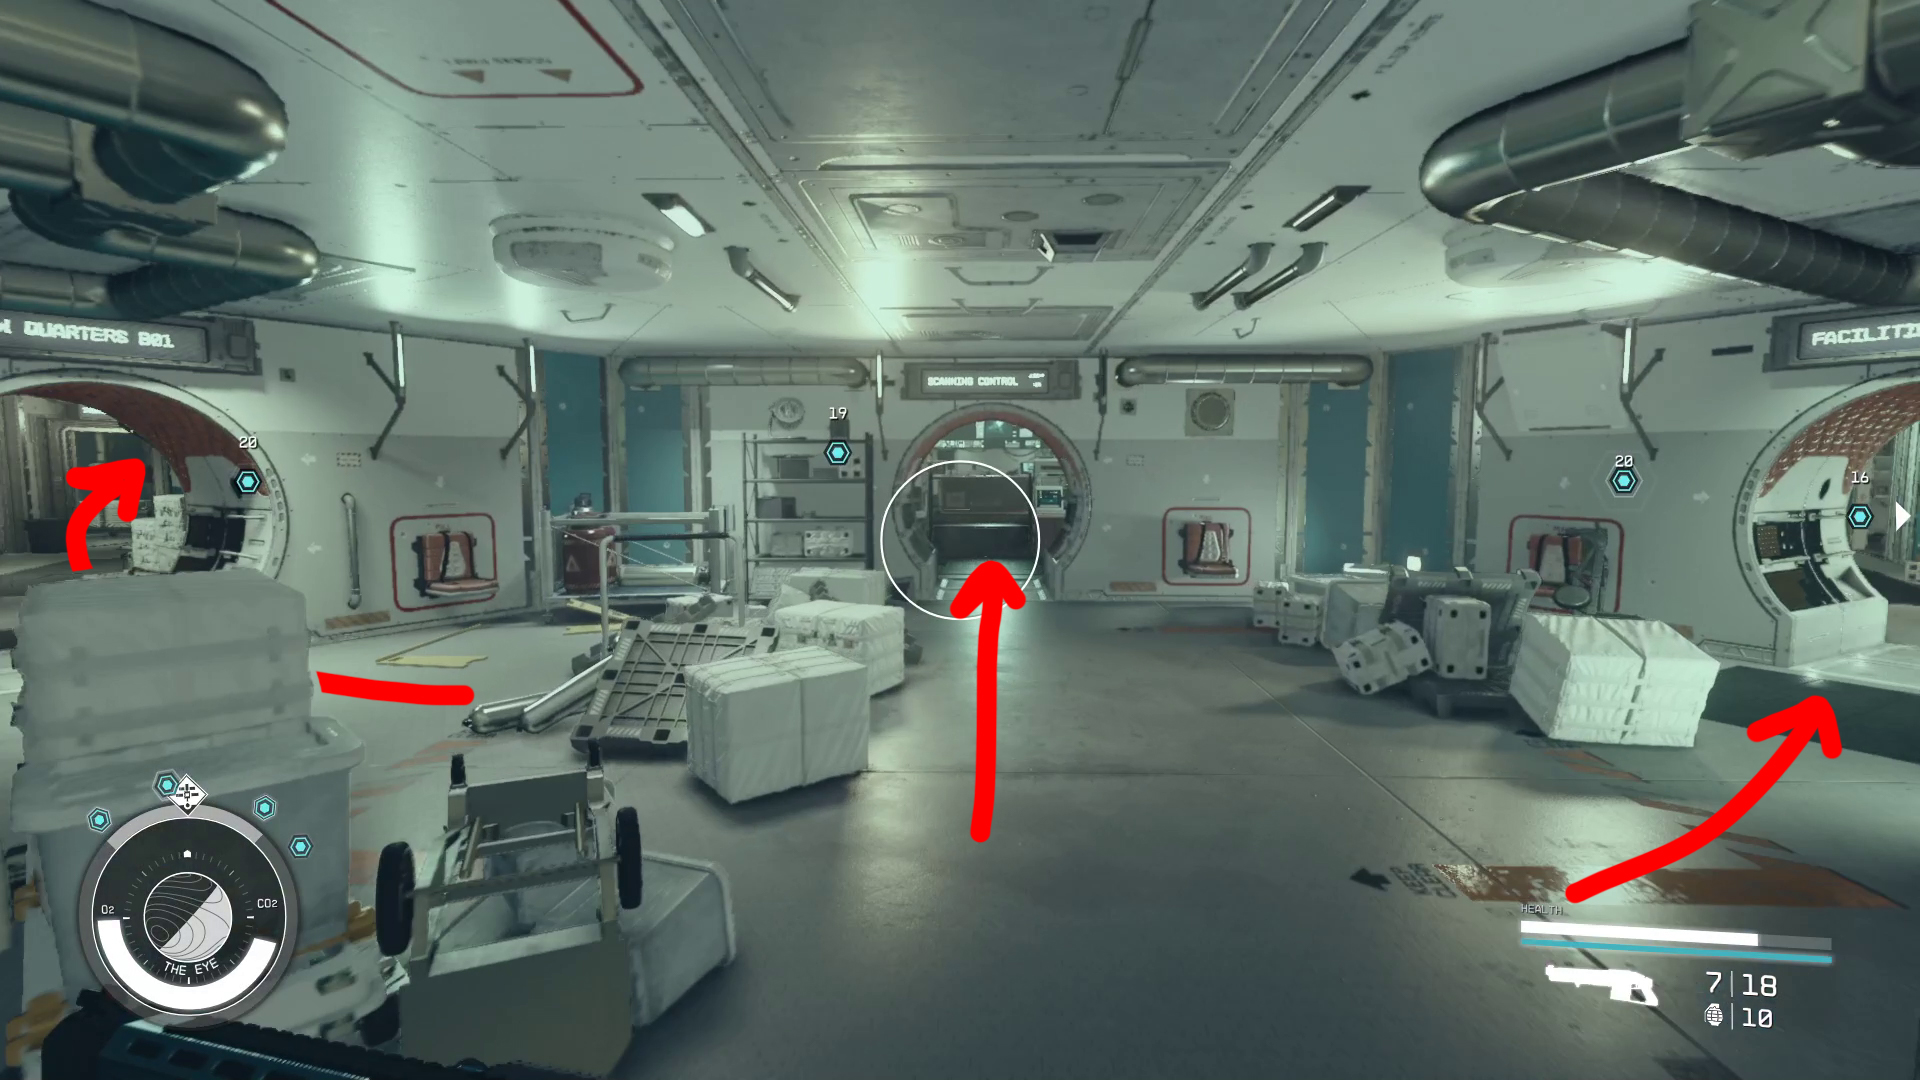
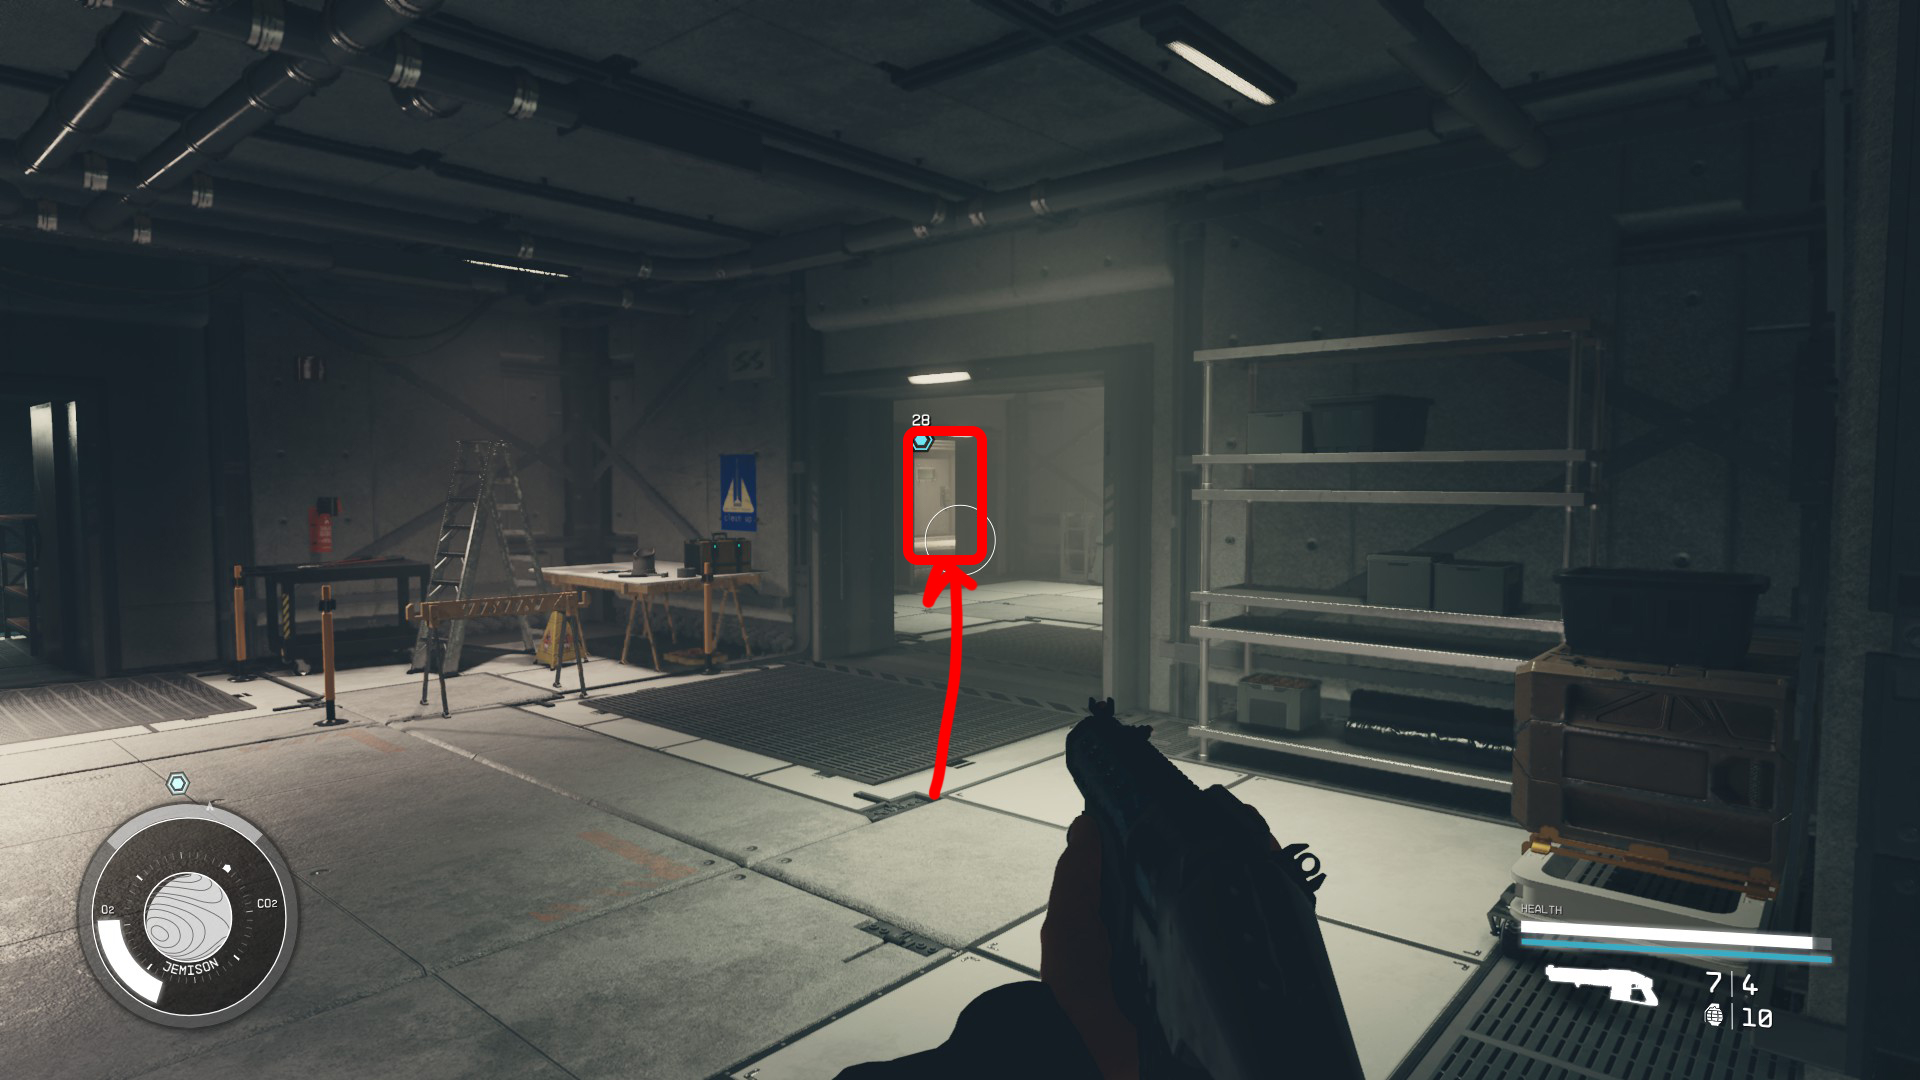
To go to the Eye, you’ll need to first exit the Lodge via the front door. A companion will warn you that they’ll have to barricade the door behind you — once you leave the Lodge, your decision will be made. Leave, and you’ll be able to use your Mission log to fast travel to orbit, near the Eye. Target the Eye, approach it, and board/dock. Inside, head past the initial left and right tubes and continue into the main hub, where you can see the entryways to the Crew Quarters, Scanner Control, and the Facilities section (Image 1).
Image 1- The entrances to the Crew Quarters, Scanner Control, and Facilities
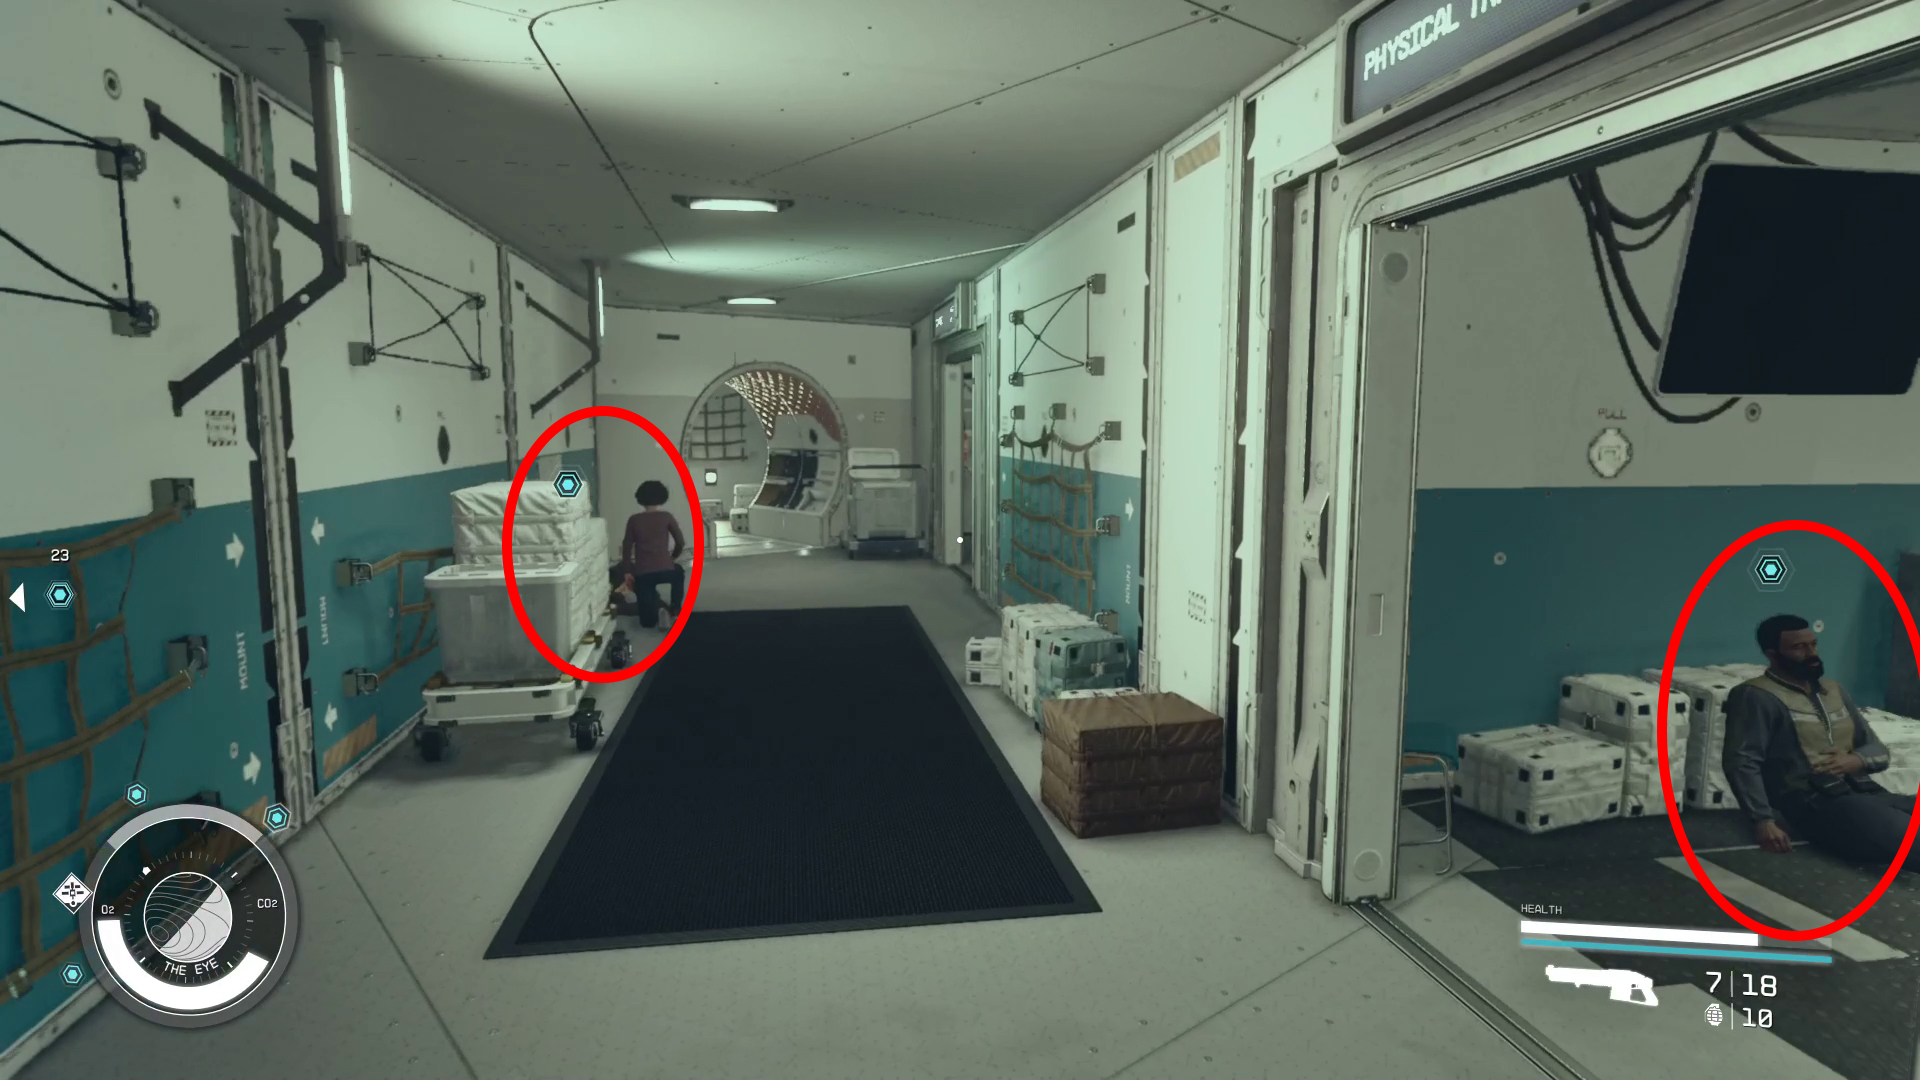
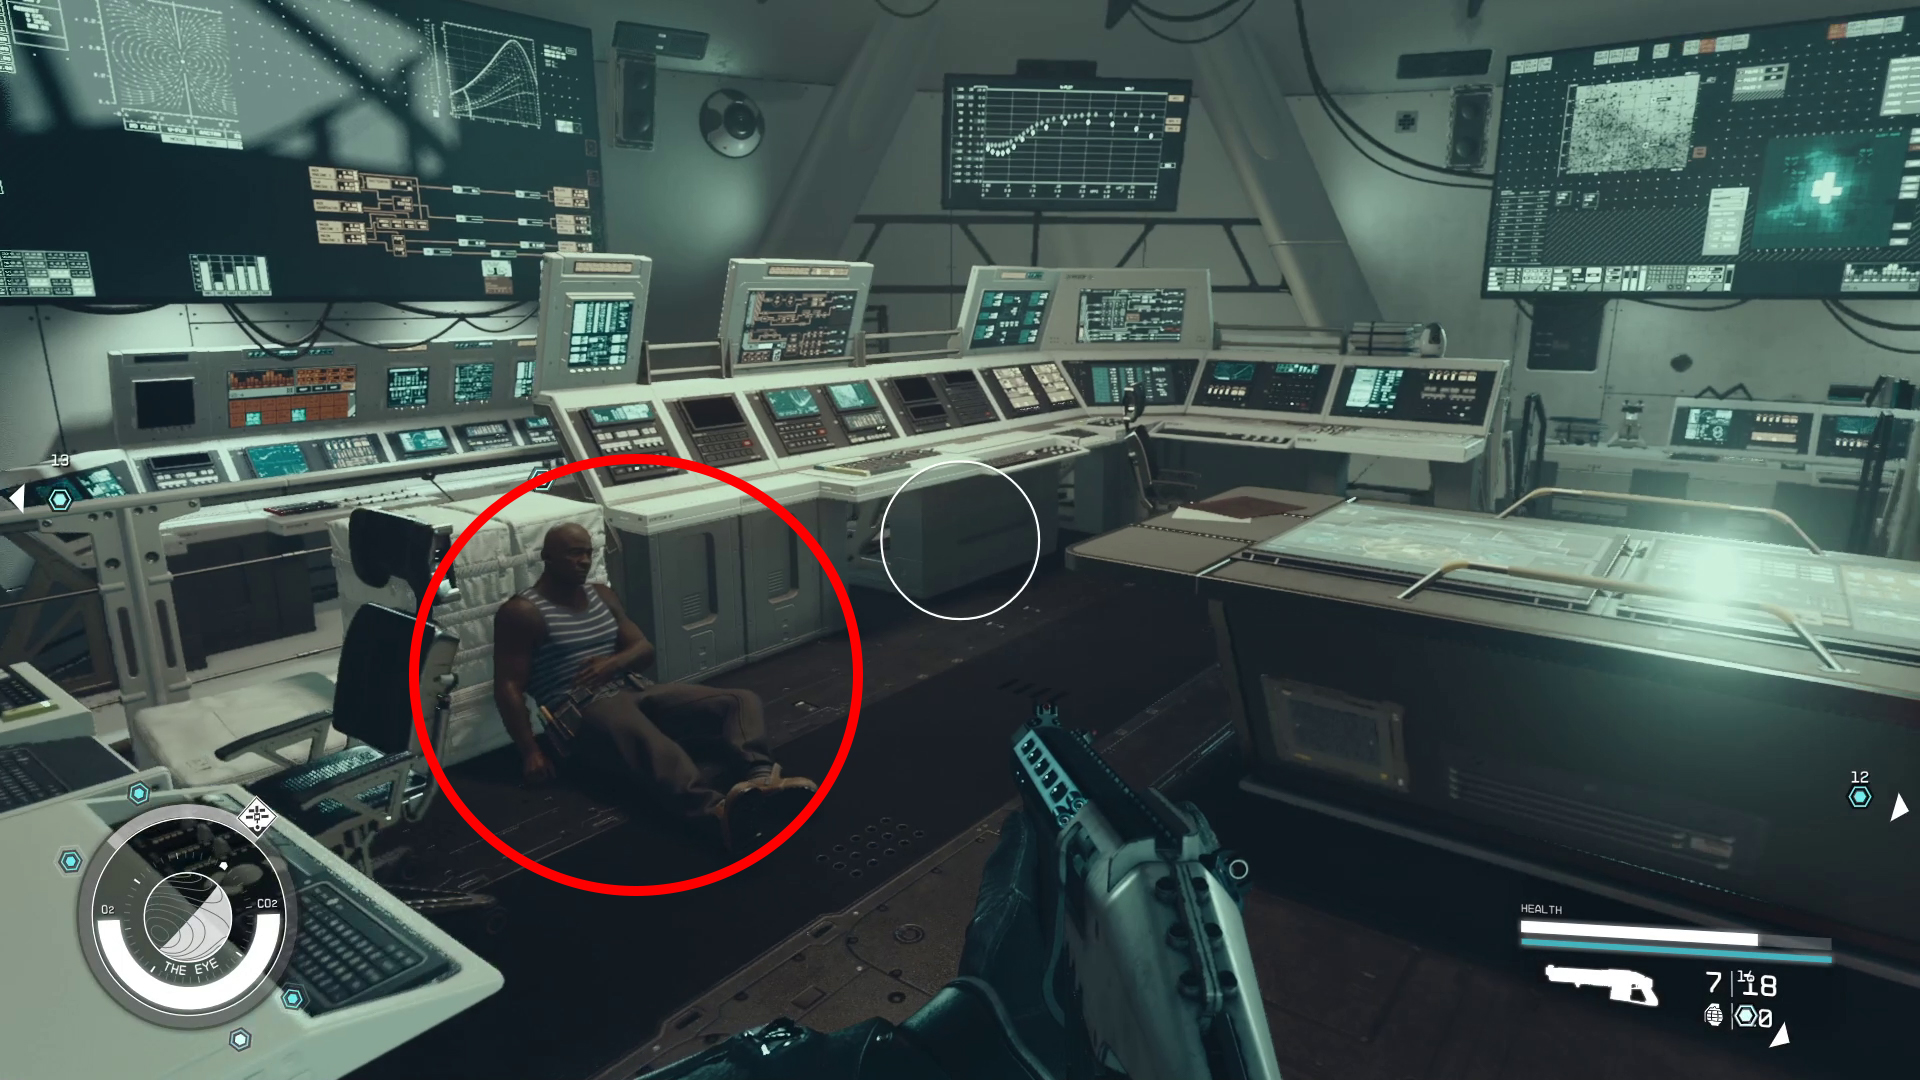
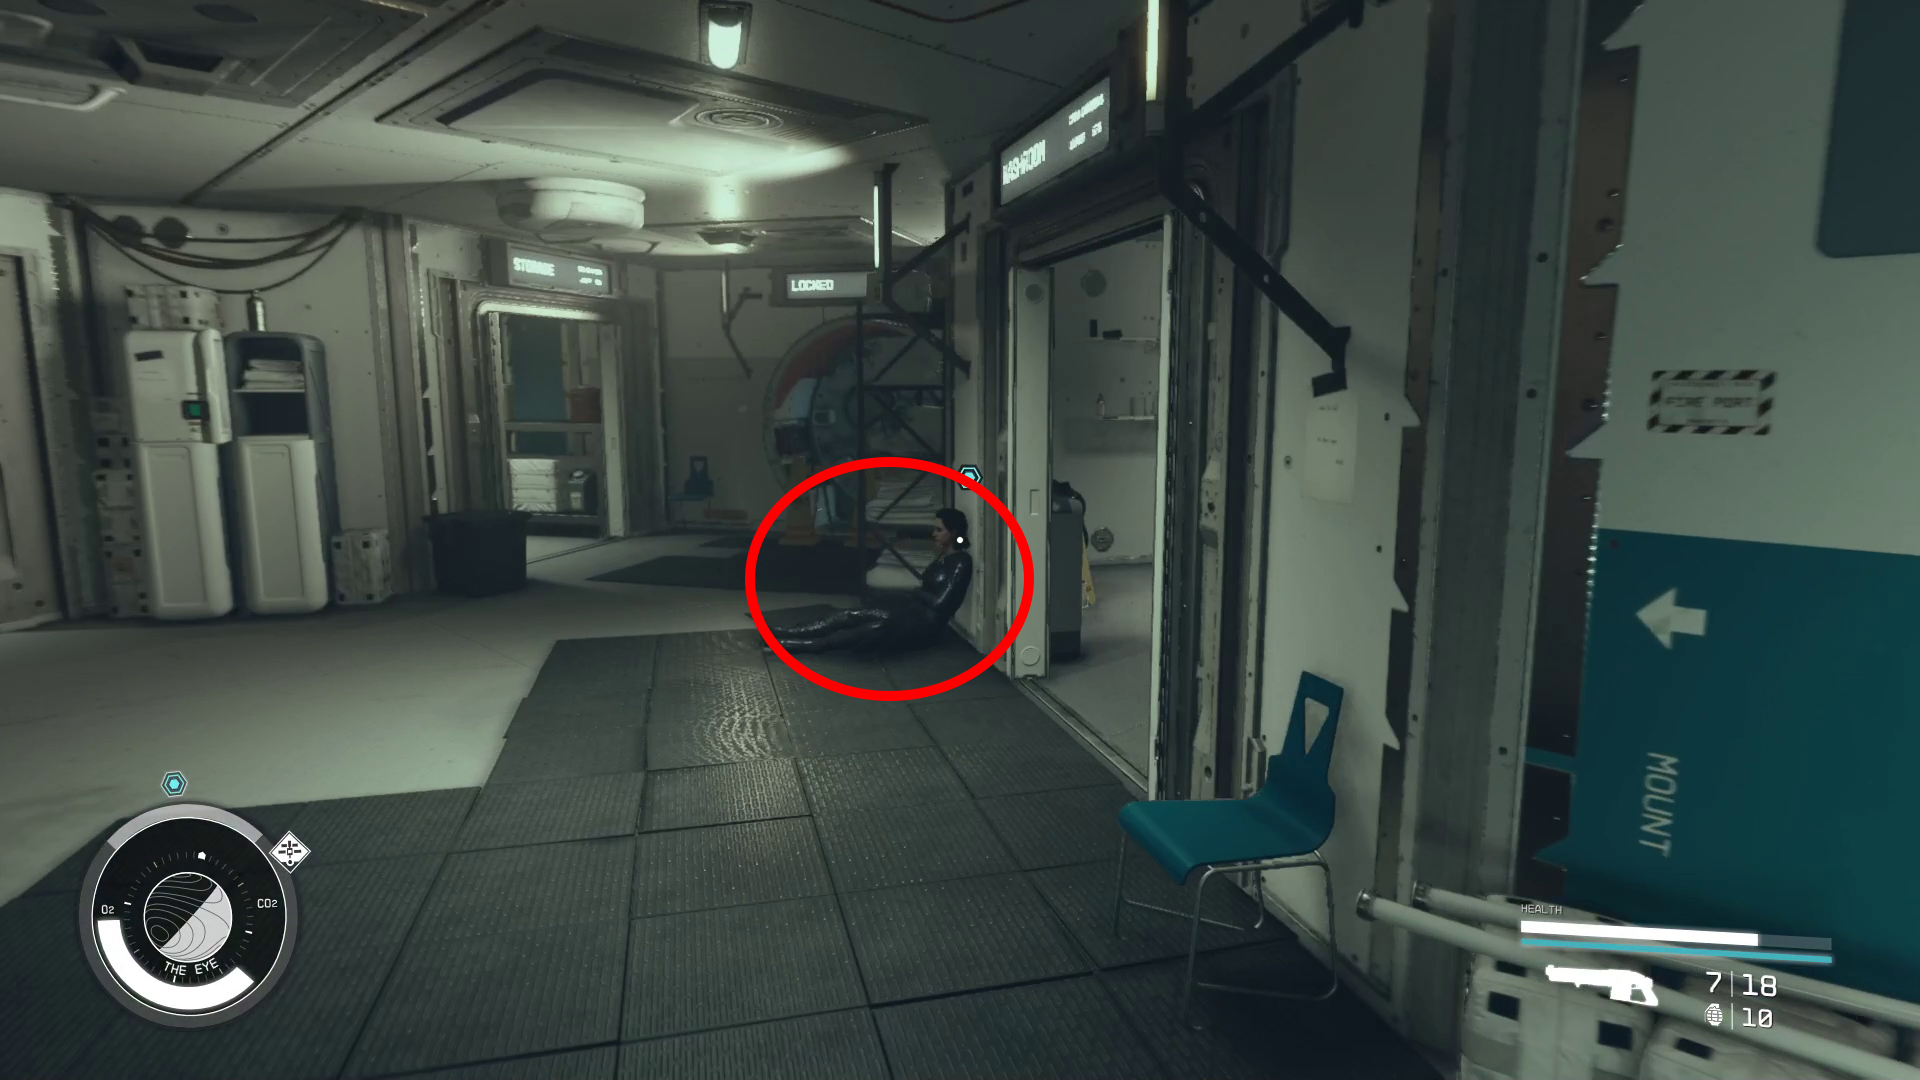
There is a character (or two) in each section, so first, head right into the Facilities section, where you’ll find companions in the room to the right, and further down the hall (Image 2). Speak to each one — it seems that they all like if you pick the first dialog option on the list — and then go back to the hub and go into the Scanner Control room, where you’ll find another companion (Image 3). Speak with them, then head back the way you came and into the Crew Quarters to speak with the final companion on the Eye (Image 4).
Image 2Image 3Image 4
Go to the Lodge/Find Everyone in the Lodge
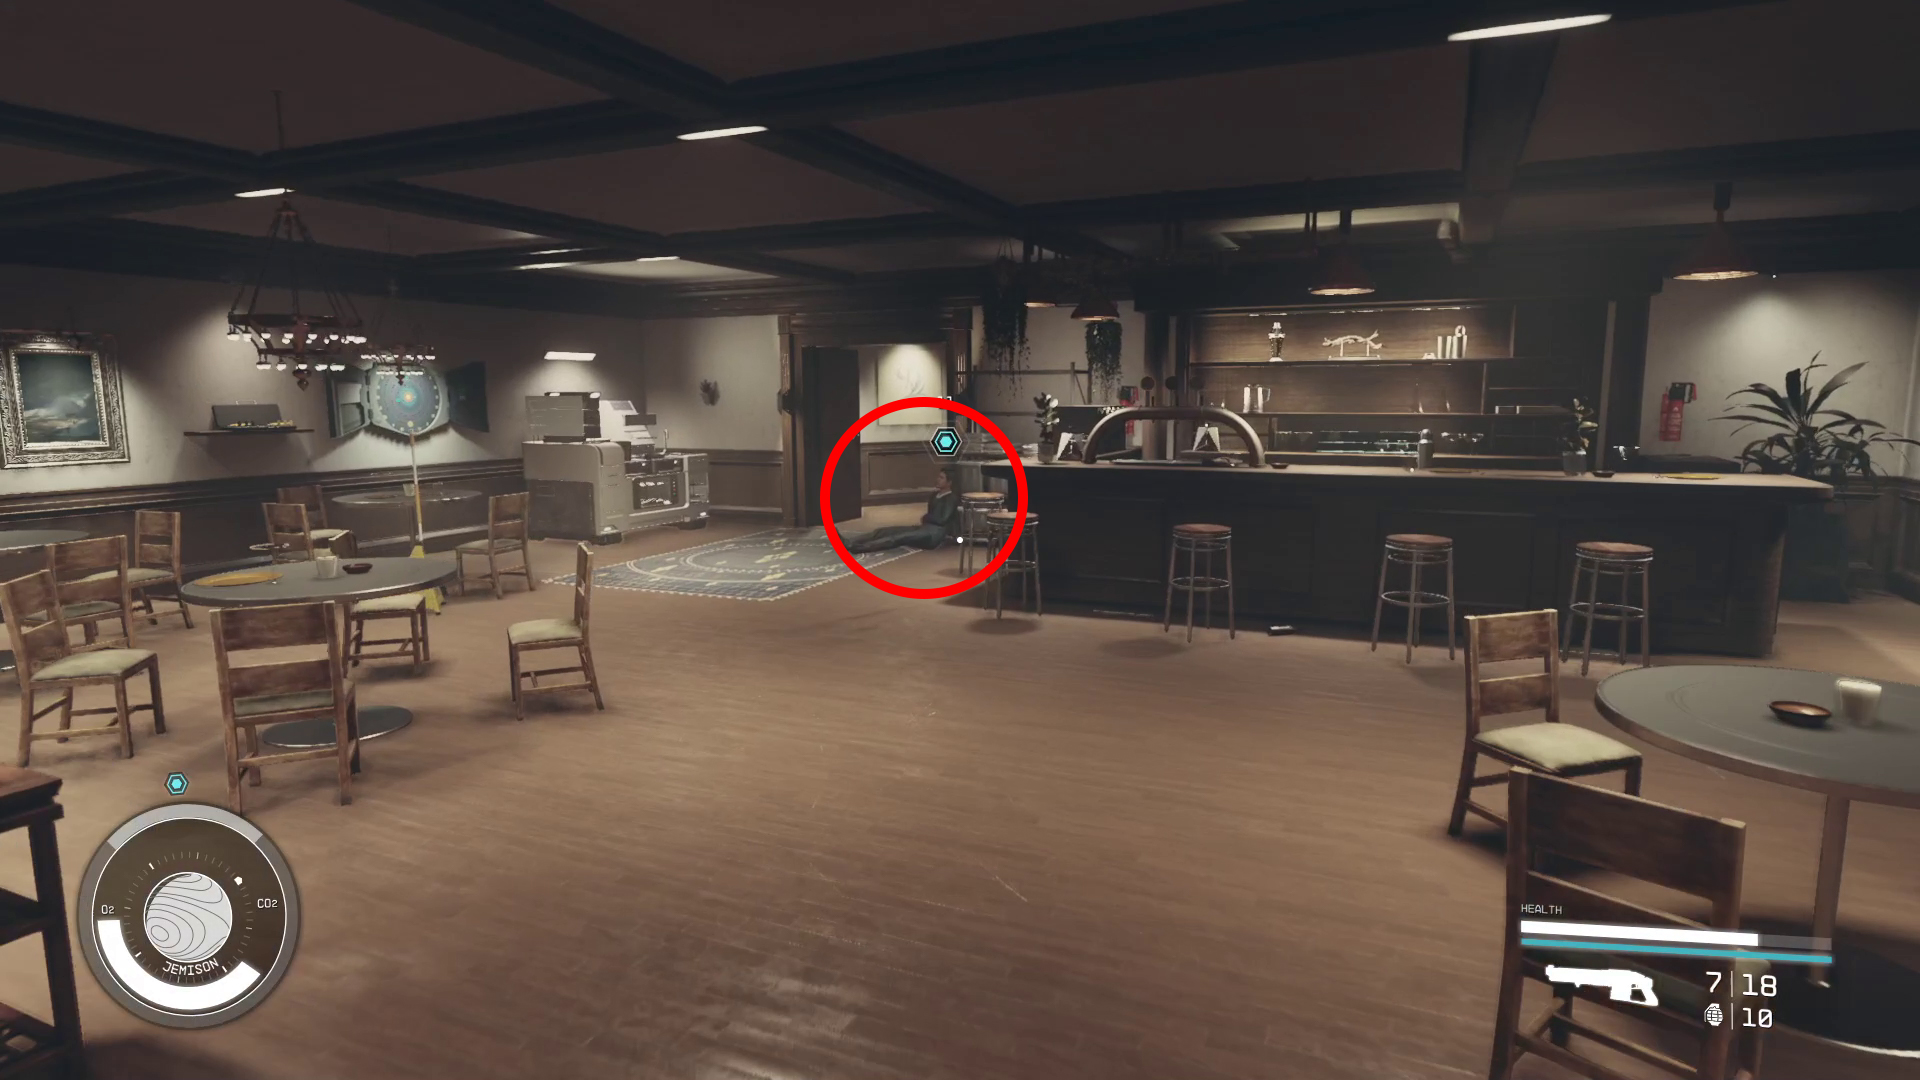
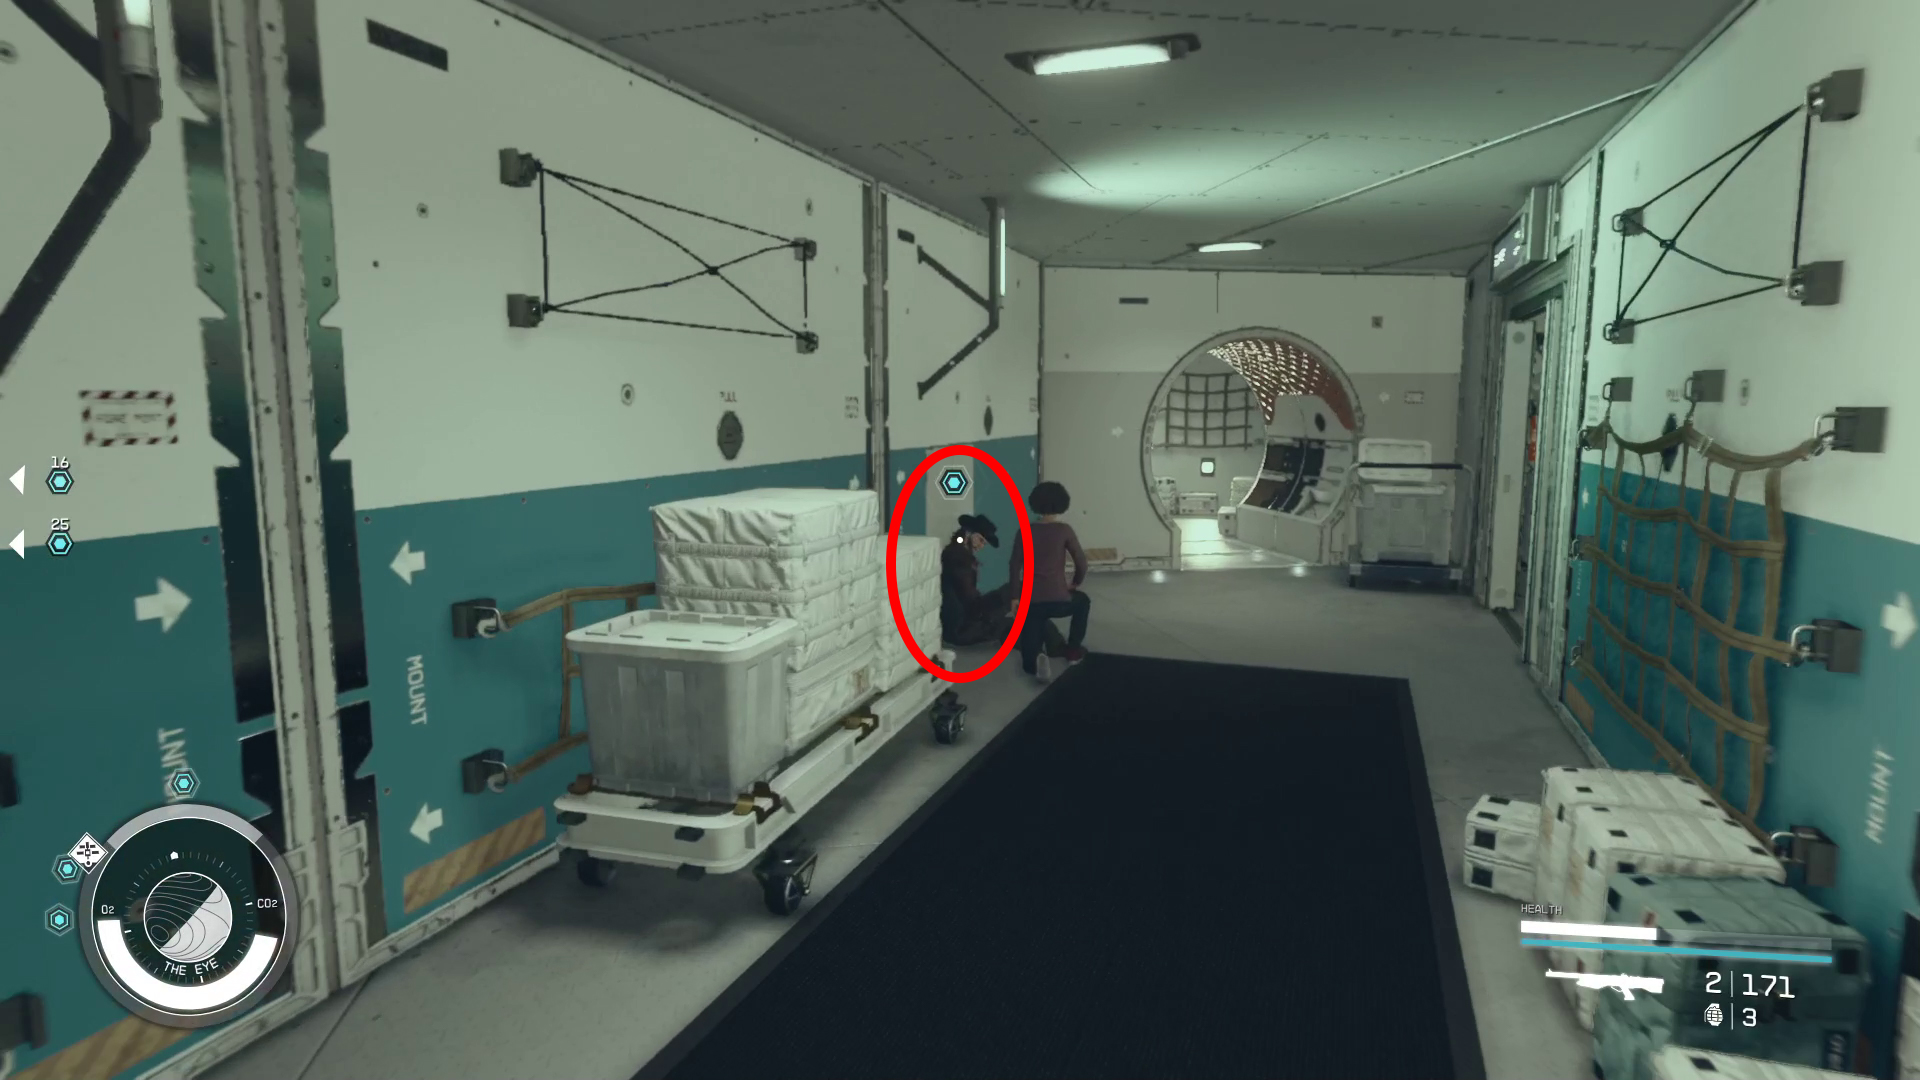
After speaking to all four injured companions on the Eye, you’ll need to return to the Lodge. Head back to the airlock and board your ship, then use your Mission log to fast travel back to the Lodge on Jemison. Enter the lodge, and start by turning right and going up the stairs — continue forward into the bar to find the first companion you need to talk to (Image 5). Once again, pick the first dialog option to gain some favor.
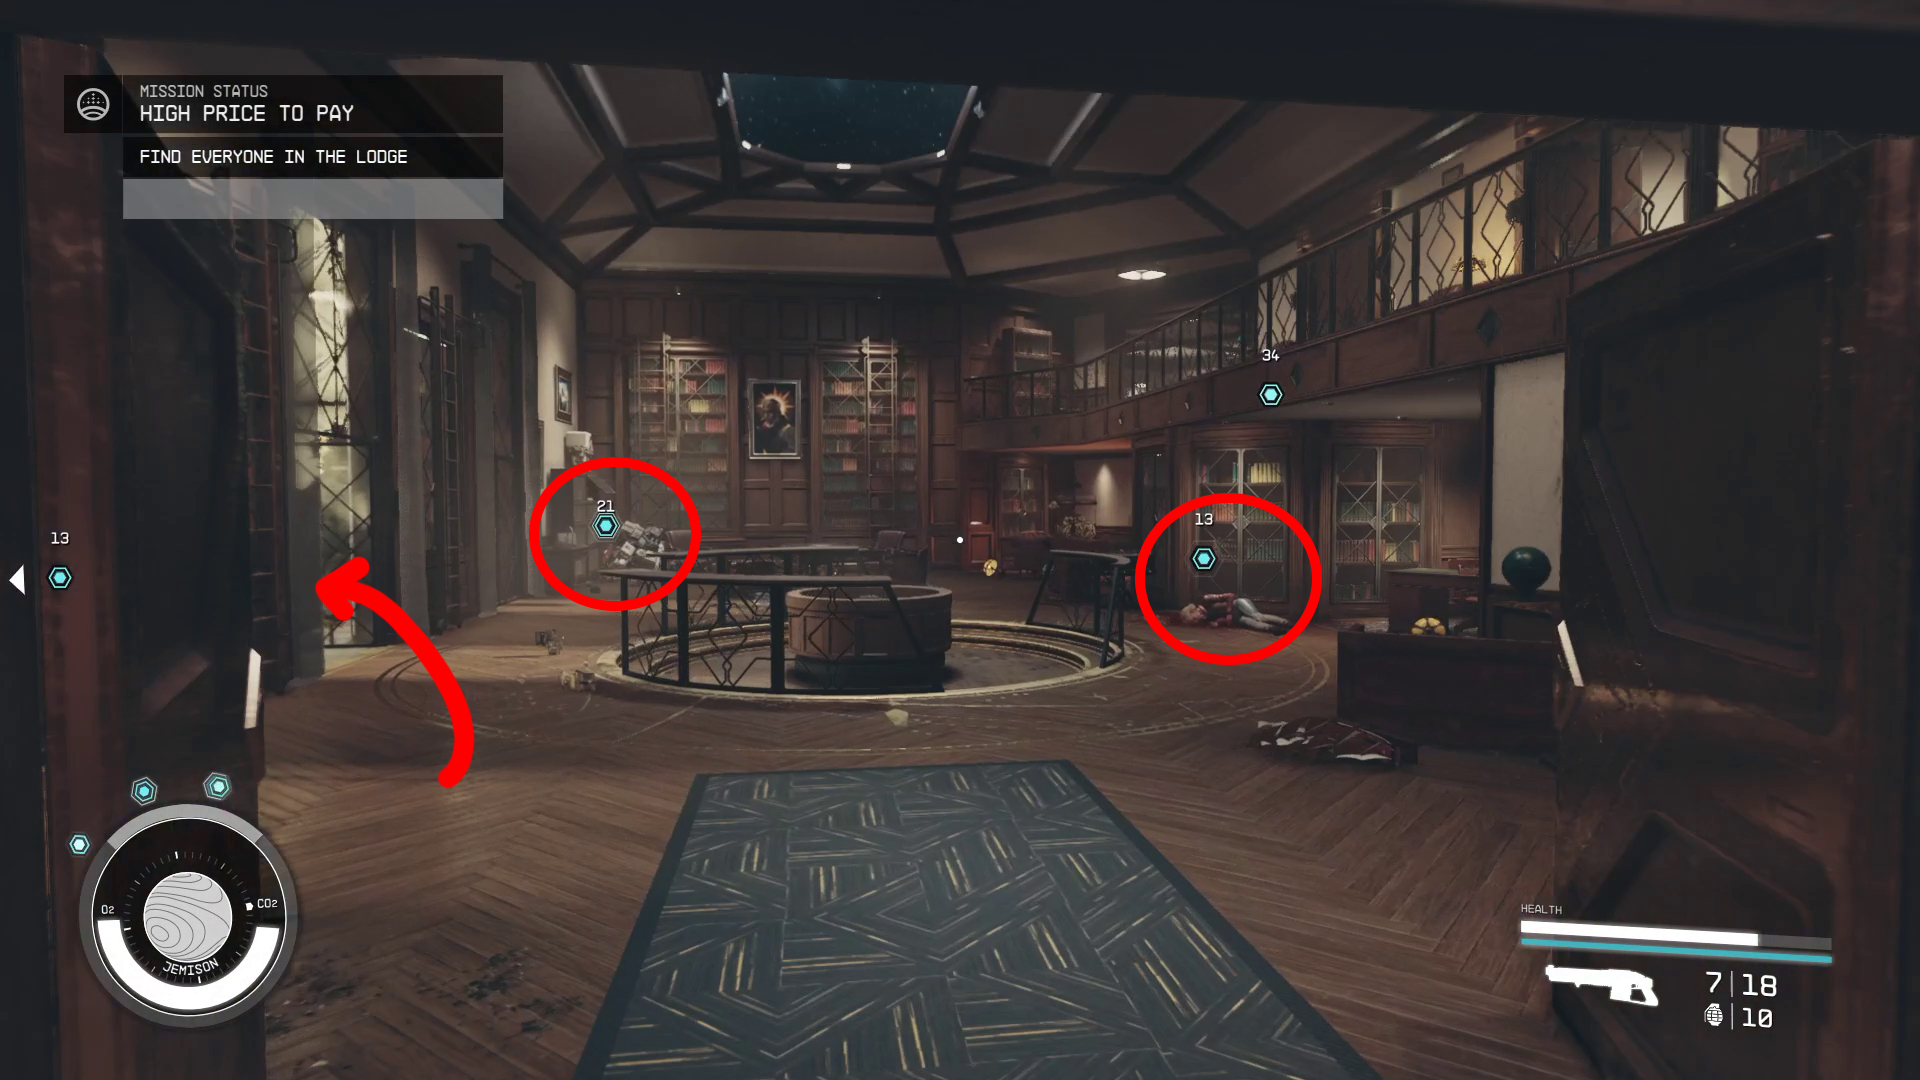
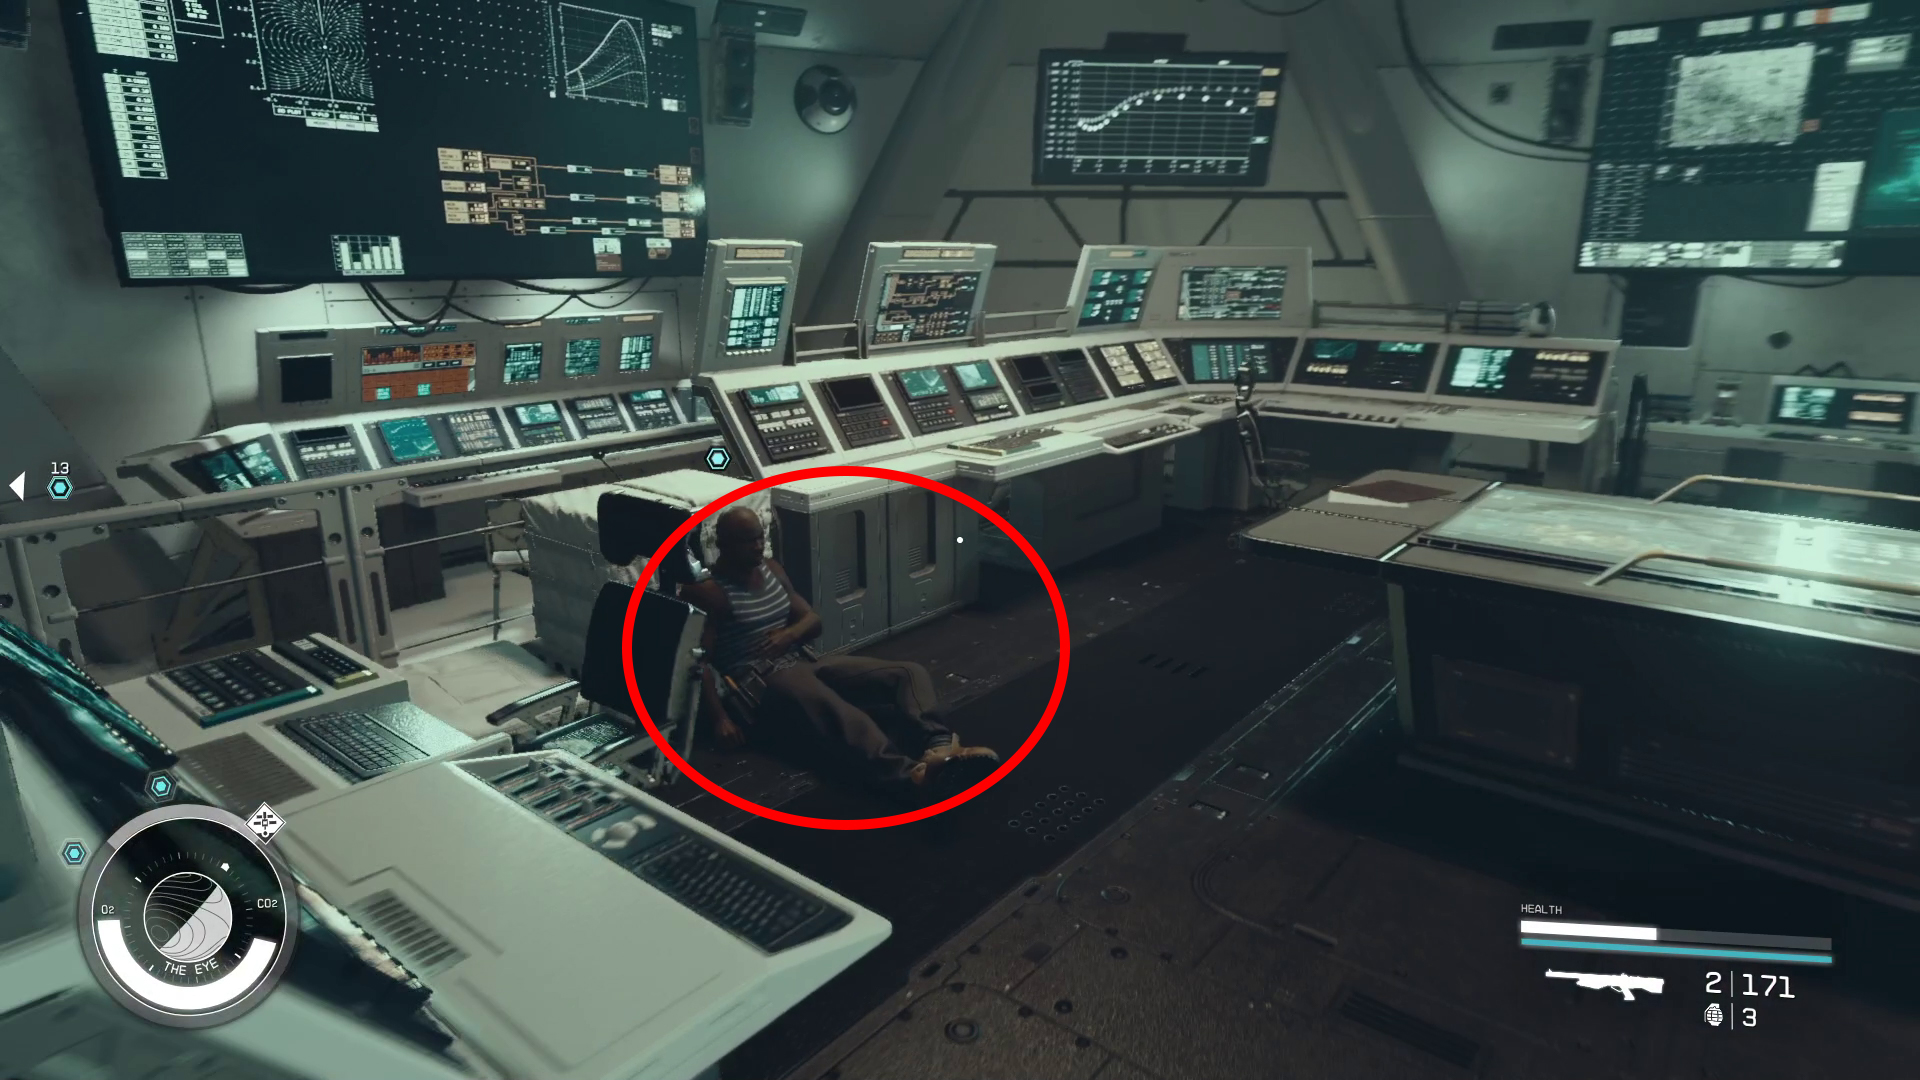
Then head back towards the Library — you can jump over the banister to save some time — and interact with the other three companions in the Lodge (Image 6). Two are in the library, and the third is outside in the garden. One will be dead, but you’ll still need to interact with their corpse to complete this section.
Image 5Image 6
Find Noel
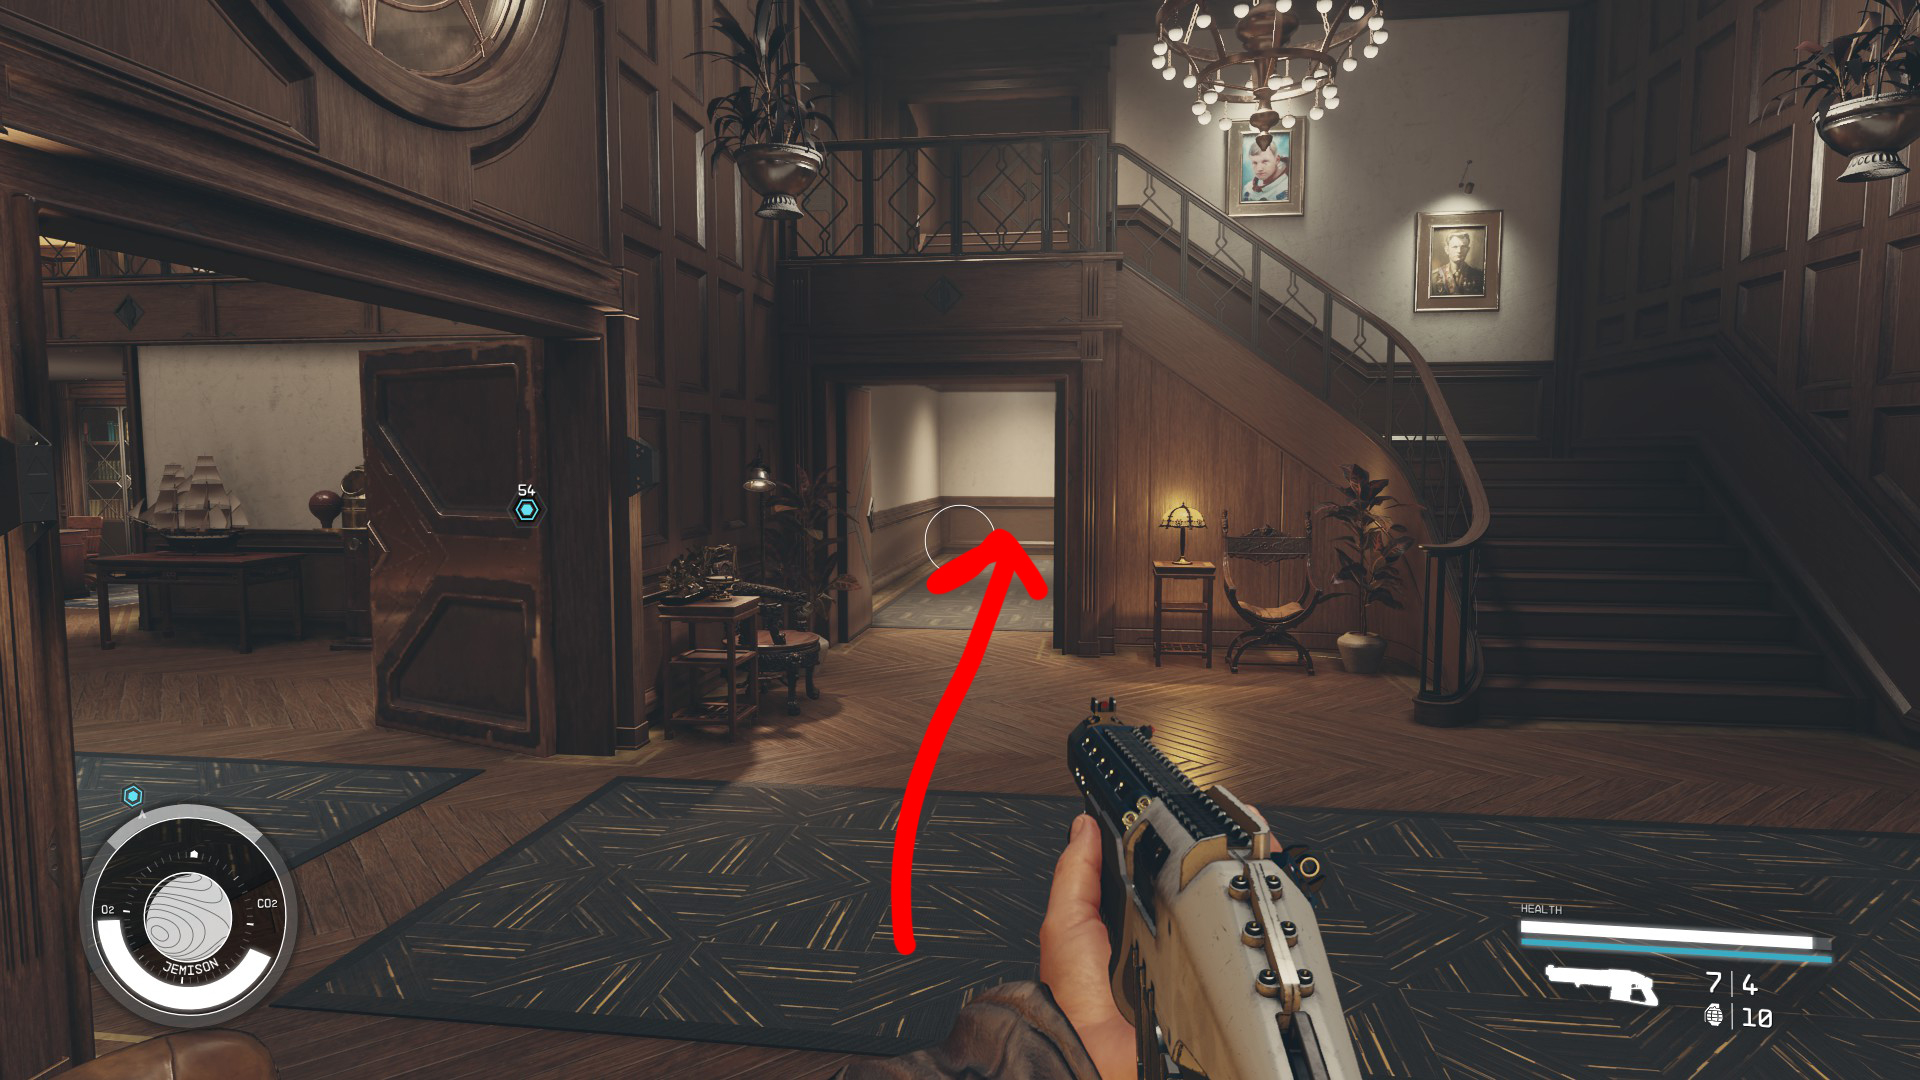
The final person you speak with will tell you to look for Noel in the basement. Head to the entrance of the Lodge, then go through the open door that’s beneath the stairs (Image 7), and continue down the stairs. In the basement, head into the hallway (Image 8) and look right, where you’ll see a door ahead indicated by the objective marker (Image 9). Open the door to enter The Well.
Image 7Image 8Image 9
After the loading screen finishes, continue down the stairs and into a water-logged room, where you’ll find Noel cowering by some stairs across the room. Talk to her, and after a moment, you’ll be interrupted by, and then attacked by, the Hunter.
Check on Walter
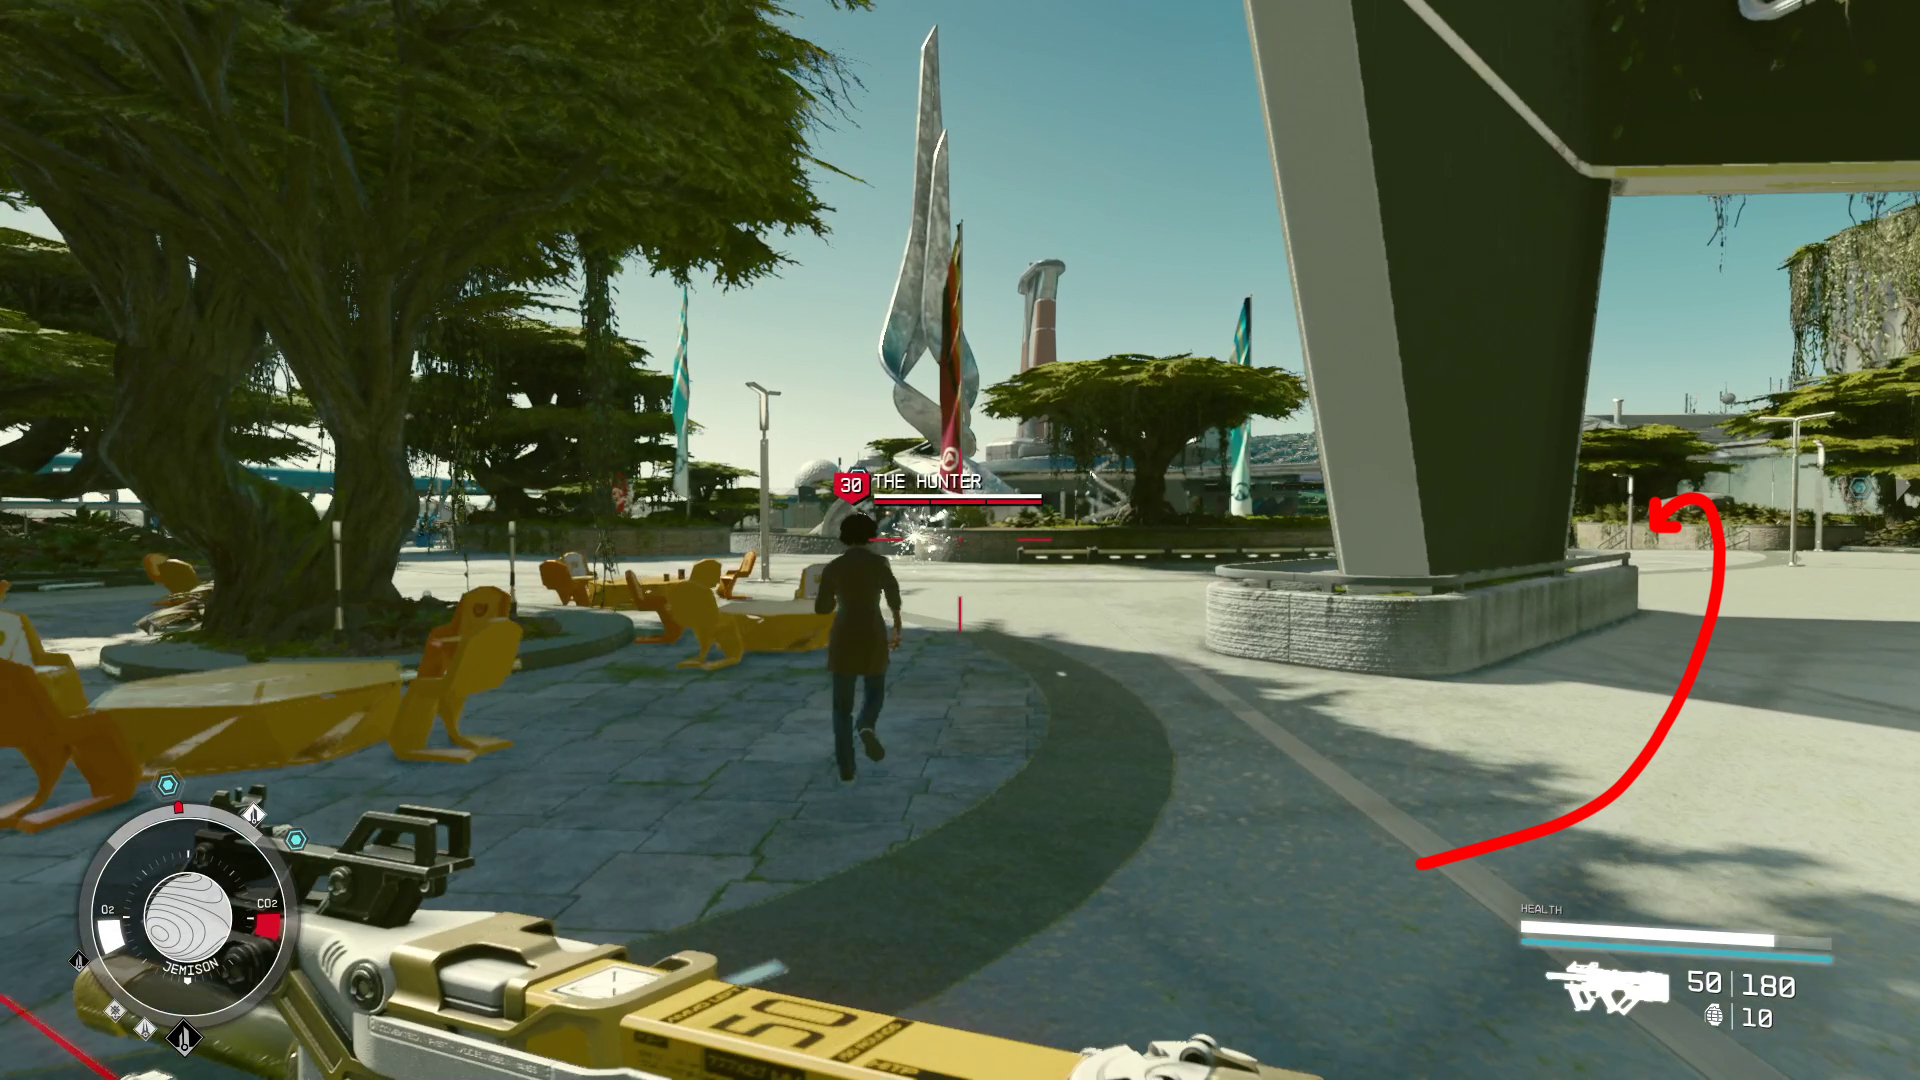
If you choose to defend the Lodge, start by heading up the stairs by the entrance. At the top of the stairs, go straight and continue to the bar, where you’ll find Walter being choked by an invisible attacker — the Hunter. (If you get there too quickly, you may have to wait a moment for Walter to be attacked.)
Hold Off the Hunter
Technically, all you have to do at this point is survive while Noel finishes packing up the relics. However, you can make things simpler — and earn a powerful laser rifle — by “defeating” the Hunter here. He’s a tough foe, but any high dps weapon (shotguns at point-blank range seem to be particularly effective) should force him to retreat. You can’t kill him, but do enough damage, and he’ll go invisible and stop attacking for the time being. If you aren’t able to take him down, just run away and avoid damage while Noel finishes.
Escape the Lodge
Once Noel is done, she’ll shout that there’s an old escape tunnel, and your objective becomes Escape the Lodge. Head to the stairs by the Lodge’s entrance — beneath the stairs is a door that leads to the basement (Image 7). Continue into the basement, then head forward into the hallway (Image 8) — from there, you can turn right and see the door to the Well indicated by your objective marker (Image 9).
Image 7Image 8Image 9
Continue forward, down the stairs and into the damp basement area, where you’ll find Noel and the other companions waiting for you.
Escape to Your Ship
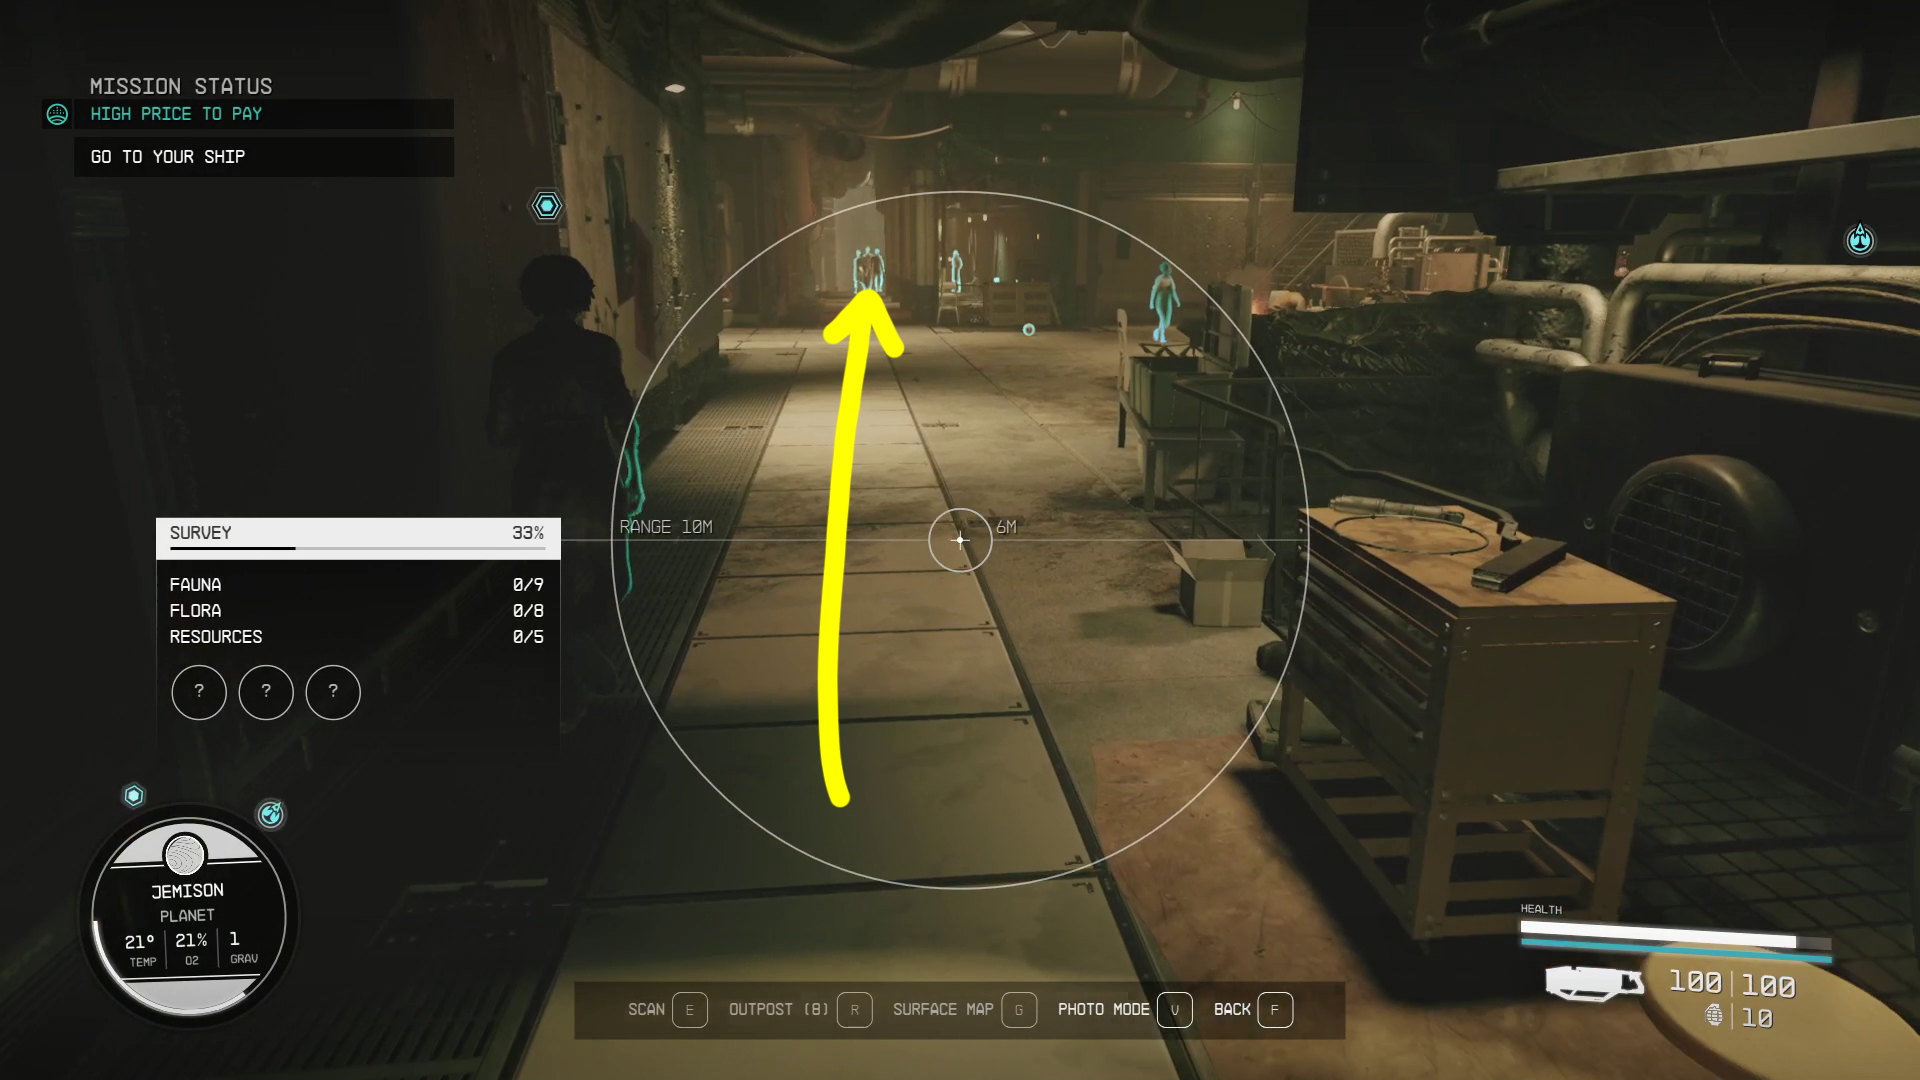
Note: In this section, you’ll need to follow Noel to an elevator that will take you to the Spaceport. She doesn’t run particularly fast, so you may find yourself getting ahead of her in your efforts to avoid the Hunter. If this occurs, you can use your Scanner to find your way back to her, by following the white arrows on the ground that appear when you open your Scanner. It’s also worth noting that you can force the Hunter to retreat when he appears by doing enough damage to him — but he reappears so often it isn’t really worth doing.
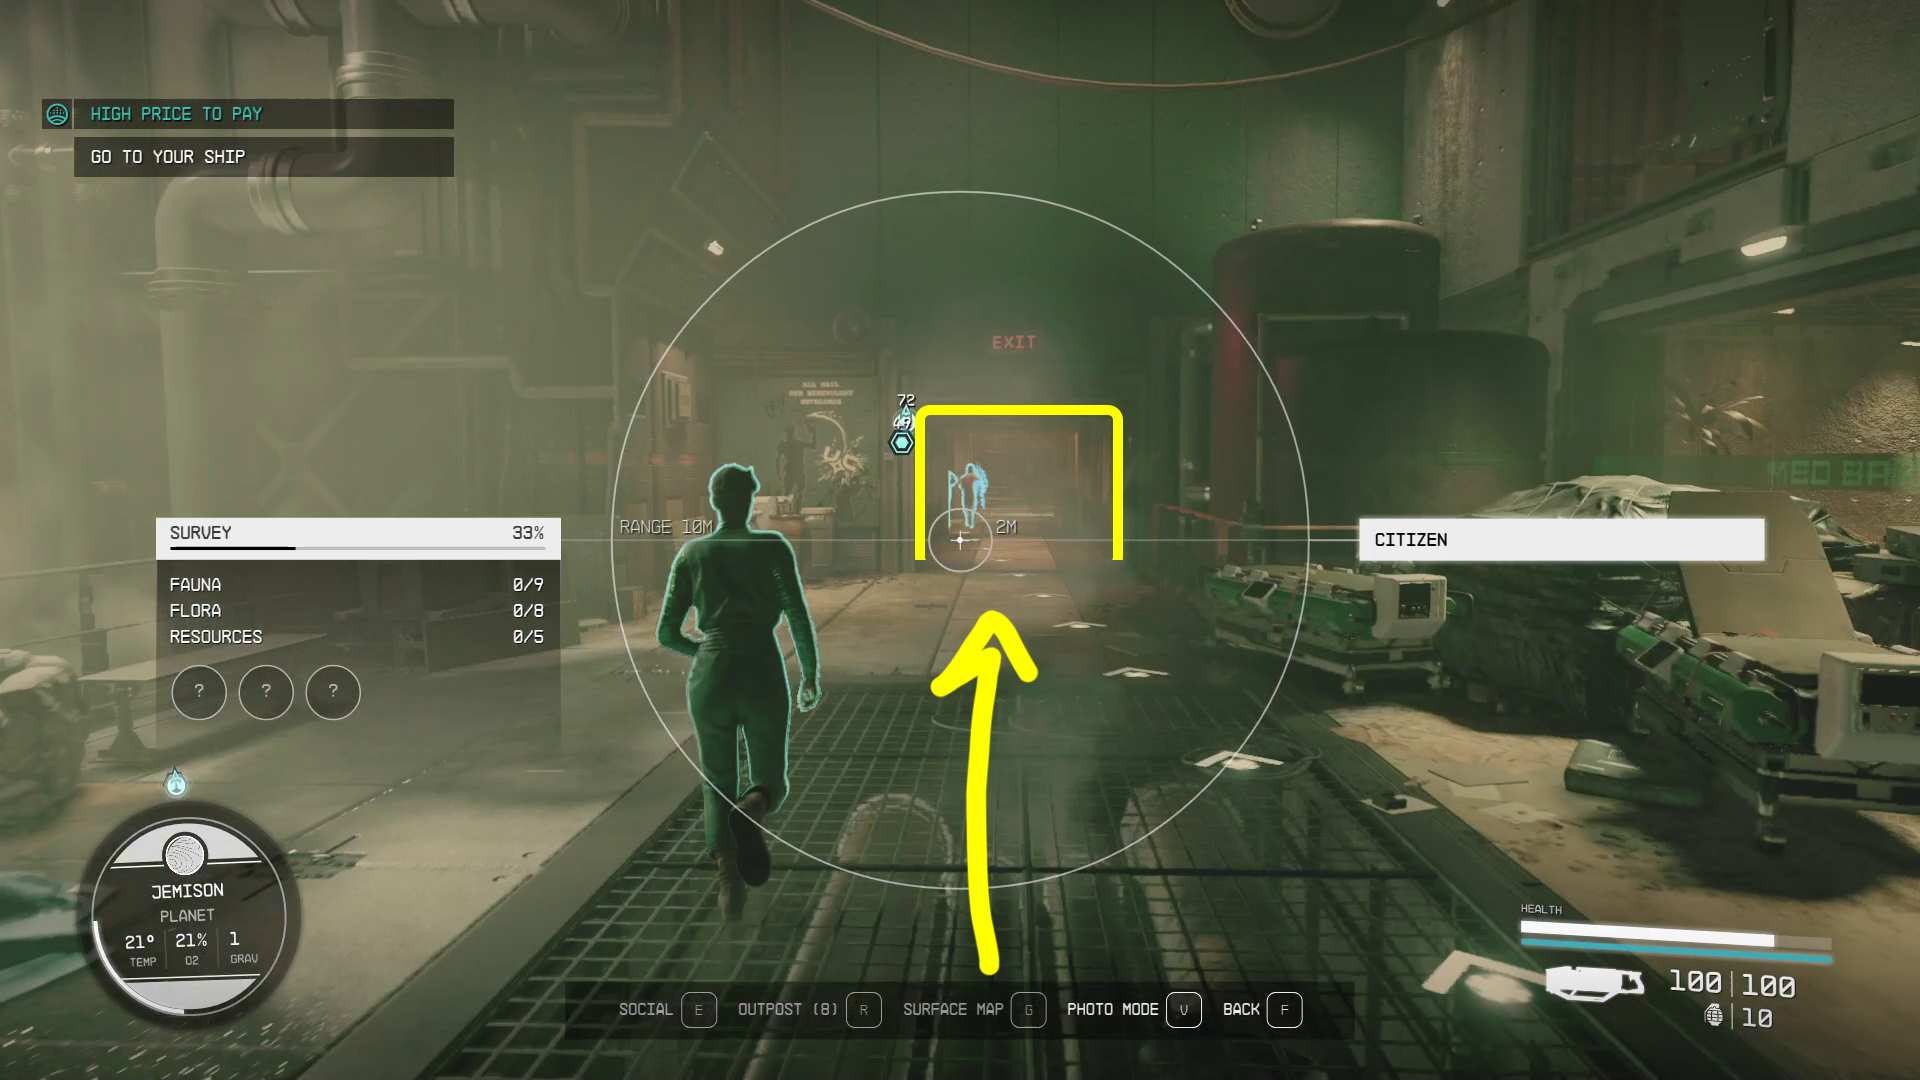
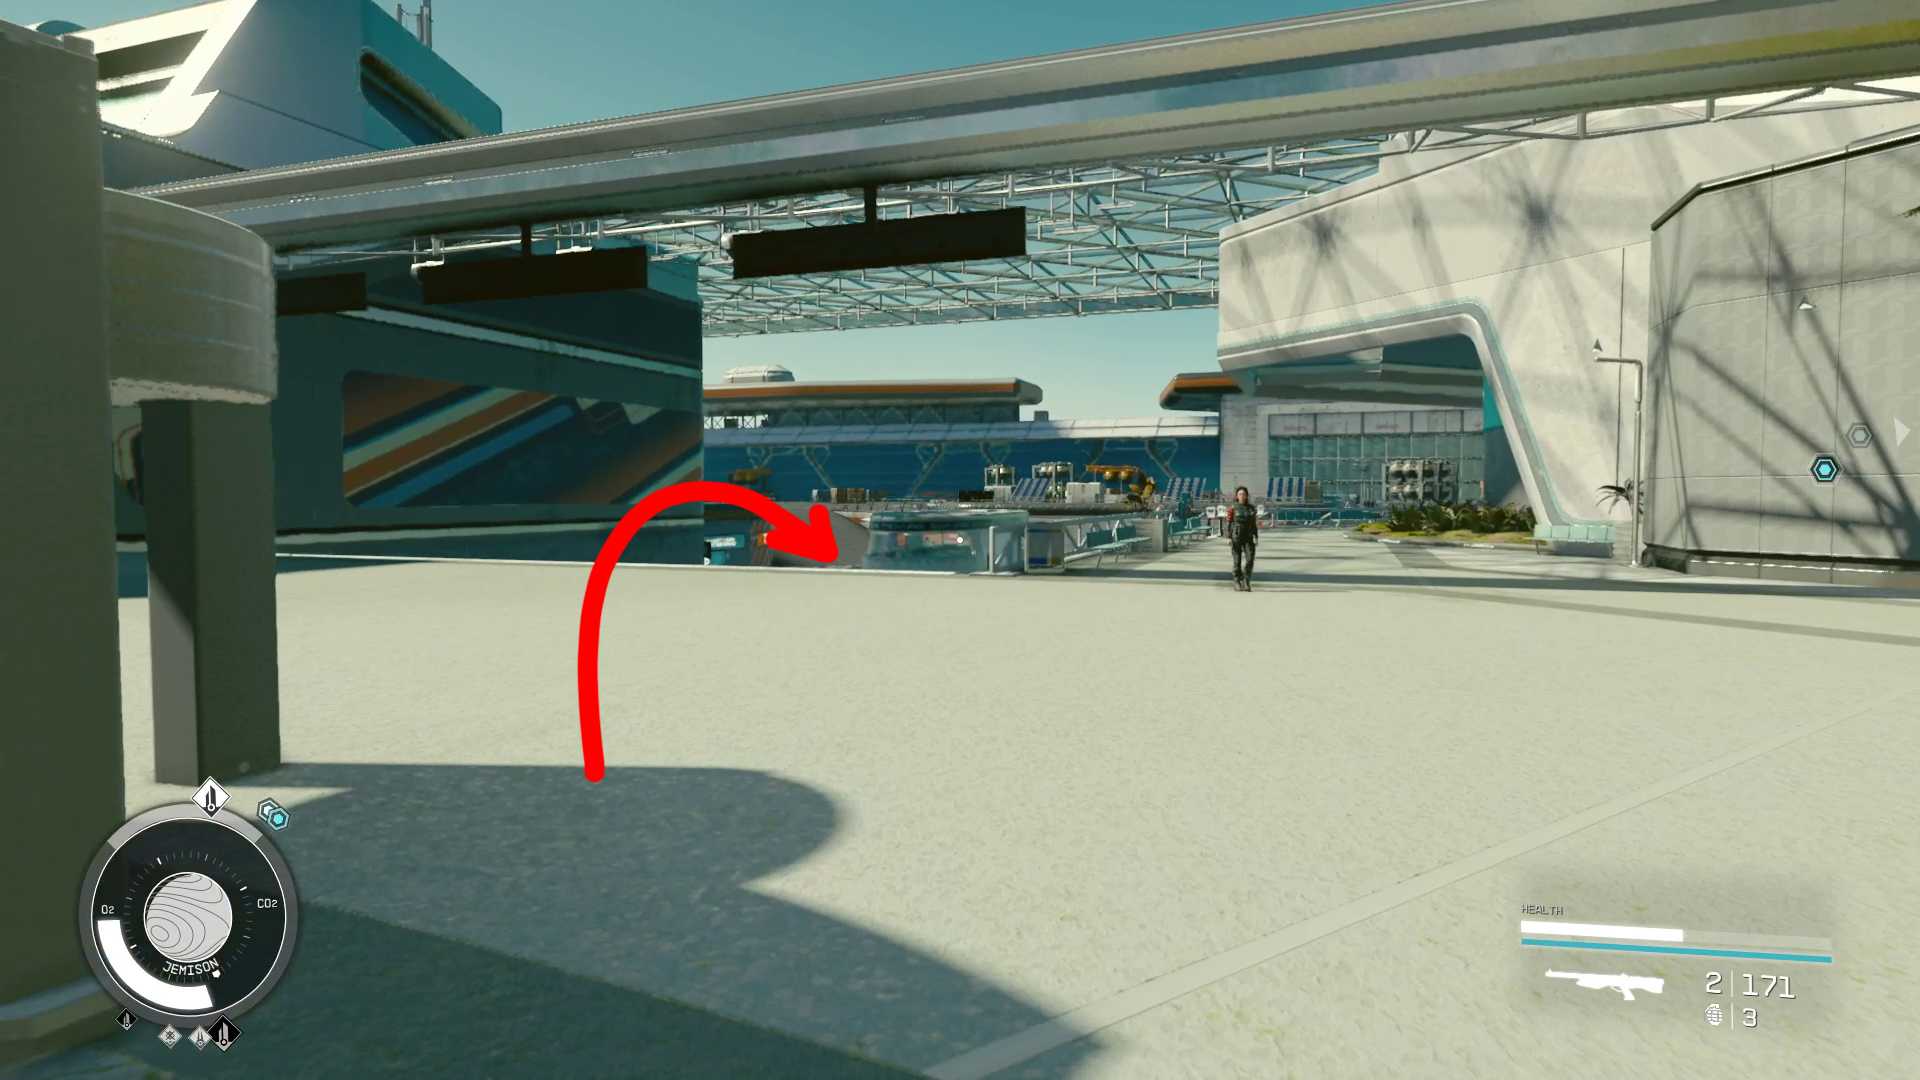
Noel will open a door at the top of the stairs you found her near — follow her through and continue forward and up the next set of stairs, then forward through the door marked exit and up the next set. She’ll open another door and you’ll find yourself in an open section of the Well. Head straight (Image 10), and soon the Hunter will appear again on your left. Keep going straight and down the stairs, then turn right and head through the doorway marked Exit (Image 11). Continue as straight as possible, and you’ll go up some stairs (Image 12) and enter an elevator — interact with the controls and select Spaceport.
Image 10Image 11Image 12
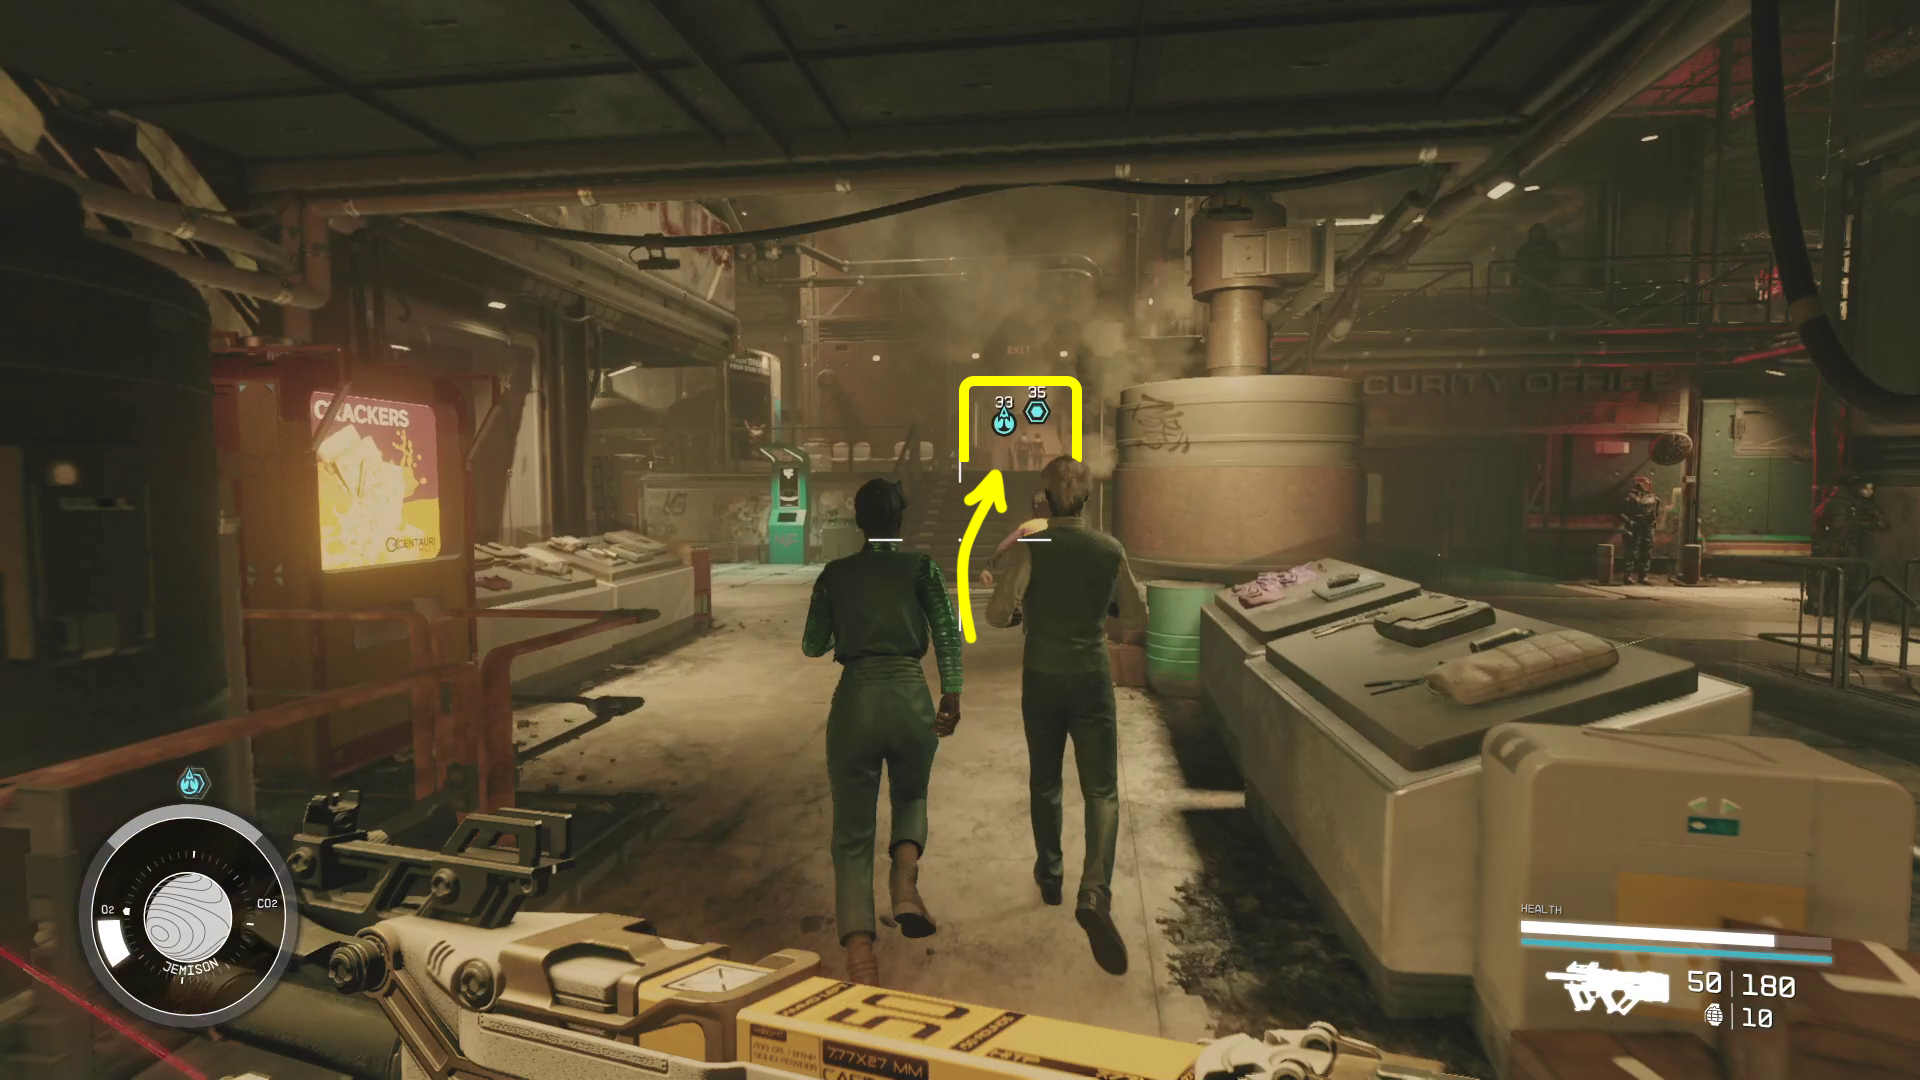
Exit the elevator when it opens and turn right, then continue following (or leading) Noel. Go right of where the Hunter appears (Image 13), down the stairs, and continue forward and then down the large ramp (Image 14). Turn right at the bottom of the ramp, and you should see your ship ahead (Image 15).
Image 13Image 14Image 15
You’ll want to jump right to your cockpit when you reach your ship’s hatch, then lift off. Upon reaching orbit, you’ll be contacted by the Hunter’s ship, Scorpius. If you managed to force him to retreat once (either in the Lodge or while running to your ship), he’ll give you the Unrestrained Vengeance Laser Rifle plus some ammo for it — don’t ask how he gets it to you so quickly through vacuum — and you’ll have a chance to respond to him. Say whatever you like, as no matter what you do, he’ll simply grav drive away once the conversation ends.
At this point, what you have to do changes based on if you went to the Eye already or not.
Go to the Eye/Talk to Vladimir
Use your Mission log to set a destination and then grav drive jump to the Eye. Target the station, then approach it and board. Upon boarding, you’ll find Vladimir by the airlock. Speak with him — you can say whatever you want, as your recommendation on what to do with the artifacts won’t affect your options. Once the conversation ends, head back through the airlock and board your ship.
Go to the Eye/Find Everyone on the Eye
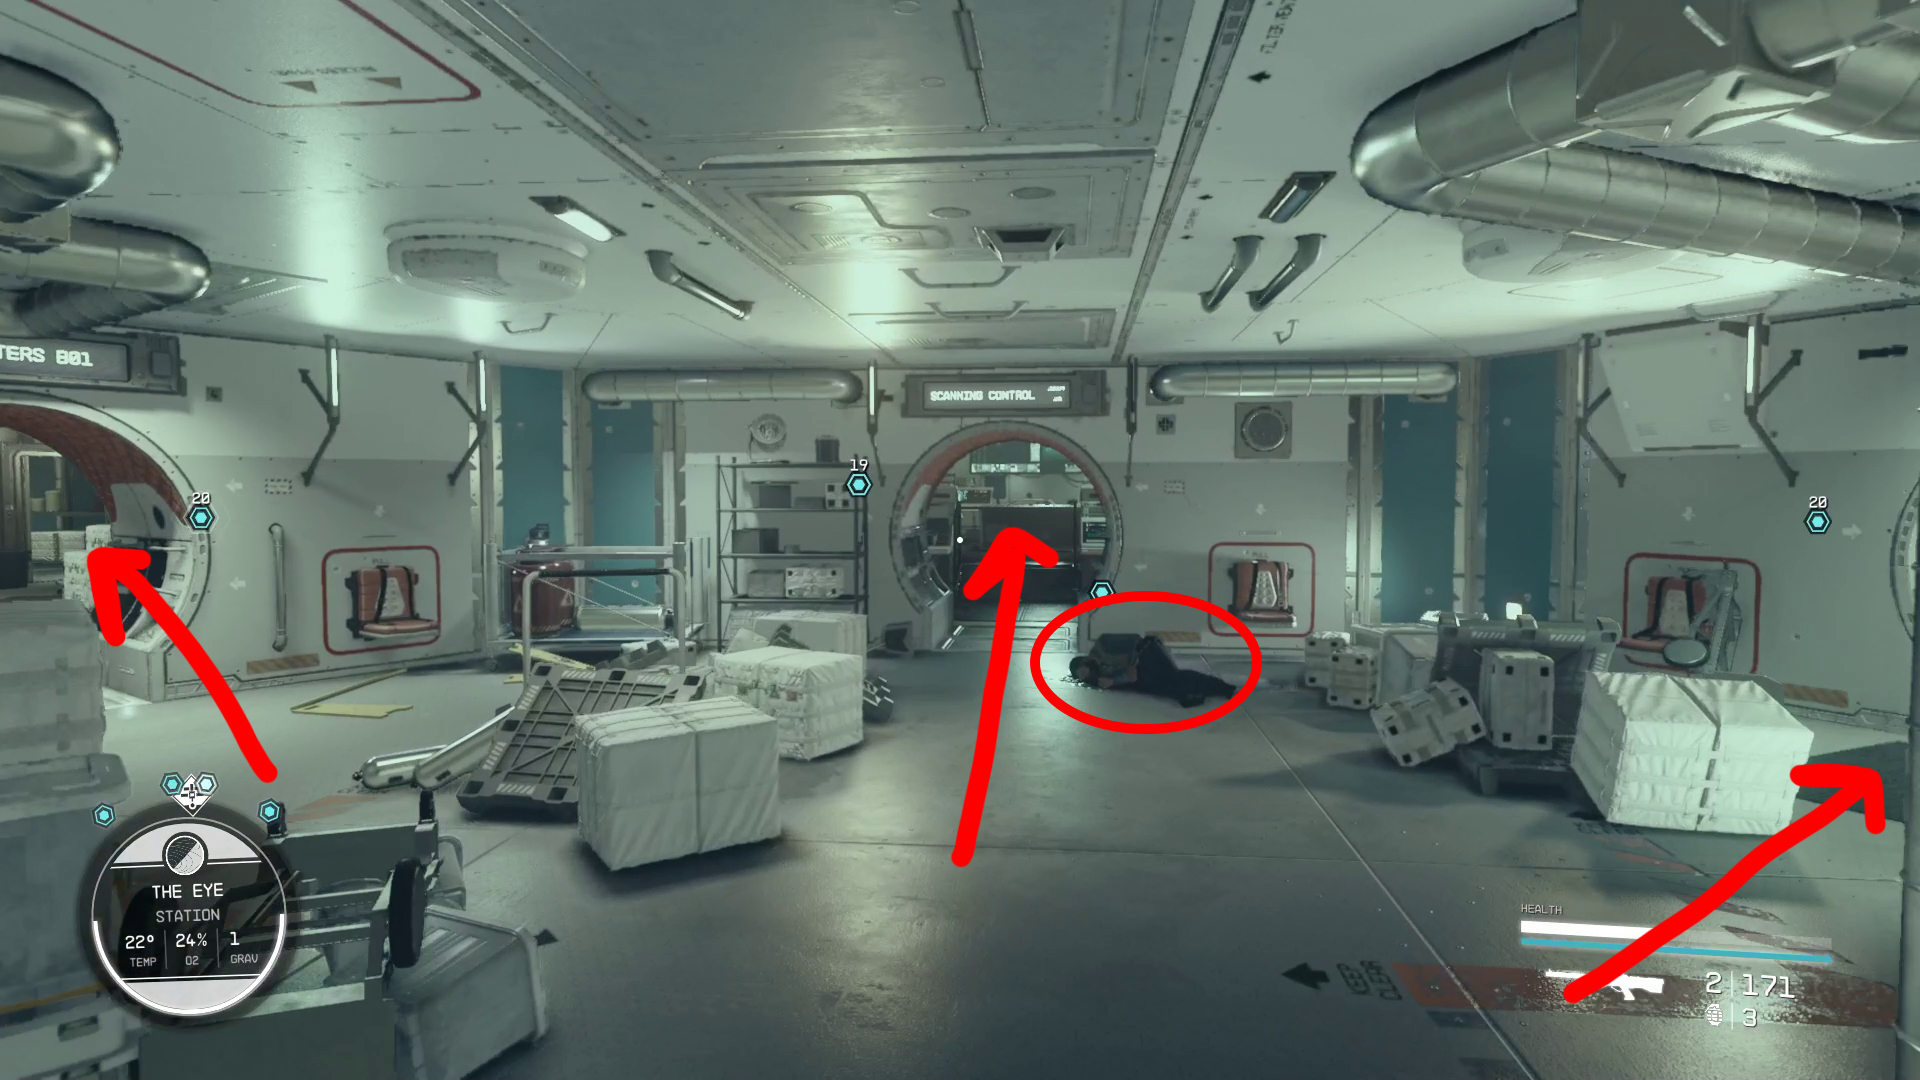
Use your Mission log to set a course to the Eye, and grav drive over to it. Target the Eye, approach, and board it. Continue forward from the airlock until you reach the main hub, where you’ll be able to head three directions (Image 16).
Image 16- The entrances to the Crew Quarters, Scanner Control, and Facilities
You’ll need to check on four companions here, including the unfortunately deceased one by the entrance to Scanning Control. Interact with the corpse, and then go into Facilities, Scanning Control, and Crew Quarters and interact with the companions there (Images 17, 18 , 19) — picking the first dialog option each times seems to give the best relationship results.
Image 17Image 18Image 19
Return to Noel/Talk to Vladimir
Once you’ve checked on all four companions, go back to the airlock, where Noel is waiting. Vladimir will speak to you after a moment, and you’ll discuss what to do with the artifacts. It doesn’t matter what you say here, as regardless of what you suggest be done with the artifacts, you’ll have the opportunity to pick either option.
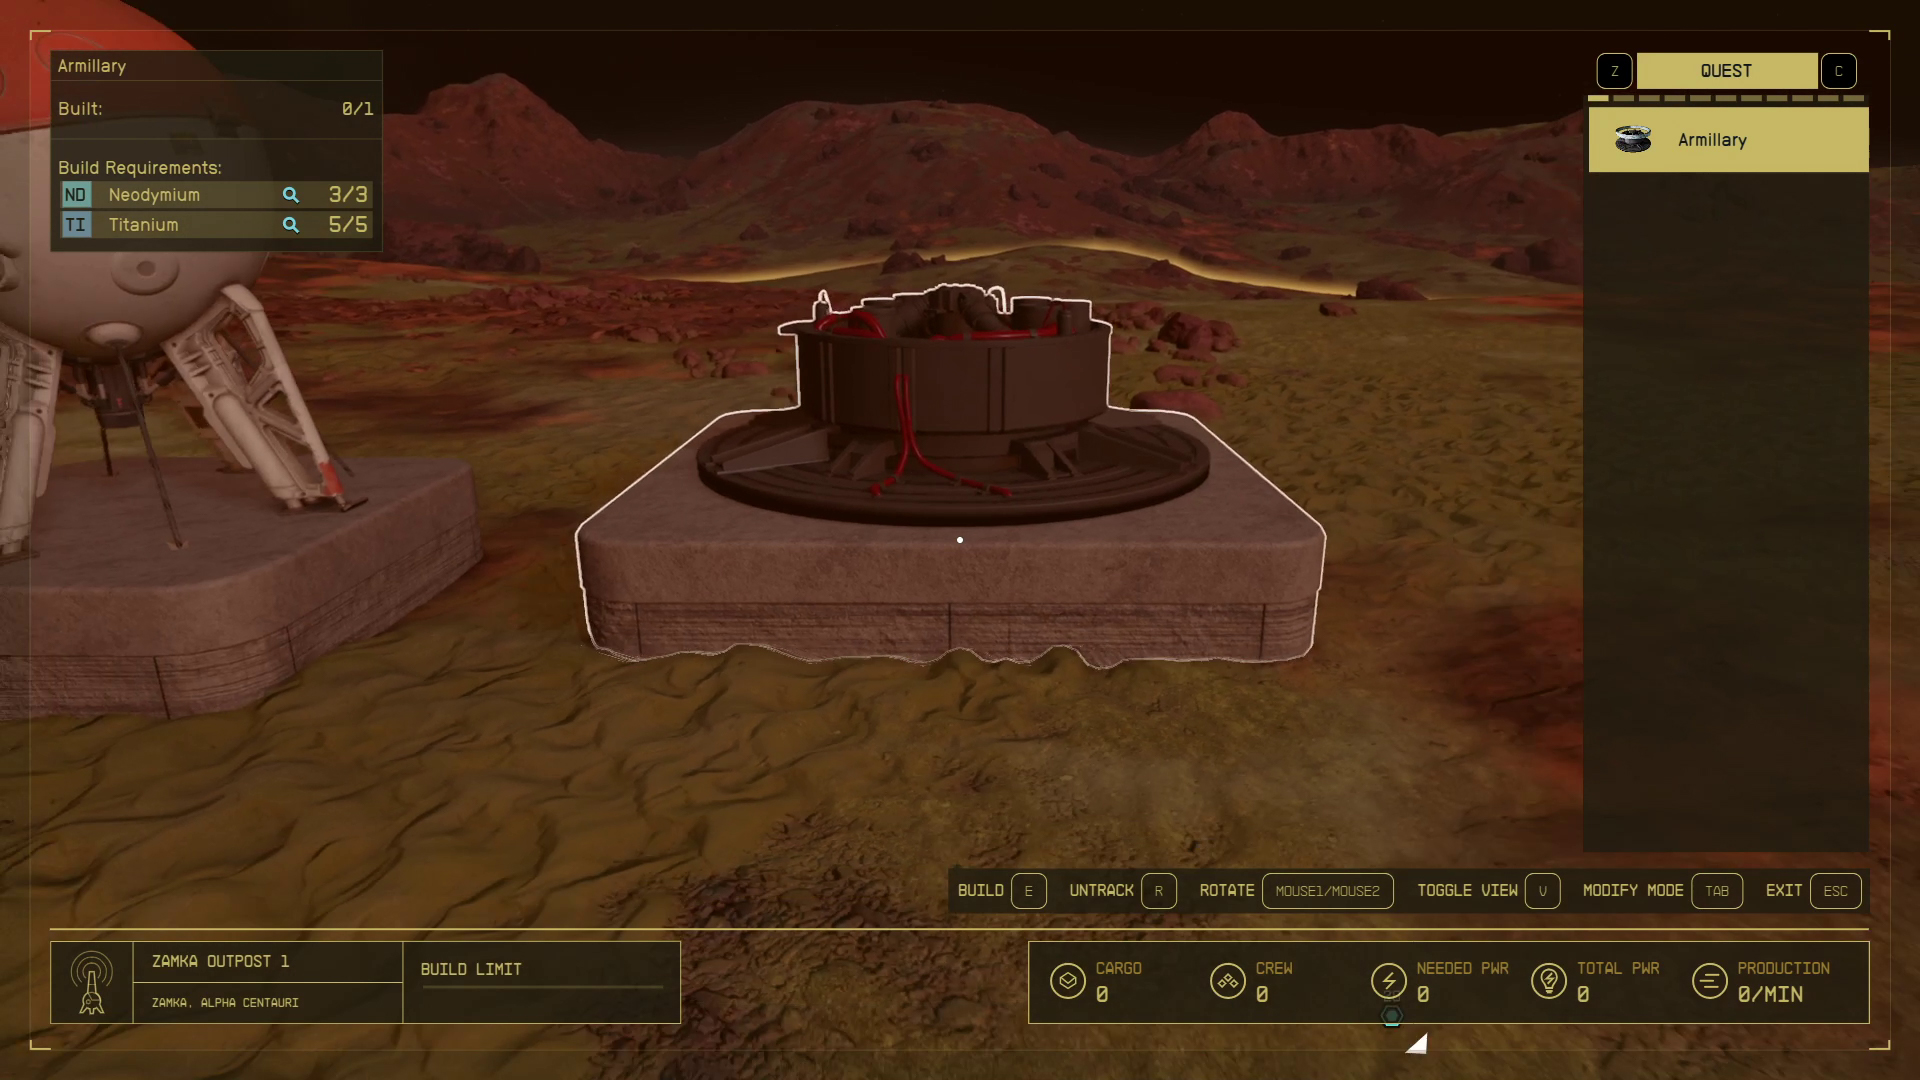
Building the Armillary
You’ve now got one more choice to make: Build the Armillary on your ship, or build it at an Outpost.
If you build it on your ship, you’ll be attacked by Starborn ships in space more often.
If you build it at an outpost, your outpost will be attacked by Starborn more often.
Build the Armillary On Your Ship
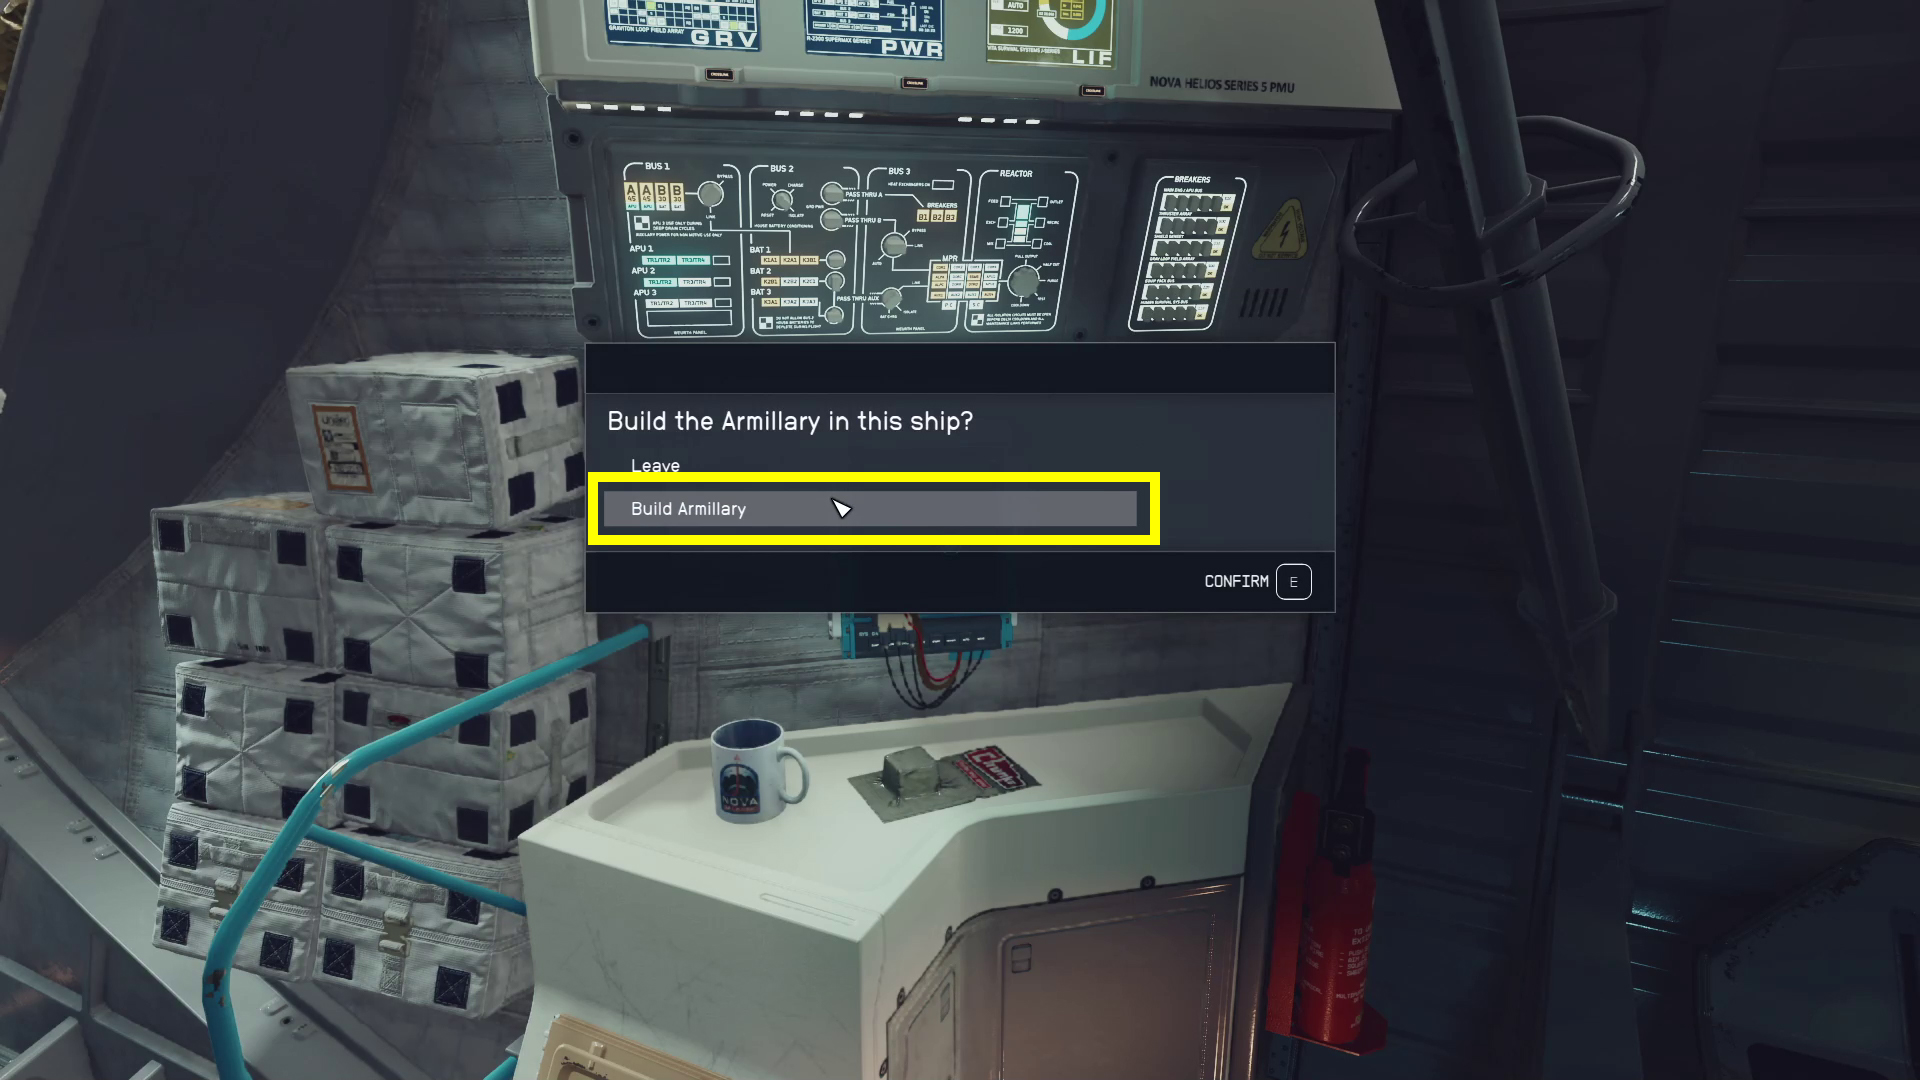
This is the simple option, as you don’t need any special resources, or to land on a planet and build an outpost beacon. Board your ship, but don’t go straight to the cockpit. Instead, look for a panel indicated by the objective marker — if you’ve got the default Frontier, it will be on the right side of the entrance to the cockpit (Image 20). Activate the Armillary Screen panel, and then select Build Armillary (Image 21).
Image 20Image 21
Build the Armillary At an Outpost
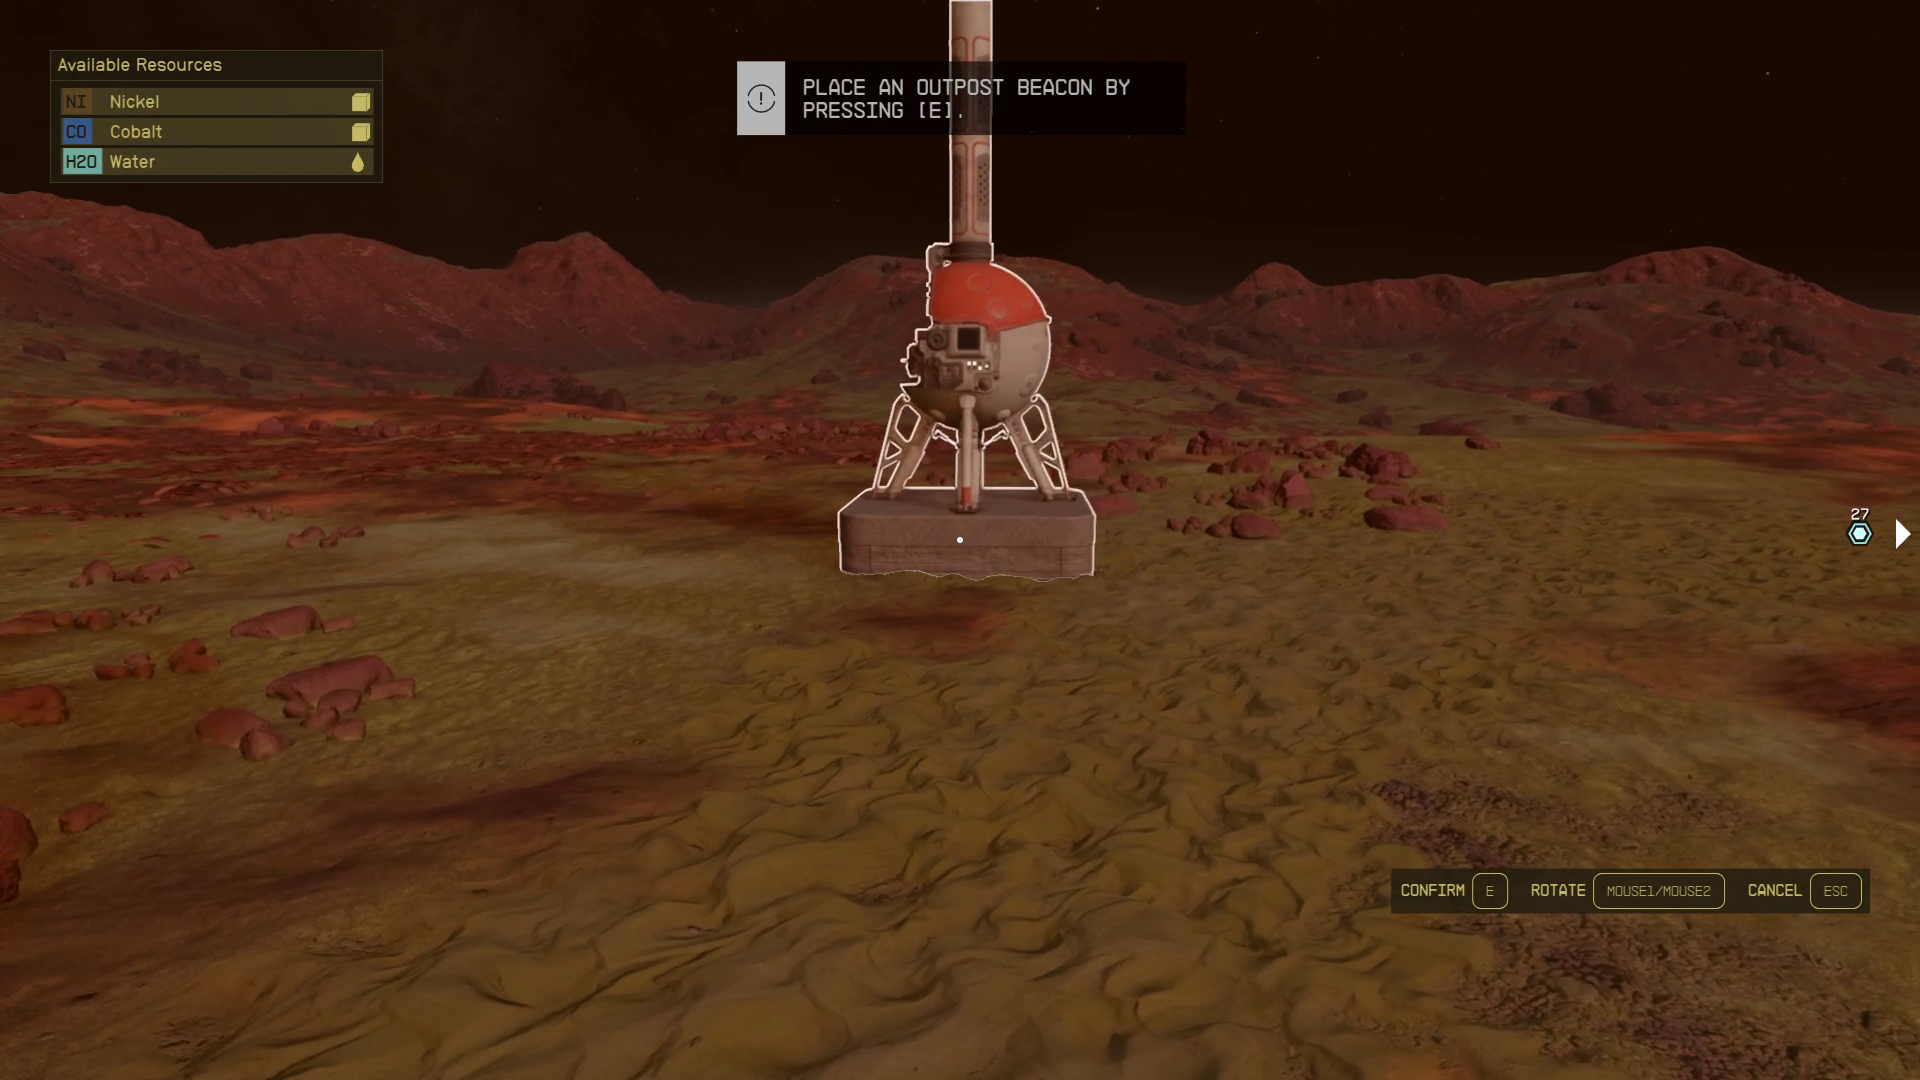
This option is a fair bit more involved, but won’t be difficult if you already have an outpost and some resources banked. Note that you need 3 Neodymium and 5 Titanium to build the Armillary.
You can set an outpost up on basically any planet you can land on. Upon landing, activate your scanner, and then press // to place an Outpost Beacon (Image 22). Position it so that its not red (red indicates its not in a buildable position) and then press // to place the Outpost Beacon.
With that done, you can use / to cycle through object categories — press it once and you’ll select the Quest category, which will let you place the Armillary the same way you placed the beacon (Image 23).
Image 22Image 23
Return to the Lodge
After the Armillary is constructed on your ship or on an outpost, you can choose to leave it there (causing more attacks at that location) or you can carry the artifacts around with you, which will cause more attacks everywhere you go.
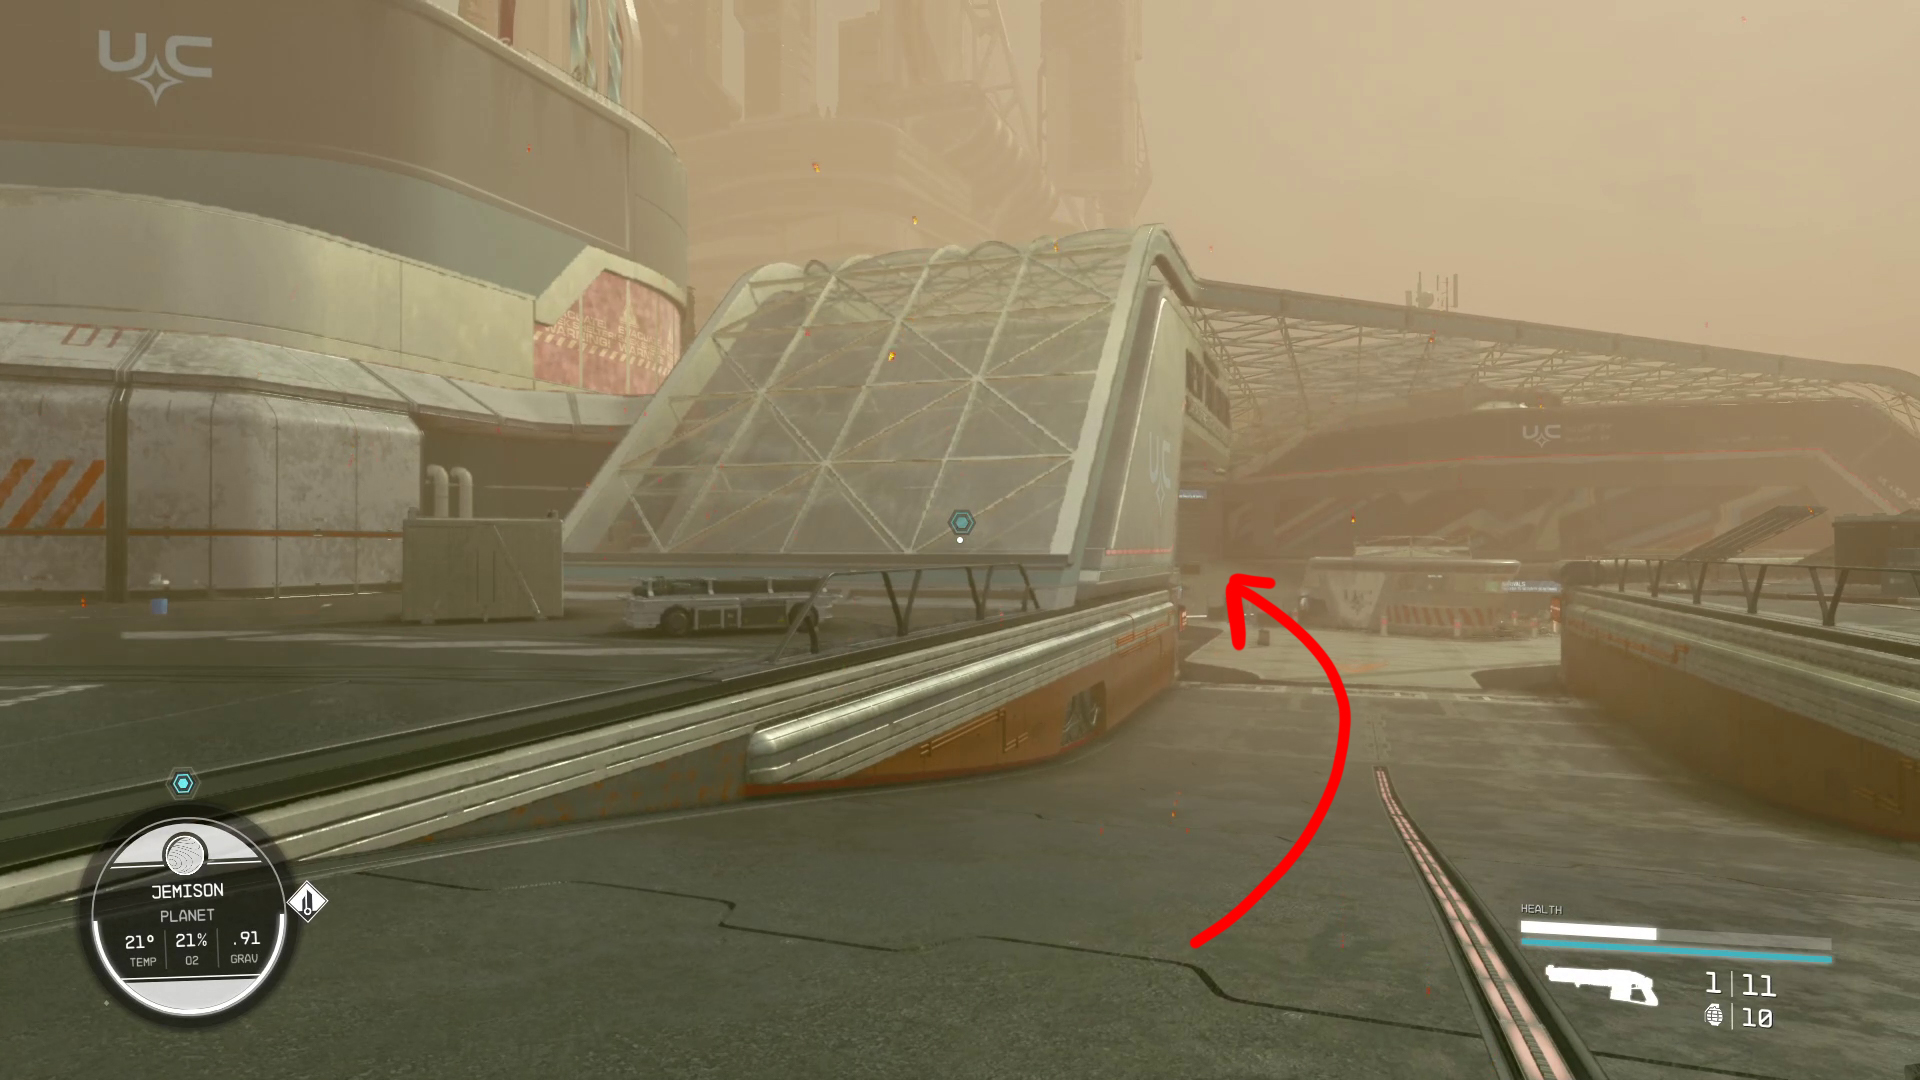
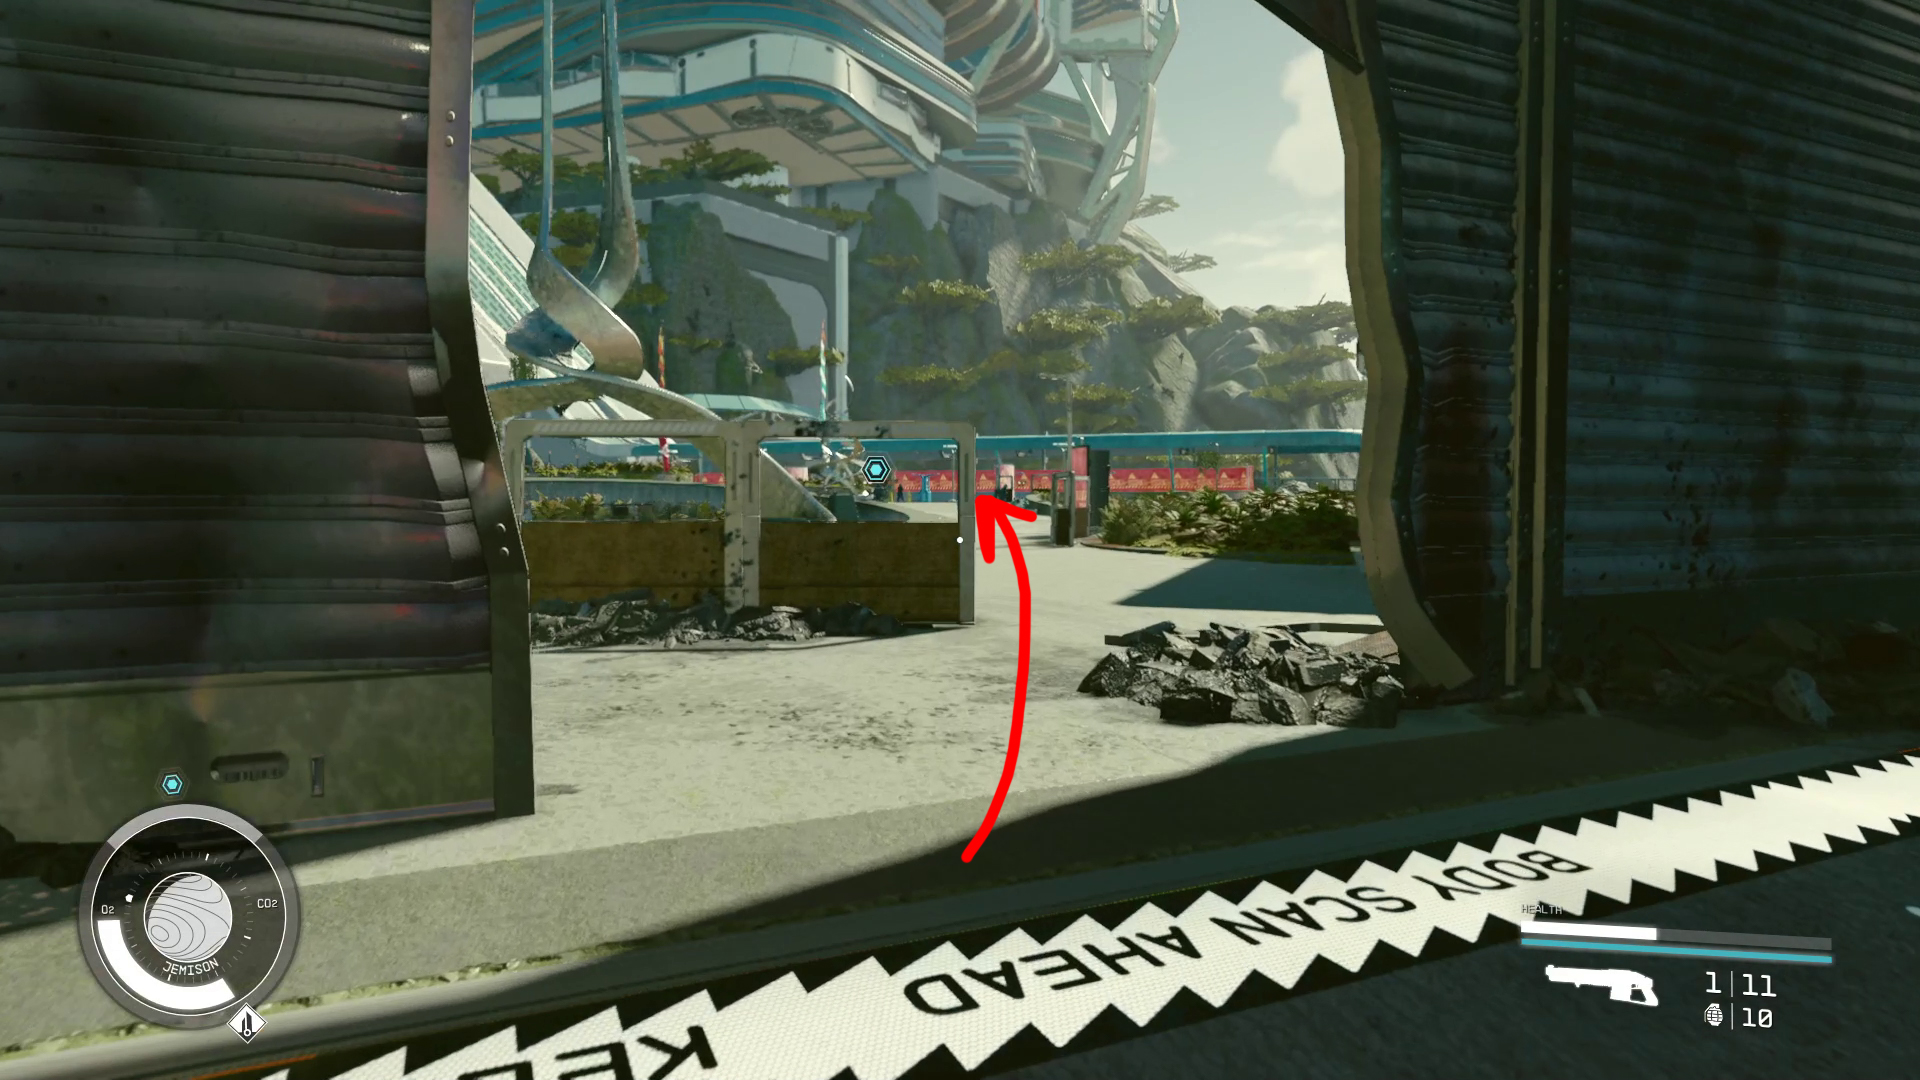
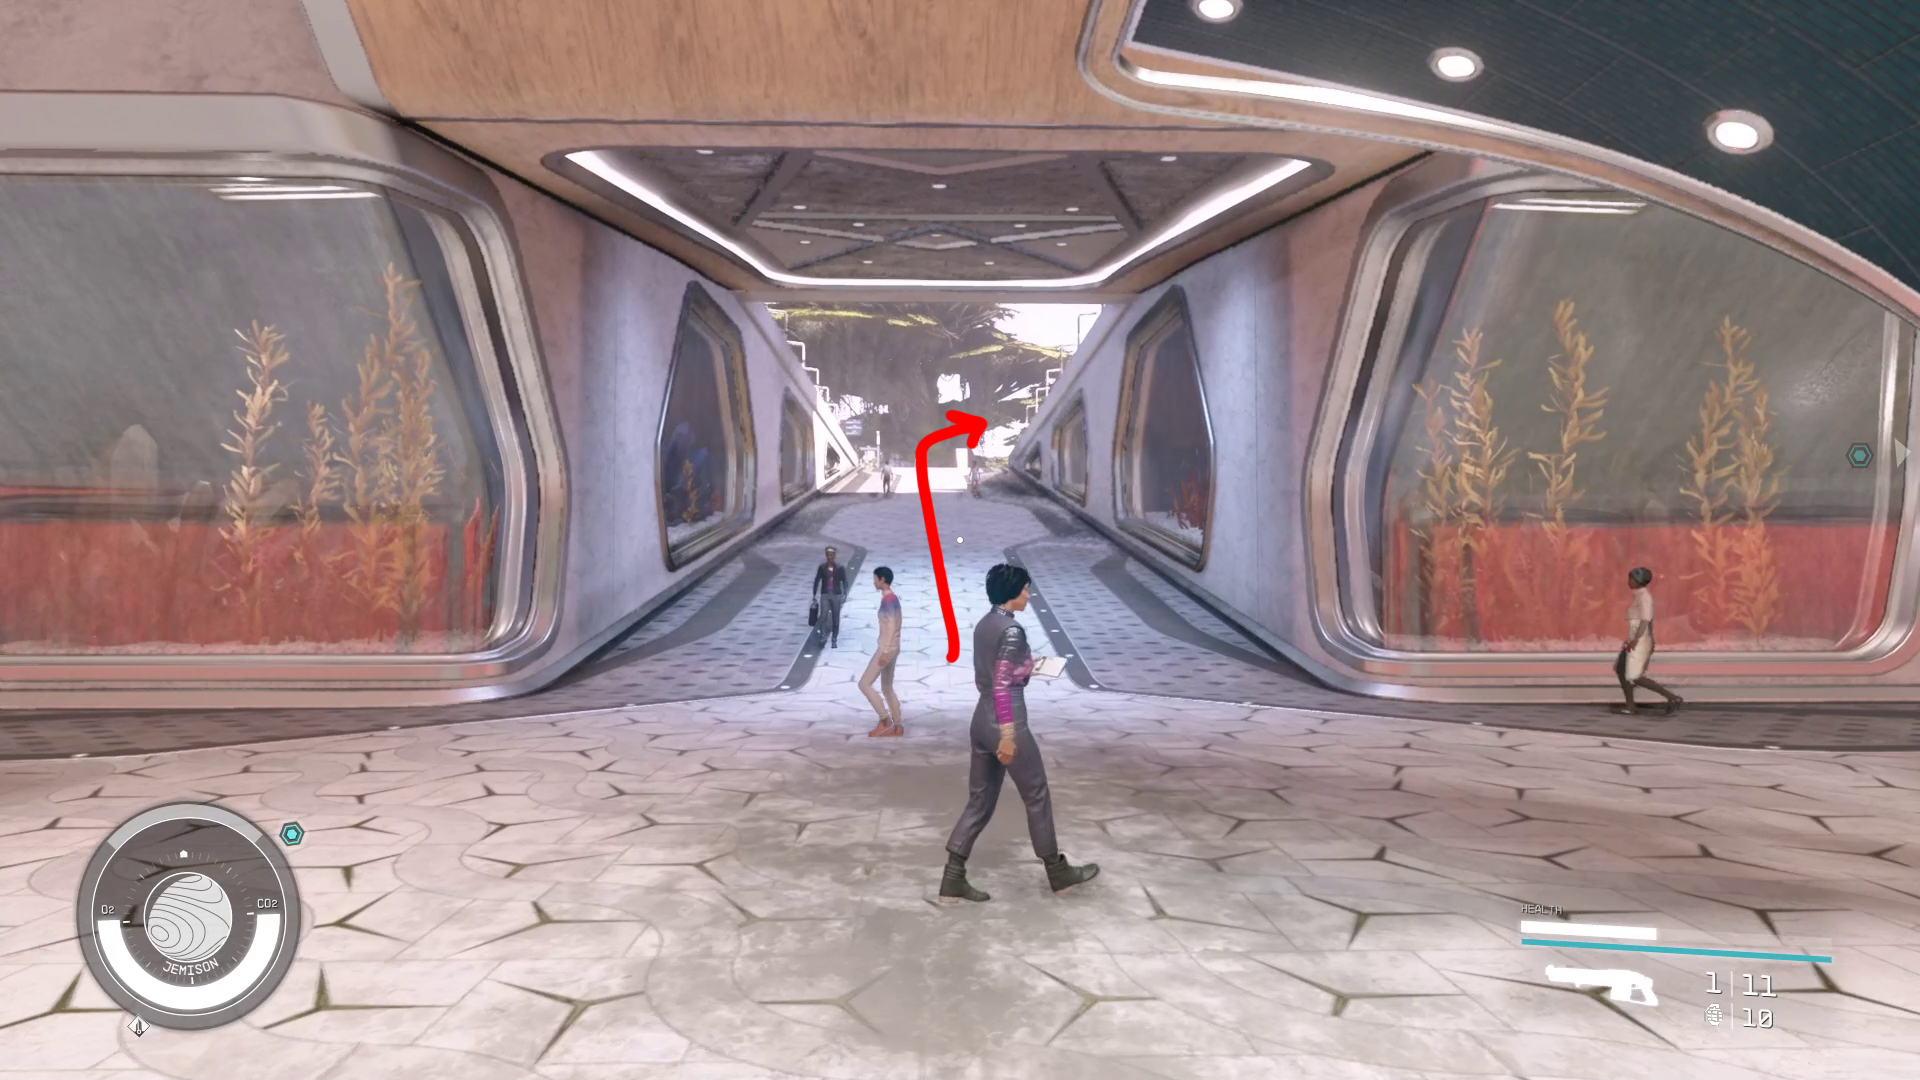
Whatever you decide, it’s time to head back to the Lodge. Use your Mission log to fast travel to New Atlantis — you won’t be able to fast travel directly to the Lodge at this point, since the game wants to force you to see the after-effects of your narrow escape. Instead, you’ll need to land at New Atlantis on Jemison.
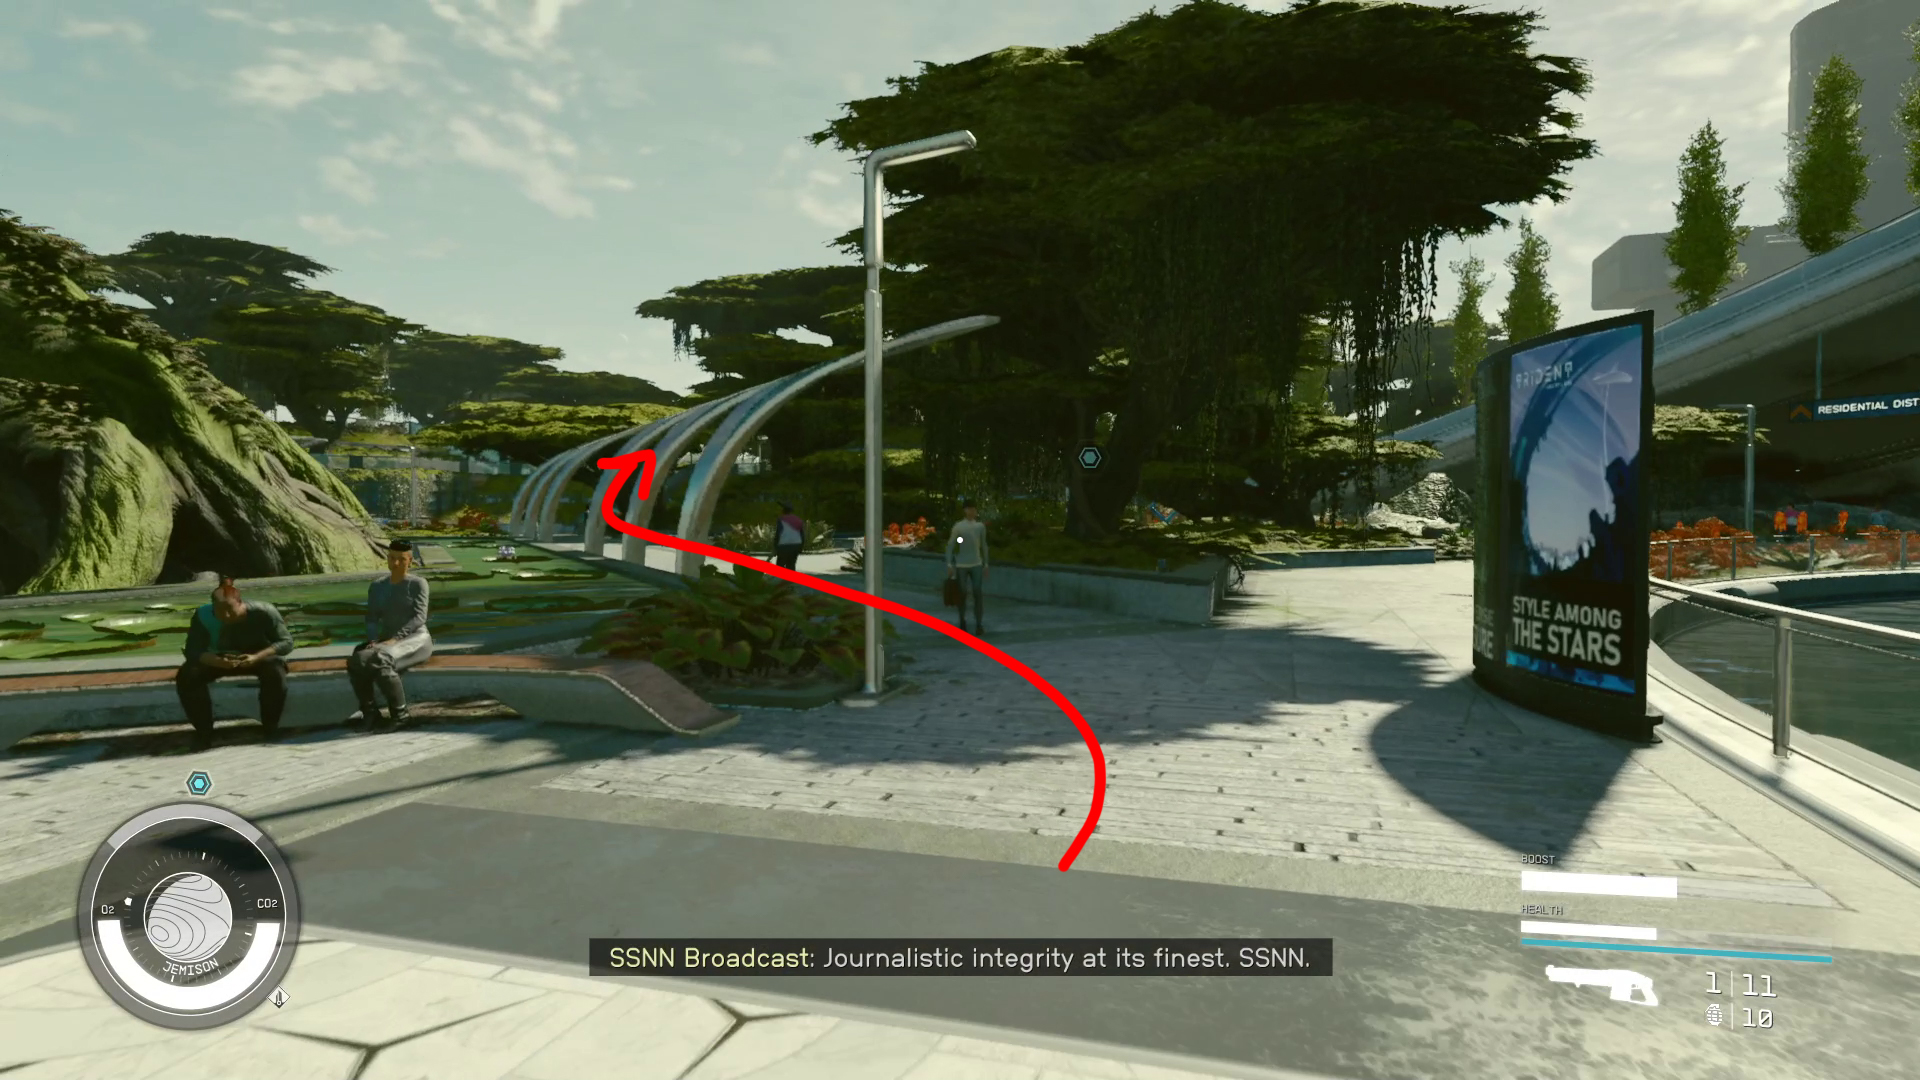
Upon landing, head down the ramp from the landing pad (Image 24), then go left and up the ramp — continue through the hole in the blast wall and use the NAT Transit Car to travel to the MAST District (Image 25). When the train drops you off, head straight up the ramp (Image 26), then go right and continue through the park (Image 27) to the Lodge — don’t forget you can use the scanner if you get turned around.
Image 24Image 25Image 26Image 27
Talk to Matteo
Enter the Lodge and continue into the library, then go over to Matteo and talk to him. When Matteo asks you to talk to the Sanctum priest, you can gain favor with Barrett by saying “It’s just a word, Matteo”. Once the conversation ends, so will the mission! Regardless of your responses to Matteo, your next stop will indeed be a meeting with Keeper Aquilus, in the mission Unity.
Unabashed FromSoftware fanboy still learning to take his time with games (and everything else, really). The time he doesn't spend on games is spent on music, books, or occasionally going outside.