The corporate drama increases manyfold in Guilty Parties, and as such this Ryujin Industries faction mission walkthrough involves a number of interesting choices. Naturally, many of those choices involve whether to sneak past people or shoot them.
Talk to Imogene on the Operations Floor / Talk to Yuko
This mission starts with you needing to go see Imogene on the operations level of Ryujin tower — just like old times, huh? The scanner can guide you to the elevator and her office. You’ll find her door closed, and when you open it, Yuko will ask you if you’re looking for Imogene. Turn around and speak with Yuko Serrano, and handle the conversation as you please. She’ll tell you to look for Imogene in the Seokguh Syndicate hideout, and suggest you speak with Dalton before going after Imogene.
Note: If you have the Neon Street Rat trait, you’ll be able to select a [Neon Street Rat] dialogue option in this conversation, allowing you to skip talking to Dalton in the next (optional) step.
This mission is a lot more flexible in terms of overall approach than most of the previous Ryujin missions. At this point, you have a few choices:
Head straight to the Seokguh Syndicate hideout
This option is the fastest and simplest, and in some ways the “easiest” — assuming your character is halfway competent in combat, killing the gang members is more straightforward than sneaking around. Choosing to skip Dalton also lets you unlock Managing Assets, an extra Ryujin mission.
Talk to Dalton
Checking in with Dalton first leads you to another NPC, who can then make the enemies in the hideout non-hostile. This path also lets you earn you a few extra credits at the end of the mission, however you’ll earn a bit more by skipping it (if you then squeeze Tomo for extra creds in Managing Assets).
(Optional) Talk to Dalton on the Executive Offices Floor
Head back to the elevator and take it to the Executive Offices, then go find Dalton and talk to him. He’ll tell you going to see Benjaim is an order — but you can still ignore him and decide you want to find Imogene by going into the hideout guns blazing at this point, should you so choose.
Talk to Benjamin Bayu
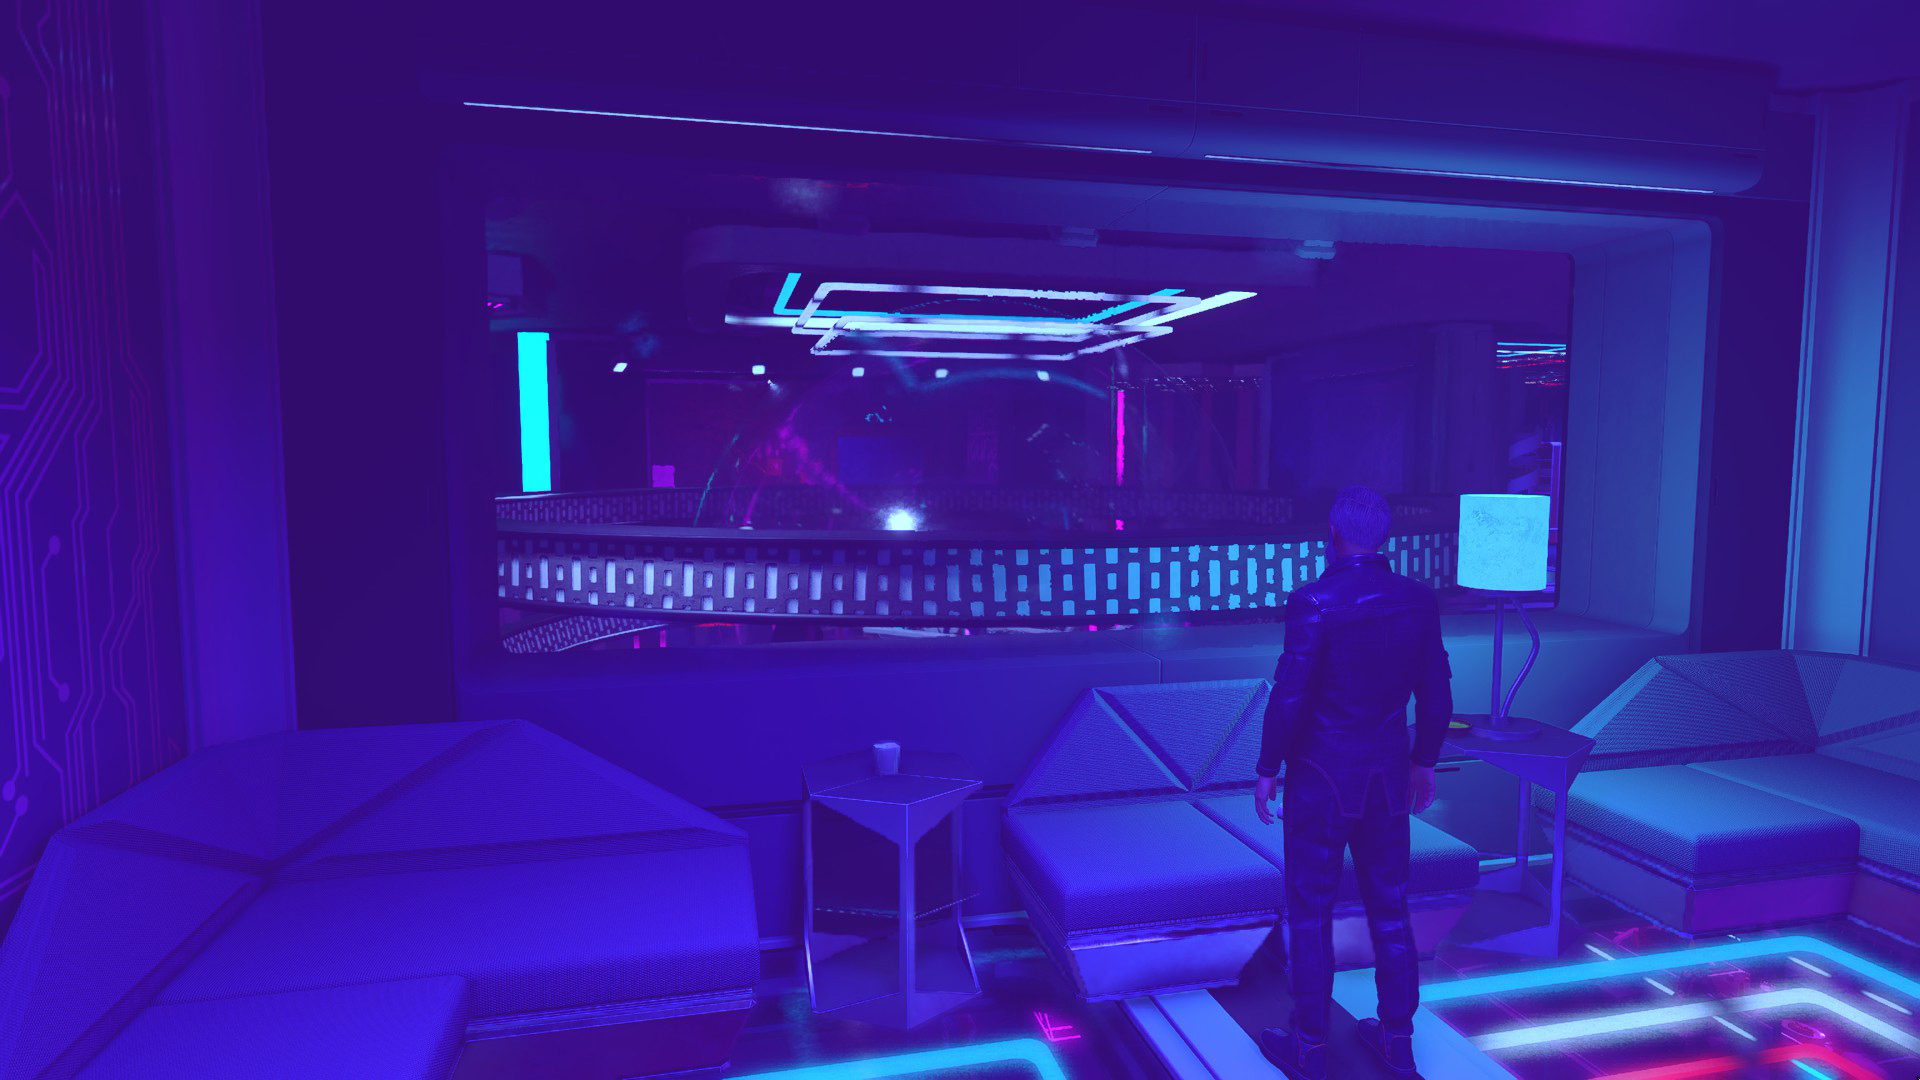
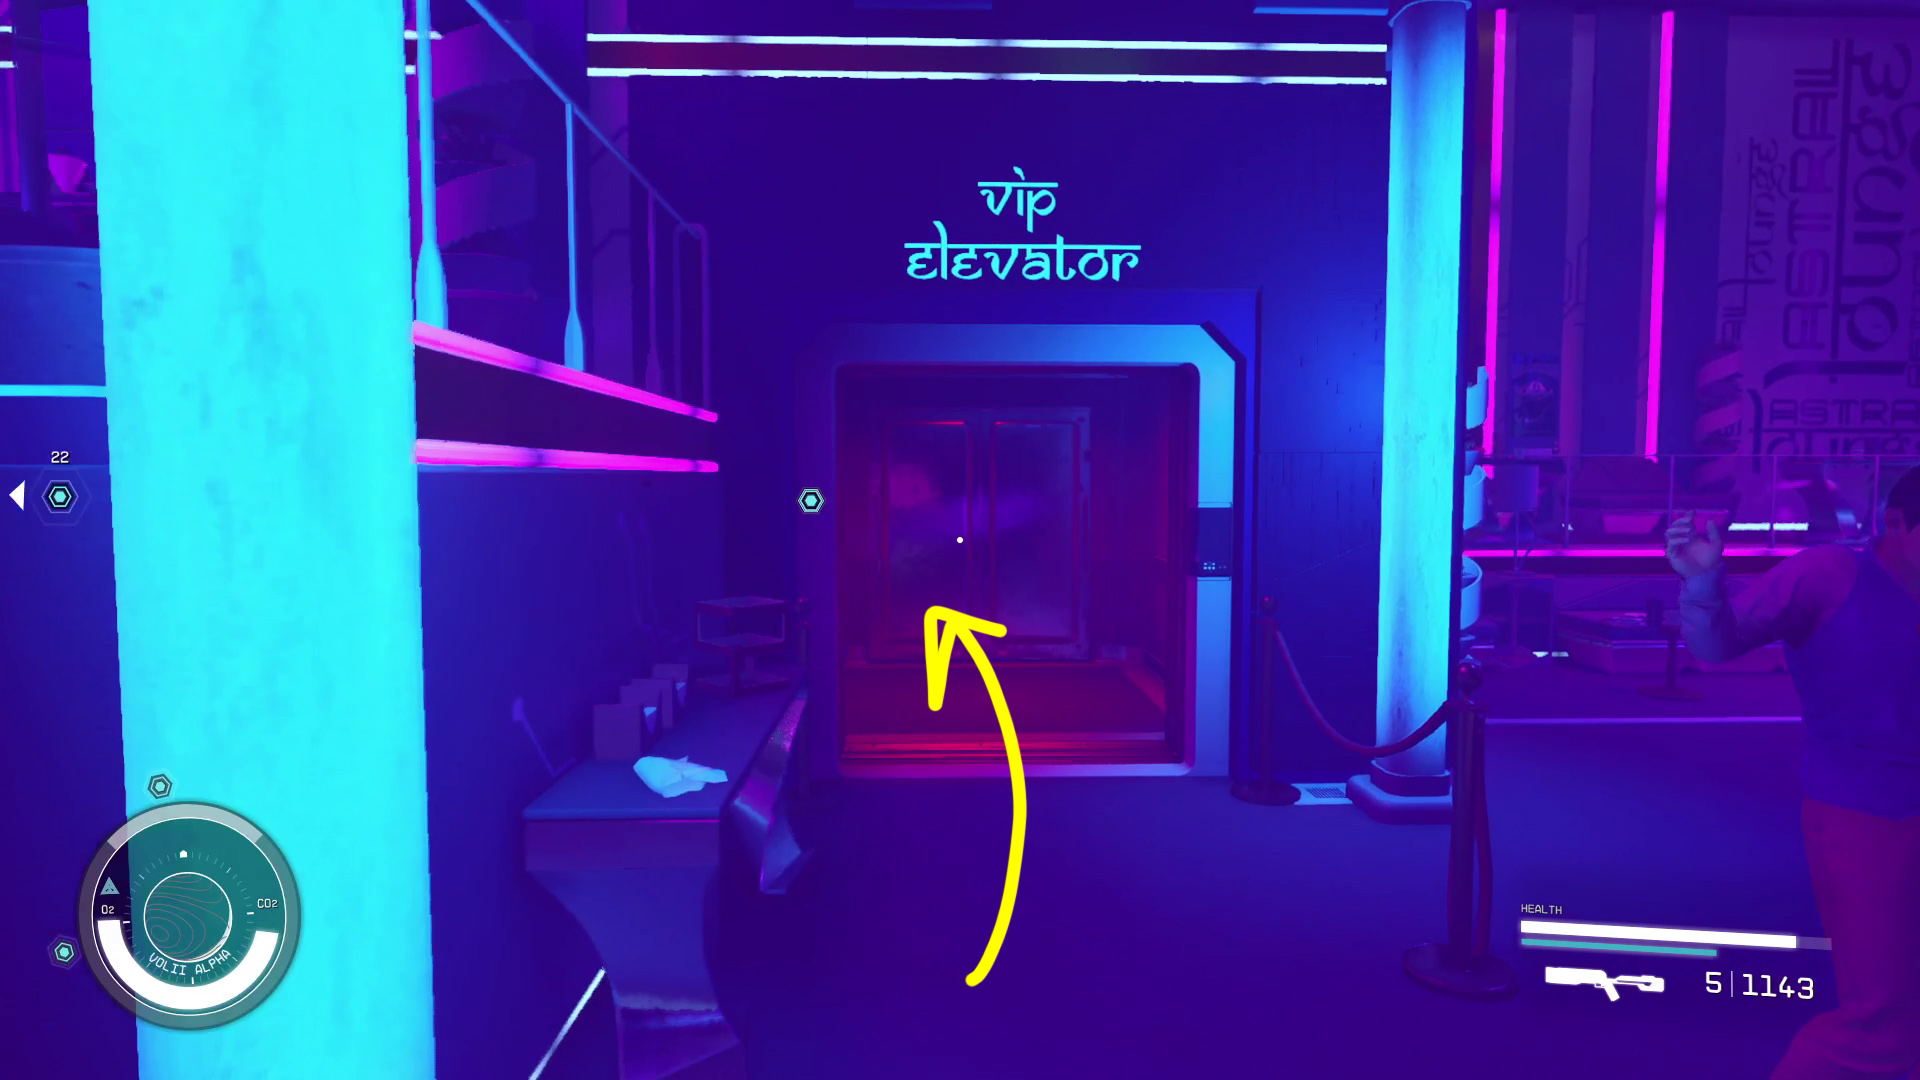
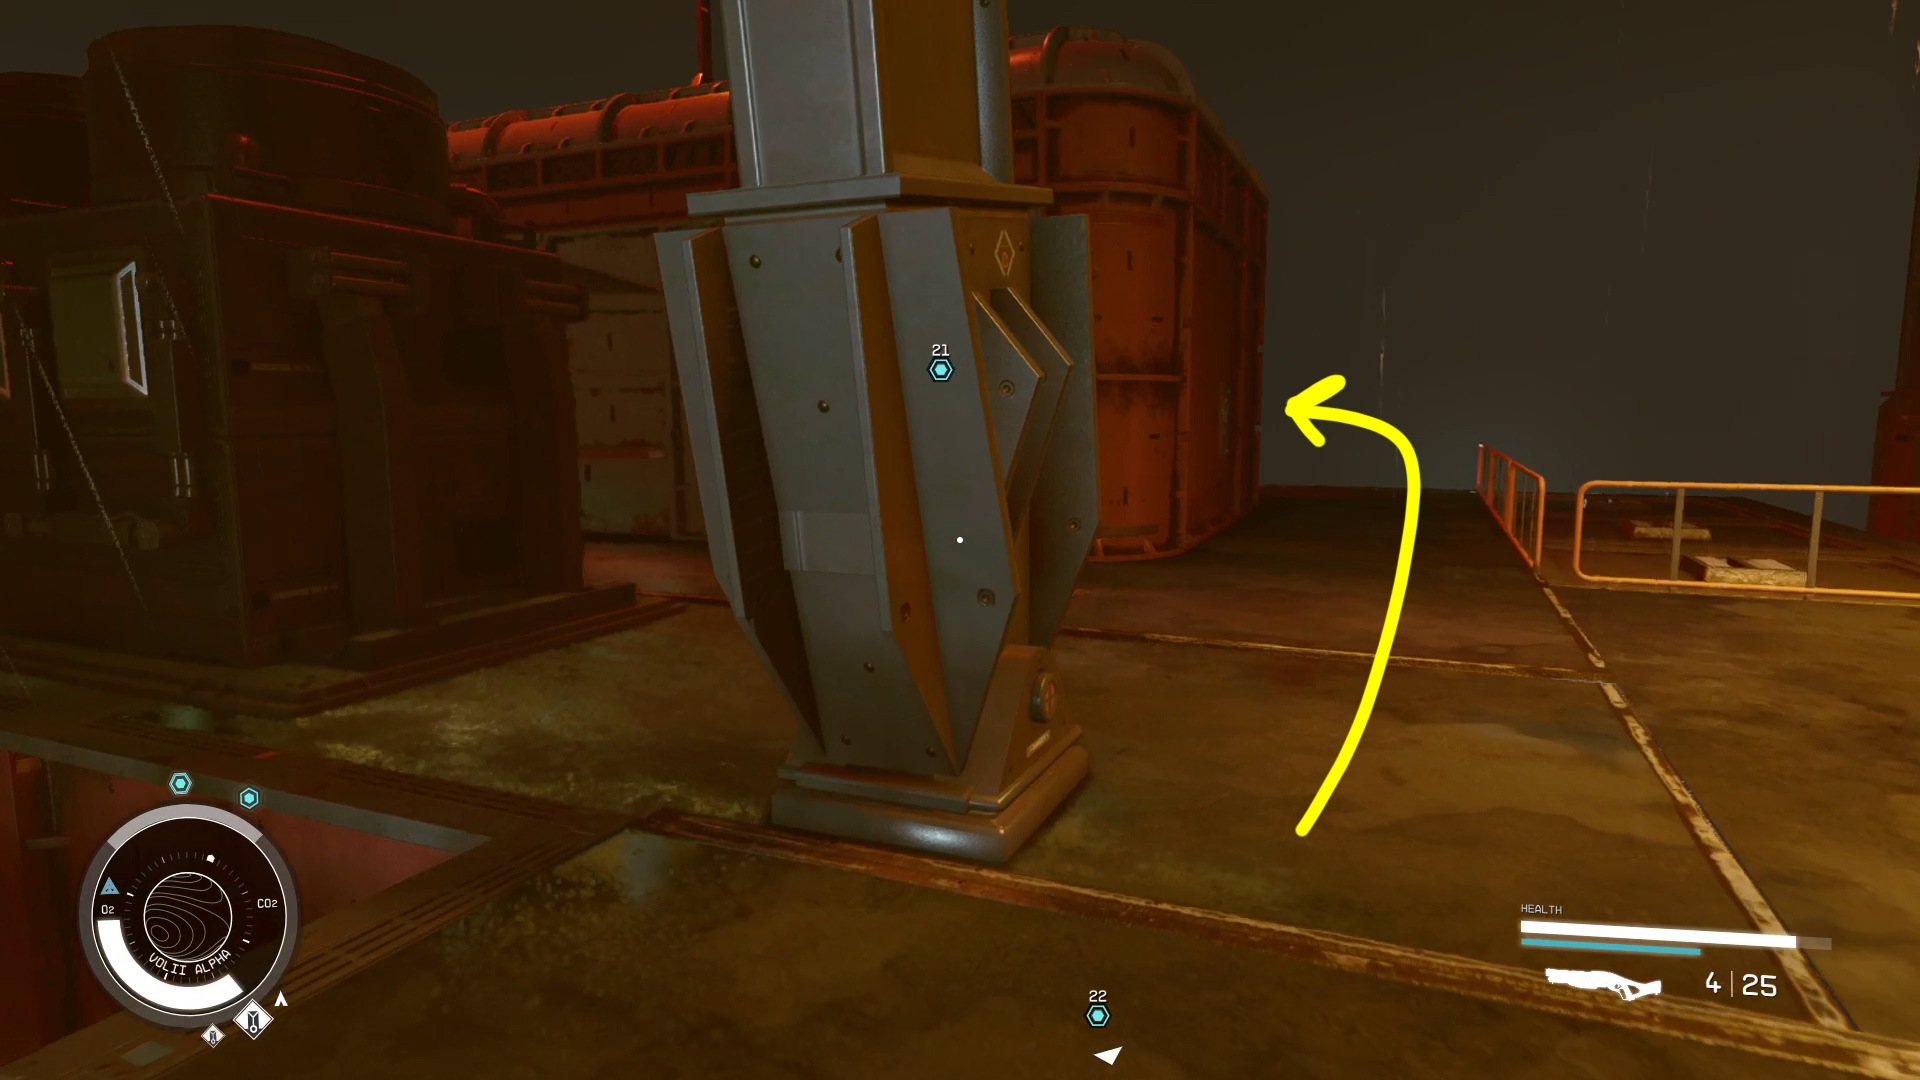
Benjamin is in the Astral Lounge, on the other side of the Neon core. Leave the Ryujin Tower and head to the Trade Tower, then into the Astral Lounge — you know the way by now, right? (If you don’t, your scanner’s got your back). In the Astral Lounge, turn left on the dance floor and head into the elevator that takes you to the VIP Balcony (Image 1).
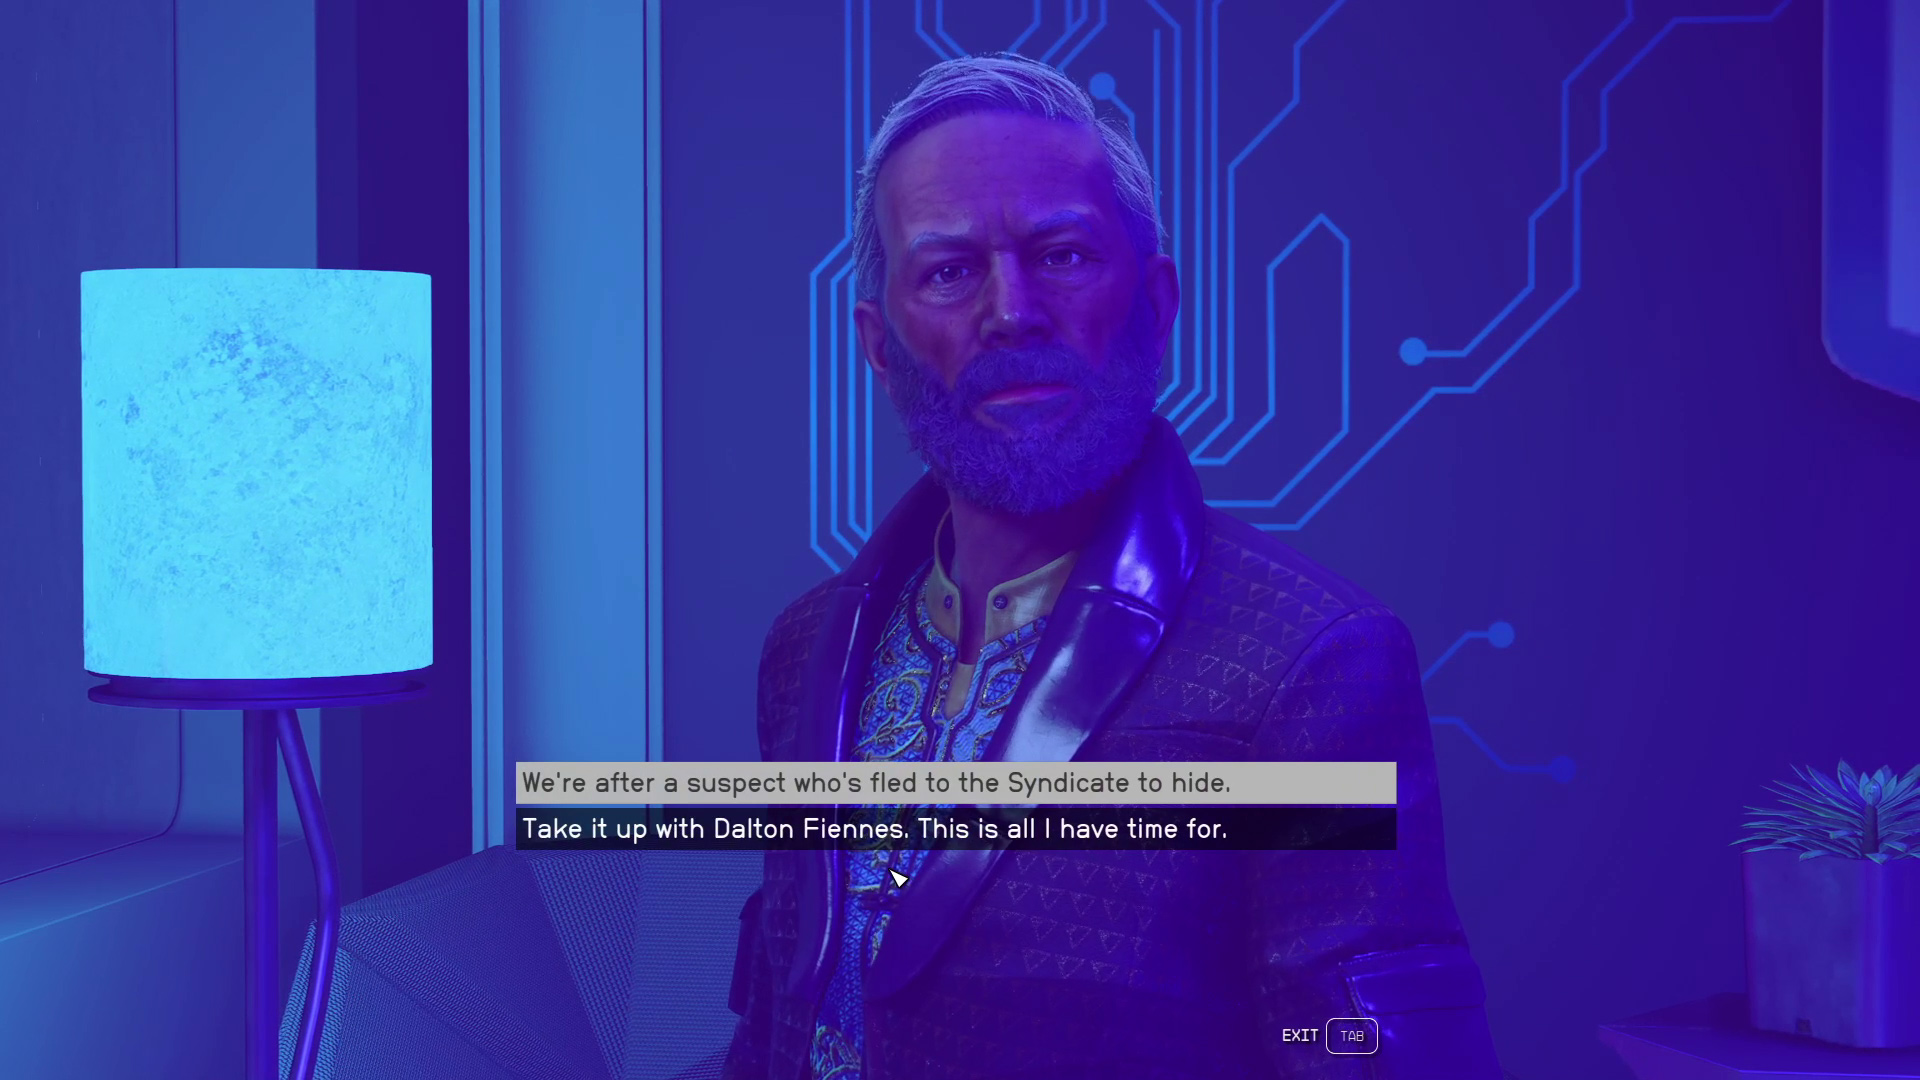
From the elevator, go left, then continue all the way around the balcony — Bayu is in the very last booth, Booth 4, and you’ll need to talk to him to begin the conversation. After the initial dialog choice, you’ll reach a spot where your choice affects things (Image 2).
Image 1Image 2
You have two choices here:
Get Dalton’s permission to go after Imogene (“We’re after a suspect who’s fled to the syndicate to hide.”)
You can then [Persuade] him to give you permission, or else do a favor for him. The latter option requires you to steal a data slate — not particularly difficult, but it does add some time/effort to the mission.
Don’t get Dalton’s permission (“I’m only here to give you a heads up on Ryujin’s behalf. I’m heading into the Syndicate’s hideout.”)
This choice means the gang members in the hideout will be hostile, but is the other way to unlock the Managing Assets mission (the first way being to skip this conversation entirely). Of course, if you wanted to make this choice, there was no reason to come to the Astral Lounge at all.
Find Imogene in the Seokguh Syndicate Hideout
There are two ways into the hideout: through the main (but still secret) entrance, or through the ventilation system.
If you got Dalton’s permission to go after Imogene, you’ll be able to head to Frankie’s Grab & Go and be let in (see (Optional) Head to Frankie’s Grab & Go)
If you didn’t get Dalton’s permission, you can pickpocket the Seokguh Syndicate Keycard from Frankie (Franchesca Moore) — or simply kill her and loot it from her corpse (killing her doesn’t give you a bounty) — see (Optional) Head to Frankie’s Grab & Go. Alternatively, you can also get into the hideout by going onto the roof and into the ventilation ducts (see Sneaking Into the Hideout below).
(Optional) Head to Frankie’s Grab & Go
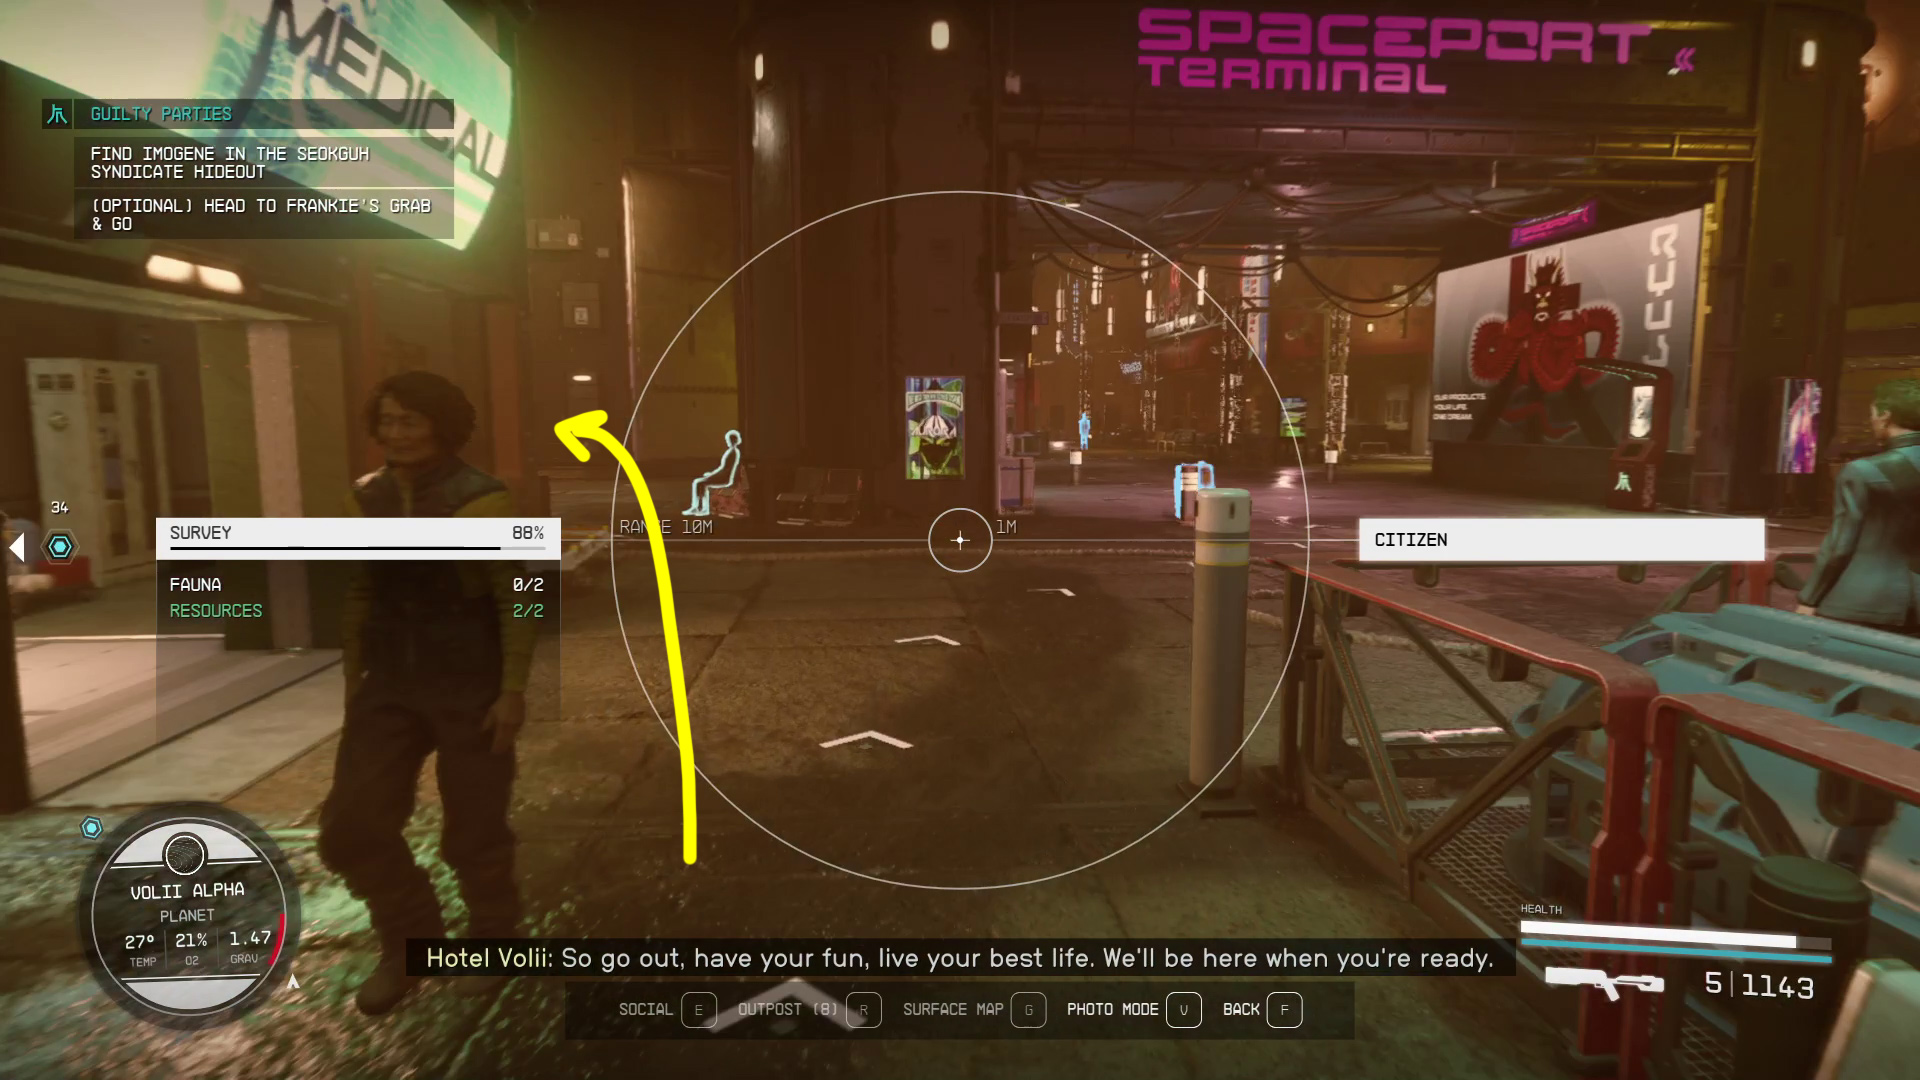
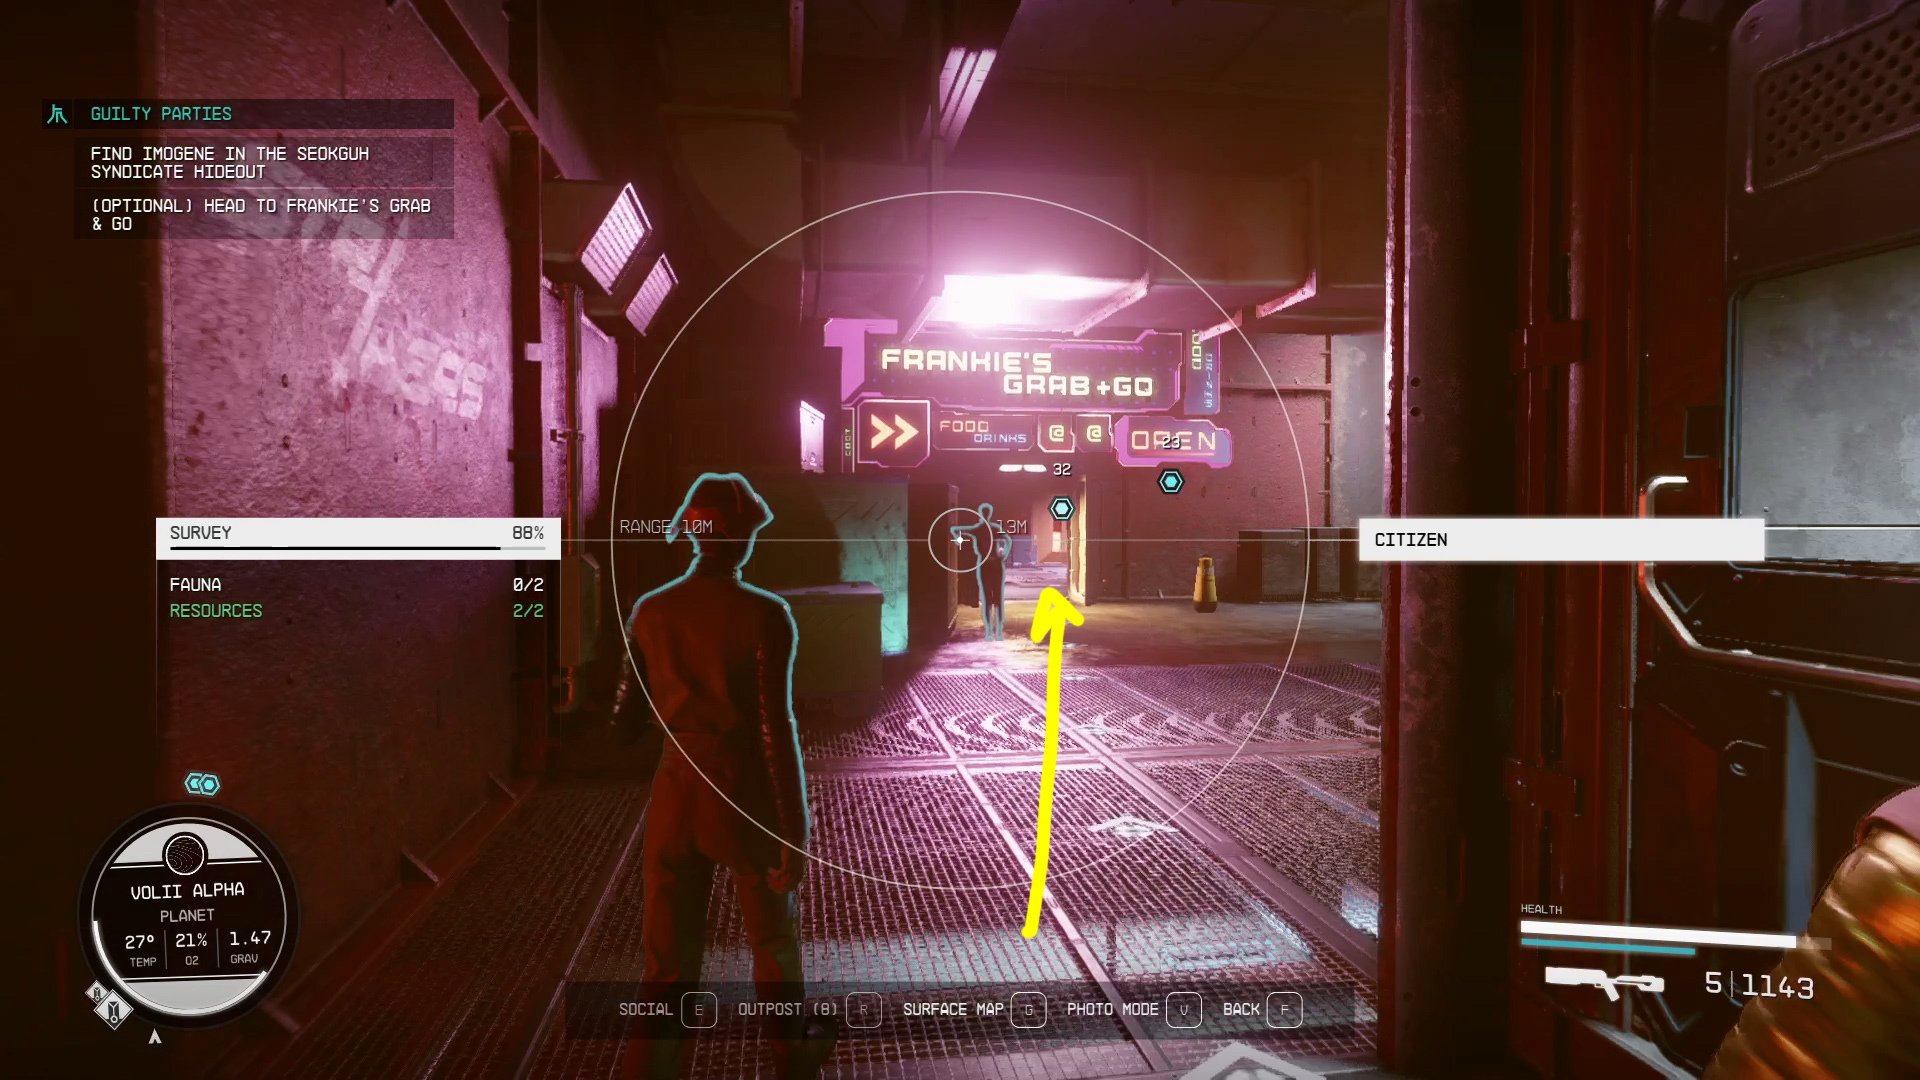
While in the Neon Core, your hand scanner will lead you to the entrance to Ebbside, near the elevator to the spaceport (Image 3). In Ebbside, again use your scanner to make your way to to Frankie’s (Image 4), which is to the left after you enter Ebbside.
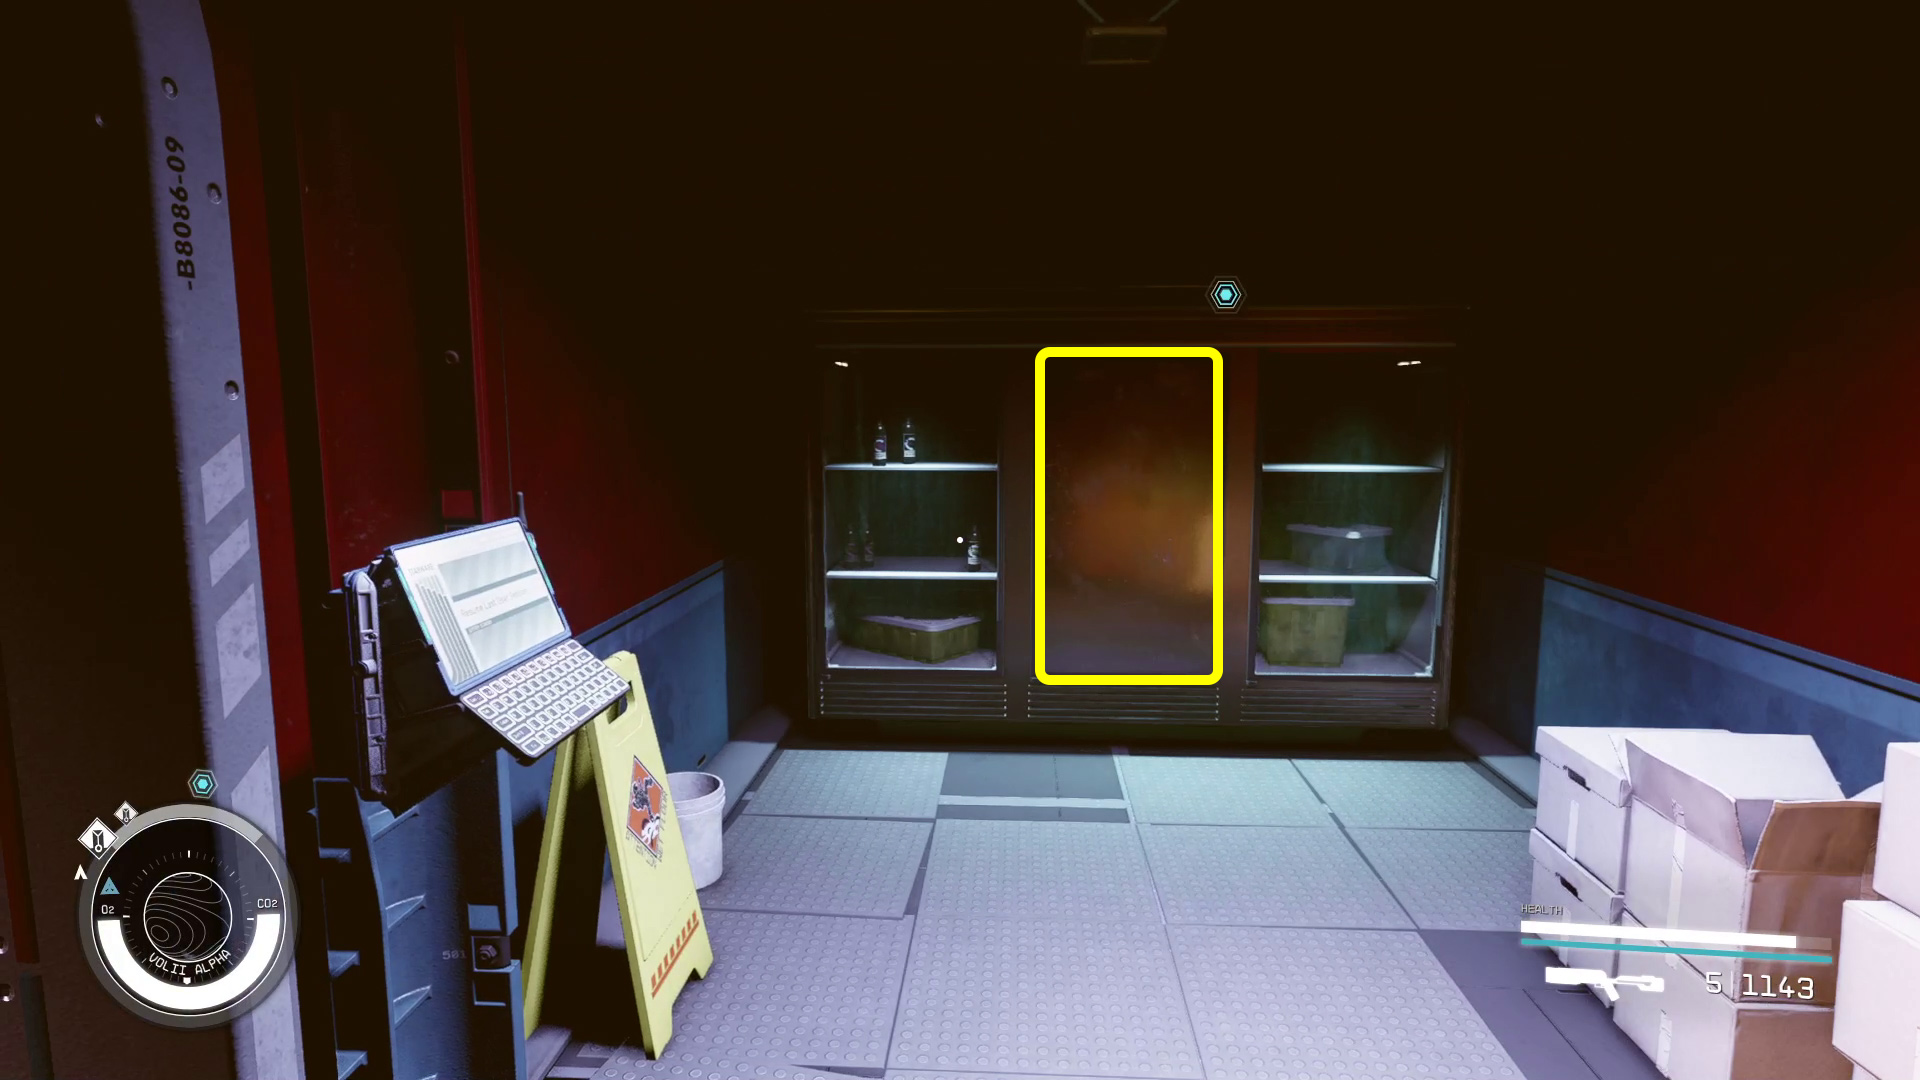
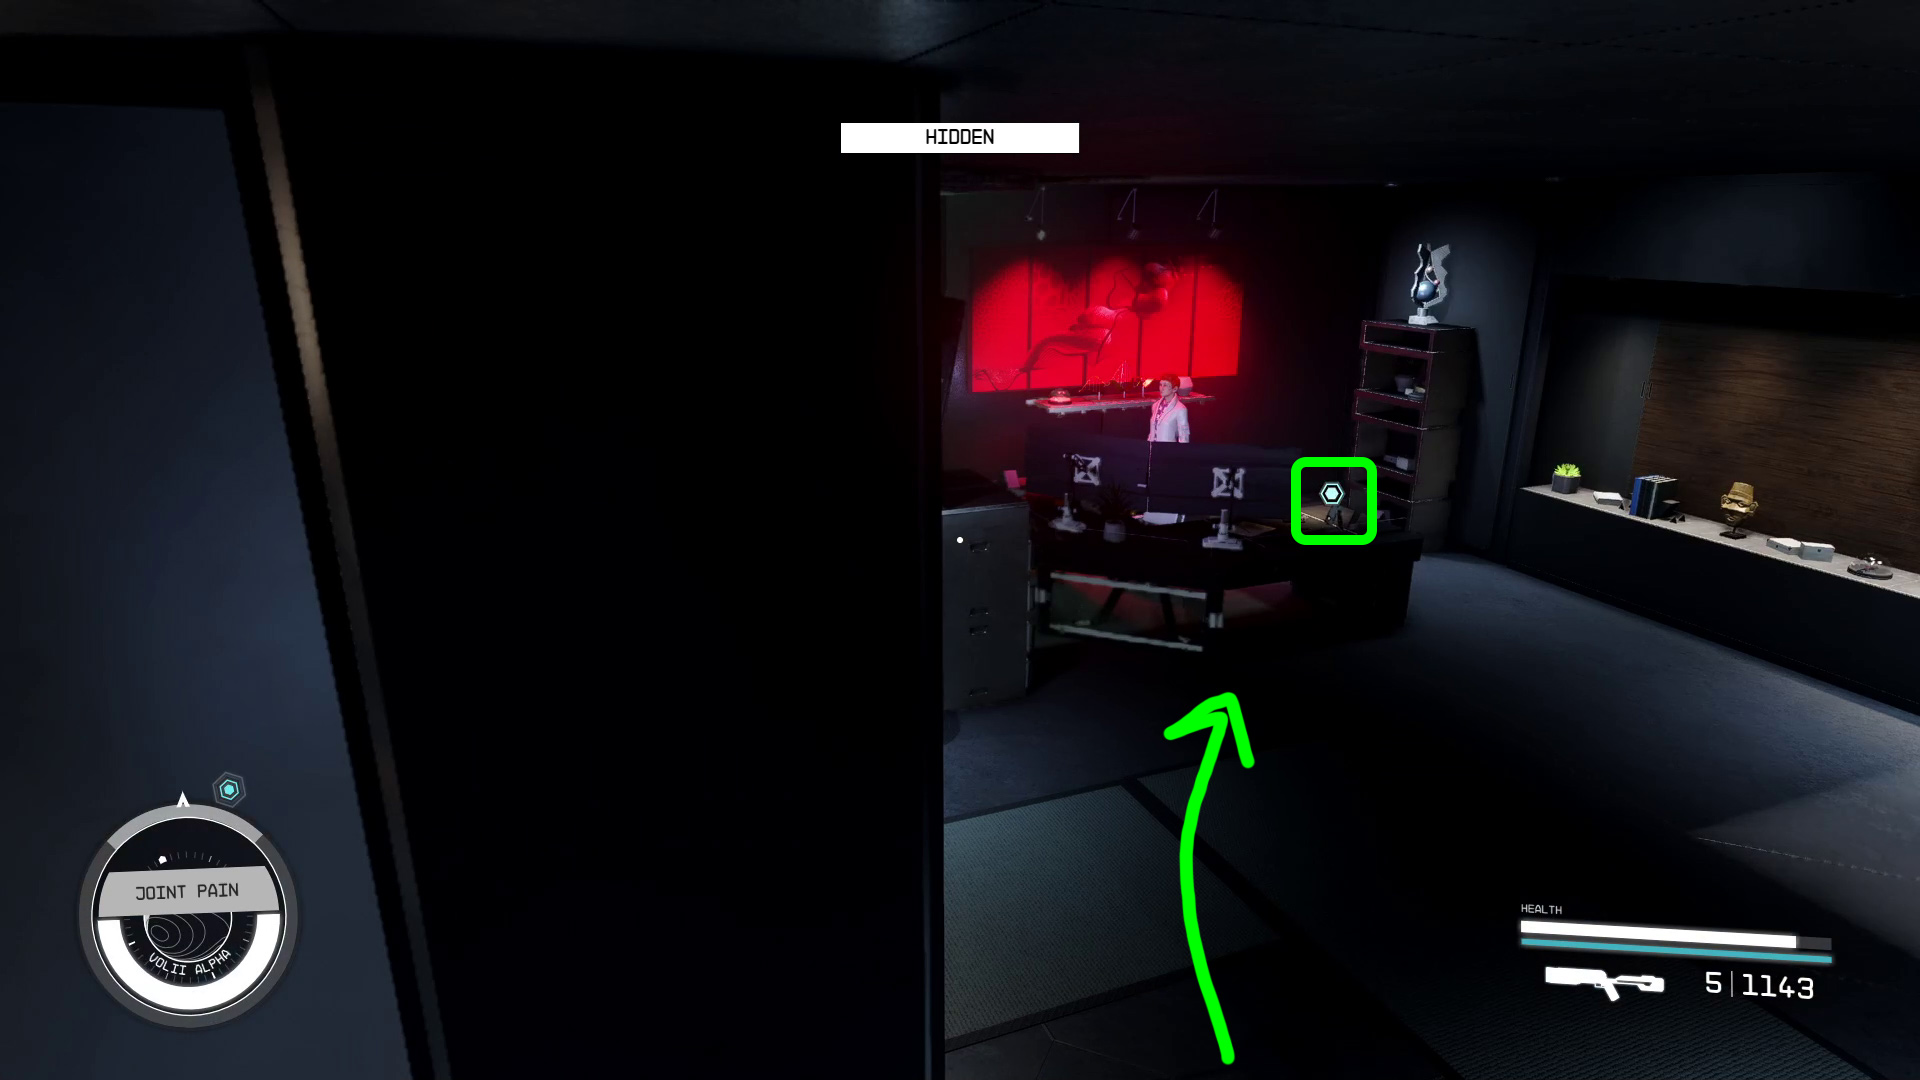
Franchesca Moore (Frankie) will be behind the counter — tell you you’re here on Ryujin’s behalf, and she’ll unlock the orange door to the left, which is indicated by the objective marker. Go through the door, and then enter the hideout via the “hidden” door (Image 5). If you don’t have Bayu’s permission, you’ll need to get the key from Frankie, either by killing her or by pickpocketing the key.
Image 3Image 4Image 5
Sneaking Into the Hideout
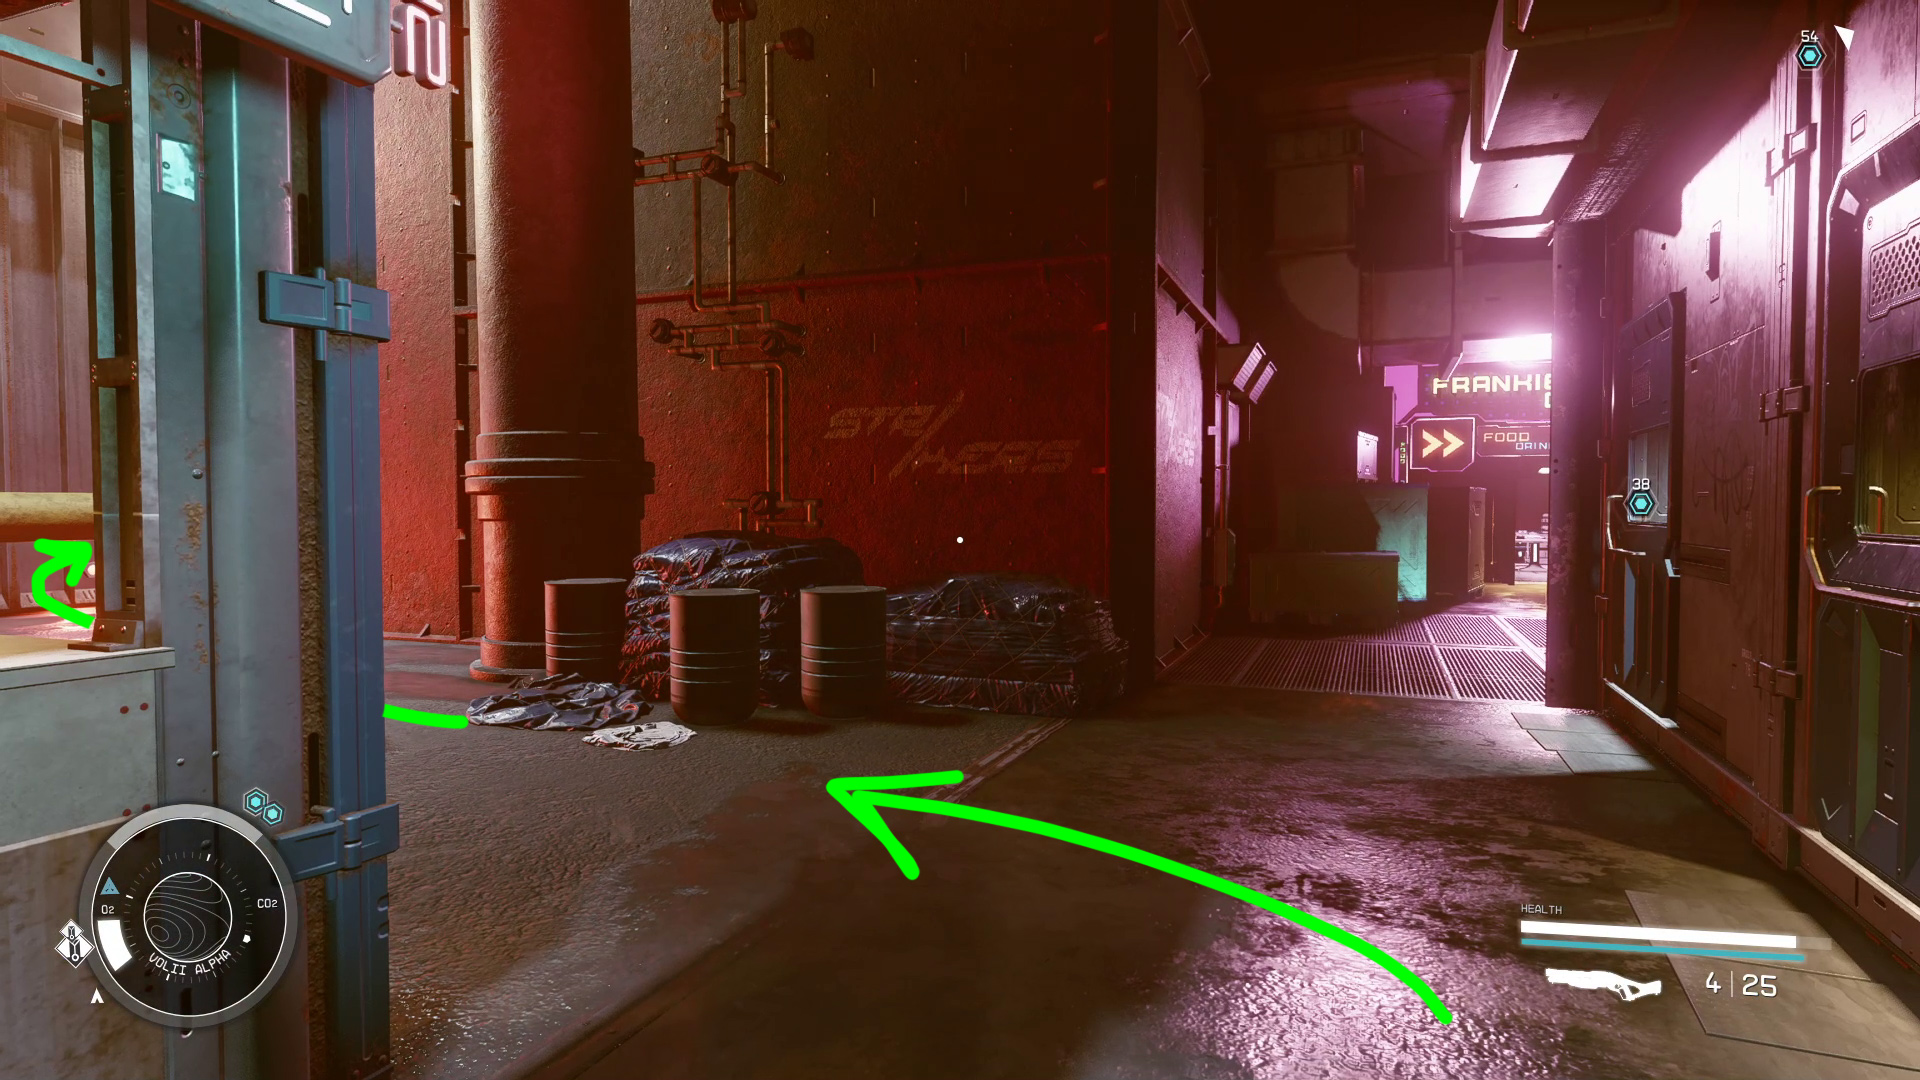
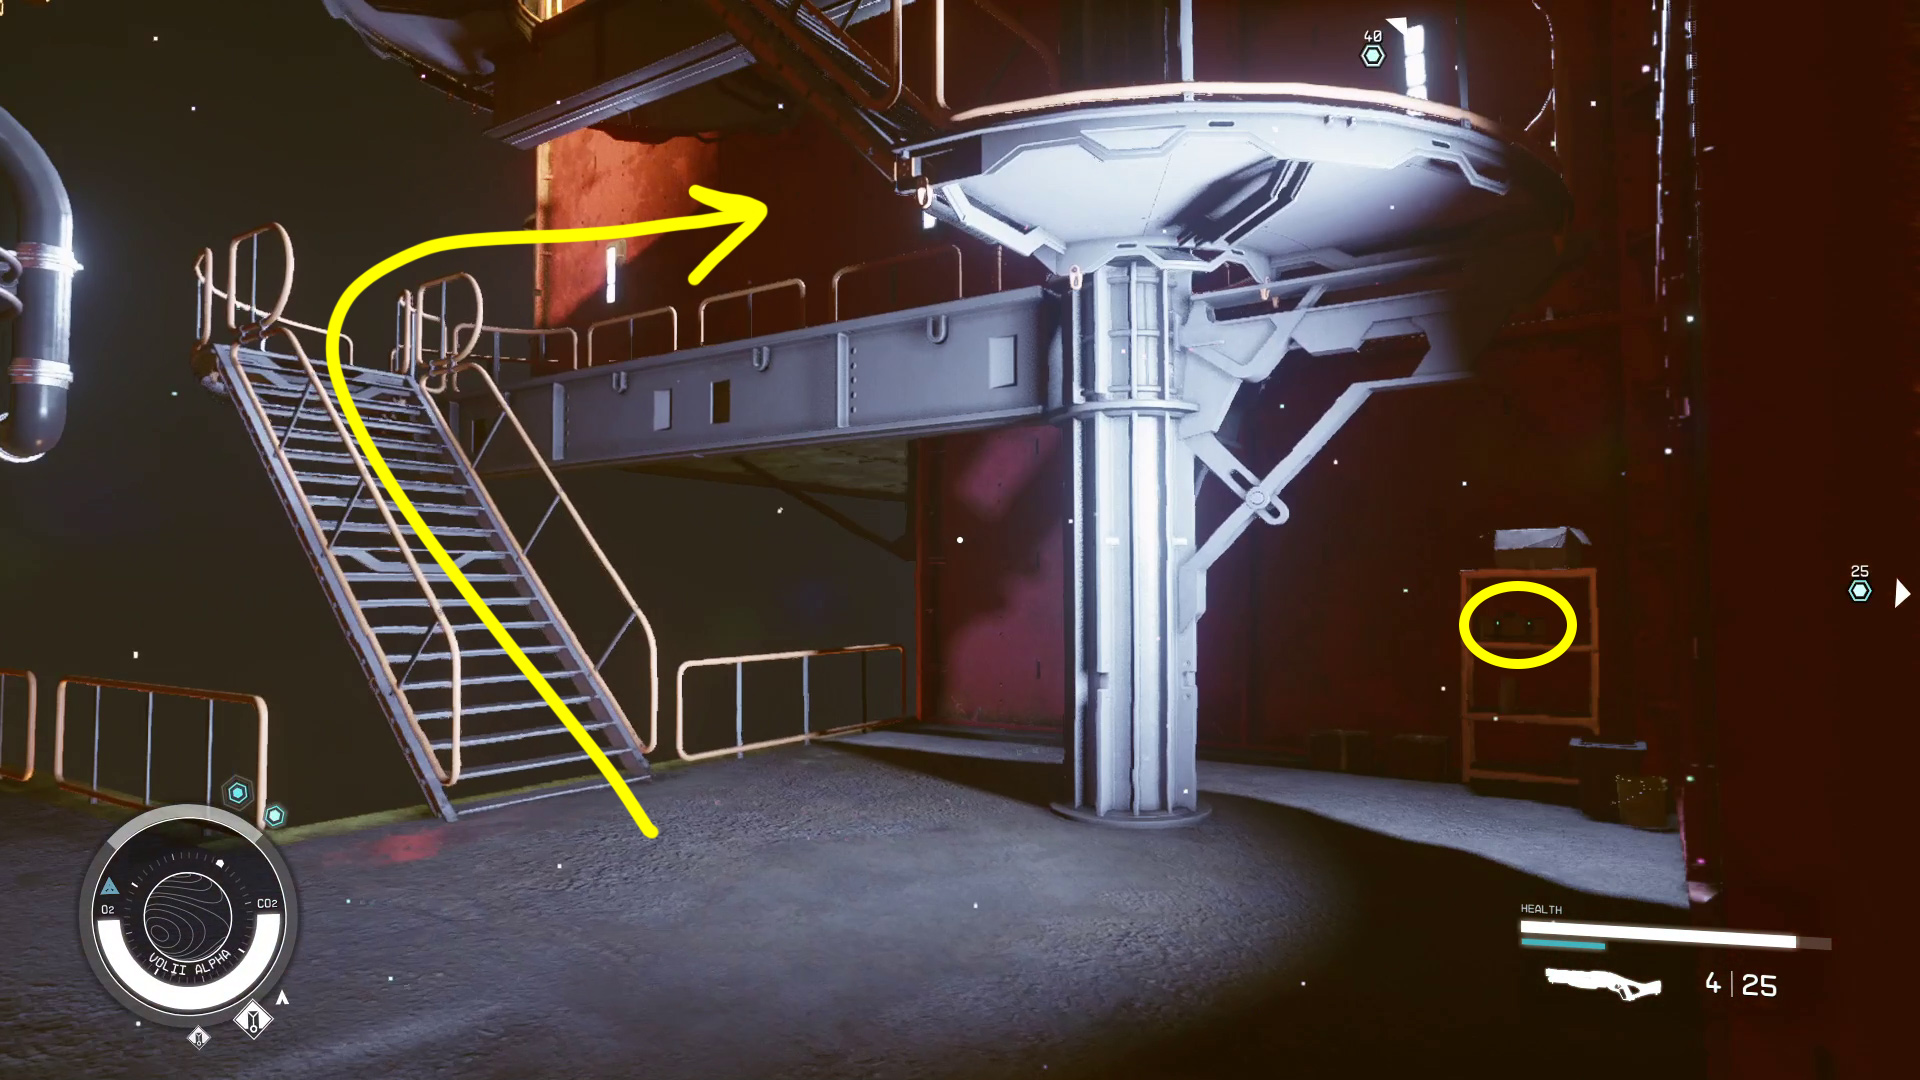
There’s an alley on the left before Frankie’s (Image 6) — go down it, then take an immediate right and continue until you find the stairs (Image 7). Grab the nearby loot in the corner, then take the stairs up until they end. Turn left on the roof and head to the other side of the structure on the roof (Image 8) — you’ll find a vent indicated by an objective marker you can use to enter the hideout (once you pick the lock).
Image 6Image 7Image 8
Note: Depending on how you enter the hideout, and whether or not the syndicate is hostile, how you reach each objective in the following sections can vary. Fortunately, the scanner will always point you to the objective(s), so just activate it if you need help finding the slate and/or Imogene.
Find Imogene / Confront Imogene
This is the better step to do first if you’re not fighting the syndicate, as the easiest way to sneak up to the third floor (where the slate is) can be done near where you find Imogene. Imogene is at the back of the hideout on the second floor, in the Syndicate Backroom. Once you do, you’ll have to decide what to do about Imogene:
[Attack] Imogene – She won’t come quietly, so if you want to do as you were ordered, you’ll have to kill Imogene. There are no practical consequences for this, just story and moral implications. It’s also a good option if you don’t like Imogene, but want her outfit.
“Fine. I’ll take the slate to Dalton” – This is the option to spare Imogene.
If you’re wondering what the “right” thing to do is, it’s to help Imogene. She’s innocent — as much as any Neon corpo can be, anyway — and is a victim of Ularu’s plotting.
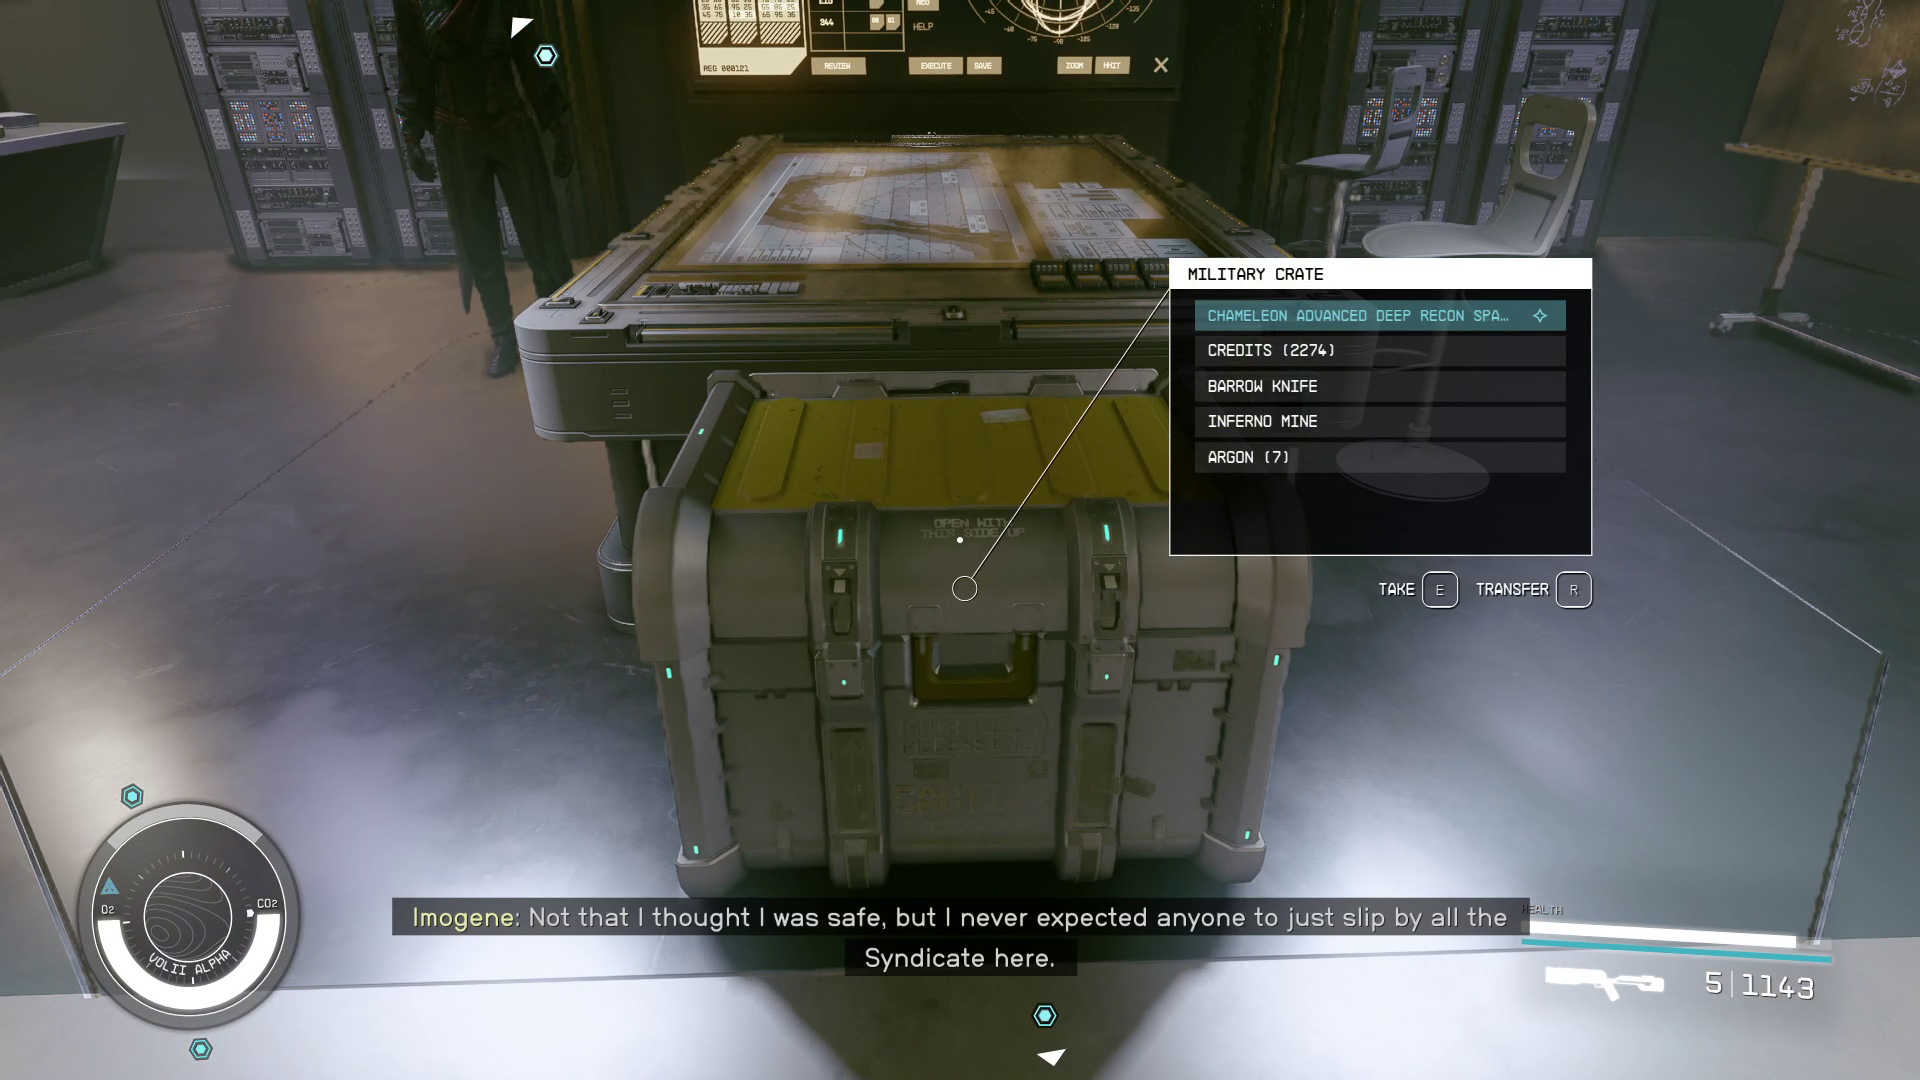
Make sure you loot the military crate in the room before leaving!
Find Kumiho’s Slate
This step is only required if you got permission from Bayu, and told him you’d do him a favor. If you aren’t sure if you need to do this, check your Mission Log.
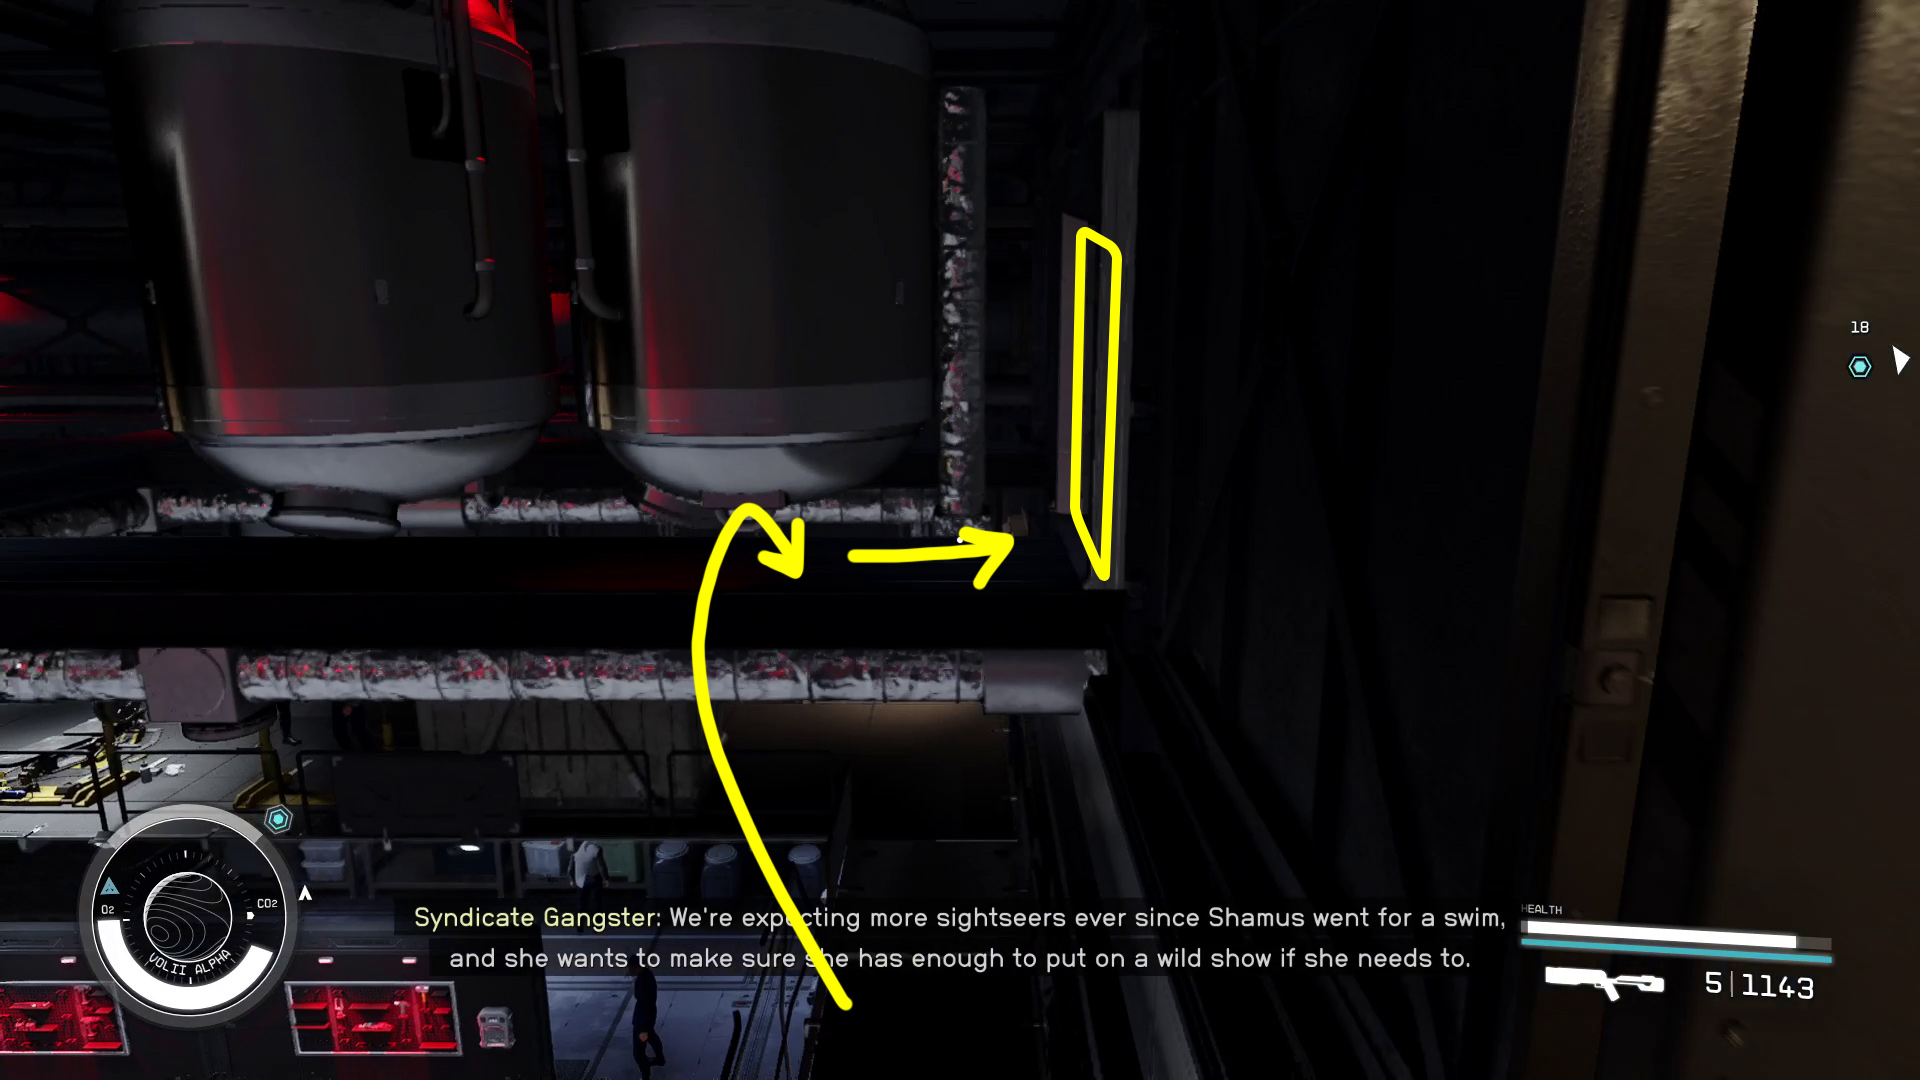
If you didn’t get Bayu’s permission to enter the hideout, this task is simple, since you can simply shoot your way to the third floor. Otherwise, if you want to avoid combat, you’ll need to use the ventilation system to reach Kumiho’s office. From the entrance to the backroom where you found Imogene, you can go up the stairs on the other side of the room (Image 9), and at the top of the stairs turn around and jump on the narrow catwalk (Image 10) — there’s a vent on the right you can open.
Image 9Image 10
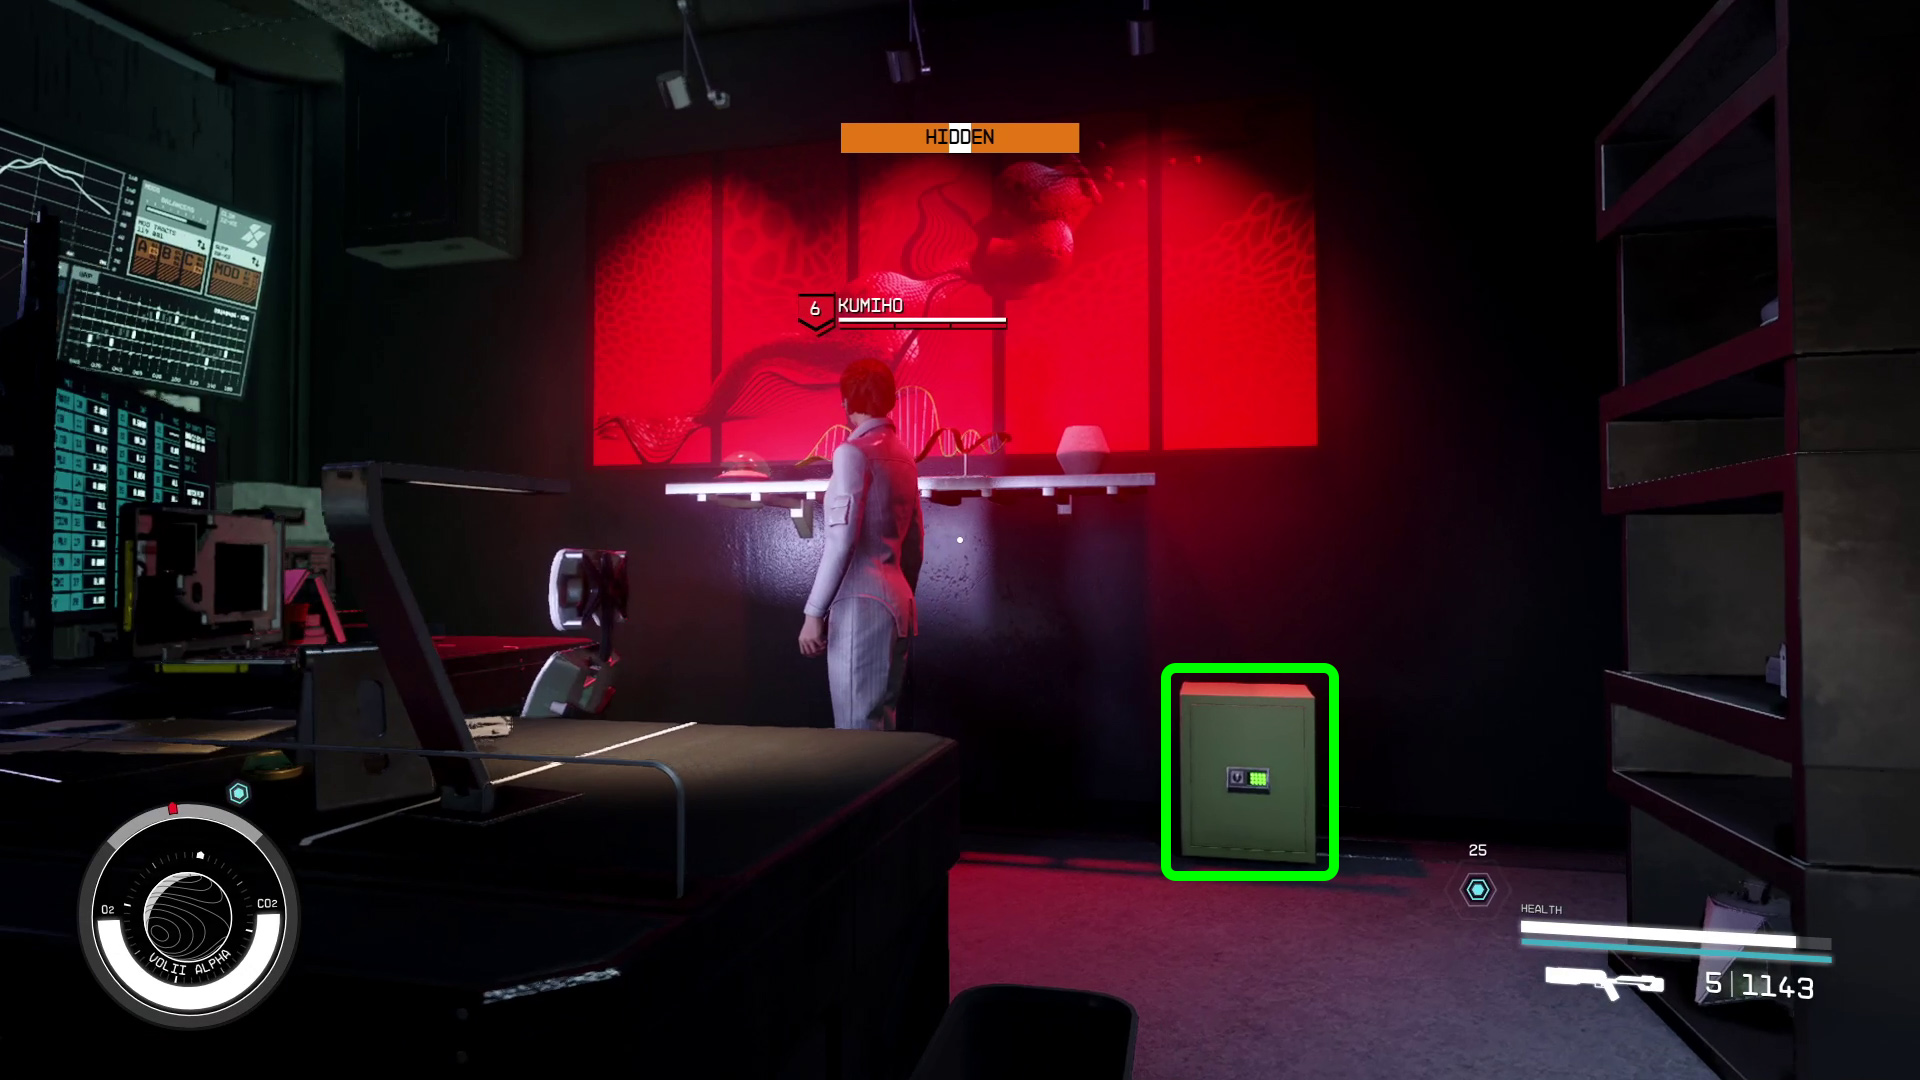
Head into the vent and go forward — you’ll have to jump and climb up at one point to continue. After jumping up, just ahead on the left is another vent. Go through it and at its end you’ll be able to drop down into Kumiho’s office. You’ll land on top of a shelf; start sneaking immediately, and then make your way to the desk and grab the slate (Image 11). As long as you sneak and keep the computer monitors between you and Kumiho, you should be able to remain undetected.
You can also pickpocket Kumiho and open her safe if you want (Image 12), but without a high stealth stat this will be pretty difficult, and there isn’t much in there besides the usual loot. Once you’re done in Kumiho’s office, you can go back the way you came by jumping onto the shelf and going back through the vents.
Image 11Image 12
Deliver Kumohi’s Slate to Benjamin Bayu
If you grabbed the slate for Bayu, you’ll need to do this step before returning to Ryujin. He’s where he was before, in the last booth on the VIP Balcony in the Astral Lounge. When you talk to him, you have two options (Image 13):
[Give Slate] – This is the worst option, as it gains you nothing
“I’m starting to think this may be worth more to me than you.” This in turns opens up two choices:
[Demand 2500 credits]
Choose one of the options that involves you keeping the slate. We haven’t tested this, but it seems likely that this is yet another way to unlock the Managing Assets mission later on in the questline.
Whether or not you delivered the slate to Bayu, it’s finally time to head on back to Ryujin — you should know the way by now, but the scanner can guide you if you need help.
Note that you’ll be accosted by Yuko upon leaving the elevator — we tried sneaking past her and failed — but what you say to her doesn’t seem to have any effect on the mission, and if you want, you can simply leave the conversation early.
(Optional) Confront Ularu on the Executive Offices Floor
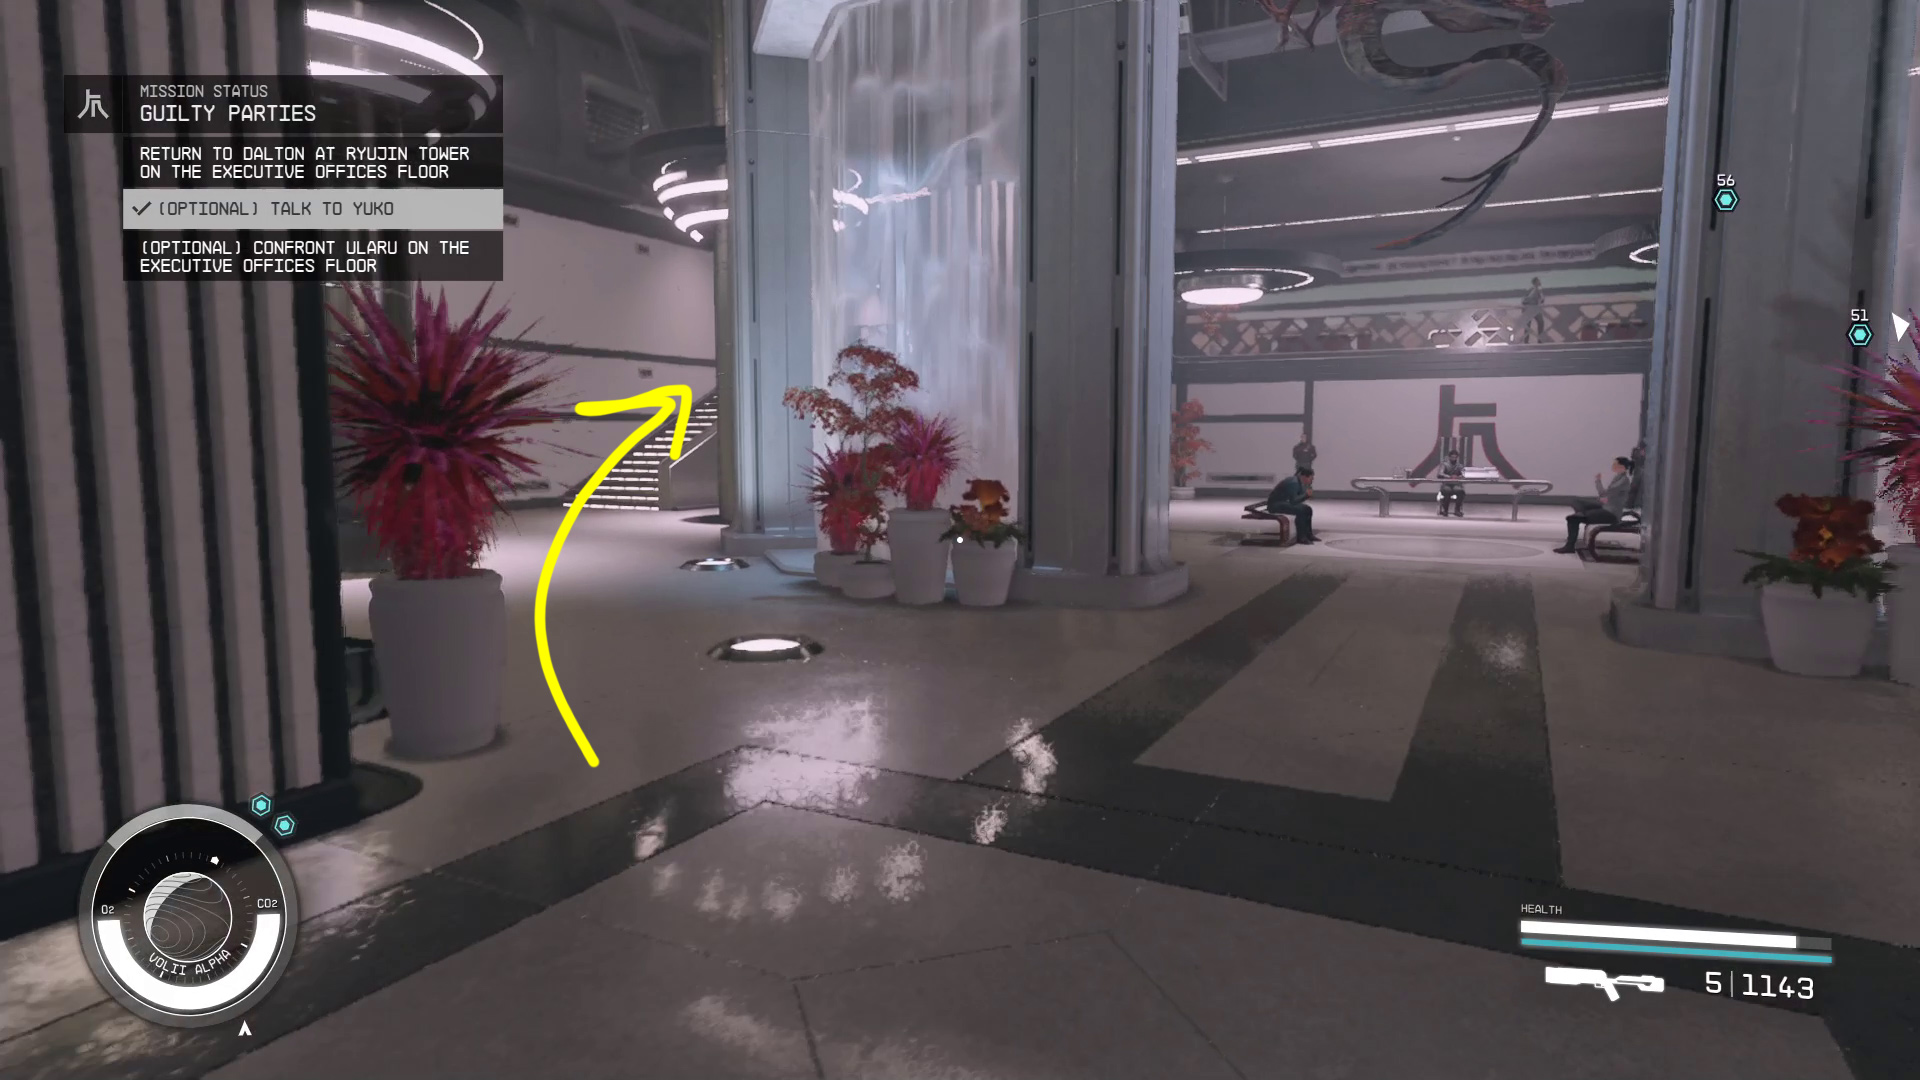
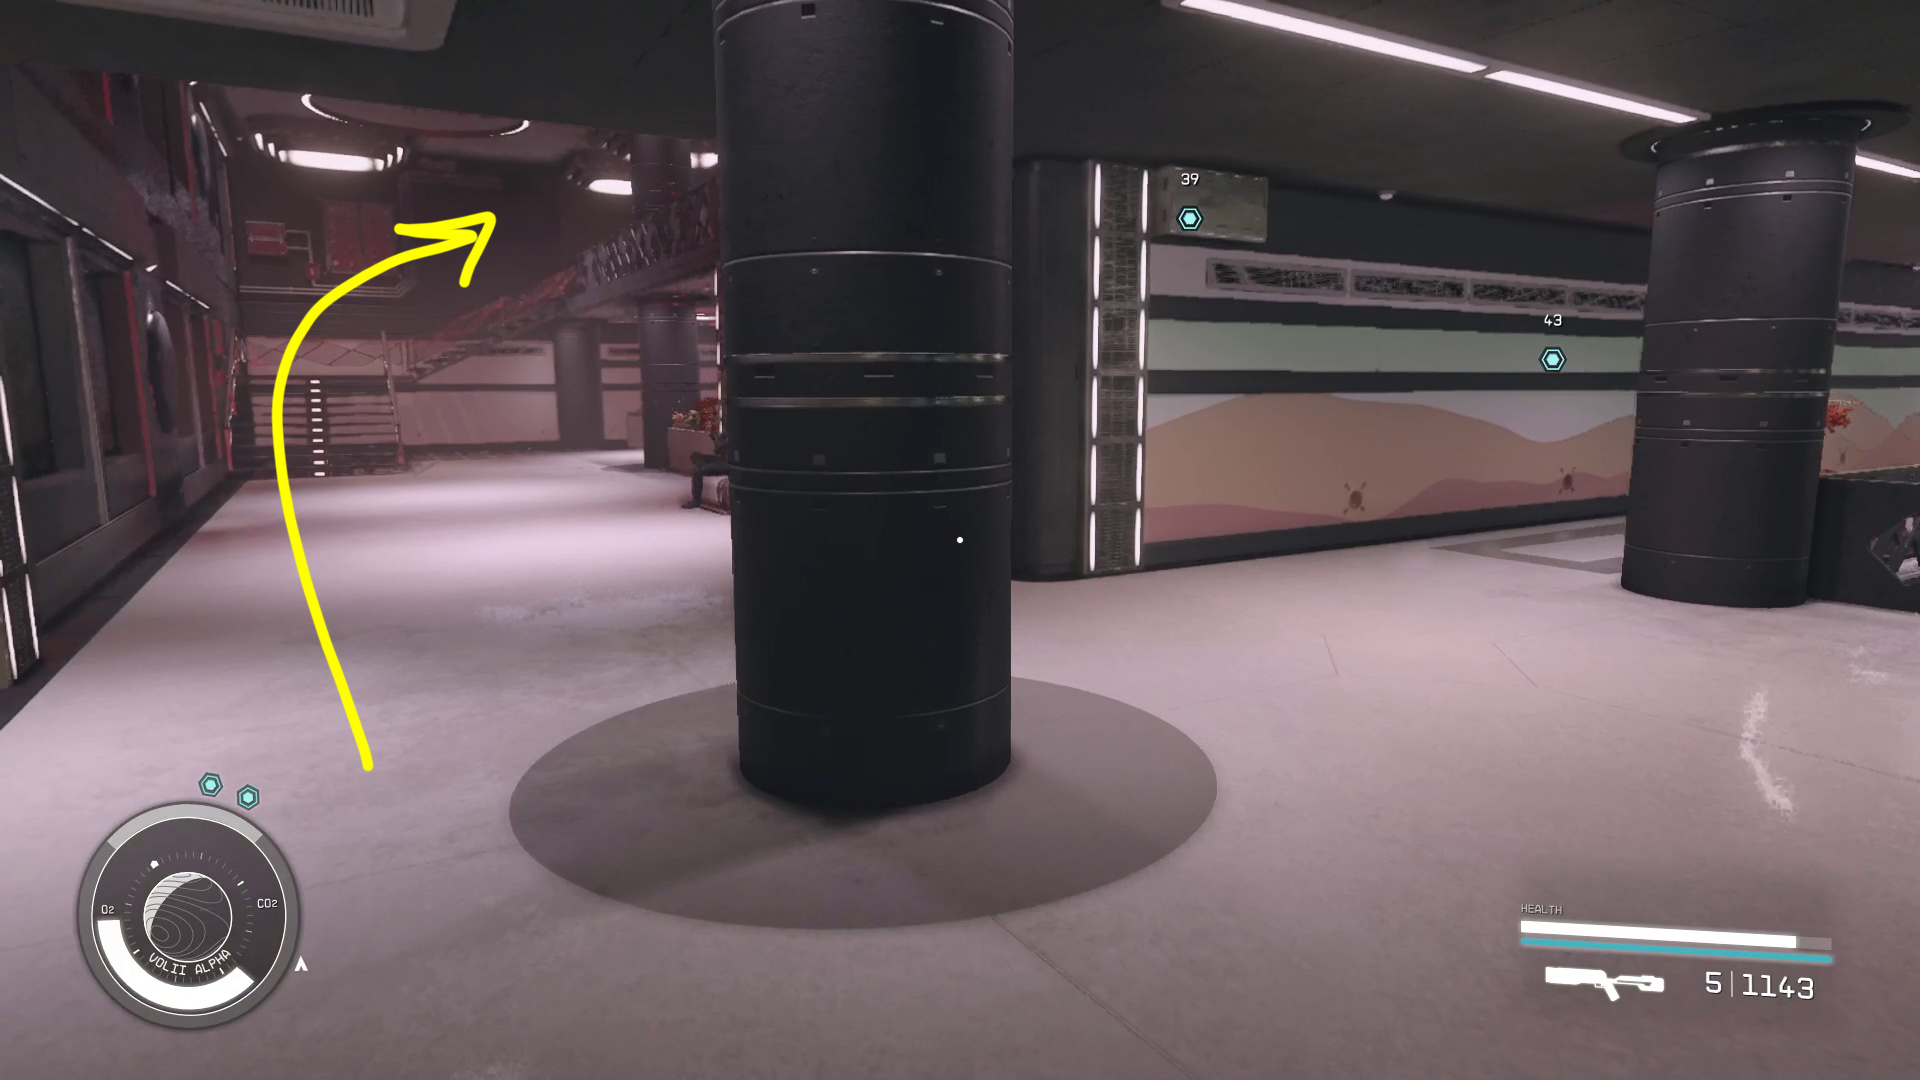
Once back in Ryujin Tower, you’ll have two objective markers — use the scanner to figure out which one is leading you to Ularu, or follow our directions: From the elevator, go up the stairs on the left side of the lobby (Image 13) and then up the next set of stairs as well (Image 14) — then hug the left wall, and you’ll reach Ularu’s office.
Image 13Image 14
Whatever you say to Ularu initially, she’ll close and lock her door, then you will once again have a handful of choices:
Side with Ularu in her bid to become CEO
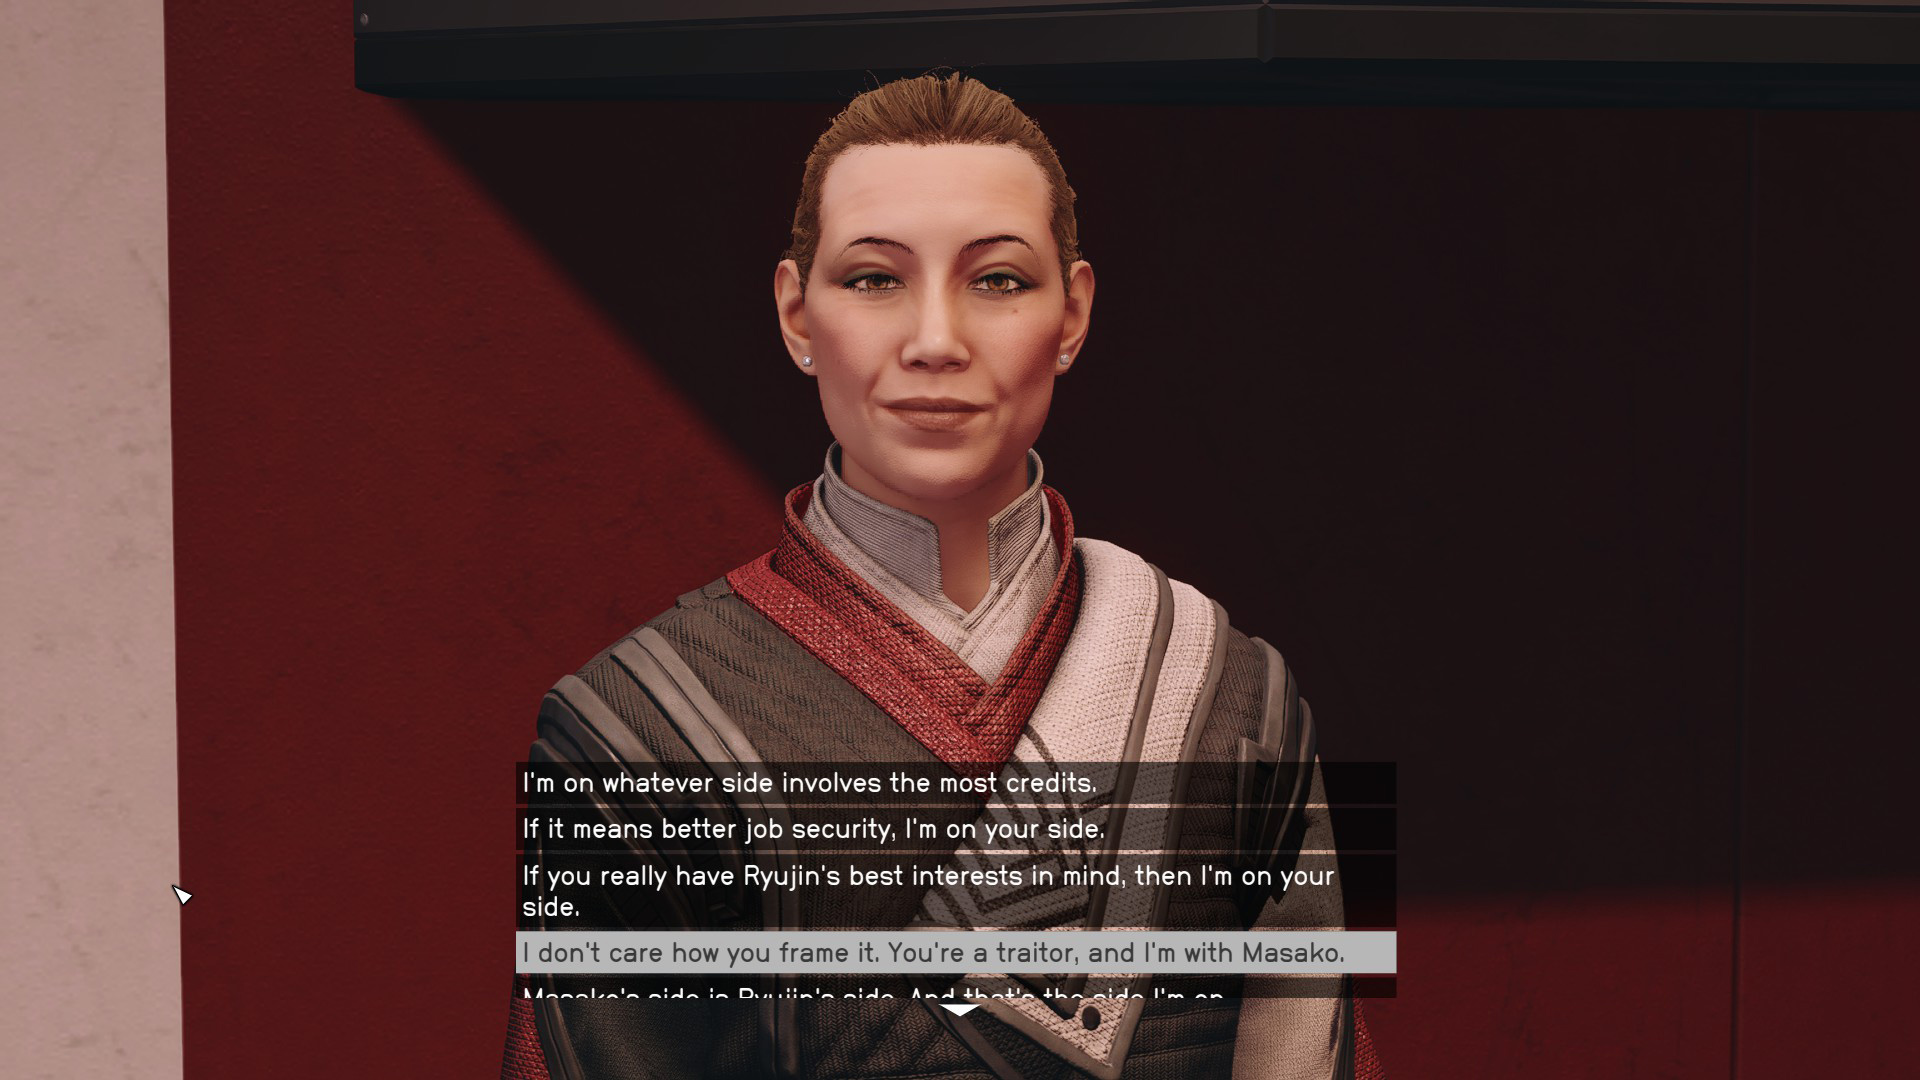
You’ll need to [Persuade] her at the start of the conversation, or else [Lie] to her — in either case, she’ll reveal her plans and ask you to help her. You’ll end up with a long list of options (Image 15), in which its fairly obvious which choices have you siding with Ularu (I’m on whatever side involves the most credits” is one of them).
Side with Masako
To even have this choice, you’ll also need to [Persuade] her at the start of the conversation, or else [Lie] to her — this decision presents itself in the dialog options of Image 15.
Attack Ularu
Despite what she says, this doesn’t seem to bring the building down on you — in fact, in our playthrough, Maeve got mad, but then we were able to go and tell Dalton what we’d done ourselves. A choice if you really don’t like Ularu and/or if you want her fancy suit.
This decision is all about story, and/or if you want Ularu’s outfit, as killing Ularu doesn’t appear to impact the rewards you get for this mission.
Image 15 – Dialog choices that impact the story with Ularu
Return to Dalton at Ryujin Tower on the Executive Offices Floor
The last step of this mission is reporting to Dalton on what transpired with Imogene (and potentially Ularu as well). Tell him whatever you want — you’ve already made your choices with Imogene and Ularu, and what you tell Dalton doesn’t affect them. Once you finish your report, the mission will end, and Dalton will send you to the RnD department for your next Ryujin assignment!
Unabashed FromSoftware fanboy still learning to take his time with games (and everything else, really). The time he doesn't spend on games is spent on music, books, or occasionally going outside.