Now that you know of a couple persons of interest tied to The First, you can start hunting them down. This is the only instance in any faction that you will choose between two missions on which to do first. It really doesn’t matter, but if you decided on the other one, then here’s its guide (On the Run – Starfield Mission). From now on, the missions will become more combat oriented, so you will want to plan accordingly by stocking up on medical supplies and ammunition.
Quest Type: Faction
Prerequisite: Shadows in Neon
Unlocks: First to Fight, First to Die (requires completing On the Run)
Location
System: Narion
Orbit: Deepala
Location: The Clinic (Space Station)
Rewards (At level 48)
11300 Credits
350 XP
Travel to the Clinic and Talk to Ben Armistead
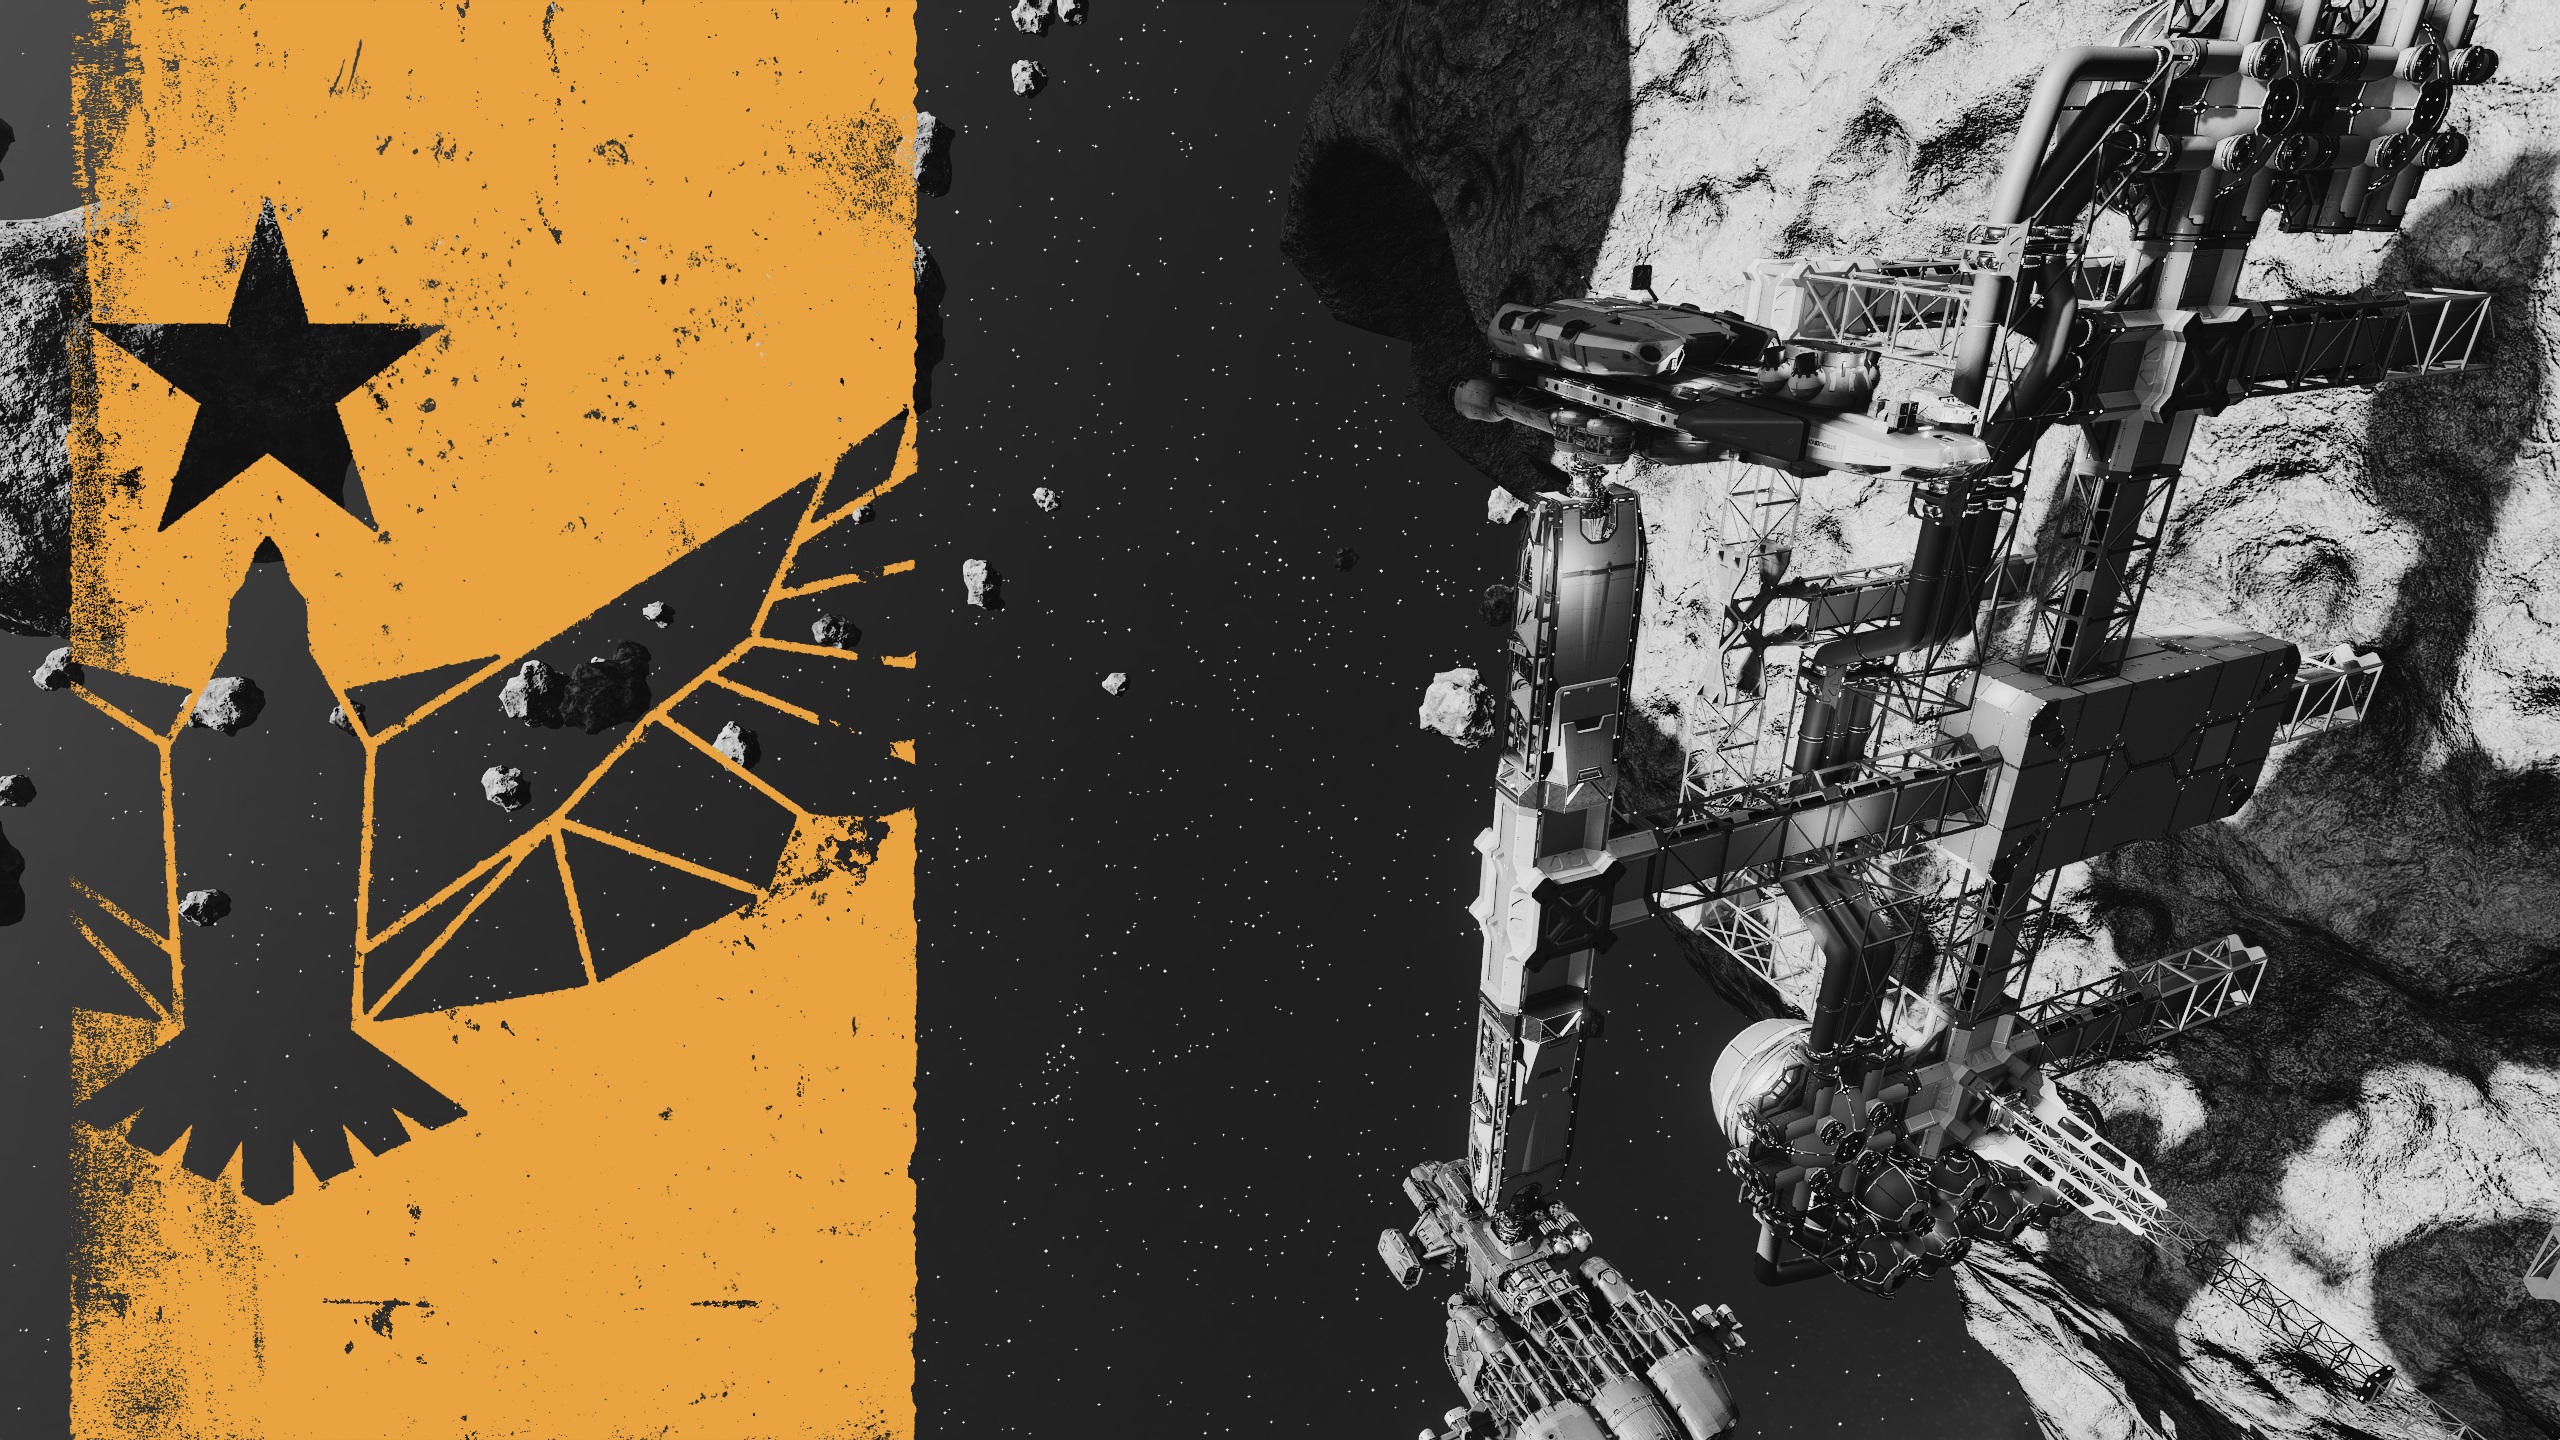
Fast travel to the Clinic in the Narion System; you will see the station orbiting a gas giant (Image 1). The easiest way to quickly fast travel to mission objectives is to go to your missions tab and click “Set Course”. When you dock with the station, you’ll find the ranger’s office inside to the right. Ben Armistead is the ranger on duty, and he is the oldest ranger still serving. He’ll tell you to follow him to the administrator of The Clinic, Ari Miller, who can help you find Maya.
Image 1
Talk to Ari Miller
You’ll tell Ari what you know about Maya, and he will have you follow him to his computer to look through the records. She won’t be in the records, so Ari will assume she must be using an alias. While he continues looking, he suggests that you talk to the other two women patients at The Clinic.
Search the Source of the System Disruption
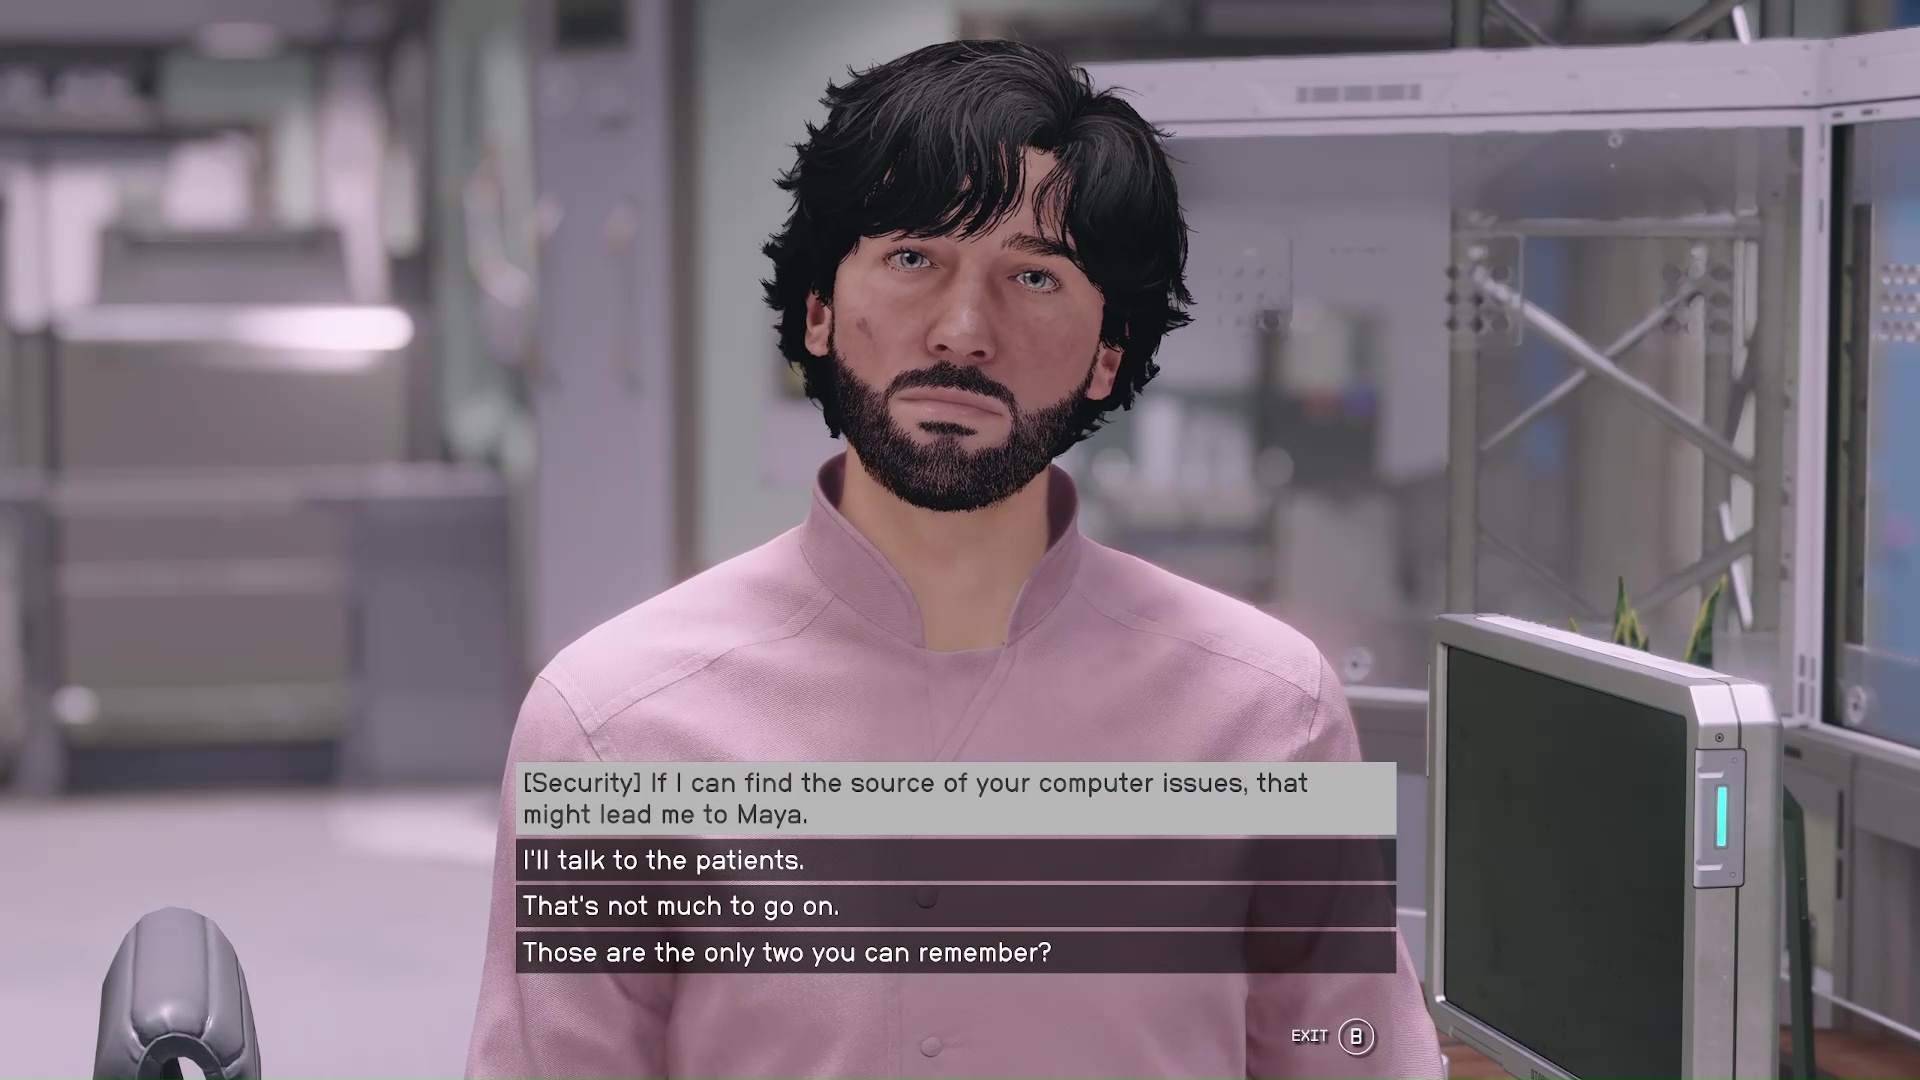
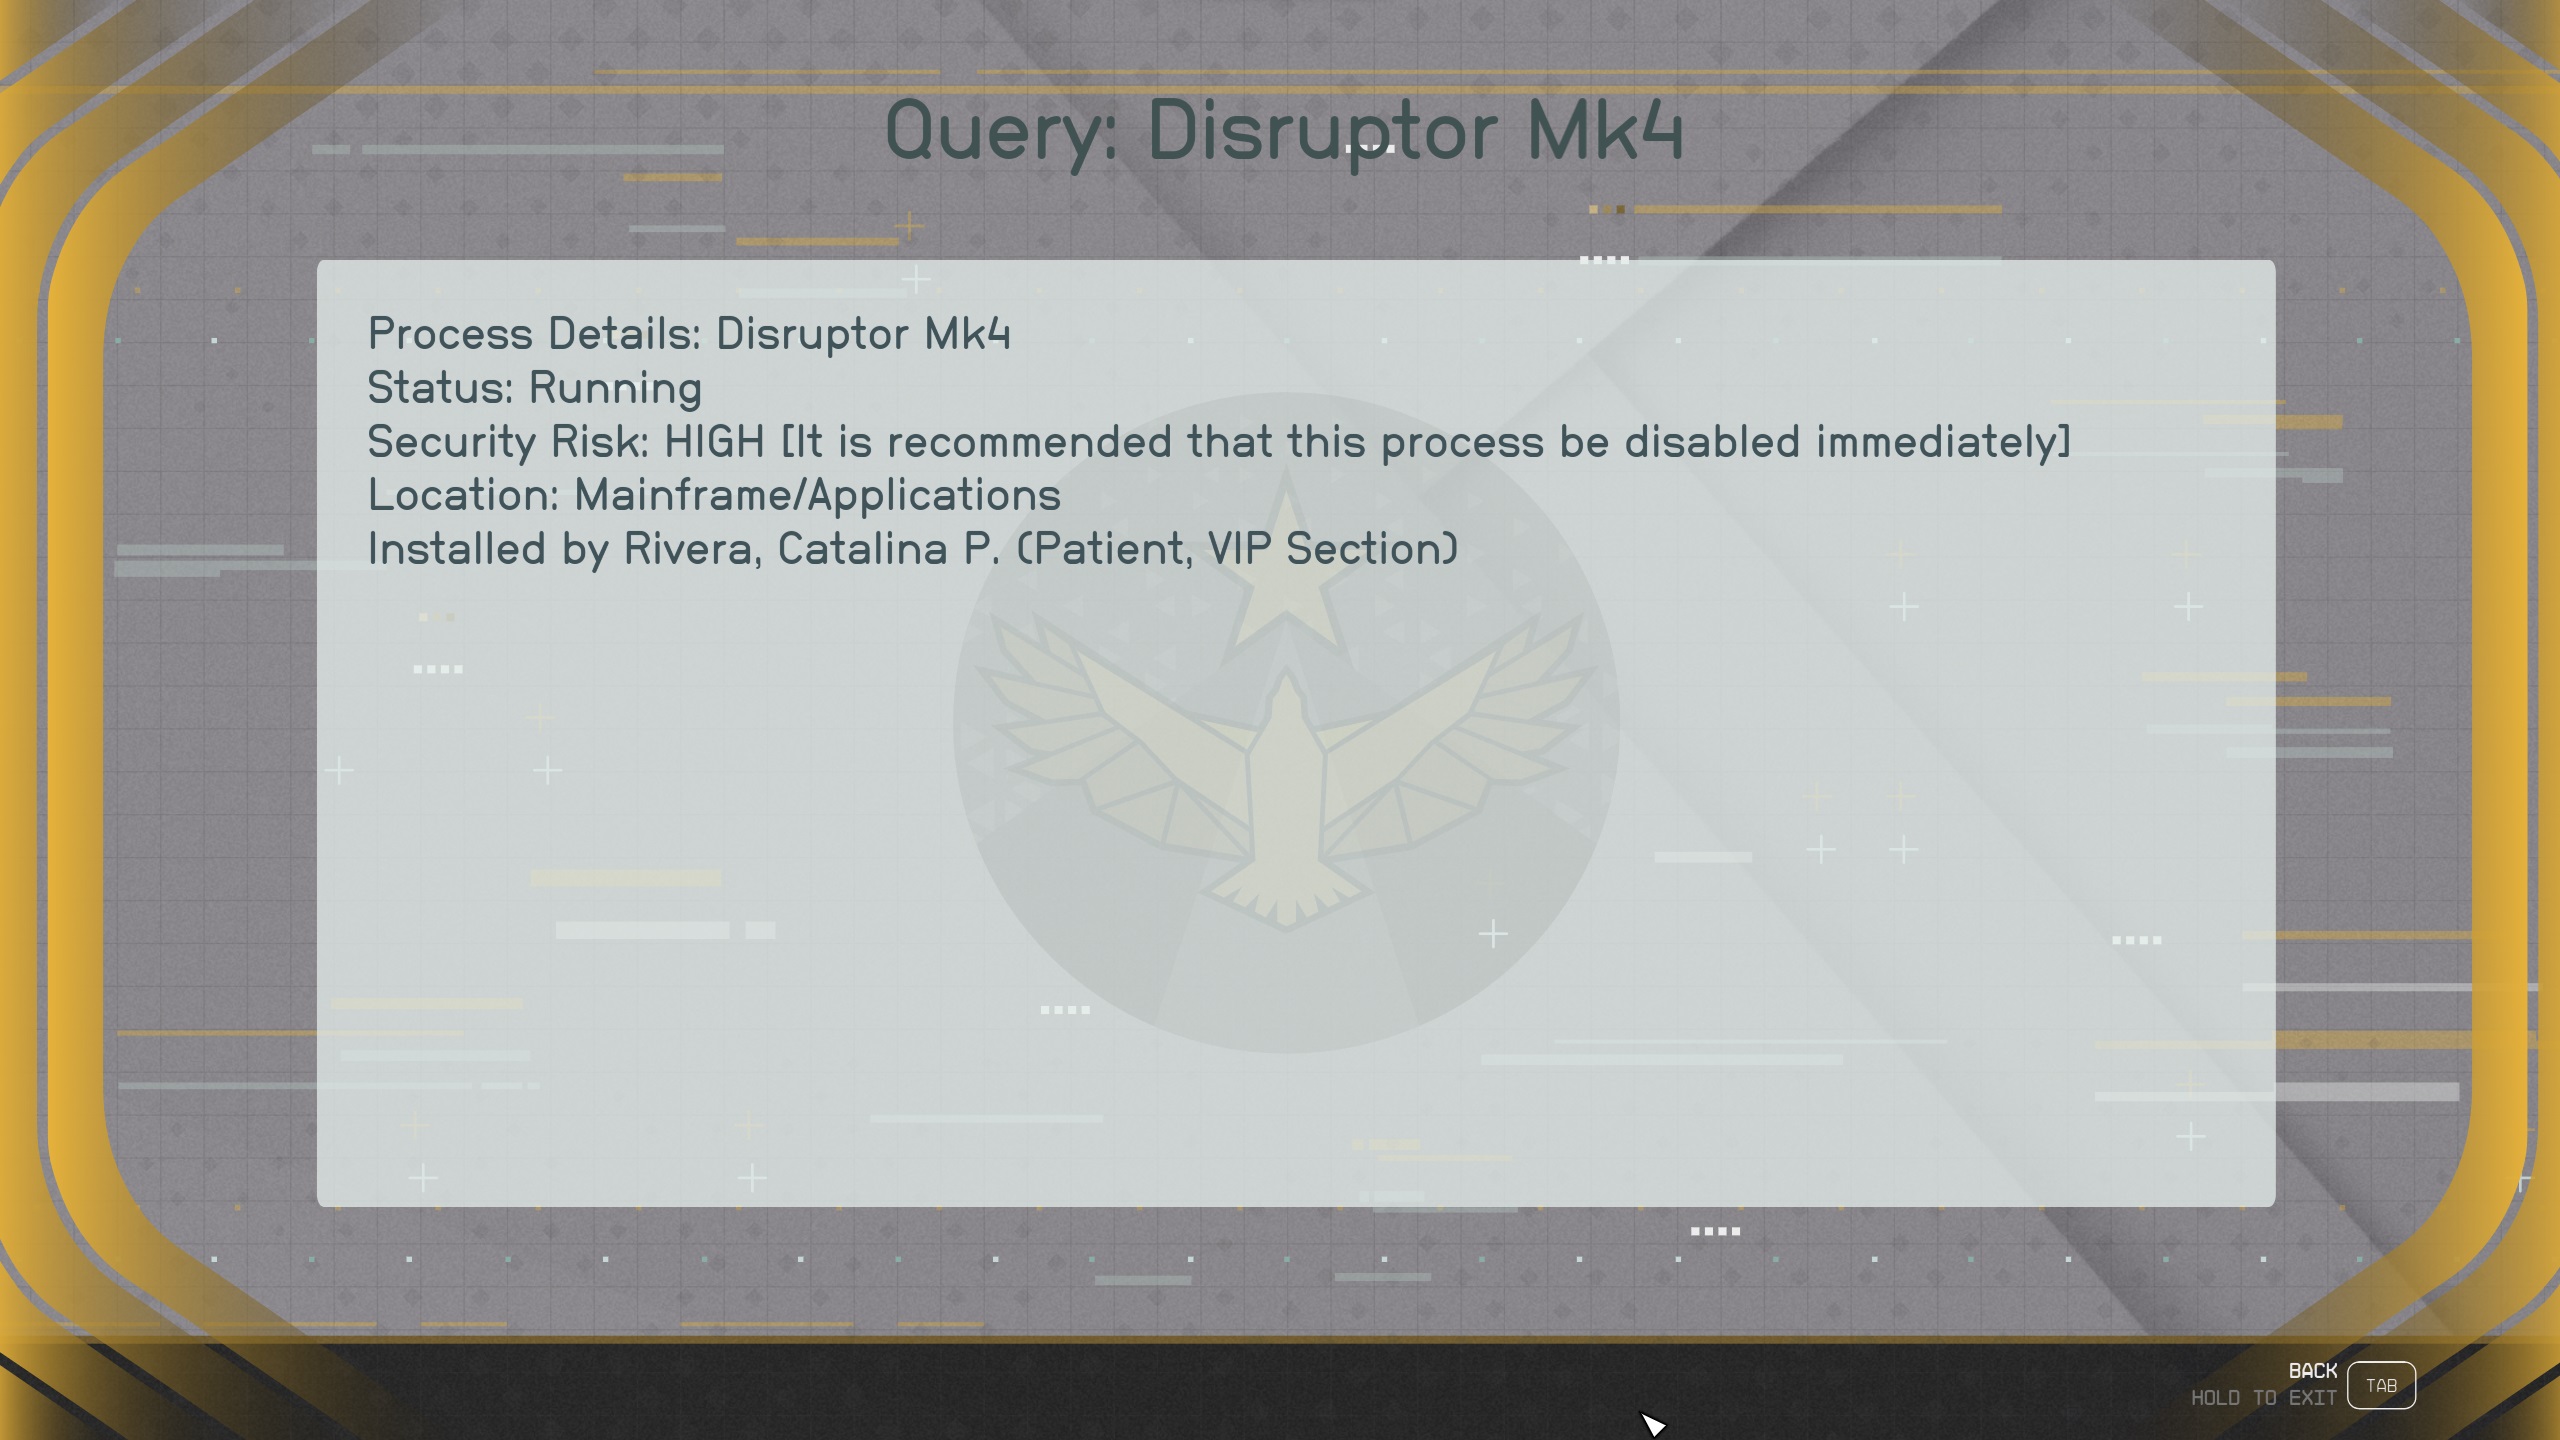
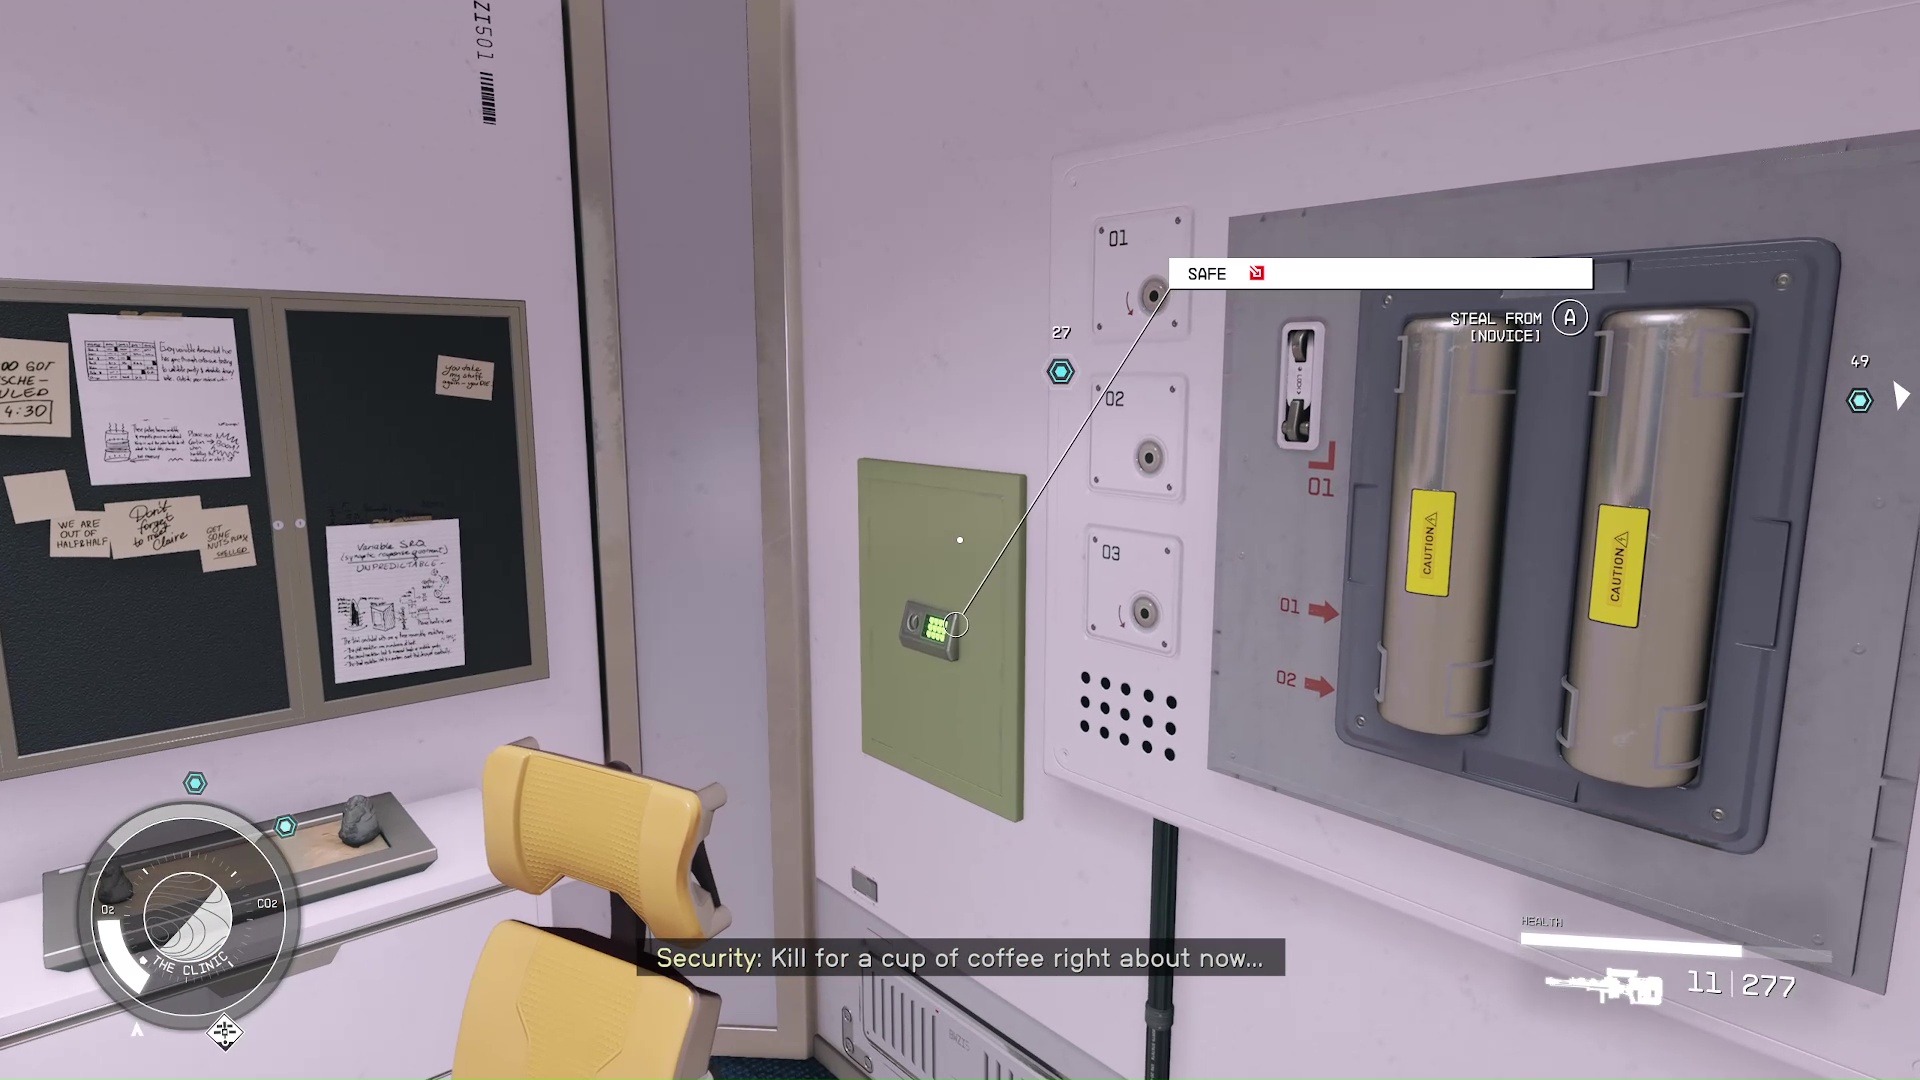
Ari will mention that there’s an issue with their systems. If you have the “[Security]” dialogue option, you can propose searching the system for clues to the disruption (Image 2). He’ll tell you that you can access the system through the ranger station terminal, which will have its own above it. On the terminal go –> Admin Access –> Active Processes –> Query Disruptor: MK4 (Image 3). This will reveal Maya’s alias, Catalina Rivera.
Image 2Image 3
Talk to Jane Nakamori and Candace Doolin
If you don’t go the security route, you’ll need to chat to the other women patients at the Clinic. You will see the s populate in the adjacent rooms with the two women’s locations. Talk to each of them, but know that neither are actually Maya – the voice acting is funny, though. Afterward, you can go back to Ari and he’ll have an update.
Talk to Ari Miller
Ari will tell you that there’s another patient who was rushed into the VIP wing of the hospital, Catalina Rivera. Unfortunately, he can’t give you access, so you’ll have to find Dr. Cassidy. Ari also drops a little detail that Dr. Cassidy has a spare key to the VIP wing in his office.
Gain Entry to the VIP Wing
In order to enter the VIP Wing, you need a keycard that will open the door. Let’s go over the many ways that you can get a keycard:
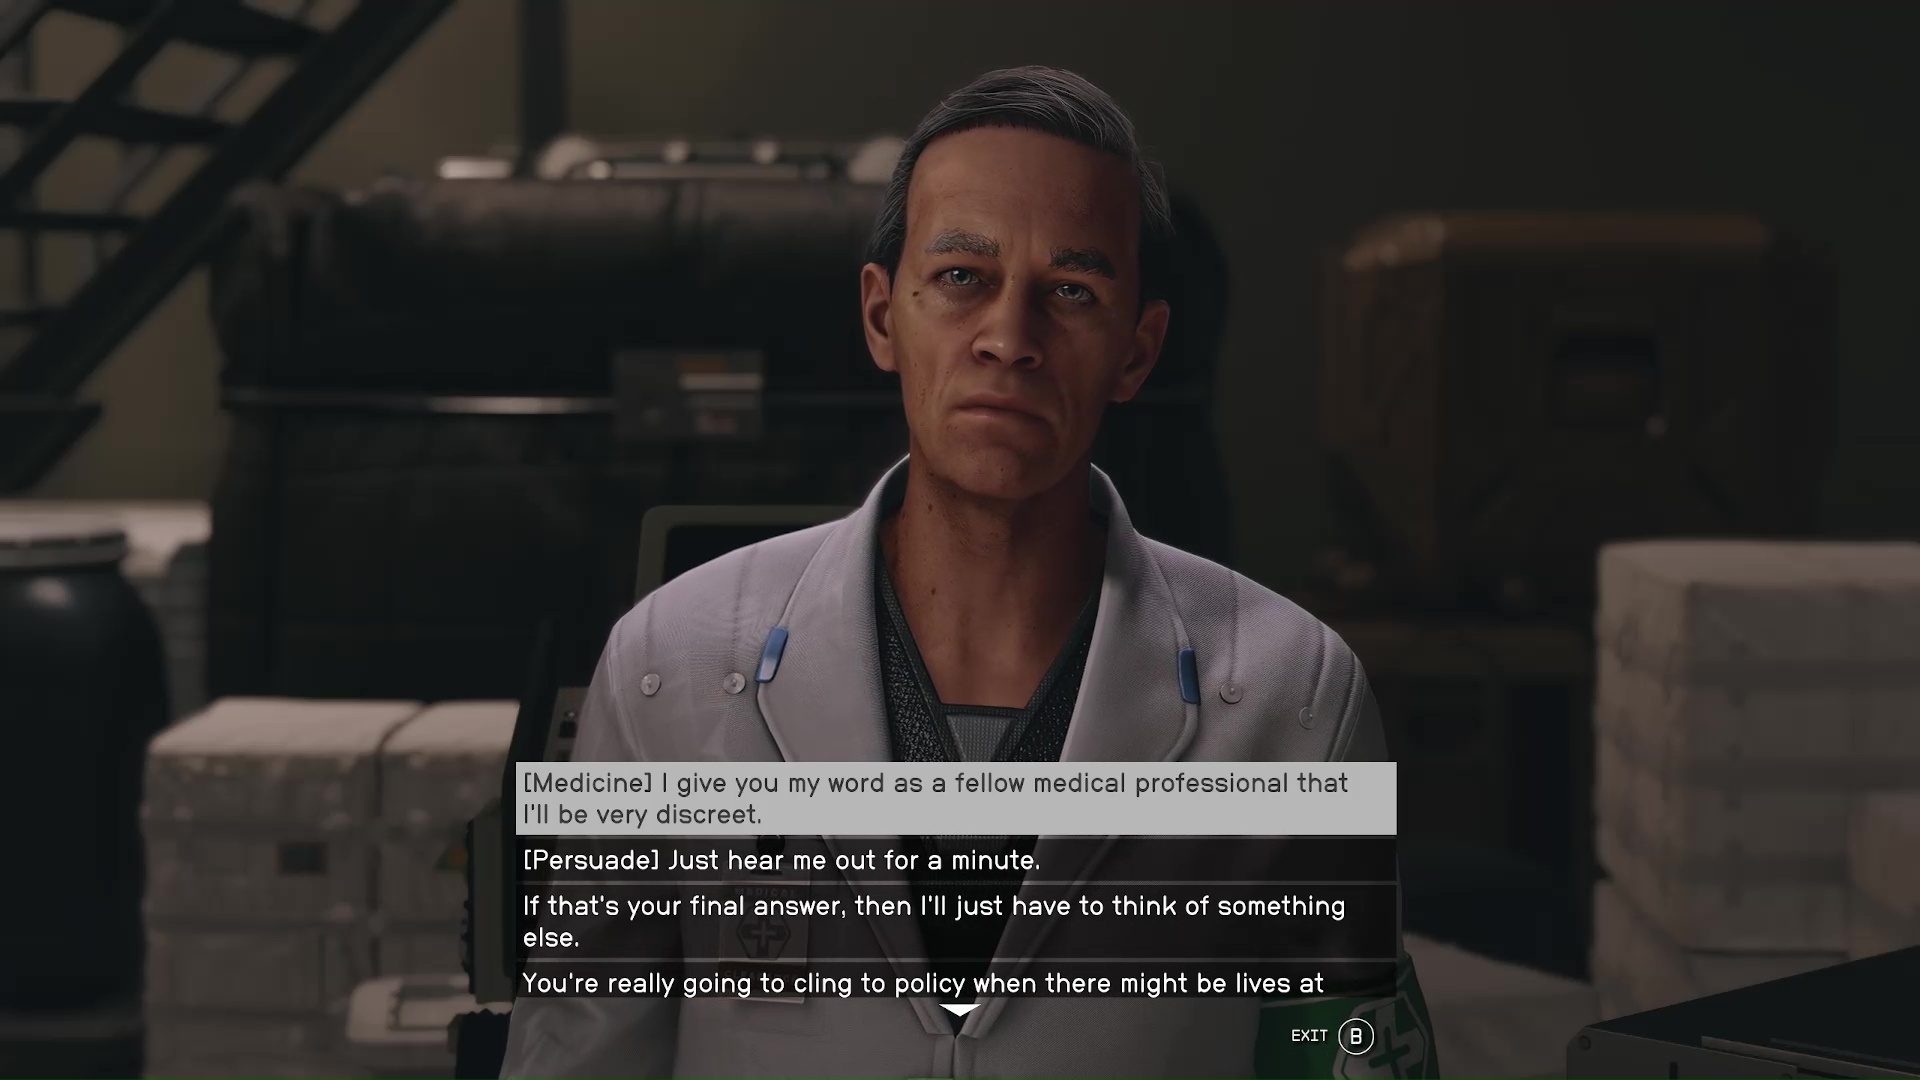
Persuade Dr. Cassidy – This isn’t the easiest persuasion, but it is definitely doable (Image 4).
Common Interests with Dr. Cassidy – One dialogue option will be [Medicine] if you have the required point in the Medicine skill (Image 4).
Pickpocket Dr. Cassidy – You can steal the keycard from his pocket.
Lockpick his Safe – Go to Dr. Cassidy’s office by following the and lockpick the novice-level safe to get a keycard (Image 5).
Image 4Image 5
We would say the easiest course of action is just talking to the doctor if you have a skill point in medicine, but if not, then you can steal the keycard from his office safe. There’s no one there that will catch you, and the lock is the easiest level.
Search for Clues
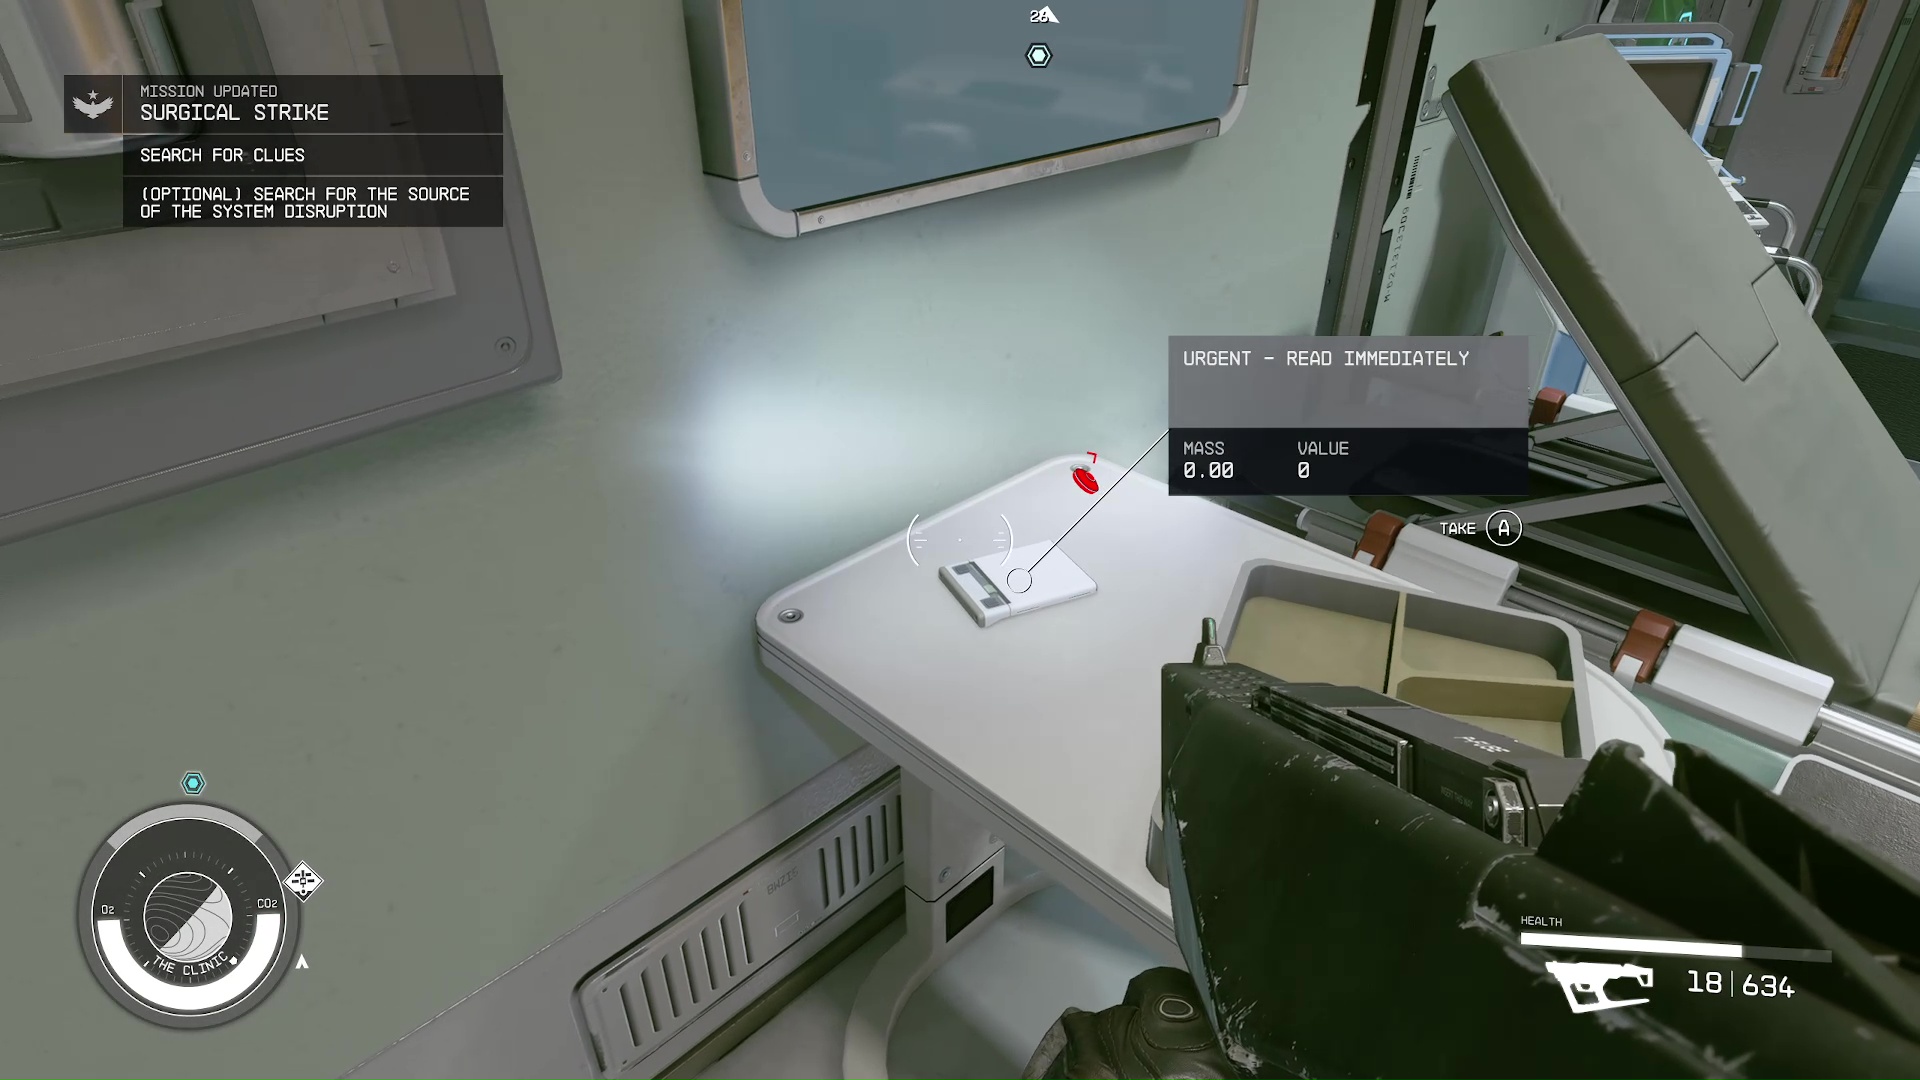
Now that you have the keycard, follow your scanner to the VIP Wing. When you enter, you’ll be attacked by a turret. When you go into Catalina’s old room, there will also be an explosive mine waiting for you. The clue you are looking for is a slate on the bedside table (Image 6). After reading it, you’ll discover her whereabouts. This next part has a lot of enemies, so make sure you buy a lot of medical supplies and ammunition before fast traveling there.
Image 6
Go to Sakharov and Investigate Abandoned Asteroid Mine
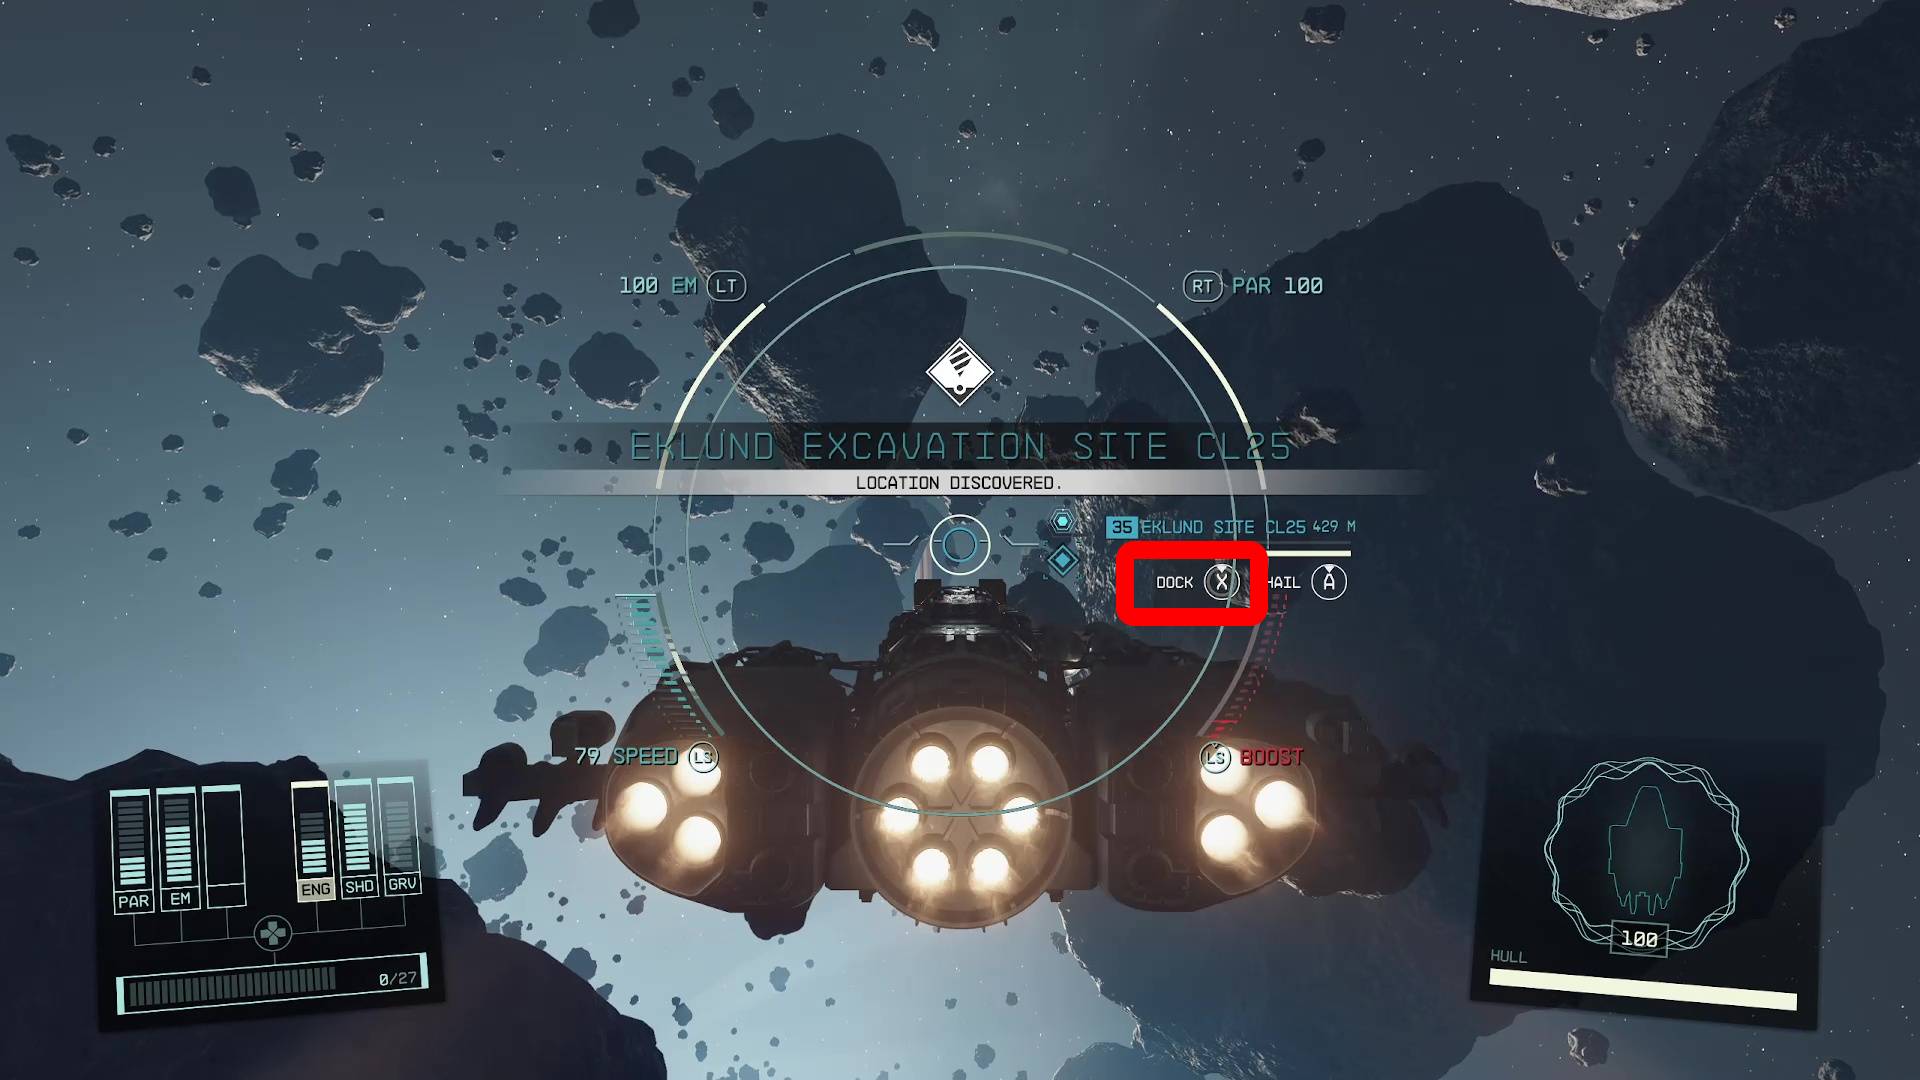
You will have to leave the VIP Wing, before you can fast travel from the Clinic. Again, it’s easiest to use the missions tab and hit the button for “Set Course” to fast travel to Sakharov. When you arrive, you will be in an asteroid field. Following the will lead you to Eklund Site CL25, then you can dock with it (Image 7).
Image 7
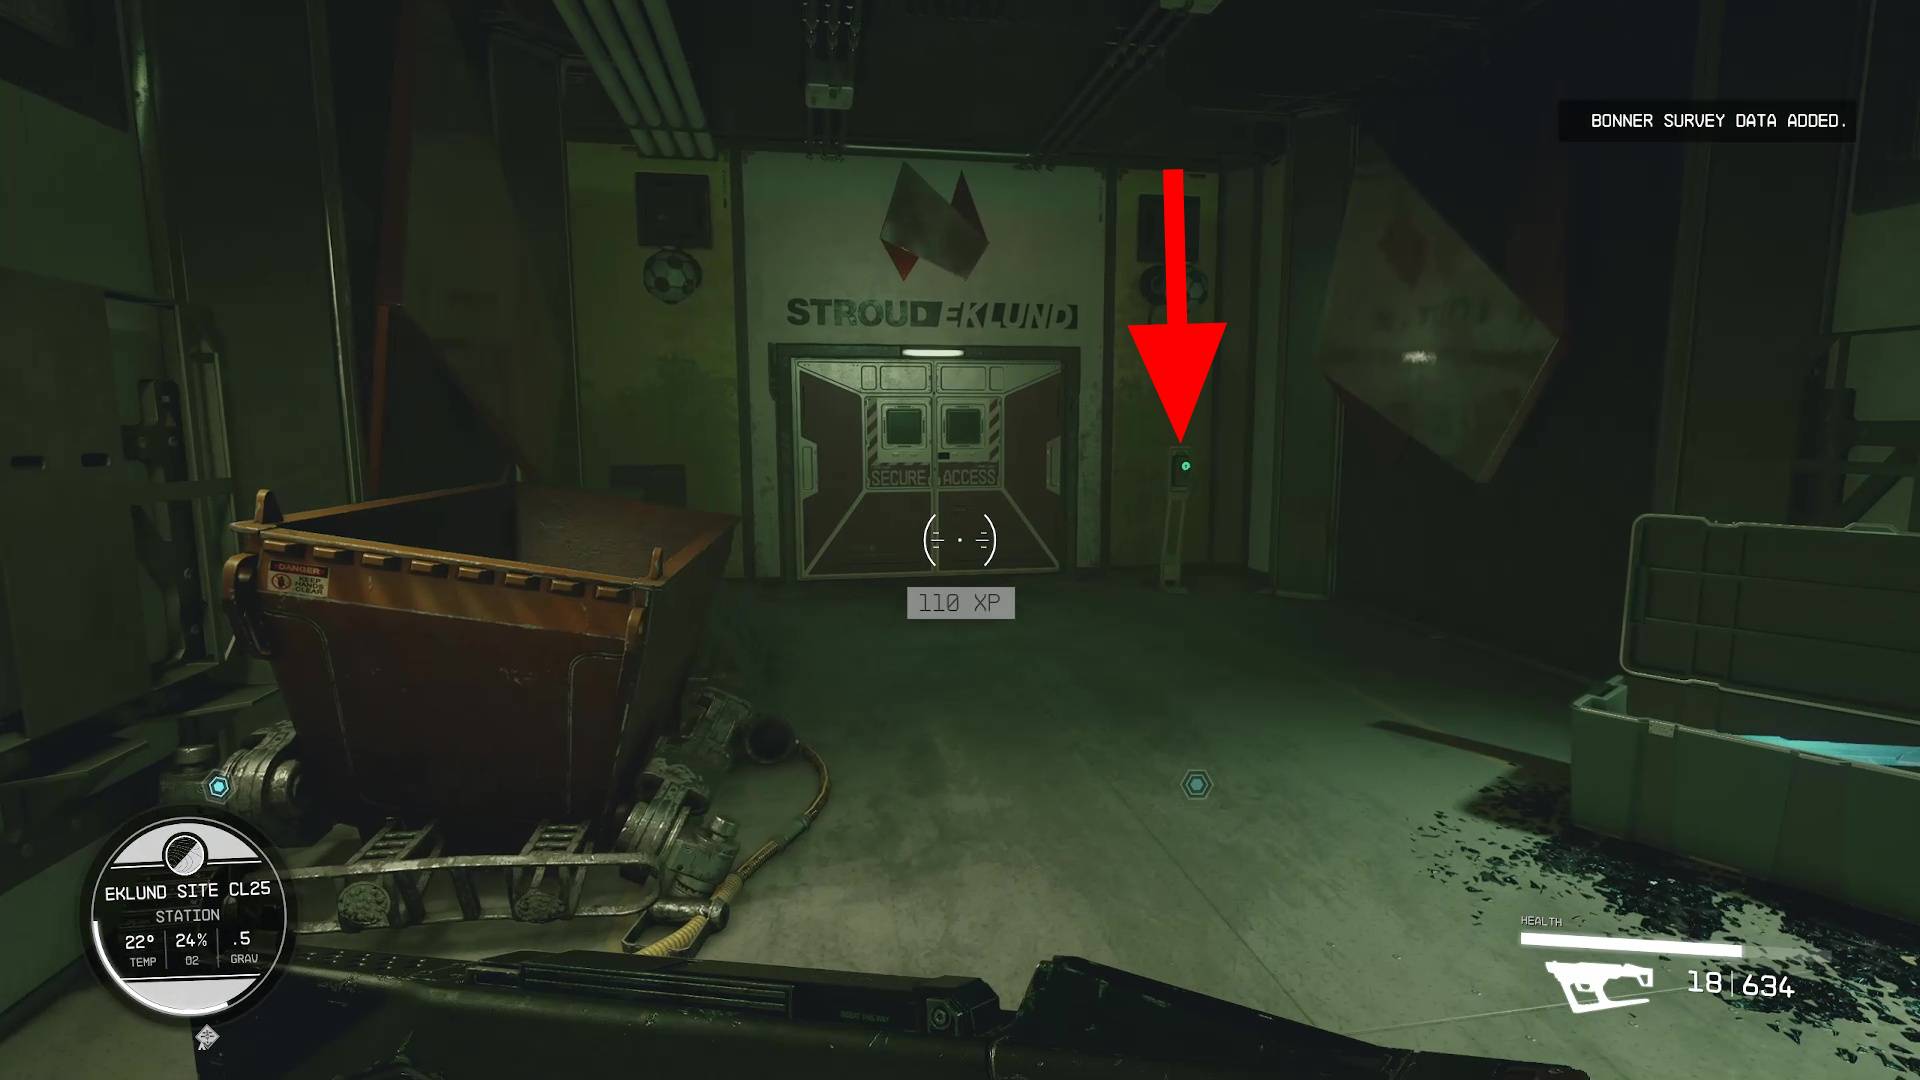
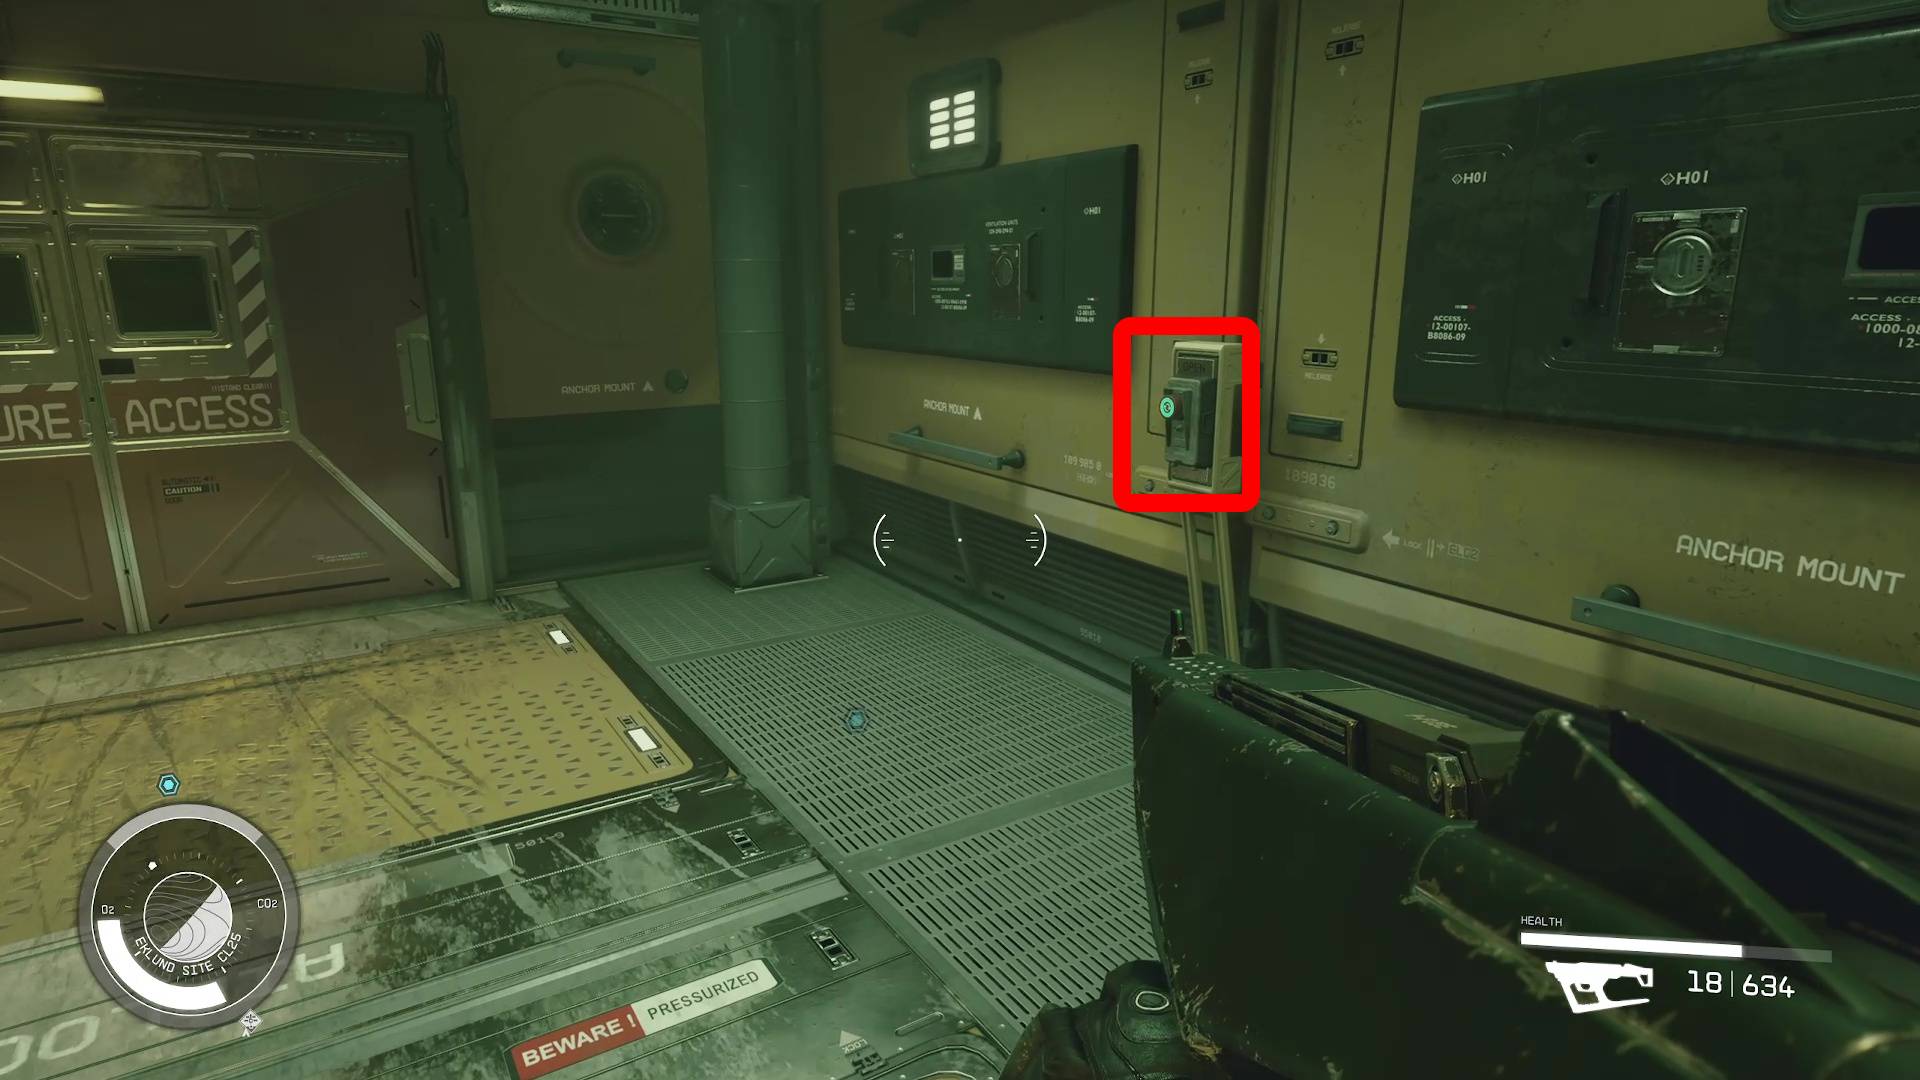
Unlike many other missions, you won’t be able to follow your scanner through this area. When you first walk in, you will see a security door to your left that can be opened with the button next to it (Image 8). Once you’re inside the door, you need to press another button to proceed (Image 9).
Image 8Image 9
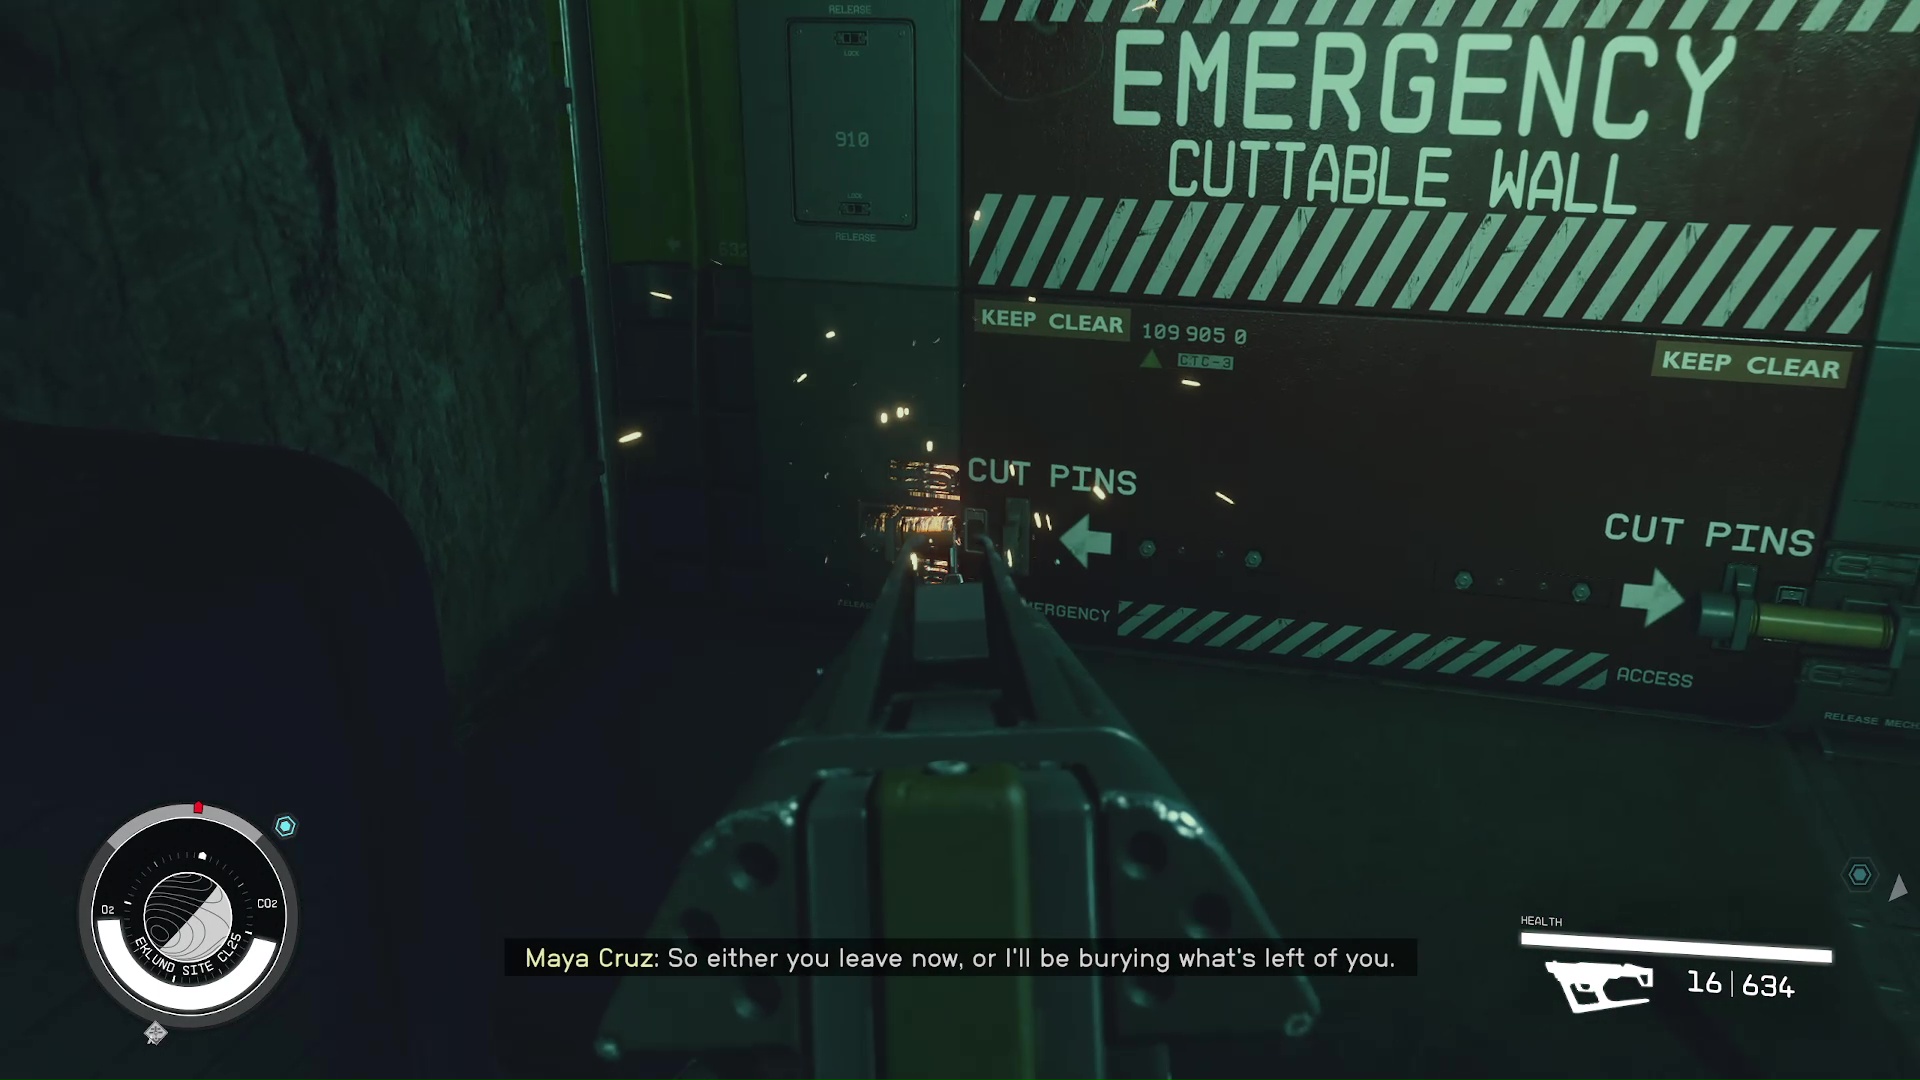
Proceed straight from the doors, and you’ll come upon another security door, but this one will only open if you shoot the latches (Image 10), of which there are four.
Image 10
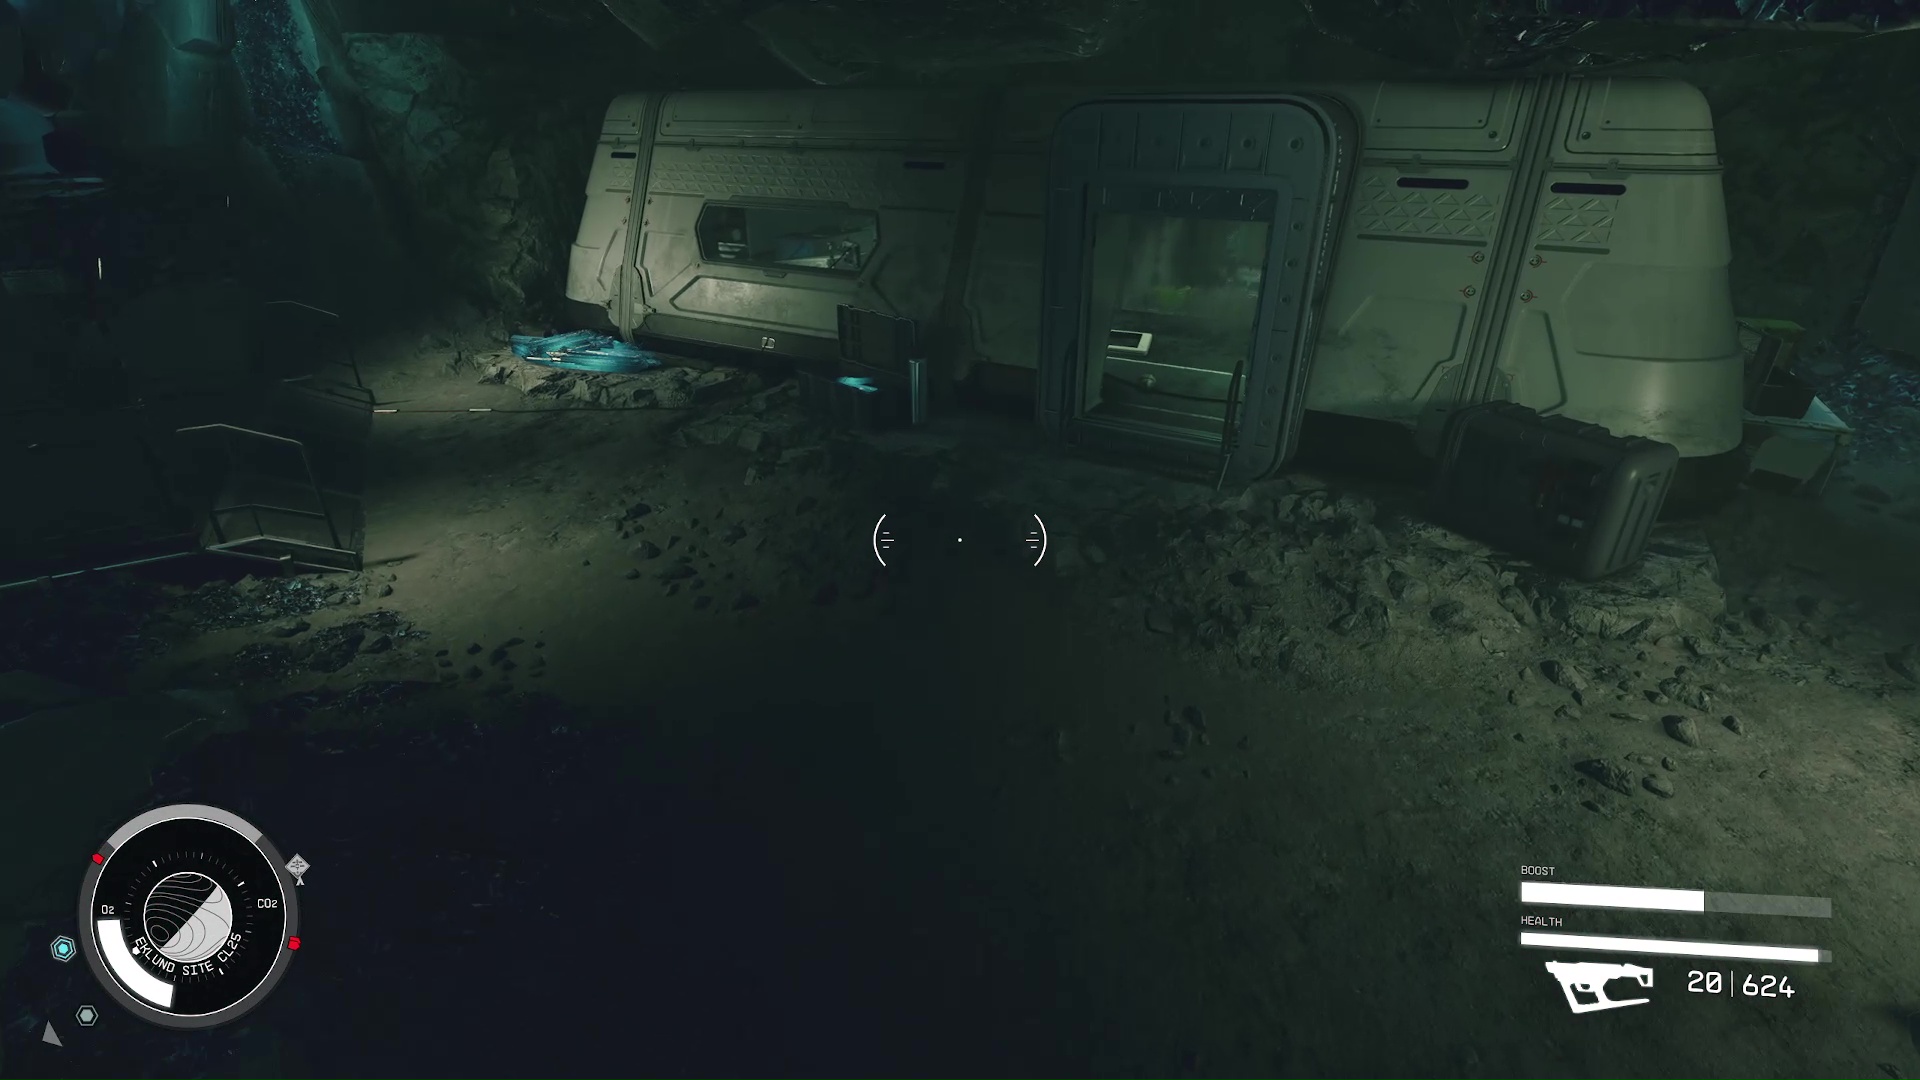
Now you will be in the crystal mine. Walking down the stairs, you’ll fight a robot, then take a right down the stairs leading deeper. When you’re on the big stair set leading into the crystal cavern, you’ll see an outpost off to your right (Image 11). Enter it, and there will be a computer terminal that is locked (Image 12). You have to unlock the terminal to open the next security door to proceed.
Image 11Image 12
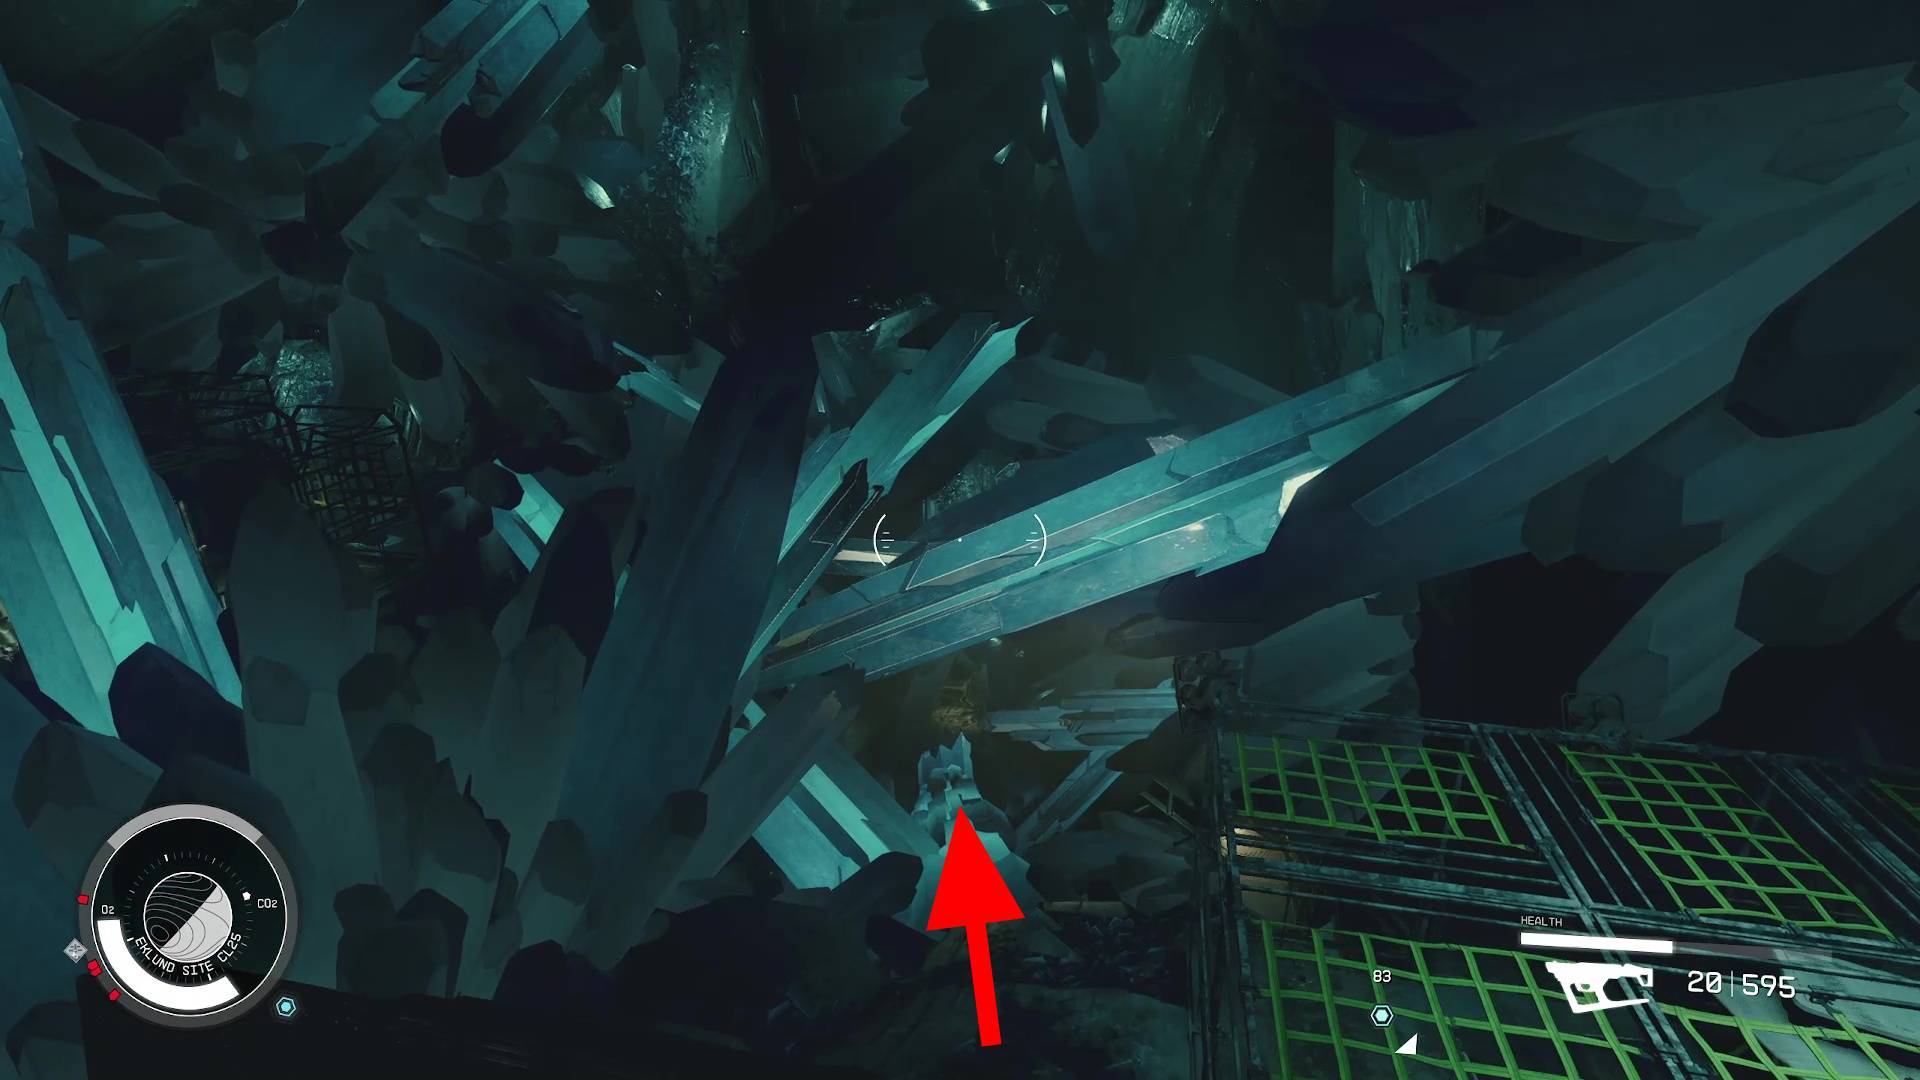
Outside the outpost, there is an abundance of critters that will attack you. Take them out, then continue downwards into the cavern. The path forward has enemies in dark corners, so take your time, clearing them out as you explore. Eventually, you’ll come to what looks like a crystal abyss, but there’s actually a crystal bridge you’ll have to cross (Image 13).
Image 13
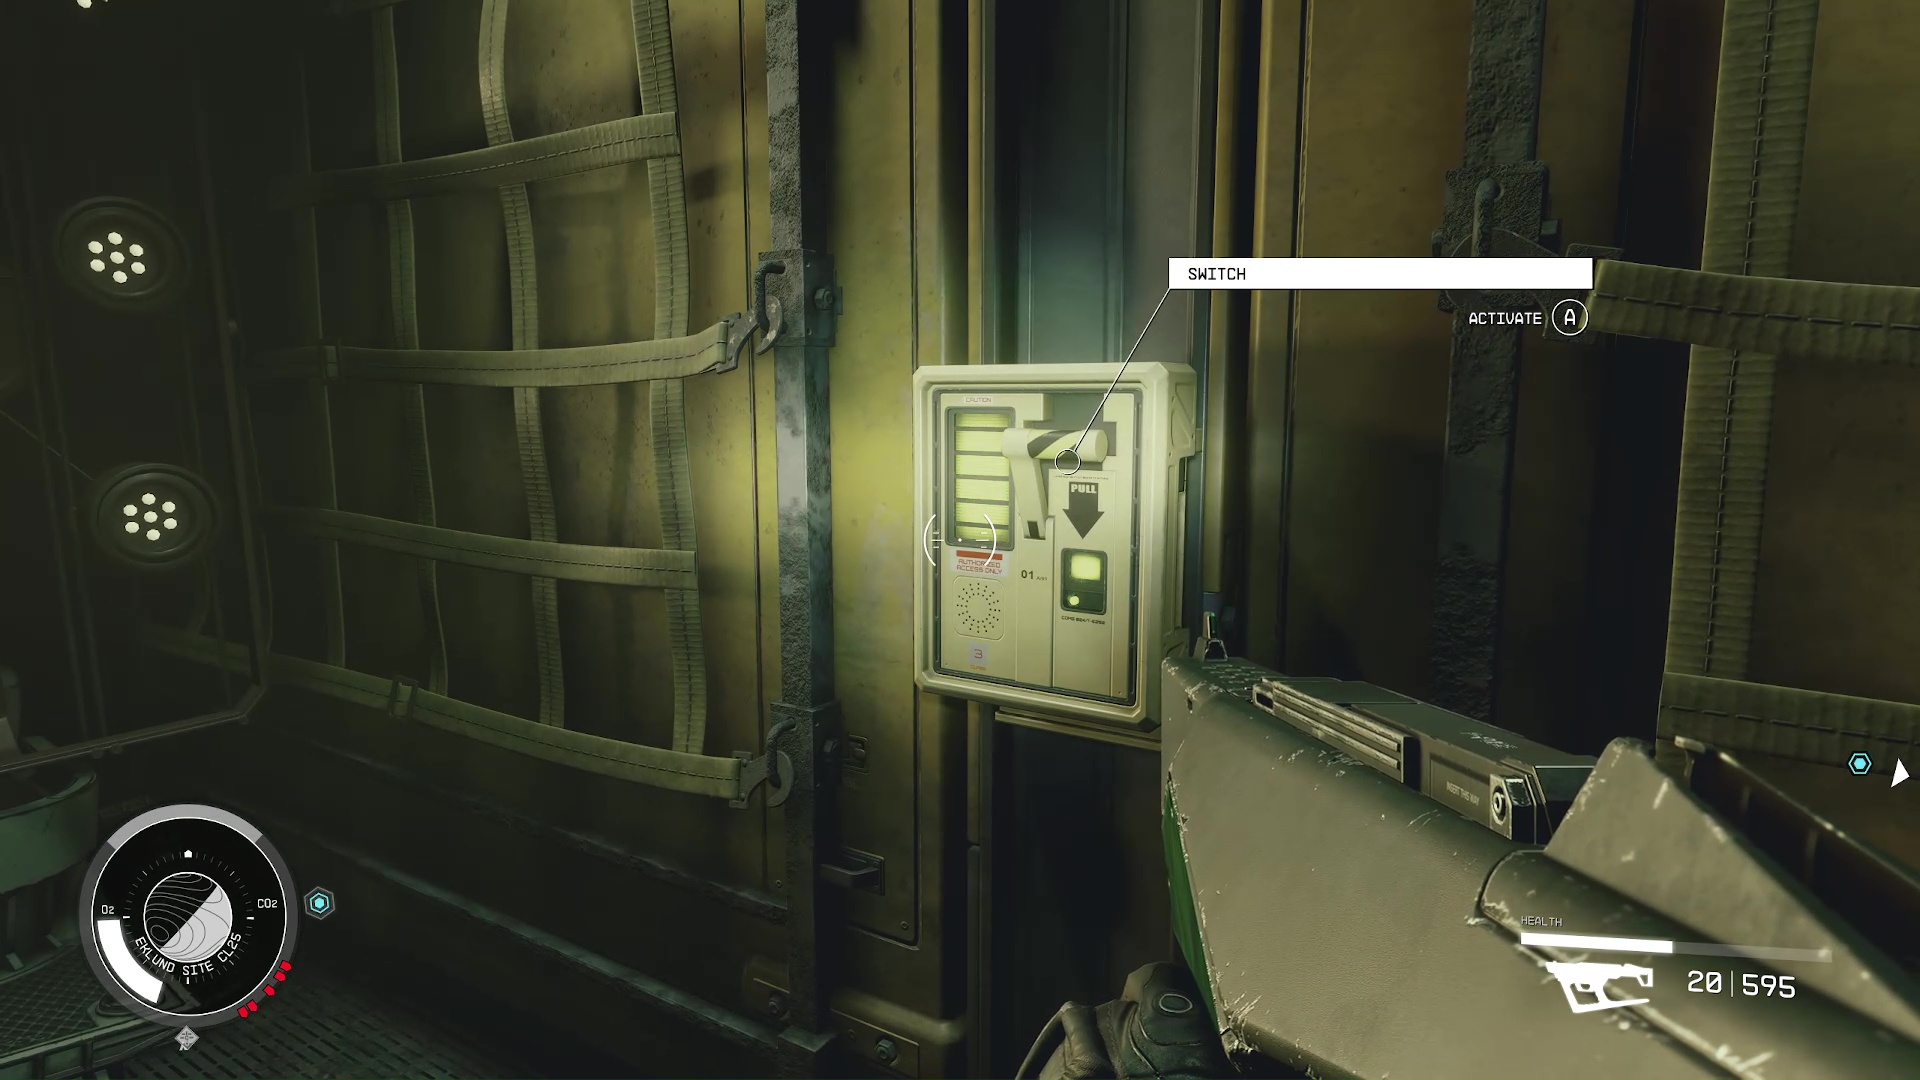
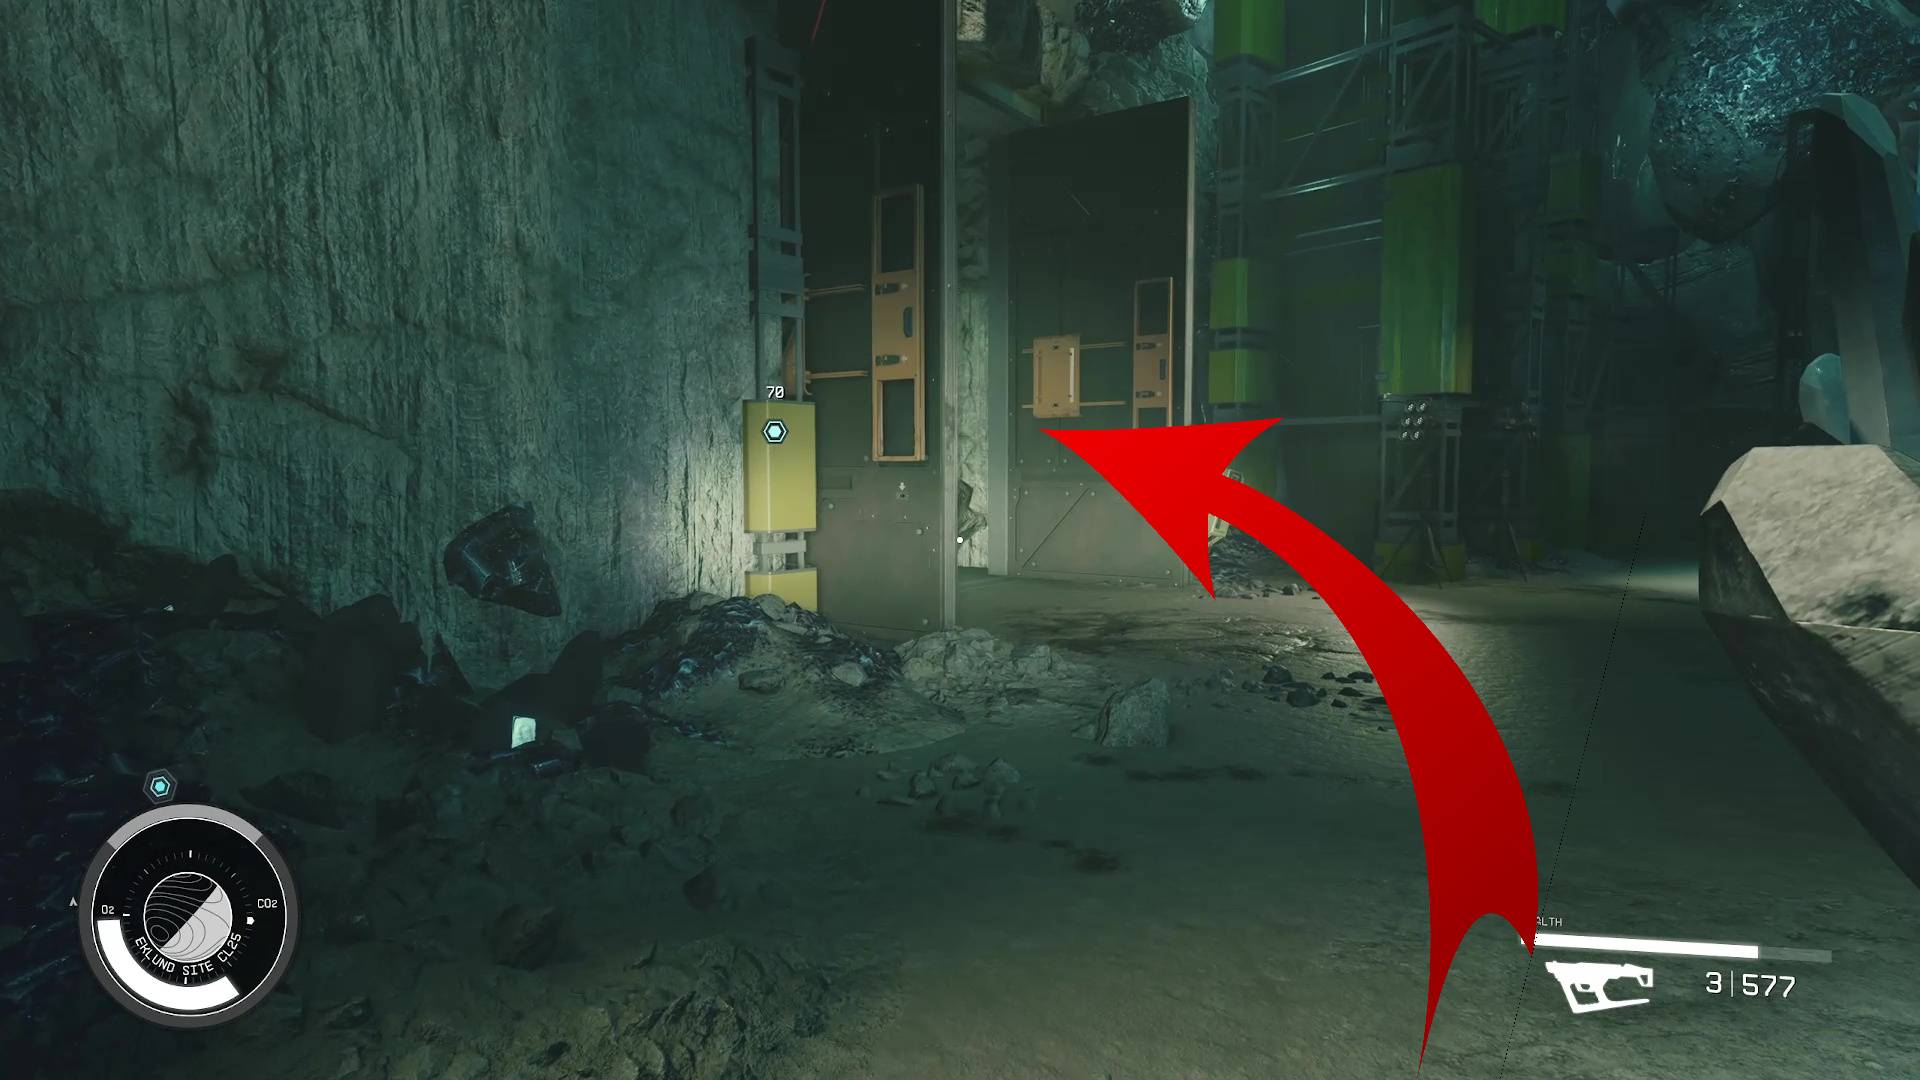
After the bridge, there is a locked door; there is a switch on the right to open it (Image 14). Be cautious of the mines right outside the newly-unlocked door. Take a right, then go straight through the tunnel, and you’ll come to an elevator that will go deeper into the mine. You need to press the button to activate the elevator (Image 15).
Image 14Image 15
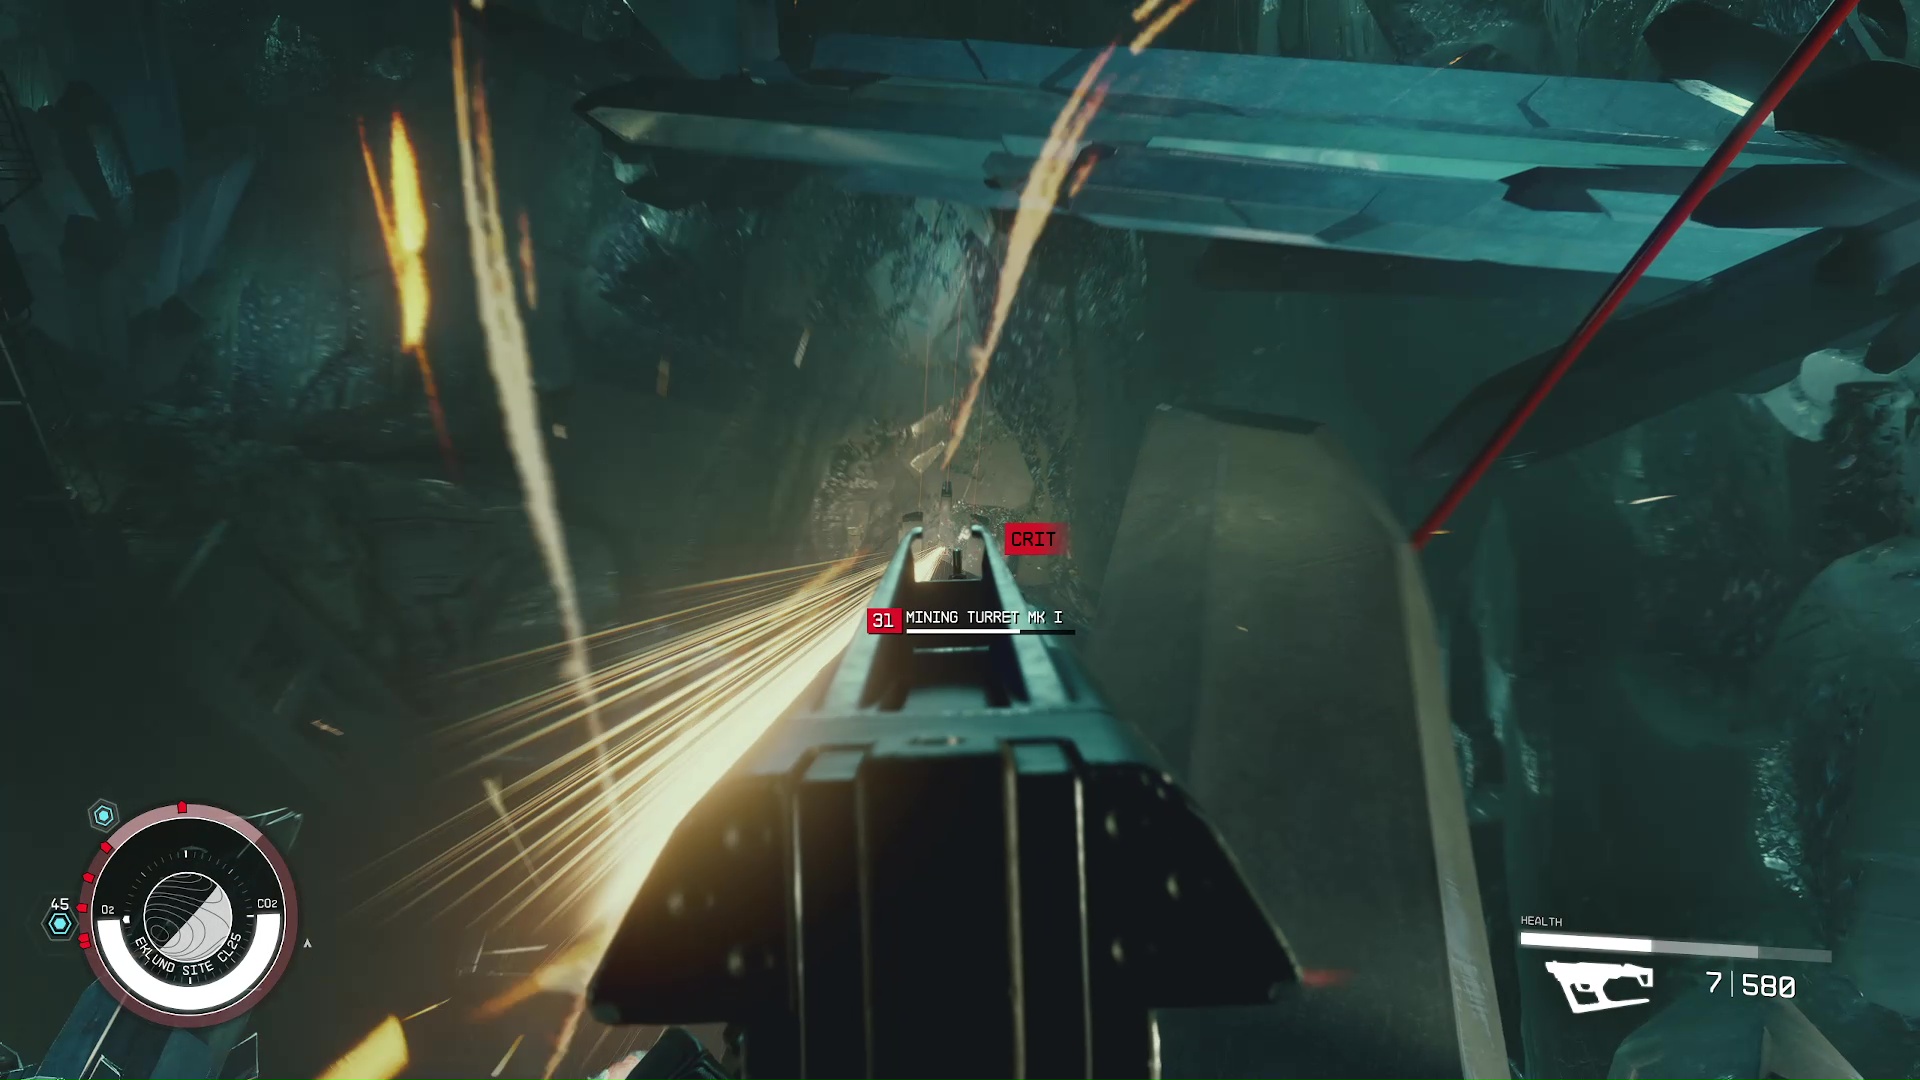
This part after the elevator is one of the more difficult firefights. You’ll find yourself in a big cavern with hostile turrets and robots all over the place. We found the most effective strategy was to take cover and deal with the robots rushing you first. Then cautiously peek out to shoot at the big mining laser turrets with a long range weapon (Image 16).
Image 16
After most of the threats on the ground level have been eliminated, work your way up the ramps that circle the rock spire in the middle of the cavern. It’s important to be prudent of threats, as there will be robots on the ramp, and possibly some more turrets if you didn’t shoot them all beforehand.
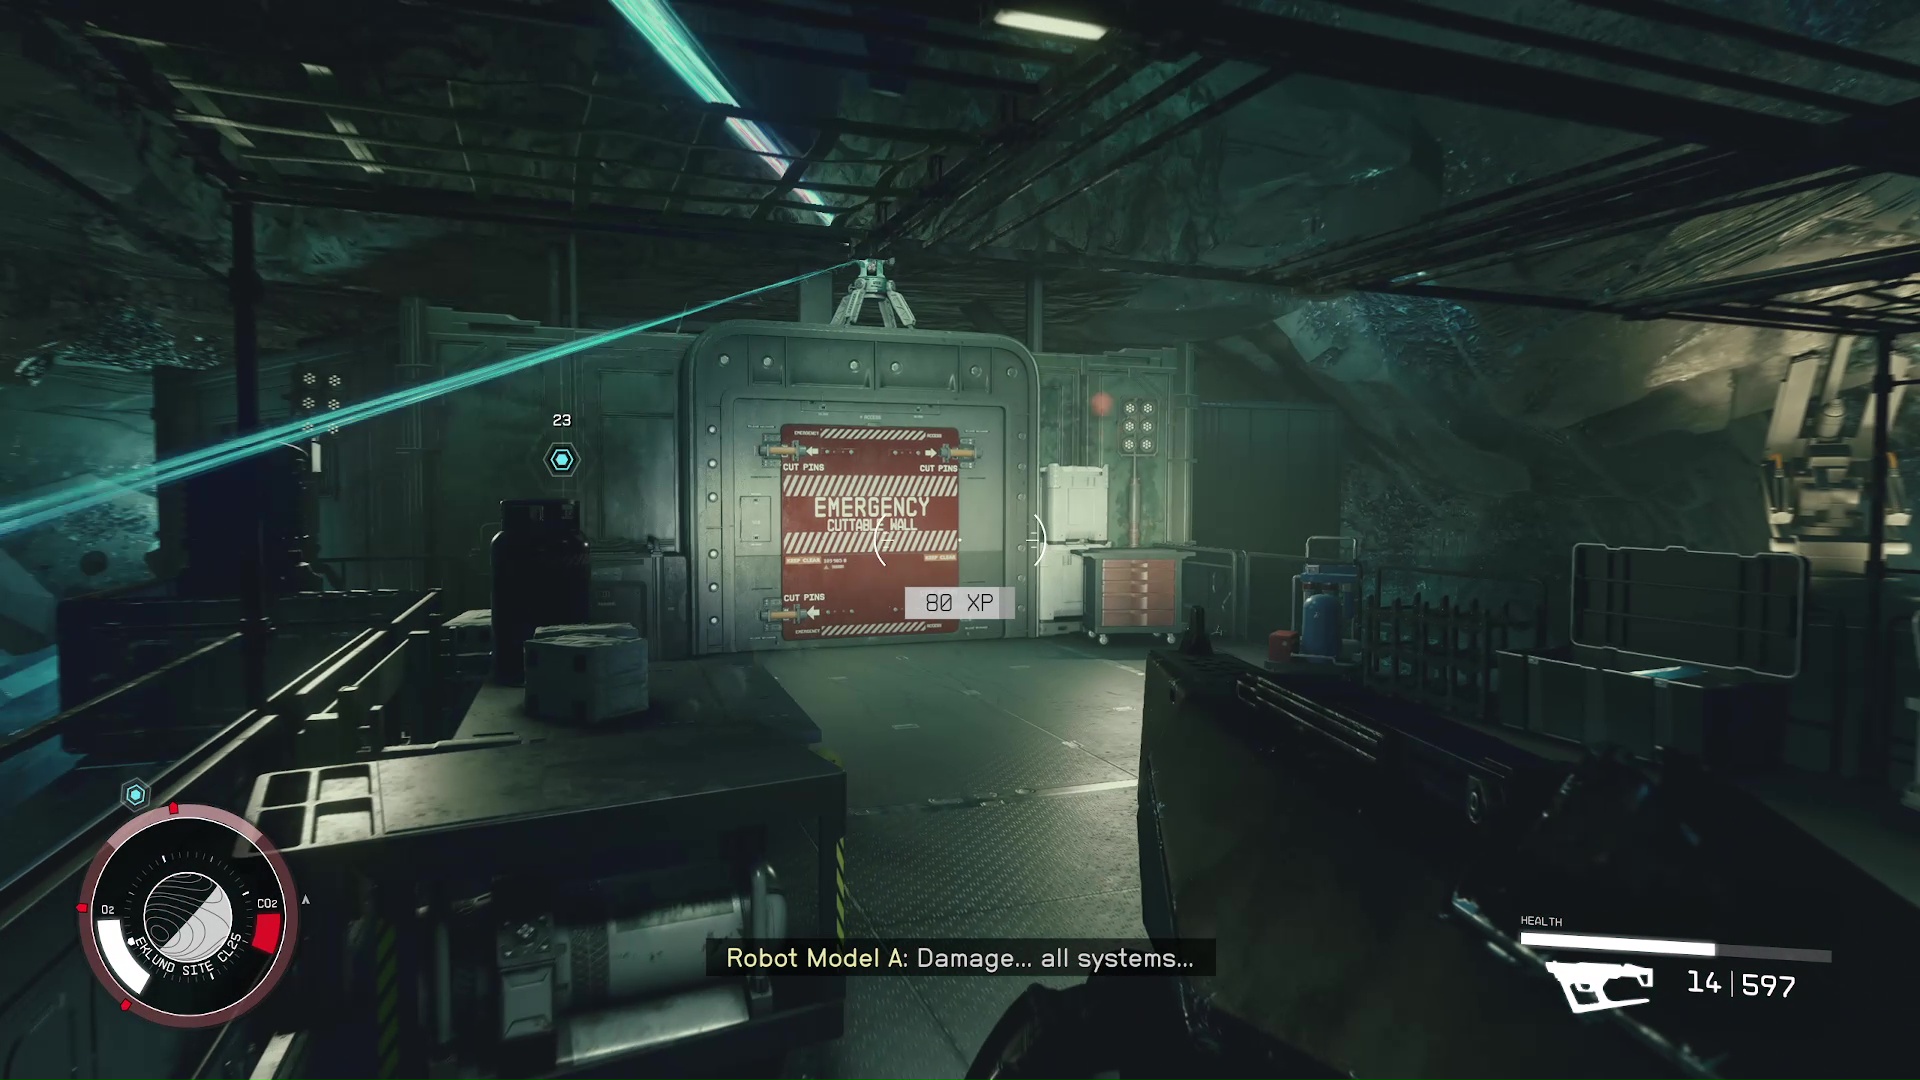
At the top of the ramps, you’ll find another security door that can be shot open (Image 17). Take care of all the surrounding enemies and save the game, before opening it, because you will then fight Maya. She likes to use a lot of explosives, so jump away if you see any grenades.
Image 17
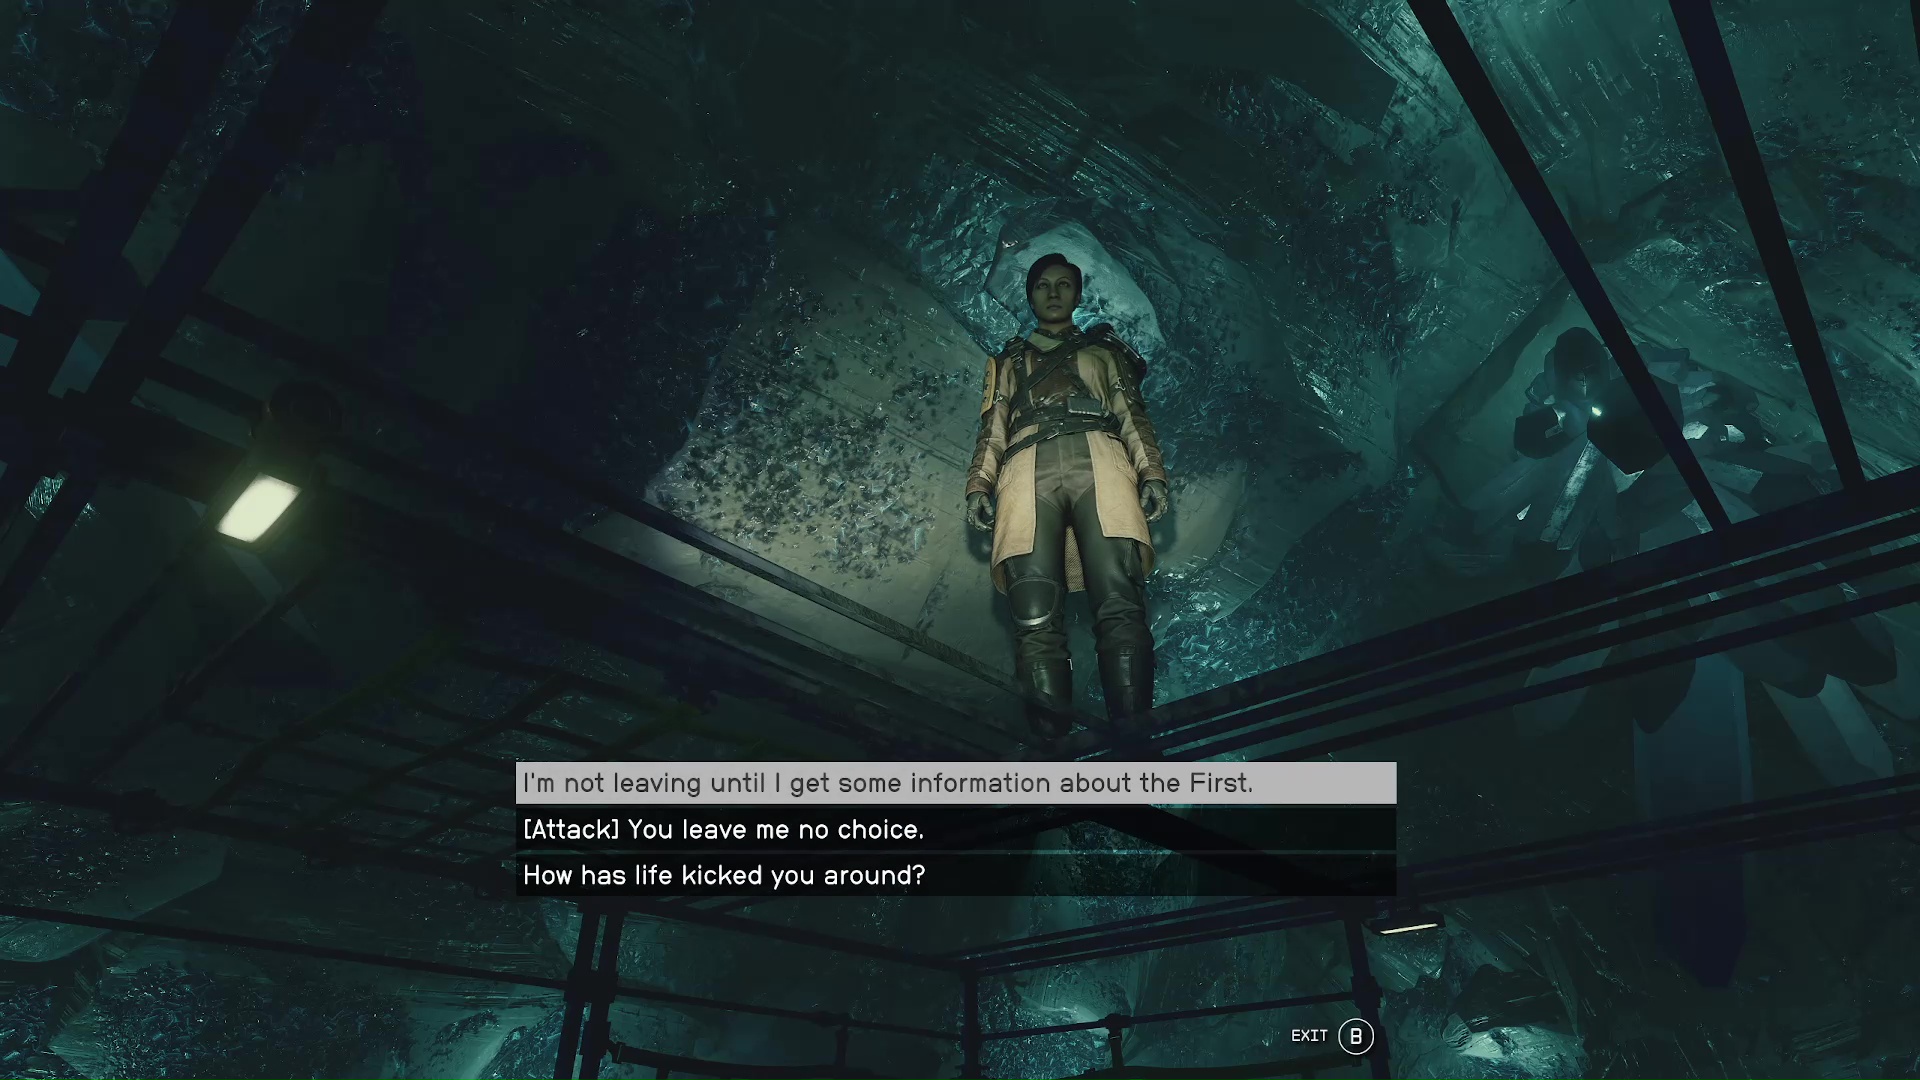
Talk to Maya Cruz
After fighting her, she’ll acquiesce to letting you talk to her. Simply put, she’s dying and just wants to live out her last couple weeks out of jail. You can either decide to kill her, or let her go. Either way, you will get the encrypted slate off her body, or she’ll give it to you (Image 18).
Image 18
Give the Encrypted Slate to Alex Shadid
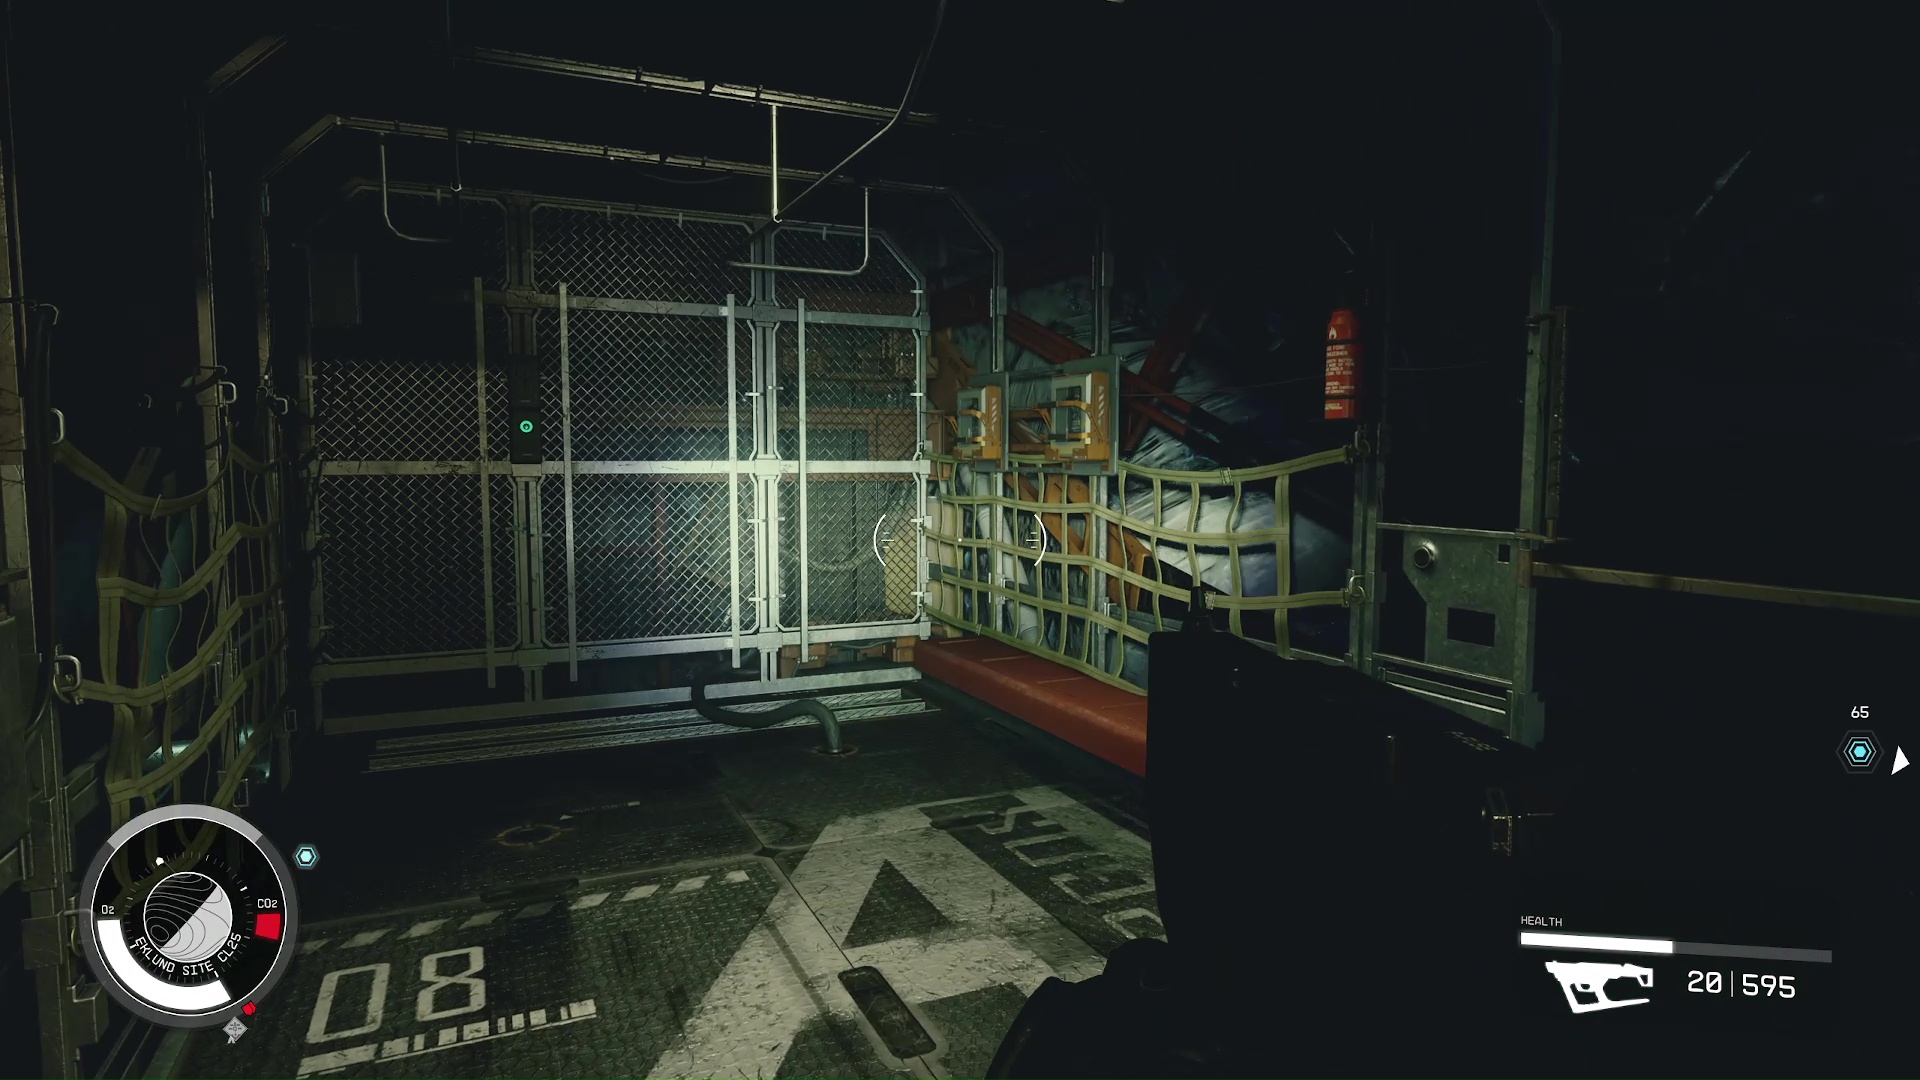
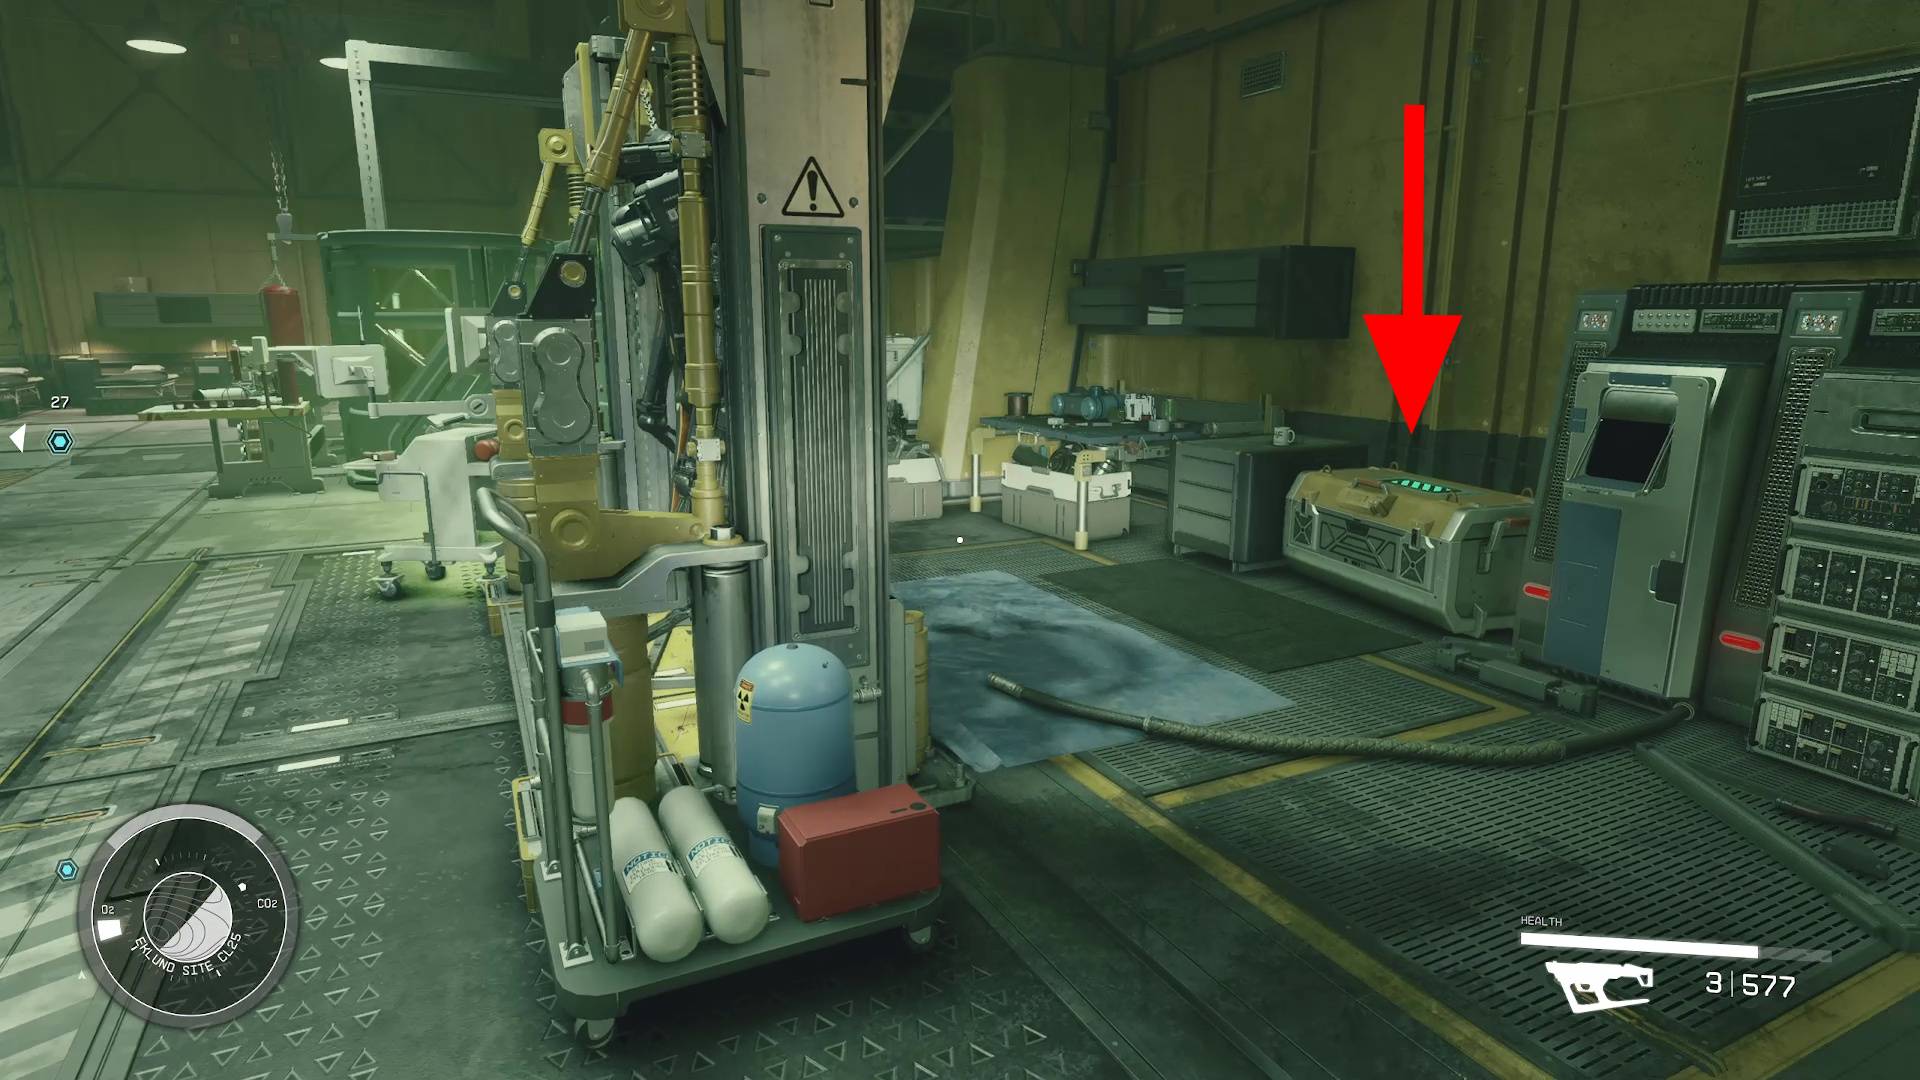
To leave, take the elevator in Maya’s room down to the base of the spire. You might notice that a door that was once locked is now open (Image 19). Through it, you’ll find the workers quarters and some loot crates (Image 20). Next to the beds, you’ll find another elevator that will take you up to the starting area. Press the same buttons you did to open the first security door, then you can board your ship and leave.
Image 19Image 20
Different mission, same mission step. Travel to Alex at The Rock and hand him the encrypted slate. After he has it, the mission will finish and you’ll get your rewards.
Kelson is a spud head from out west. He is most happy when holding a milky tea with too much honey and playing a sprawling role playing game or reading a fantasy novel. His video game tastes vary but his main genres are looter shooters, RPGs, and real time strategy games.