You were probably expecting a bank heist, or a spaceship battle for your initiation into the Crimson Fleet. Little did you know that you’d be rummaging around a frozen planet playing detective. Yet investigating how a bunch of prisoner’s broke out of a high security prison — and where they stashed their treasure — can be surprisingly buccaneer.
This mission is fairly linear, but there are some hidden objects that can trip you up. Also, if you’re someone that has to lockpick every locked container, make sure you stock up on digipicks. If you unlock every lock in this mission, it will easily double the time to complete. This is one of the longer missions, and it is rife with rewards, so let’s jump in and see what you’ll be pillaging.
Due to this guide’s length, please use the Contents tool at the top of this page if you need help with a specific part.
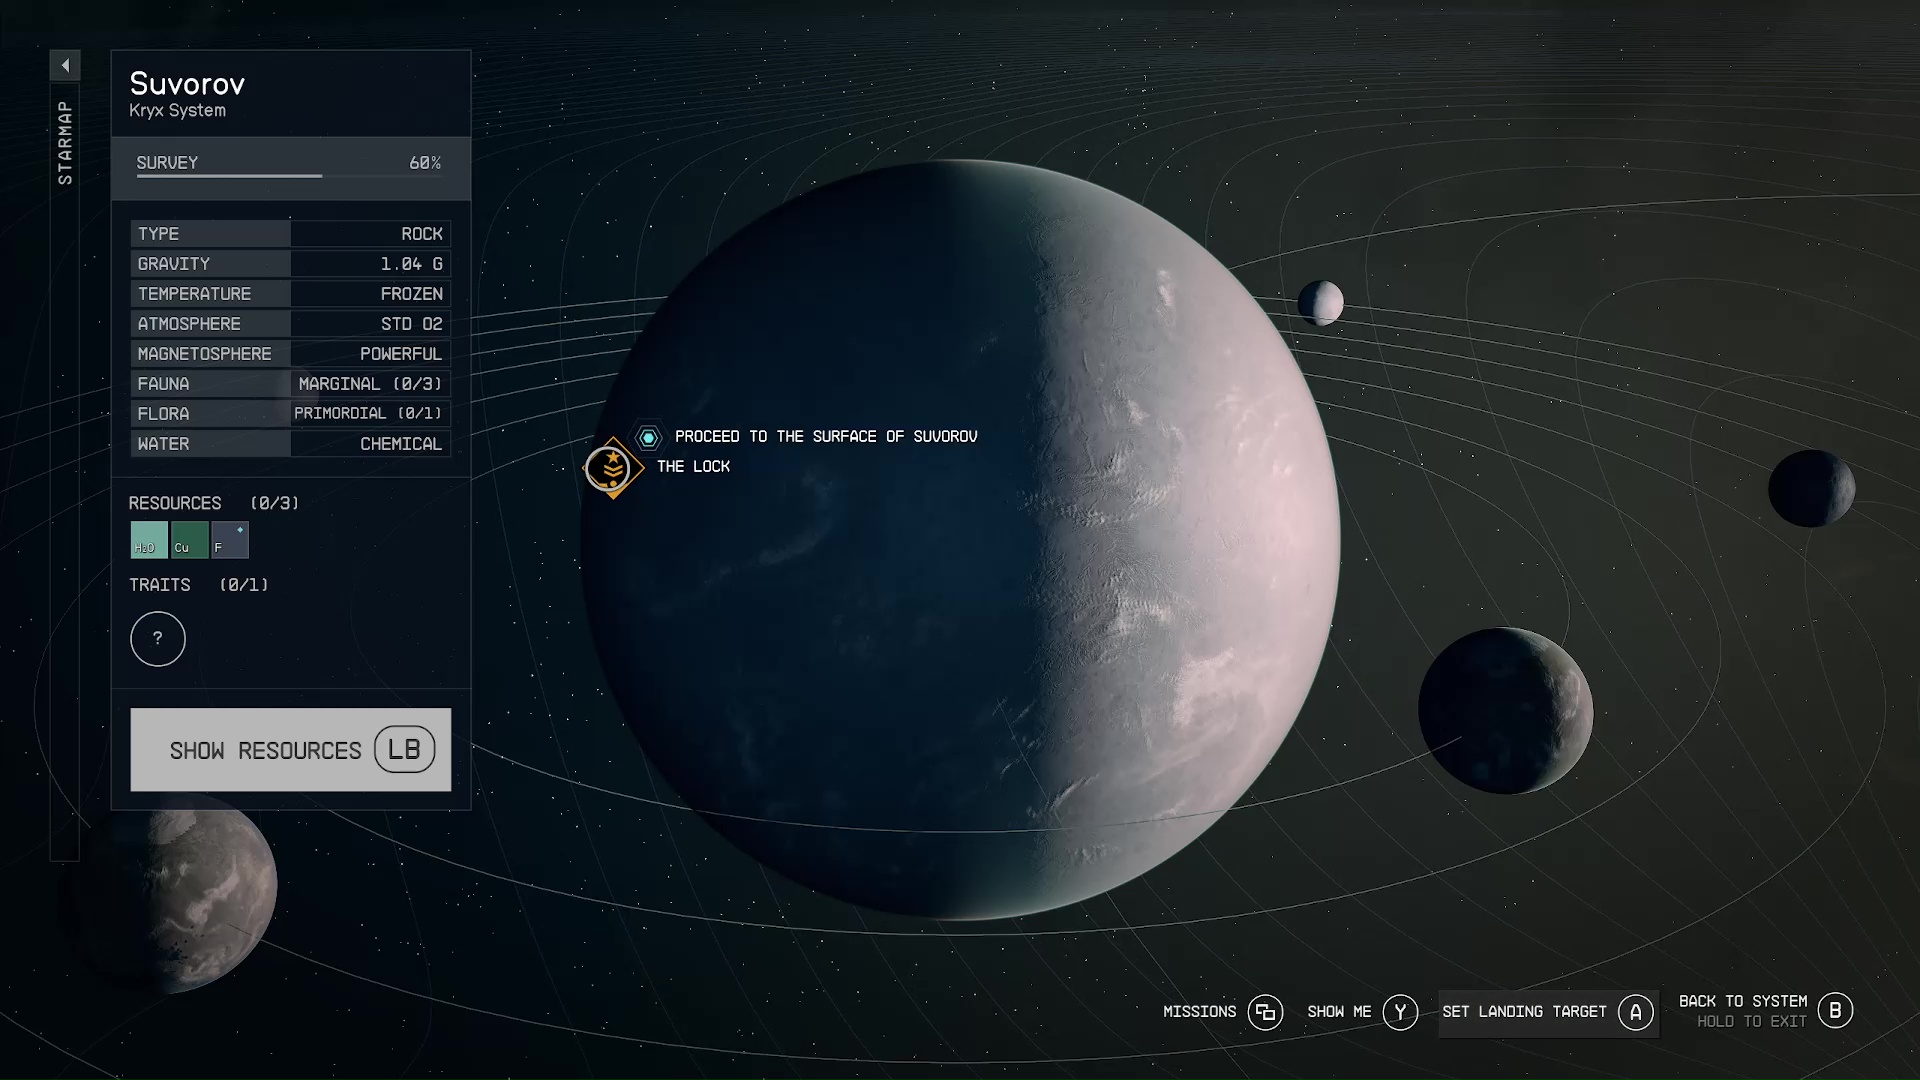
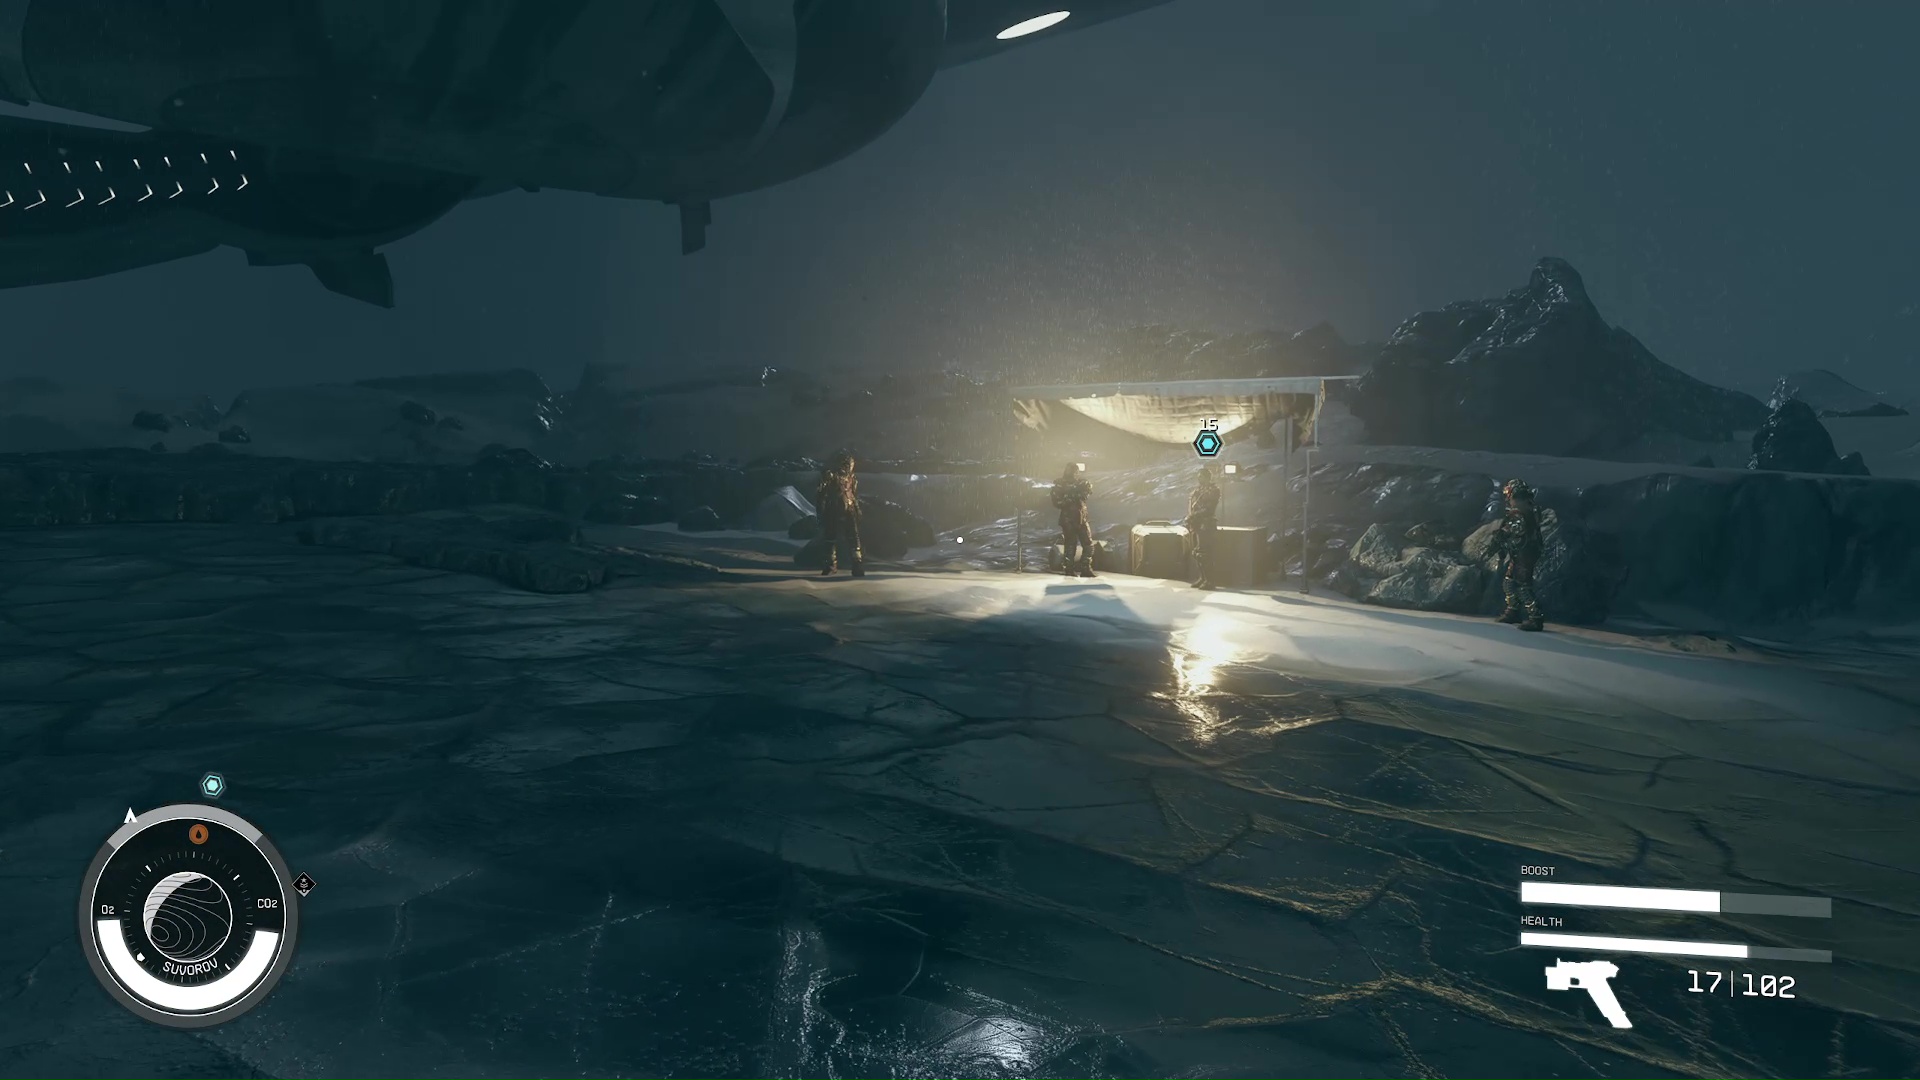
Proceed to the Surface of Suvovrov and Speak to Delgado
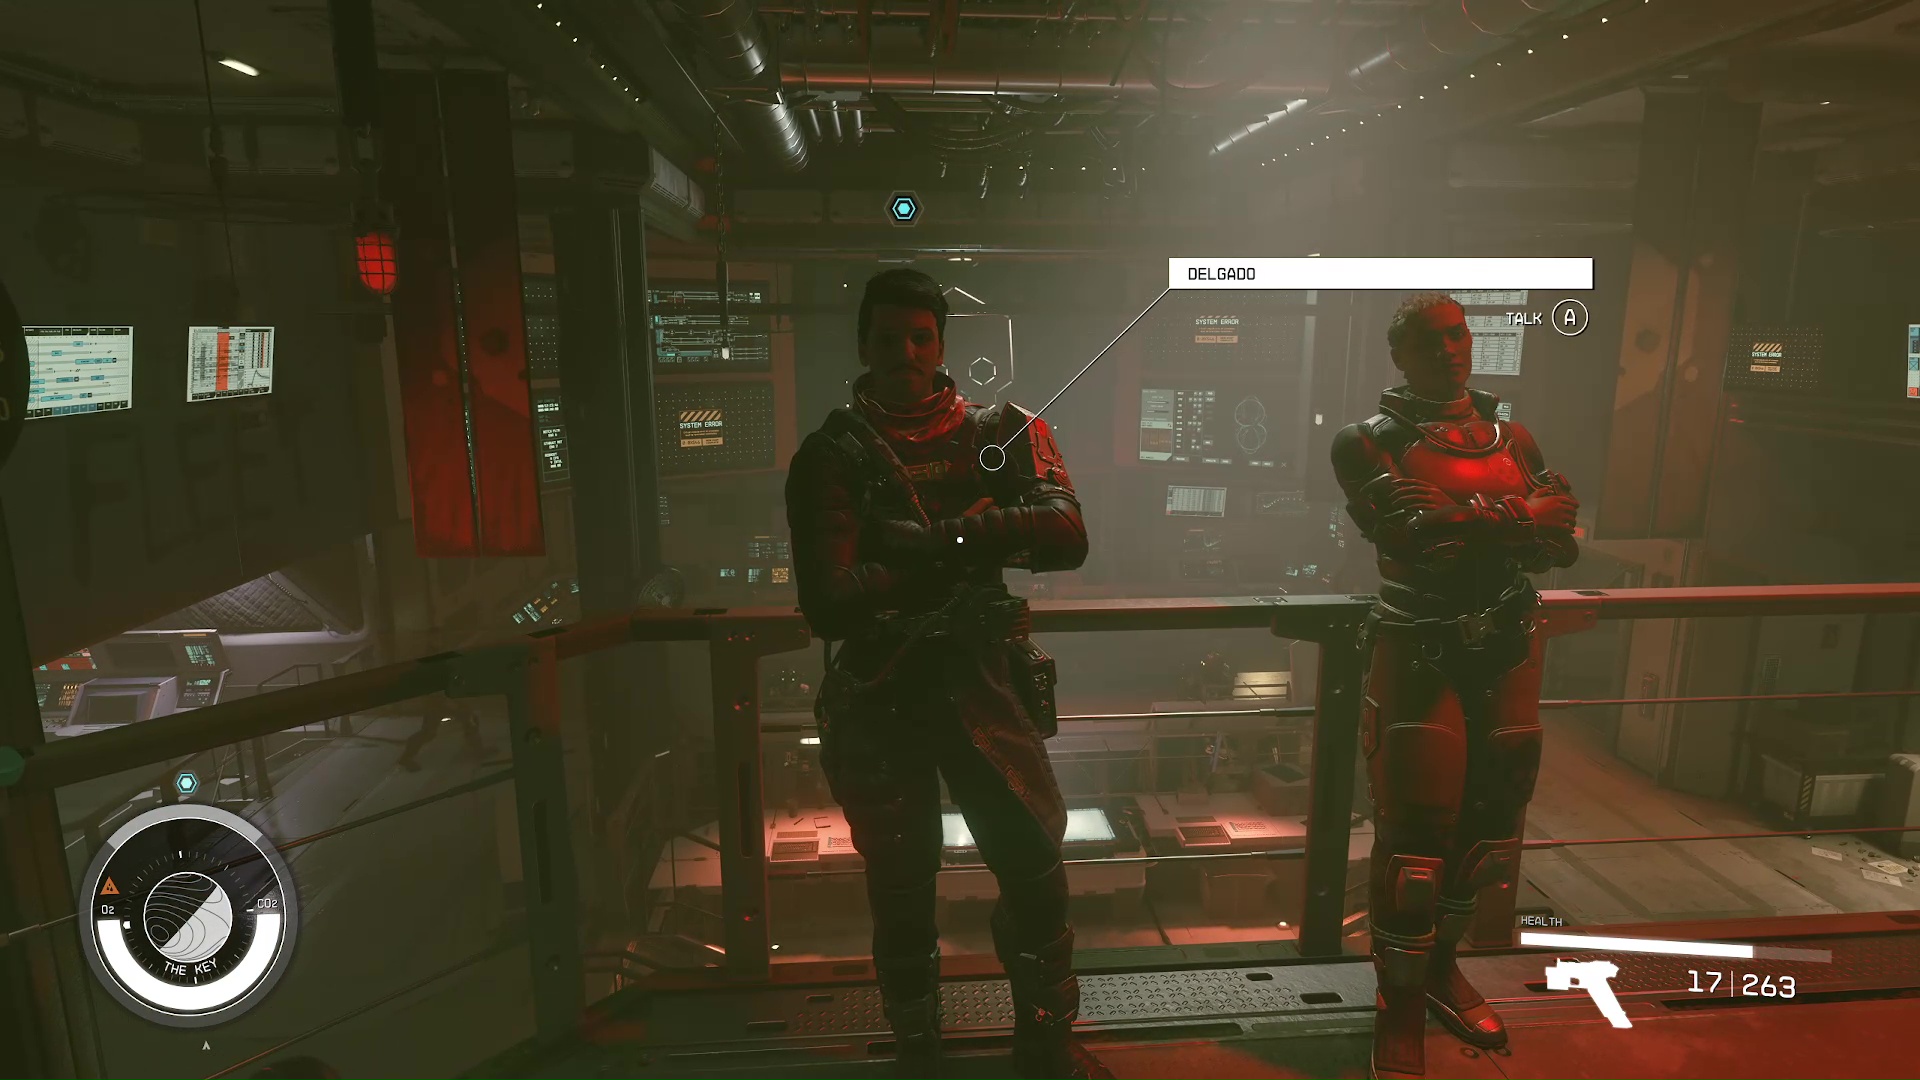
This mission kicks off with you heading down to the surface of the frozen planet, Suvorov. It’s the same planet that The Key orbits, in case you’re flying in from somewhere else. You’ll land right next to Delgado’s ship; he and a crew of pirates will be waiting outside. Talk to him and get the details for the plan.
Image 1Image 2
Meet Delgado at the Entrance to The Lock
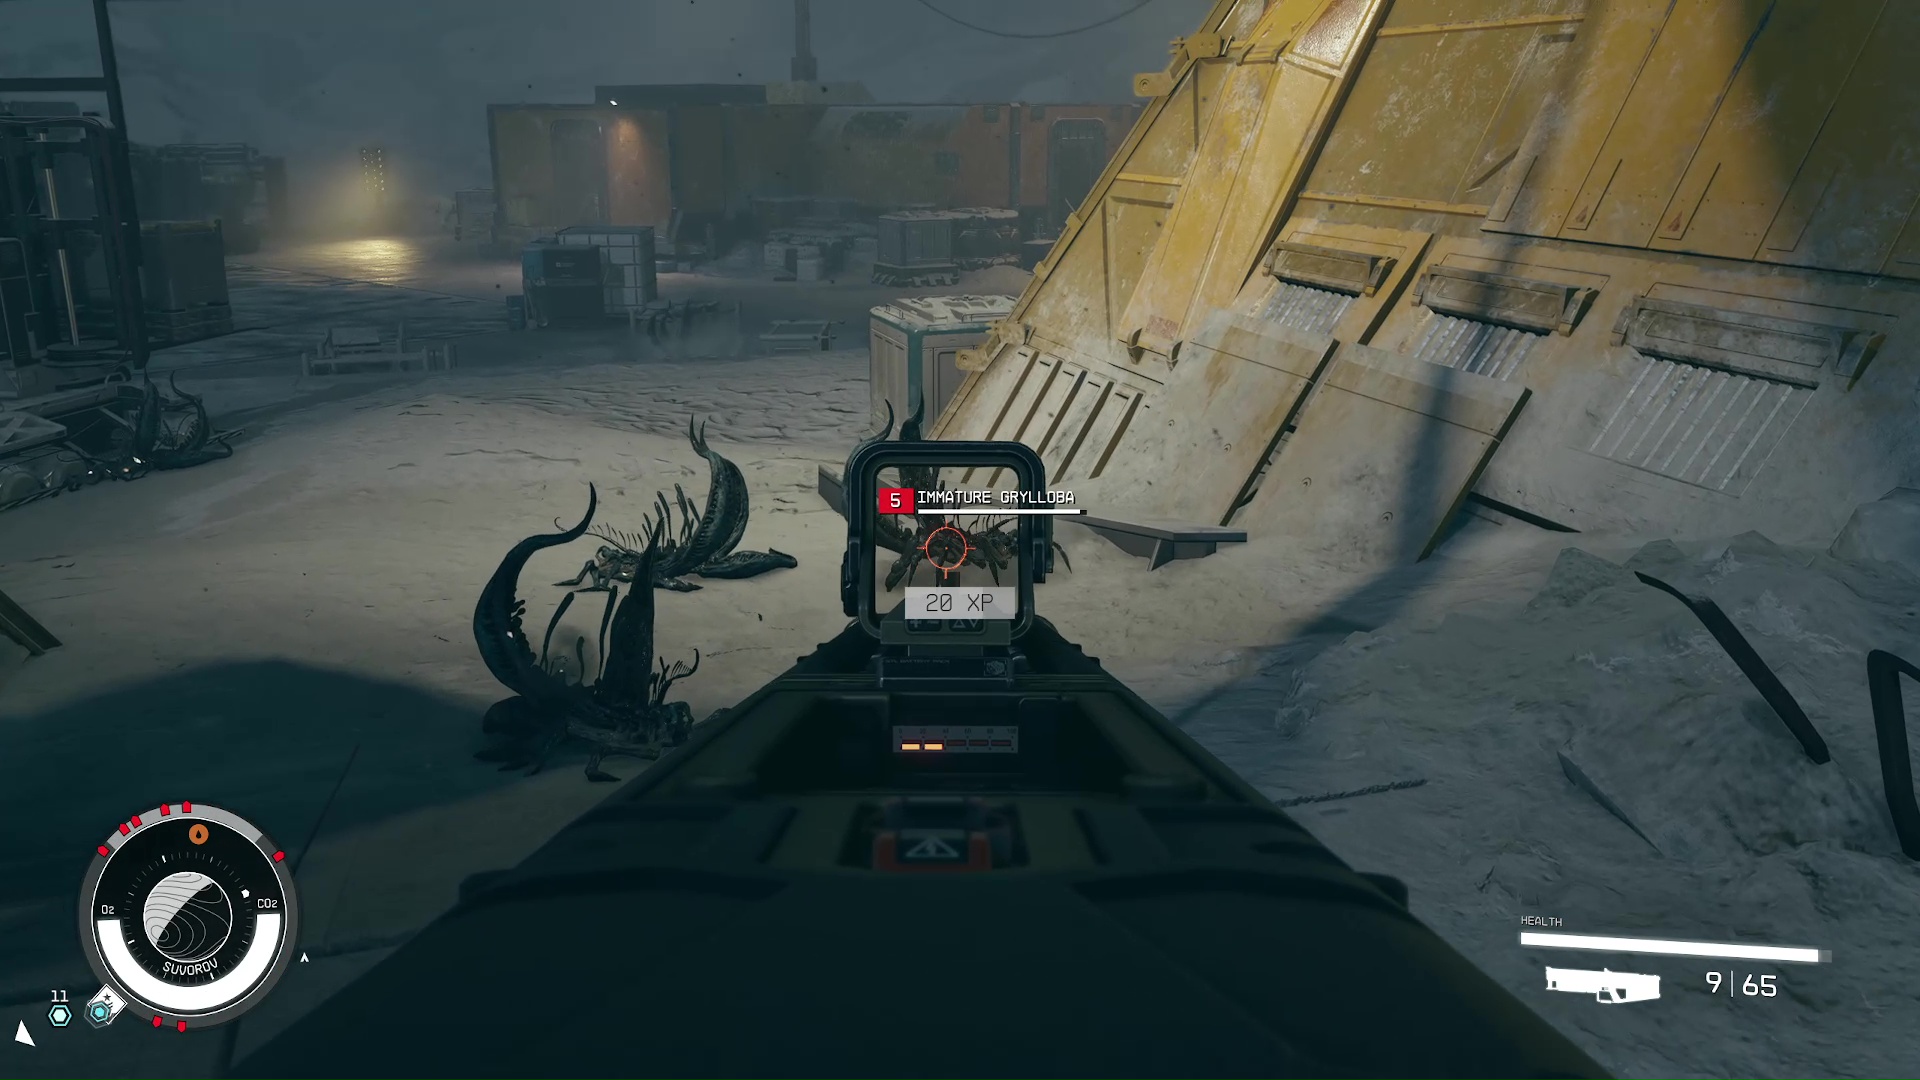
Finally, some action! As you walk to the prison’s entrance, you will first come into contact with the enemies for this mission. They’re local critters called Grylloba that crawl around and swarm you (Image 3). They’re not very difficult to dispatch, although they are hard to hit when they’re scurrying around. If they surround you, use your jetpack to get away.
Image 3
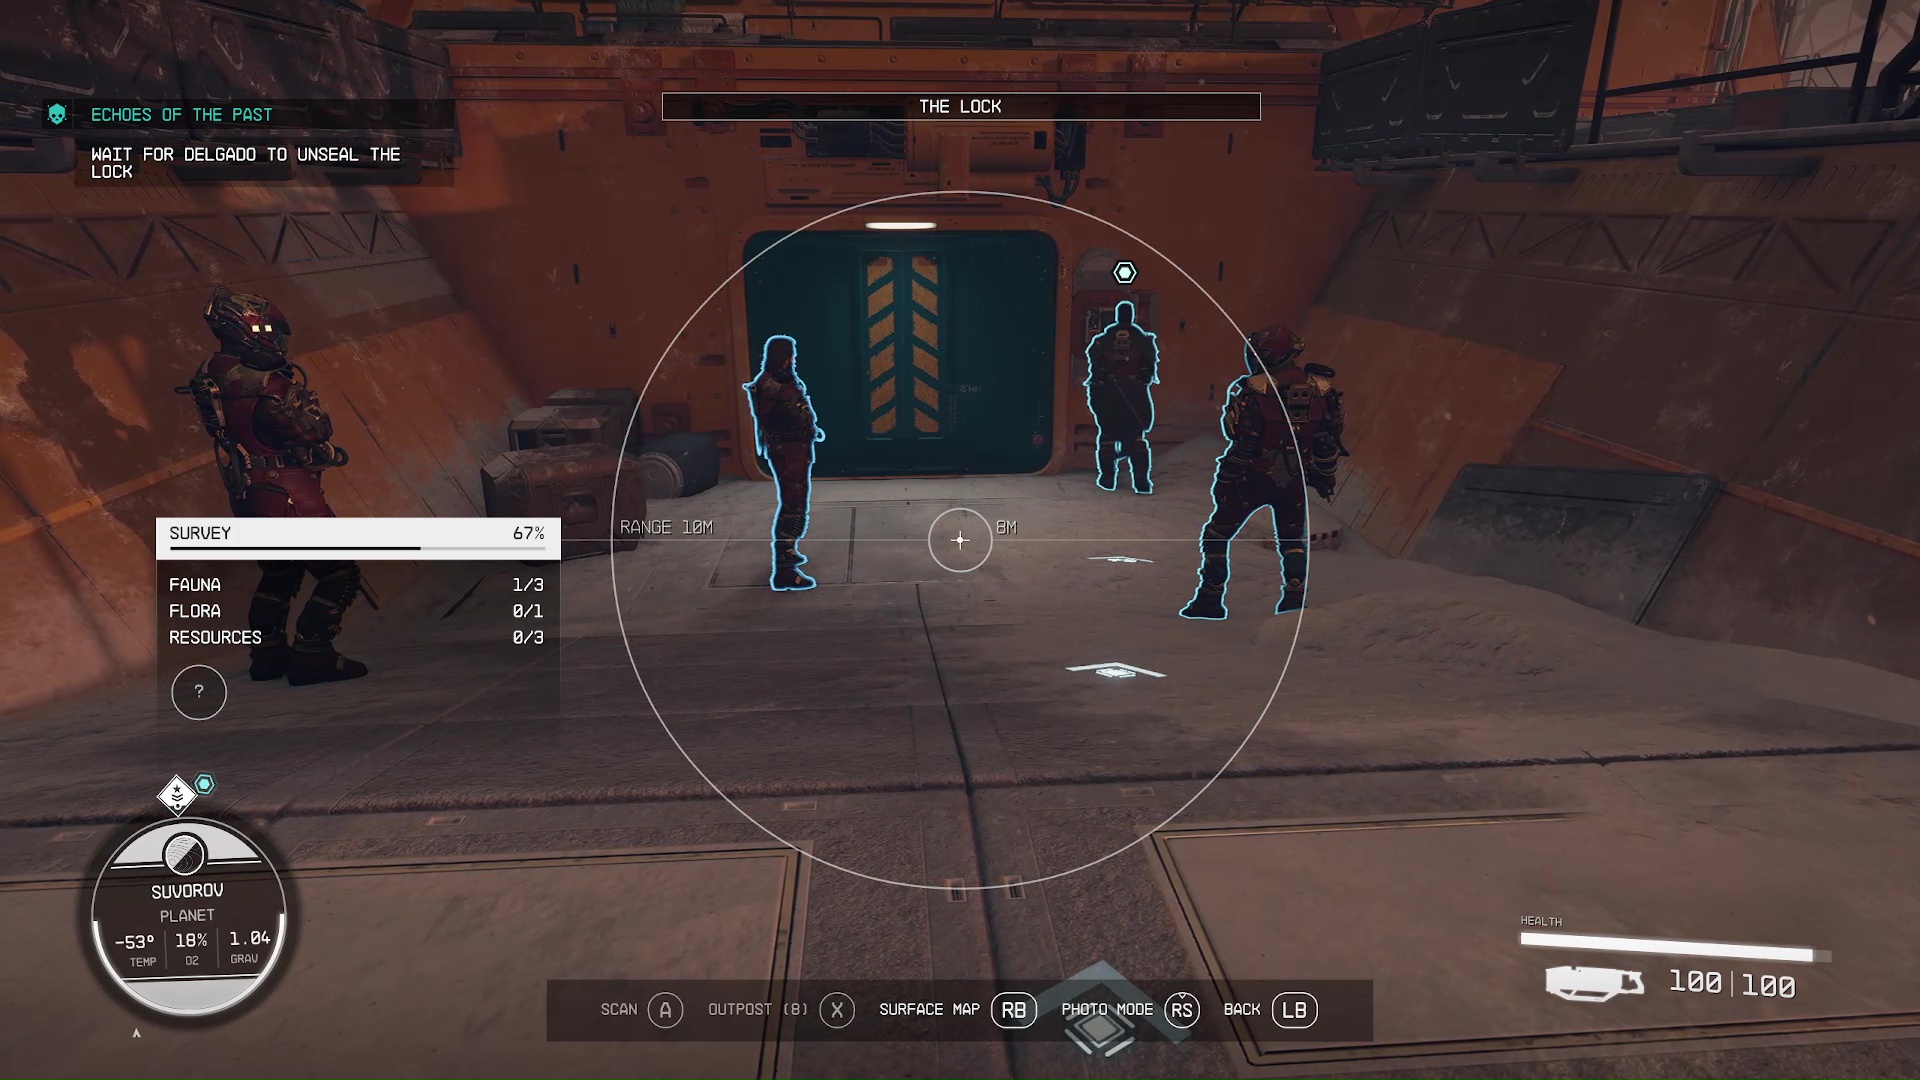
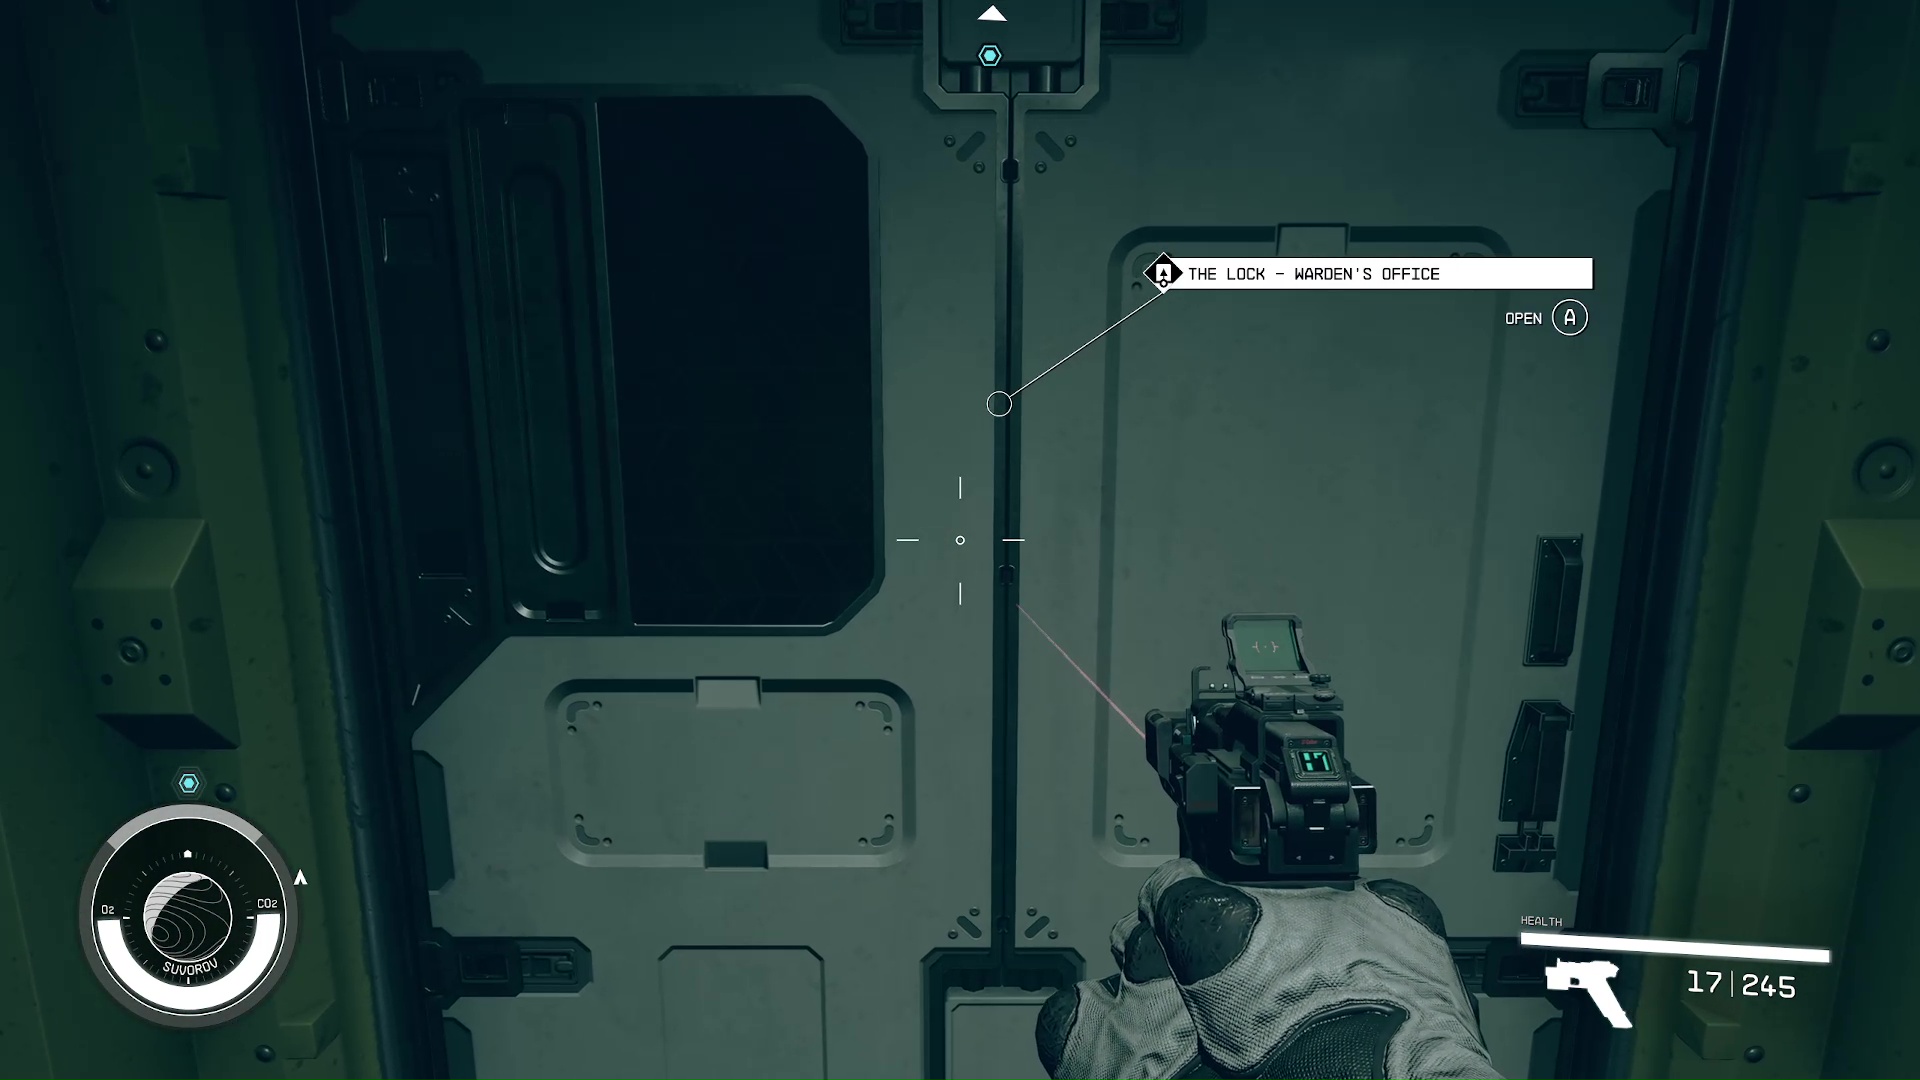
Move up to the complex with your crew, fighting the fauna as you go. Eventually, you’ll come to the entrance, where you’ll have to speak with Delgado again. Afterward, he will open the door and the group will head inside (Image 4).
Image 4
Explore the Lock
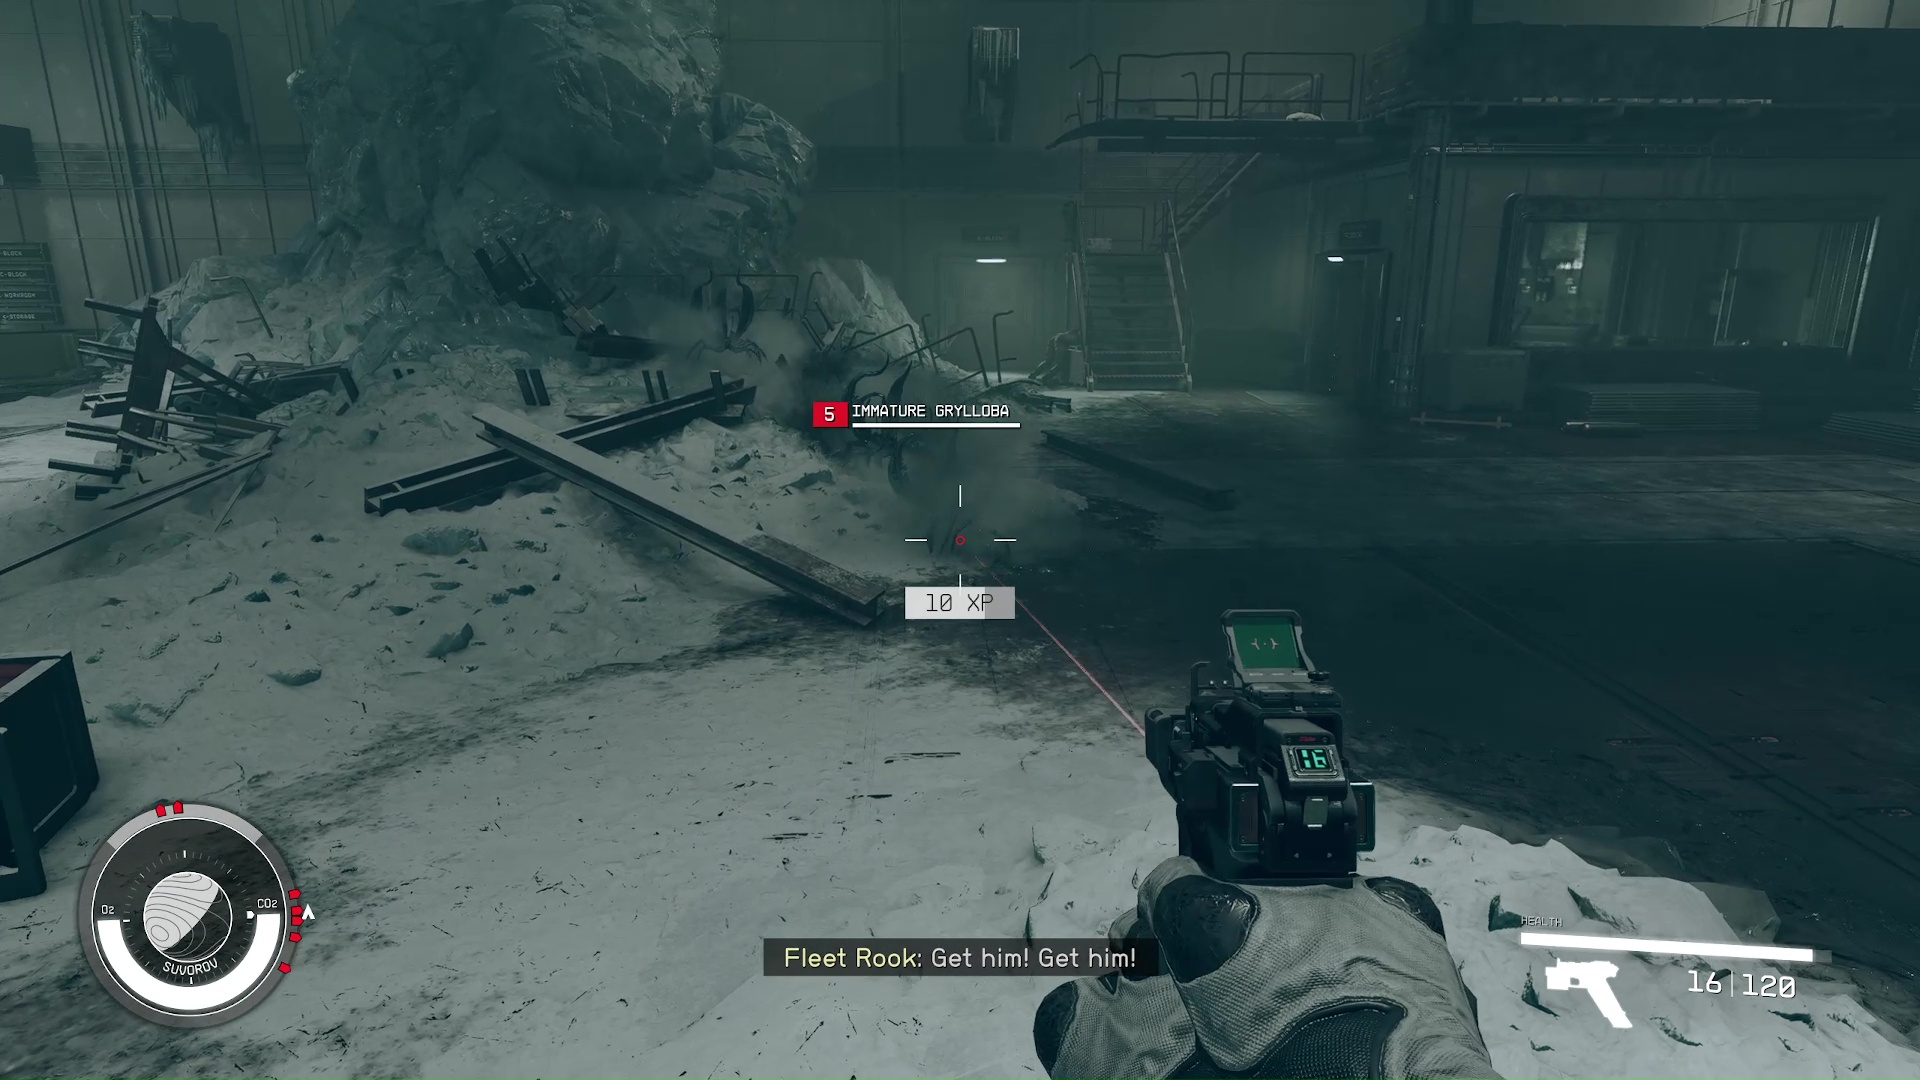
Follow Delgado down the stairs while he talks. You’ll get some more story beats about the prison and the founder of the Crimson Fleet, Jasper Kryx. Once you’re in the big room, you’ll be attacked by more of the crawlies (Image 5). Take them out, then talk to Delgado.
Image 5
Proceed to the Control Room
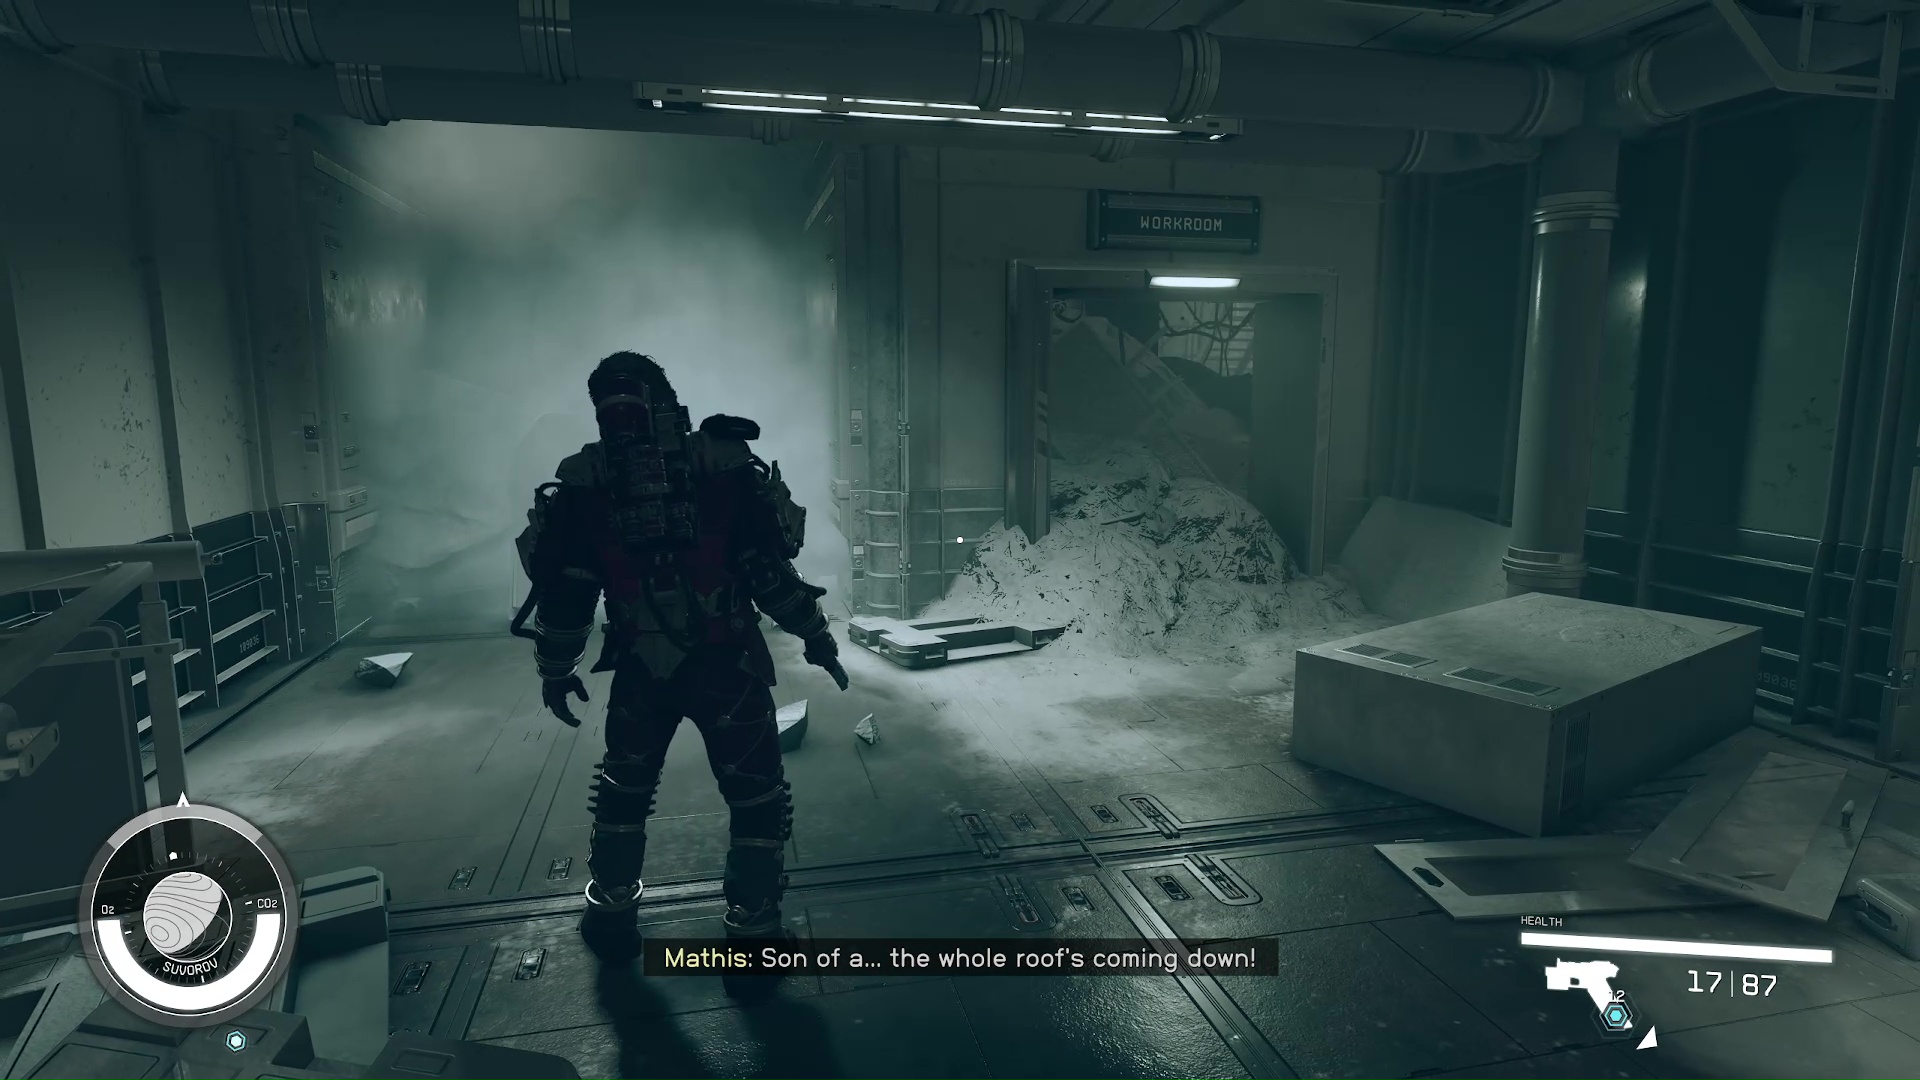
All the doors are locked, so you need to find the control room to deactivate the lockdown. Delgado will send Mathis with you, but after you enter the first room, the roof will cave in and block your exit (Image 6).
Image 6
The Mathis Mutiny
Now that you’re alone with him, Mathis will approach you about turning on Delgado (Image 7). You can agree to his plan and he’ll stop, or you can disagree with him, and he’ll keep trying to sway you over throughout the mission. Nothing actually comes of the mutiny, but if you disagree with the plan, then choose to not turn him over to Delgado, you can gain him as a follower at the end of the faction quest line. This also requires siding with the Crimson fleet at the end rather than UC SysDef.
Image 7
Use the Intercom to Speak to Delgado
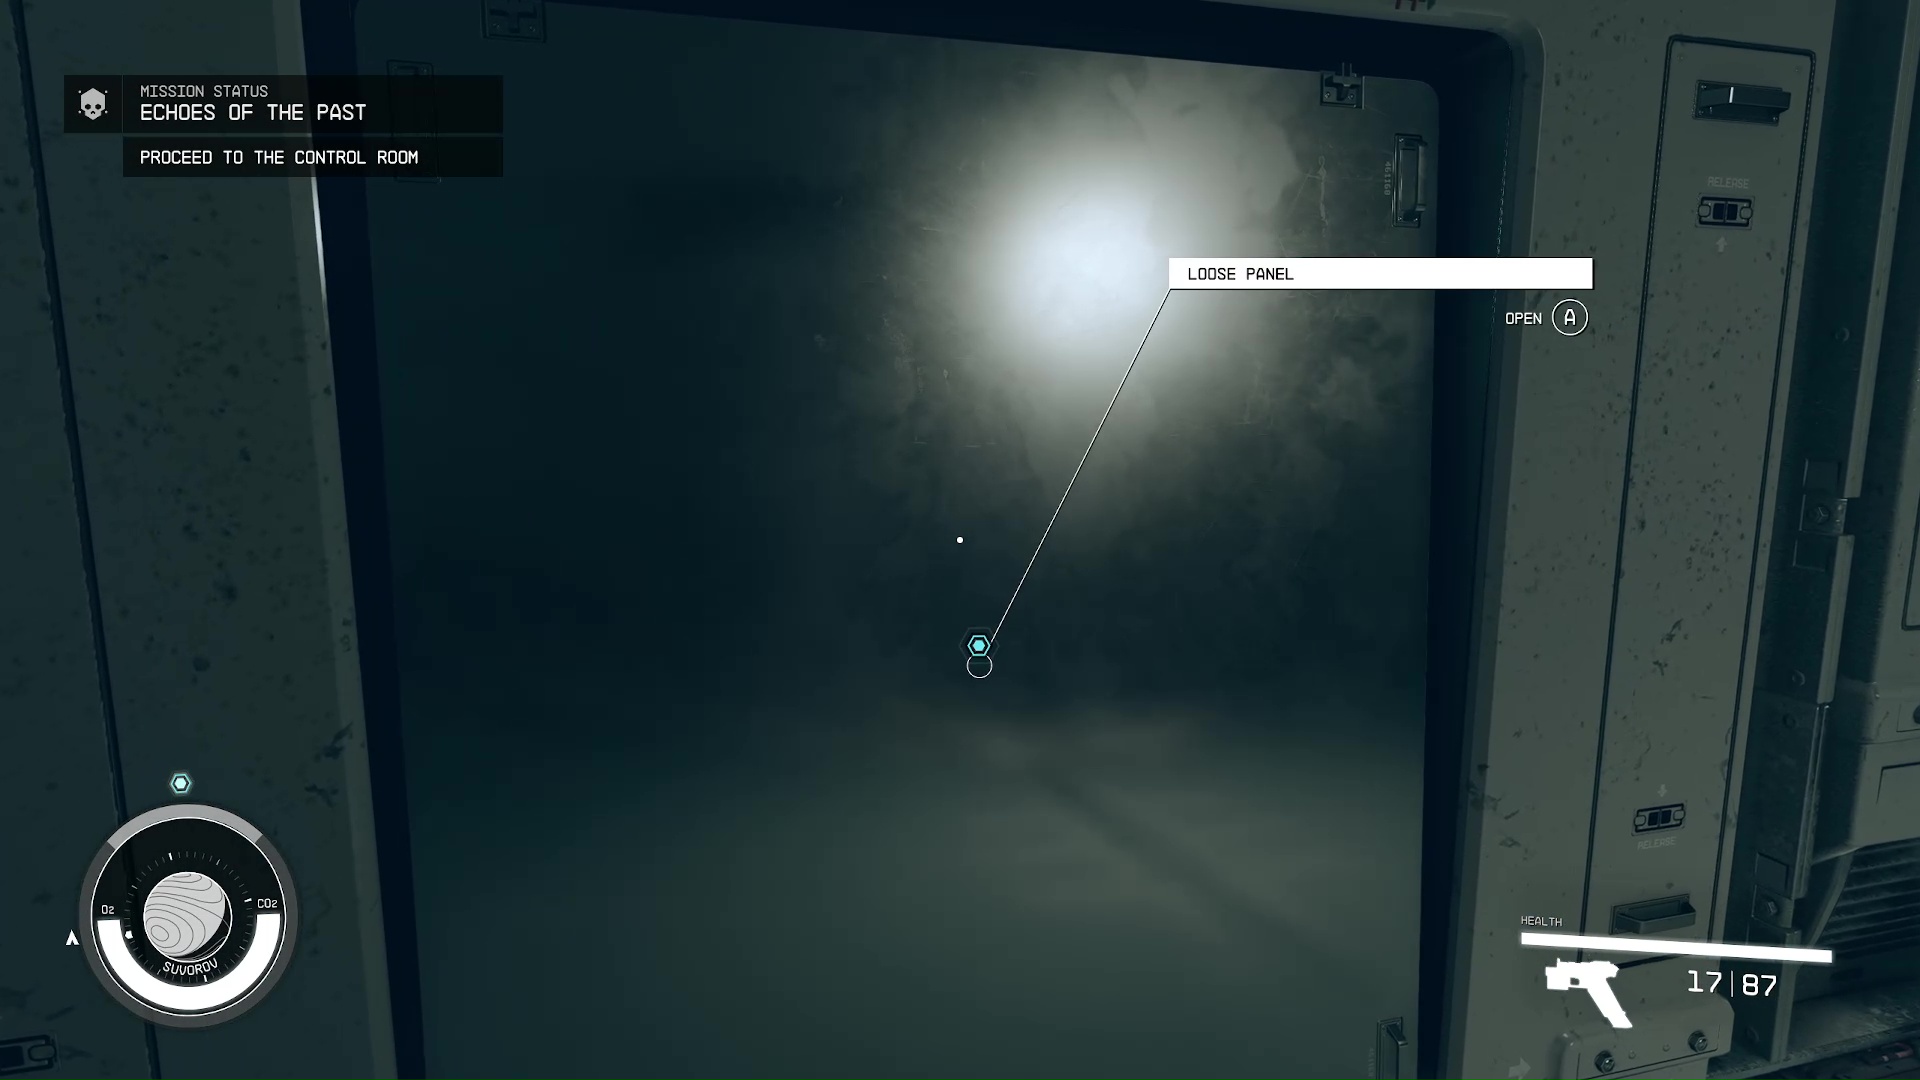
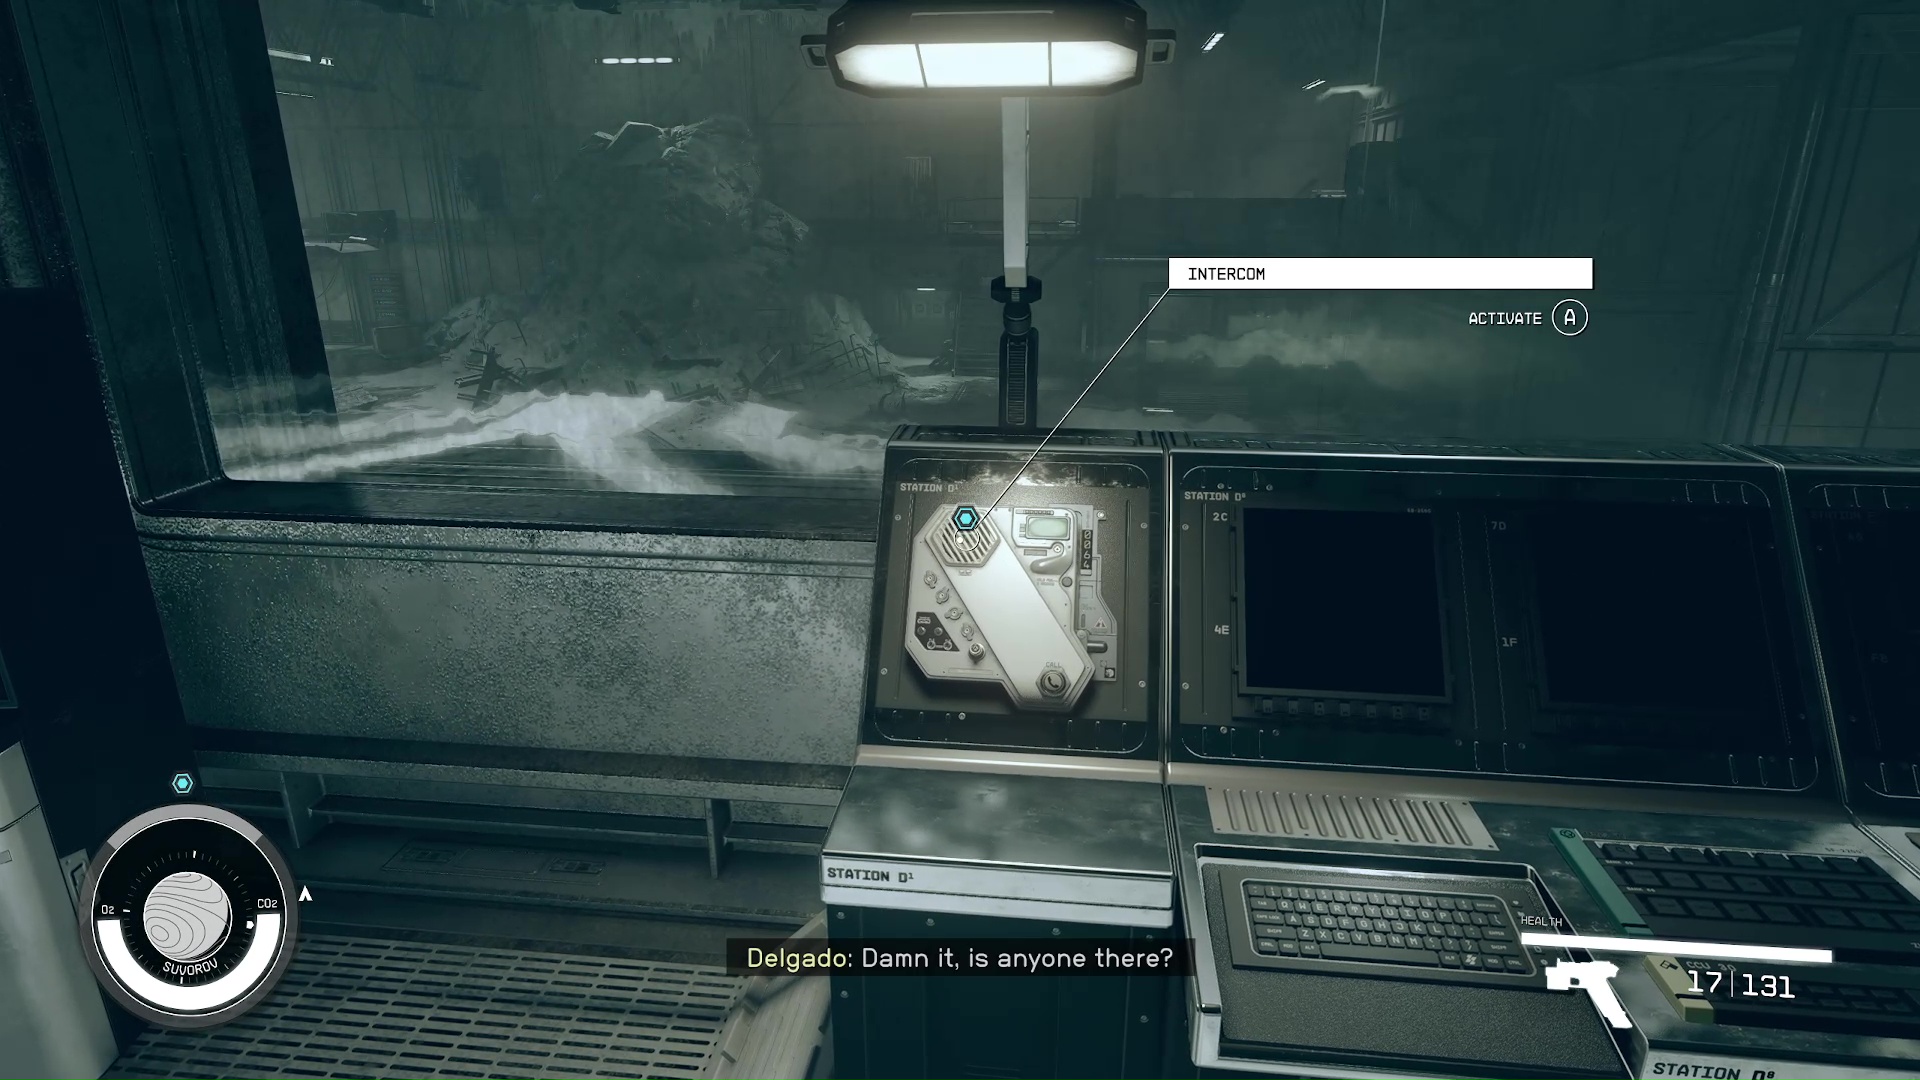
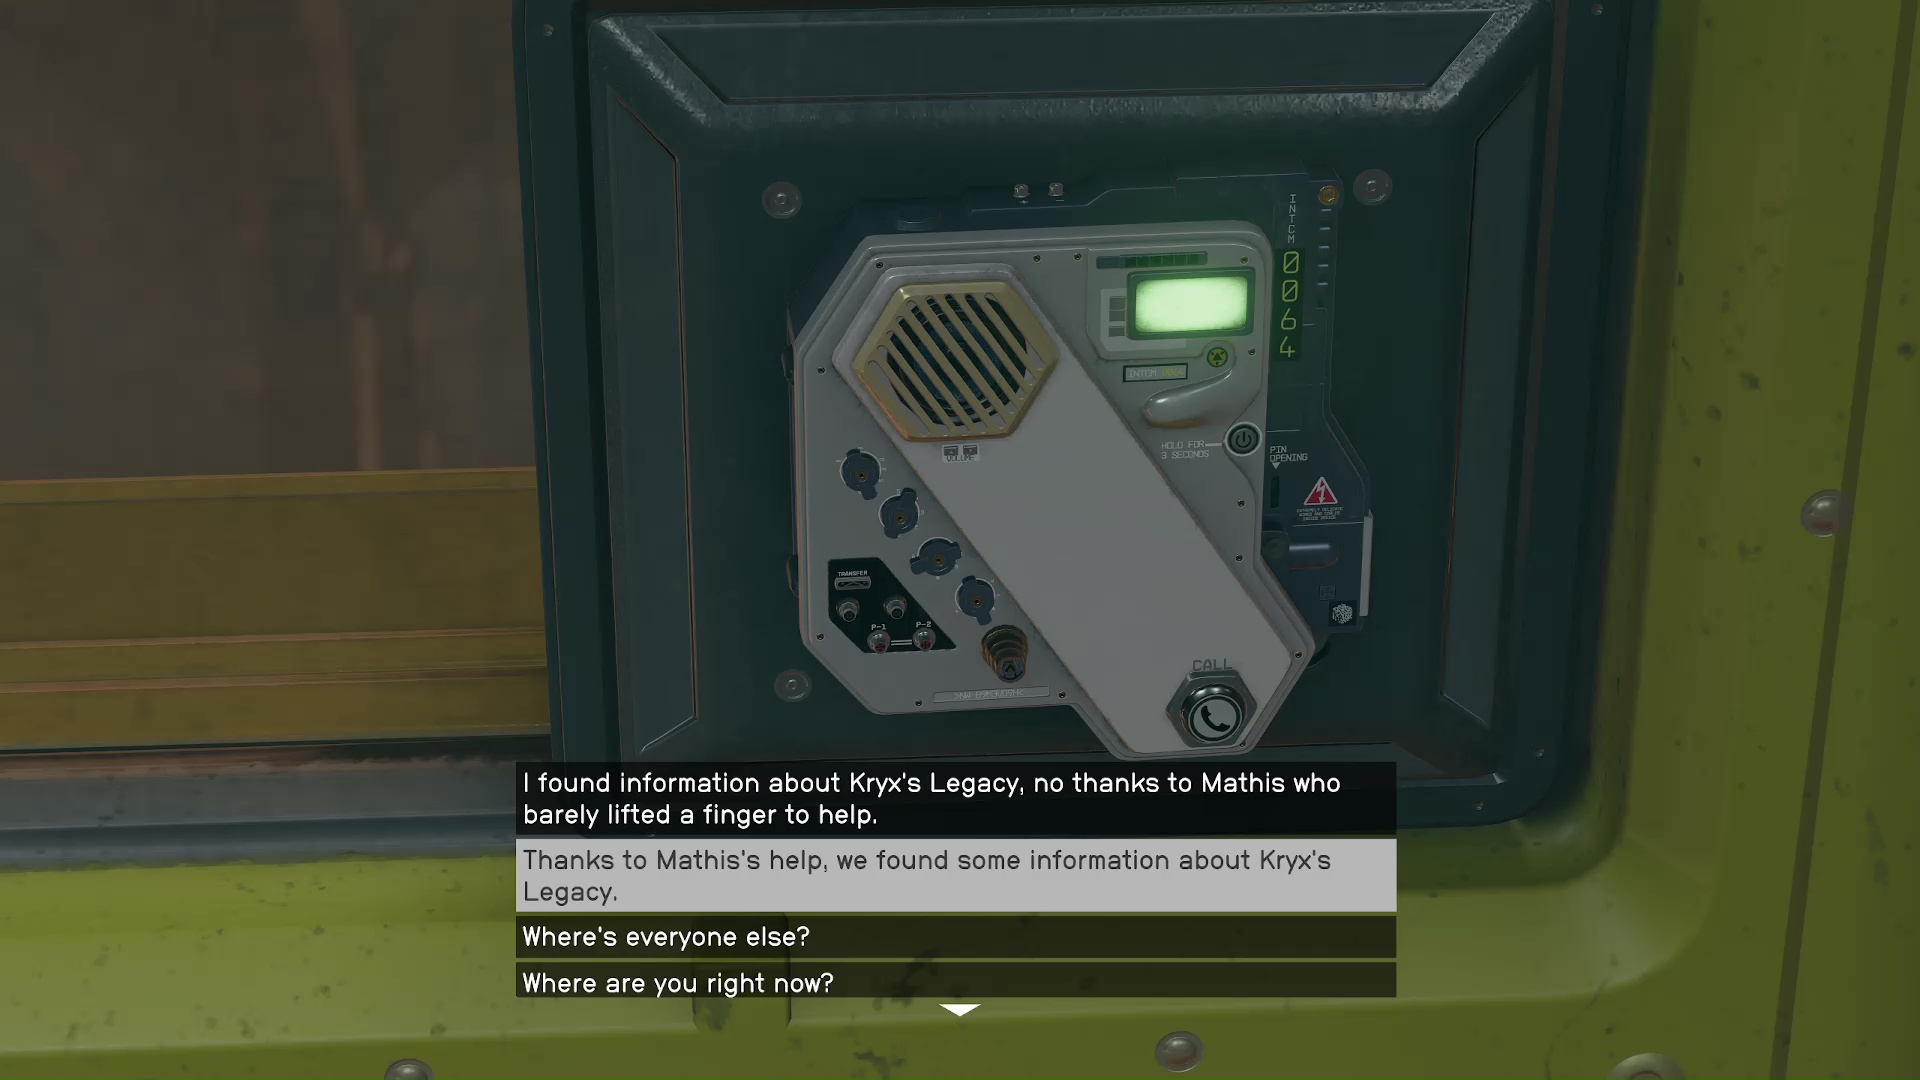
In the room where Mathis approaches you, there is a loose panel on the wall. Select it, and it will fall over, opening up another route (Image 8). There are some things to loot in this next area, and there’s only one way to go to continue to the control room. Once there, Delgado will be trying to contact you over the intercom (Image 9).
Image 8Image 9
Open the Doors for Delgado
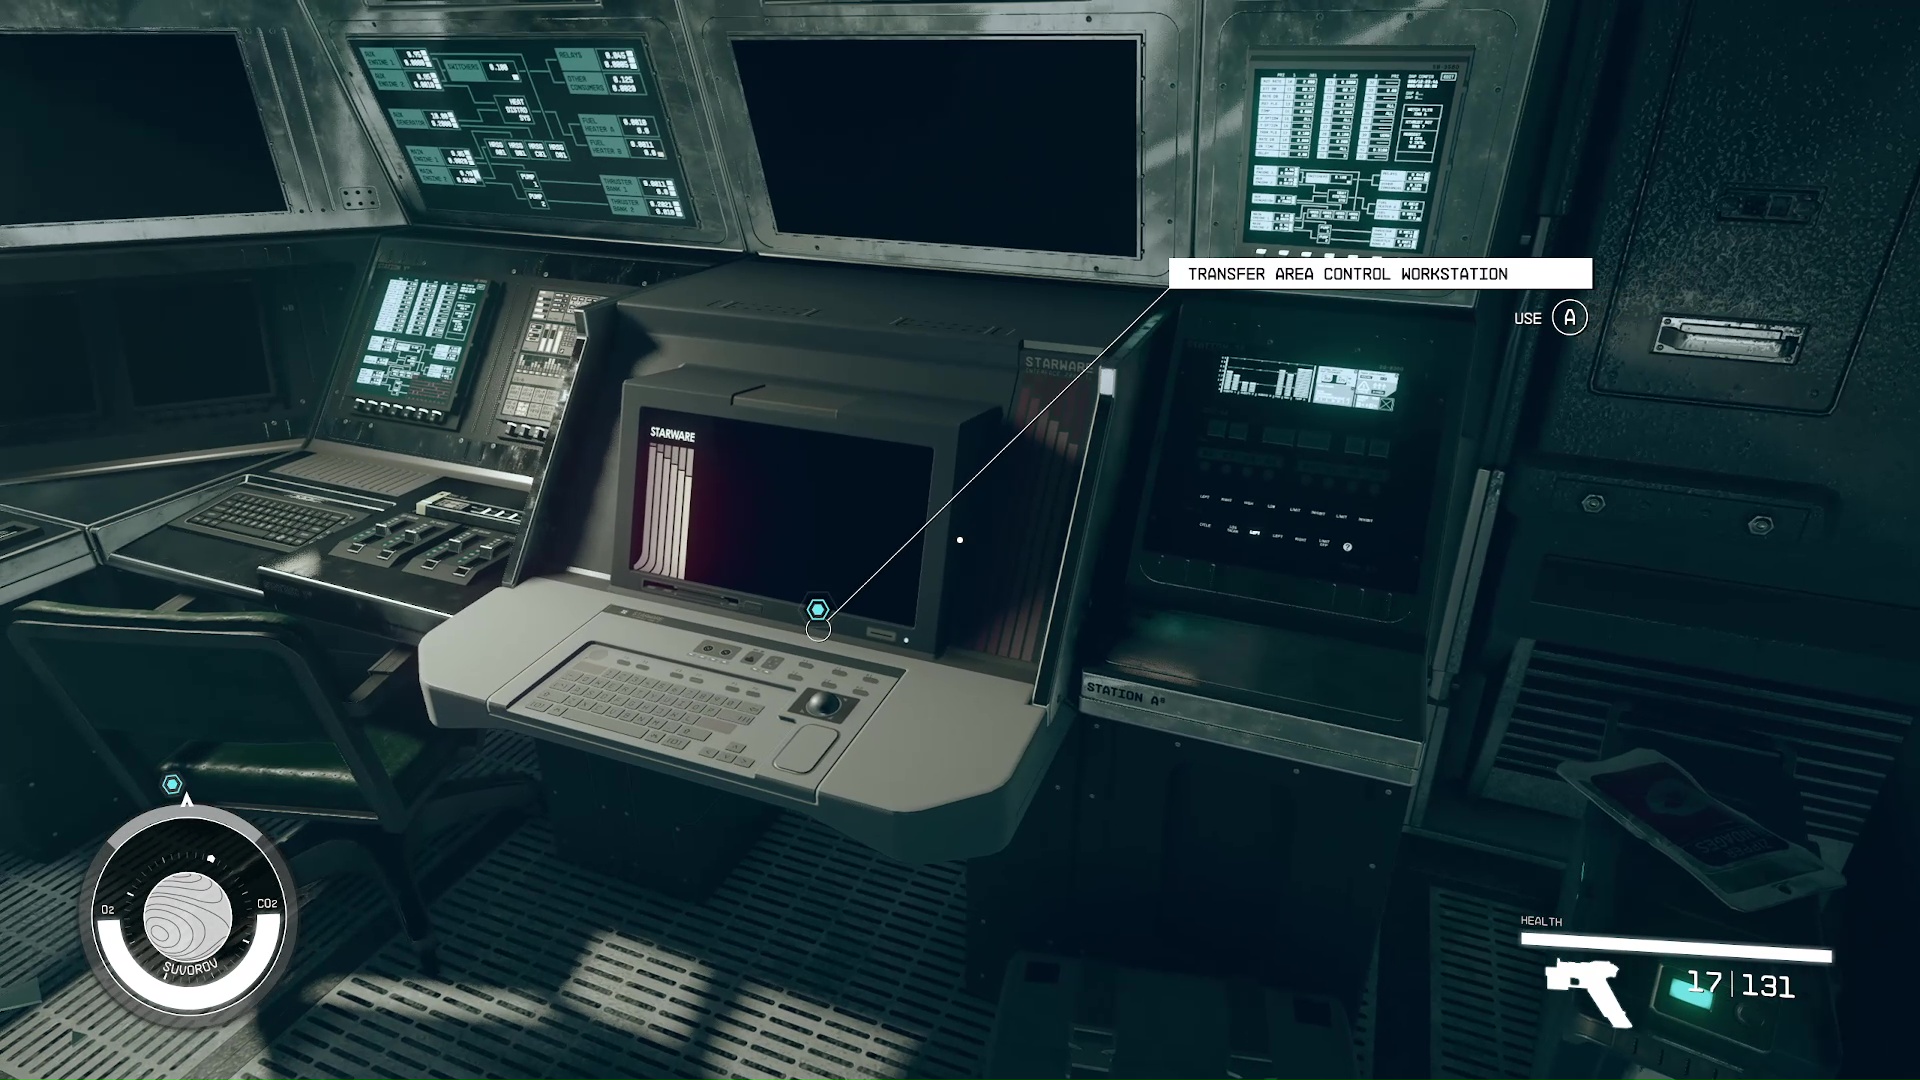
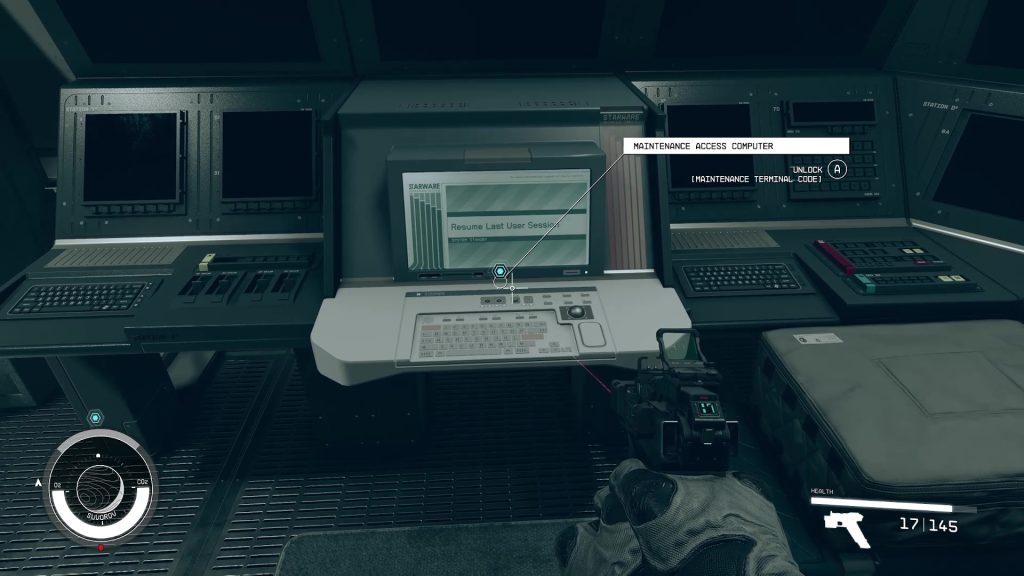
After speaking with Delgado and finding out the game plan, you will need to open the doors for him. The computer is just to the right of the intercom (Image 10). Use it, then go ‘Security Controls’–>’Override Lockdown’ (Image 11). This will also open the door next to the terminal that leads to D-Block.
Image 10Image 11
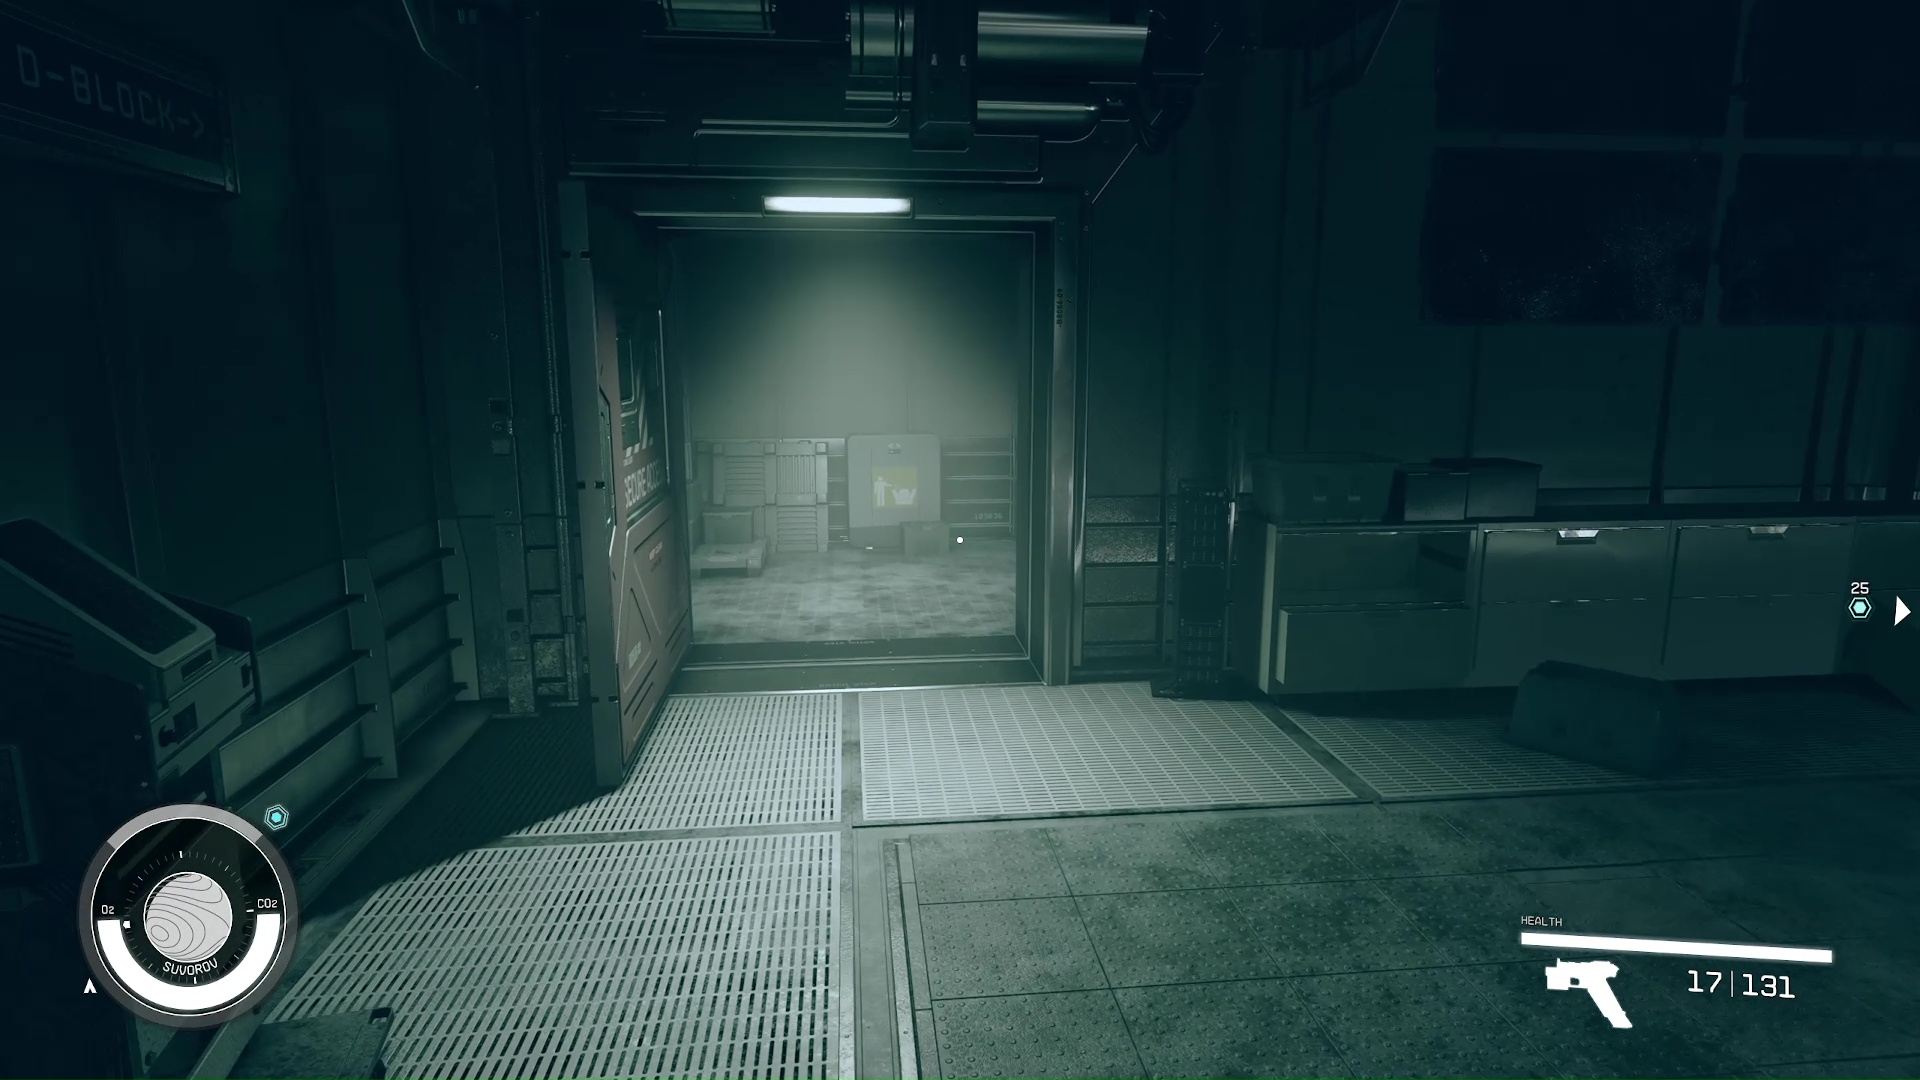
Proceed to D-Block
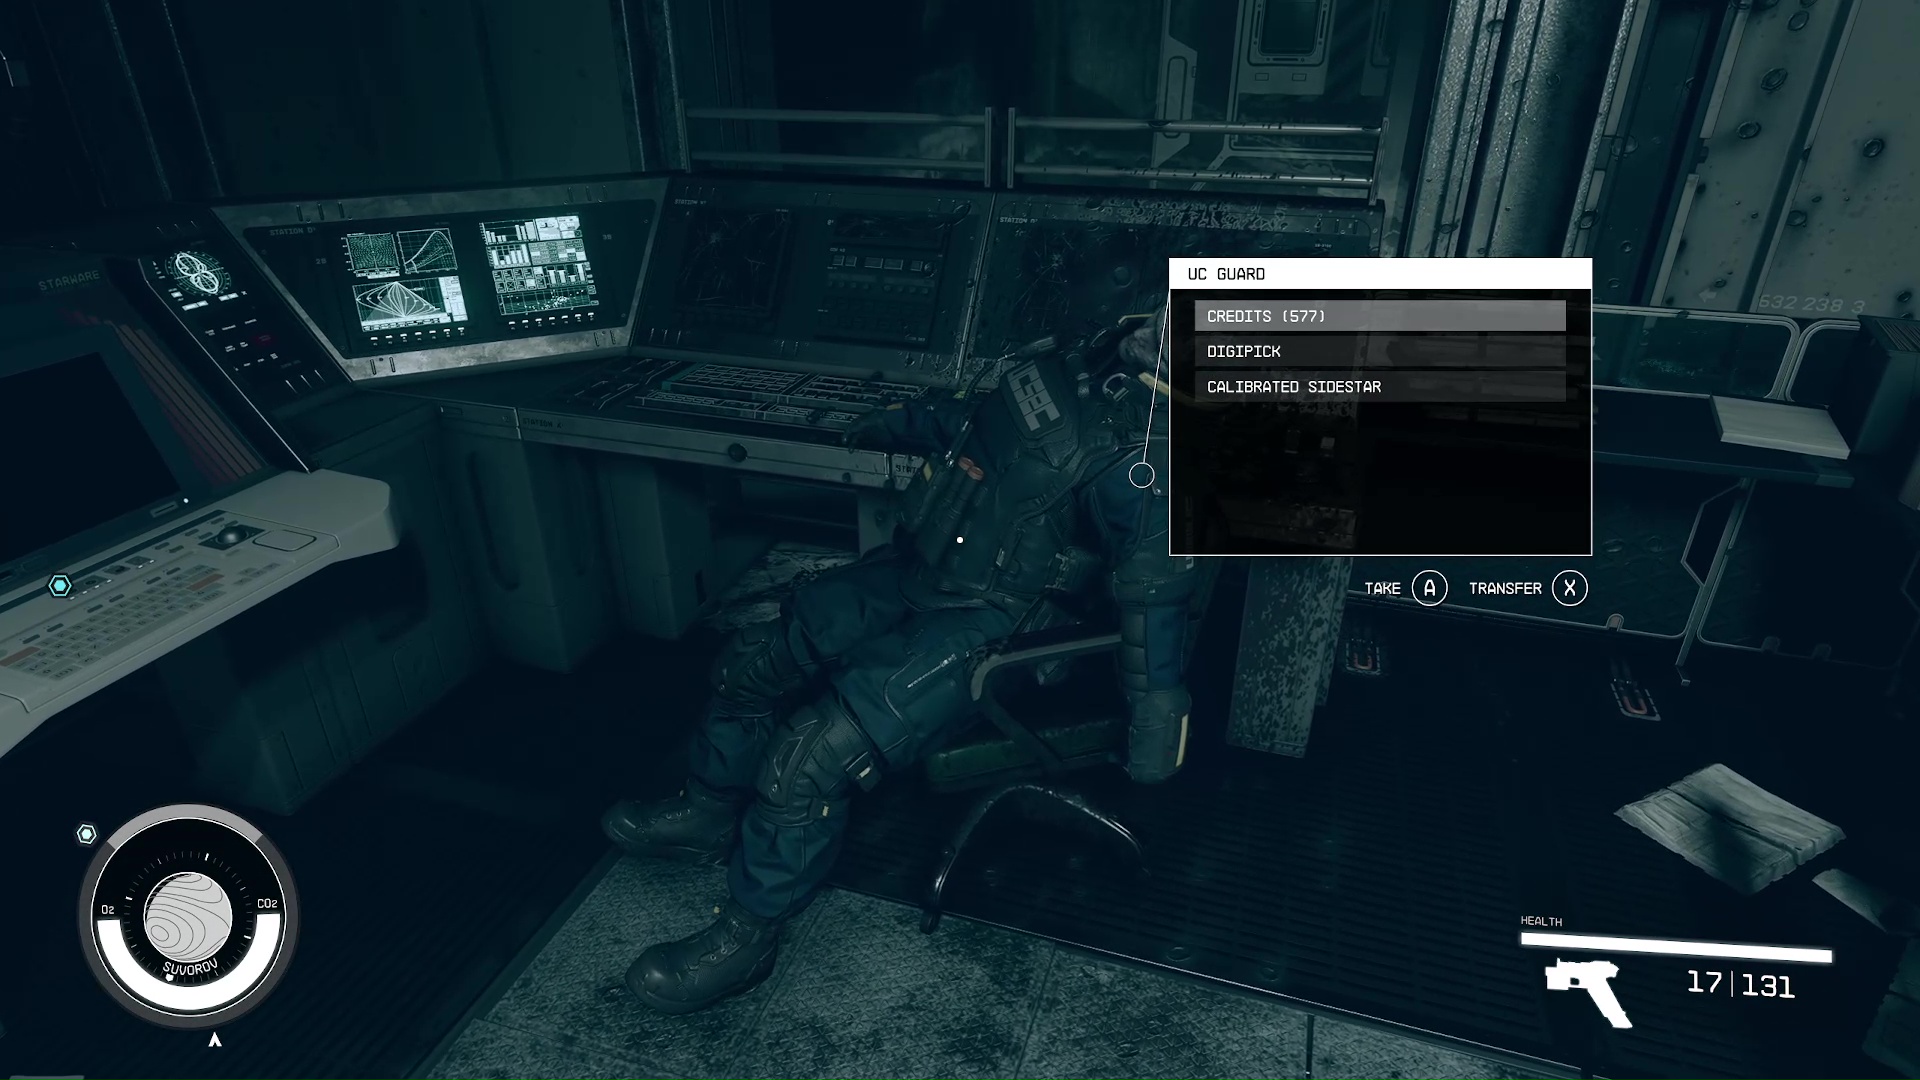
Head through the newly-opened door, and follow the path (Image 12). You’ll come to an intake room with a dead guard at his computer. It’s worth noting that you will be finding a plethora of dead guards, and it’s always a good idea to take their stuff, since it’s mostly .27 Caliber ammo and credits (Image 13).
Image 12Image 13
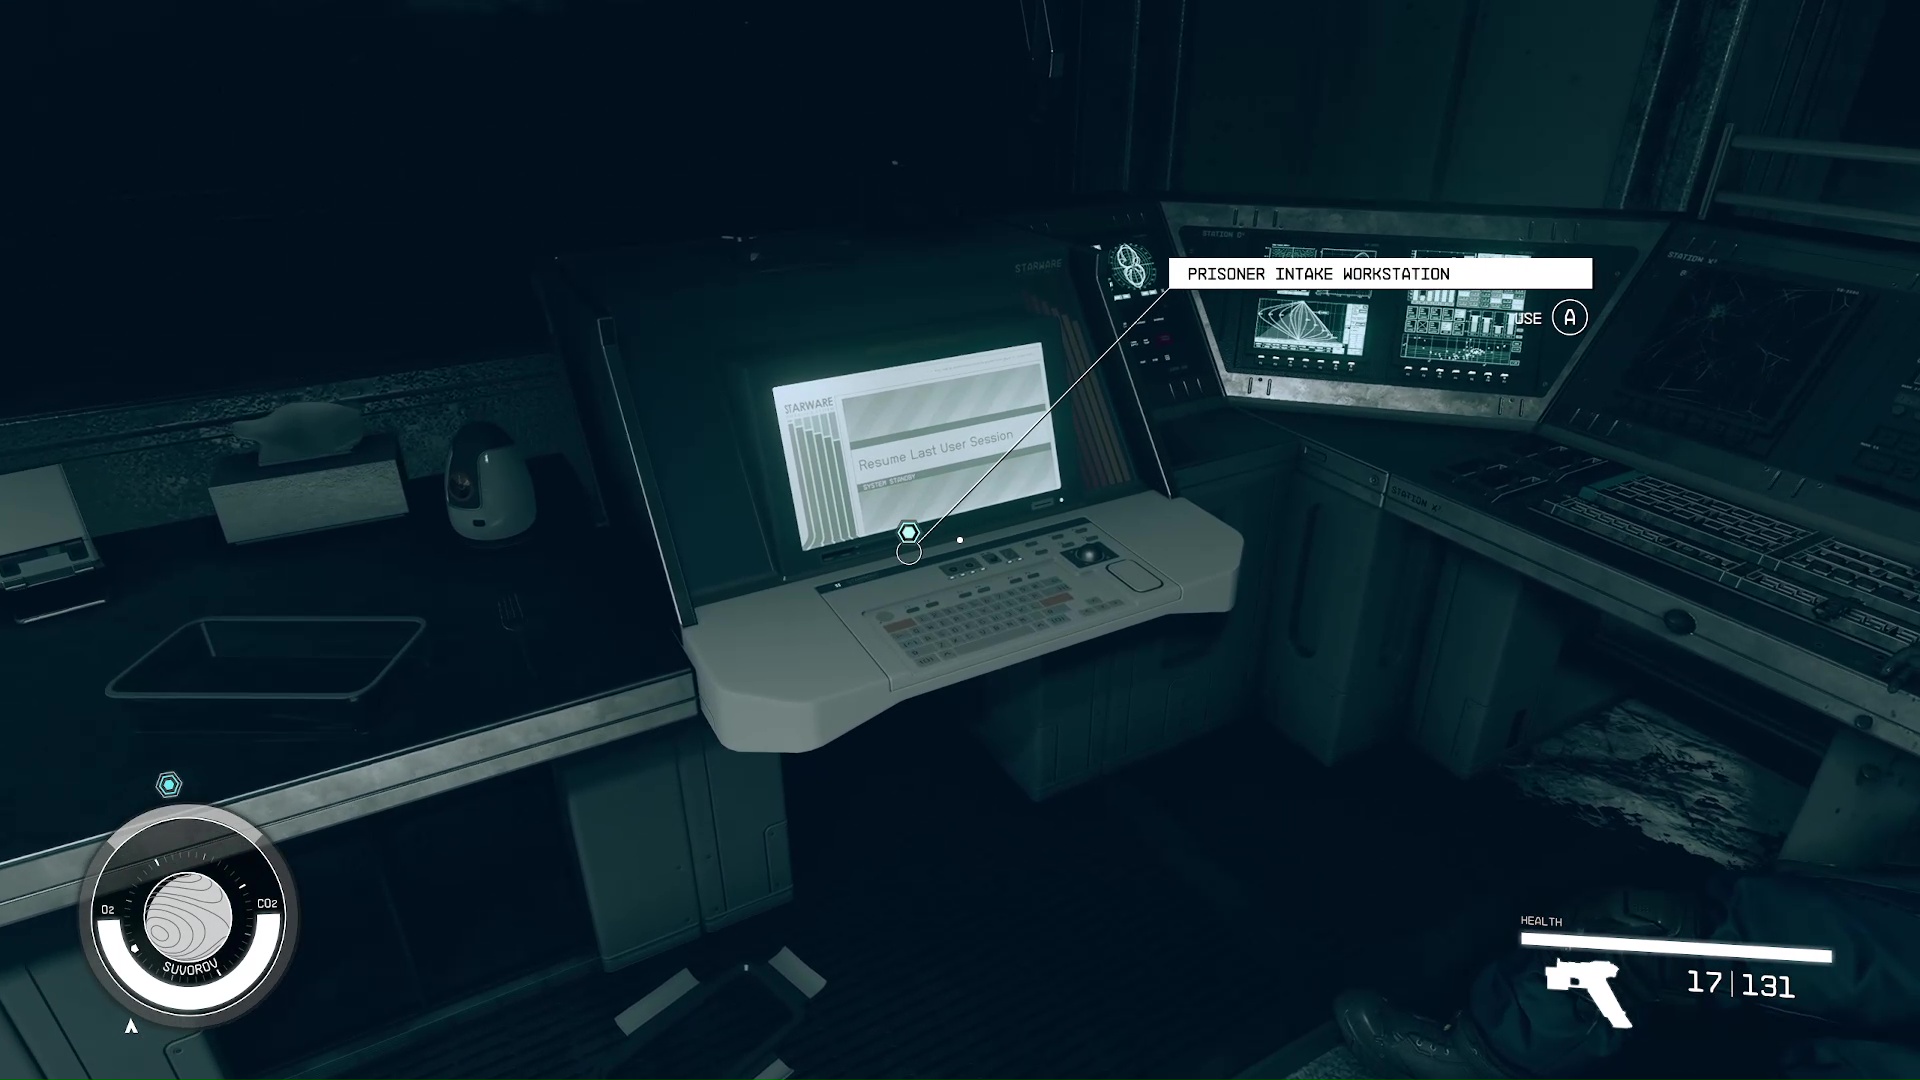
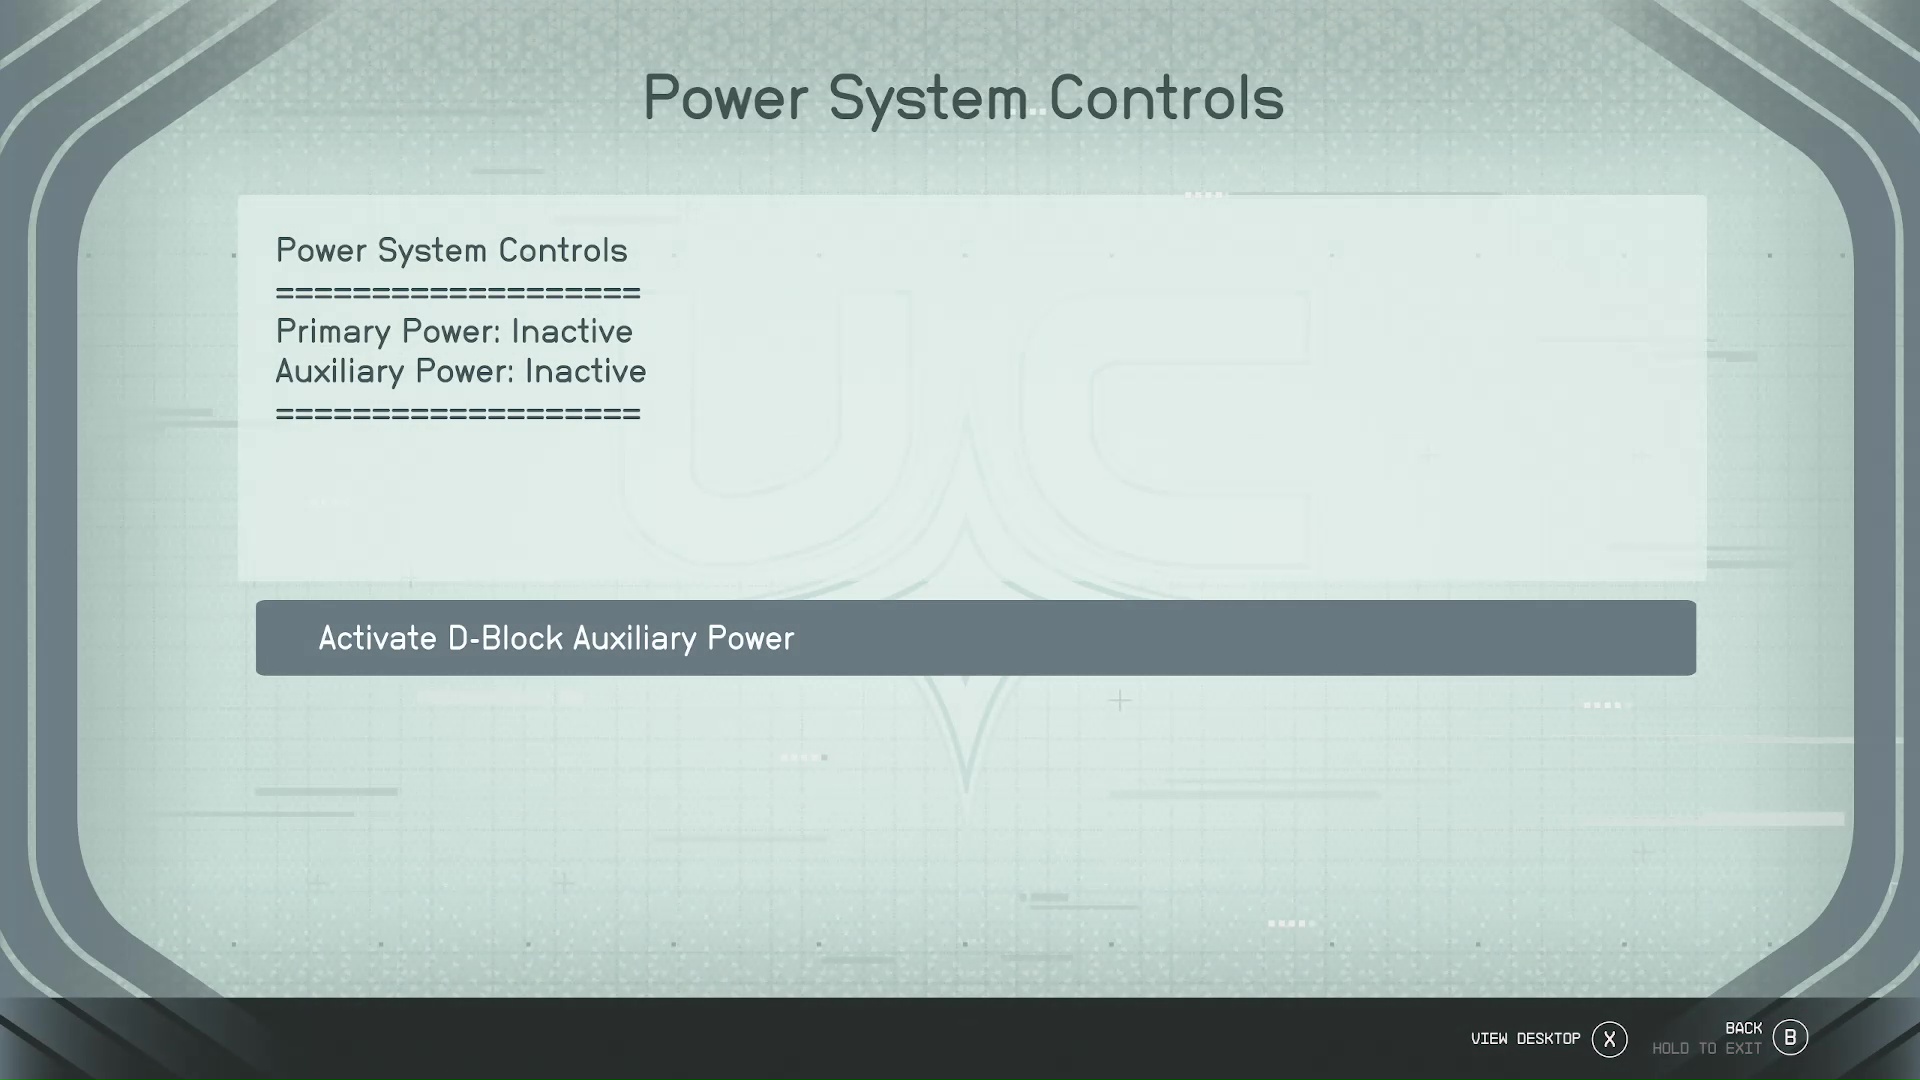
Your mission marker will hone in on the Prisoner Intake Workstation (Image 14). Head over to it and select ‘Power System Controls’–>’Activate D-Block Auxiliary Power’ (Image 15). This will turn on the lights in the room through the glass, and allow you to continue.
Image 14Image 15
Enter D-Block’s Guard Tower
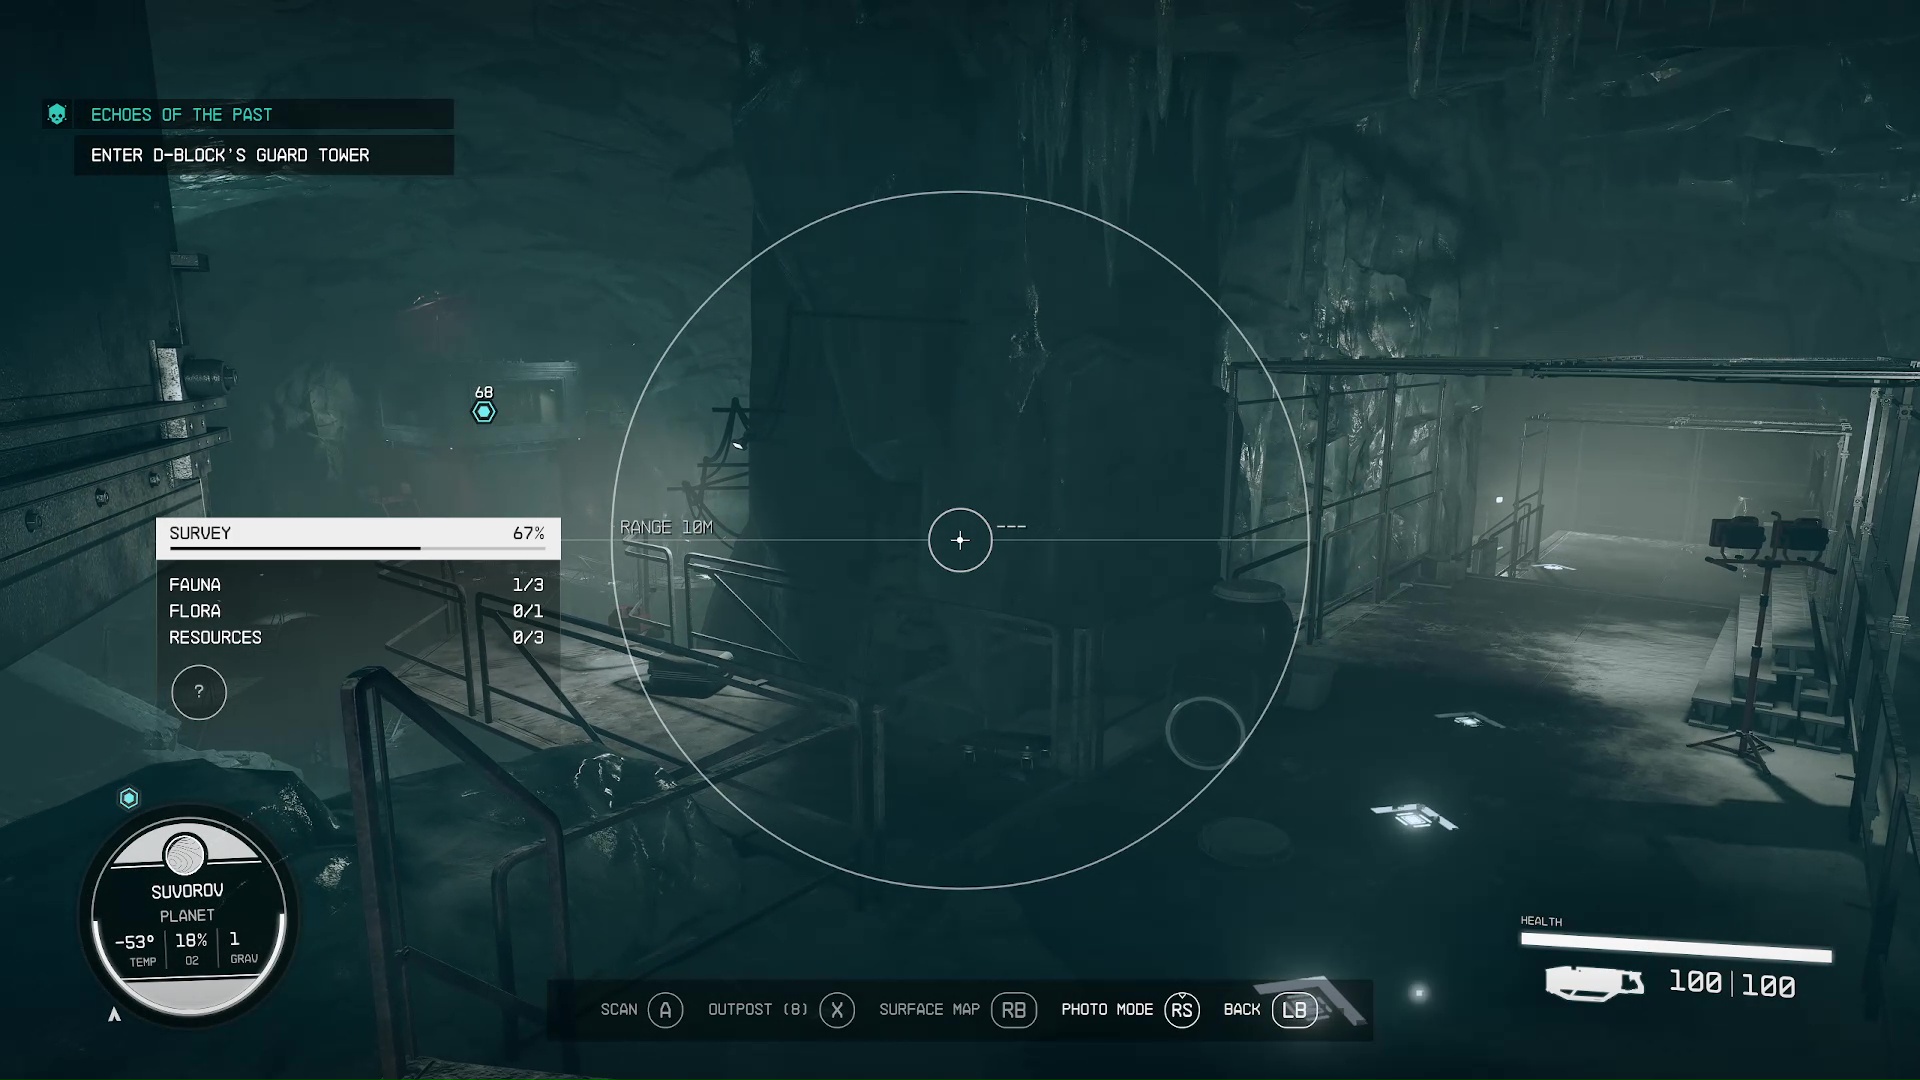
When you go into the next area, Mathis will note that there’s a guard tower across the way (Image 16). Go out the door to your right, then head there. This area is a labyrinth with a lot of stairs and enemies. If you ever get turned around, you can use your scanner to lead you to your current objective (Image 17).
Image 16Image 17
You can just follow your scanner to the tower, or you can use your jetpack to boost along the dilapidated catwalks. Beware, there will be a lot of crawly enemies.
Speak to Mathis and Locate Jasper Kryx’s Cell
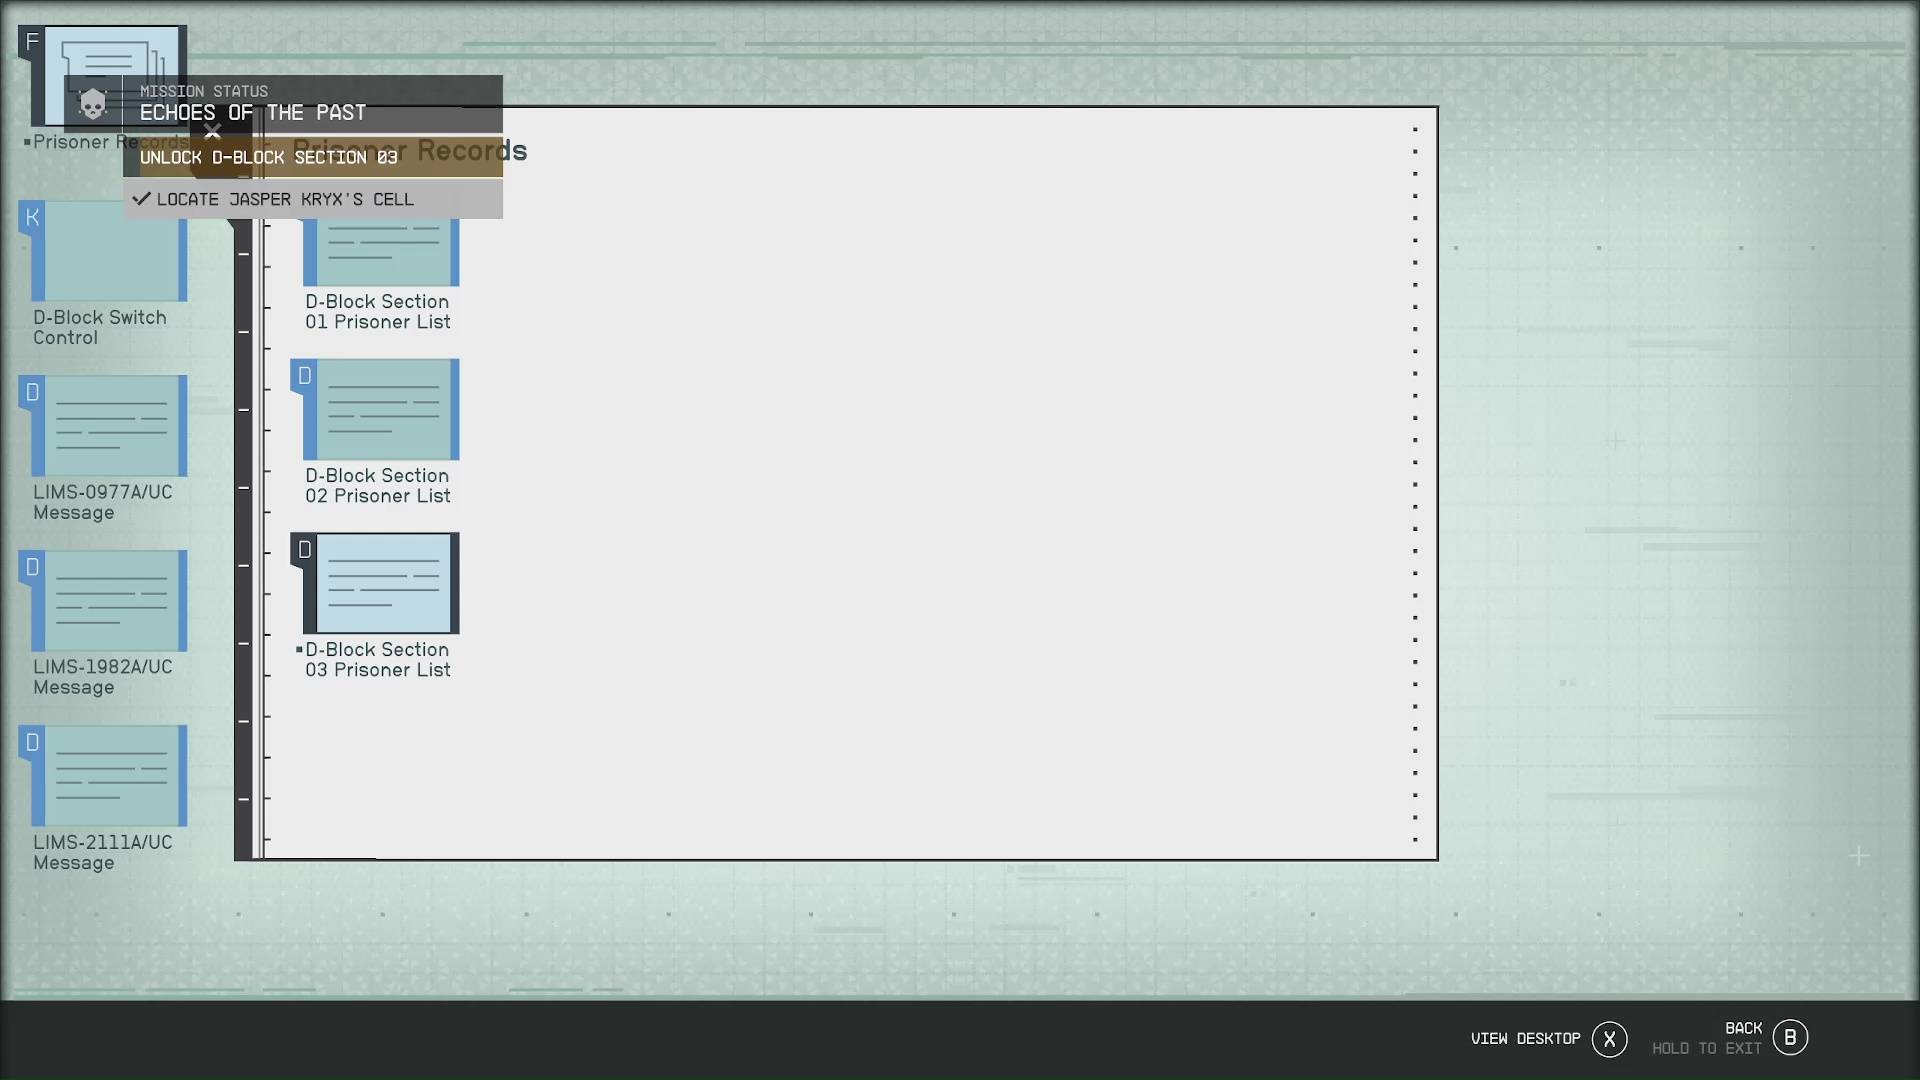
Arriving at the guard tower, Mathis will bring up his plot again (see The Mathis Mutiny section above). Answer however you see fit, and you’ll get a new mission objective: locate Jasper Kryx’s cell. Head over to the computer in the guard tower (Image 18). Navigate on the computer as follows: ‘Prisoner Records’–>’D-Block Section 3 Prisoner List’; now you’ll know the cell you need to search (Image 19).
Image 18Image 19
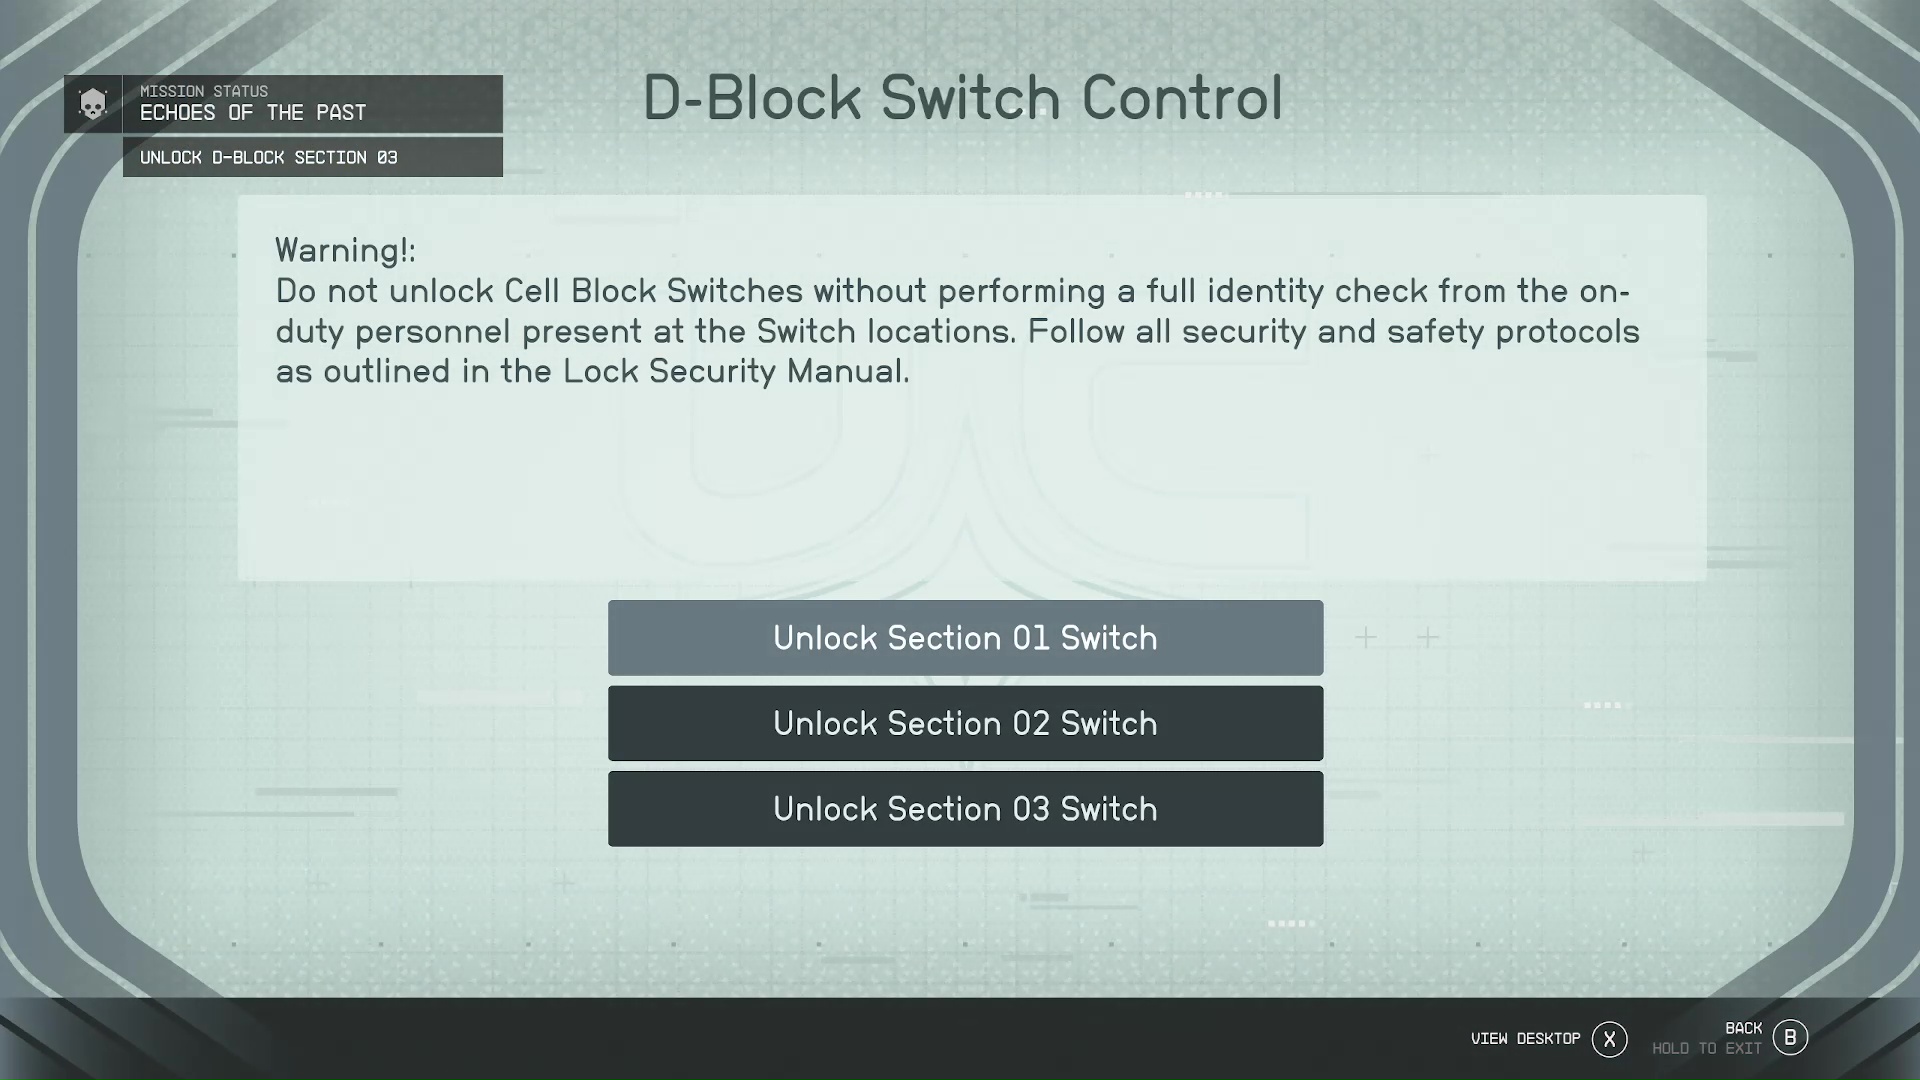
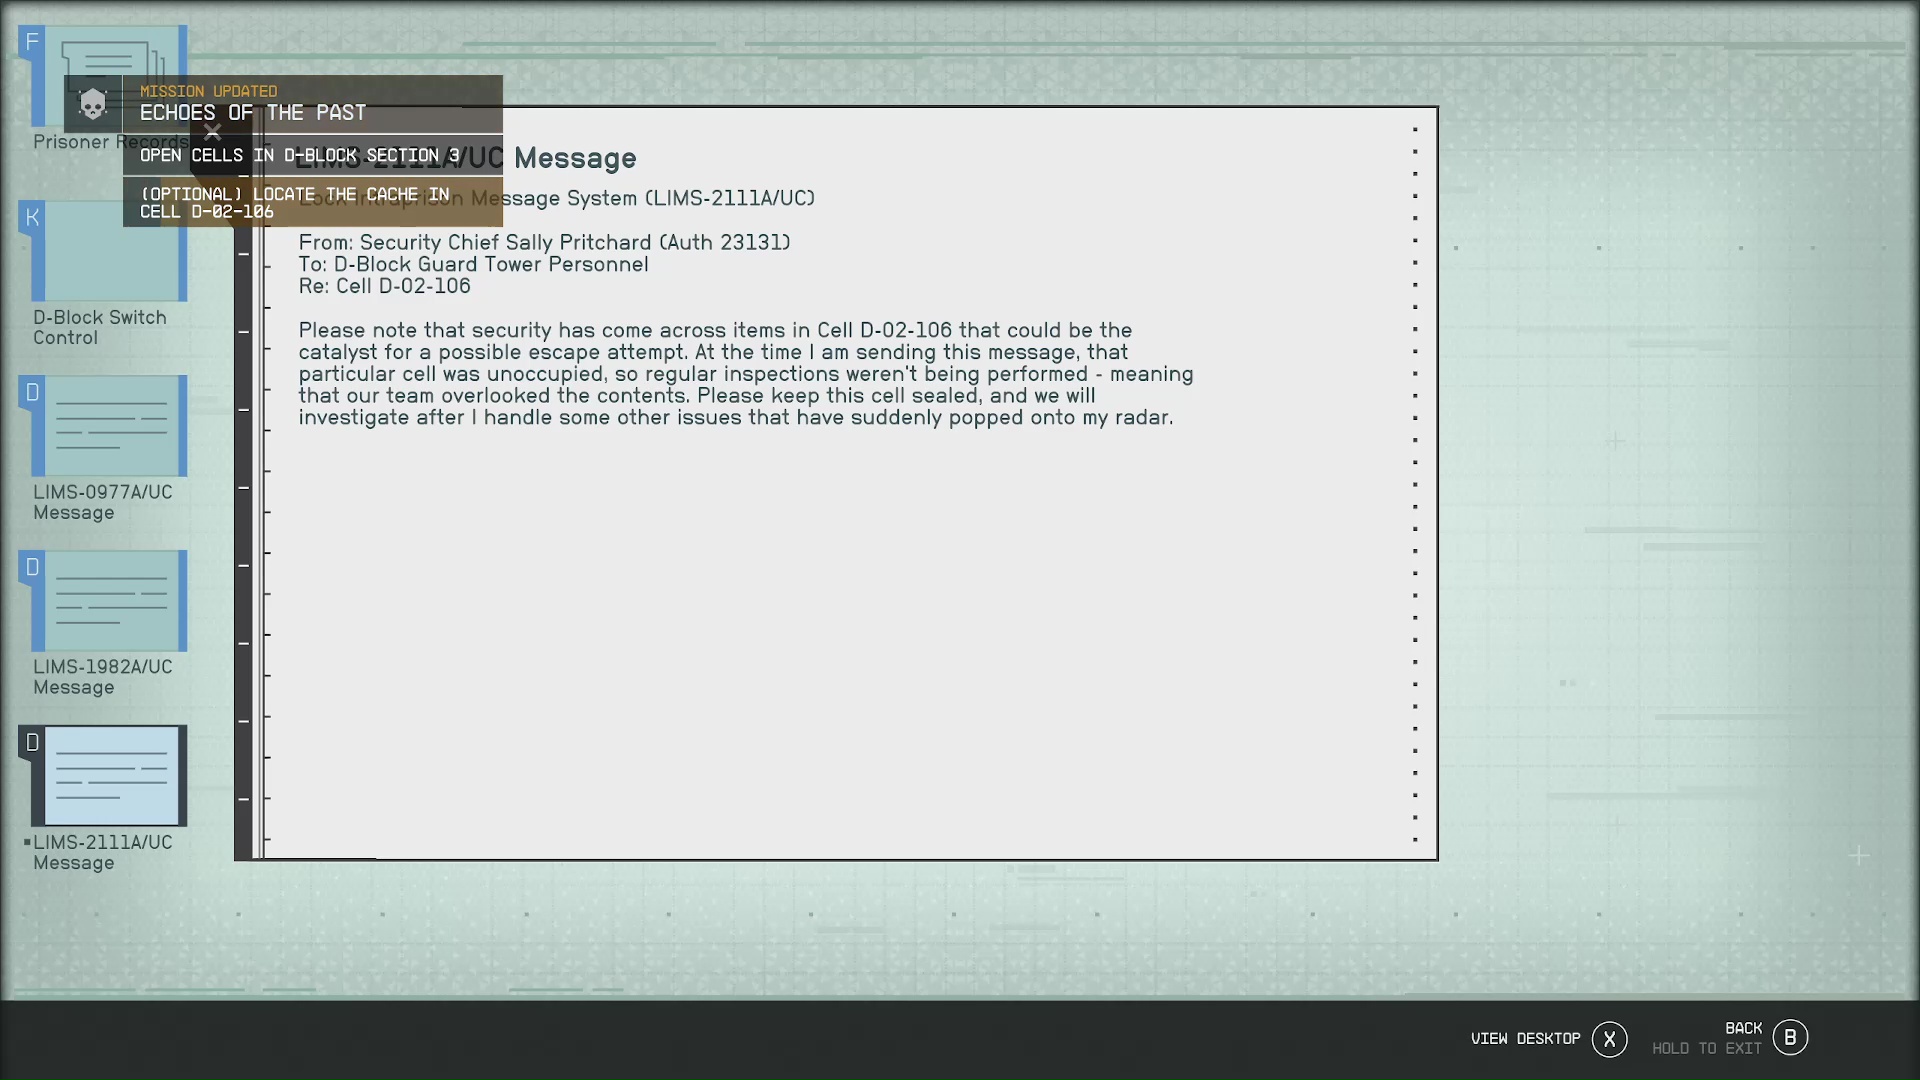
However, you still need to unlock D-Block section 3 on the computer. On the computer’s main page, click on ‘D-Block Switch Control’, then unlock all three of the sections (Image 20). Also, if you go to last message on the main page [LIMS-2111A/UC Message], then you will receive an optional objective for locating a cache of weapons in a different cell (Image 21).
Image 20Image 21
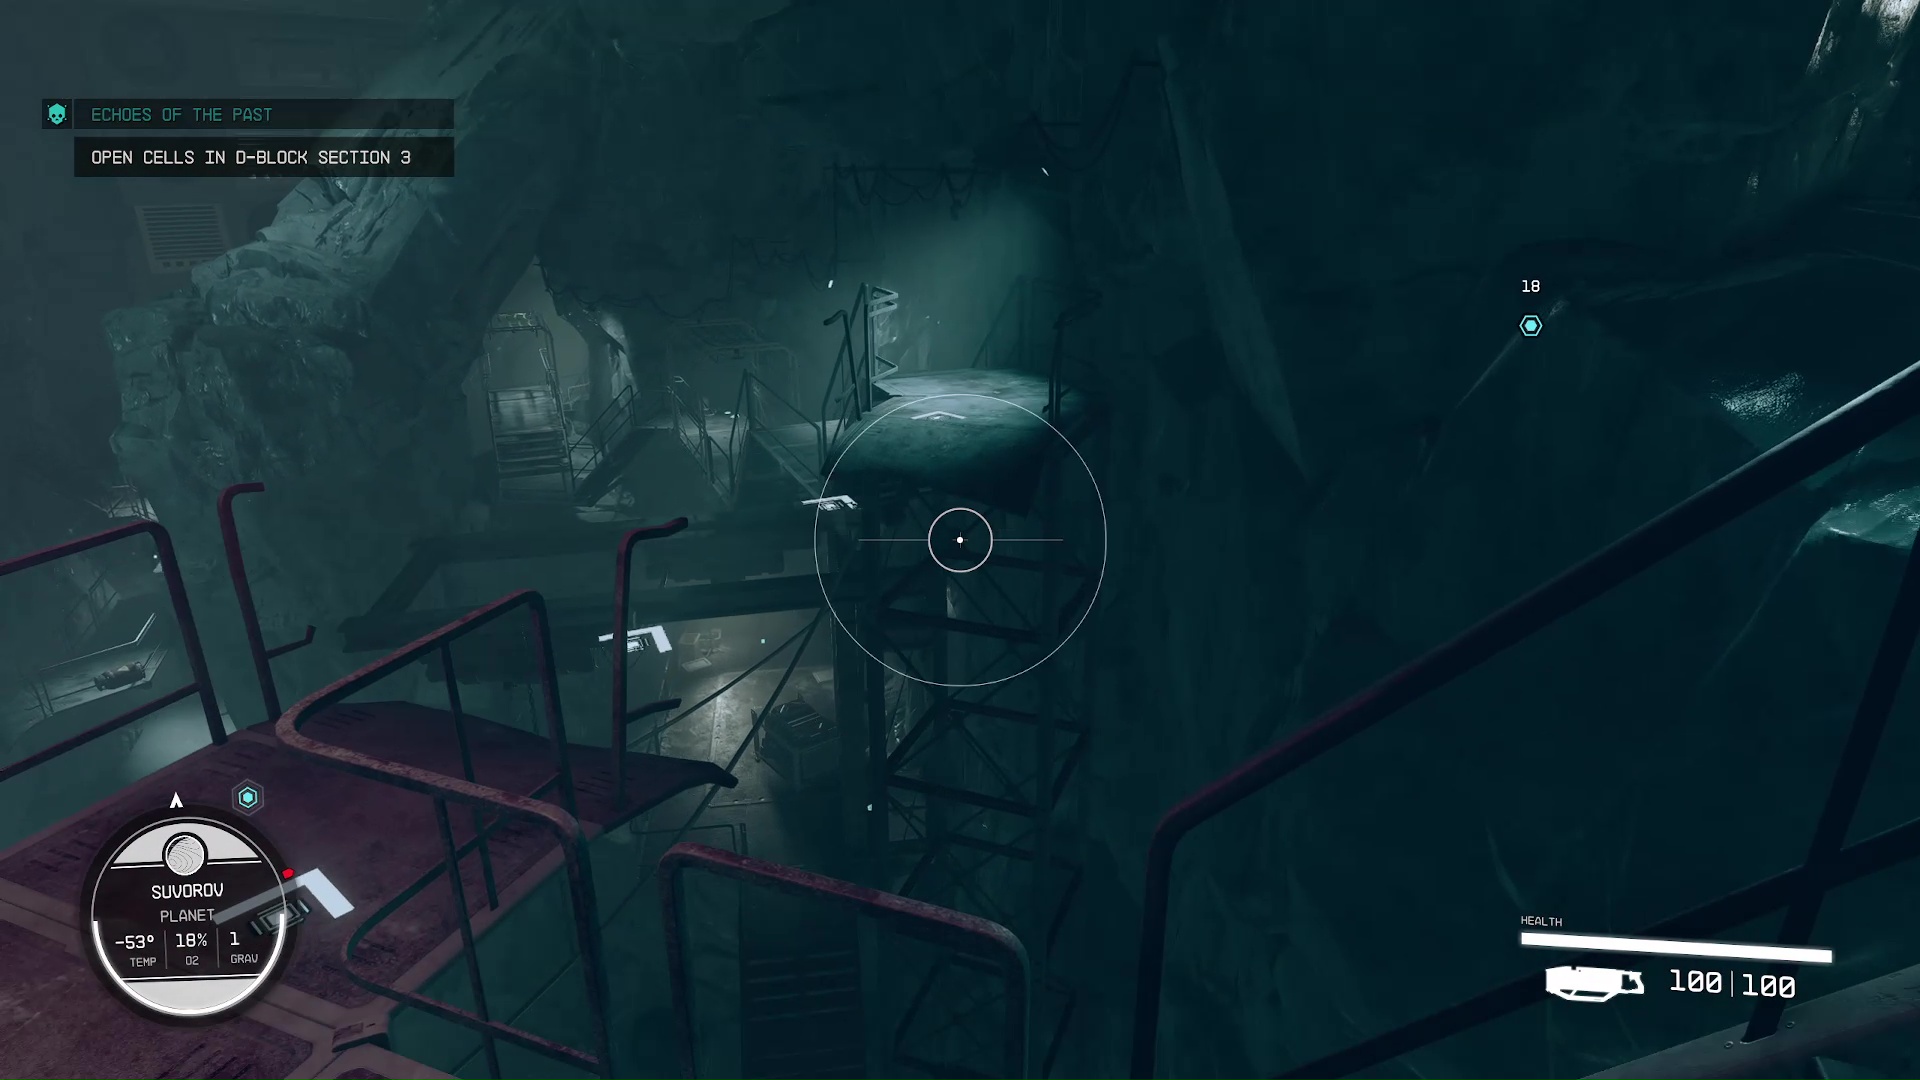
Open Cells in D-Block 03
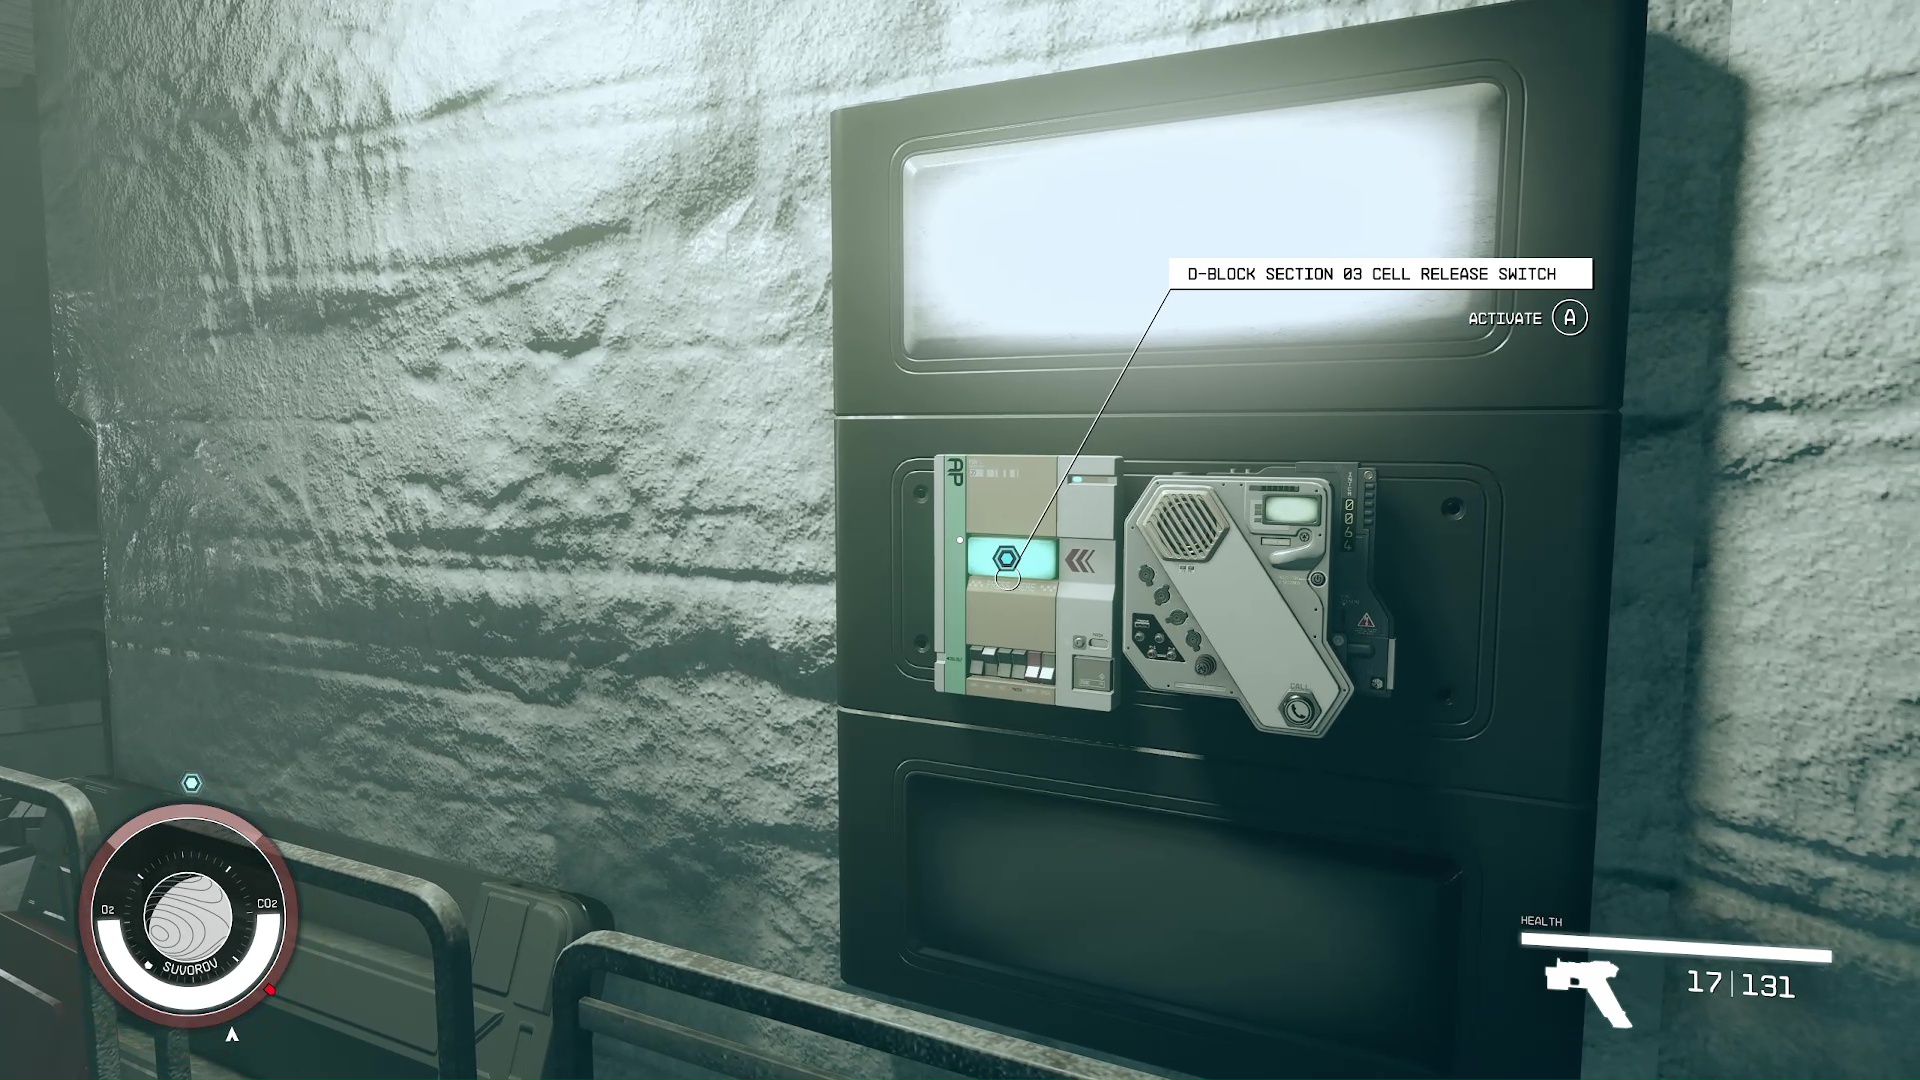
The plan is to search Jasper Kryx’s cell for clues, so leave the guard tower and head down the stairs. Next, there will be a broken catwalk bridge (Image 22). Jump the gap, take your next right, then you’ll be at the Cell Release Switch (Image 23); activate it to open the cells.
Image 22Image 23
There are two more of these switches that you can now use to open all the cells in the block, so don’t waste any digipicks on the cell doors. Another switch is by where you first came into the block (see image 17 above). The last switch is at a guard station by the cafeteria on a lower level by where you came in – we’ll need to open that one later.
Search Kryx’s Cell for Information
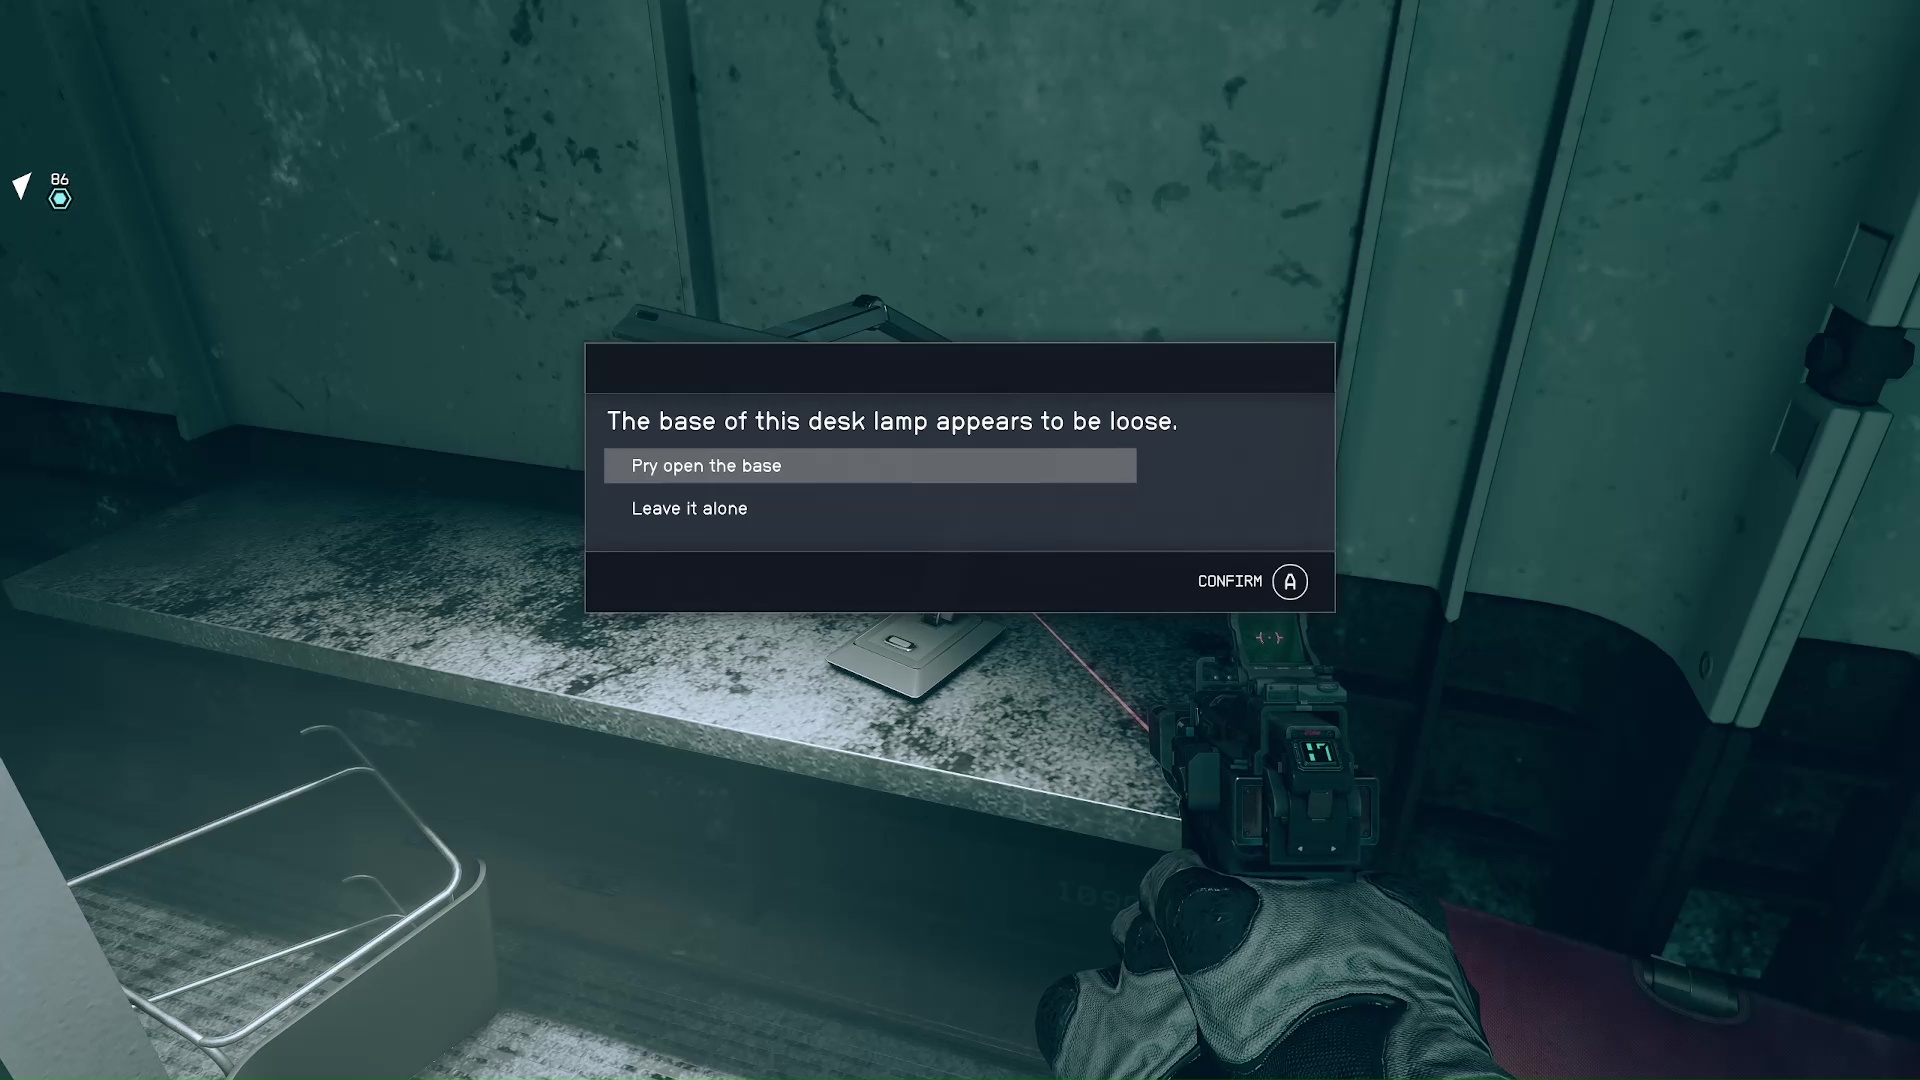
After unlocking the block, turn to your left — Kryx’s cell is the first one on the left. There is some ammunition and a few credits to grab here, but the objective is actually the lamp. Yes, the lamp. Select it, and you will be given the prompt to pry open the base (Image 24). Inside is a recording of Kryx giving more details on his escape plan.
Image 24
Locate the Cache in Cell D-02-106
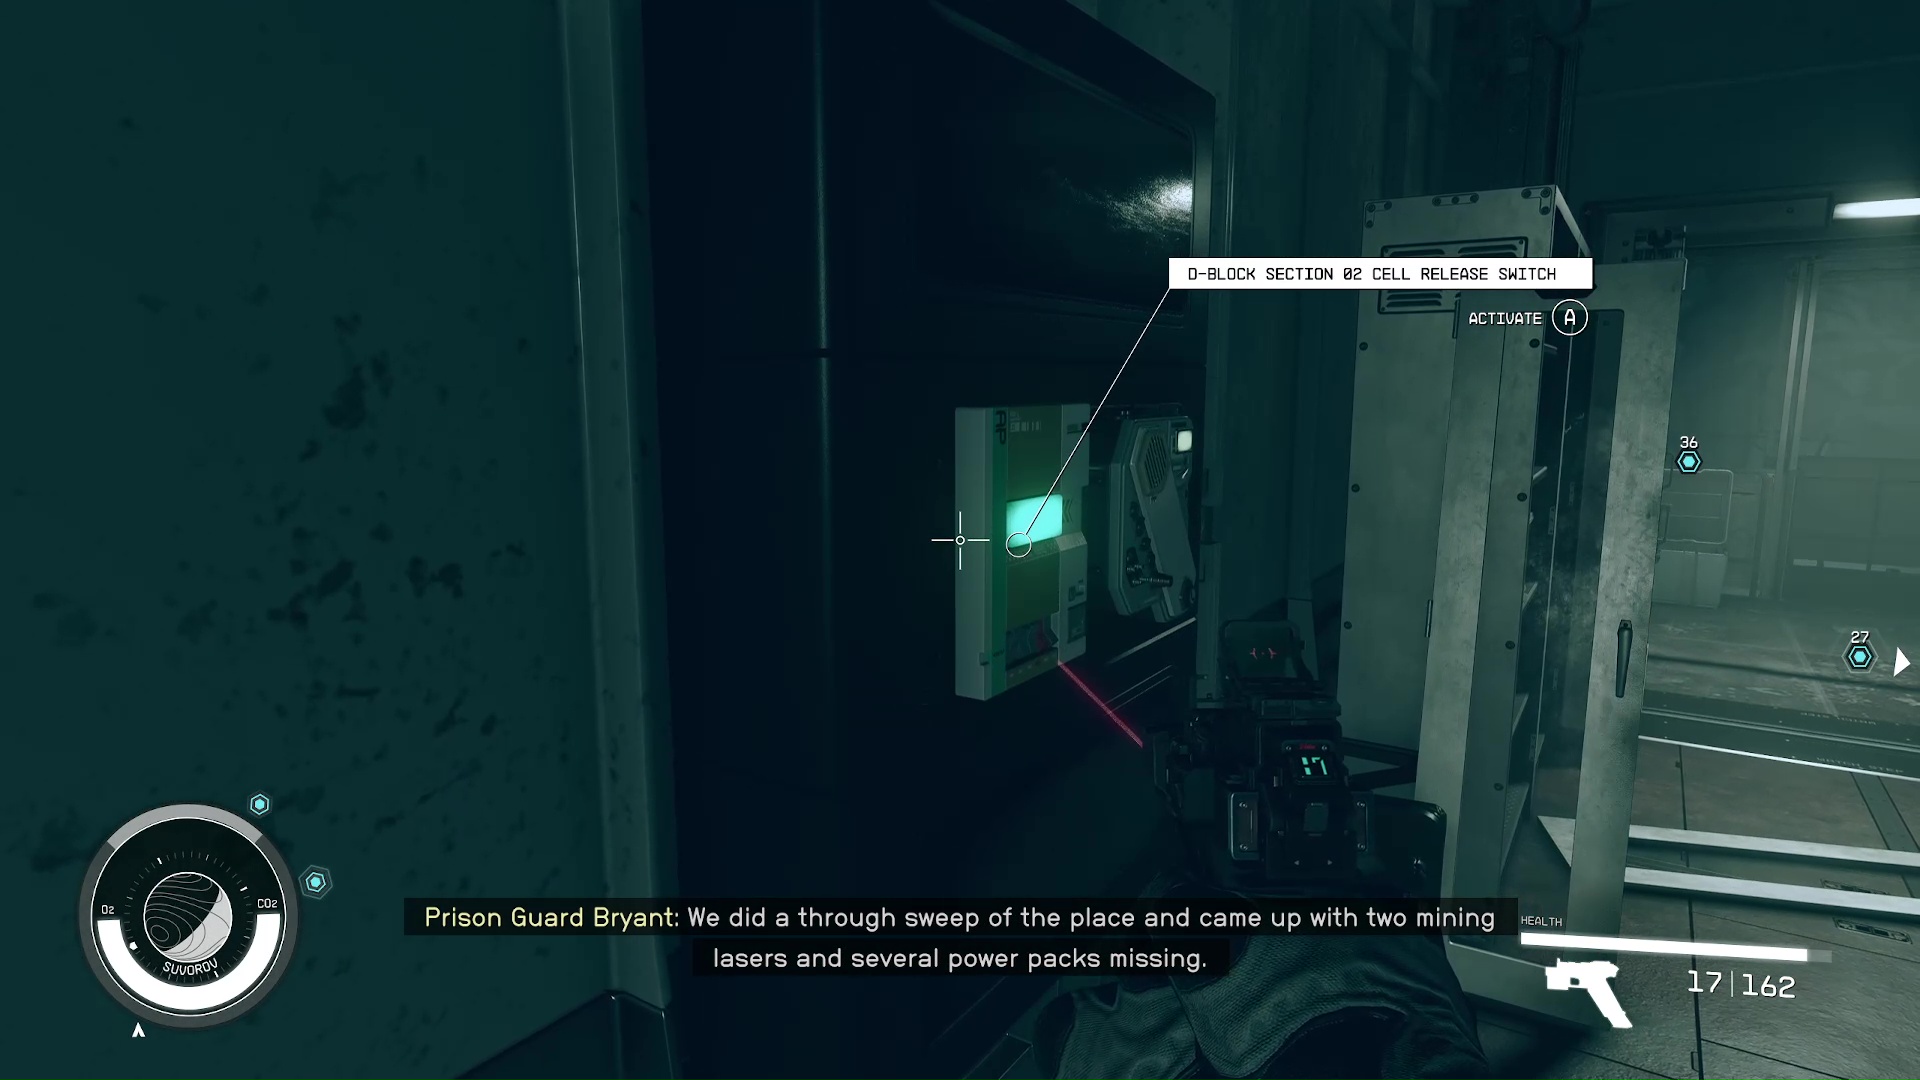
As the recording from the lamp plays, you can start moving over to the other side of the cell block, towards where you entered from. If you drop below the entrance (see Image 17 above), you’ll find the cafeteria. There is a small guard post overlooking the eating area. Inside, you will find the switch to unlock the section 2 cells (Image 25).
Image 25
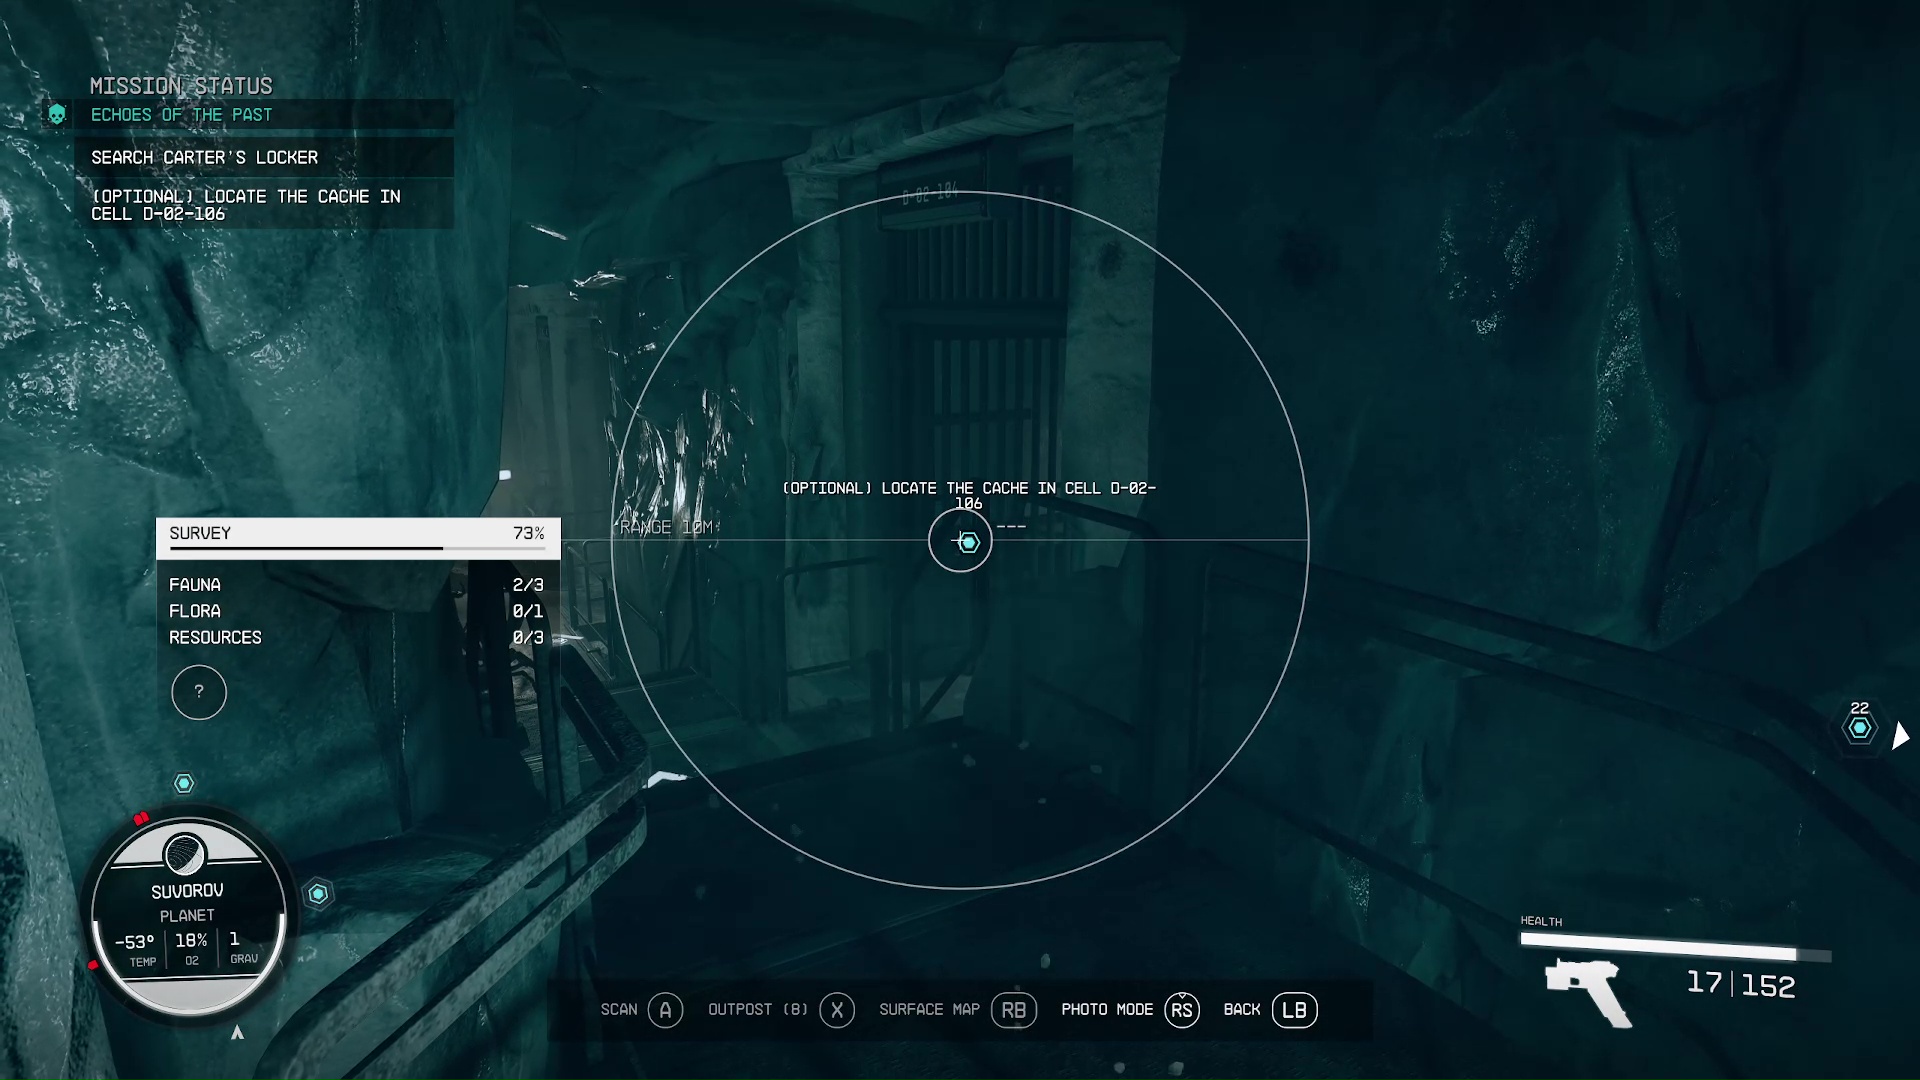
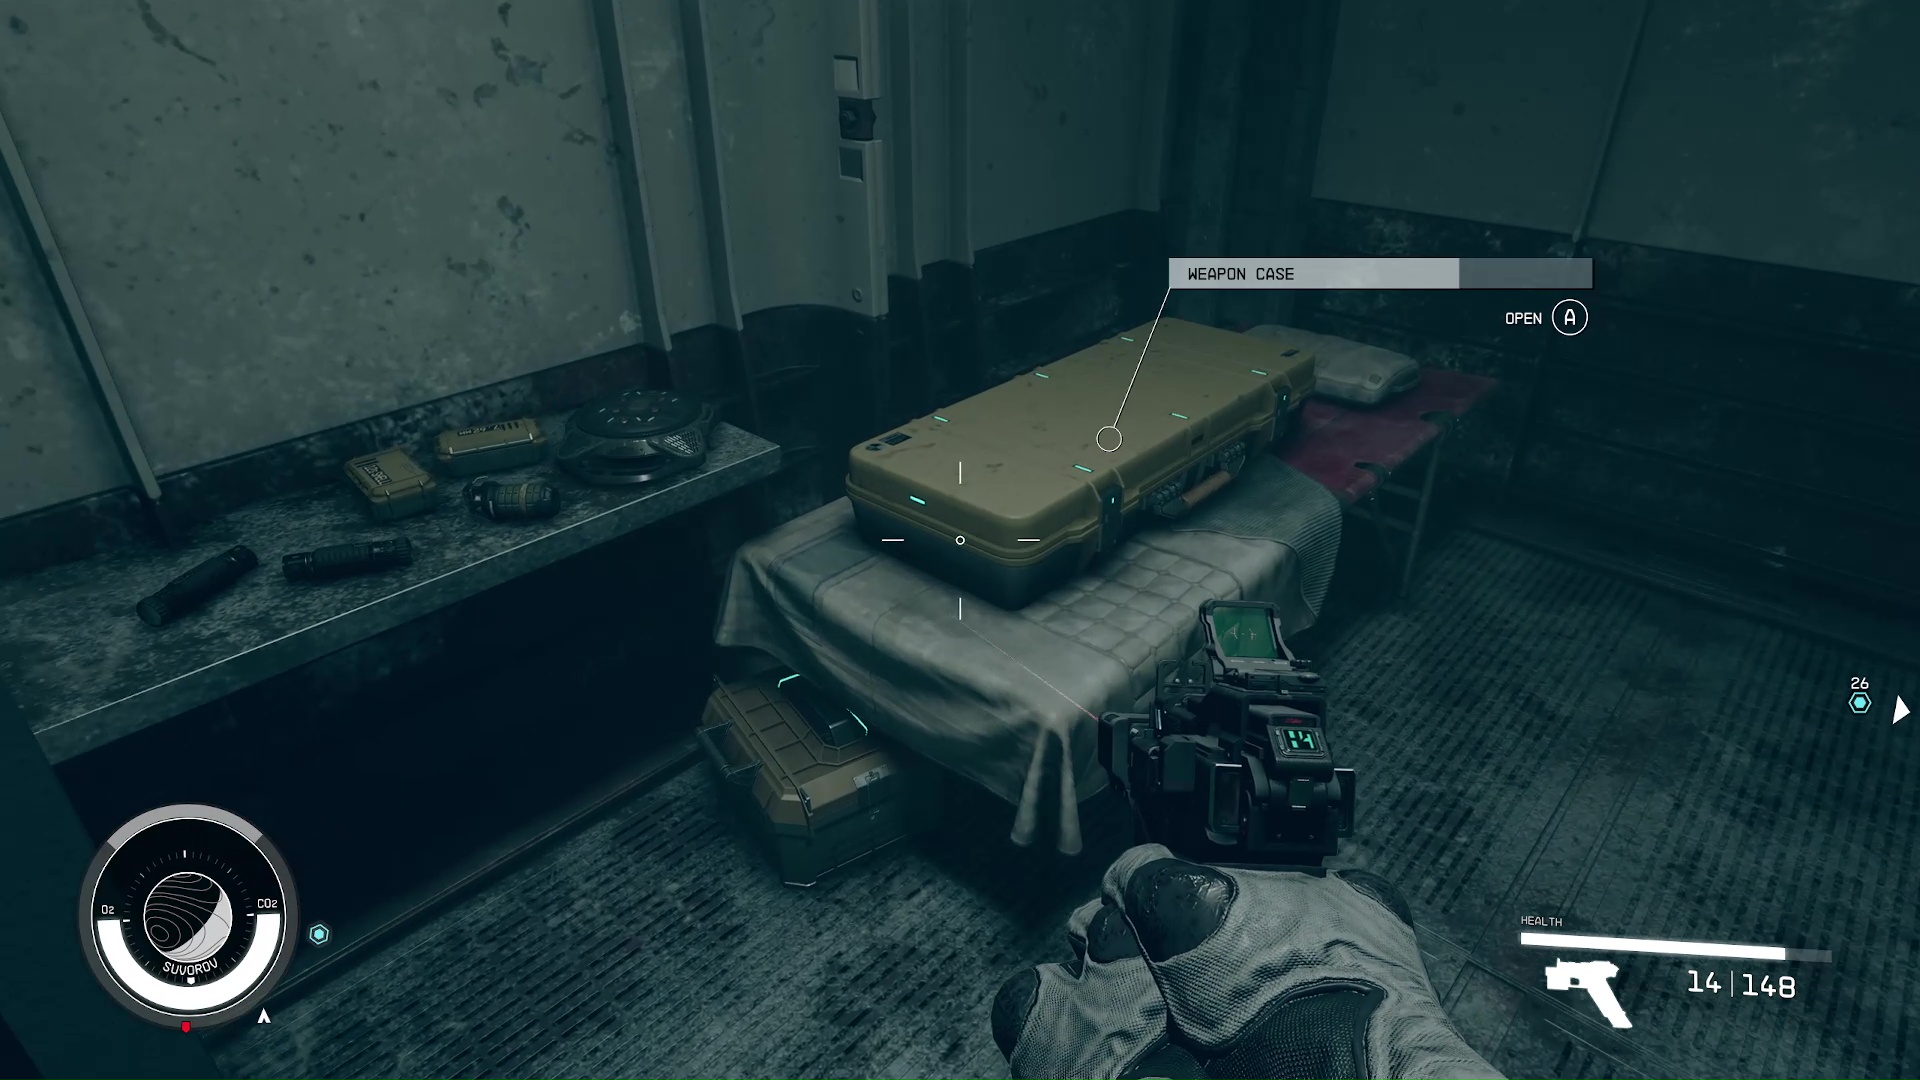
From there, follow the quest marker to find the hidden cache; use the scanner to differentiate this optional marker from the main one (Image 26). At the cell, there will be a weapon case, some grenades, and ammunition to loot (Image 27).
Image 26Image 27
Search Carter’s Locker
After you’ve listened to the recording that you found in the lamp, you’ll know the code to a locker in the shower area that has more information. The shower room is actually very close to where you found the secret weapon cache. Again, use your scanner if you get lost, but it is right next to the cafeteria (Image 28).
Image 28
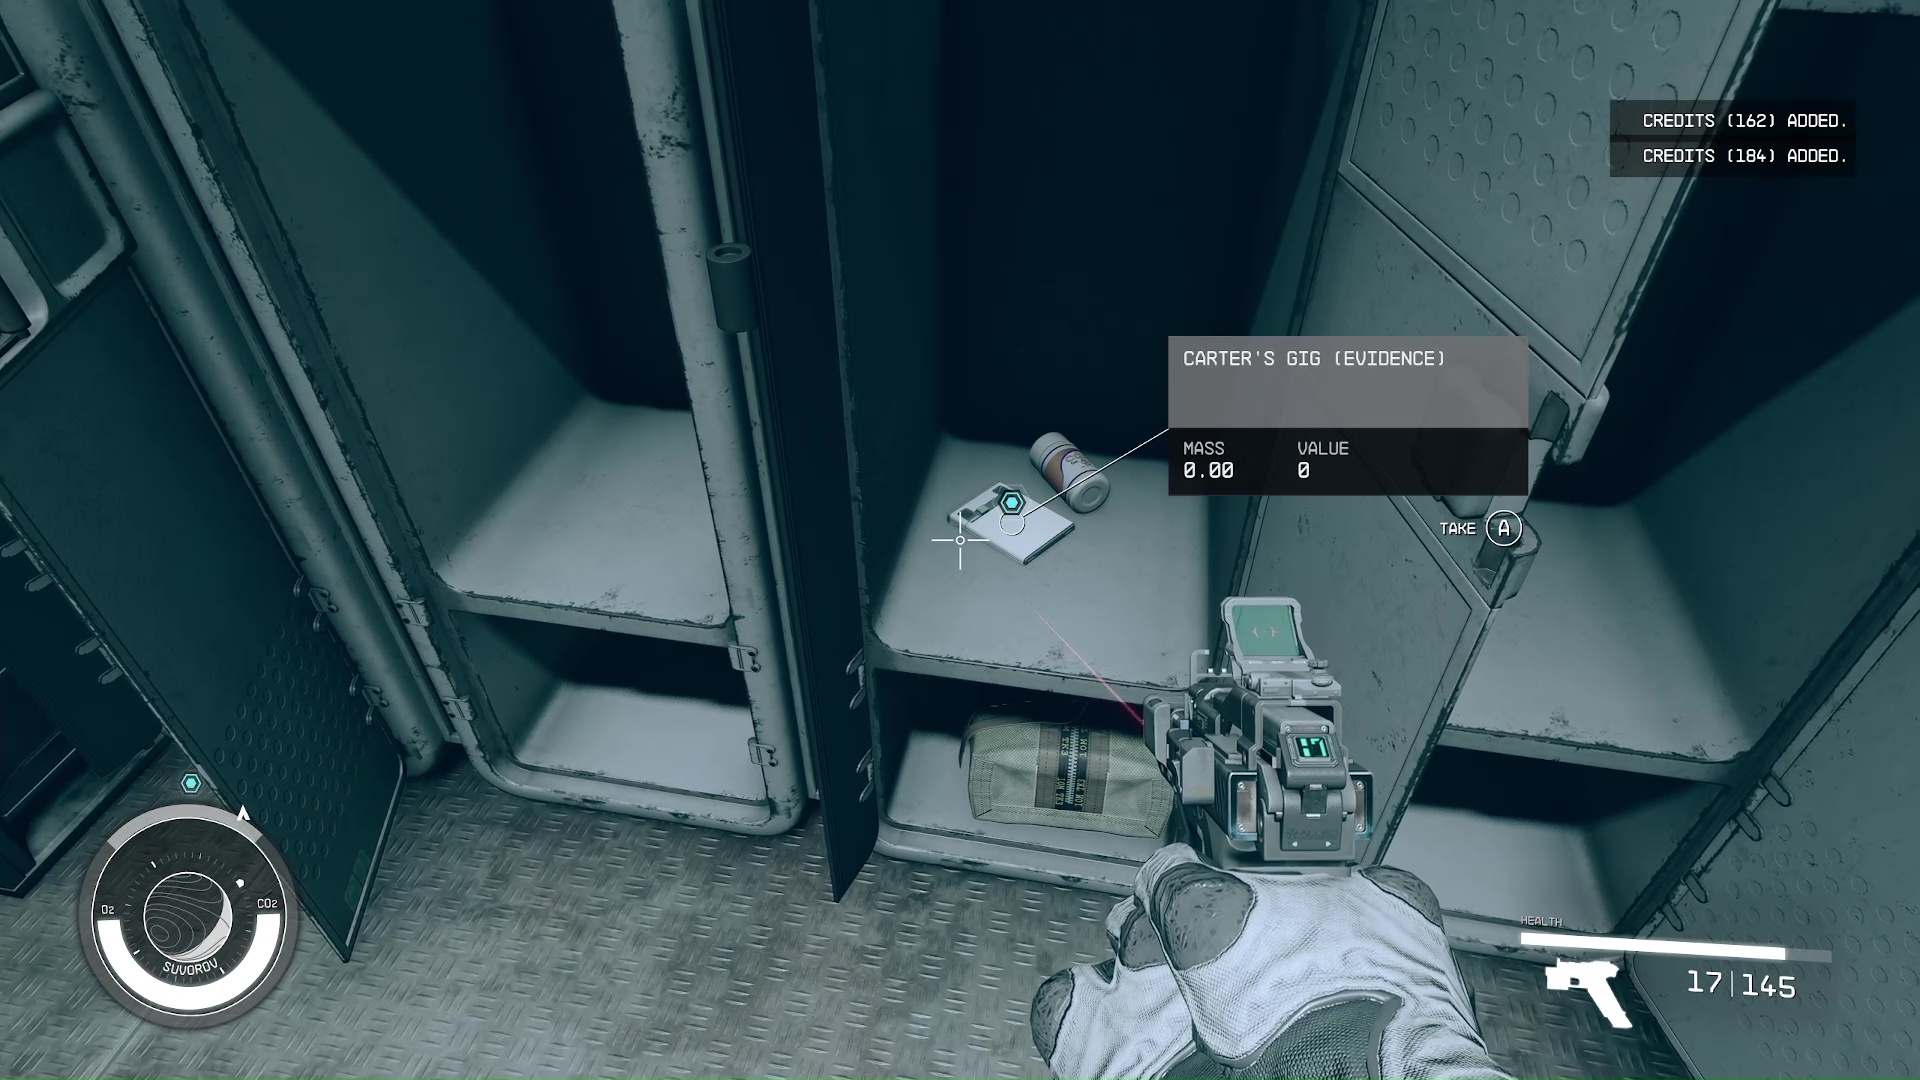
Inside the showers is the locker on the right, which will automatically open since you have the code from the lamp’s recording. You’ll find a piece of evidence inside (Image 29), and when you listen to it, you’ll receive the code for the Utility Room — the place where the prisoners tunneled to the armory and broke out.
Image 29
Access Kryx’s Escape Tunnel
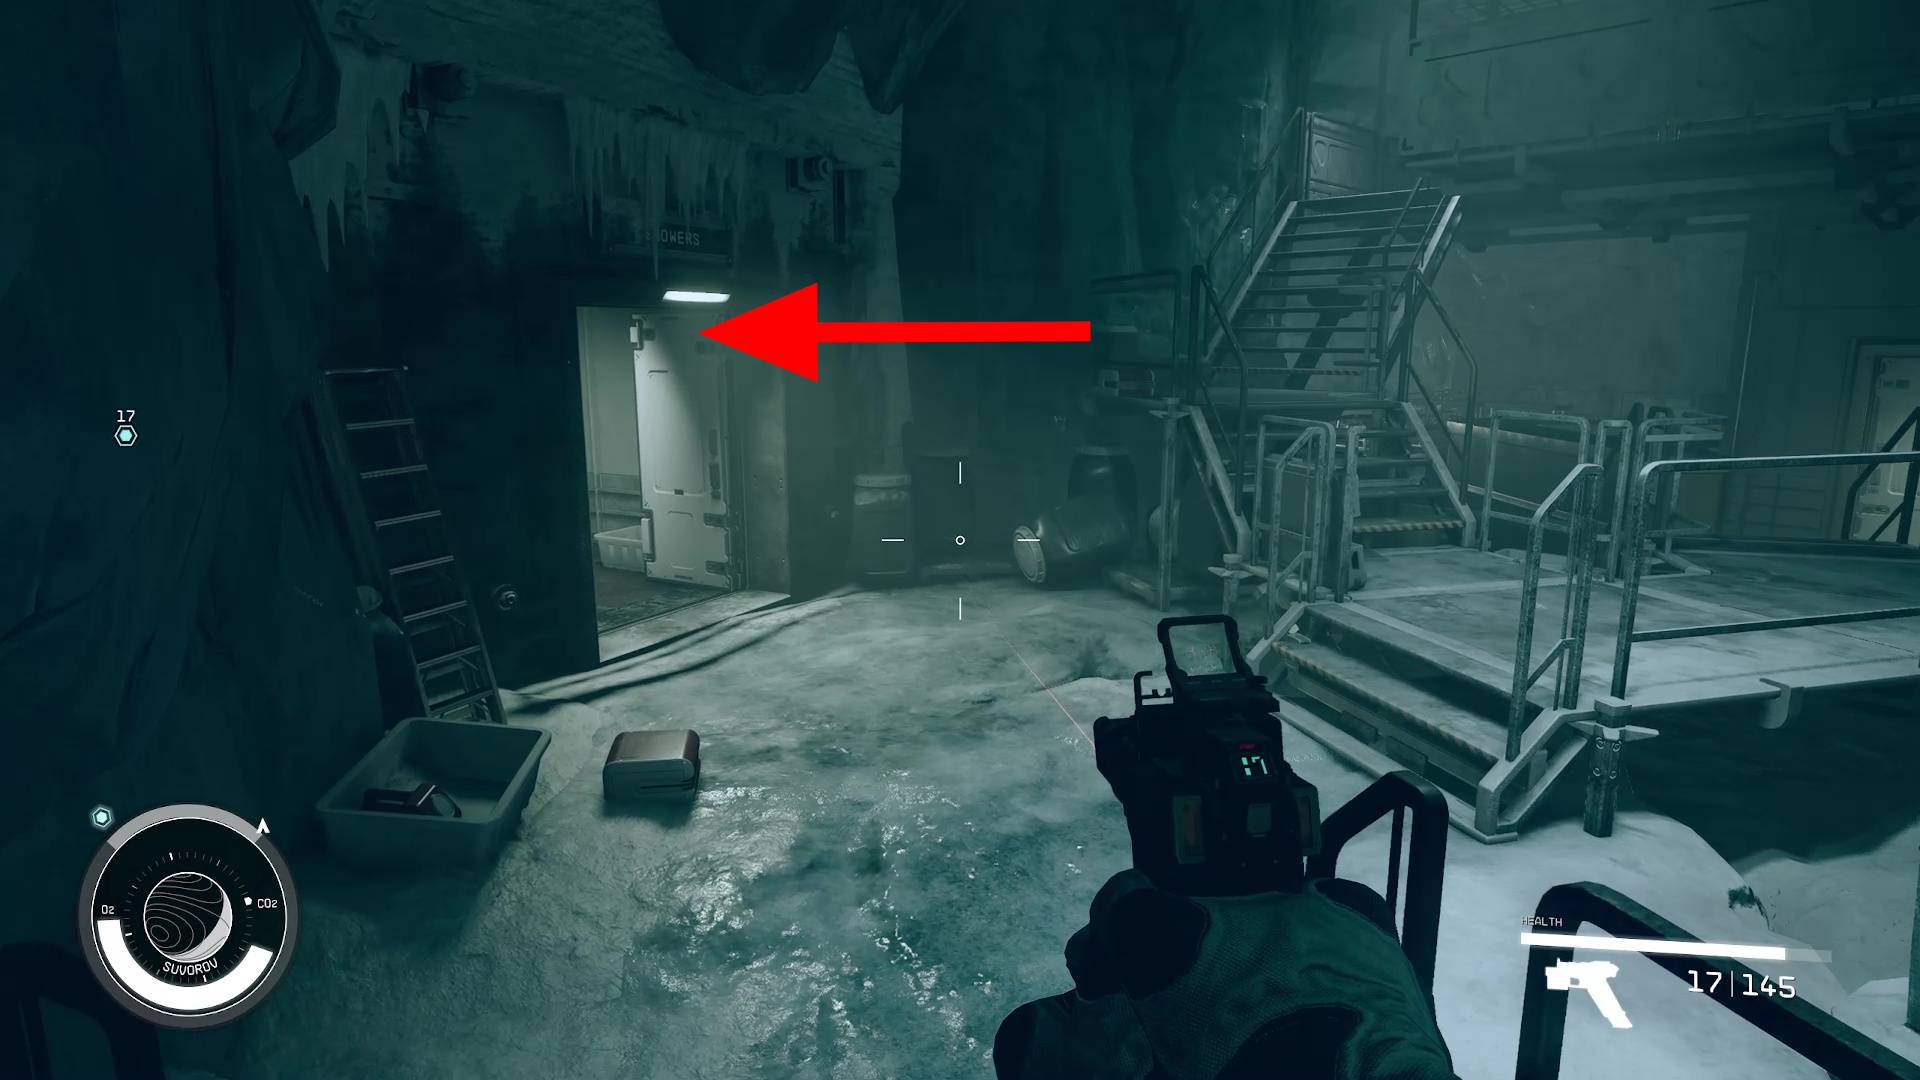
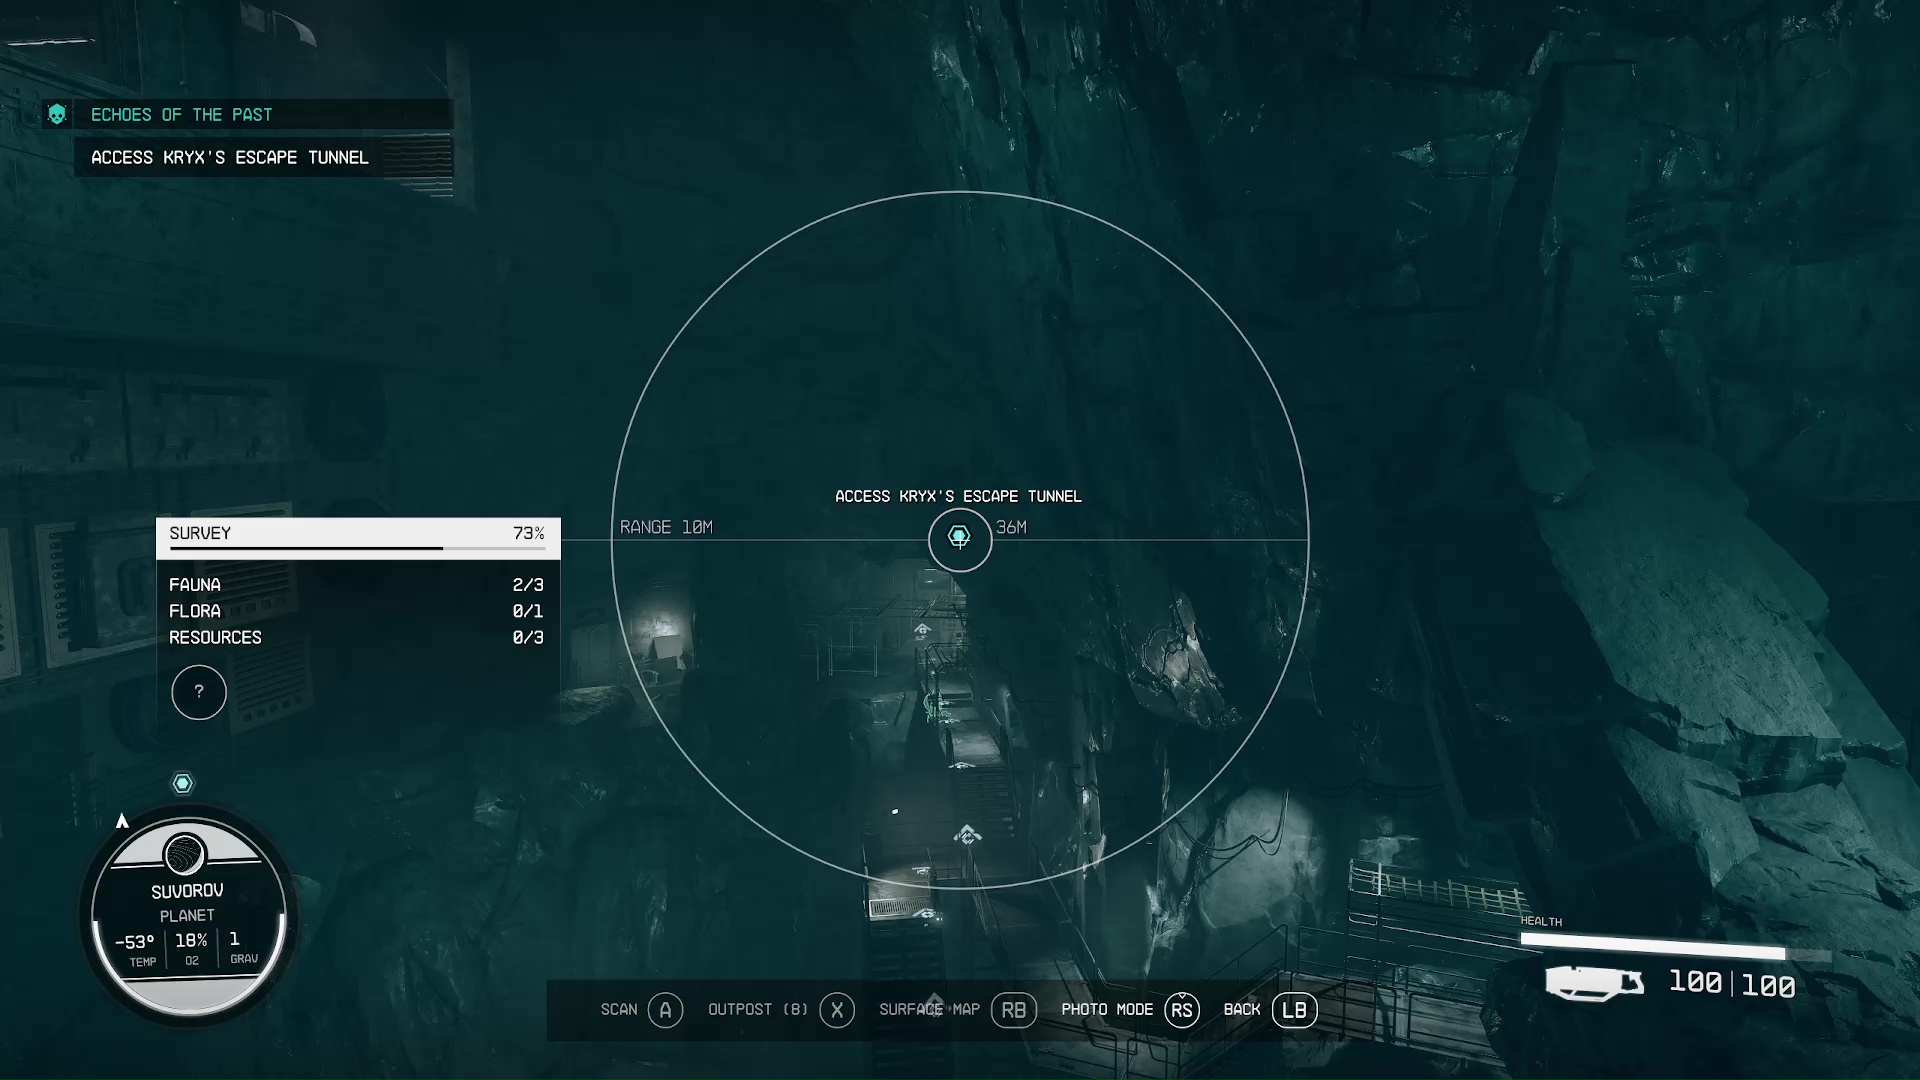
Yay, you’re finally leaving D-Block! The Utility Room is basically in the one part of the cell block you haven’t been to yet. If you need help finding it, just use your scanner (Image 30). Once inside the room, you’ll find the computer to open the door to your left (Image 31).
Image 30Image 31
Through that opened door and behind the flimsy, loose panel is the path to leave D-Block (Image 32). It’s the same tunnel that all the brave founding members of the Crimson Fleet dug themselves, and used to raid the armory.
Image 32
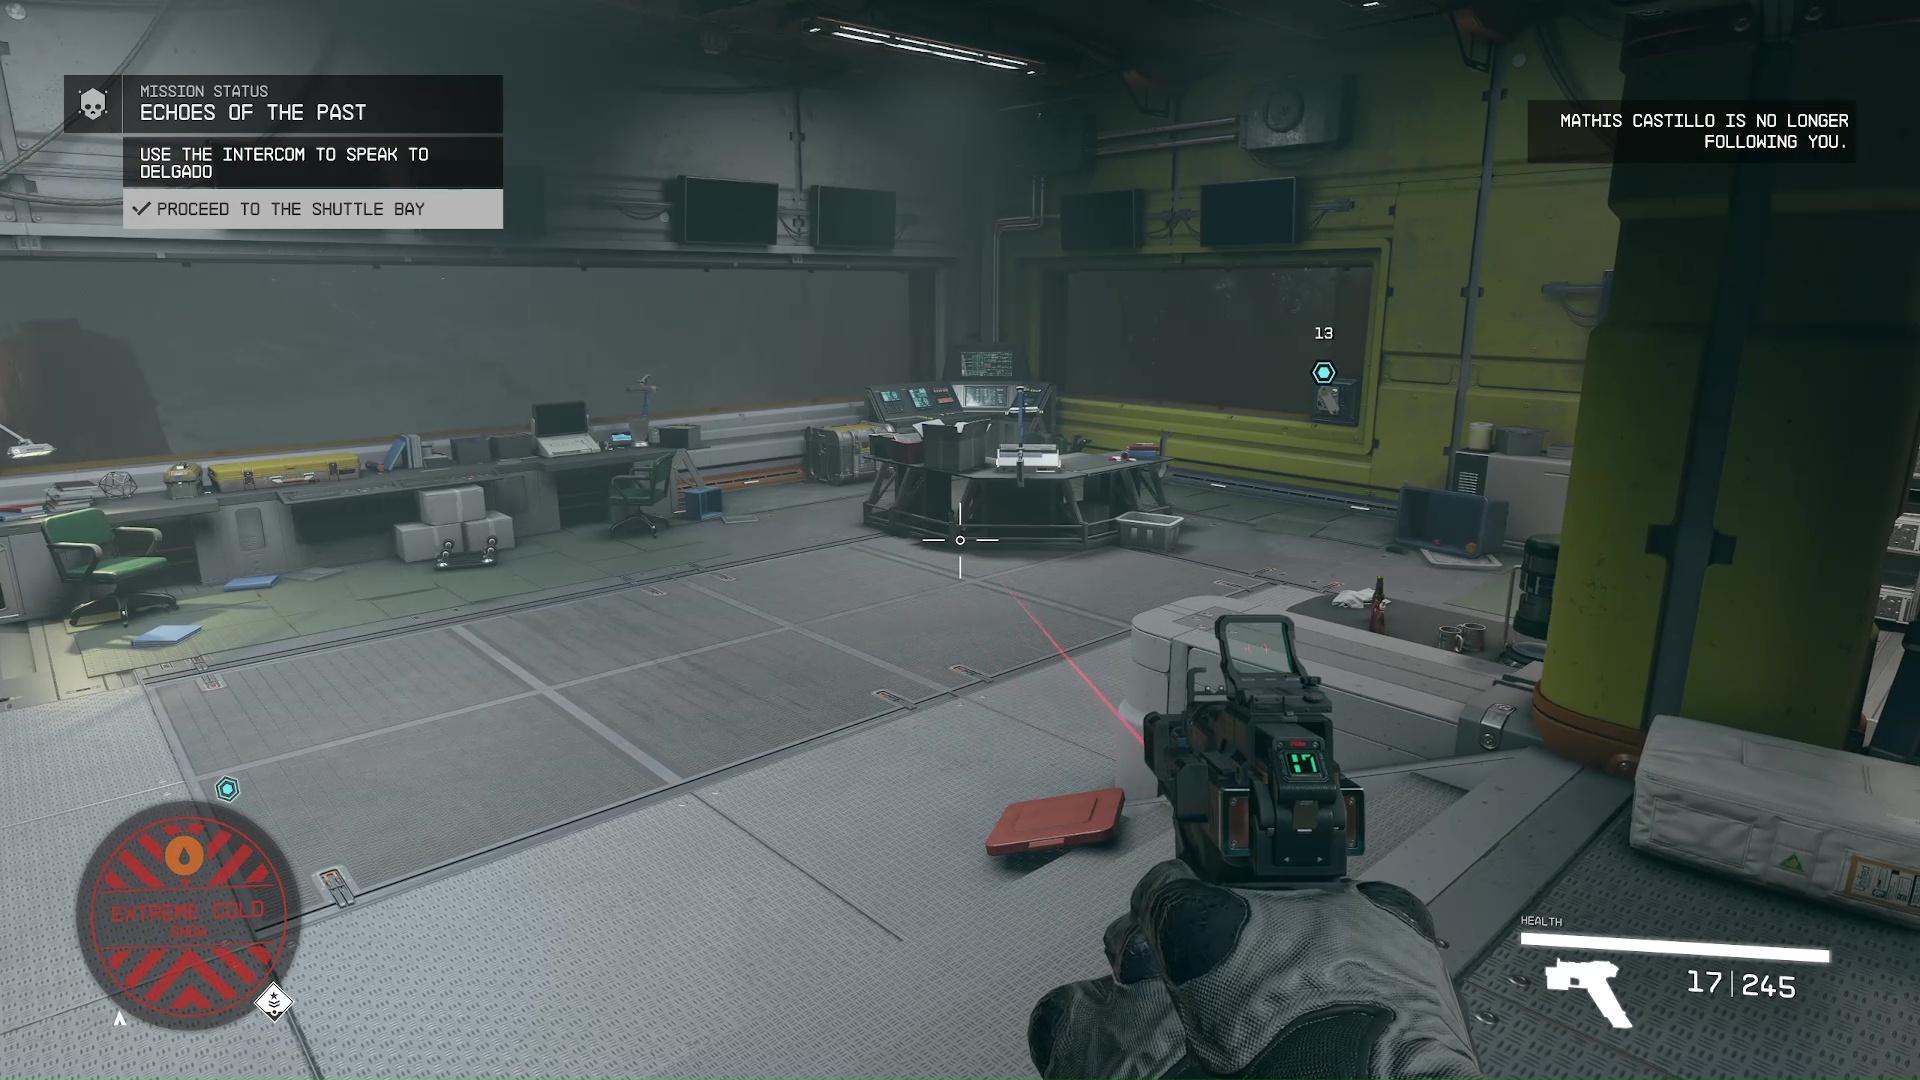
Proceed to the Shuttle Bay
The rest of the mission is pretty cut and dry; you won’t be navigating any more giant cell blocks. The next area is the armory, which has been pretty picked clean, but you’ll still find some good loot here – Mathis definitely does. The guards’ quarters are next, and they are filled with crawly enemies and dead guards to loot. Carefully progress through, being careful not to be swarmed. You’ll eventually reach the Warden’s Office (Image 33).
Image 33
Use the Intercom to Speak to Delgado
On the far wall of the Warden’s office is an intercom, and you’ll never guess who’s trying to reach you. That’s right, it’s Delgado again (Image 34). Tell him about all the cool stuff you found, and choose whether to give Mathis any credit (Image 35). If you want to keep Mathis around, then tell Delgado he did well. Regardless, you’ll receive more instructions: flee the facility via the shuttle bay.
Image 34Image 35
Speak to Mathis and Grab Evidence
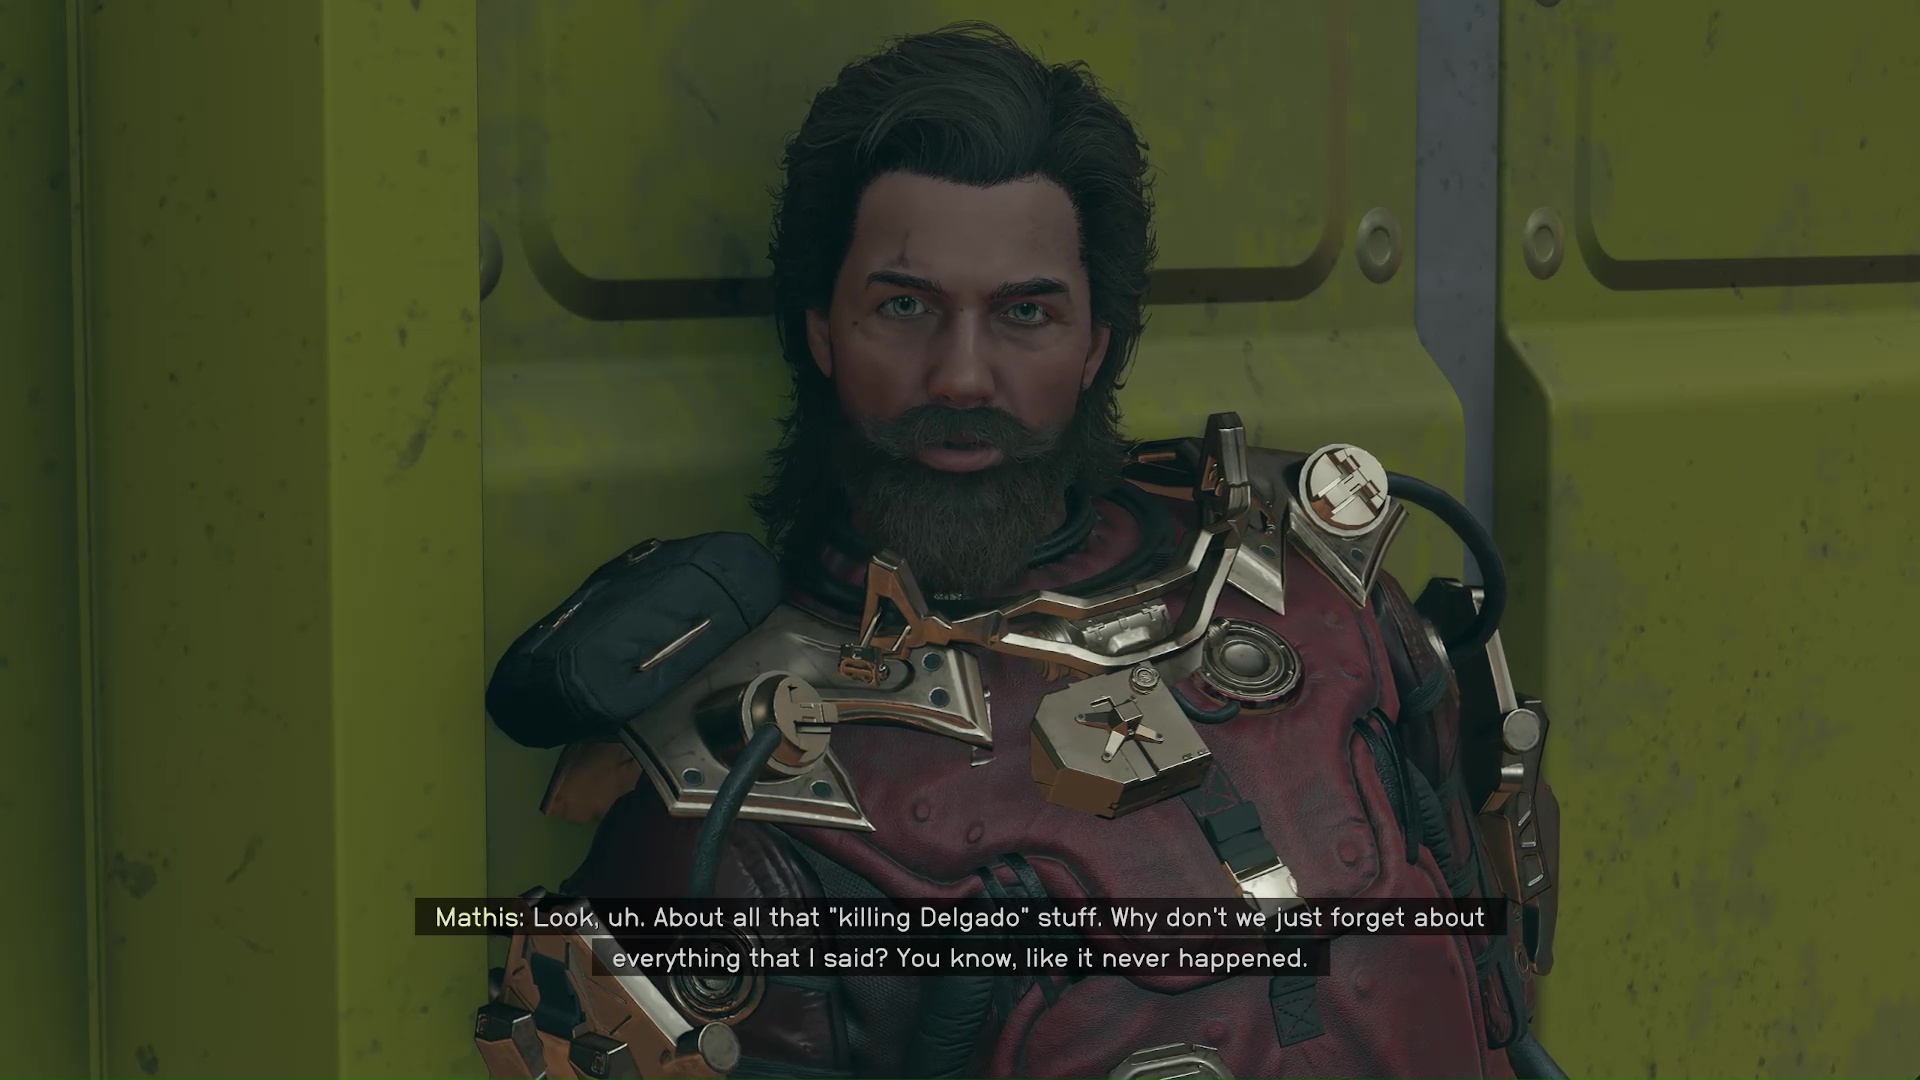
When your chat with Delgado is over, Mathis will want to clear the air, since he can’t follow through with his plan to attack Delgado (Image 36). If you spoke highly of him to Delgado, then he will be grateful, and also ask that you not mention his original plan to Delgado.
Image 36
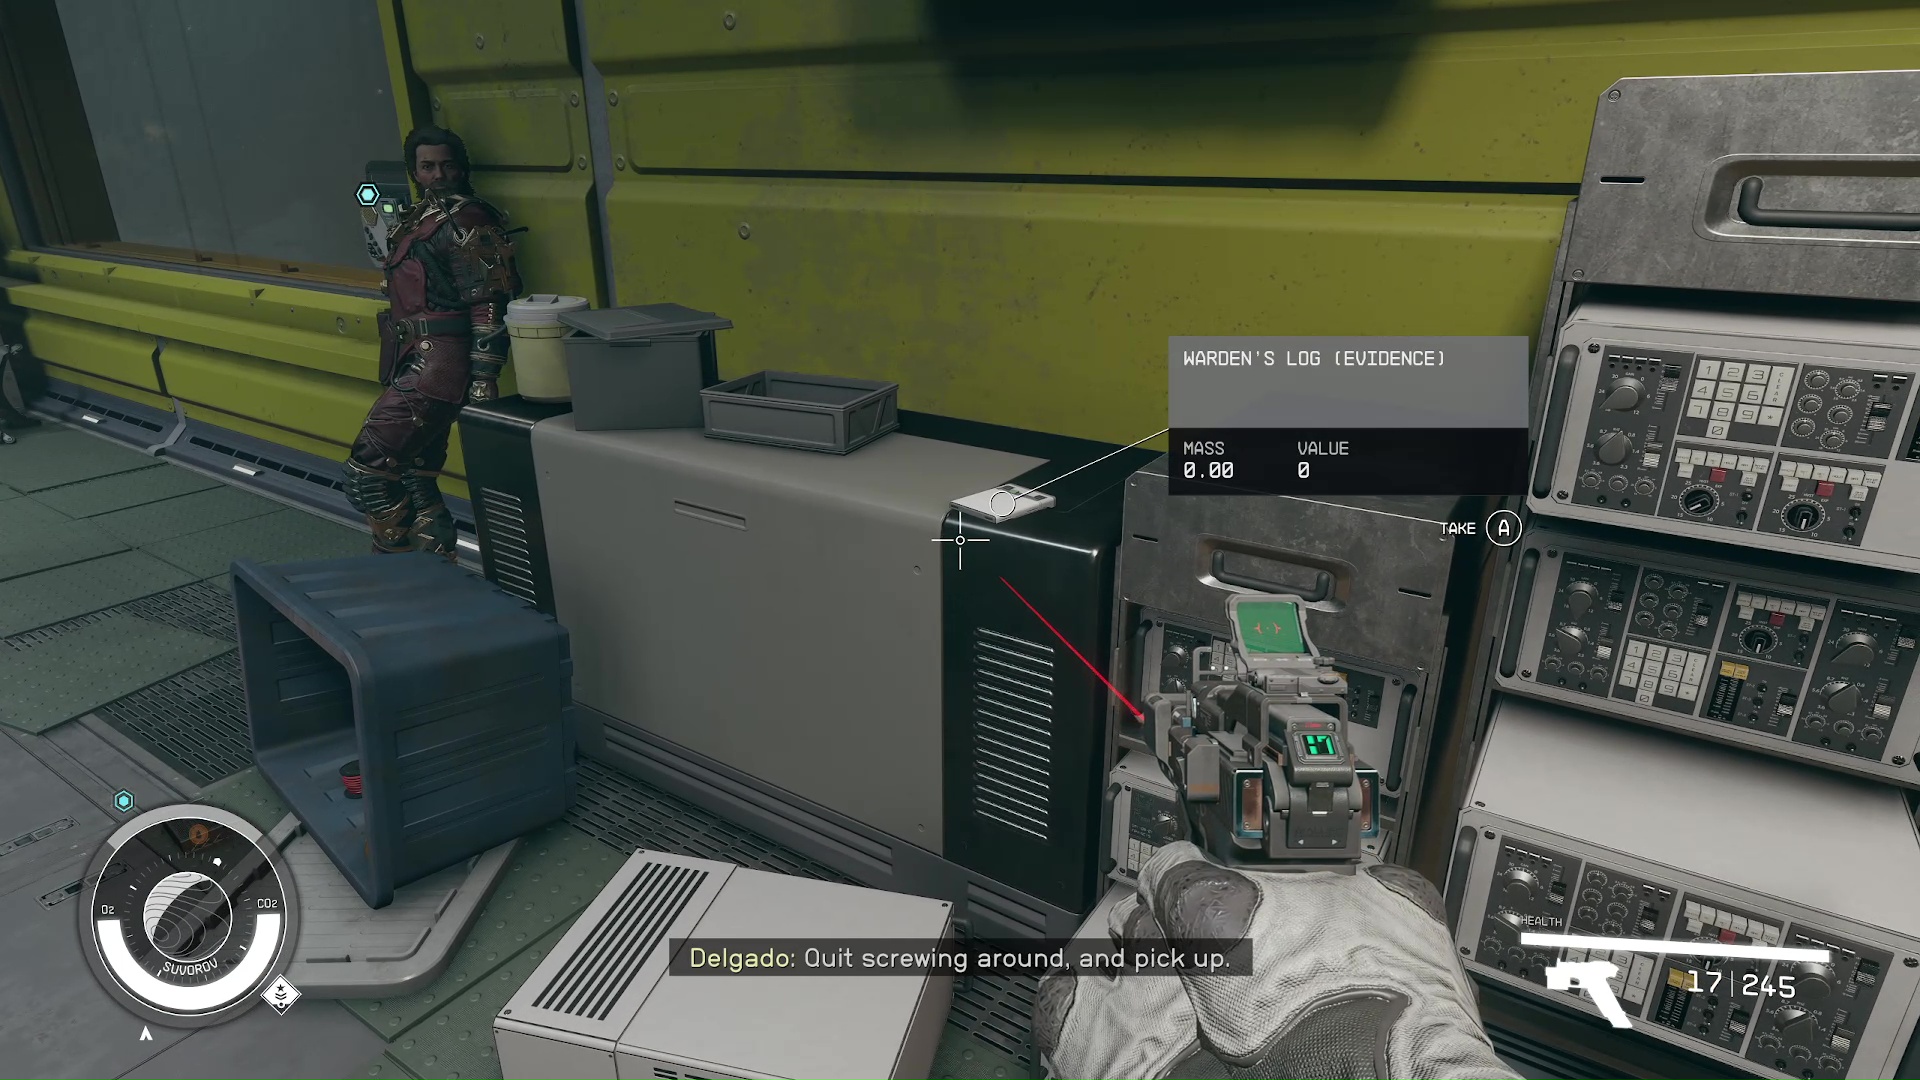
Again, if you like Mathis, or want him as a pirate companion after finishing the Crimson Fleet missions, then promise to keep your mouth shut. Also, there’s a piece of evidence sitting on the cabinet right next to Mathis (Image 37). Grab it for the Burden of Proof mission.
Image 37
Secure the Shuttle Bay
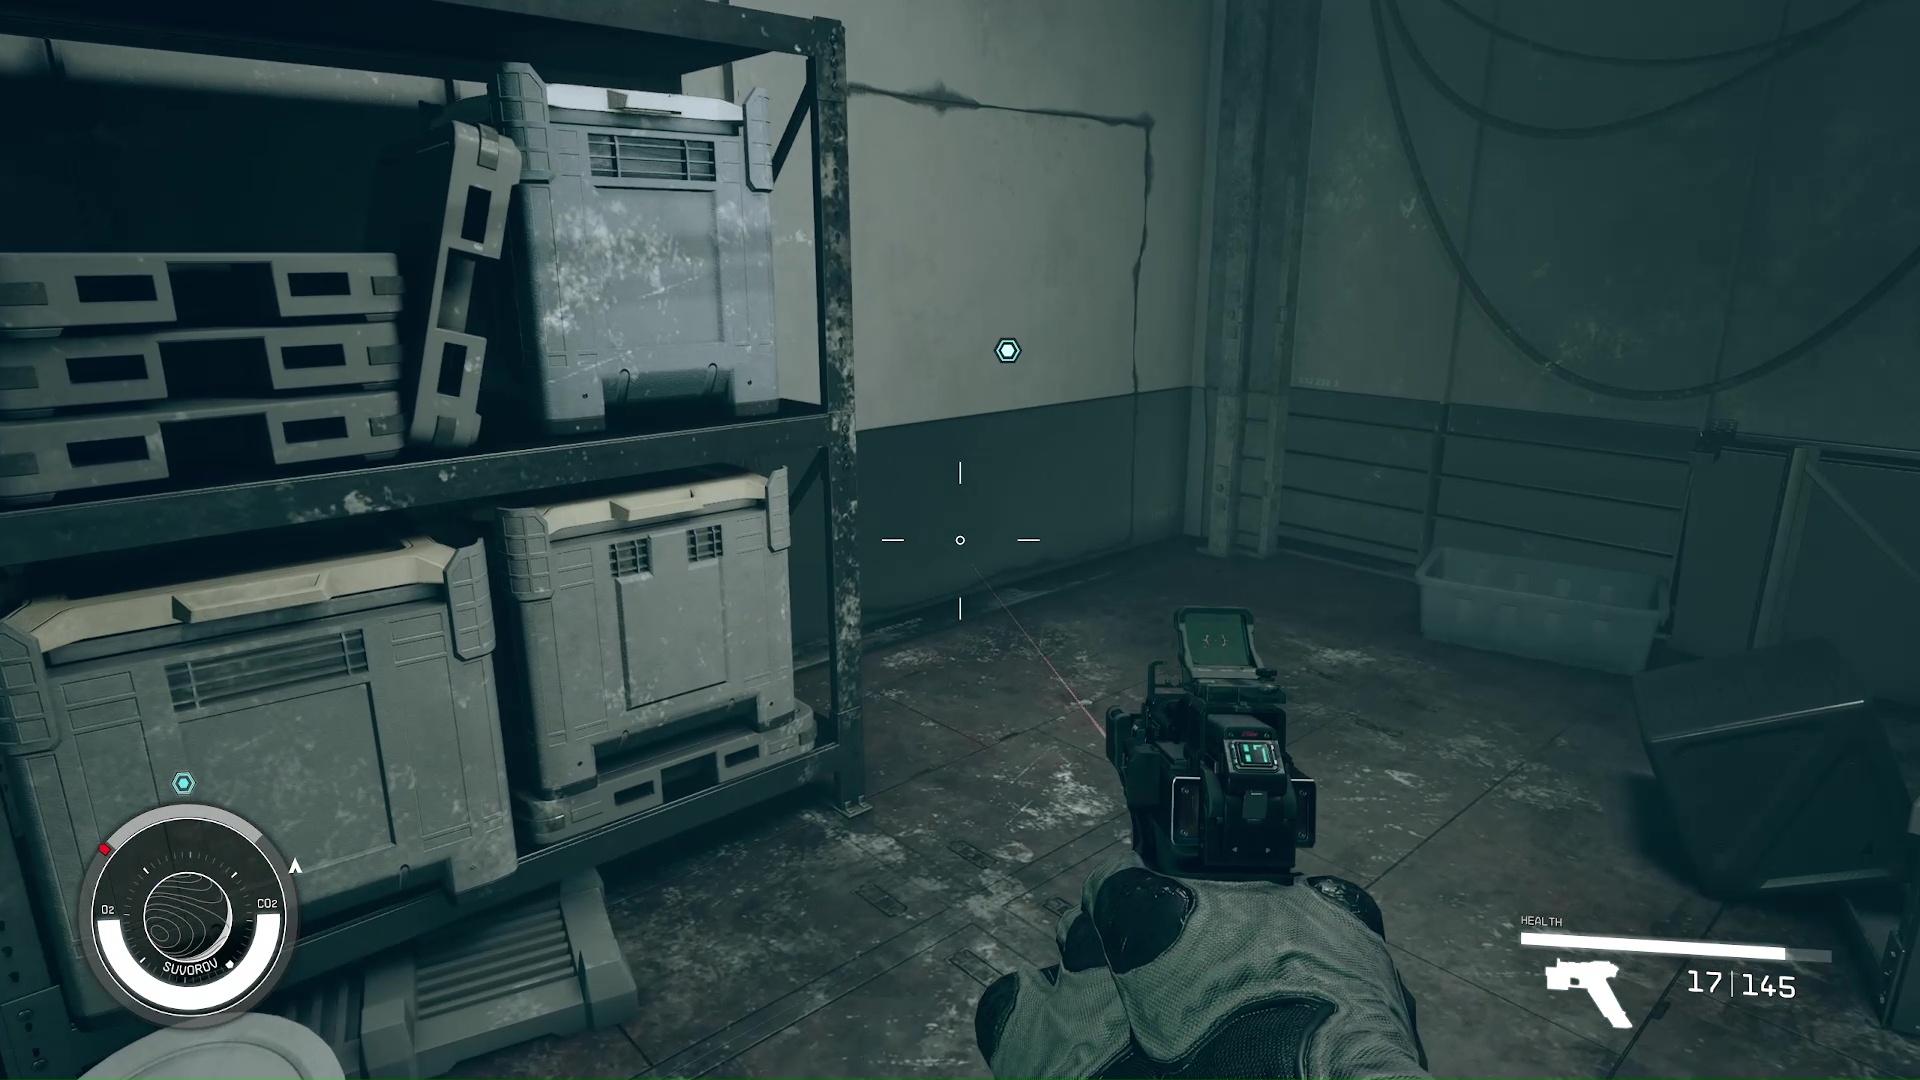
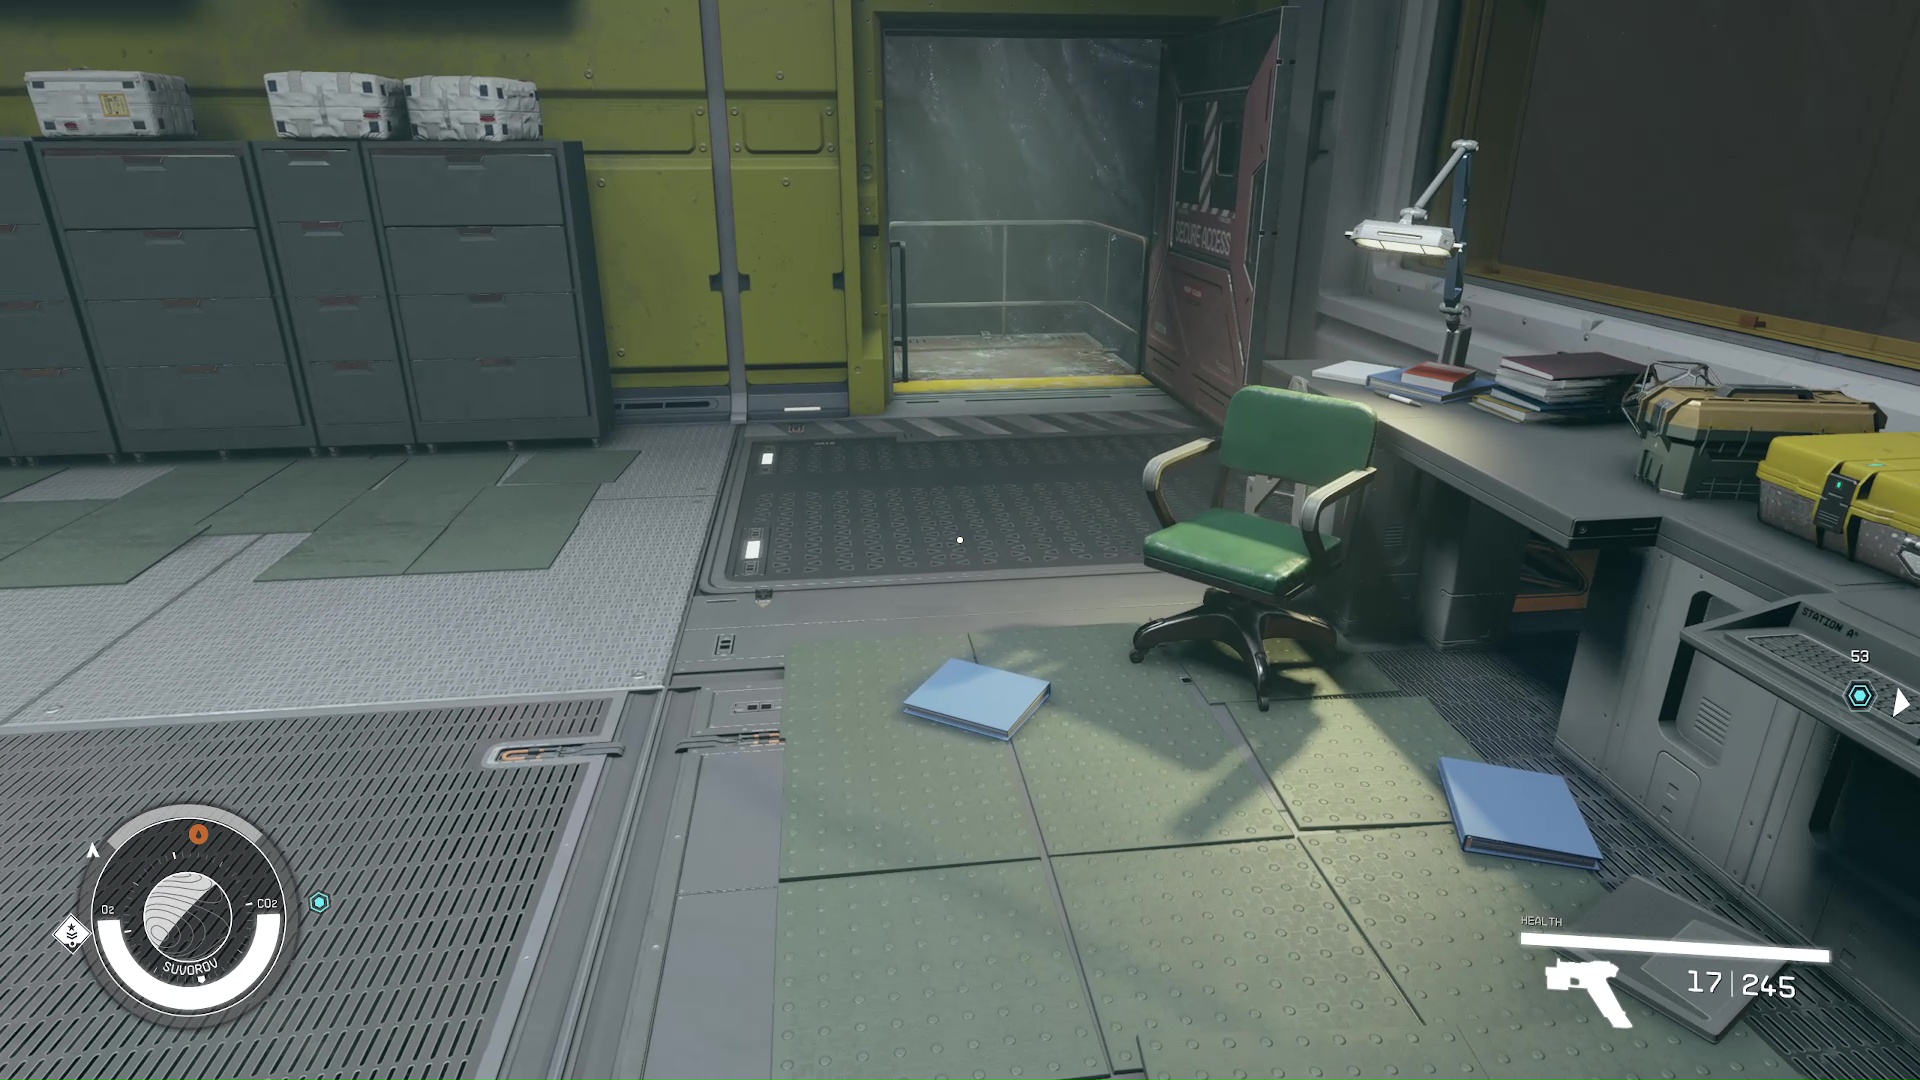
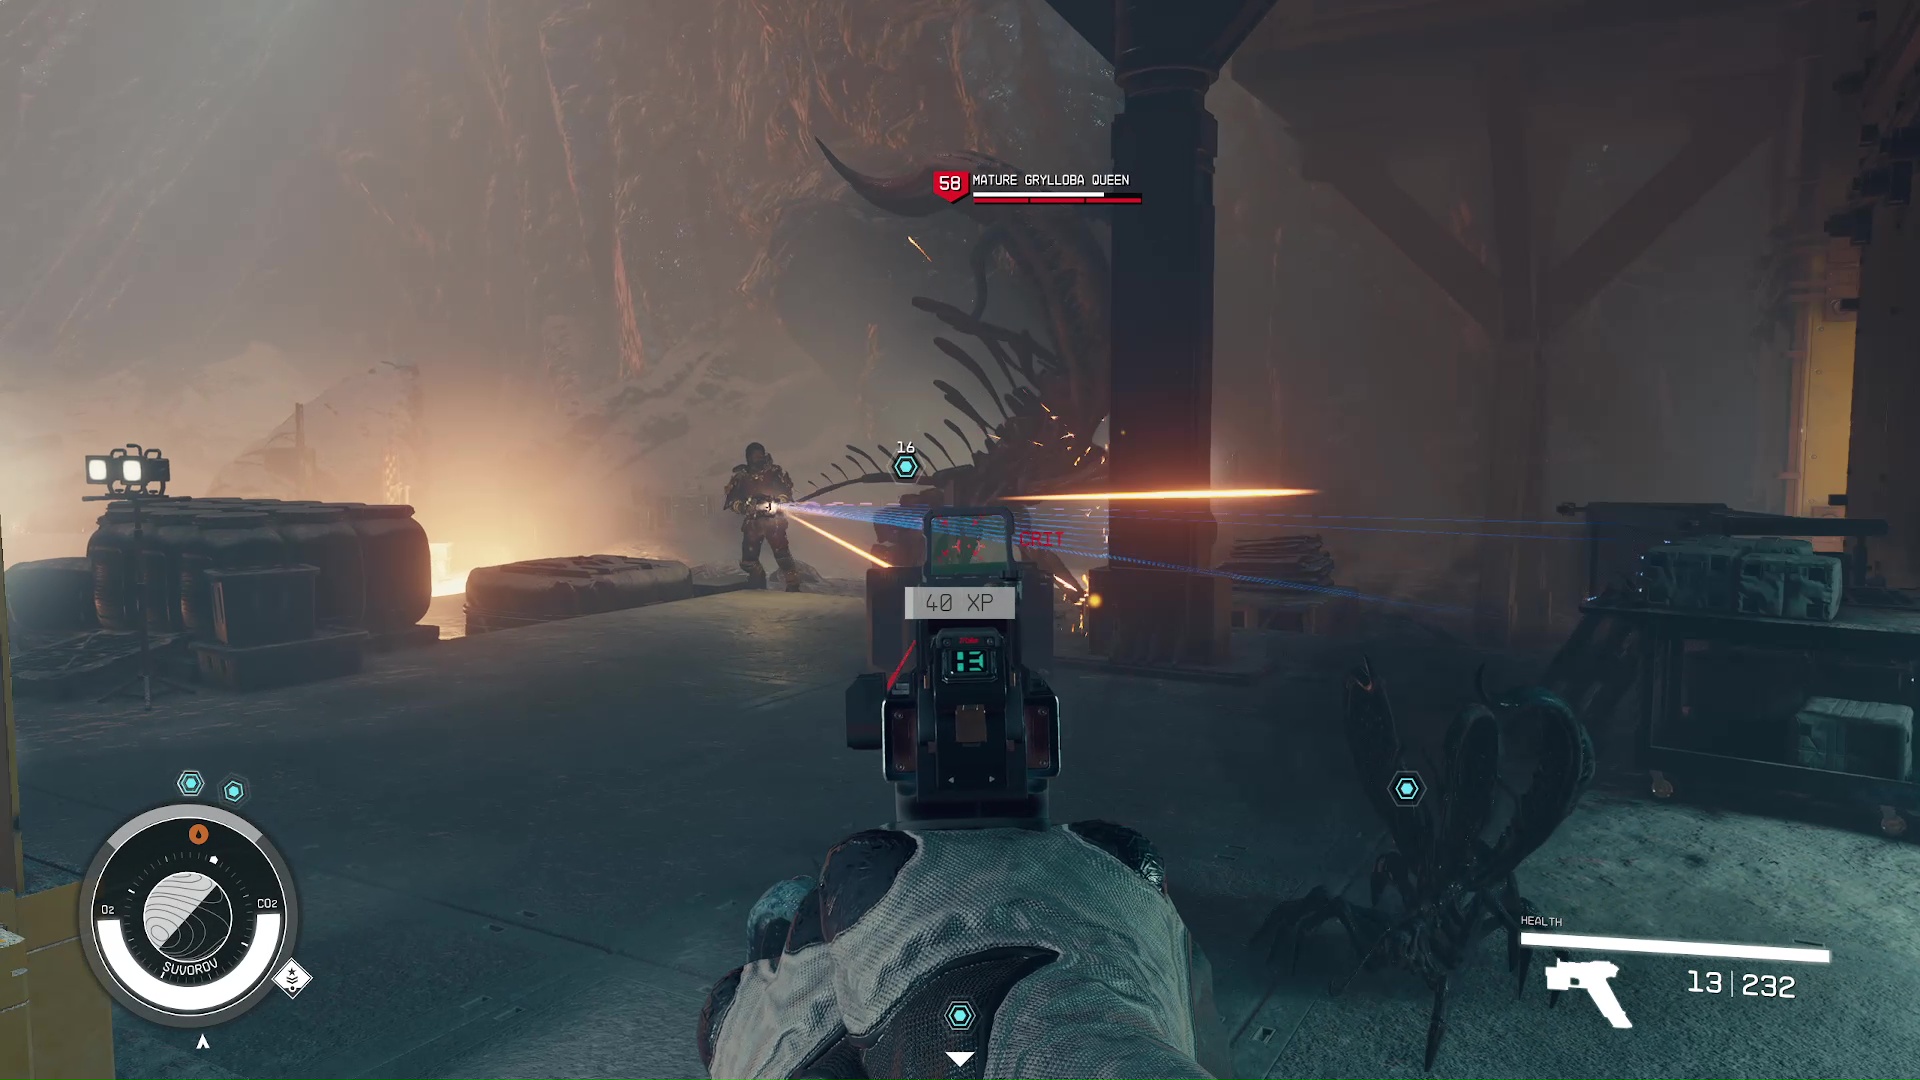
Turn around from the intercom, and the door / stairs to the shuttle bay are in the corner (Image 38). Before heading into the shuttle bay, it’s a good idea to save, because you’re heading for a boss fight. When you enter the bay and head towards the ship, you’ll be attacked by the Grylloba Queen – and a ton of the little crawlies (Image 39).
Image 38Image 39
Grab your best weapon and exterminate them. Use the cover provided from the stairs and crates to keep your distance from the queen. Stay away from the queen until Mathis draws her aggression, at which point you can focus on unloading your weapon on her.
Use the Shuttle to Exit the Lock
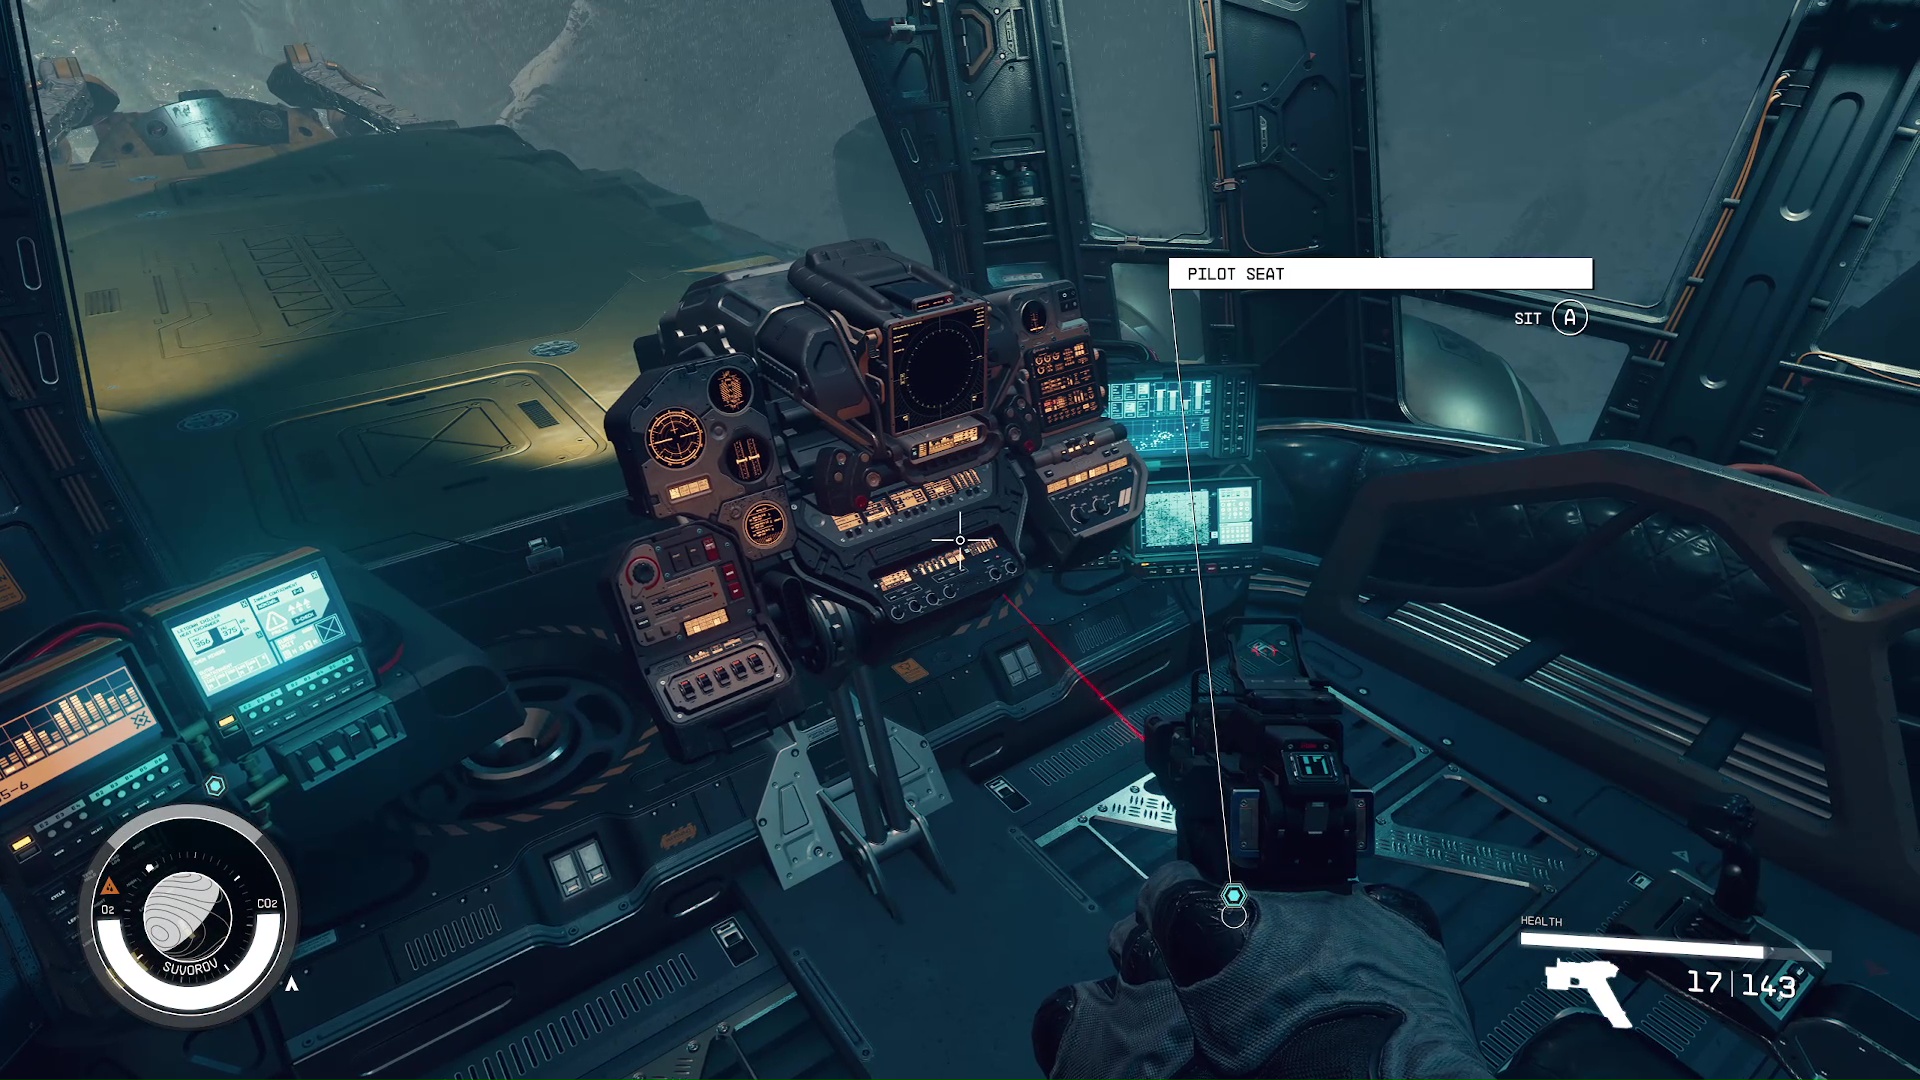
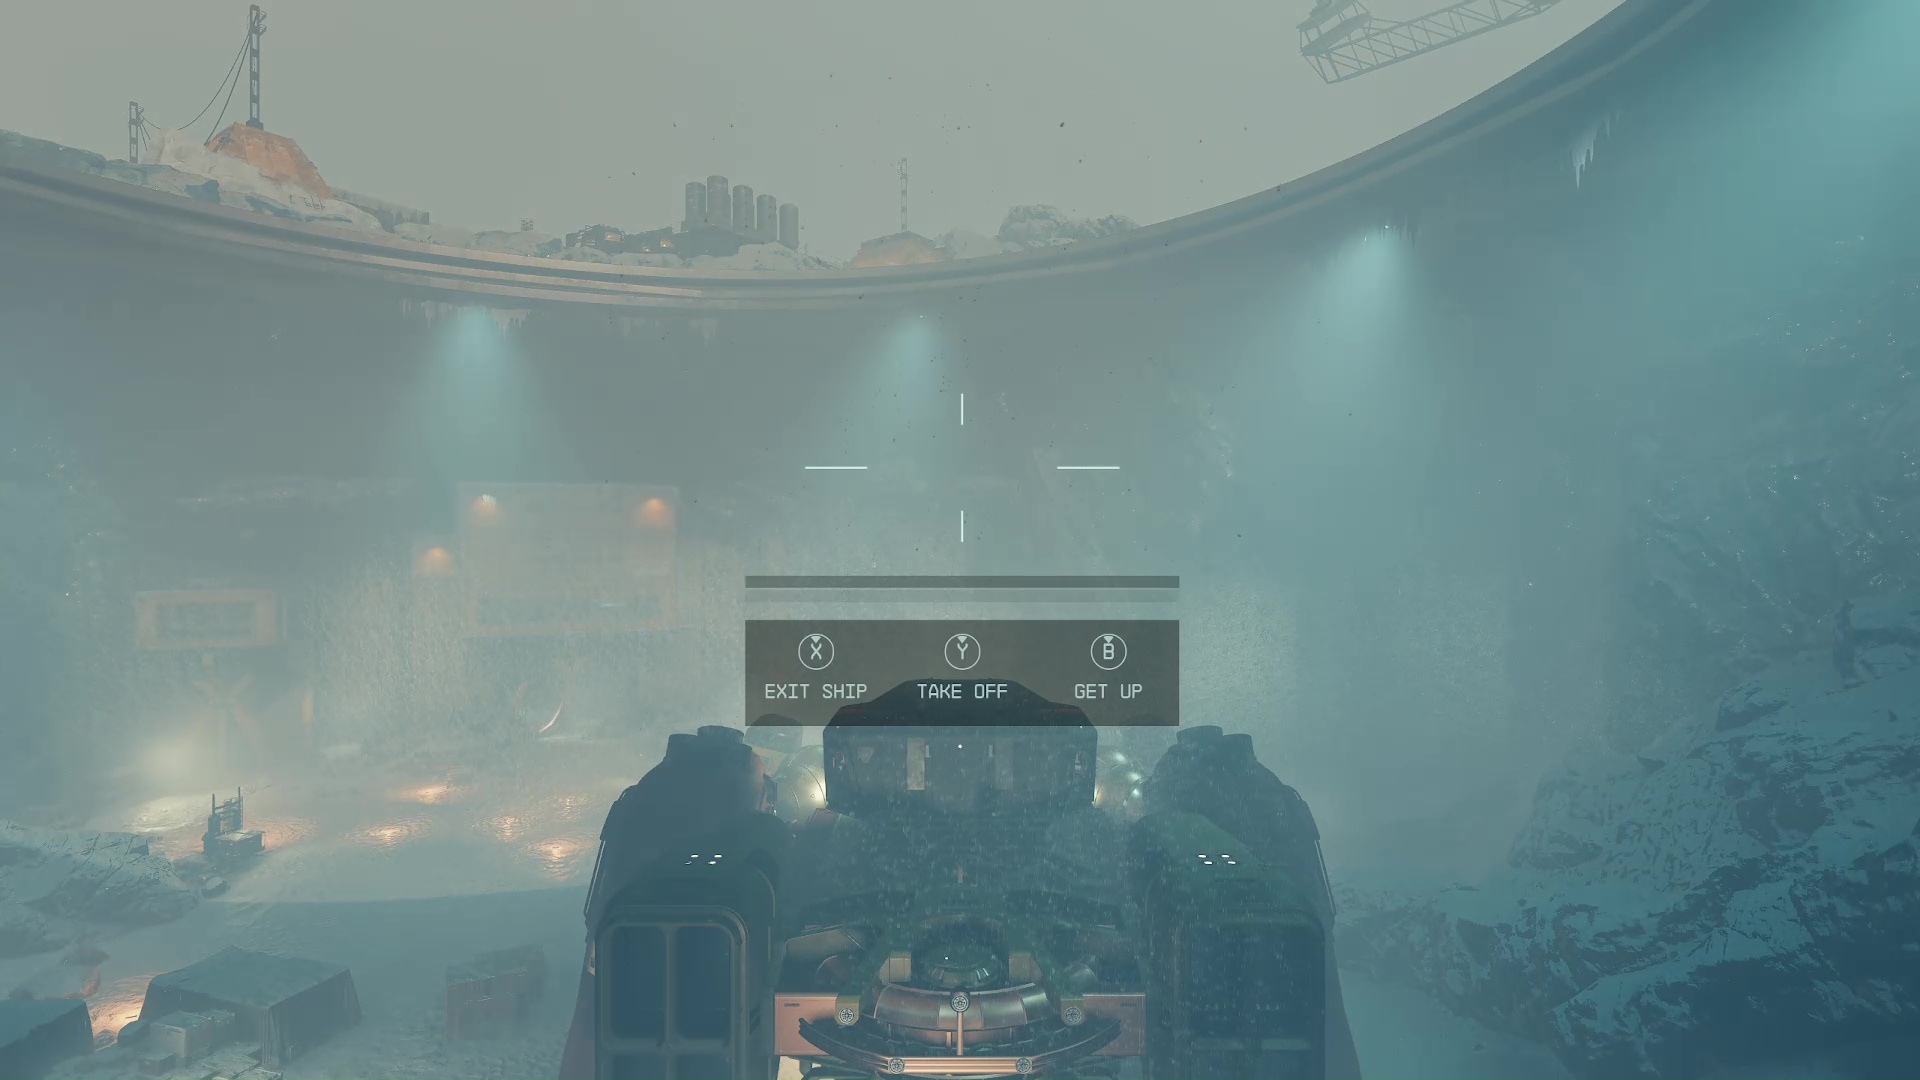
With all your enemies vanquished, you can board the shuttle and leave. There are some good weapons to loot aboard the ship. When you’re ready, go up the ladder to the ship’s cockpit (Image 40), and sit in the pilot’s seat to take off (Image 41). Congratulations, you’re the new proud owner of a UC Prison Shuttle.
Image 40Image 41
Travel to The Key and Speak to Delgado
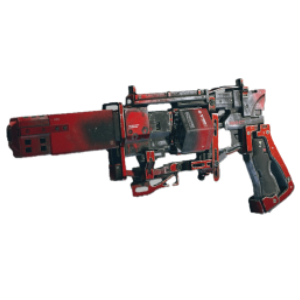
You’ll be right next to The Key when you get to orbit. Dock with the station, then head back up to the command center to speak with Delgado (Image 42). He will take the information you collected, then draw up plans for the next mission, a cruise liner heist. Additionally, you will be rewarded with the unique weapon, the Keelhauler (Image 43). Also, depending on how you handled Mathis, he will inform you whether Mathis is now part of the Crimson Fleet or not.
Image 42Image 43
Speak to Naeva [and Maybe Mathis]
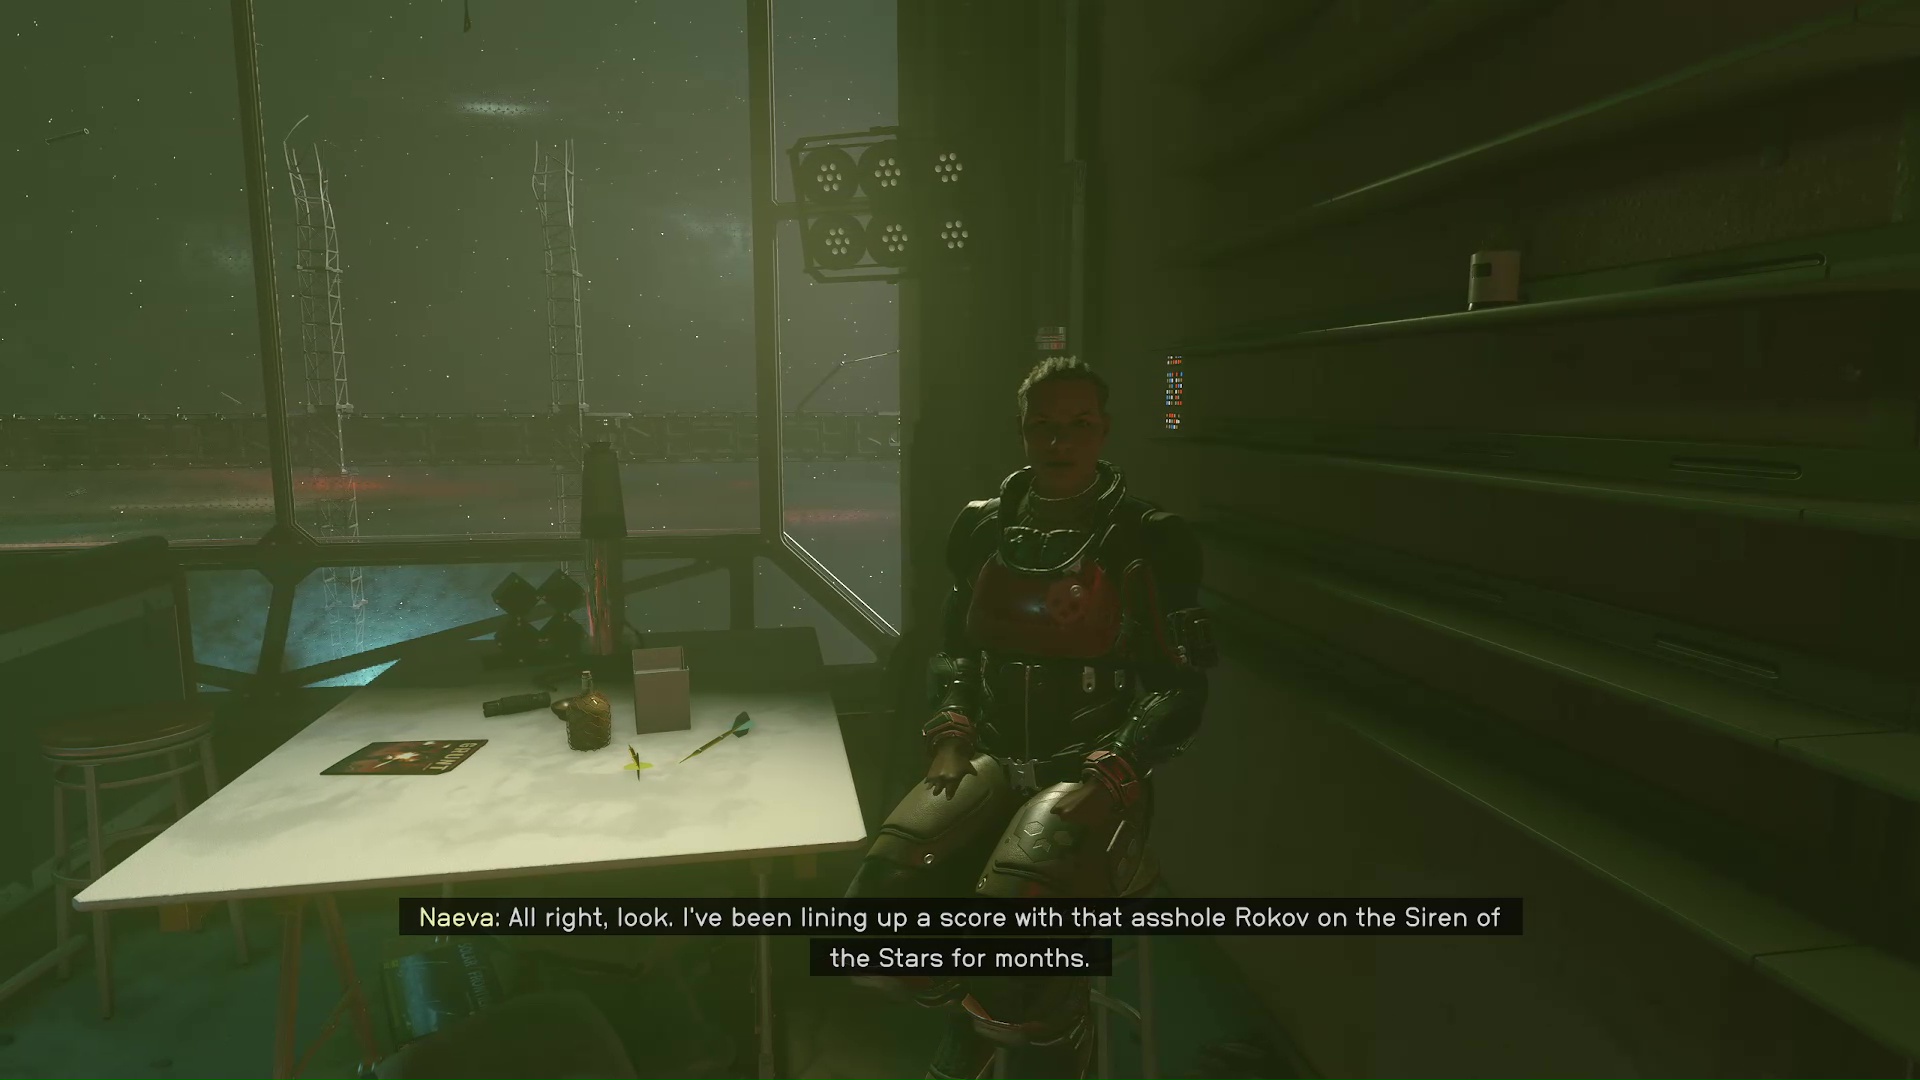
The mission marker will take you to the pirate bar, The Last Nova, for these conversations. If Mathis joined the Crimson Fleet because of your good word, then you will be notified to speak with him by the bar’s entrance (Image 44). This basically solidifies your friendship with the pirate. When the chat is over, head to the other side of the bar to get more information about the next job from Naeva – she wants you to steal stuff (Image 45).
Image 44Image 45
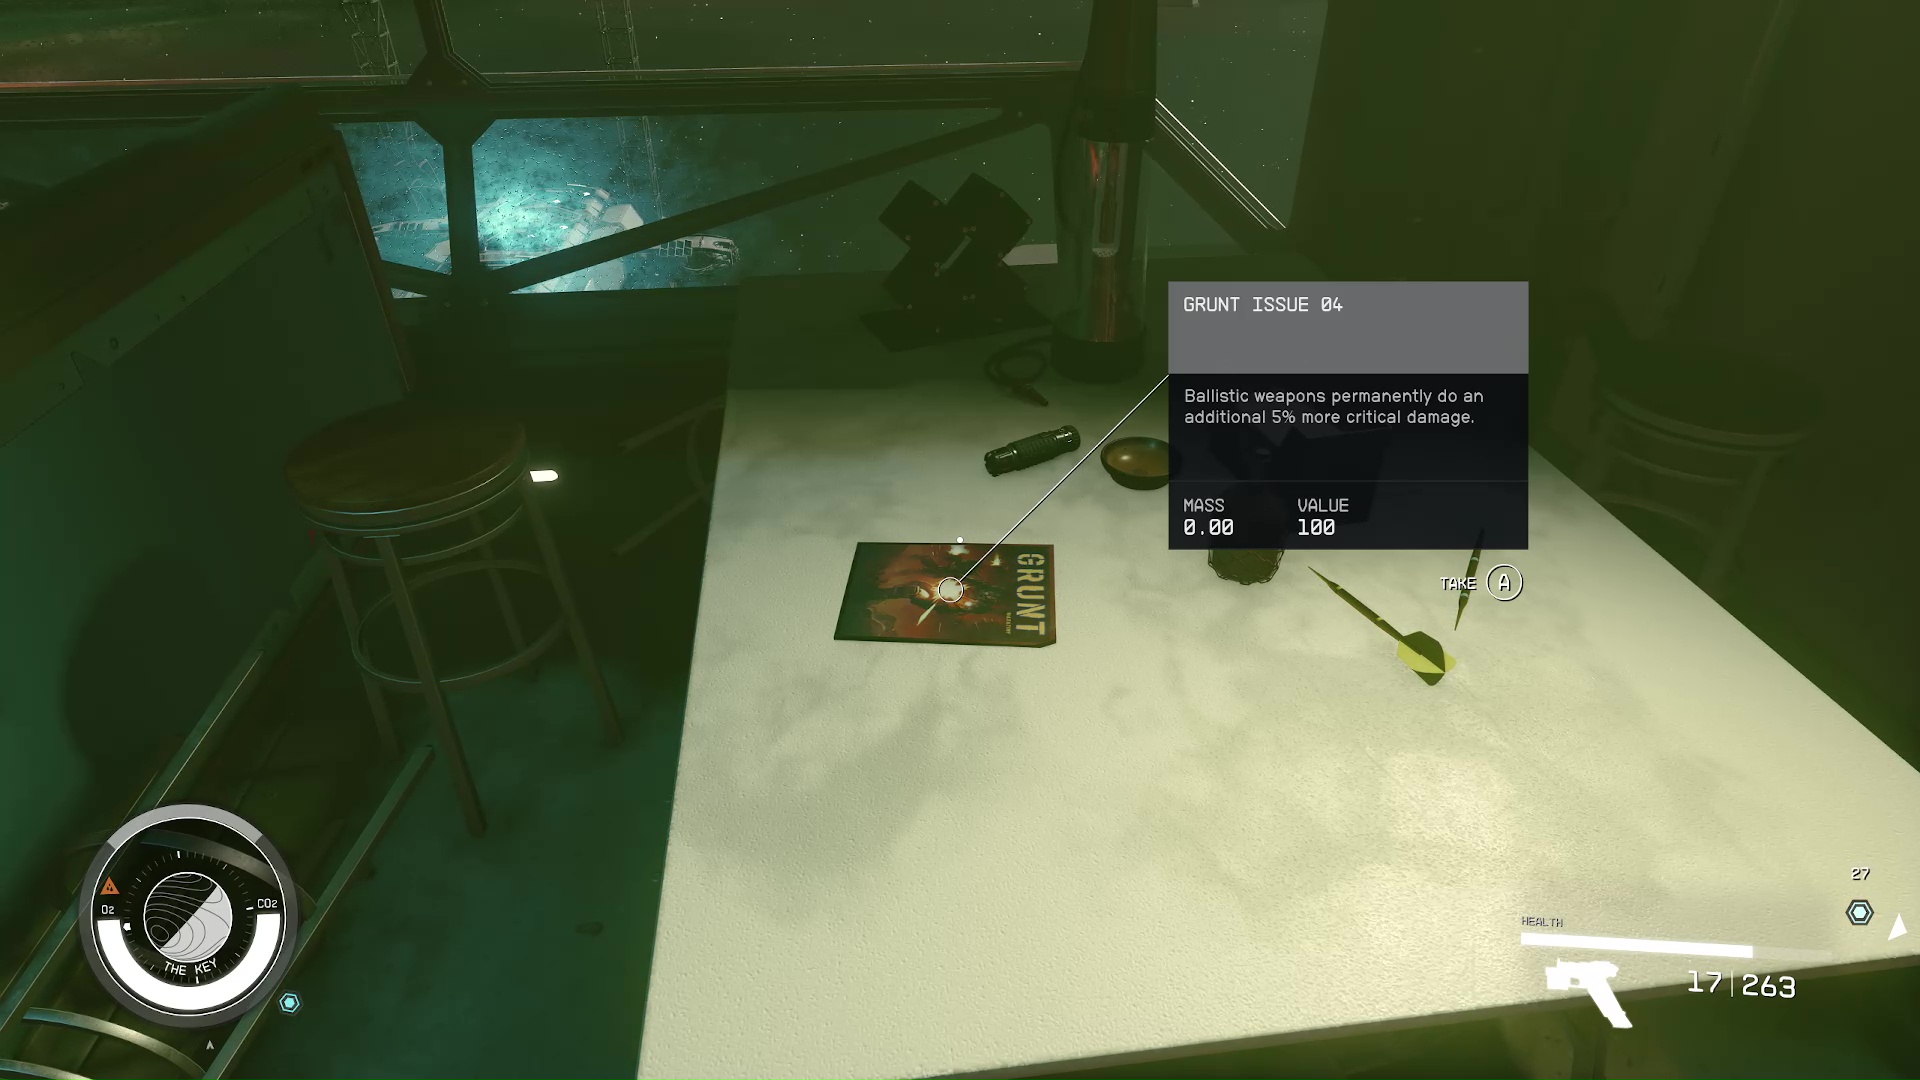
Be sure to grab the magazine right in front of Naeva on the table (Image 46). It gives you 5% more critical damage with ballistic weapons.
Image 46
Switch Ships Back
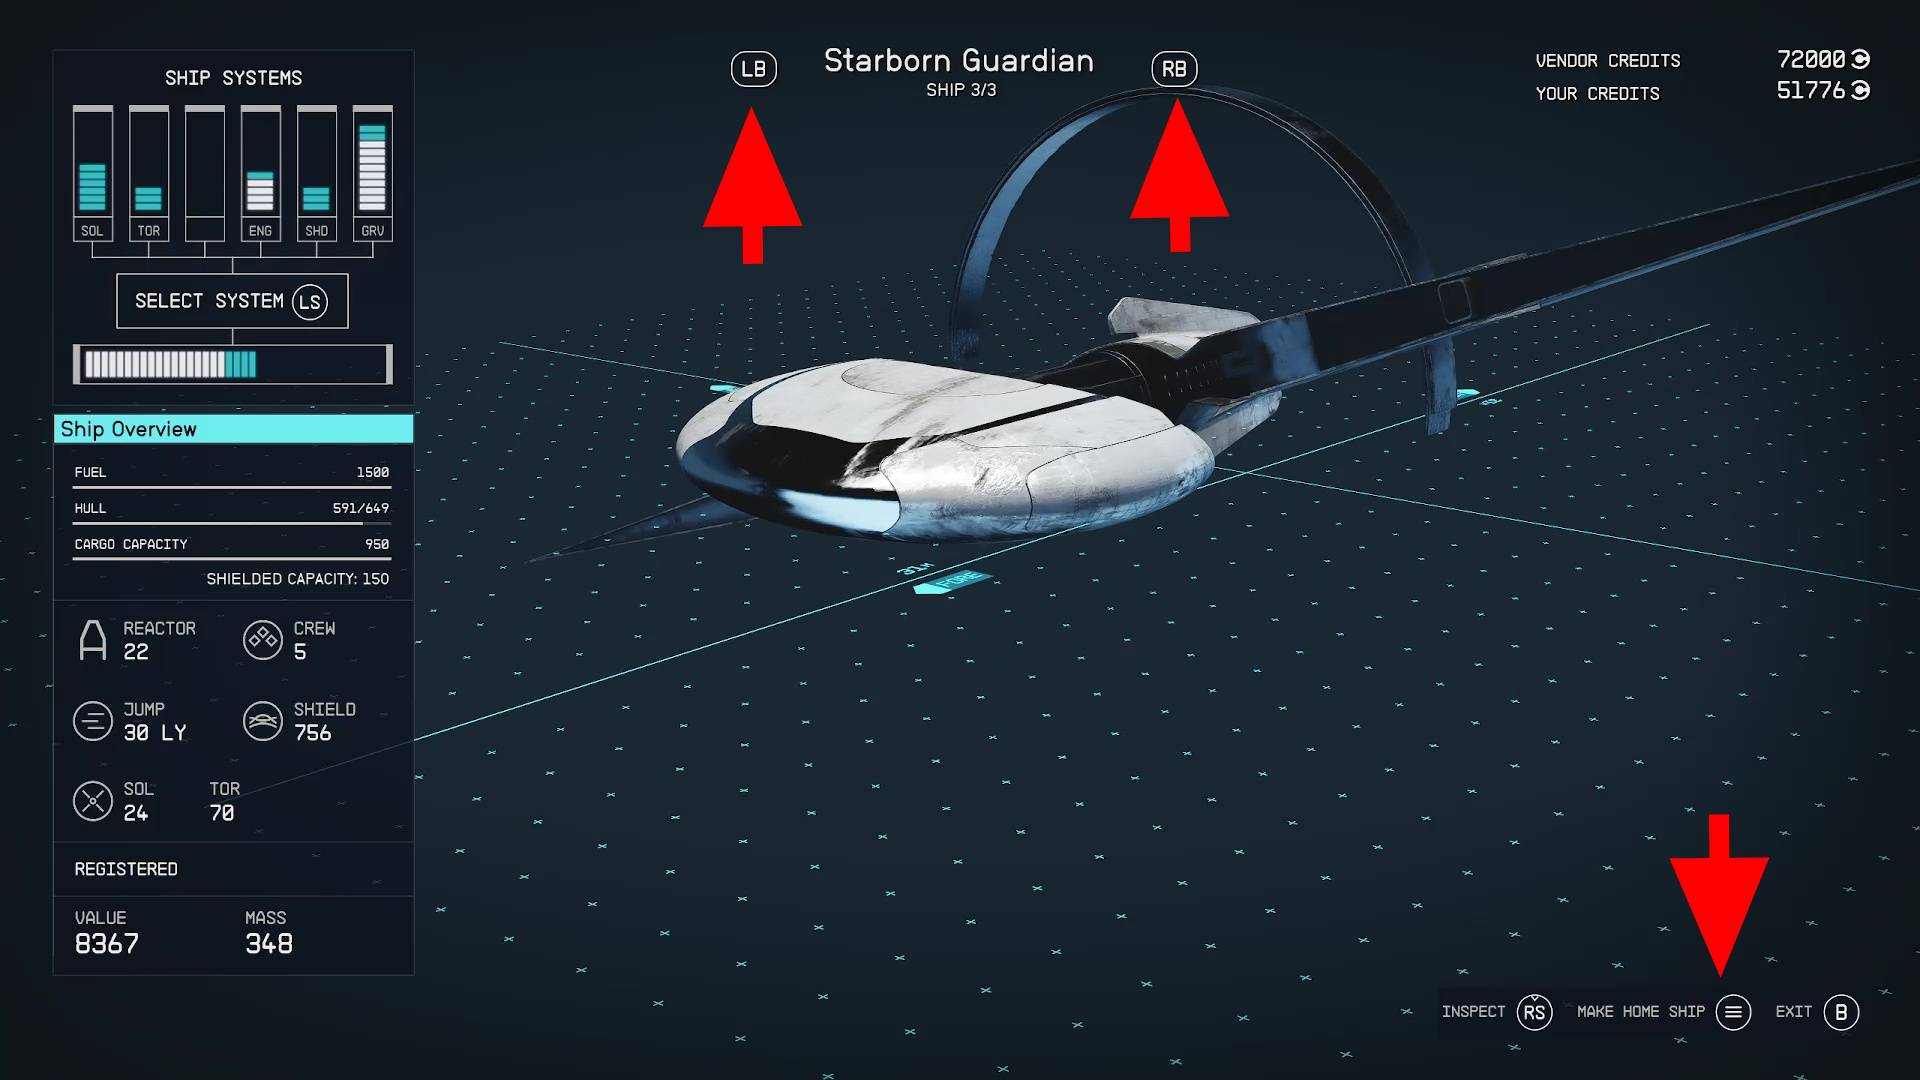
While the UC Prison Shuttle is a swell reward for any mission, it’s not exactly top of the line and your other ship is probably better. Stop by Jasmine, the Fleet’s ship technician, on your way off The Key (Image 47). Ask her to view and modify your ships, then swap to the ship you want to be your home ship and change it (Image 48).
Image 47Image 48
If you’d like a more detailed explanation, check out our dedicated guide on How to Change Ships.
Report Mission Progress to the UC Vigilance
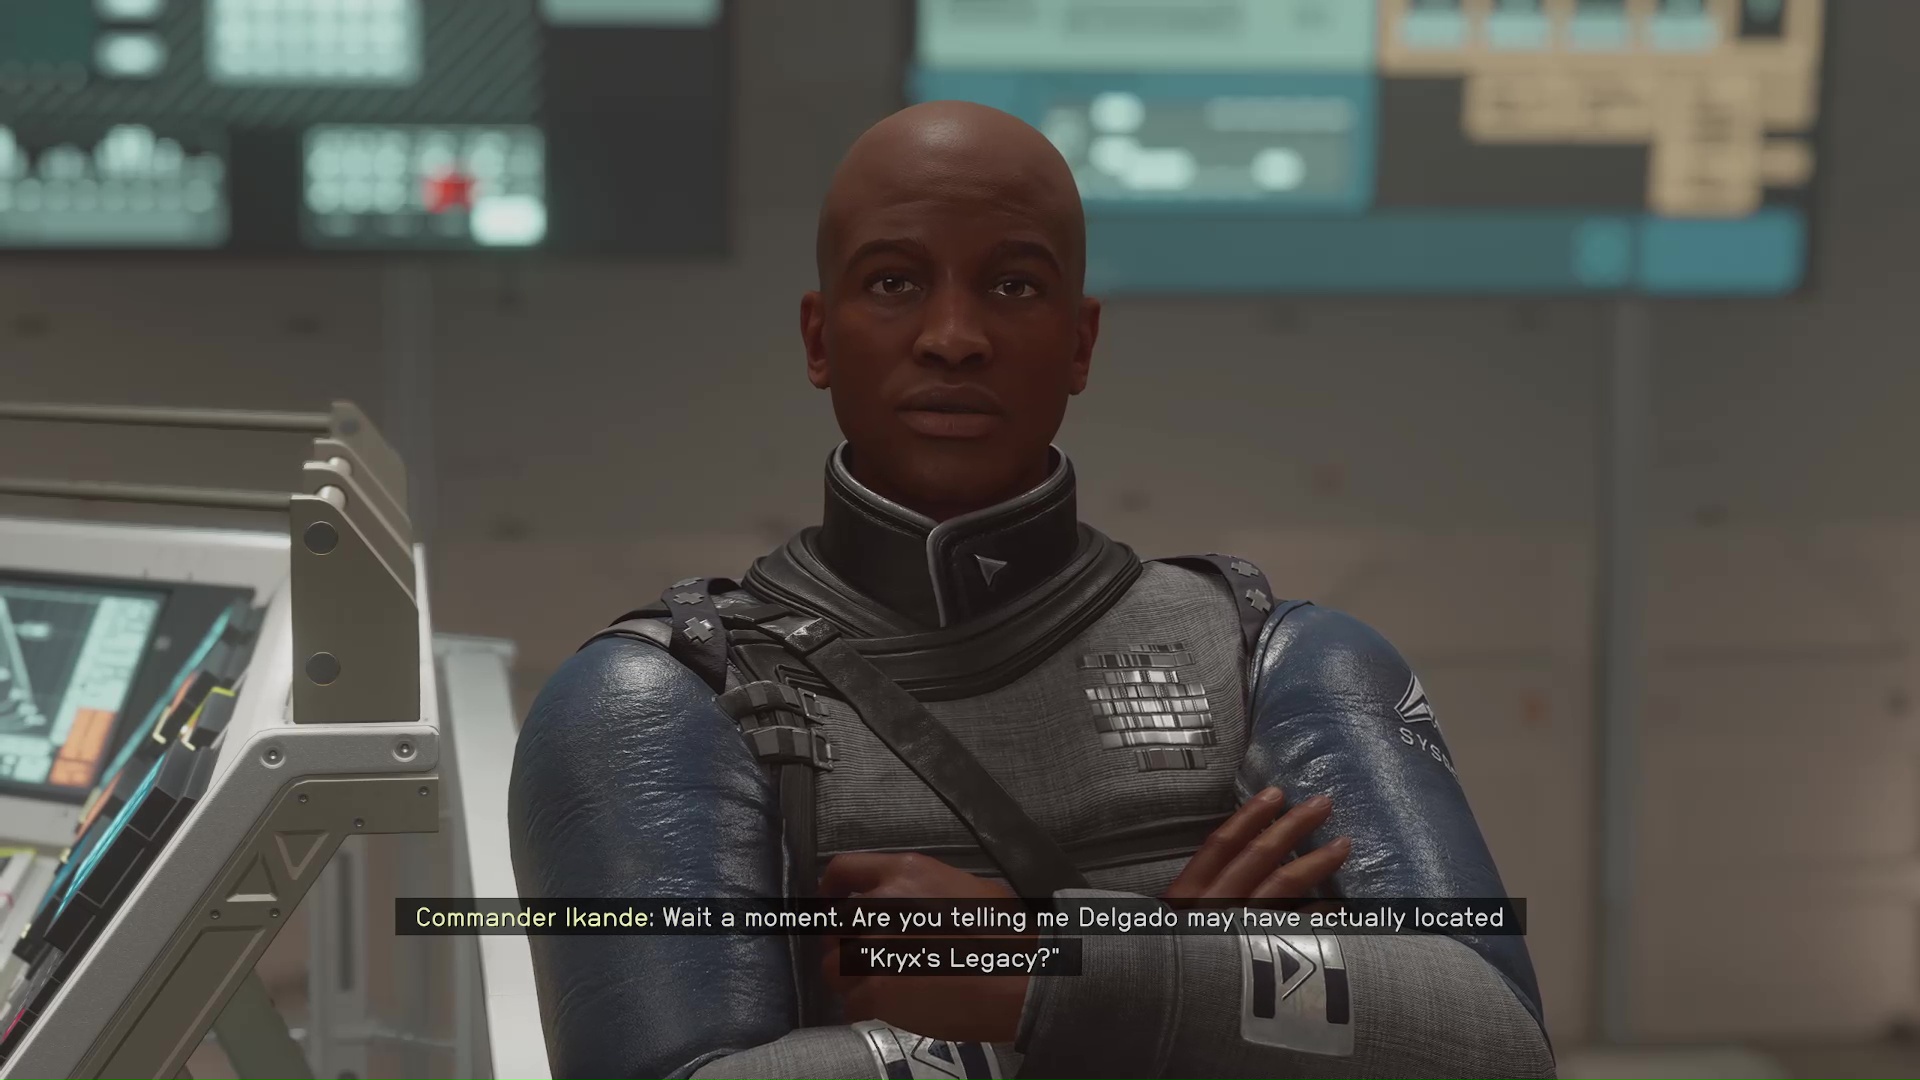
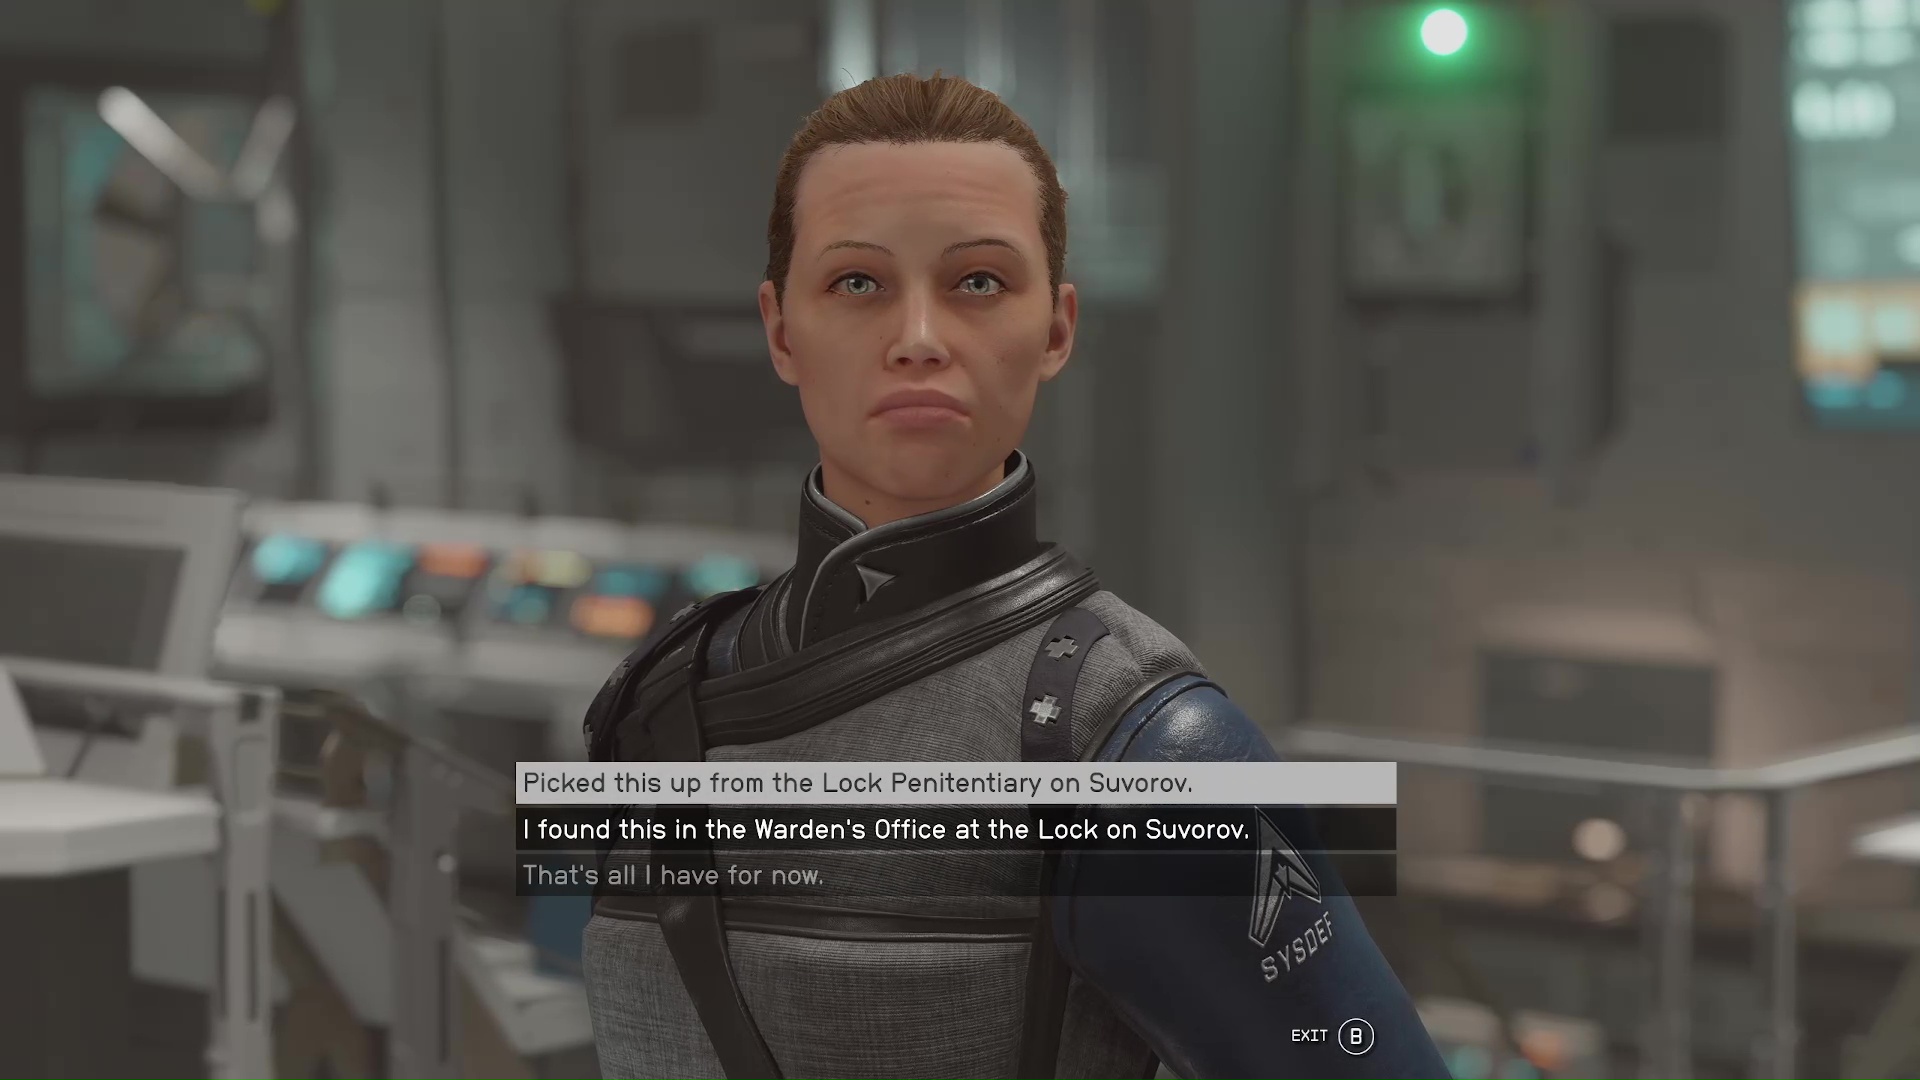
If you’re going with the snitch route, then you need to go and lick the boots of your betters. The UC Vigilance is still orbiting Phobos in the Sol System. Dock with the massive ship, and you’ll find Ikande in the command center again. Report to the commander what you’ve learned; he will tell you to stay the course and take on the next mission (Image 49). Lieutenant Toft will gladly accept the two pieces of evidence that you gathered for the mission, Burden of Proof (Image 50).
Kelson is a spud head from out west. He is most happy when holding a milky tea with too much honey and playing a sprawling role playing game or reading a fantasy novel. His video game tastes vary but his main genres are looter shooters, RPGs, and real time strategy games.