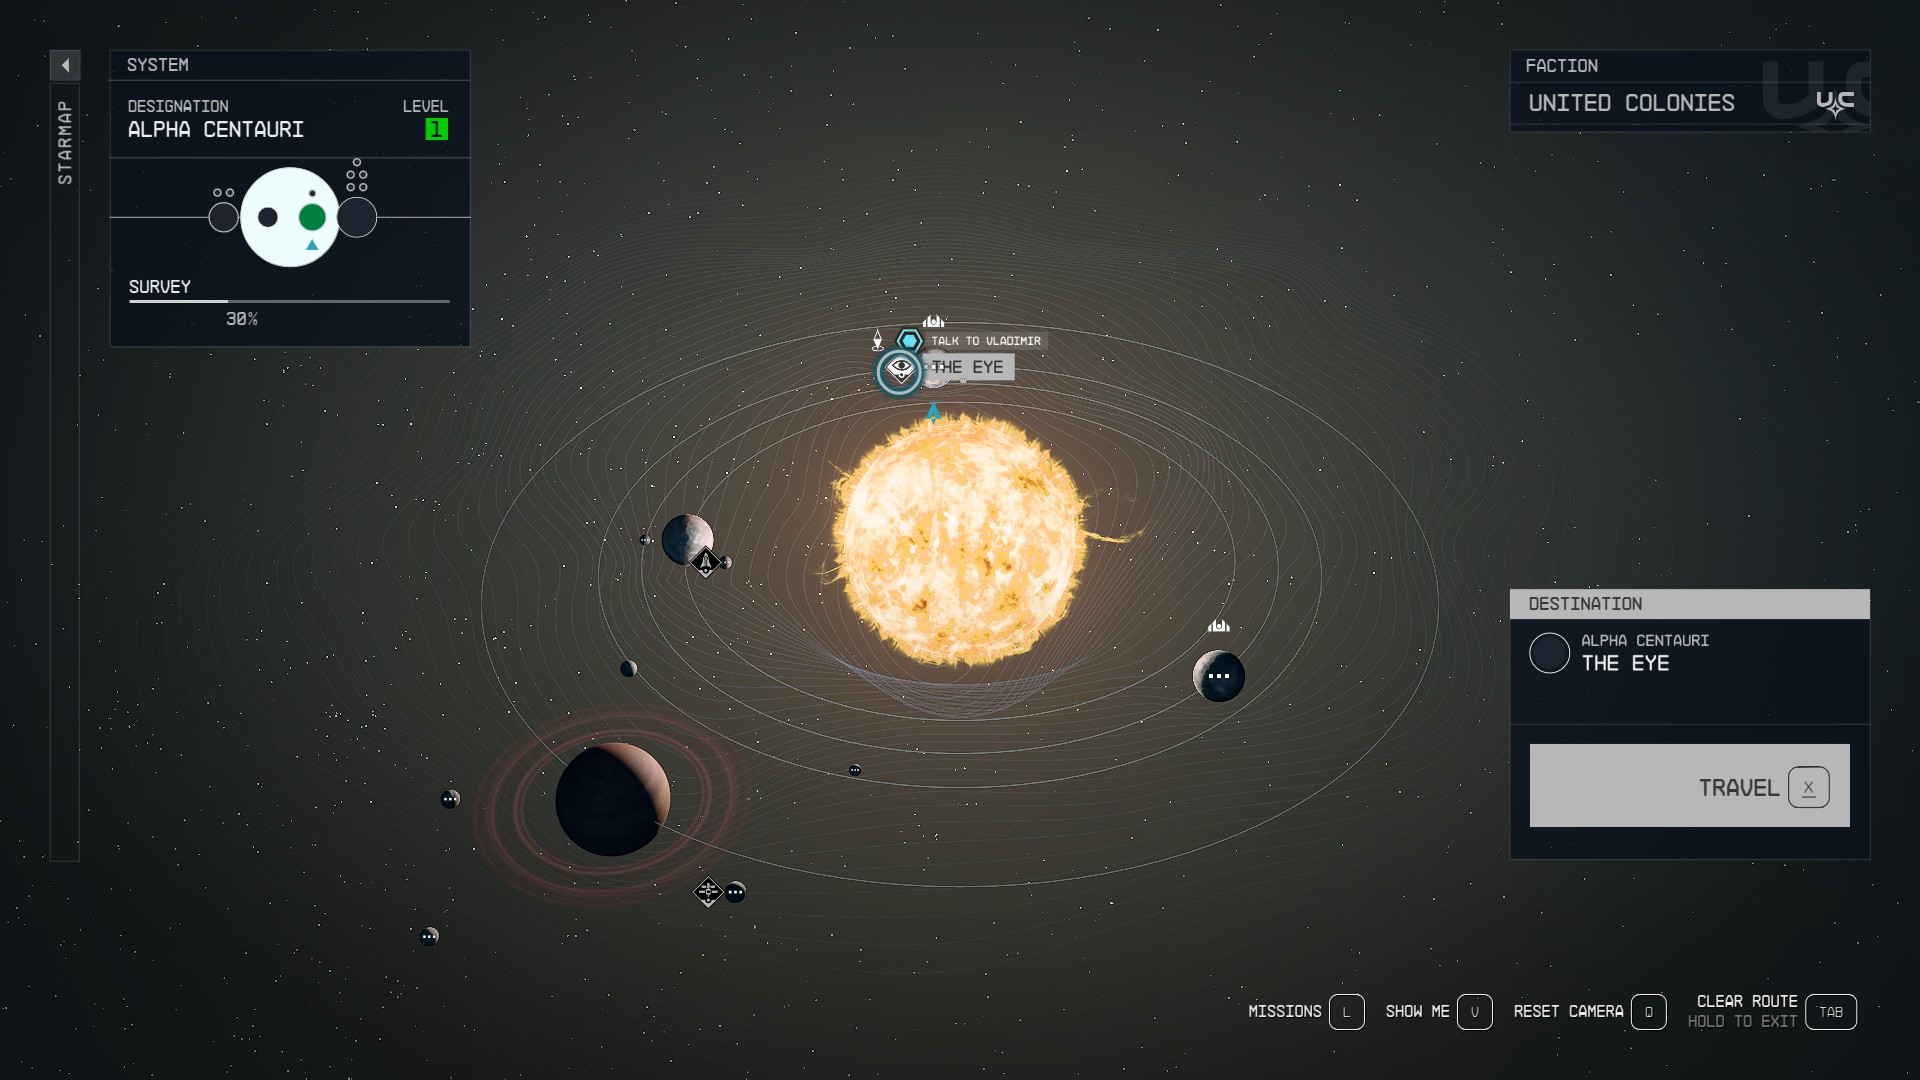
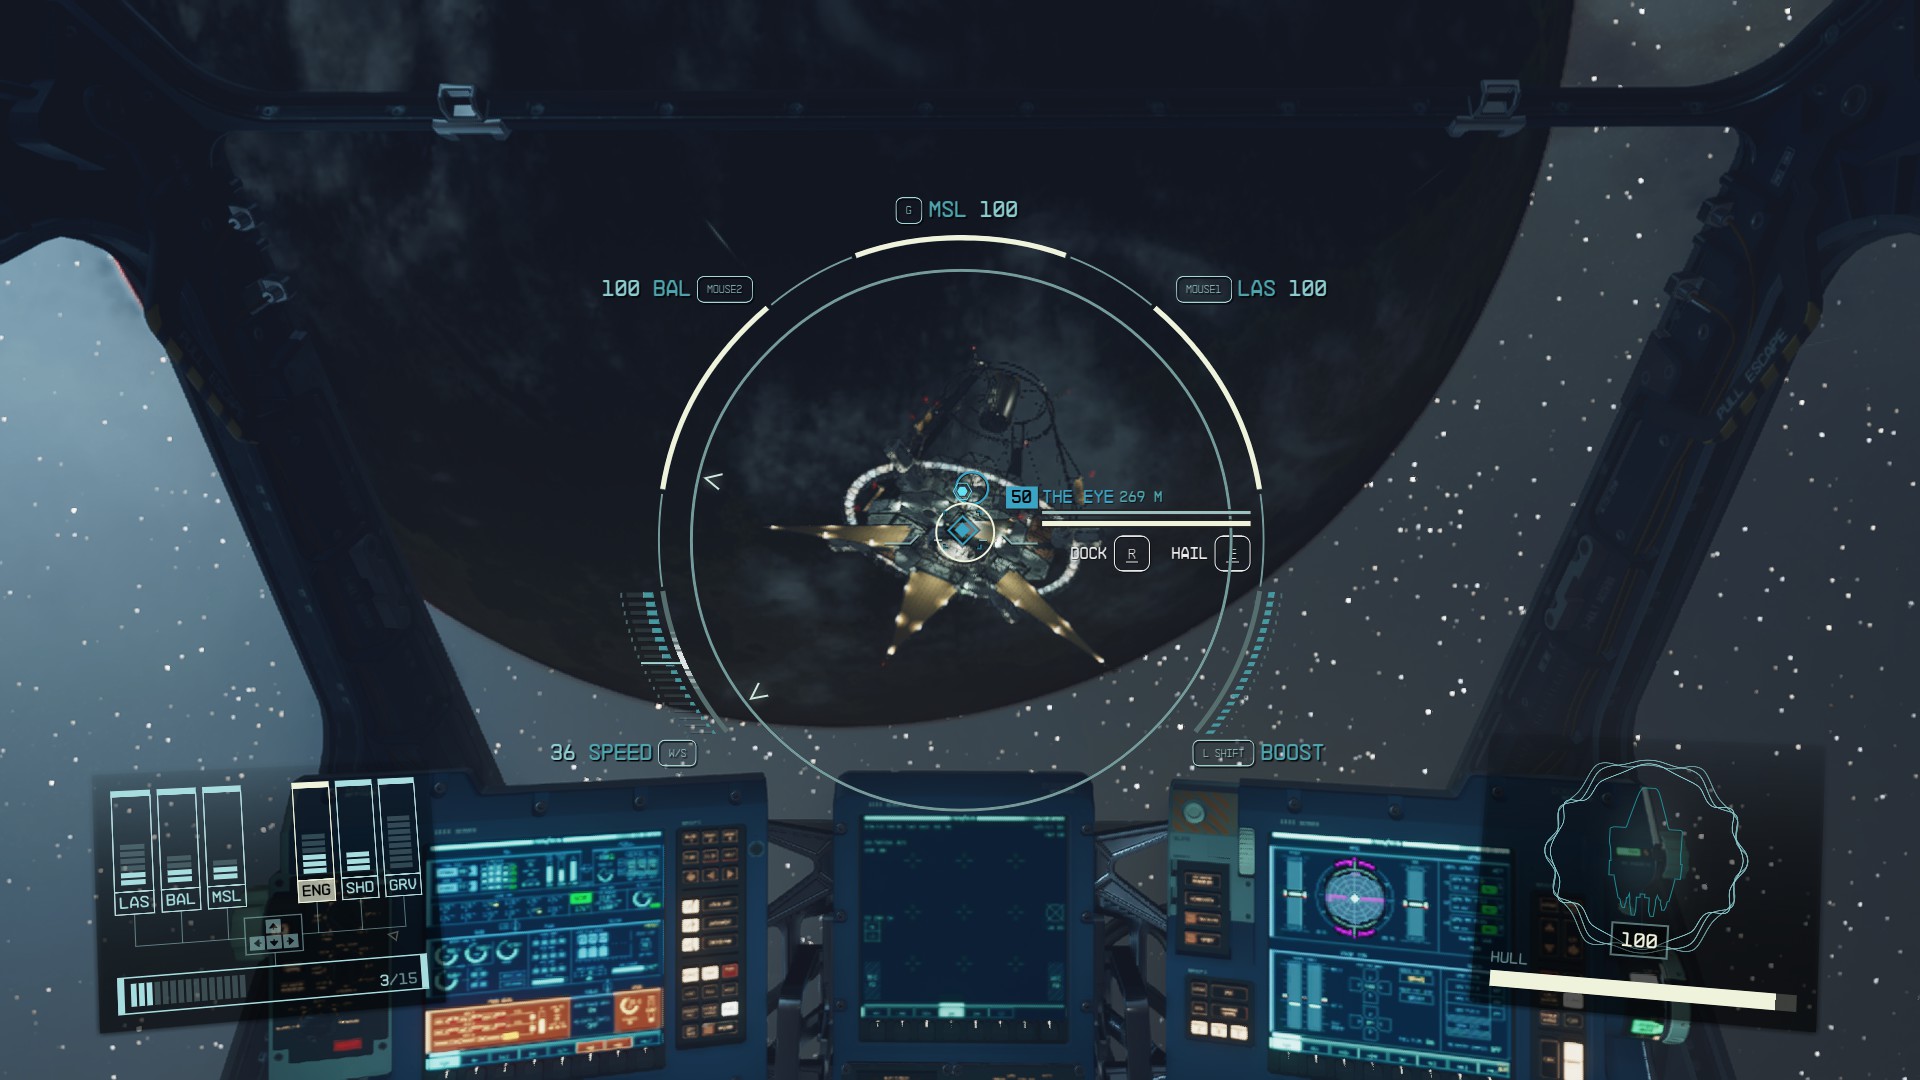
The first step in this mission is to head to the Eye, Constellation‘s star station that is in orbit around Jemison, the planet that New Atlantis is on. Go to your mission log to set your course (Image 1). This will put you in orbit around Jemison. The Eye should be in view and marked as a mission objective (Image 2). Fly your ship close to it and dock by holding / / .
Image 1Image 2
Board the Eye and walk straight ahead to speak with Vladimir Sall. He’ll tell you a bit about himself and the Eye, and then he’ll say that another rookie Constellation member, Andreja, has gone missing. If you say “I’ll keep an eye out for Andreja,” any Constellation companion that you have with you will like that.
You can continue talking to Vladimir to learn a bit more about him and pick up a small side mission to visit his house. There isn’t much else to do on board the Eye, but feel free to explore and loot the station. If you take a left from the control wing and enter the door marked Facilities F01, then enter the first door on the right, there is a copy of Peak Performance 01 among the gym equipment (Image 3). You’ll want to pick that up to permanently increase your carrying capacity. Otherwise there isn’t much of value to be found.
Image 3
Find Andreja
You’ll now have mission objectives to visit two different worlds in search of artifacts, as well as an objective to find Andreja on one of these worlds. The two locations are randomly selected. We’ll go looking for Andreja first, since it’s always nice to have another crew member available. Go to the “Find Andreja” objective in your mission log to set your course.
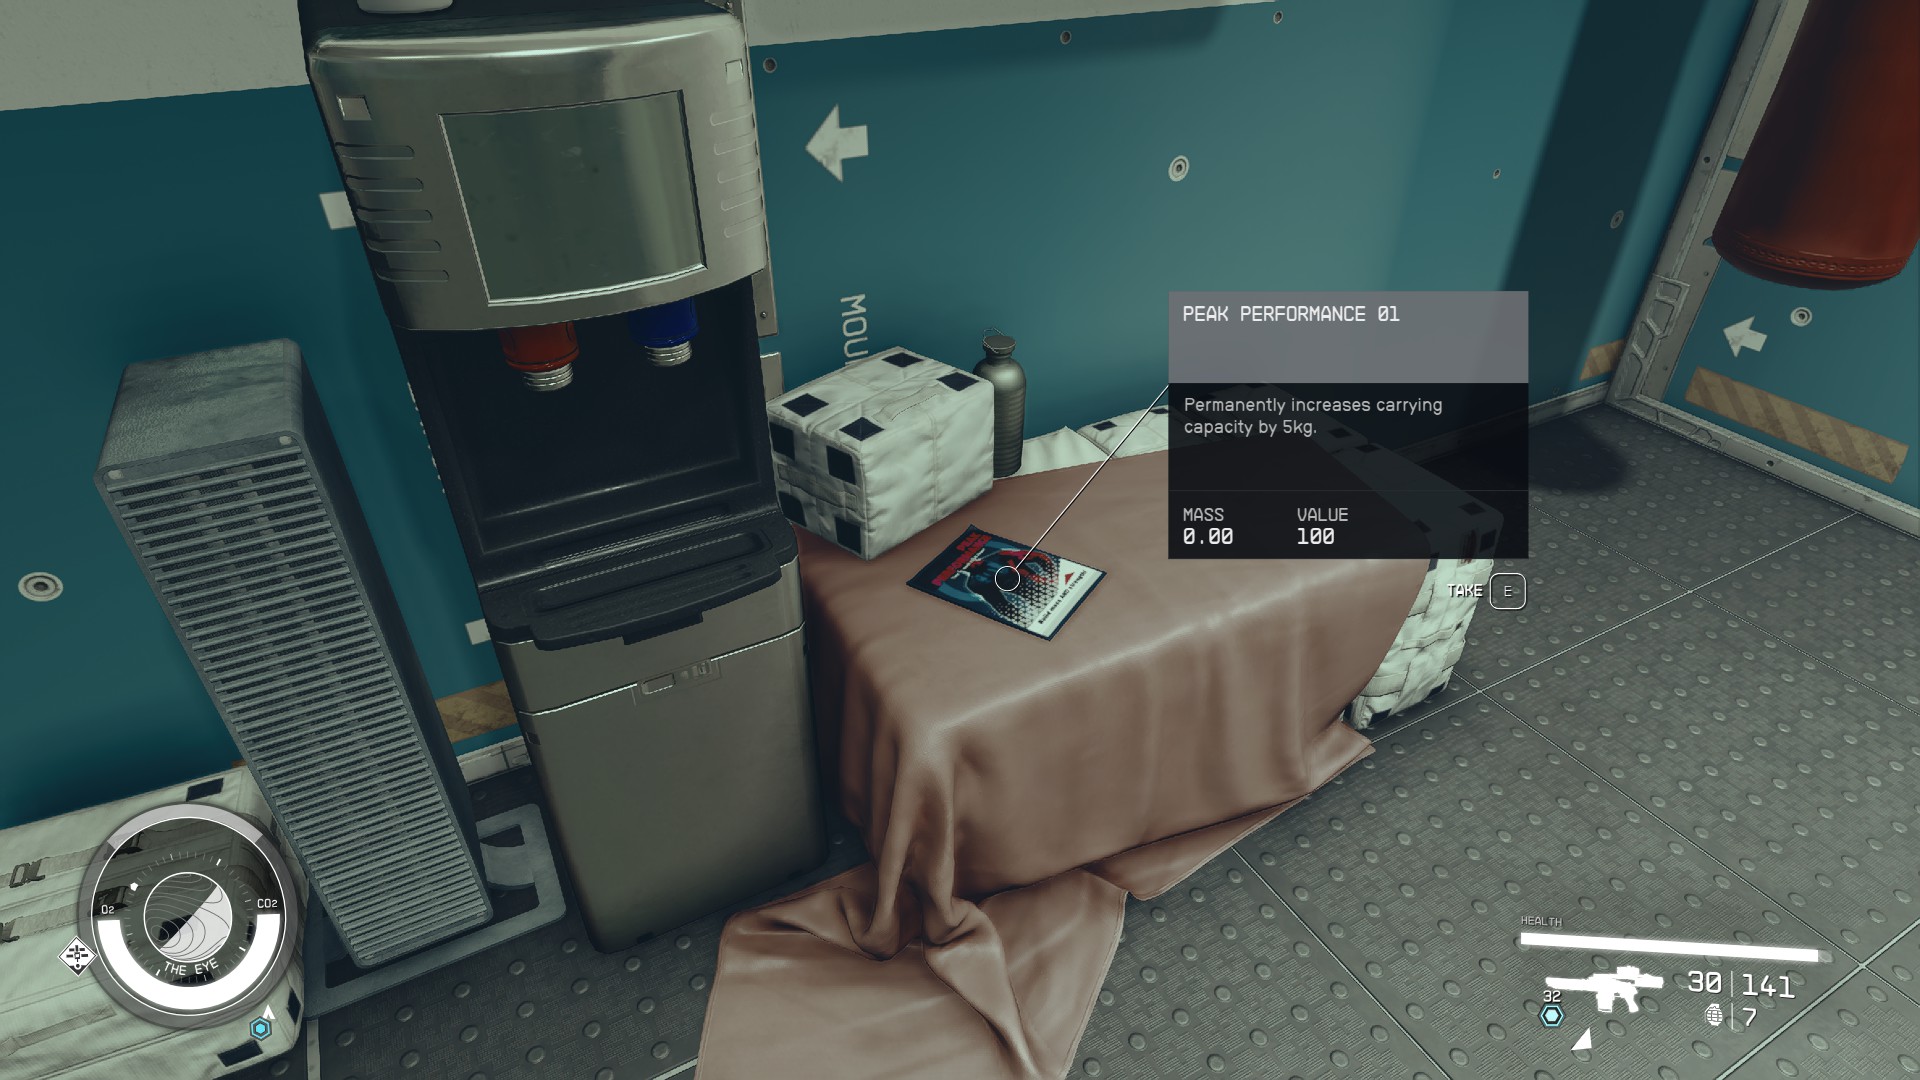
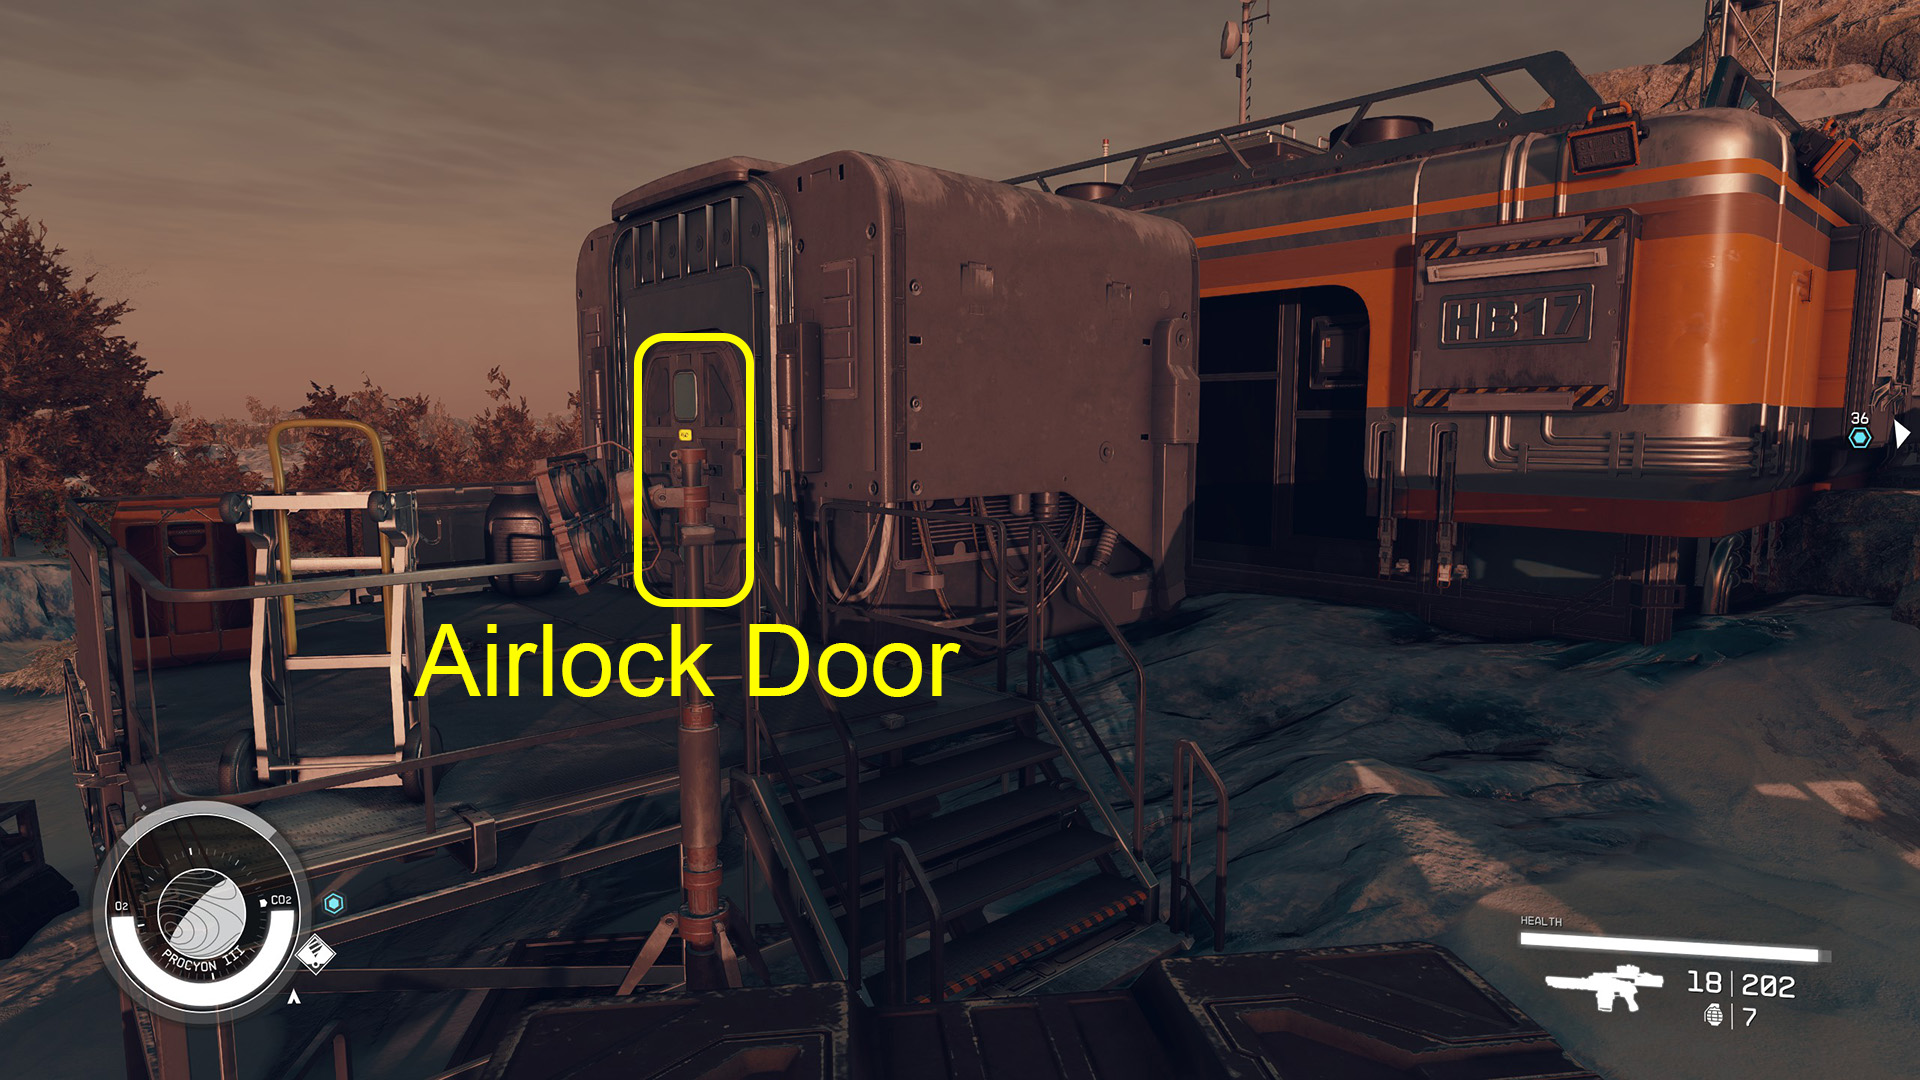
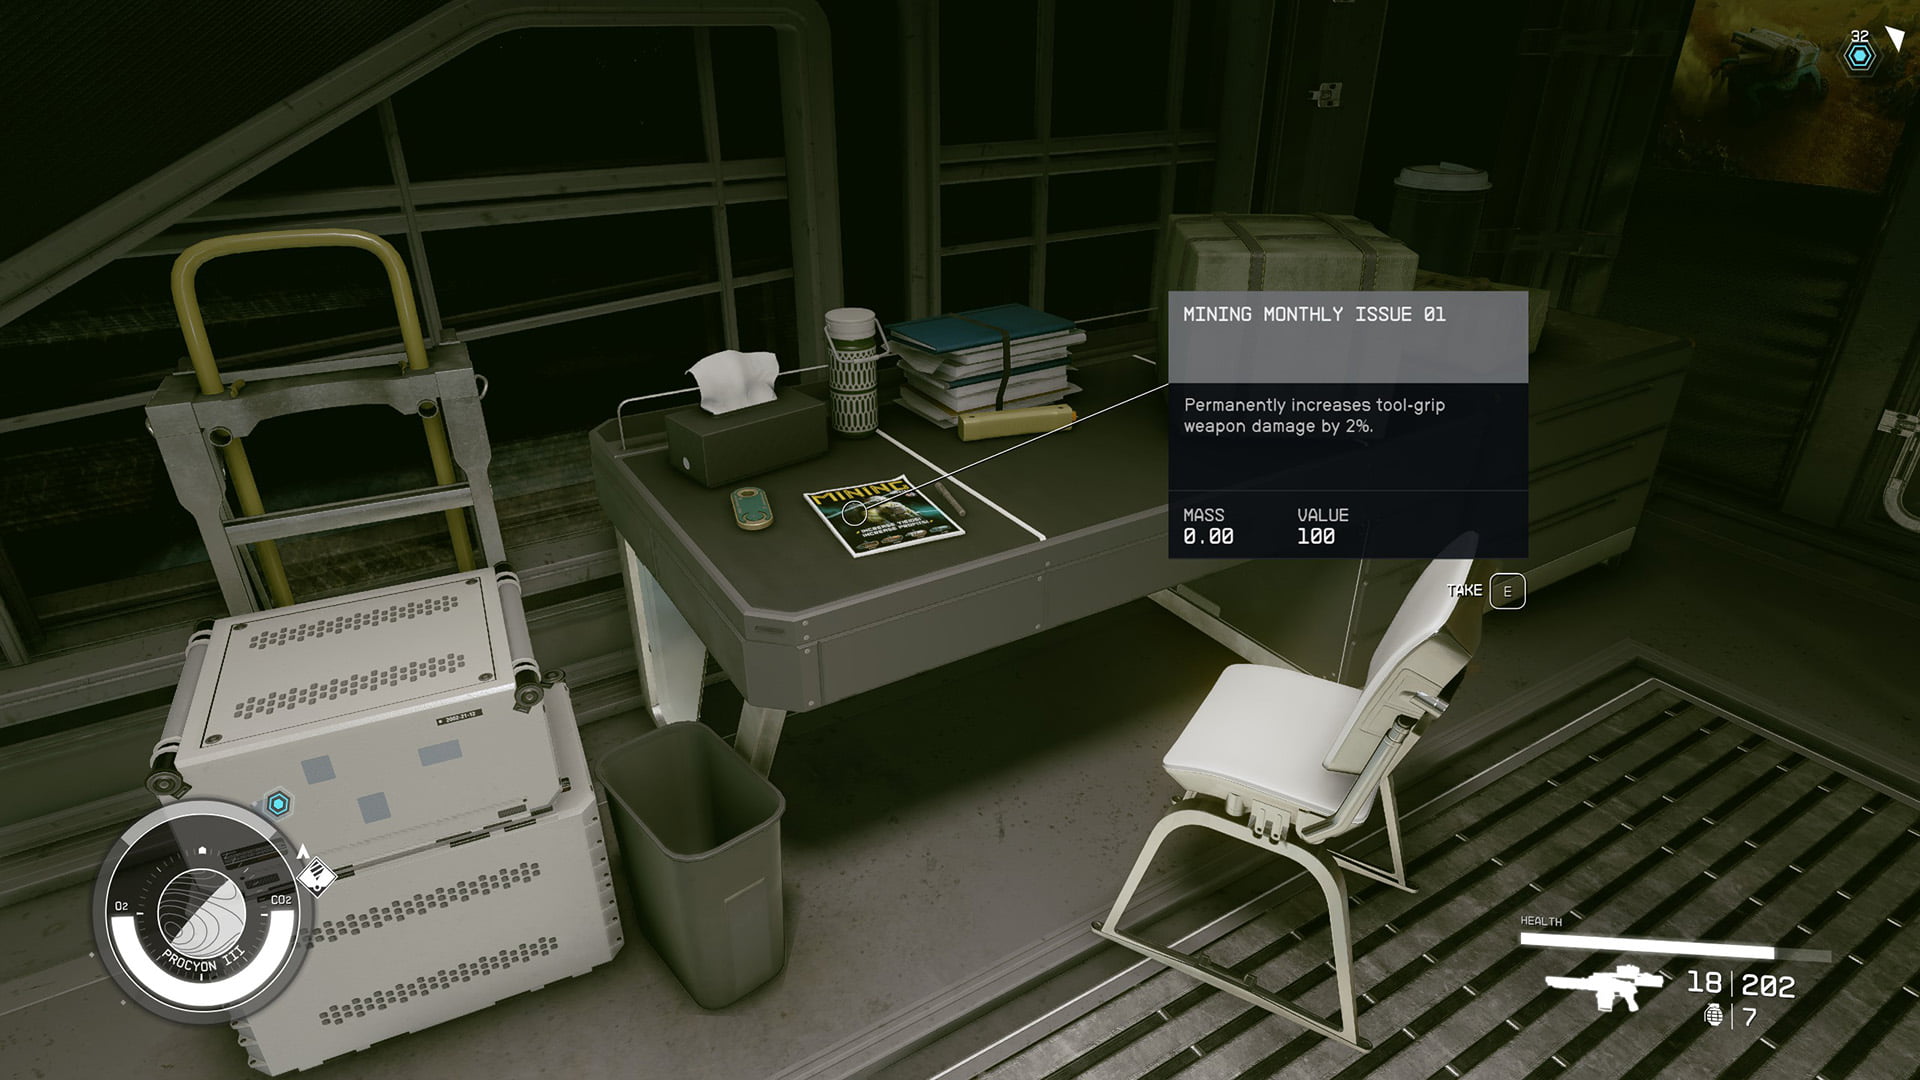
You’ll land near an Abandoned Mine. If you explore the exterior, you’ll find an airlocked door that leads into a small building (Image 4). On a desk inside is a copy of Mining Monthly Issue 01, which will permanently increase your tool-grip weapon damage (Image 5). There’s also a locked safe on a shelf on the wall that you can lockpick for some credits and loot.
Image 4Image 5
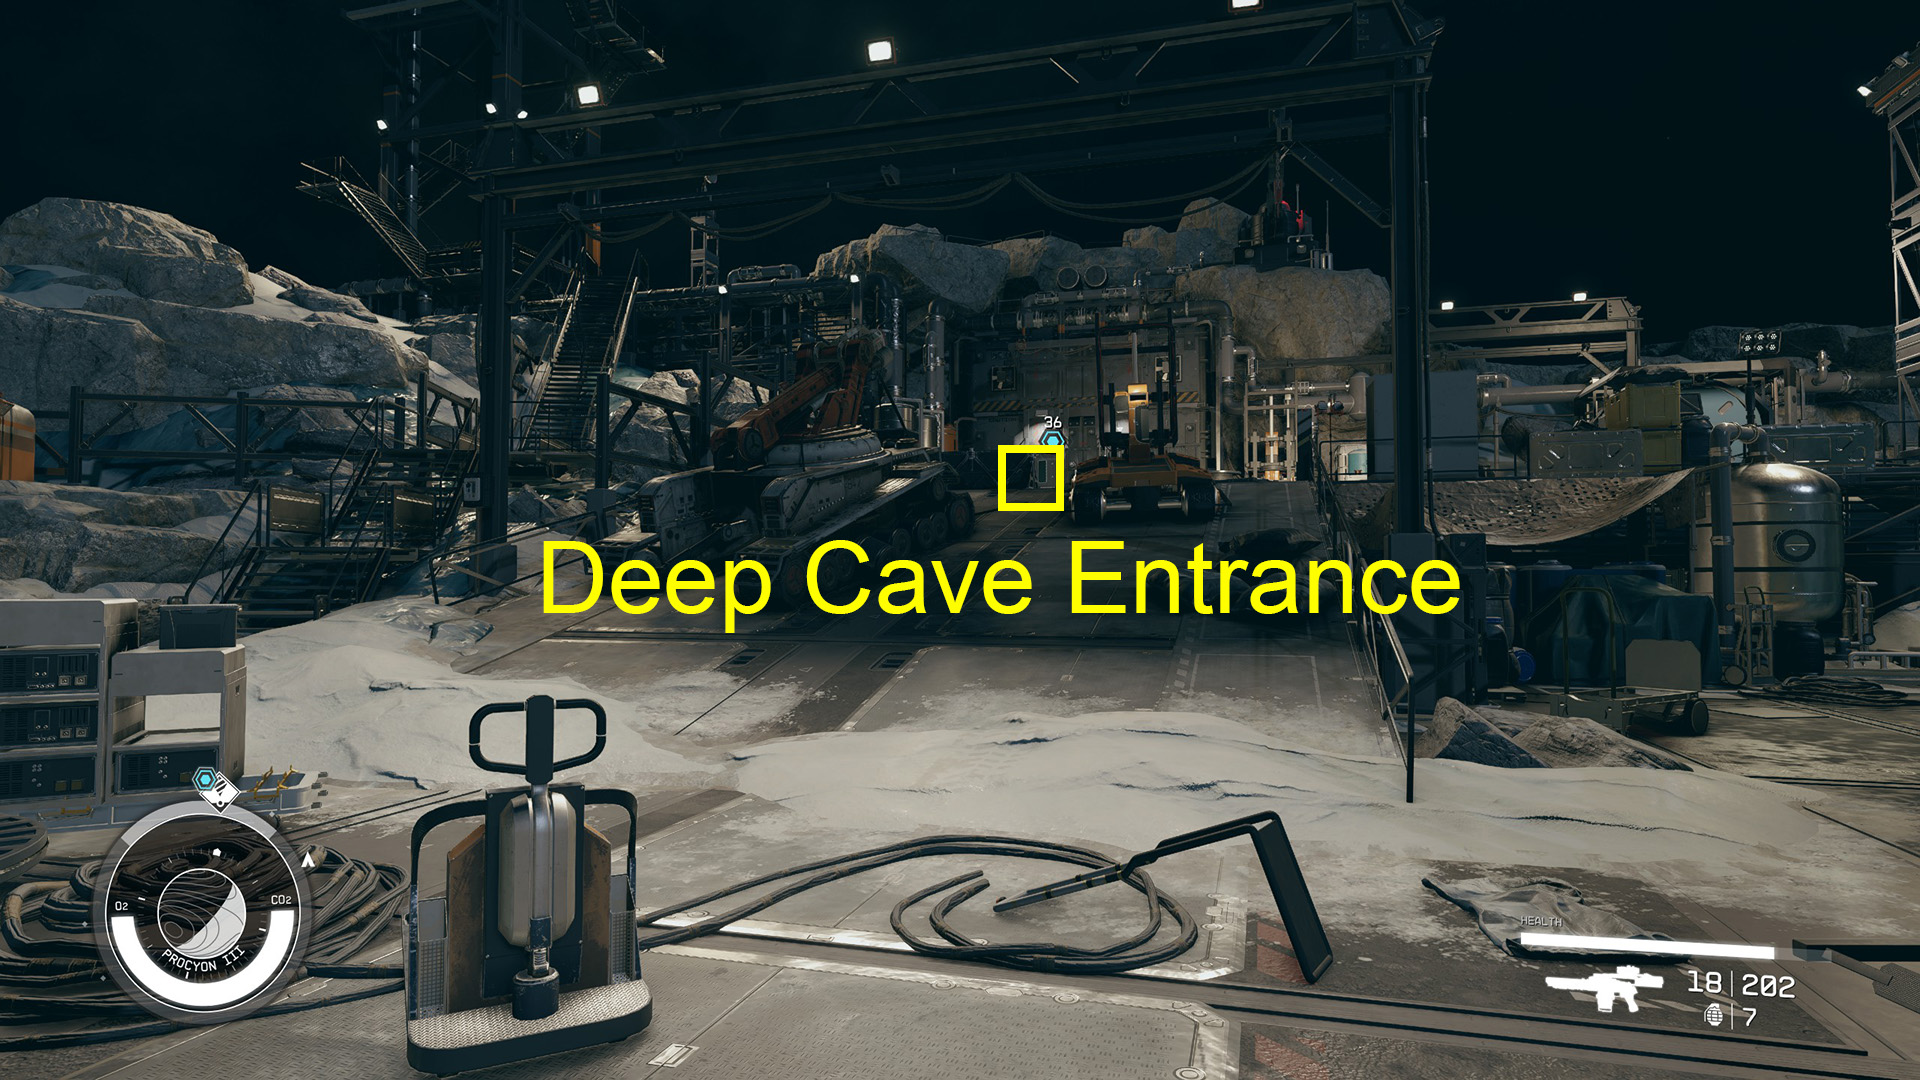
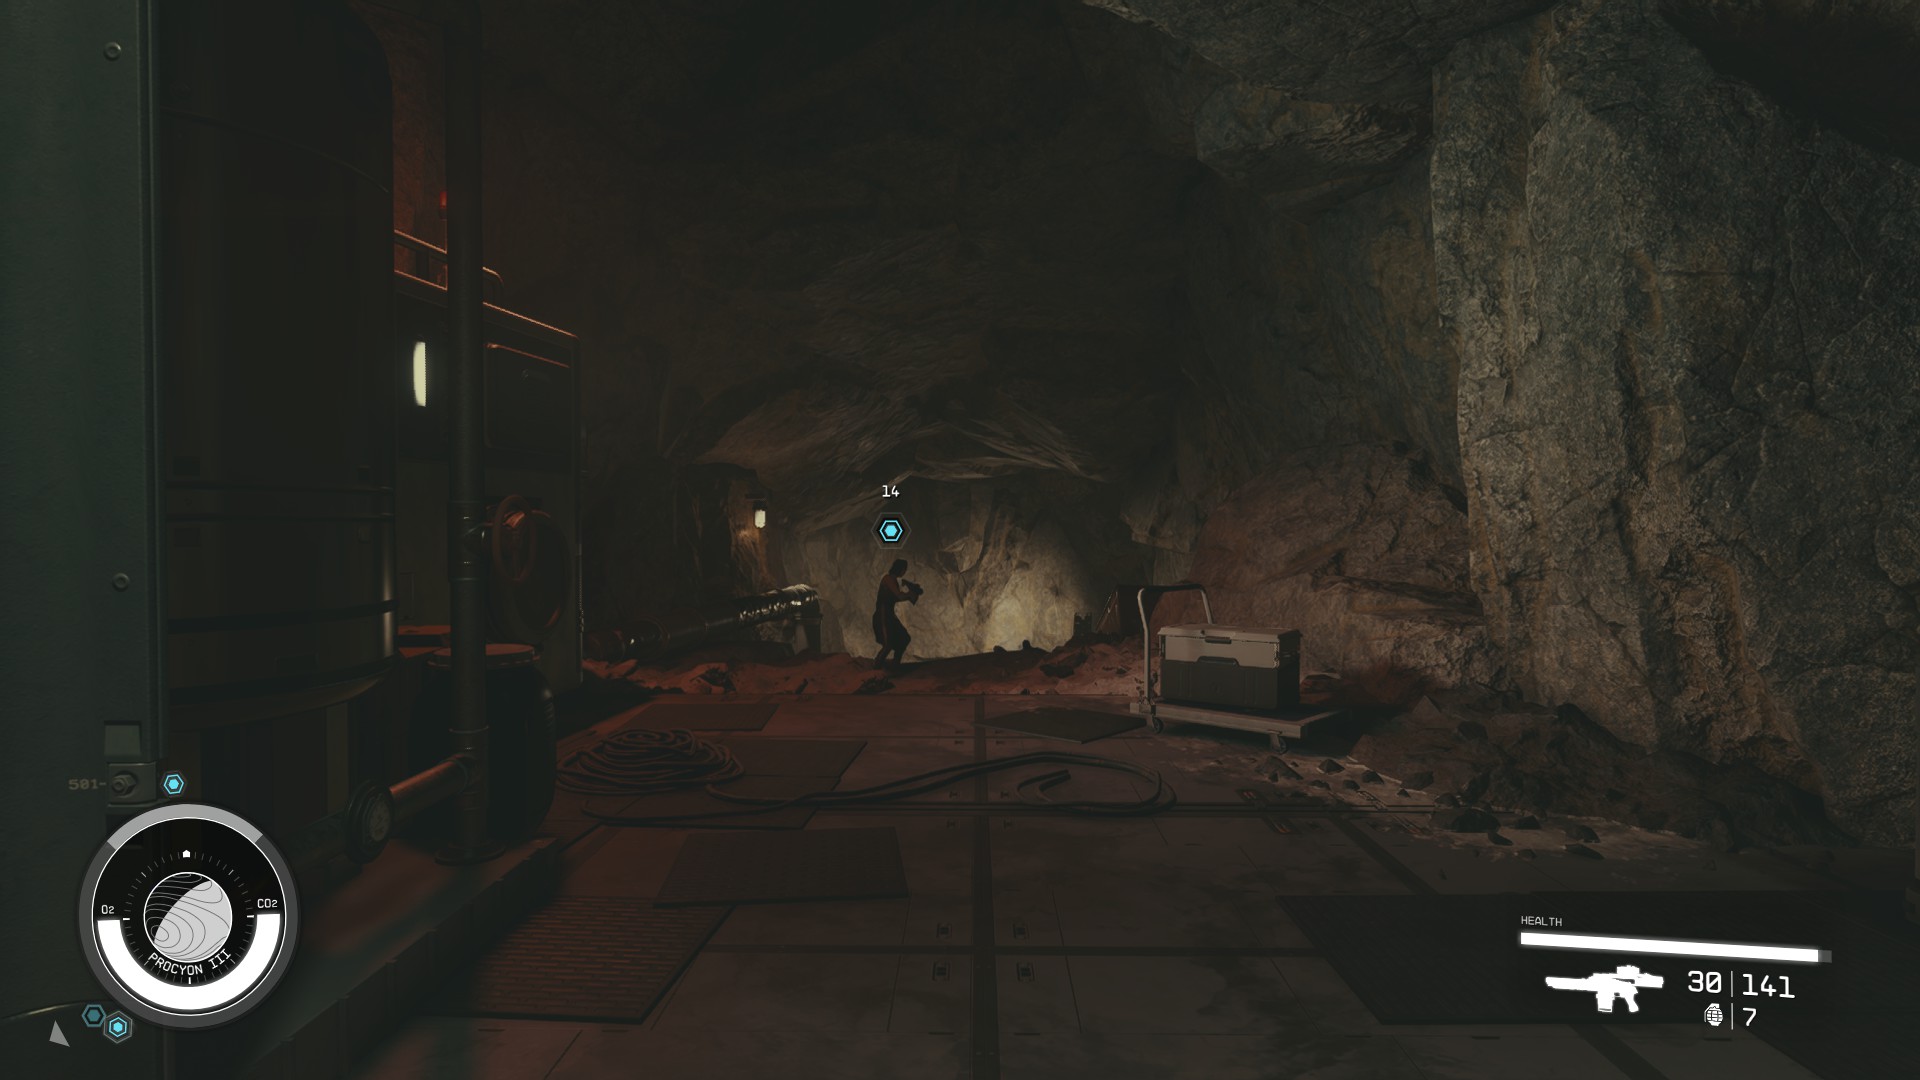
Back outside, head up the ramp and enter a door marked Deep Cave (Image 6). You’ll find Andreja just inside, fighting some Va’ruun Zealots (Image 7). You can help her out, but she’ll handle them pretty quickly herself. When they’re dead, she’ll demand that you identify yourself. Whatever you say, she’ll join up with you to find the artifact in this mine. She’ll become a follower for the time being, but won’t replace your current companion.
Image 6Image 7
Find the Artifact
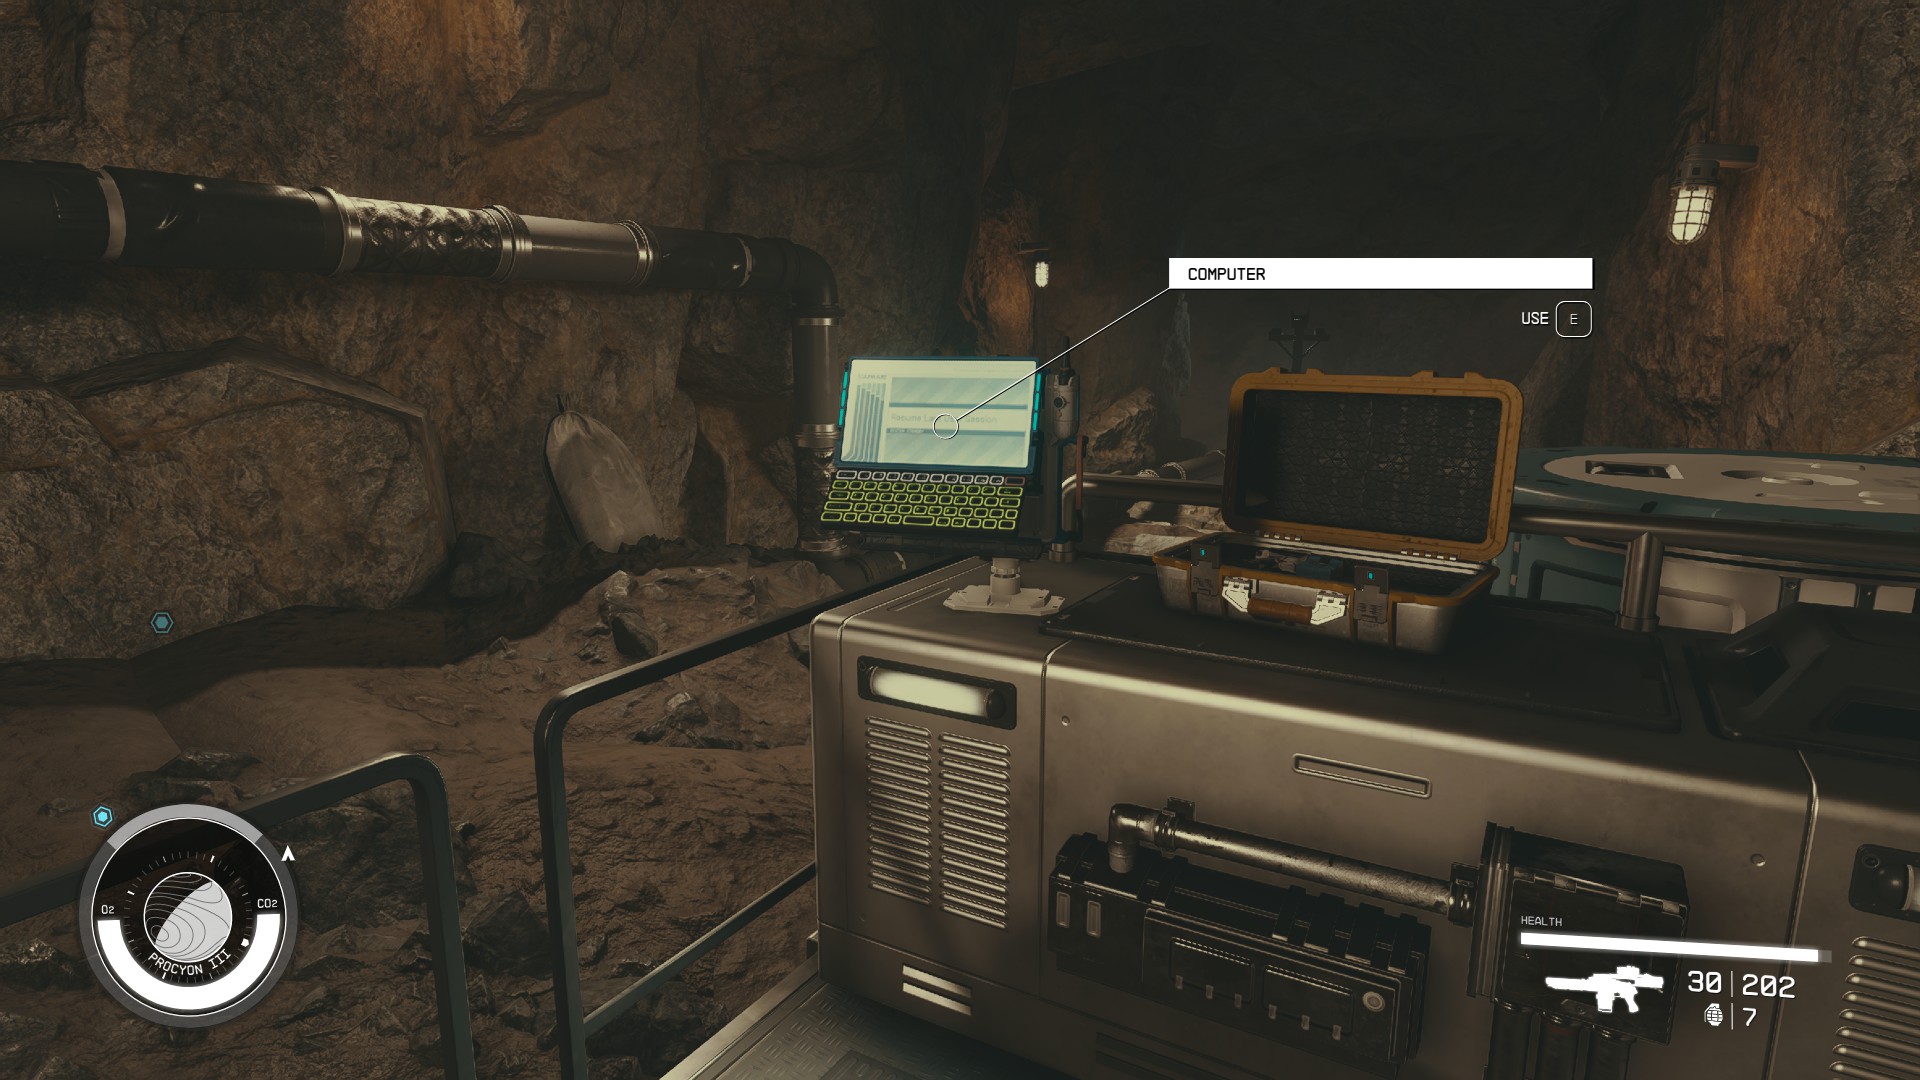
Go down the path and you’ll find a Computer that you can use to activate a nearby robot (Image 8). Be sure to Update Friend/Foe Settings so it will defend you rather than attack you.
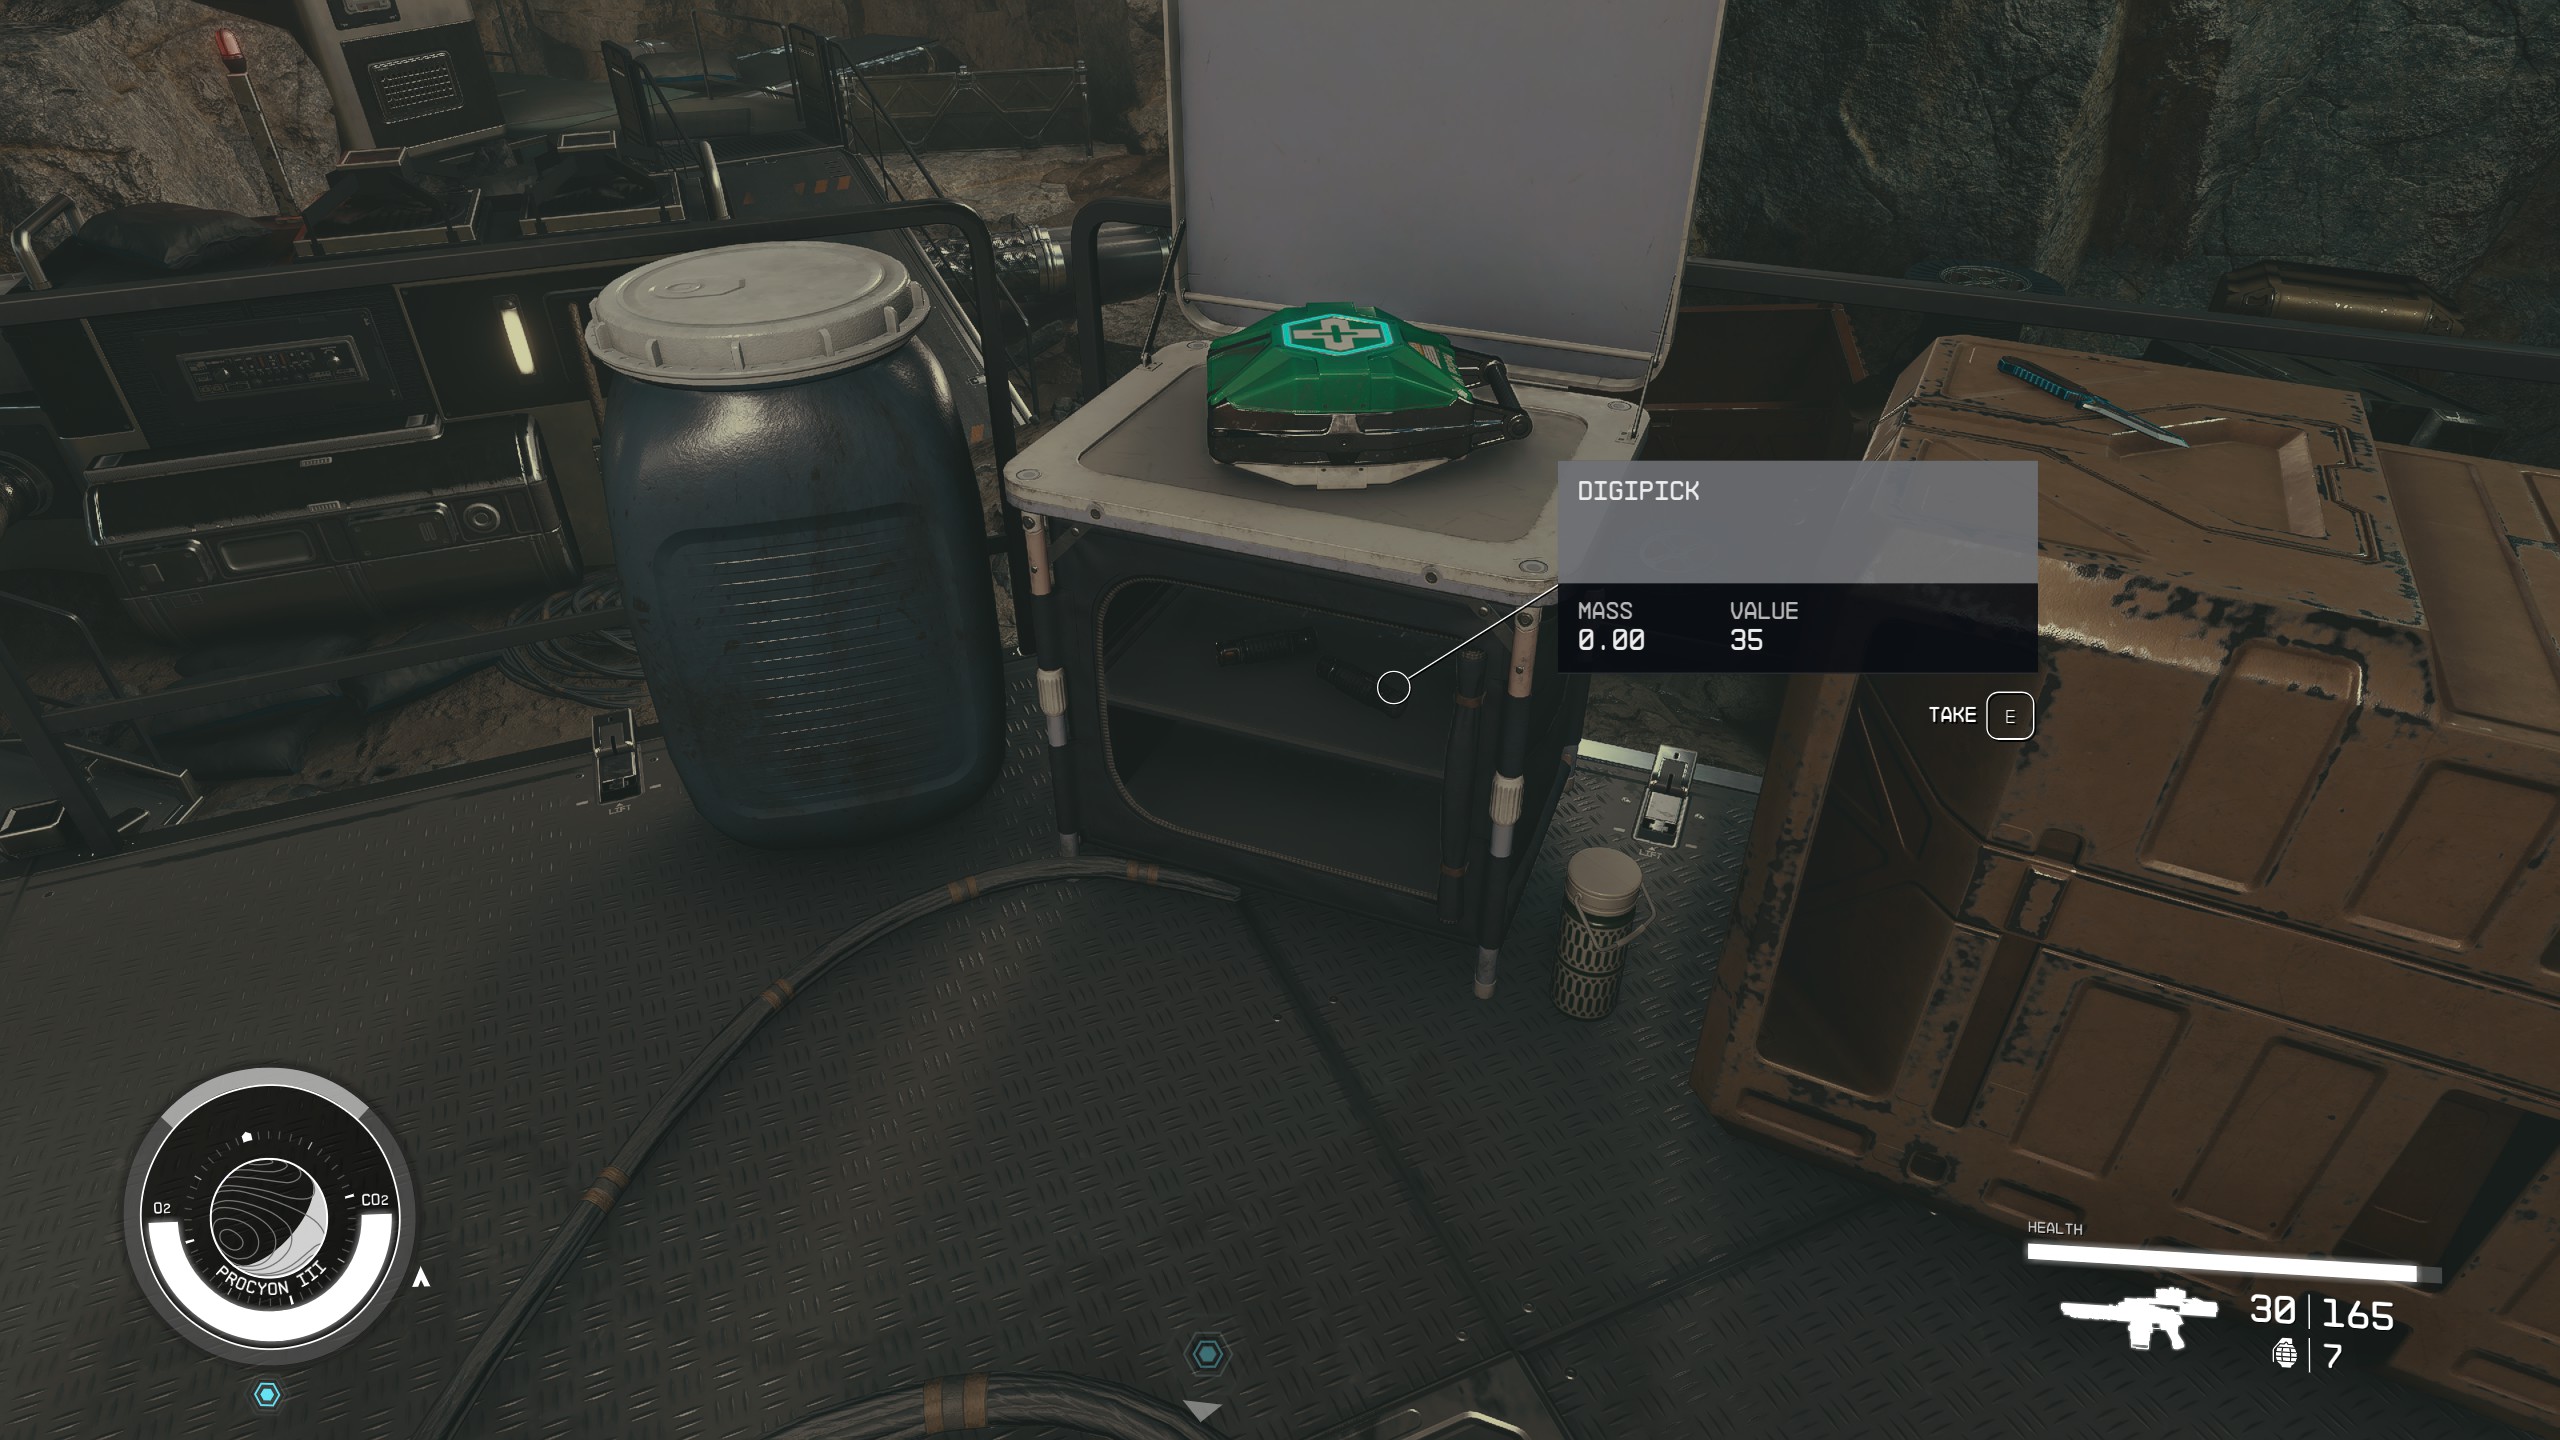
Further down the path, the cave opens up into a large chamber where you’ll encounter a bunch of enemies. They shouldn’t be too difficult to take out, especially with your new robot friend, Andreja, and another companion helping. You can go to the bottom of this room, but there isn’t much down there. On the far platform you’ll find a few digipicks – two on a shelf underneath a First Aid container (Image 9) and one on top of a white box.
Image 8Image 9
Head through the door and follow the path up into another large cavern. You’ll encounter more enemies here, including one at the bottom of the chasm who is a bit tougher than the rest – level 17/18 for us. Fight your way around and down.
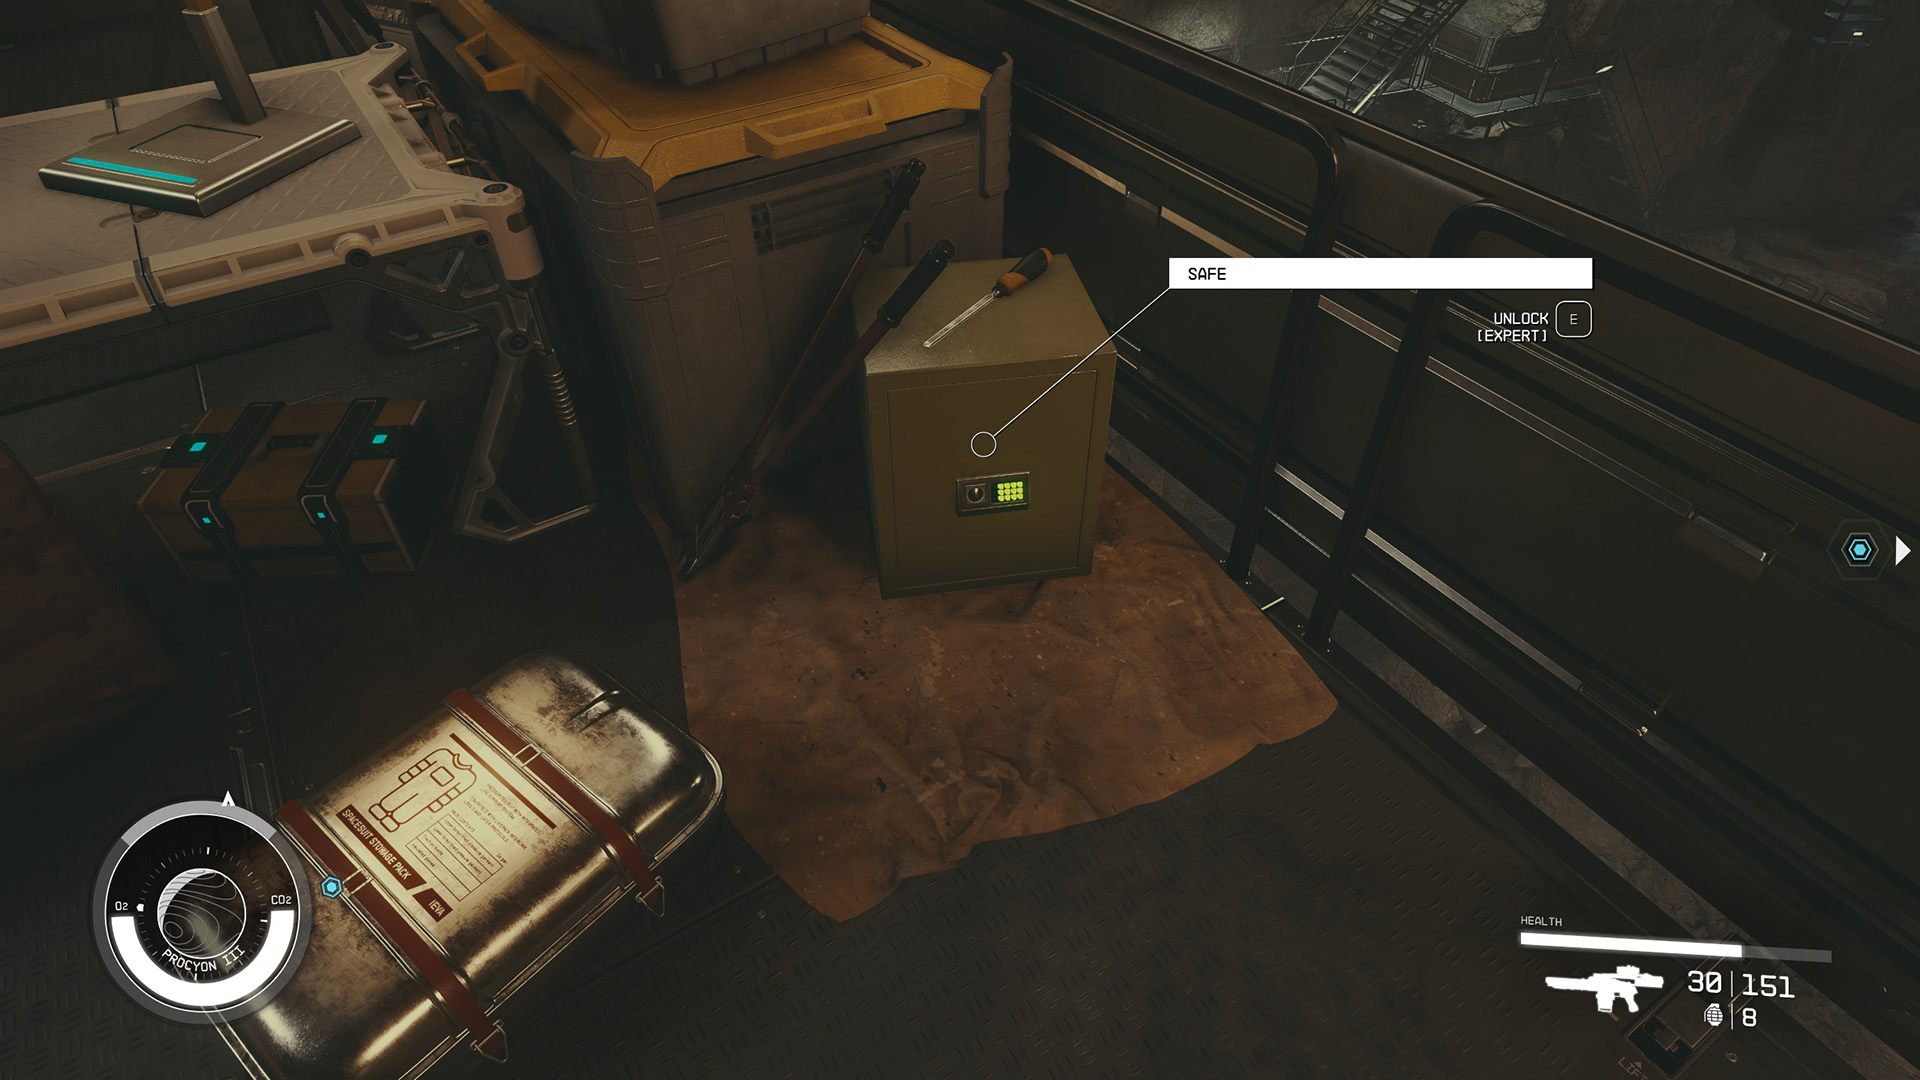
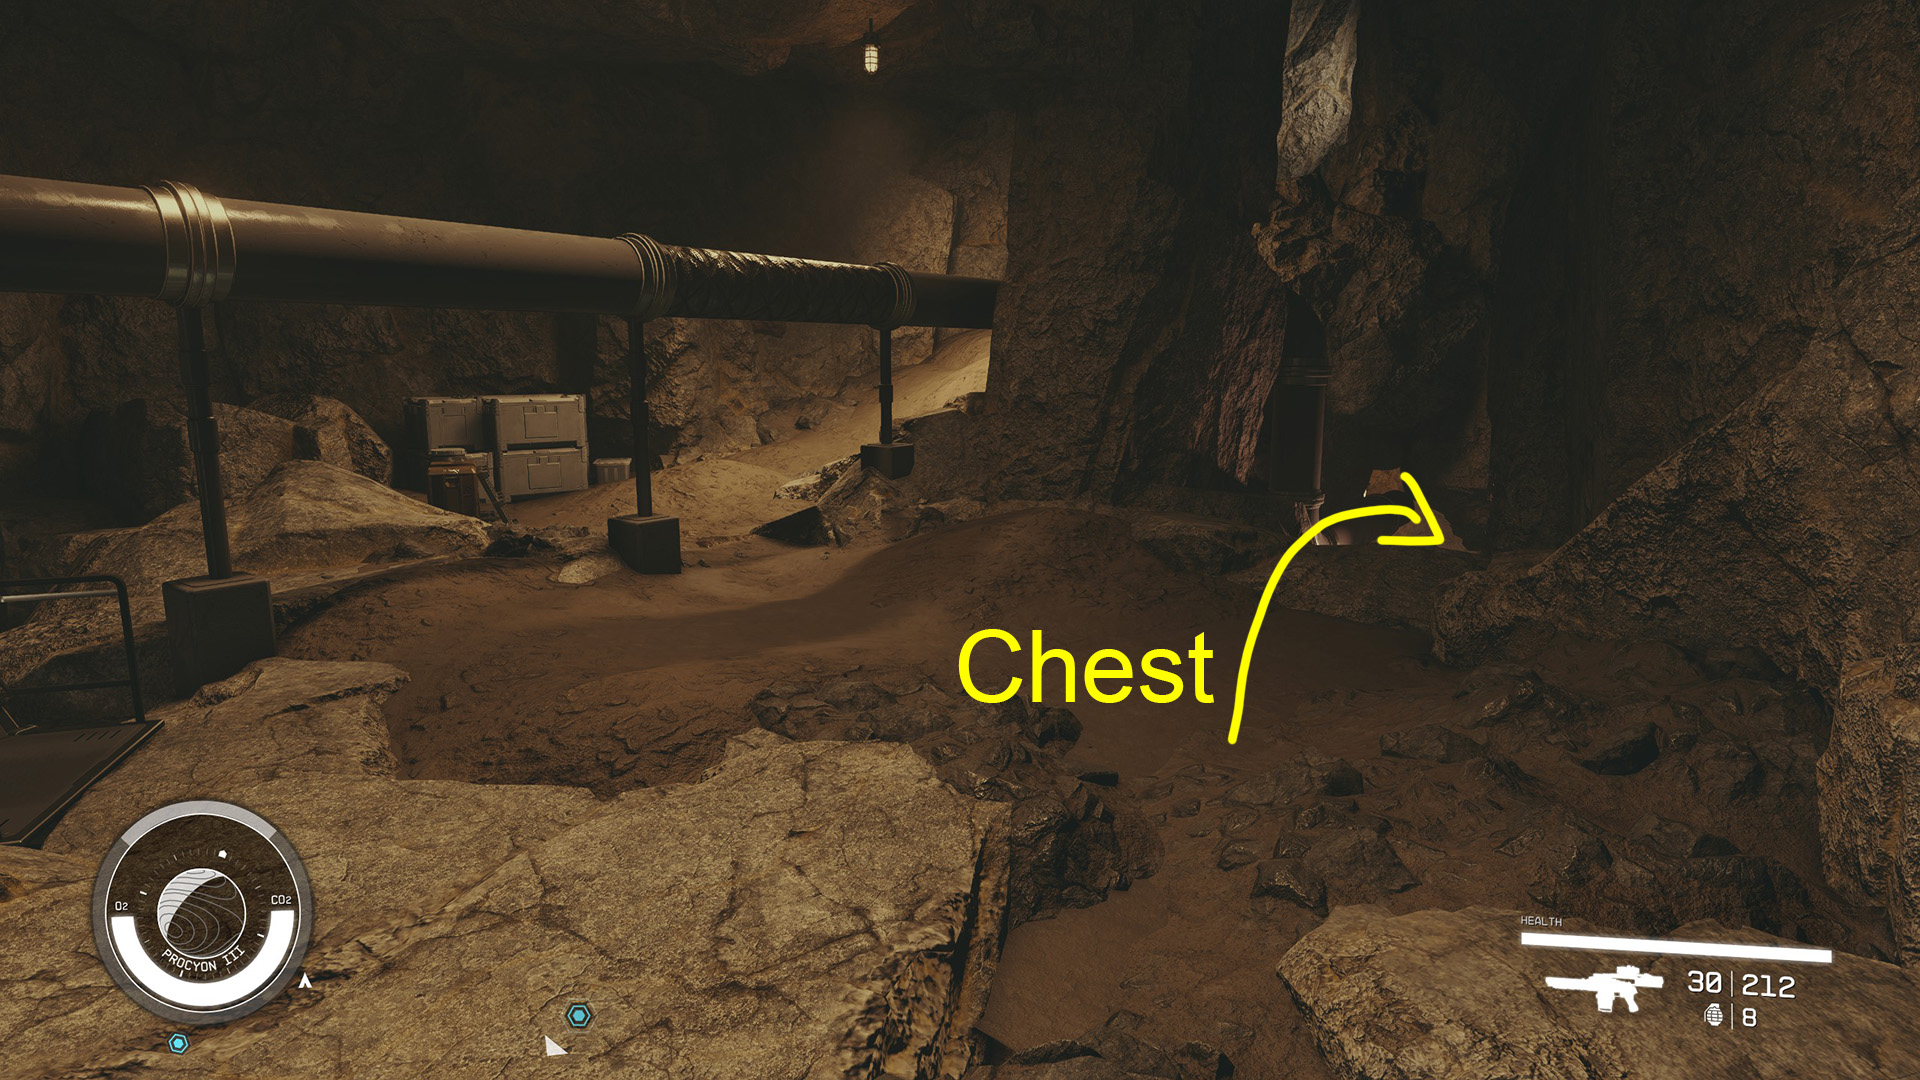
Partway down the scaffolding you’ll find a safe with an expert lock that you can pick if you have rank 2 in the Security skill (Image 10). At the top of the next set of stairs, there’s an alcove with a container that has a chance to contain a pretty good item inside as well as some credits (Image 11).
Image 10Image 11
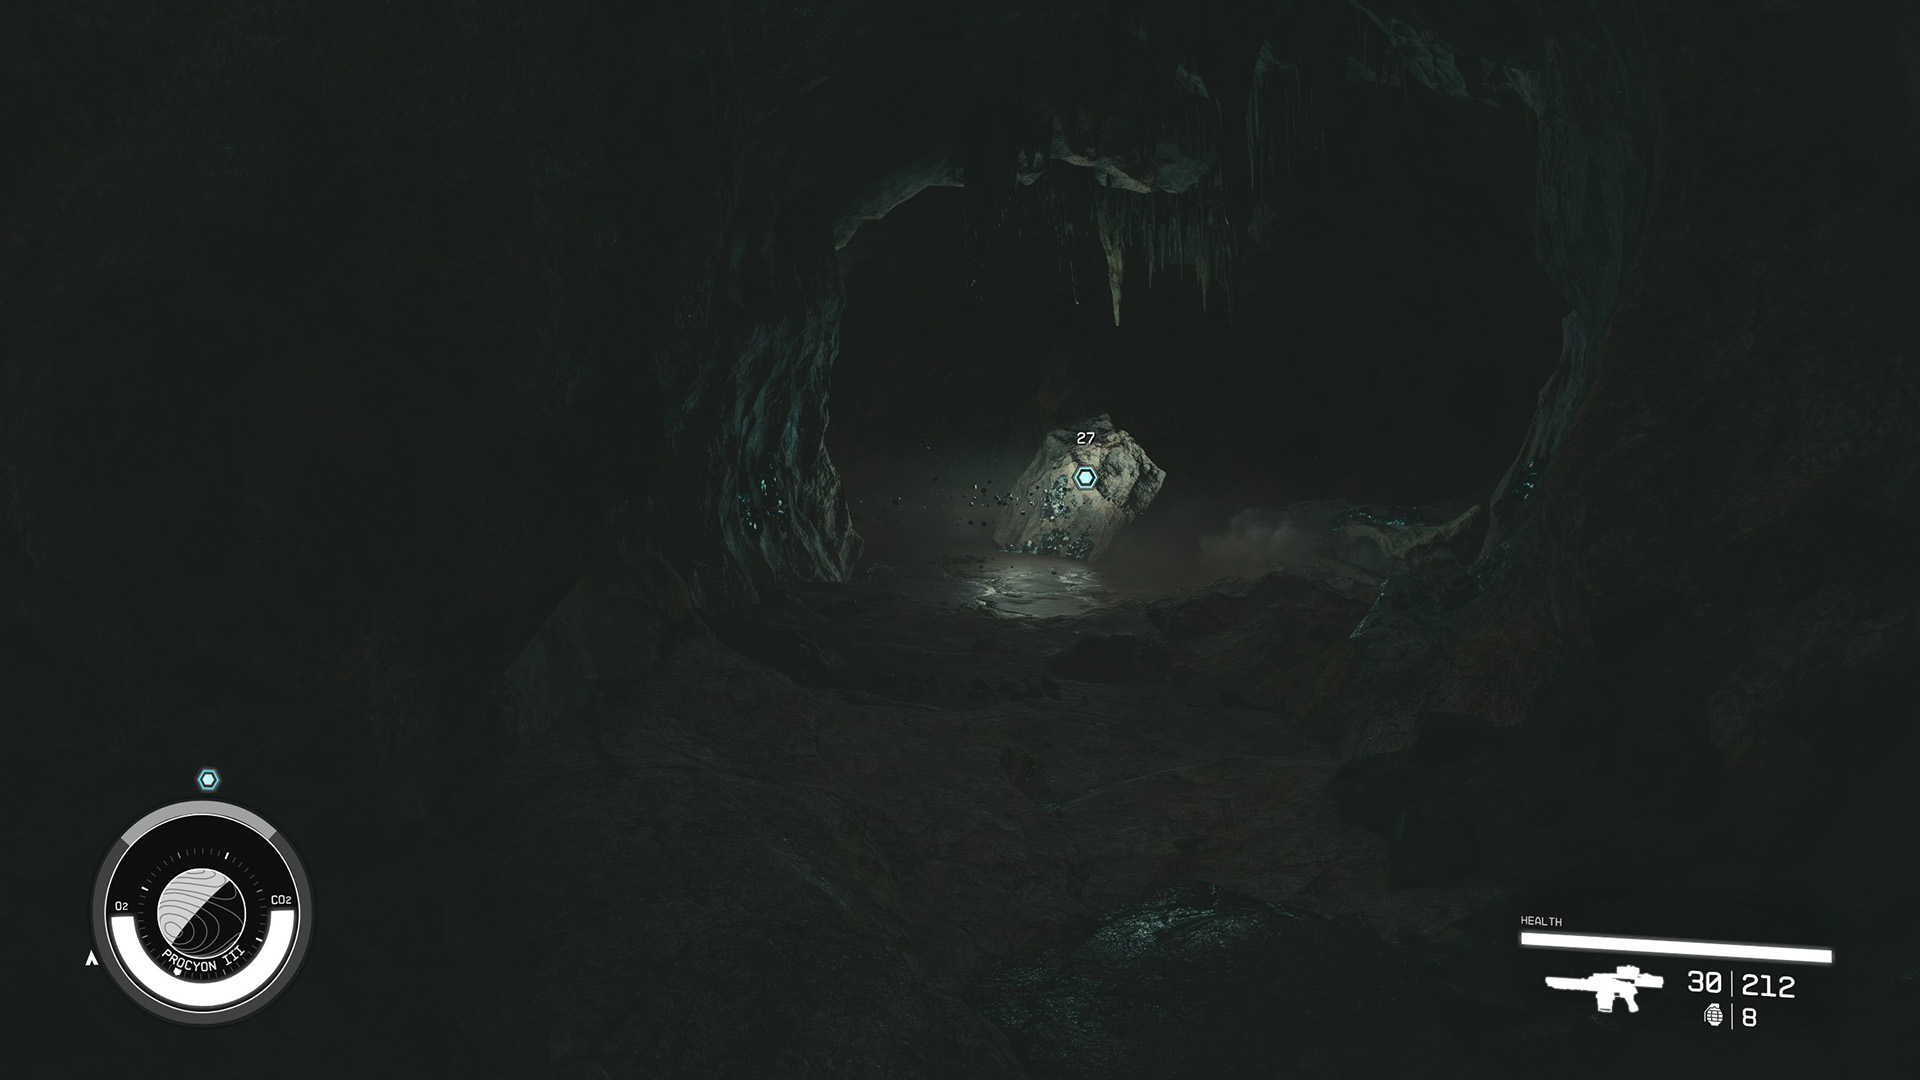
Take the stairs all the way down to the bottom. Run around the central platform and enter the smaller cavern you find there (Image 12). This is where you’ll find Artifact Iota (Image 13). Remove the minerals around it with a weapon to free the artifact and activate it.
You’ll get another cut scene like the one you saw with the first artifact, and then Andreja will talk to you. She’ll ask you not to tell Vladimir about the Va’ruun Zealots who were after her. She’ll head back on her own, leaving you to continue on without her.
Image 12Image 13
Find the Other Artifact
Set course for the other world through your mission log. This other location can be one of many random dungeons on many different worlds, so we won’t be able to offer a detailed walkthrough. Expect to encounter hostile resistance when you get there. If you get lost, use your scanner and follow the arrows, or use the old maze trick and hug the right or left wall.
Somewhere inside the dungeon you’ll find another cave just like the ones where you found the other artifacts. This will be Artifact Zeta (Image 14). Free it from the minerals around it with your Cutter or another weapon and pick up the artifact.
Image 14
Add the Artifacts to the Collection
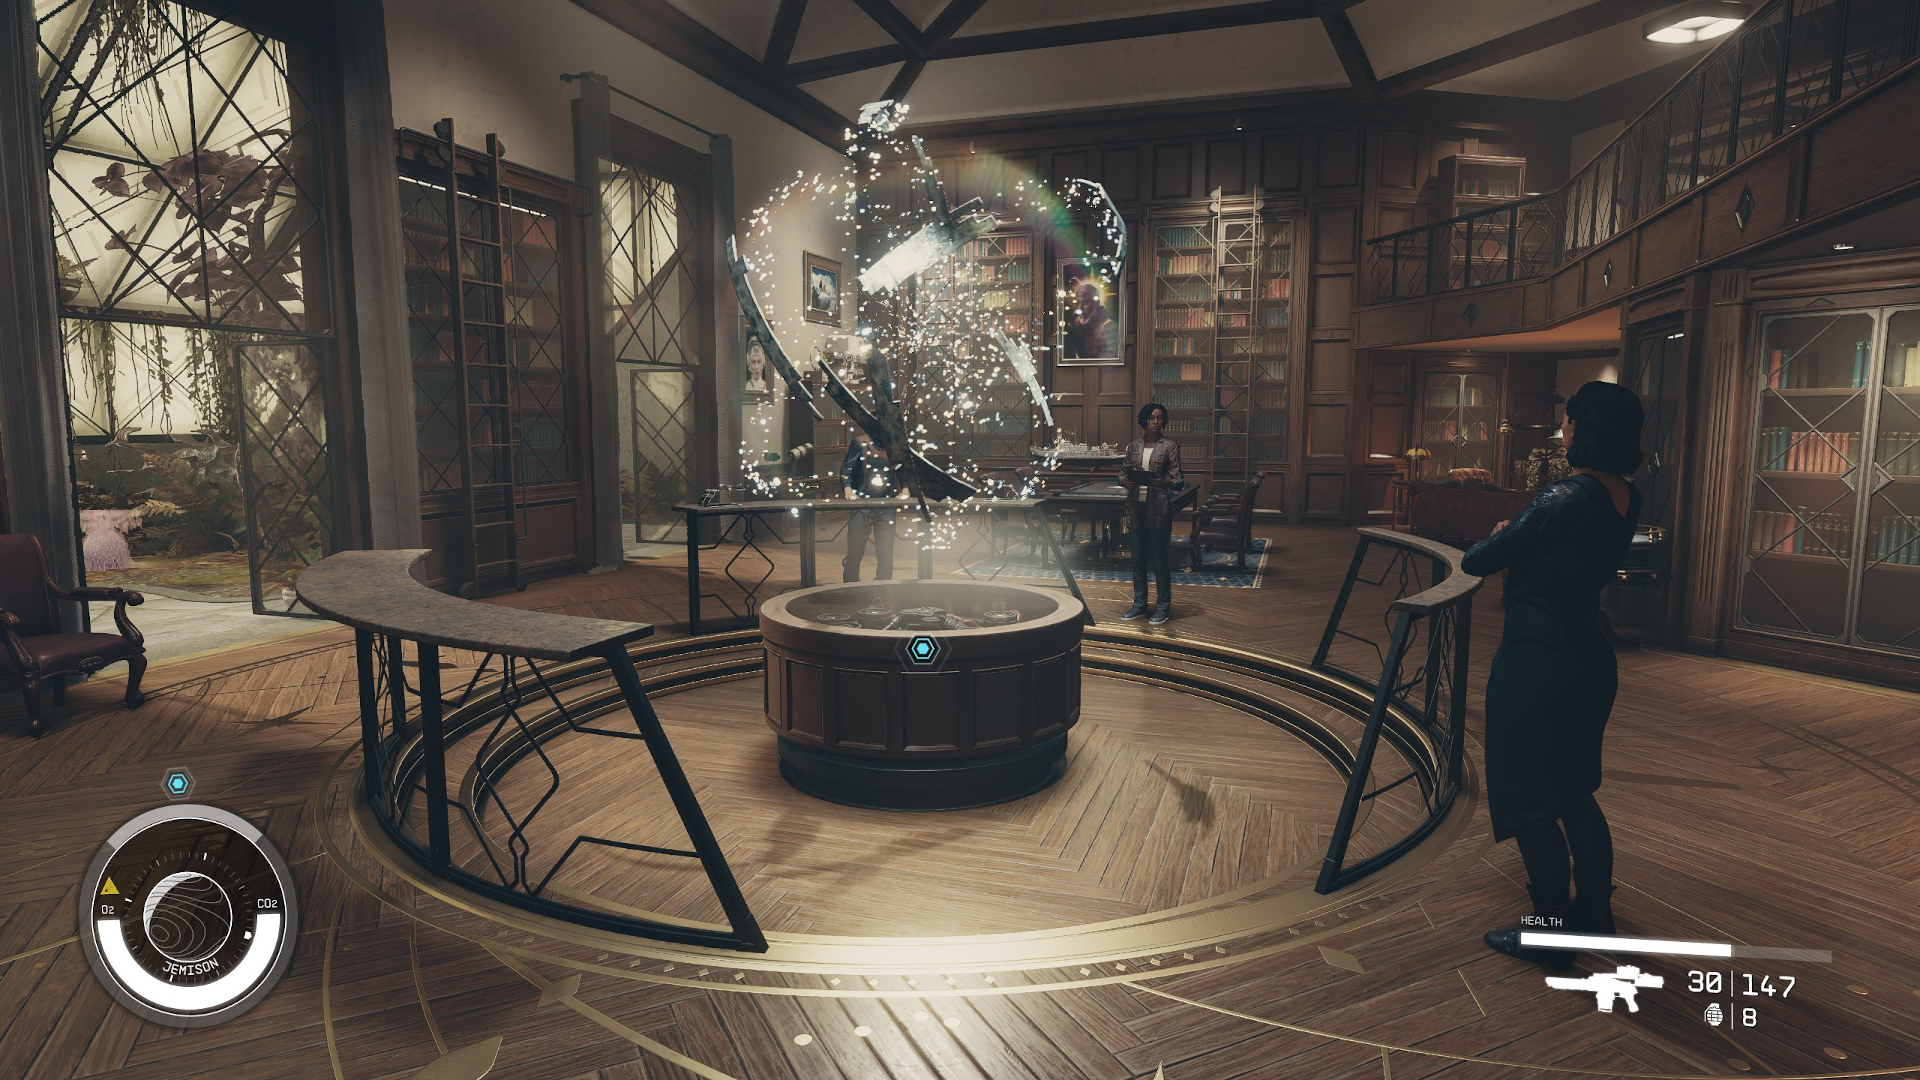
Set course for the Lodge from your mission log. You’ll find Andreja there along with the other Constellation members (Image 15).
Approach the Artifact Collection and activate it to add the two artifacts you’ve just acquired. You’ll be prompted to talk to Matteo. He and Noel will debate the importance of science versus dreams. Then Matteo will pass the conversation over to Andreja, who will thank you for your help. If you say “I’d be happy to keep traveling with you,” she’ll become available as a full companion and crew member.
Vladimir will now call down and tell you he has some data for you. Set course for the Eye from your mission log. Fly your ship close to it once again and dock by holding / / .
Board the Eye and talk to Vladimir. He’ll tell you he’s found a large anomaly that matches the artifacts’ signature.
Image 15
Go to Procyon III
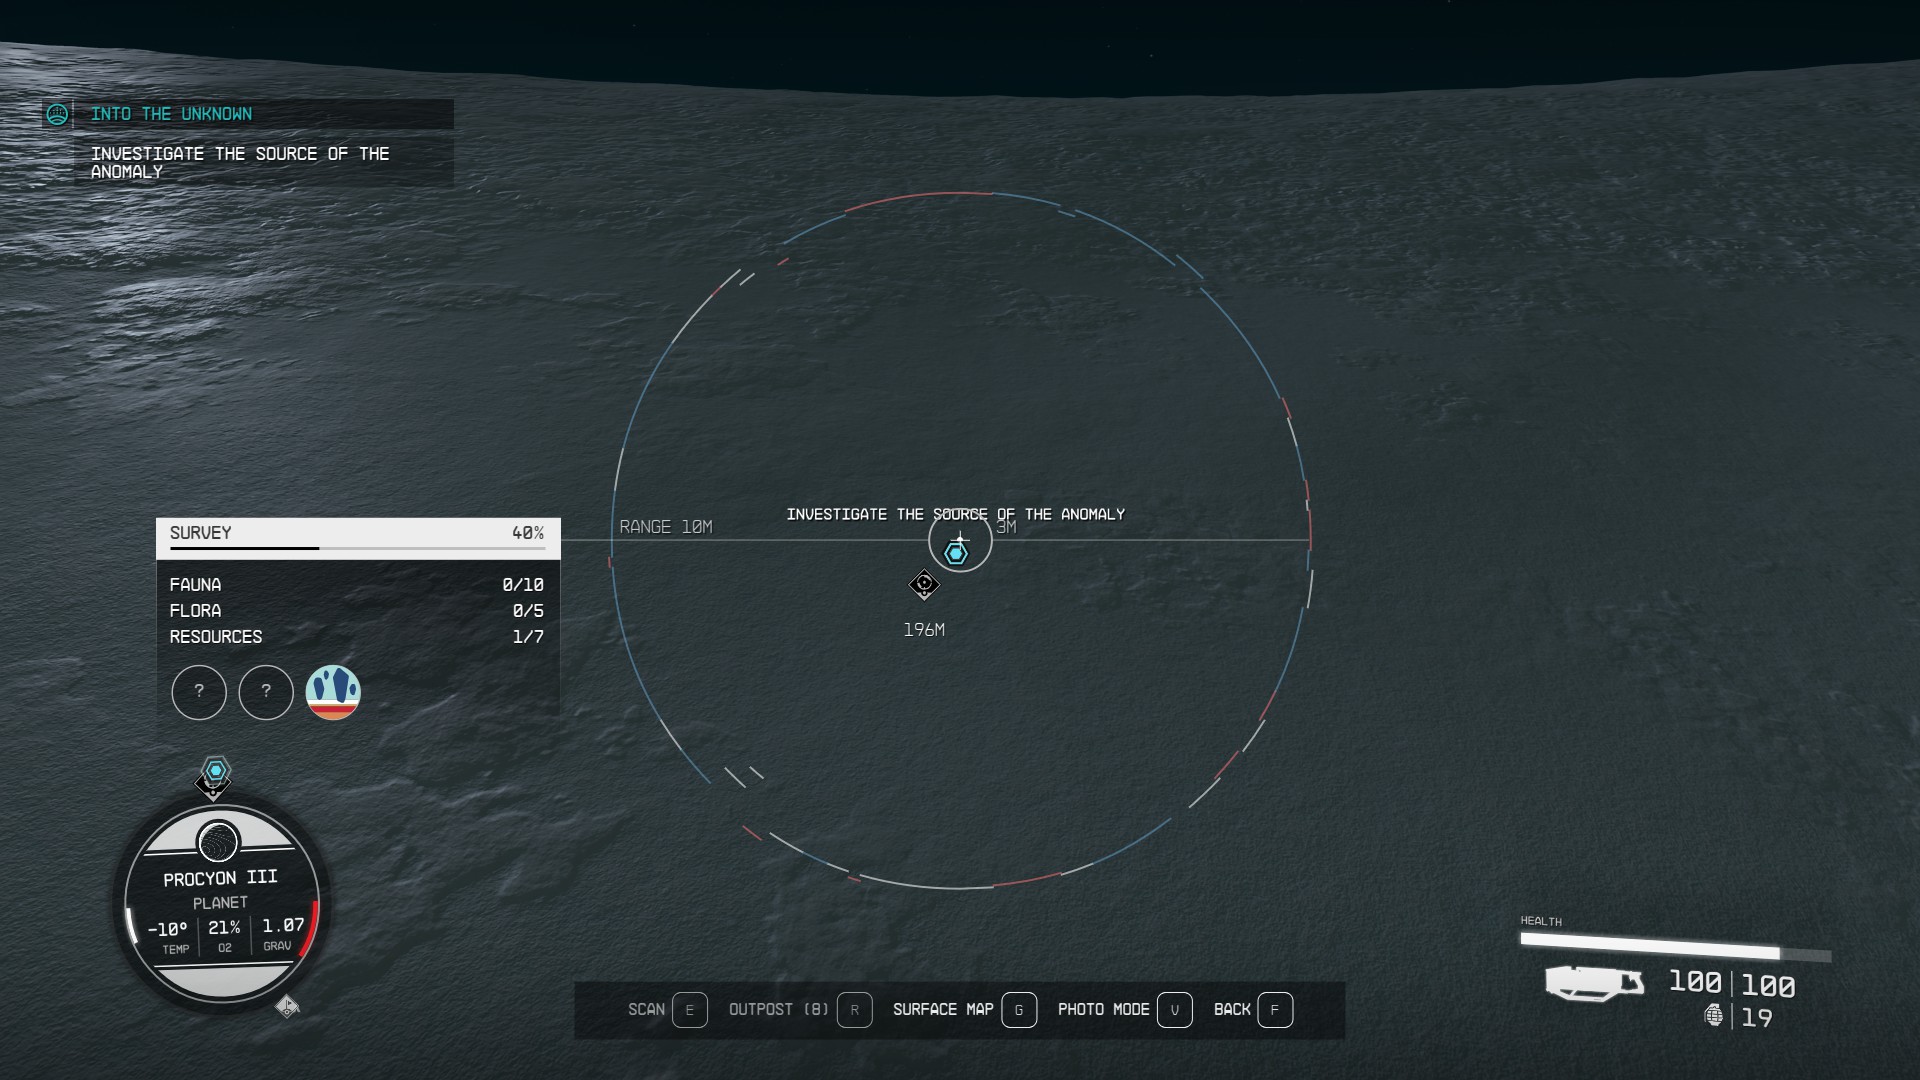
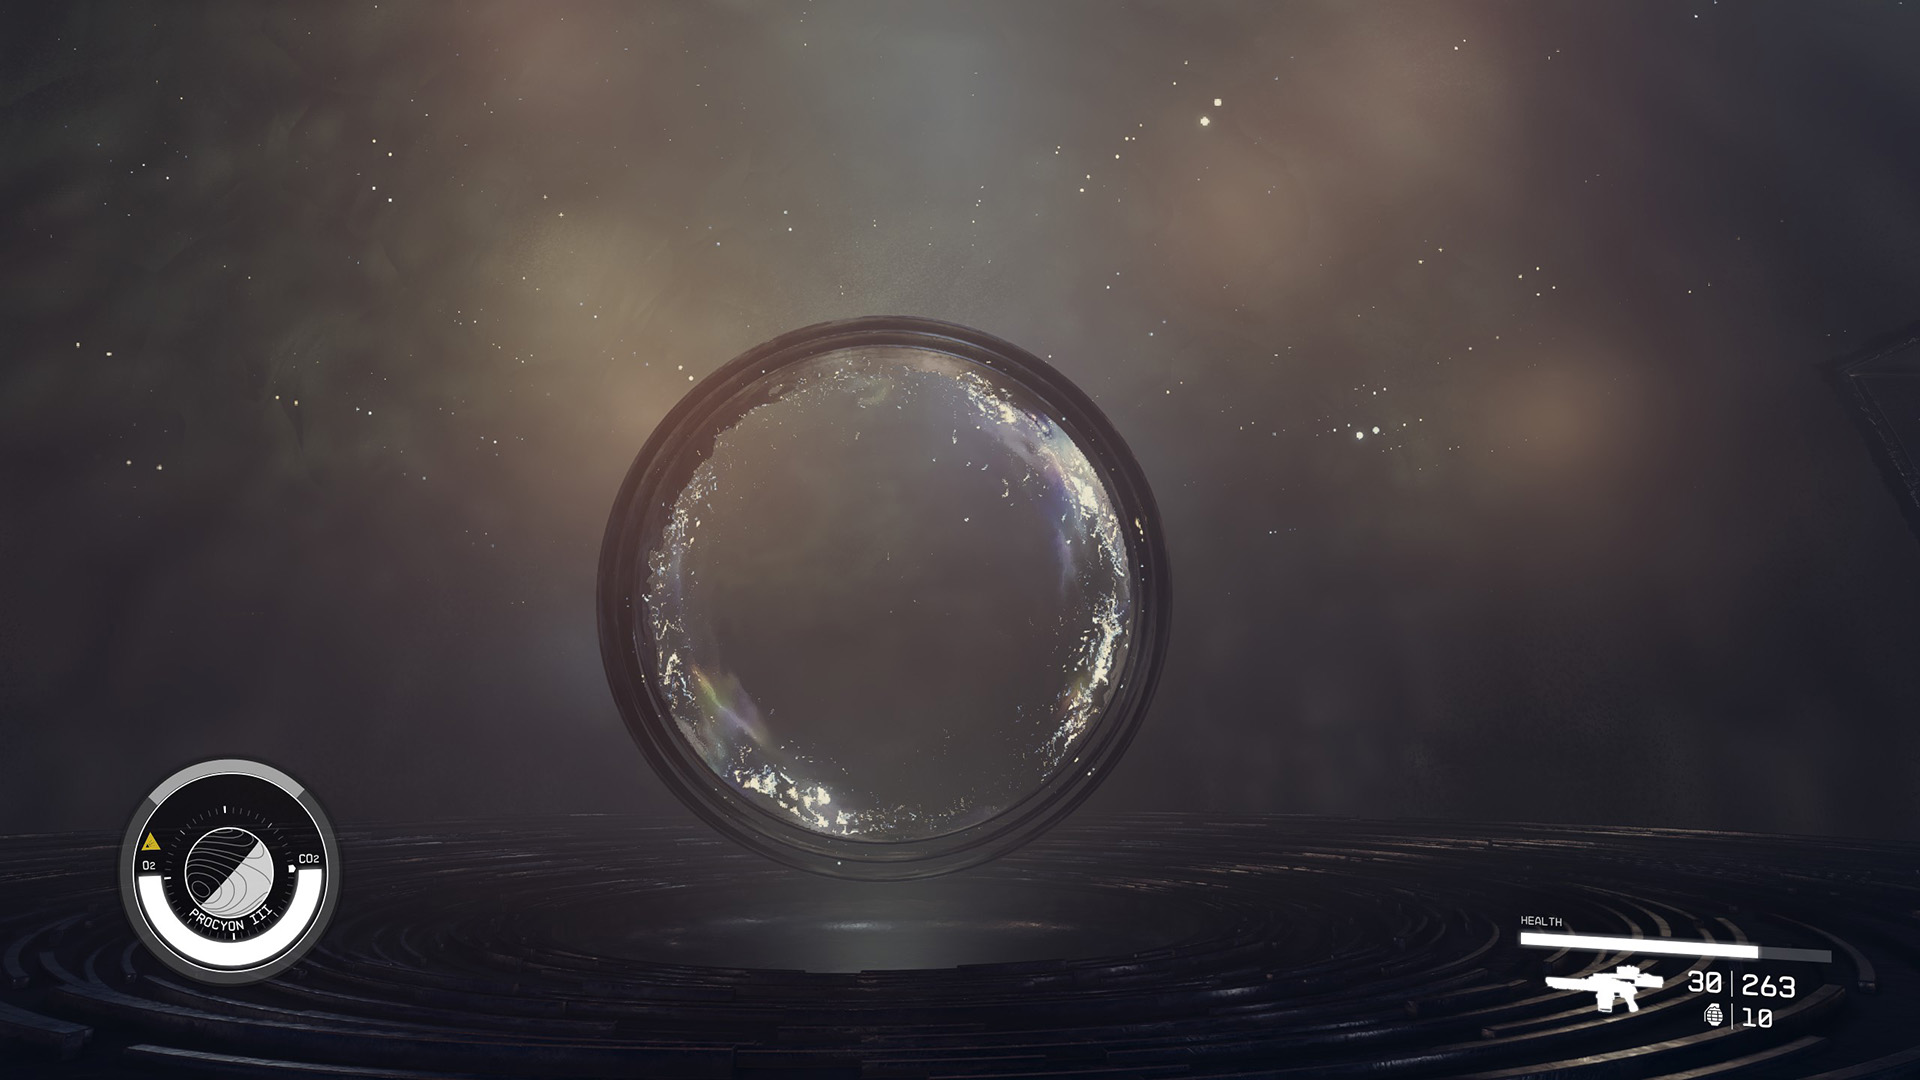
Set course for your new objective, Procyon III, through your mission log, and land at the Scanner Anomaly location. When you exit your ship, a tutorial message will prompt you to use your scanner to look for distortions in your field of view. Open your scanner and look around until the large circle in the scanner interface begins to distort and your audio buzzes with static, as in the image below:
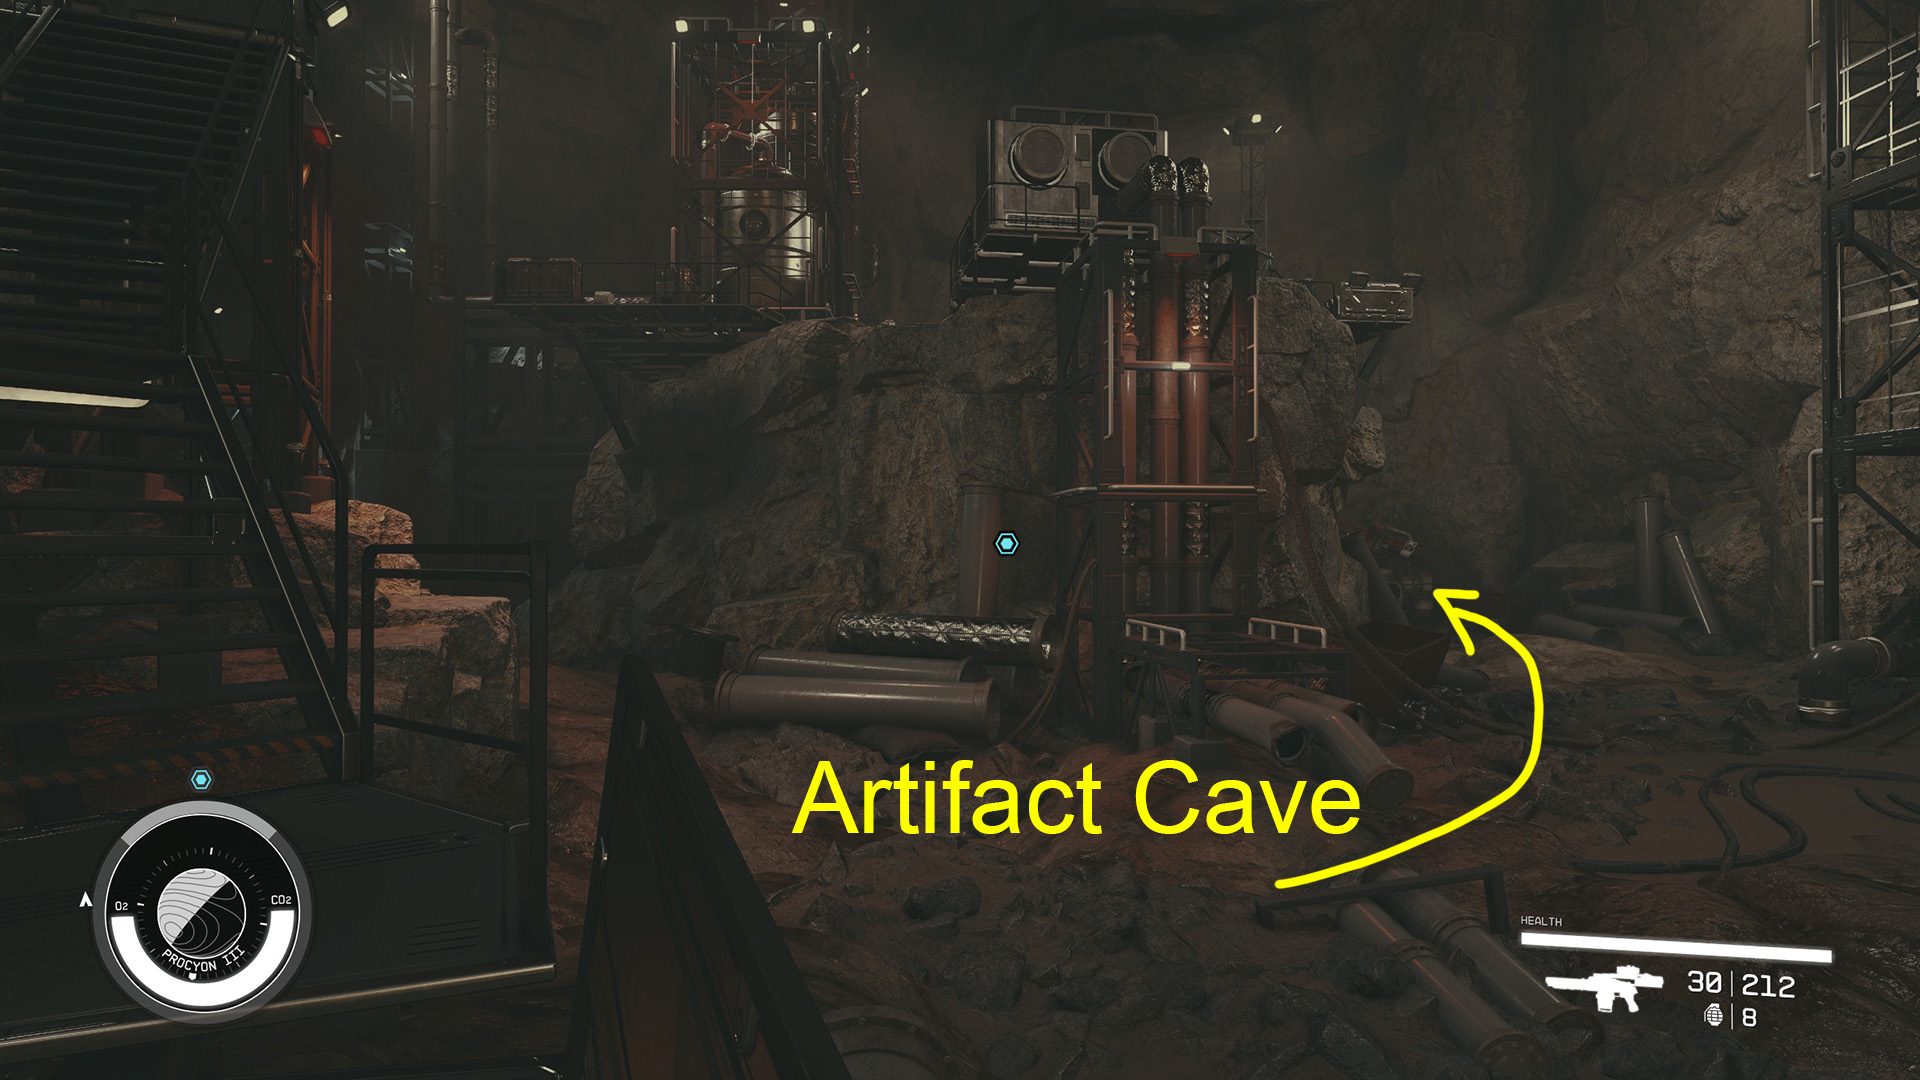
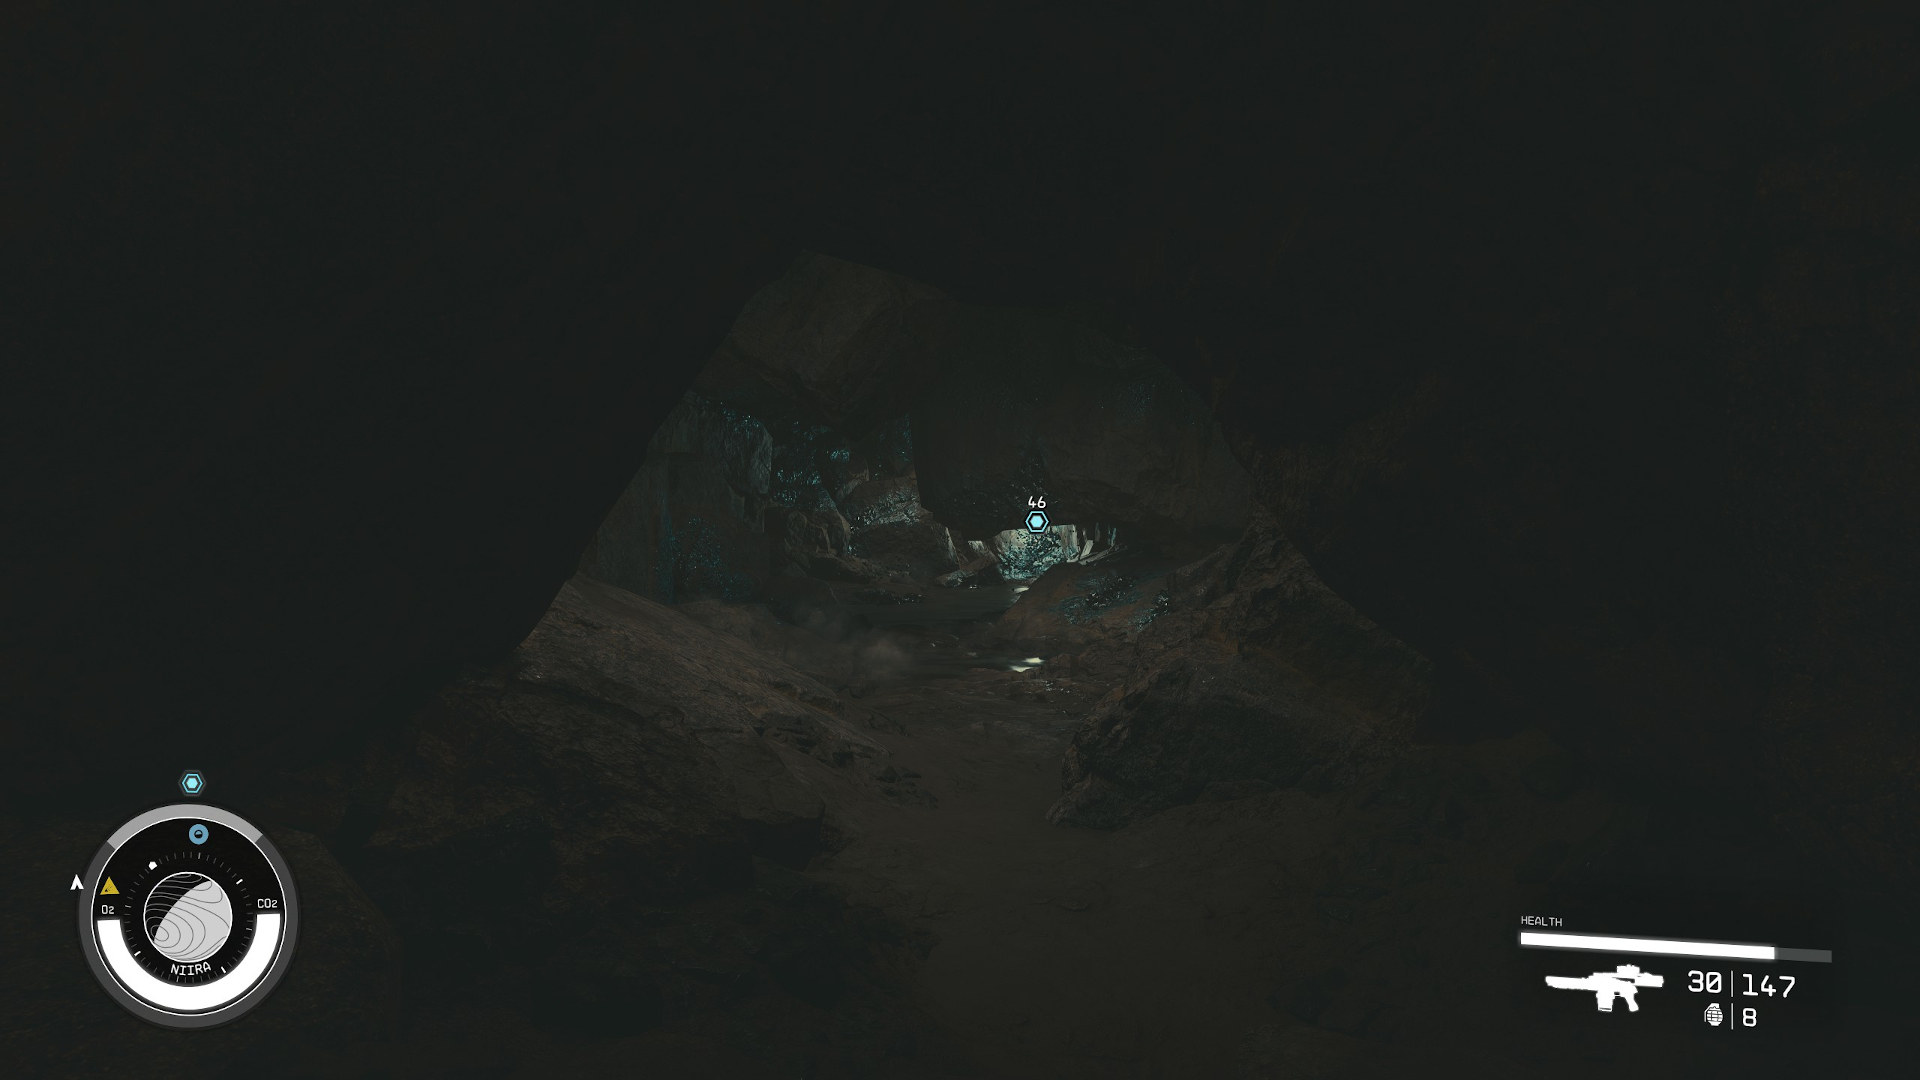
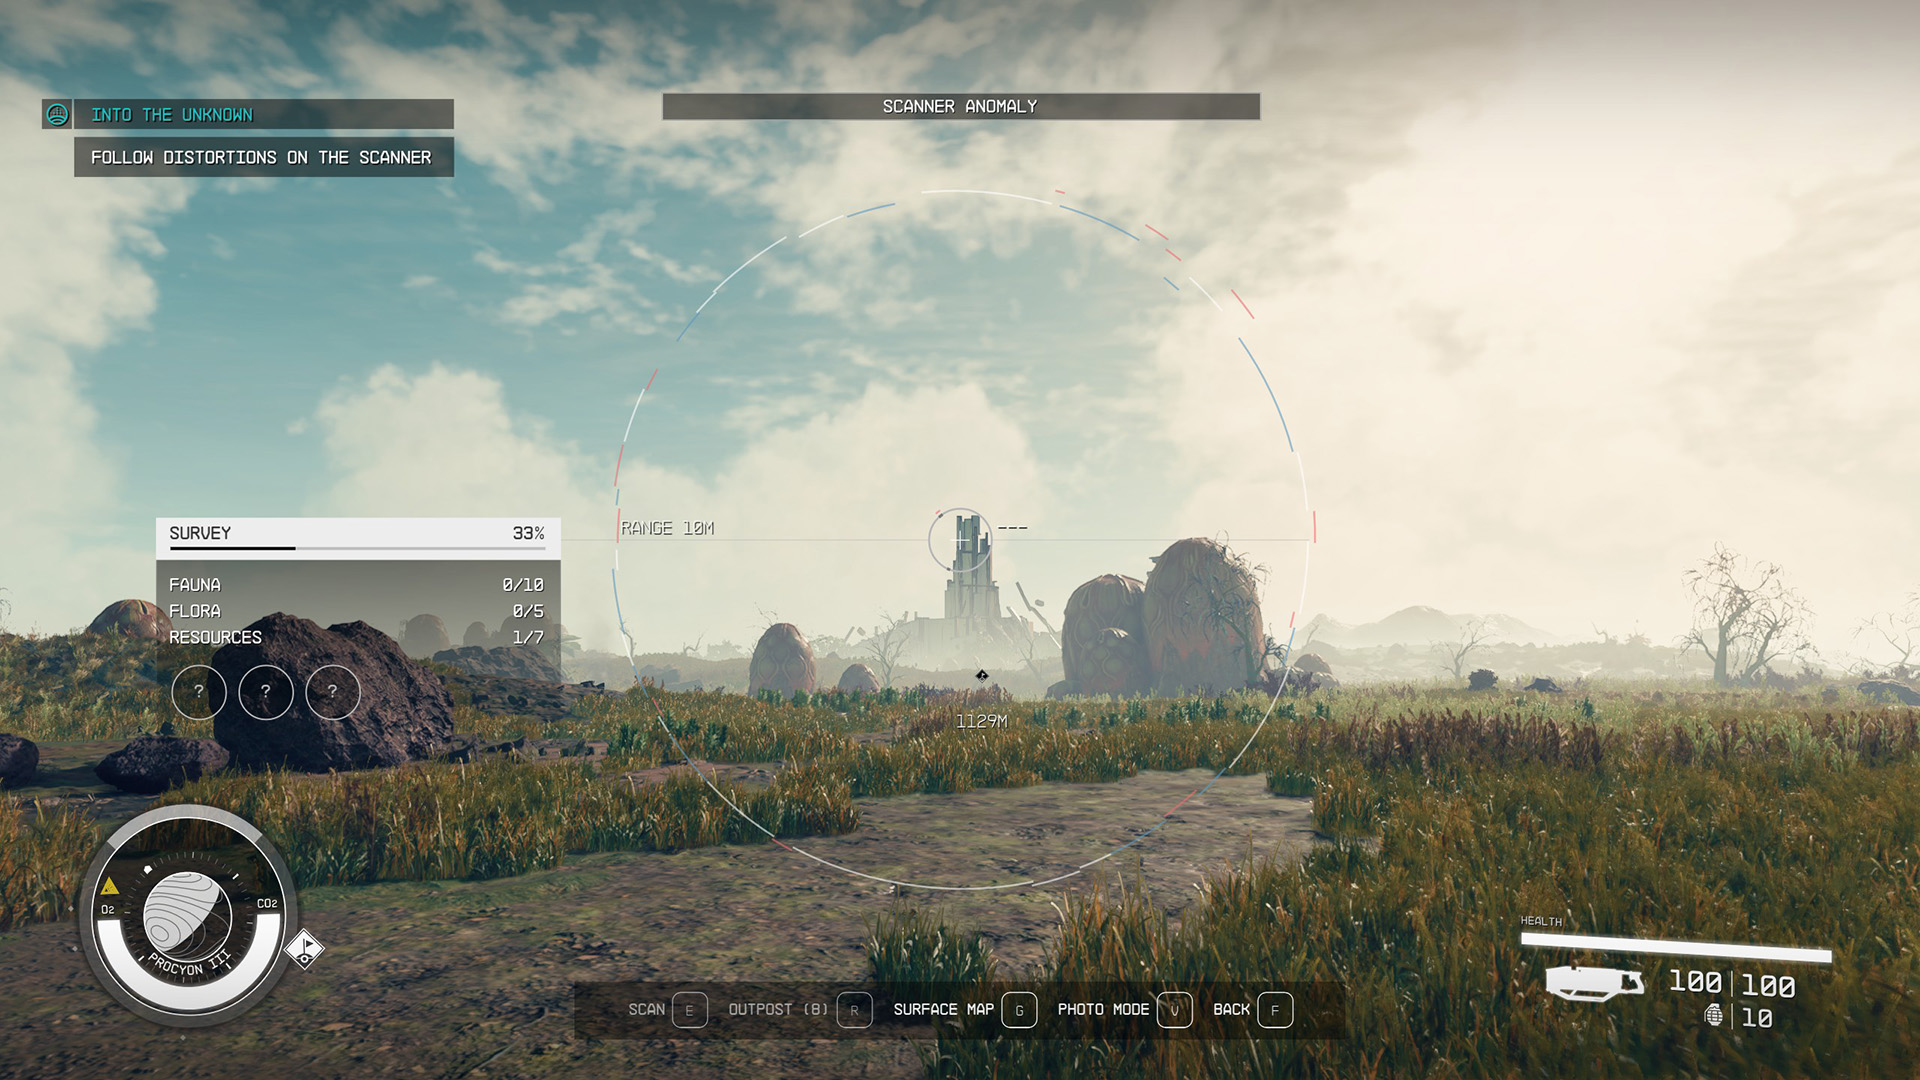
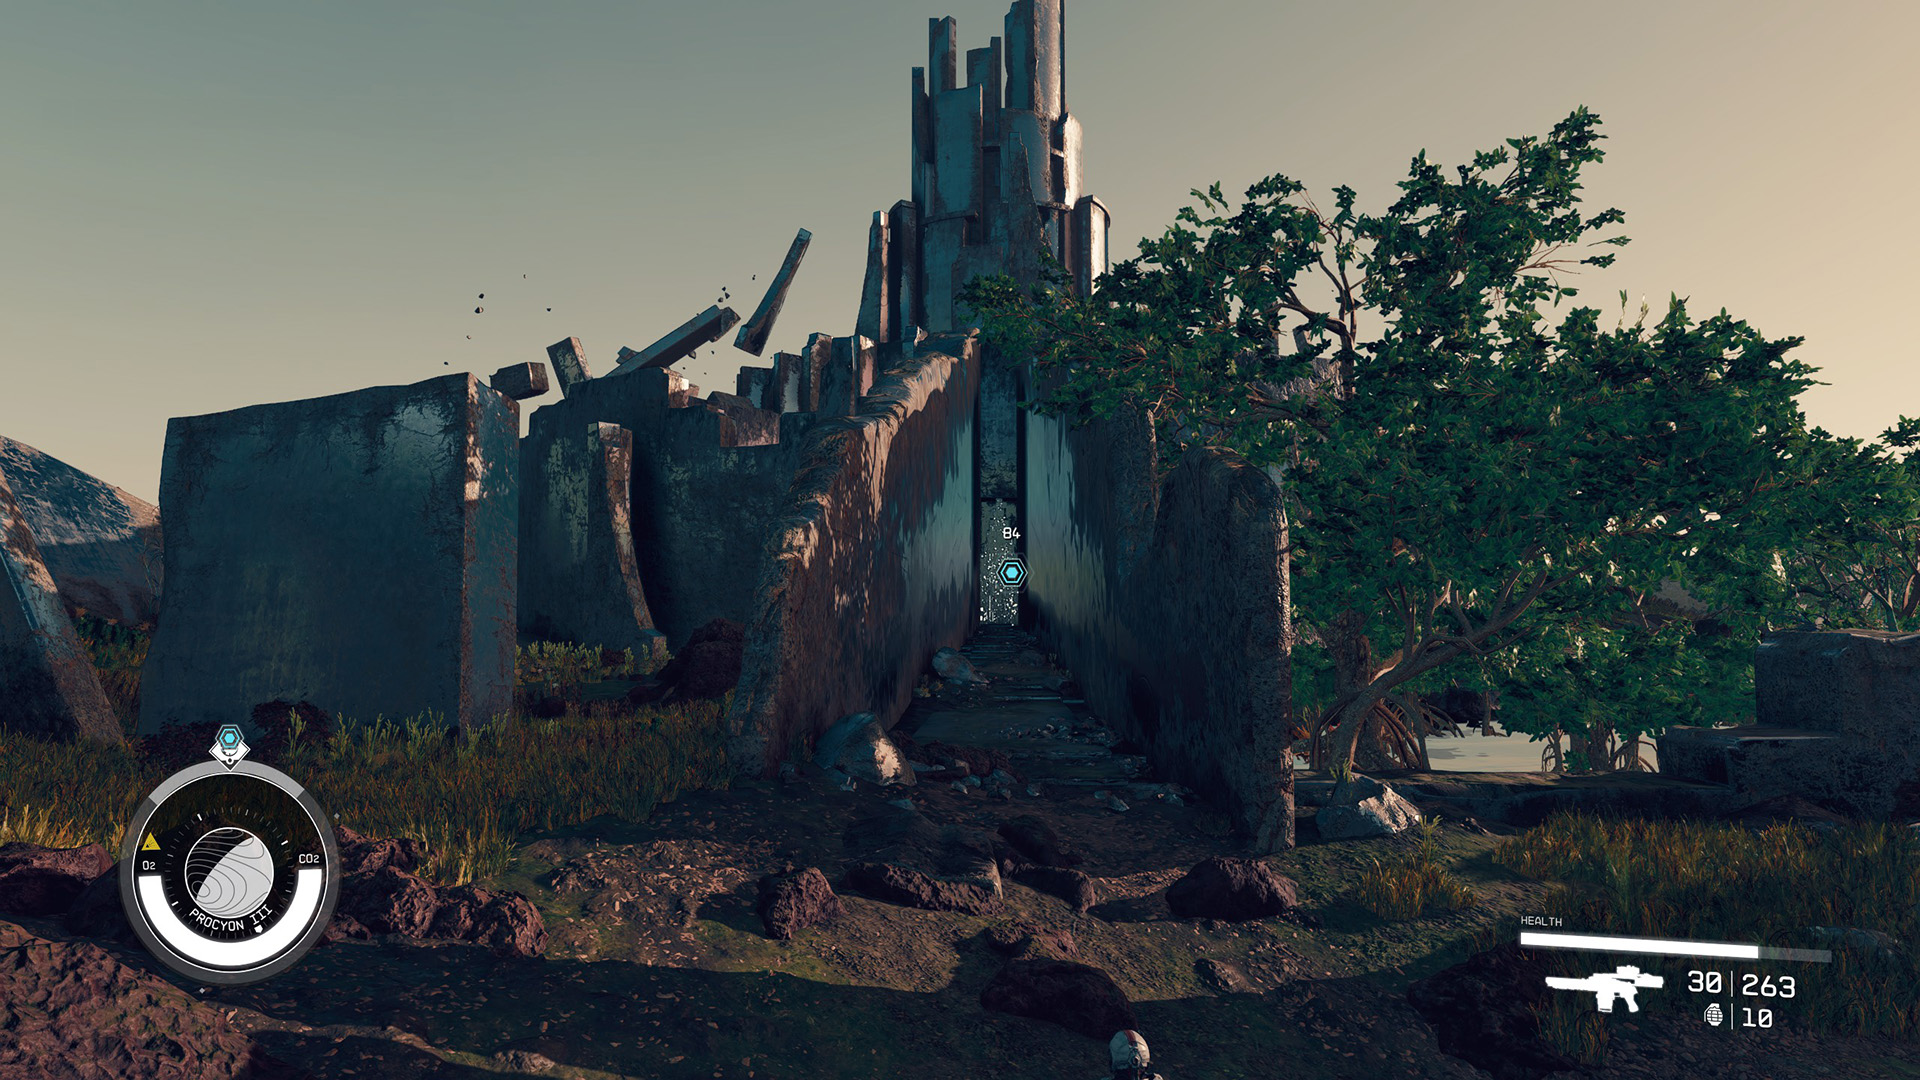
Once your scanner starts getting distorted, head in that direction — depending on the topography, you can also just look for the shiny chrome structure and floating debris in the distance (Image 16). You’ll arriving at Temple Eta. Run around the structure until you find a path leading inside (Image 17). Approach and enter the door.
Image 16Image 17
When you walk into the temple, you’ll begin to float to the center of the room. Controls will appear at the top of your screen. Press / / to float up and / / to float down. You can also simply aim in the direction you want to go and move forward.
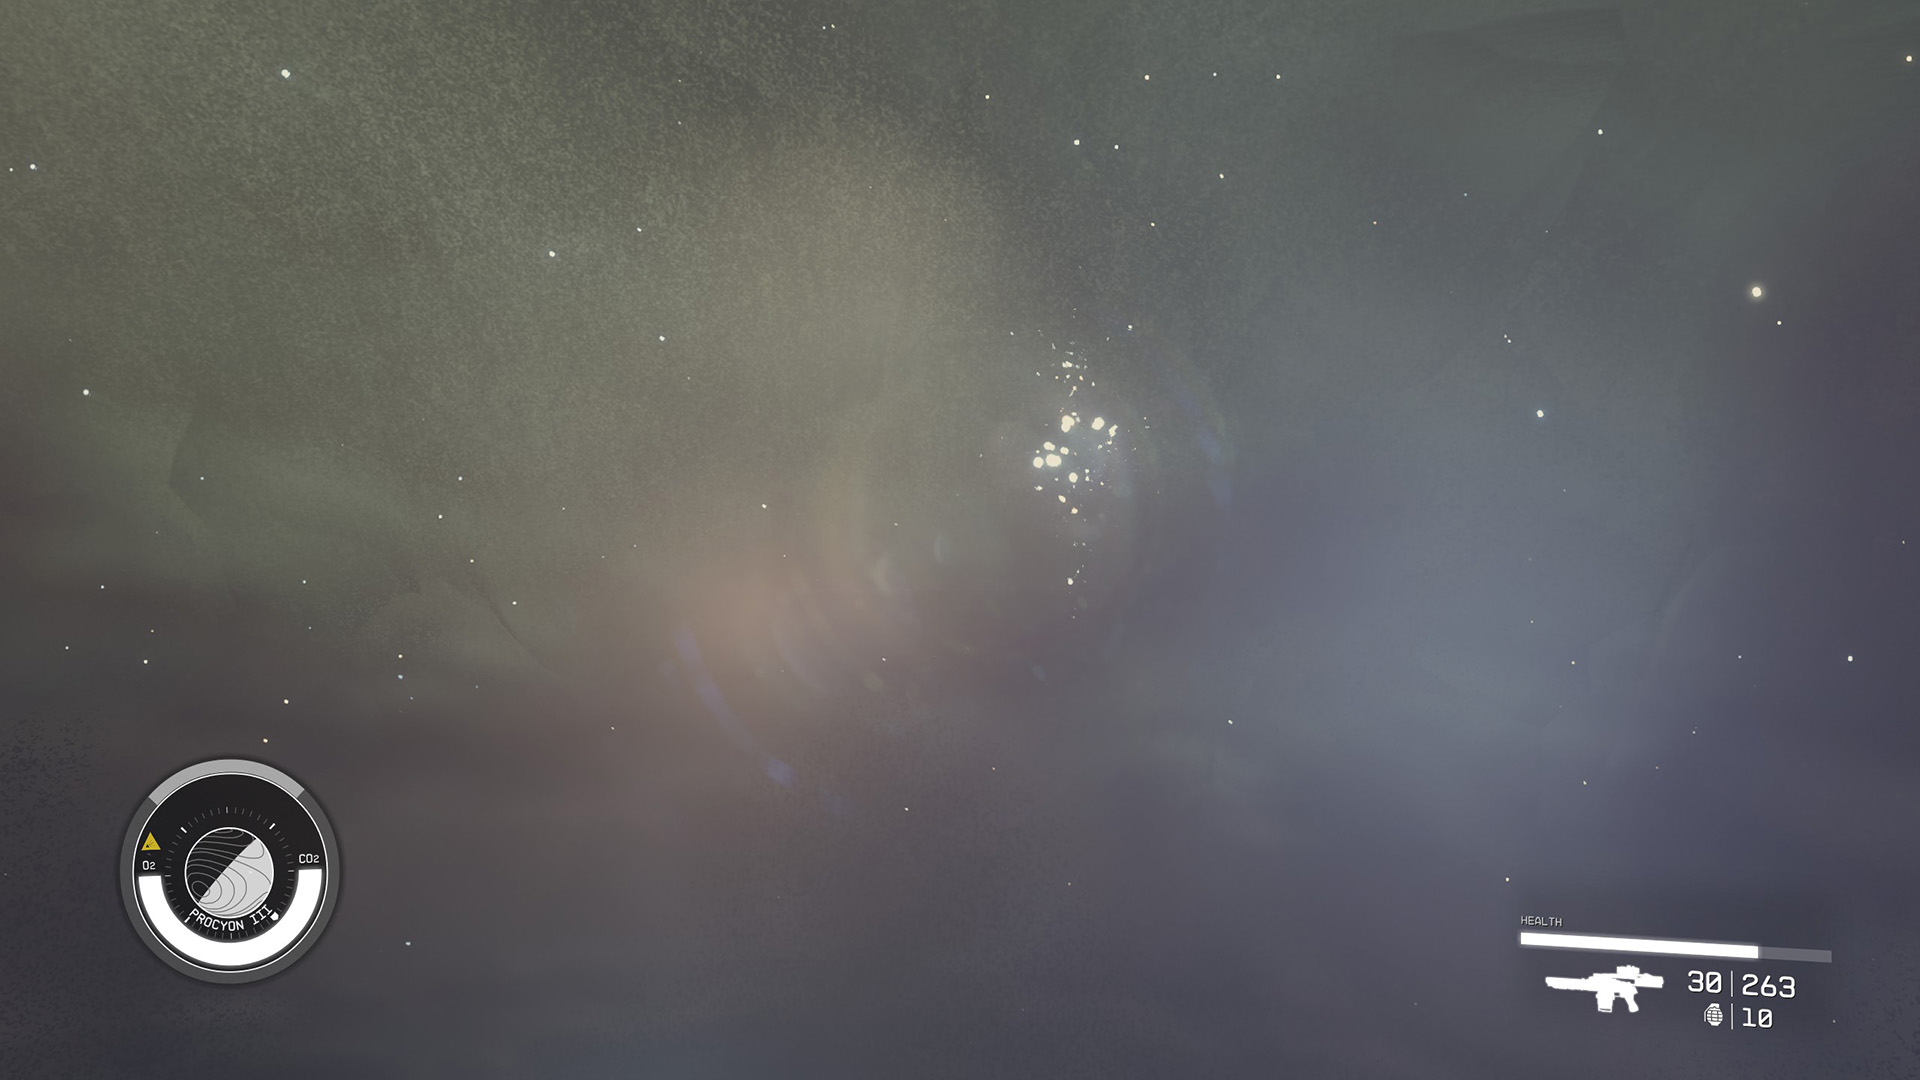
Look for the shimmering clusters of stars and float through them (Image 18). The music will crescendo and the device in the middle of the room will spin faster as you do so. When you’ve collected enough star clusters, the circles will form a single ring that you can pass through (Image 19). You’ll get a new cut scene, similar to the one from the artifacts but a little different.
Image 18Image 19
Afterward you’ll be prompted to equip your new power. Open the data menu and choose the new Powers option at the top.
You’ll only have one power available right now: Anti-Gravity Field (Image 20). Activate it and exit the menu.
Image 18
You can press / + to try out your new ability. Take note of the light blue bar that appears under your health bar: this is the cooldown timer for your powers.
There isn’t much else to do here unless you want to explore the planet some more. When you’re ready to leave, set course for the Lodge through your mission log.
Return to the Lodge
Approach the Constellation members who are gathered around the Artifact Collection. Vladimir will ask you for a demonstration of your new powers. Do so by hitting your power key, / + .
Vladimir will speculate that there are more of these temples out there offering more powers – one to match each of the artifacts. He can use the data from each artifact to locate its temple. He’ll have a location for you to visit to investigate this theory, starting the quest “Power From Beyond.”
What to Do Next
You can set course for Vladimir’s first location for the “Power From Beyond” quest to start locating more temples and acquiring more powers. If you haven’t finished Back to Vectera or The Empty Nest, you may want to do those now to gather your remaining Constellation crew members. You can also choose to take a break and work on some Side Missions.
If you have completed Back to Vectera, The Empty Nest, and Into the Unknown, then Walter Stroud will ask to speak with you, starting the quest “All That Money Can Buy.” We’ll head there next in our walkthrough.
I love RPGs, sandboxes, survival, and sim games. Anything that lets me build and decorate or just has a really good story. I've spent hundreds of hours in Bethesda games and even more time modding them. I also play a lot of World of Warcraft.


 +
+  to try out your new ability. Take note of the light blue bar that appears under your health bar: this is the cooldown timer for your powers.