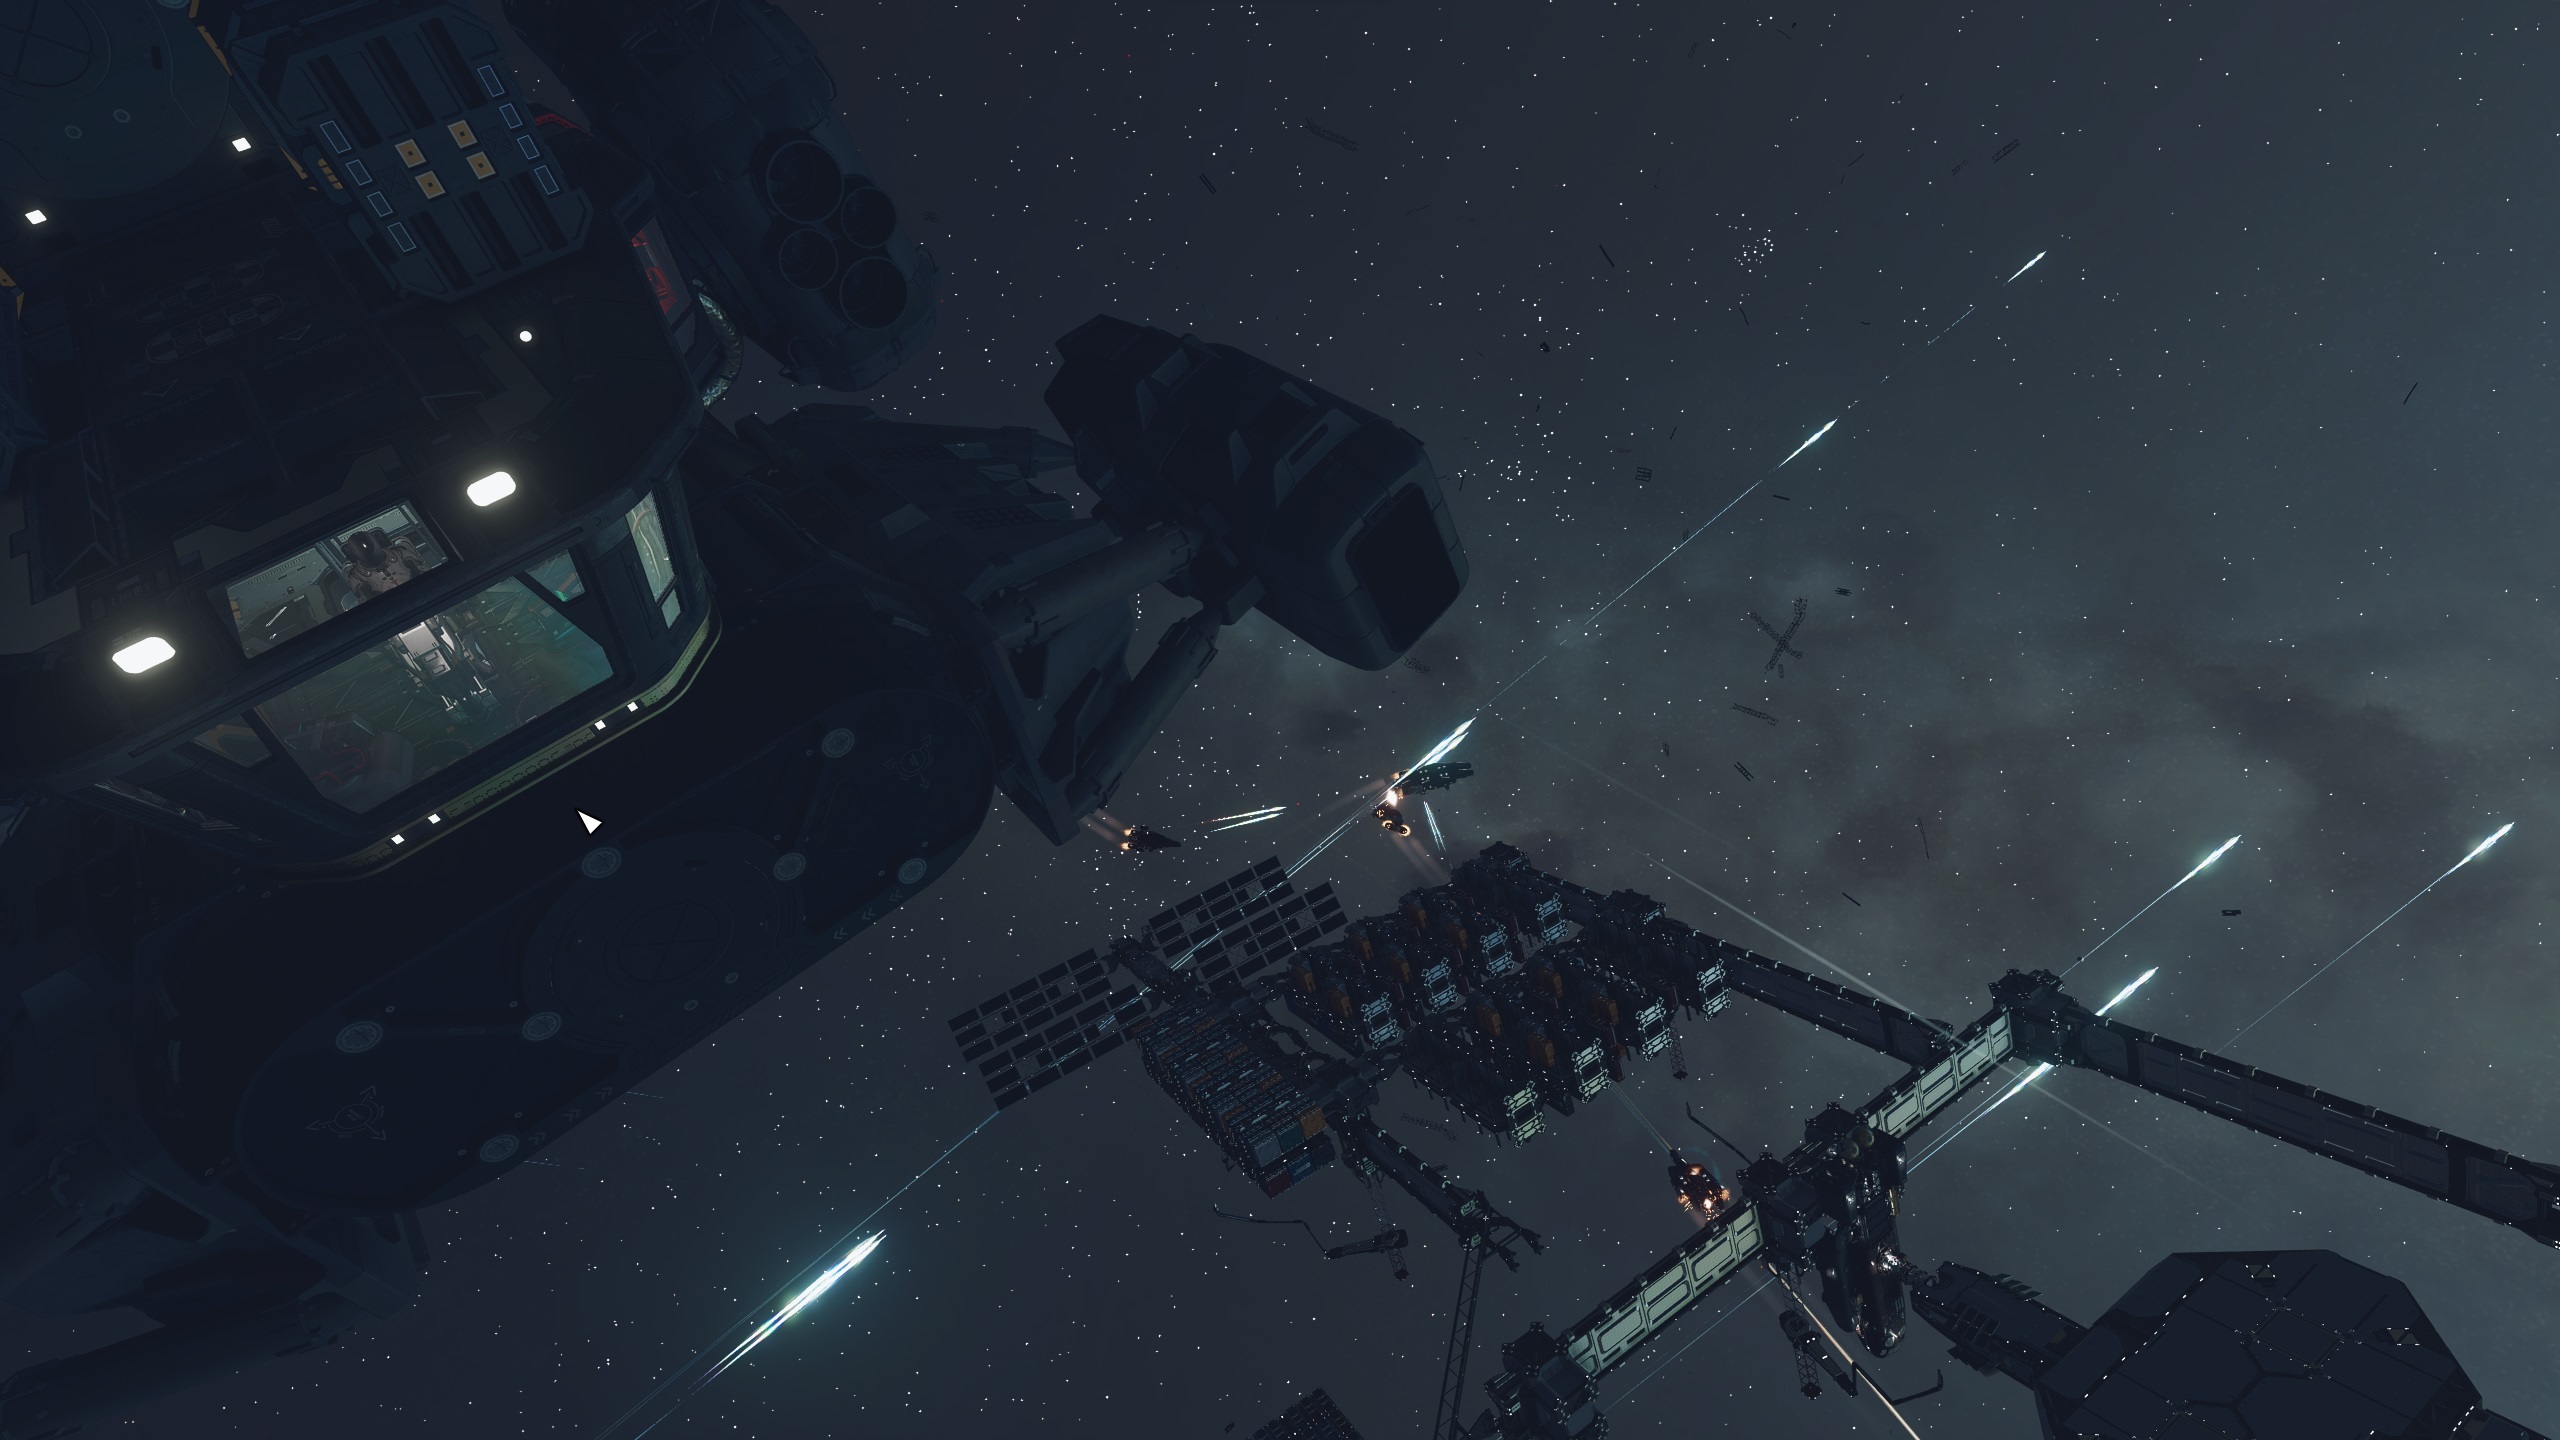
It’s finally here: the mission where all the pirates come home to roost. Every decision you have made so far will have an effect, however small, on the difficulty and structure of this conclusion to the Crimson Fleet questline. If you have been on the fence with who you are siding with – UC SysDef or the Crimson Fleet – it is time to make a decision and live with it.
Essentially, this is two different missions of the same name that you will only play one side of, depending on your choice when starting the mission. However, both sides mirror each other and are very similar, just with the characters and locations reversed.
As we mentioned in our guide for the previous mission, Eye of the Storm, this last mission is very heavy on spaceship combat – a surprise, since there’s been so little till now. If you weren’t able to upgrade your ship during the last mission, then definitely do it before starting this one, because you can’t do it aboard The Key or UC Vigilance after it starts.
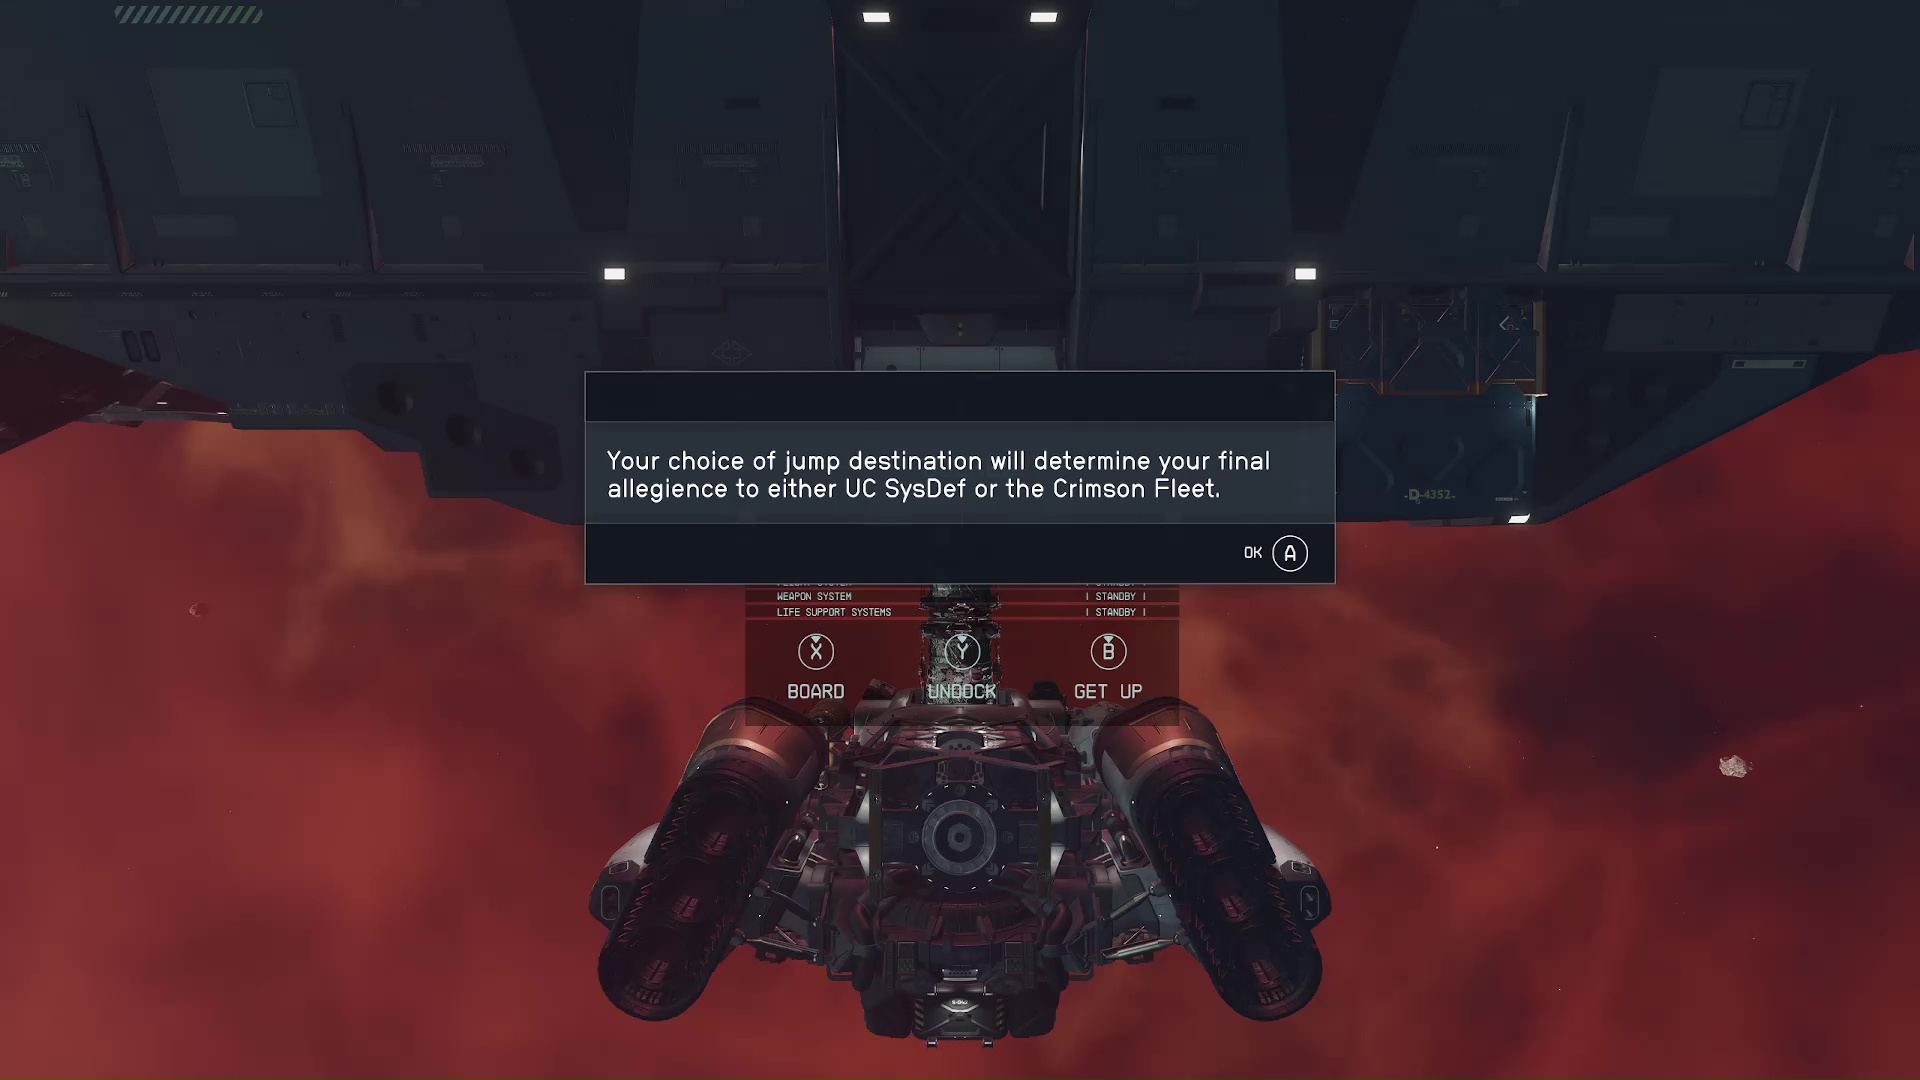
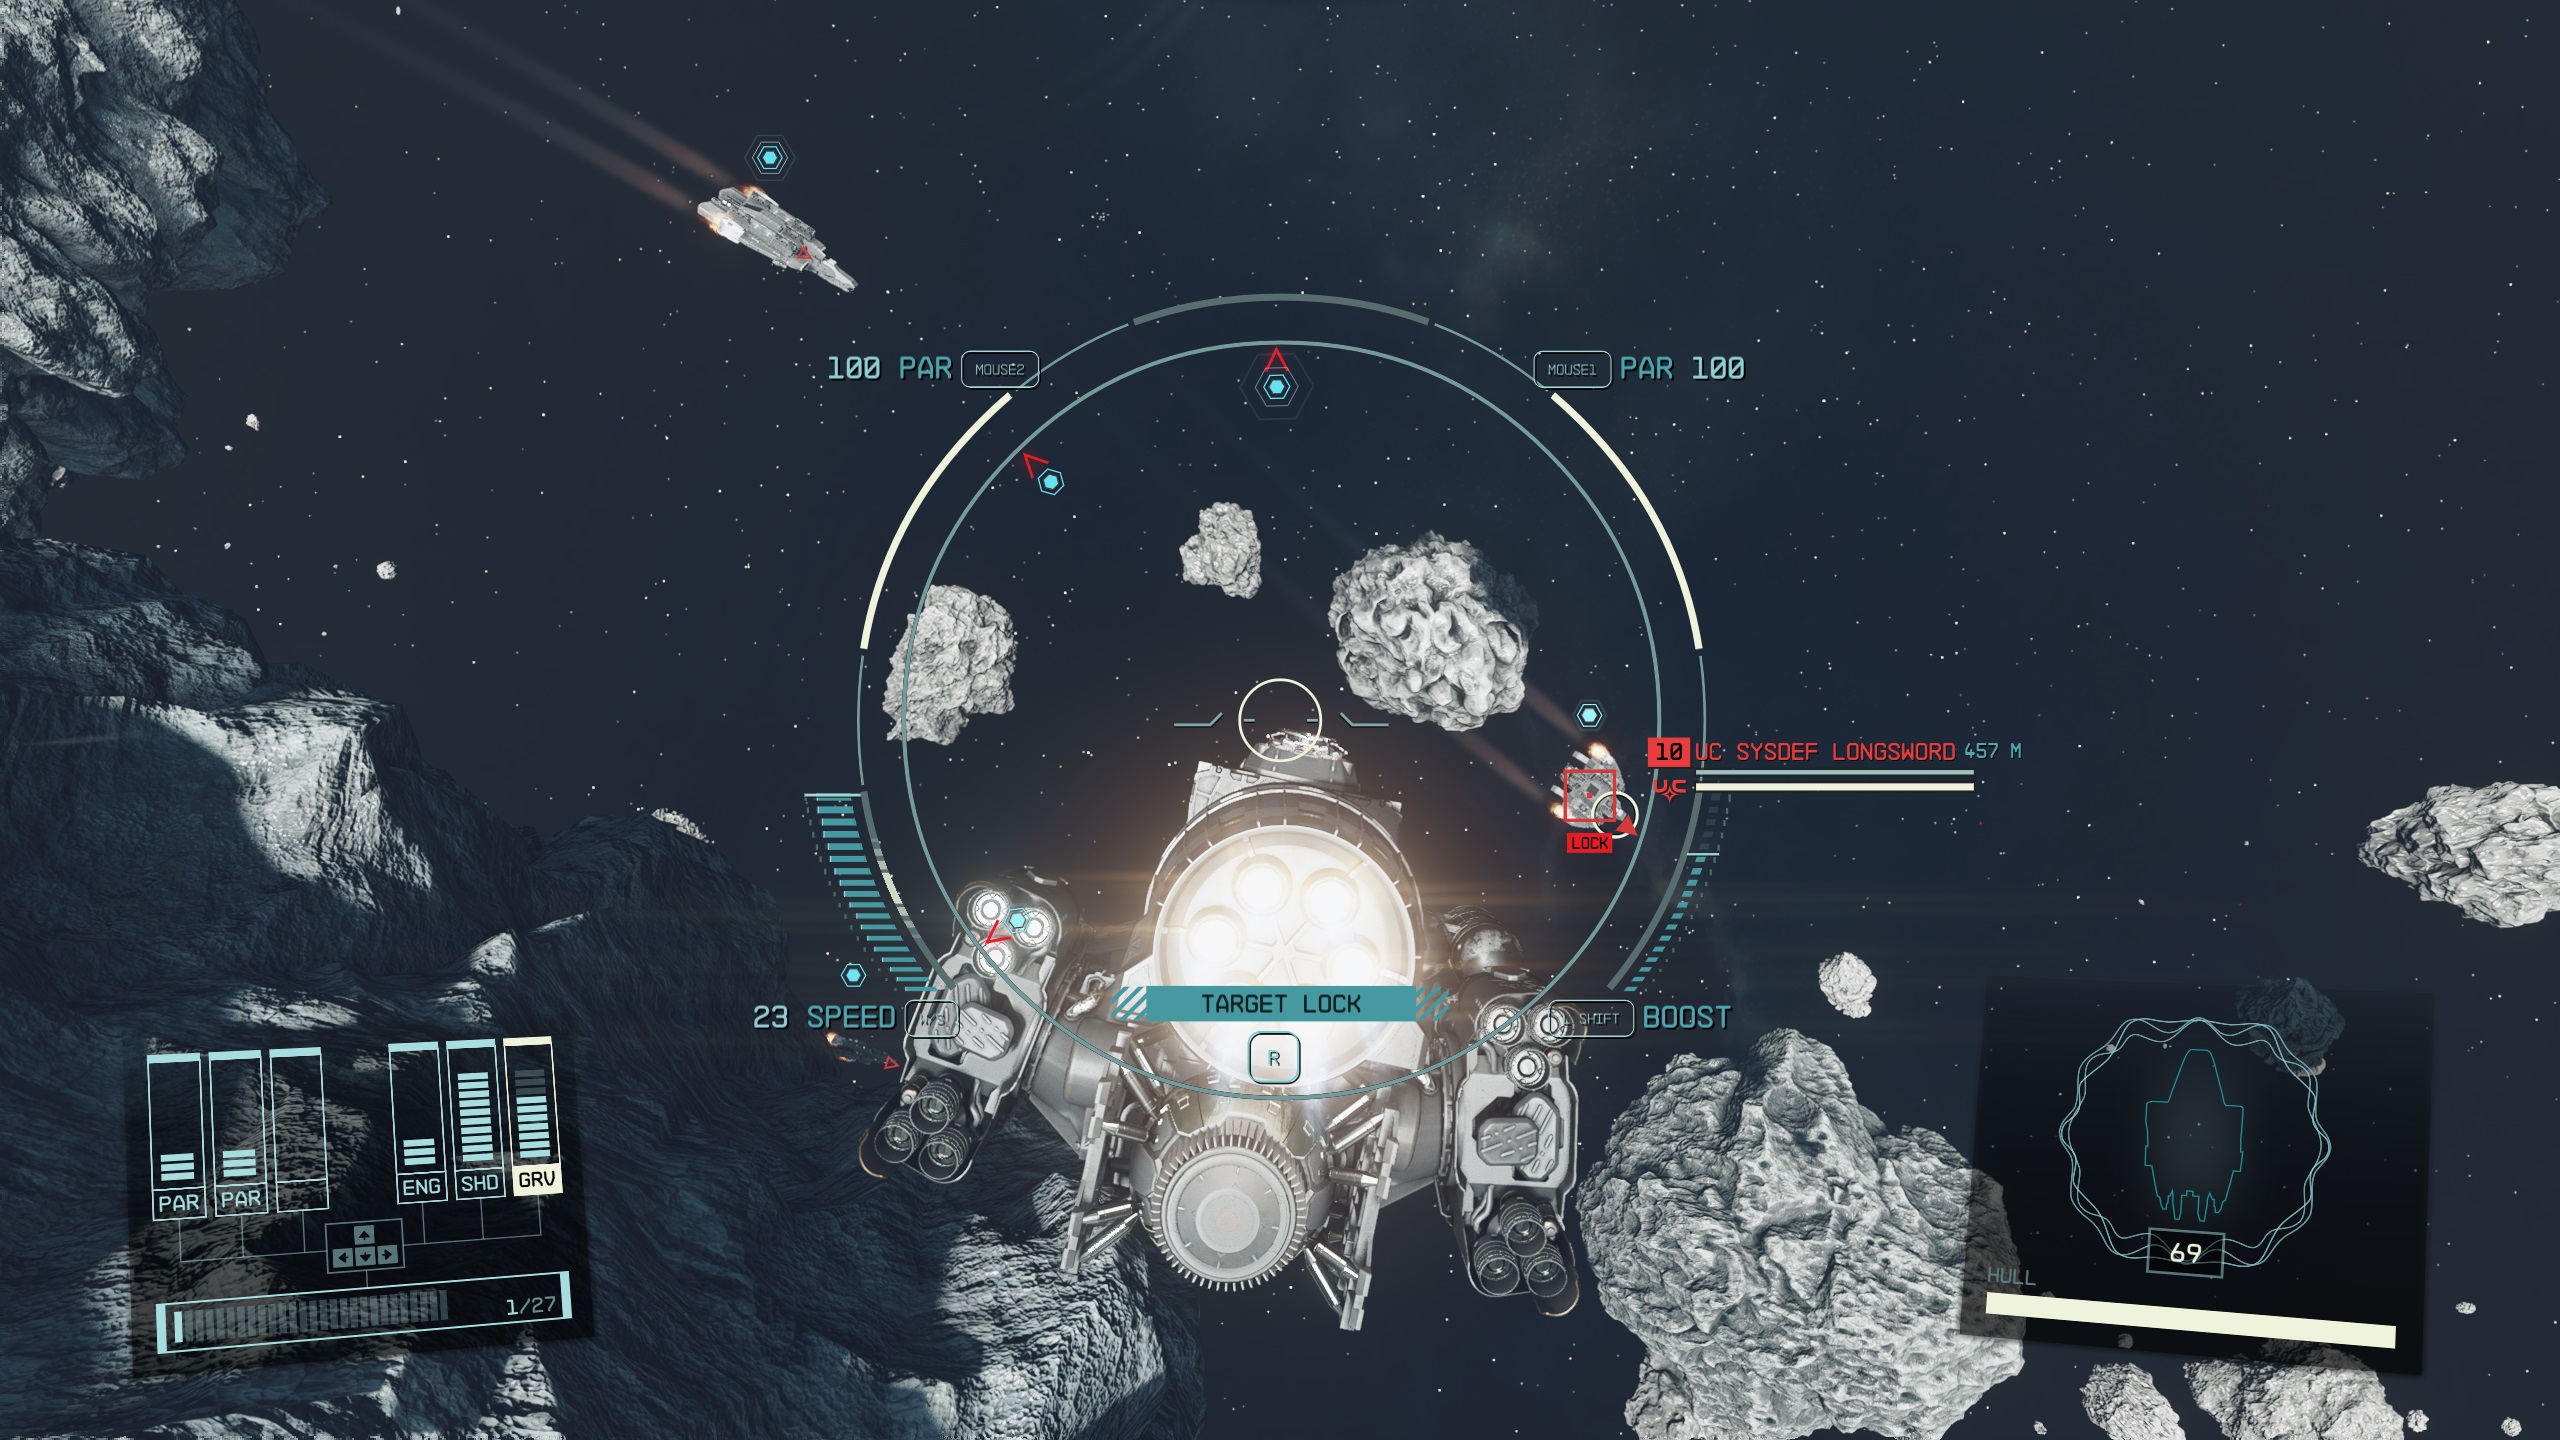
At the end of Eye of the Storm, the game makes it very clear that whichever system you grav jump to is who you will side with for the finale (Image 1). As soon as you arrive at the location, this mission, Legacy’s End, will start.
Image 1
Crimson Fleet Path
This is the mission guide for choosing to take Kryx’s Legacy to The Key. You will be aligned with the Crimson Fleet and be fighting SysDef for the remainder of the faction quest line.
Destroy SysDef Ships and Report to The Key
When you arrive at The Key, it will be under attack by SysDef ships probing its defenses. This is a pretty easy spaceship fight and you shouldn’t have any problems. As soon as they’re all vanquished, Delgado will tell you to meet him aboard The Key.
Naeva will meet you at the airlock to tell you to hurry up. Delgado will be up in the usual command center spot with Jazz. He’ll take Kryx’s Legacy from you, then formulate the Fleet’s plan for defending against SysDef.
Secure the Defensive Batteries
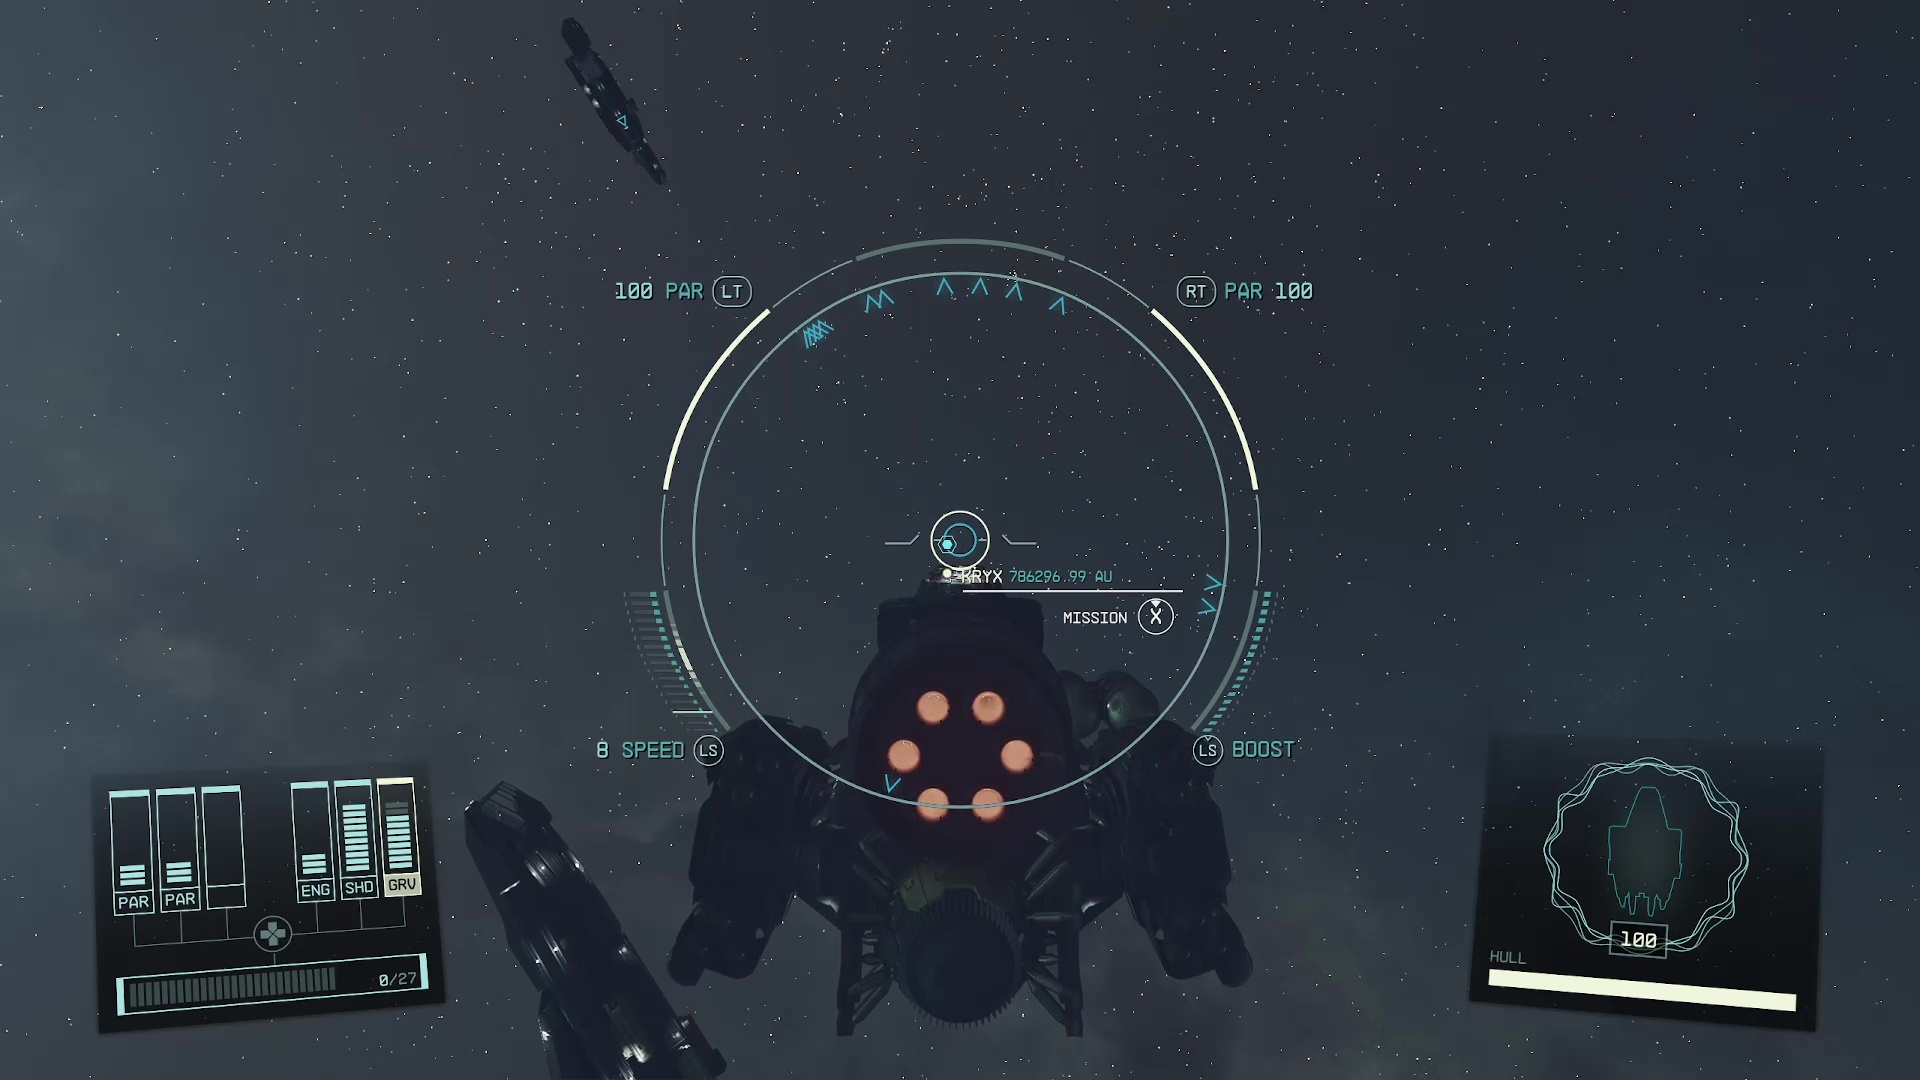
You have to go and protect the defensive batteries from SysDef attacks, because they’re the only way to penetrate the Vigilance’s shields. Go to your ship, then undock from The Key and look for the – there will be three for each battery. Hover over the marker then select it, and you should be able to travel to it (Image 2), or go to your star map and fast travel that way.
Image 2
We cannot stress enough that some of the most difficult spaceship combat in the game is coming up. Those of you who don’t have nicer ships might need to table this mission until you’ve leveled up more and bought better shields, weapons, and engines.
Another variable is how much evidence you turned into Toft for the Burden of Proof mission; the more you turned in, the more ships will be attacking the batteries. Your game should auto save between grav jumping to each battery, but it is a good idea to be on the safe side and save after the first battery.
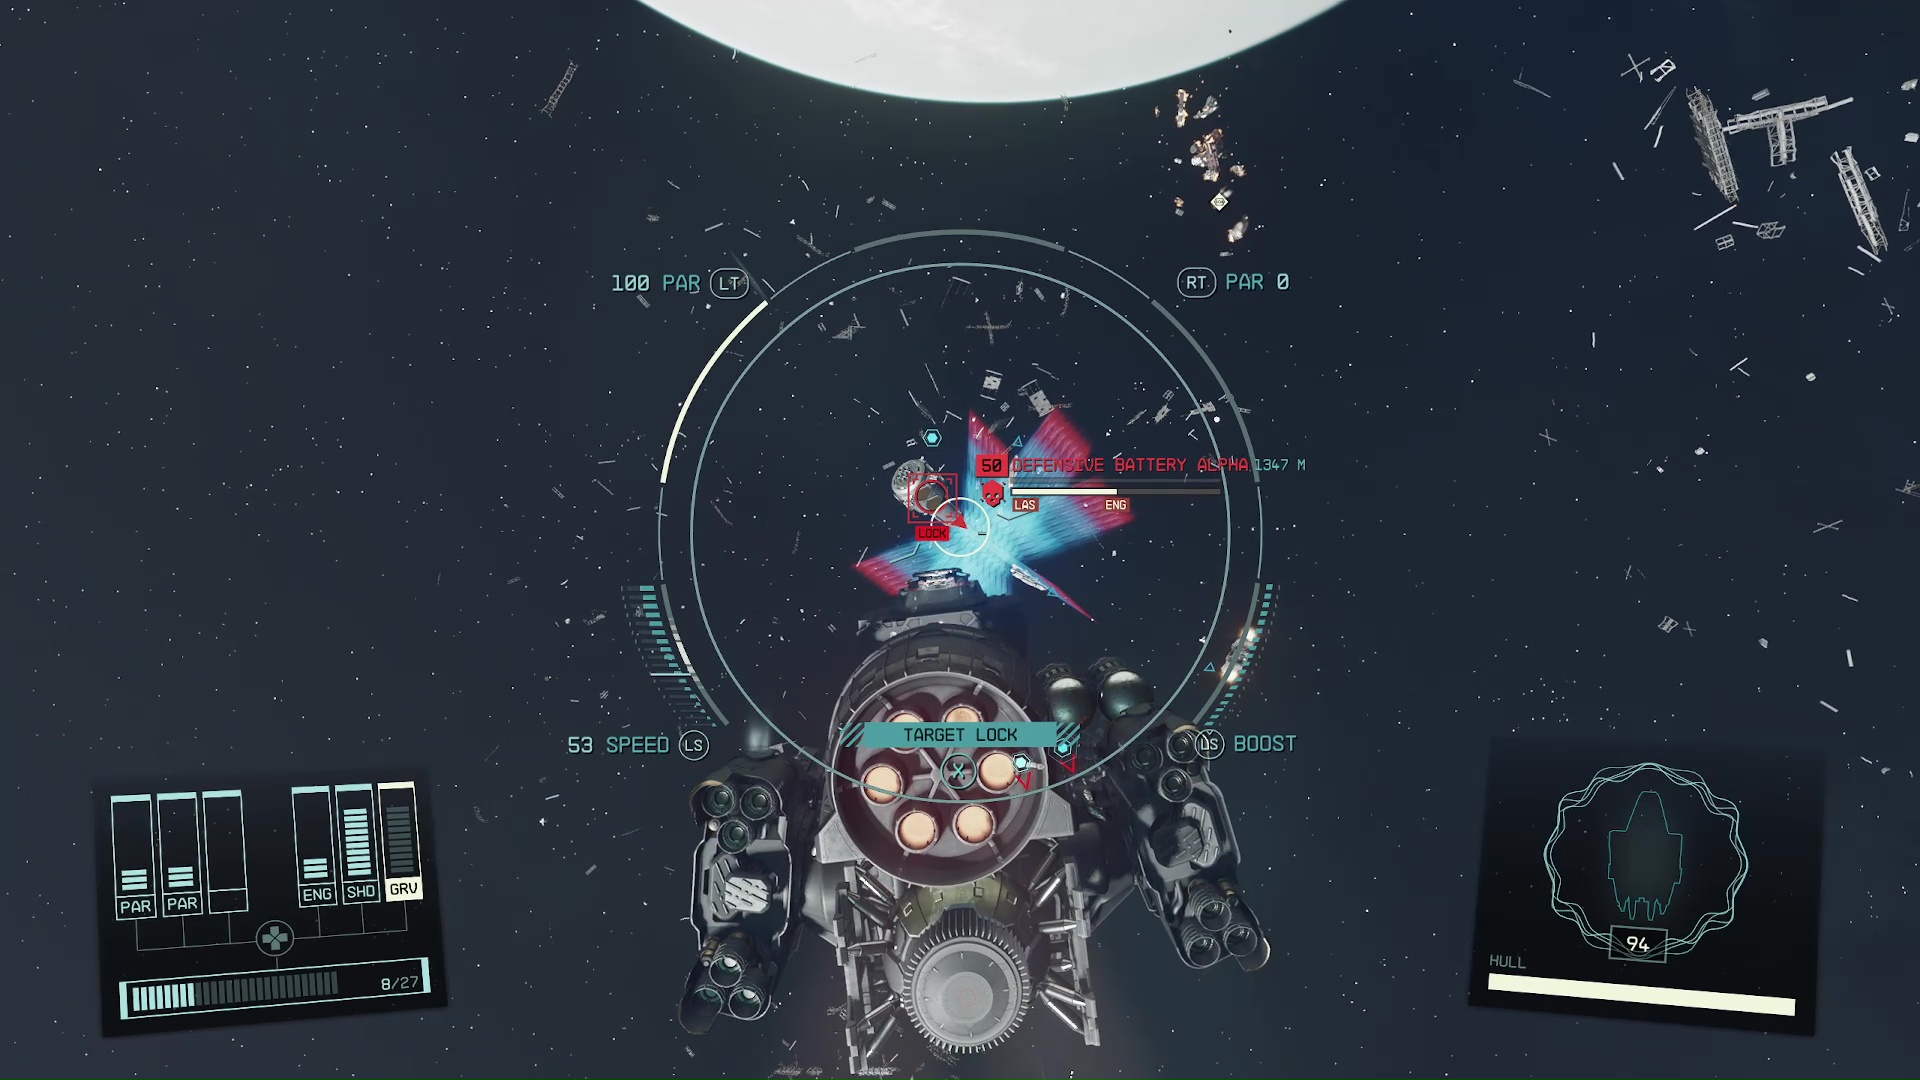
If you kept Mathis around after the mission, Echoes of the Past, then he will help you on defensive battery alpha. Beta Battery will be more difficult, with additional enemy ships and firepower to deal with. Try to use the asteroids for cover, but be careful because they’ll go away if they take a lot of damage (Image 3). Here is some general advice for space combat if you are having trouble:
Use your boosters – A faster target is harder to hit, and if you get far enough away from an enemy, they will target one of your allies instead.
Use the correct weapon – Some weapons are only good against certain defenses!
Missiles (MSL) – Effective against shields and hulls, but slow reload.
Ballistics (BAL) – Effective against hulls, not shields
Lasers (LAS) – Super effective against shields, not hulls.
Electromagnetic (EM) – Super effective against ship systems.
Particle (PAR) – Effective against both shields and hulls.
The Best Defense is a good offense – Taking out enemies as fast as possible can be an effective strategy. Let your weapons recharge to full instead of shooting one shot every five seconds, then try to take out two or three ships in one pass.
Let your allies help – This is for when you’re having a really hard time. Try to fly outside the range of enemy weapons, away from the battle, and only attack from a long distance. It will take time, but your allies will deal with the enemies, or at least put a dent in their numbers.
Image 3
Return to the Key and Destroy the Vigilance’s Escort Ships
After the third battery has been defended, you will be called back to defend The Key. Again, the game should auto save, but it’s a good idea to have a manual save before you jump into this next space battle. You won’t actually be able to damage the Vigilance because of its powerful shields; instead, the goal is to take out all the smaller vessels that are accompanying the Vigilance.
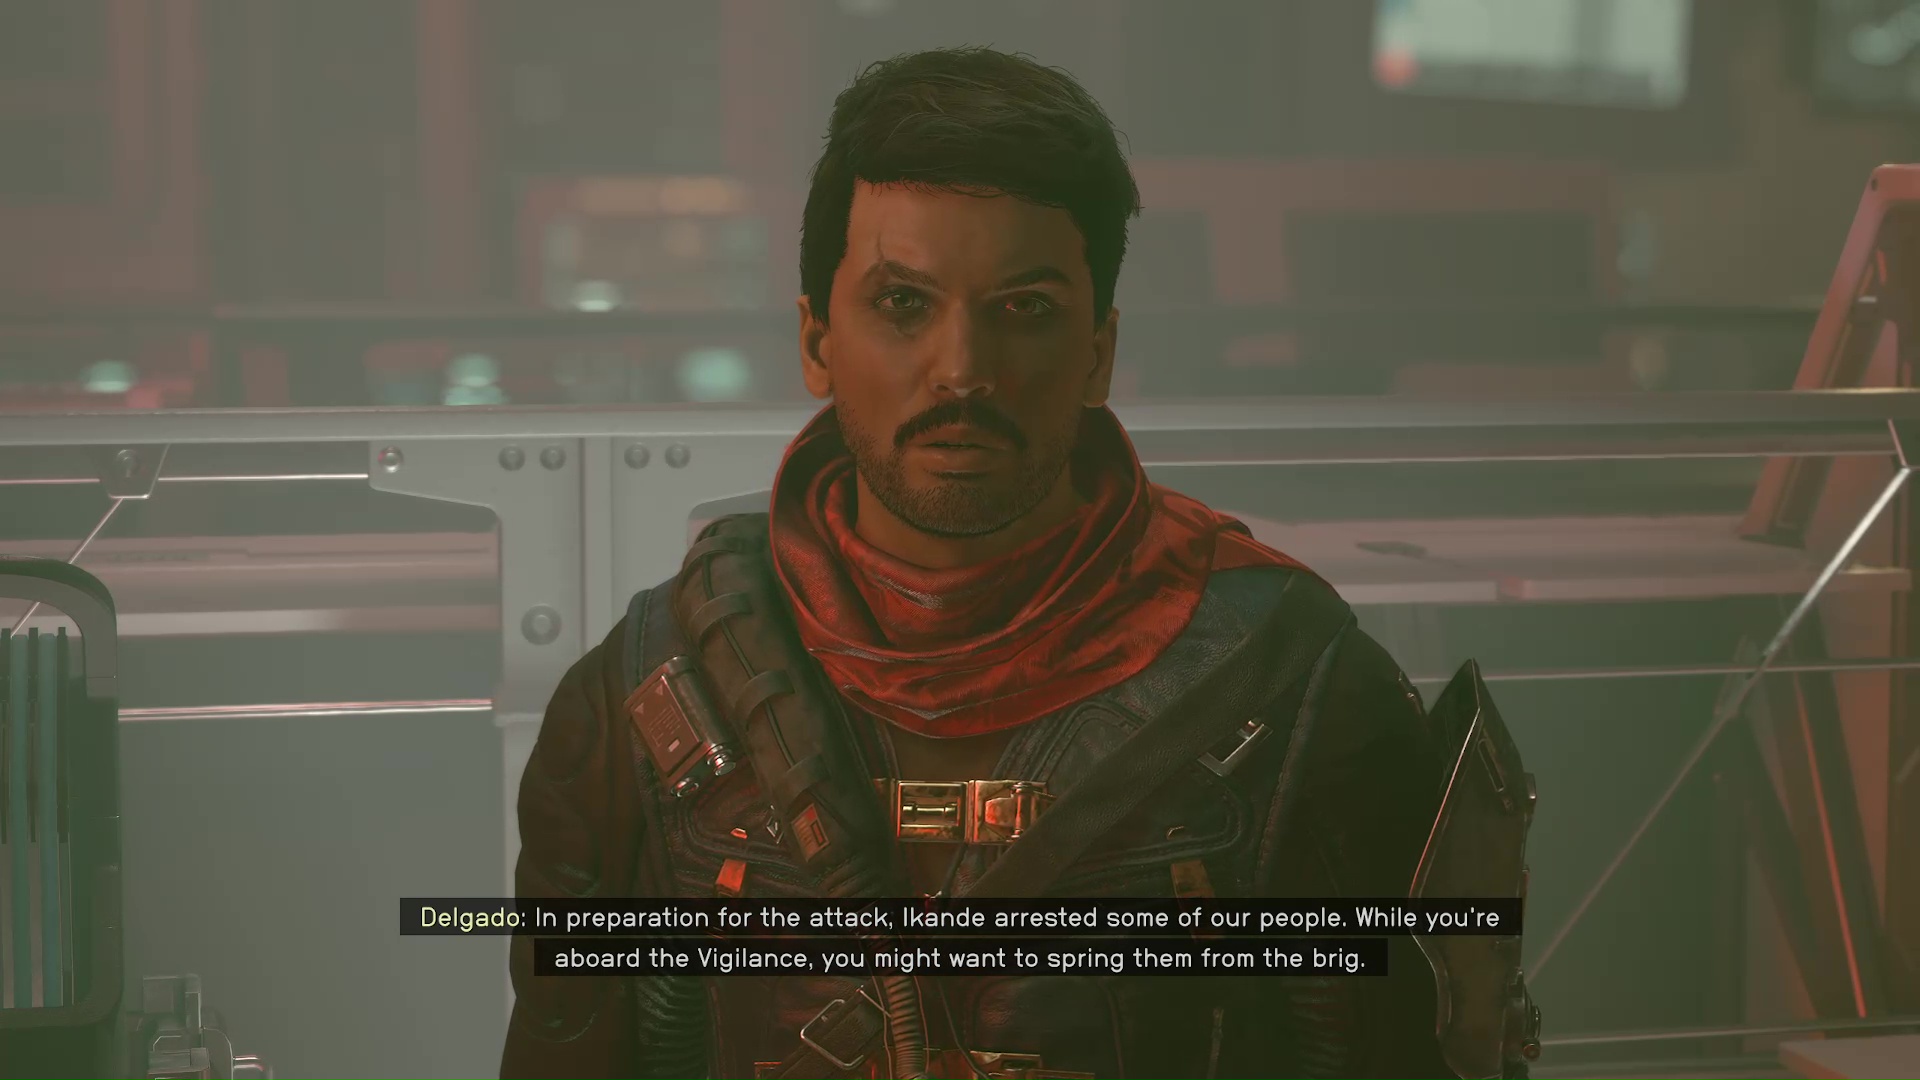
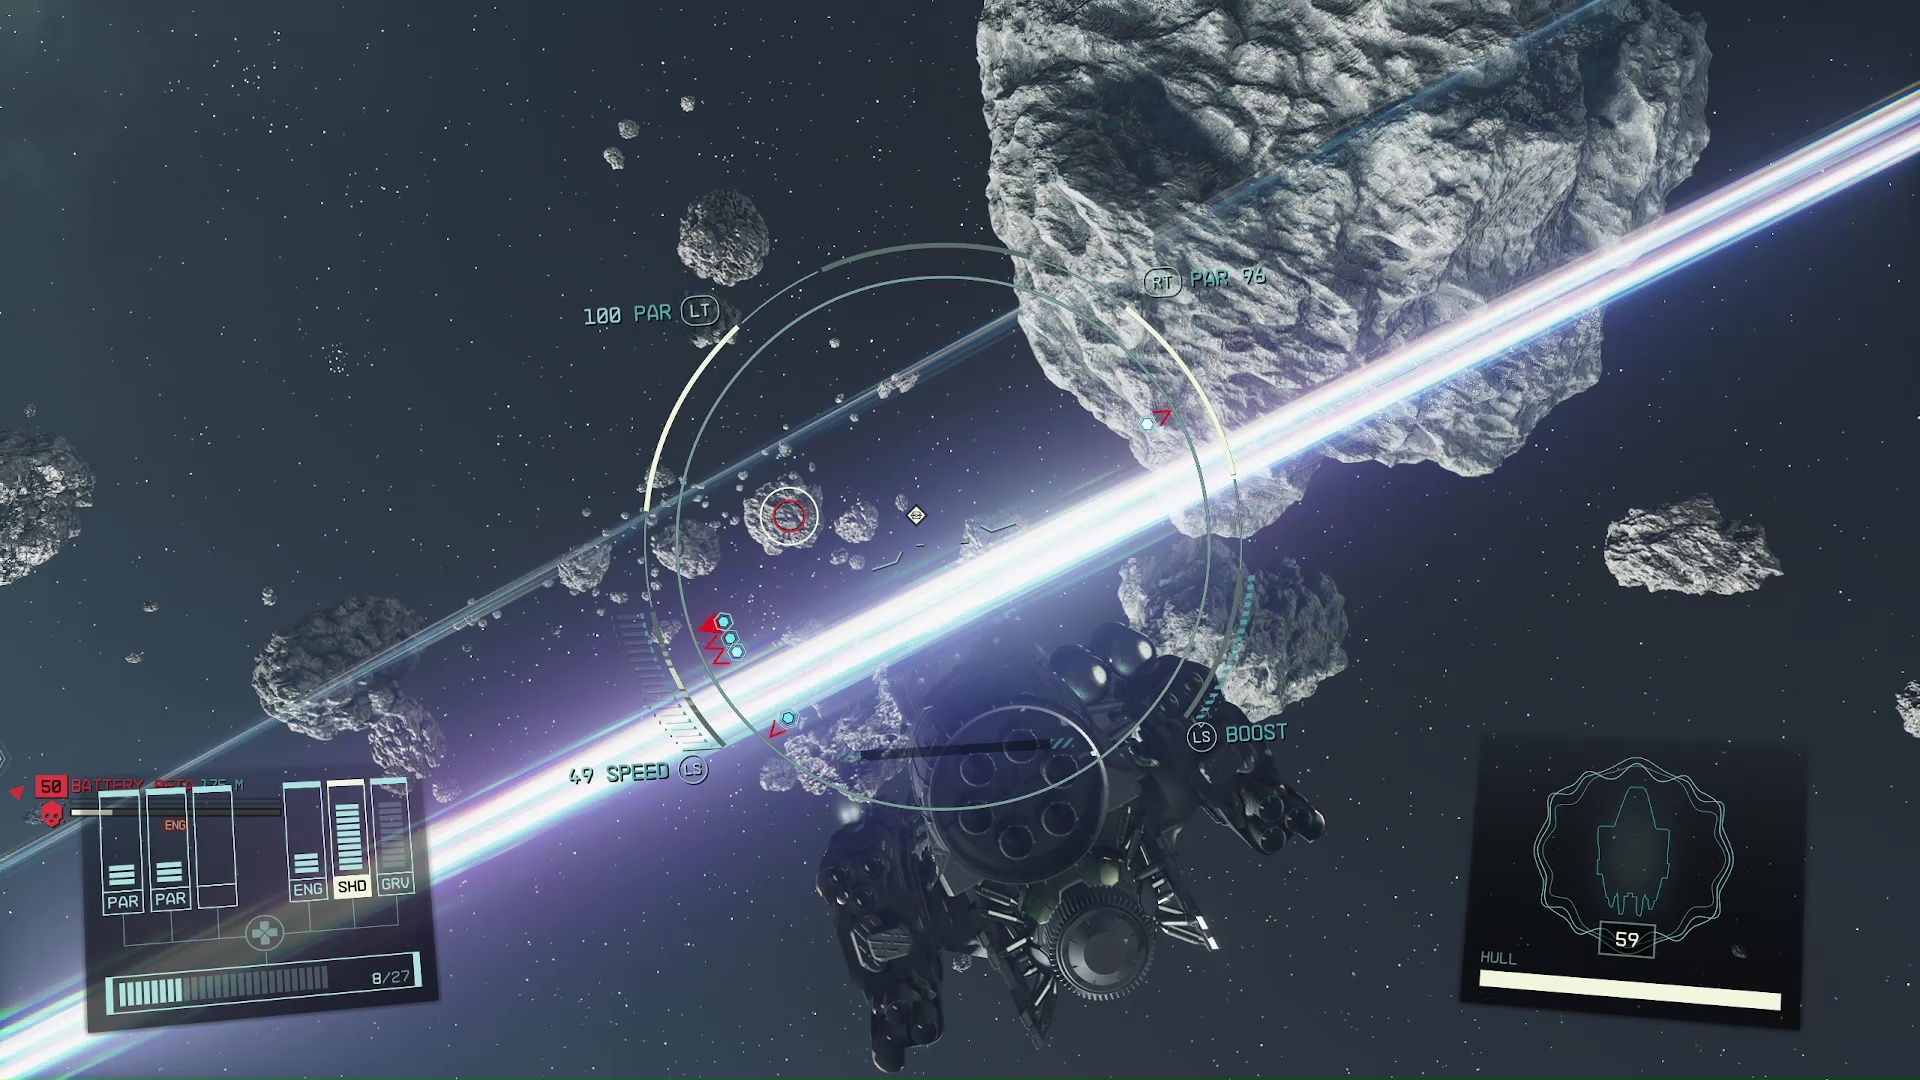
If you worked on the mission, Burden of Proof, and provided evidence to SysDef, then they will have more ships from the United Colonies. Not only that, but Crimson Fleet captains that would be helping you for this fight will be in the brig aboard the Vigilance (Image 4). This is inversely true if you’re playing the other side, which we’ll explain in the next section.
Image 4
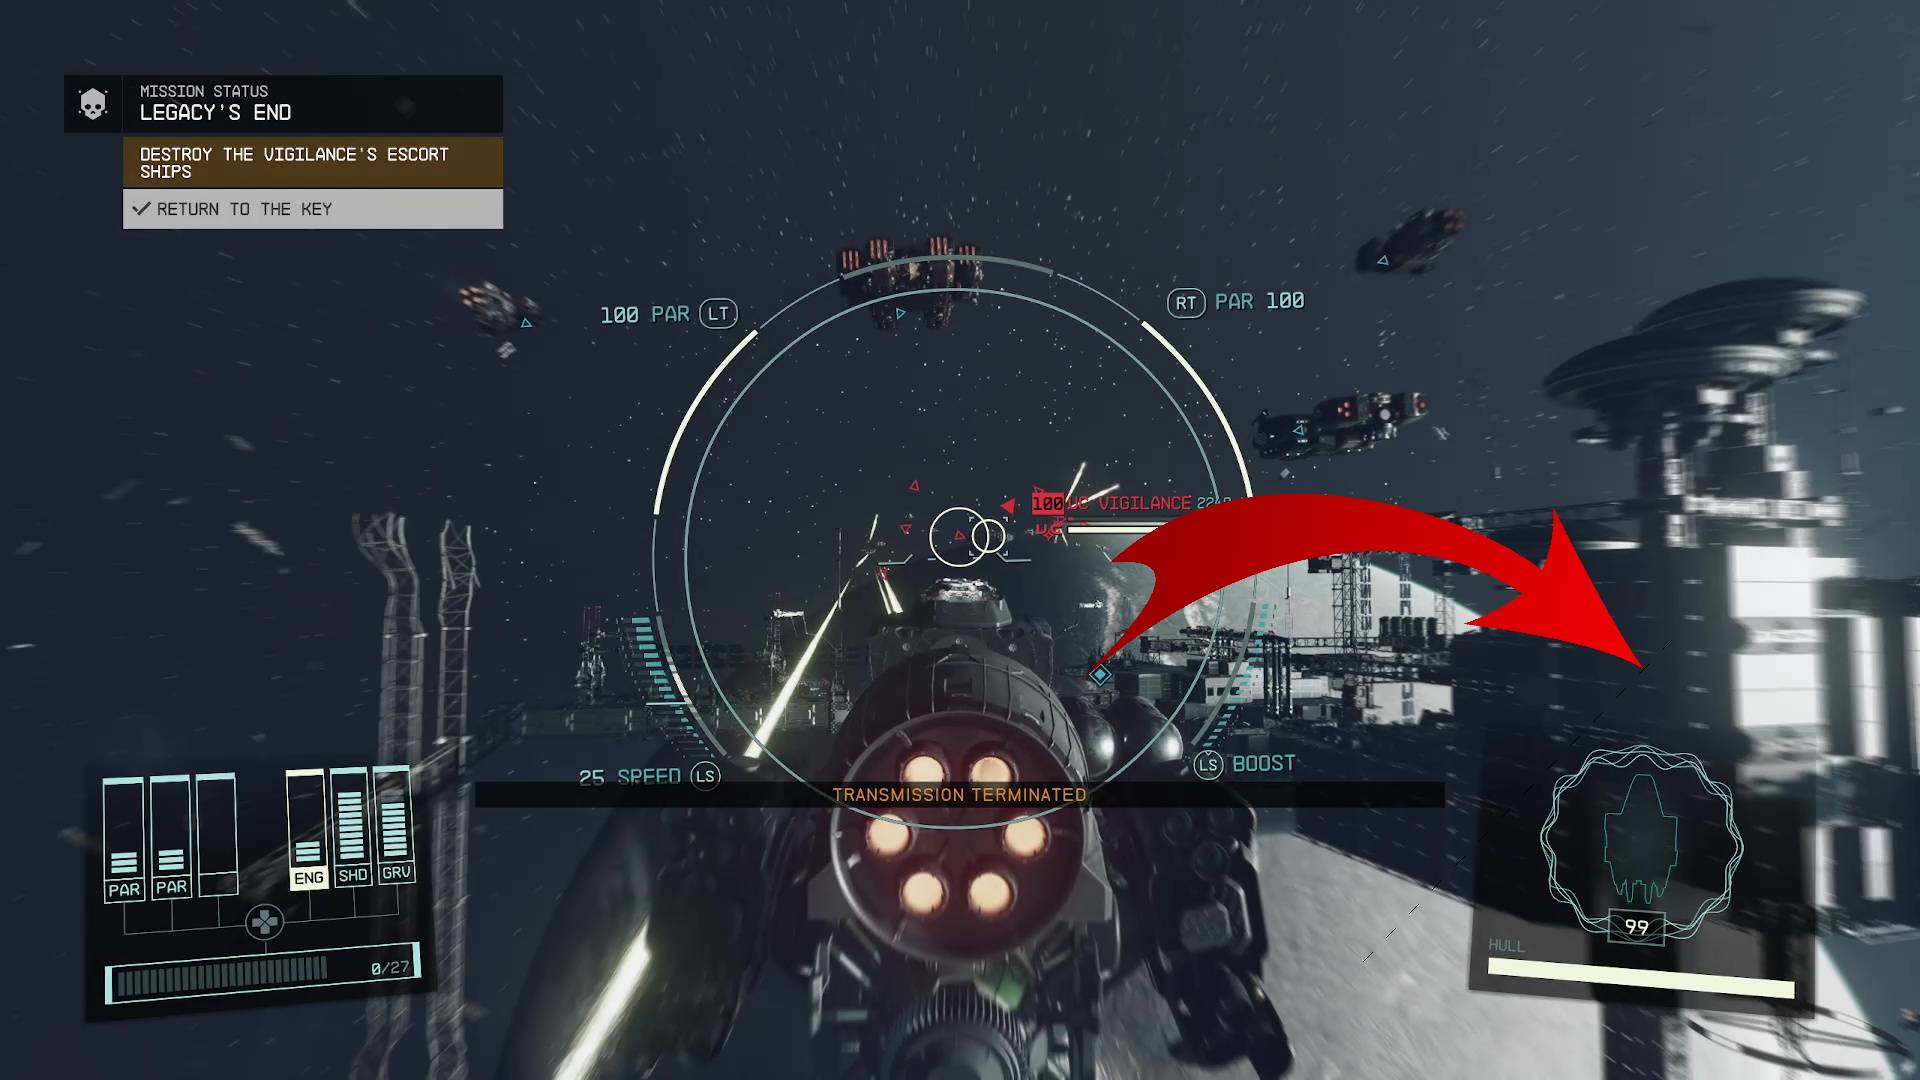
We found that the most effective strategy was using The Key itself as cover from the UC Vigilance’s powerful weapons. You will start the mission right above to The Key, so fly over to the right towards the thicker part of the station (Image 5). Then, while sitting stationary behind the space station, shoot and destroy all the escort ships. As you fight, keep The Key between you and the UC Vigilance (Image 6). The escort ships will never stop moving, so they will only shoot a stationary target for one pass, then have to fly back around.
Image 5Image 6
There were reports that players were able to cheese this very difficult space combat by simply standing up in the cockpit during the fight. Apparently, this would stop enemies from firing at you, and allow your ship’s shields to come back. We couldn’t get this strategy to work reliably, and we were still attacked while standing in the cockpit.
Disable the Vigilance and Board It
After three waves of ships, Jazz will shoot the Vigilance with the orbital batteries. This will in turn let you shoot the Vigilance and actually do damage. This is easier than the last part, but you should still be careful when engaging — the Vigilance can easily kill you all by itself. If it targets you, fly around to the ship’s rear, and it will stop (Image 7) Unlike normal ships, you won’t be able to board it after you take out its engines; instead, you will have to take its health bar all the way down.
Image 7
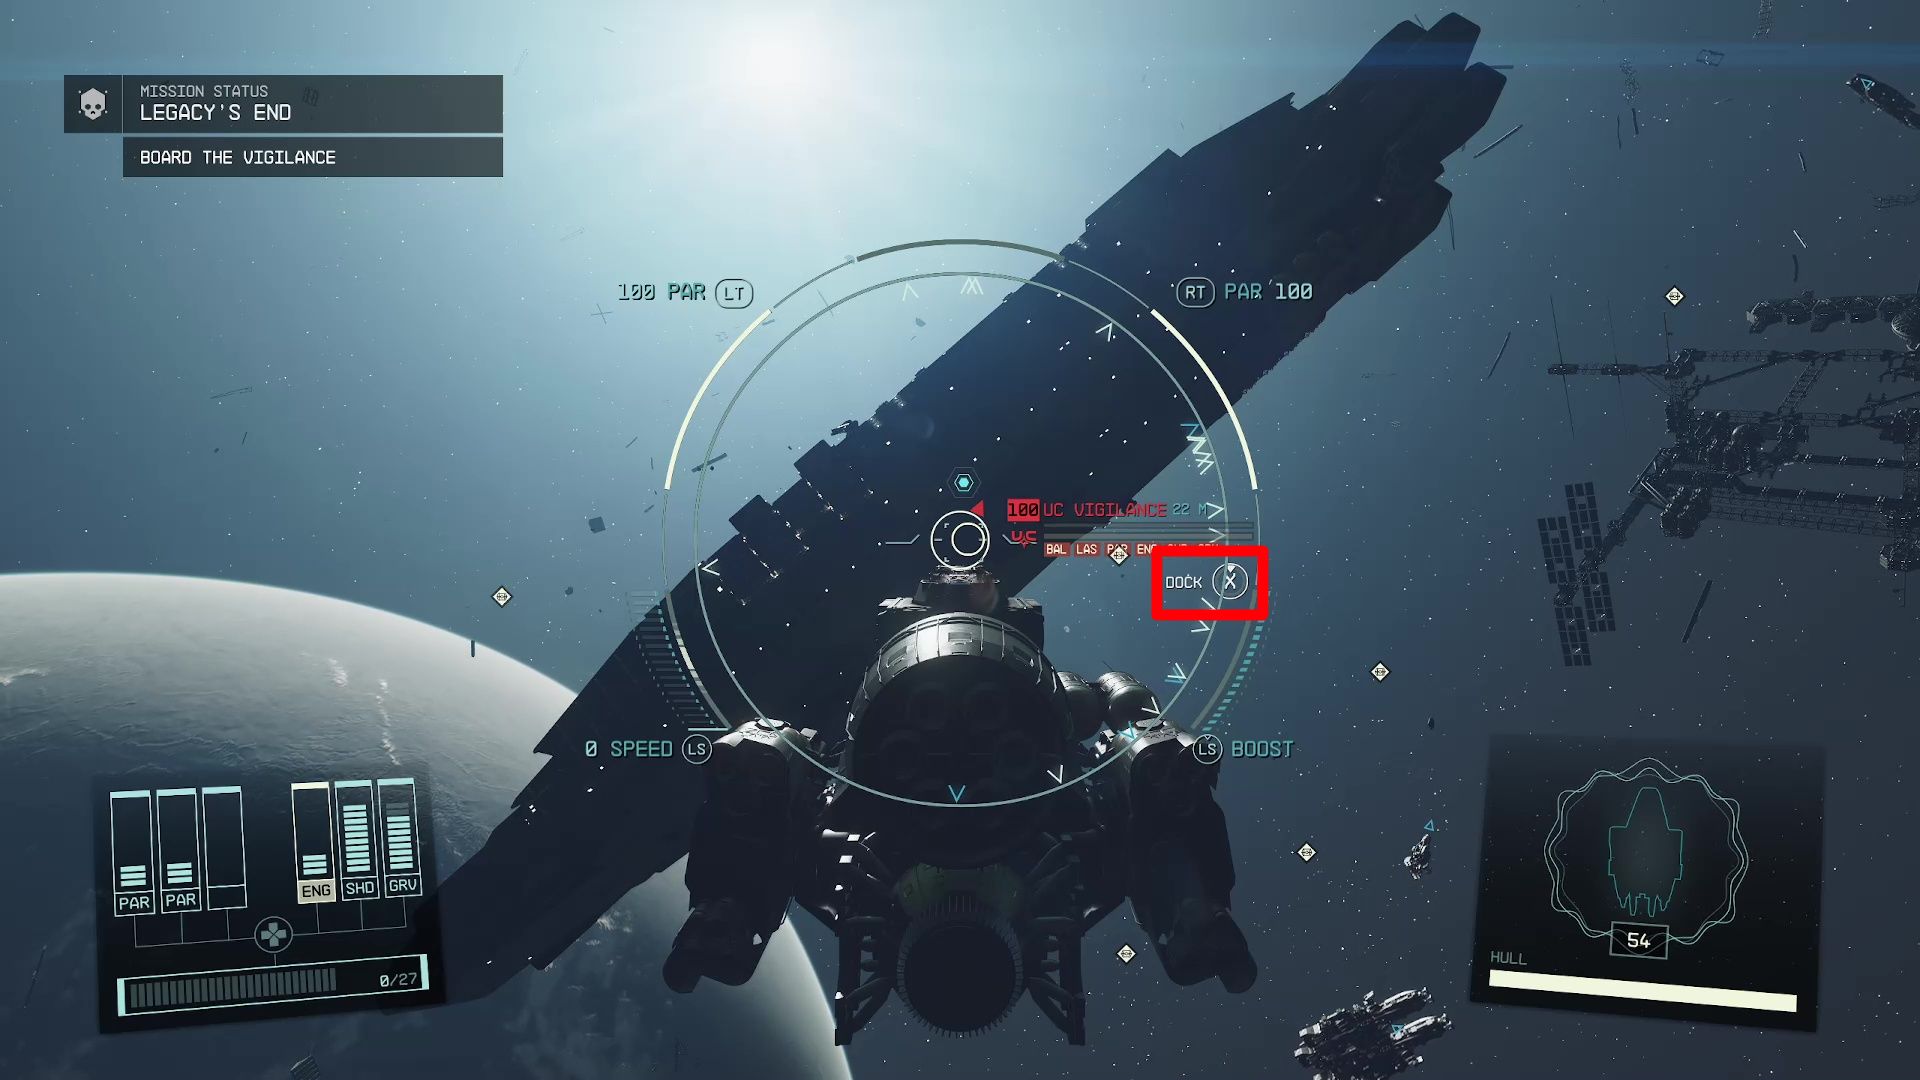
After it has sustained enough damage, you will be prompted to board the Vigilance. As you normally would, you have to fly close to the ship in order to get the prompt (Image 8).
Image 8
Secure The Brig and Release the Prisoners (Optional)
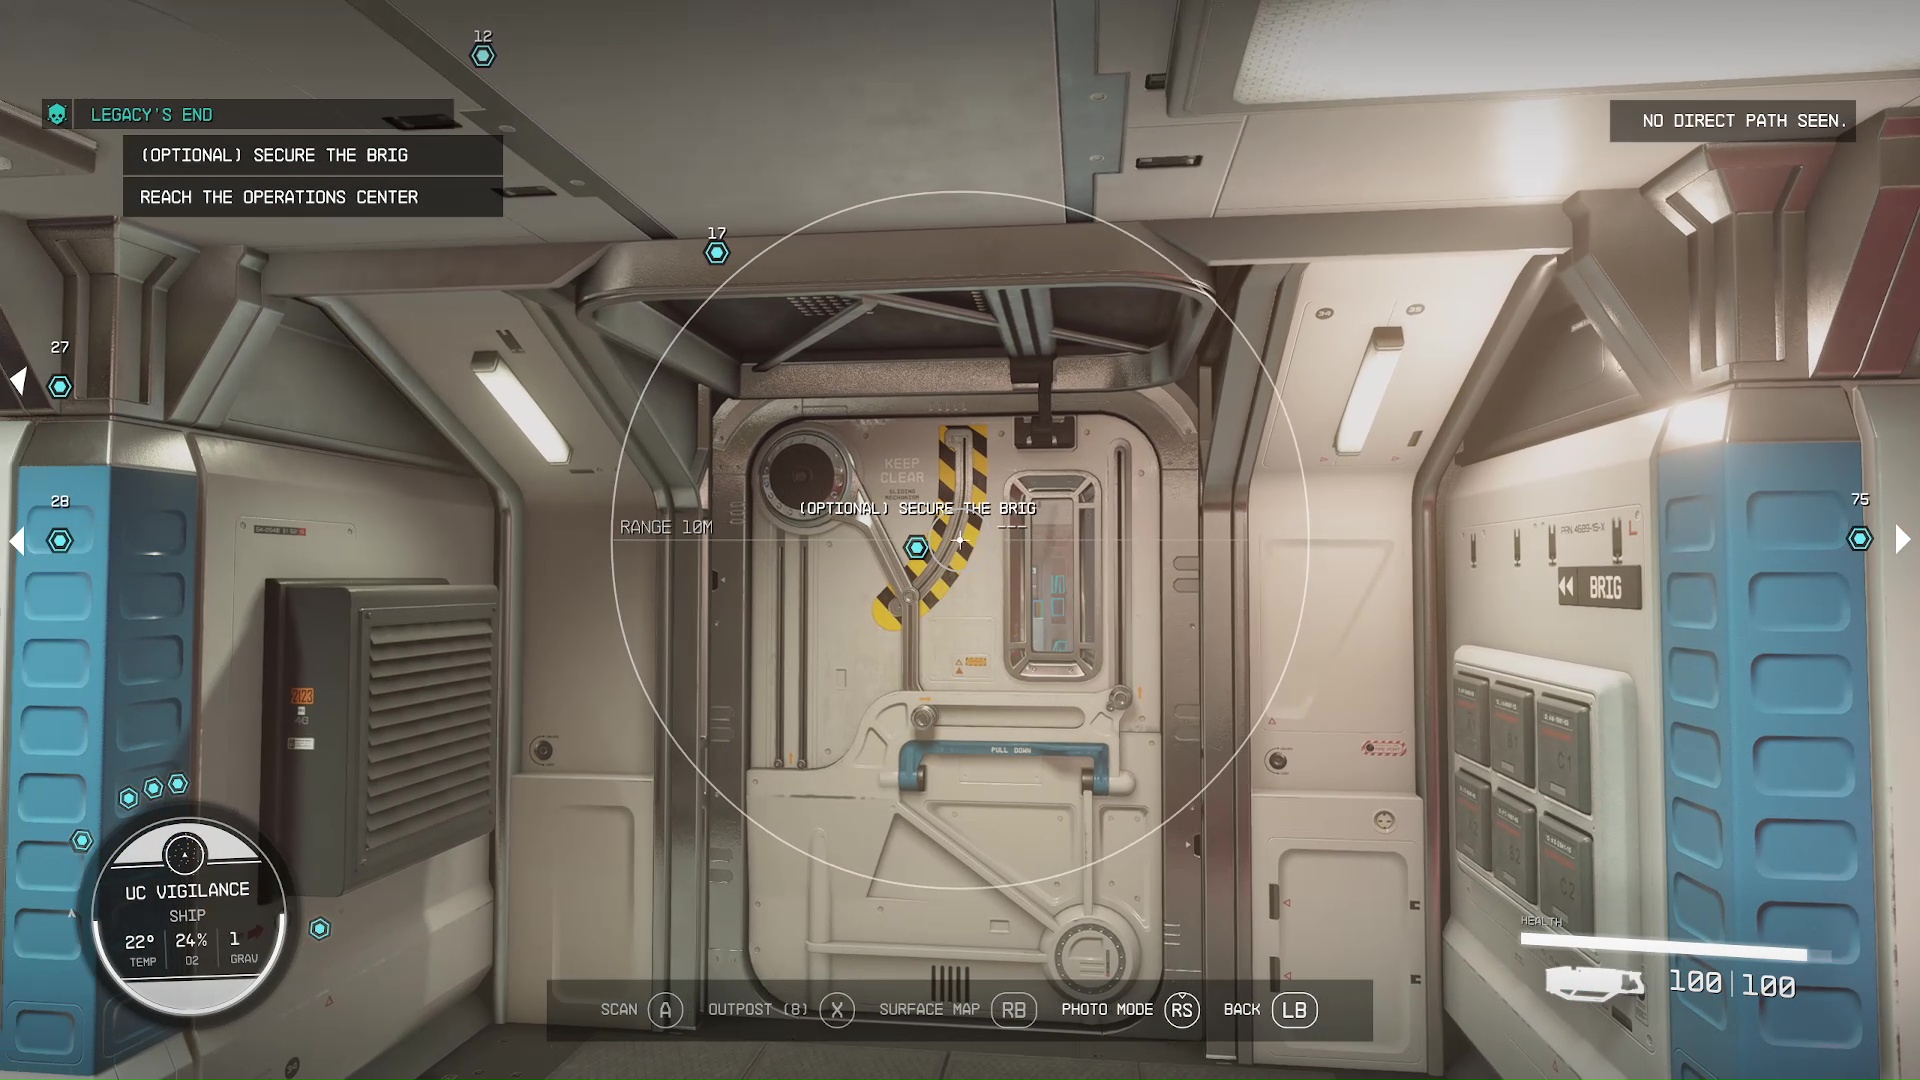
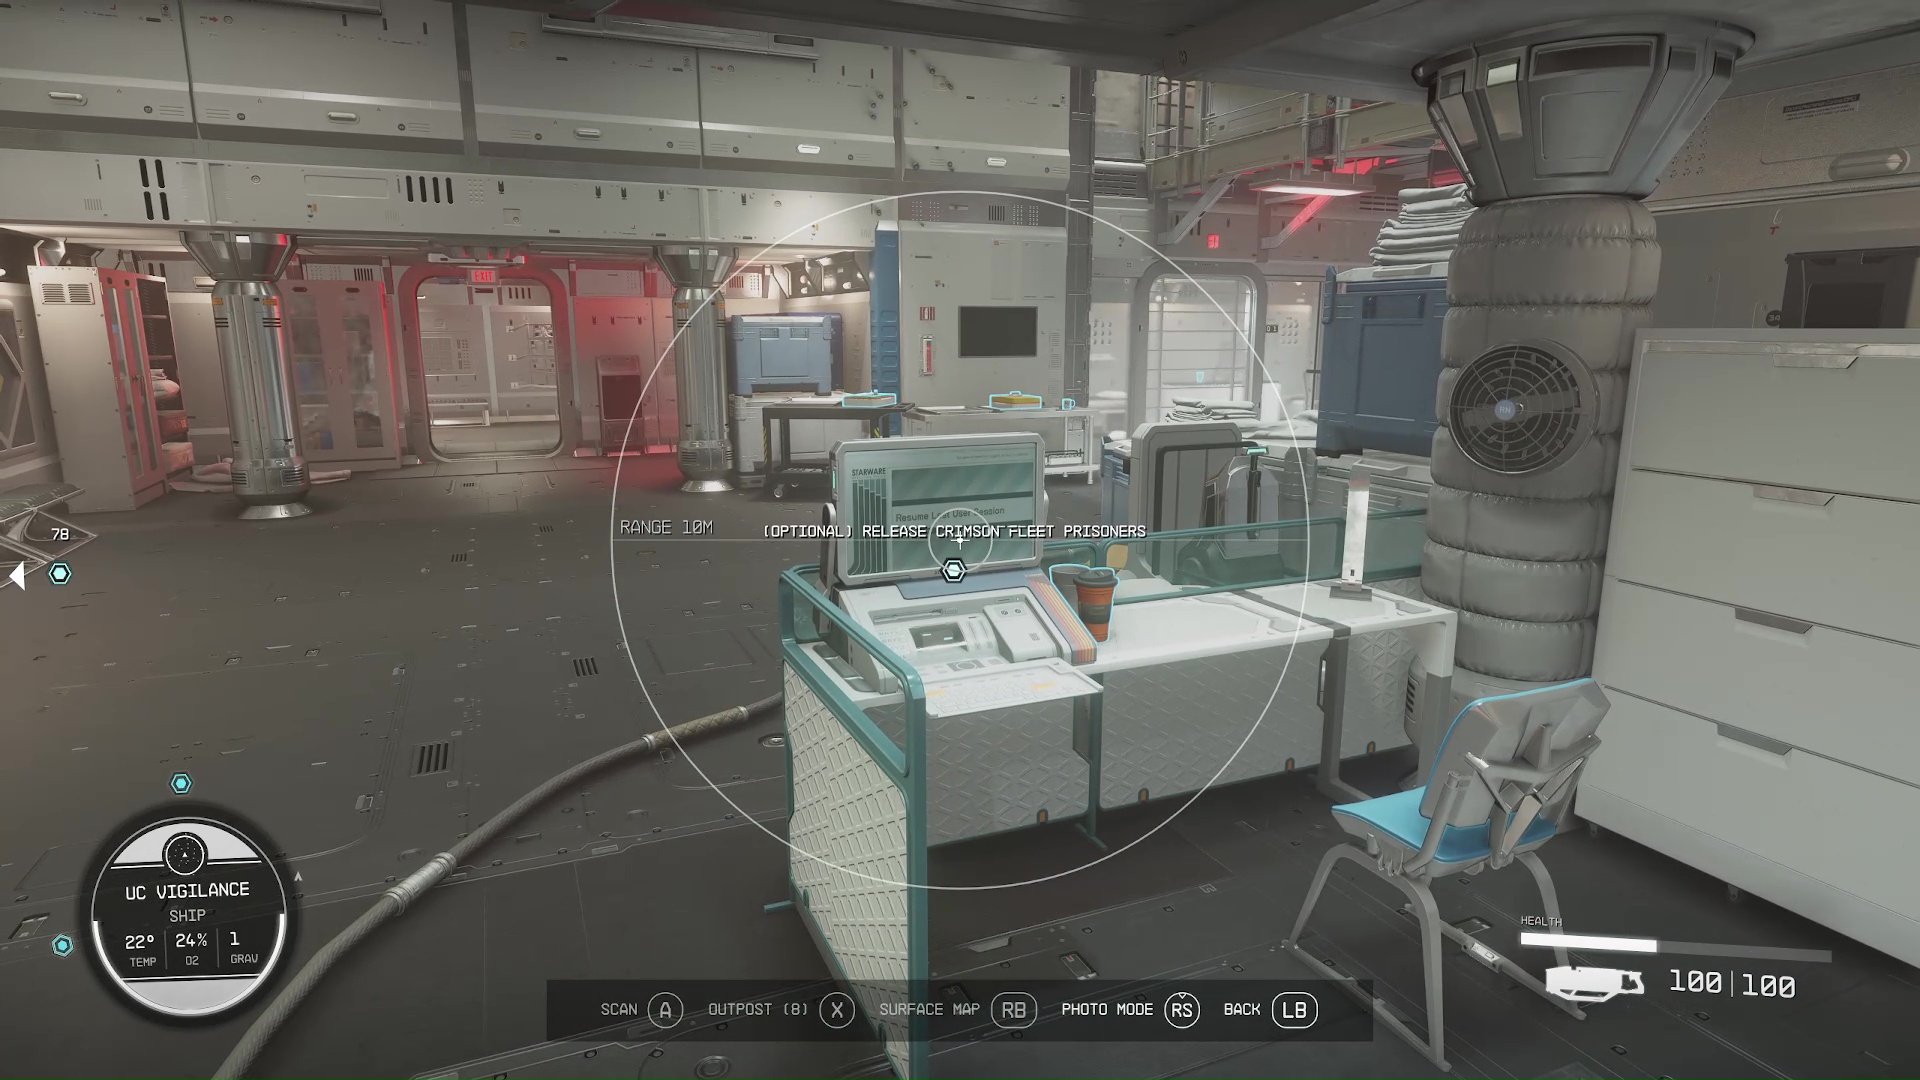
If you collected specific evidence against your Crimson Fleet contacts for the mission, Burden of Proof, then they will be imprisoned in the brig. Use your scanner to follow the to the brig (Image 9) and deal with the guards / turrets, then you can use the computer to set the prisoners all free (Image 10). The password to open the computer is on the guard who was standing next to it. The freed prisoners will help you secure the rest of the ship – even if you were the reason they were imprisoned.
Image 9Image 10
Reach the Operations Center
This part of the mission has you securing each section of the ship, as you work your way towards the Operations Center. This is tough fighting, even for higher level characters – make sure to save often. Try to take as little damage possible, and preserve your med packs and trauma packs, so you don’t run out.
Follow the throughout the ship, and if you get lost, use your scanner to follow the arrows. We’ll break down each room or section that you will secure in order, and give you any relevant notes that will help you along the way:
Cargo Bay – A Wide open room that has cat walks, use the elevation to gain an advantage. You will have the option of speaking with Evgeny Rokov if you let him back into the Fleet during Breaking the Bank.
Robotics – Deadly close quarters fight against a lot of robots, use a strong shotgun or burst weapon to take out the enemies before you’re surrounded. You will have the option of speaking with Mathis Castillo if you let him join the Fleet during Echoes of the Past.
Engineering – Naeva will link up with you to help fight. This room has normal guards, but Naeva’s crew will be throwing grenades; don’t get blown up!
Grav Drive and Engine Room – More SysDef, not a very hard room. You have the option to chat with Naeva after you clear it out.
Hallways and Optional Rooms – There are a lot of optional areas to loot here, like Weapons Bay II. The Hallways will have a lot of marines, robots, and turrets, so check your corners!
Mess Hall – Lots of marines in this room, stay on the higher level to have an advantage shooting the marines below you.
Crew Quarters – A long room with two turrets and marines shooting from the far end. Use a long range weapon, or go up the stairs to the higher level to close the gap and get closer.
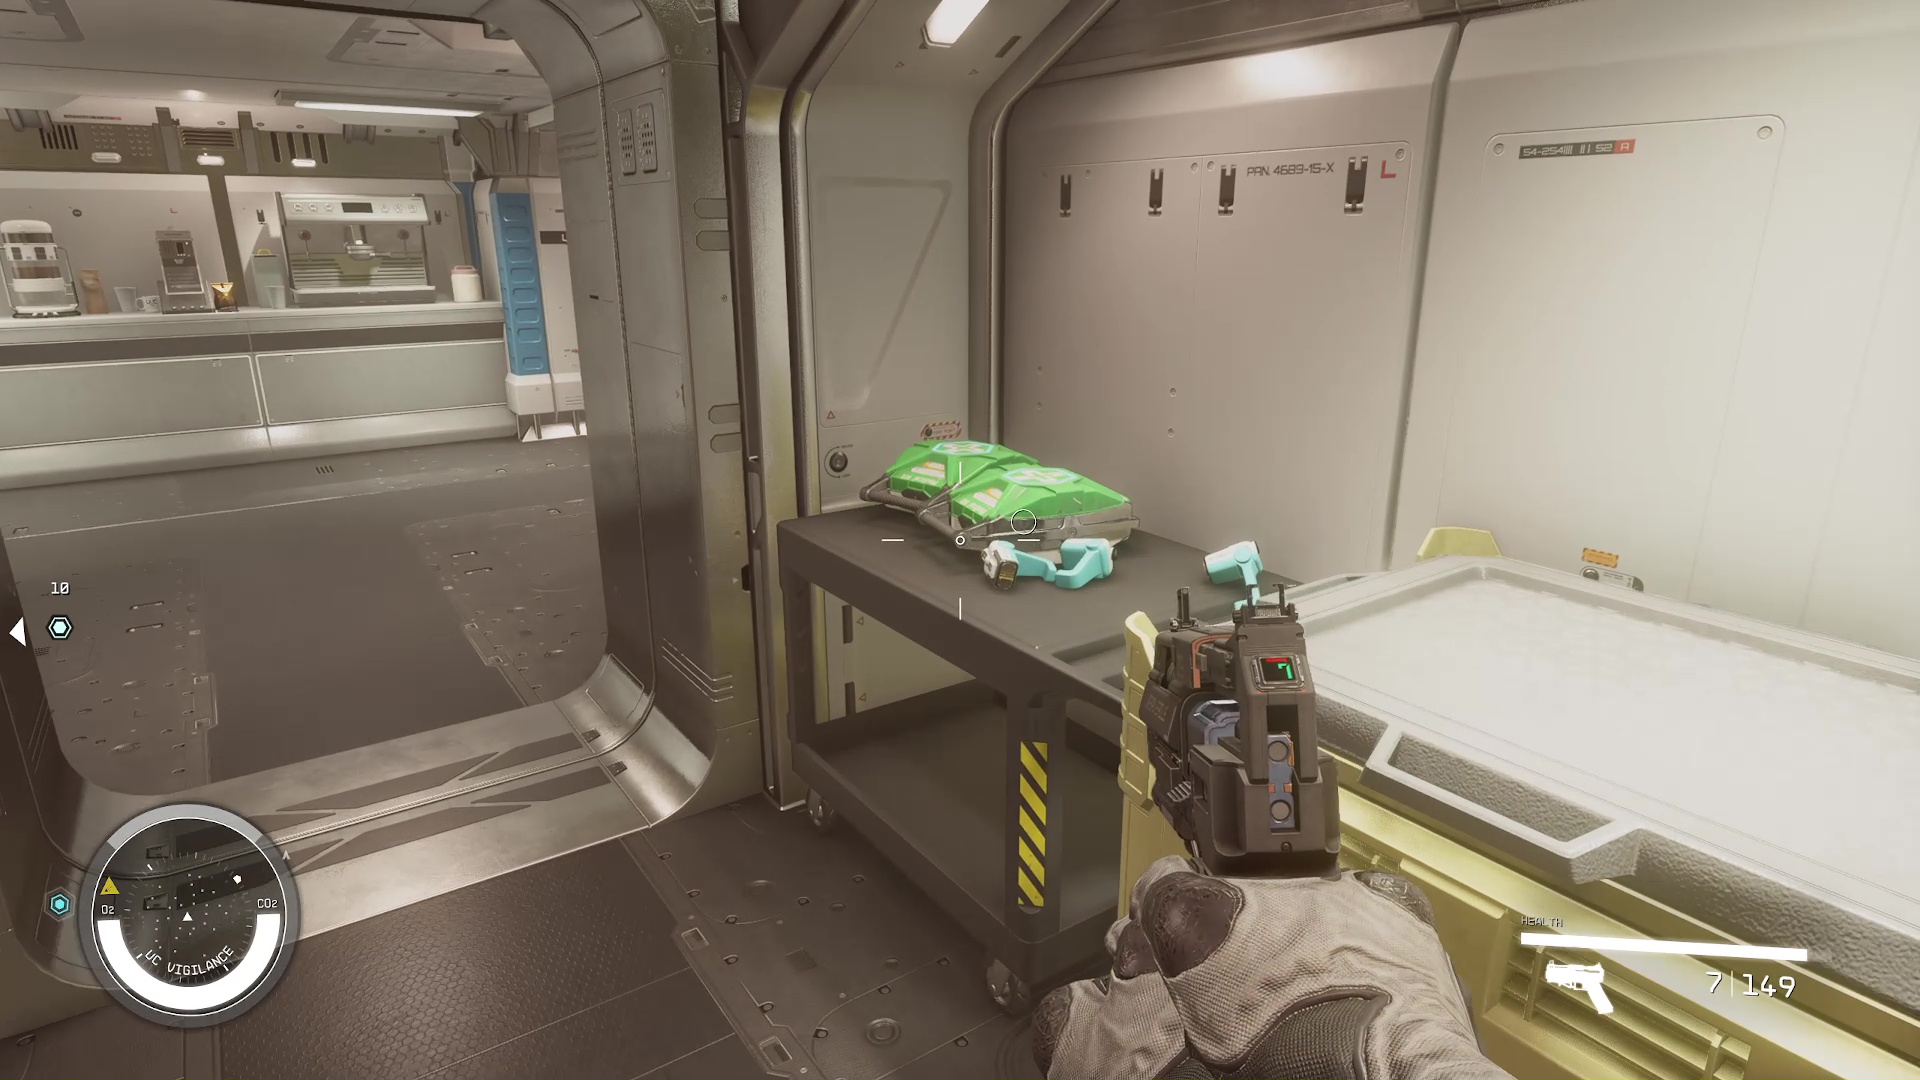
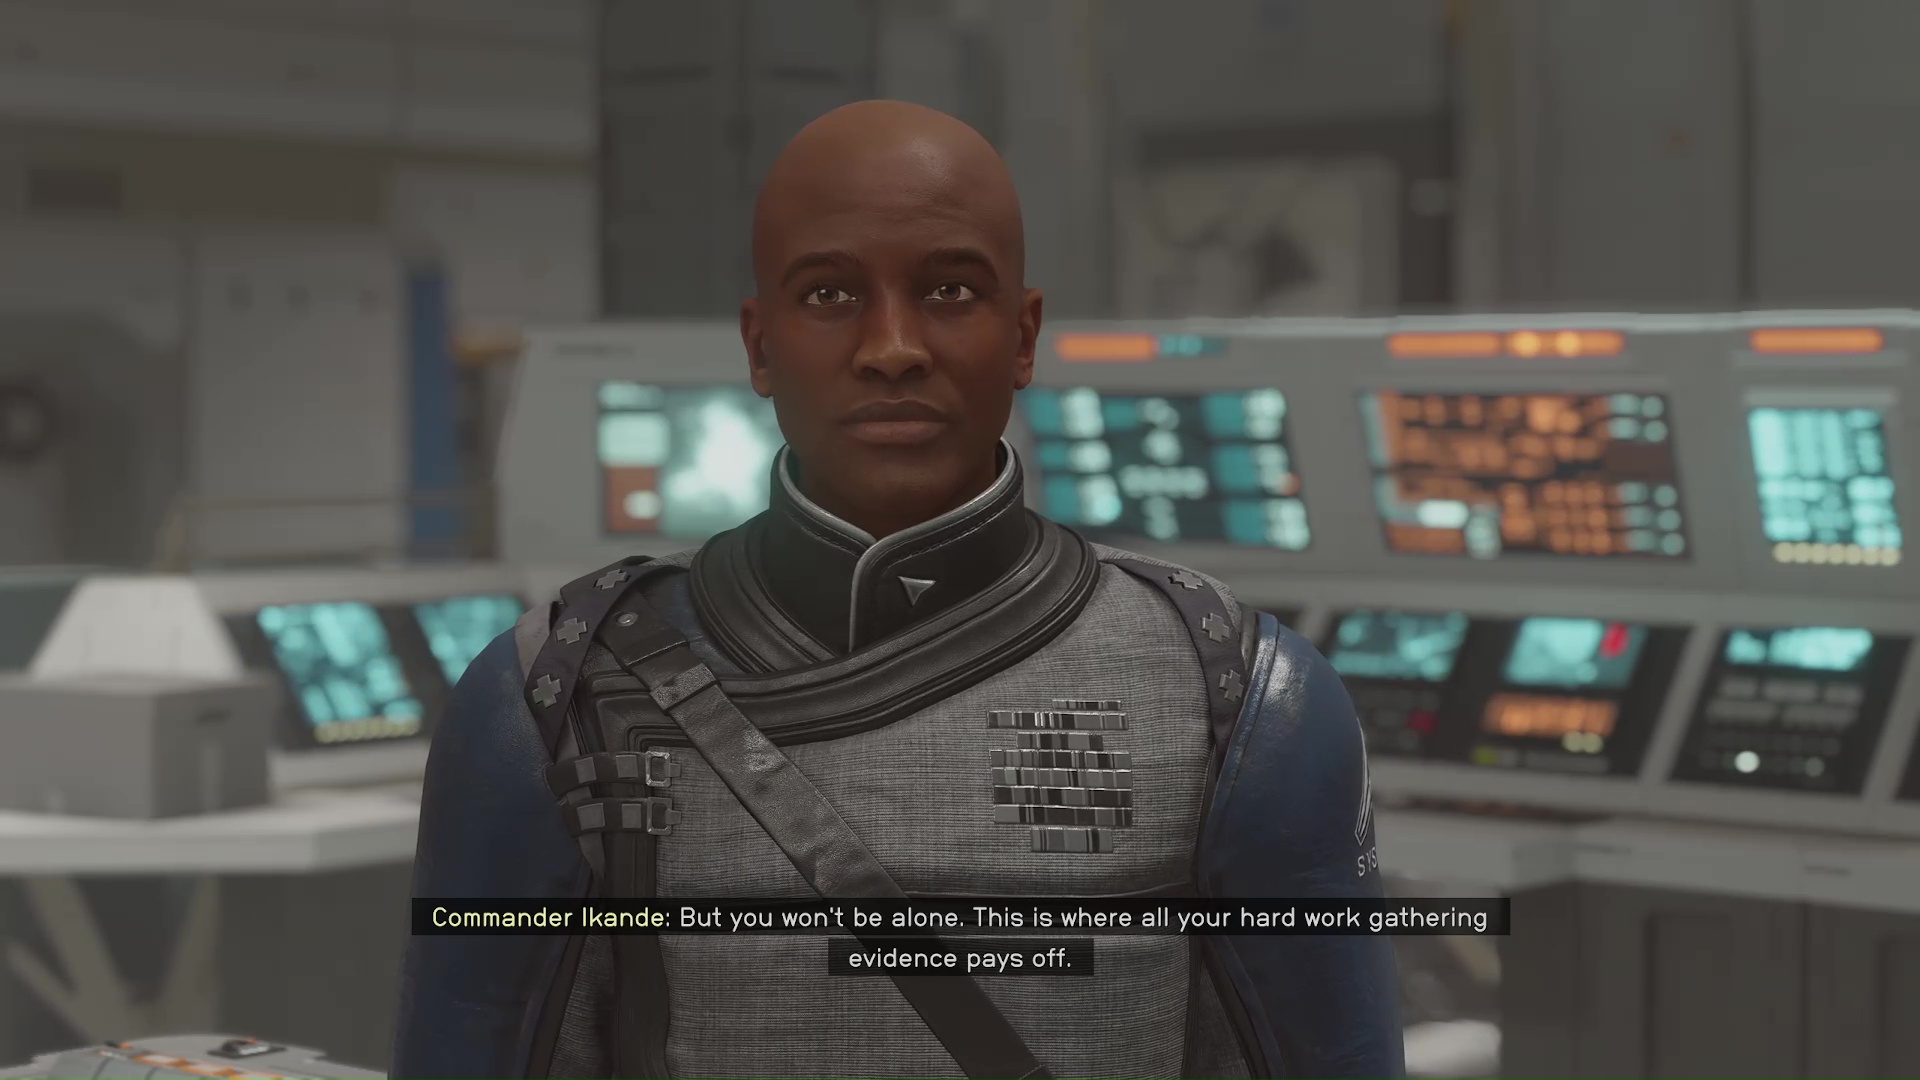
Flight Control – Ikande will order personnel to abandon ship. There won’t be any enemies, but you will find a nice stash of med packs in the hallway just before the Operations Center (Image 11).
Image 11
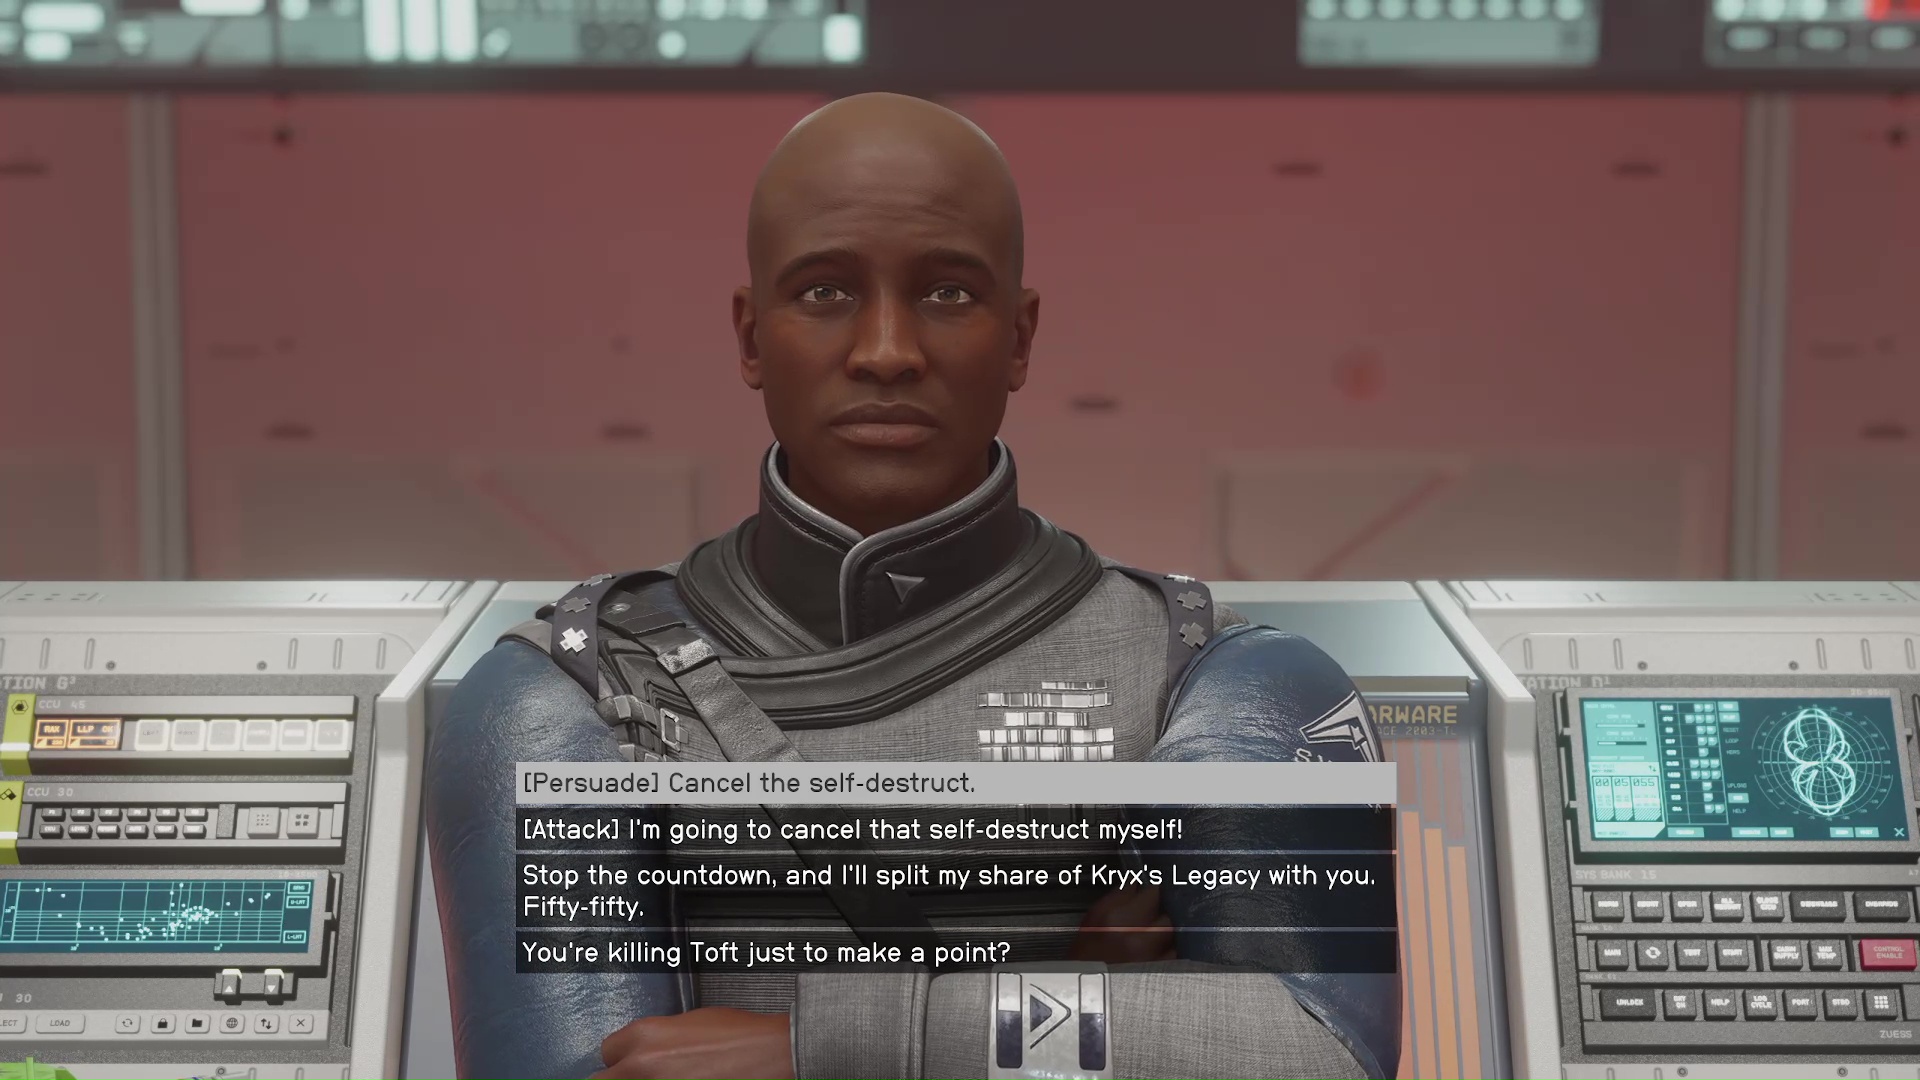
Confront Commander Ikande
When you finally reach the Operations center, it will just be you, Commander Ikande, and Lieutenant Toft. Ikande will inform you that he has activated the self-destruct for the ship. You’ll then have the opportunity to [Persuade] him to not blow up the ship and instead turn himself over to the Crimson Fleet (Image 12). If you succeed, he will surrender, then after the mission you can find both him and Toft in the brig of the Vigilance. You will miss out on looting Ikande’s unique weapon, Unfair Advantage, however.
Image 12
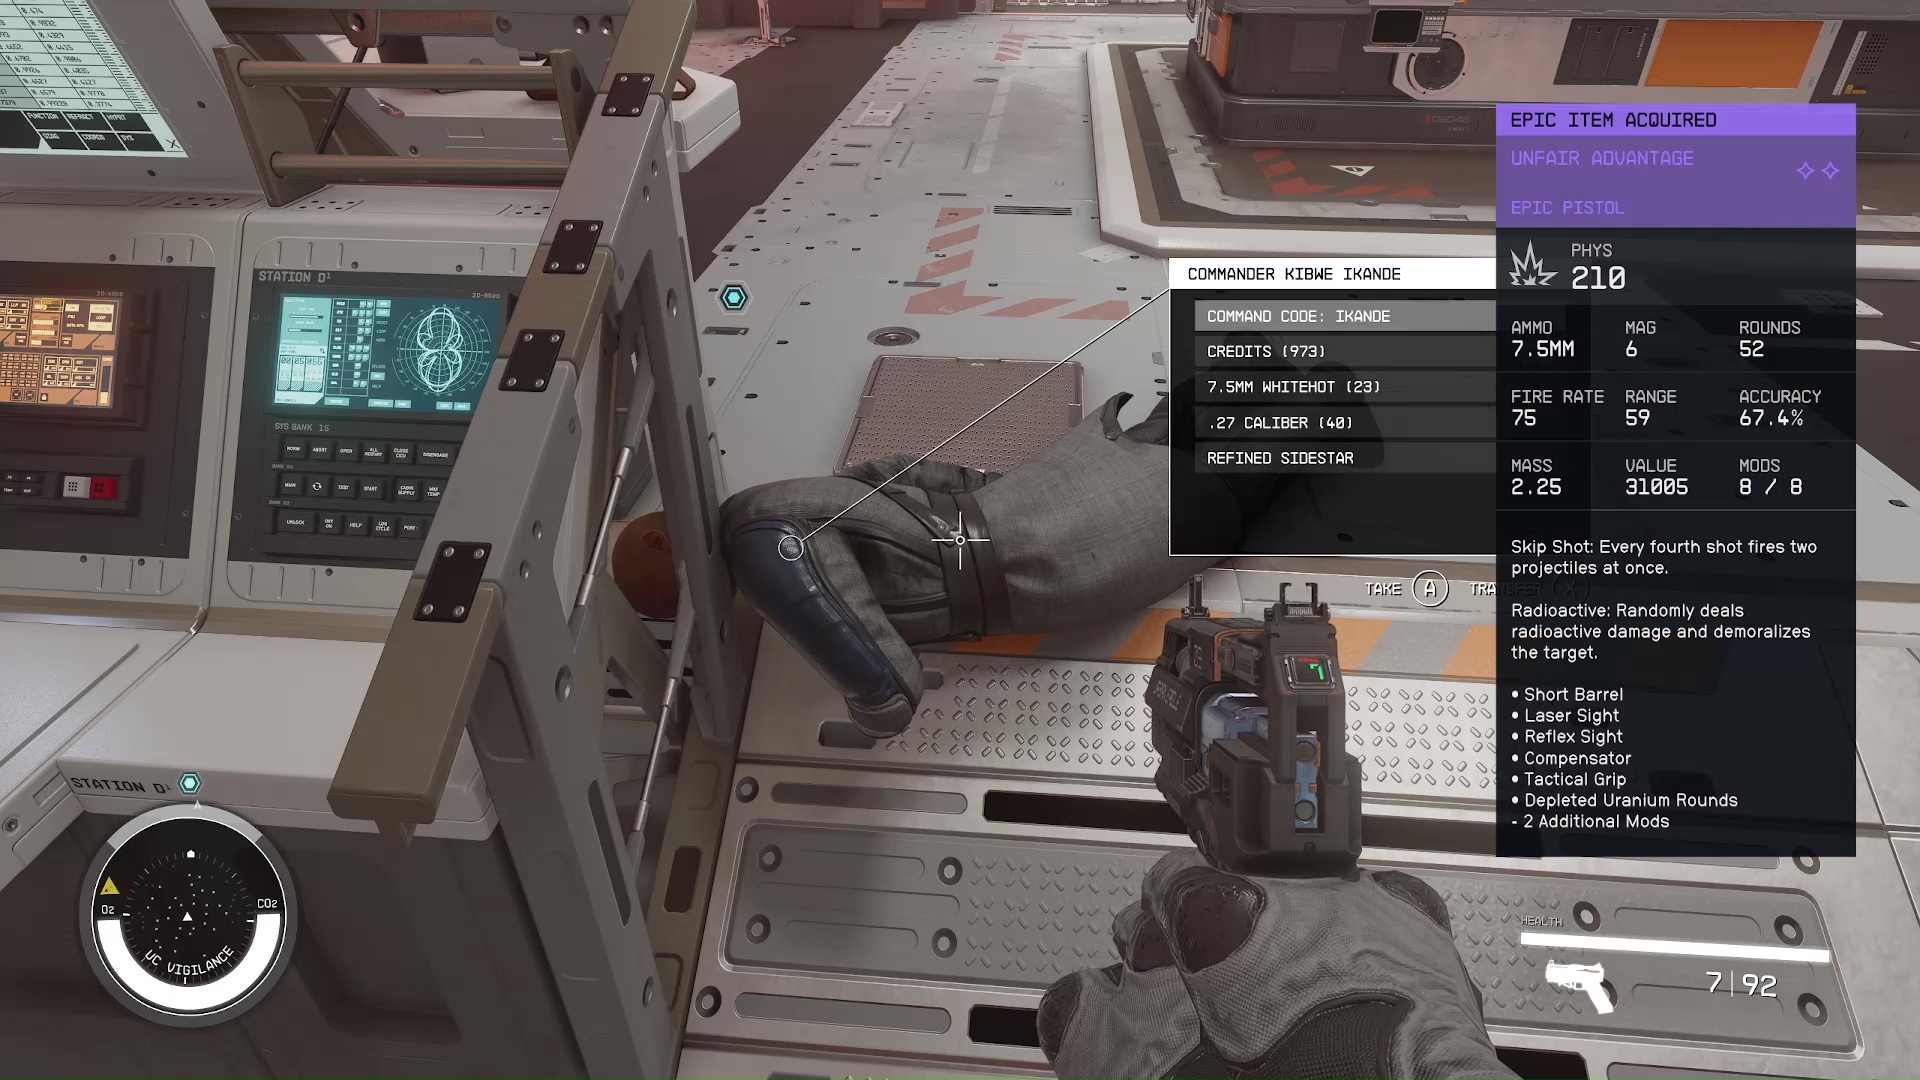
If you fail the persuasion attempt, your only other option is to fight him. It is a difficult fight, because six robots come out of their cases to defend Ikande, and there are two turrets in the top corners of the room behind where Ikande was standing. If you jump down to the lower level, you will also find turrets there.
We were able to win by first taking out the two top turrets, then going to the lower level and clearing it out. Afterward, we waited for the robots to come to us, then went back up to take on Toft and Ikande, who seemed intent on staying on the higher level. After they’re dead, loot their bodies for the pass codes and Ikande’s pistol, Unfair Advantage (Image 13).
Image 13
Cancel the Self-Destruct and Return to the Key
With the two codes, you can go to Ikande’s computer to deactivate the self-destruct sequence (Image 14). There aren’t any other options for the computer; it is very straightforward.
Image 14
When that’s done, you can return to The Key. Unfortunately, you still can’t fast travel from the ship, but your ship will be in the same spot it always is. Just take the lift down and follow the to climb aboard and undock.
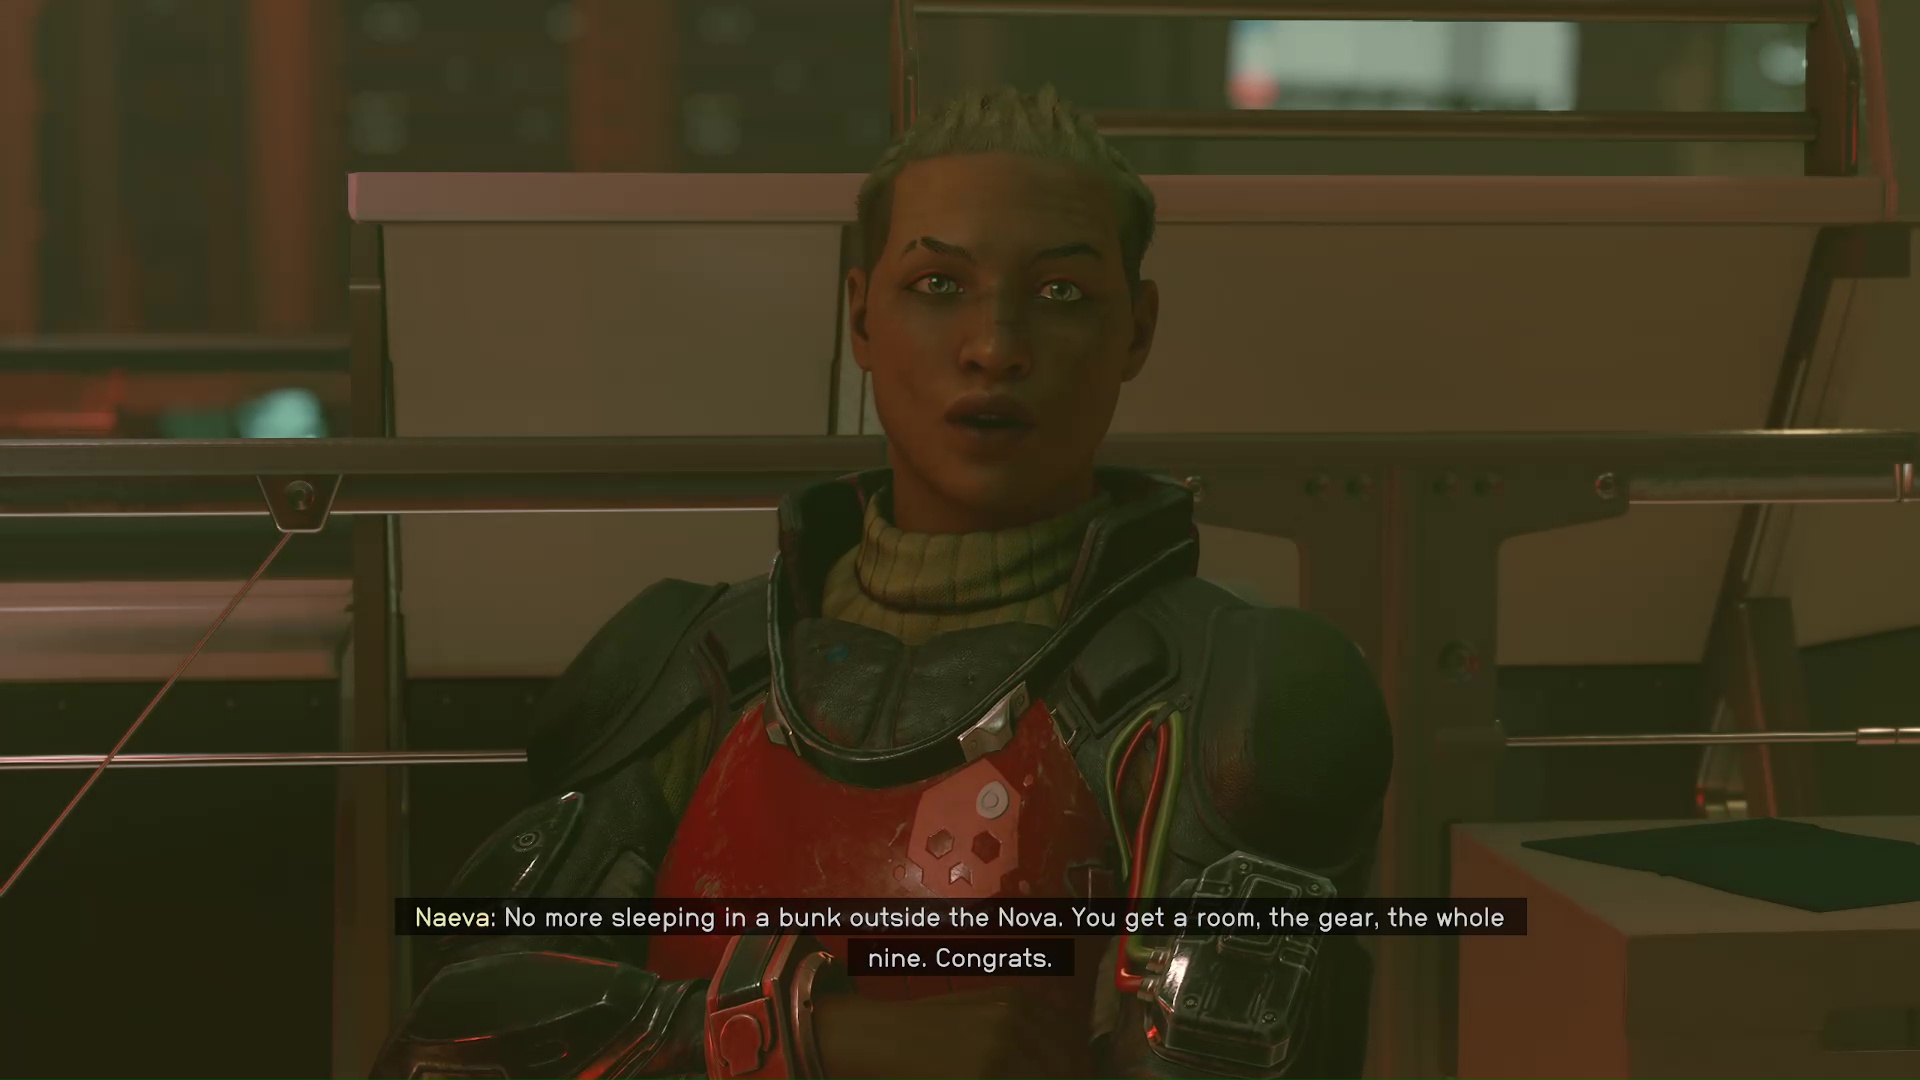
When you get back, Delgado will give everyone a speech — respond to it anyway you want. He’ll then pay you an exorbitant amount of credits for bringing Kryx’s Legacy. In order to receive all your rewards, talk to Naeva, who’ll give you the key to your captain’s room aboard The Key and the Red Pirate Captain Gear (Image 15).
Image 15
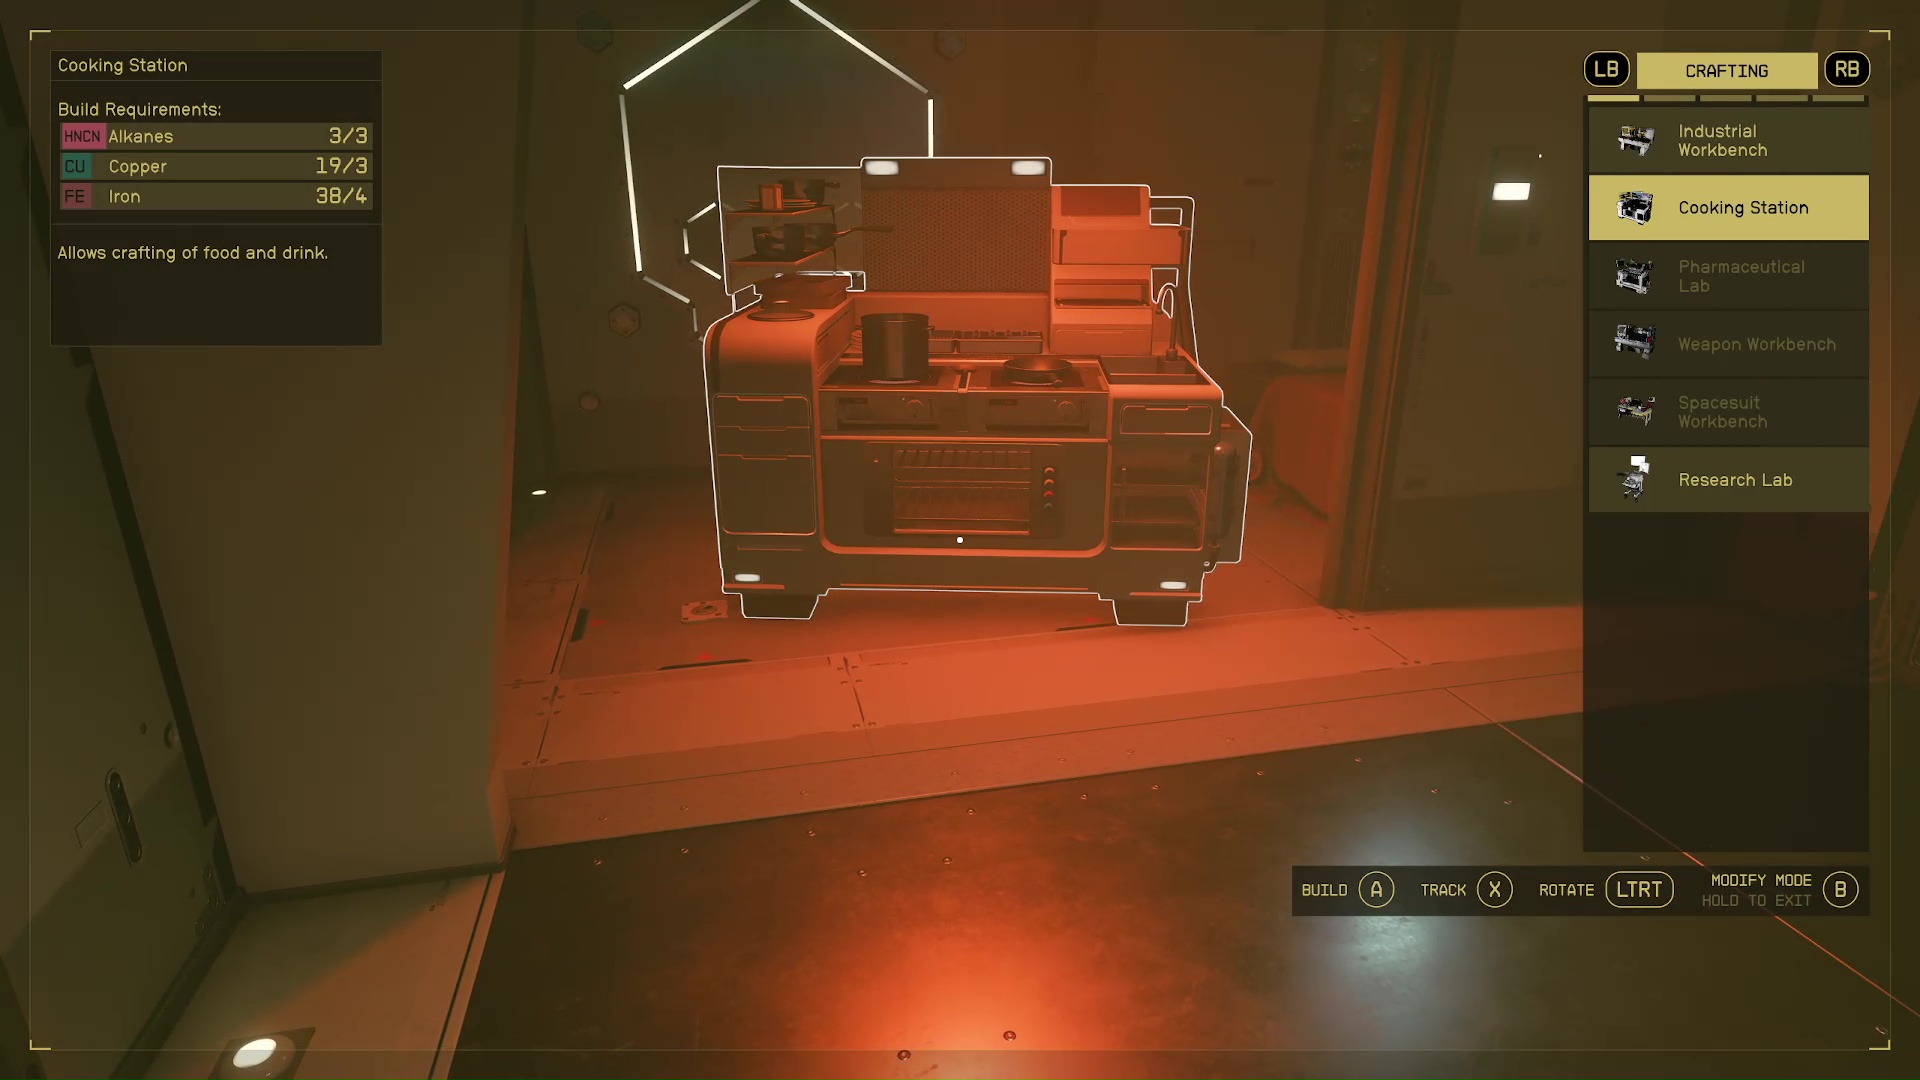
You’ll have a new “activity” under your missions that will lead you to your captain’s room. It is pretty close to the control center, and you can fully customize the small space like you can with an outpost (Image 16).
Image 16
That’s it! You’re a famous space pirate now, so go and enjoy those hard-stolen credits.
UC SysDef Path
This is the mission guide for choosing to take Kryx’s Legacy to the UC Vigilance. You will be aligned with and be fighting the Crimson Fleet for the remainder of the faction quest line.
Defeat the Crimson Fleet Scouts and Board the UC Vigilance
After you grav jump to the Vigilance, it will be under attack by Crimson Fleet scout ships. This is a pretty easy spaceship fight, and you shouldn’t have any problems. When the scout ships are all taken care of, you can board the Vigilance to speak to Ikande. The commander will take Kryx’s Legacy from you and debrief you on the current situation.
Also, Toft will inform you if you’ve been granted any additional support from the UC MAST (Image 17). The more evidence that you’ve turned in for Burden of Proof, the more support you will get throughout the space combat portions of this mission. If you haven’t turned any in, then this mission will be excruciatingly tough. However, you can always reload an earlier save and go find the pieces of evidence to make it easier.
Image 17
Disable Defensive Battery Alpha
You have to go and disable the defensive batteries protecting the Crimson Fleet and The Key. Go to your ship, undock from the Vigilance, and look for the leading to Battery Alpha. Hover over the marker then select it, and you should be able to travel to it (Image 18) — or you can go to your star map and fast travel that way.
Image18
Something that we feel inclined to make clear is that the upcoming spaceship combat is the hardest you will face in the game. There’s no shame in trying this mission and returning to an earlier save to upgrade your ship before returning to try again. In case you need to do this, it’s good strategy to have a save of right before you leave to attack the batteries.
When you arrive at the battery, you will have to defeat the ships and blow up the battery. The battery basically looks like a stationary spaceship, but it will try to shoot at you (Image 19). If you see it charging with multicolored energy, boost out of the way! We recommend dealing with the battery first if possible, because its lasers can be fatal if they connect.
Image 19
With the first battery gone, and the bogies terminated, you will have just two more batteries to incapacitate. Here are some general tips and advice for space combat in case you’re having difficulties:
Use your boosters – A faster target is harder to hit, and if you get far enough away from an enemy, they will target one of your allies instead.
Use the correct weapon – Some weapons are only good against certain defenses!
Missiles (MSL) – Effective against shields and hulls, but slow reload.
Ballistics (BAL) – Effective against hulls, not shields
Lasers (LAS) – Super effective against shields, not hulls.
Electromagnetic (EM) – Super effective against ship systems.
Particle (PAR) – Effective against both shields and hulls.
The Best Defense is a good offense – Taking out enemies as fast as possible can be an effective strategy. Let your weapons recharge to full instead of shooting one shot every five seconds, then try to take out two or three ships in one pass.
Let your allies help – This is for when you’re having a really hard time. Try to fly outside the range of enemy weapons, away from the battle, and only attack from a long distance. It will take time, but your allies will deal with the enemies, or put a dent in their numbers.
Disable Defensive Battery Beta
You will need to fast travel again to get to Battery Beta. This one isn’t too much different from Battery Alpha, except that there are asteroids you can use as cover (Image 20). You do need to be cautious, though, as an asteroid will disappear if it takes enough damage.
Image 20
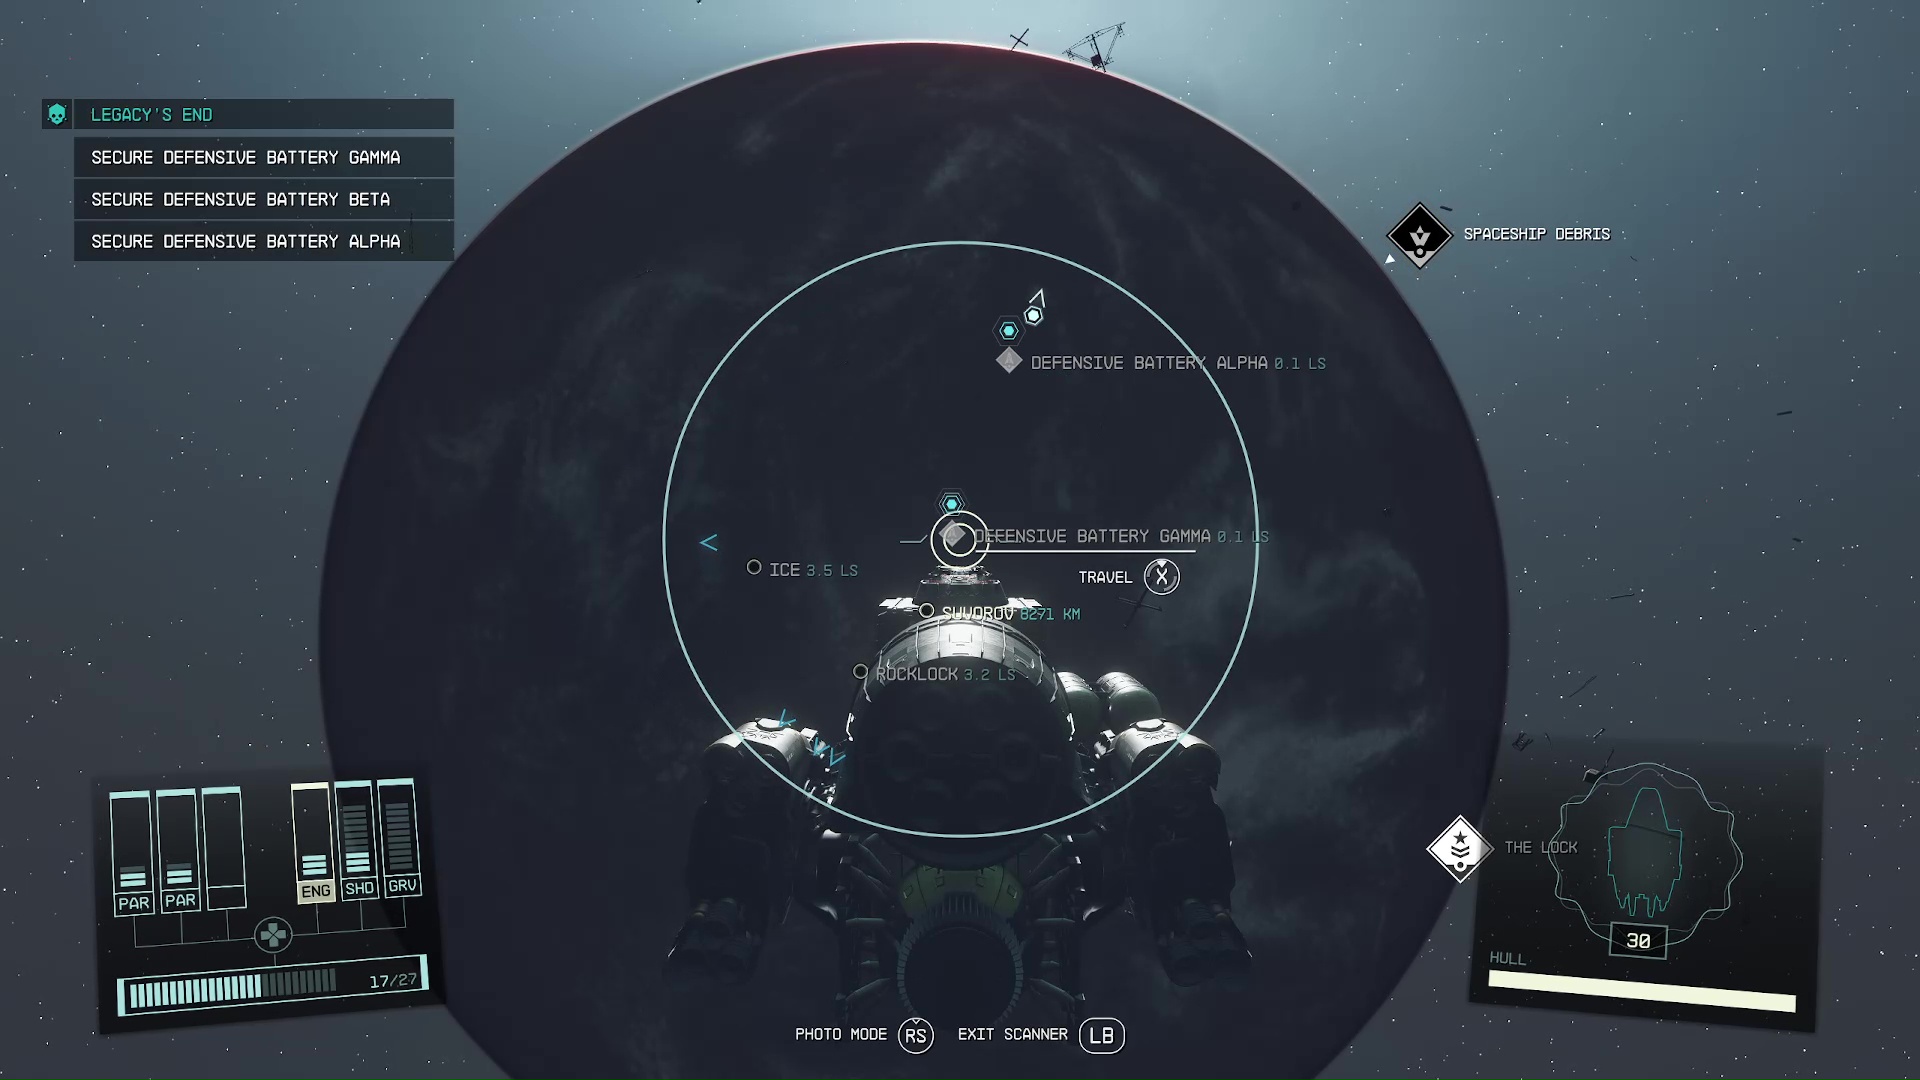
Disable Defensive Battery Gamma
Once again, fast travel to the last battery and take care of it. You’ll be in wide open space, so hopefully you turned in evidence to have some back up in this fight. After it’s done, all that’s left is the hardest spaceship fight in the game.
Join the Battle at the Key
This is the place where most players get stuck, so remember to make a save before grav jumping to the fight – or else you’ll have to redo some batteries if you reload. When you arrive, the Vigilance will not be present, and you’ll be forced to fend for yourself against all the pirate ships.
This is really where collecting evidence for Toft in Burden of Proof pays off. There will be some very notable ships absent on the Crimson Fleet’s side if their captains are locked up in the brig of the Vigilance, such the Jade Swan and Captain Huan Daiya. On the other hand, if you didn’t collect evidence, then not only will the enemies numbers be bolstered, there will be less UC ships to support you.
Destroy the Crimson Fleet Defenders
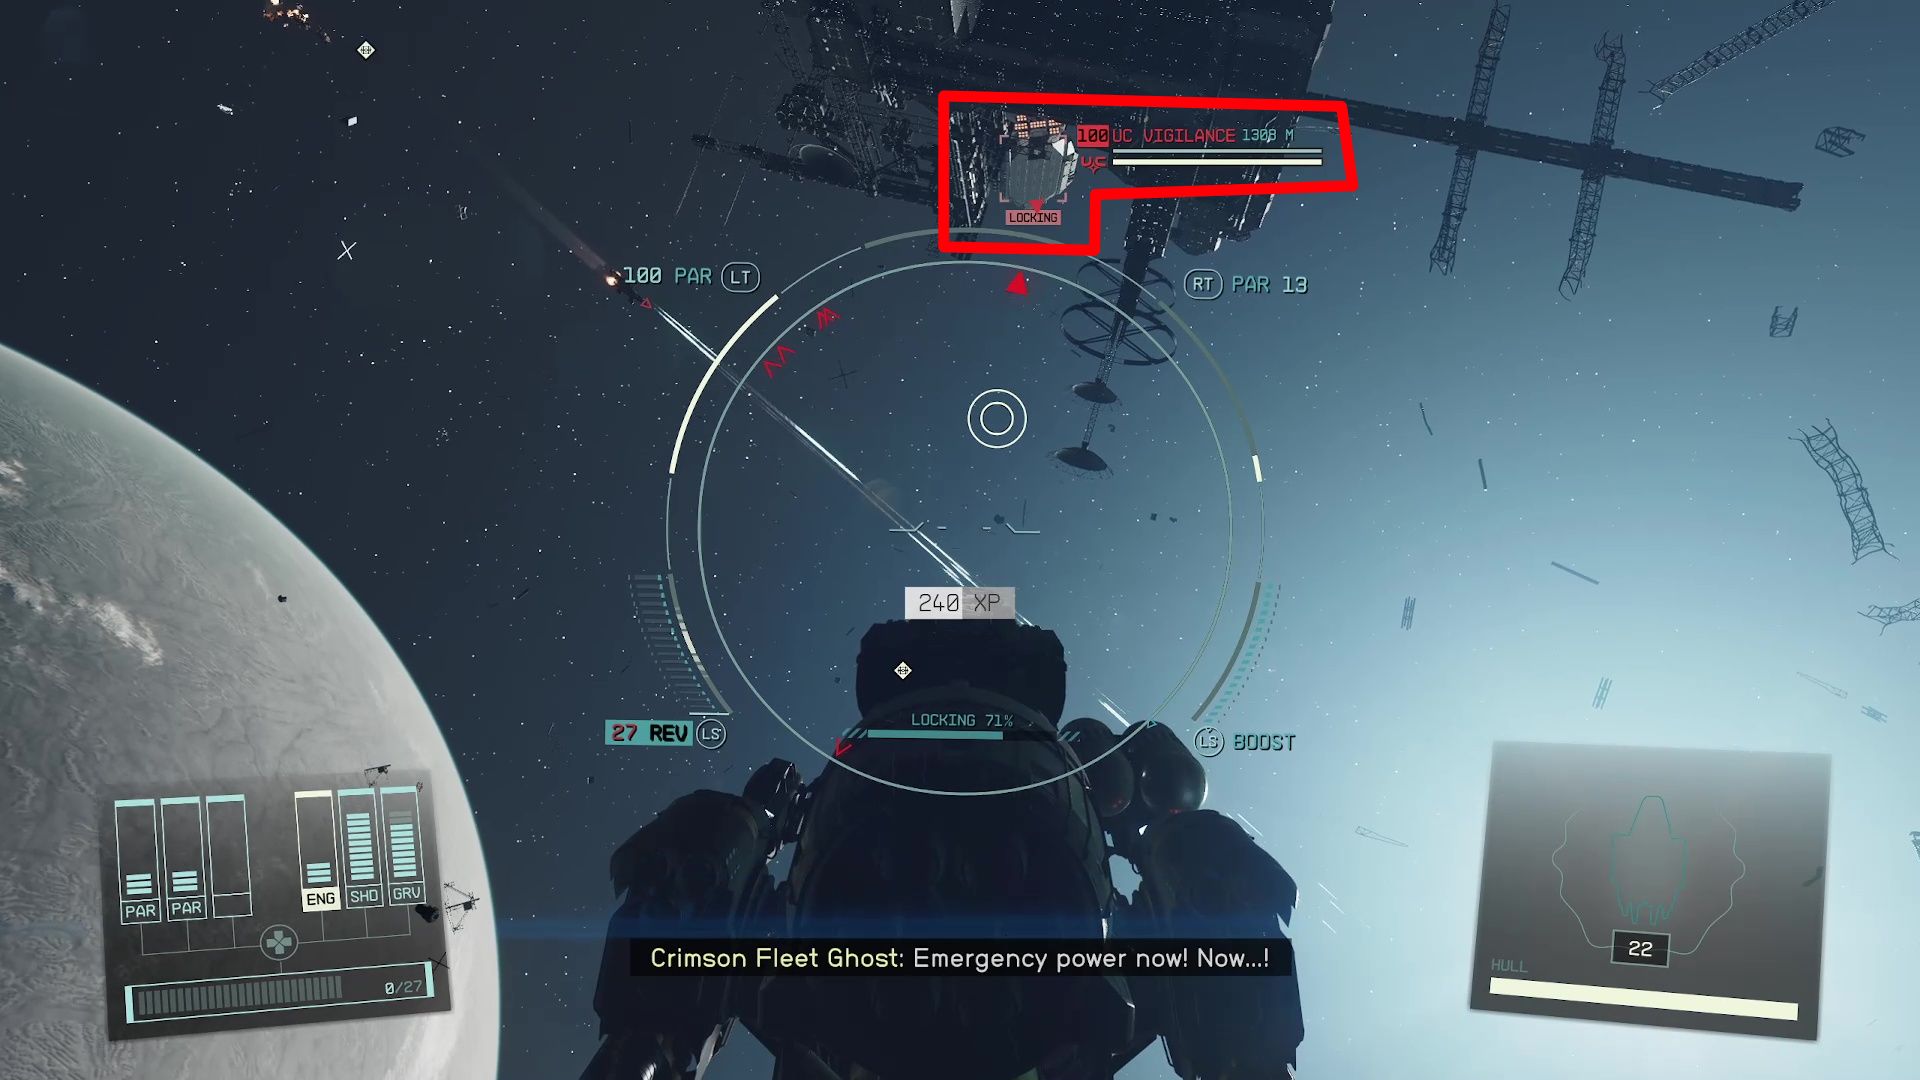
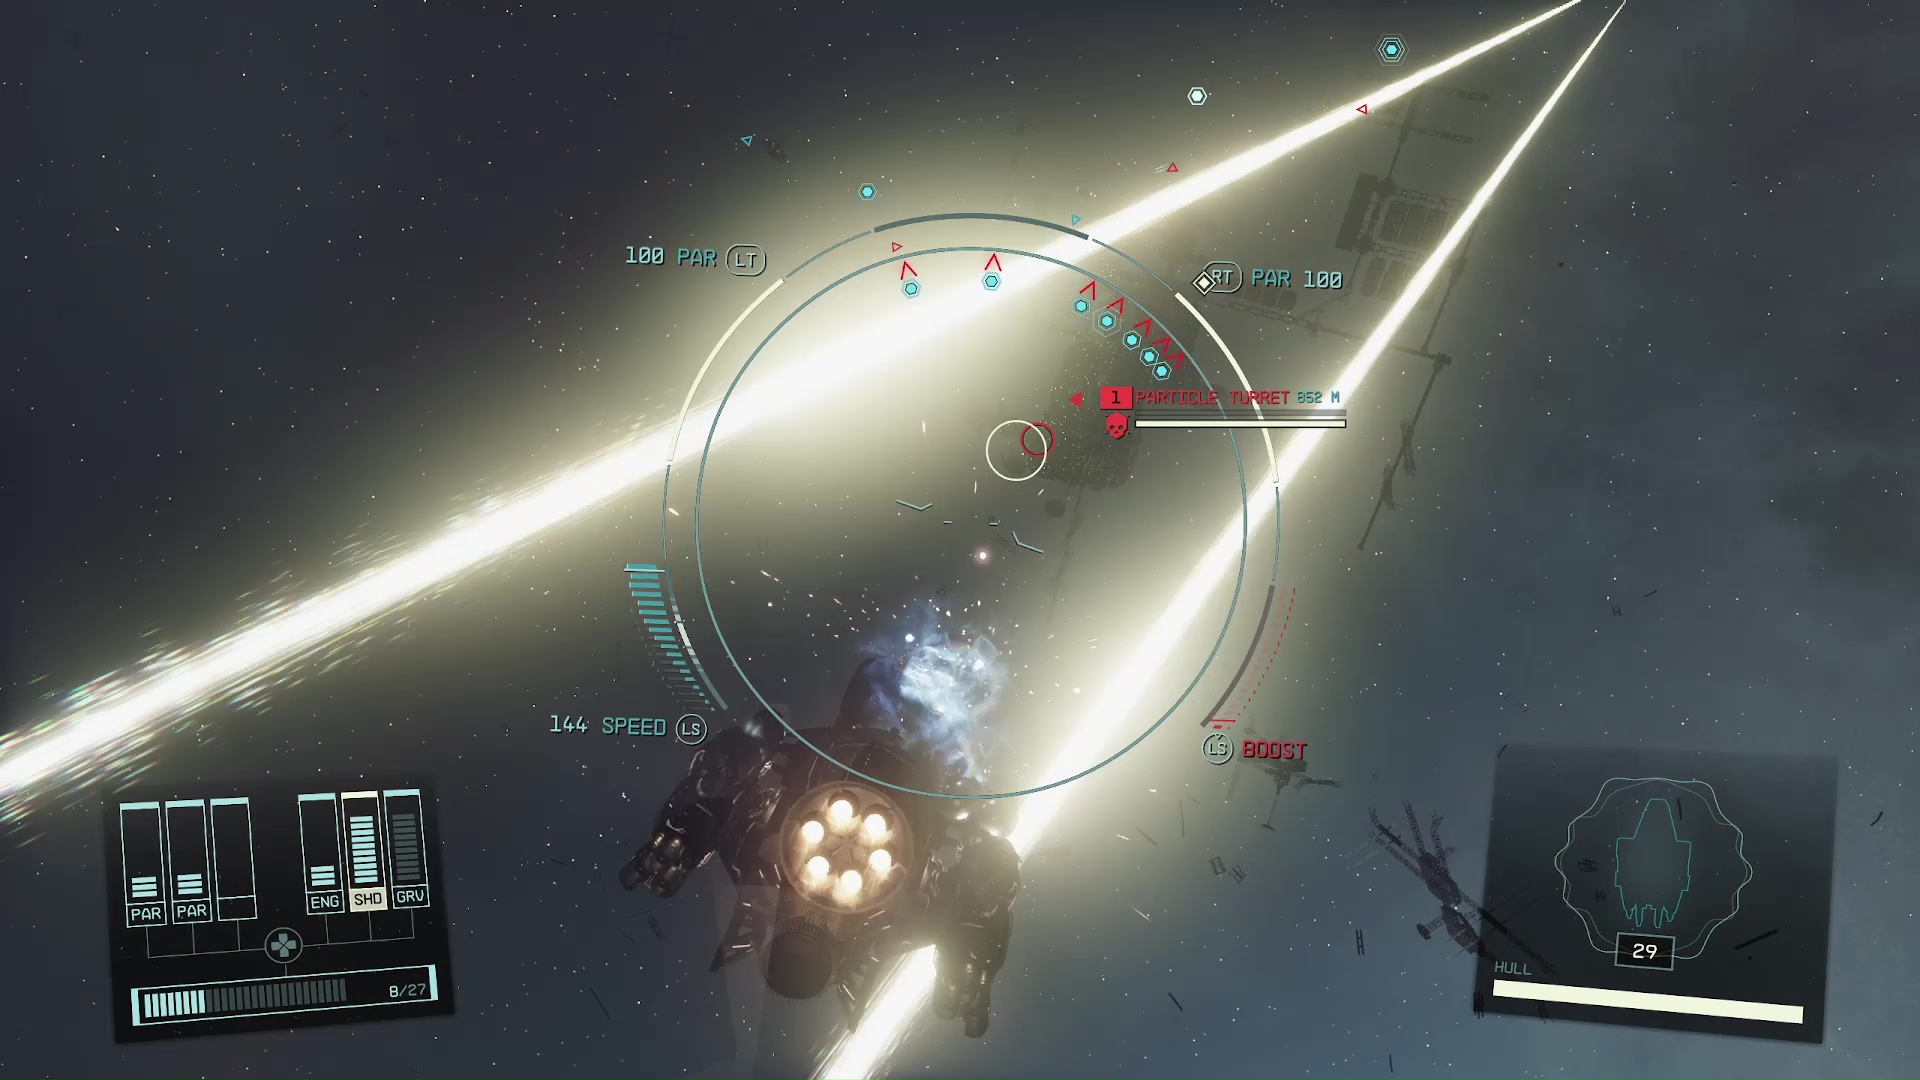
When the fight starts, you will want to focus your fire on the particle turrets around The Key (Image 21). They only take a shot or two to take down, but they can dish out some damage if left to their own devices. With the turrets disabled, you can fly around The Key and use it as cover if a ship starts tailing you and lighting you up.
Image 21
If you’ve been trying this fight for a long time and still cannot win even after lowering the game’s difficulty, then we recommend reloading an earlier save. Then you can revisit some locations of the prior missions to get evidence against the pirates for the Burden of Proof mission. It makes a massive difference on the difficulty of this battle.
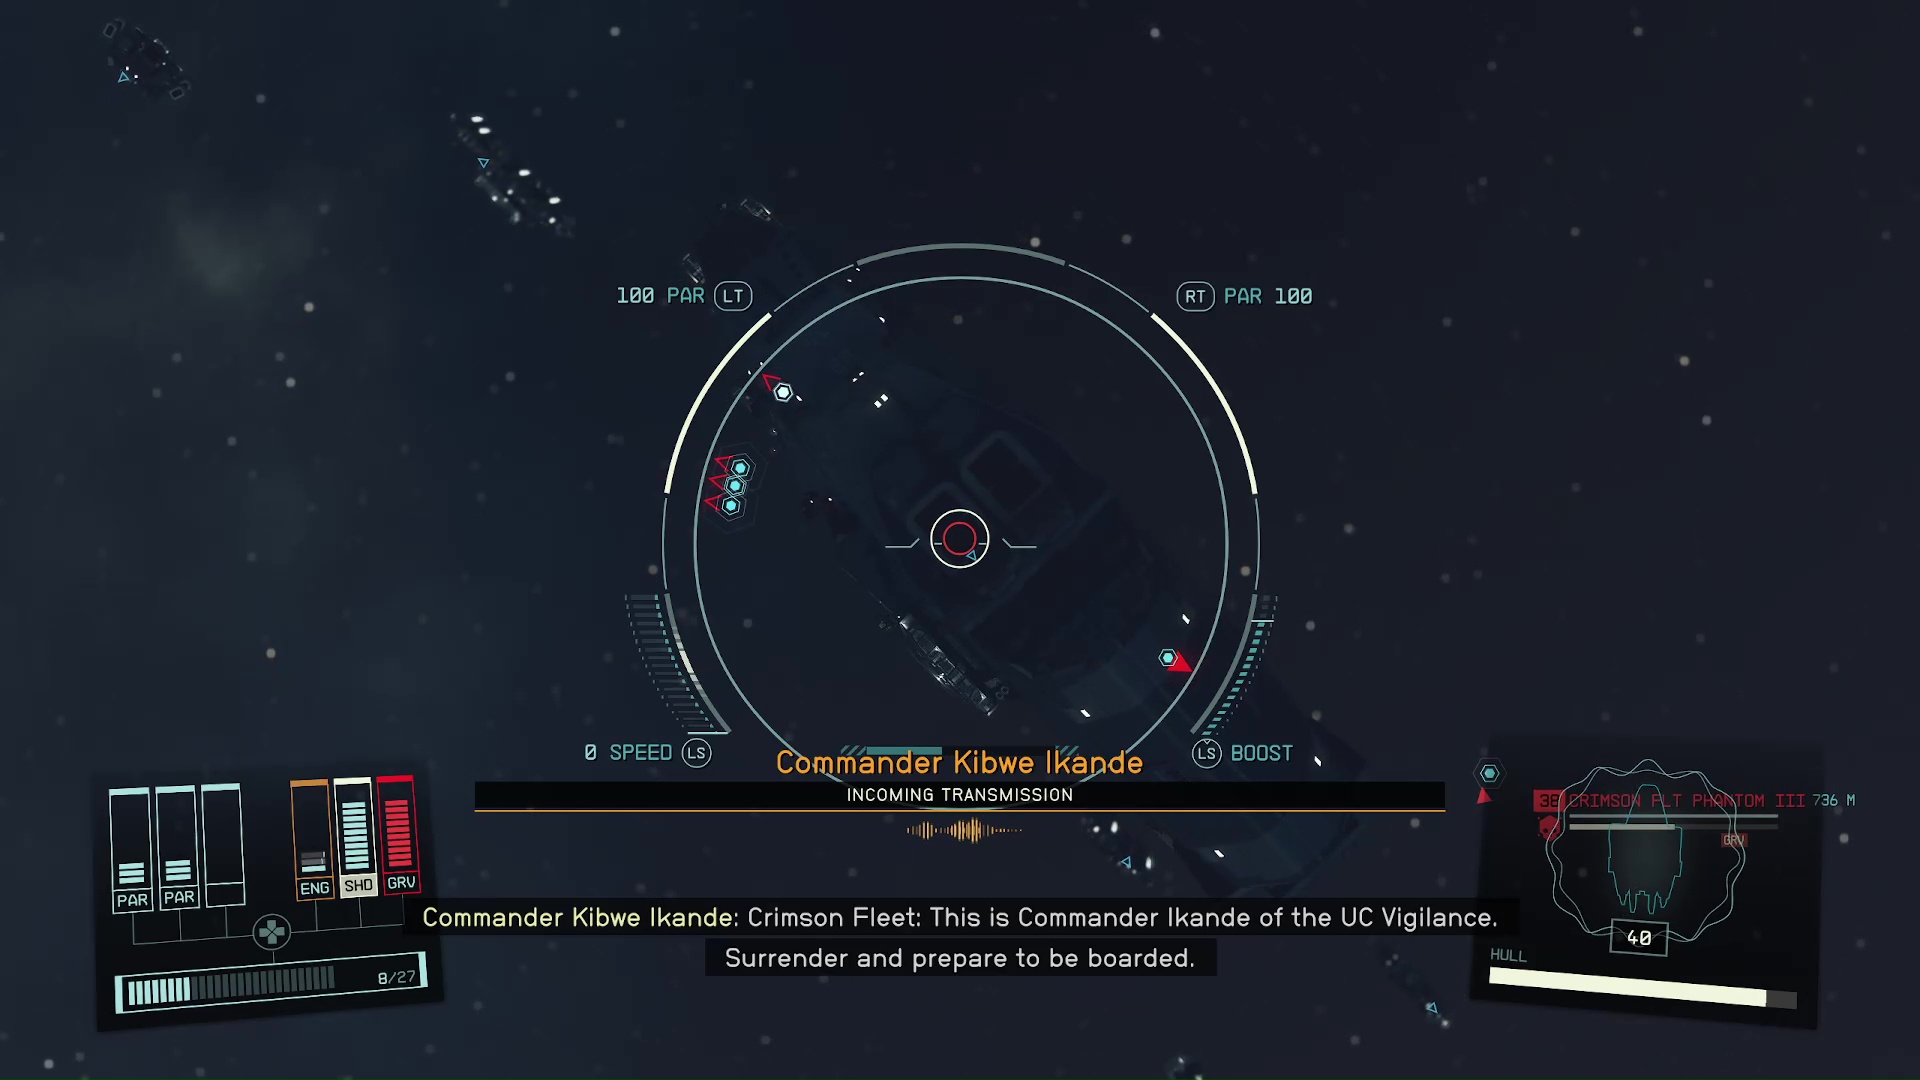
After you’ve killed enough enemy ships and some time has elapsed, the UC Vigilance will arrive to help you finish off the stragglers (Image 22). The Vigilance is a power house, so you can breathe a sigh of relief when it shows up.
Image 22
We saw some reports that players were able to glitch this fight completely, by standing up inside their cockpit. Evidently, the idea was that when you stood up, it stopped enemies from attacking your ship and let your shields recharge. However, we were not able to replicate this effect to a point where we would recommend it.
Board The Key and Reach the Operations Center
Will all the defending ships now in pieces drifting lifelessly in the vacuum of space, you can board The Key. As soon as you’re on The Key, you will be fighting, so be prepared. When you kill the handful of pirates in the airlock area, you can move onto the main part of the station.
This isn’t nearly as hard of a fight as when you board the Vigilance. This is probably the game’s way of balancing out the difficulty of the missions, since all the stealth paths of the prior missions are harder to execute than the guns blazing paths.
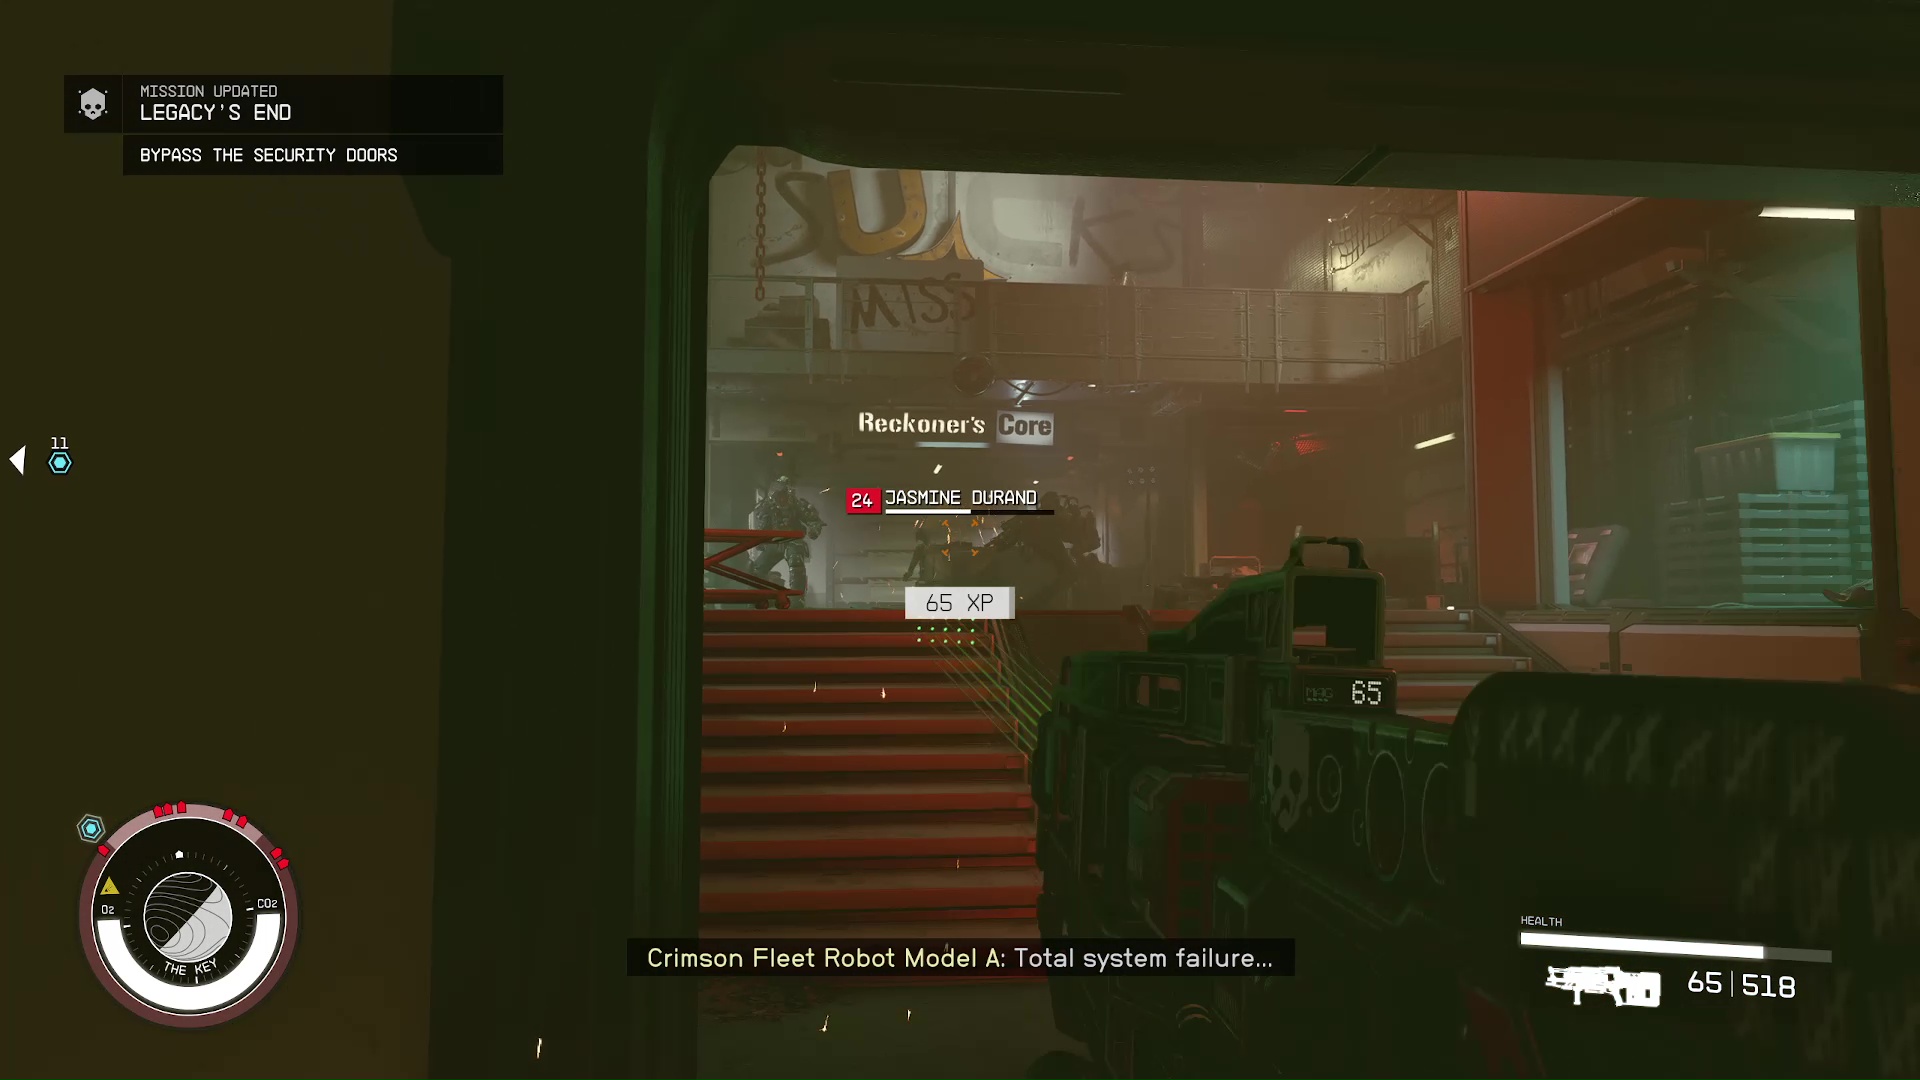
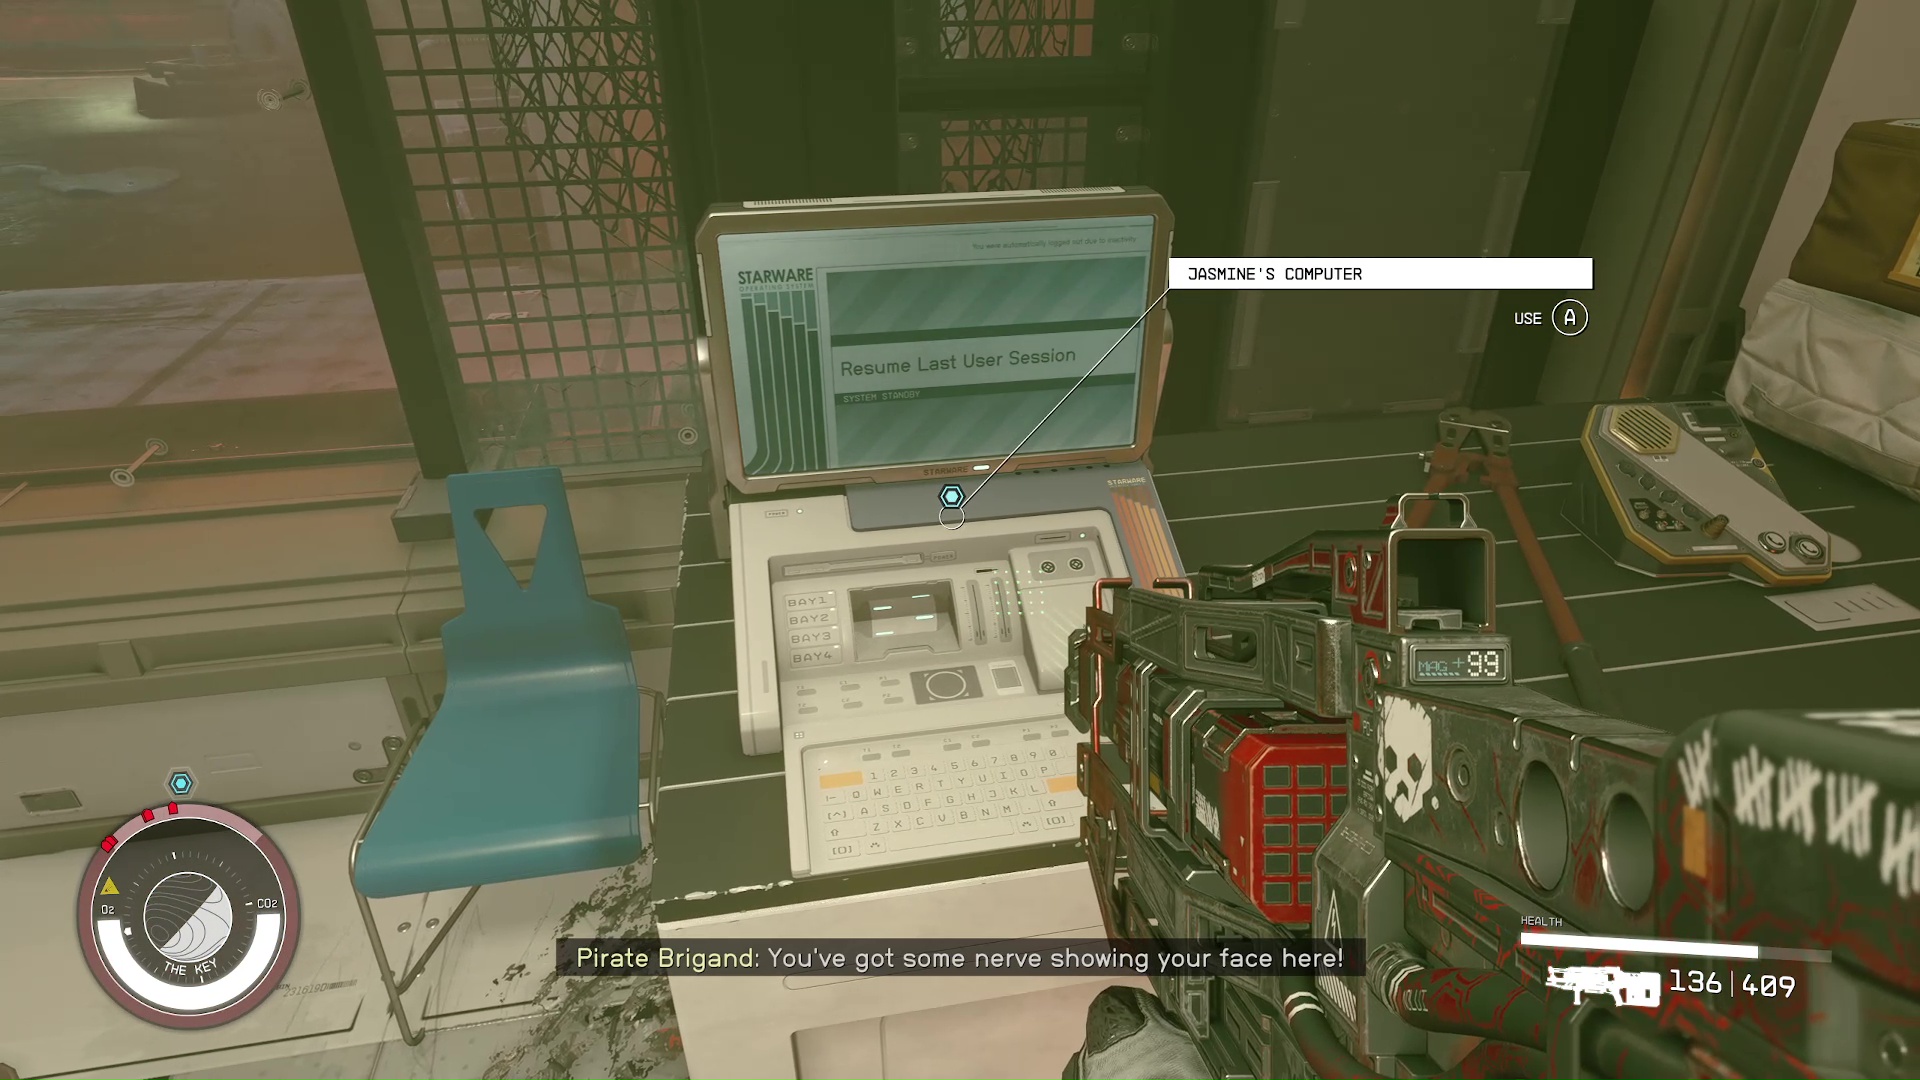
Bypass the Security Doors
Your first challenger will be Jazz, who is waiting with some robots out in front of ship services. Take out the robot first, then handle Jazz and the other pirates (Image 23). After the skirmish, you will see a in Jazz’s office. It’s above her computer, which you will use to operate the ‘Remote Security Door Control’, allowing you to proceed (Image 24).
Image 23Image 24
Fight Through the Depot
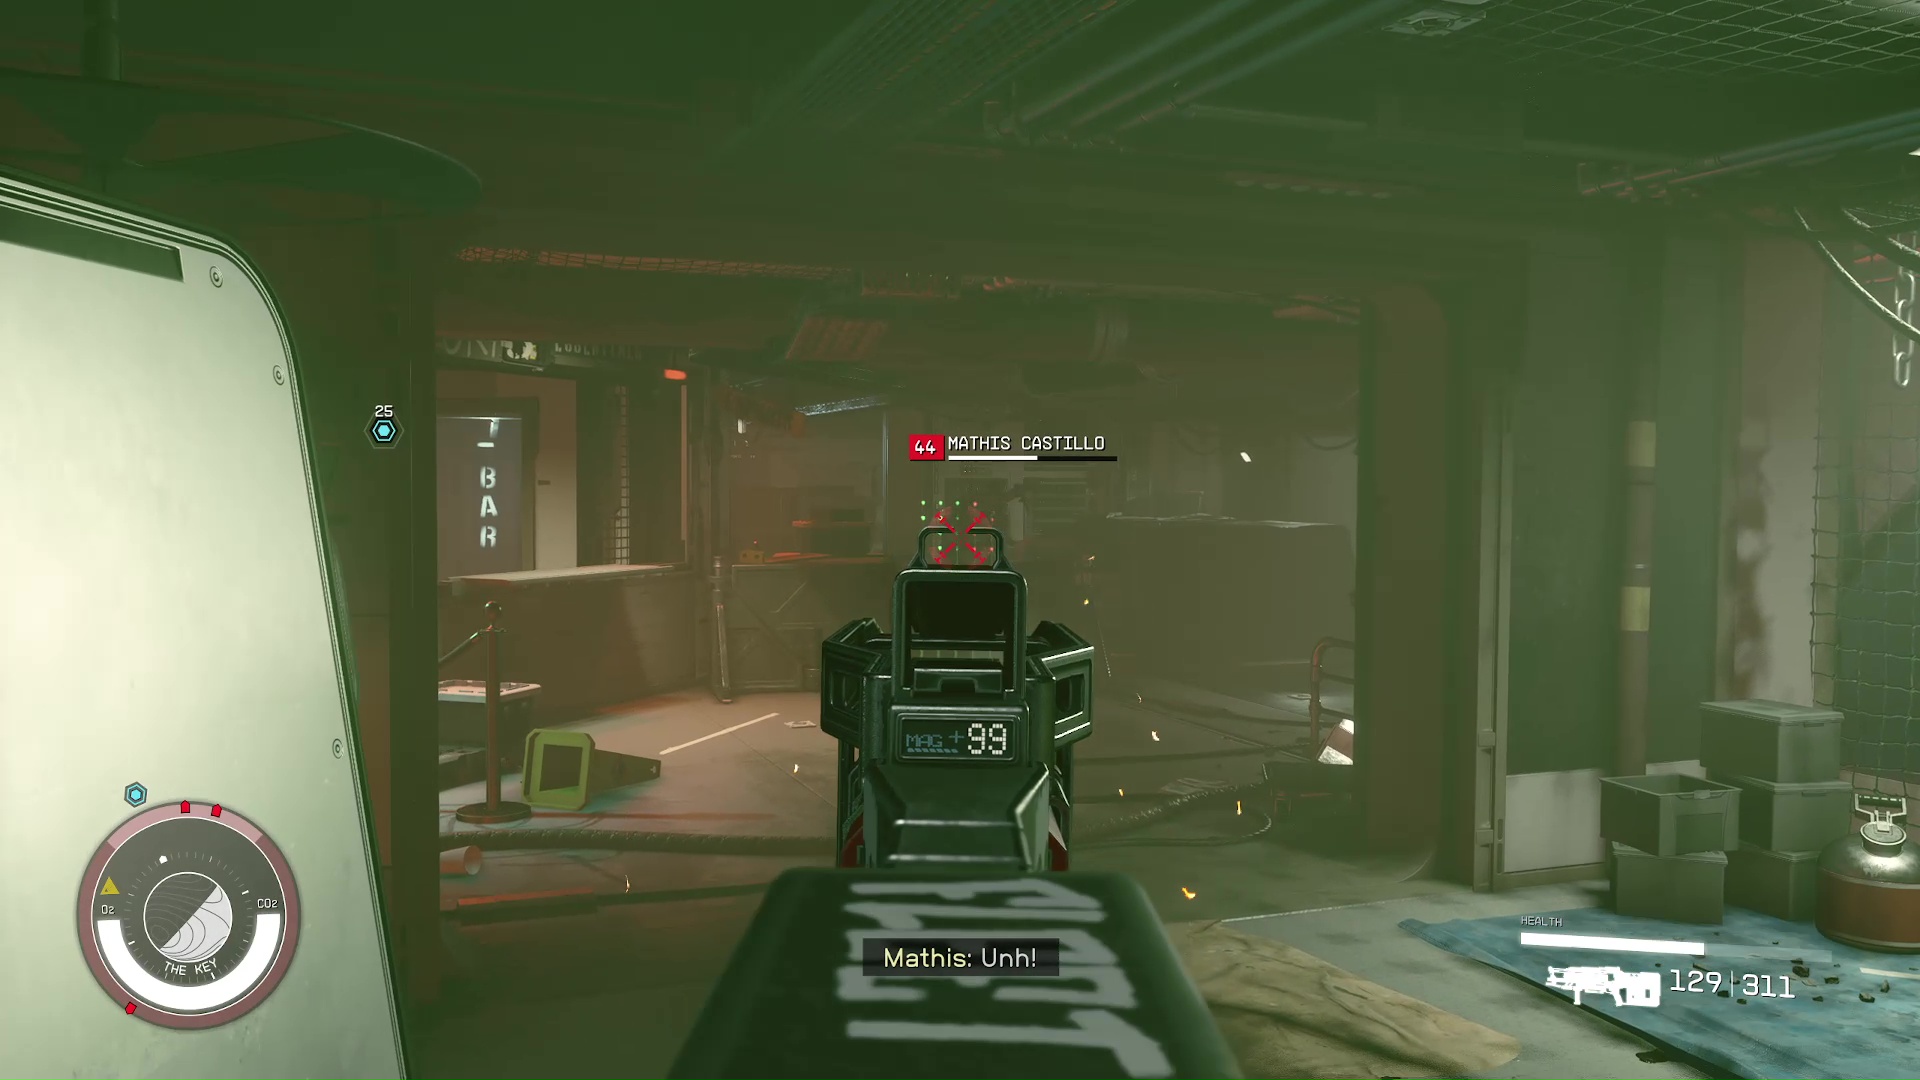
Using Jazz’s computer will unlock the doors to the Depot. Here you will fight all the merchants on The Key. Remember that merchants have money and loot, so don’t forget to check the area when you’re done with the fighting. Past the vendor stands, you’ll also have to fight Mathis if you let him join the Fleet in Echoes of the Past. He’ll shoot you on sight, making it impossible to talk to him (Image 25).
Image 25
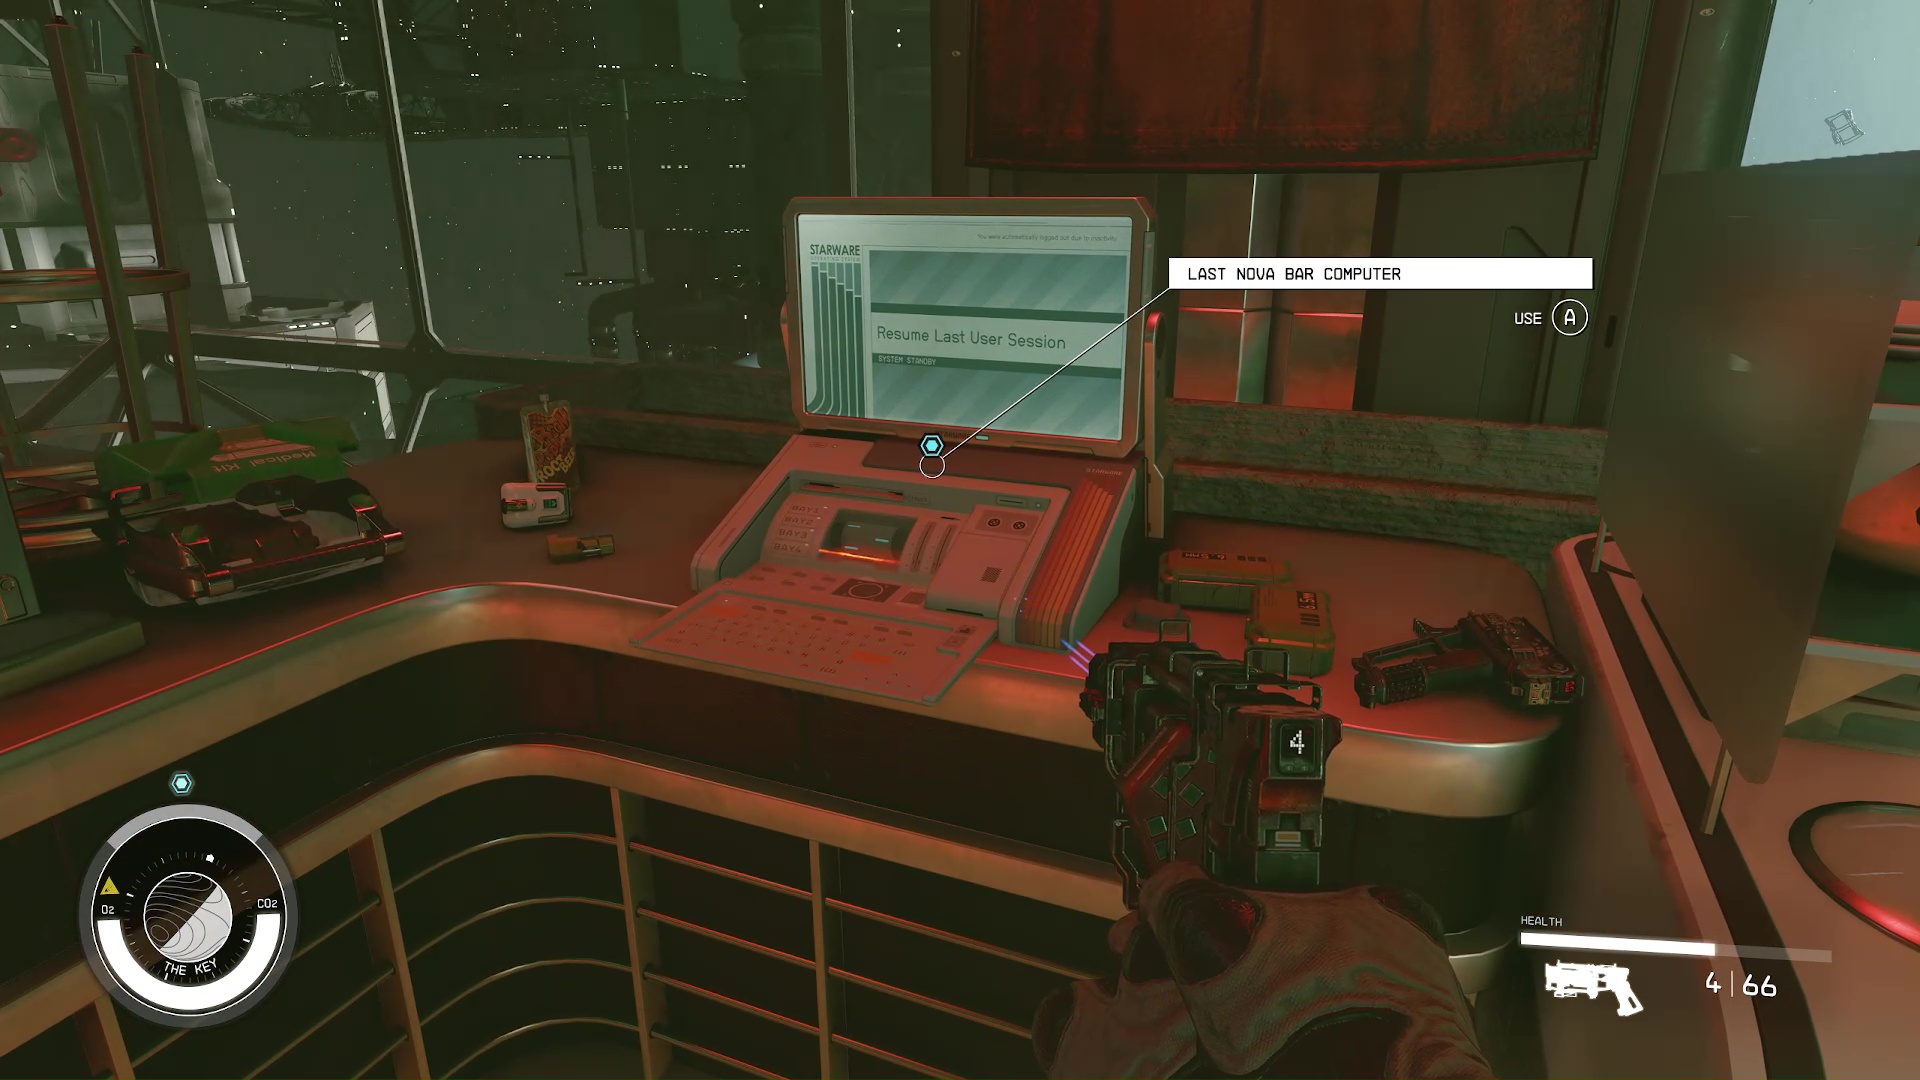
Open the Last Nova’s Doors
Your next stop is the bar; don’t worry, there will be plenty of shots. You’ll notice that the usual doors are locked, so you have to go through the Last Nova. After clearing it out, you have to use the computer behind the bar to open the doors (Image 26).
Image 26
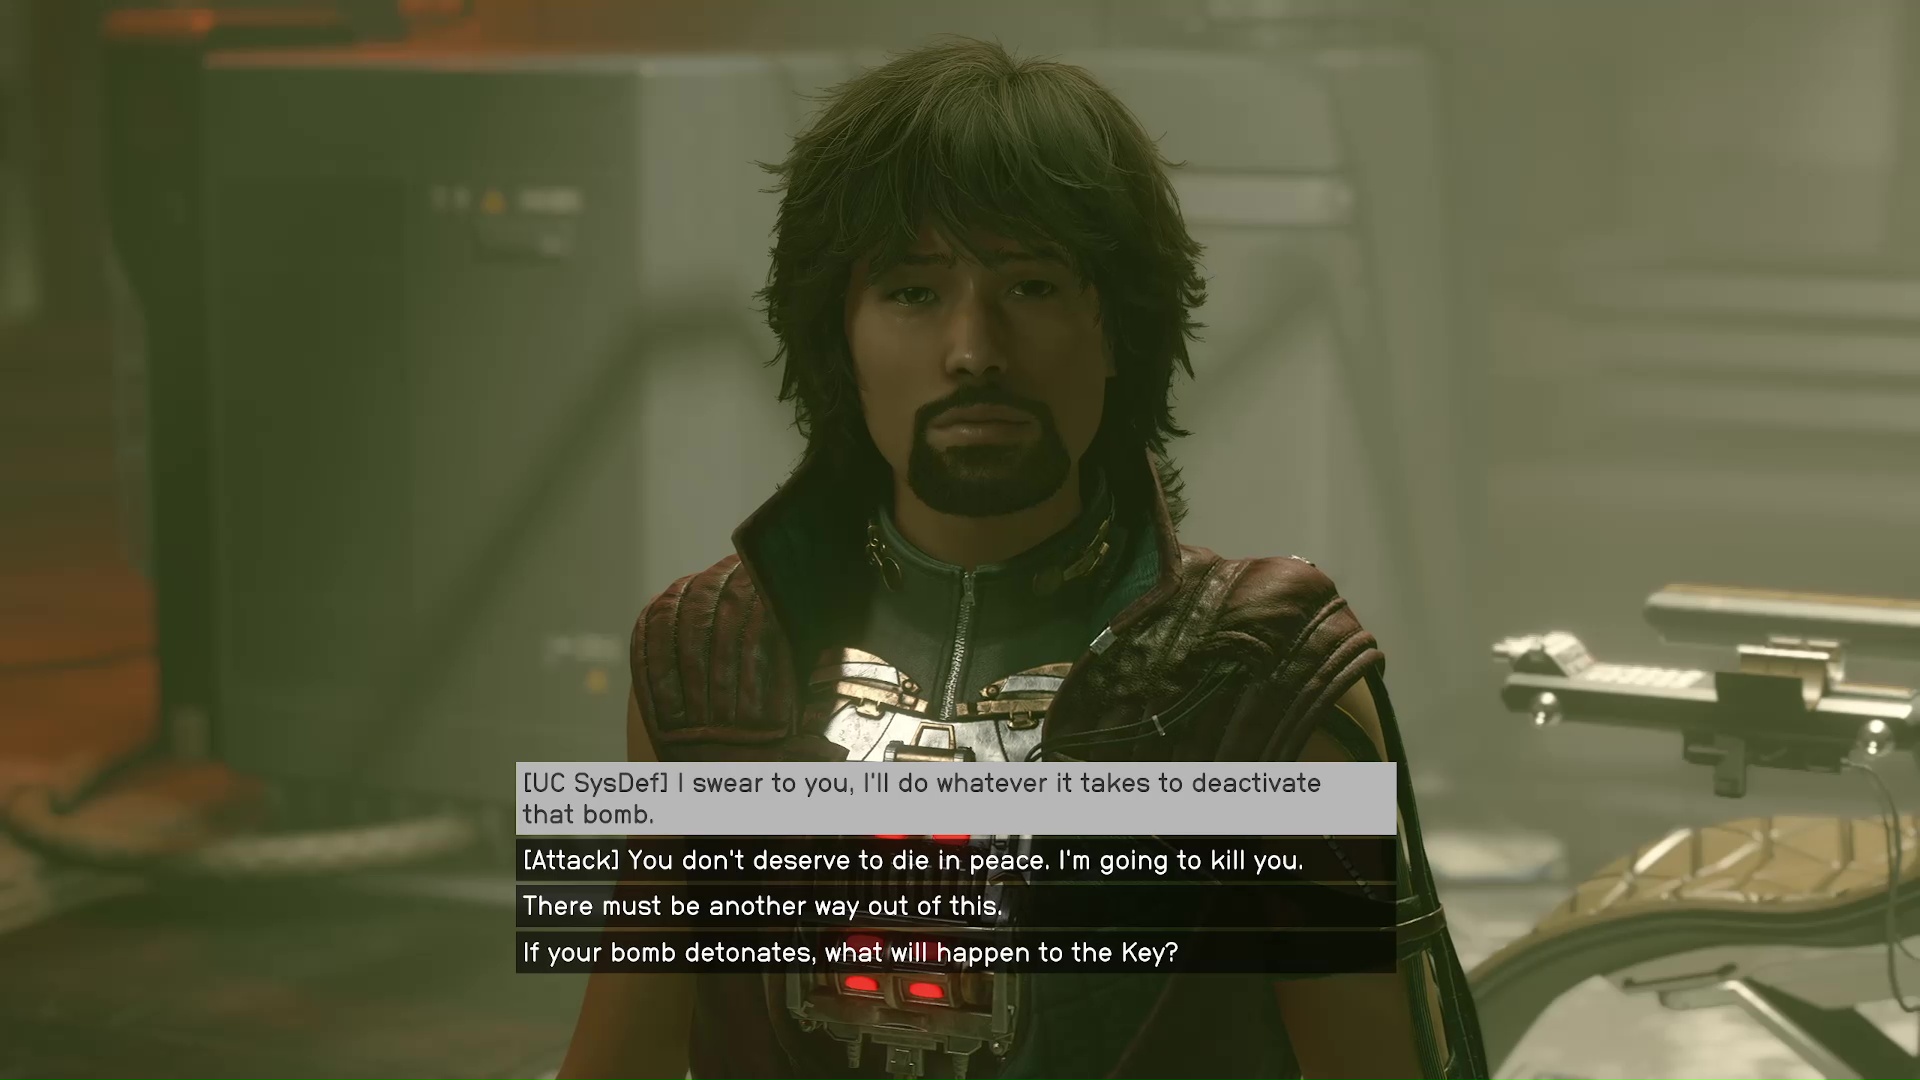
Speak to Shinya Voss
When you go into the Reckoner’s Core, you will see a very sad Shinya Voss. He will let you know that the bomb in his chest has been activated. He’ll be angry with you, and the conversation will lead to you either promising to deactivate the bomb, or attacking him (Image 27). When you attack him, he completely explodes (we couldn’t even find a body to loot). If you promise to help, then he’ll wait patiently.
Image 27
Fight Through the Bunks
The last part before reaching the operations center is fighting through the Crimson Fleet crew quarters. You can follow your scanner if you don’t know where this area is, but it’s through the firing range by the Reckoner’s core. There are another handful of pirates on the first level, but they’re not very tough.
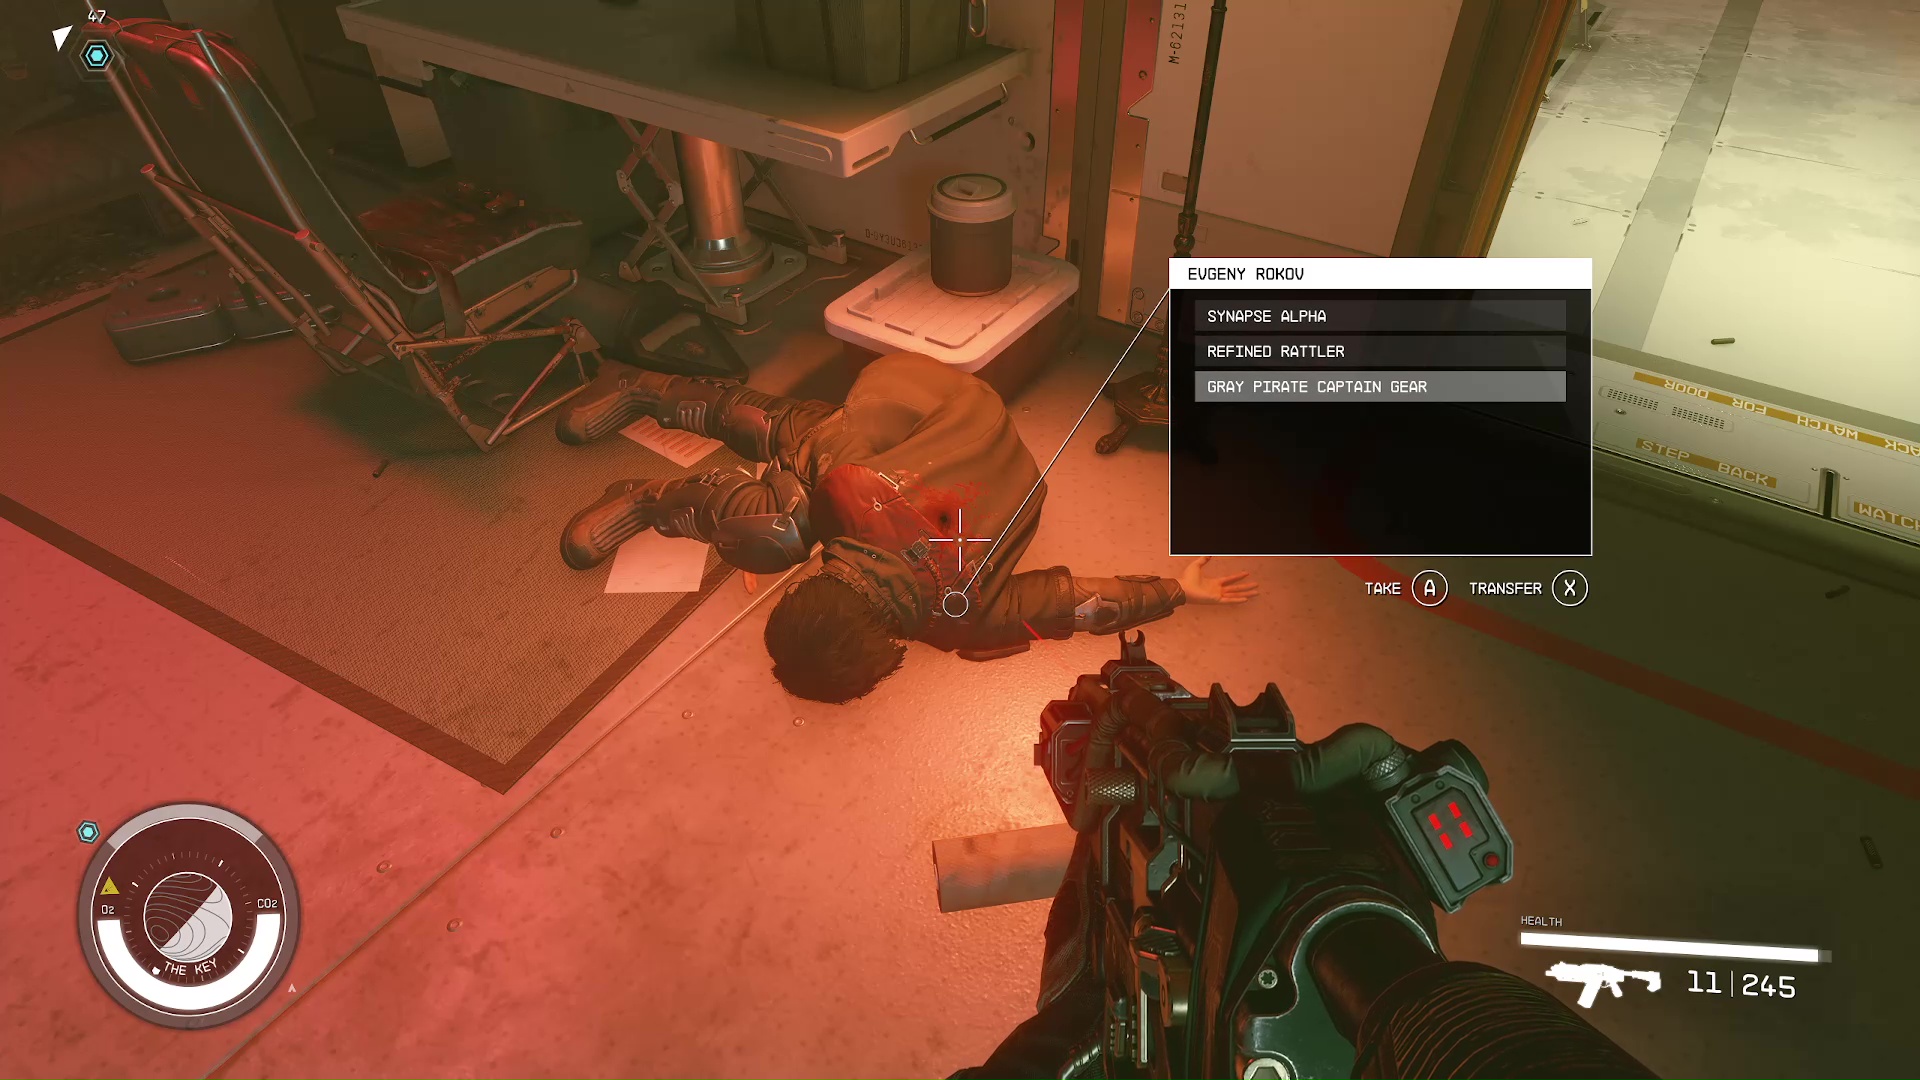
After you go up the stairs, you will encounter yet more pirates. Also, if you let Evgeny Rokov back into the fleet during Breaking the Bank, then you will have to fight him. He is carrying a rare piece of attire, the Gray Pirate Captain’s Gear (Image 28). Continue onward past a couple doors to the operations center.
Image 28
Confront Delgado
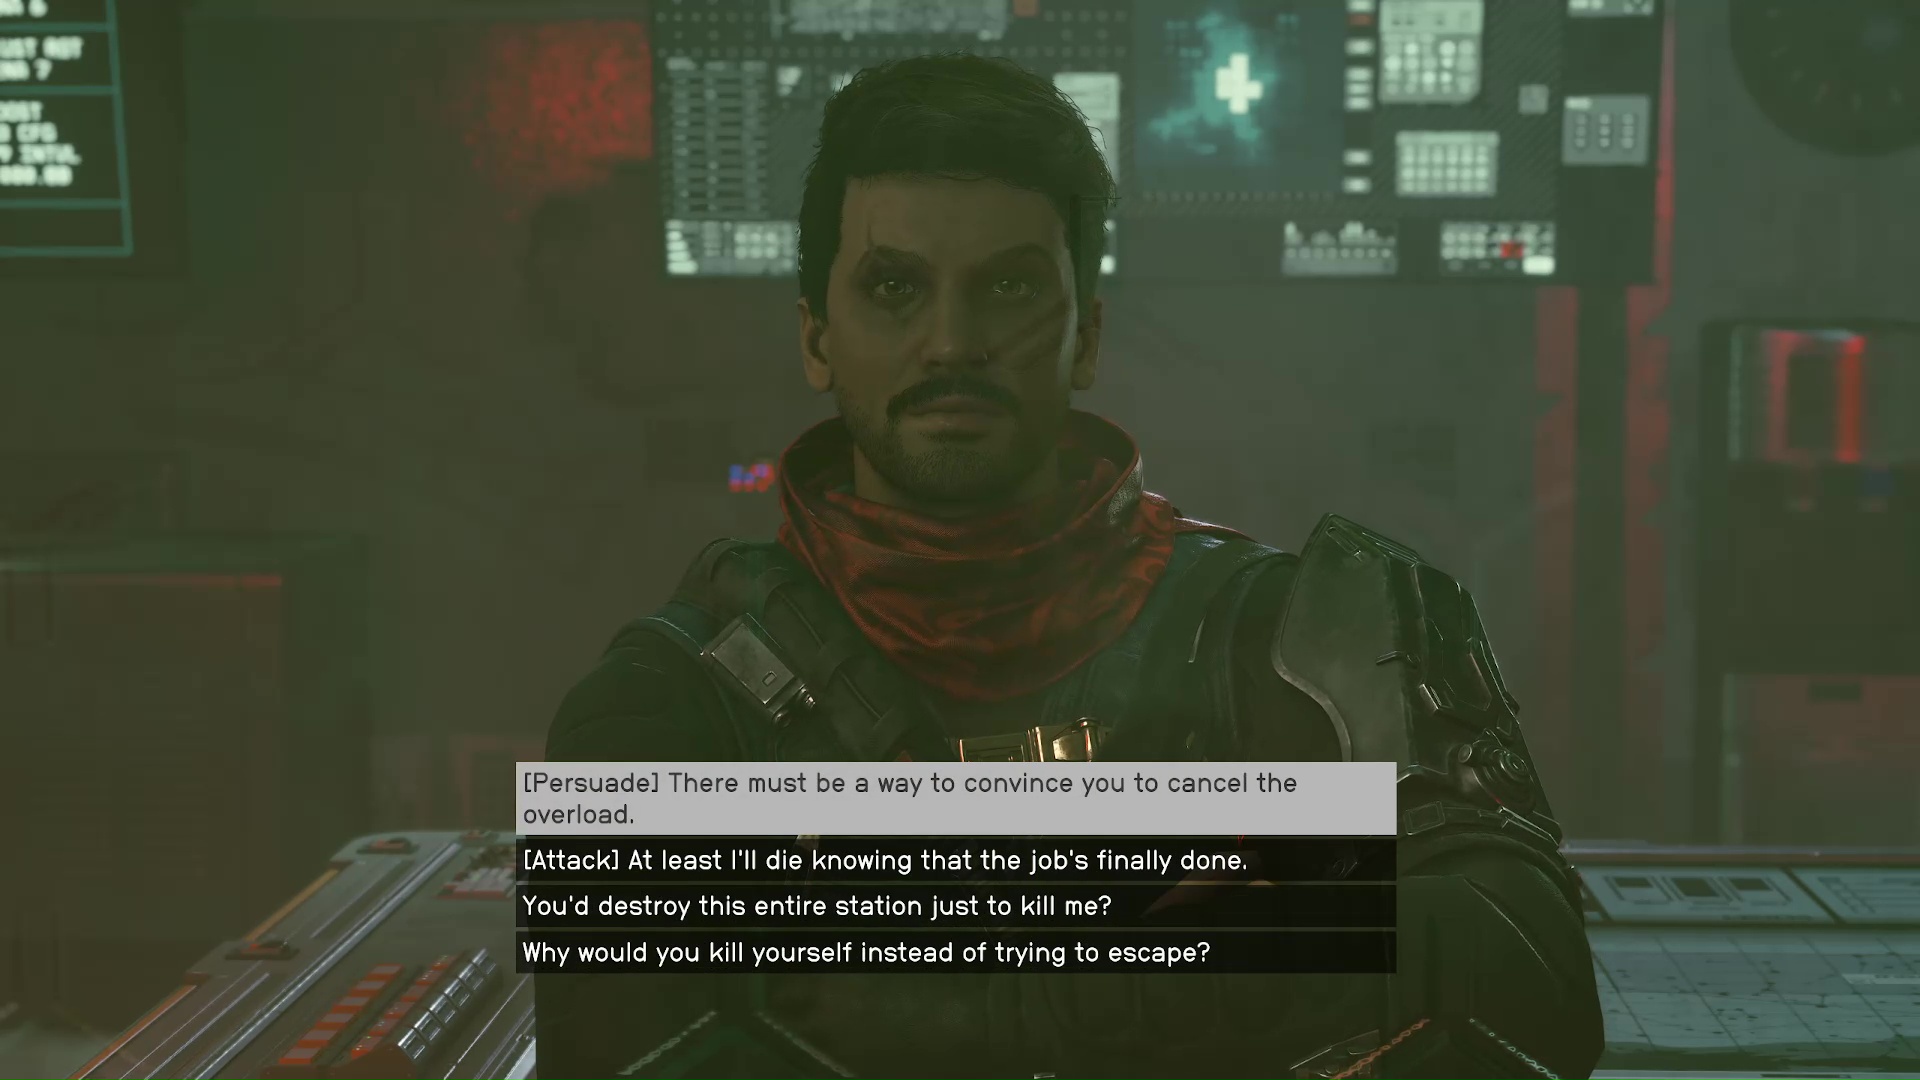
If you want a specific ending for Delgado, then make sure to save the game before approaching him. Delgado will be up in his room behind a glass wall, but you can still talk to him. He will obviously be very upset, and he threatens to blow up the whole station. If you want, you have a chance to [Persuade] him to surrender instead (Image 29).
Image 29
If you succeed in persuading Delgado, he will surrender to SysDef and undo the overload sequence. The door will also open to his room, and you can use his computer to deactivate Shinya Voss’s bomb if you want. However, if you fail to persuade him, then you have to manually override The Key’s reactors.
Override All The Key’s Reactors
This is a decently difficult fight; follow your scanner, and it will lead you into the reactor room. There will be a lot of pirates, and more will funnel into the room as you get further. Methodically clear out the room of enemies before advancing — you don’t want to get surrounded. Also, unless you’re a high level, avoid the higher up catwalks. They might give you a better vantage, but more enemies can also attack you from these spots.
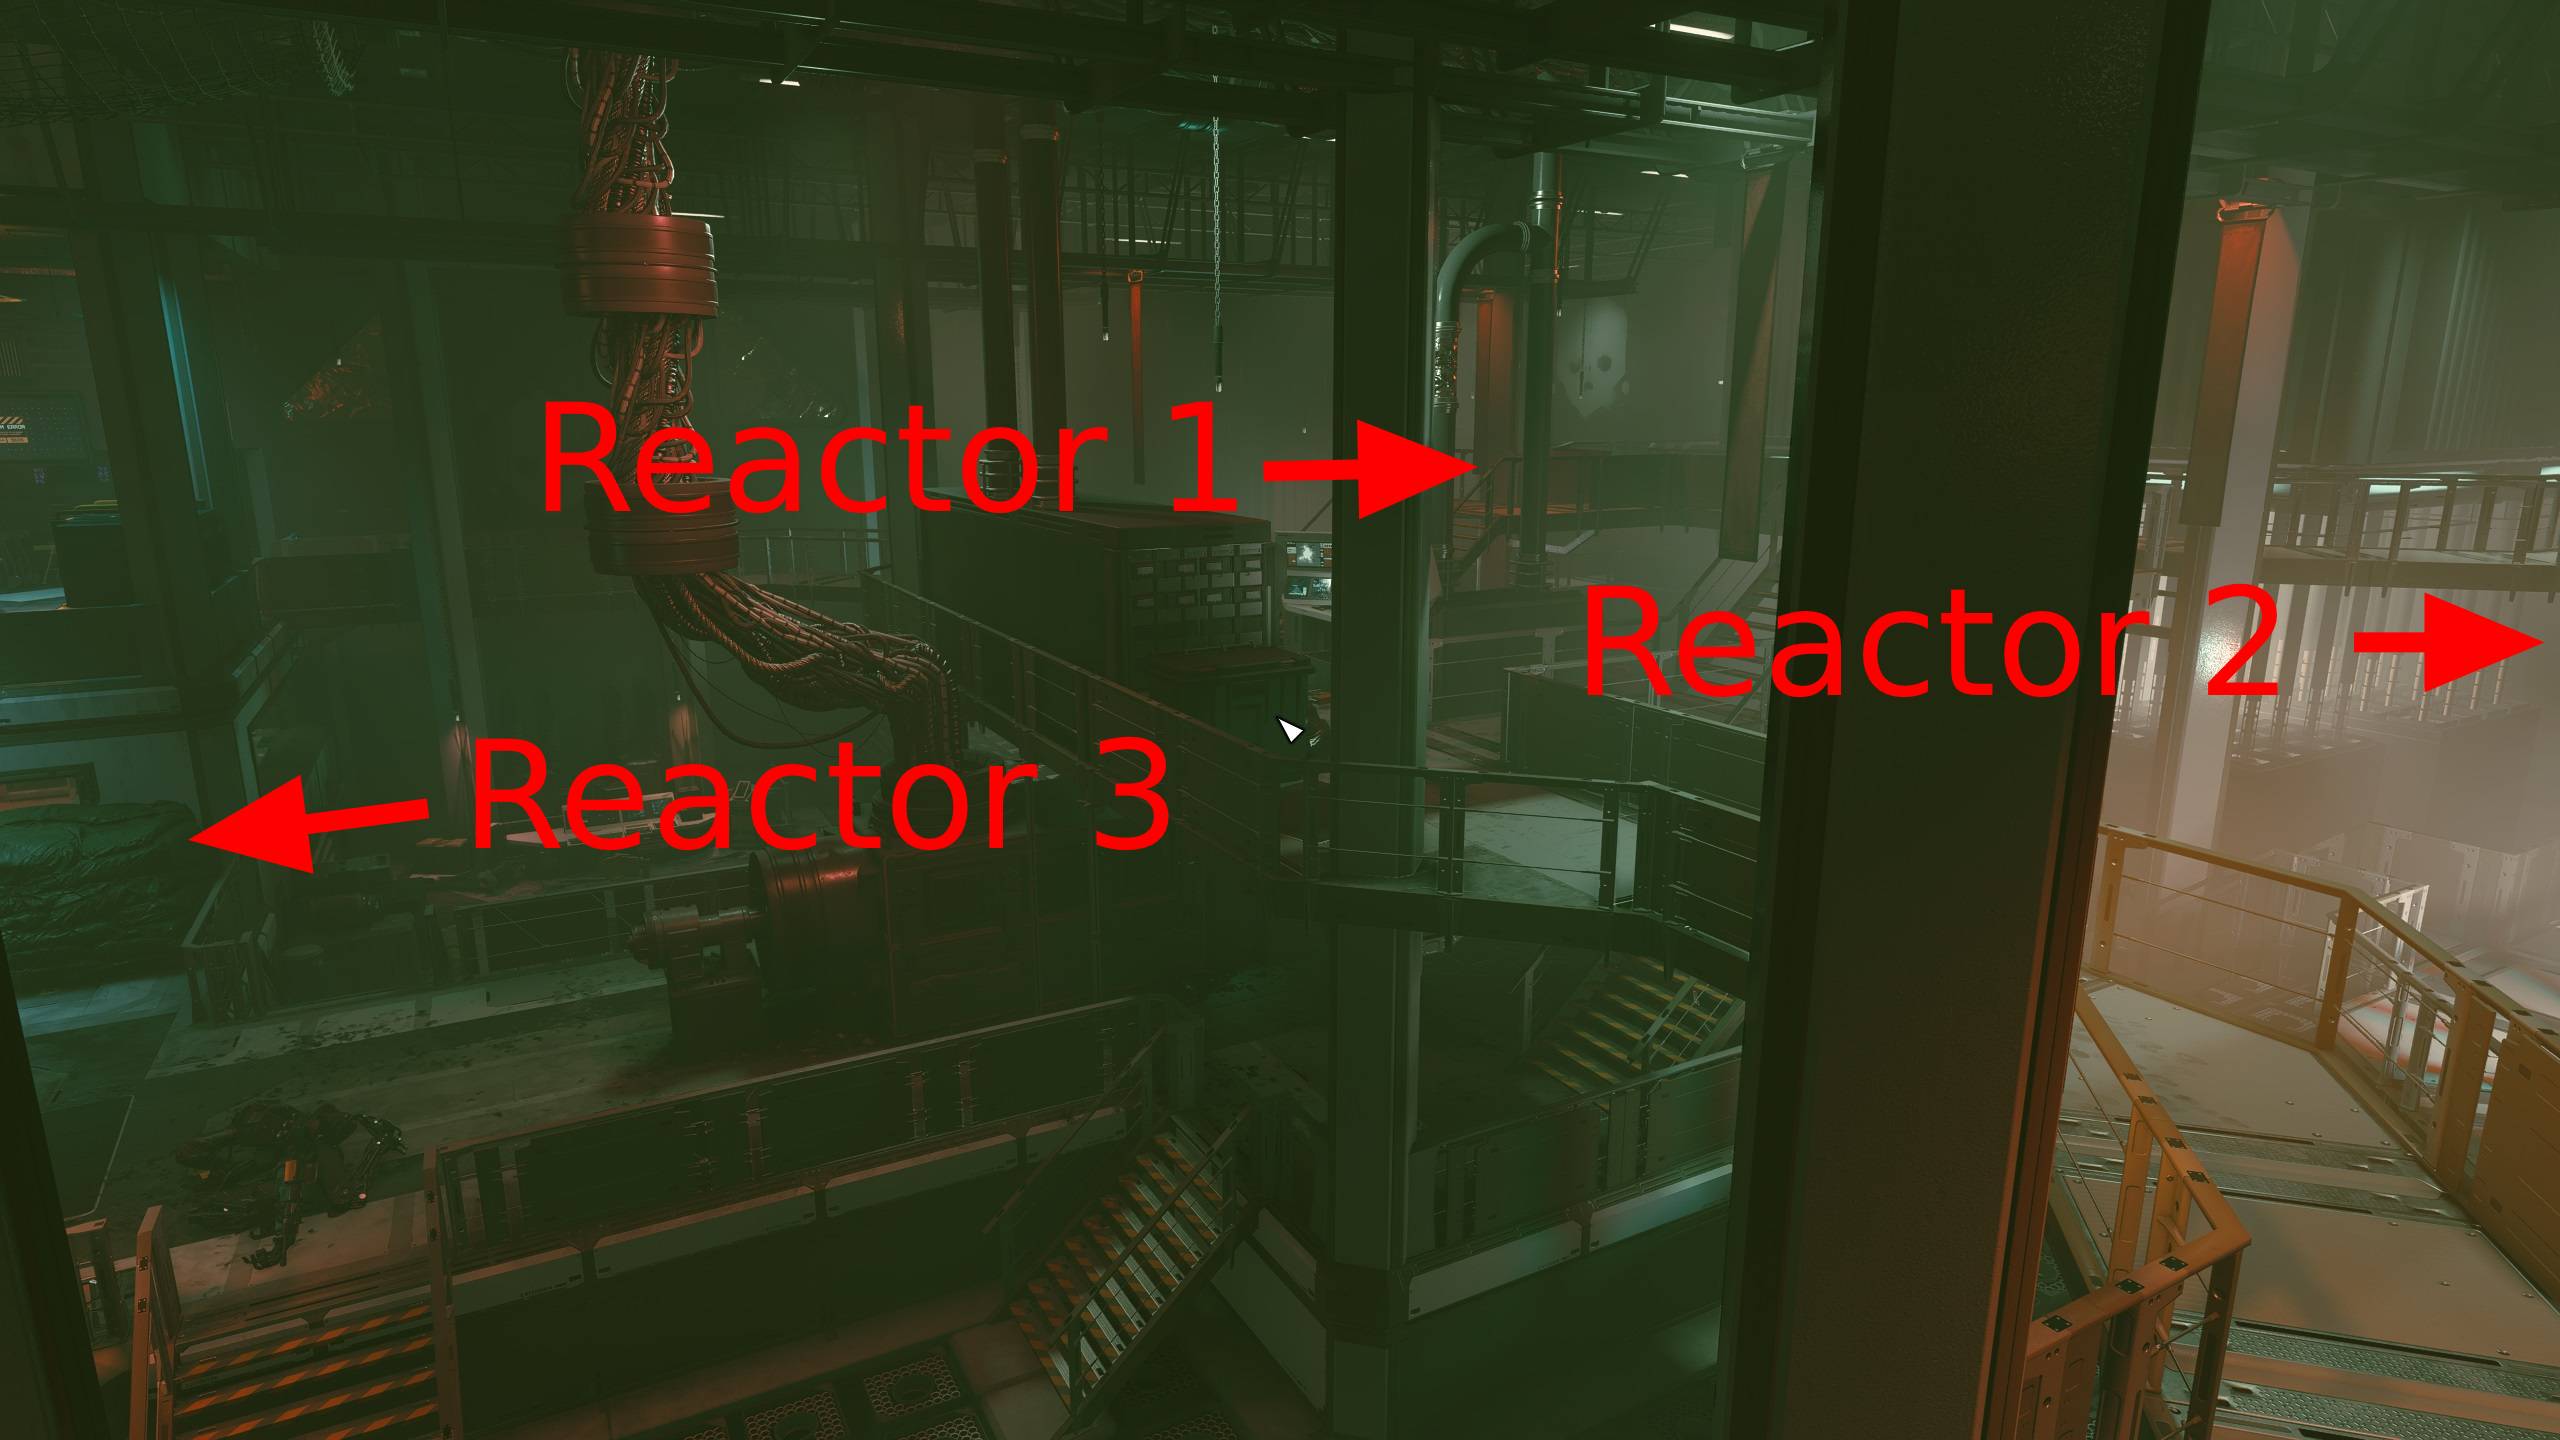
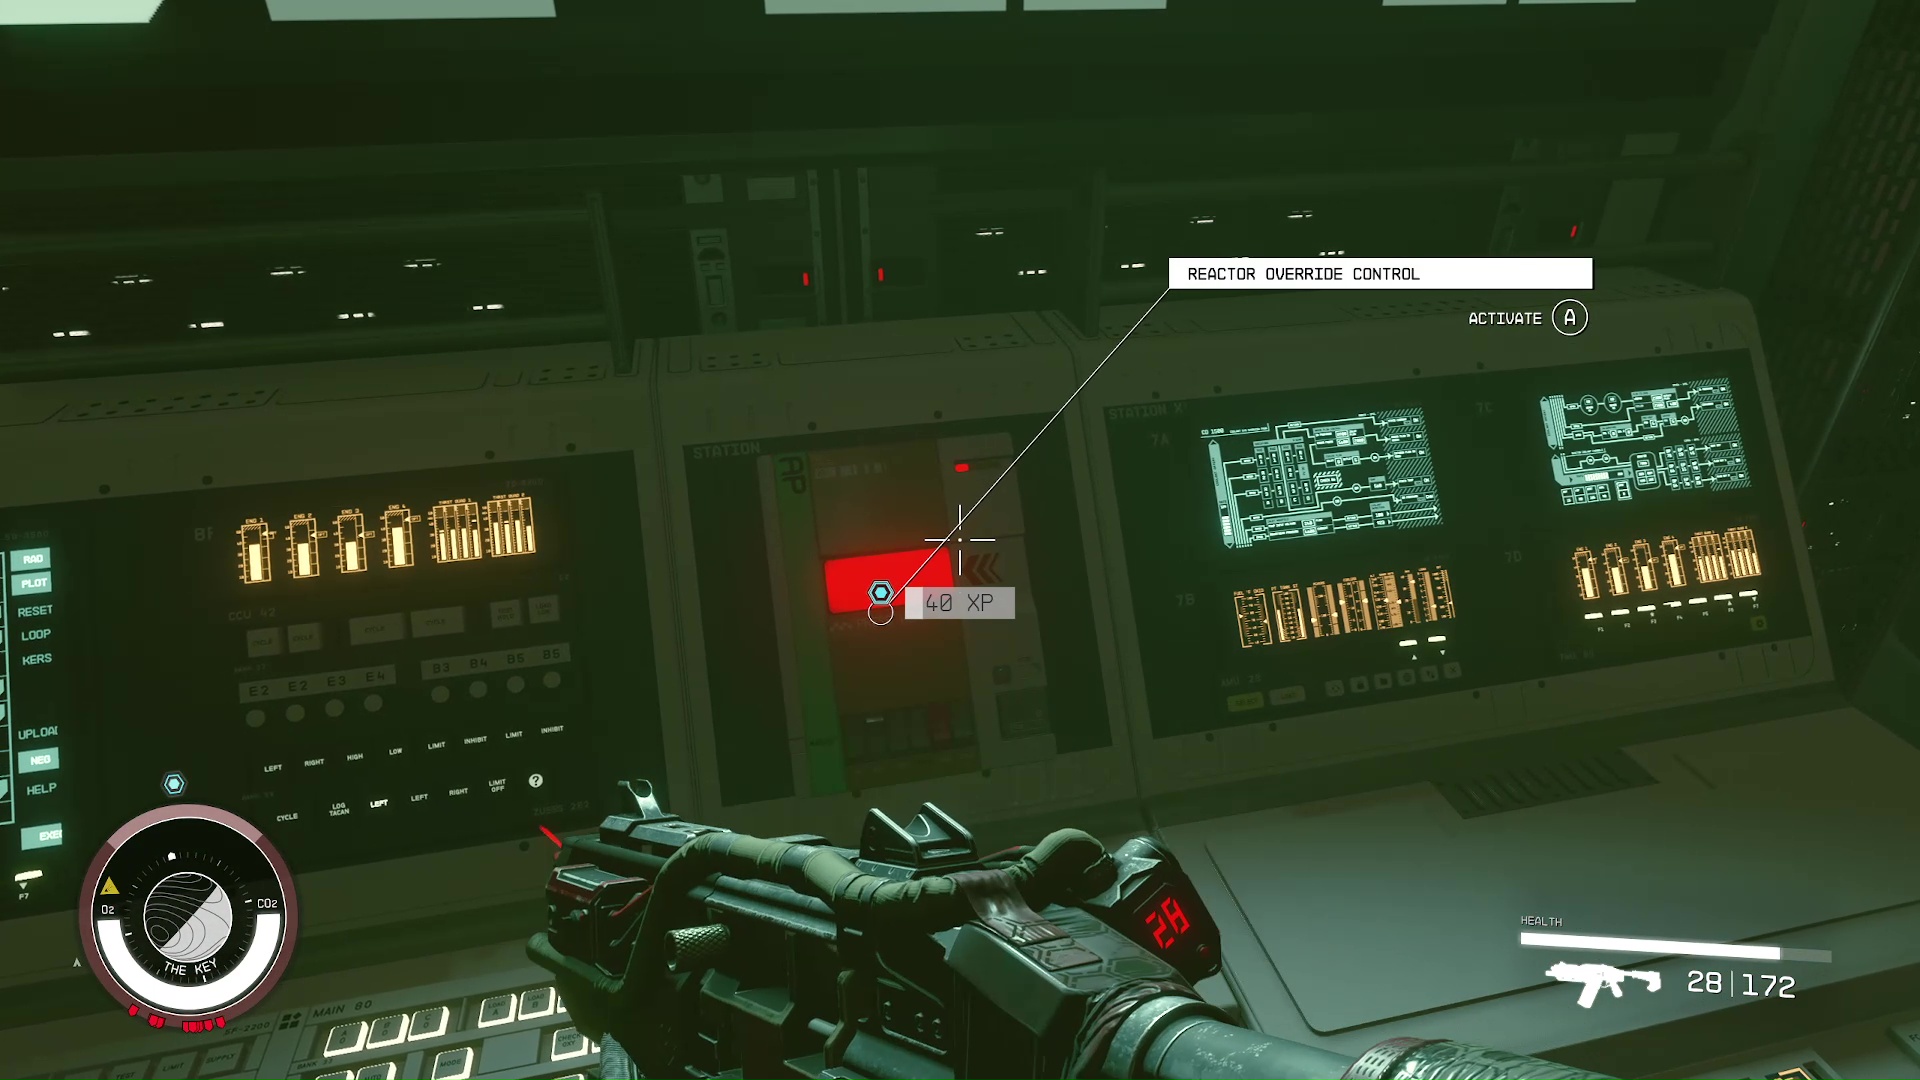
Override Reactor 1
The first rector you have to override is in the exact opposite corner of the room from where you entered (Image 30). You’ll see a giant white skull on the room with the switch. As always, if you’re turned around, just look for the , or follow your scanner. There will be pirates everywhere, but more notably, there will be two pirates by the override switch, so be careful approaching it.
Image 30
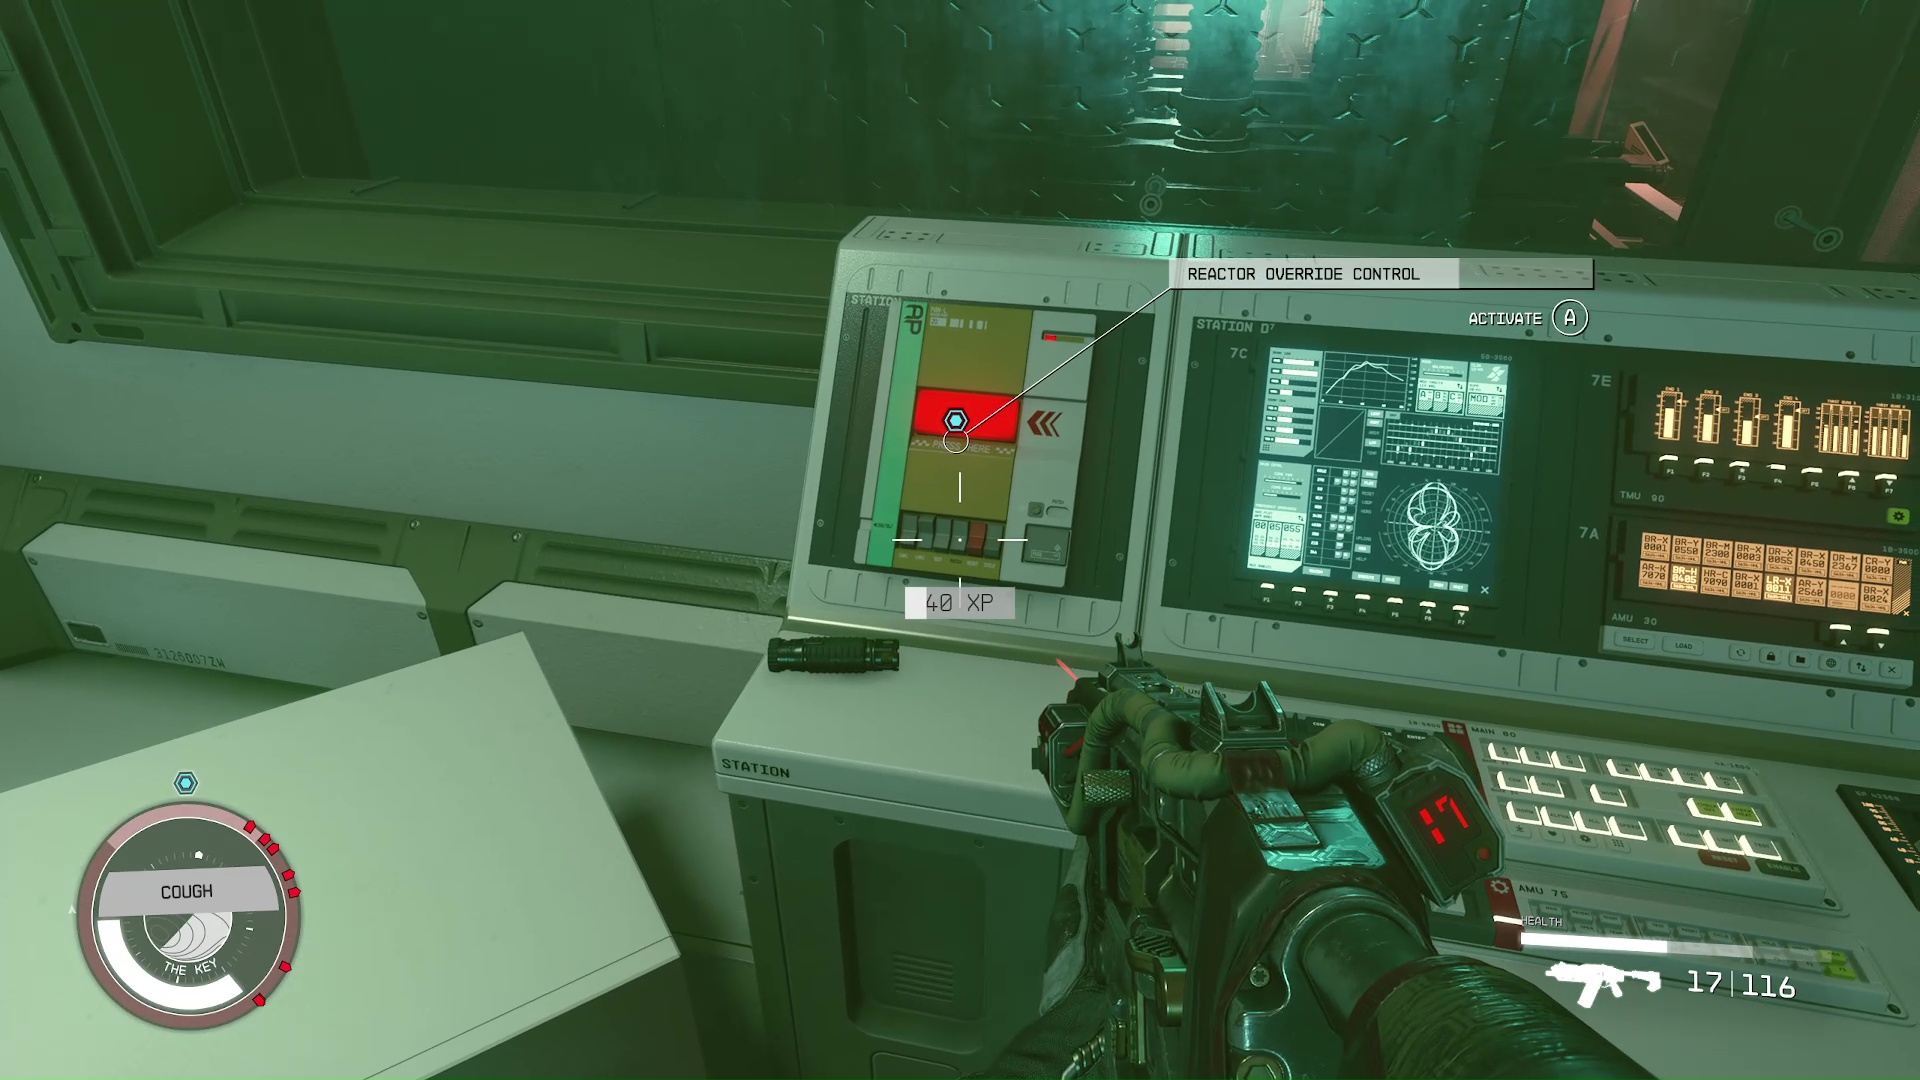
Override Reactor 2
This reactor is in the other corner on the same side of the reactor room. As we mentioned, use caution, as more enemies will have come to stop you. In fact, Huan Daiya will appear to fight you if you never grabbed and turned in the evidence against her during The Best There Is. Carefully fight your way over to the second reactor and override it (Image 31).
Image 31
Override Reactor 3
As before, the number of enemies will increase, and you’ll need to take them out to work your way over to reactor 3. The switch is in the fourth corner of the room you haven’t been to yet, below the door that leads to Delgado’s room (Image 32). Additionally, robots will start attacking you, making things a little more difficult. Another past Crimson Fleet contact will show up trying to take you down, Estelle Vincent. This will happen only if she remained in the Crimson Fleet at the end of Absolute Power, and you didn’t turn in the evidence against her.
Image 32
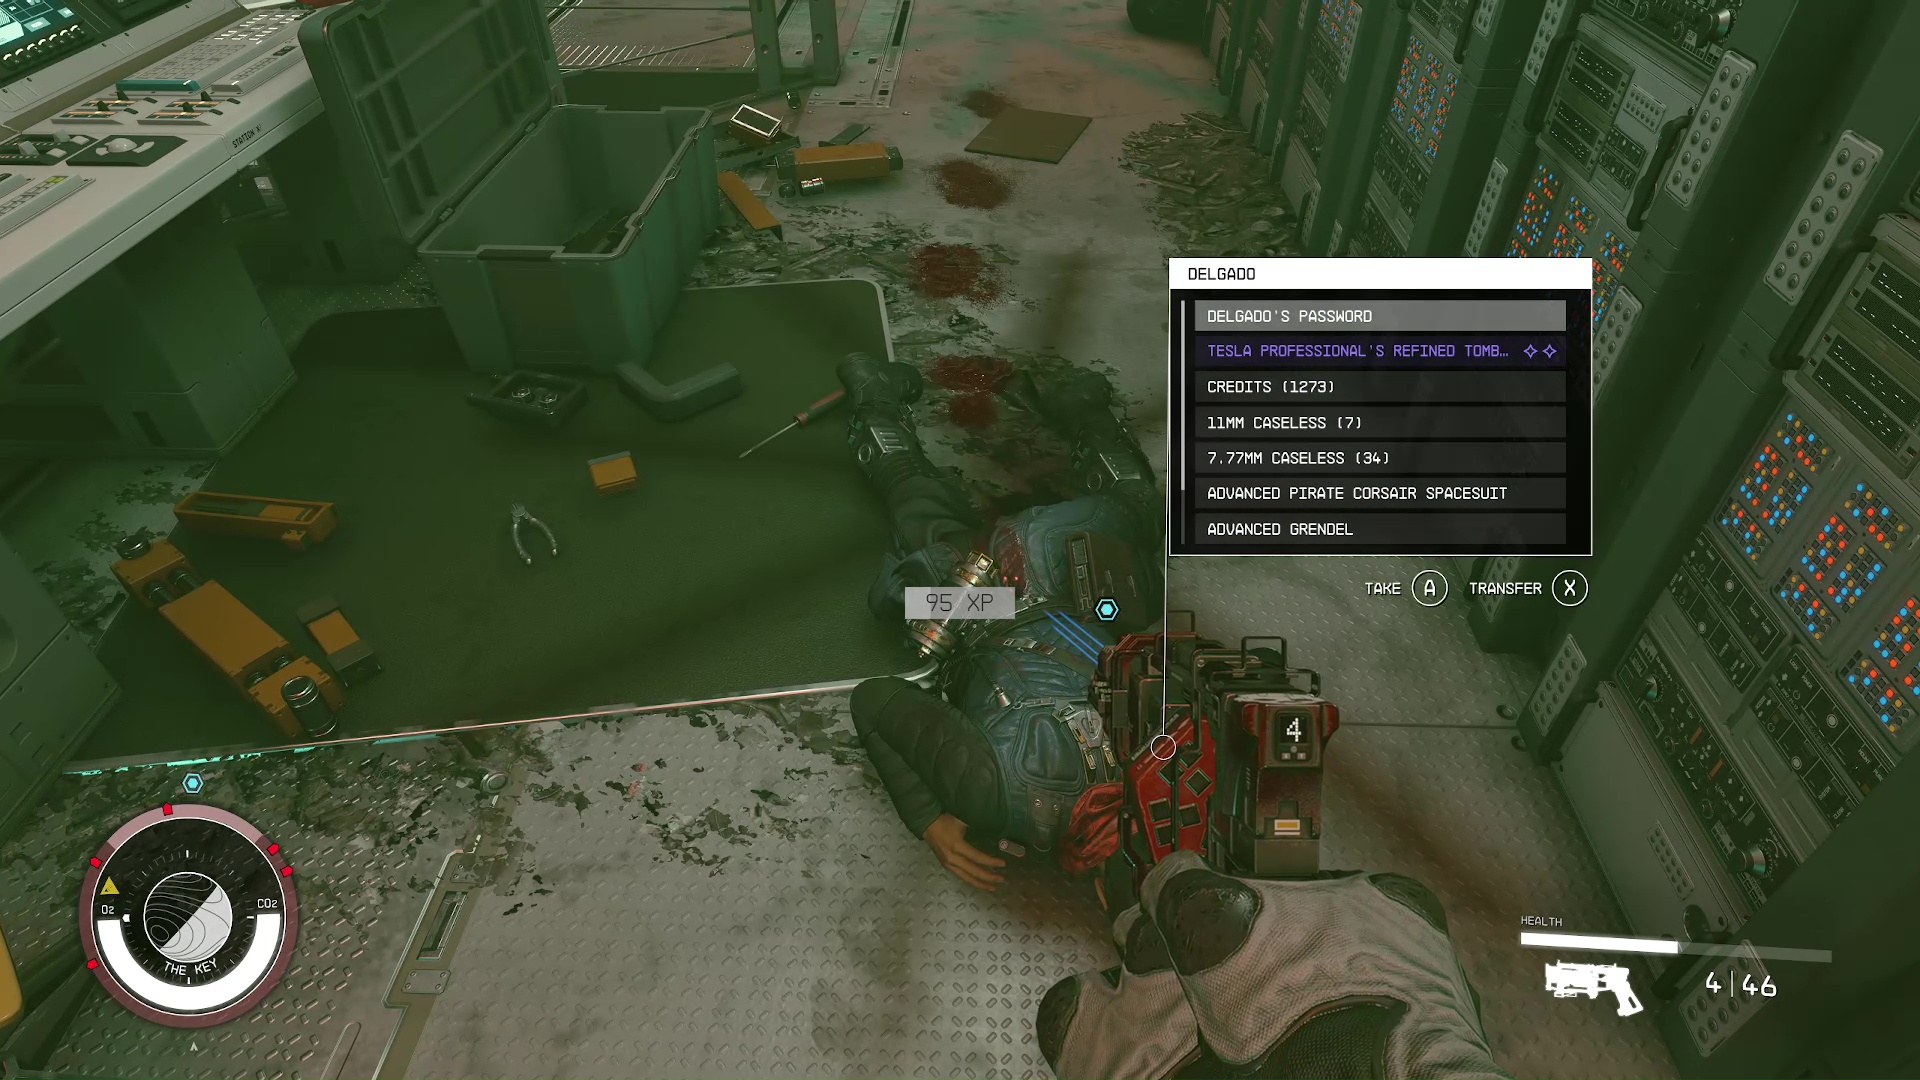
Kill Delgado and Retrieve His Password
Now that all the reactors are deactivated, Delgado will come out into the reactor room to kill you. If you’re not feeling confident, or had a hard time overriding the reactors, then save the game while you’re in the reactor 3 room.
Delgado has quite a bit of health, and packs a punch, but the real danger is getting flanked by all the robots. Hang back by the reactor 3 override room and pick off the robots, then you can close in on Delgado and finish him off. Once he is down, you can take the password of his body, along with the unique rifle, Tempest (Image 33).
Note that Tempest isn’t in the image. We believe this is because we had already acquired it and this is New Game +.
Image 33
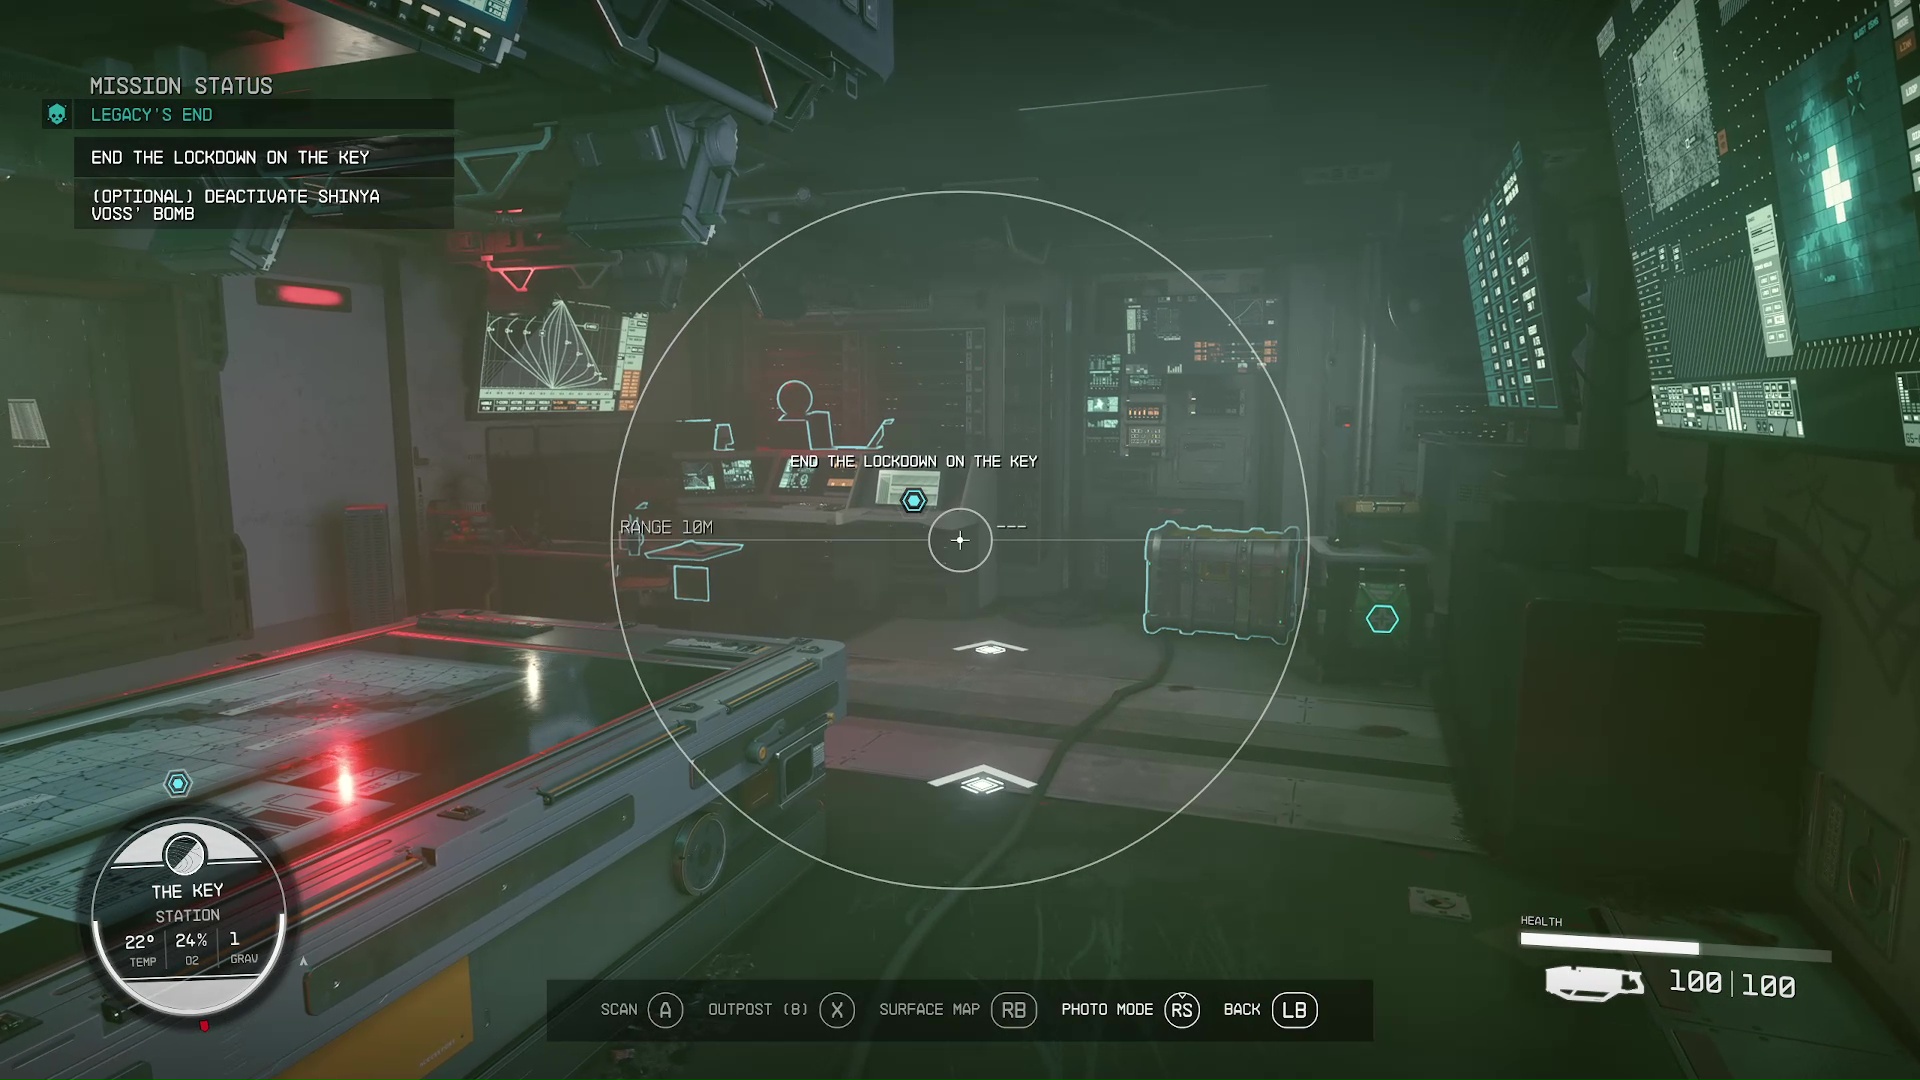
End the Lockdown on The Key
Follow your scanner around to the right catwalk and into Delgado’s room. Here, you’ll see the above his computer (Image 34). Use his password in the computer to go to ‘Security Controls’ and deactivate the lockdown.
Image 34
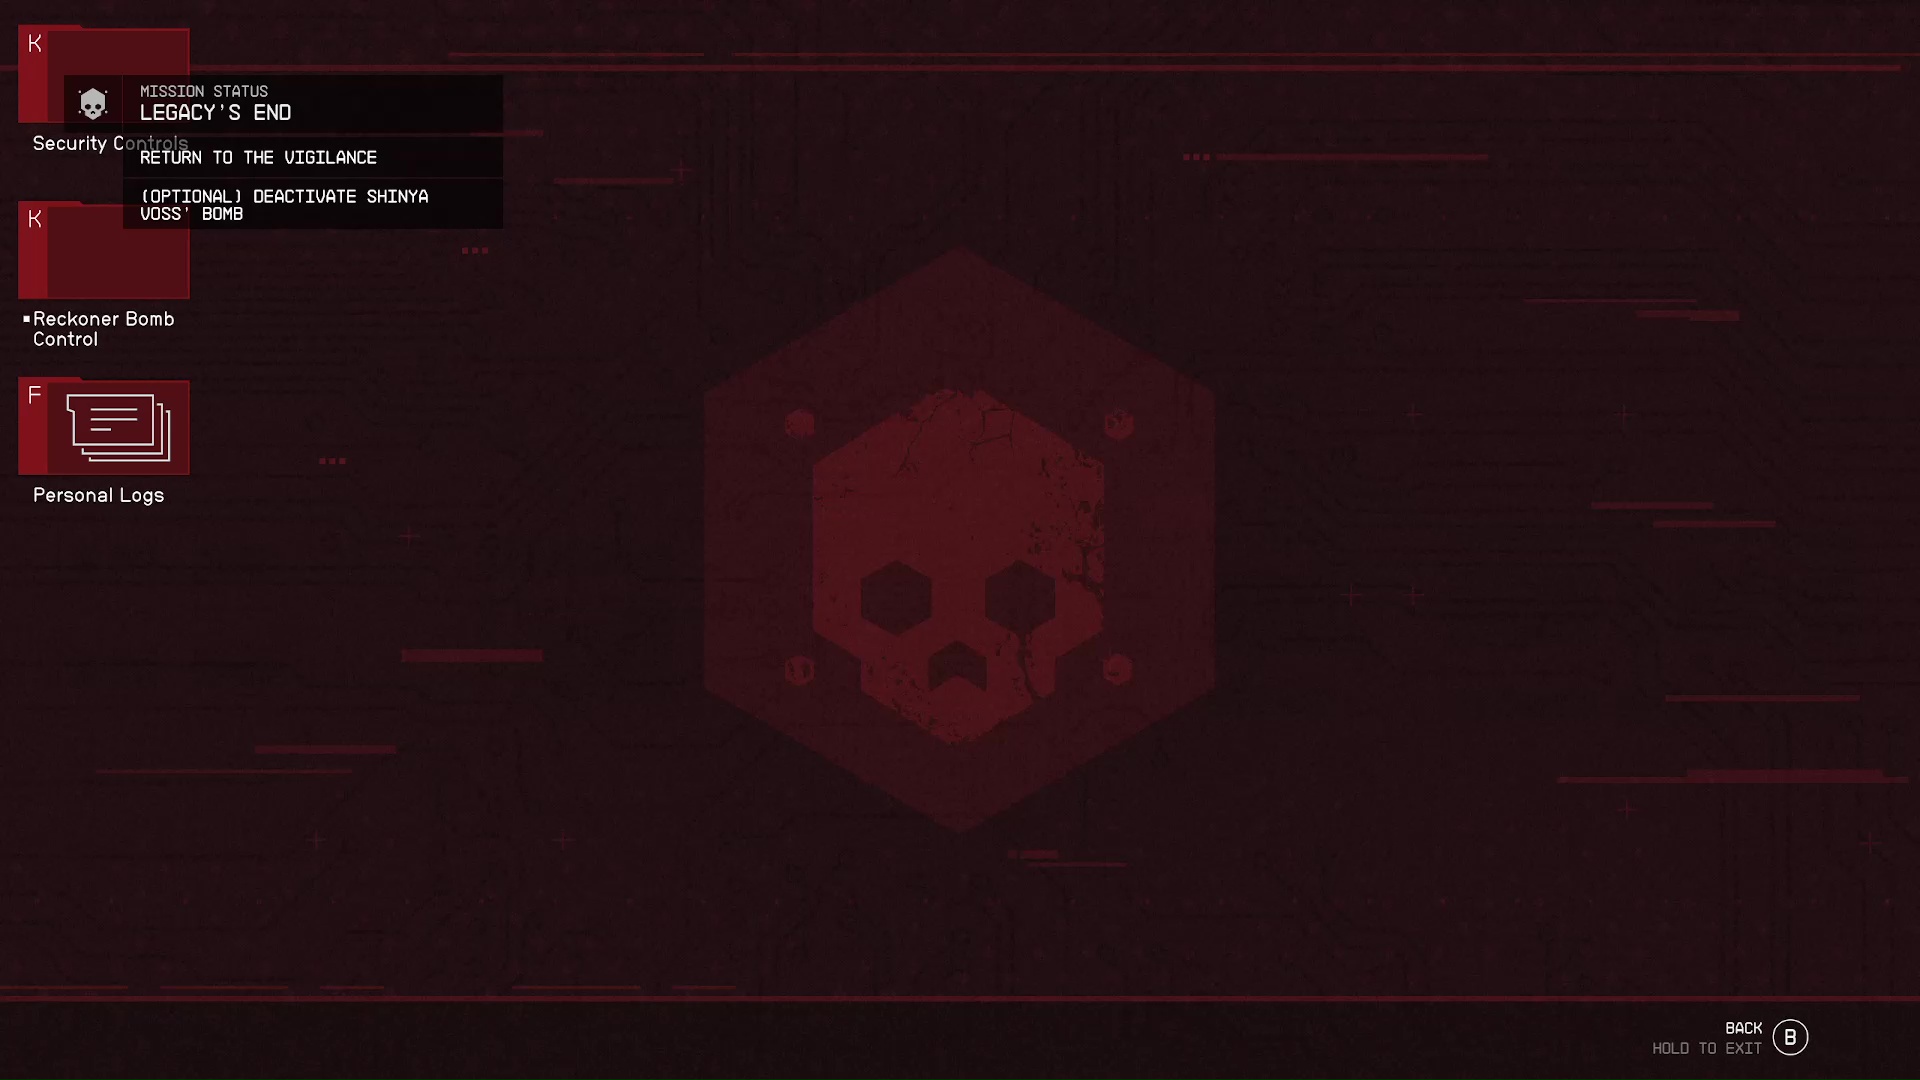
Deactivate Shinya Voss’ Bomb
If you told Shinya that you were going to help him, then you can use the computer to deactivate the bomb in his chest by clicking on ‘Reckoner Bomb Control’ (Image 35). Unfortunately, this ending with Shinya seems glitched at time of writing. You will see him surrender to the UC, but he won’t be taken to the brig like Delgado. Likewise, if you don’t help him, then Toft will say he died, but when you go back to The Key, he is still sitting in his chair.
Image 35
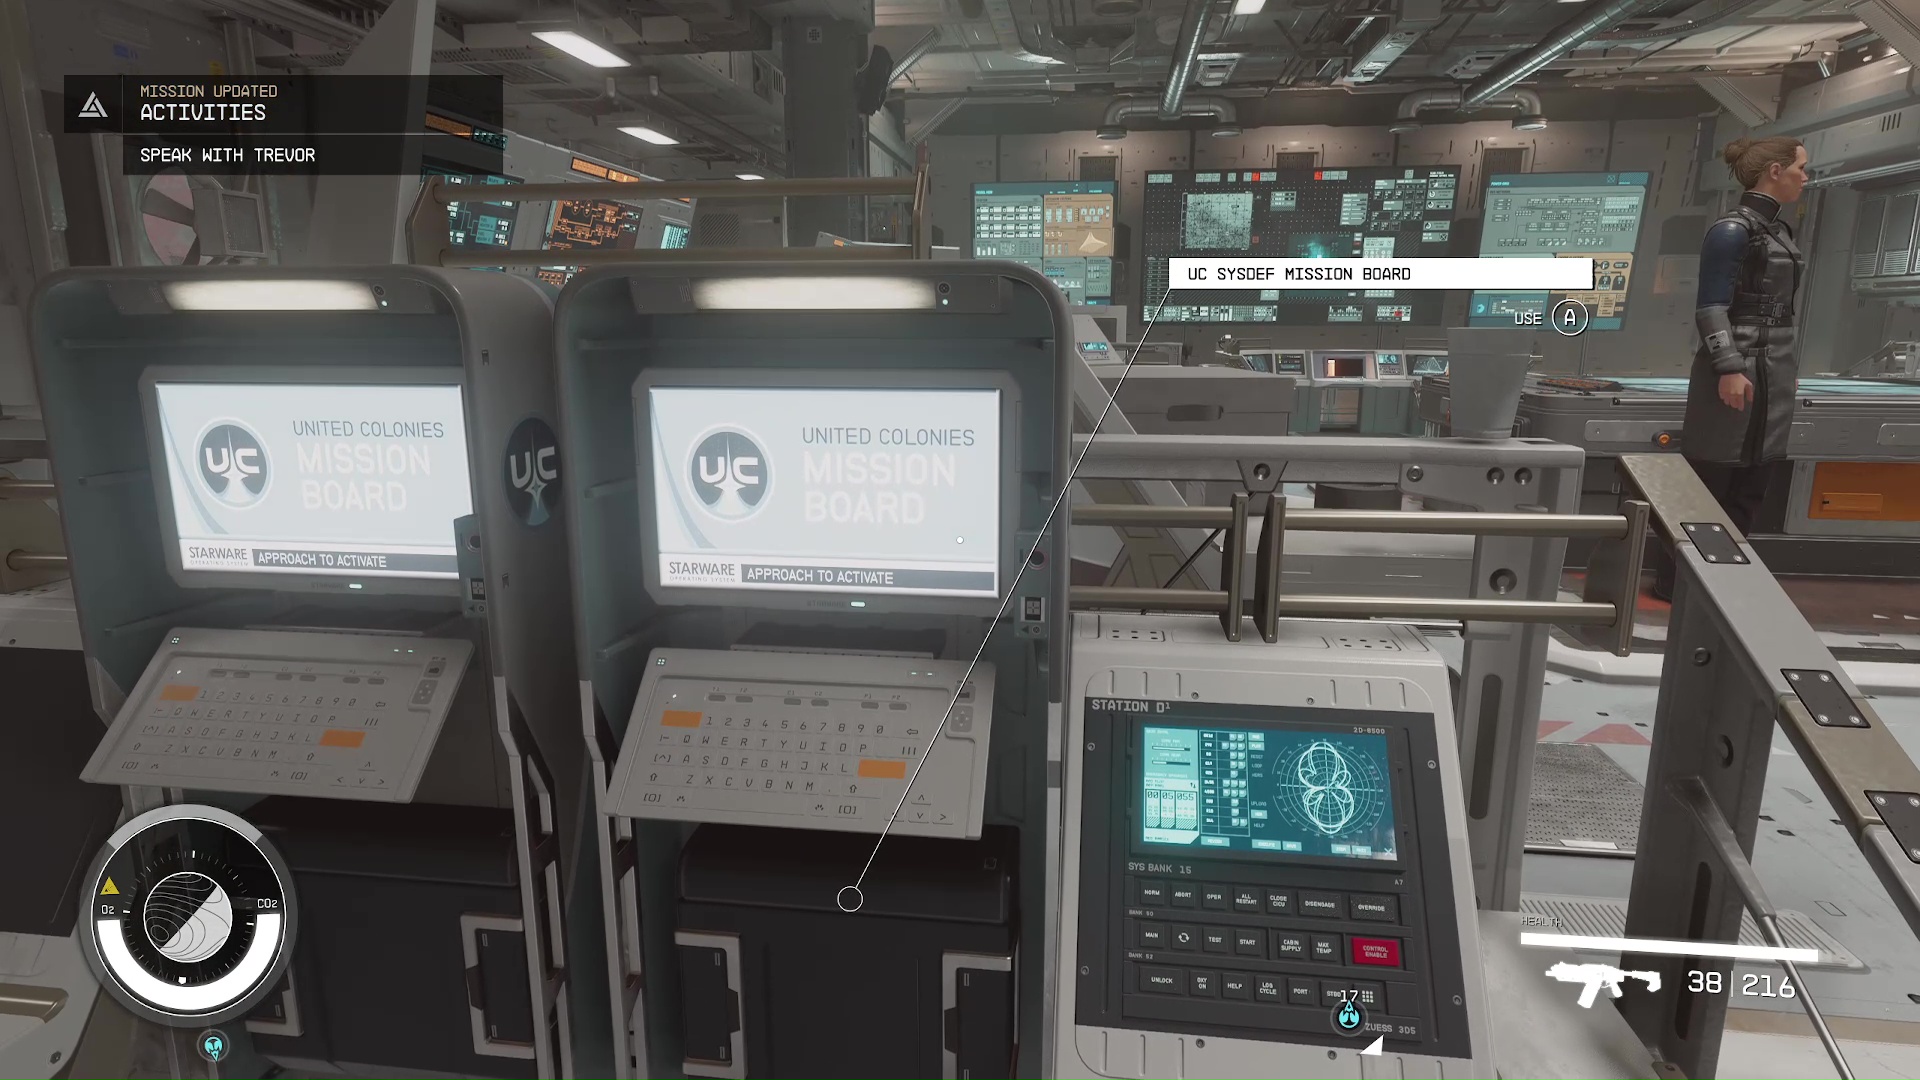
Return to the Vigilance and Speak to Commander Ikande
The UC will come aboard (very late) and you will be prompted to go to the Vigilance. Unfortunately, you can’t fast travel from The Key, you have to go to your ship and undock from the station. Aboard the Vigilance, Ikande will be very pleased with you, and pay you 250,000 credits.
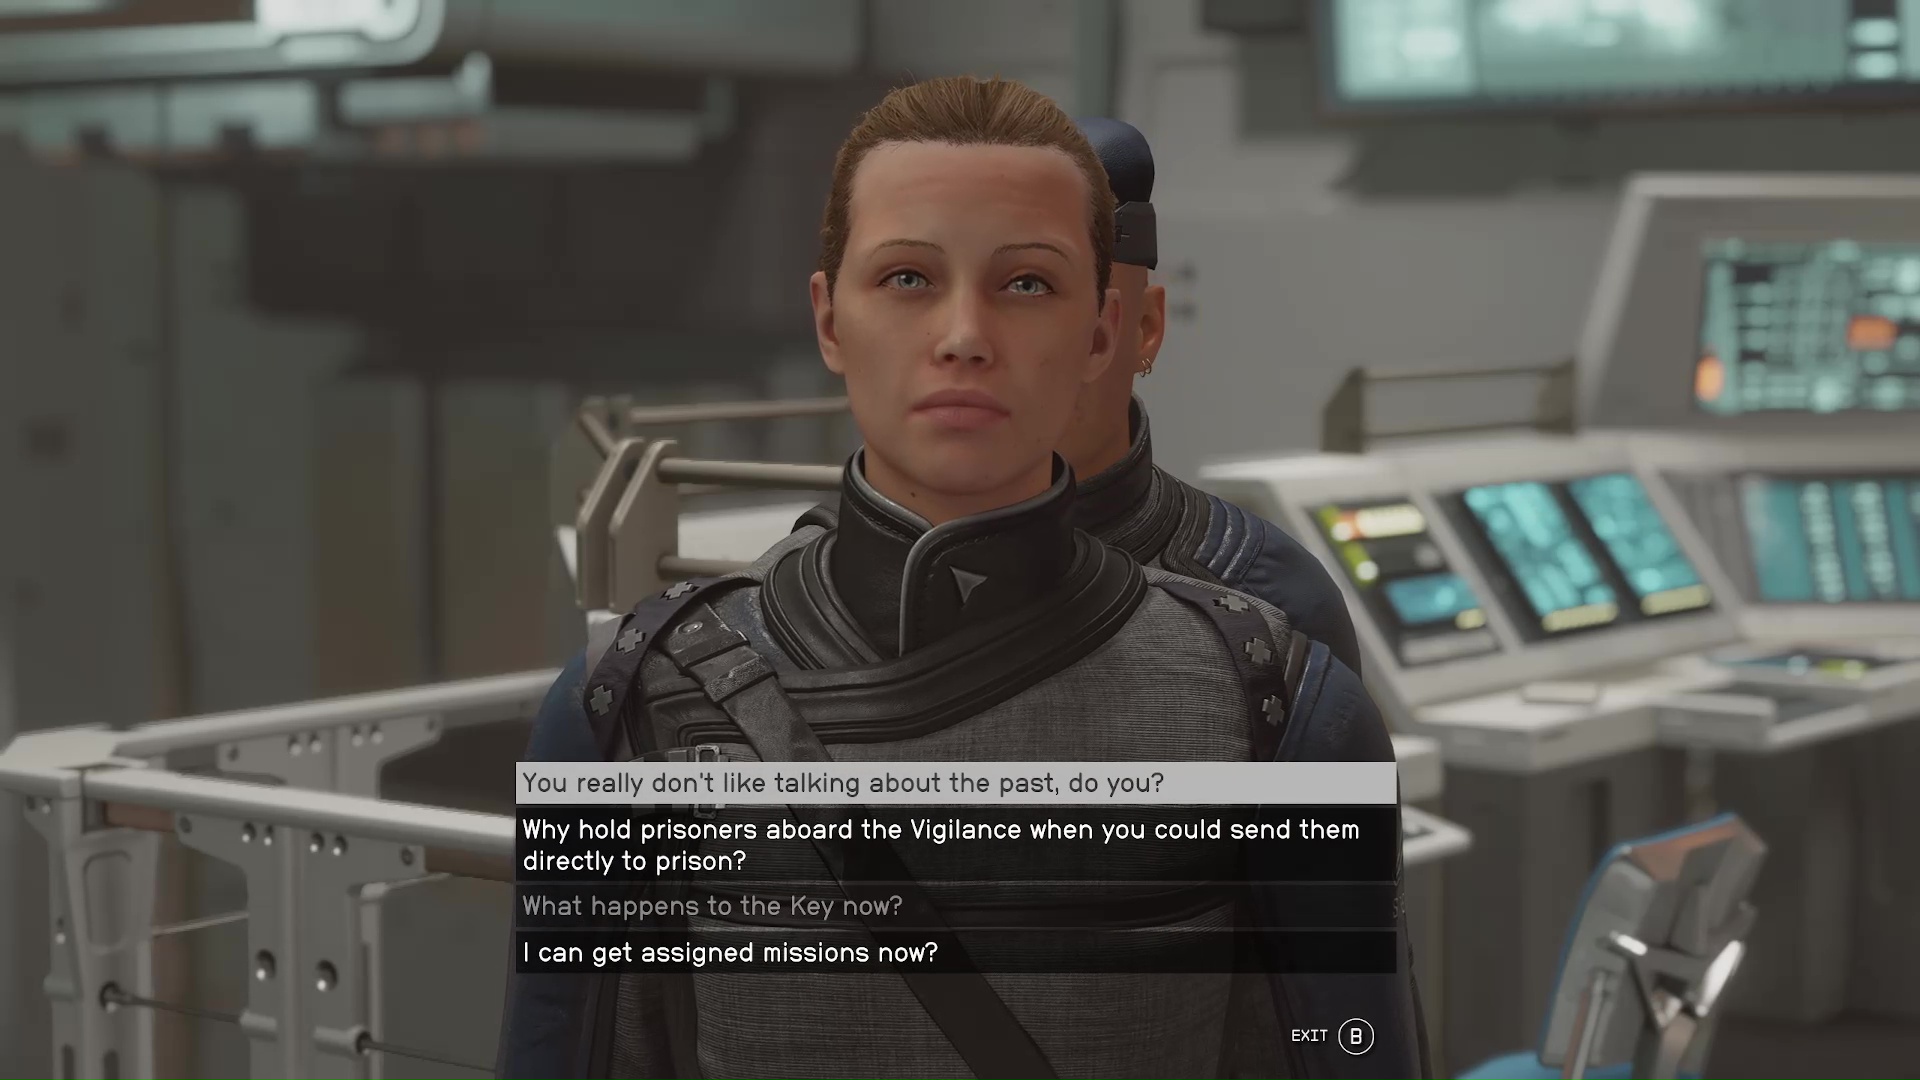
You will also be asked to stick around the Vigilance and help with regular missions. You can find the mission board in the command center off to the left (Image 36). Lastly, you will want to chat with Lieutenant Toft; ask her “I can get assigned missions now?”, and she will tell you that you can also come to her to modify your ship (Image 37).
Image 36Image 37
Congratulations, you supported the strongest galactic faction and dismantled some poor pirates. I hope you’re proud! Naeva did escape, though”¦
Kelson is a spud head from out west. He is most happy when holding a milky tea with too much honey and playing a sprawling role playing game or reading a fantasy novel. His video game tastes vary but his main genres are looter shooters, RPGs, and real time strategy games.