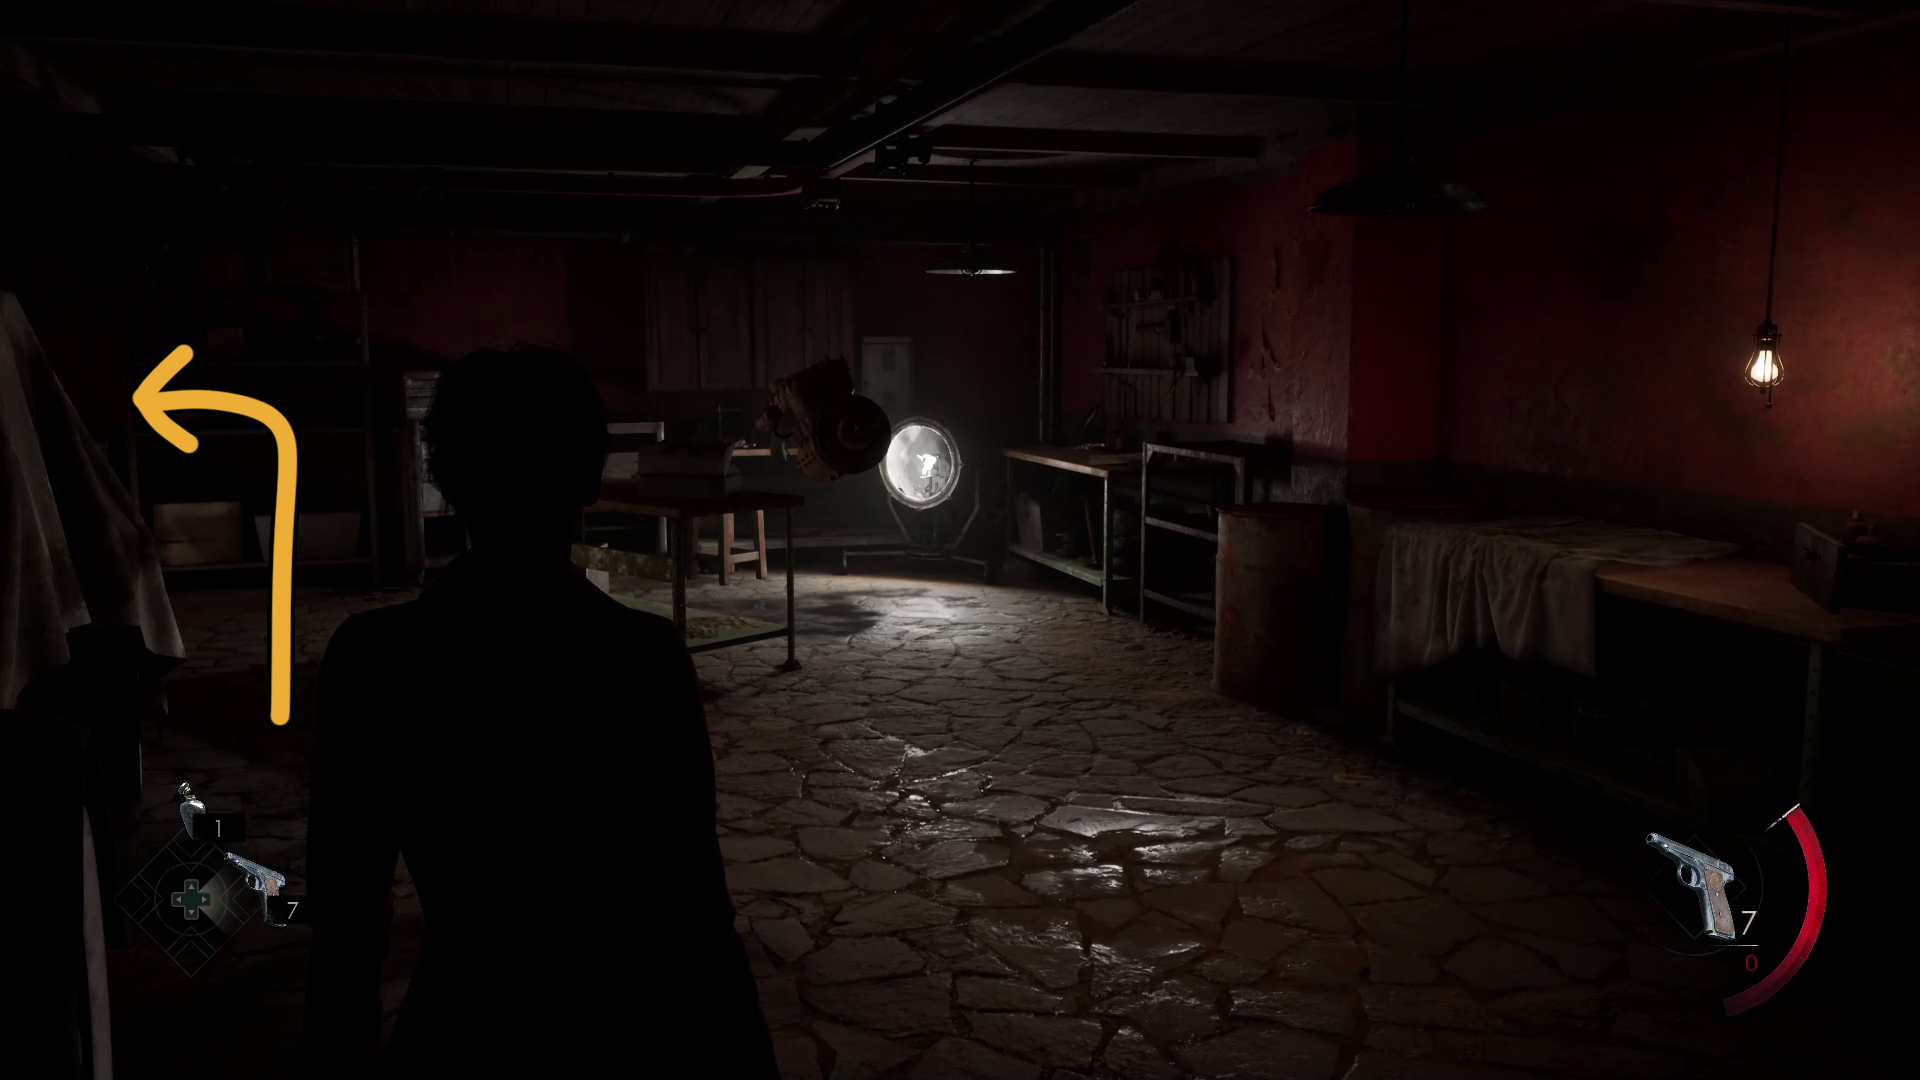
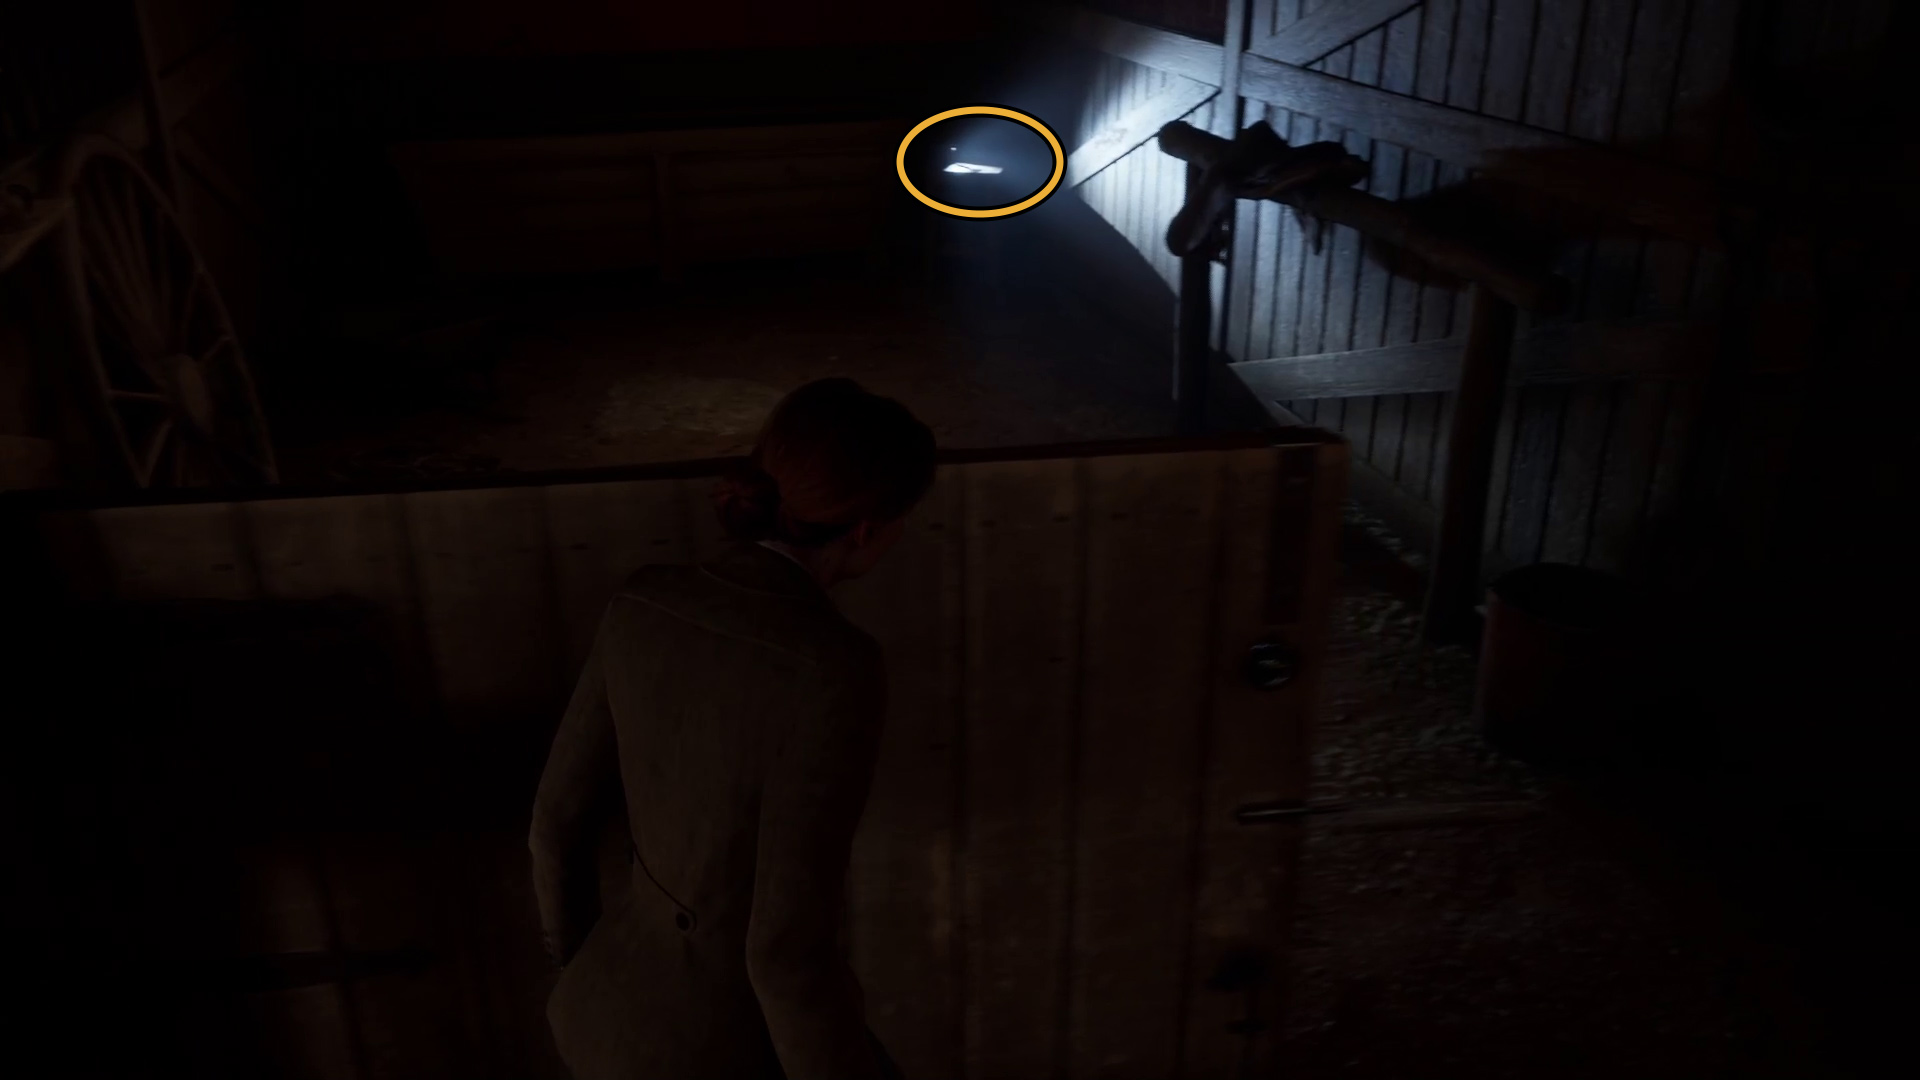
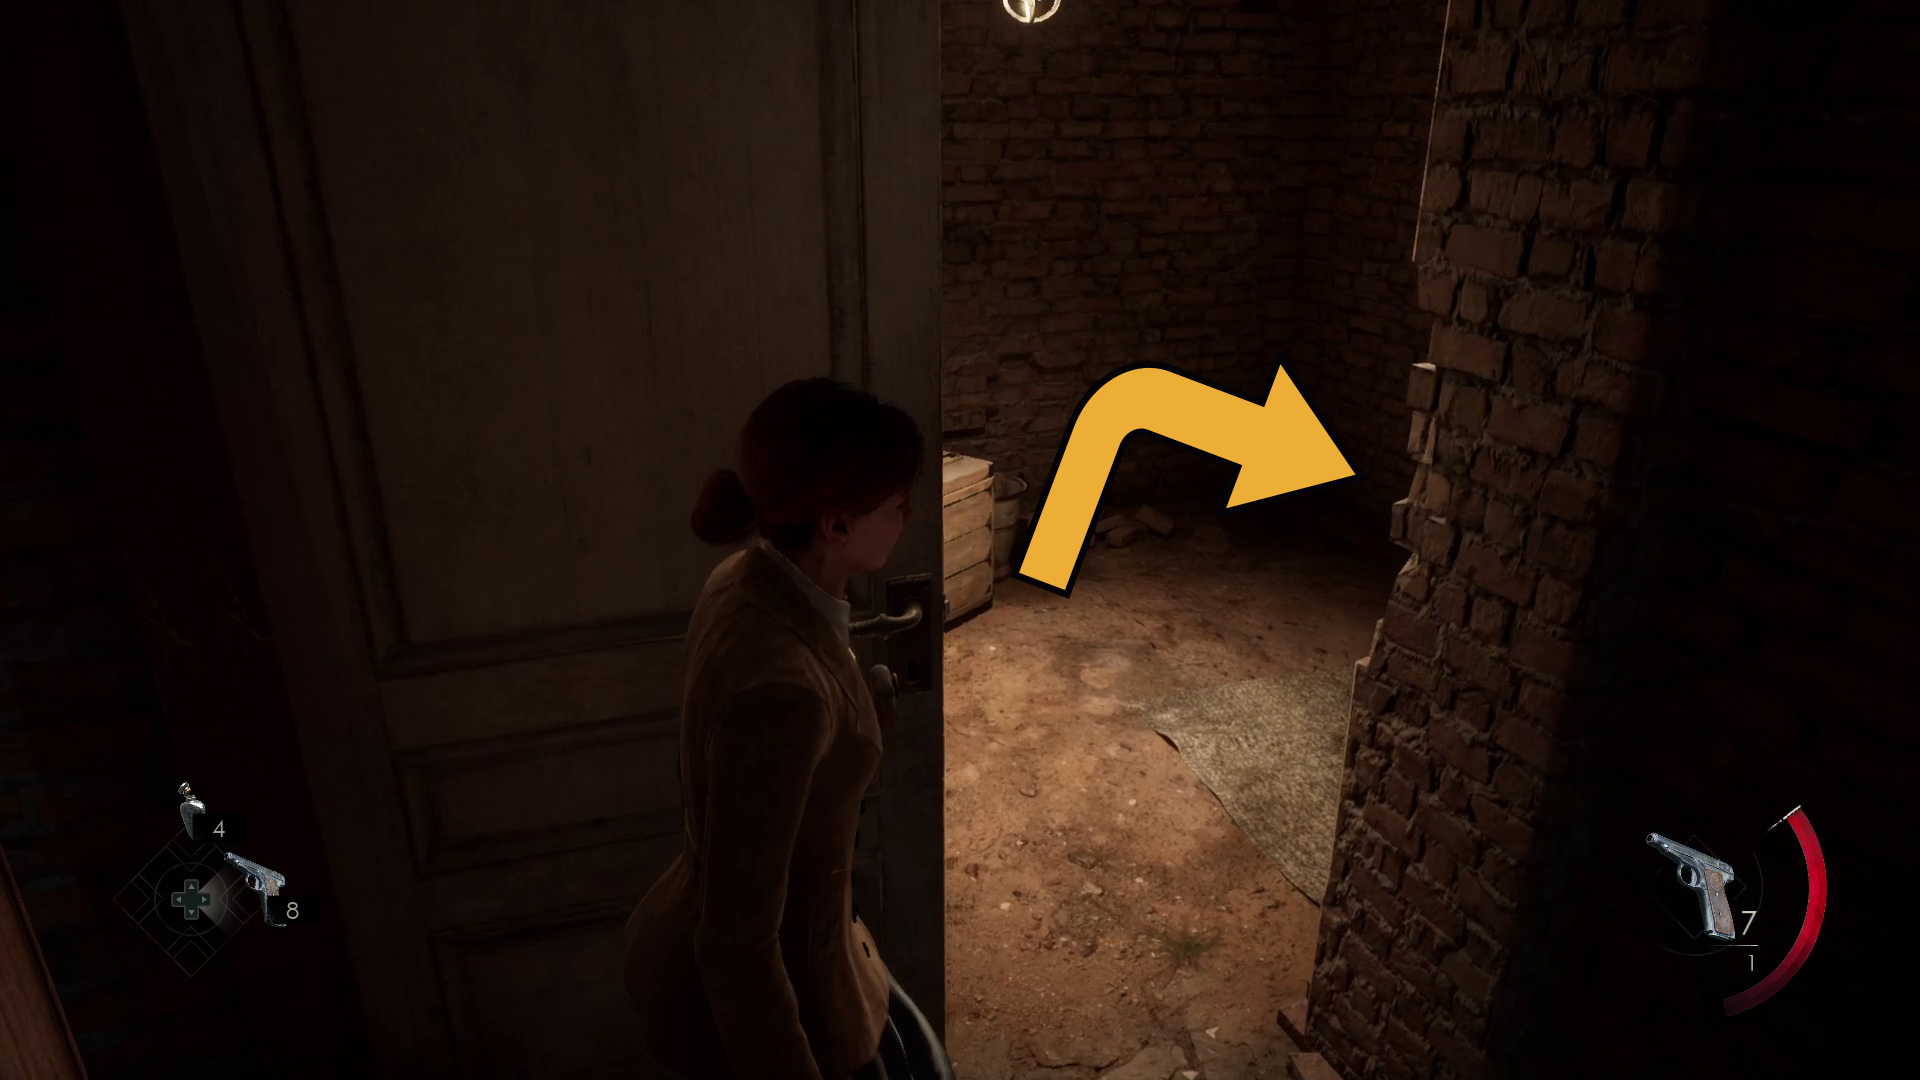
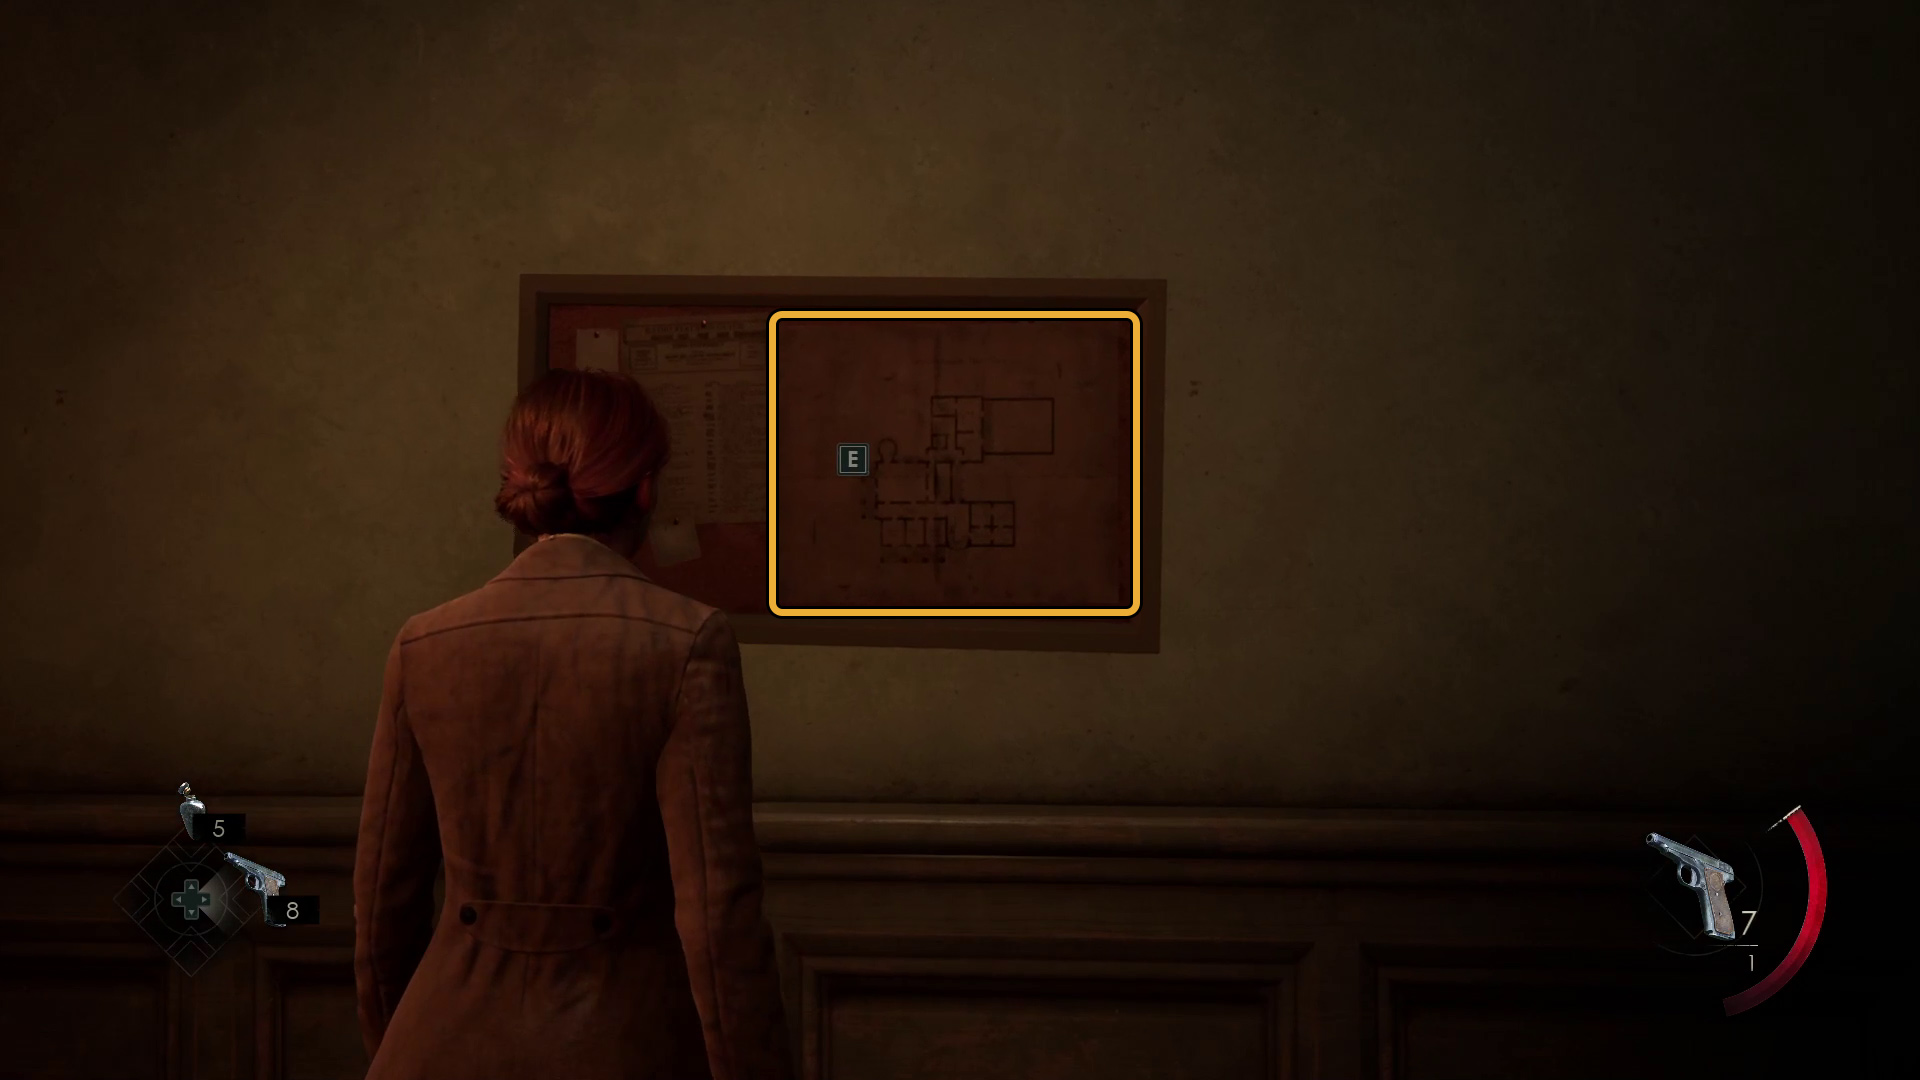
Go around the corner to the left (Image 1), and you’ll see a flashlight (Image 2) — walk over, and press the indicated button to pick it up. Turn on your flashlight by pressing / . You’ll also pick up the Kitchen Garden Key at the same time.
Image 1Image 2
Go back the way you came and turn left, then go through the doorway just ahead and take a right — you’ll see a doorway at the far end. Interact with it, and then select the Kitchen Garden Key you just found and press // to use the key on the door.
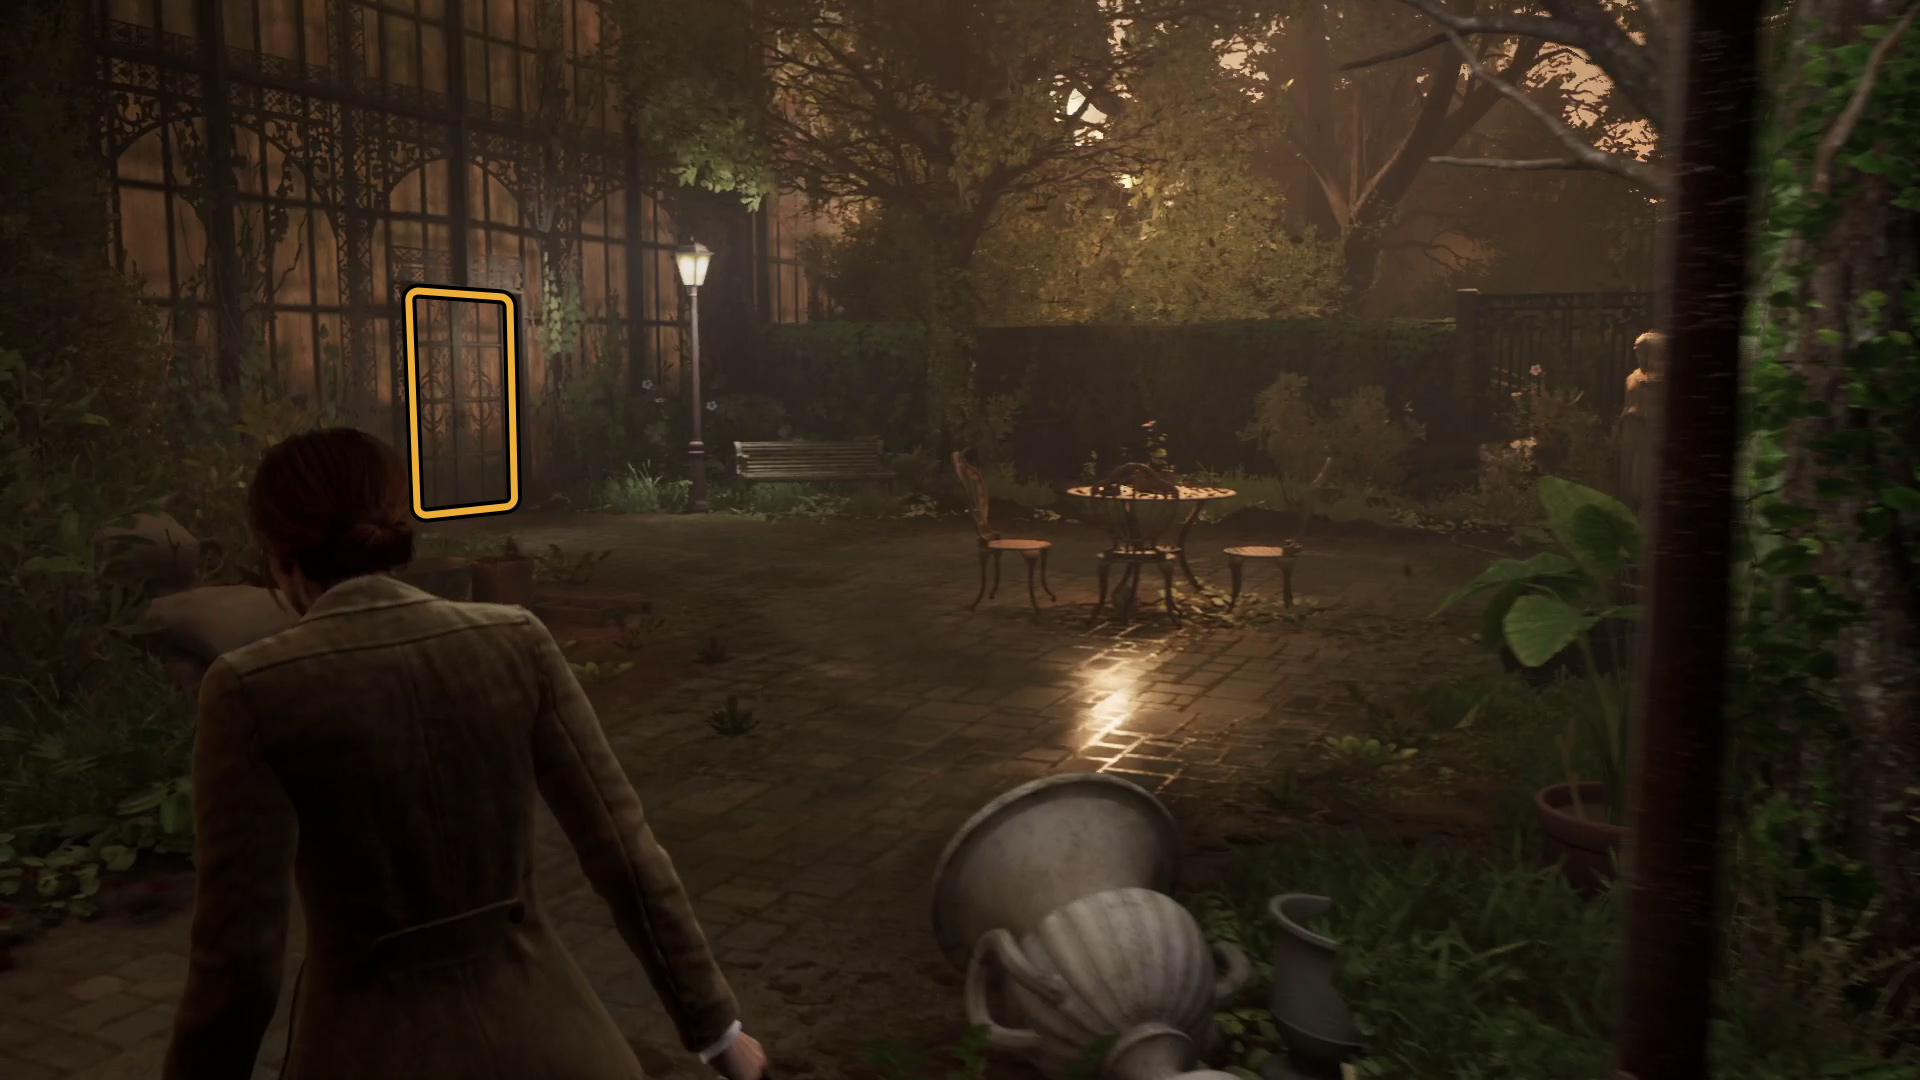
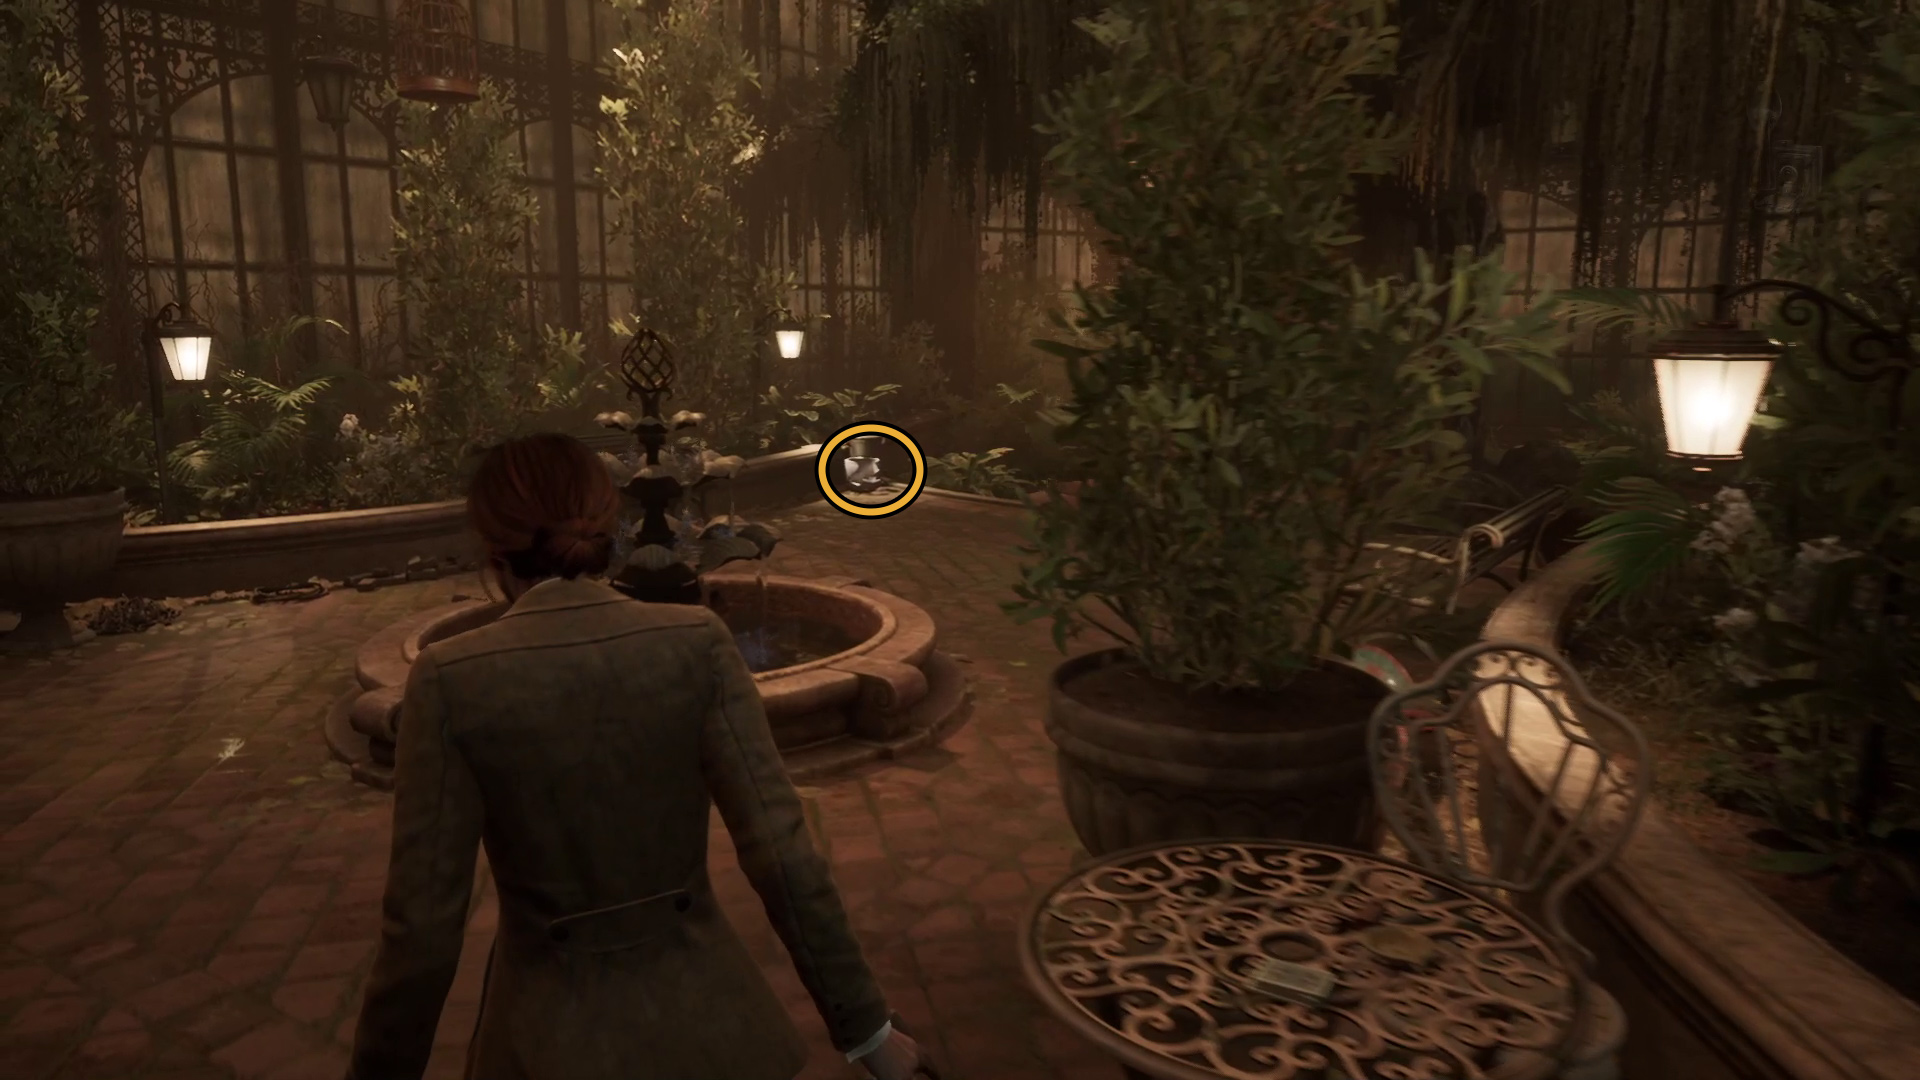
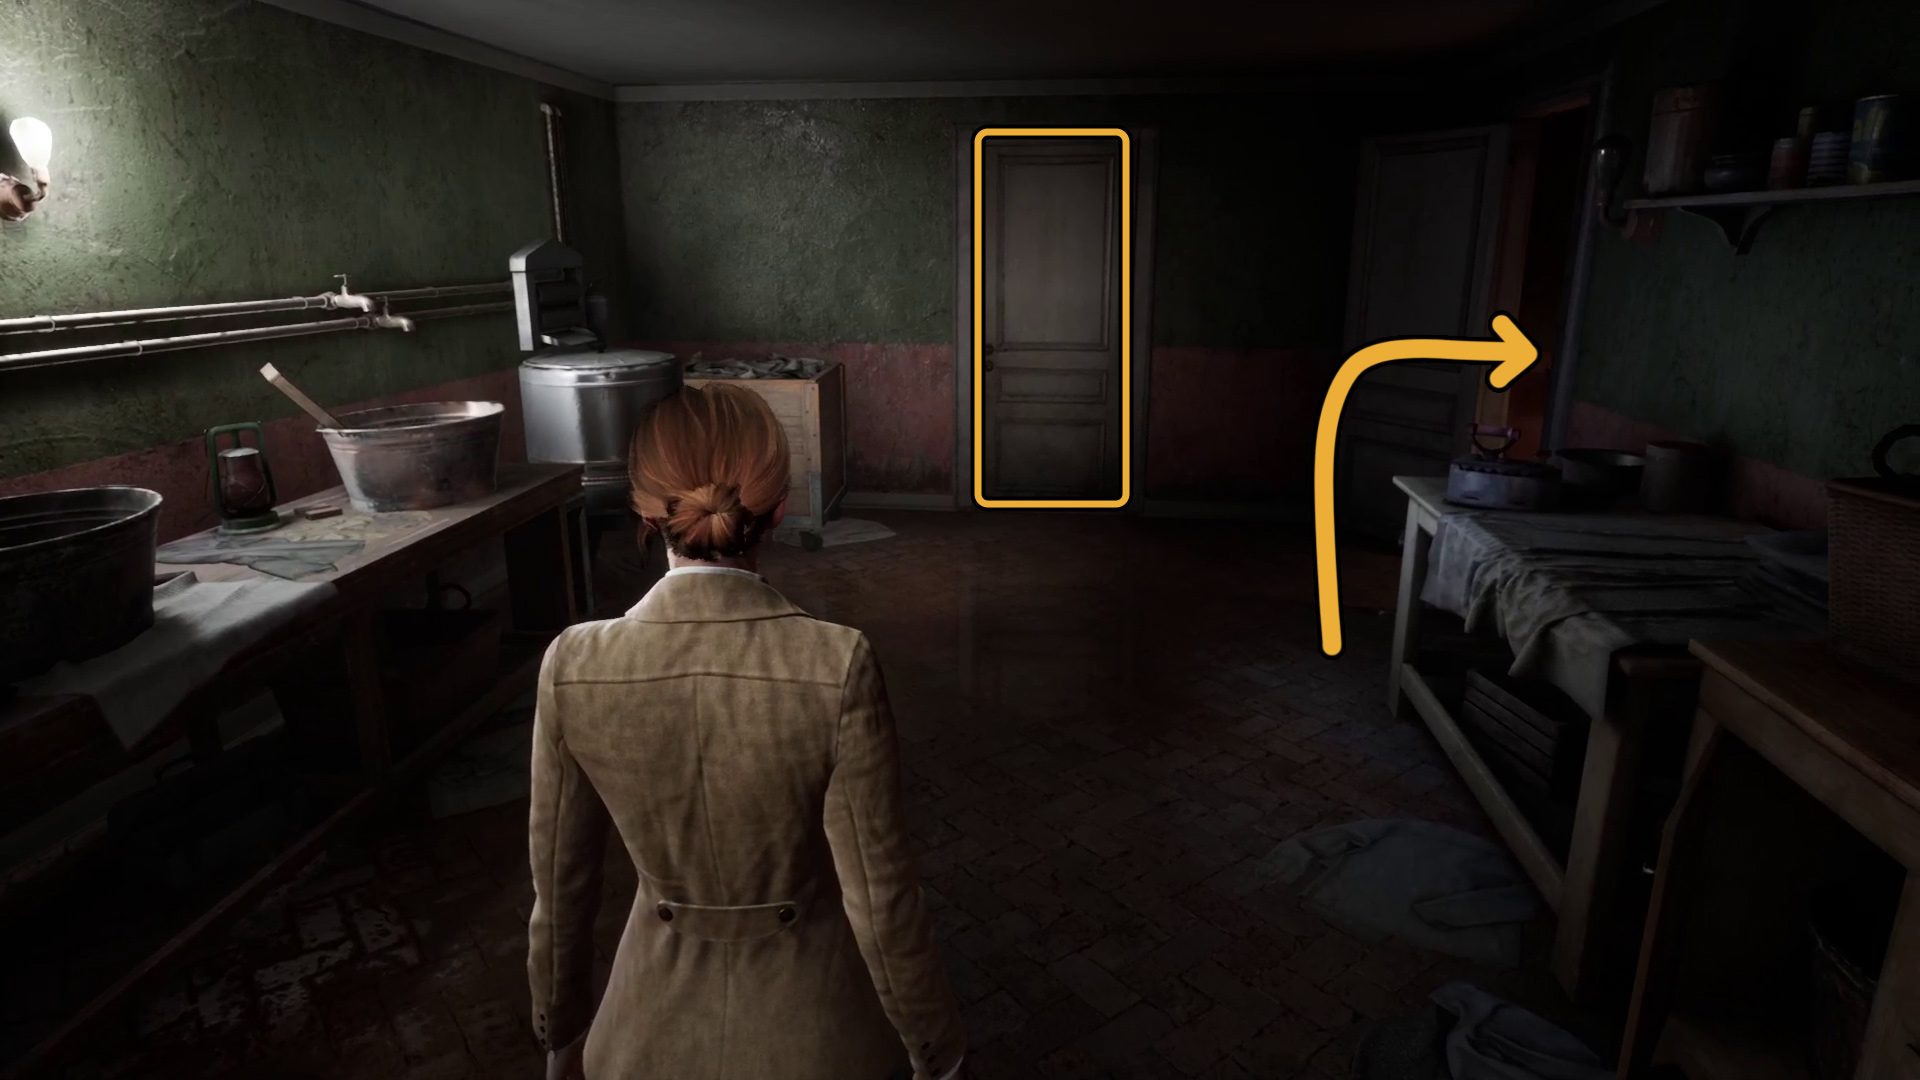
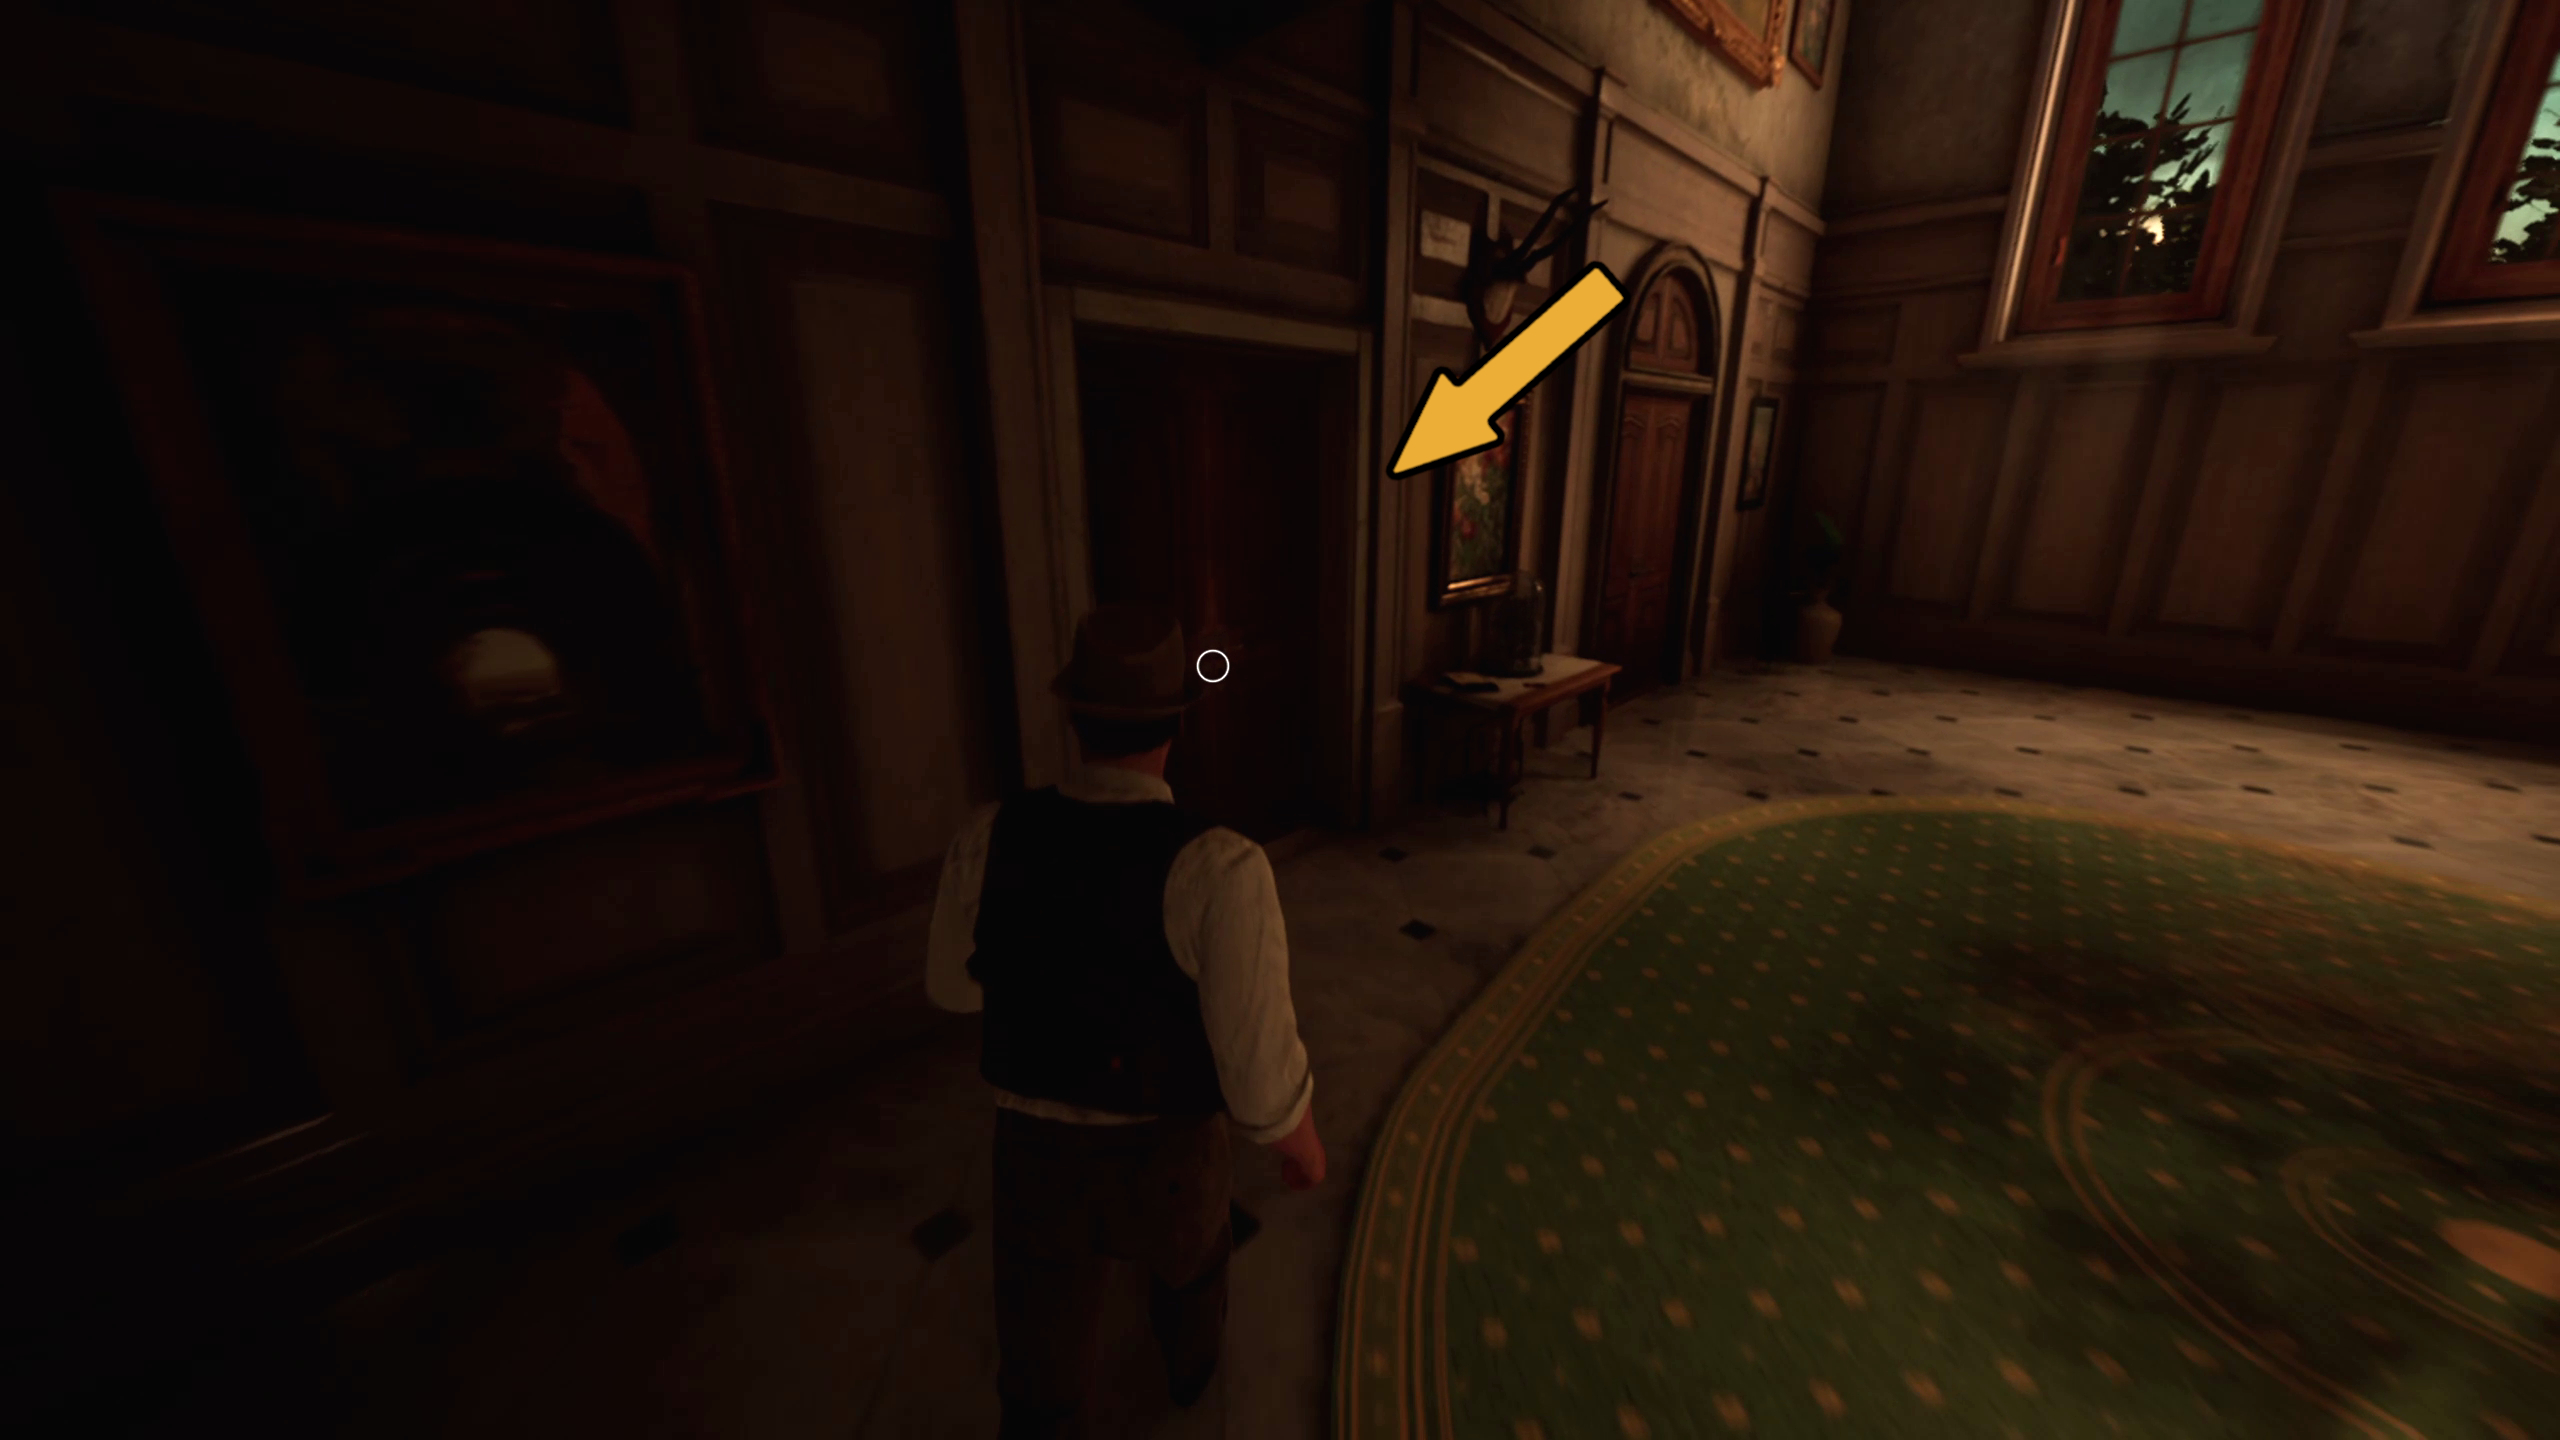
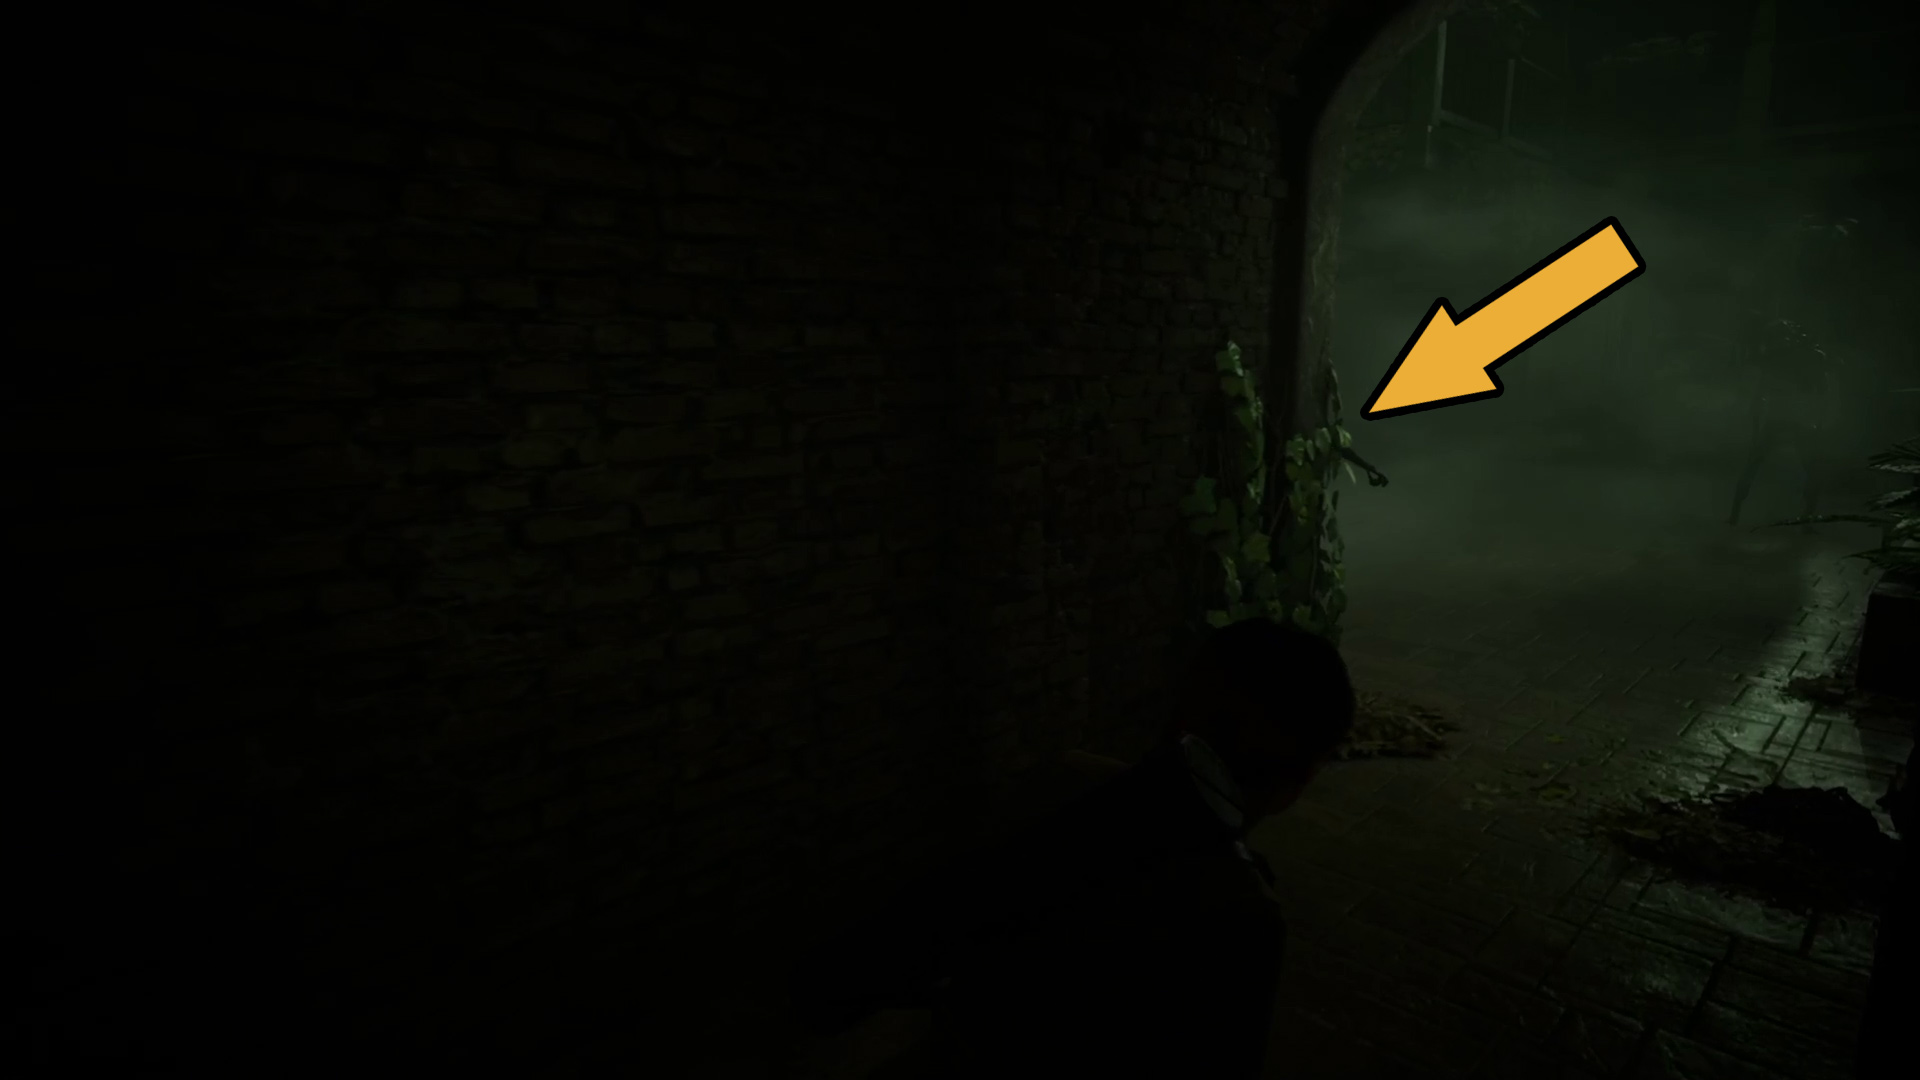
Head forward and go up the stairs to your right, and you’ll enter the garden. You’ll come back here later and mess with some of the stuff you can currently interact with — for now, head across the garden and go through the doors on the far side (Image 3). On your right as you enter the room full of plants, you’ll see a broken vase across the little courtyard (Image 4) — inside is the Housekeeper’s Key.
Image 3Image 4
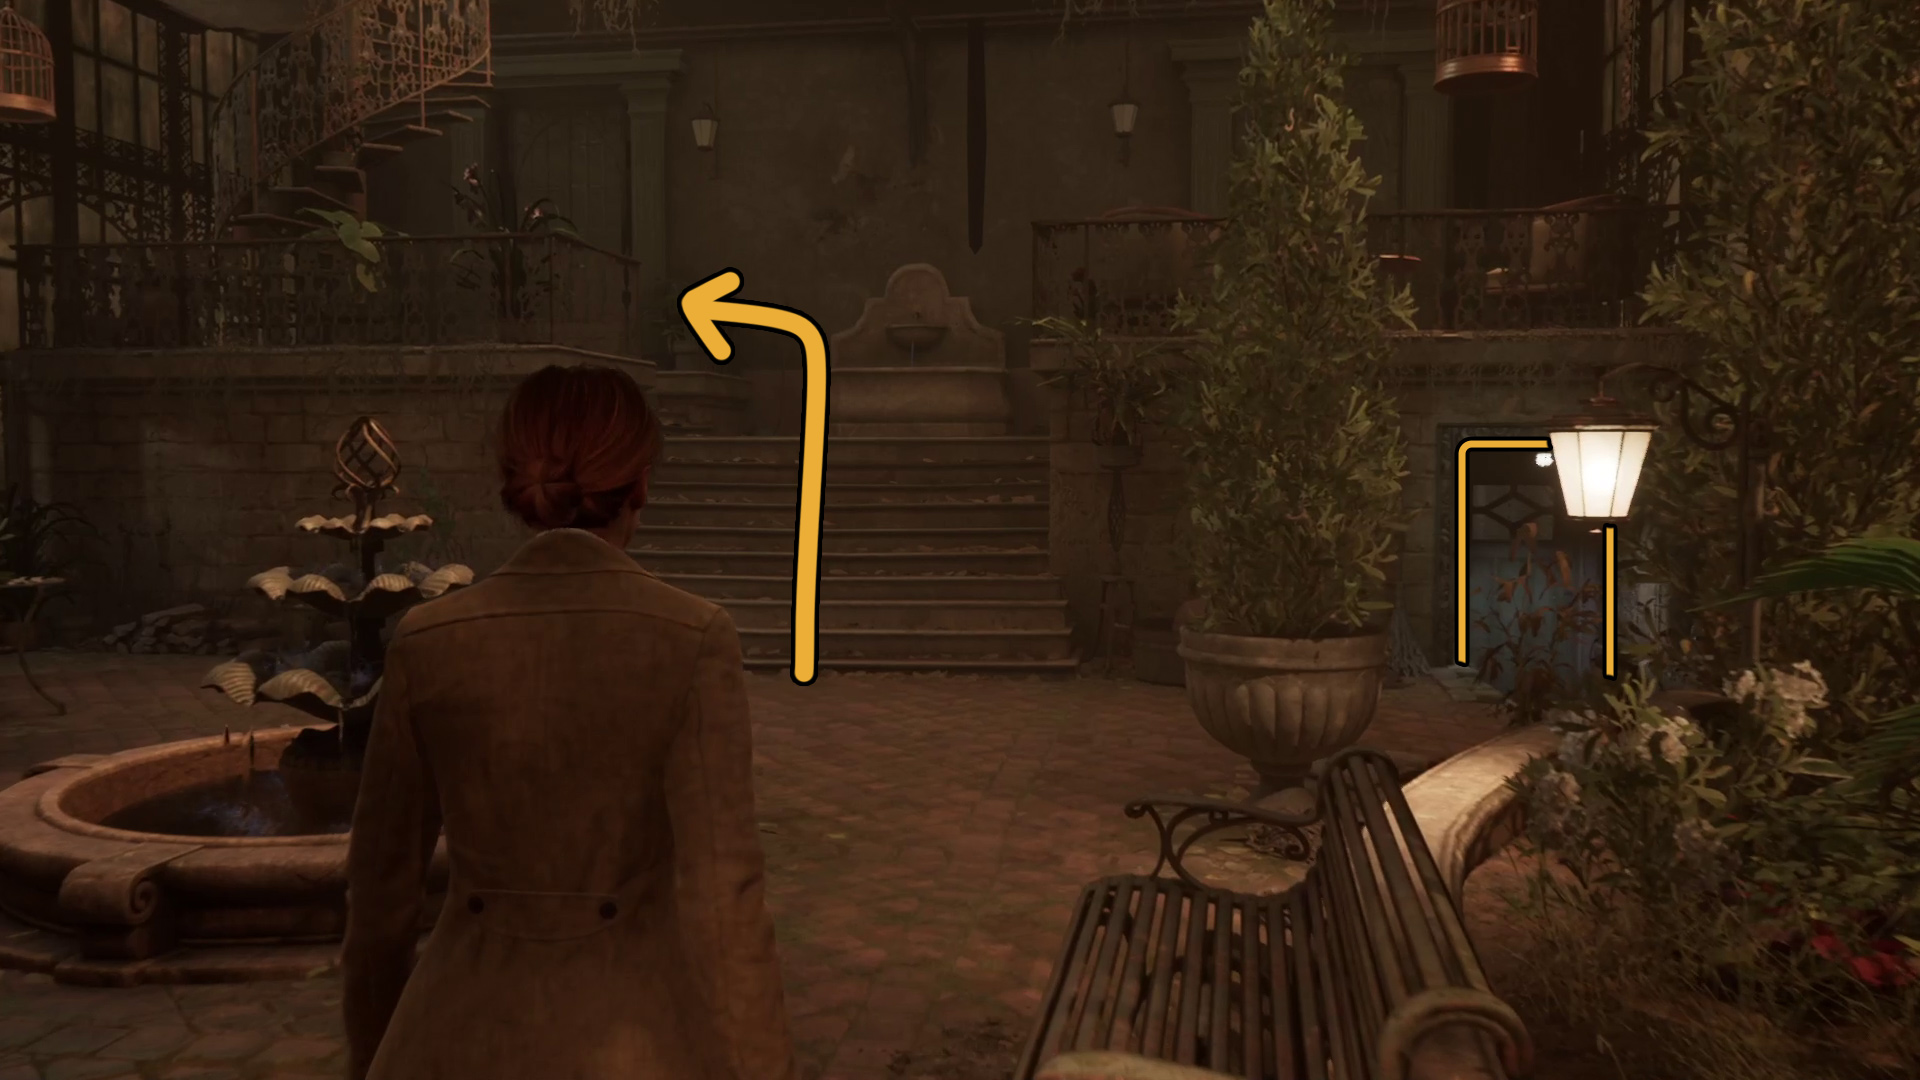
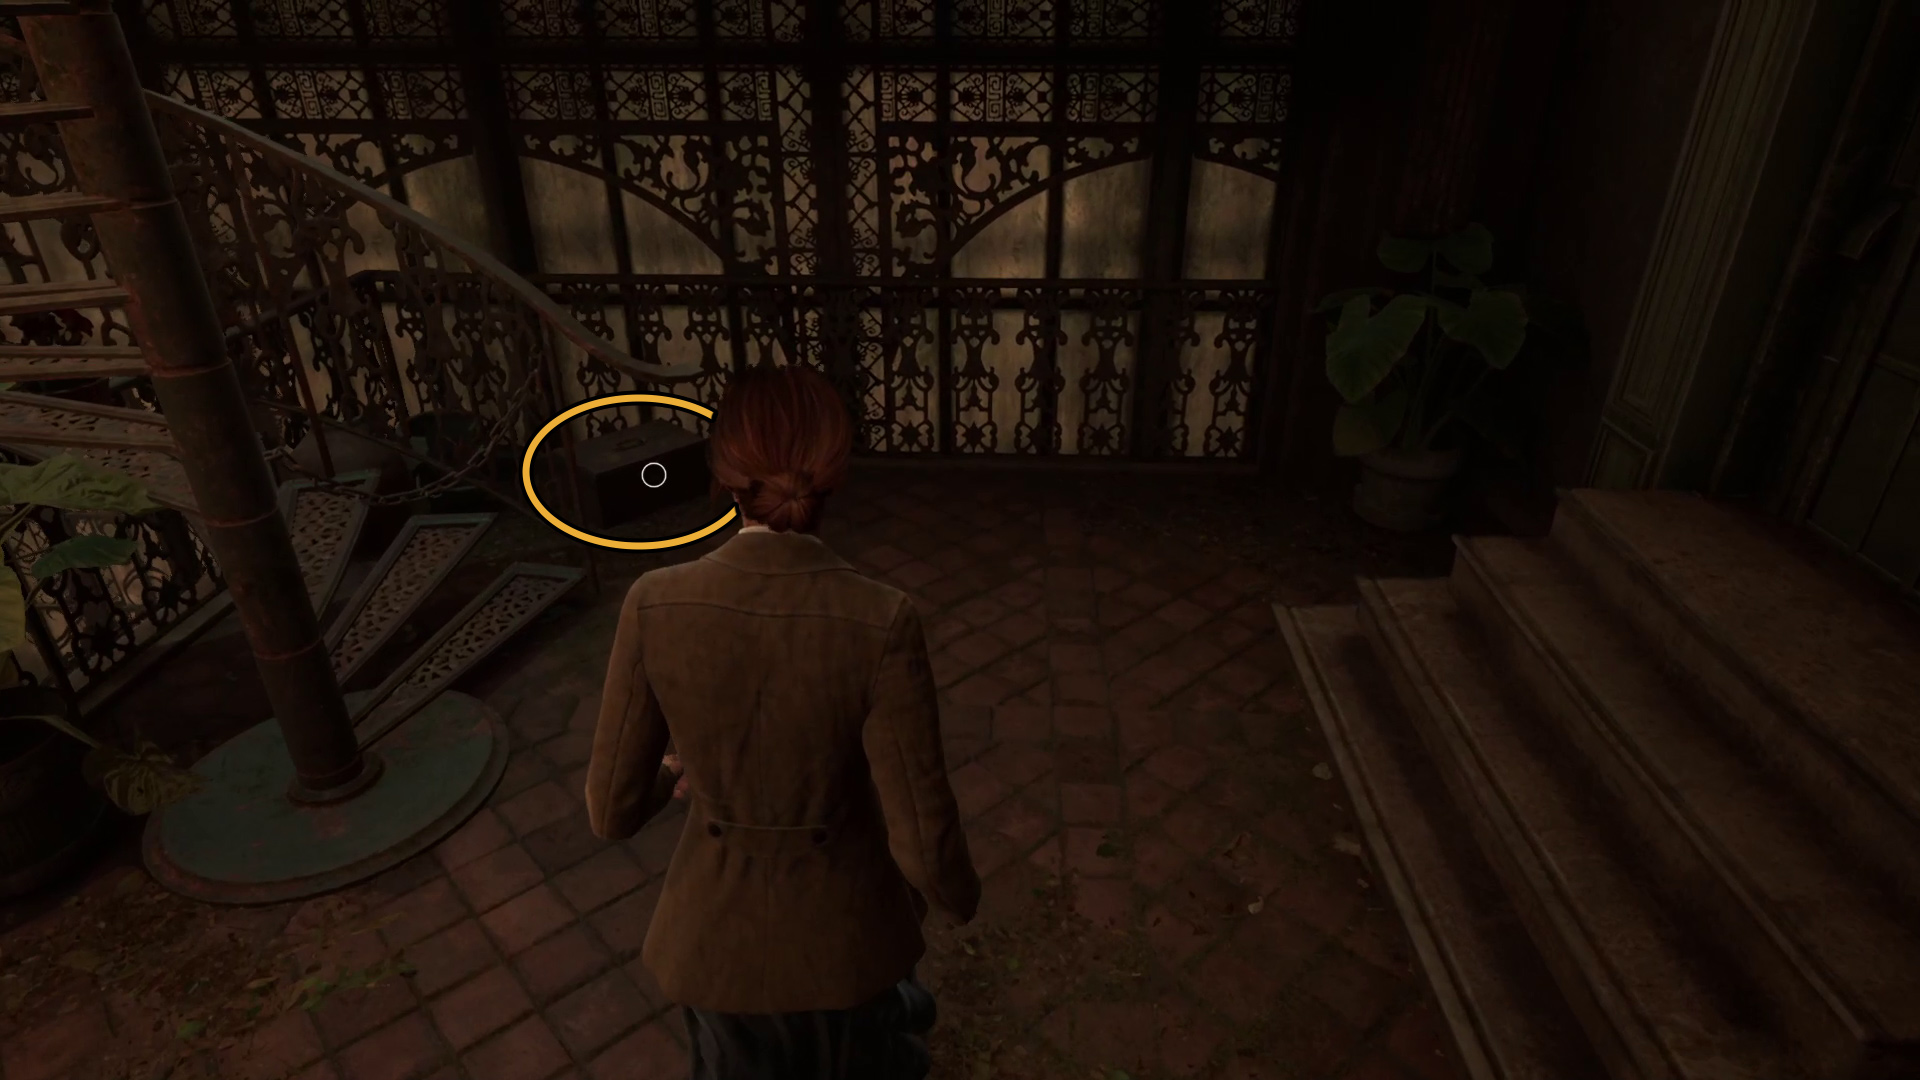
From the vase, turn around and look past the fountain (Image 5) — there is a blue door to the right down some stairs we’ll go through in a second, but first go up the stairs and go left, where you’ll be able to find a box that may or may not have some loot in it (Image 6). Then go back down the stairs and interact with the blue door in Image 5, which you can unlock with the Housekeeper’s Key.
Image 5Image 6
Find the front door and let Detective Camby inside
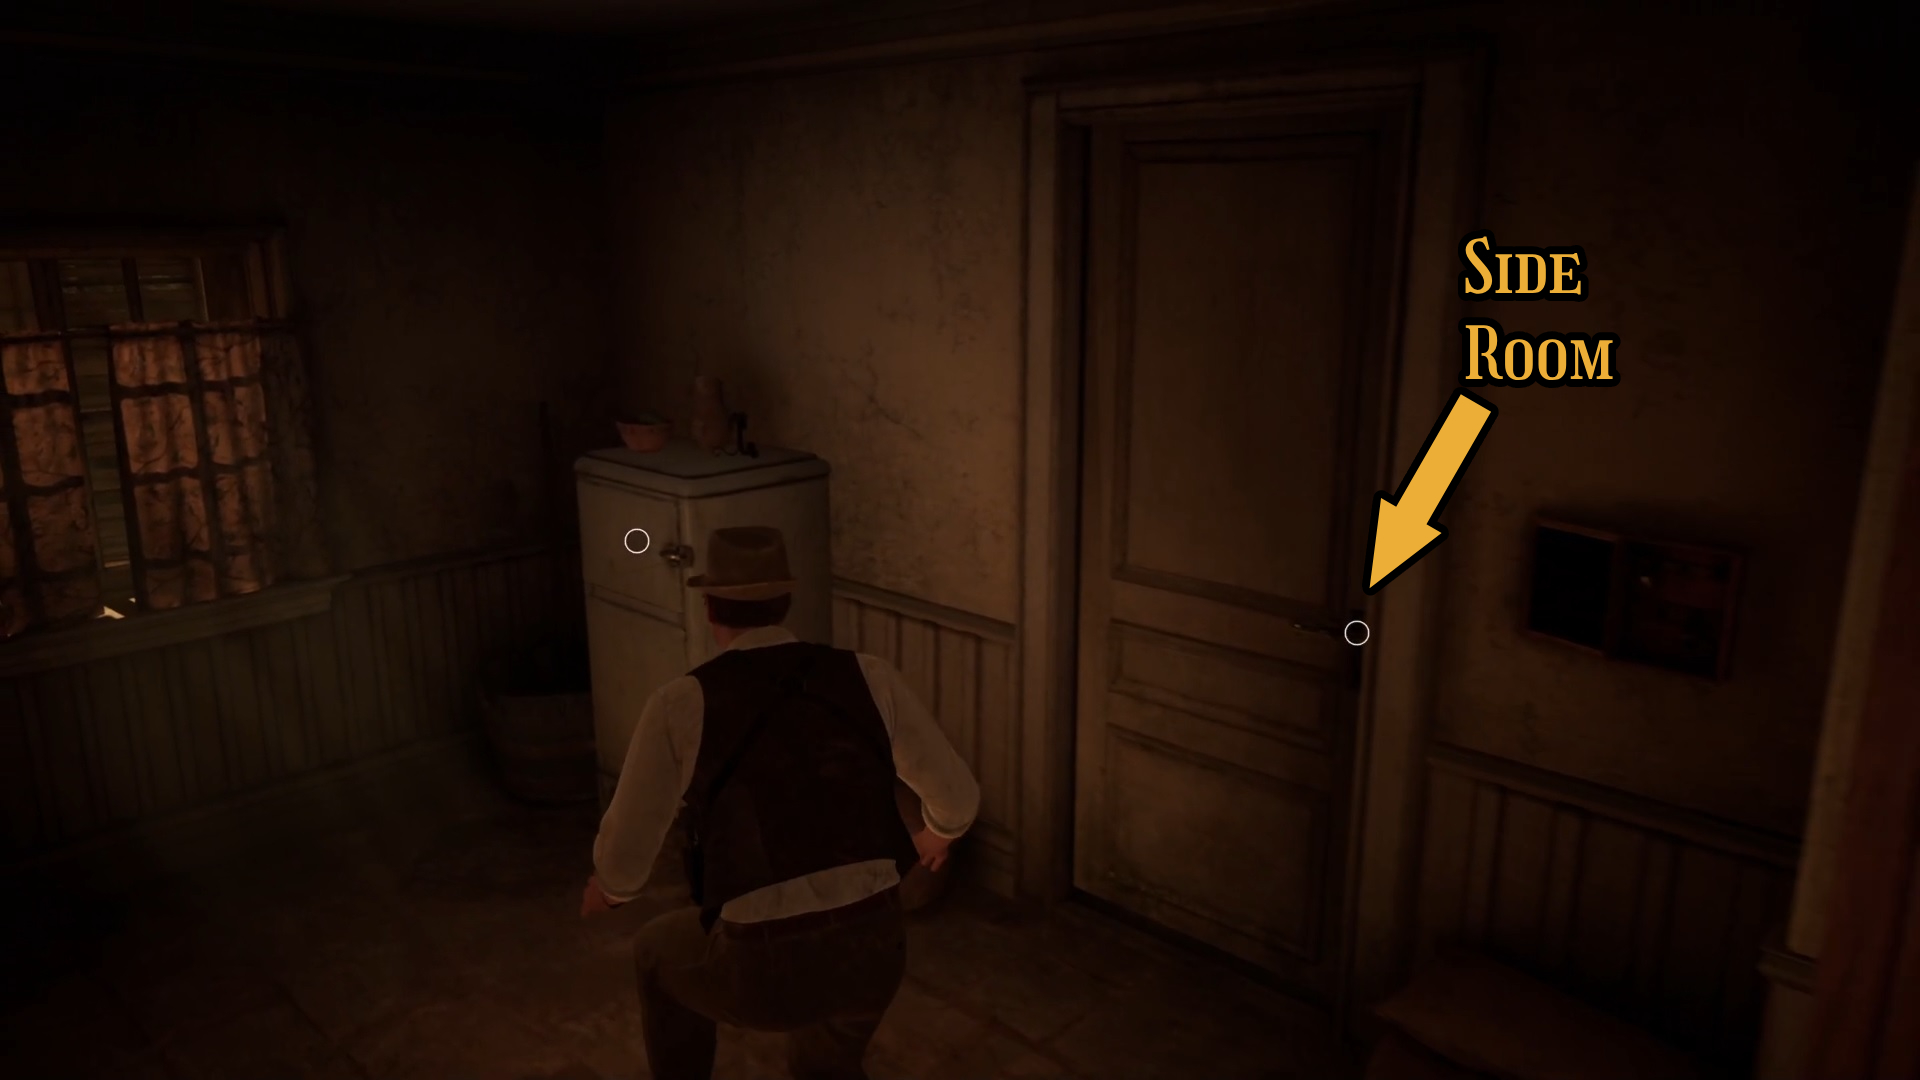
Look right as you enter, and you’ll see a side-room with some shelves — check it for loot and then continue forwards, where you’ll once again see two paths (Image 7). First, go through the open door on the right, and pick up the Family Bible clue from the bed. Enjoy the excellent voice acting on texts, loot the nearby box, then leave the room and go through the door on the right.
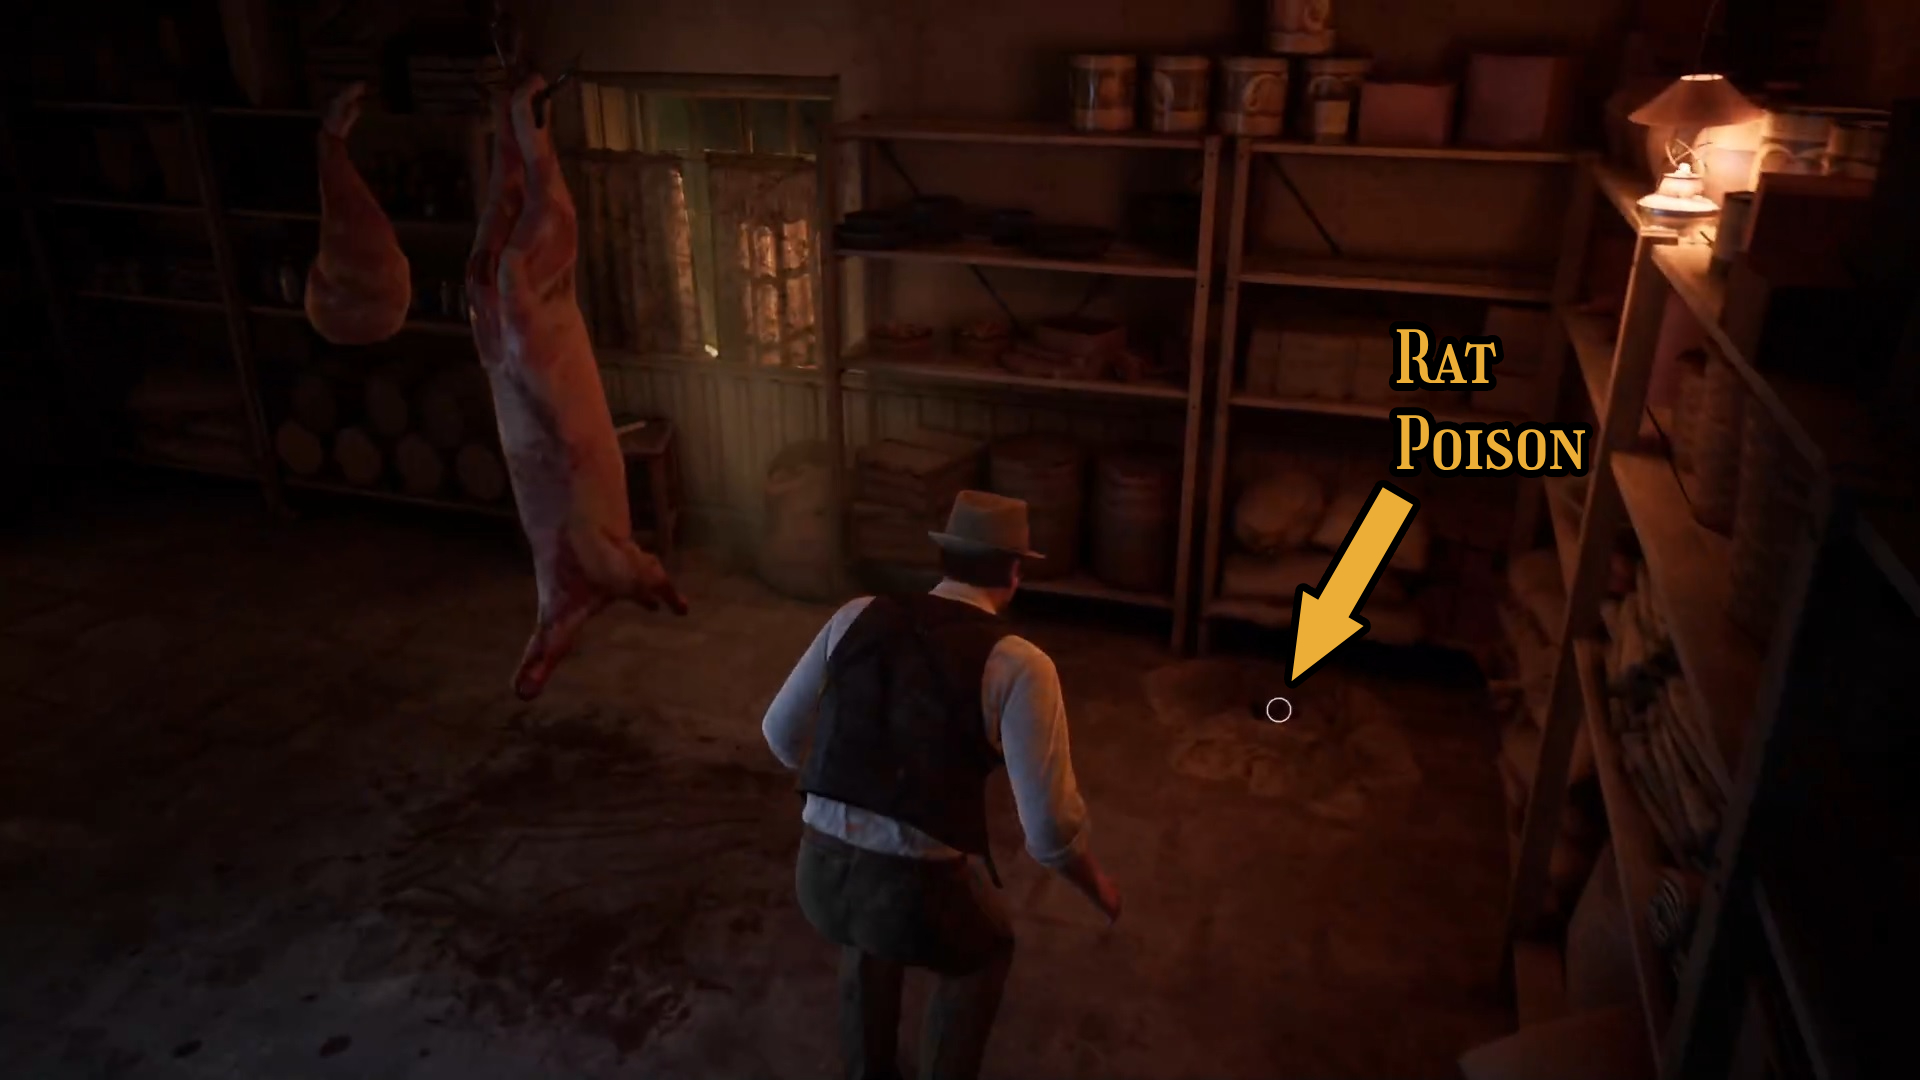
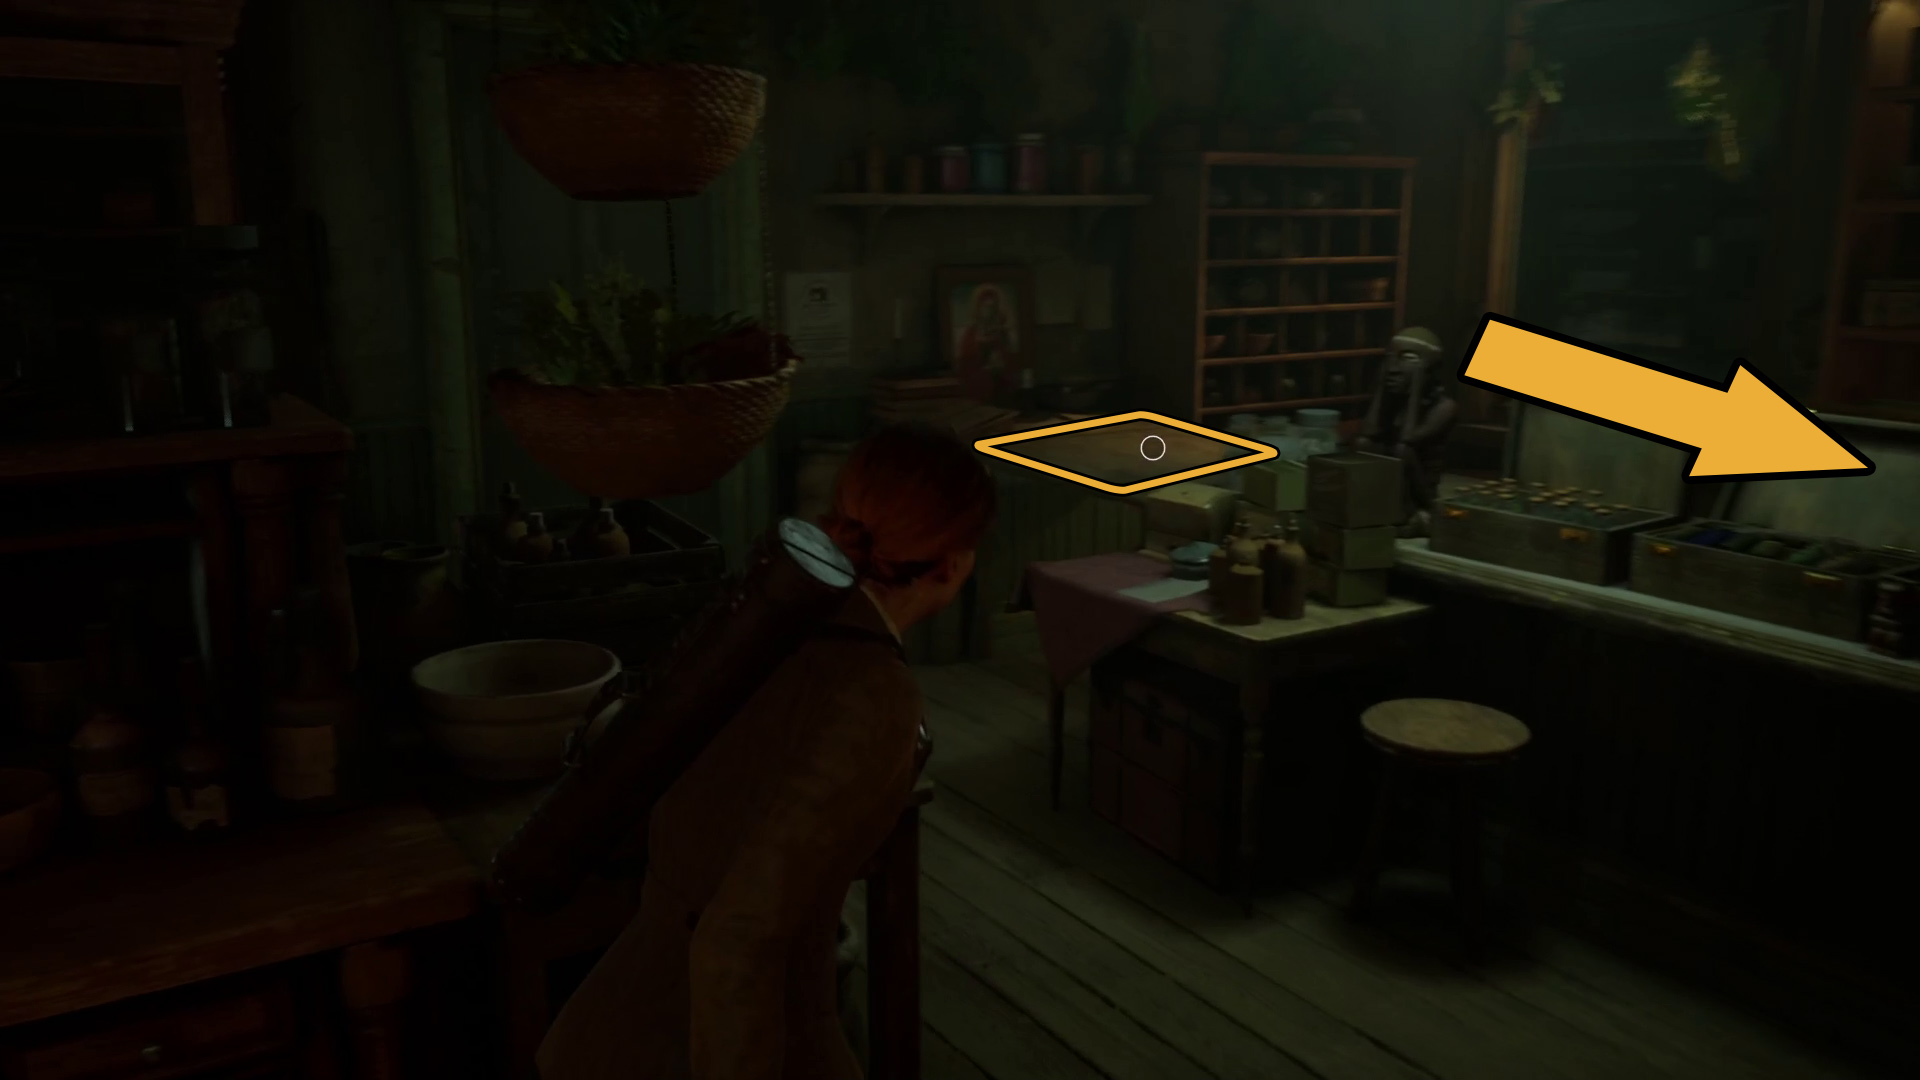
You’ll enter the kitchen — hold the Examine key ( / ) and make a circuit of the room, as there are quite a few places loot can spawn. Make sure to visit the side room (Image 8). There, in the corner, among all the supplies you’ll find your first Lagniappe (Collectible) – Rat Poison (Image 9).
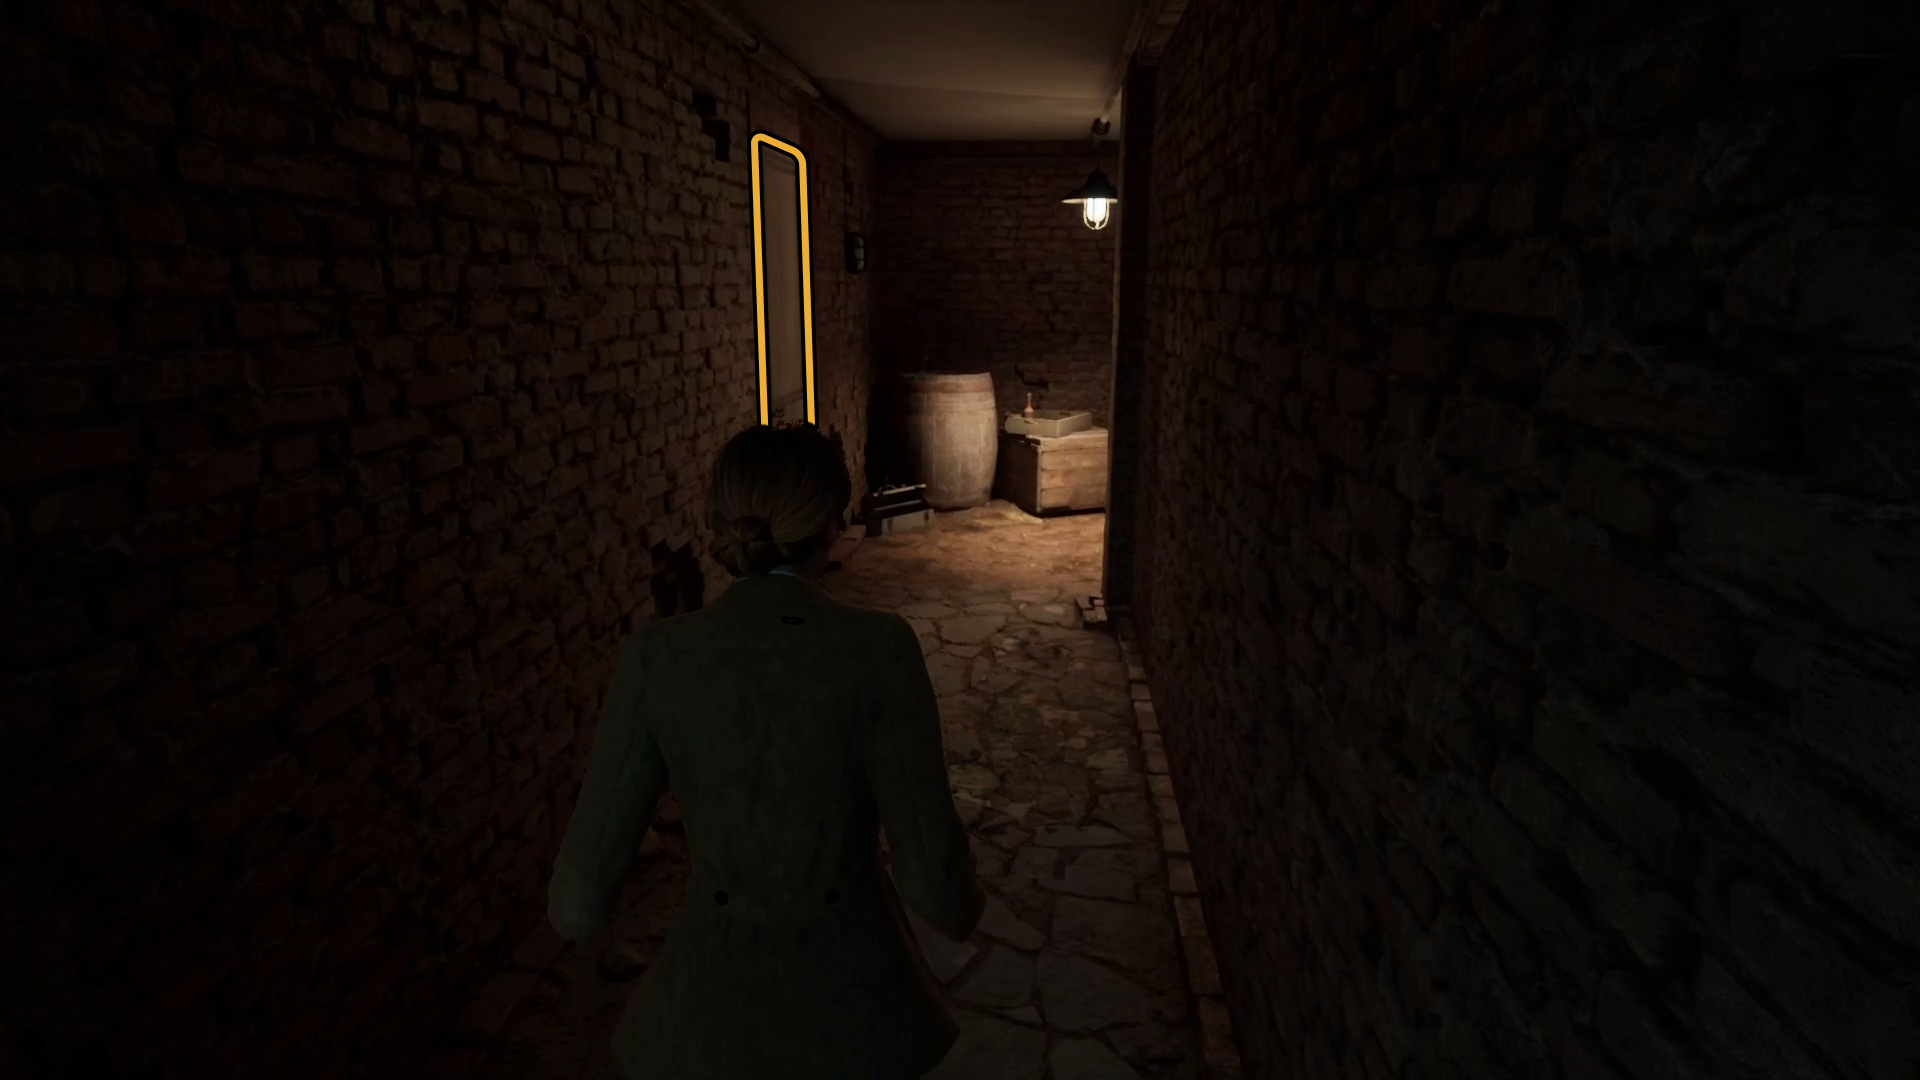
When you’re ready, head through the open door on the far side of the kitchen. You’ll enter a hallway — go right and then through the metal gate (Image 10).
Image 7Image 8Image 9Image 10
Straight ahead on the shelf is your second Lagniappe, the Street Car Ticket (Image 11). Check the rest of the room for loot, and interact with the Locked Gate — doing so will put it on your map for later. Leave the wine room the way you came in, then turn right and continue down the hallway, then go through the door on the left (Image 12).
Image 11Image 12
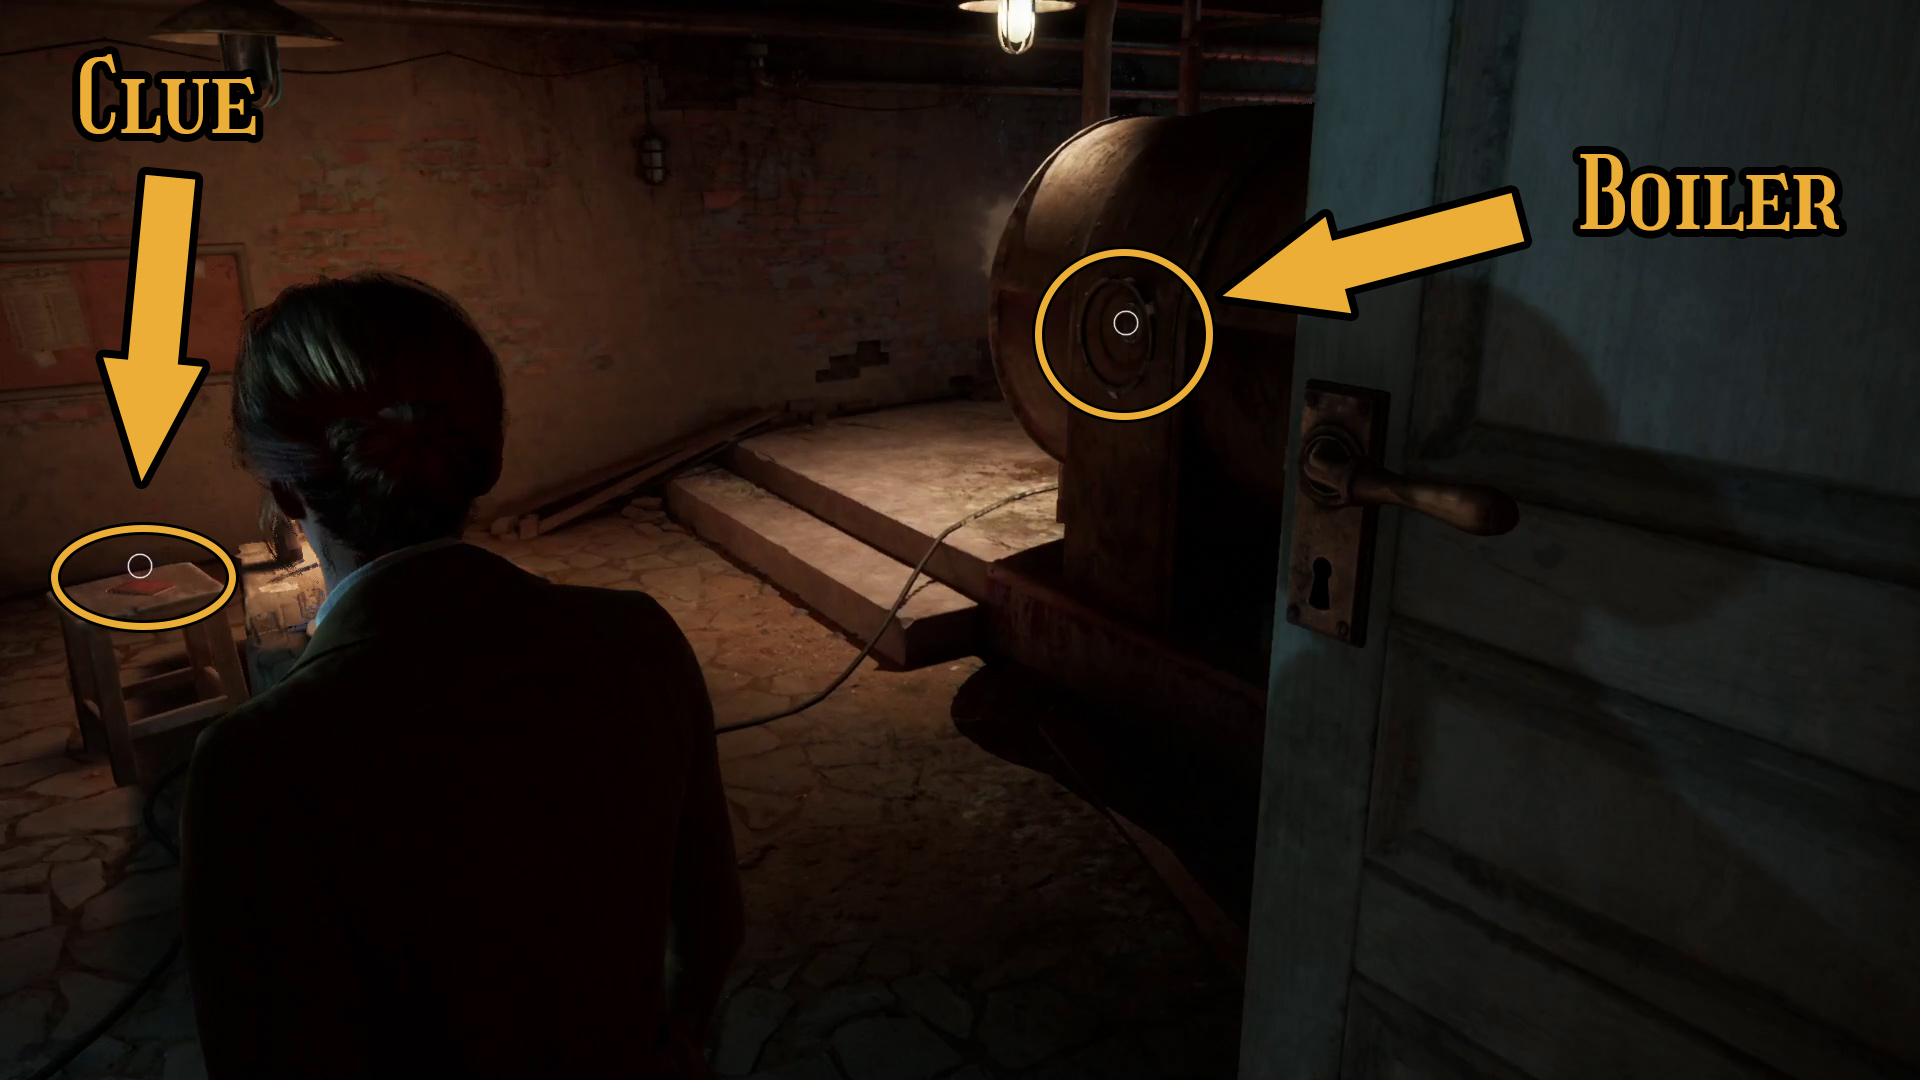
Here, you’ll be able to pick up the Sabotage clue from the nearby stool, and inspect the boiler (Image 13) — this is a puzzle for later, so after checking it out, go back into the hallway. Just around the corner ahead is a door that leads into the house (Image 14).
Image 13Image 14
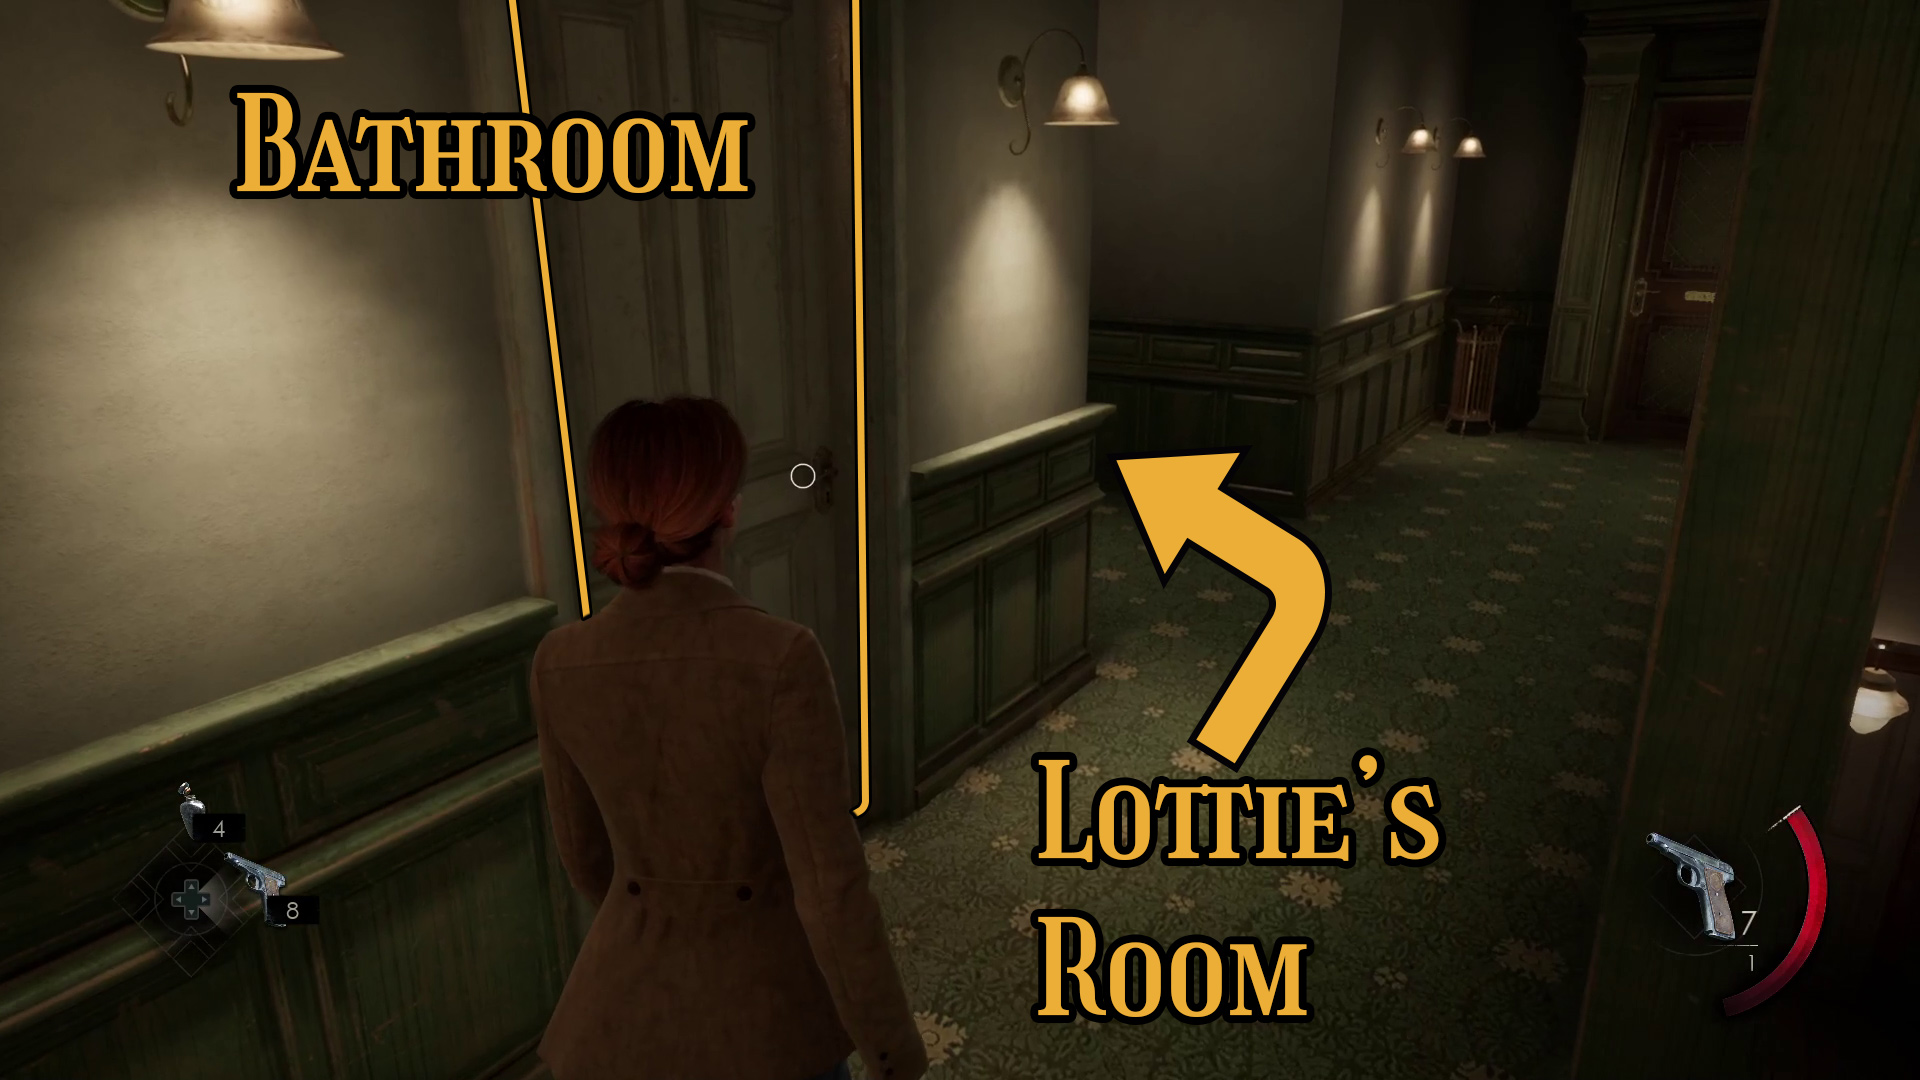
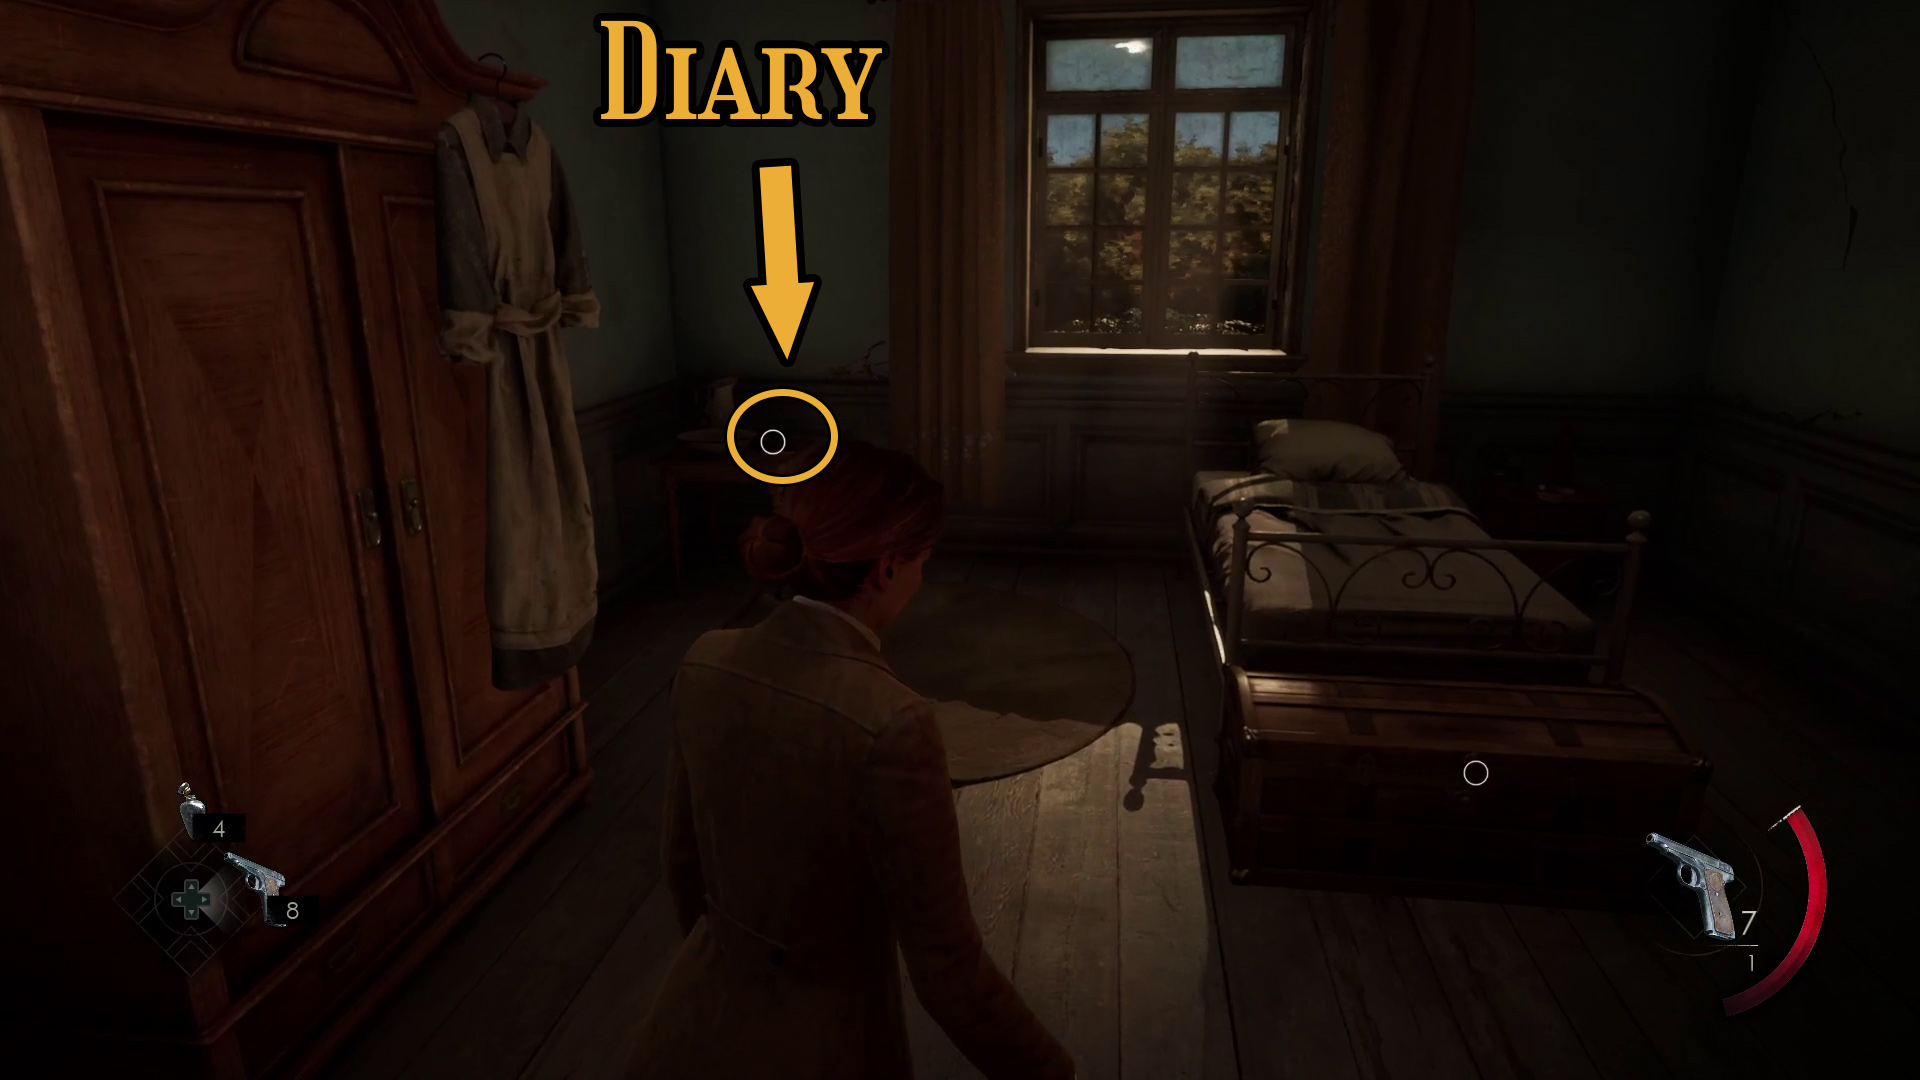
At the top of the stairs, try the door on your left — it’ll be blocked — and then turn around and go through the bathroom on the other side of the hall and check it for loot, then go back to the hall and head to Lottie’s Room (Image 15). By the bed, you can find Lottie’s Diary (Image 16). Grab it, check the trunk at the foot of the bed for loot, then inspect the medicine box on the table — this is another puzzle you can’t complete yet.
Image 15Image 16
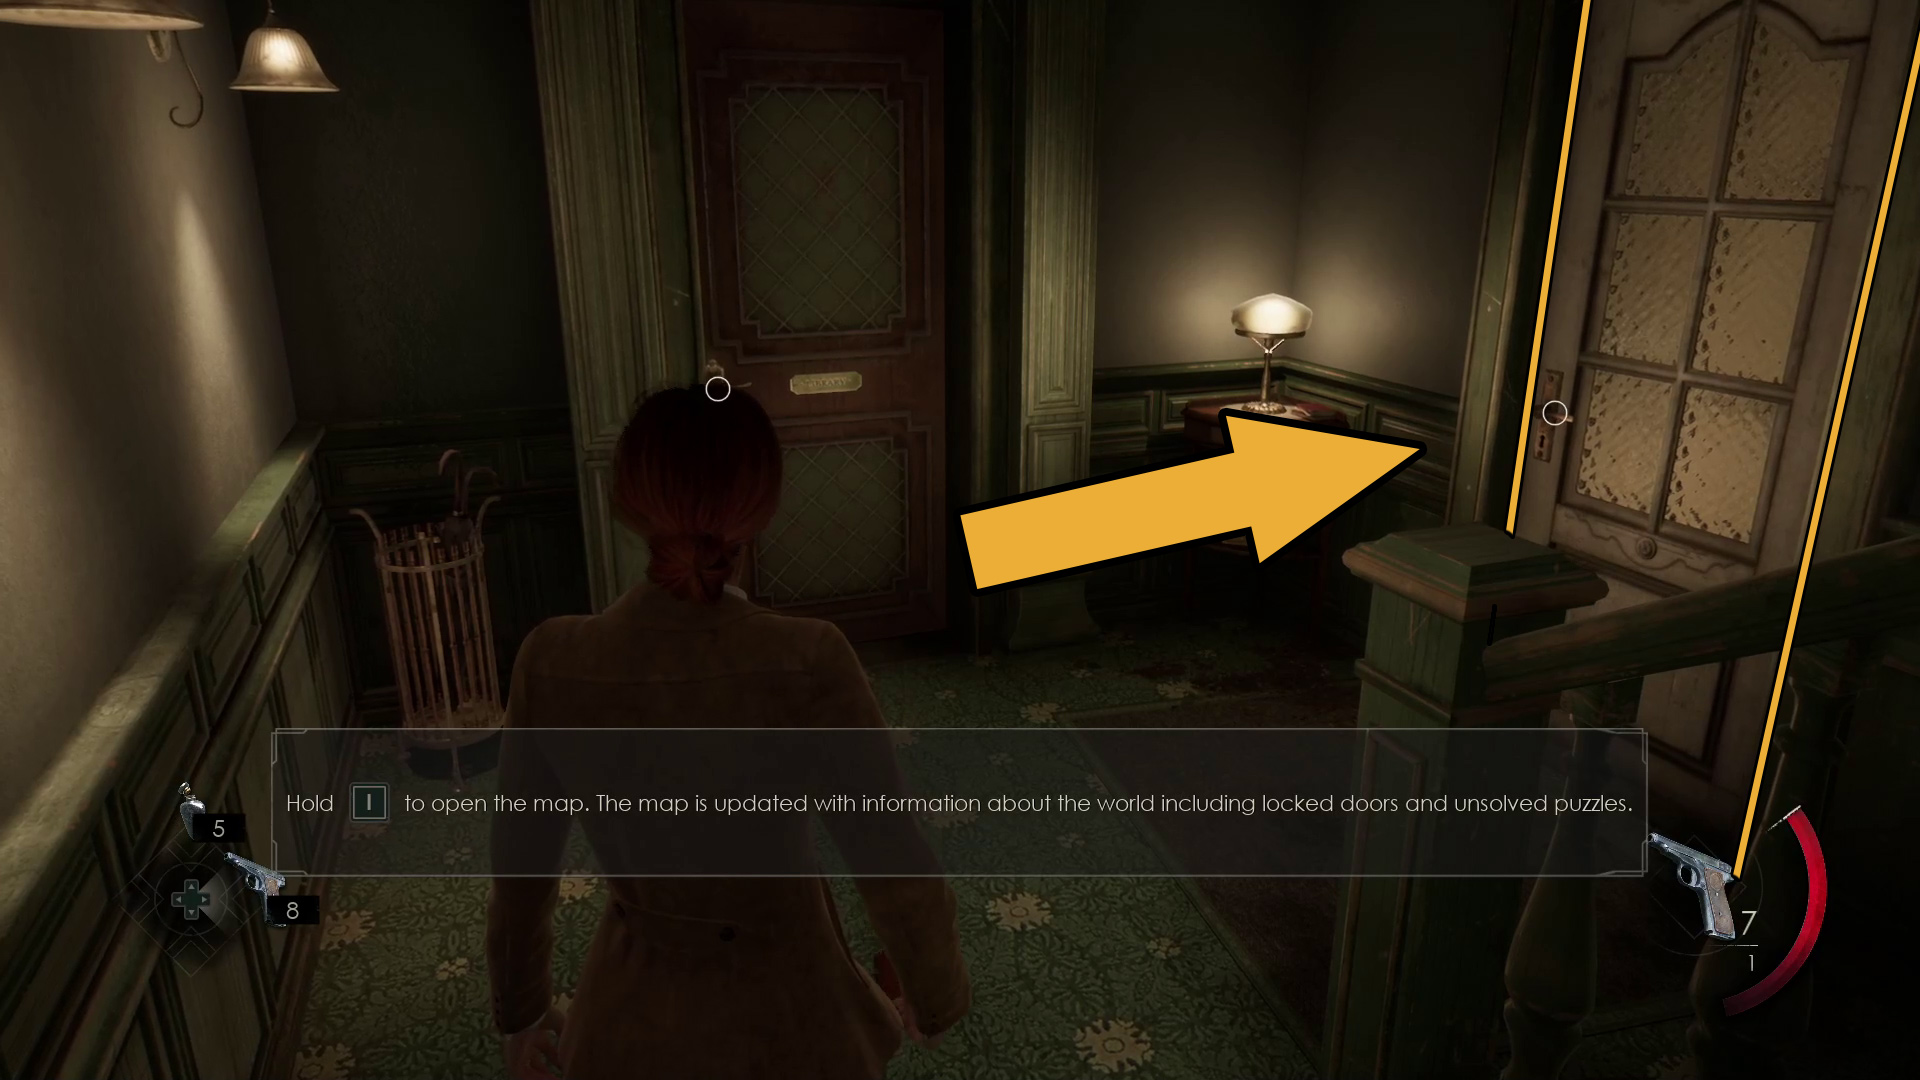
Most importantly, grab the Derceto Floor Plans from the wall opposite the bed (Image 17) — this is your map for Derceto. (You can open the map now by holding // .) You’ll receive the Piazza Key as well, as it’s hidden behind the map. Leave Lottie’s room and go left, where you can interact with the locked Library door straight ahead — then, go through the white door (Image 18, which you can unlock with the Piazza Key.
Image 17Image 18
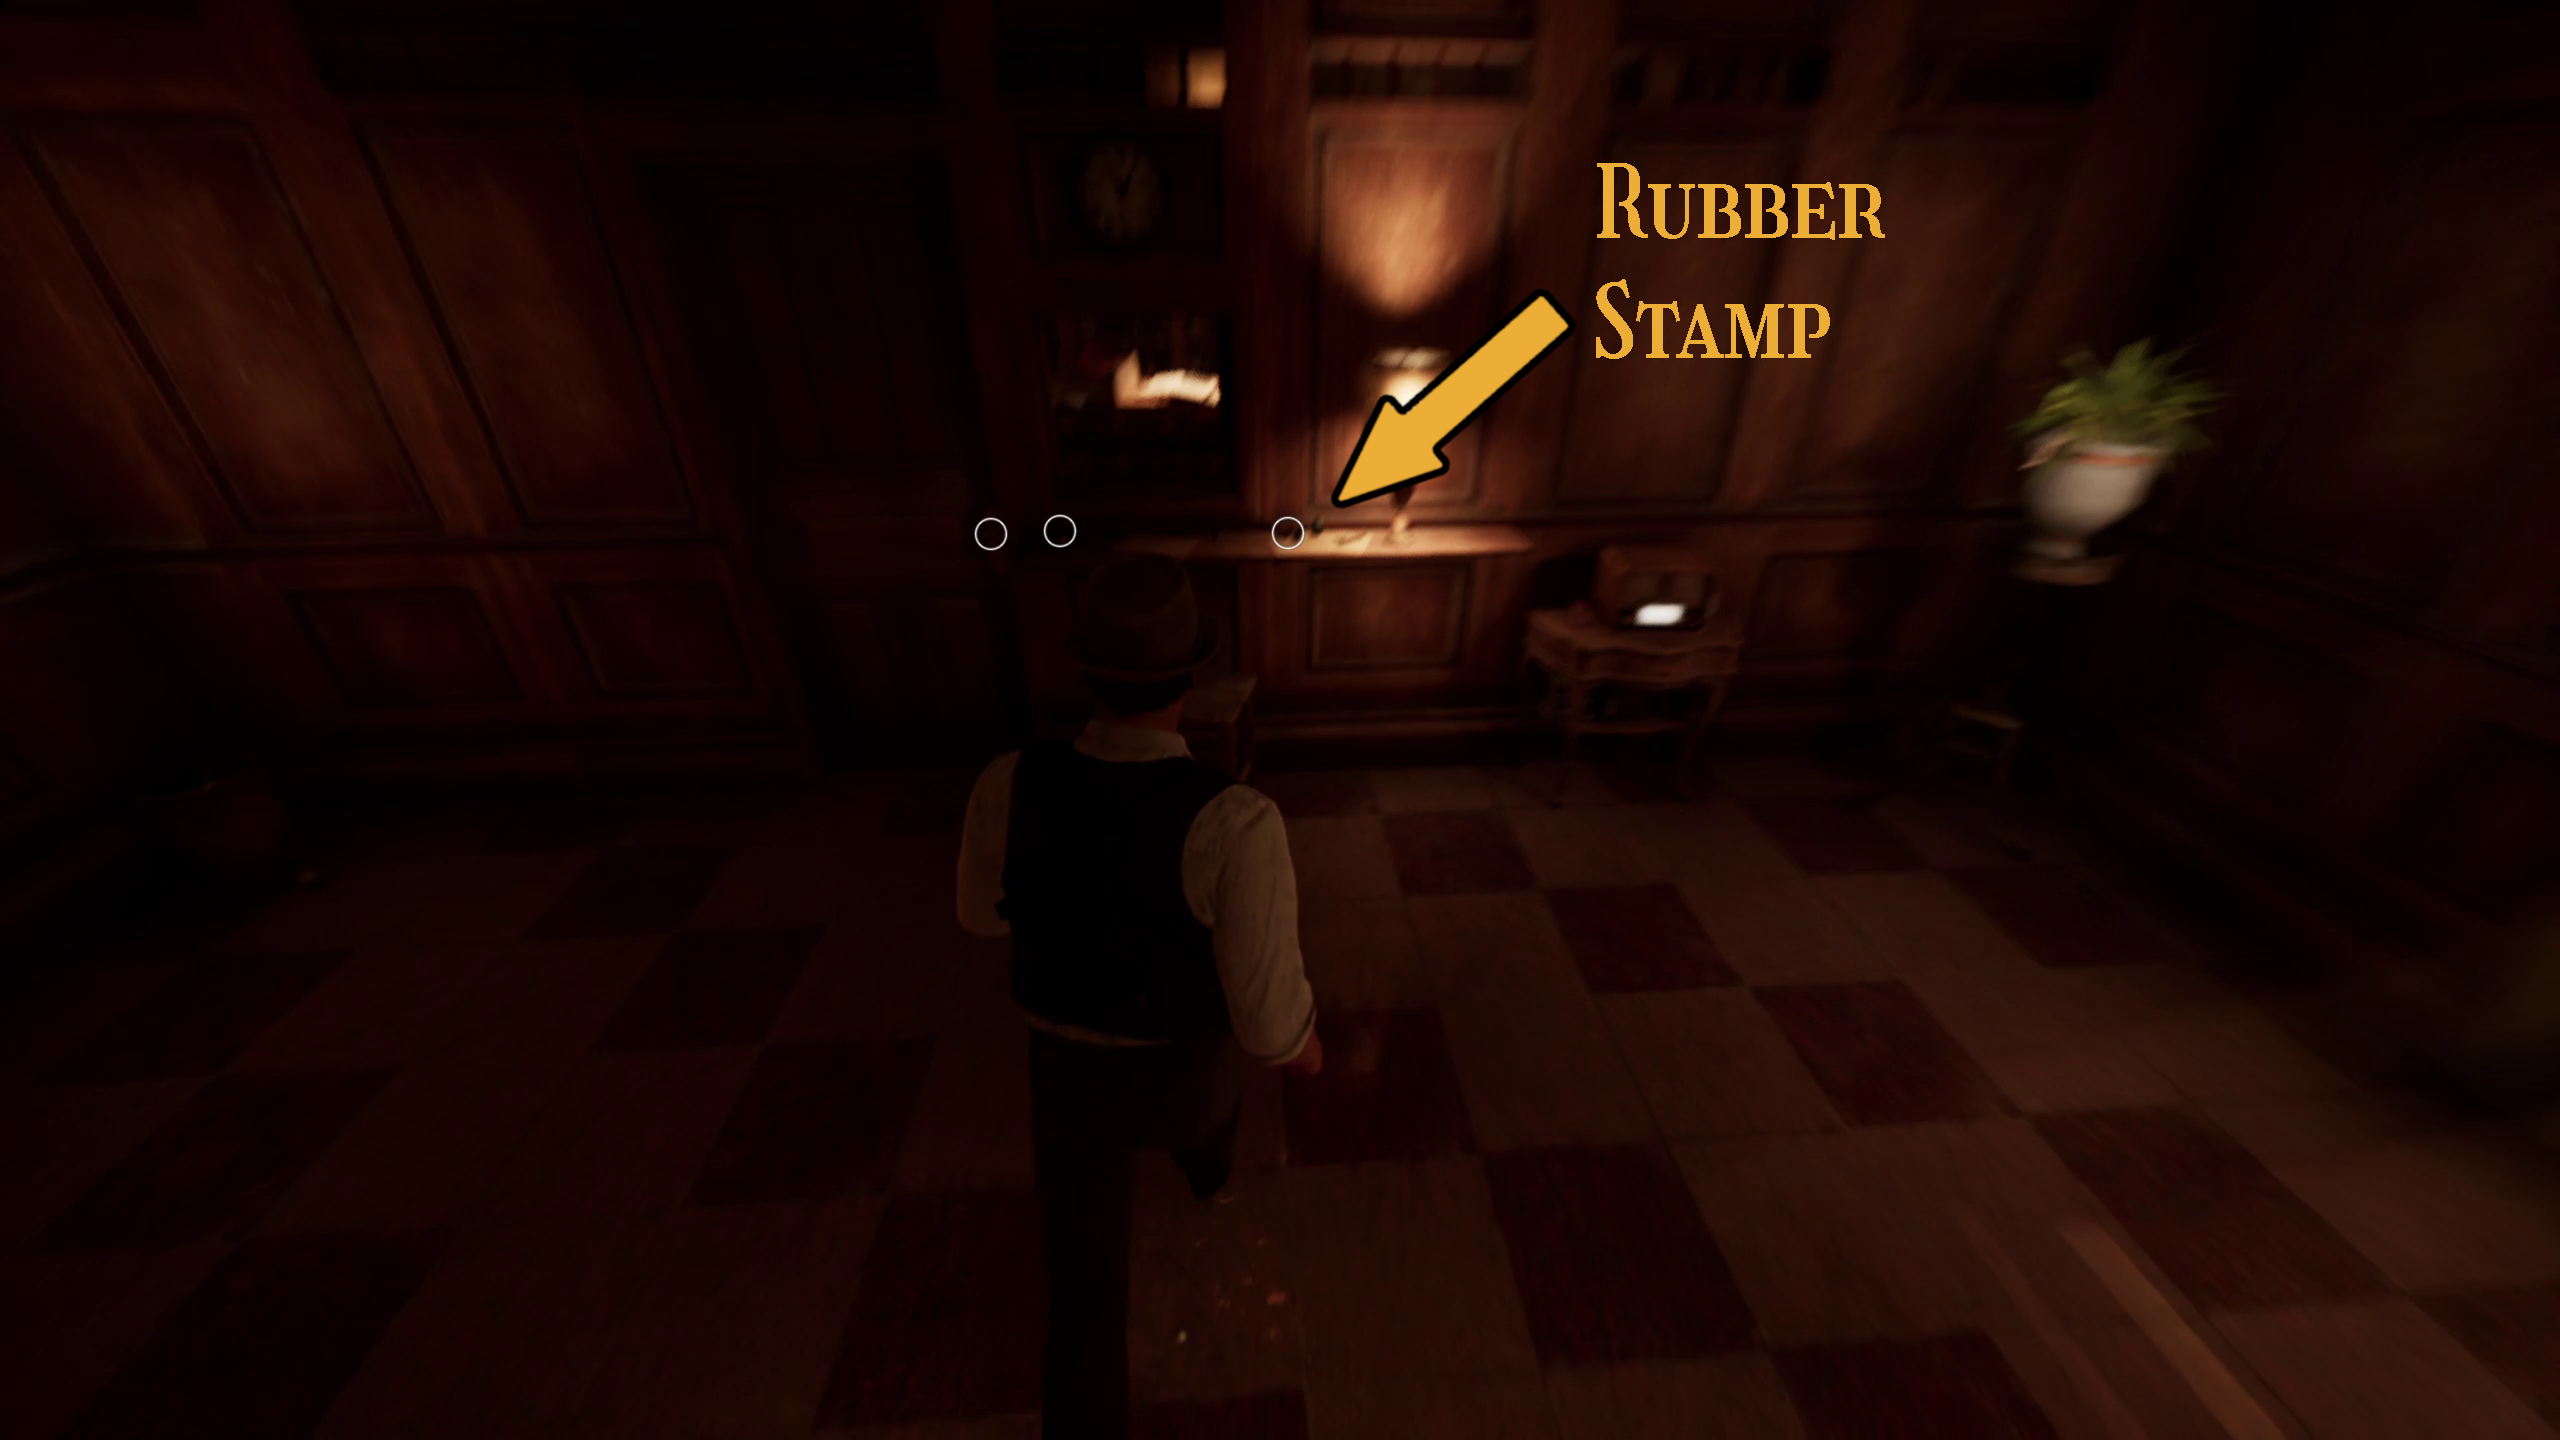
Head across the balcony and go through the door at the far side, and you’ll find yourself in the stair hall. Before you go too far forward, go to the door to your left, leading to Reception (Image 19). Here, you will be able to find the Picayune Post note on a table (Image 20), and the Rubber Stamp Lagniappe on the counter (Image 21).
Image 19Image 20Image 21
Once you are done here, head back to the Stair Hall and go toward the door across from the stairs, and a cutscene will begin.
Search Jeremy’s room for clues
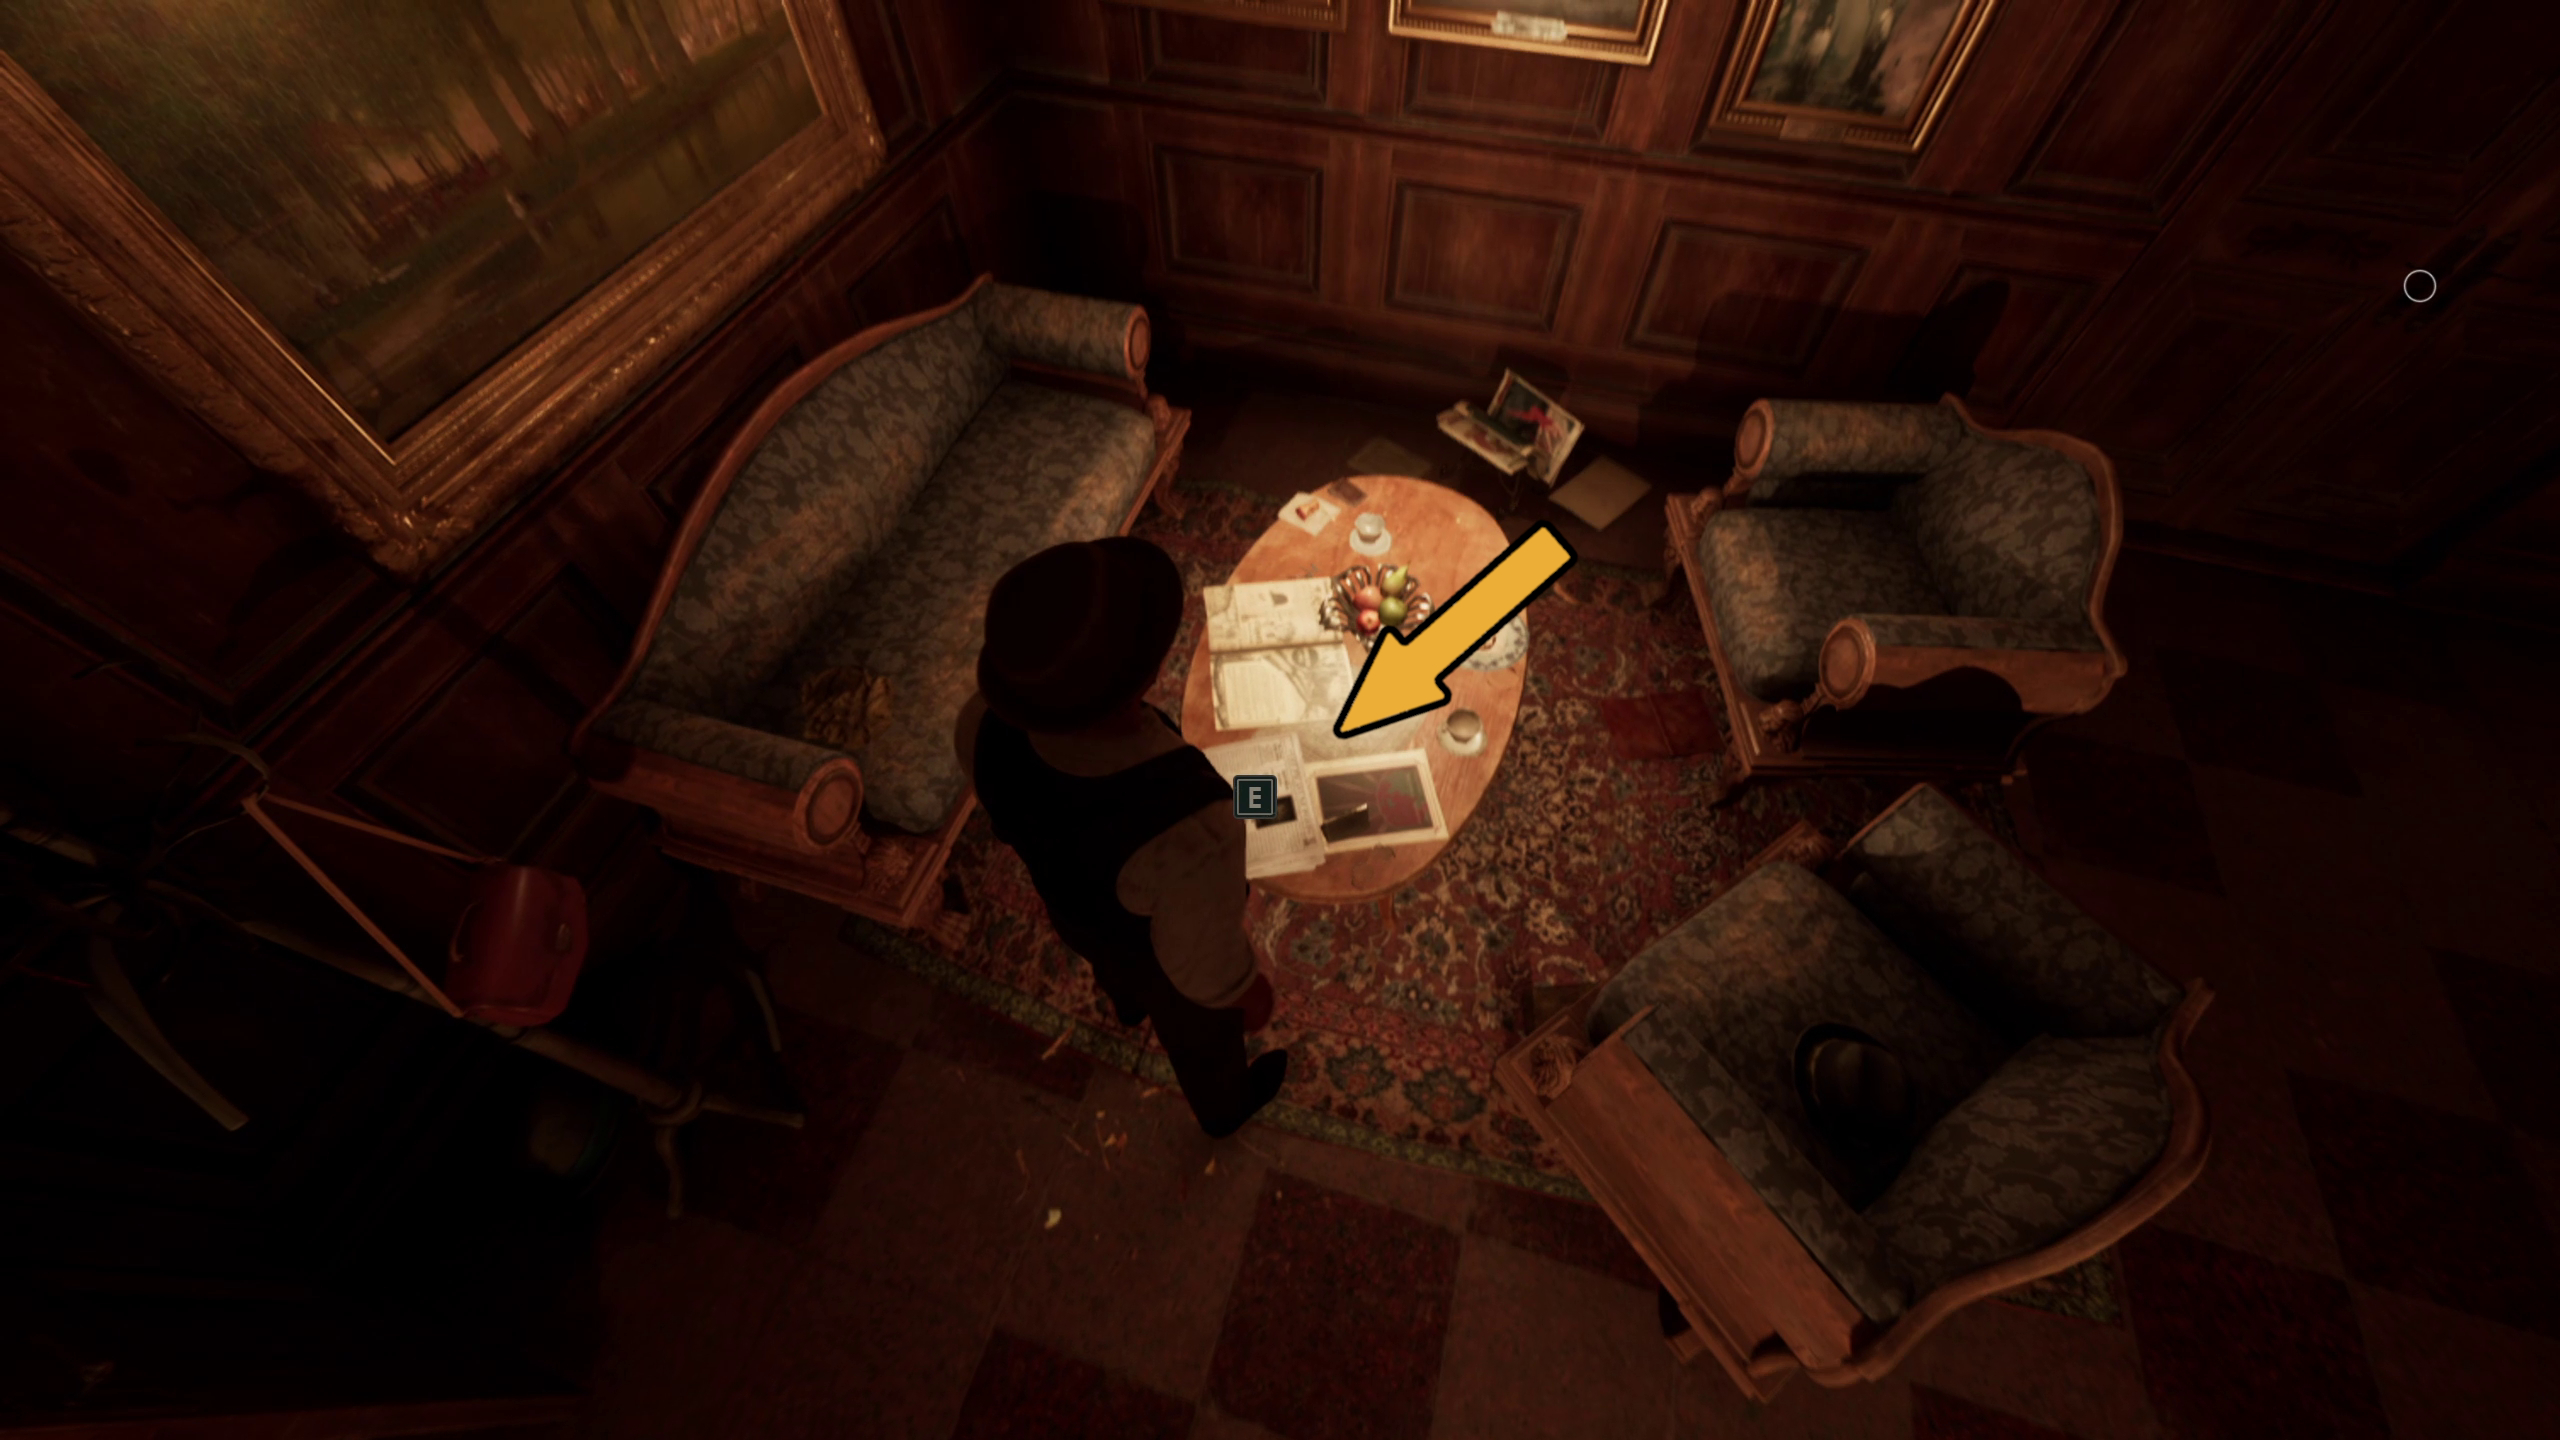
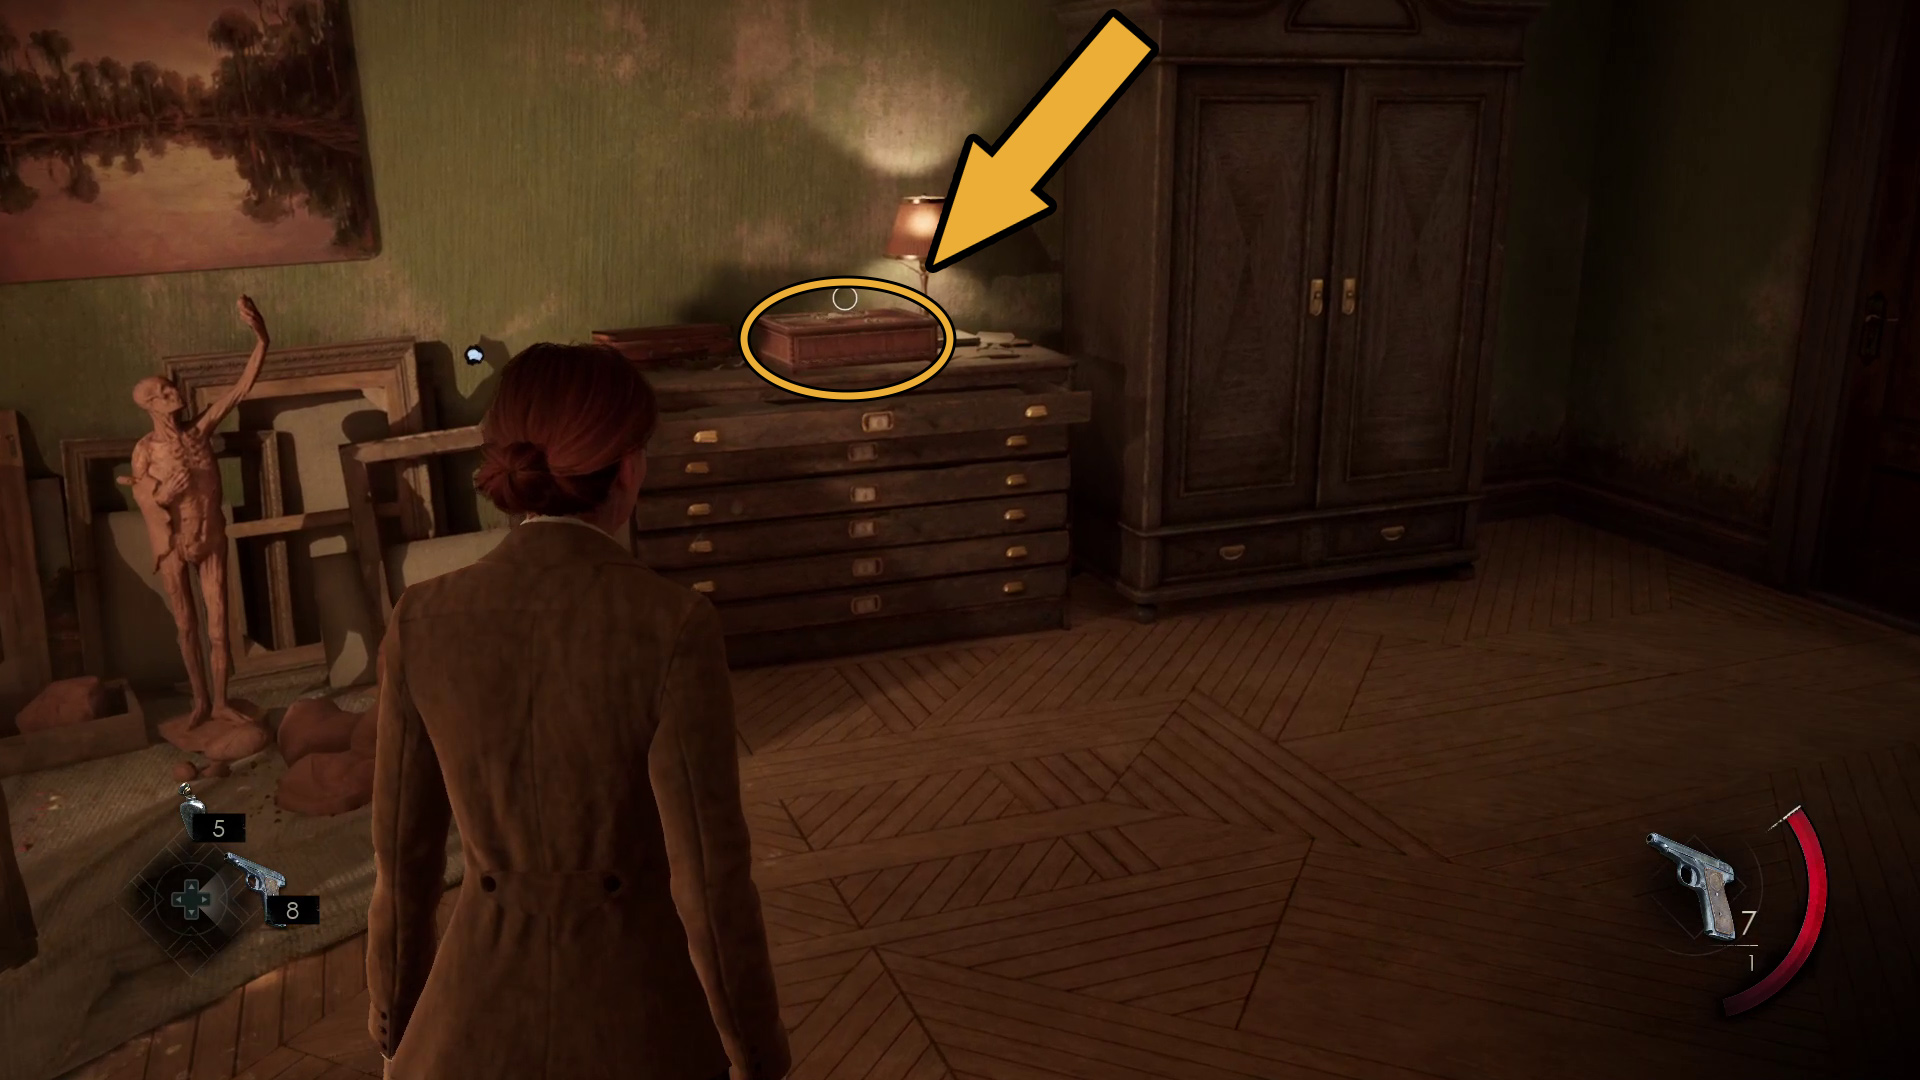
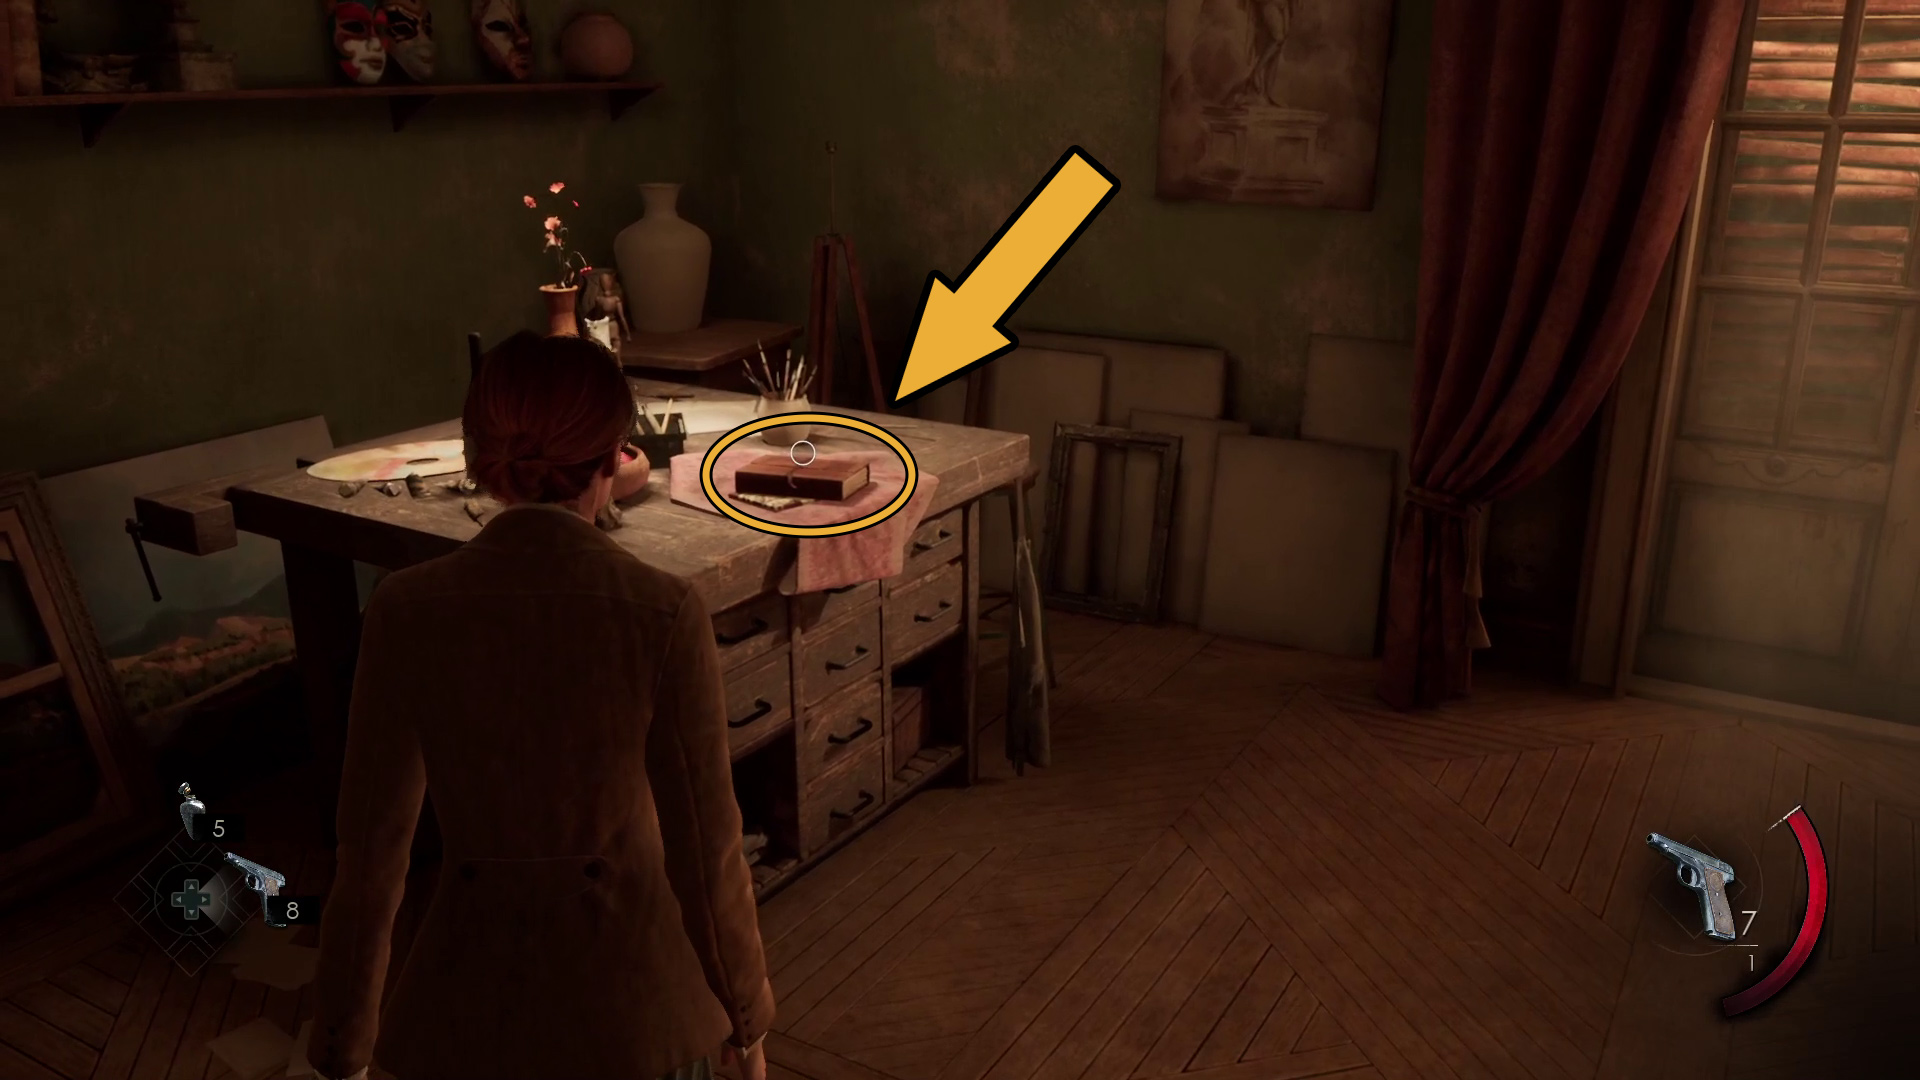
When the cutscene ends, you’ll be in your uncle Jeremy’s room. You’ve got to look for clues, but if you want (or are going for the Chatterbox achievement), you can speak with Edward/Emily first. Ignore the box on the dresser — you can’t do anything with it yet — and instead go check out the book on the work table (Image 22); this clue, The Commonplace Book, is essential to your investigation. You’ll also pick up the Painted Tile. Now you can go back to the box on the dresser (Image 23) and interact with it.
Image 22Image 23
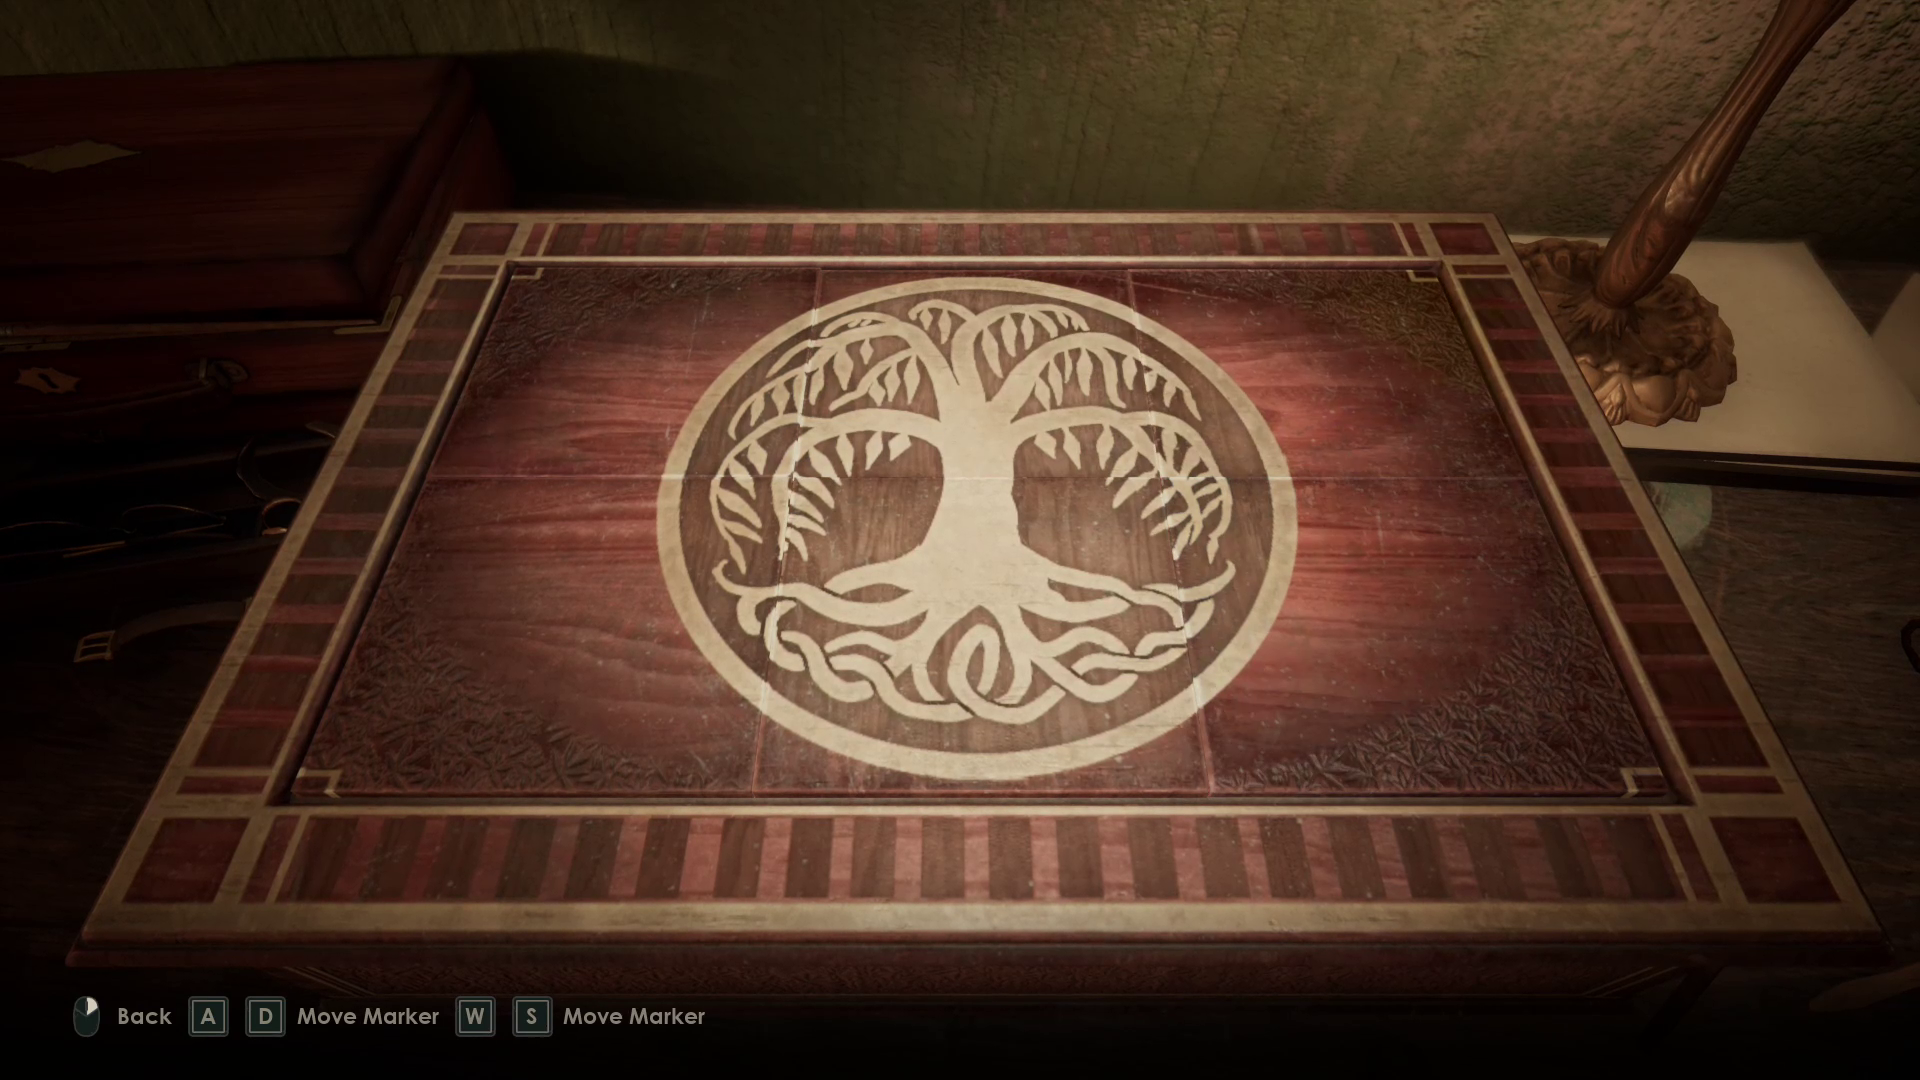
Use the controls indicated to swap one tile for another until you complete the picture (Image 19). A drawer will slide out, you’ll grab the Talisman Schematics, and another cutscene will start.
Investigate the corner store
A note on combat in Alone in the Dark: The combat in this game can be difficult — resources are scarce, your character is a bit clunky, and enemies can hit hard, especially on higher difficulties. If you don’t mind playing a bit cheesy, know that you can often run past enemies to check points; even if you die, when you reload your save, you’ll be at the checkpoint, and the enemies will be gone.
Leave the balcony and check the box just to the right of the windows for loot, then leave the room and go down the stairs. Continue out the door, and you’ll enter a dark alley, with an enemy just ahead to the right. First, go left and hold the examine key ( / ) to look for loot in the dead end, then continue down the alley carefully towards the enemy.
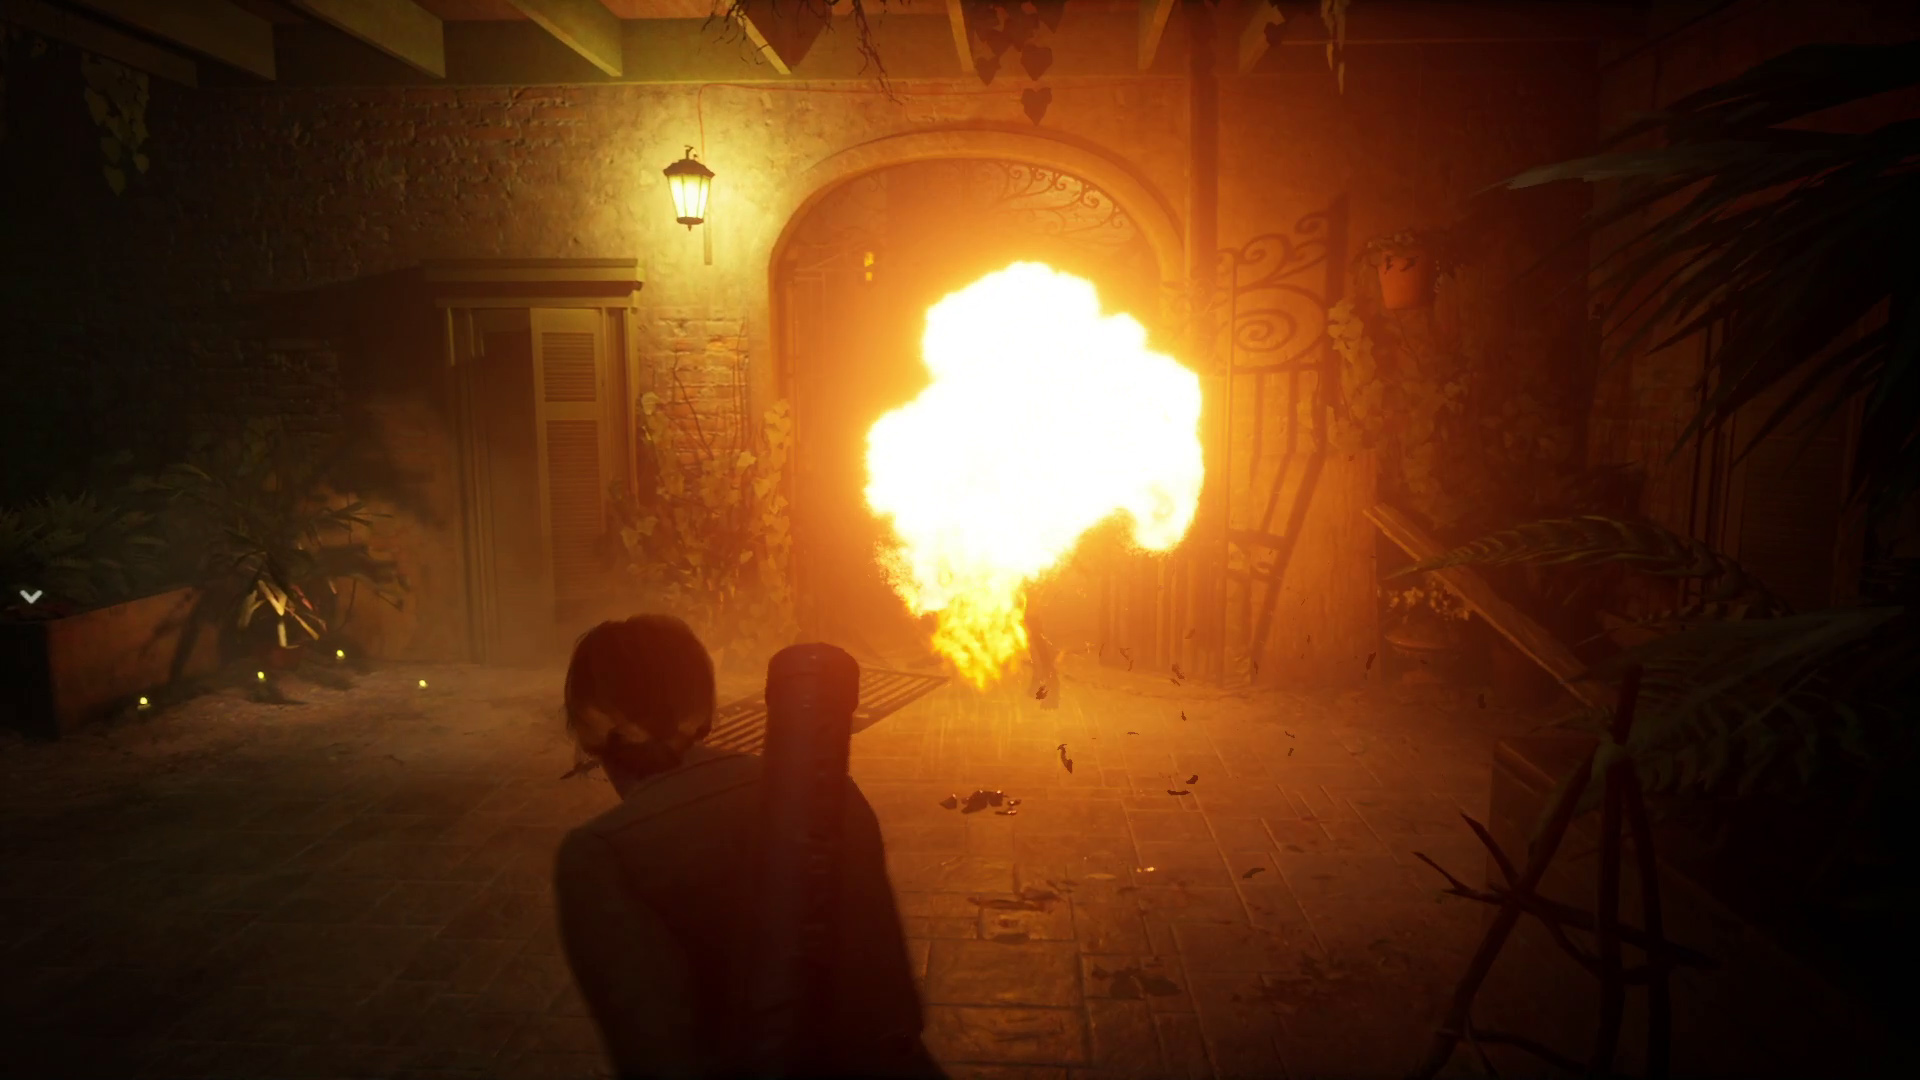
Ignore this first one, as there is another enemy waiting around the corner to the left (Image 24) — aim your gun (/) and strafe while hugging the right wall, and move forward slowly until the hiding enemy moves towards you. Walk backwards and shoot it (/) while aiming) until it dies (5 shots on Hard). Then continue forward towards the second enemy — it’ll leave once you get close enough.
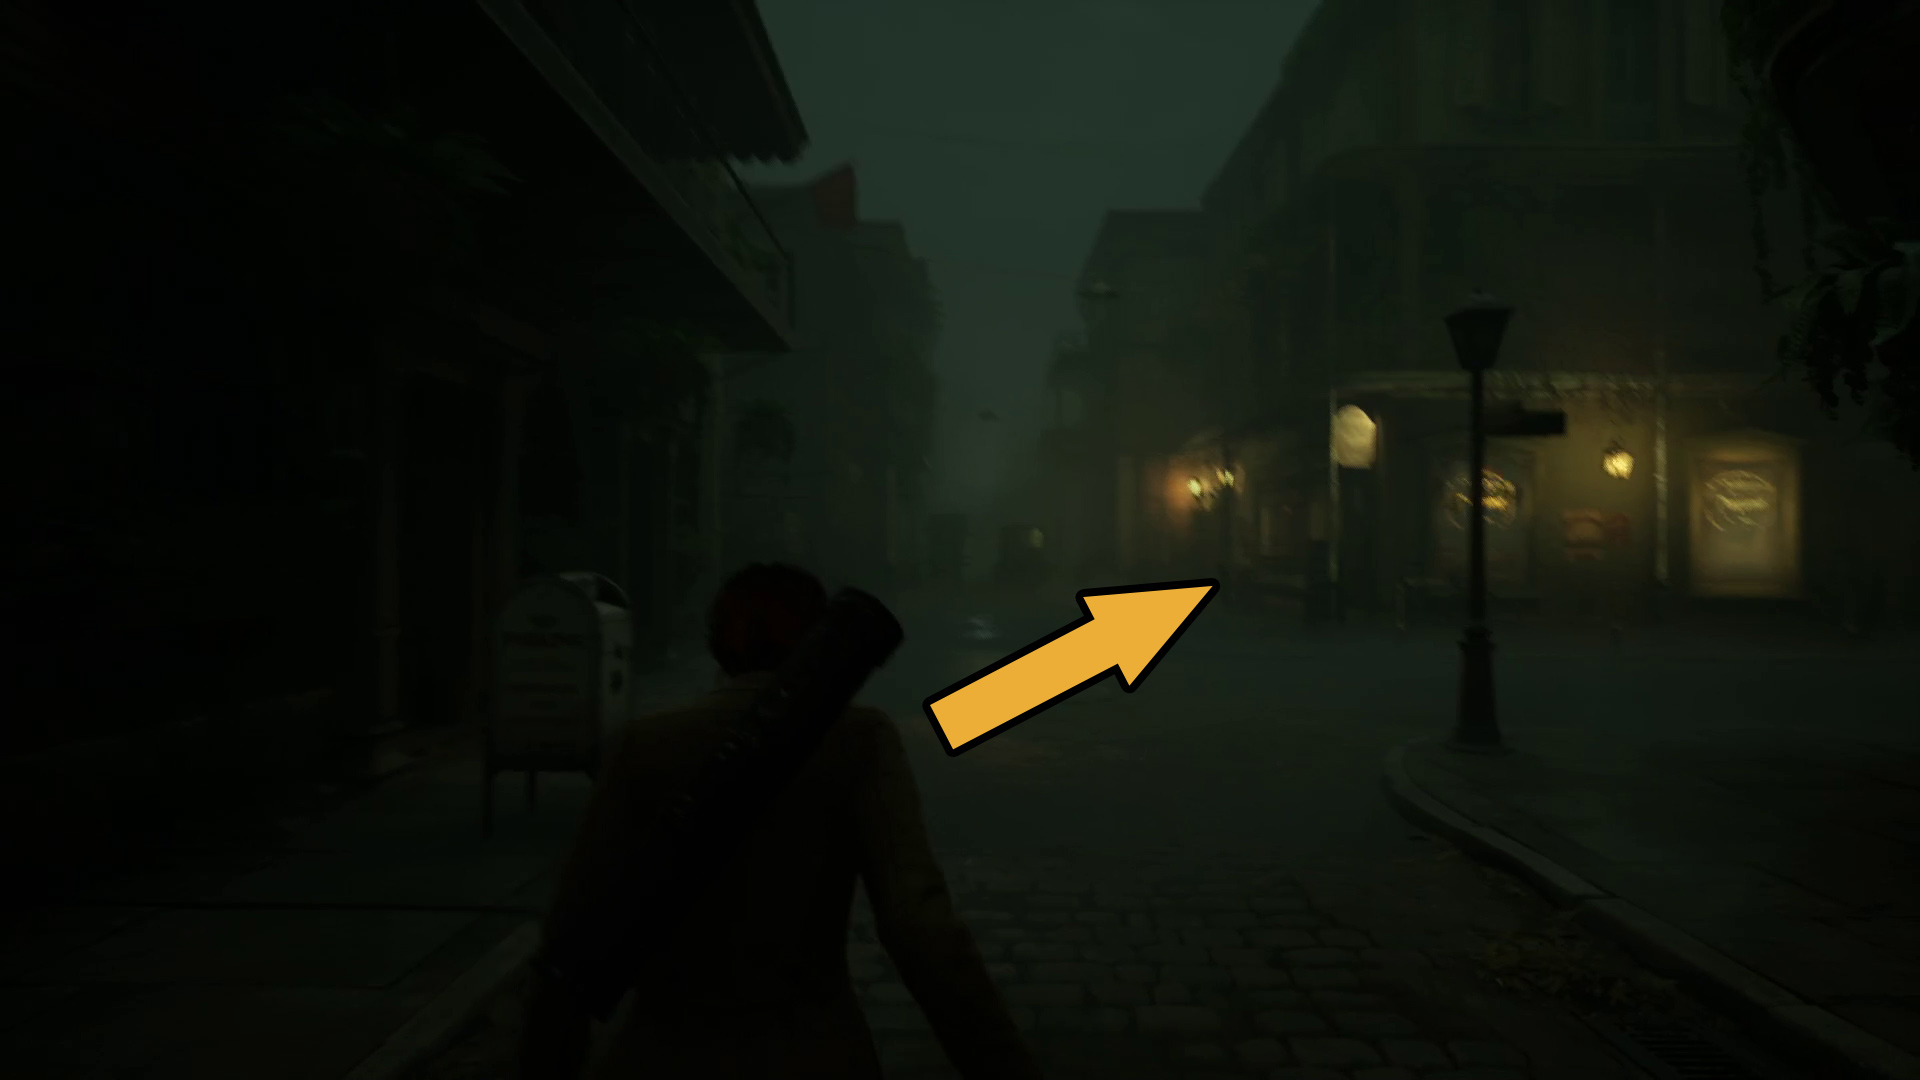
Continue through the little courtyard and into the next alley, which will take you to a street. Go left into the fog and hold the examine key to find some potential loot in the trash can in the far right corner. Then turn around and continue down the street towards the corner store (Image 25). (Note you can sprint with / Shift to get there faster.) It’s pretty easy to spot the store as it’s the only lit spot on the block — there’s a trash can across the street from the store you can check for loot before heading inside the store.
Image 24Image 25
Find Miss Jackson’s place to learn more about Jeremy’s talisman
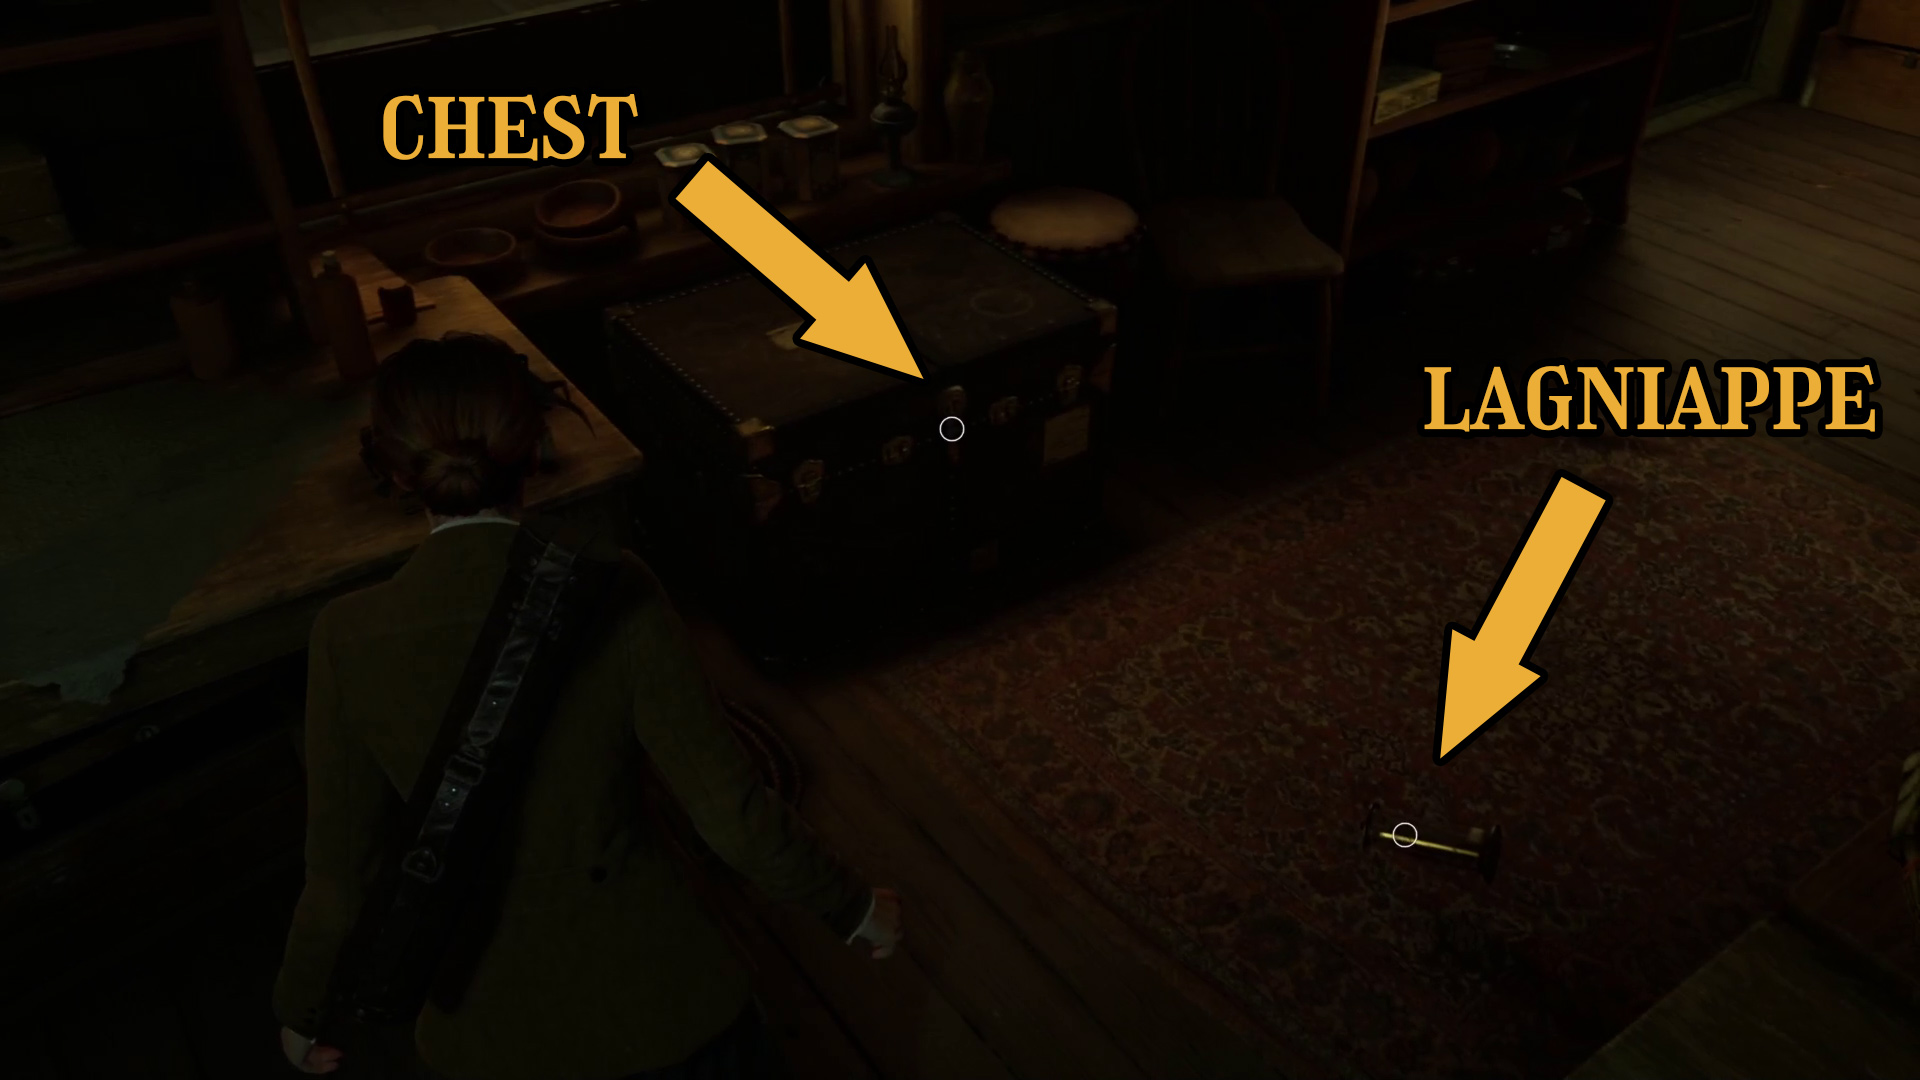
Interacting with the front door will begin a cutscene in which you’ll meet Batiste. When it ends, you’ll receive Batiste’s Keys, which include a key to Miss Jackson’s, plus two for Decerto: one for the Clerks’ Office and one for the Library. After dismissing the new item menus, grab the Preserved Reptile Lagniappe from the floor, and check the nearby chest for loot (Image 26). You can also go behind the counter and talk to Batiste a few more times if you want (Image 27).
Image 26Image 27
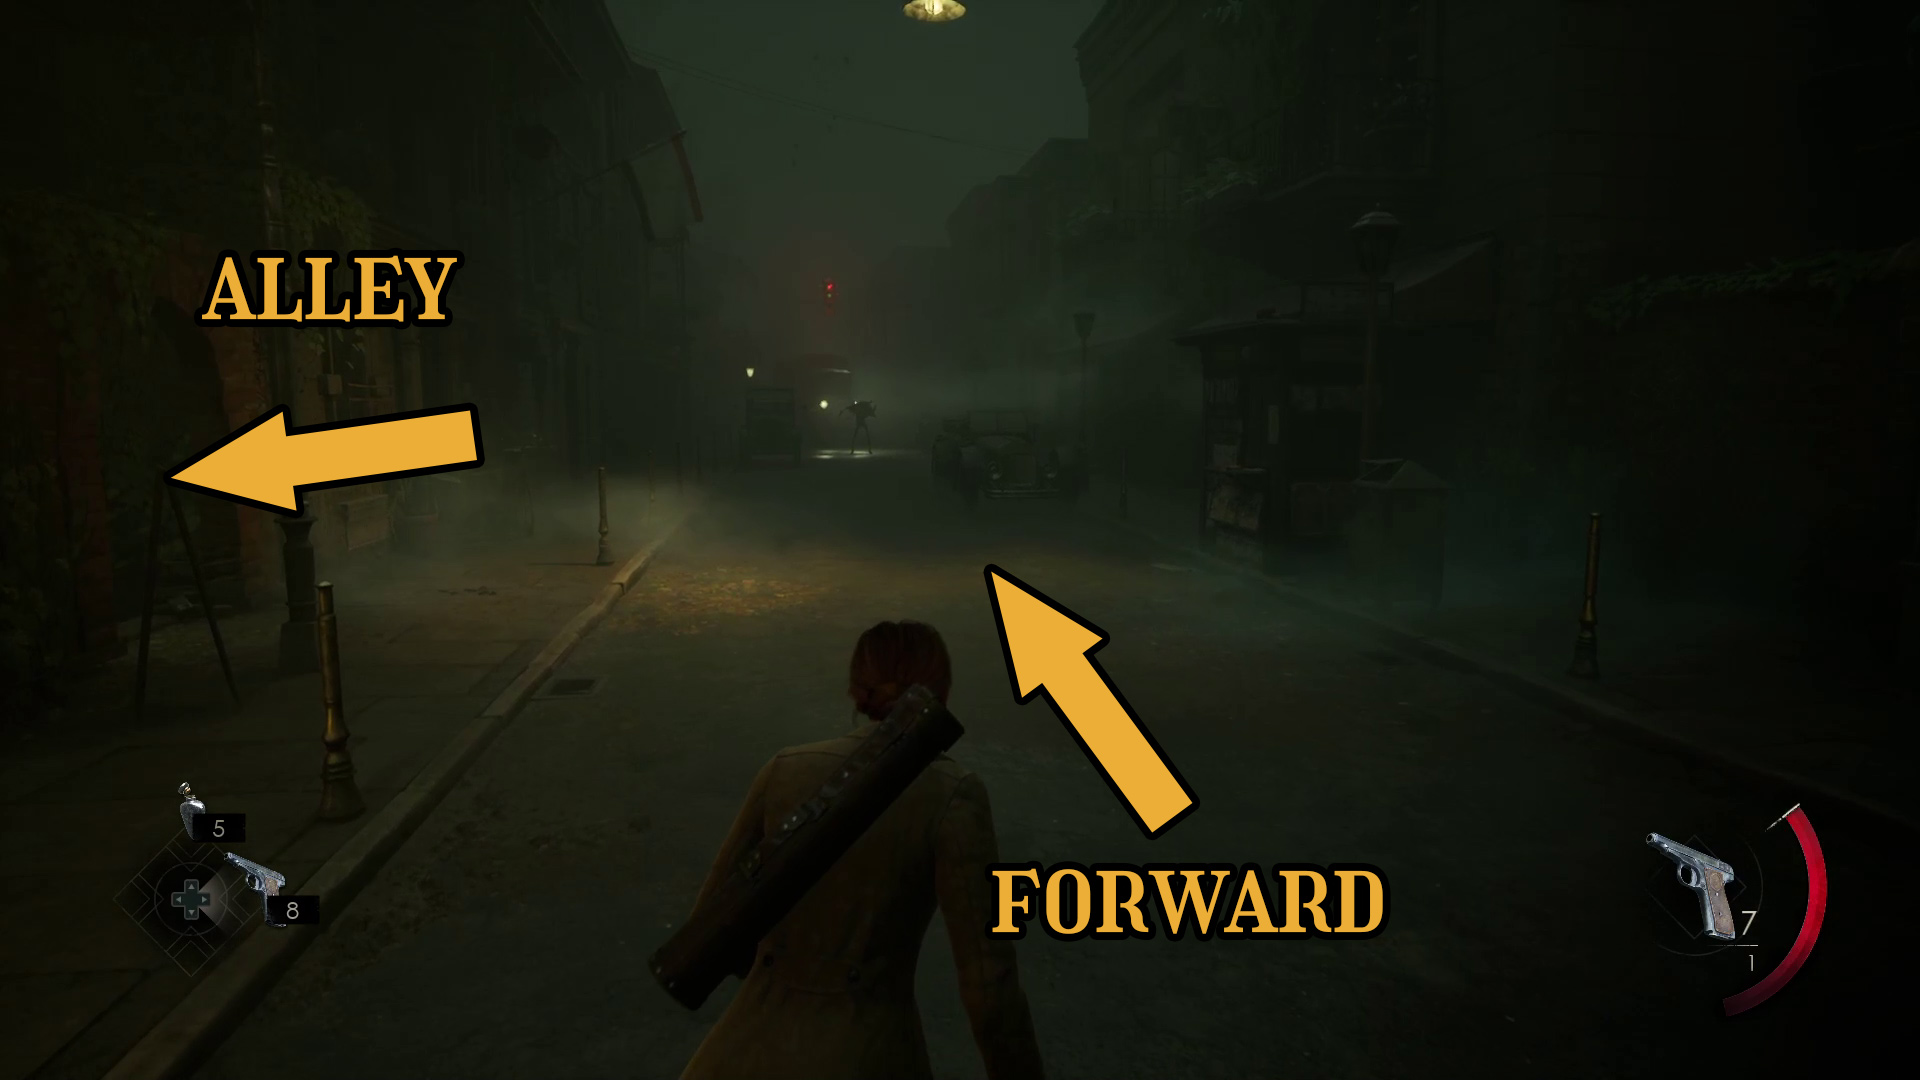
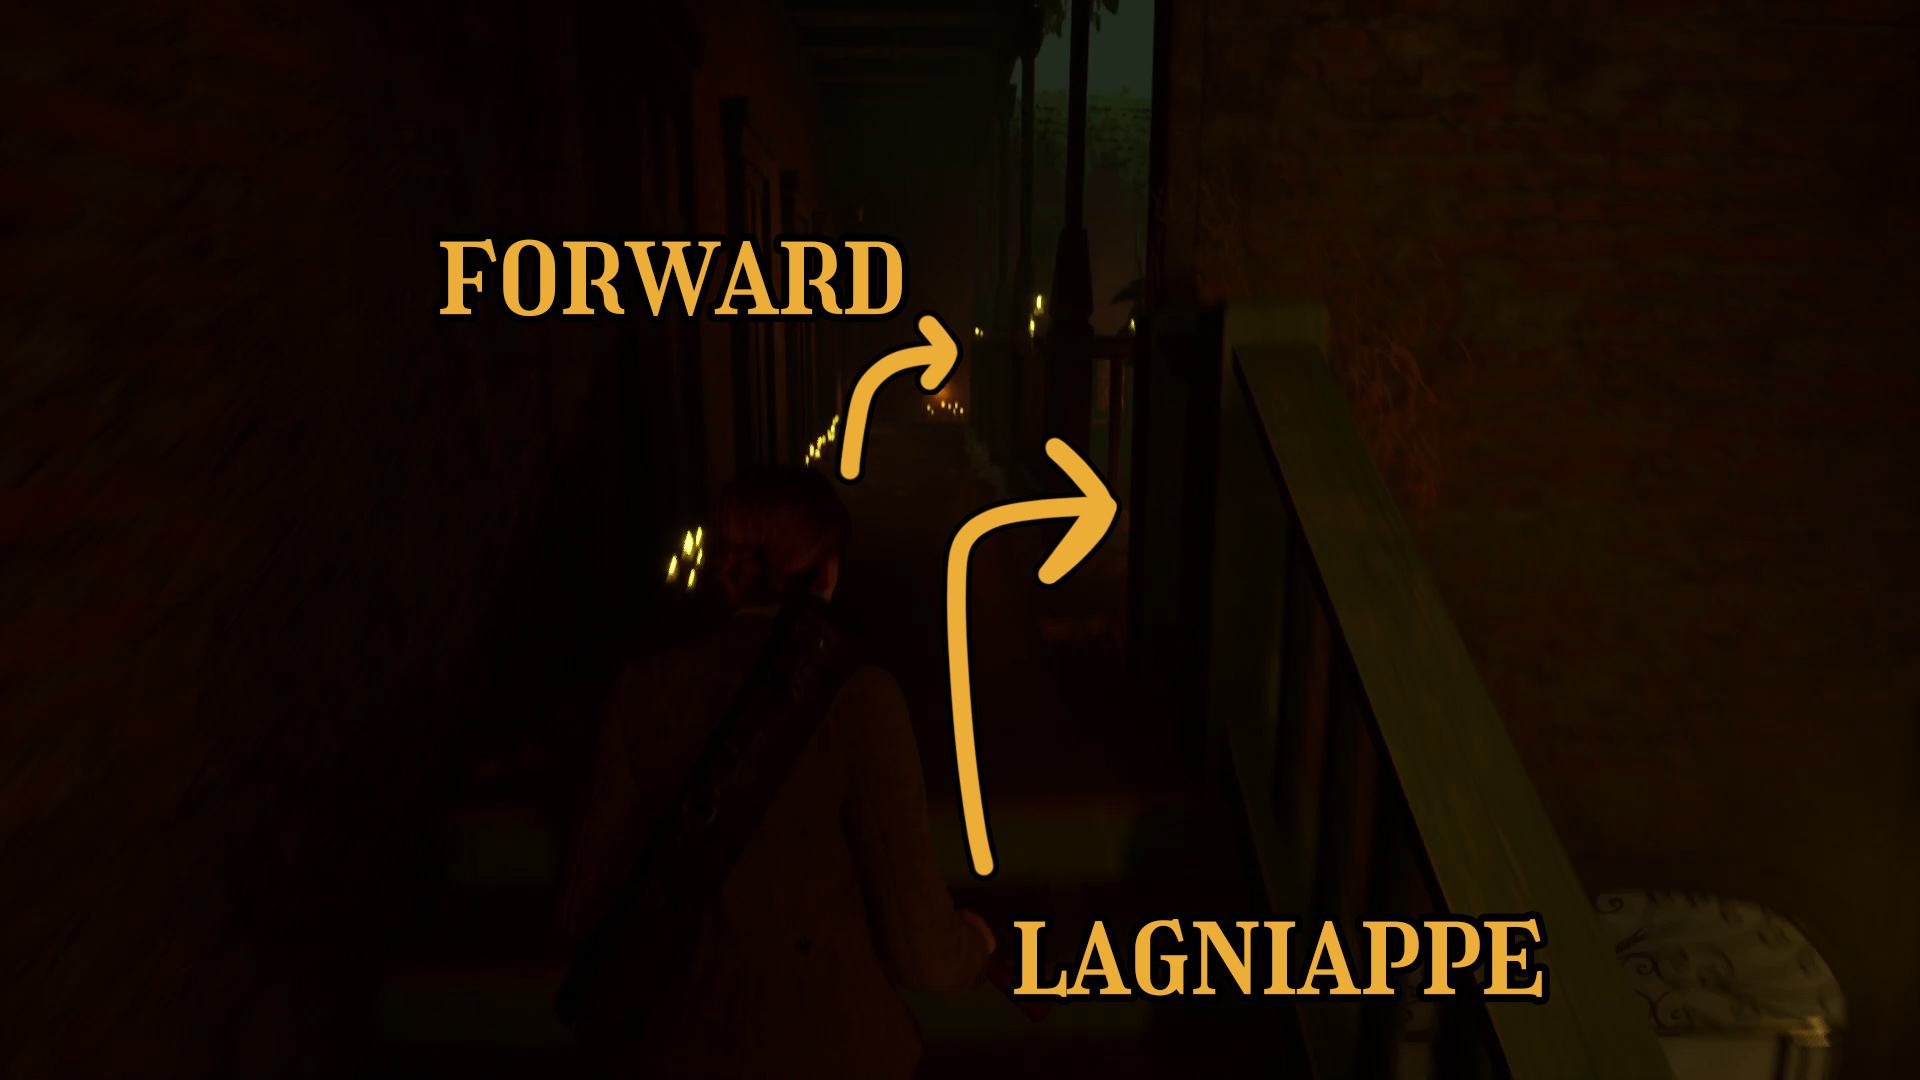
When you’re ready, leave the store the way you came in, turn left from the doorway, then go left around the storefront. You can optionally go into the alleyway on the left (Image 28), and grab the melee weapon at the far end — but doing so will spawn an enemy — on Medium or Hard difficulty, this probably isn’t worth it. (If you do grab the melee weapon, you can light attack with / — hold for heavy attack.)
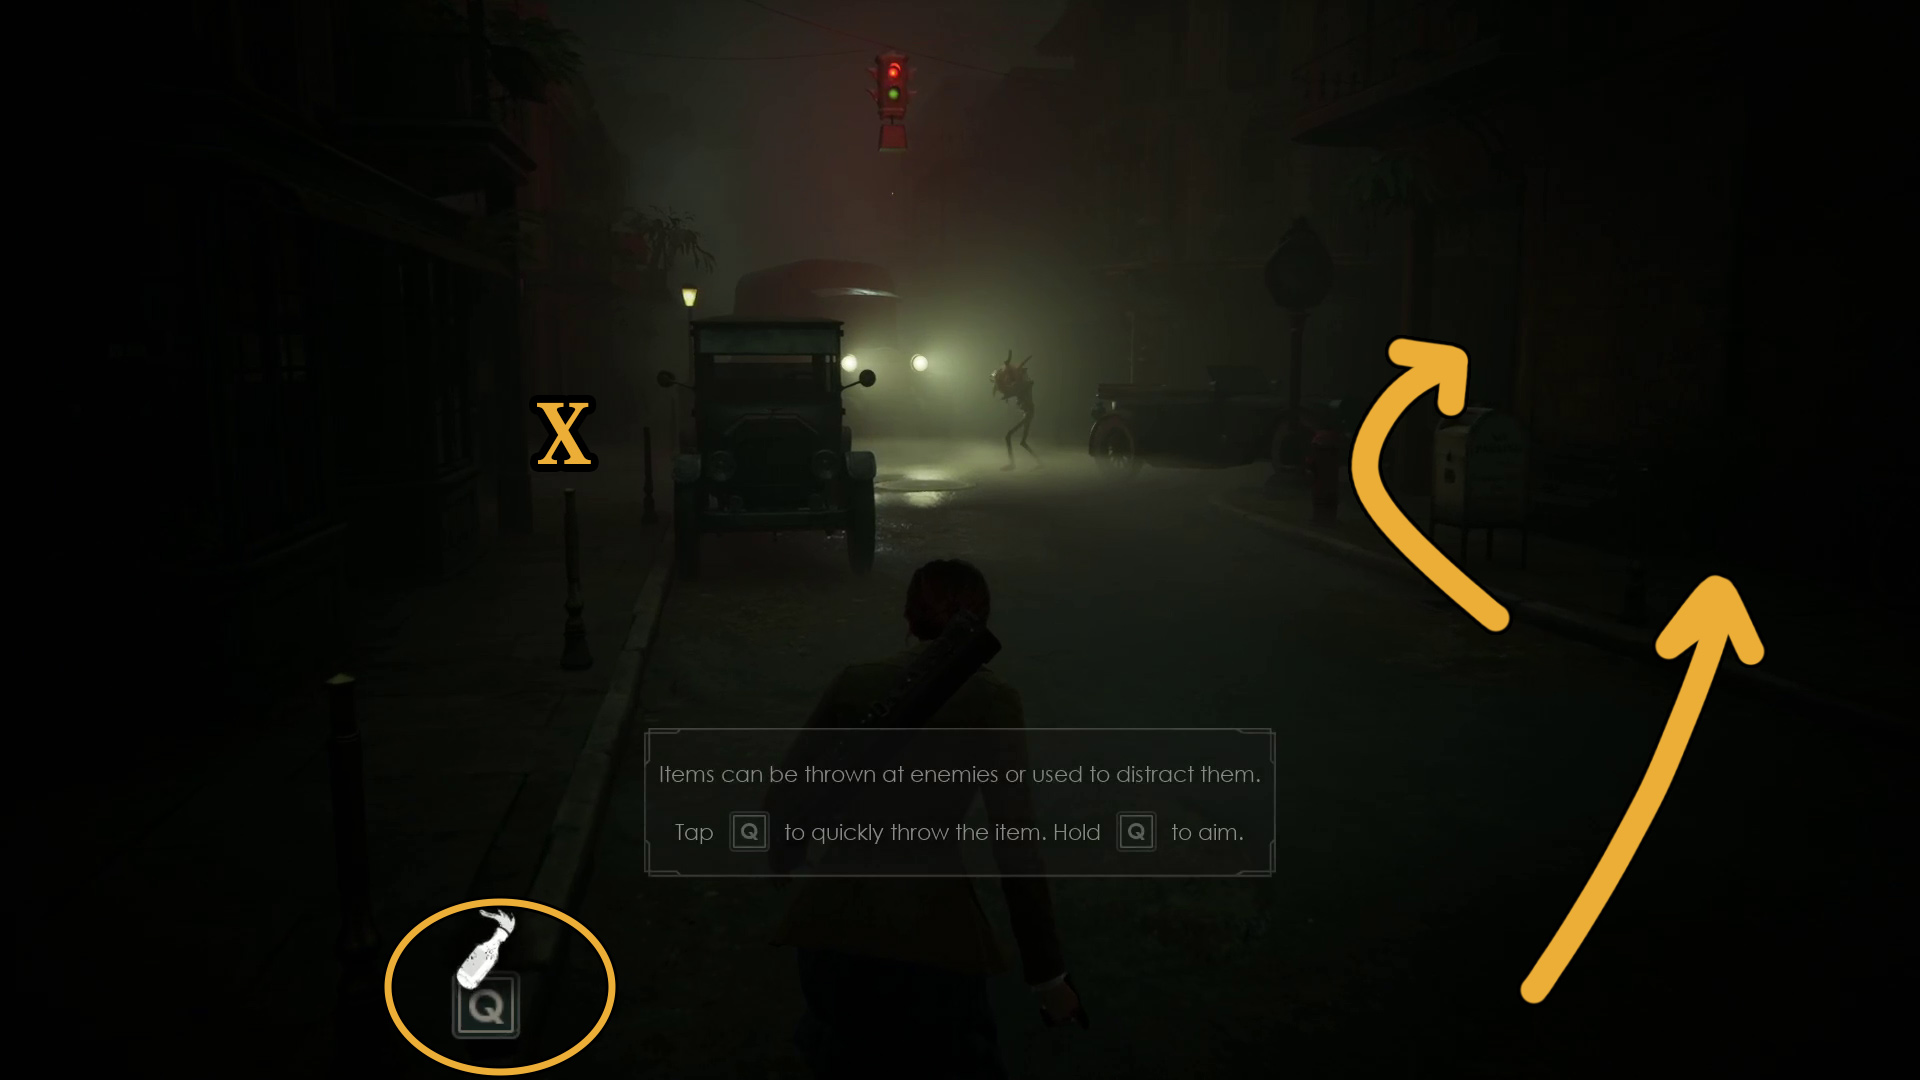
It’s best to just keep going down the street instead of entering the alley. Press / / Left or to sneak, and walk on the left-hand curb. You’ll soon come to a brick you can throw (Image 29) — hold the indicated key to pick up the item, keep holding it and get a bit closer to the enemy. Throw it to X in Image X and then run down the street to the right, hugging the right wall. (You can also throw items at enemies to hurt them, especially molotov cocktails, but at this point sneaking past is better).
Image 28Image 29
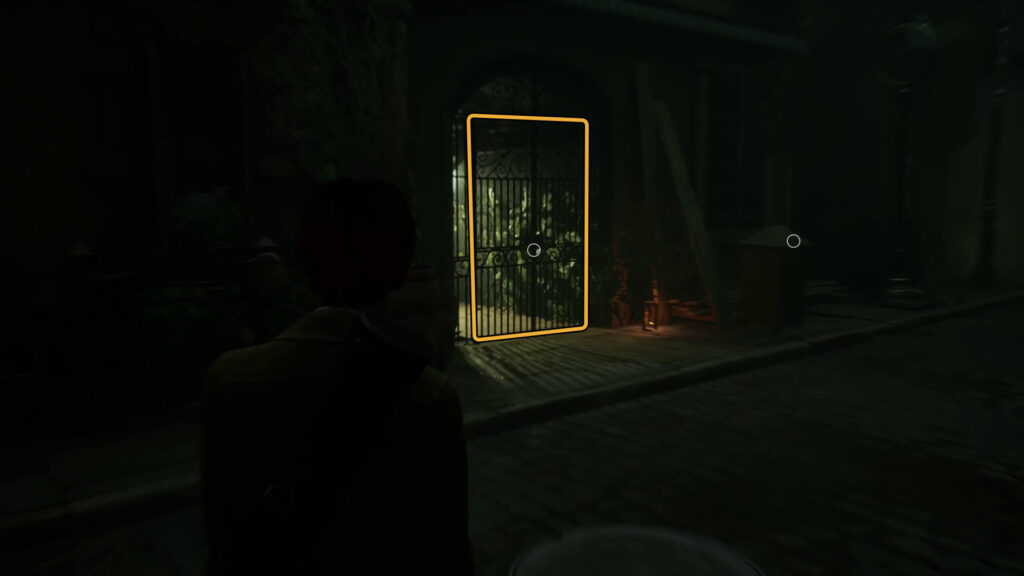
You can hold the examine key to find a few more loot spots — of particular note is the hatchet you can find on the newspaper stand across from the gate — and go through the gate on your left (Image 31) by using Batiste’s Keys. The game will save once you’re through the save point, so if you failed to sneak past the enemy, just run to the gate, open it, and run down the hall; you can die, and you’ll reload here.
Image 30
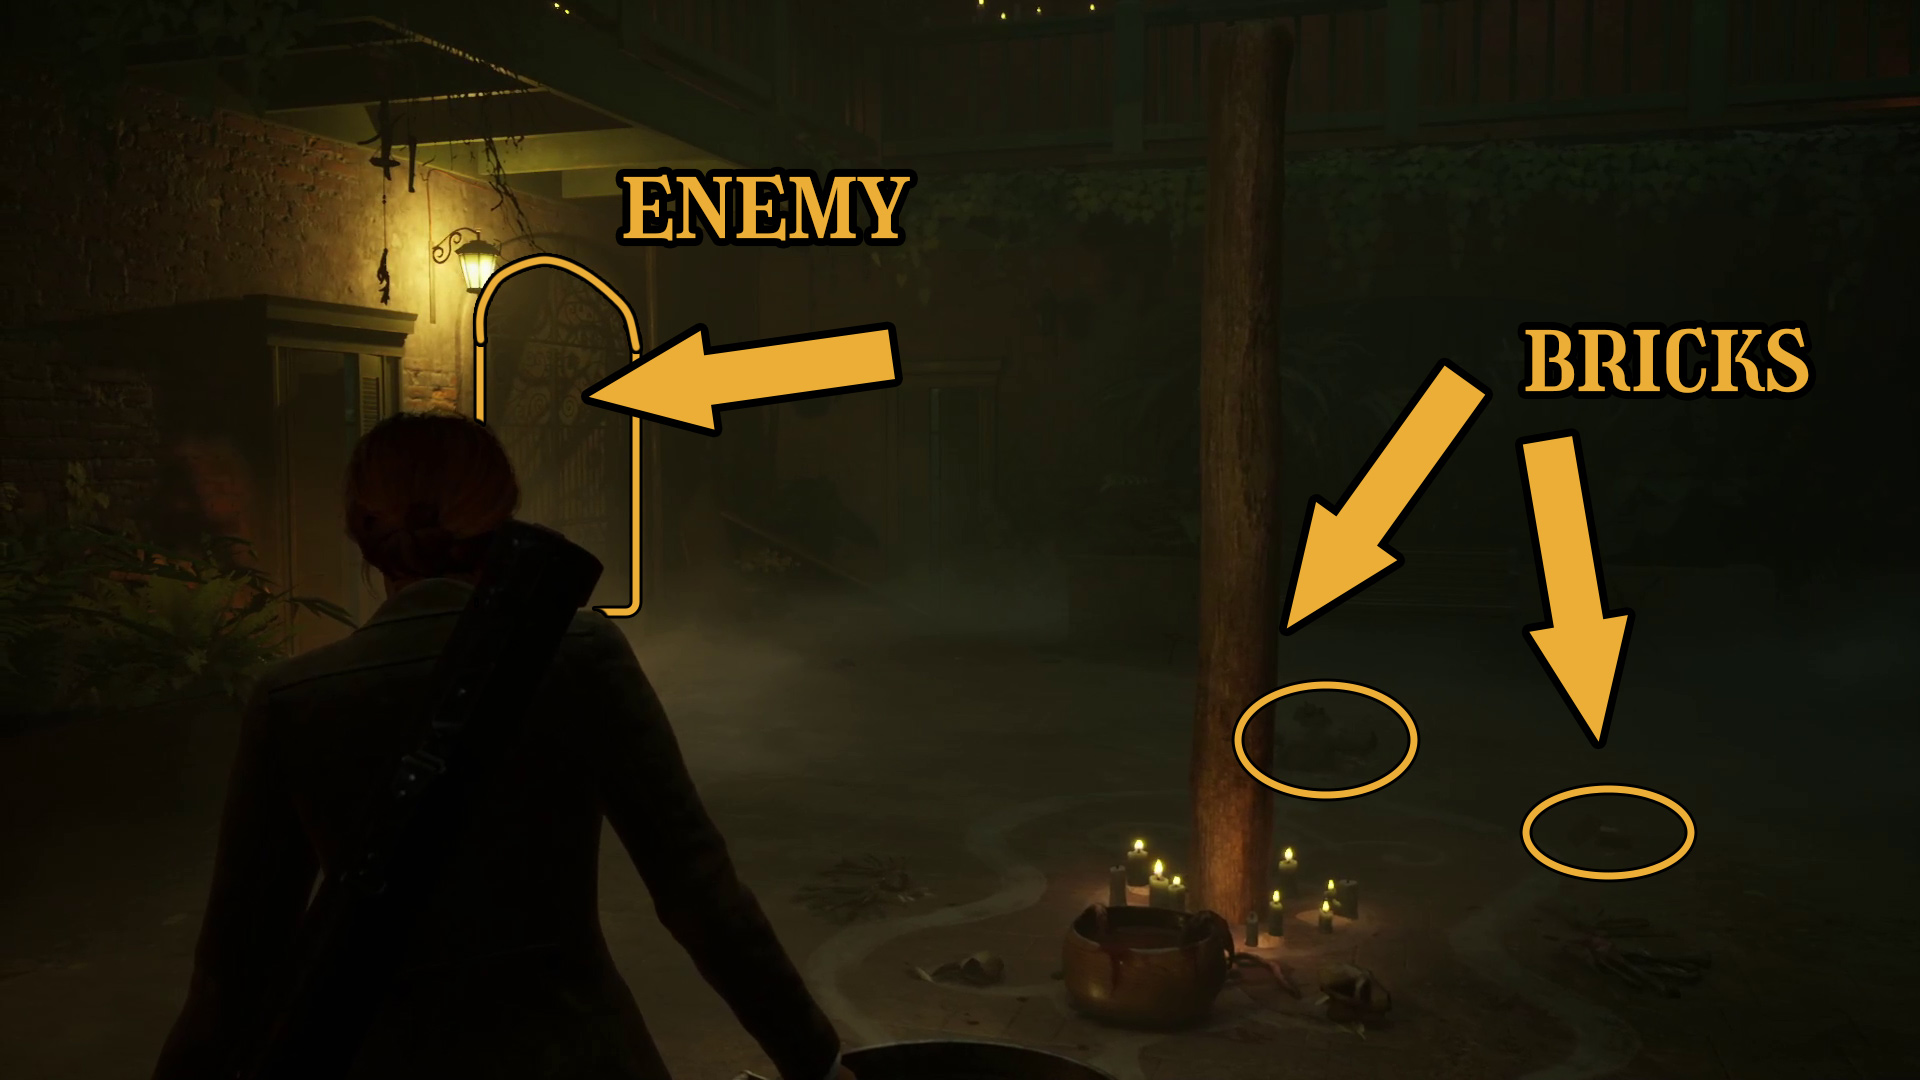
Down the hall, you’ll enter a courtyard. Walk to the middle of the courtyard and look left, where you’ll see a closed gate (Image 31) — an enemy will burst out of it once you get too close, but there are some bricks you can throw at it to save ammo.
Deal with the enemy, then go check out the wall to the right of the gate — there is a molotov cocktail there that’ll come in handy in a sec, so make sure you know where it is. Also look for other throwables that may be remaining. When you’re ready, go up the stairs, and wait on the landing for the patrolling enemy to be relatively close. Then run to the top of the stairs to trigger both enemies, and run back down to the molotov. Wait for the enemies to be at the bottom of the stairs, then hit ’em with the throwables (Image 32) and finish them off with ranged/melee.
Image 31Image 32
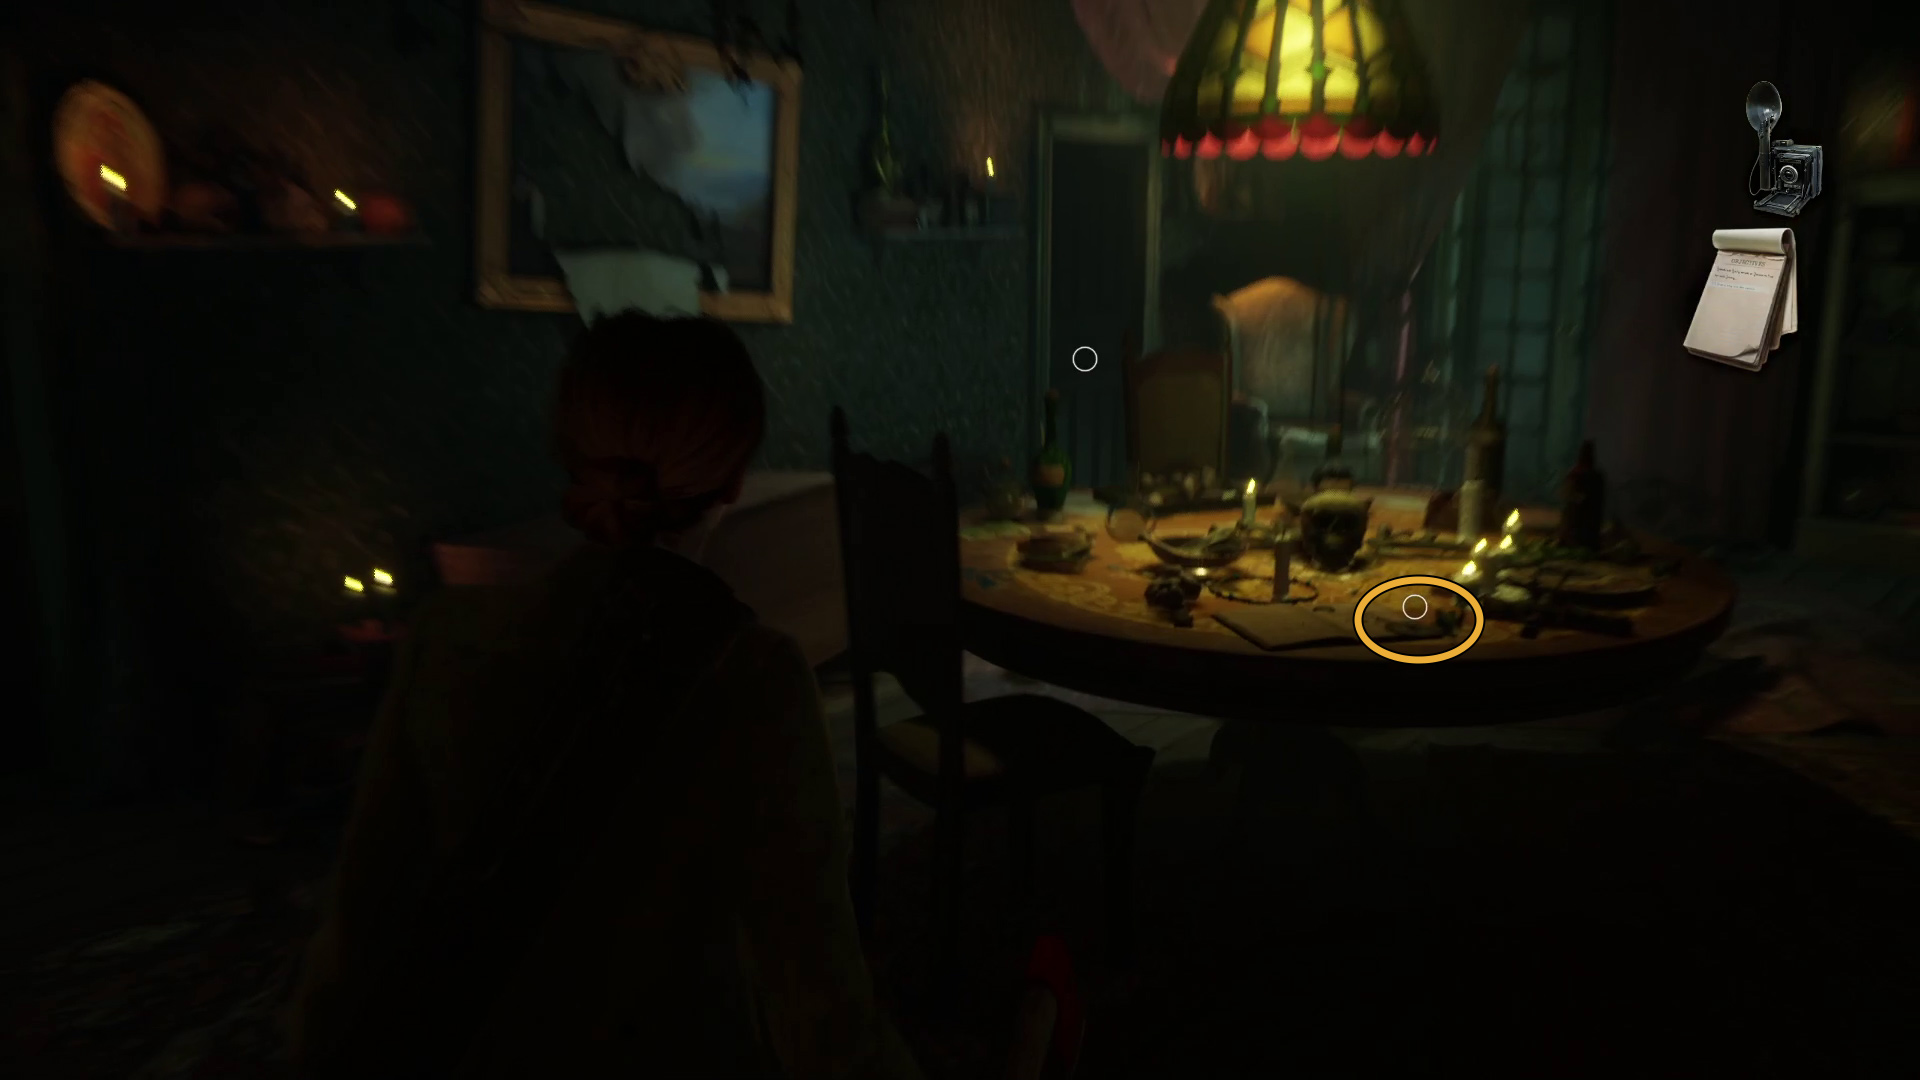
Once both foes go down, you can head up the stairs — a hard right will take you to the Ju-Ju Lagniappe on a stool (Image 33). That done, you can continue forward on the balcony, and go through the door on the far side. In the room, pick up the Talisman from the table (Image 34).
Image 33Image 34
Use the Talisman to get back to Decerto
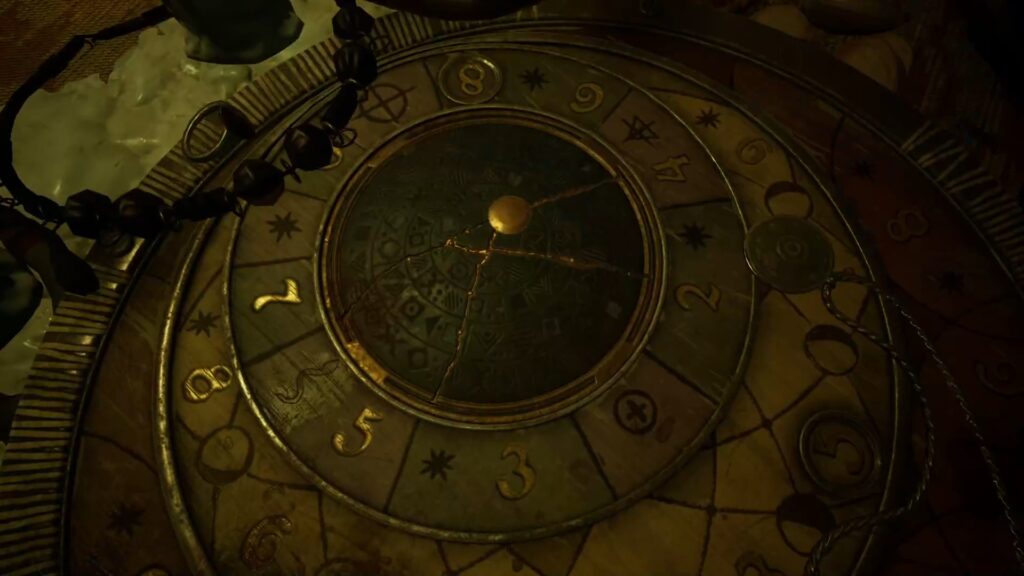
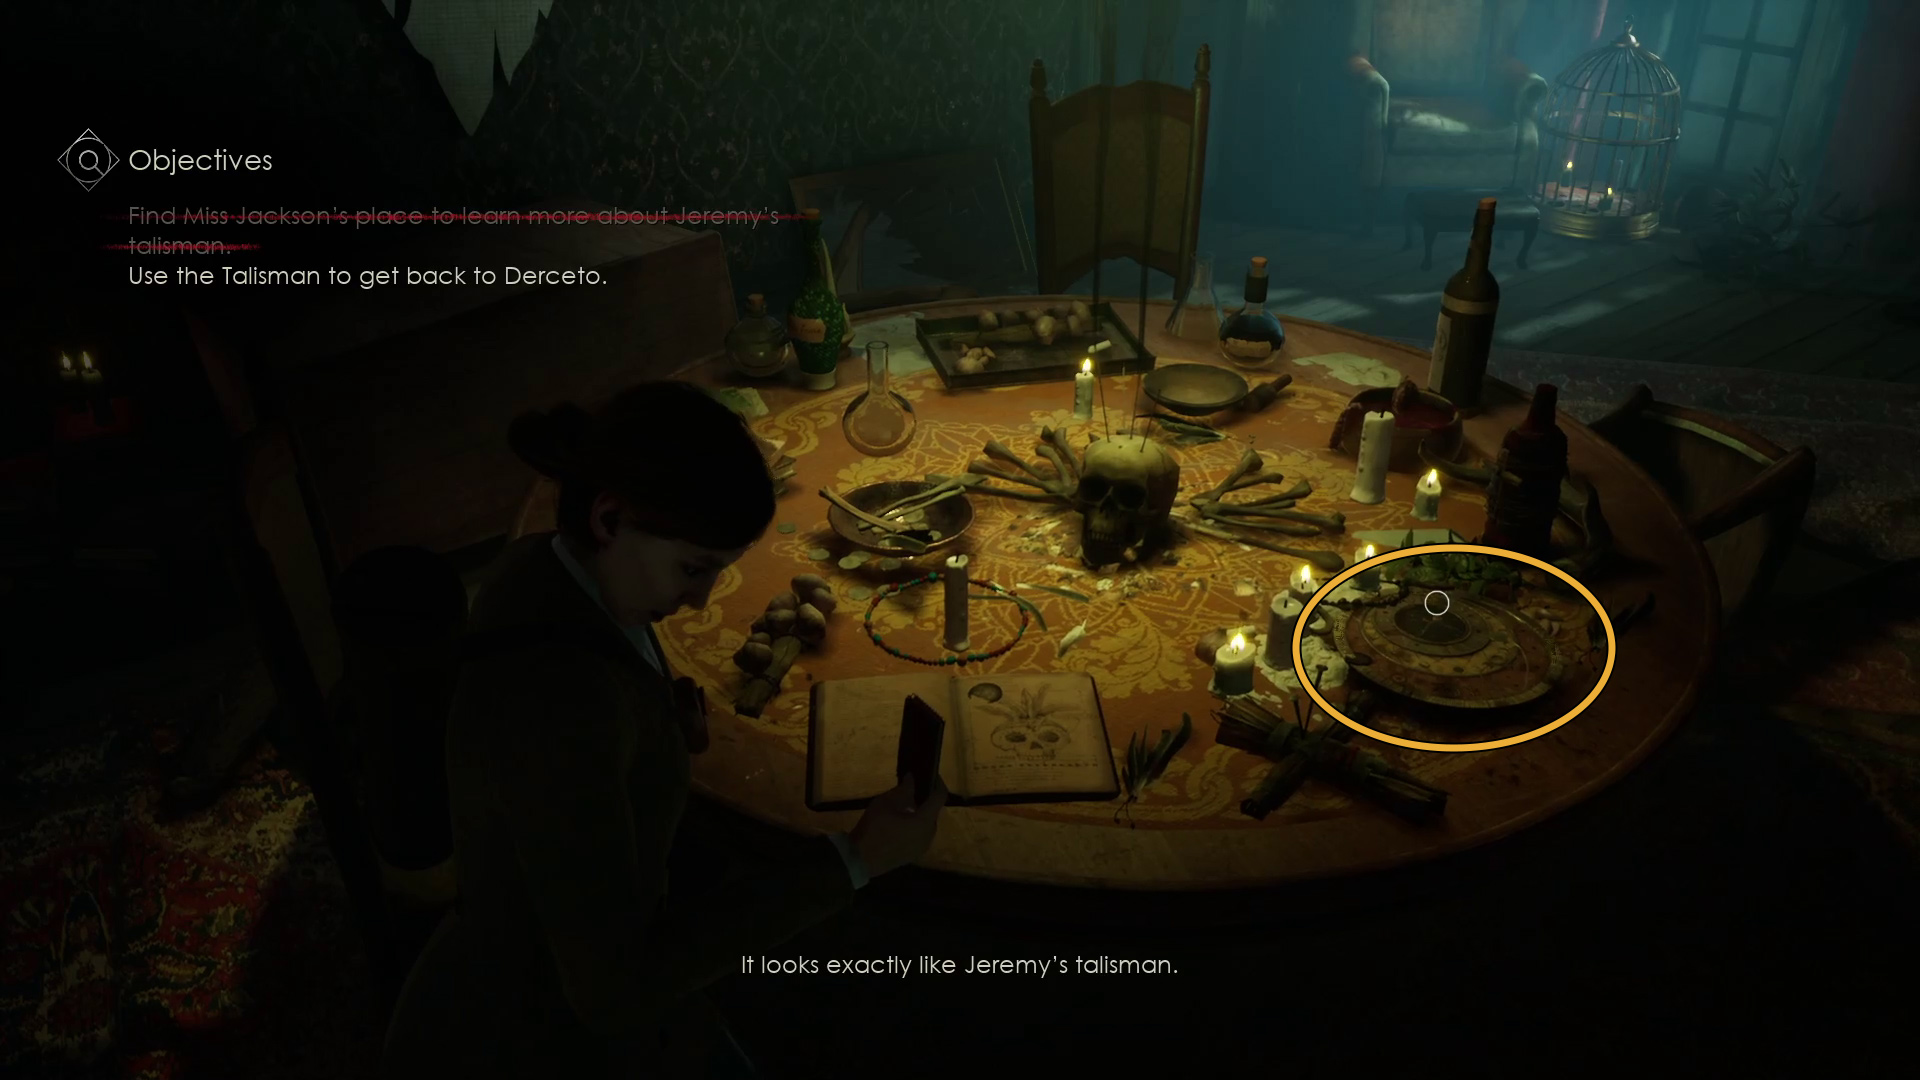
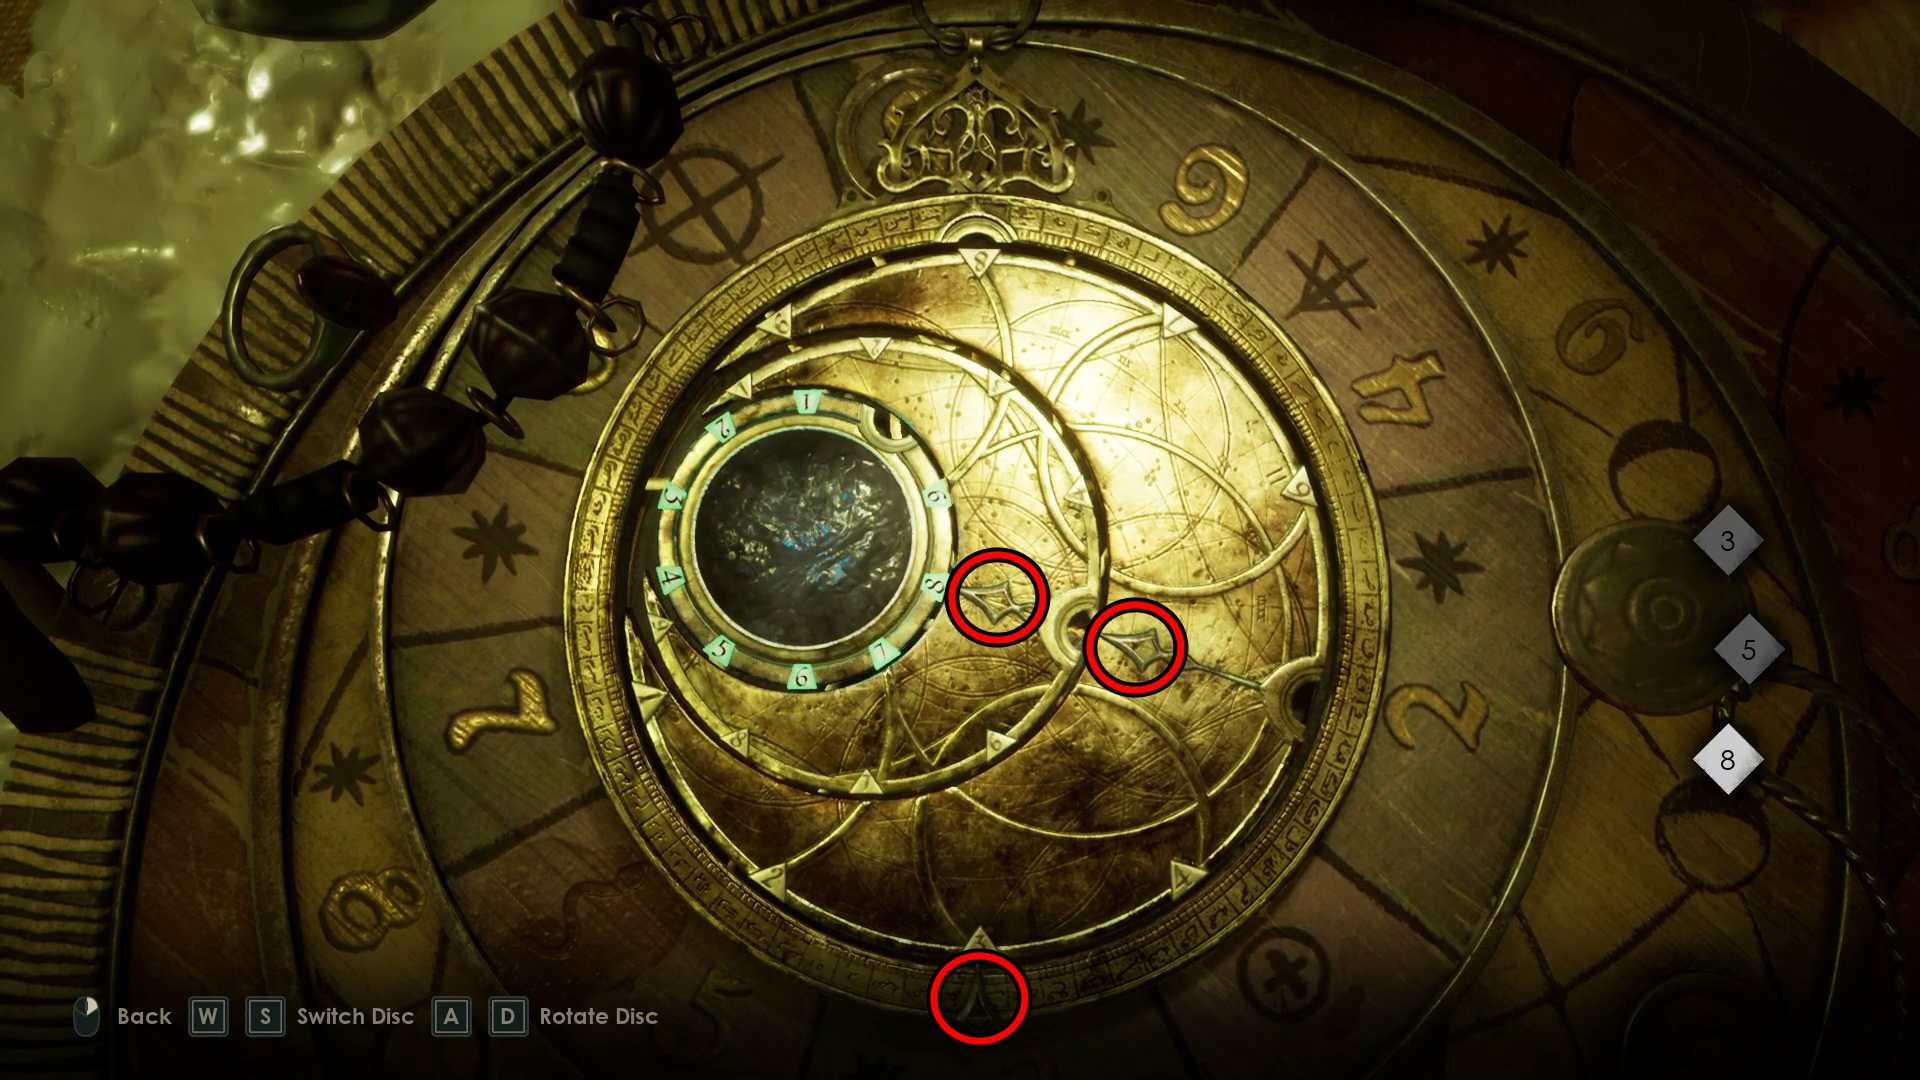
Talisman in hand, you can interact with the nearby disc (Image 35) to begin a puzzle.
Image 35
You’ve got the Talisman Schematics in your inventory…
You need to spin the discs so that they are indicating 3, 5, 8 from disc outer to inner.
In case you don’t have the dial numbers on the right as in this image, we’ve highlighted the indicators that show you what number each dial is set to
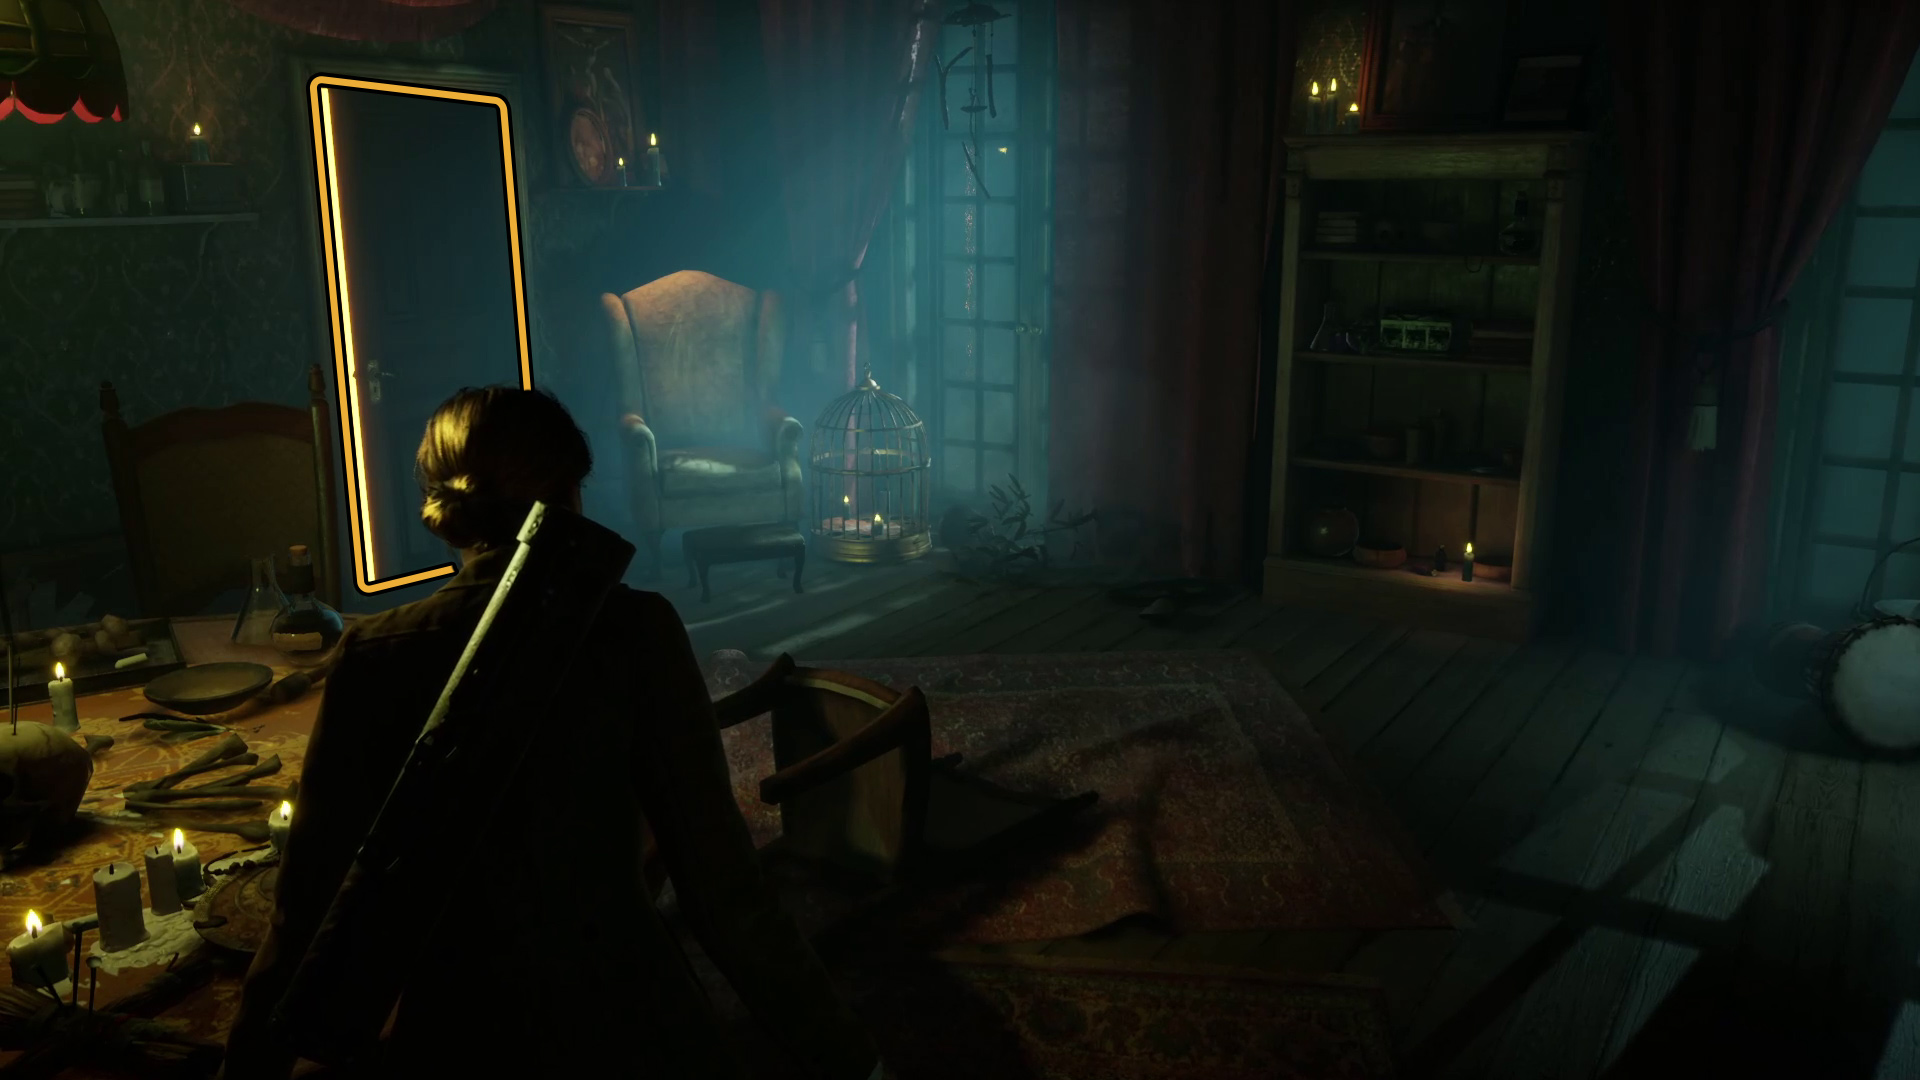
After solving the puzzle, the door across the room will open (Image 36), with a bright light glowing beyond it — head over and interact with the door to start a cutscene. Partway through it, you’ll enter Chapter 2!
Unabashed FromSoftware fanboy still learning to take his time with games (and everything else, really). The time he doesn't spend on games is spent on music, books, or occasionally going outside.