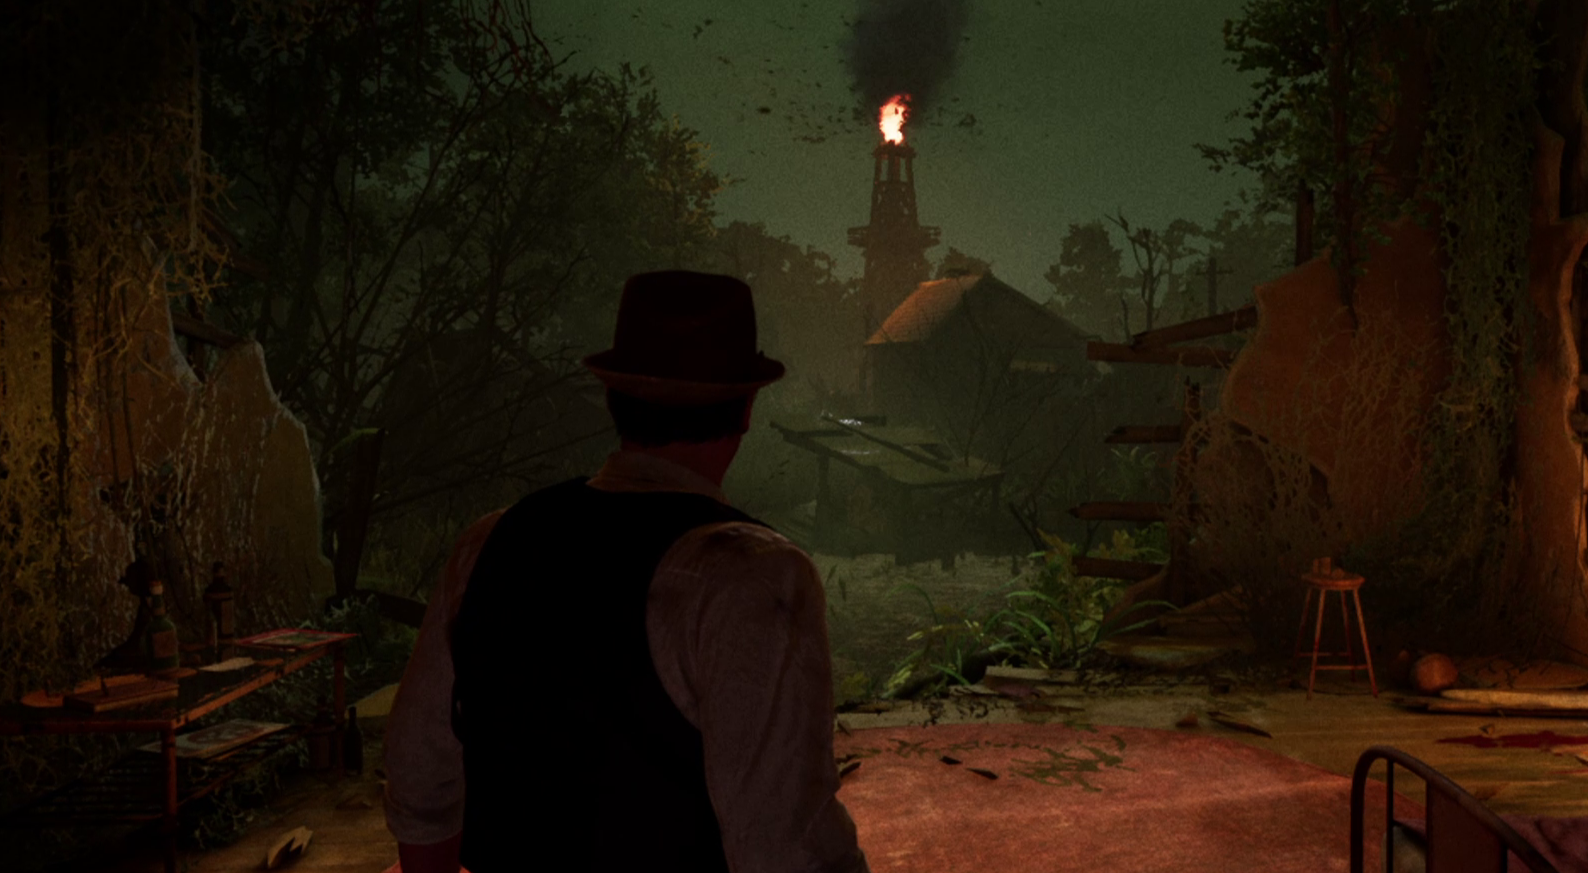
Having come back from a mysterious place entered through mysterious methods, Edward or Emily will be sure that those second dimensions must be where Jeremy is hiding. In order to find him, you will need to navigate more puzzles around Derceto, and more strange locations that belong somewhere else… All in the search of a mysterious place, mentioned in Jeremy’s notes: Taroella.
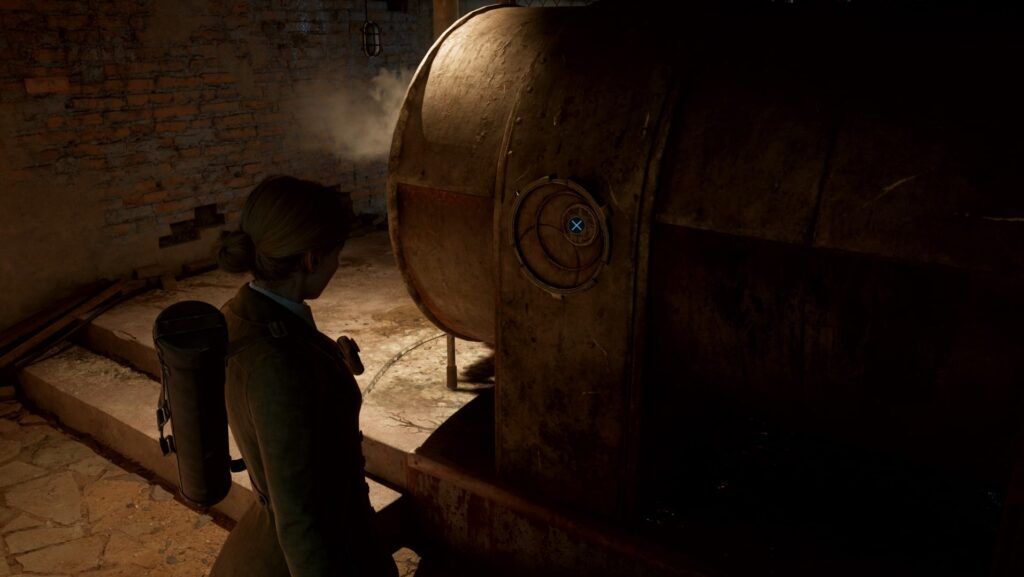
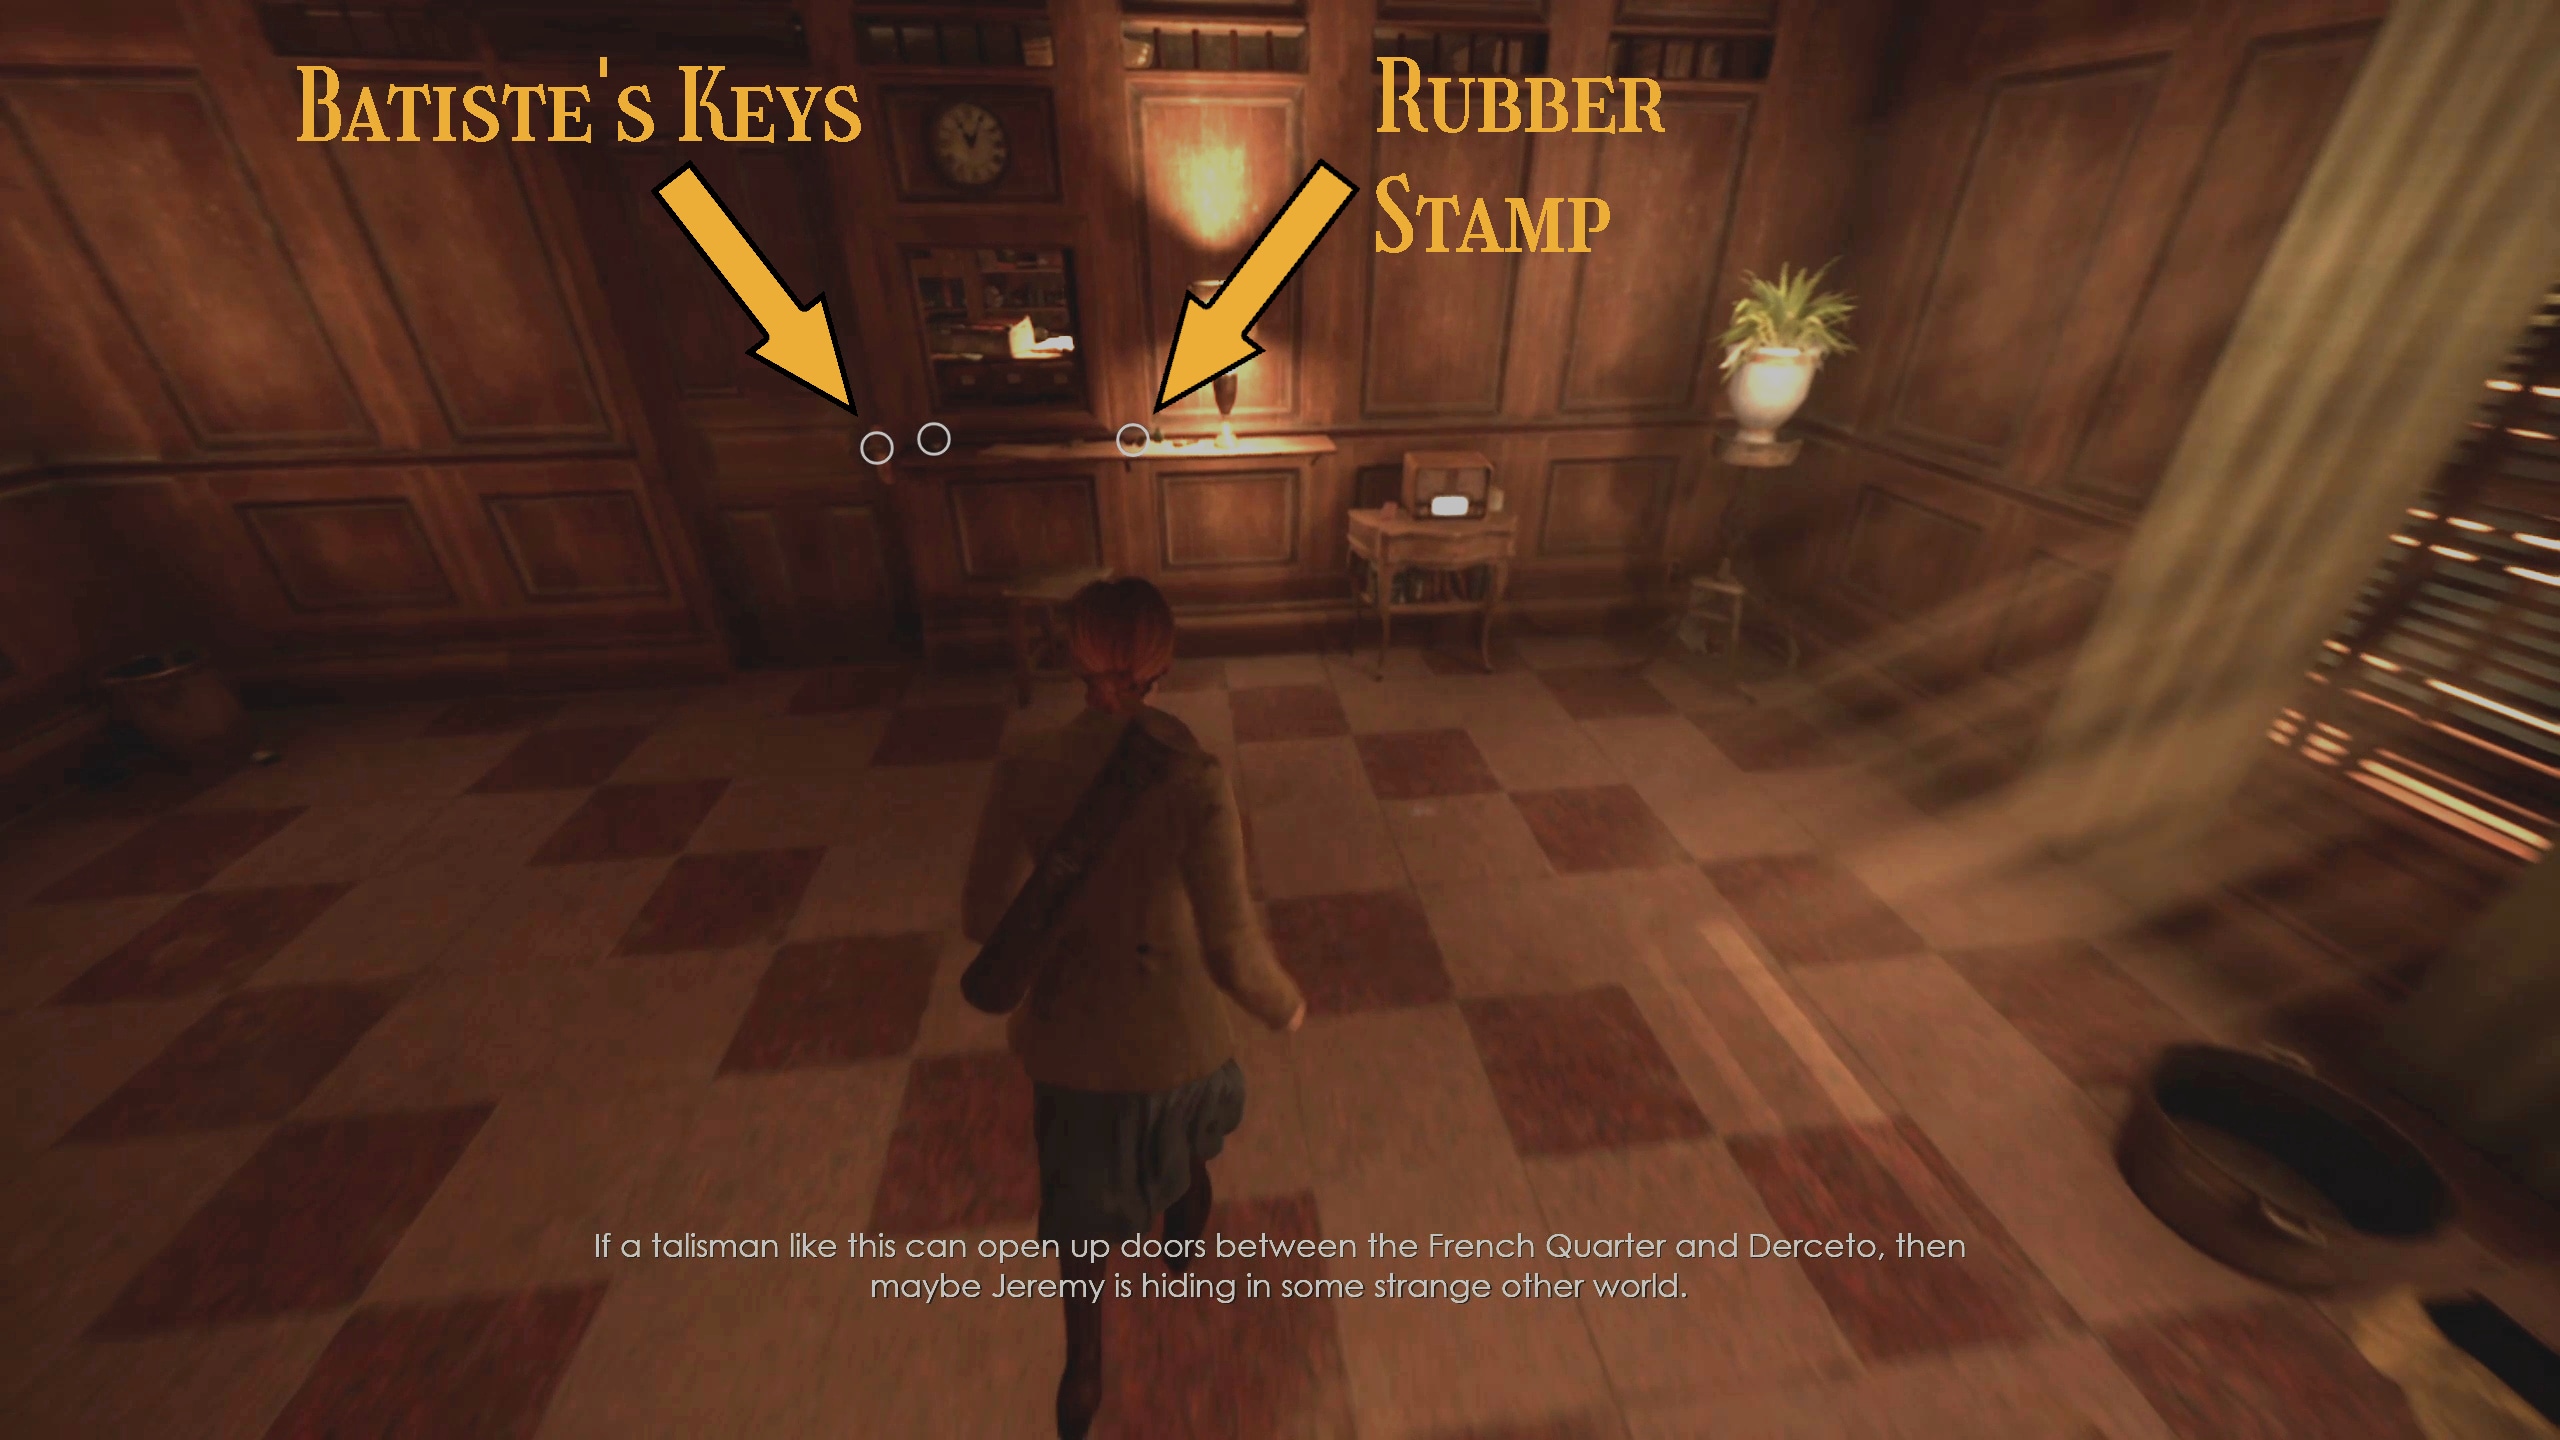
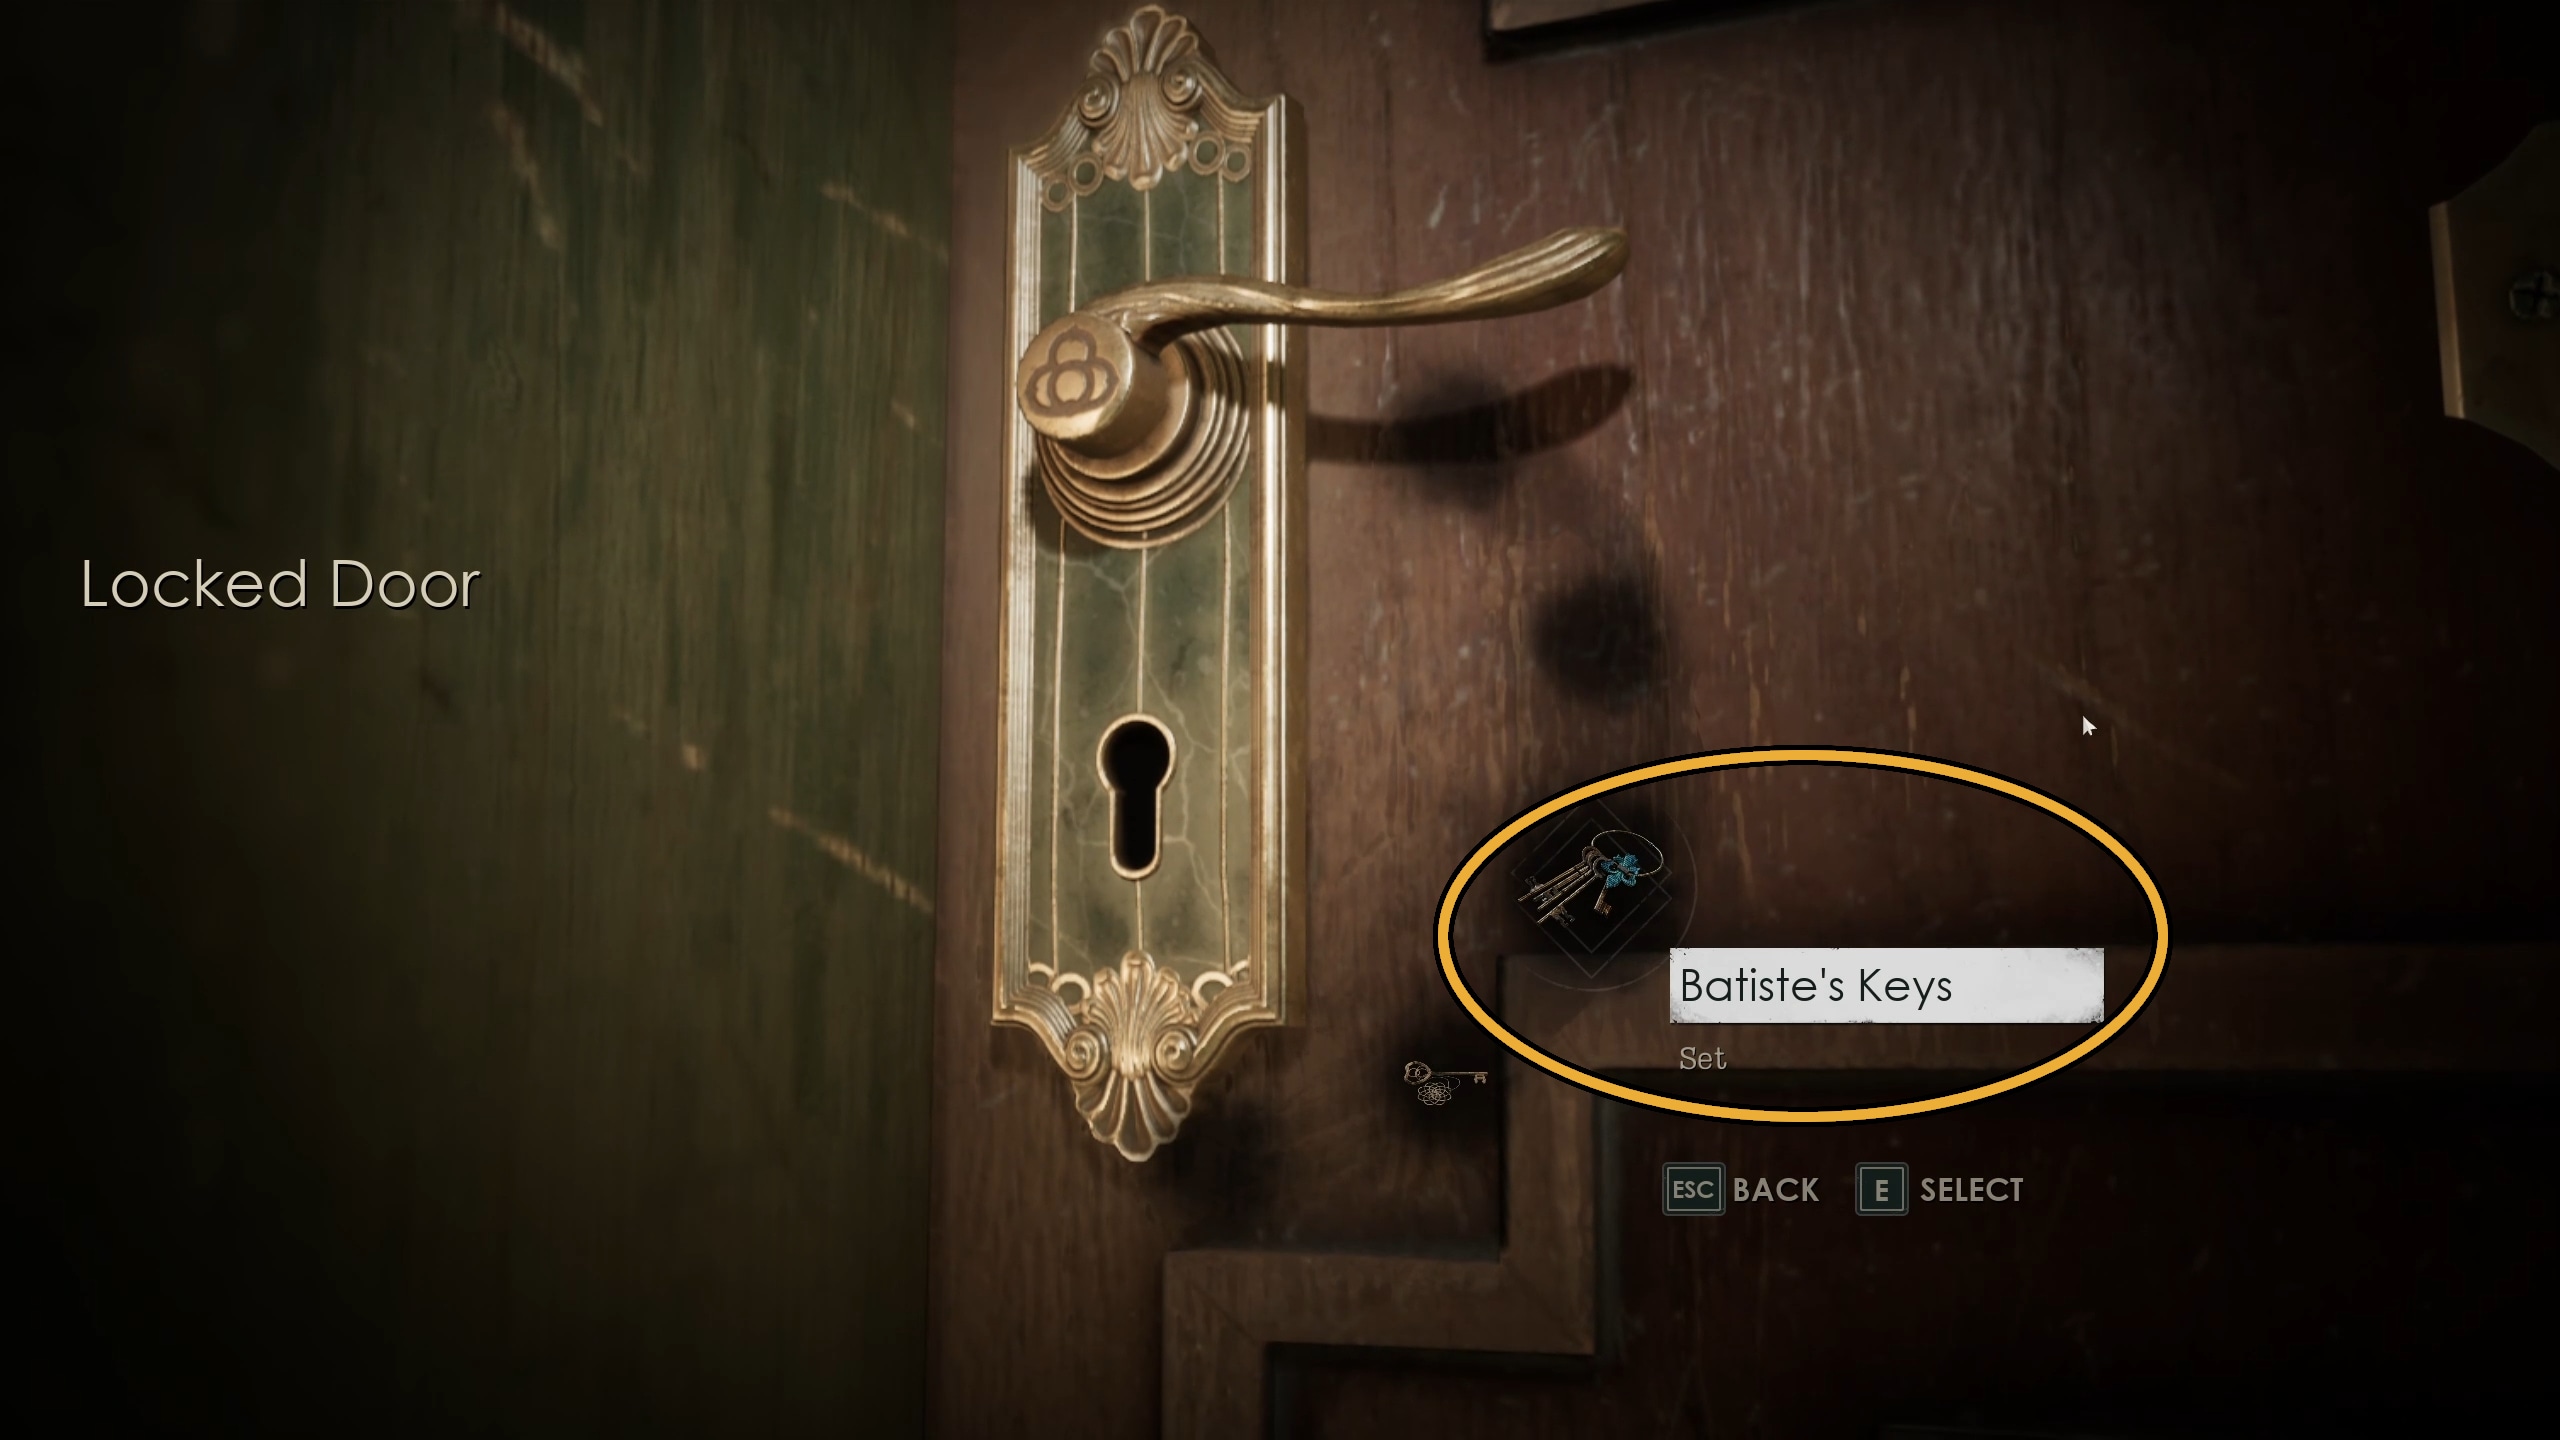
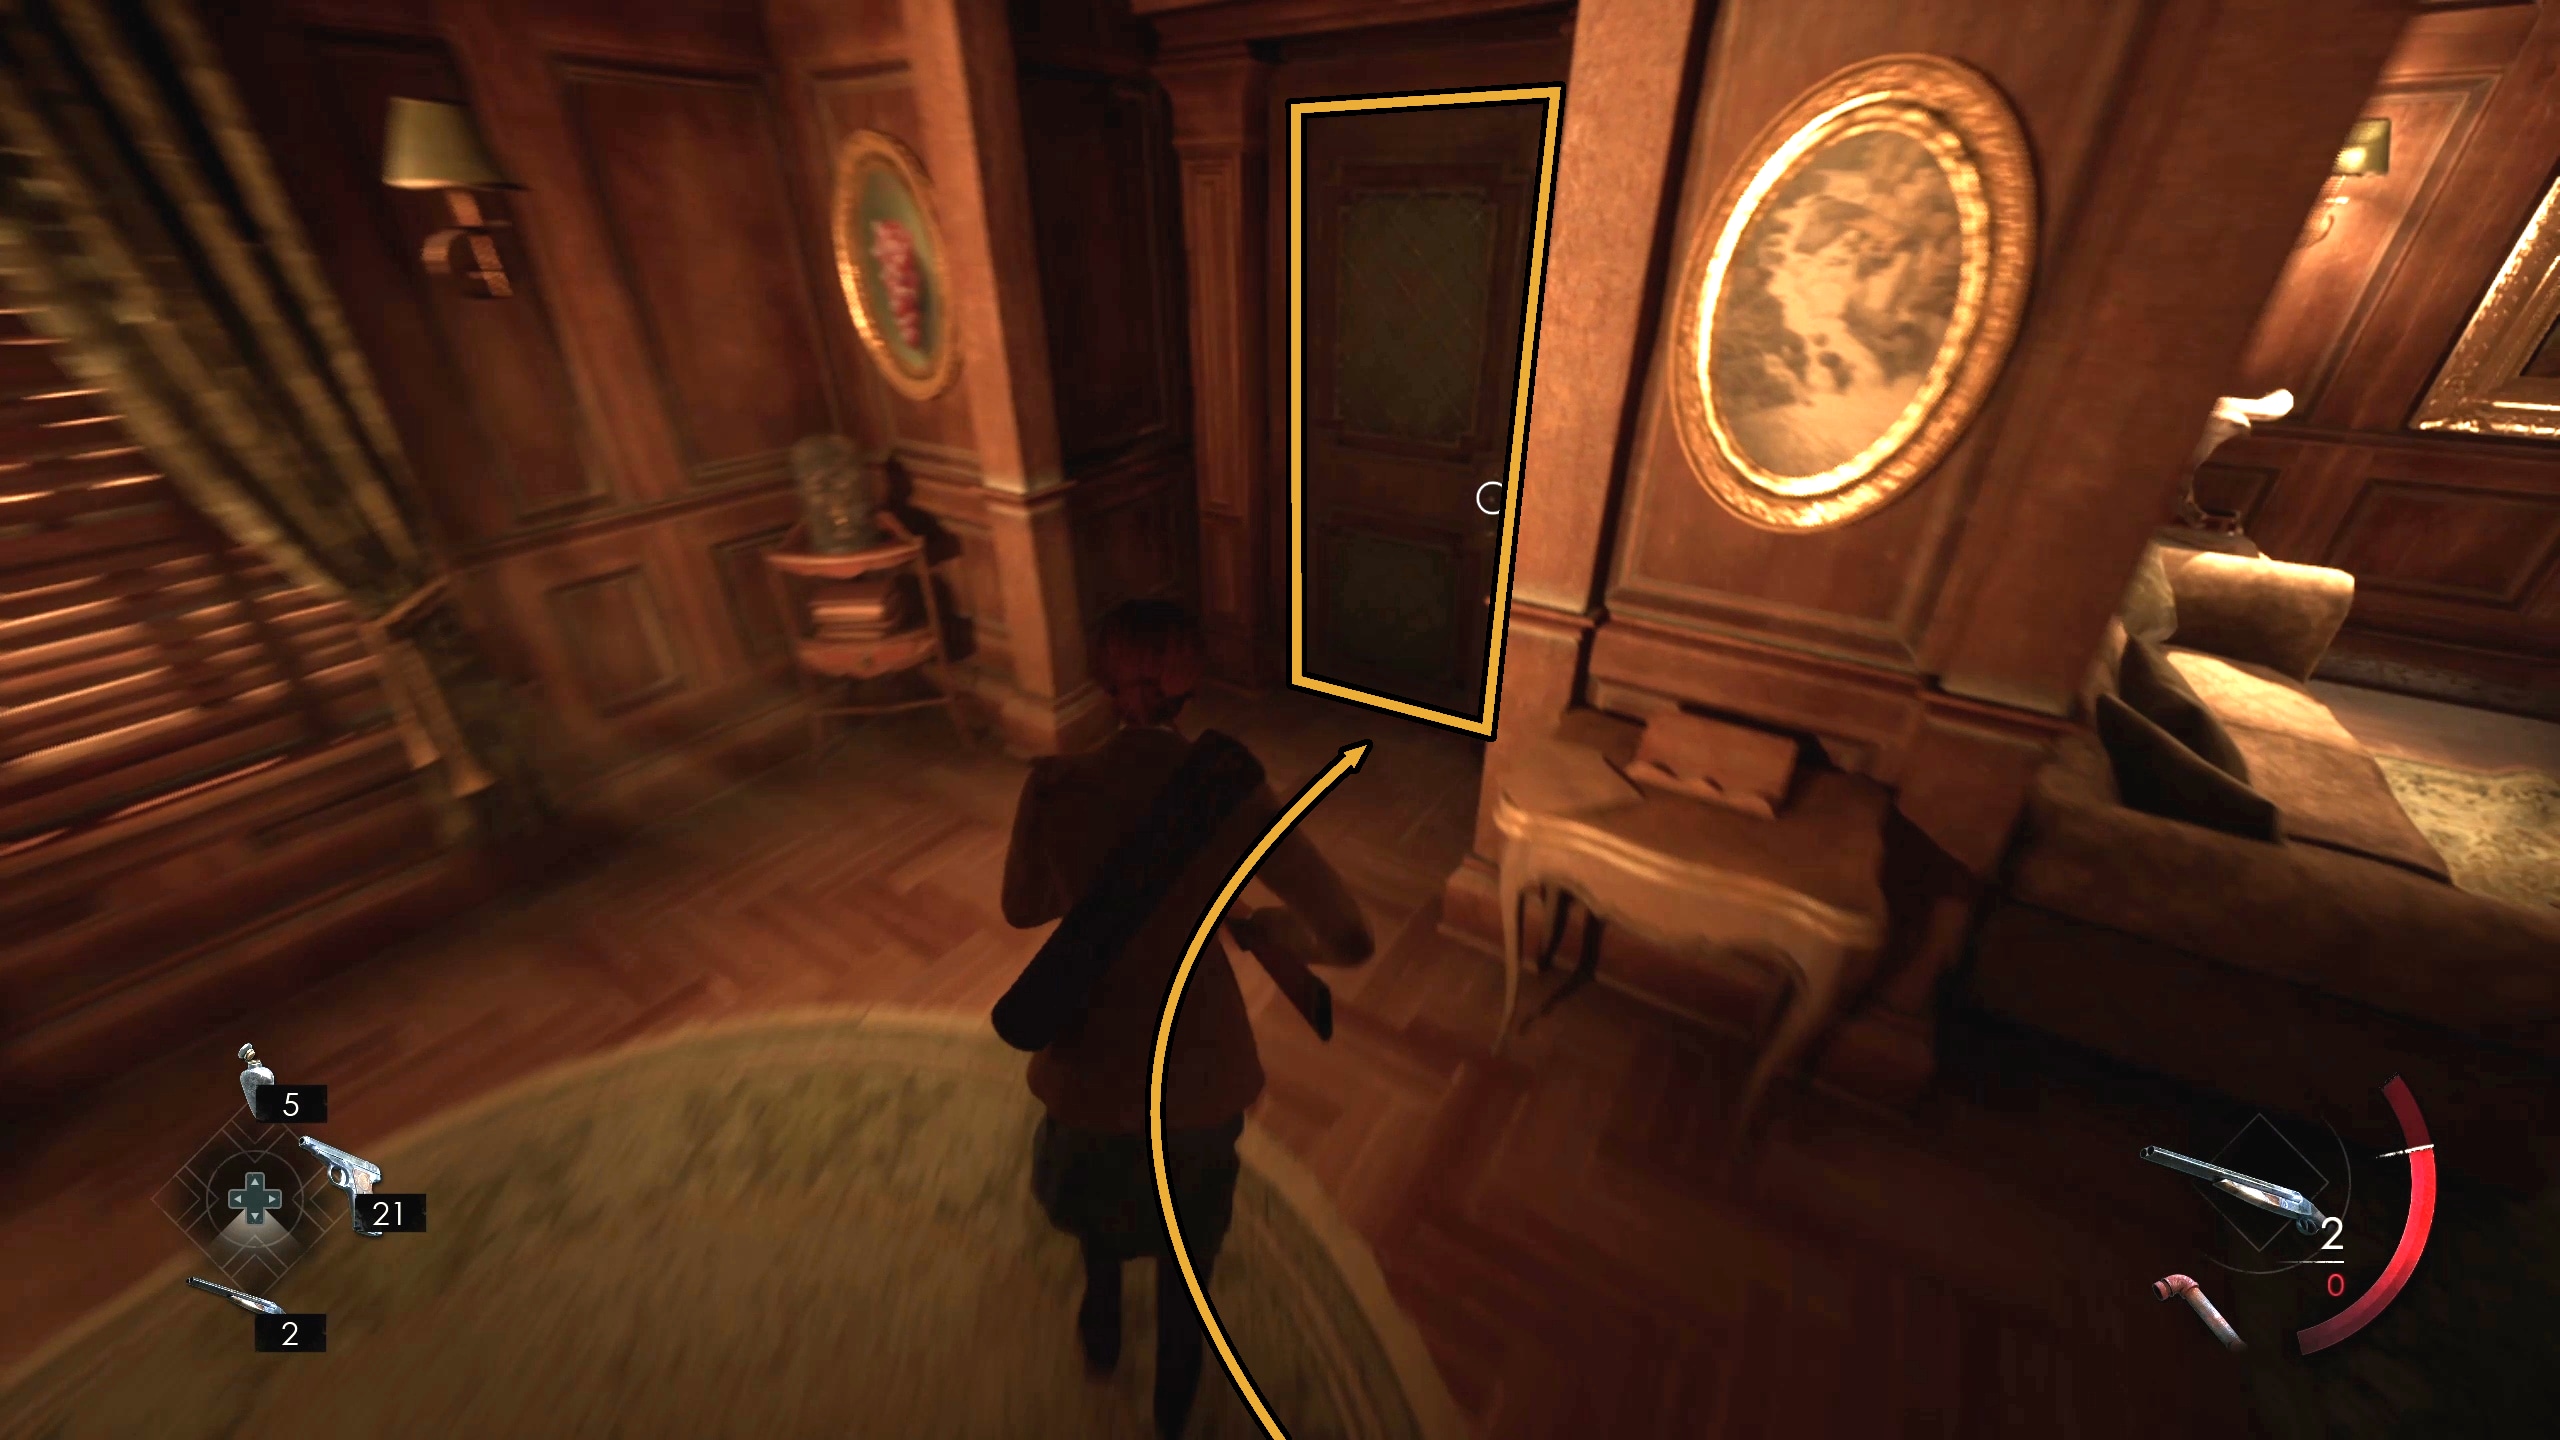
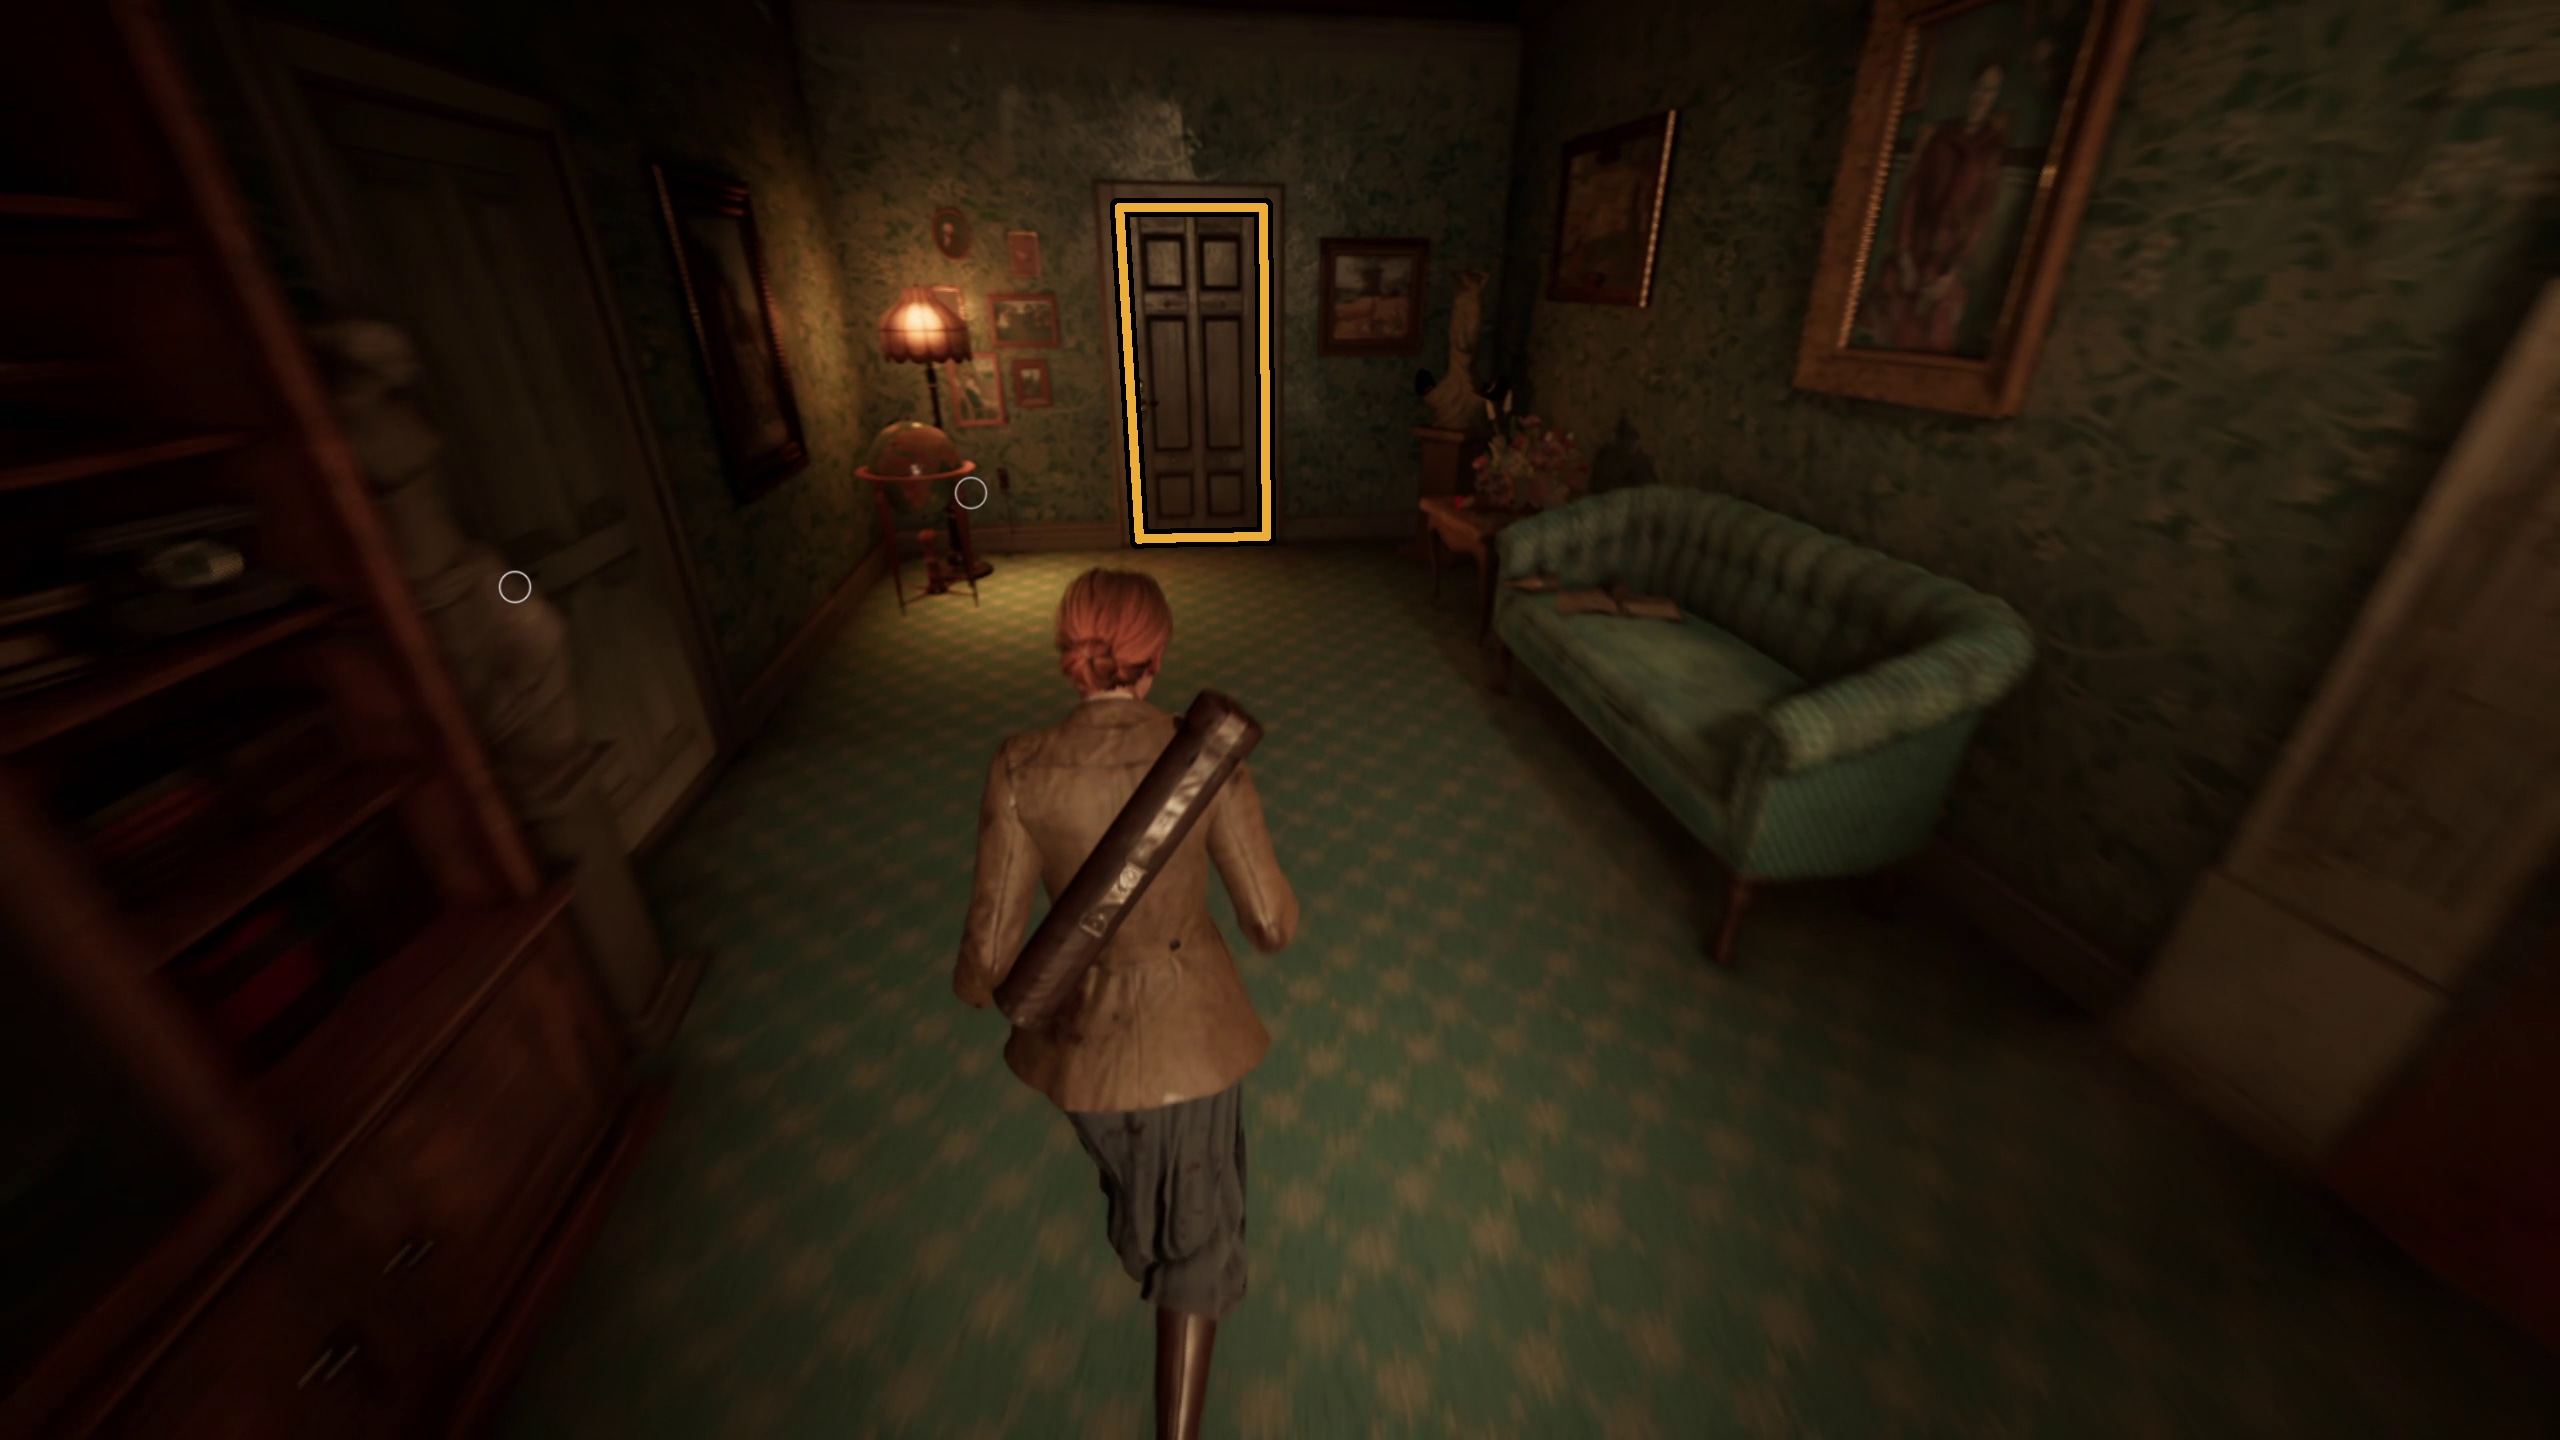
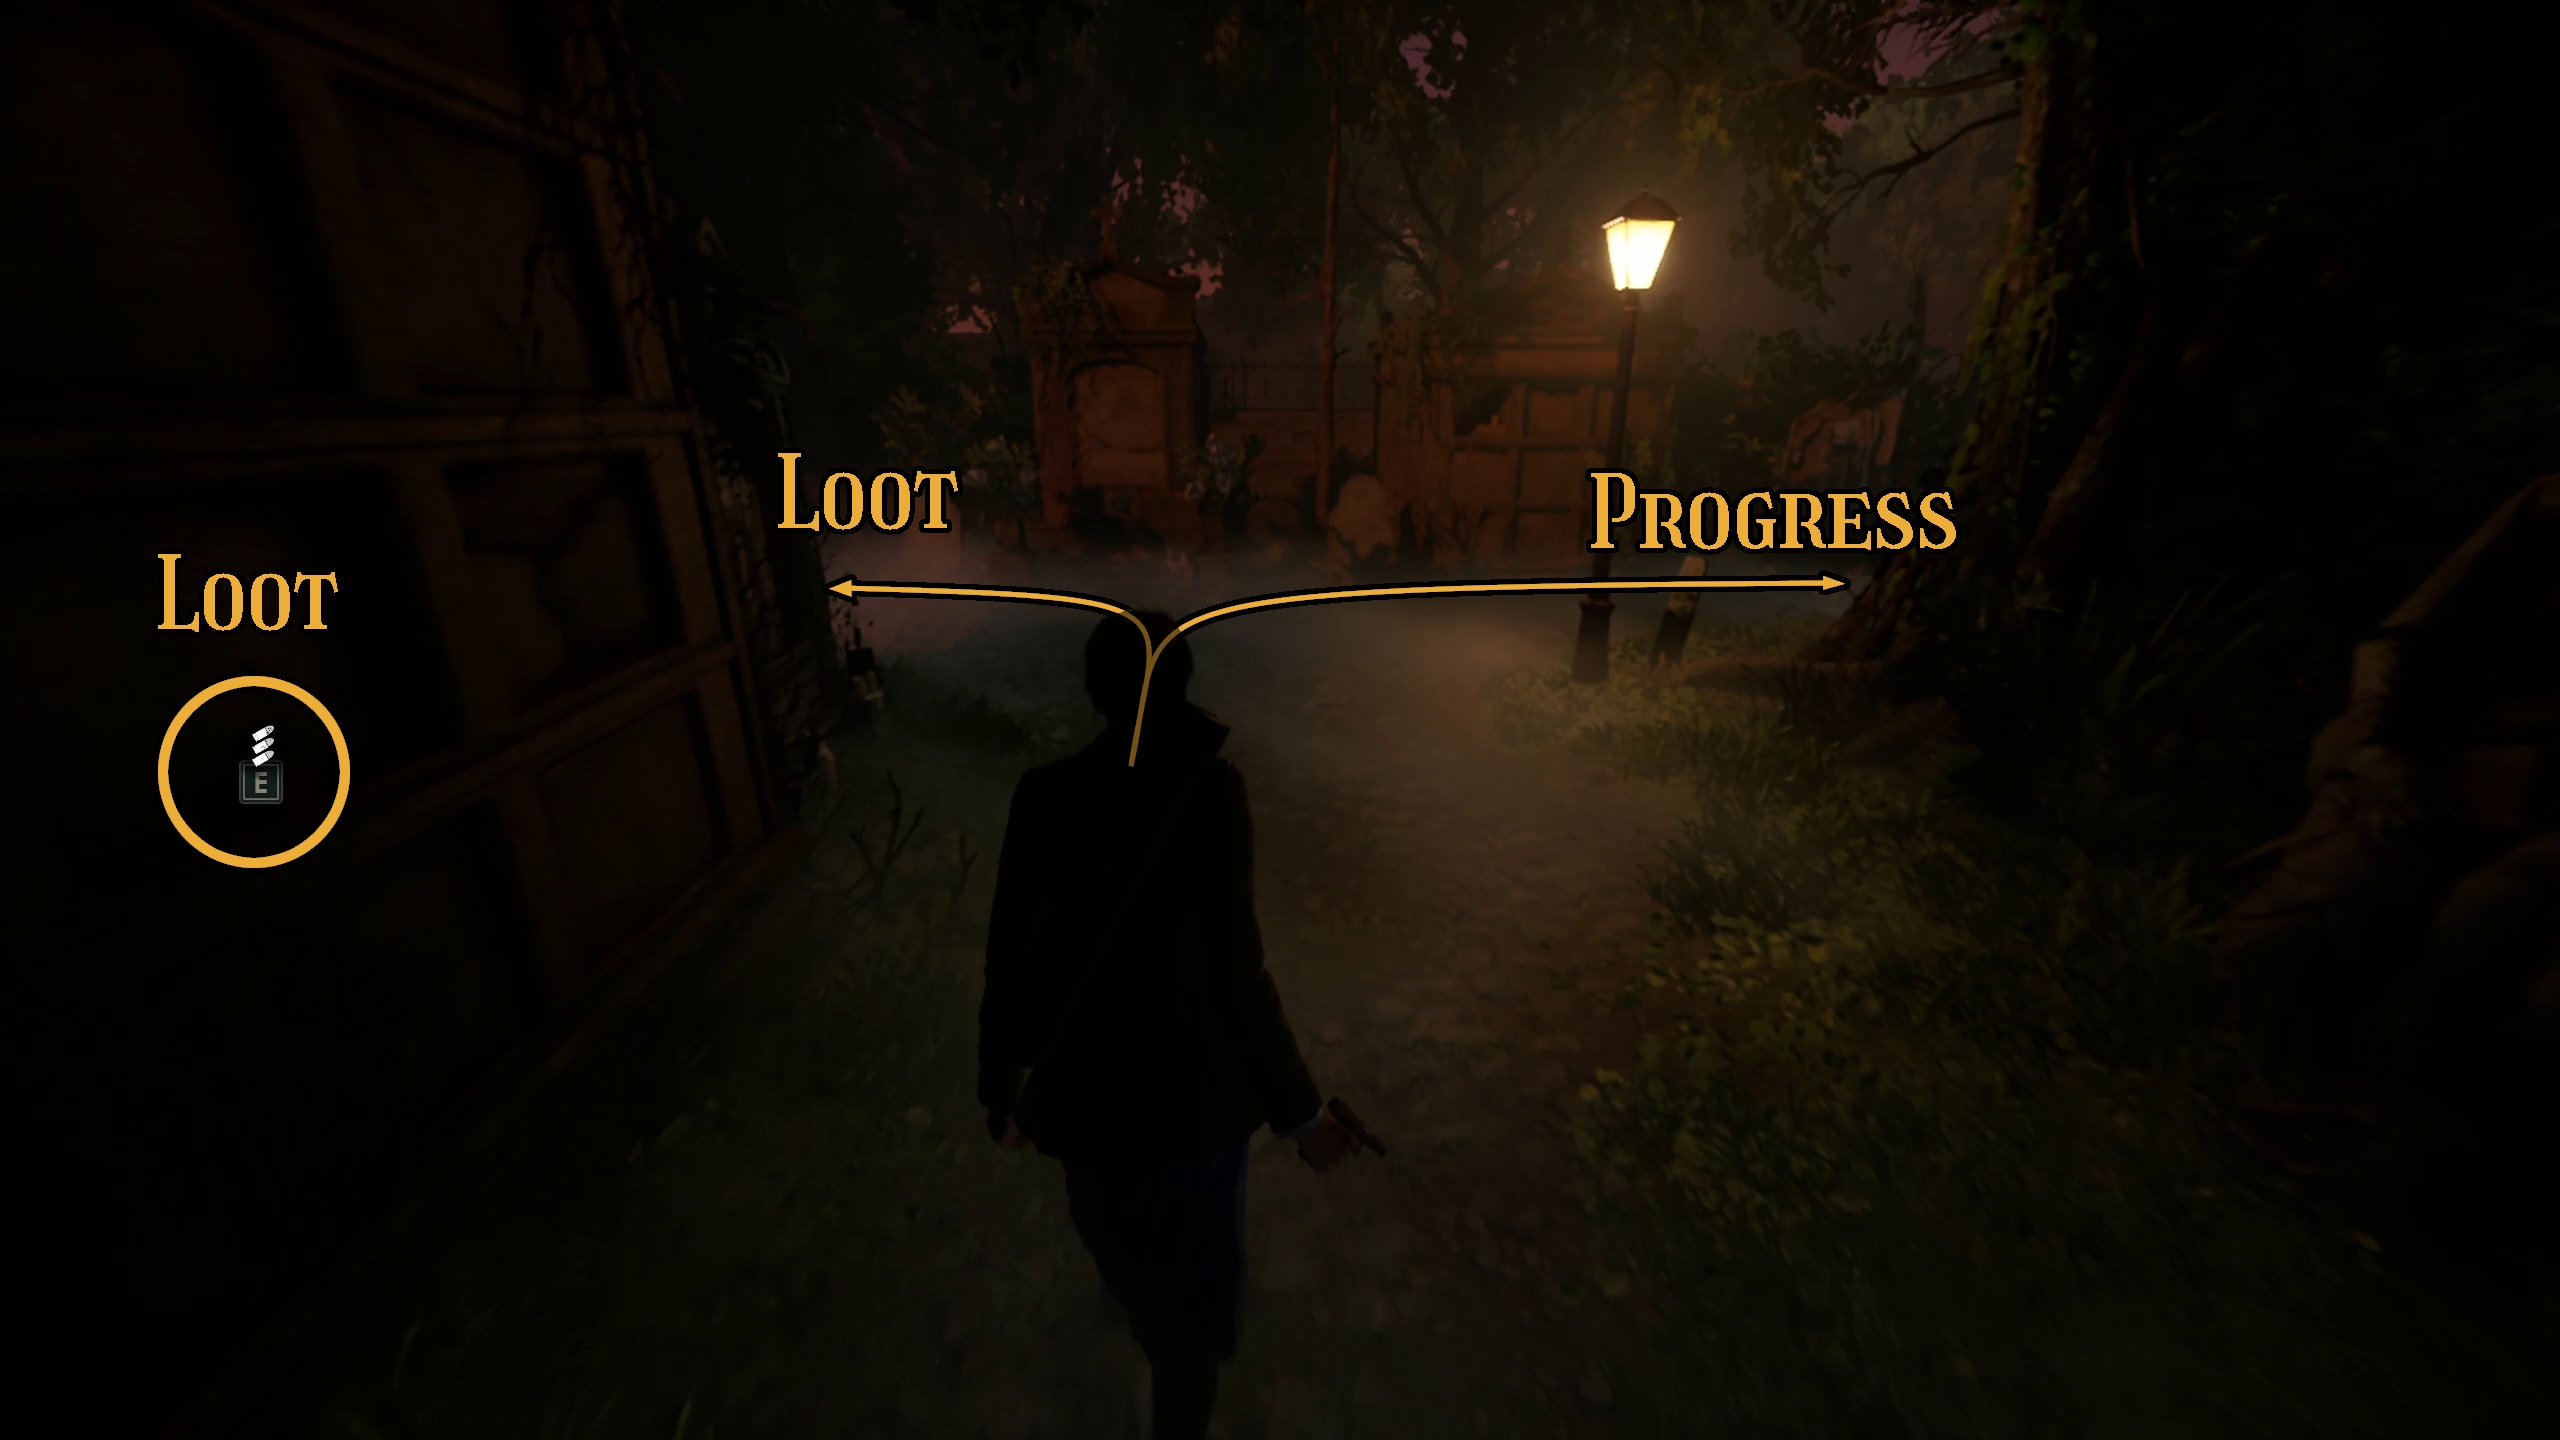
Immediately after you gain control of your character again after talking to Edward/Emily at the start of Chapter 2, you will now be able to enter the Clerk’s Office using the keys you got from Batiste in the French Quarter. You can also pick up the Rubber StampLagniappe from in front of the Clerk’s Office if you didn’t in Chapter 1 (Image 1).
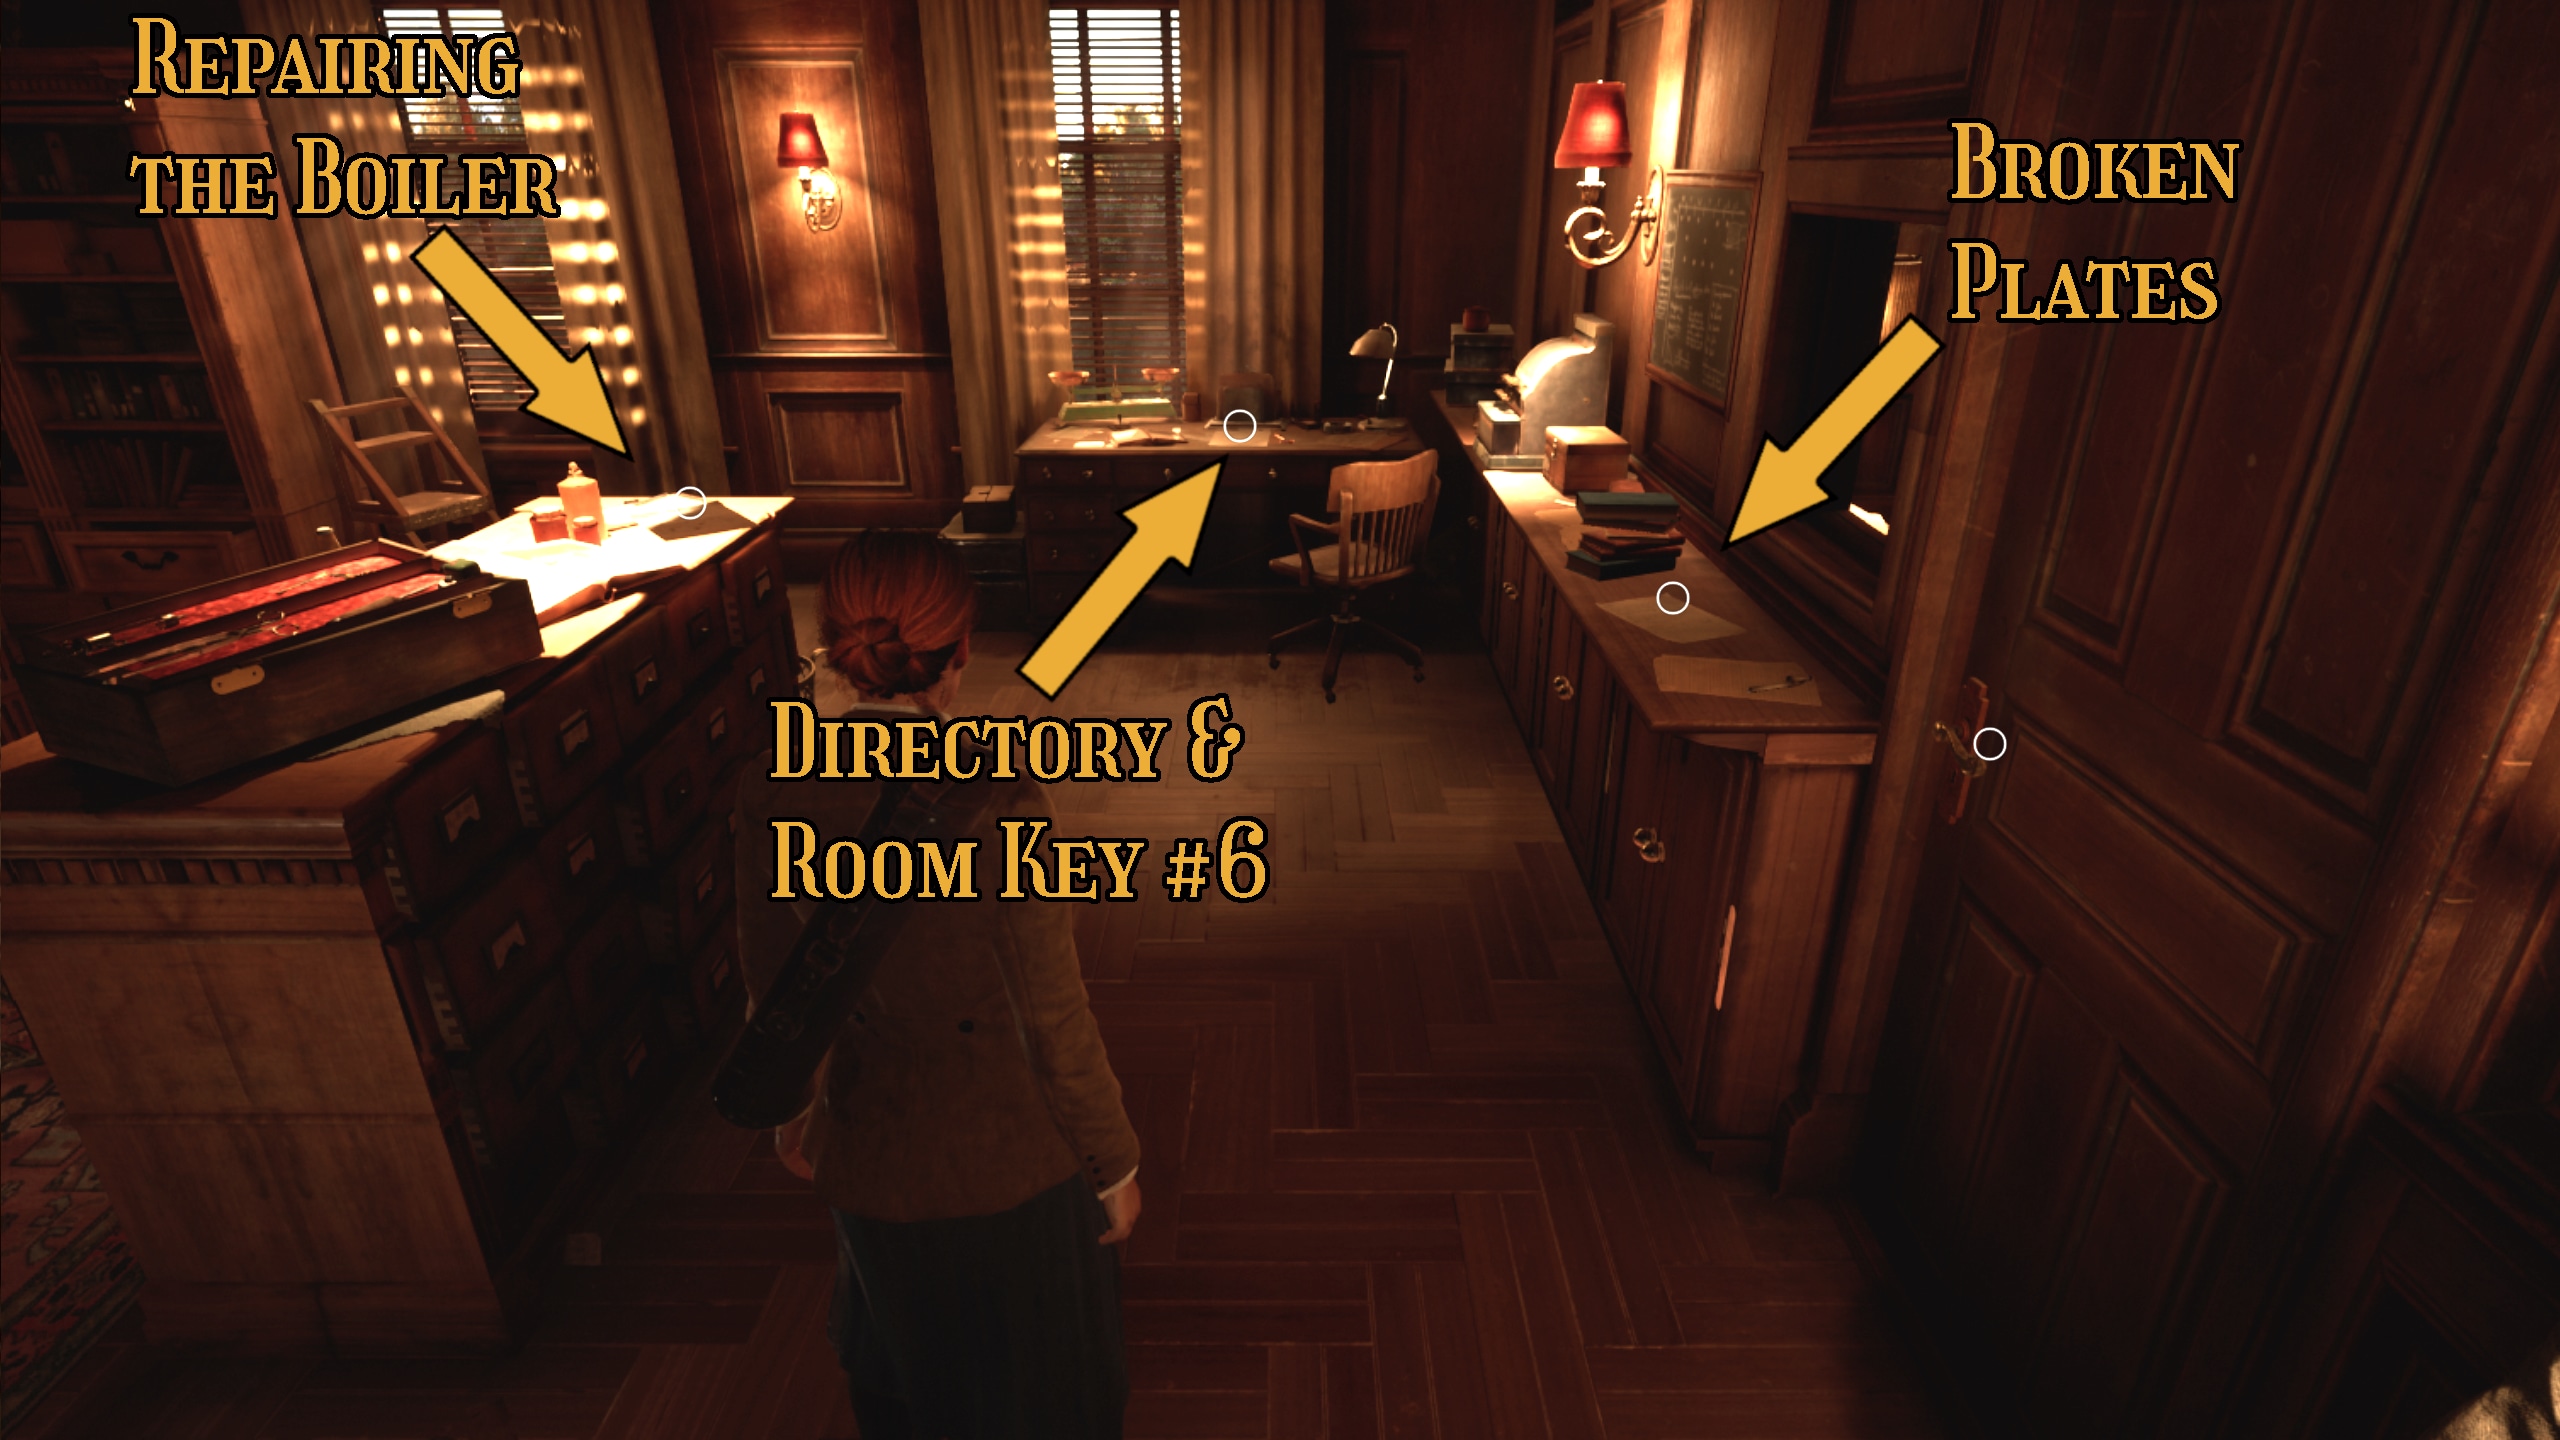
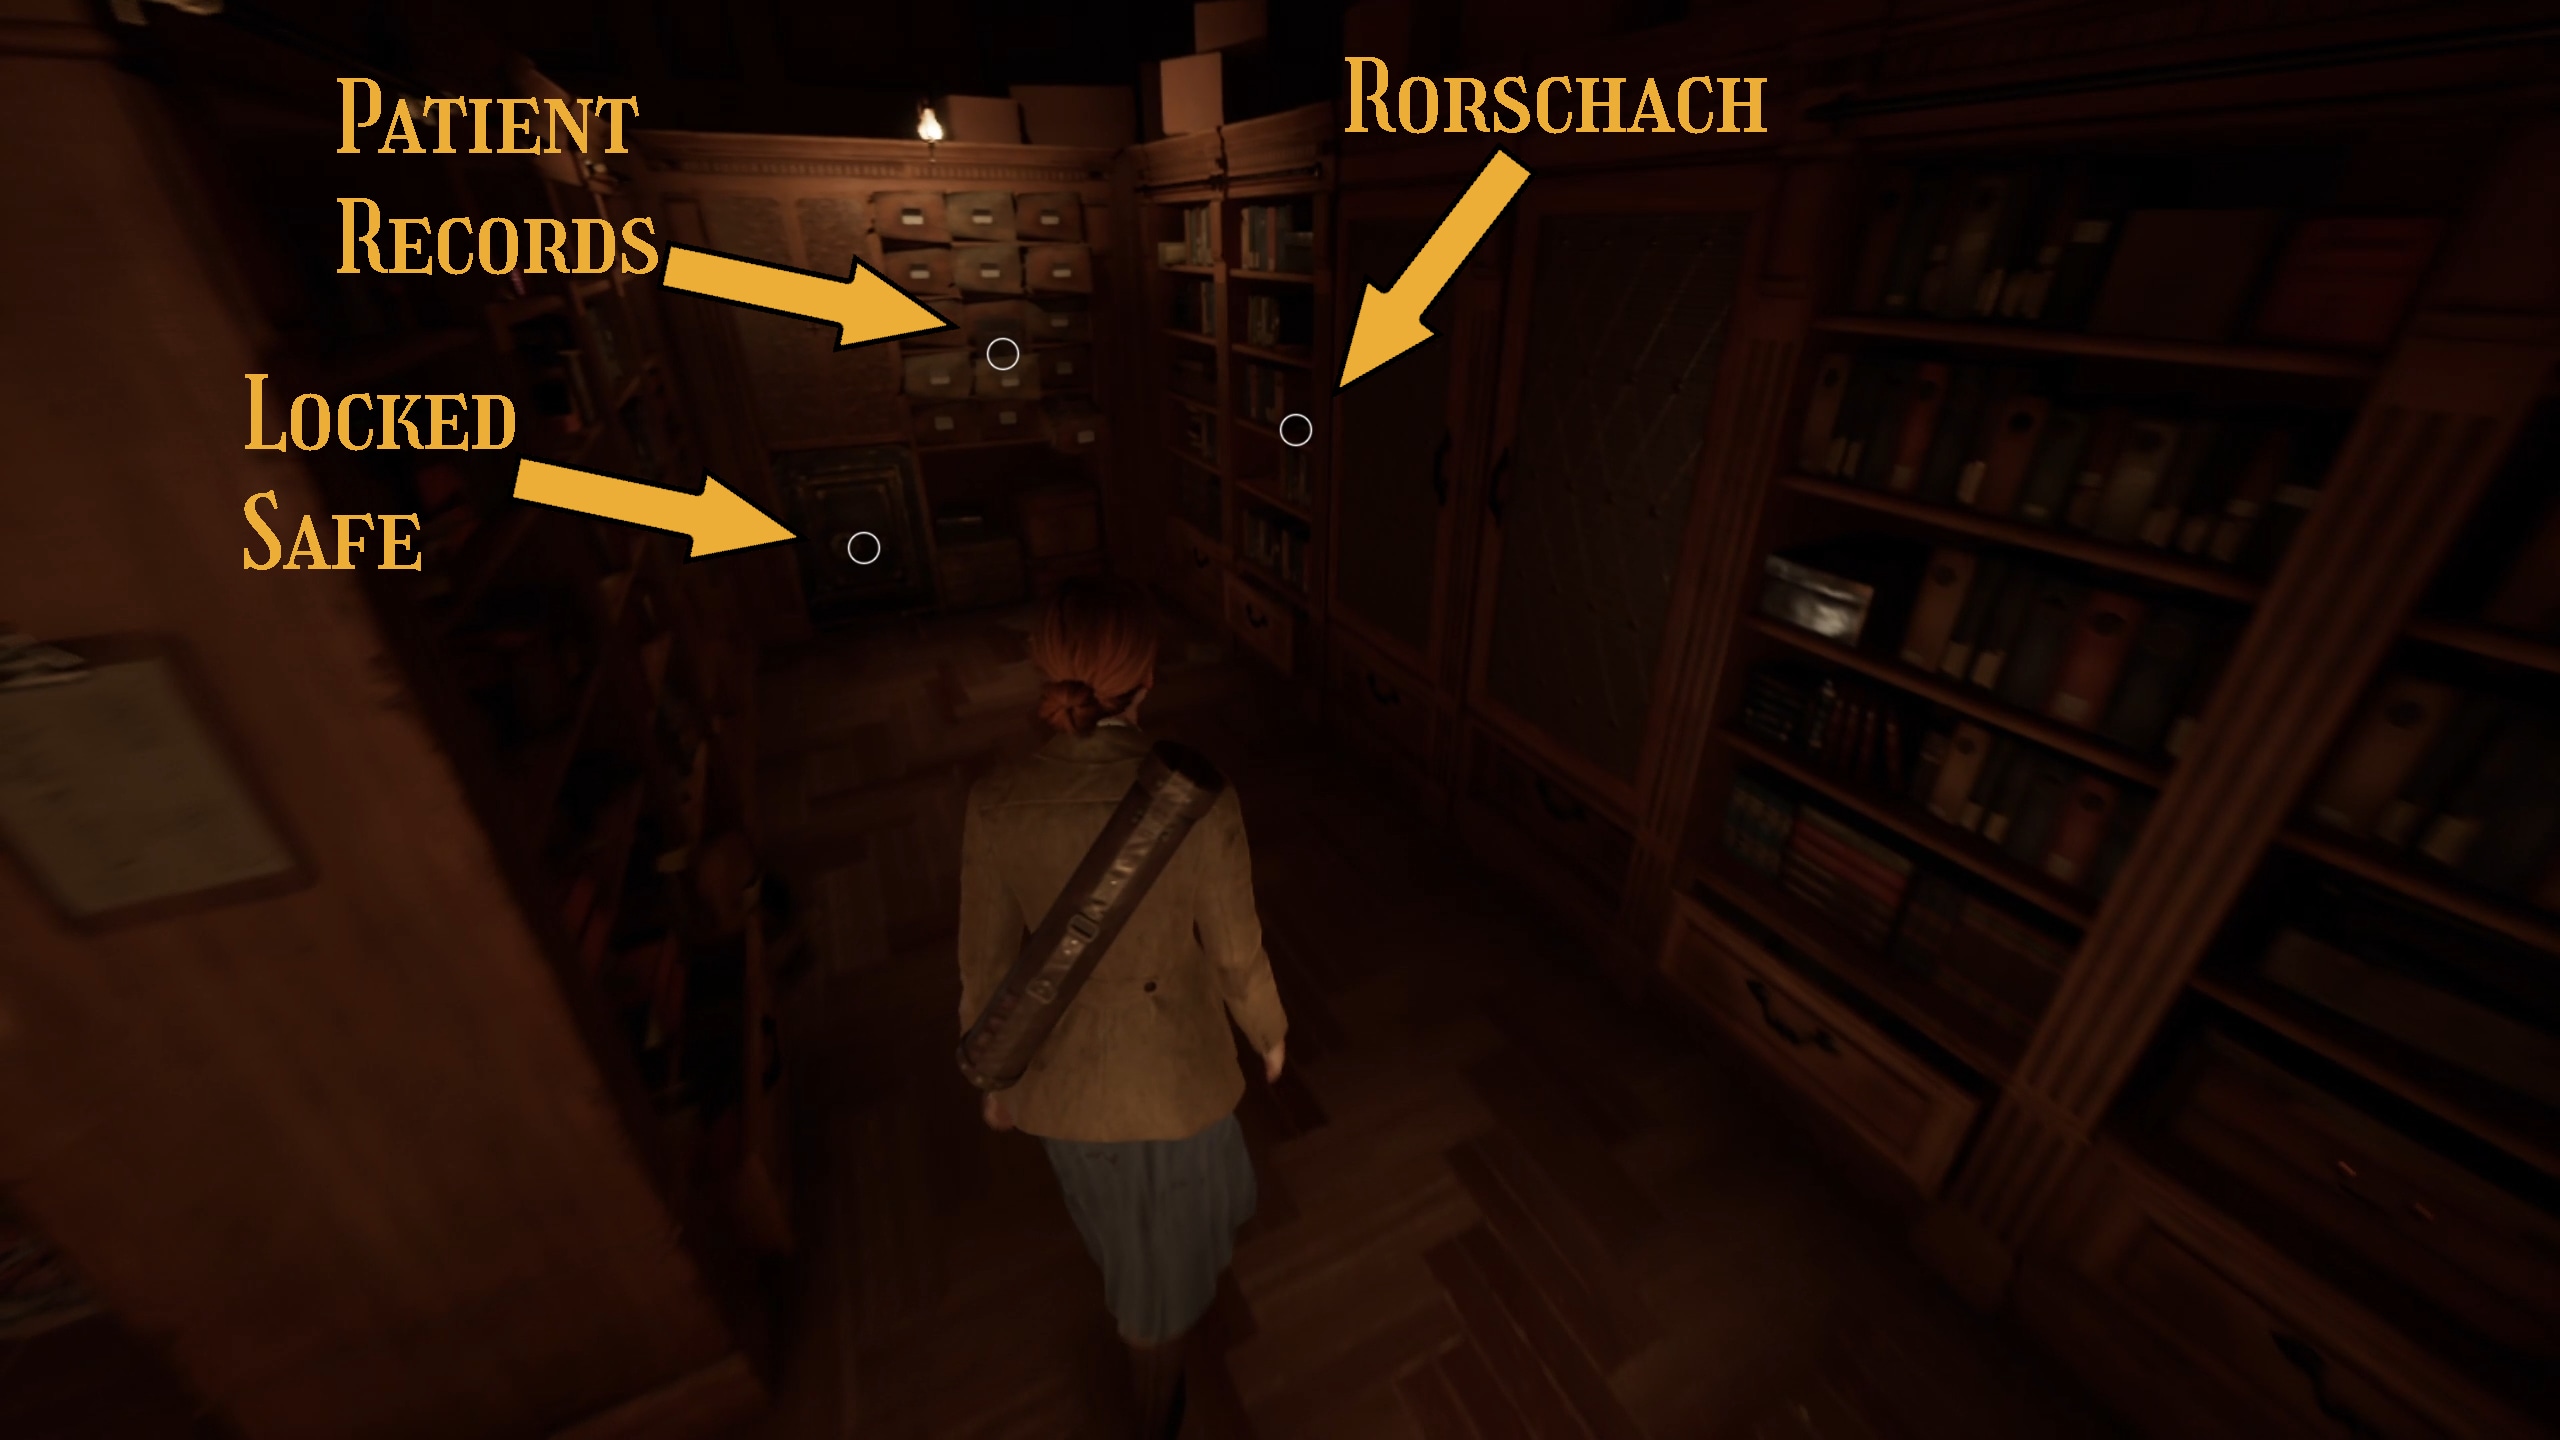
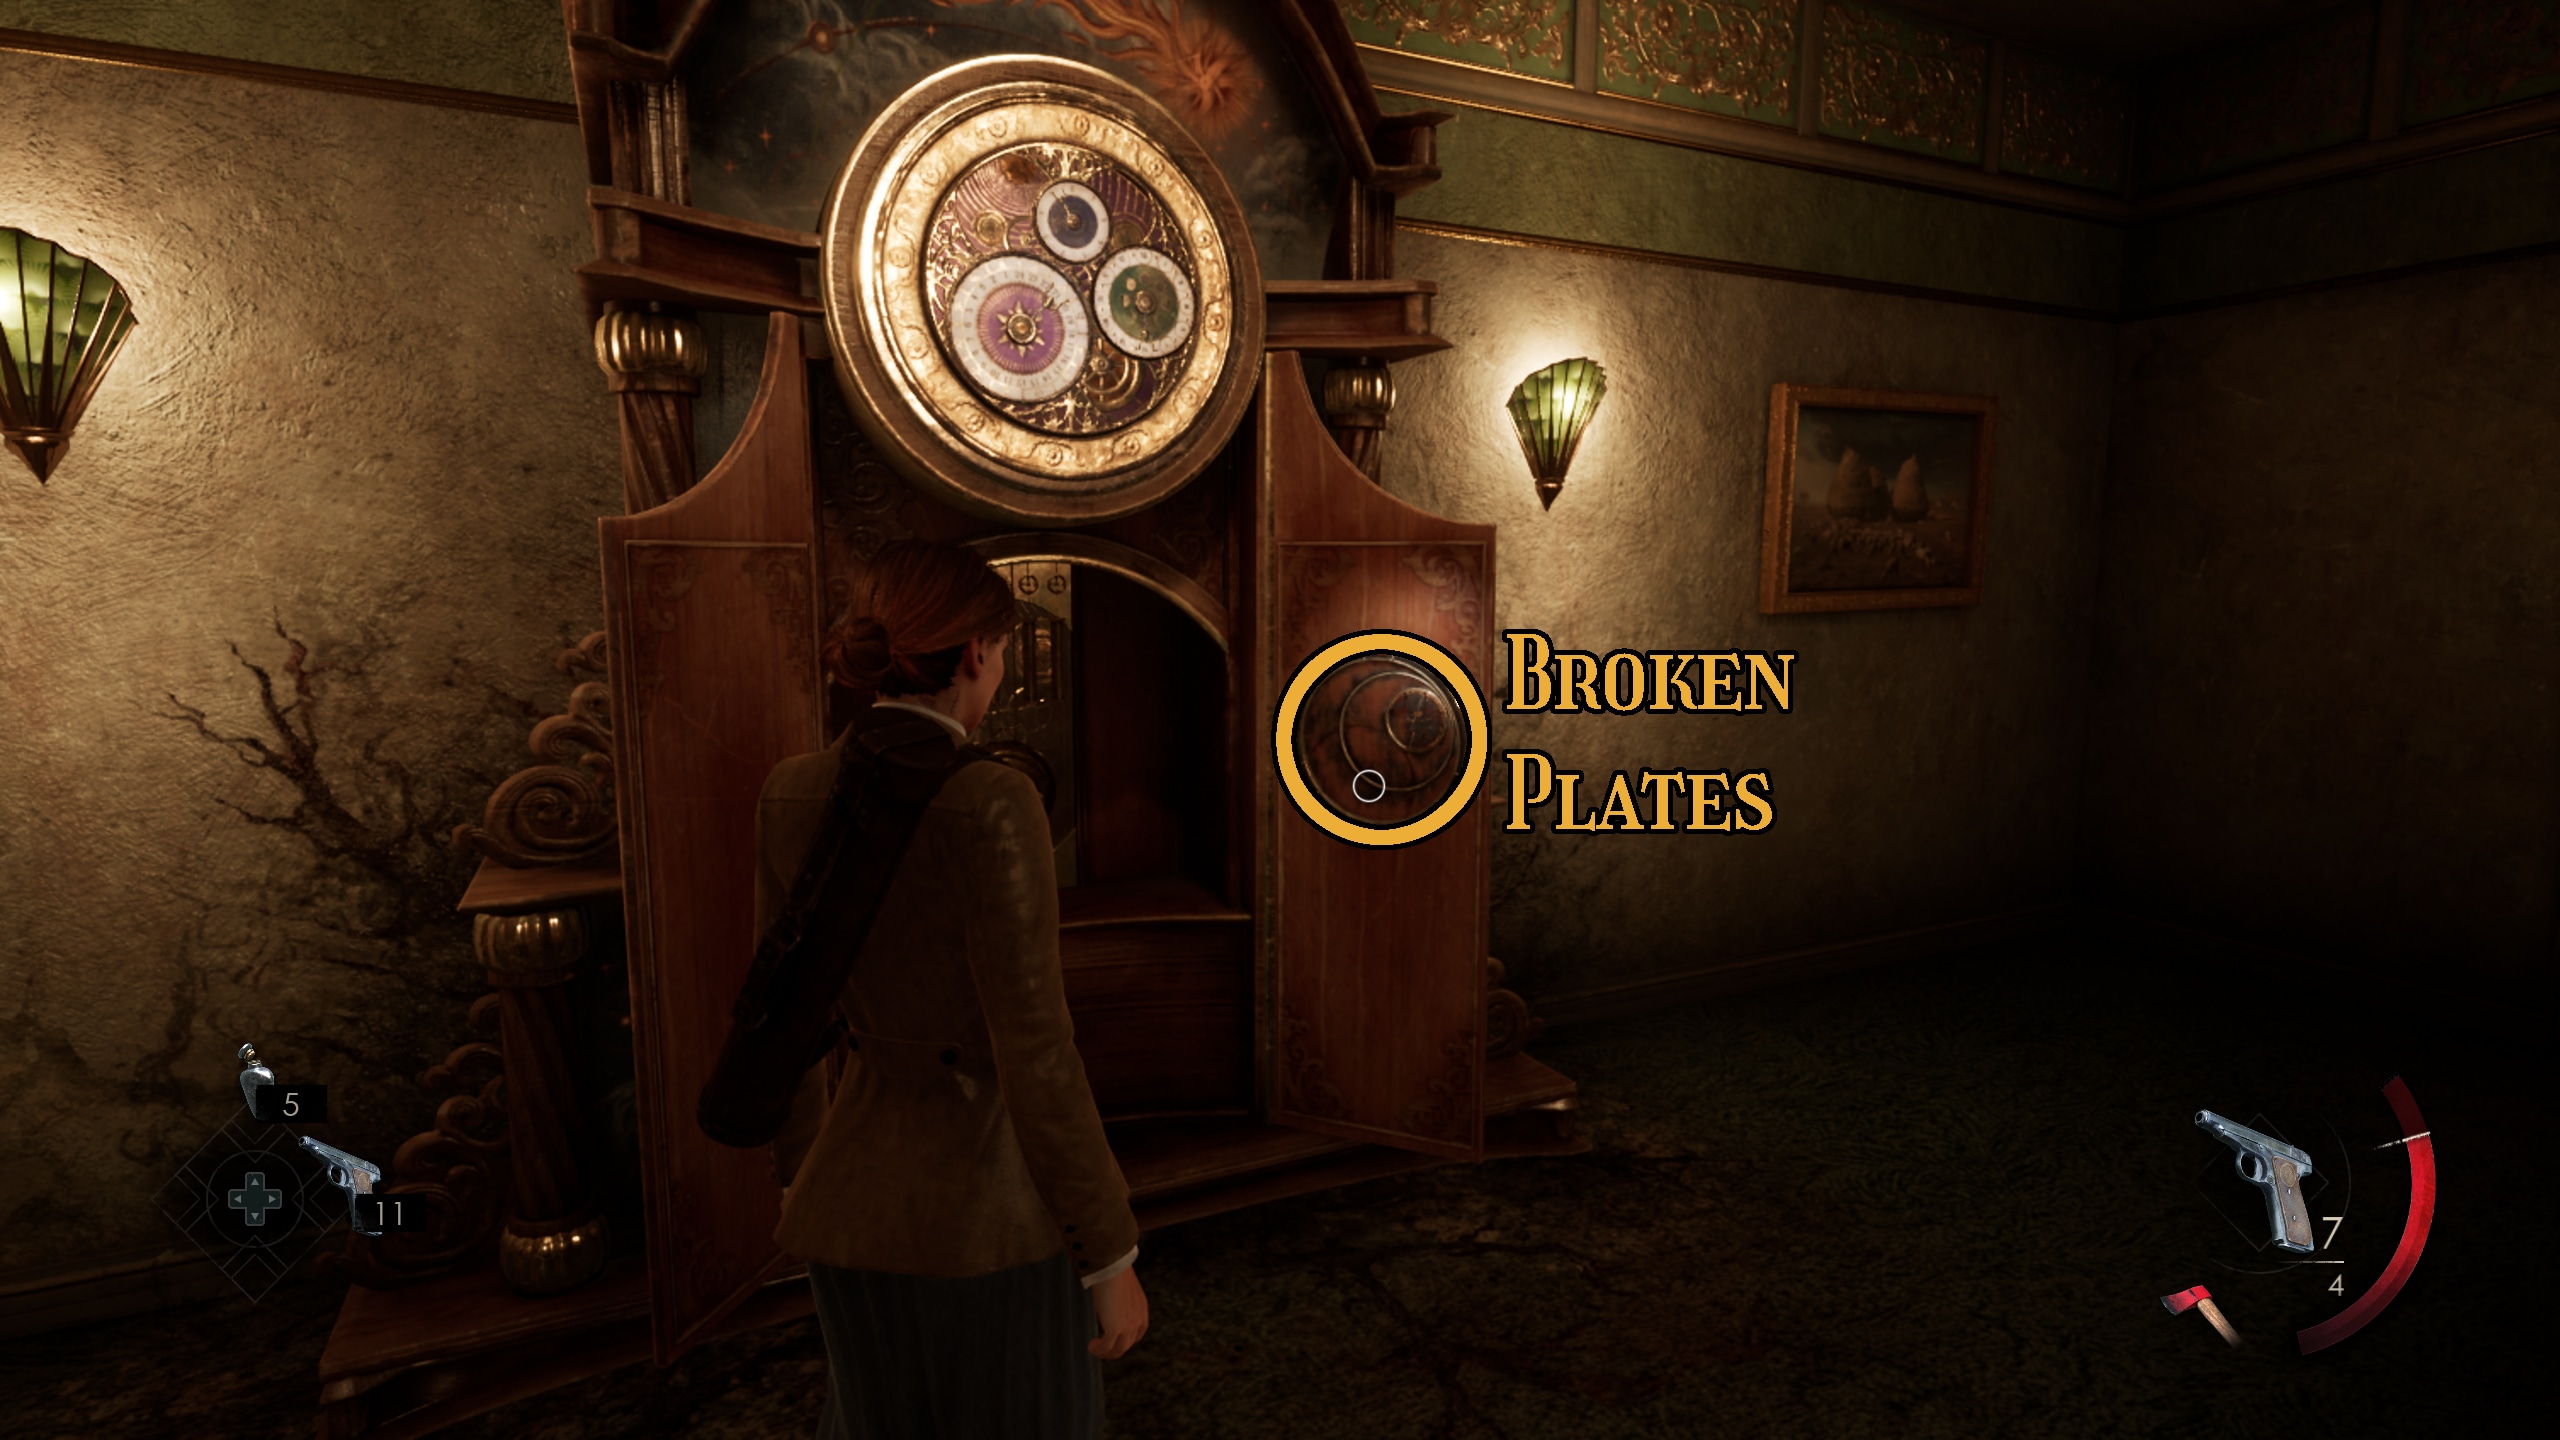
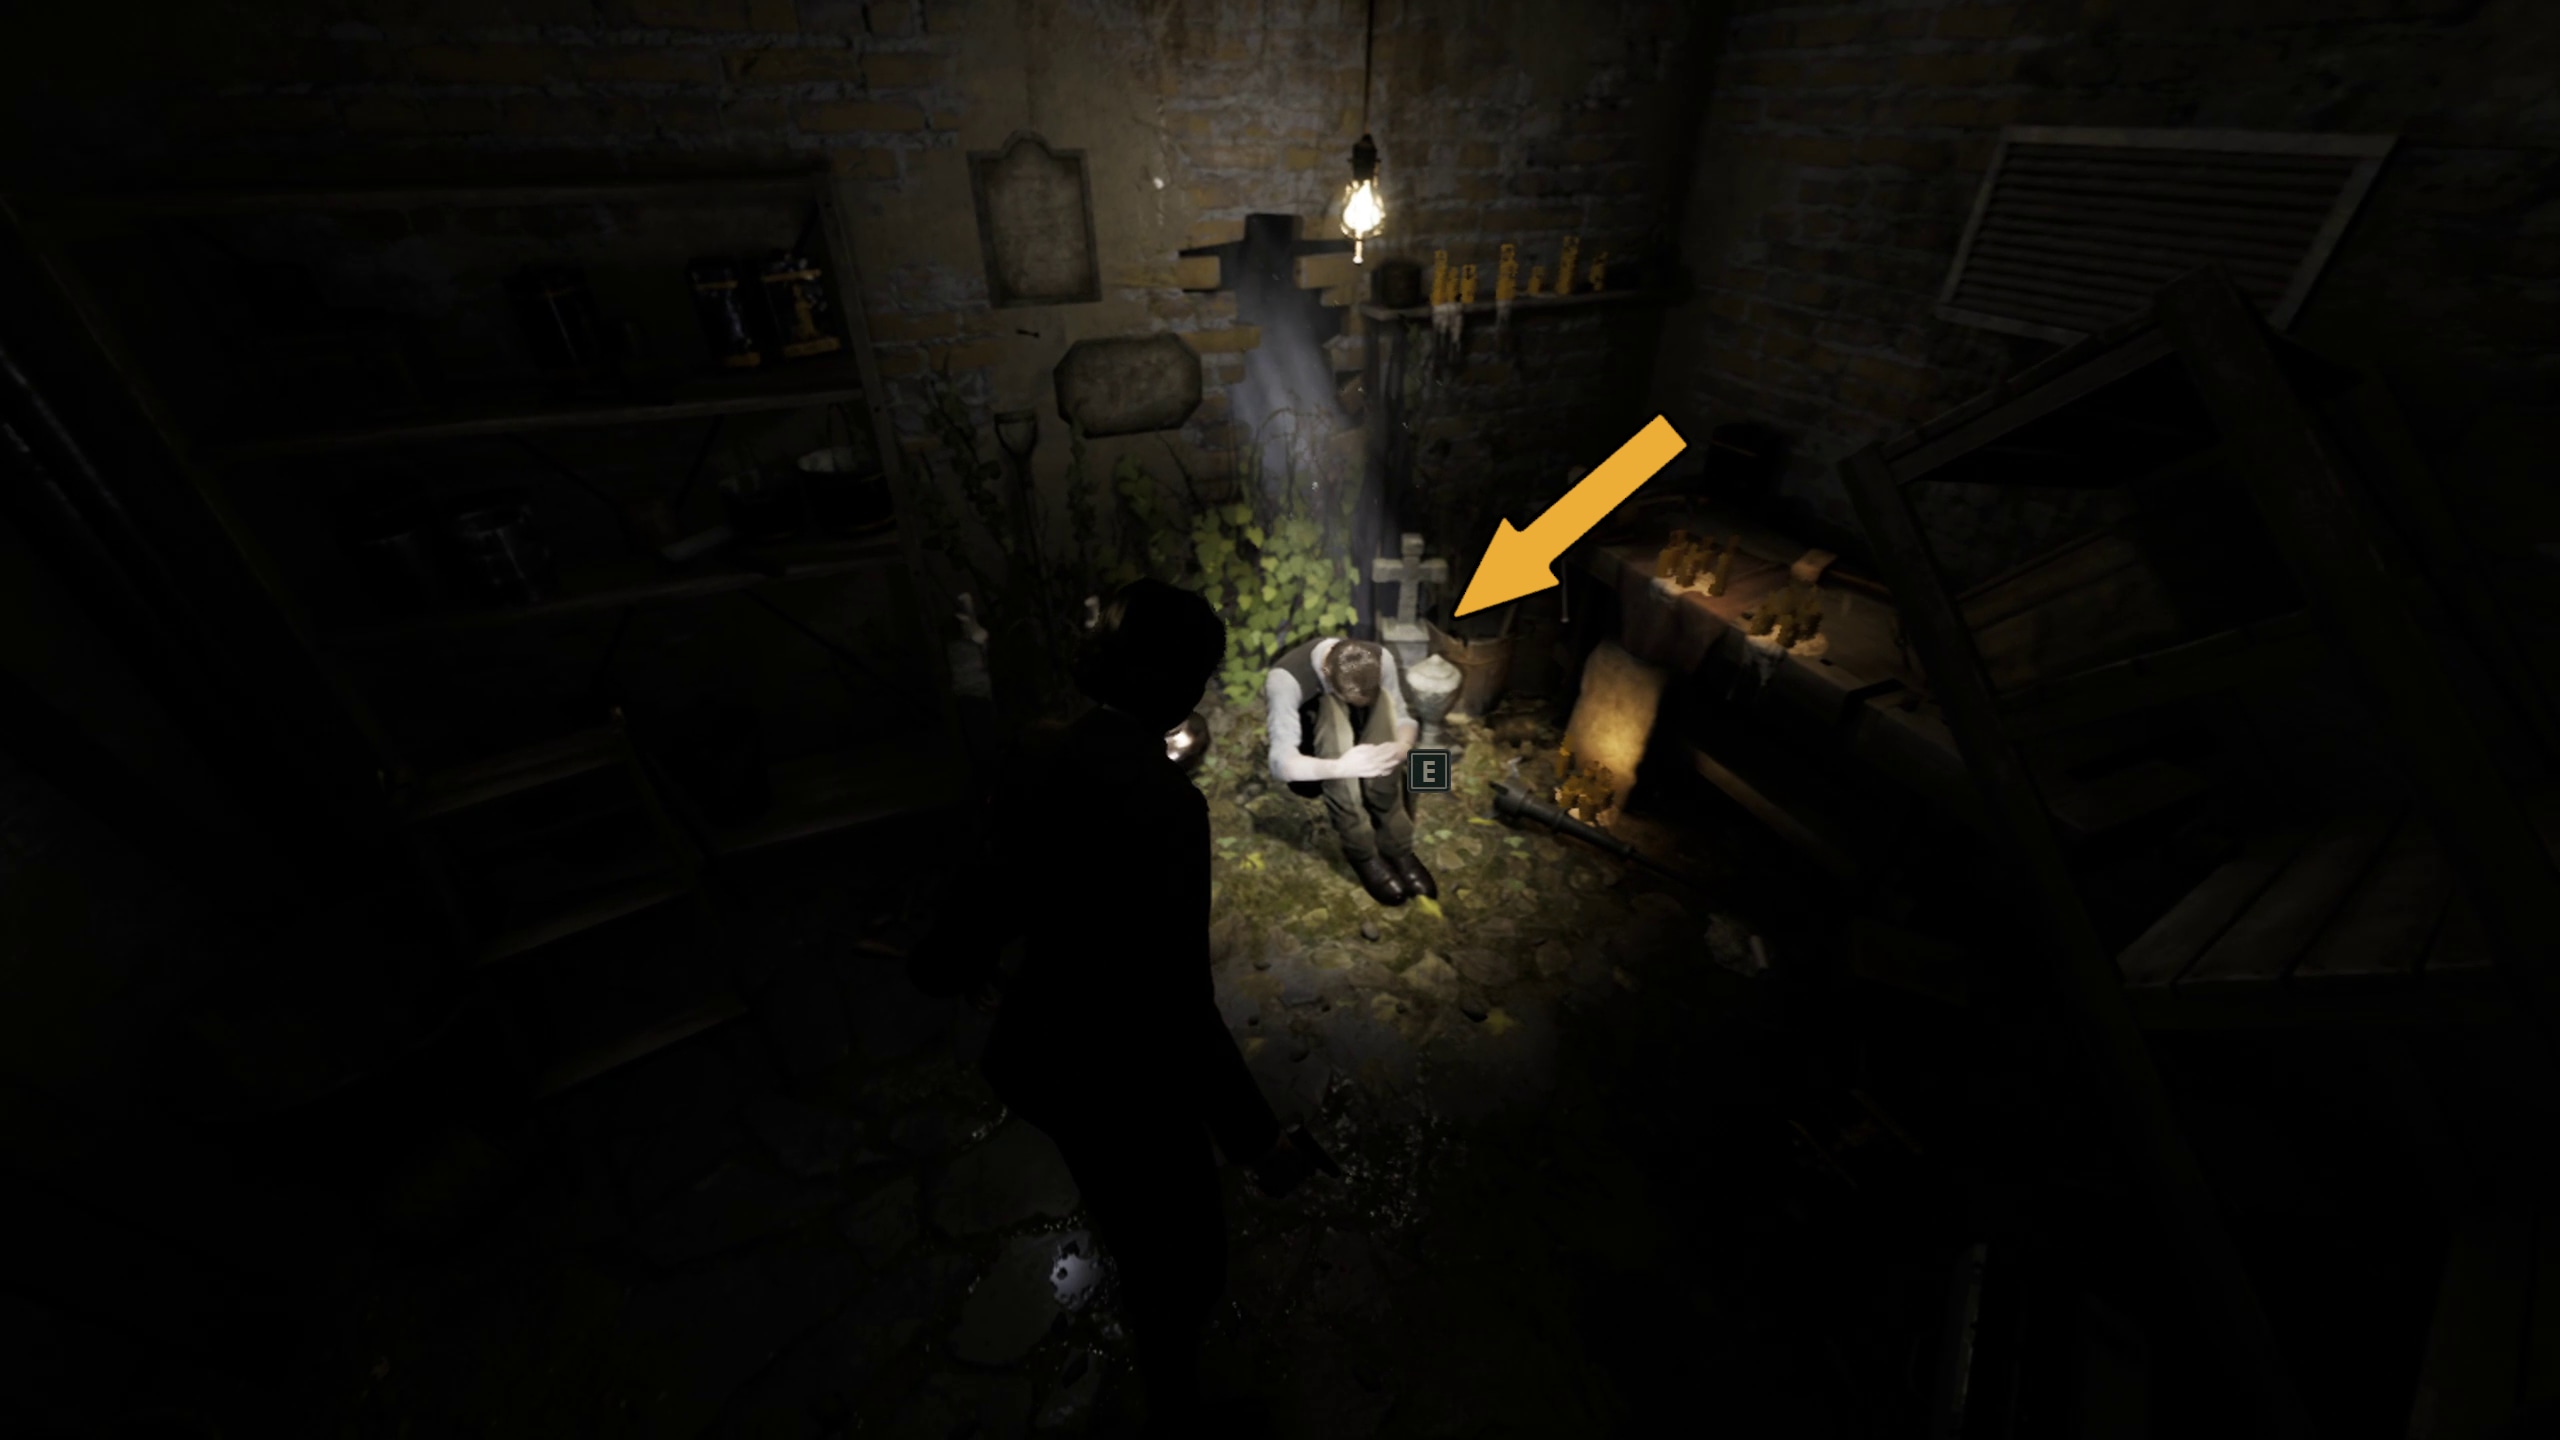
Once inside the Clerk’s Office, look to your right. Here, you’ll find 3 notes (“Repairing the Boiler”, “Broken Plates”, and “Staff & Patient Directory”), as well as Room Key #6 (Image 2). Continue through the Clerk’s Office, and you’ll find the organization, including the Rorschach Lagniappe and the “Patient Records” note (Image 3). You’ll also be able to find a locked safe, but without the combination, you won’t be able to open it yet… Even though it does contain something interesting (and collectible) right now.
Image 1Image 2Image 3
It’s almost like you’d have to have done this before… Maybe you should wait until another playthrough.
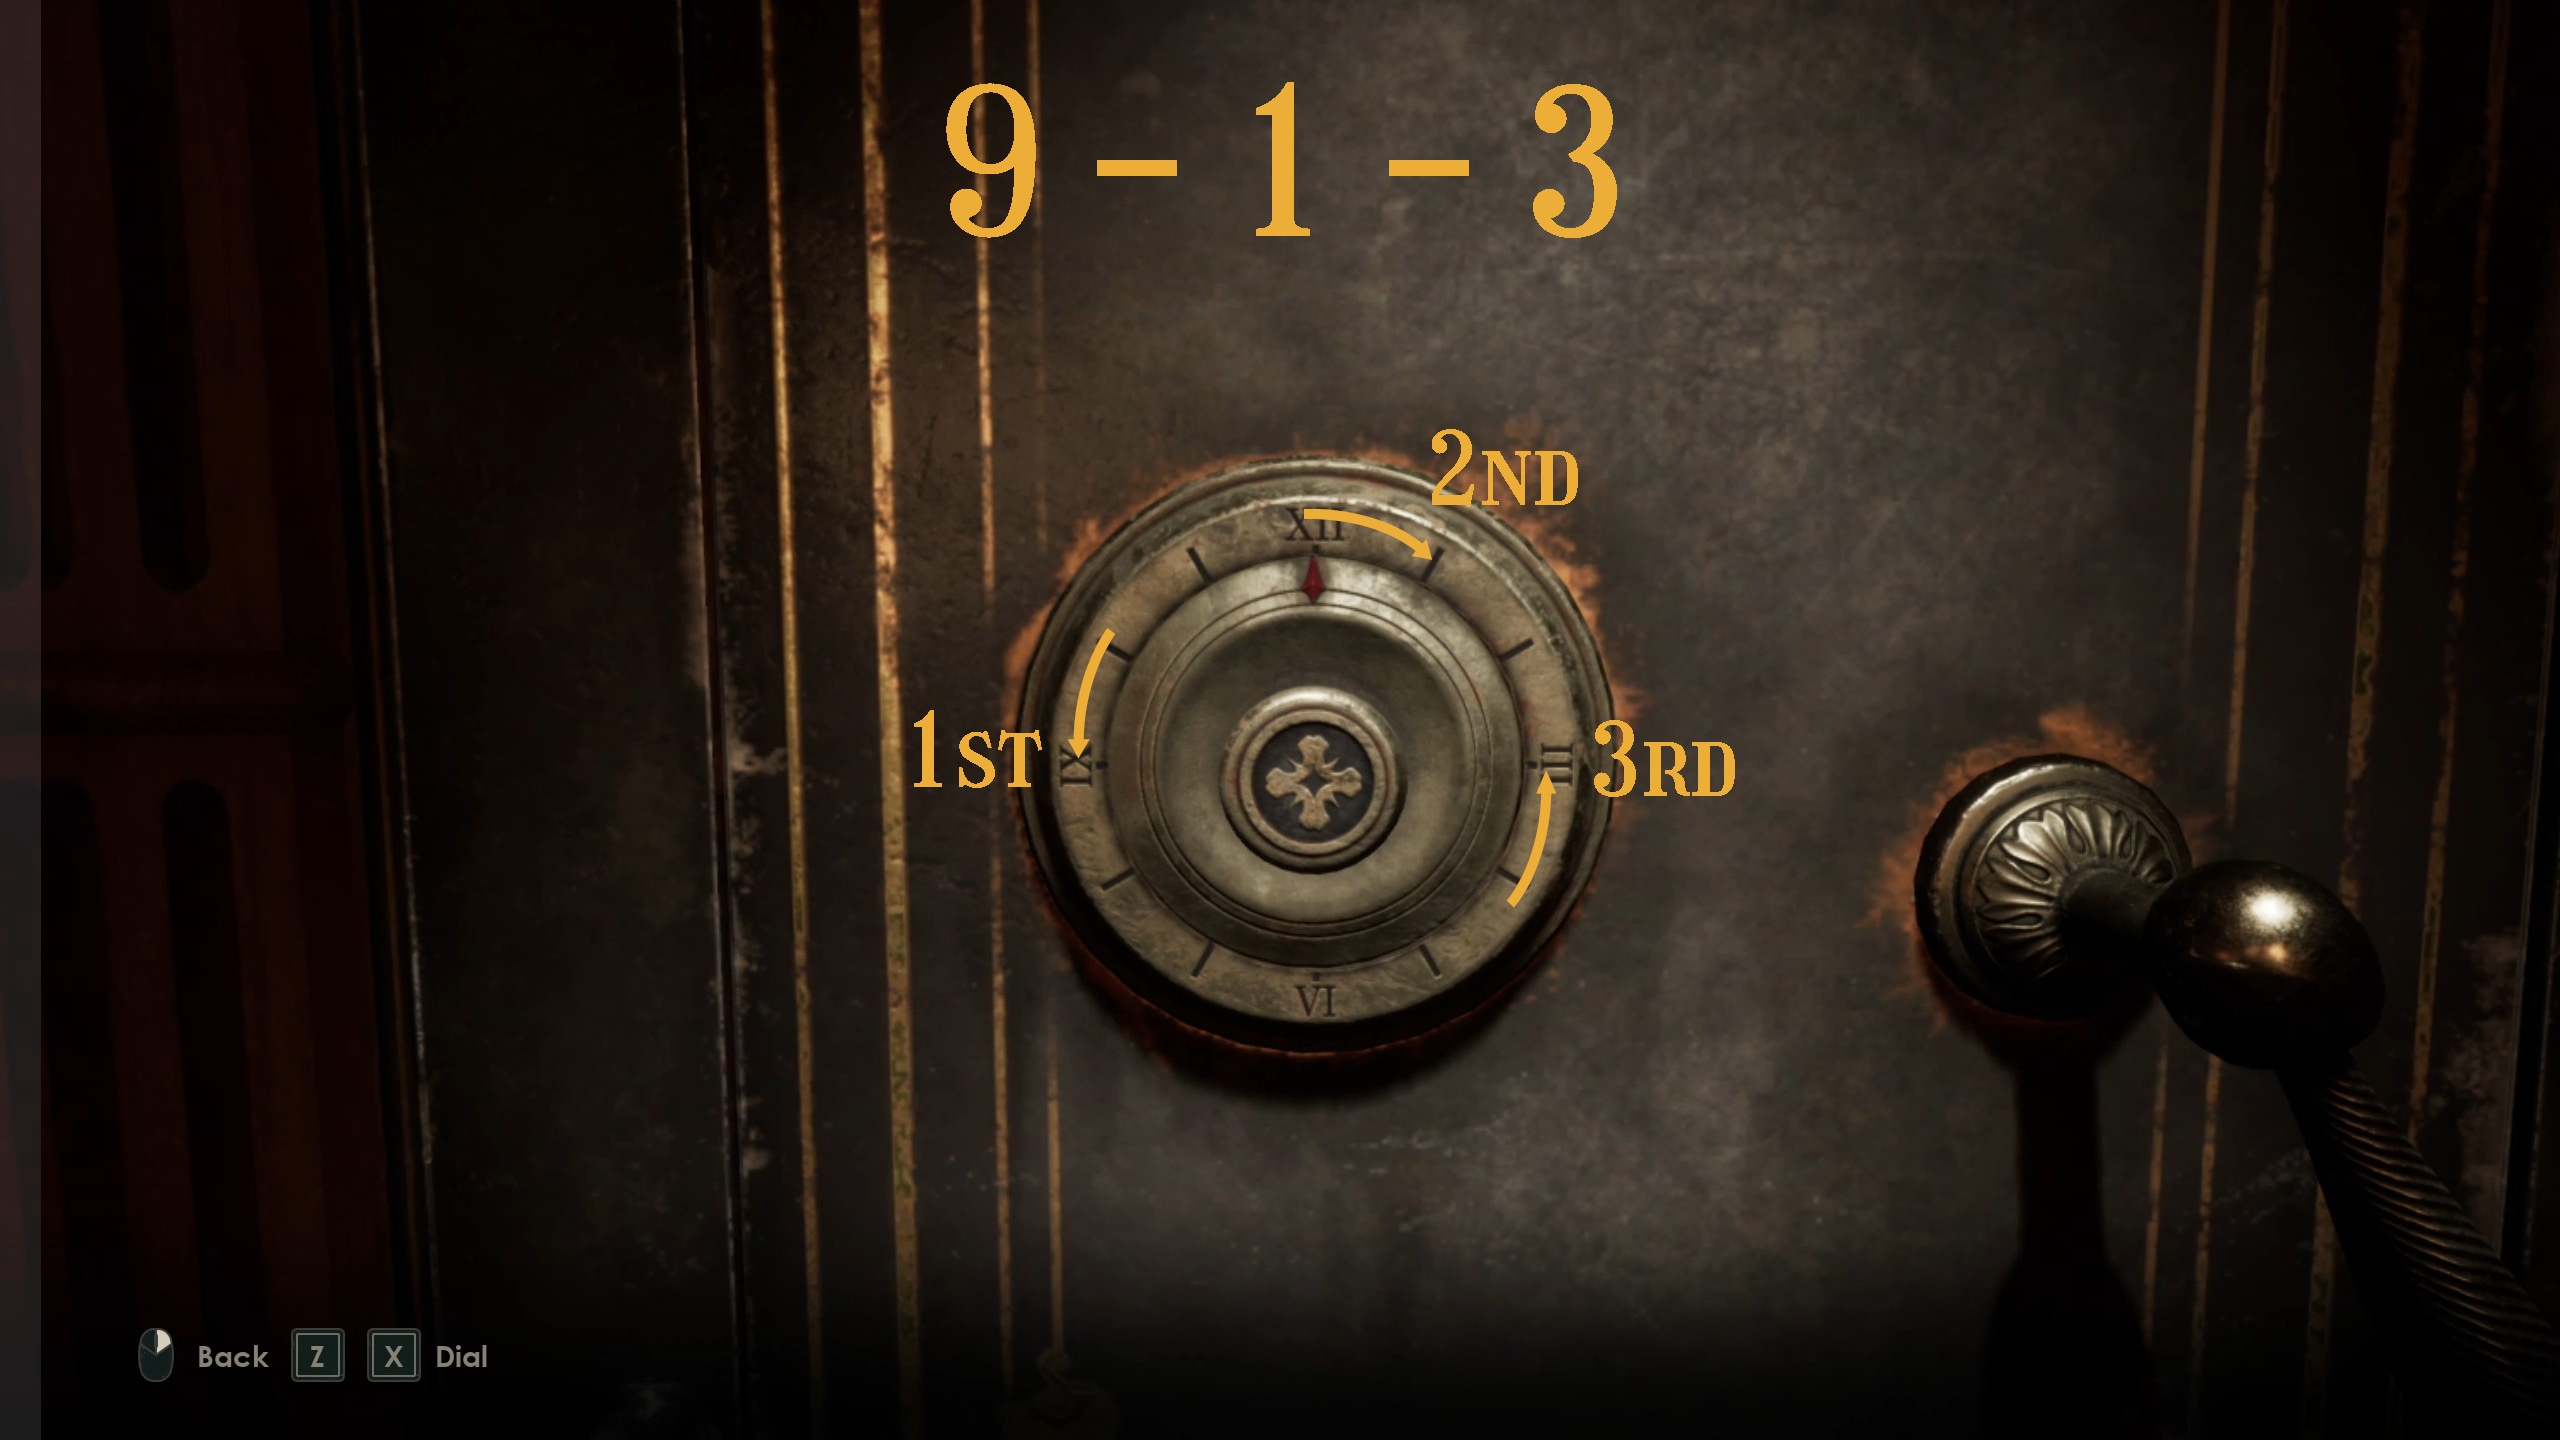
By knowing the combination (which you are supposed to remember from a previous playthrough), you can unlock the safe early, where it will have different contents than the point you are meant to open it at.
The combination, which you won’t learn until you look through Cassandra Beauregard’s room in Chapter 4, is 9-1-3. You need to spin the dial to the left first to hit the 9, then to the right for the 1, then to the left for the 3.
Opening this safe ahead of time gets you the tounge-in-cheek Lagniappe, Alone in the Dark.
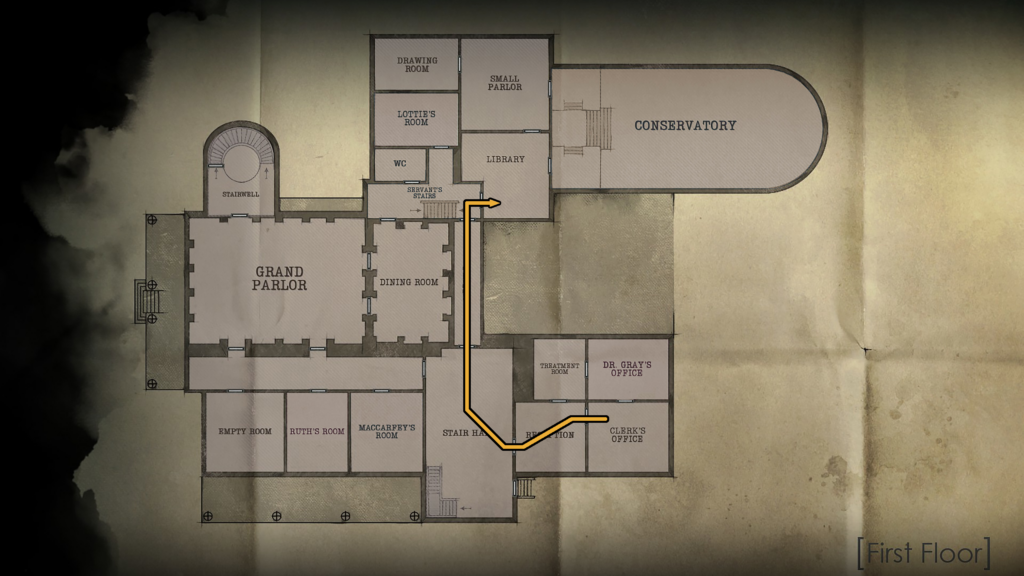
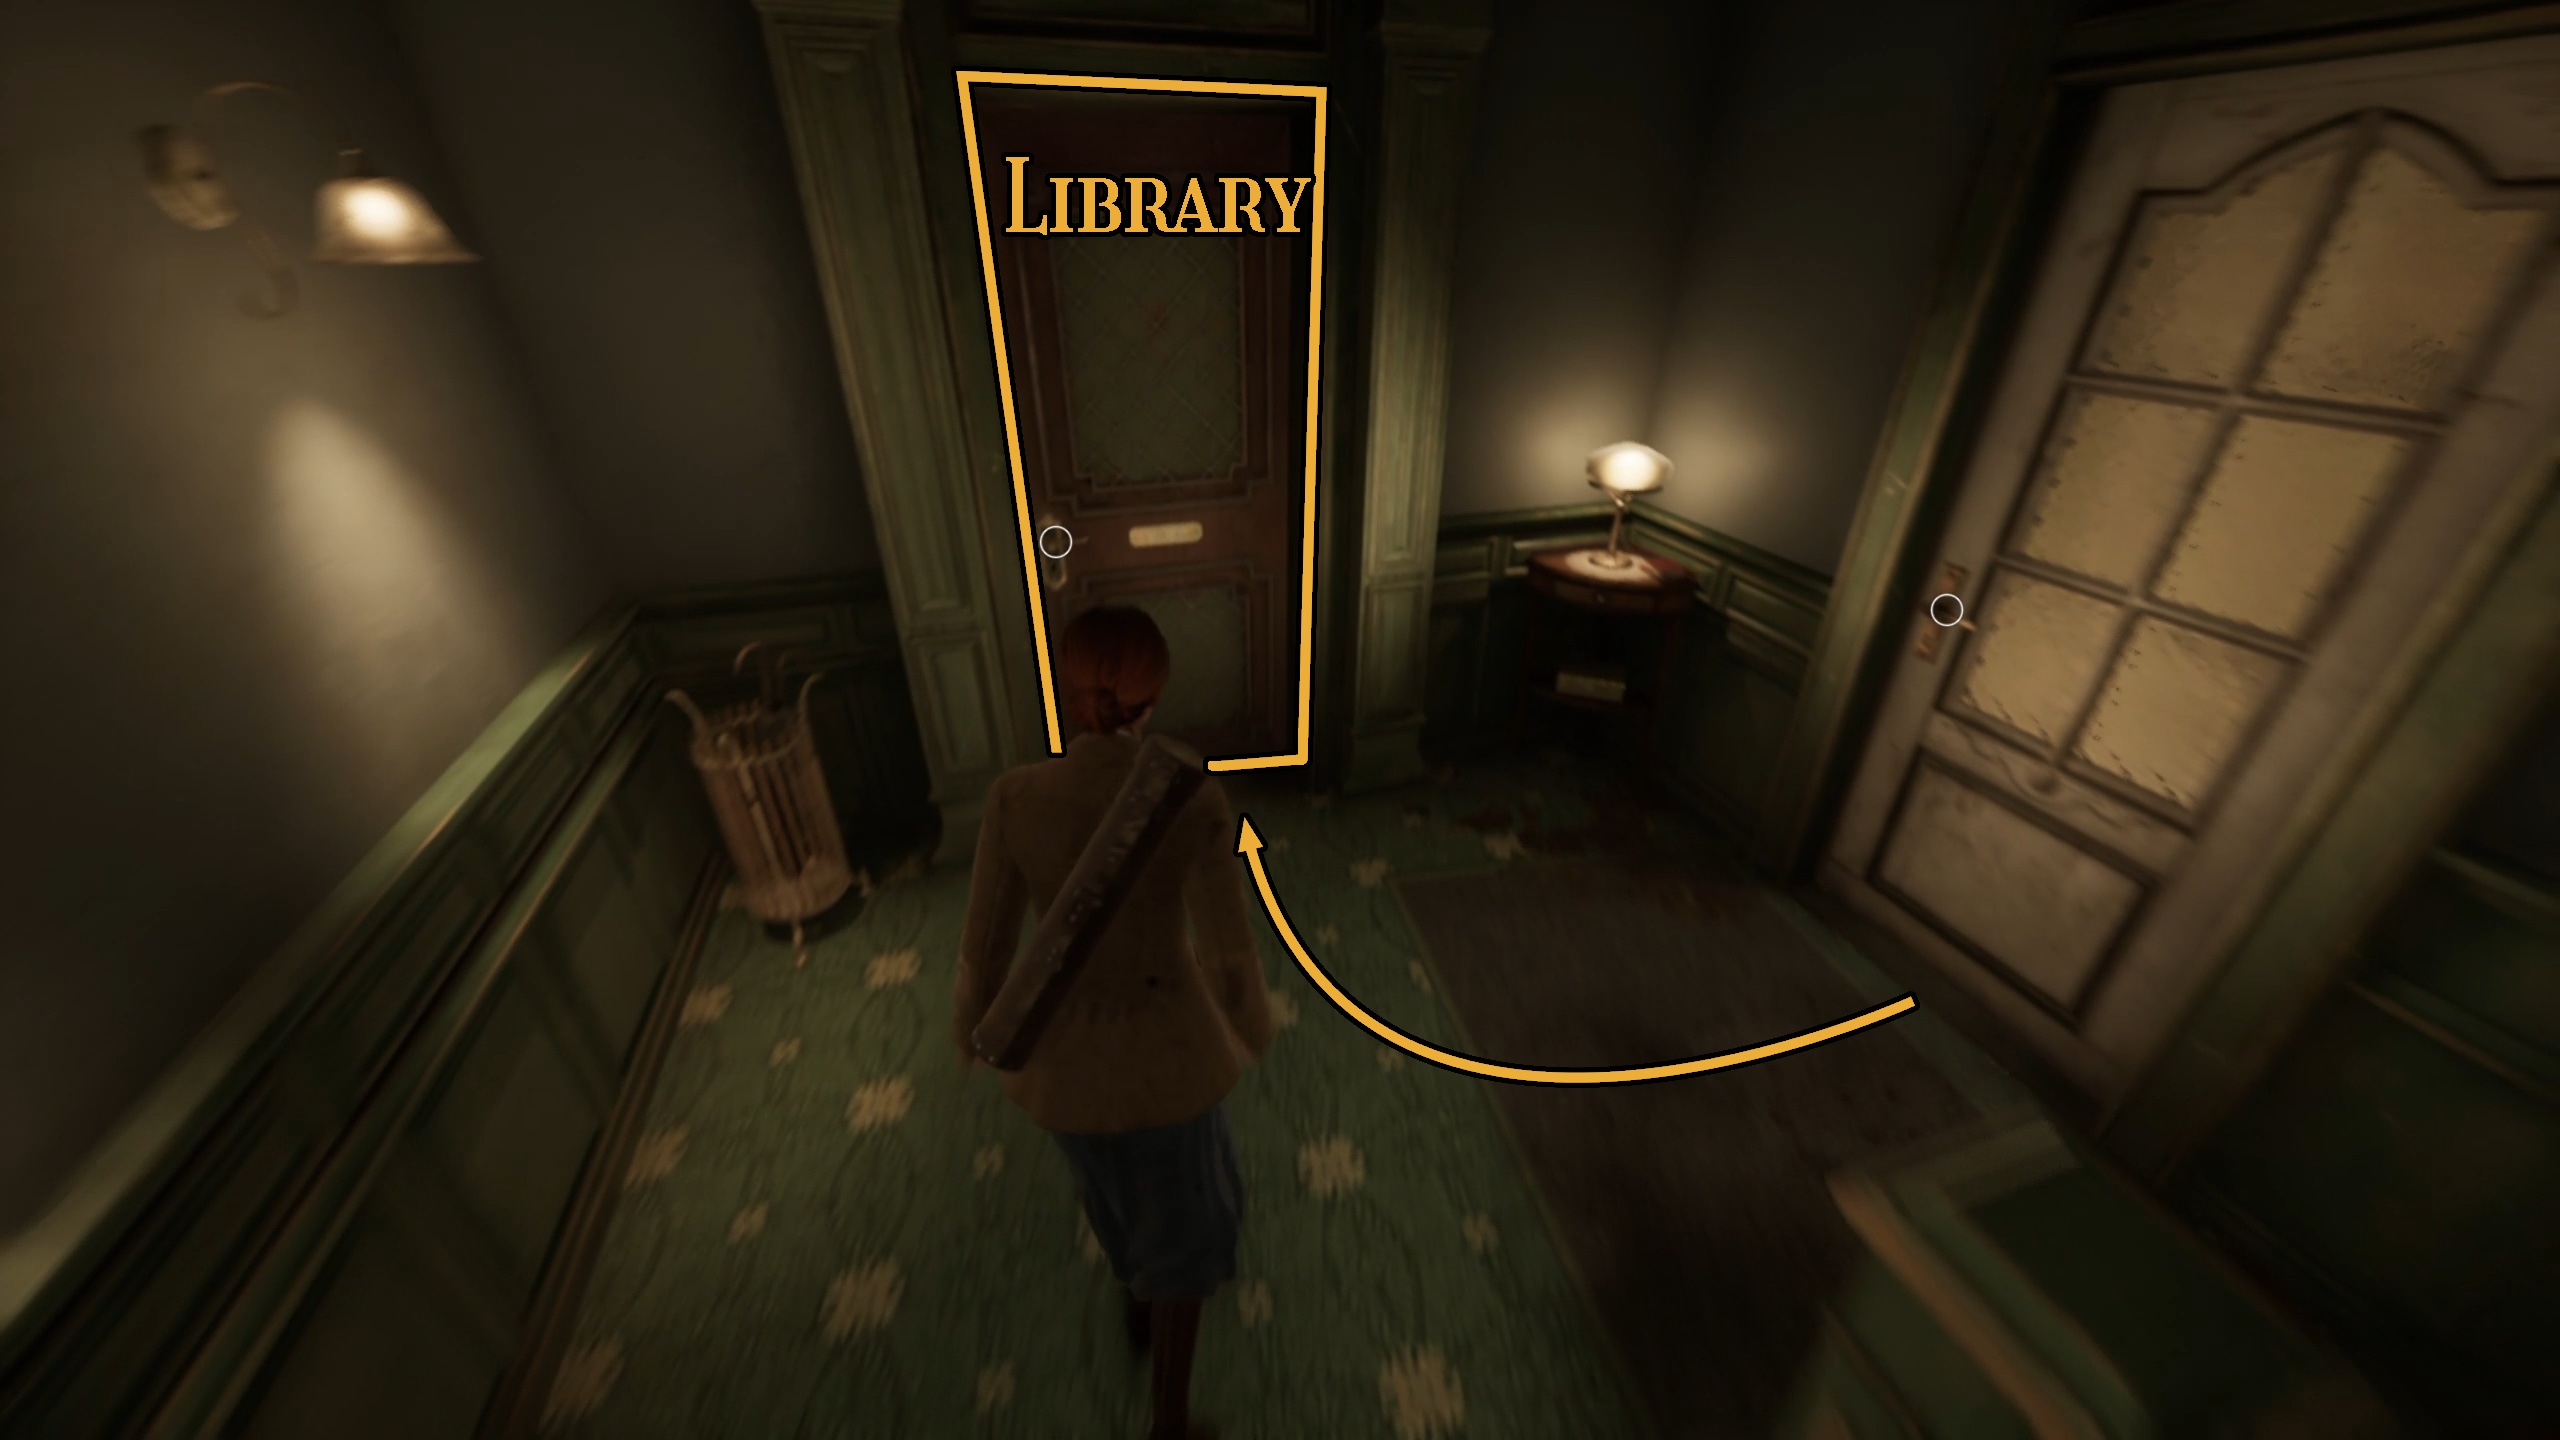
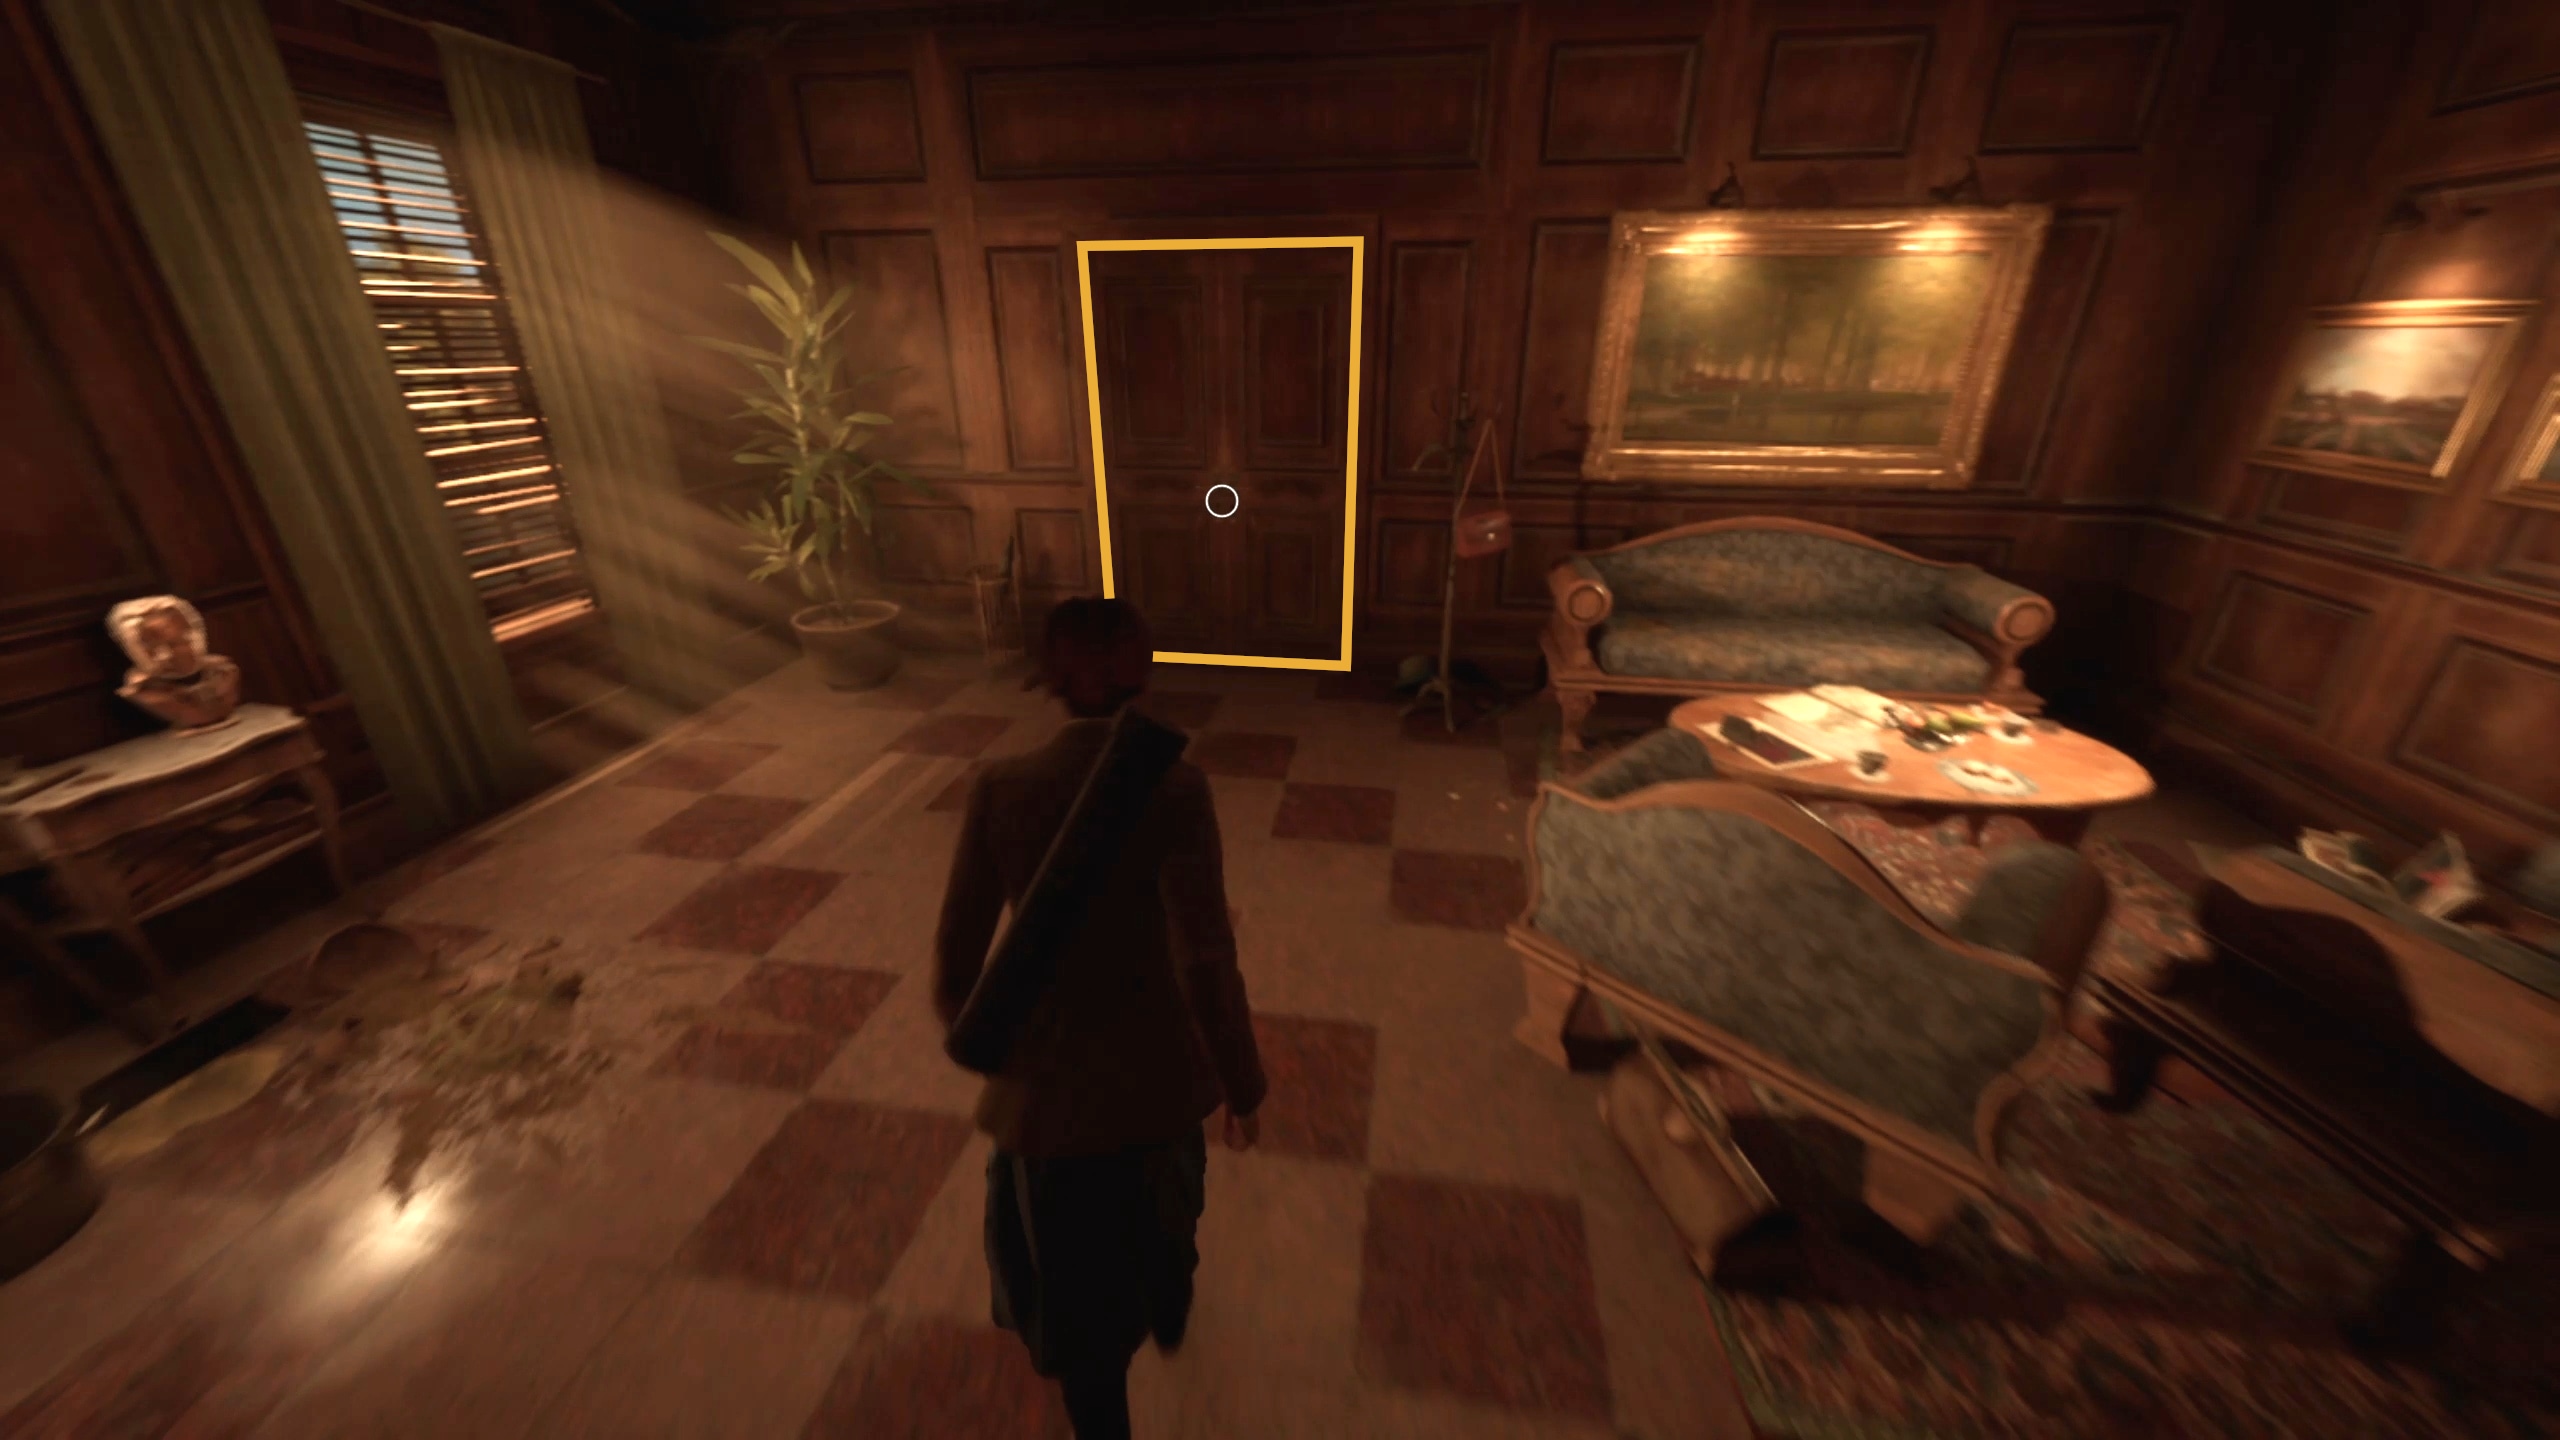
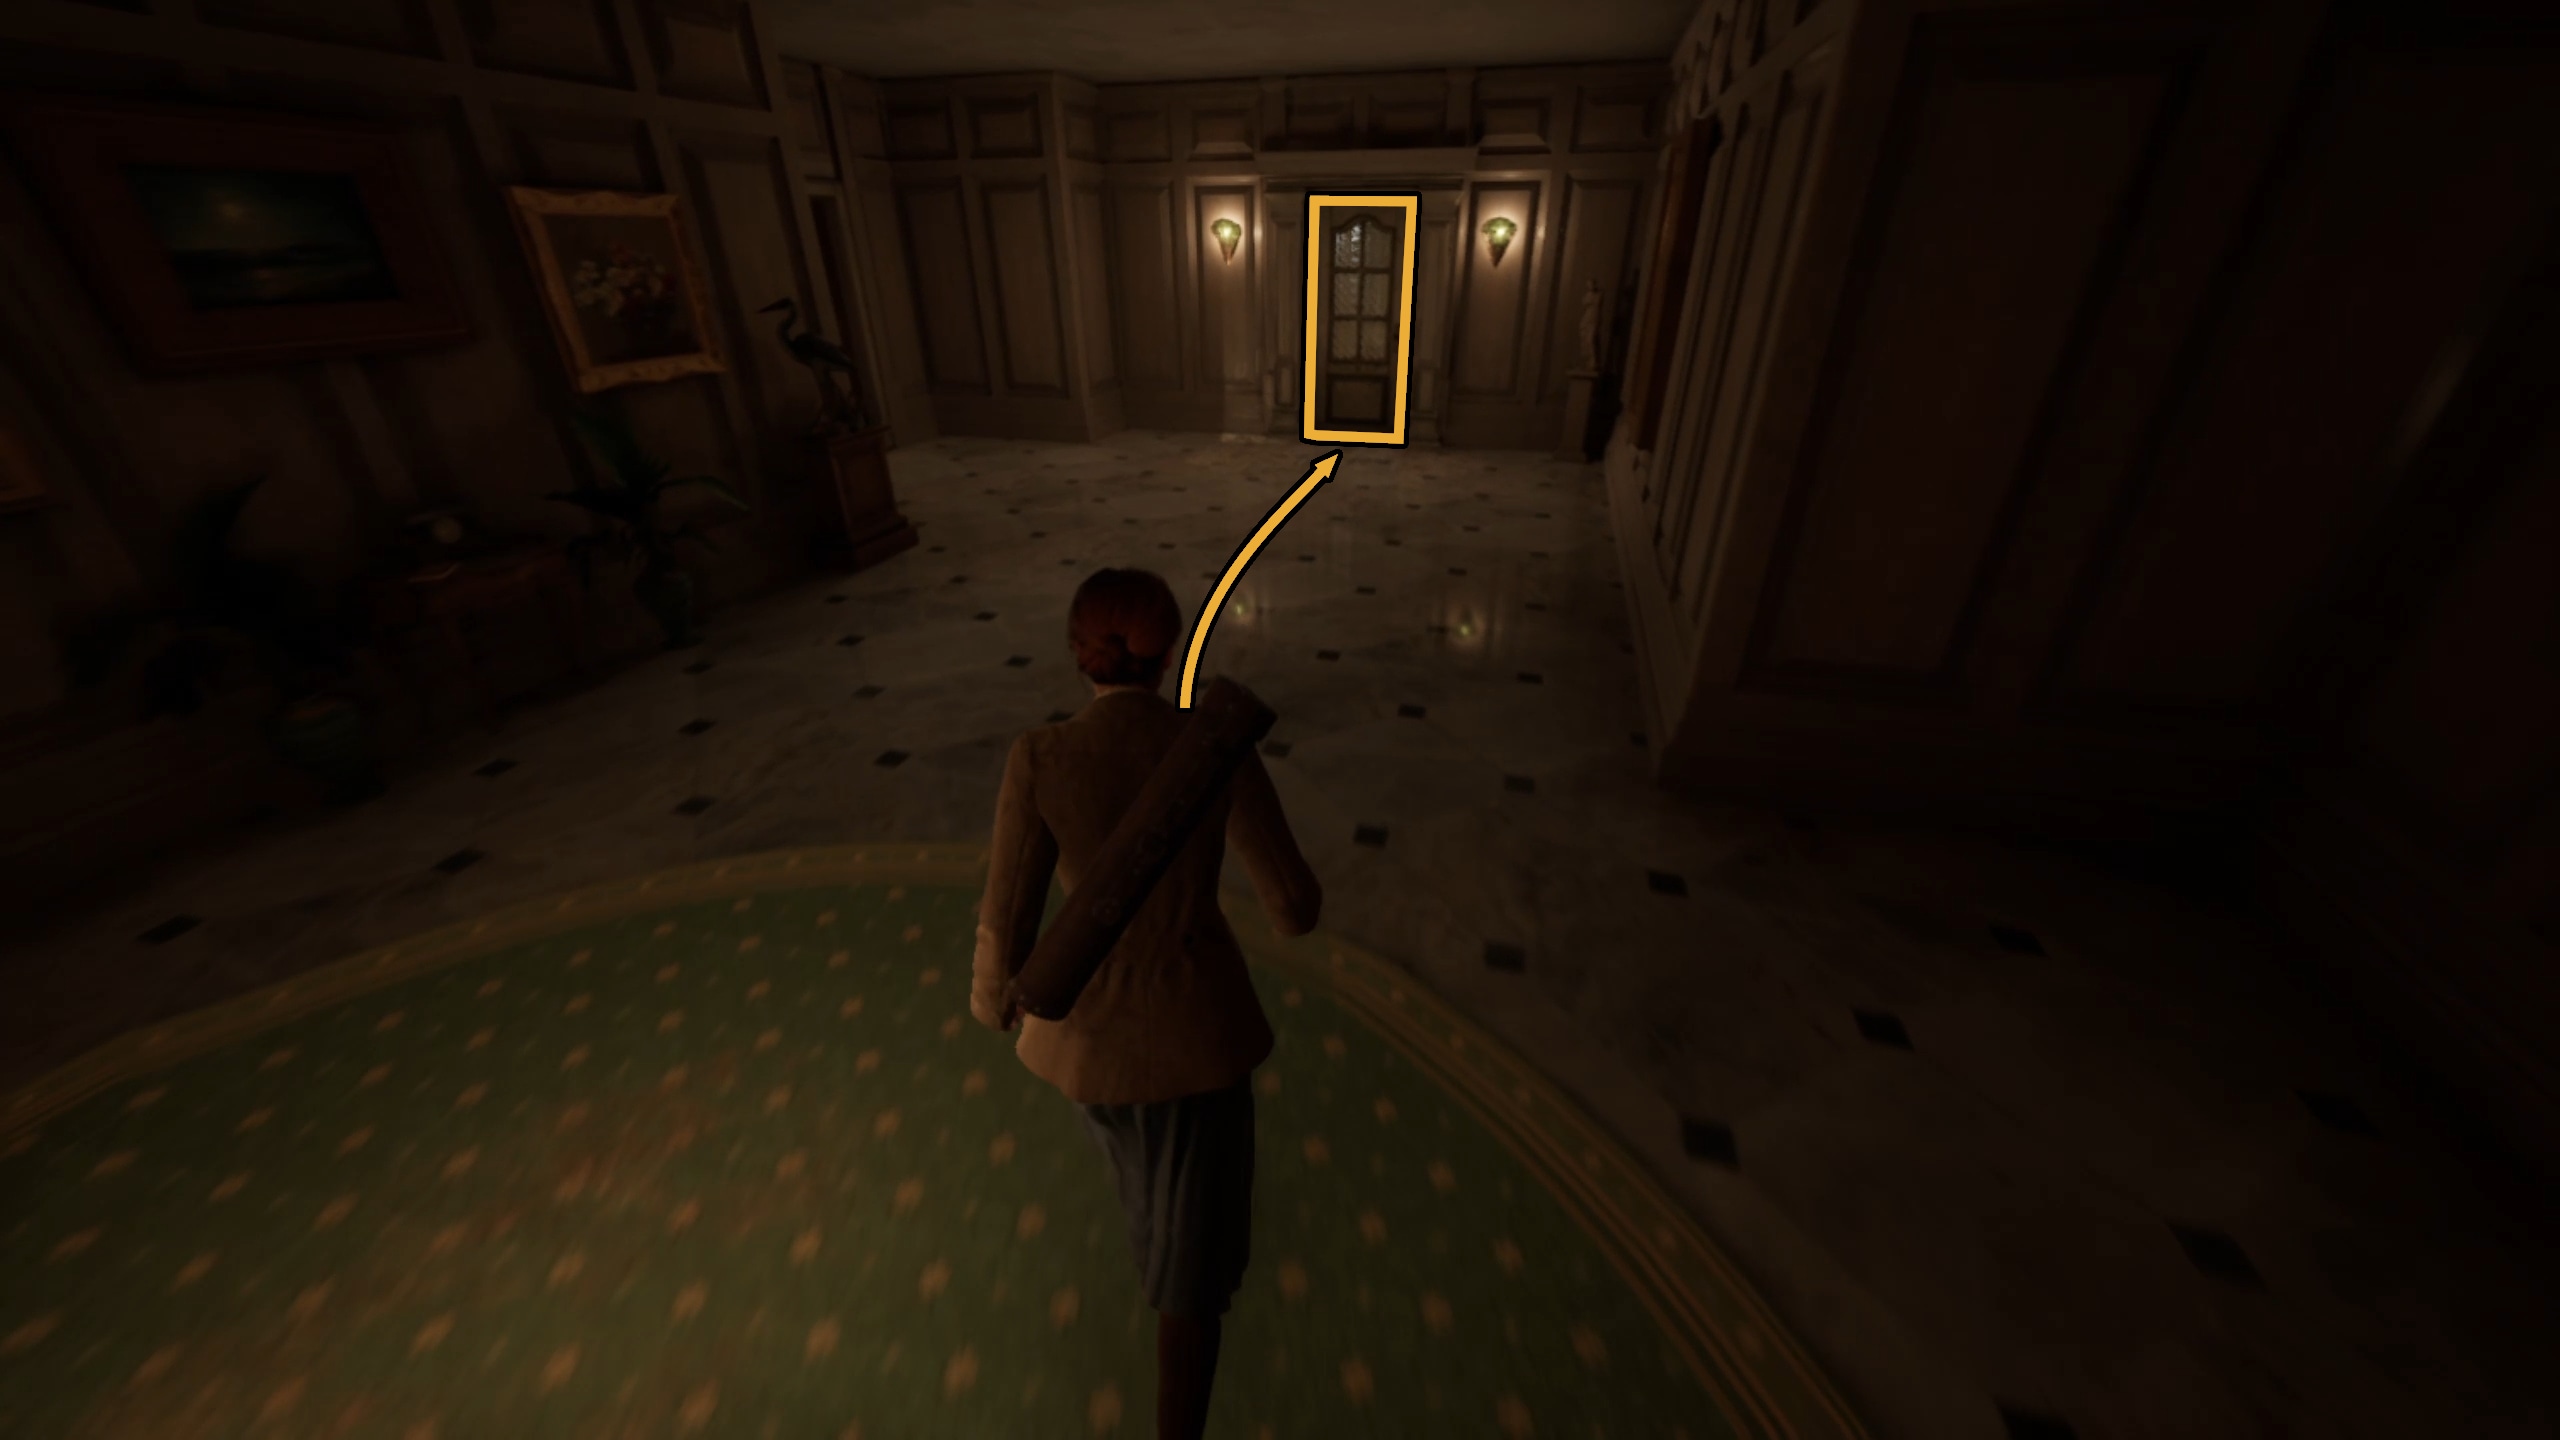
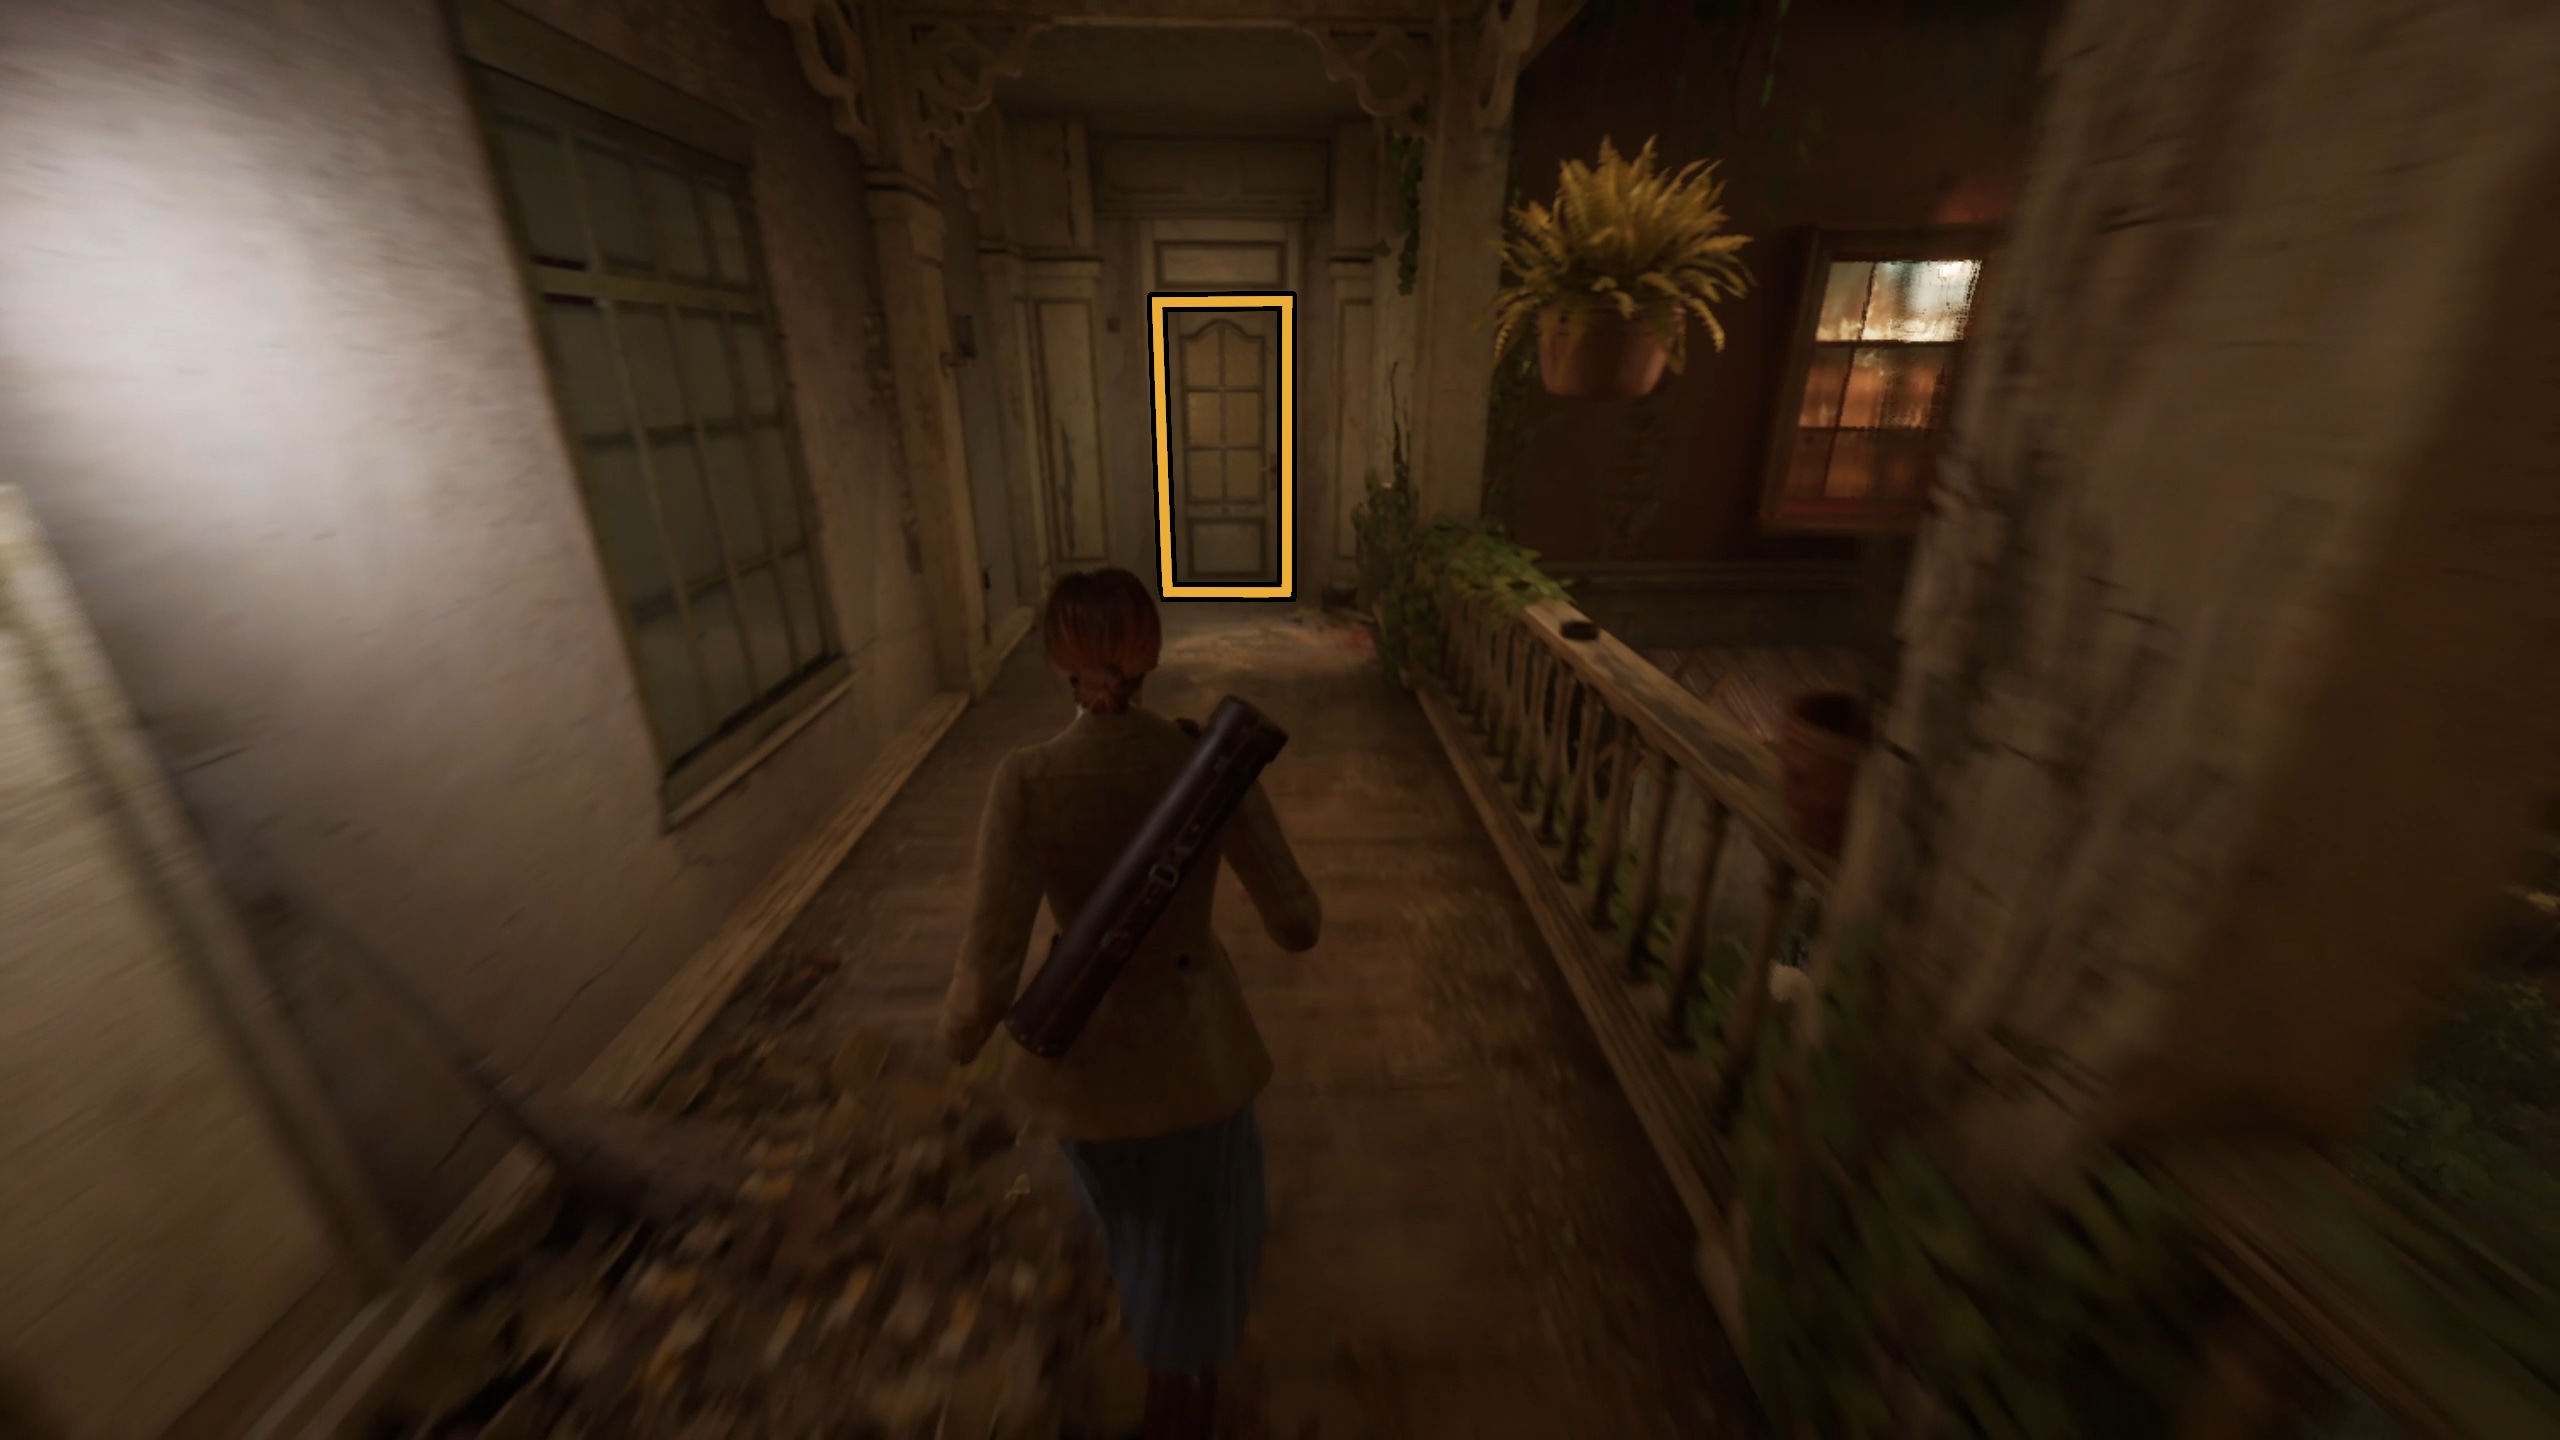
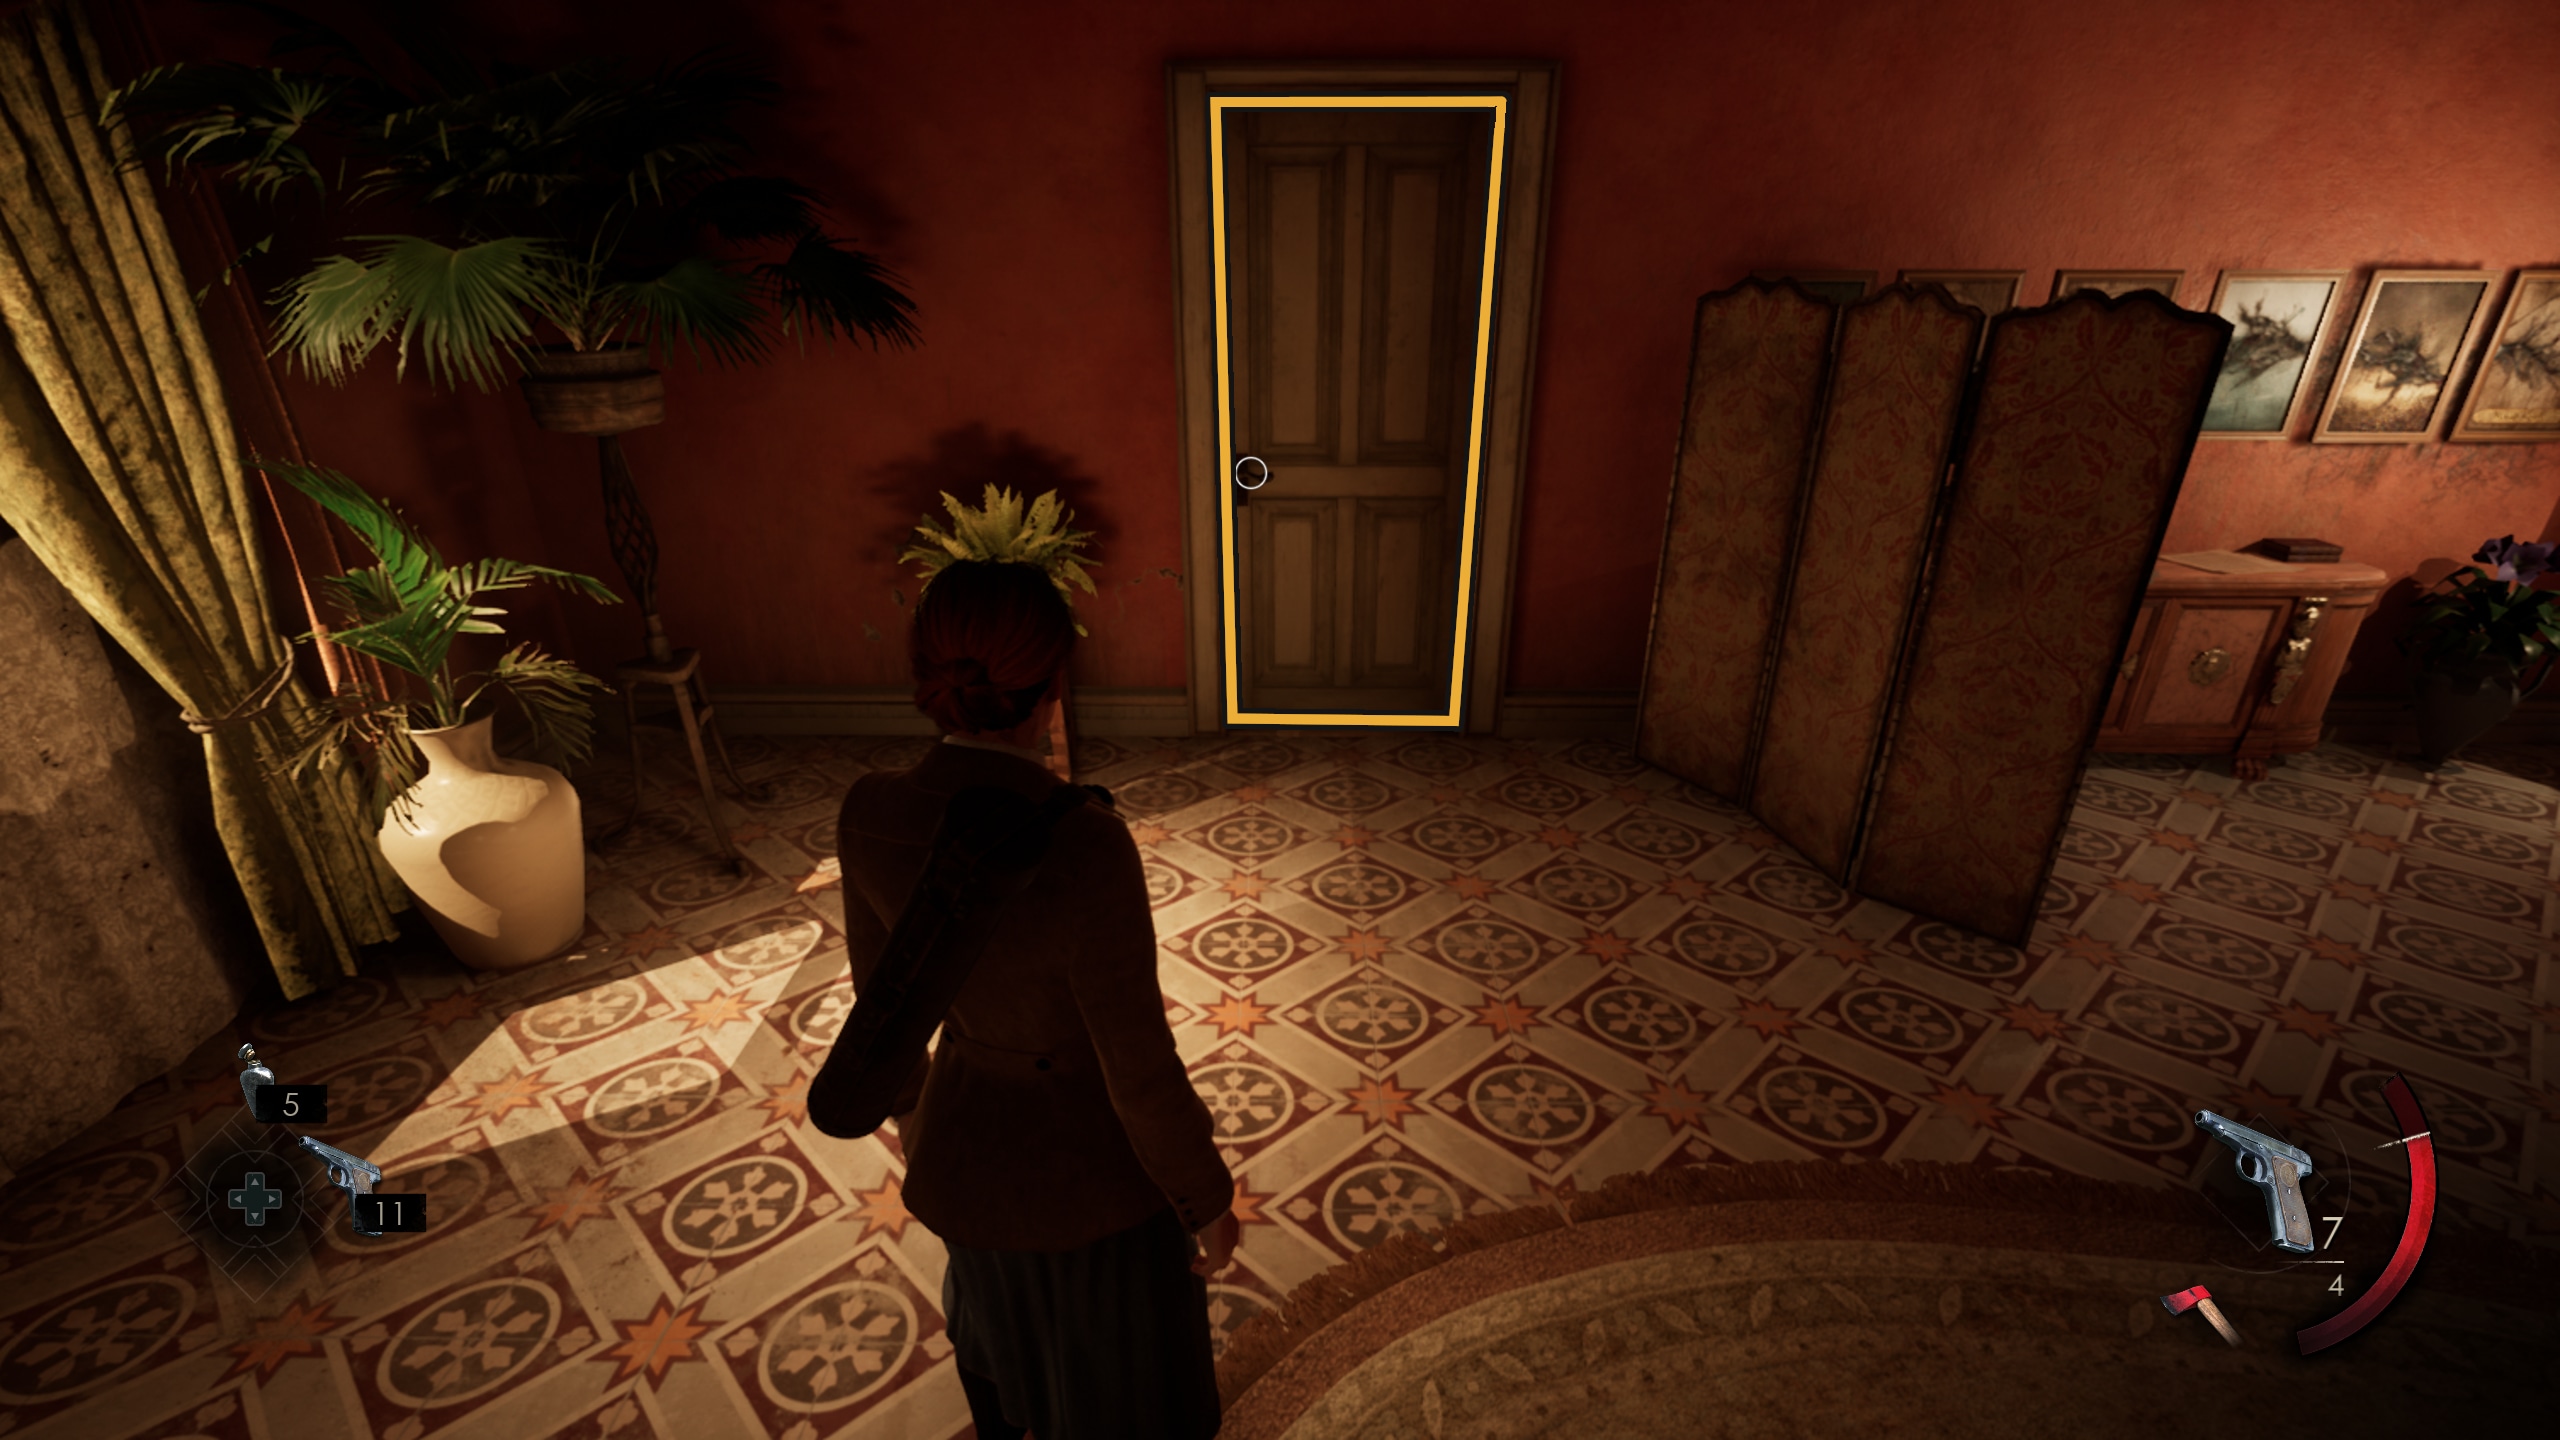
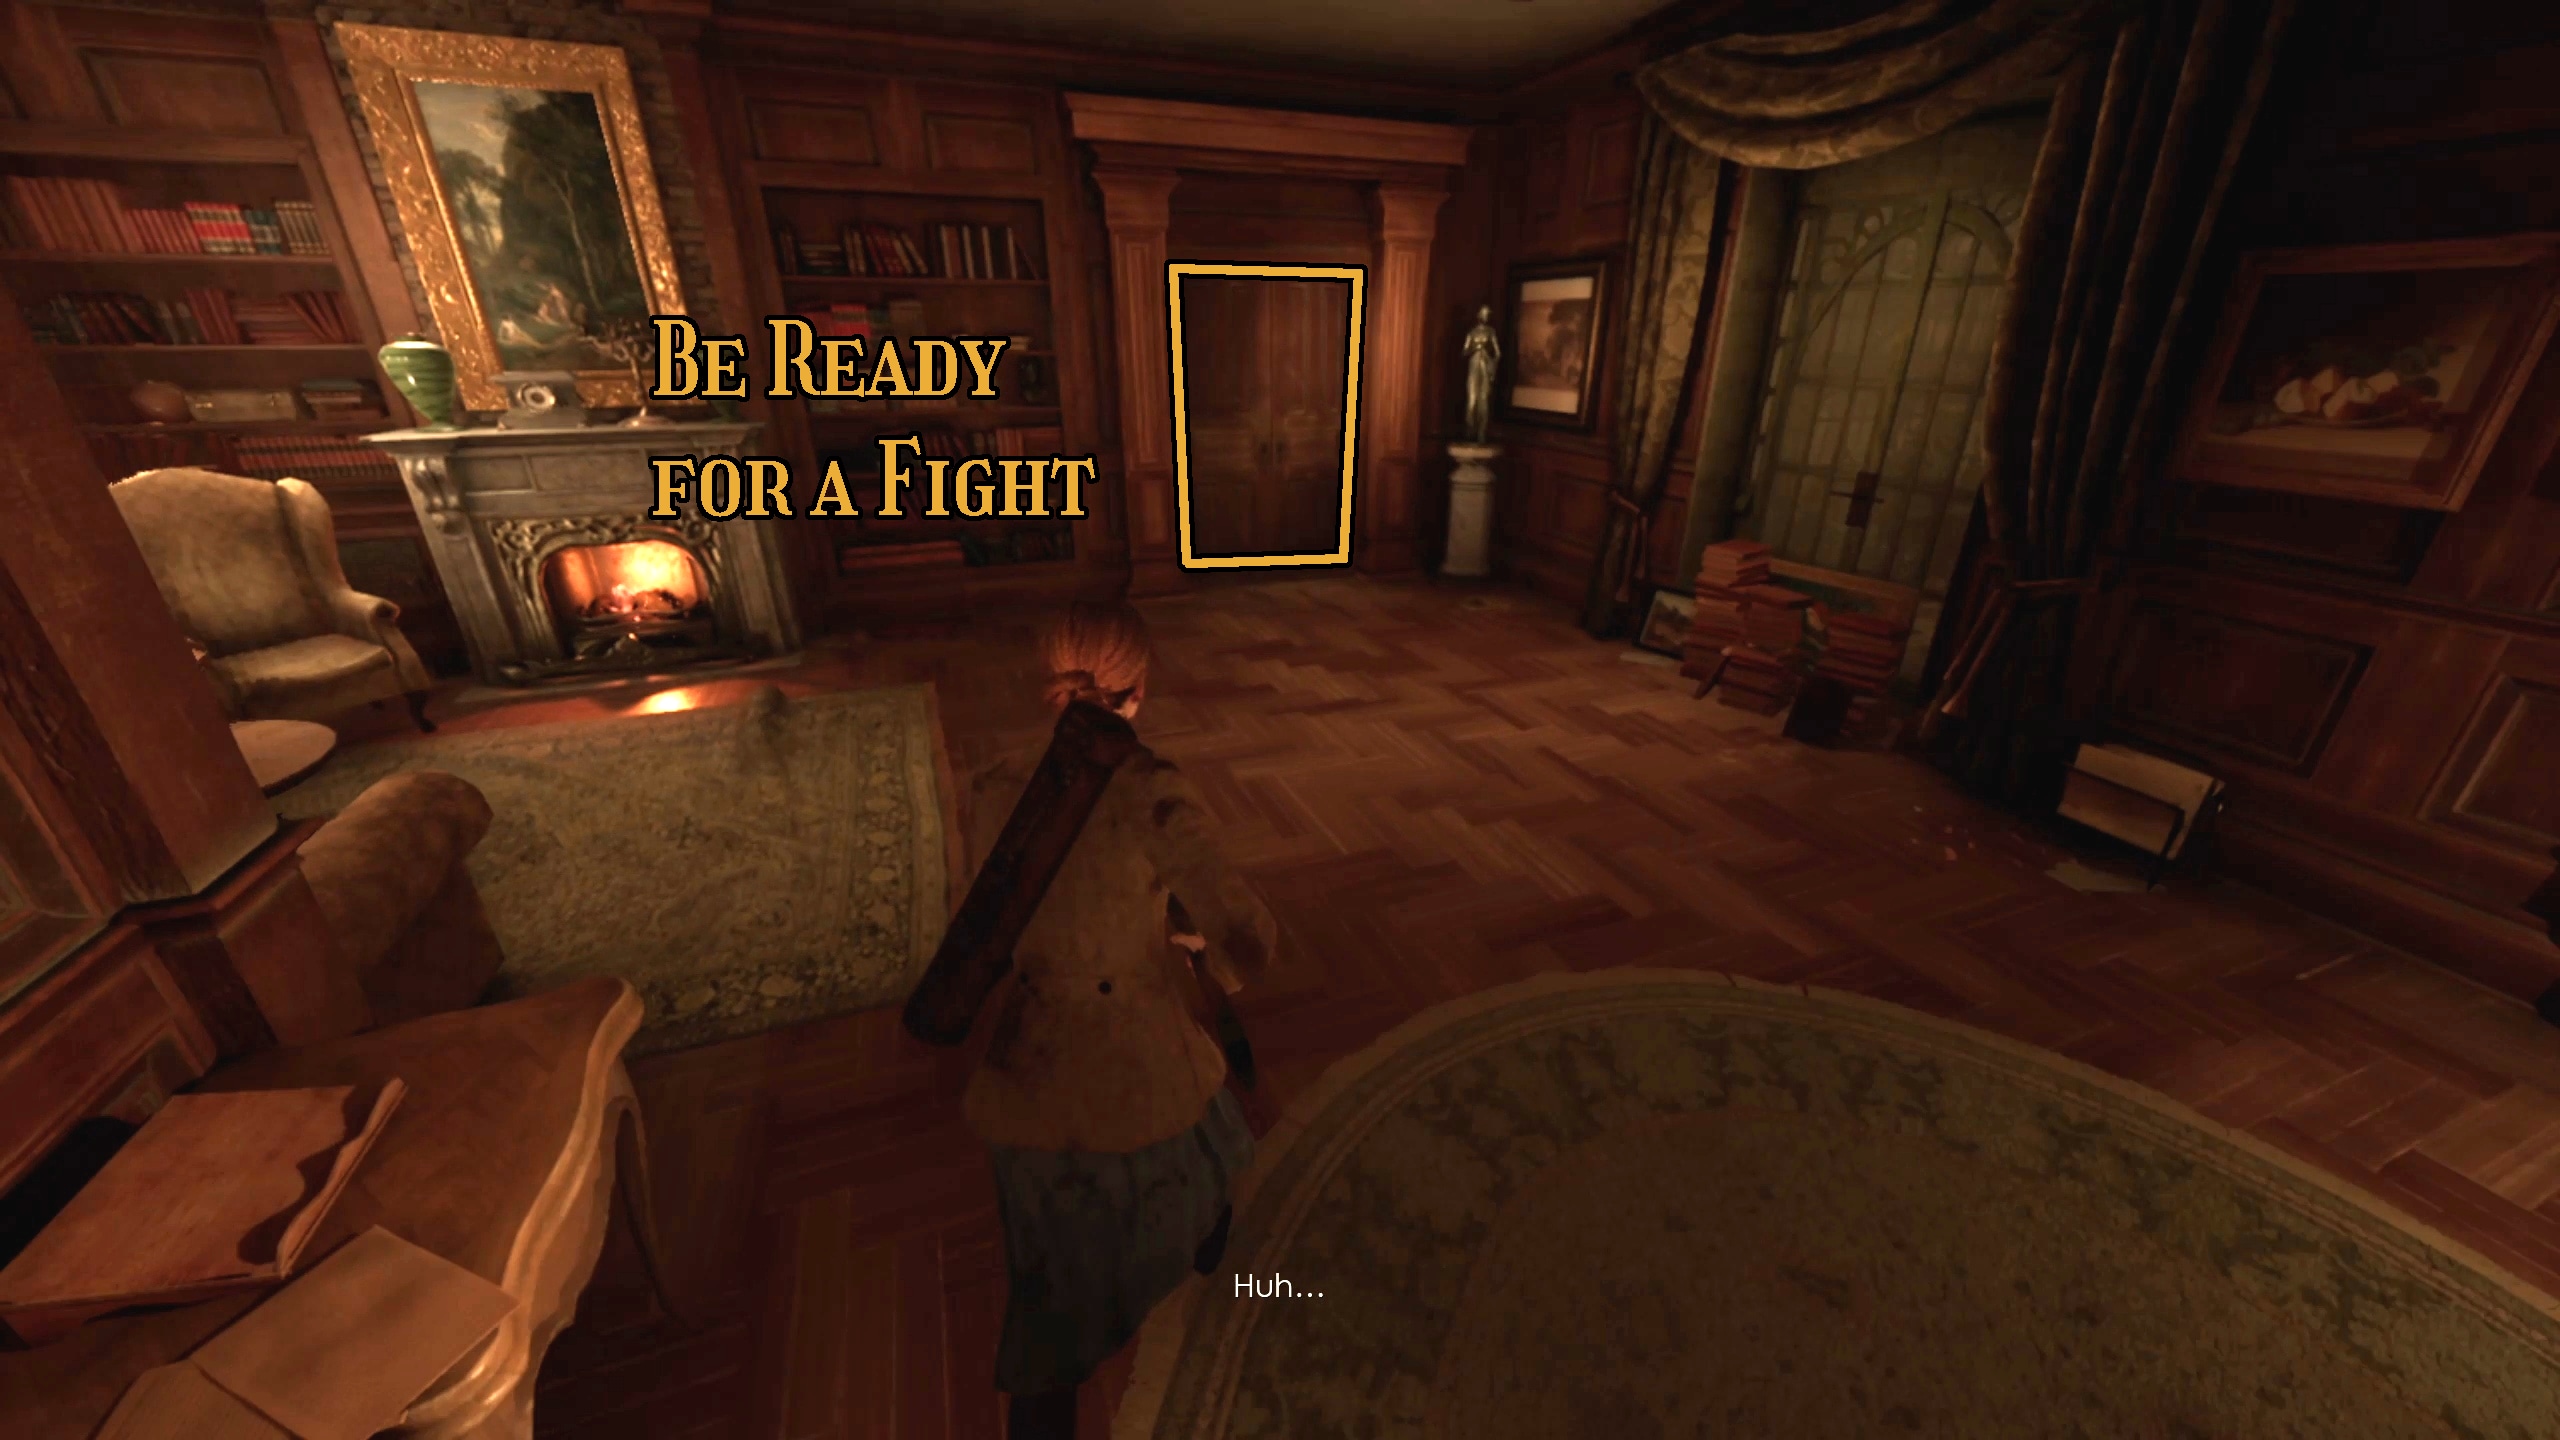
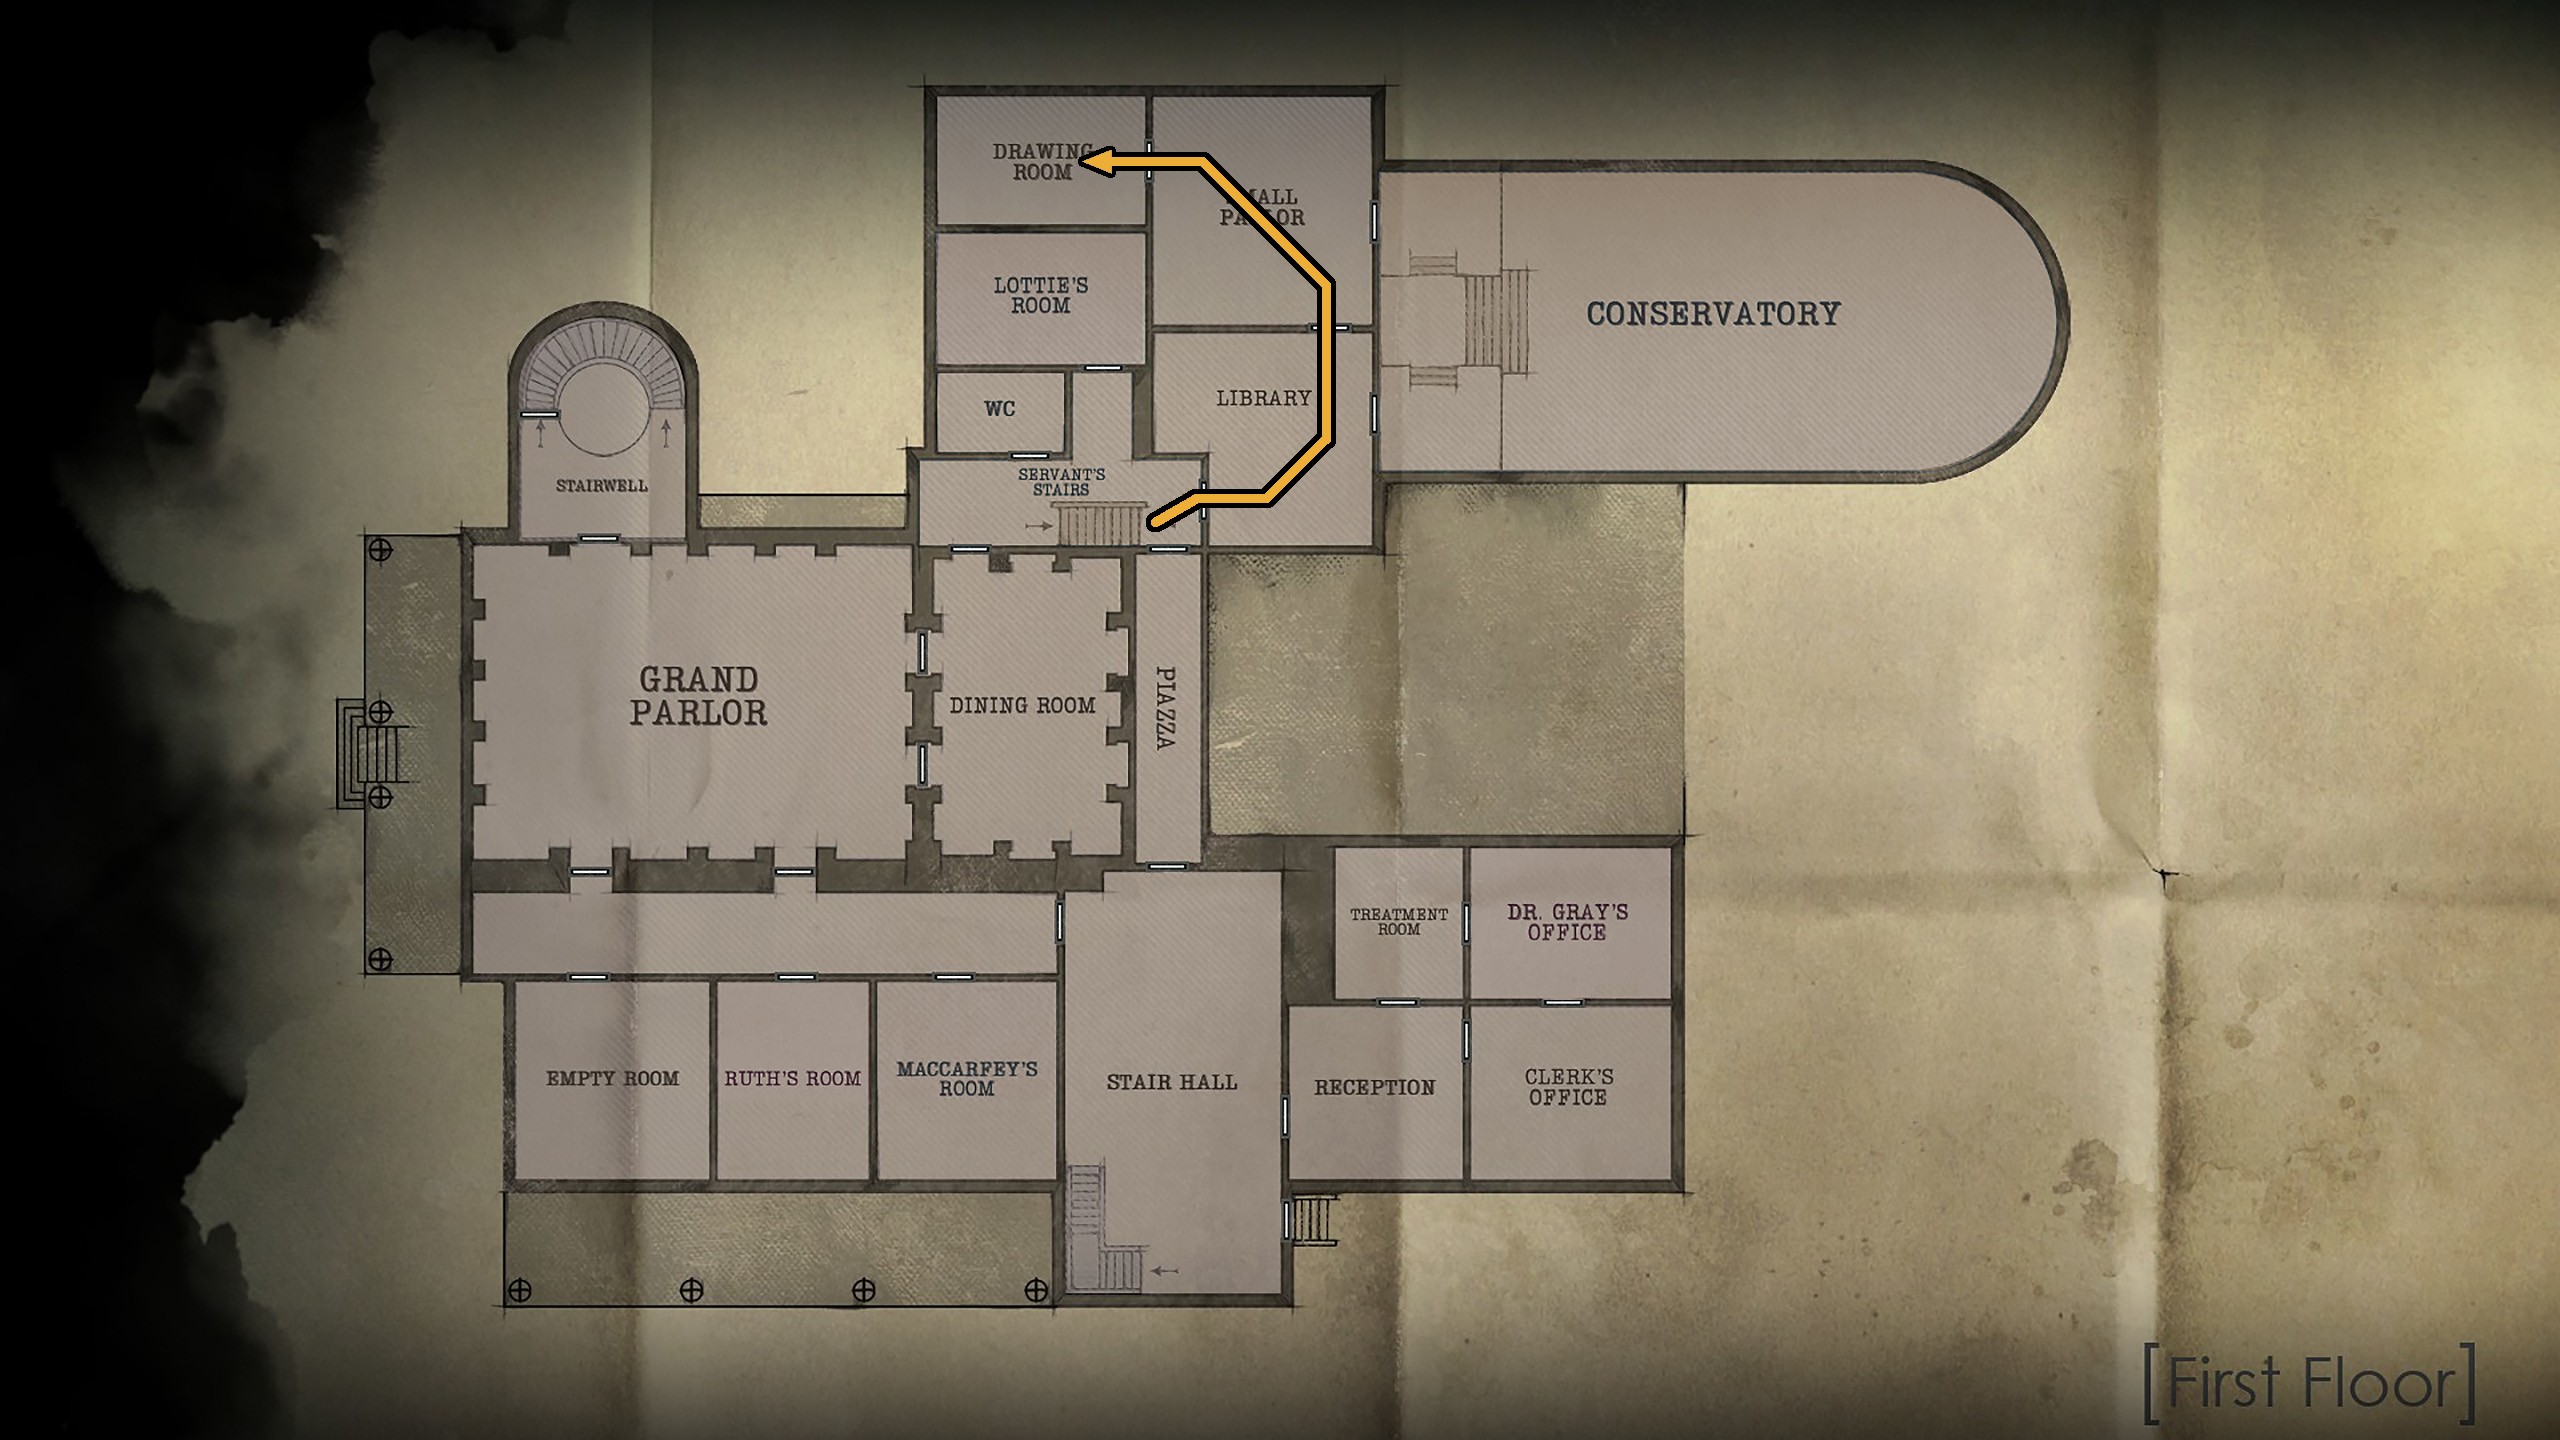
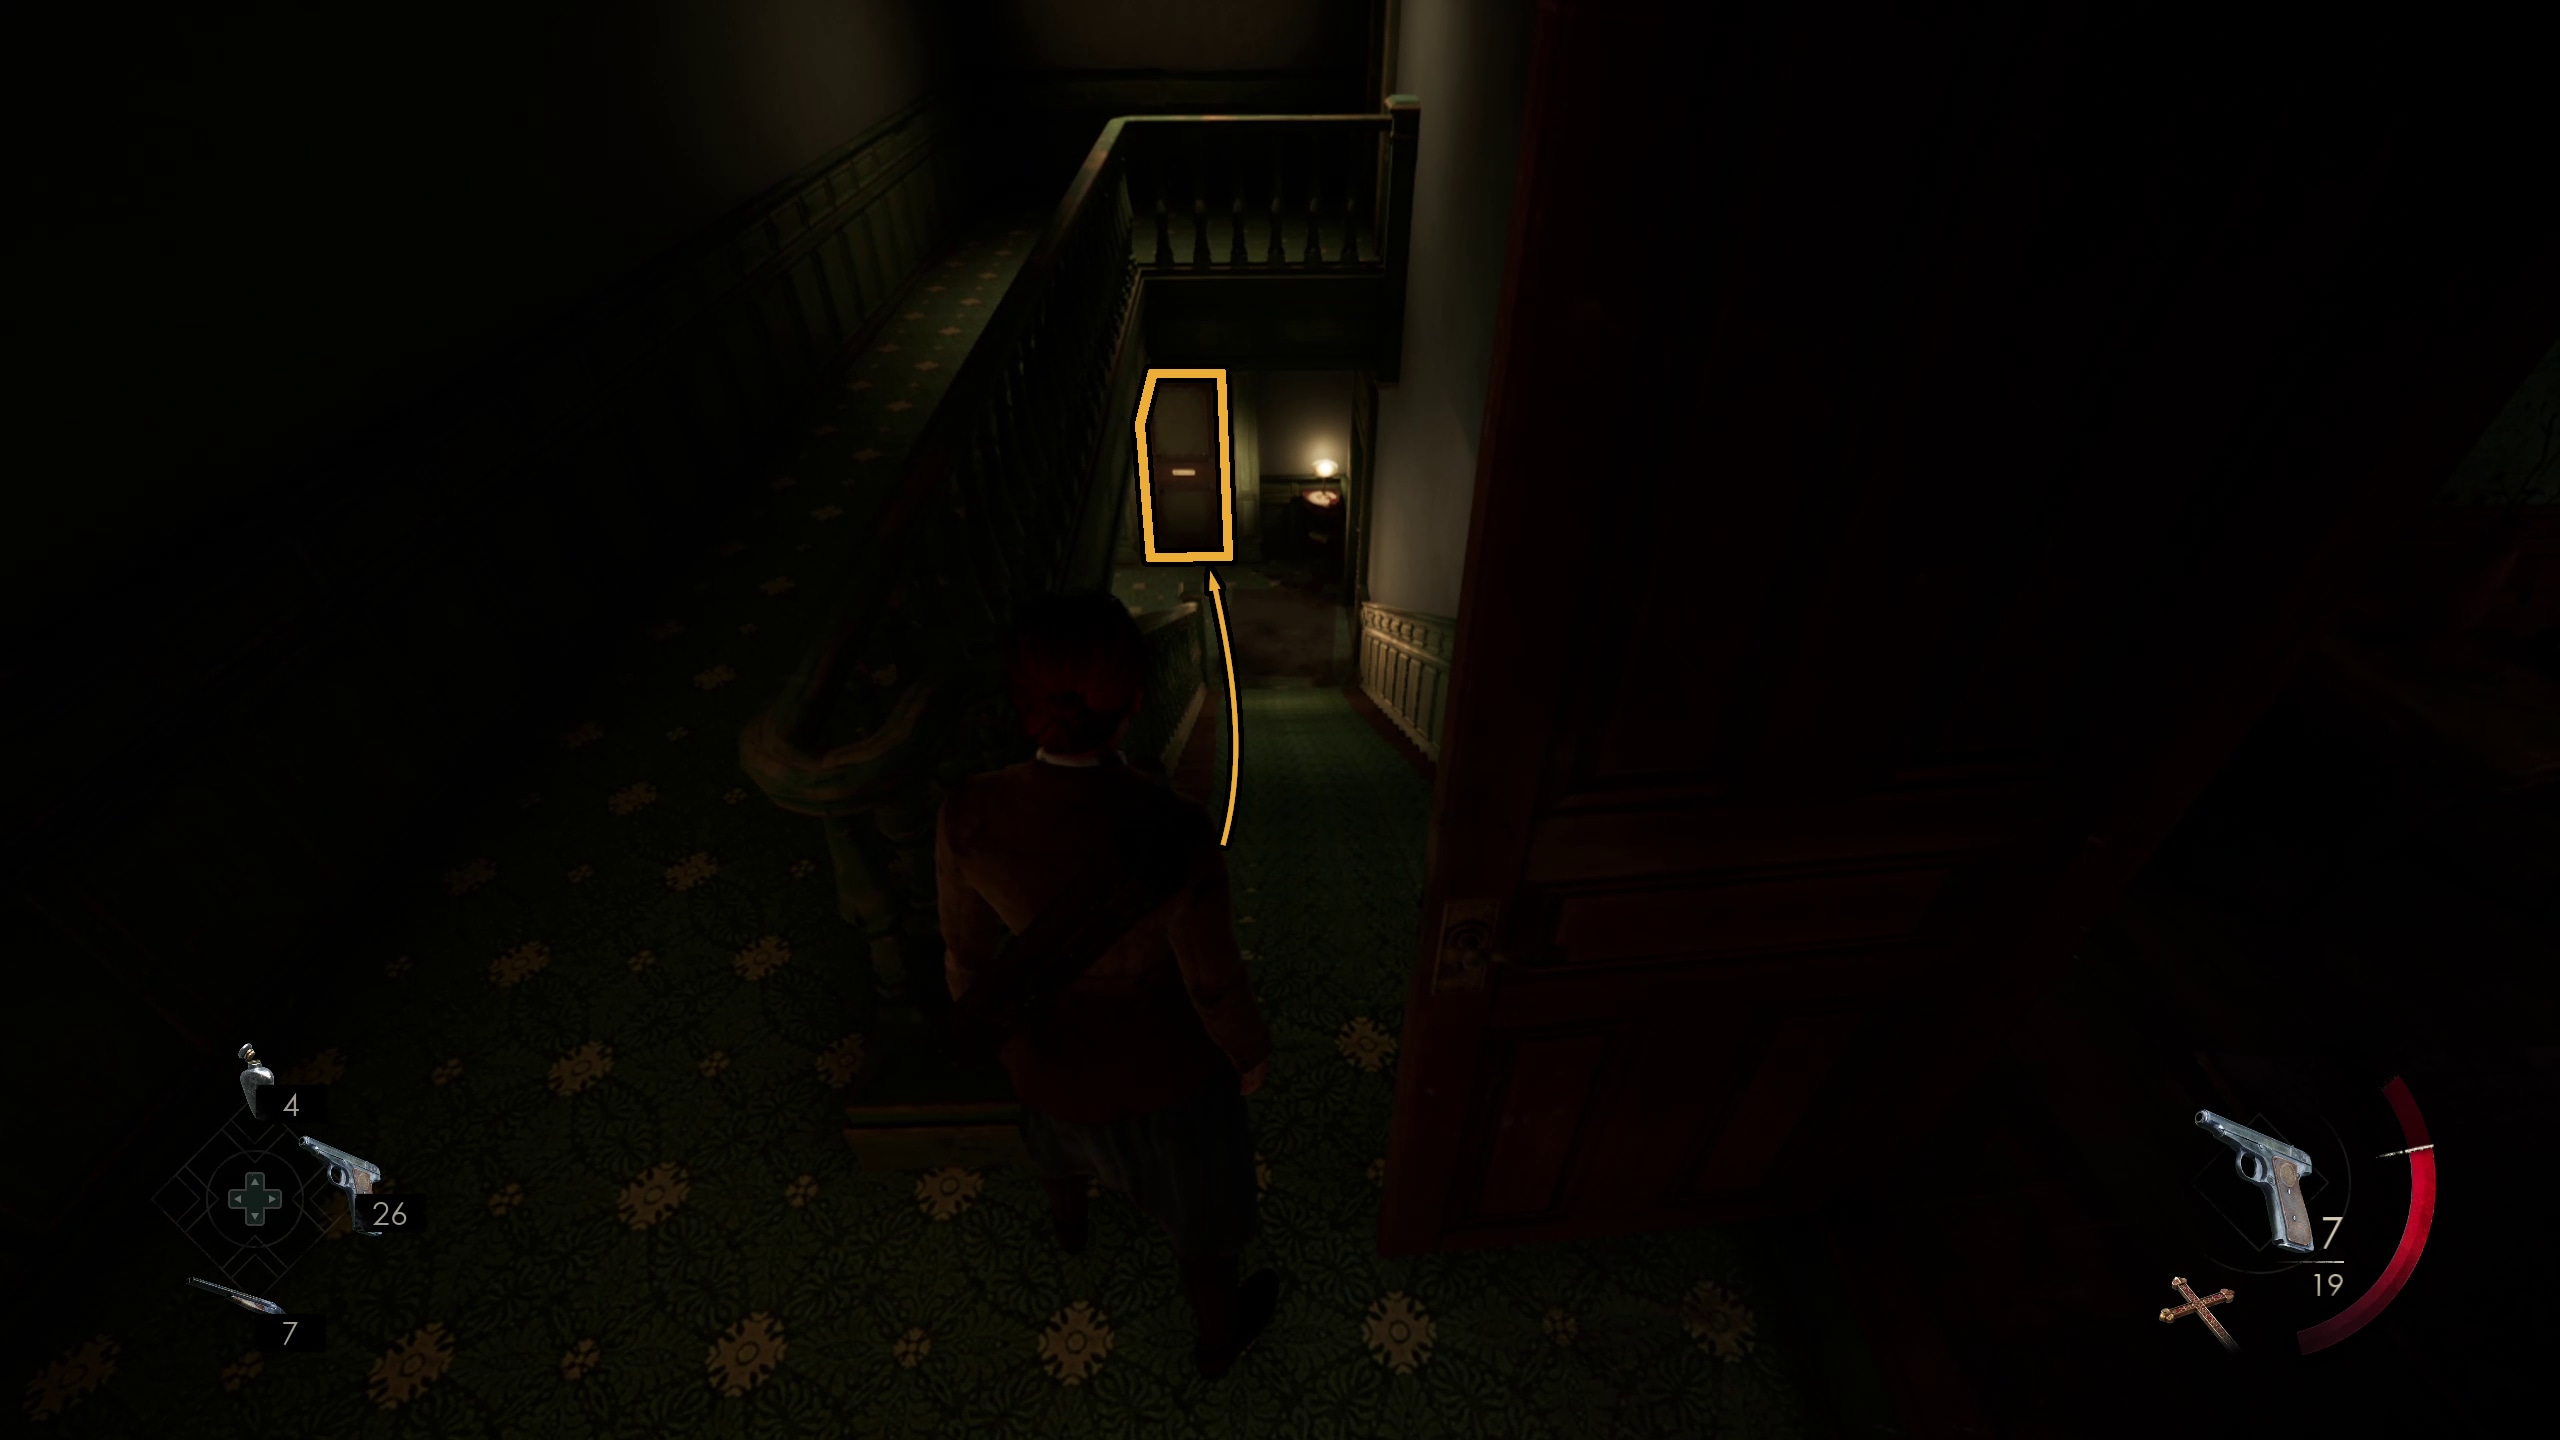
Once you are done in the Clerk’s Office, you can go to the library, which is across the Piazza (Image 4). Once at the door (Image 5), you can use Batiste’s Keys to unlock the door (Image 6). If you are playing as Emily, a cutscene will play, introducing you to Ruth (Image 7).
Image 4Image 5Image 6Image 7
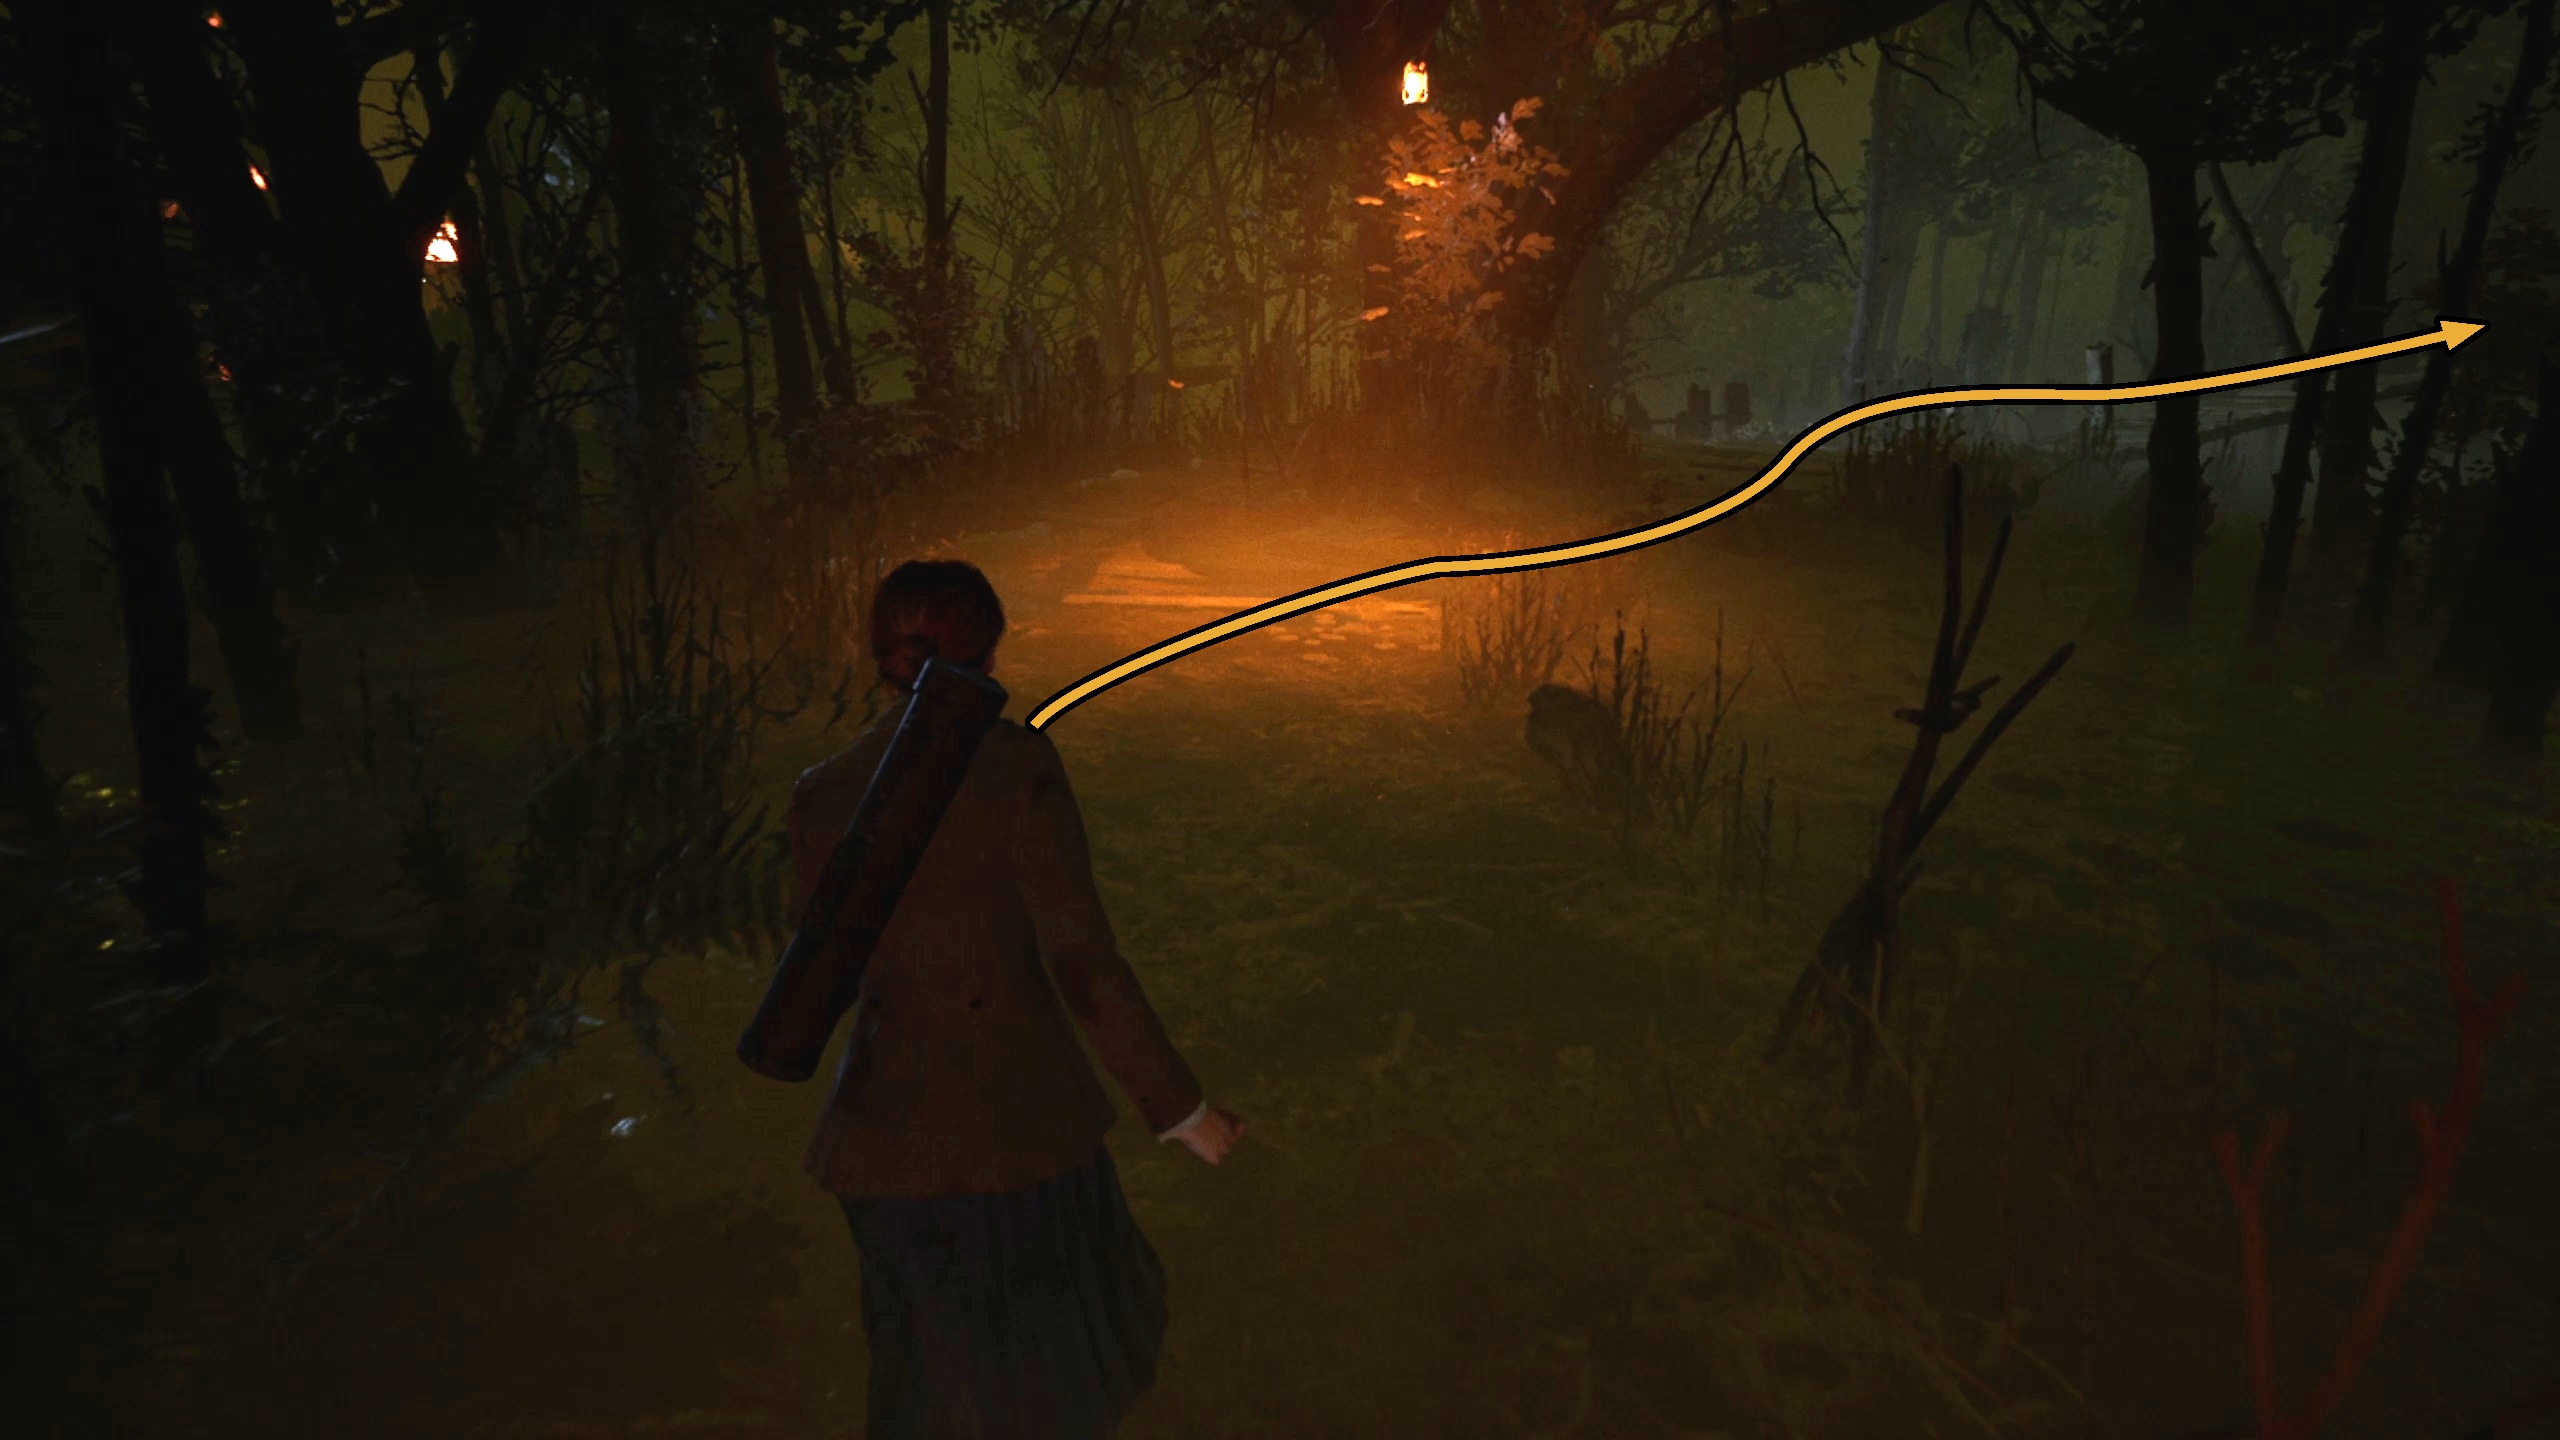
To get to the Library, you need to leave the Clerk’s Office, then turn to the right and go through the door with windows on it to reach the Piazza. Go down the Piazza, and then the door to the library will be a dark wooden door immediately to your right.
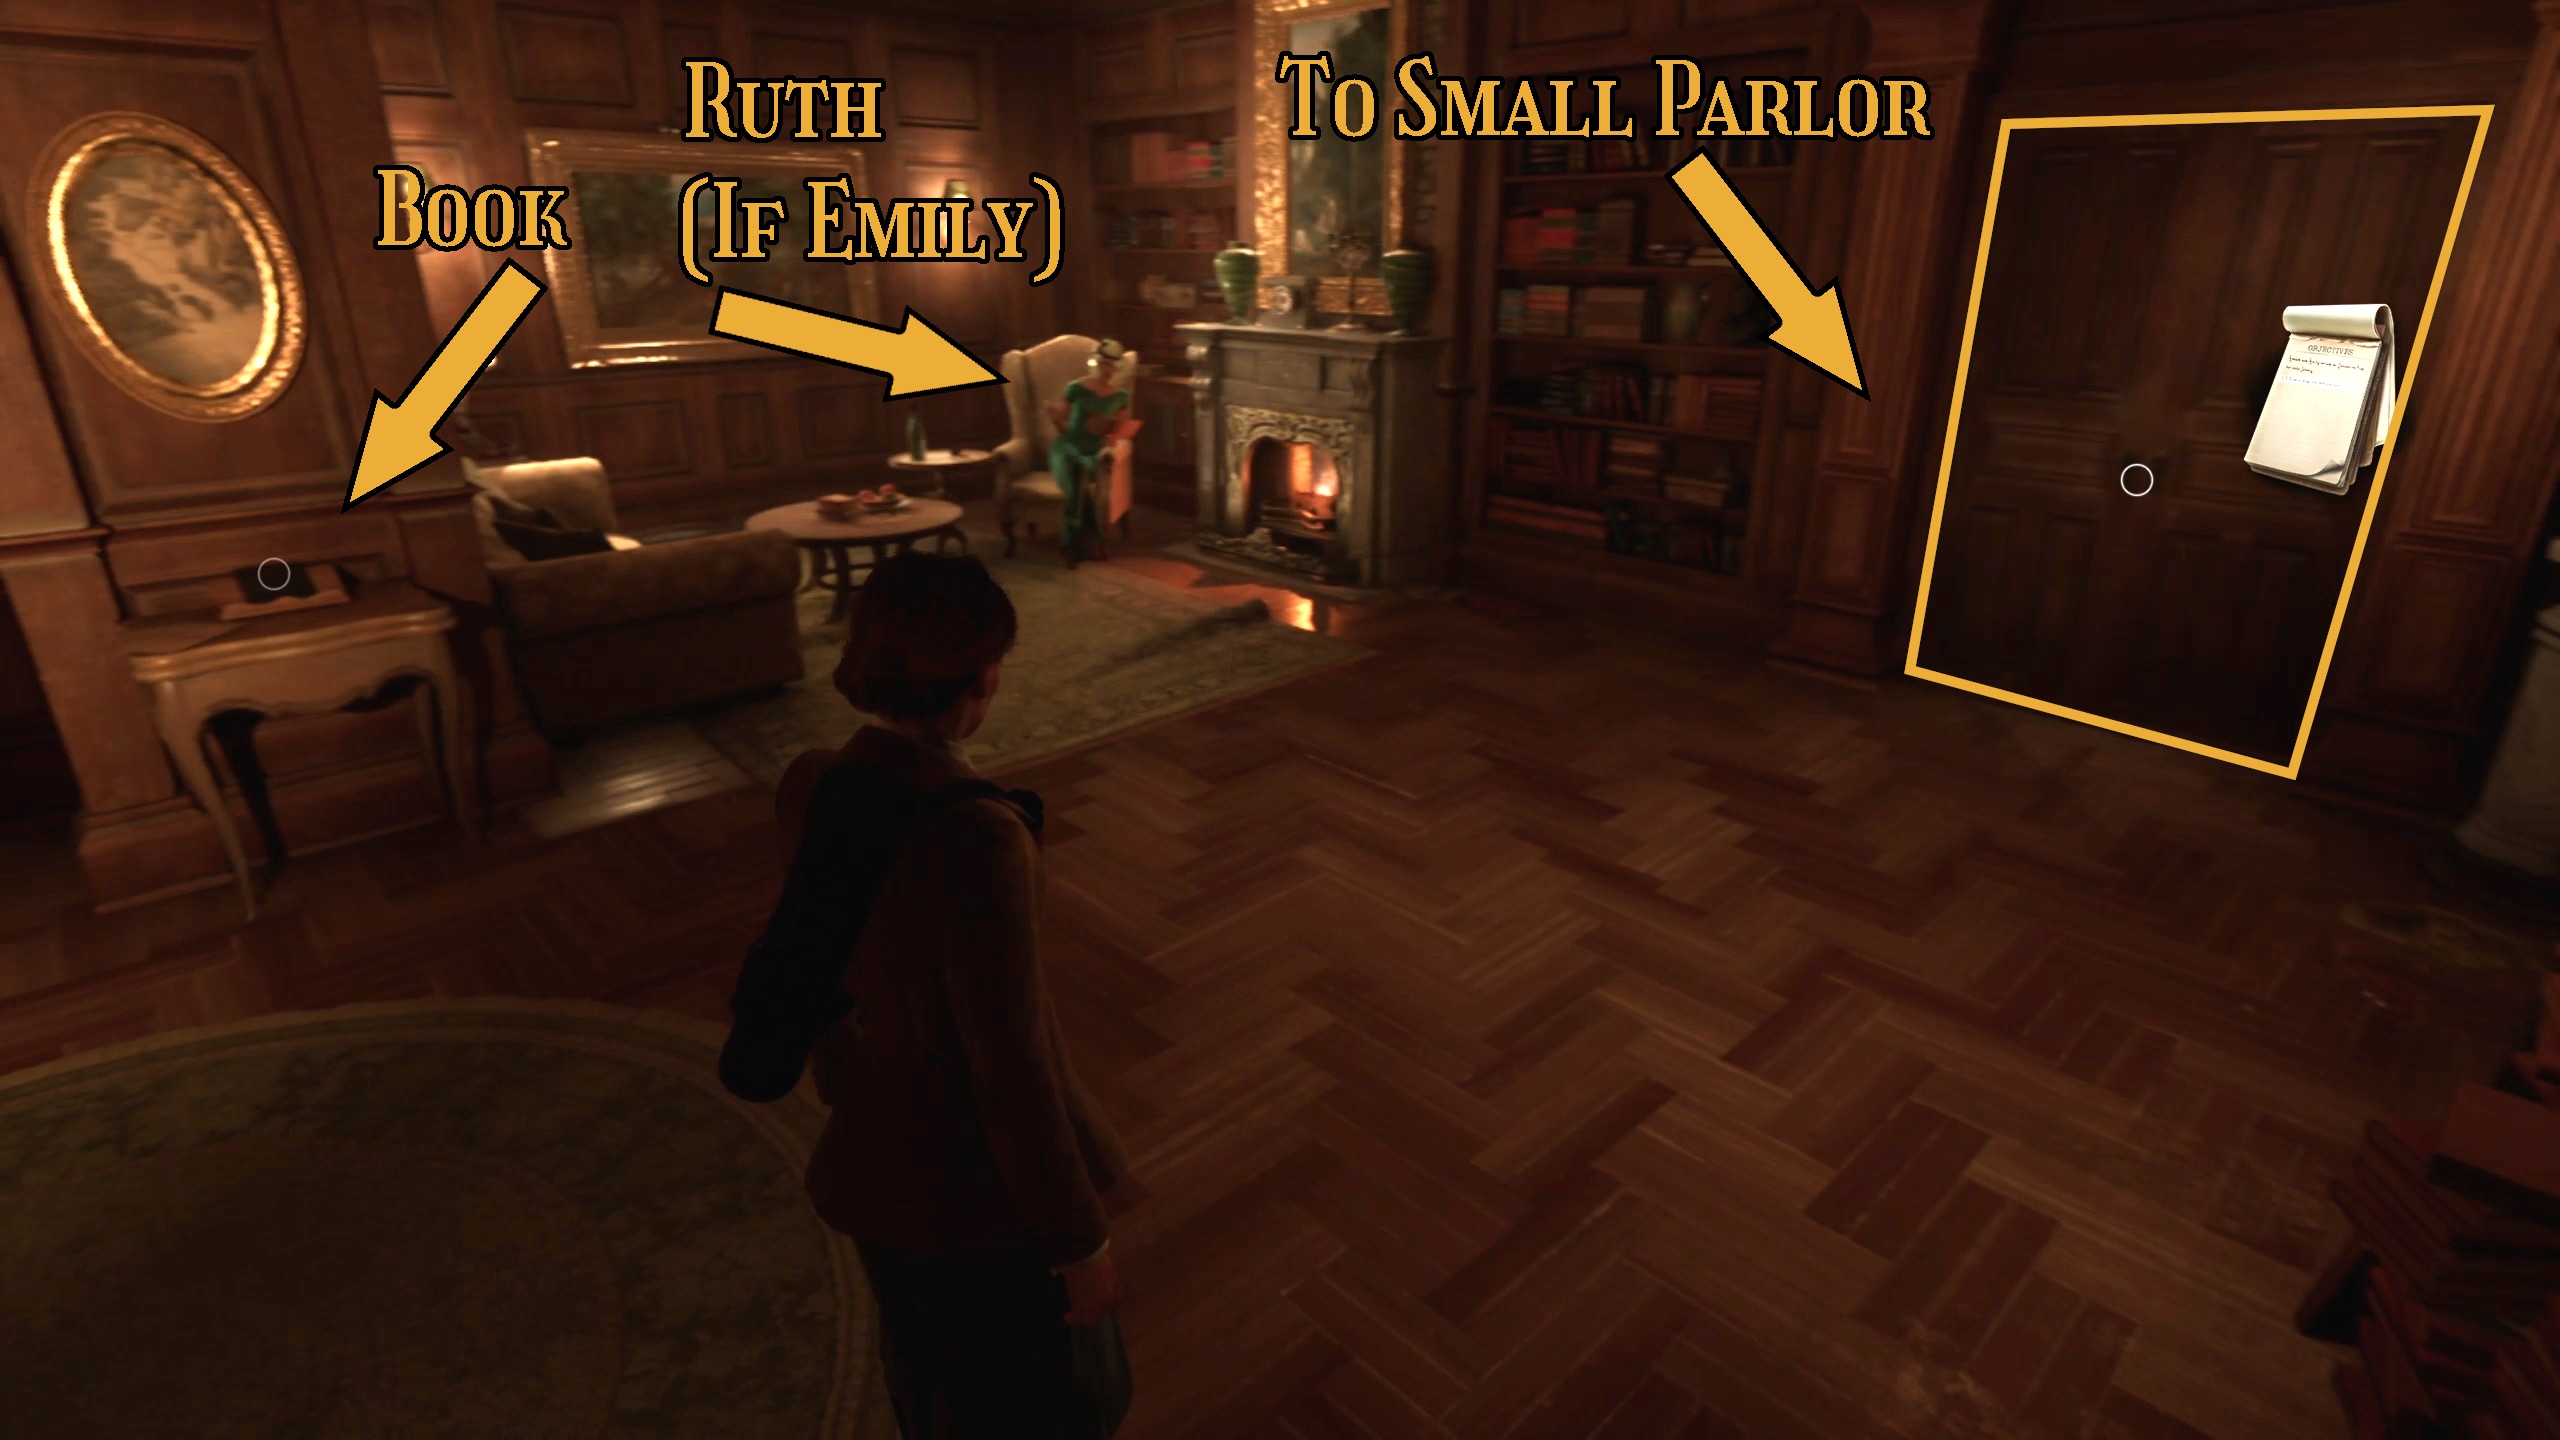
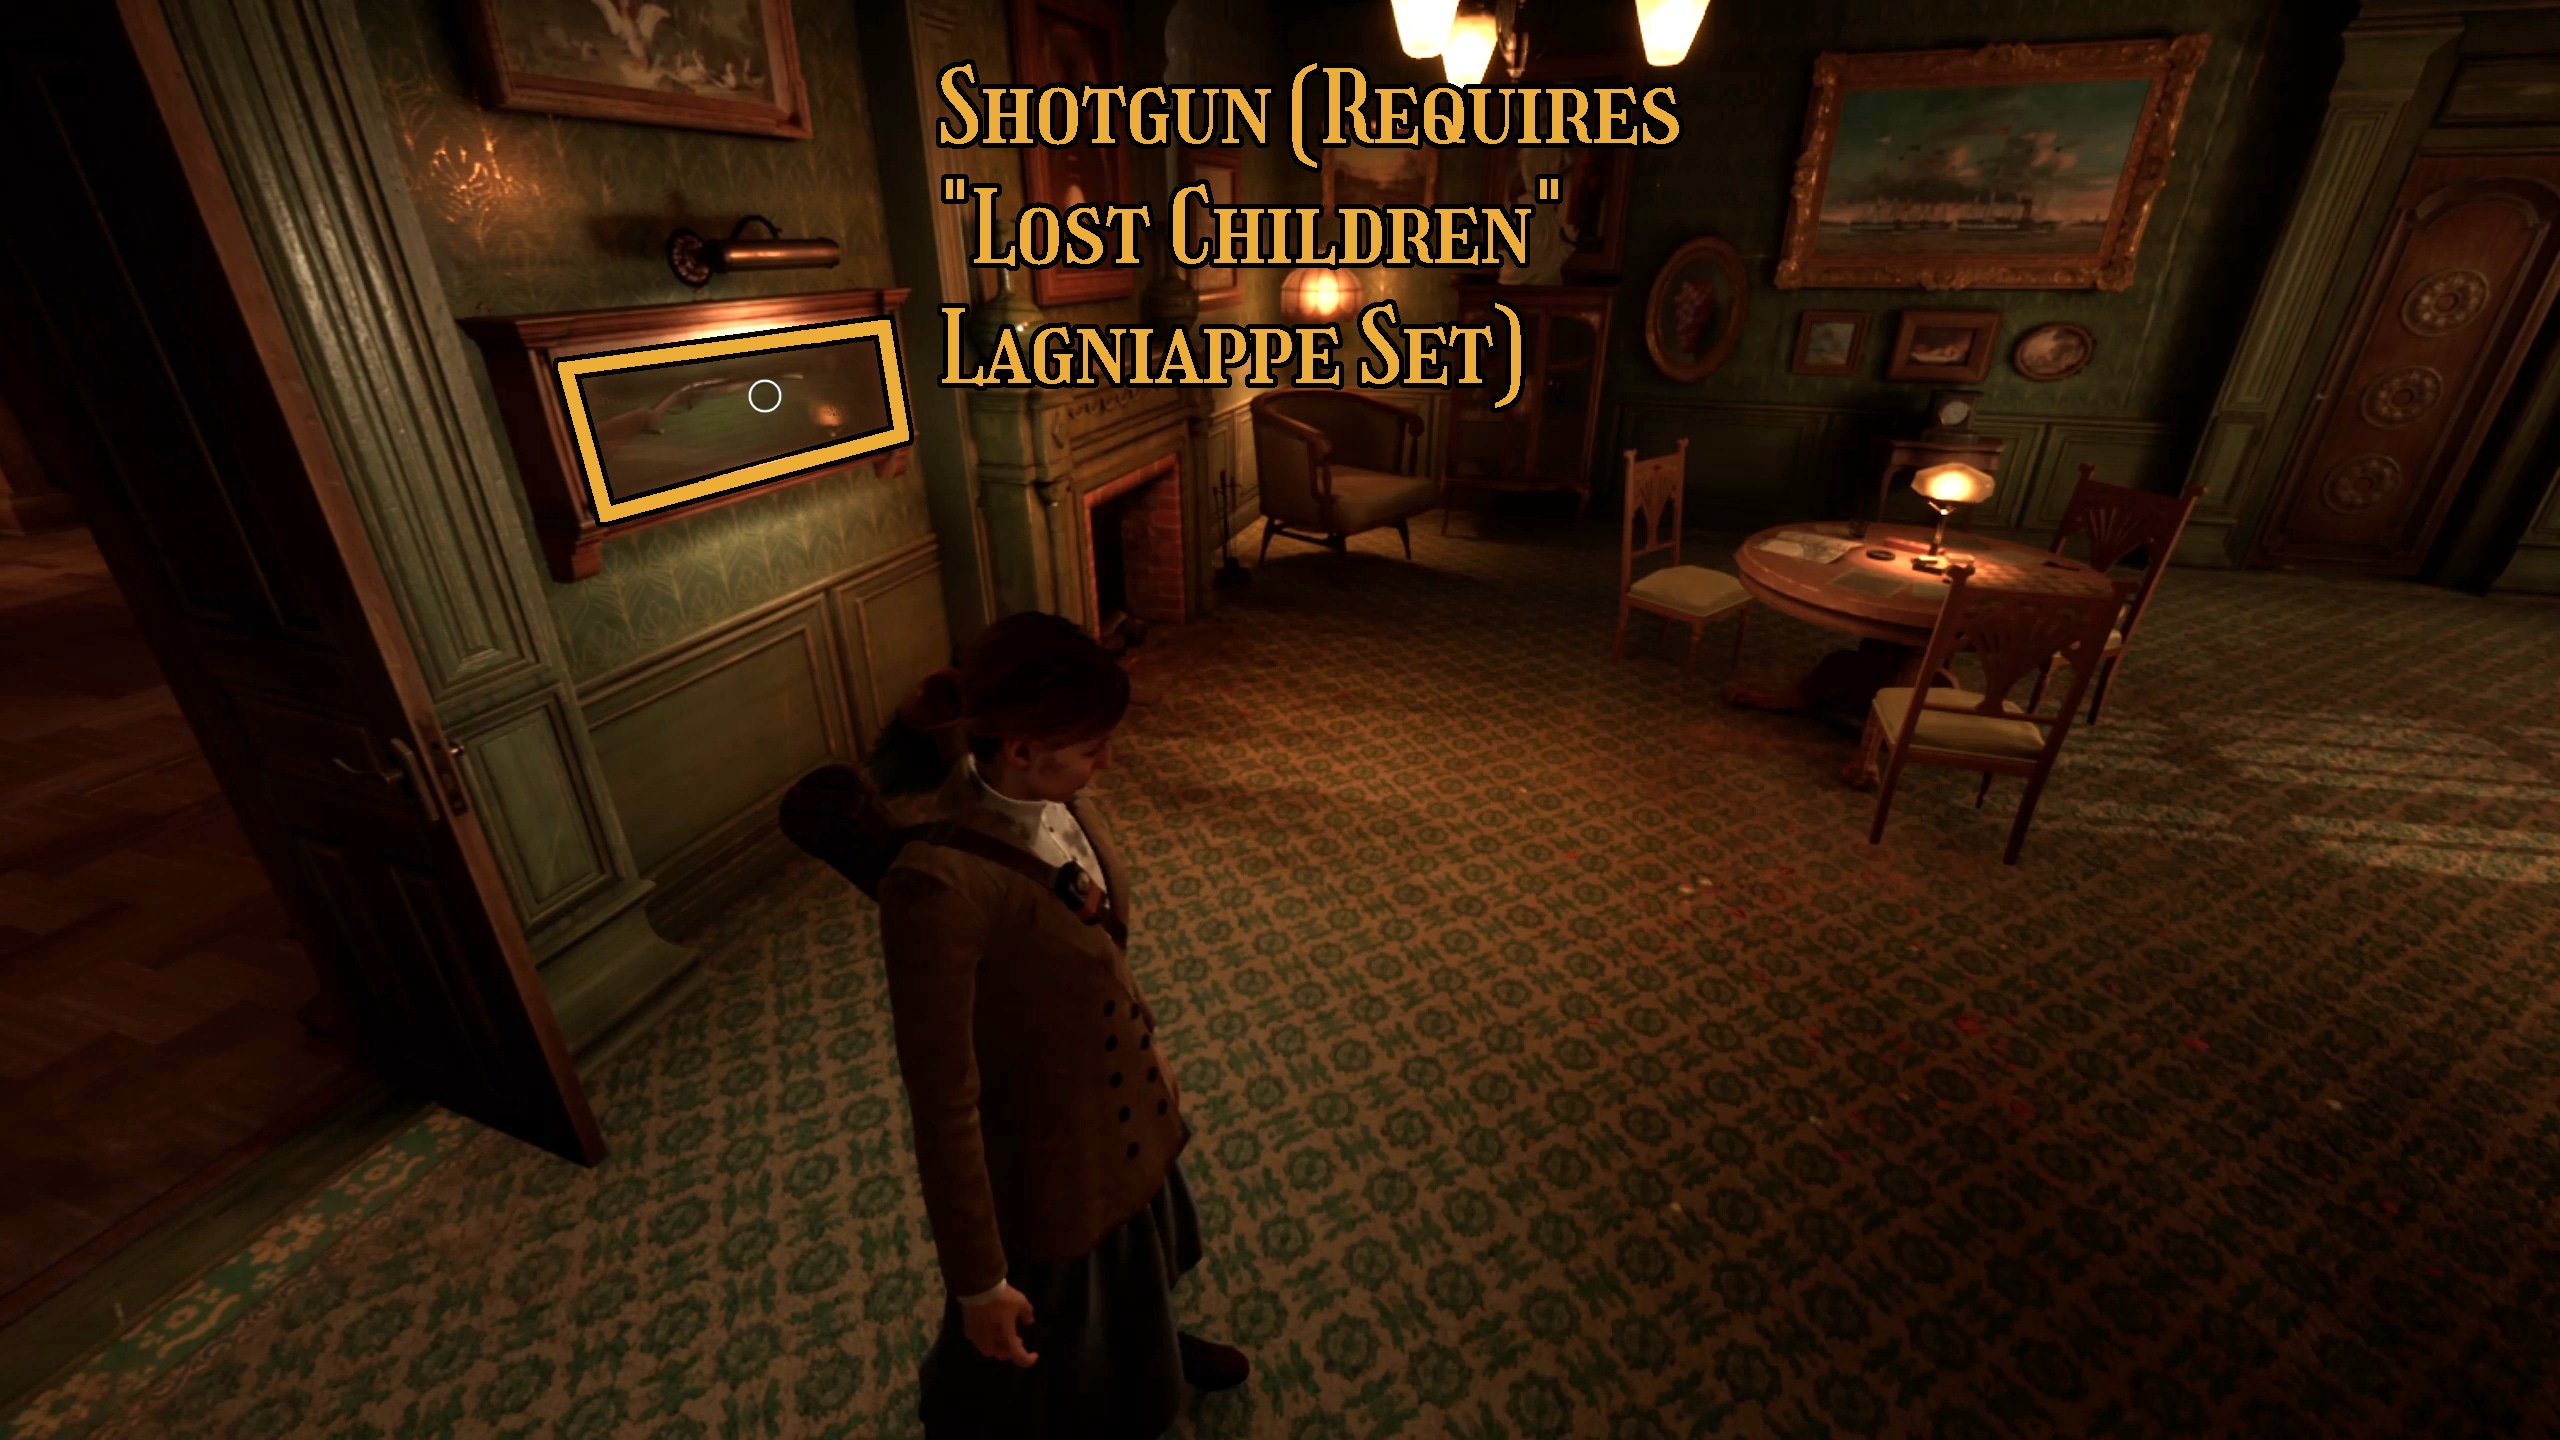
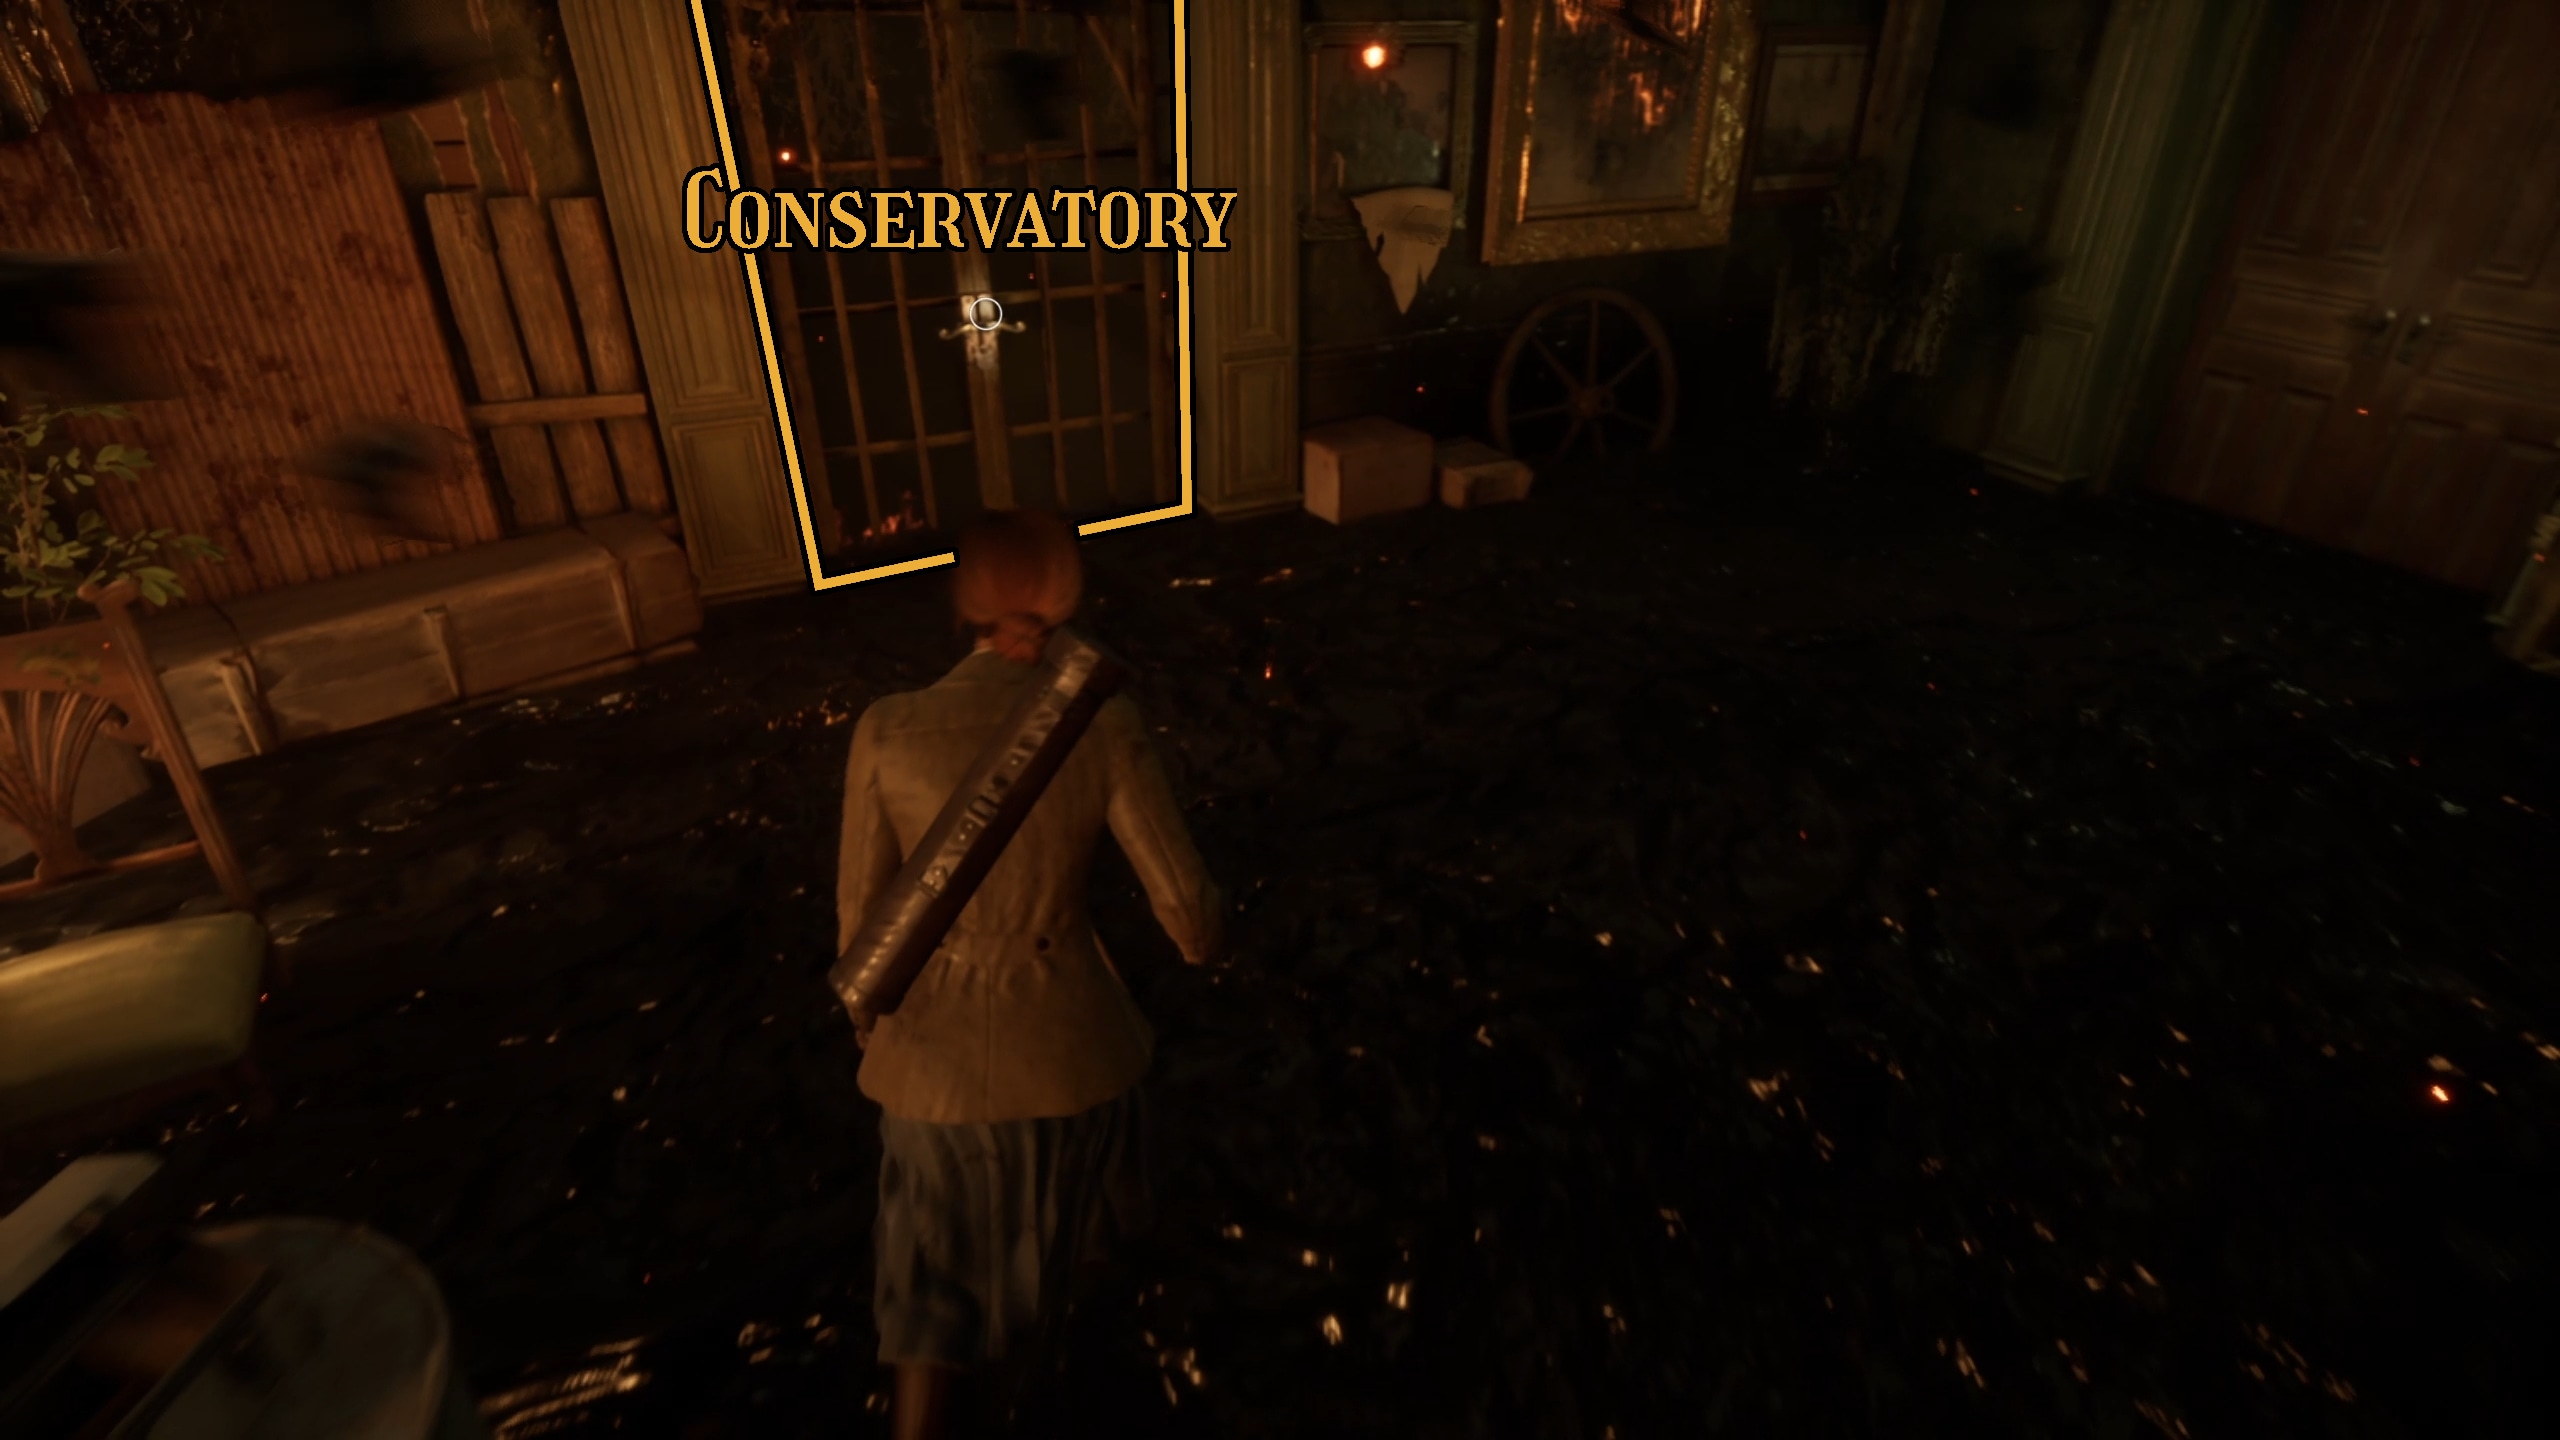
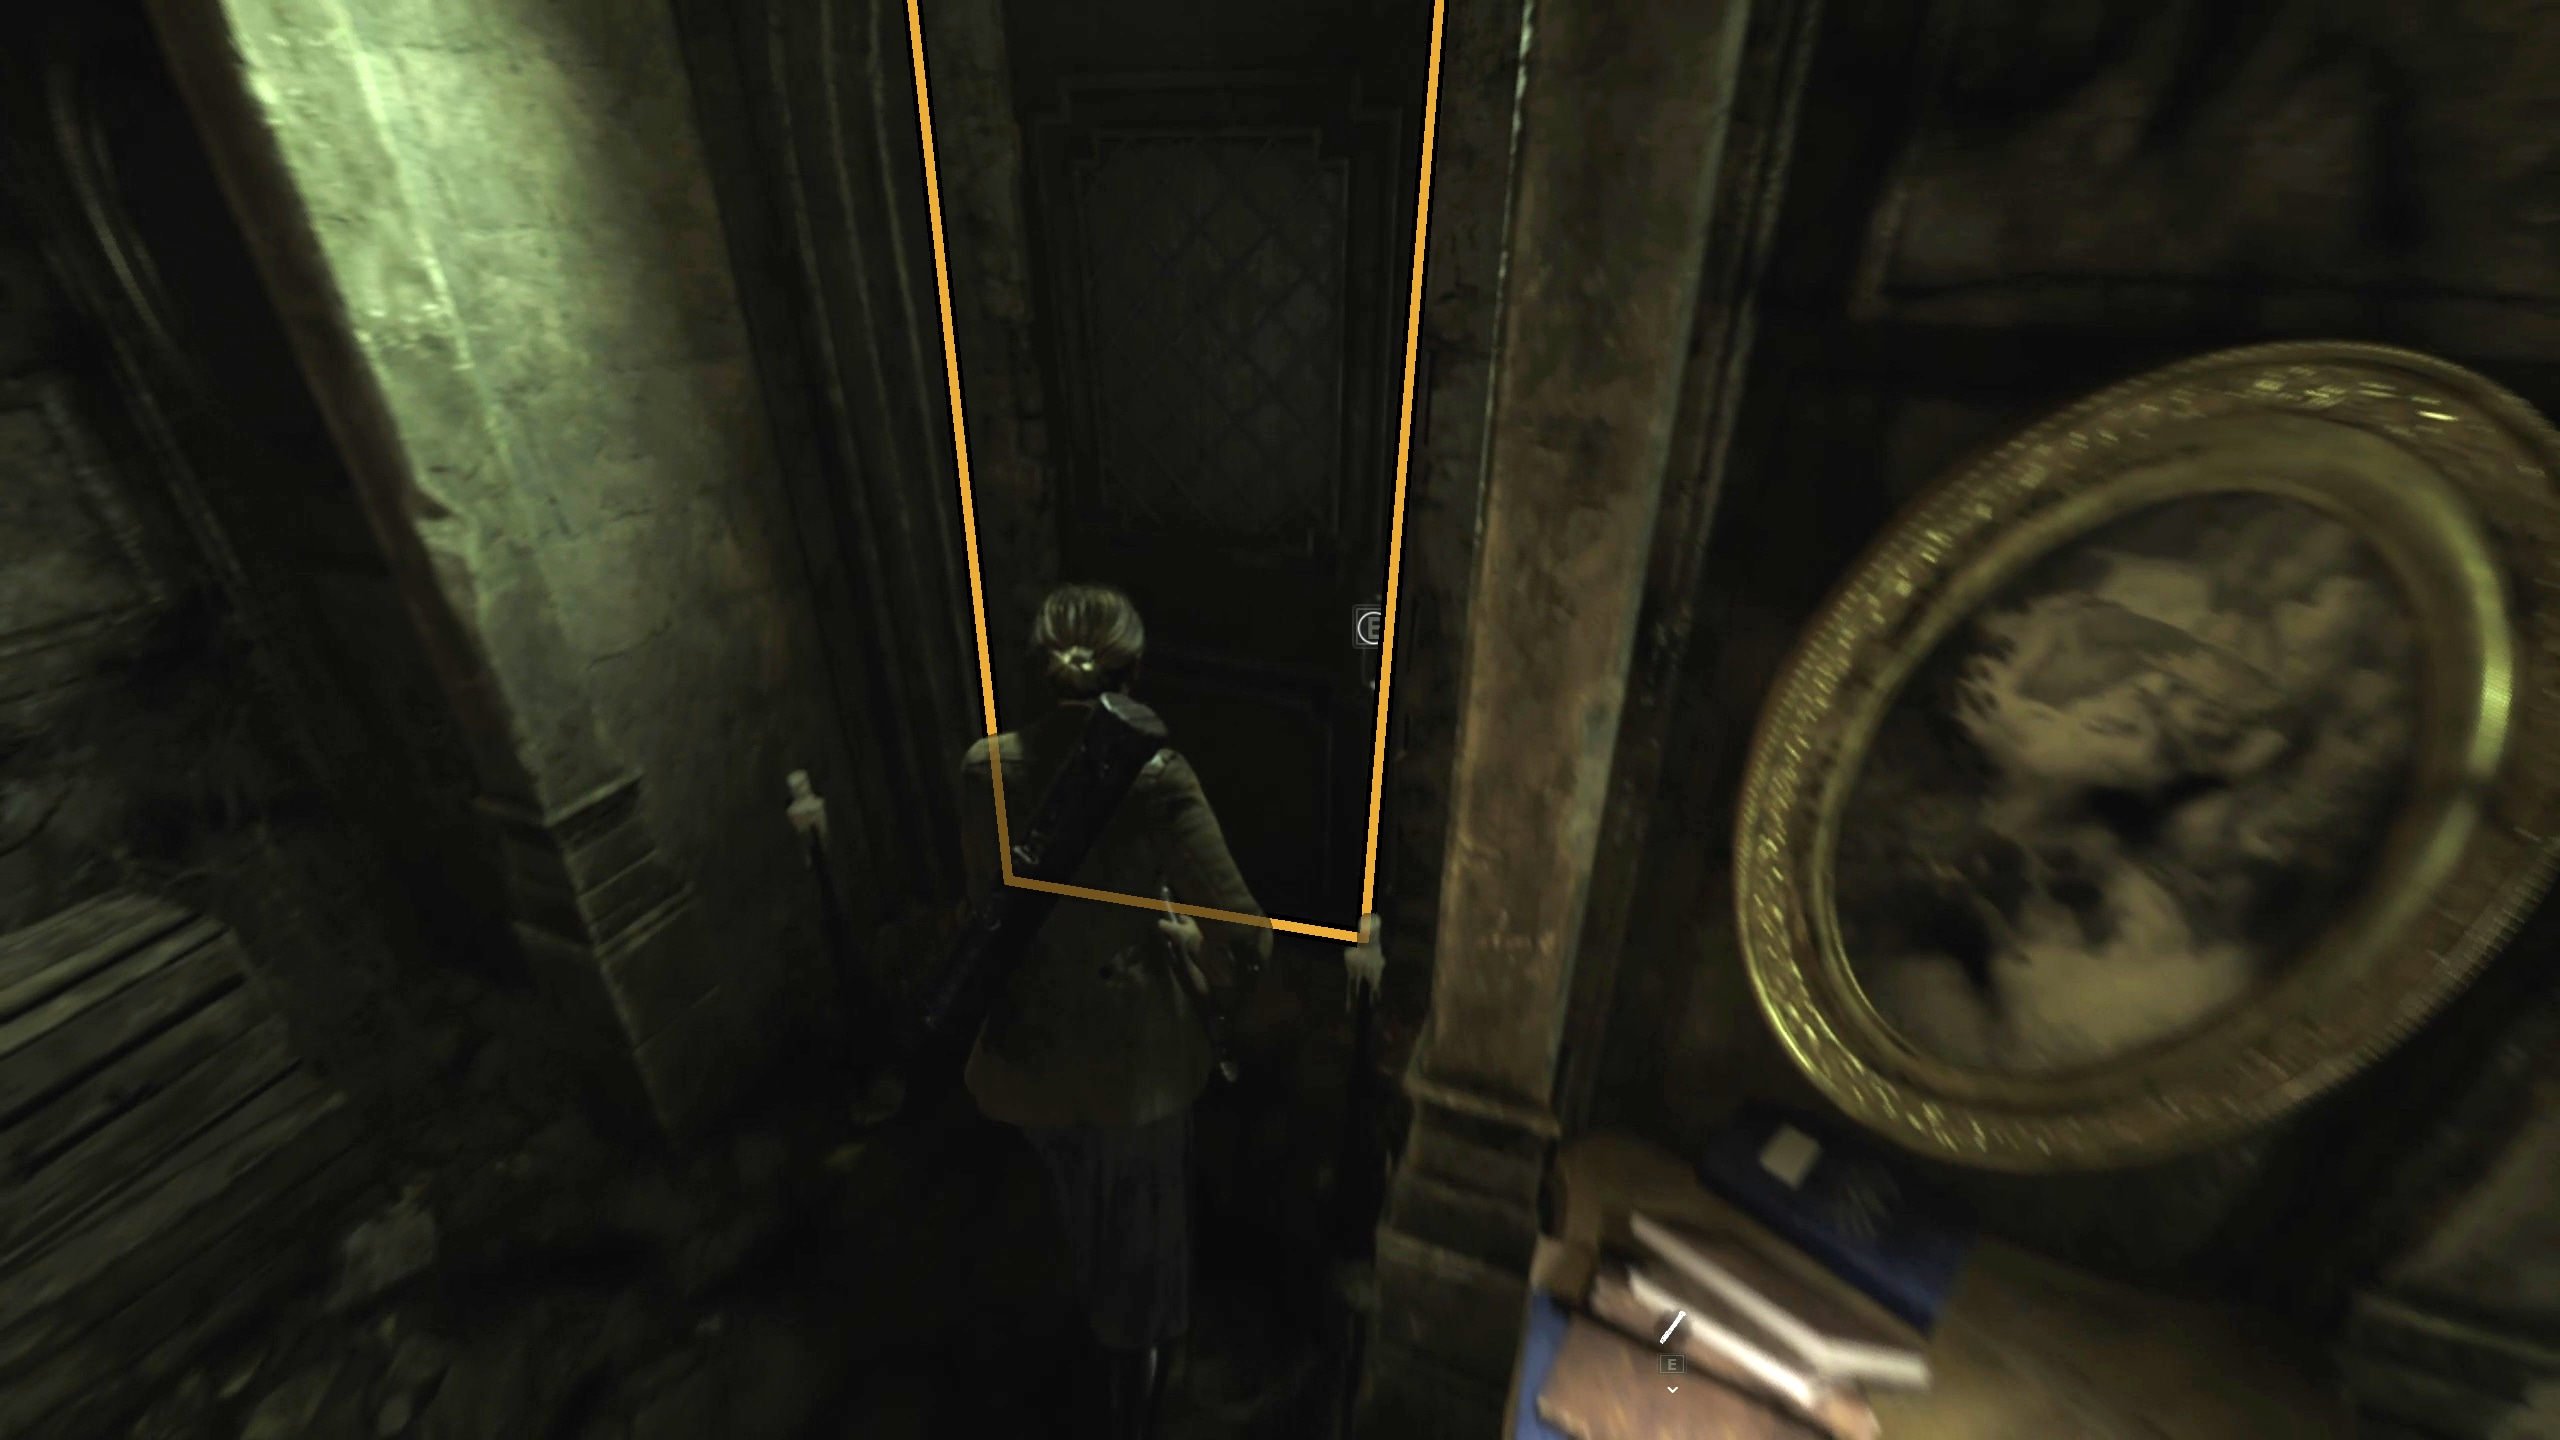
Once you are in the library, you can pick up “The Lost Plantations of Lousiana” note and, if you are playing as Emily, talk to Ruth (which you should do three times if you are trying for the Chatterbox achievement) (Image 8). Go through the next door to the Small Parlor, and take note to your left for the Shotgun. If this is your second playthrough, you can access it now so long as you completed the Lost Children Lagniappes set. Otherwise, just note it for later (Image 9), and then go through the glass door to your right to try to enter the conservatory (Image 10).
Image 8Image 9Image 10
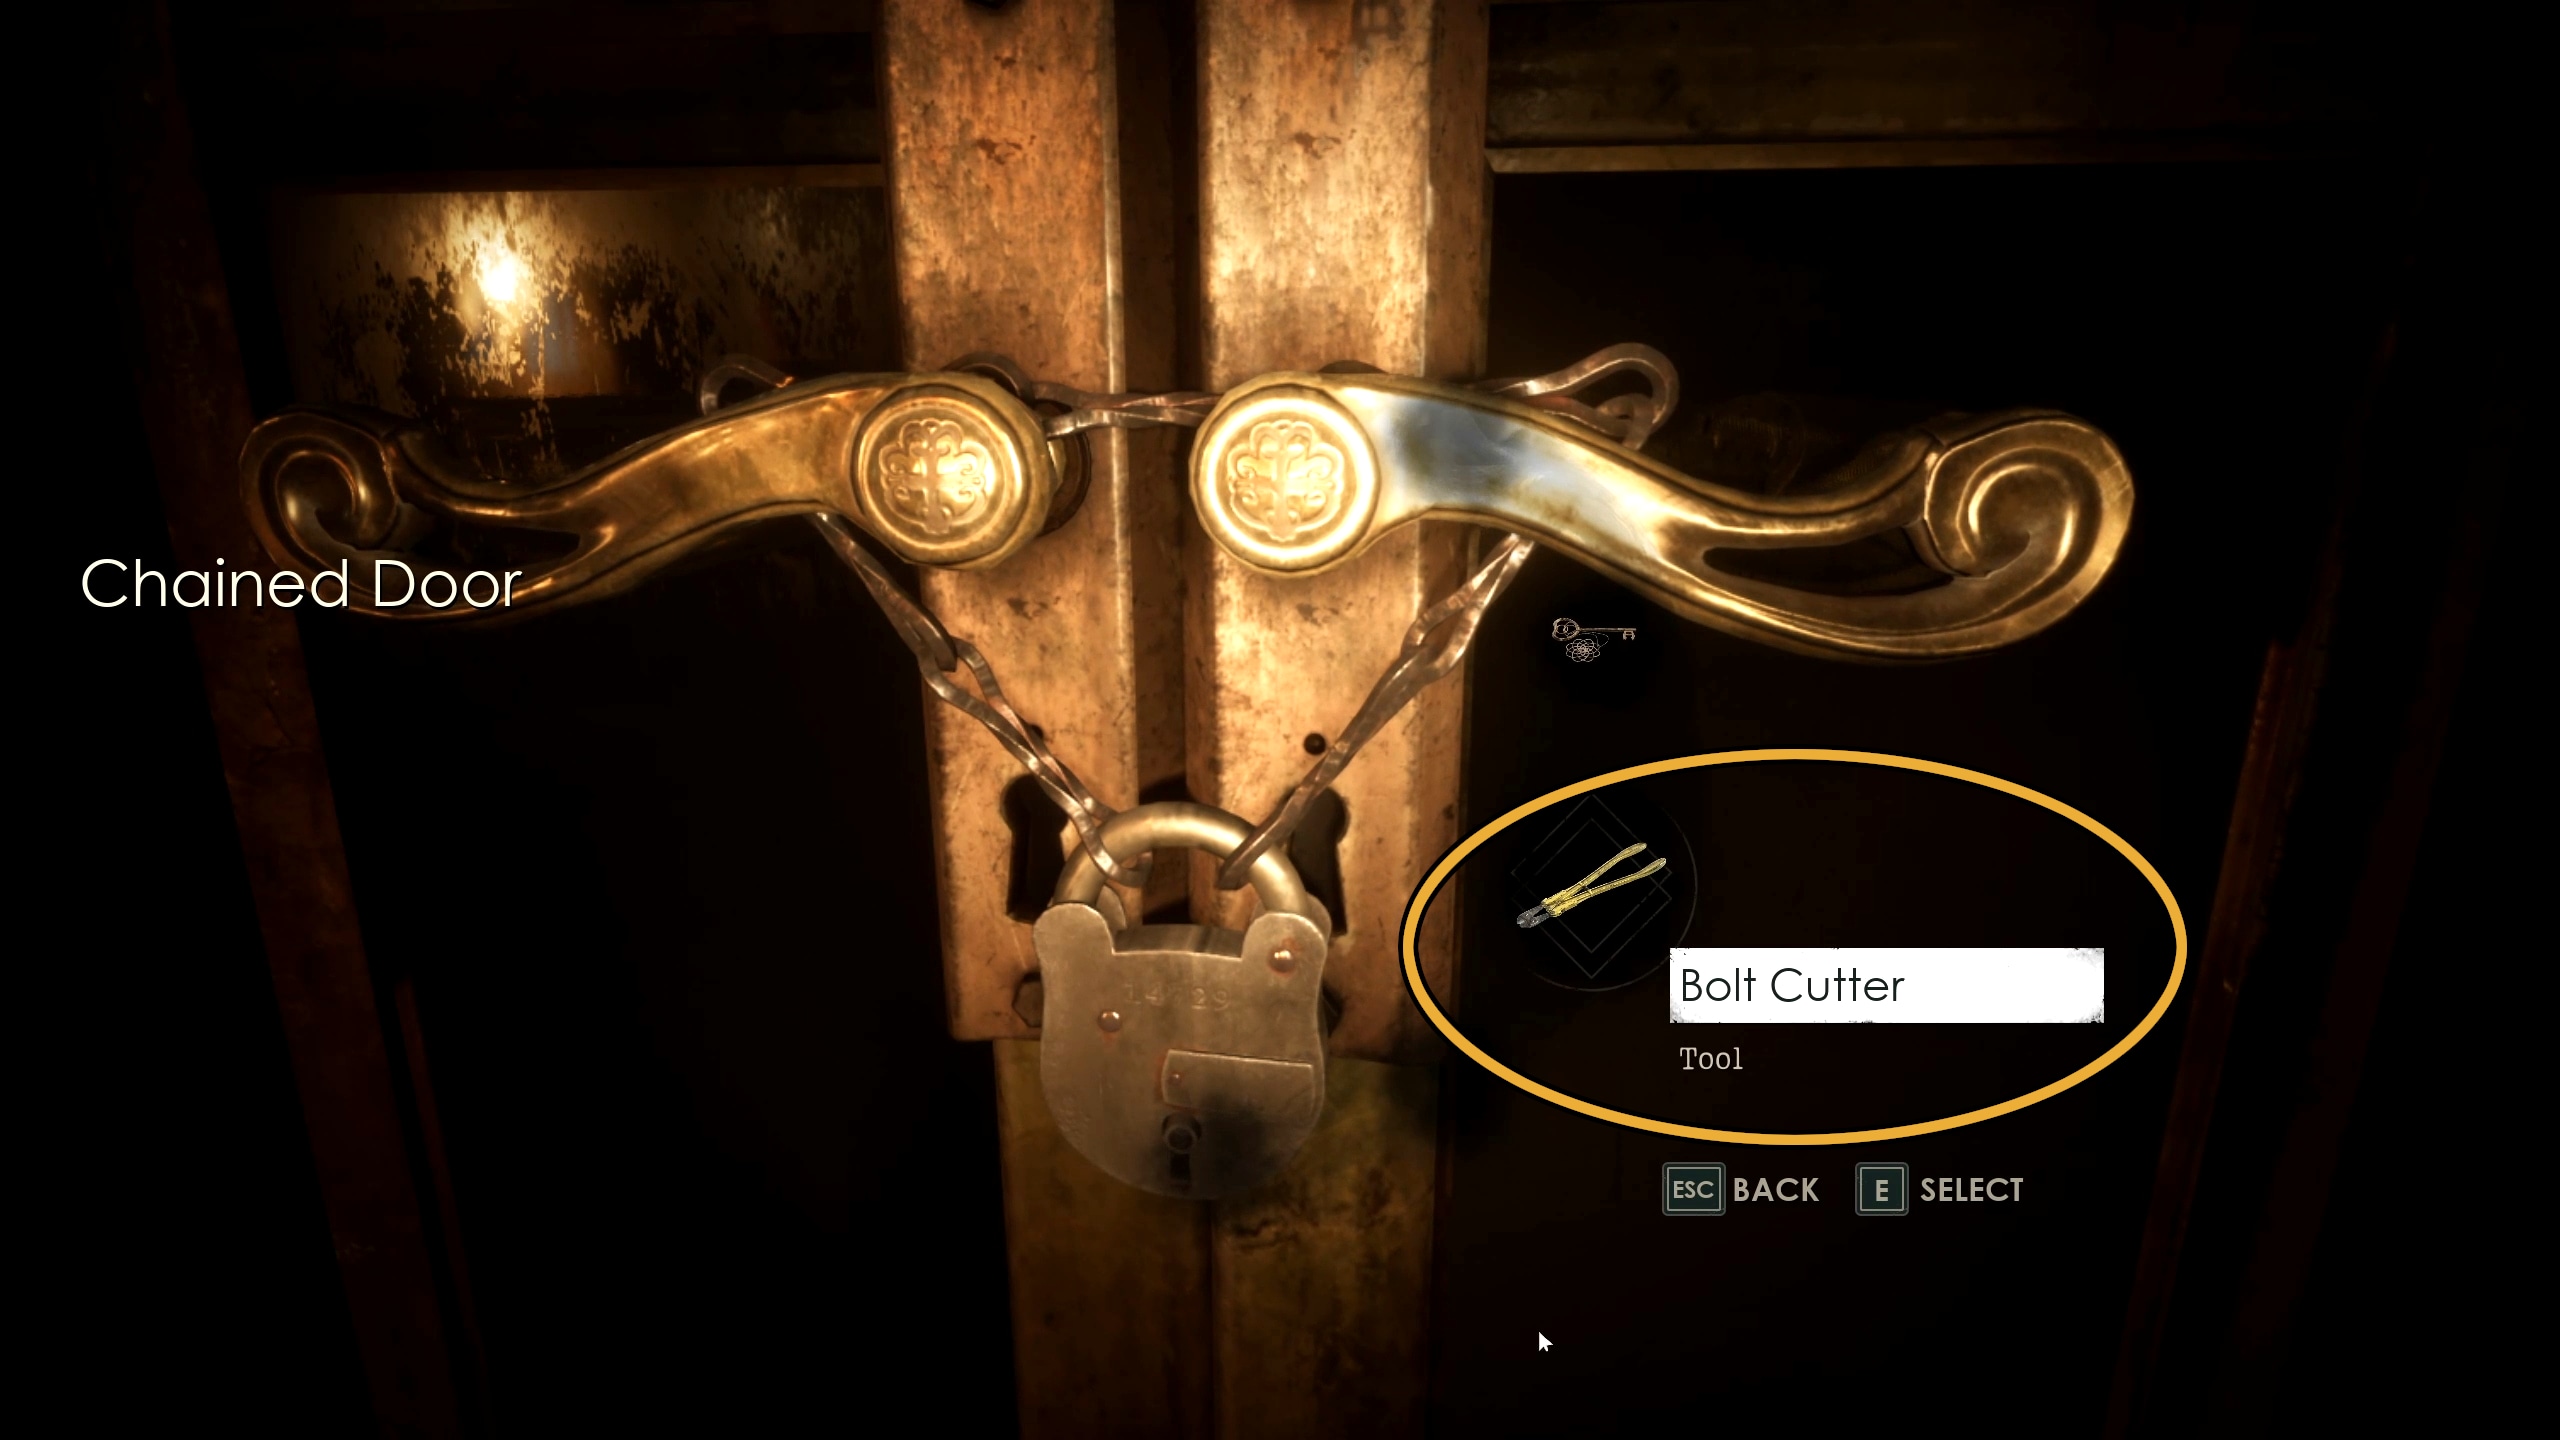
Once you try the door, you will end up in an alternate version of the room, filled with black ink below. Once you are, turn around and look towards the windows, where a bolt cutter will be sitting on a table (Image 11). Grab it and take it back to the Conservatory door (Image 12), using it to open the door (Image 13).
Image 11Image 12Image 13
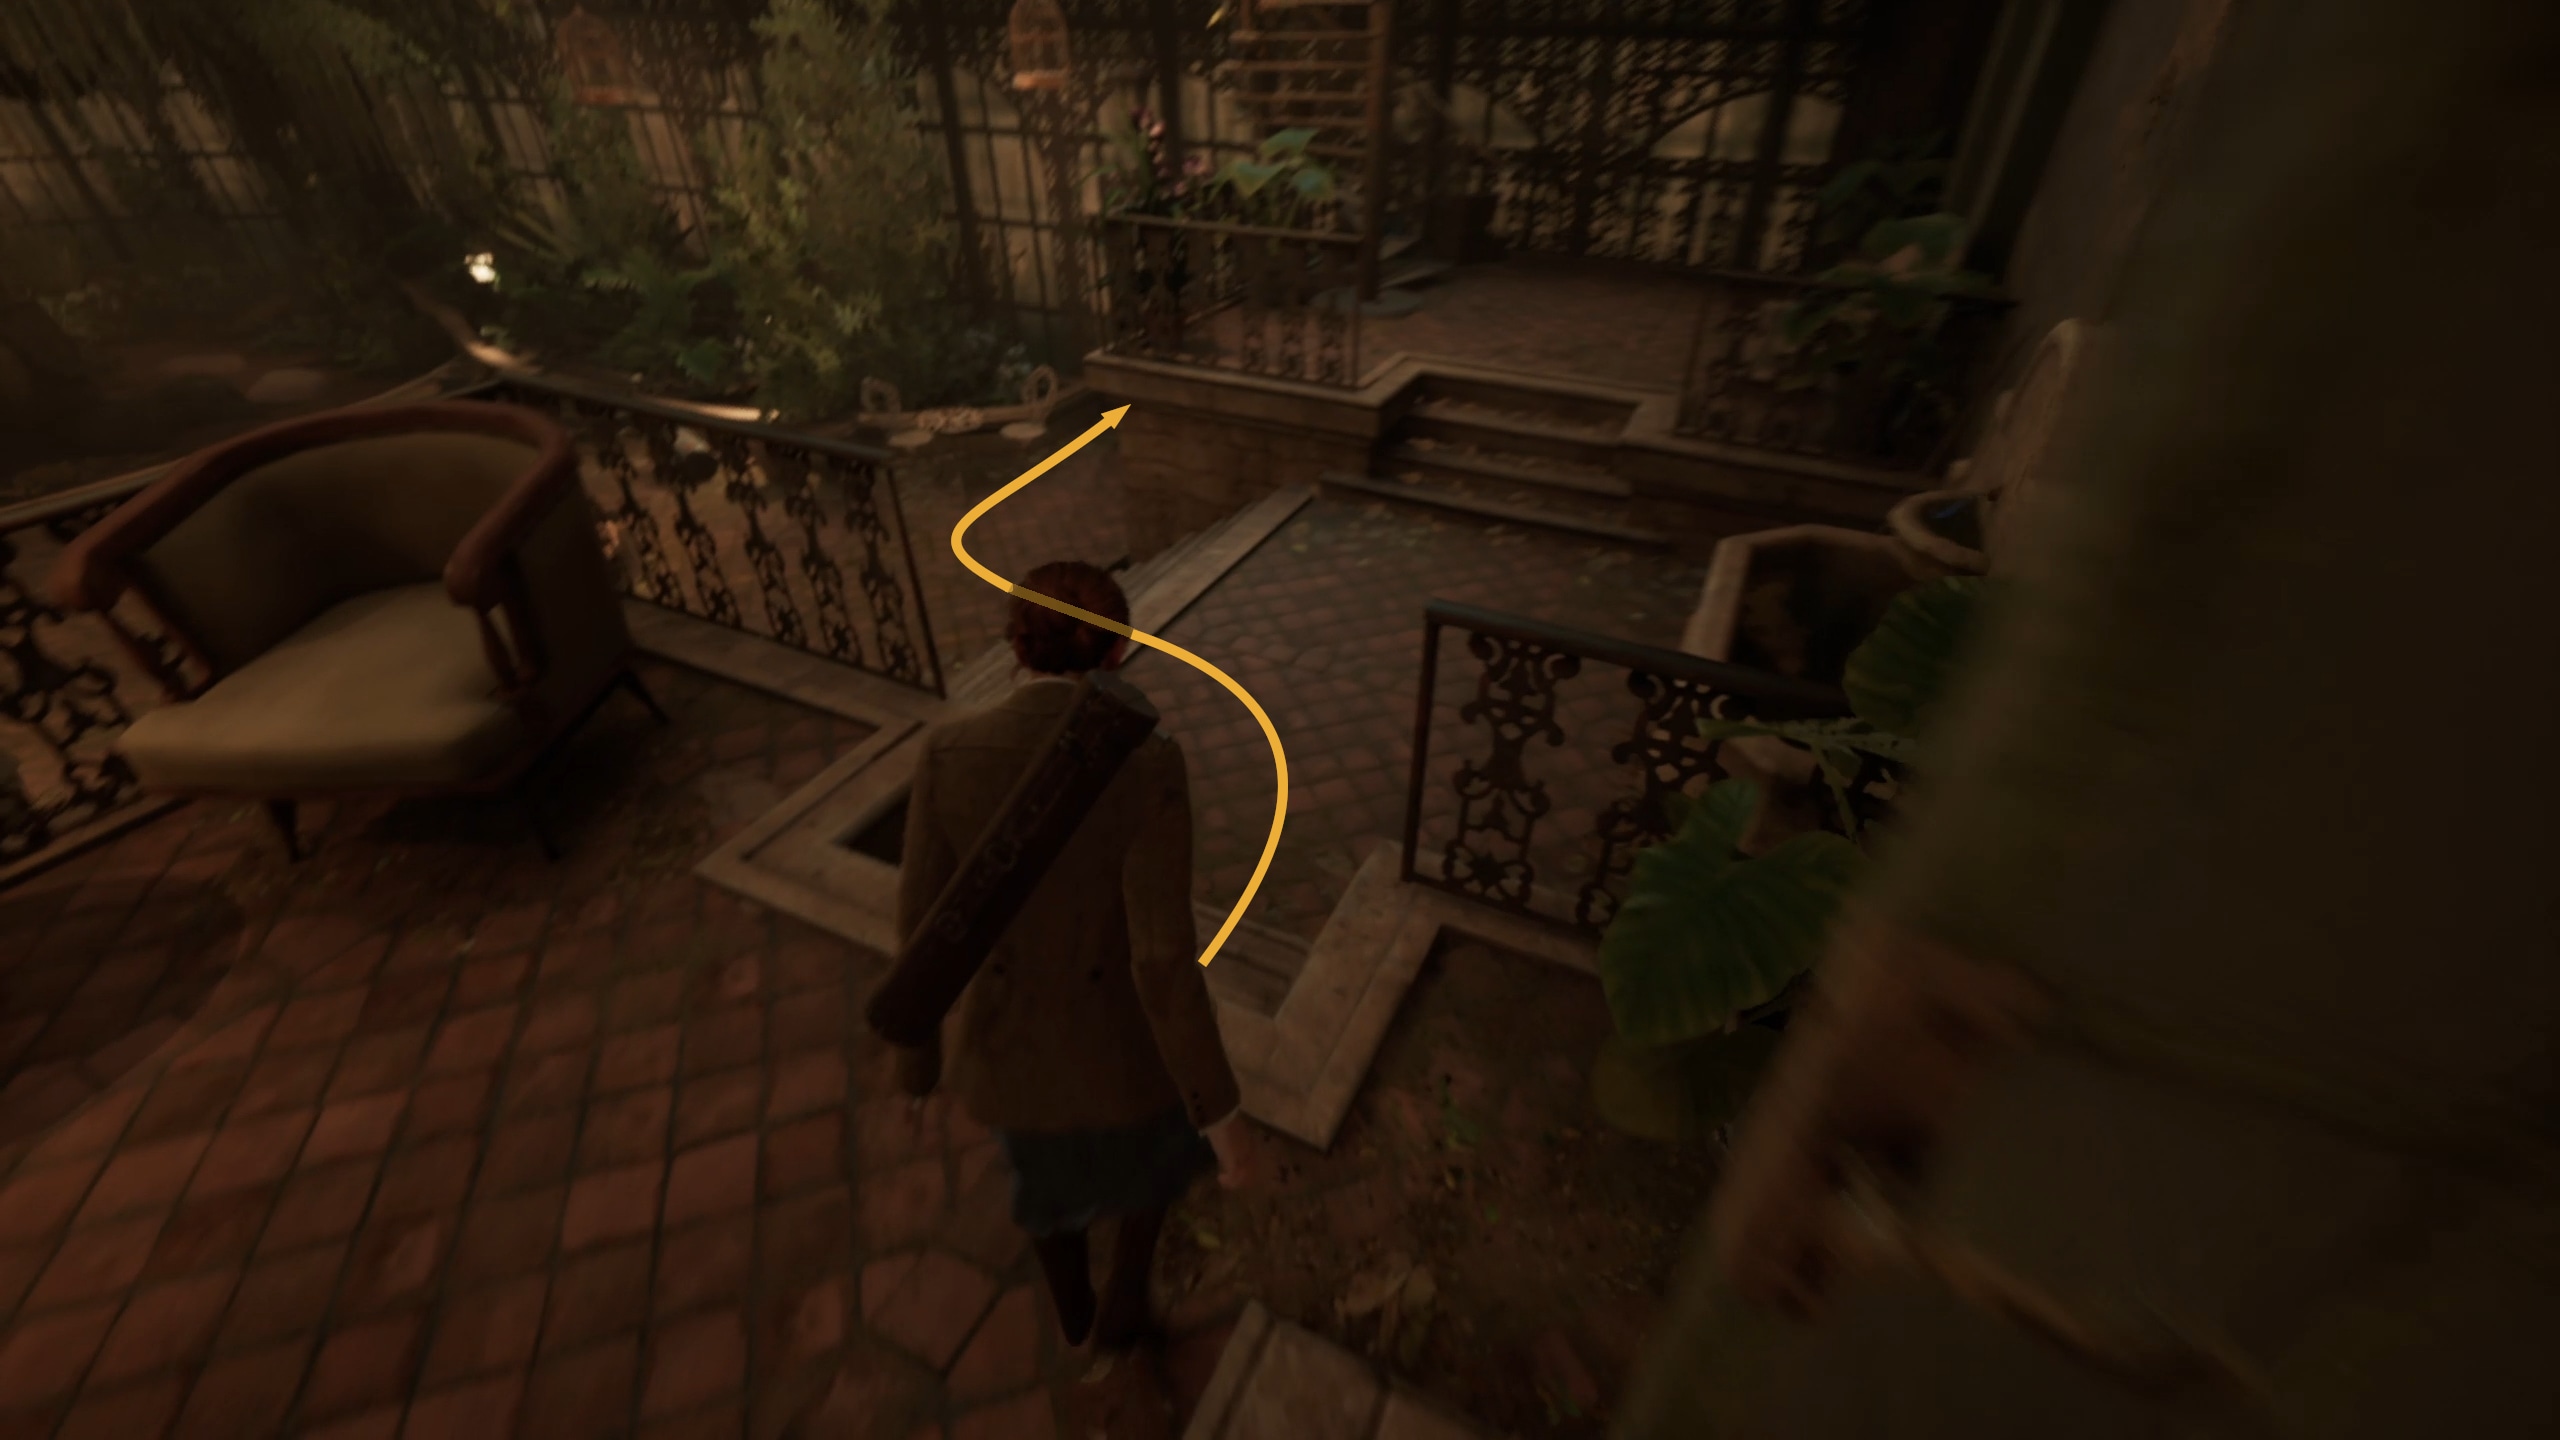
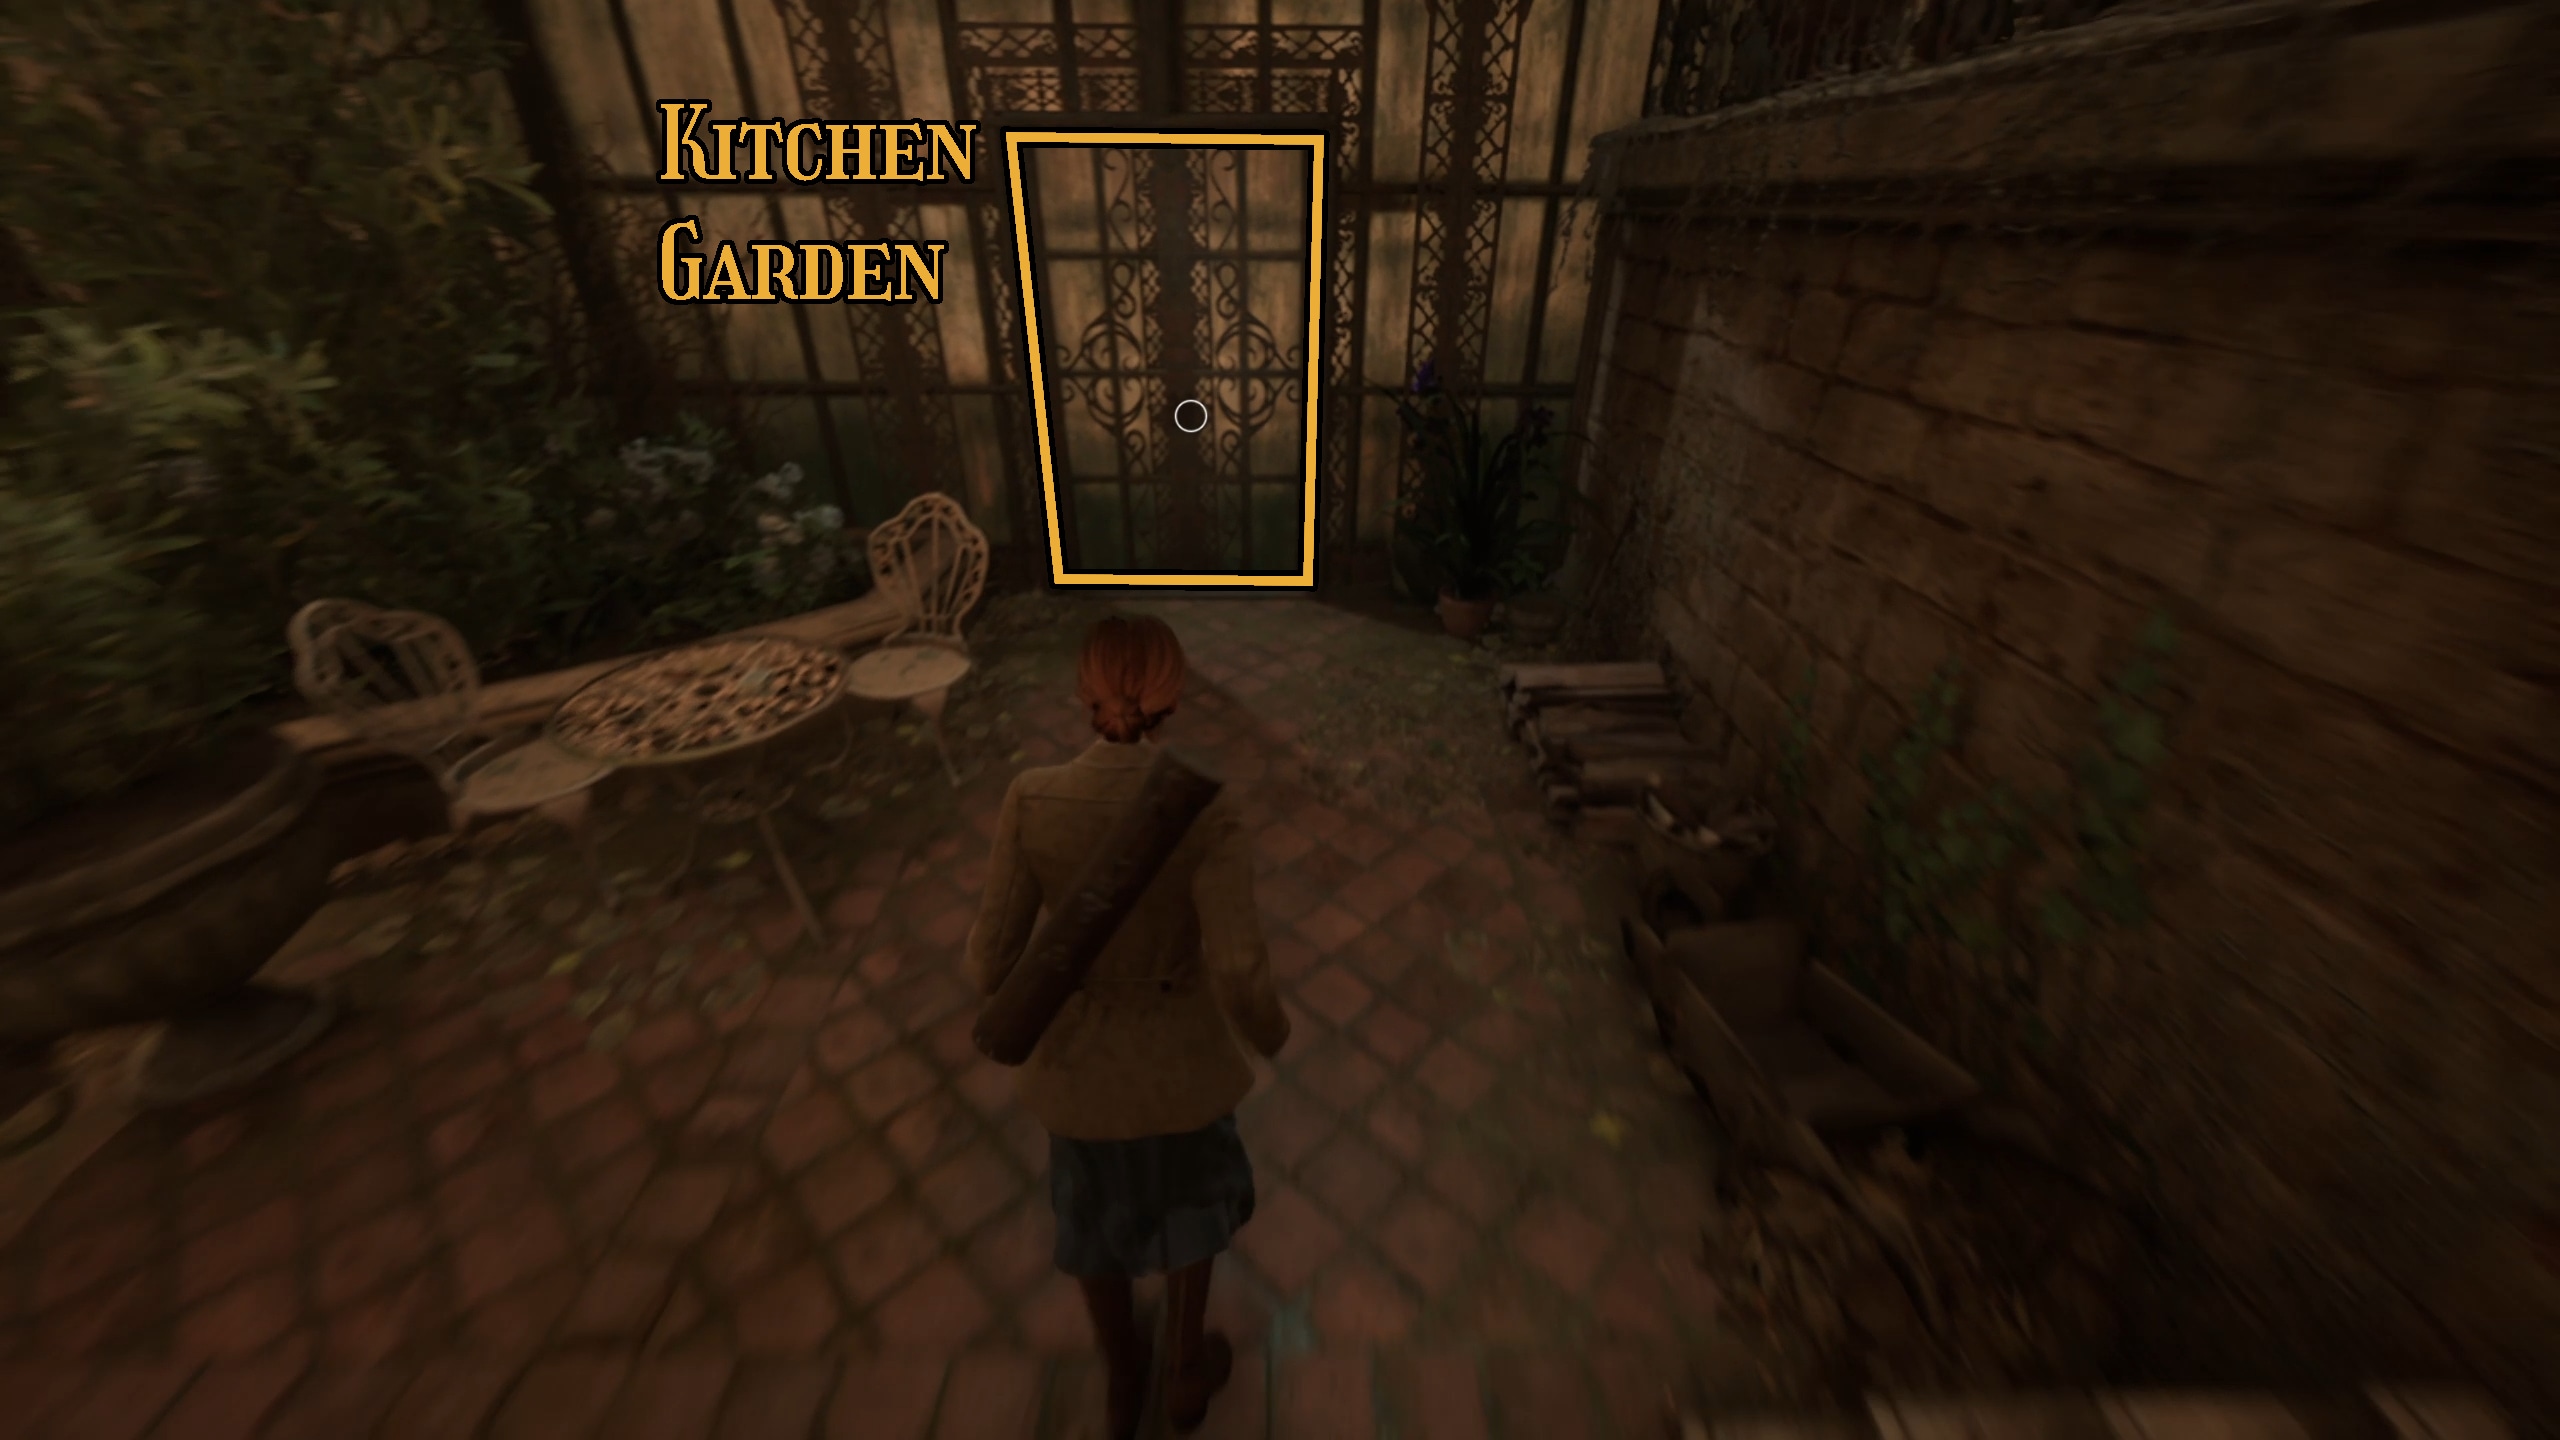
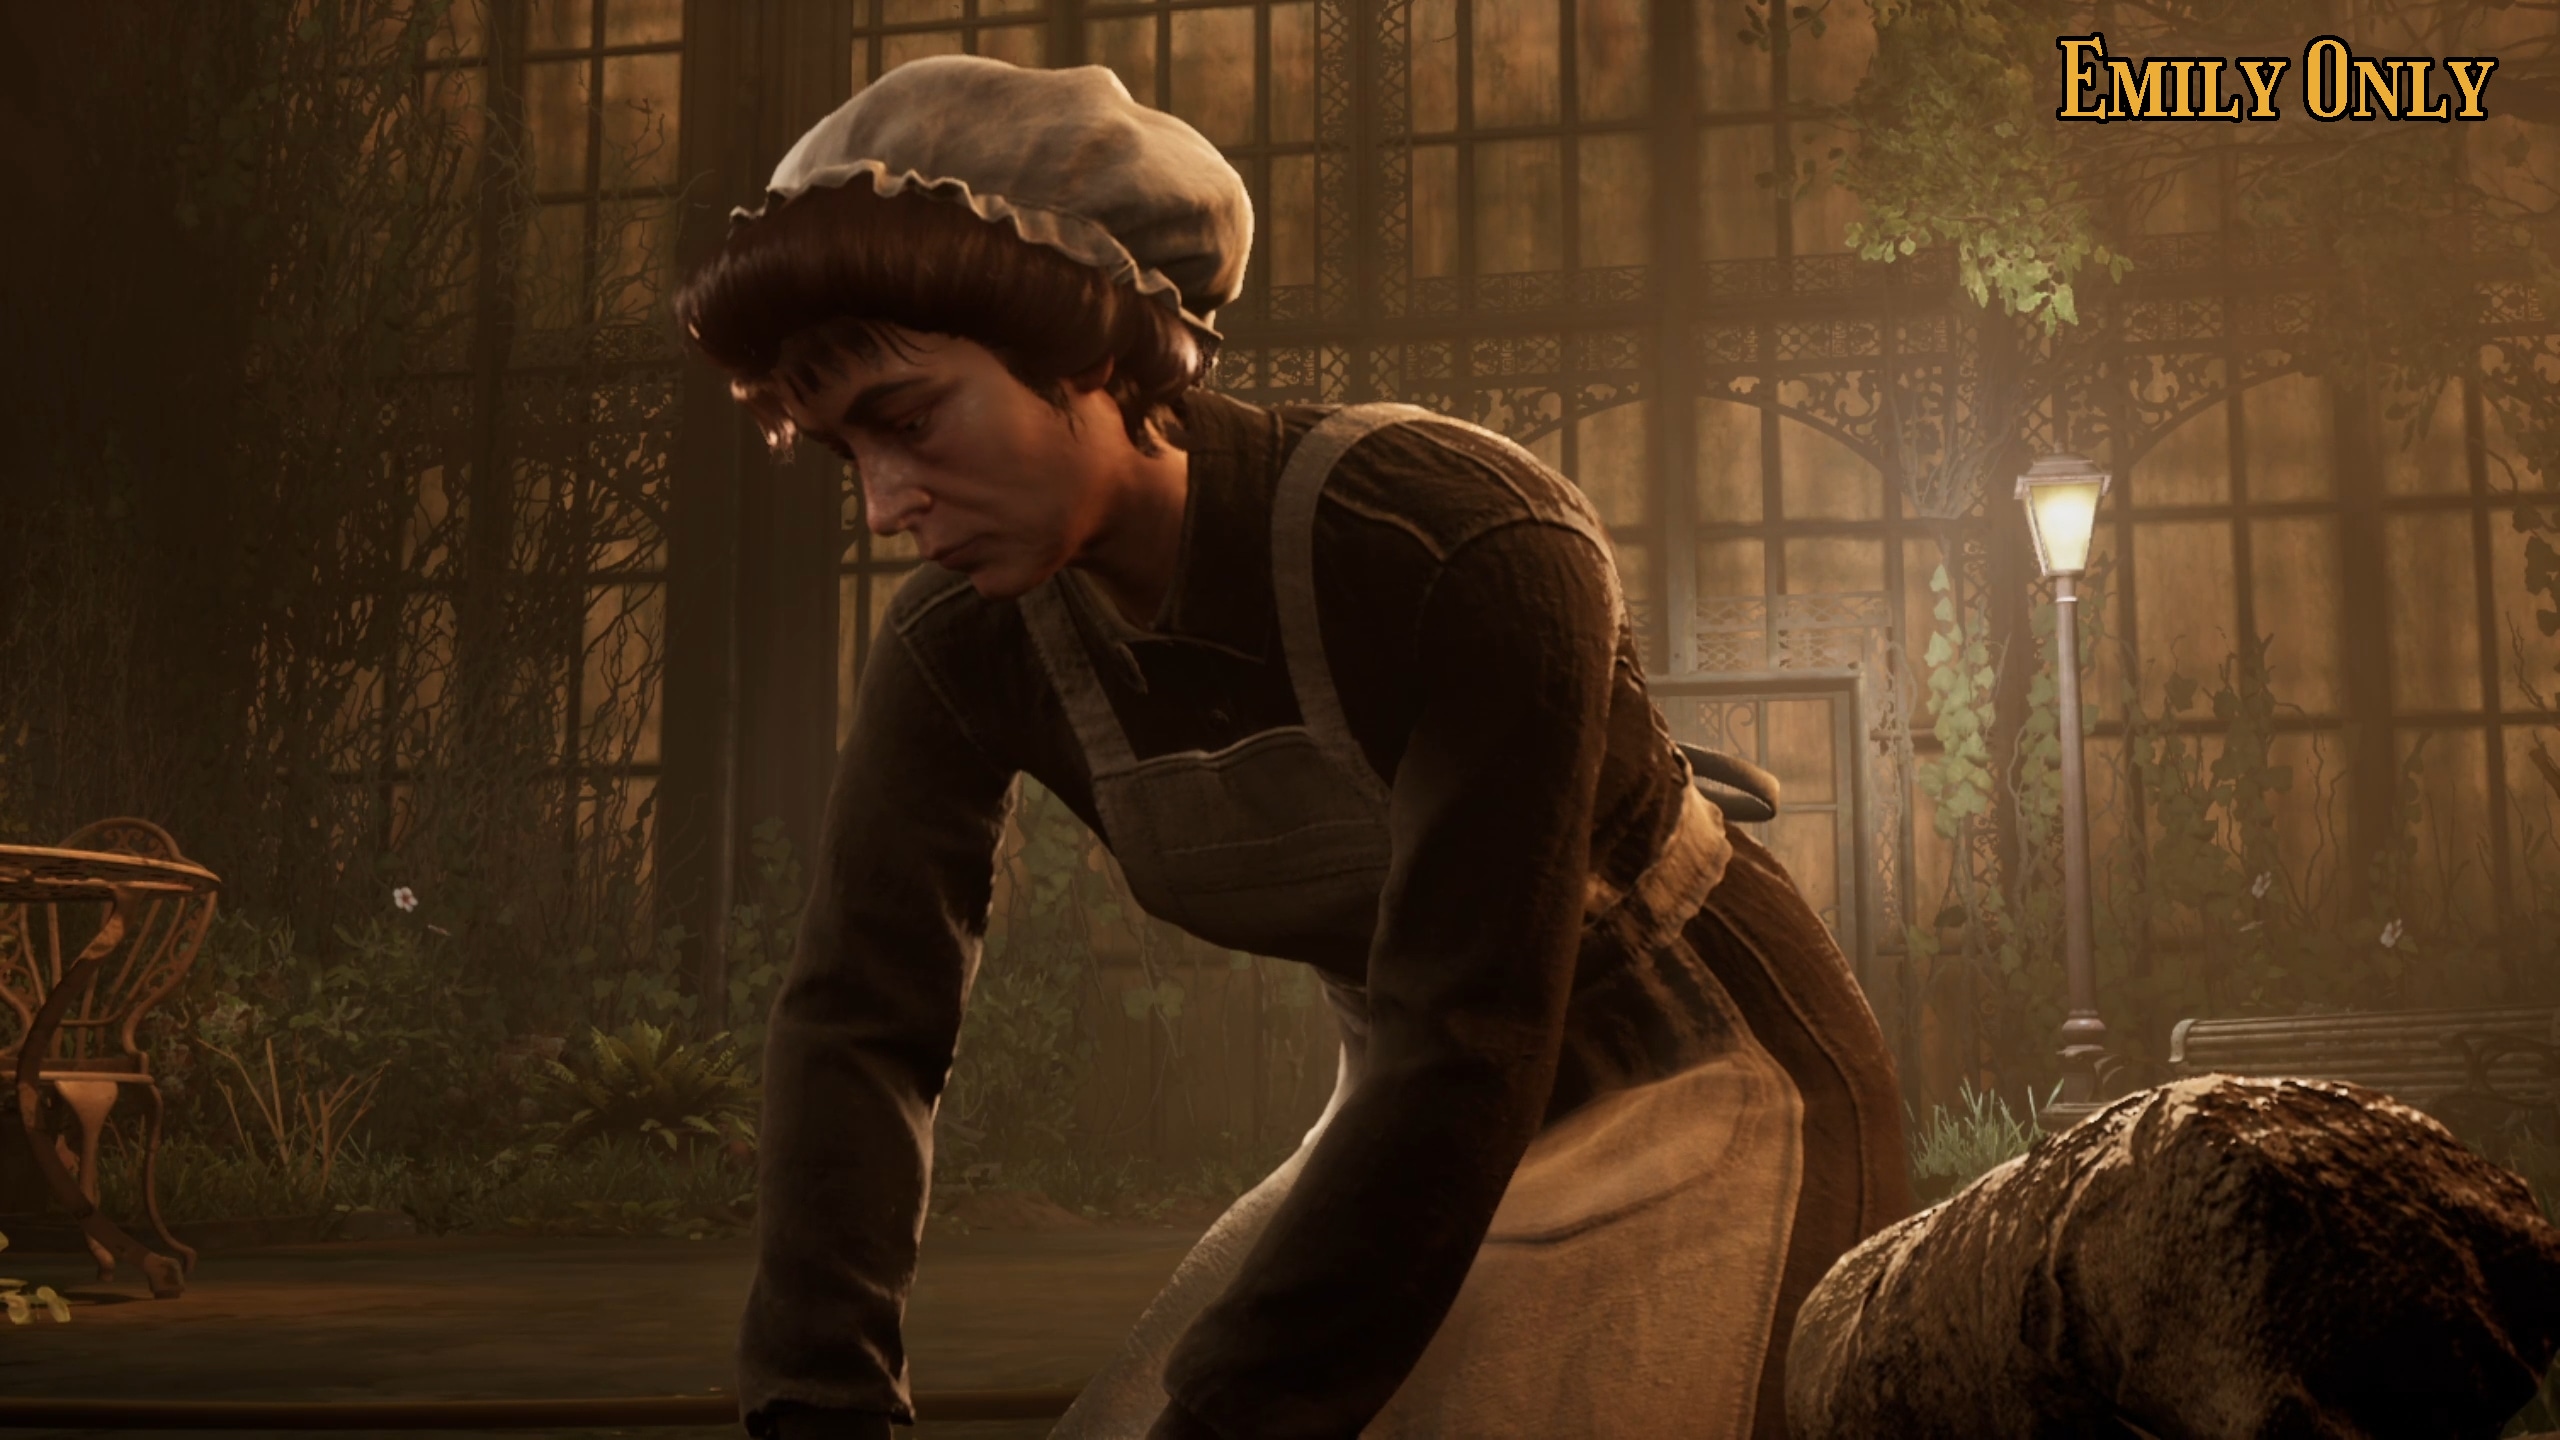
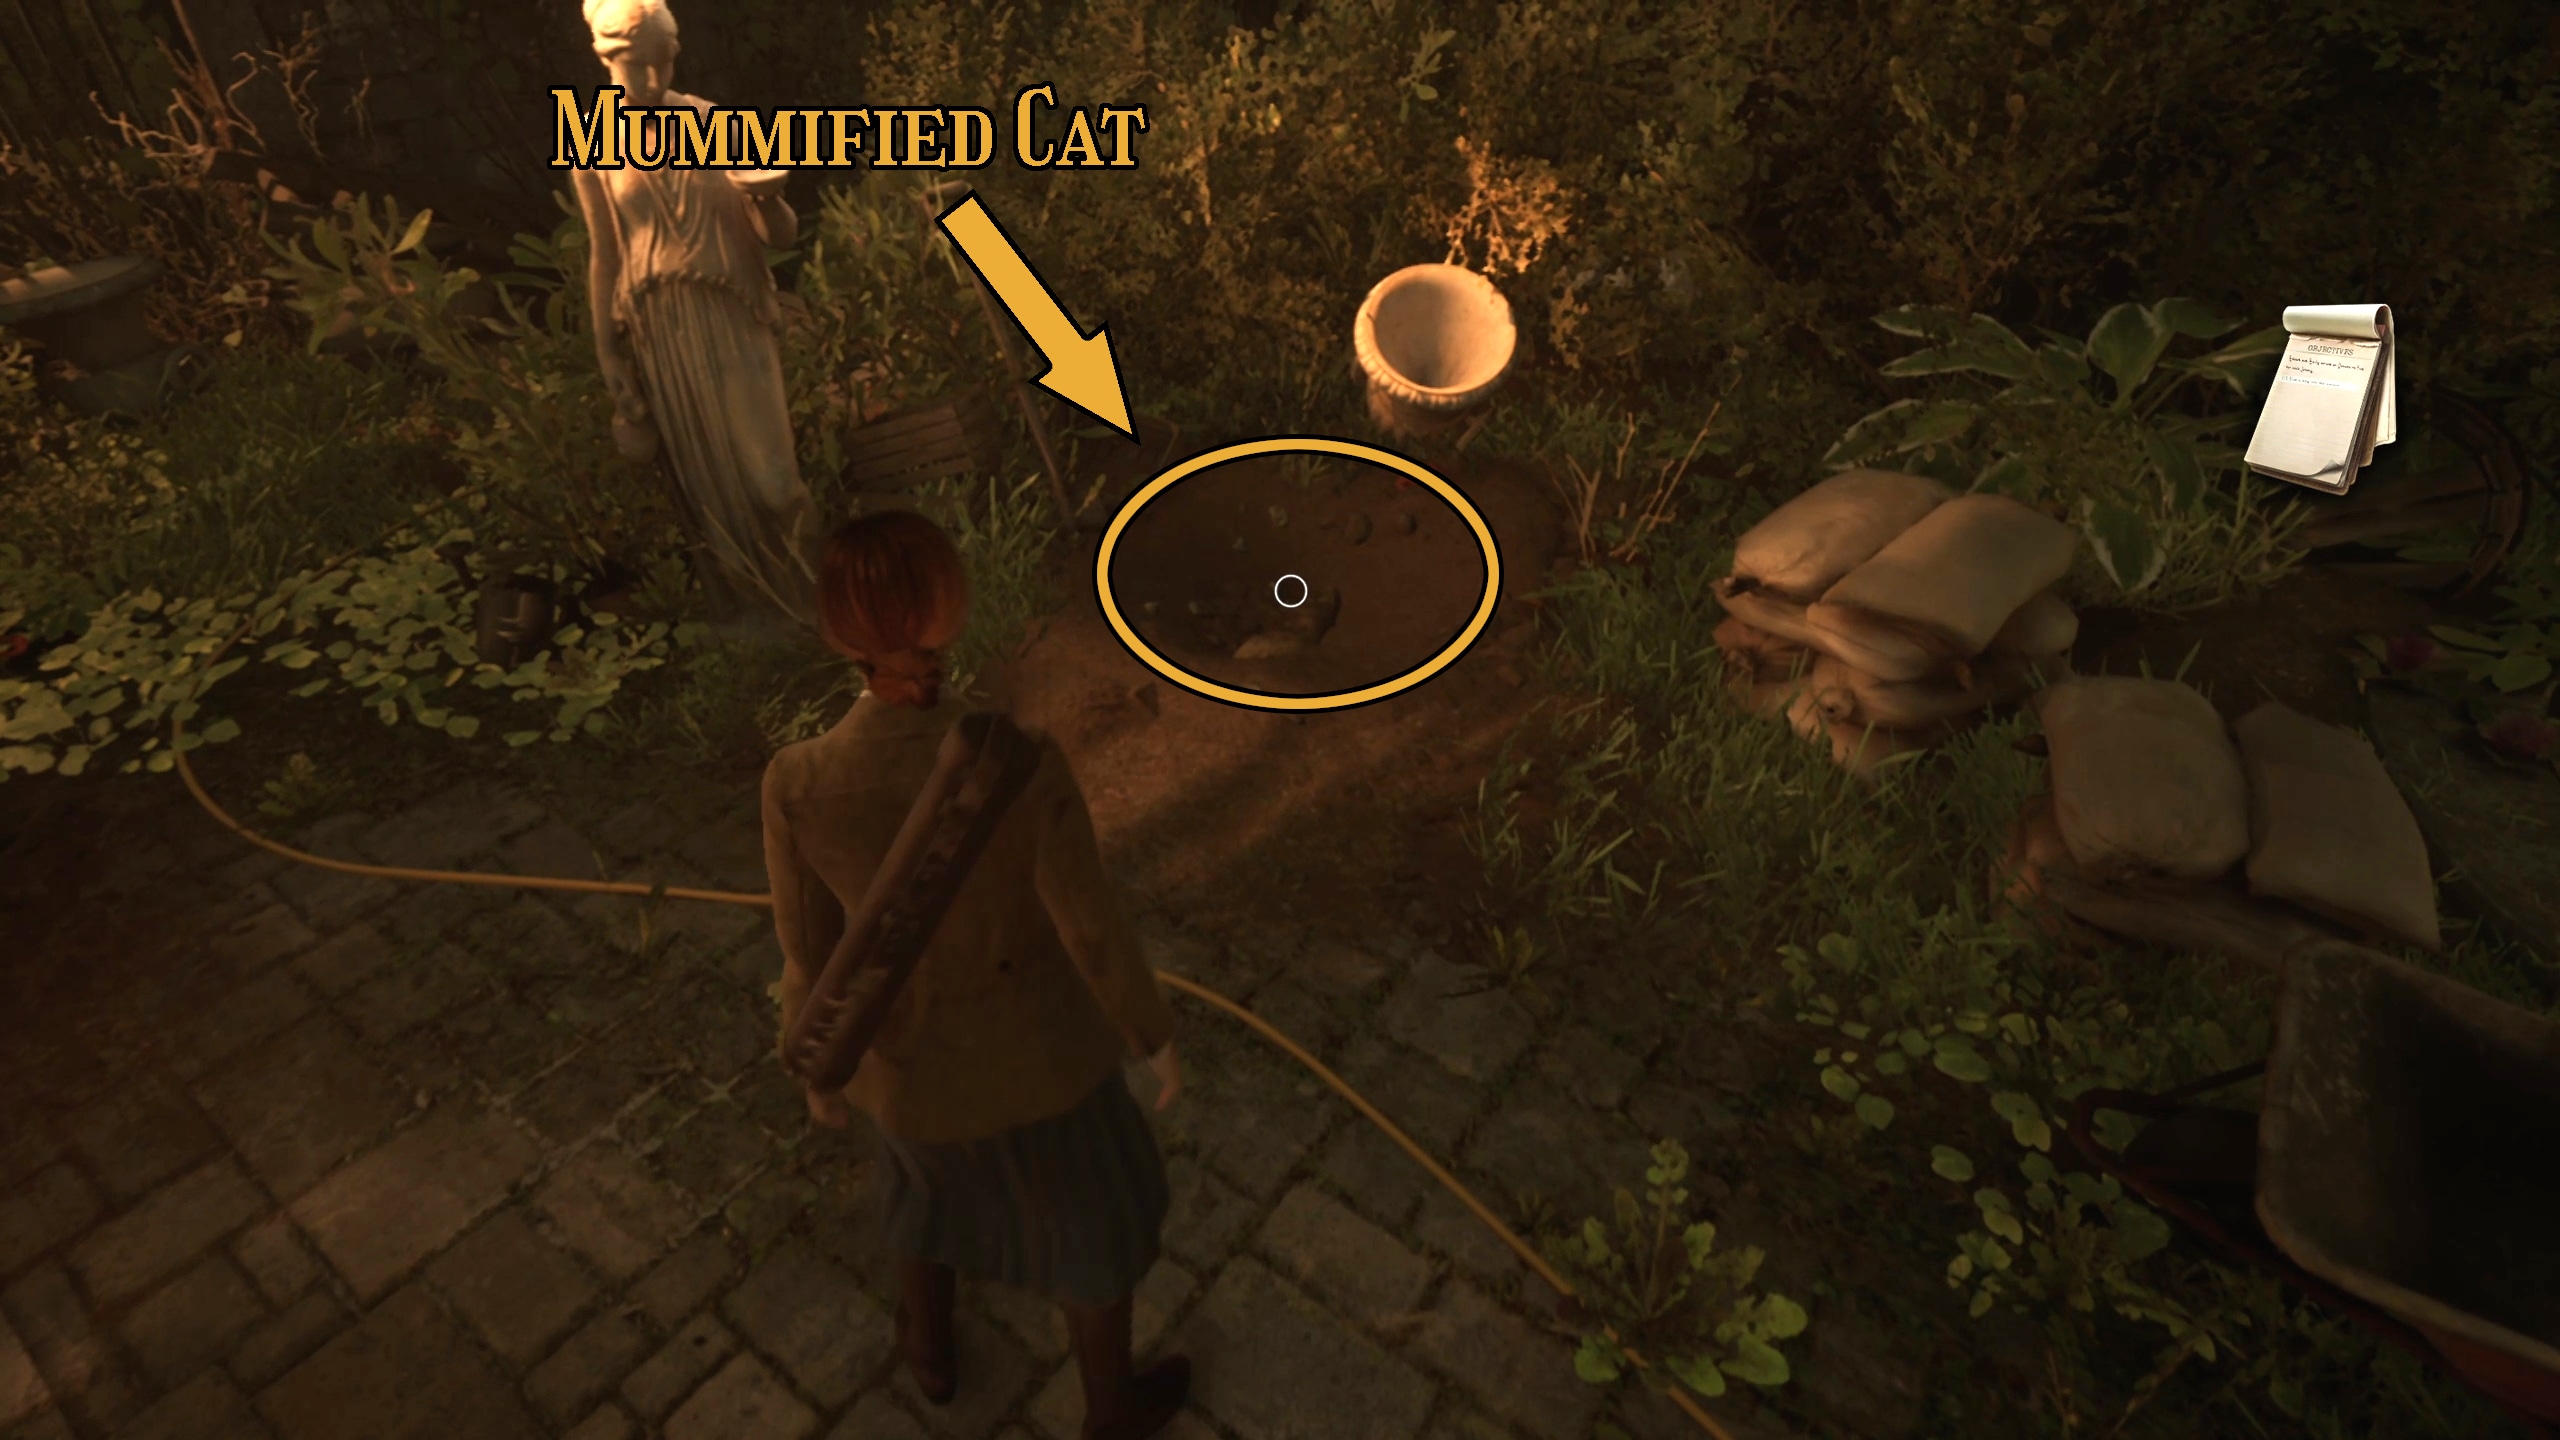
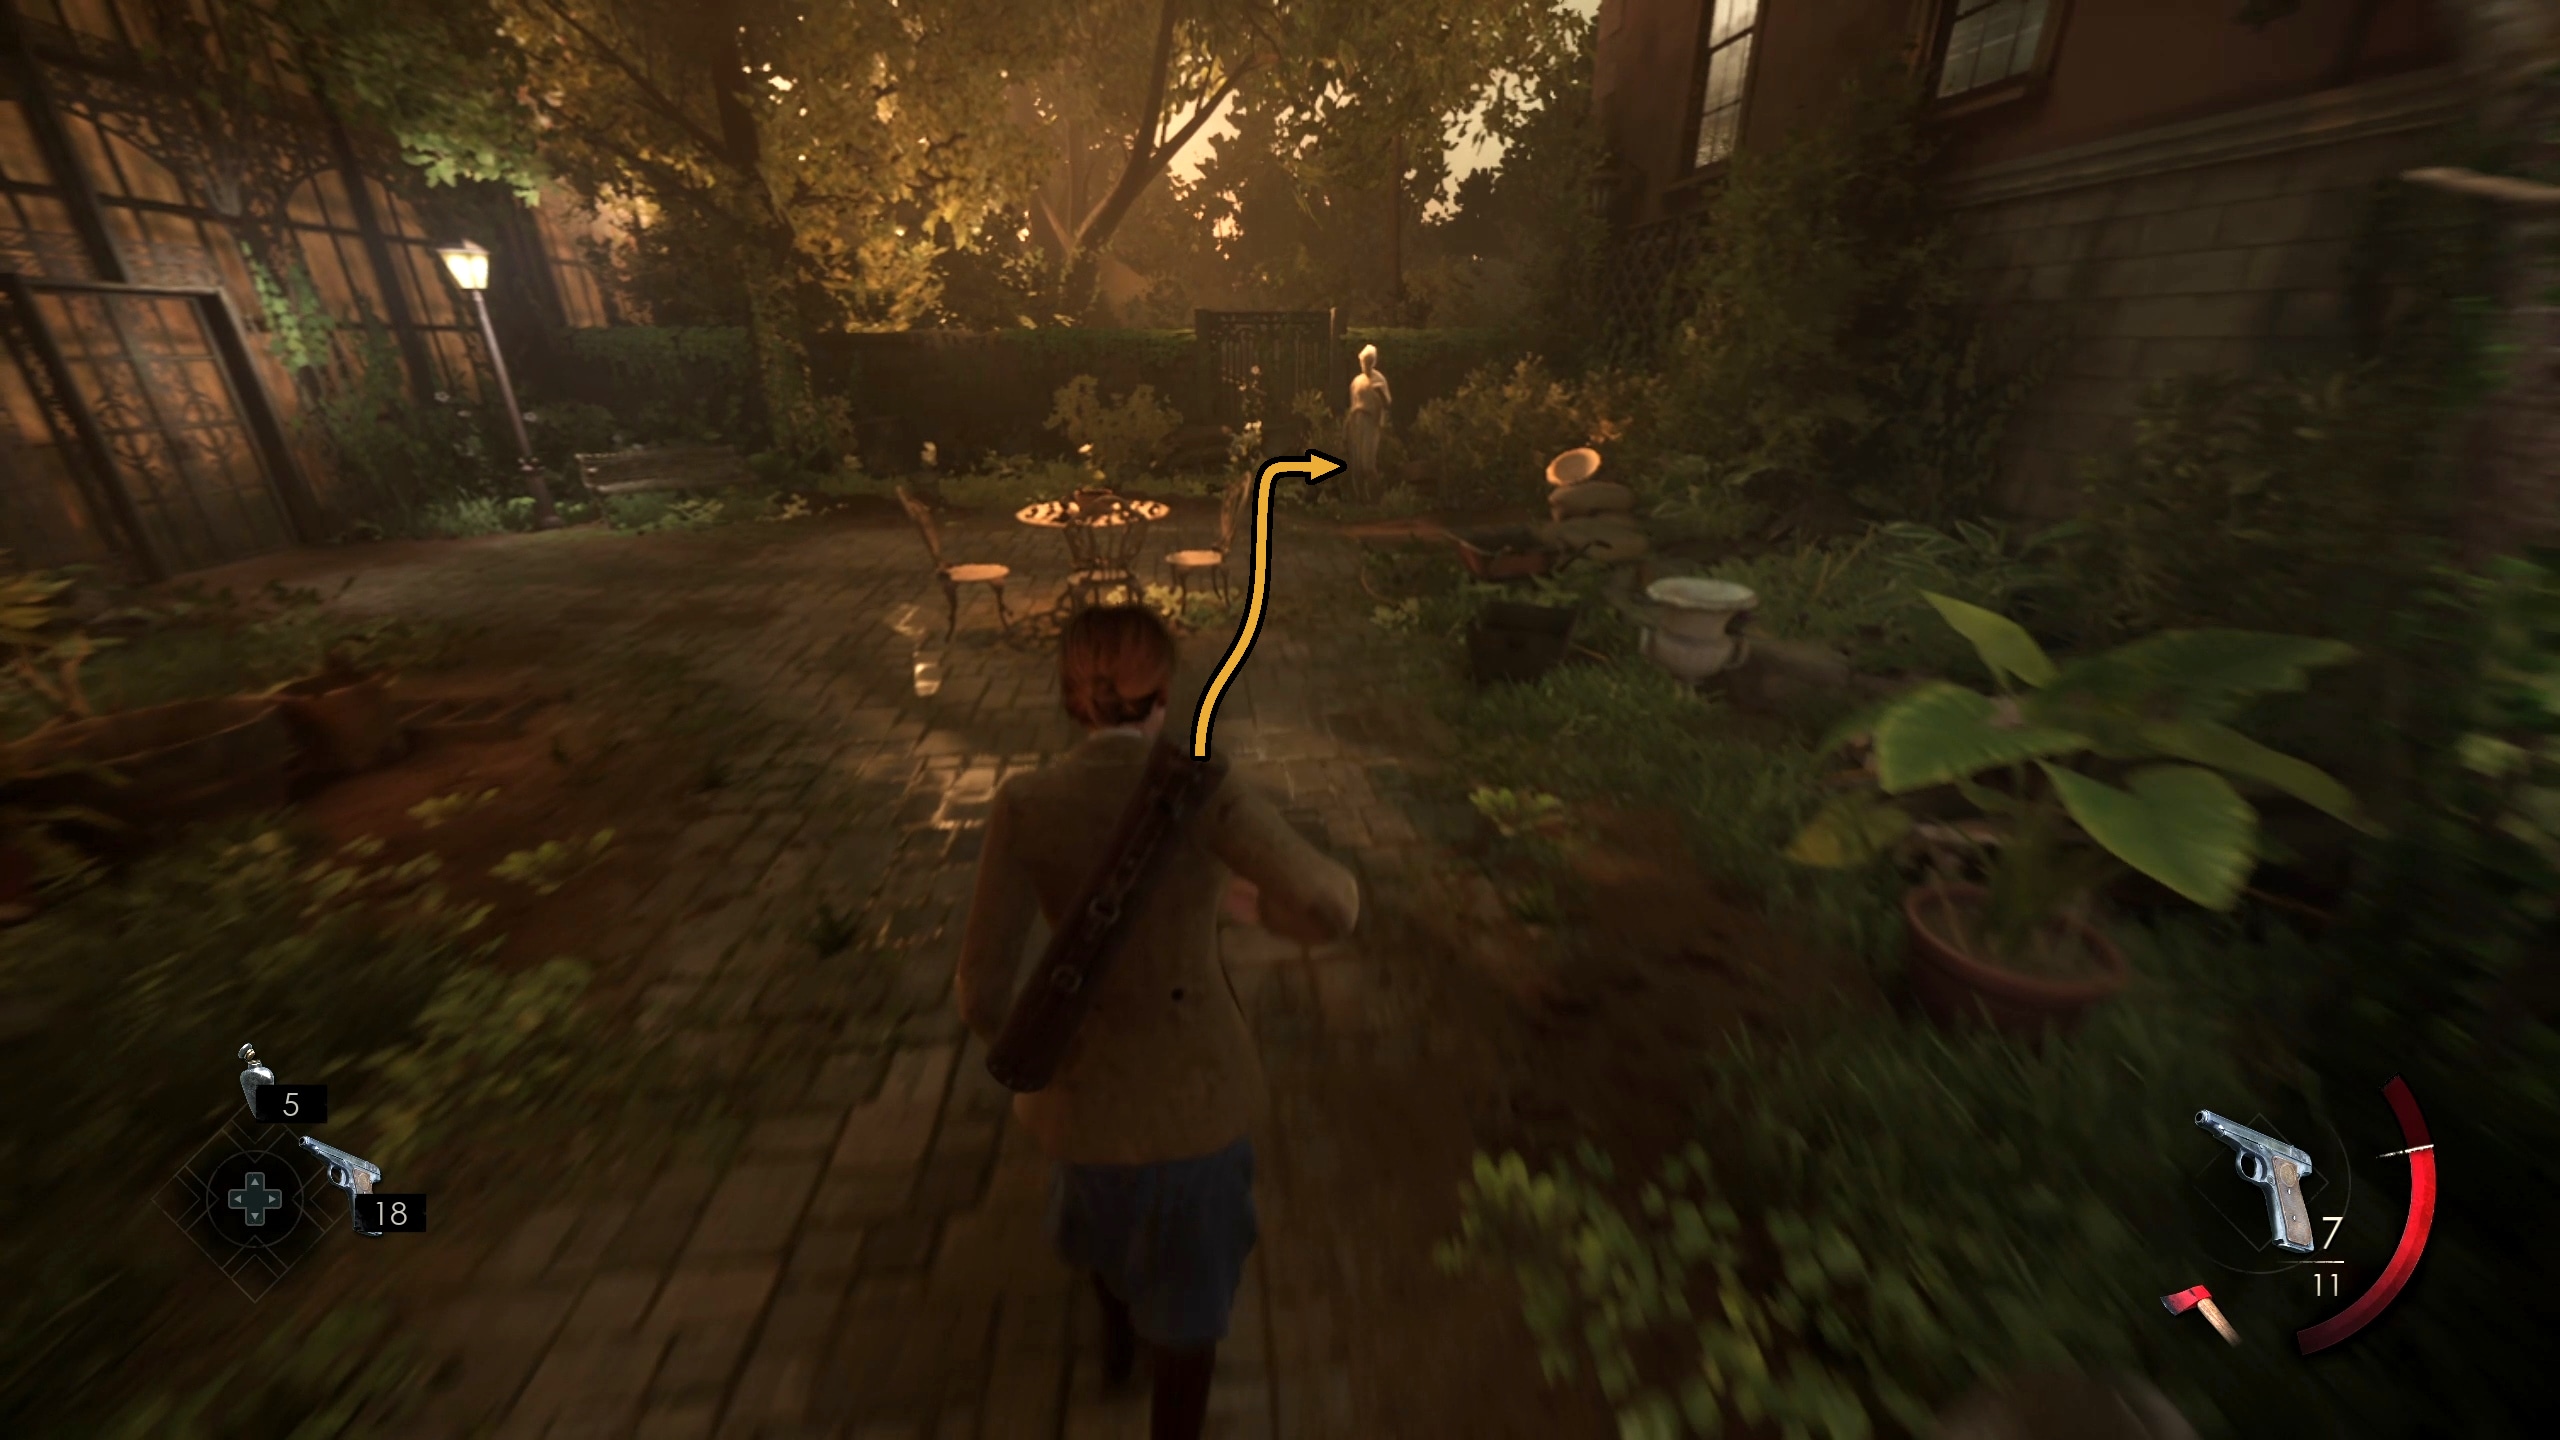
From here, continue down the stairs (Image 14) and go through the exterior door (Image 15). Emily will get a special cutscene with the housekeeper (Image 16), and then be given control in the garden. Where she was digging, and right next to the white statue in front of you, there will be the Mummified Cat Lagniappe (Image 17).
Image 14Image 15Image 16Image 17
Water Bucket Puzzle
Next, you will need to complete the Water Bucket Puzzle in order to retrieve a broken plate, which wile be required for a later puzzle.
If only you could fill the hole that the bucket is in with water… But you’d need a few things for that.
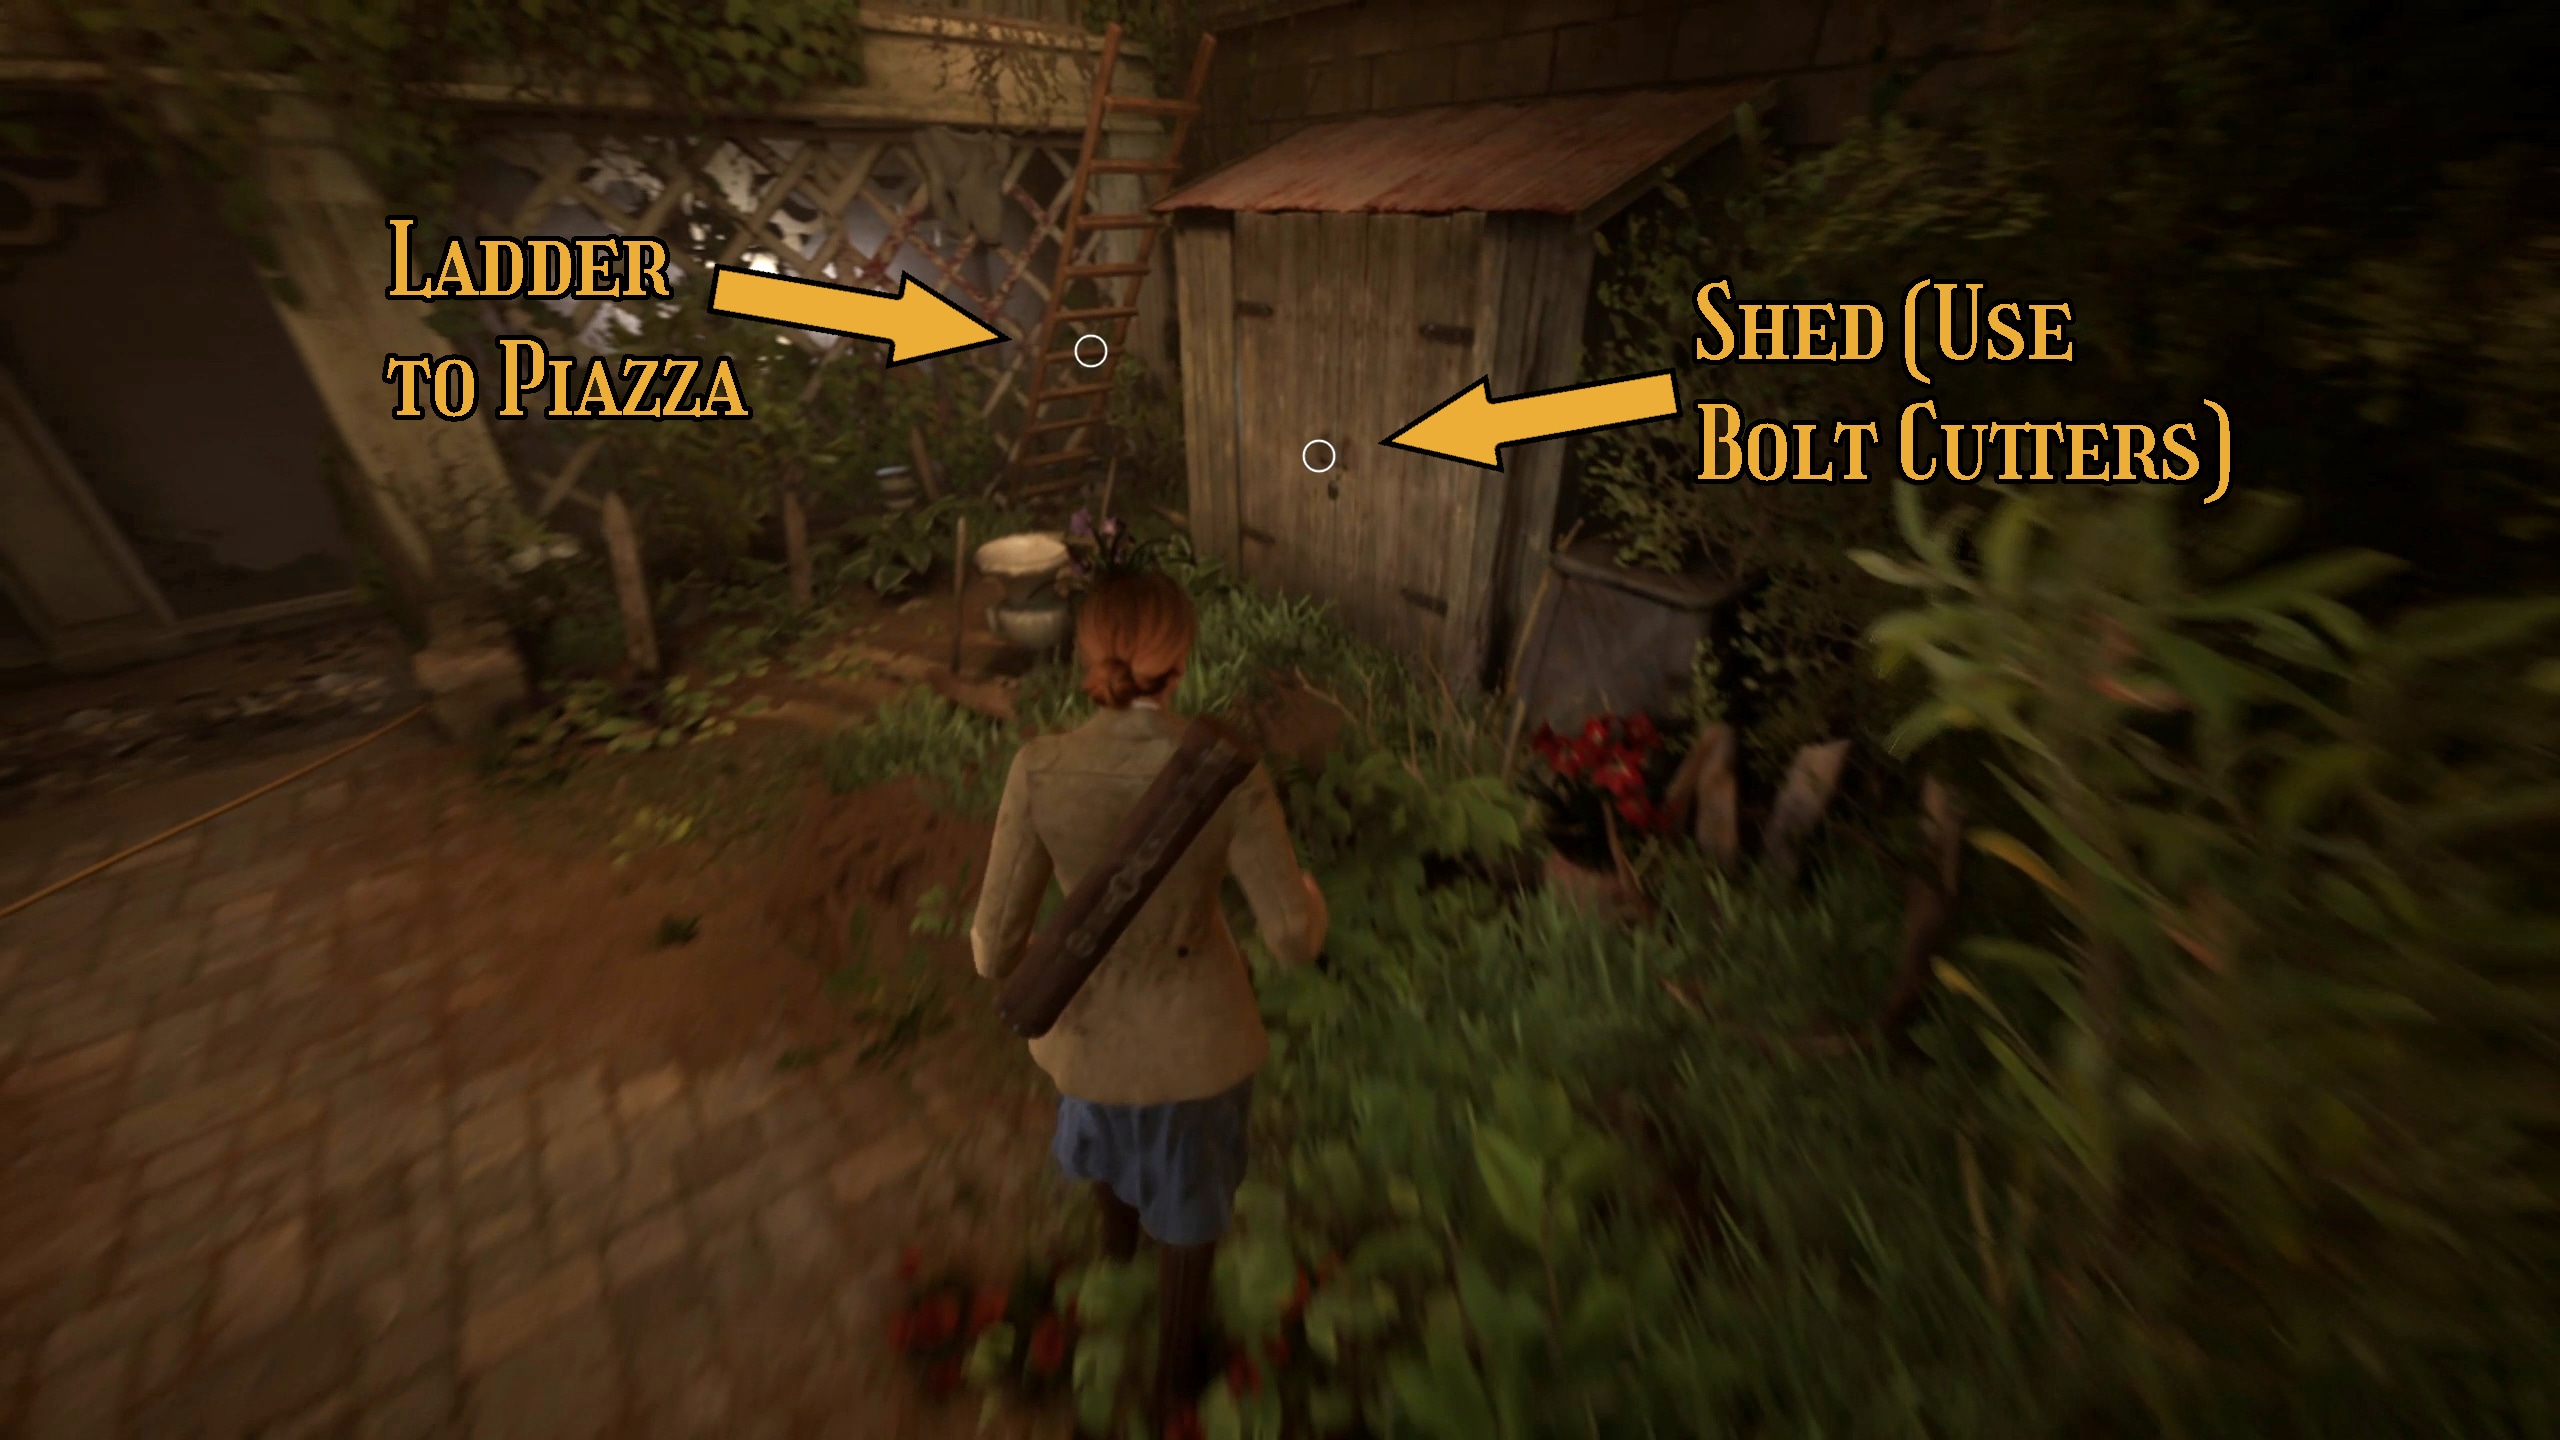
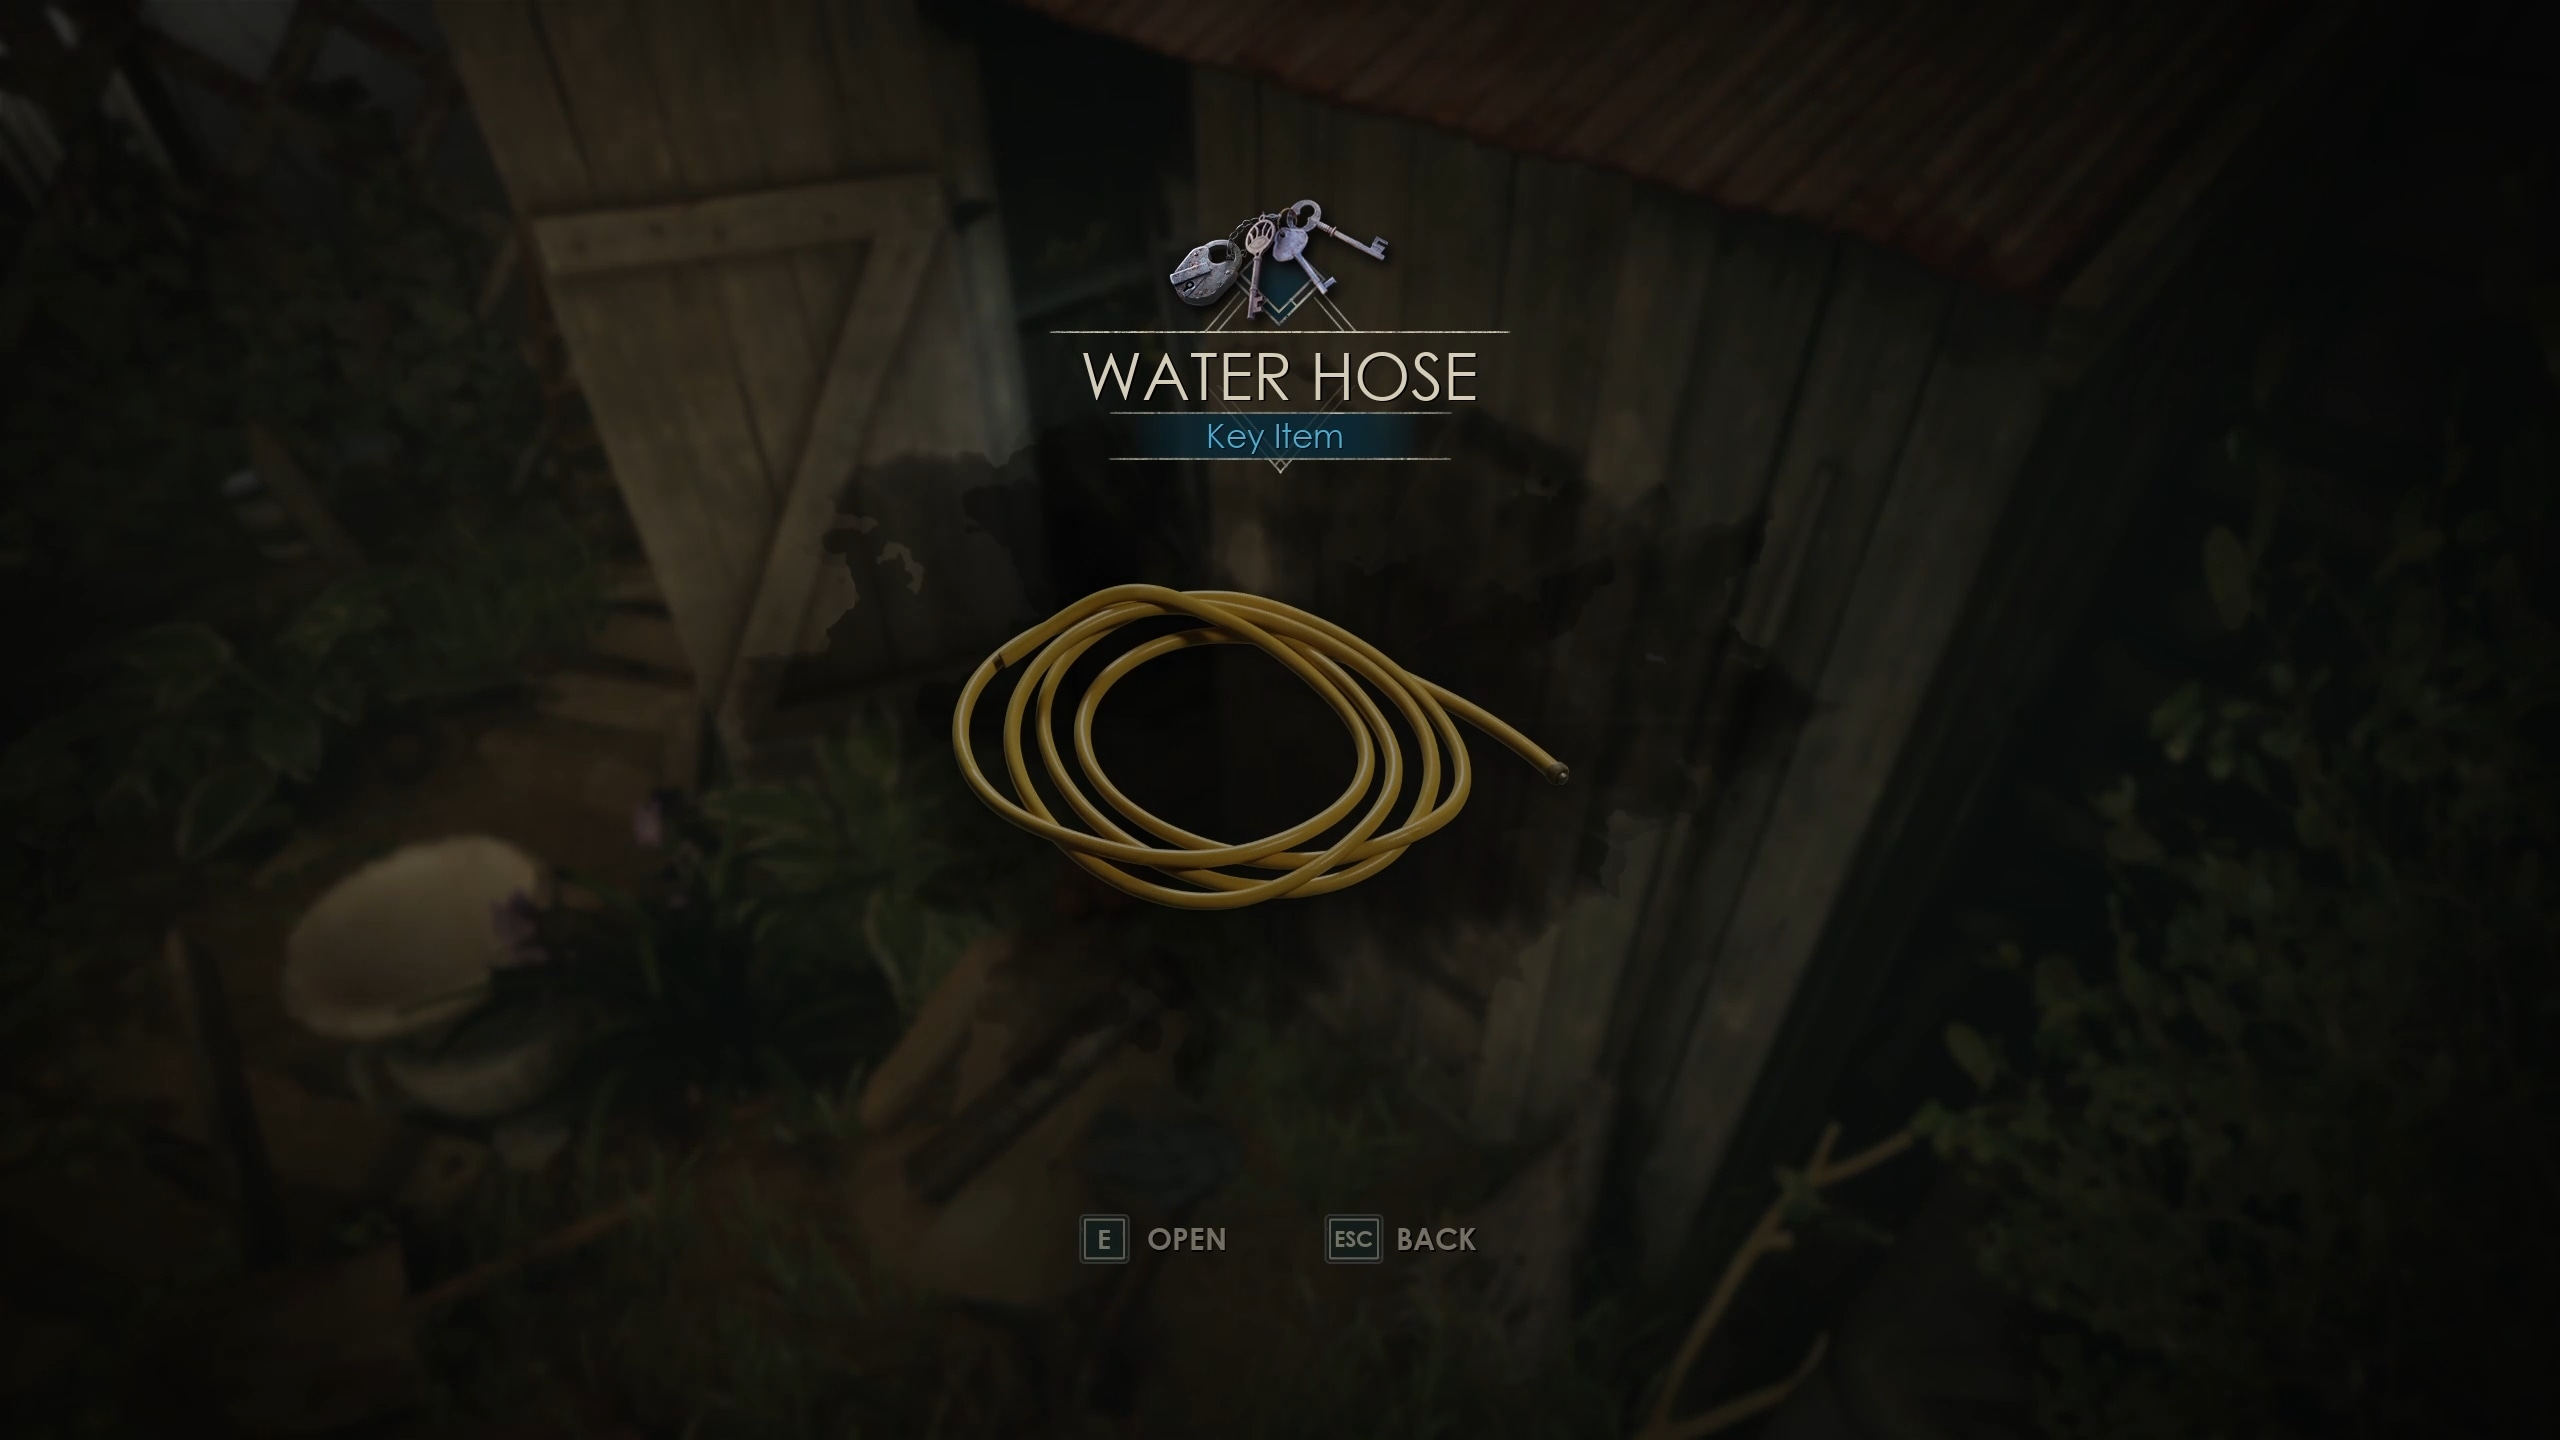
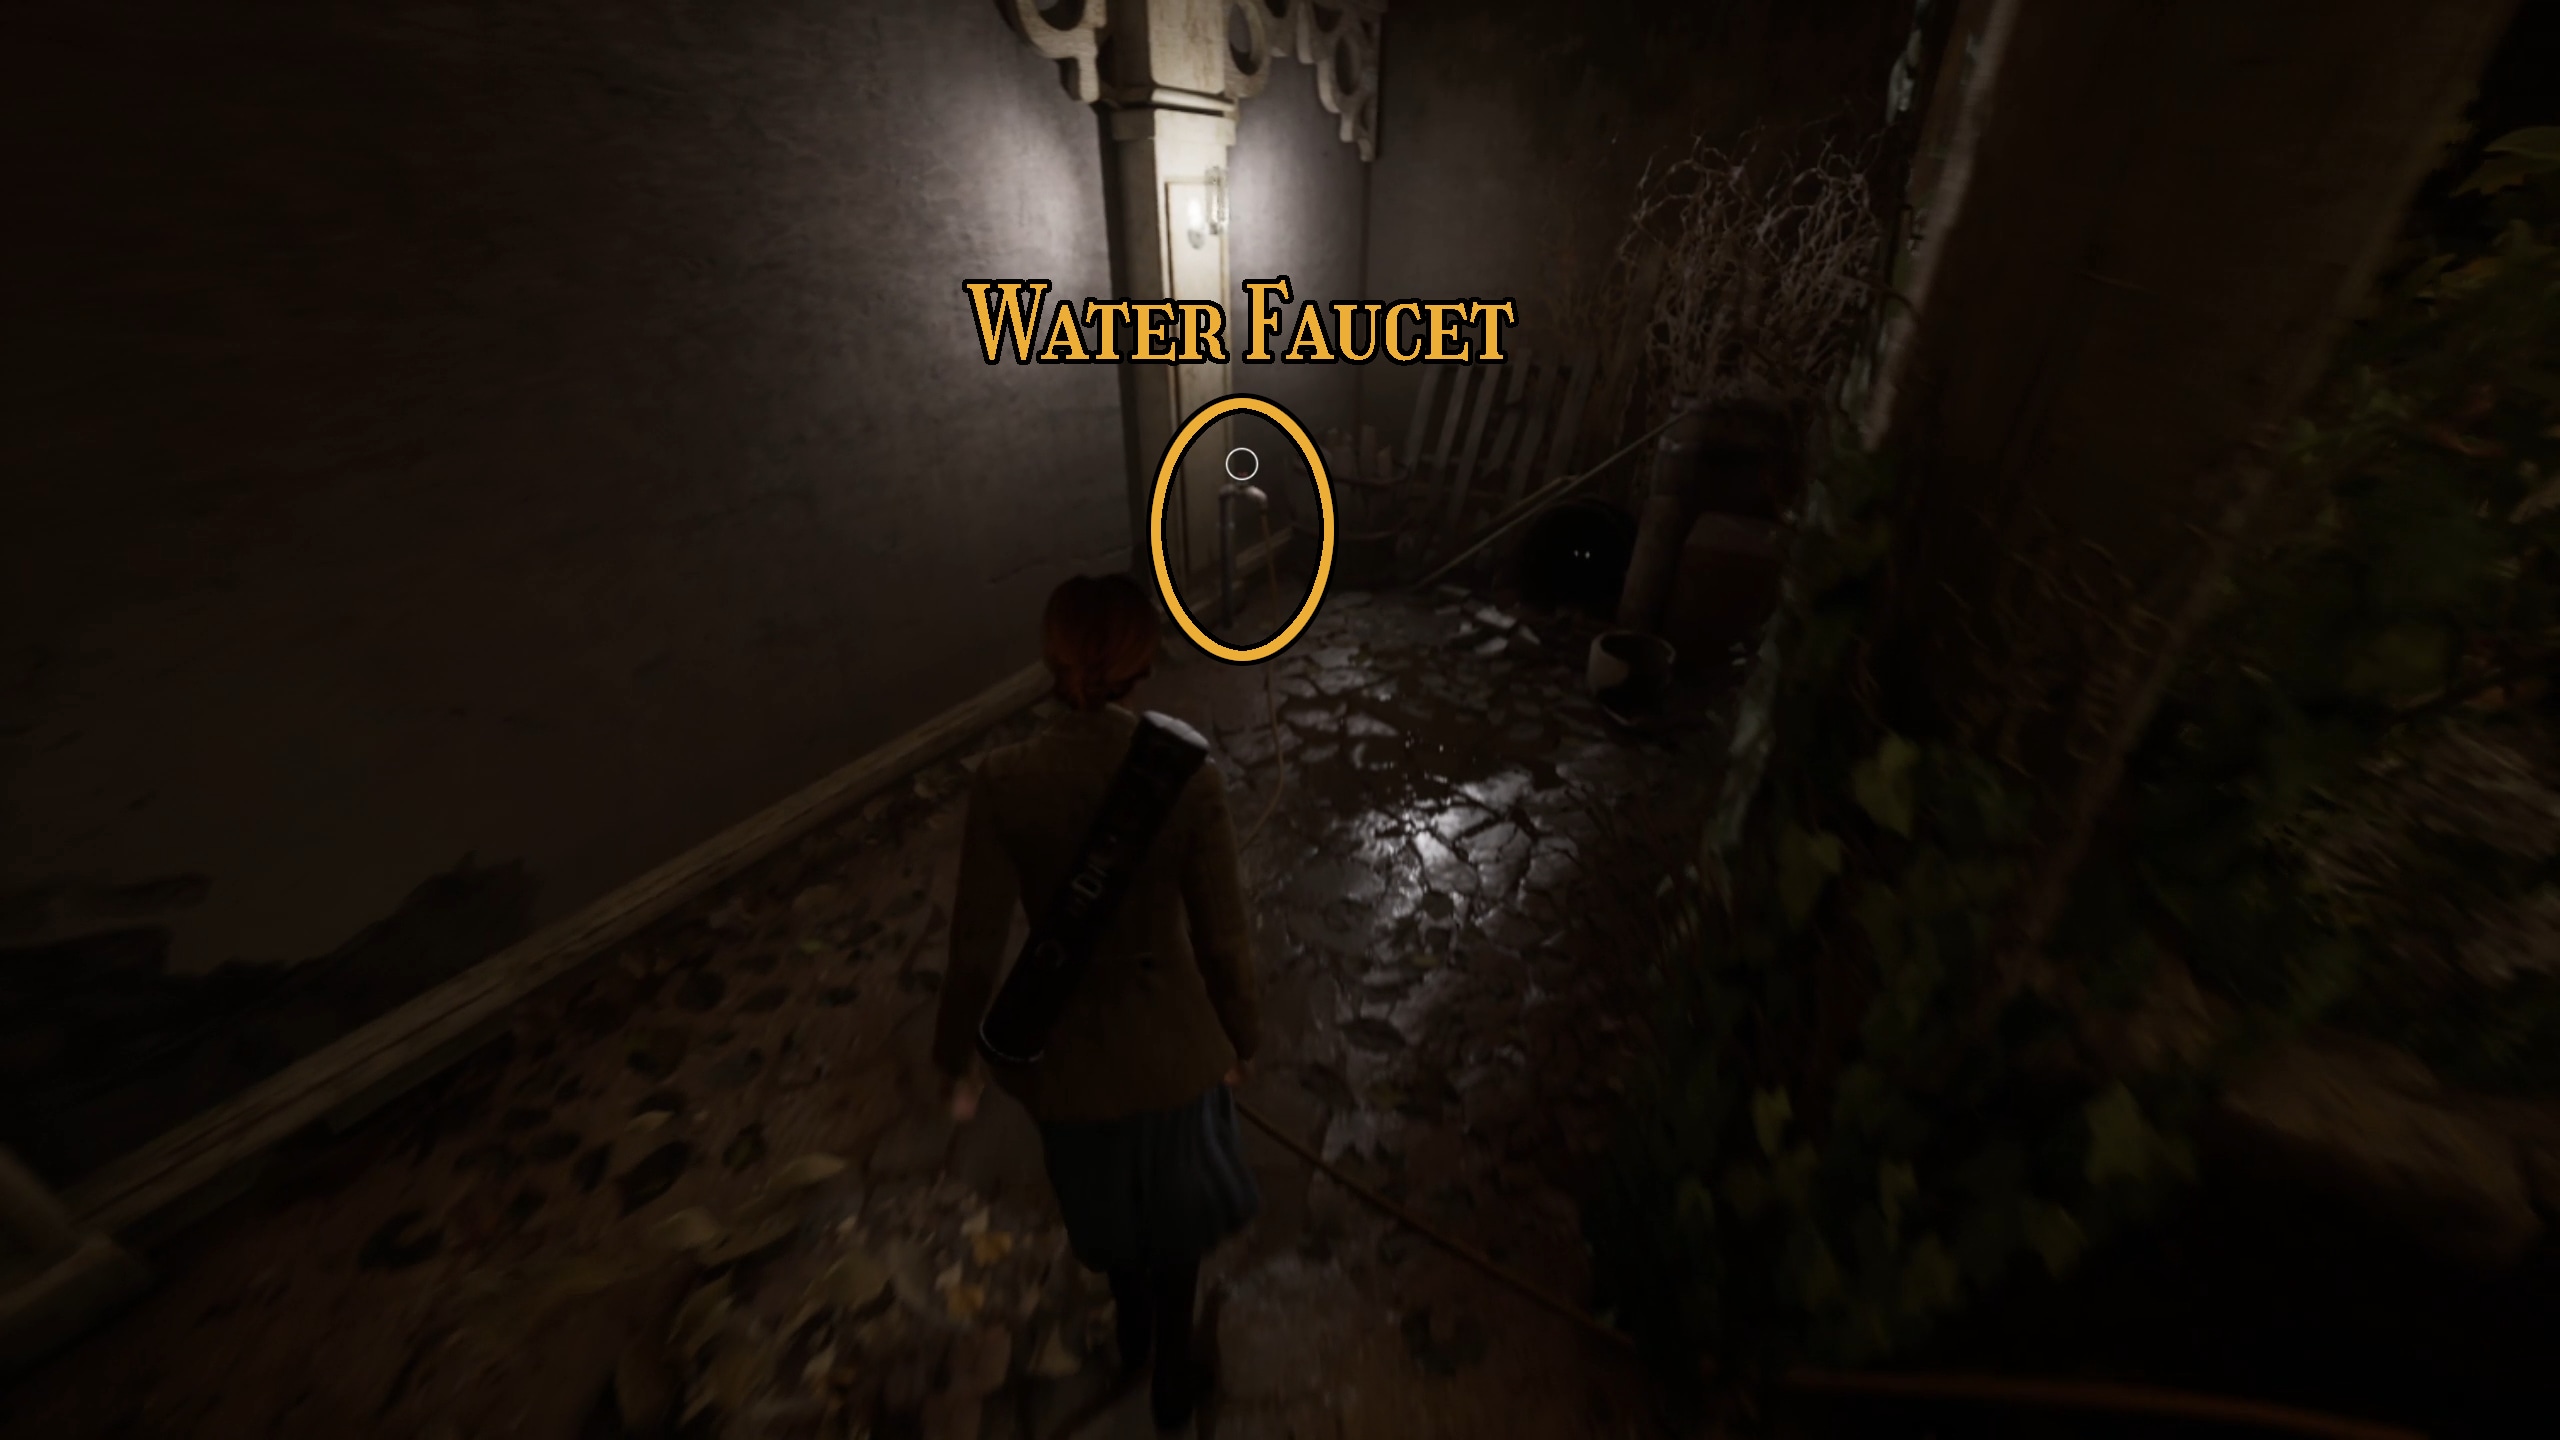
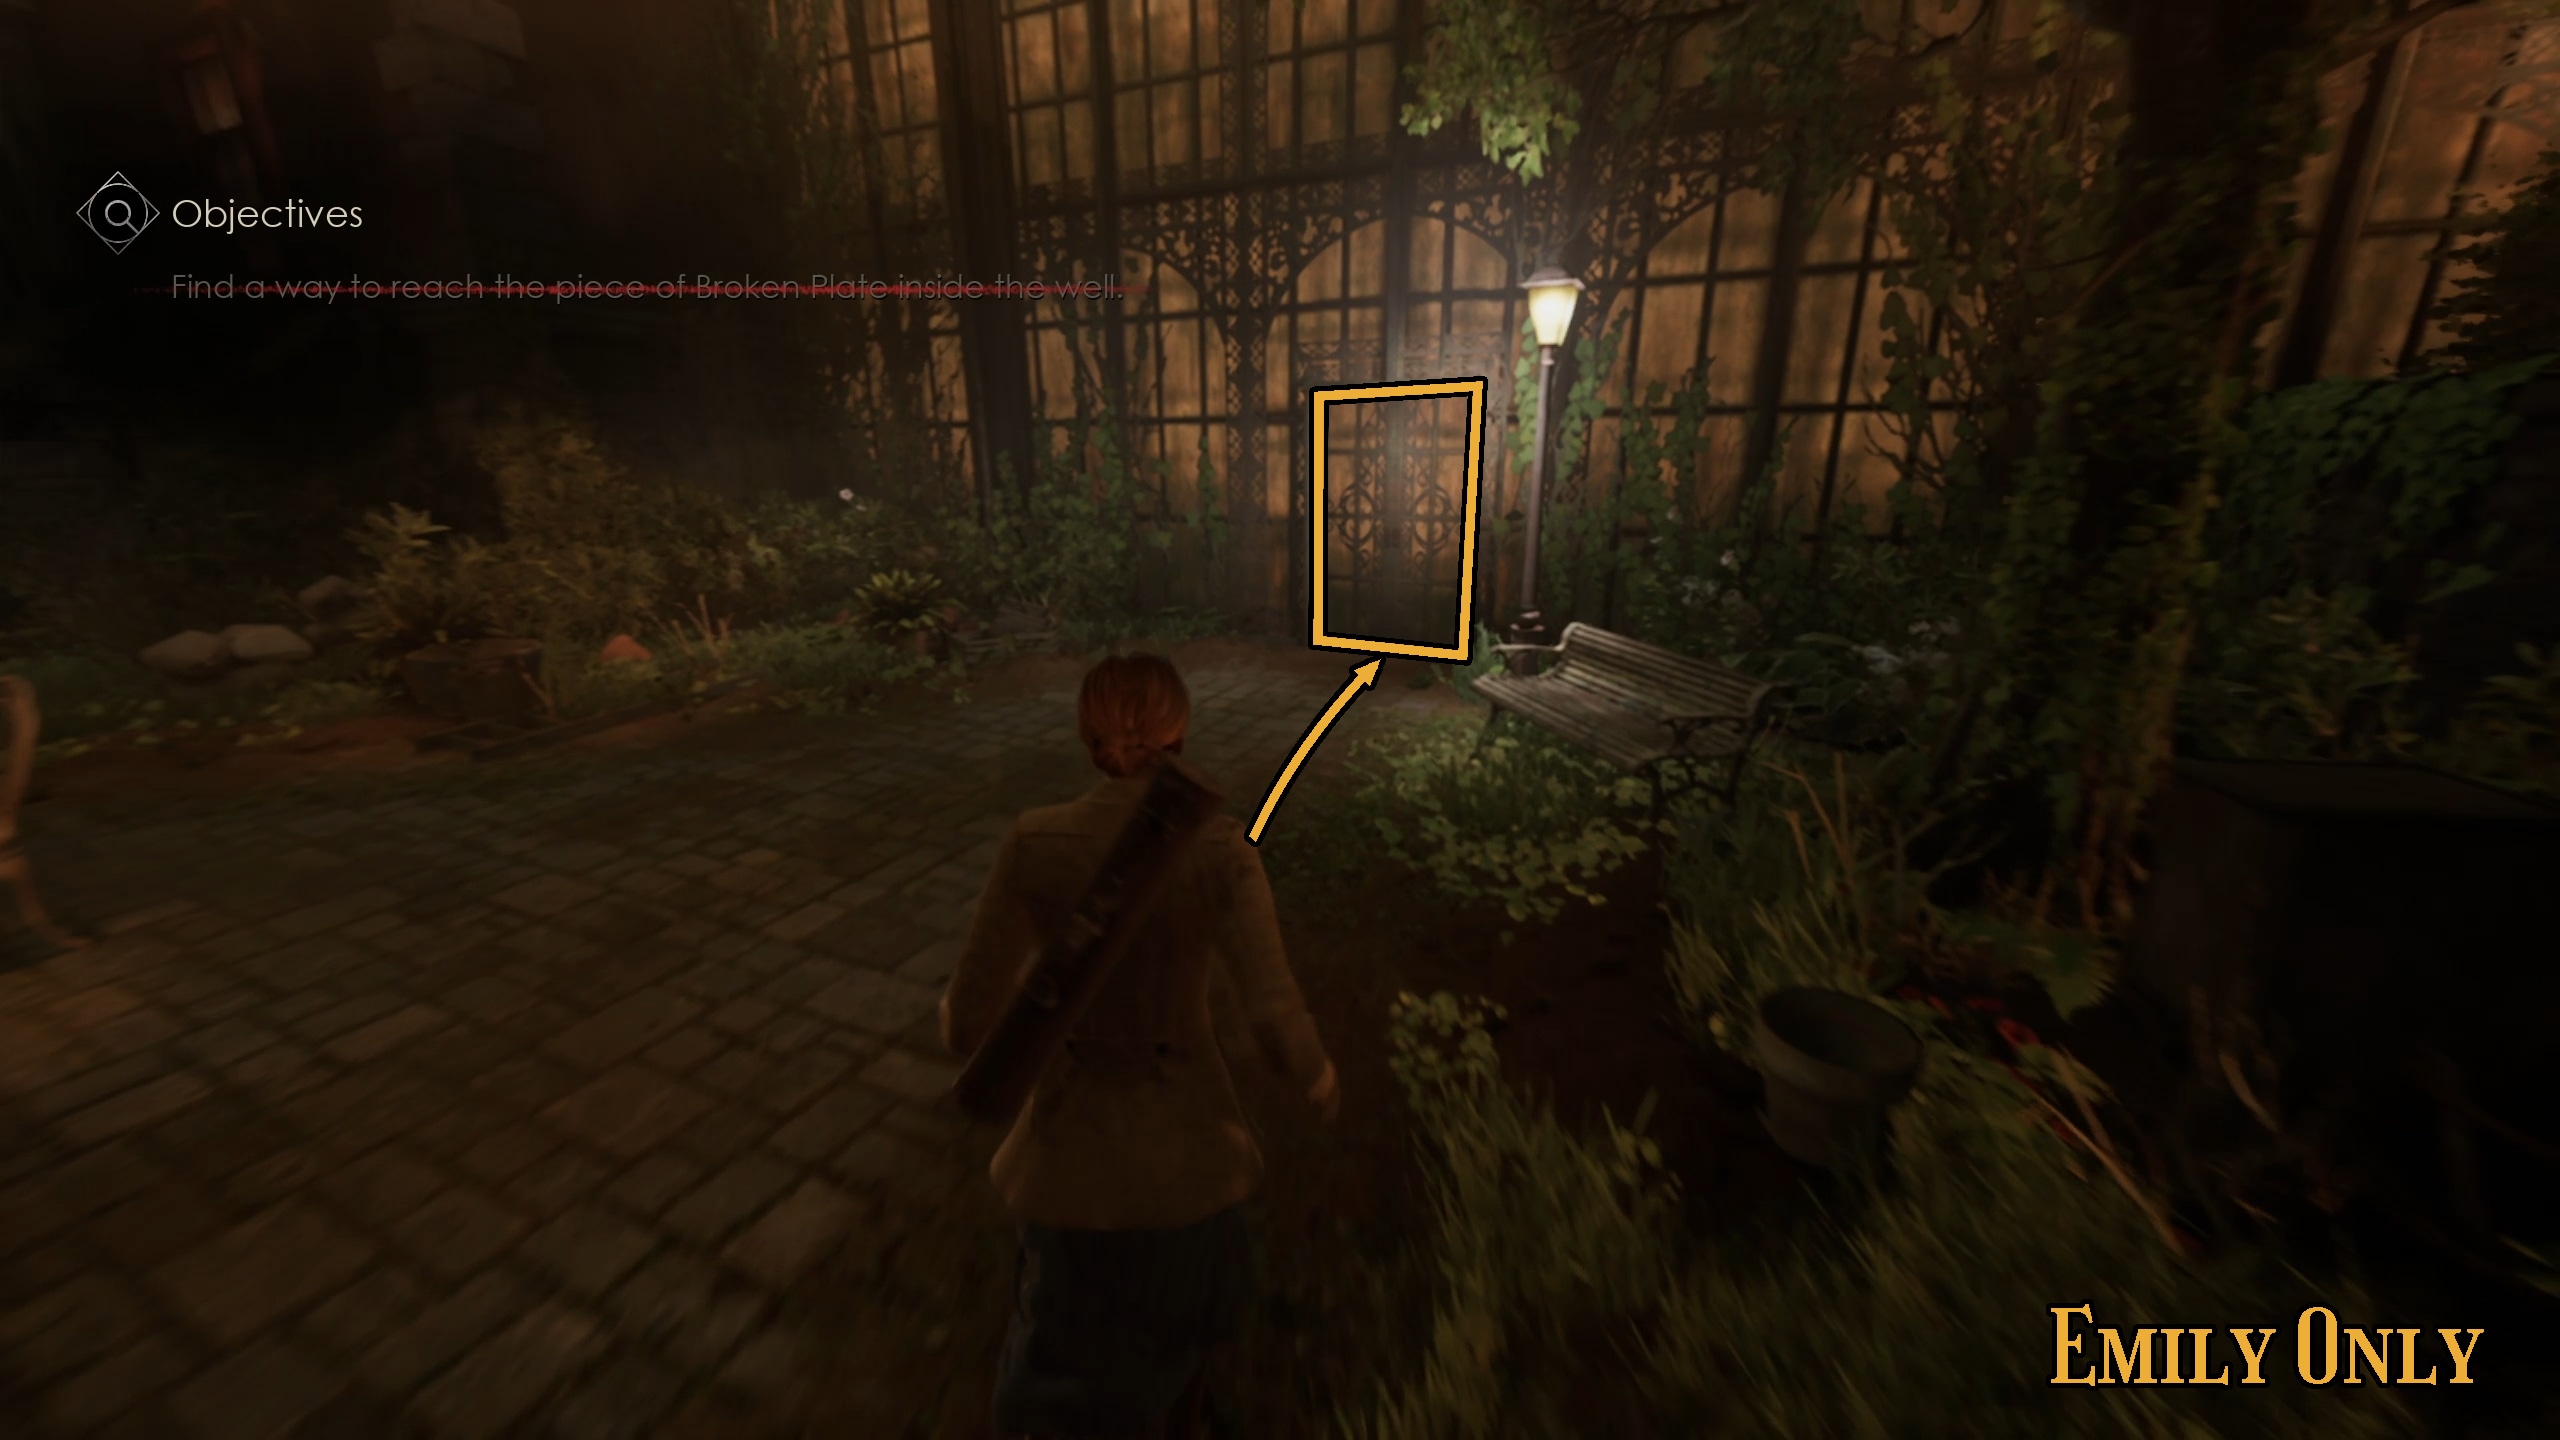
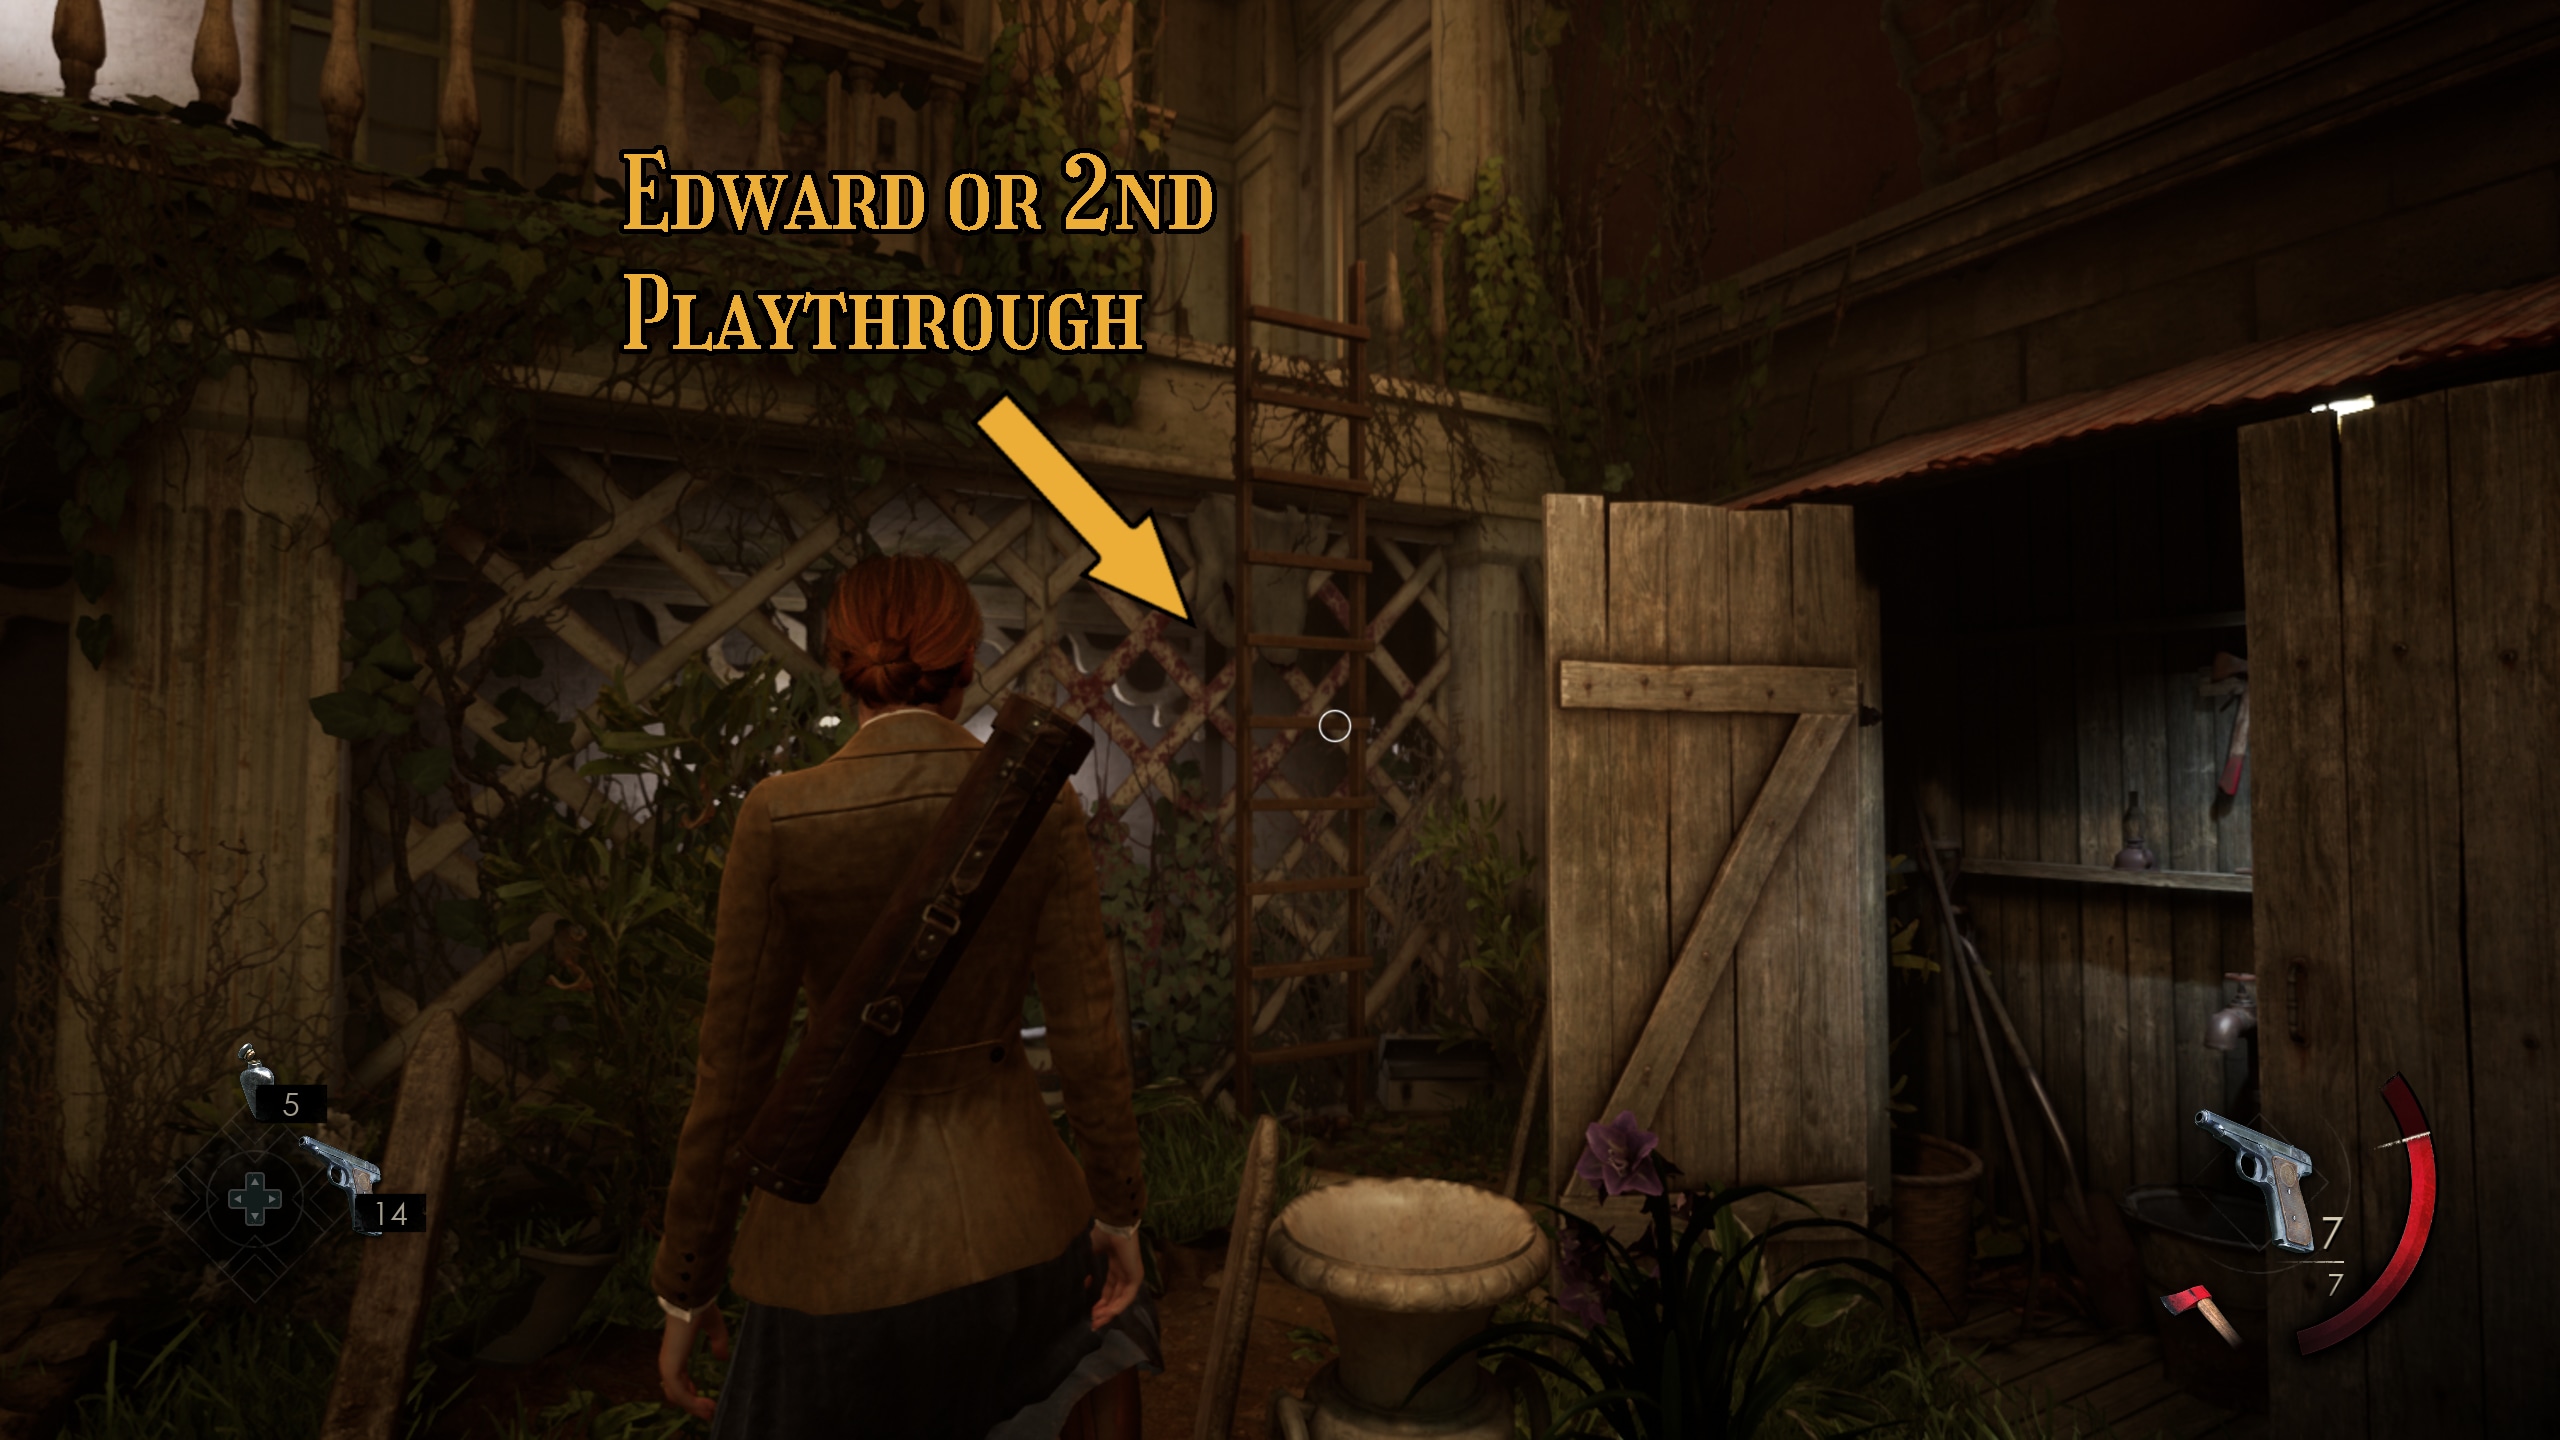
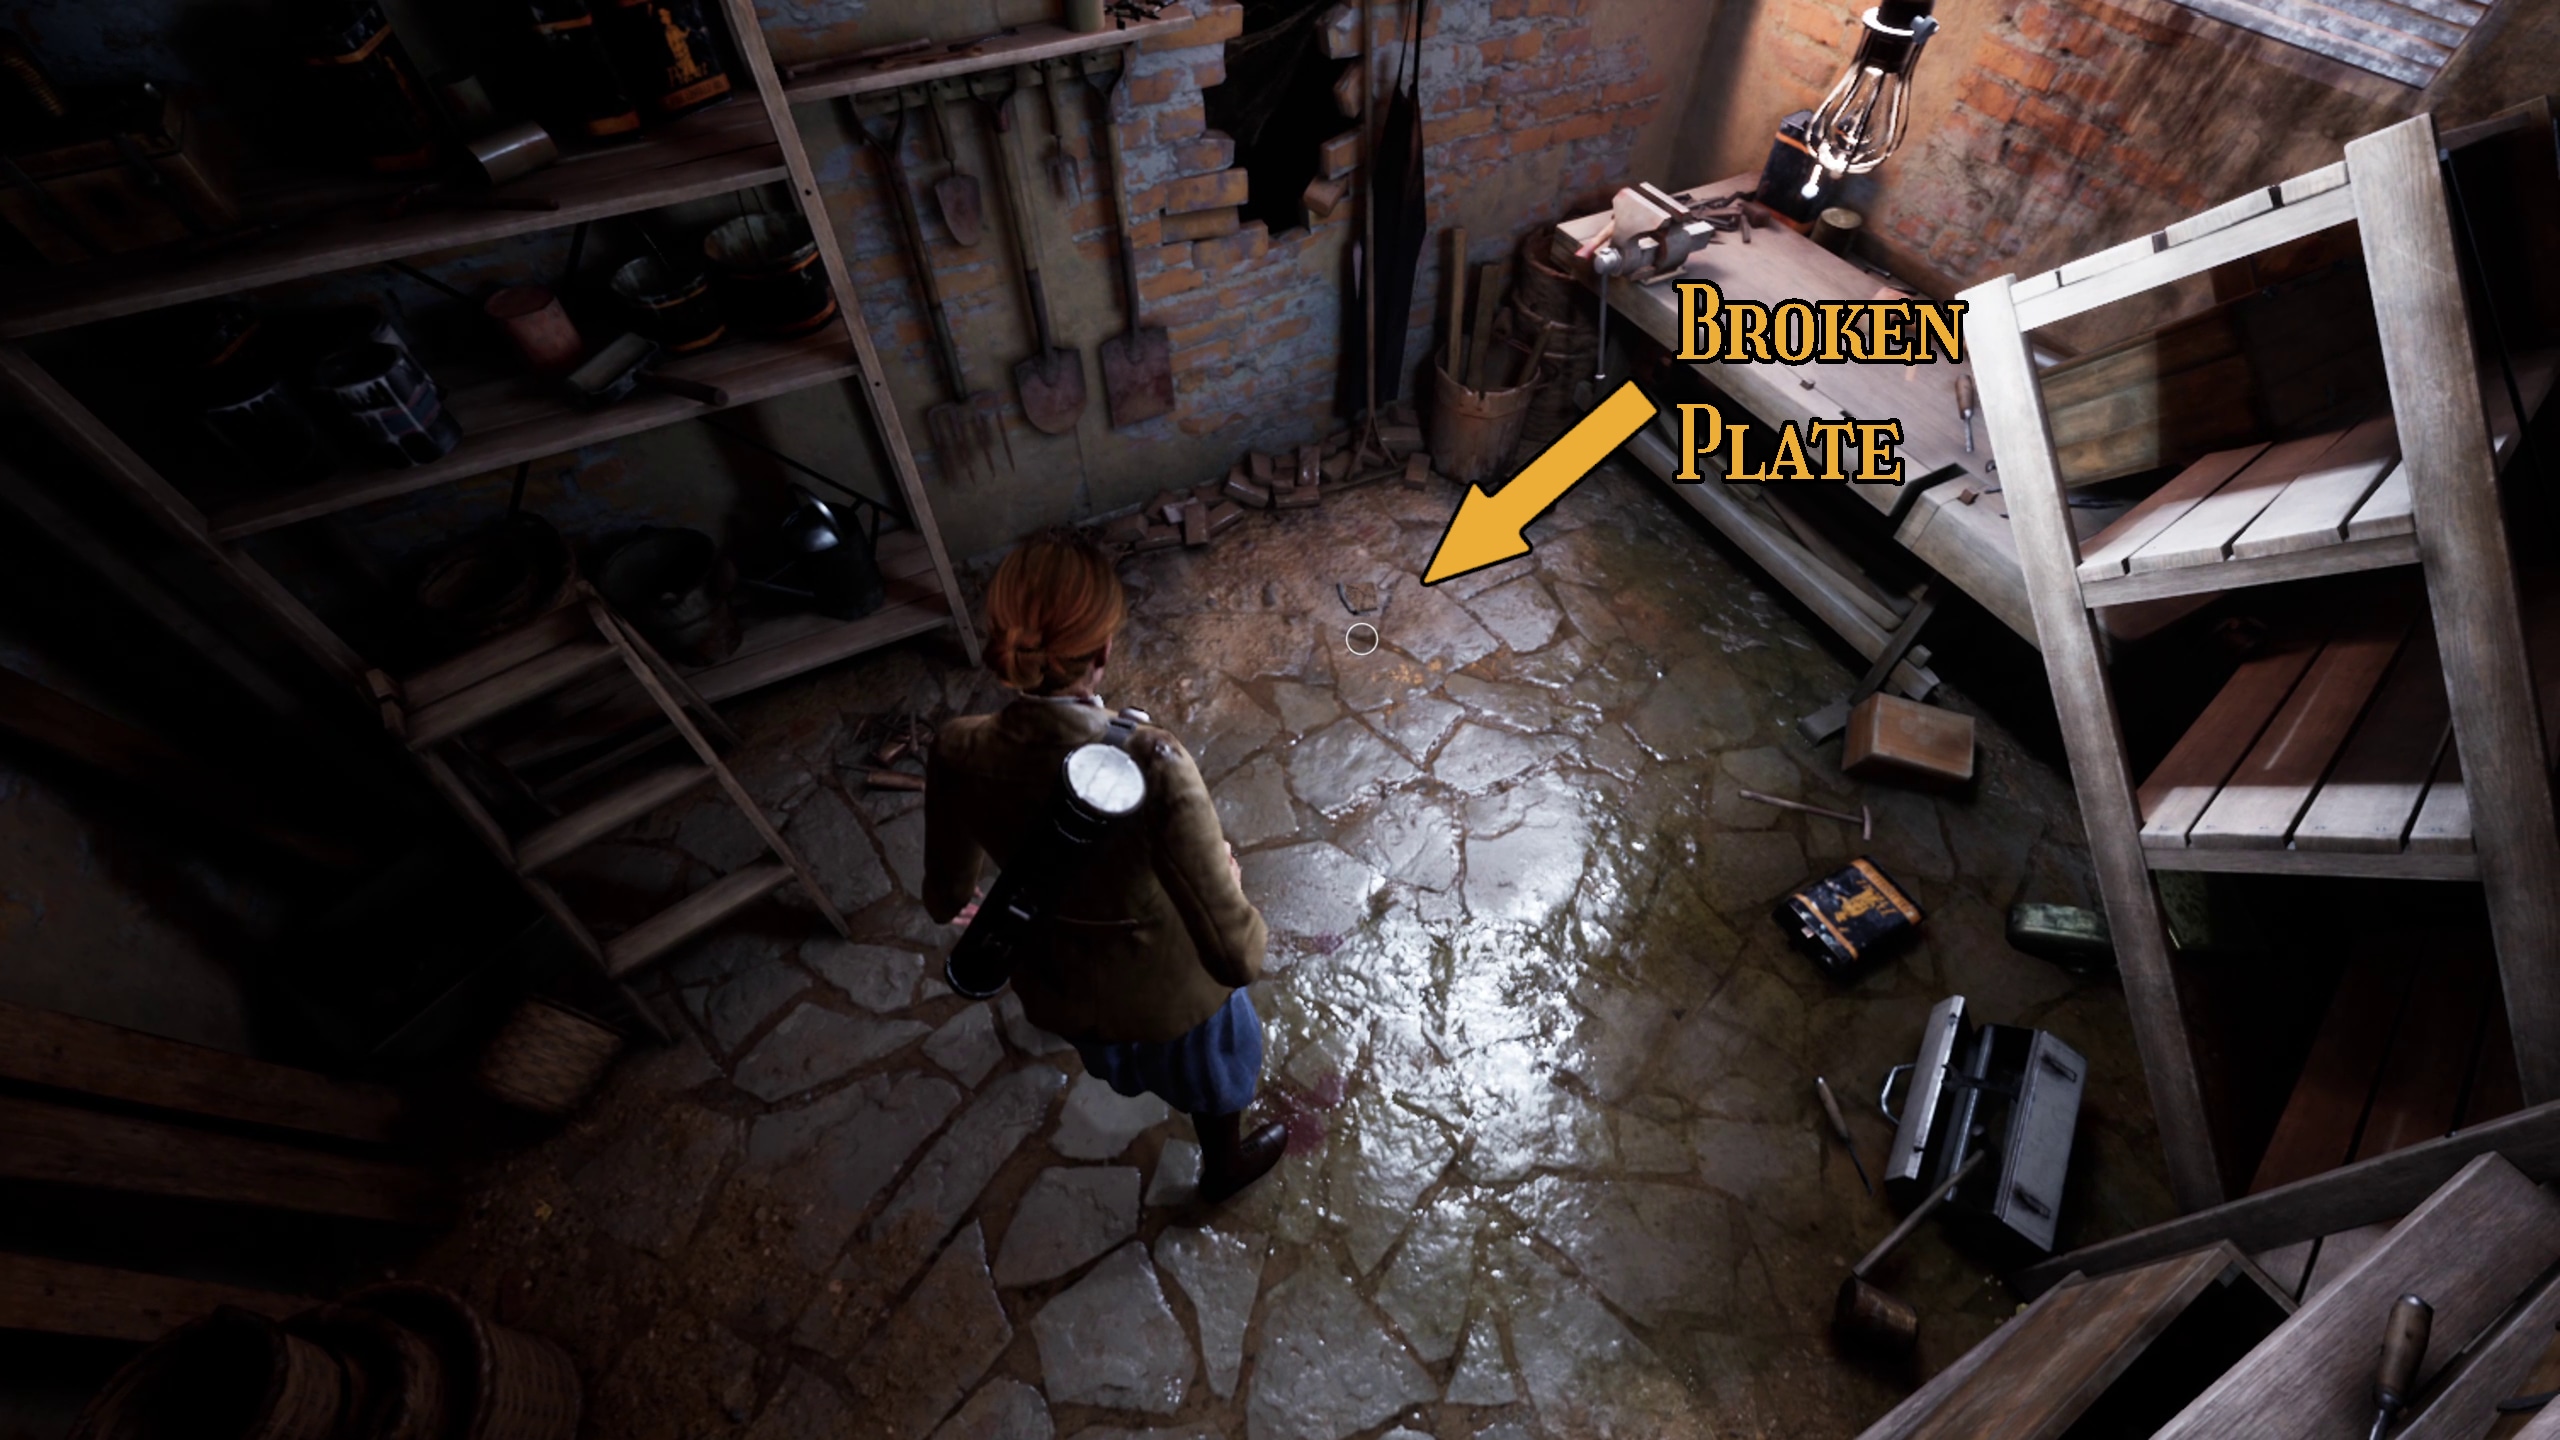
First, take your new bolt cutters to the shed in the garden (Image 1). This will give you access to the Water Hose. While you are back there, push the ladder and then go into the lower area and turn on the water faucet, before returning to the bucket. Attack your hose to the now-running hose, which will fill the hole so you can take the Broken Plate.
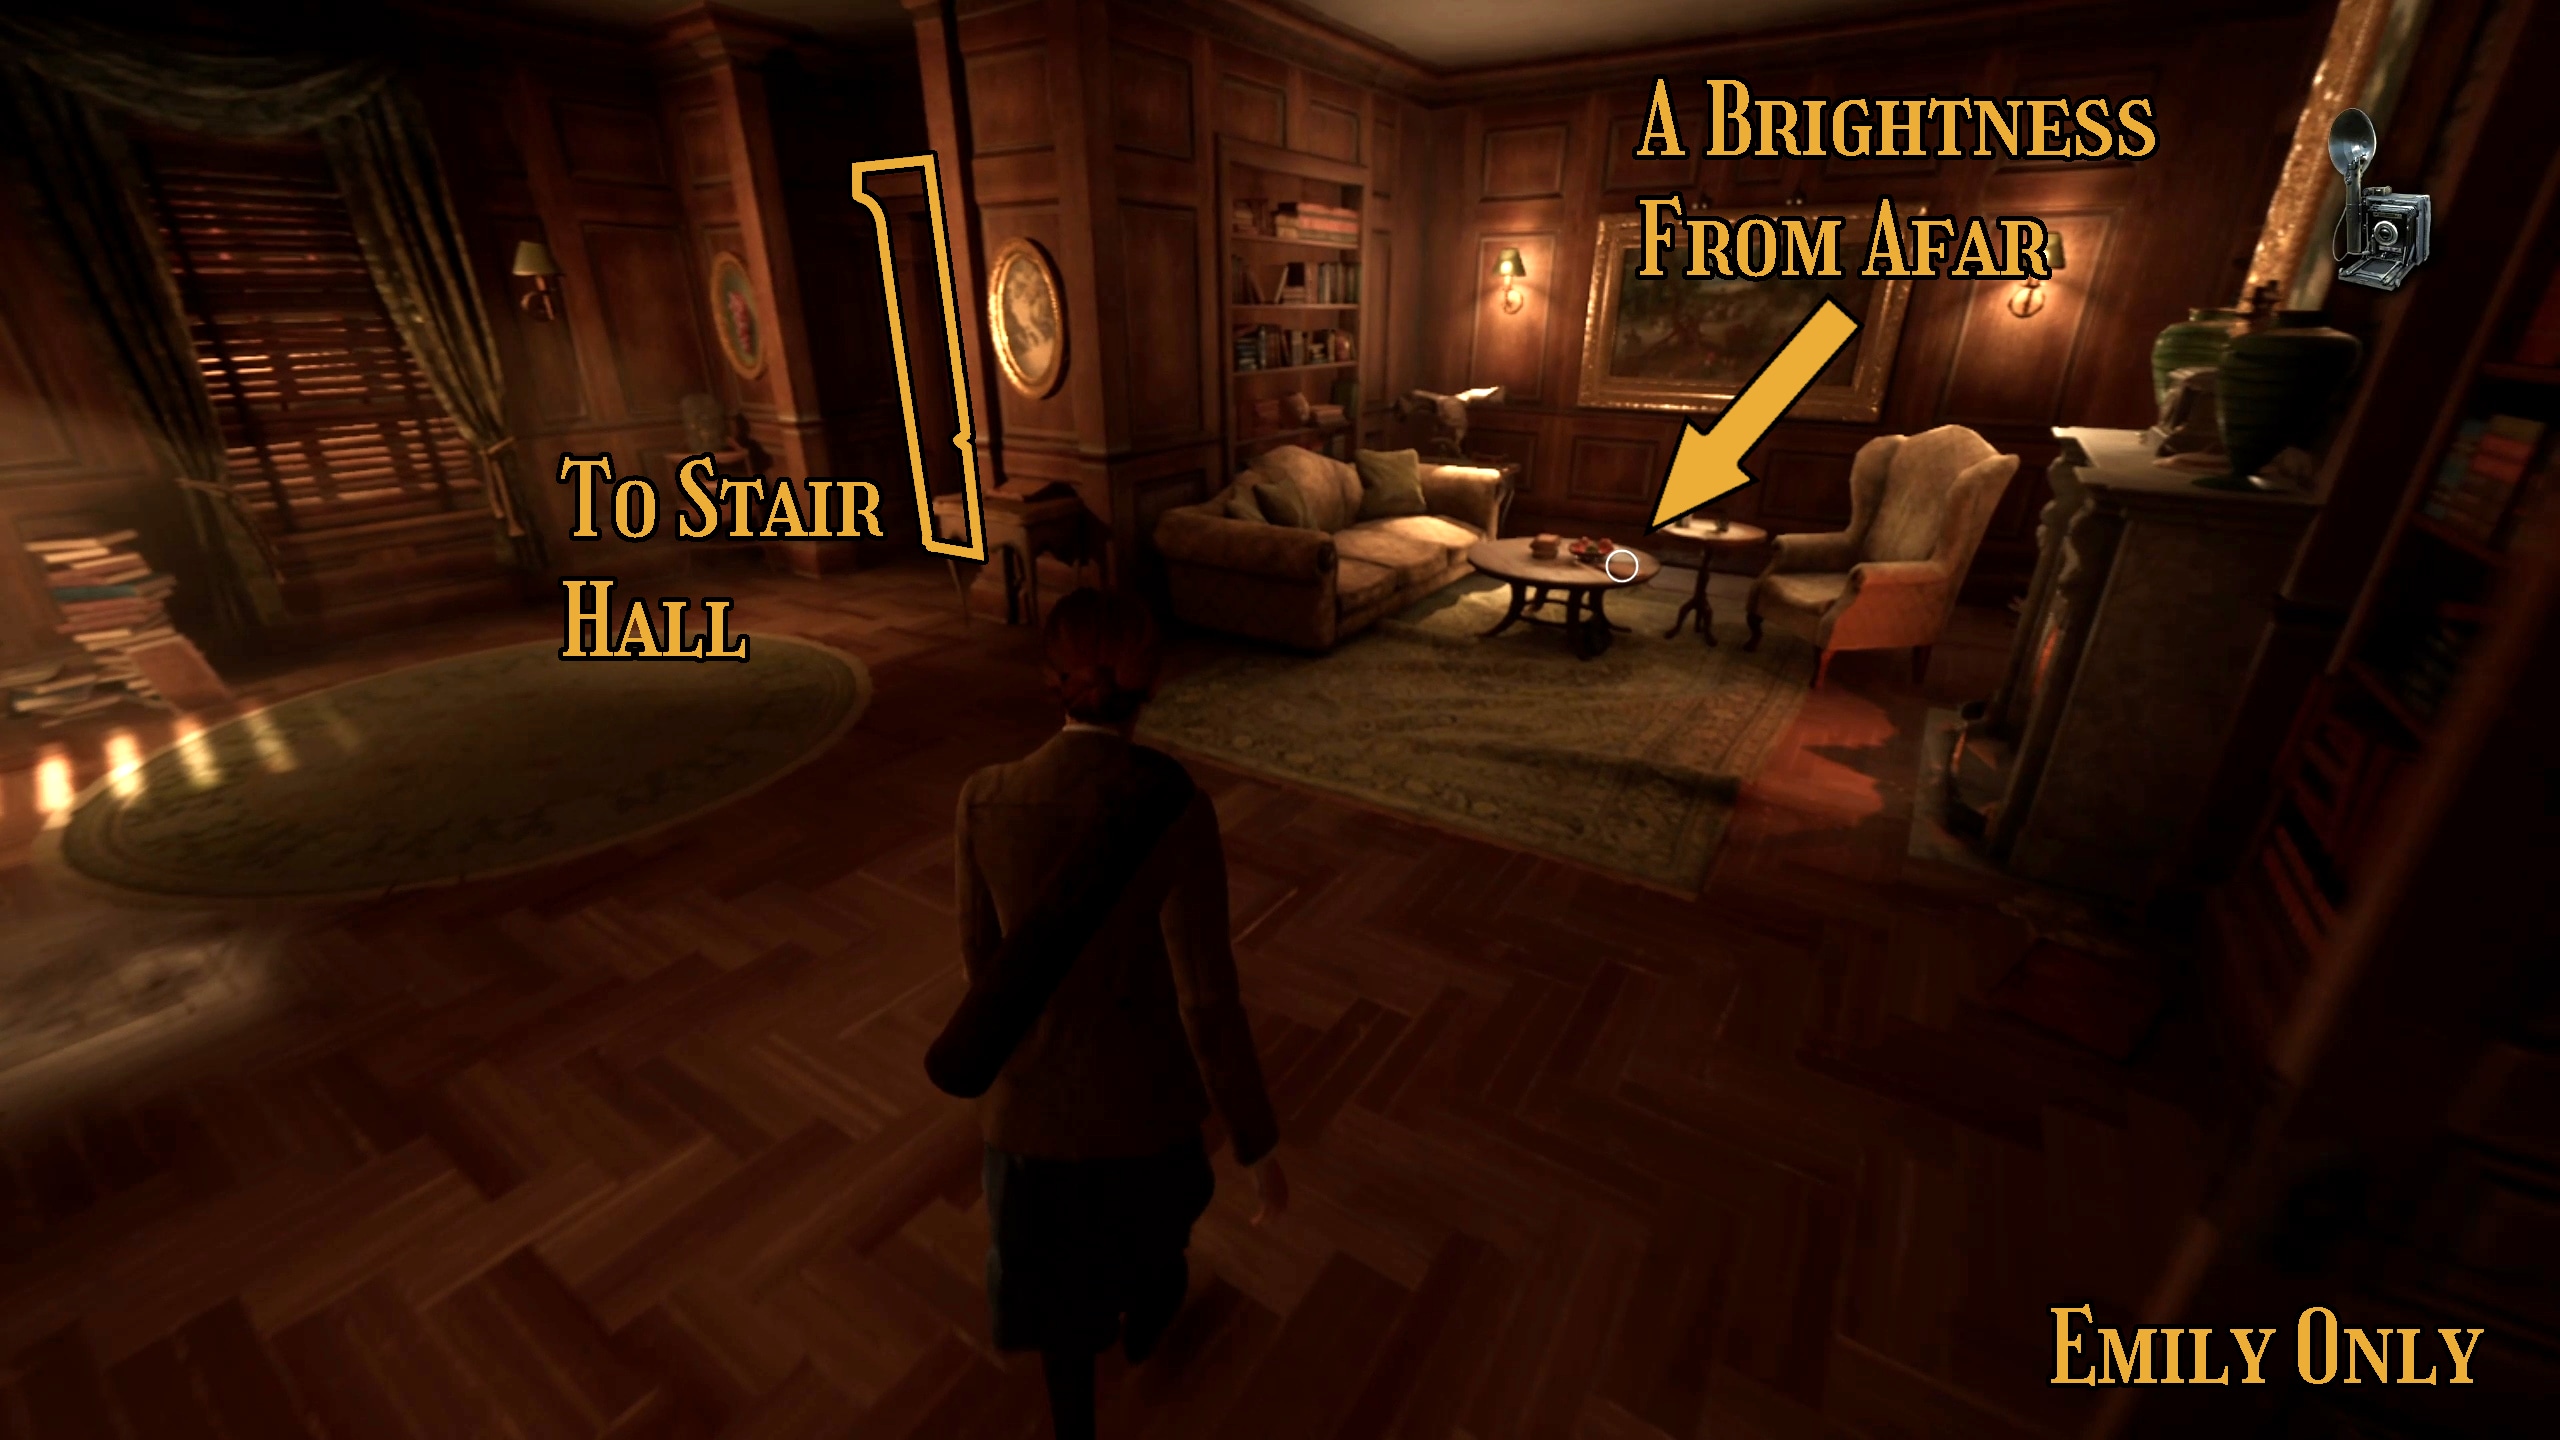
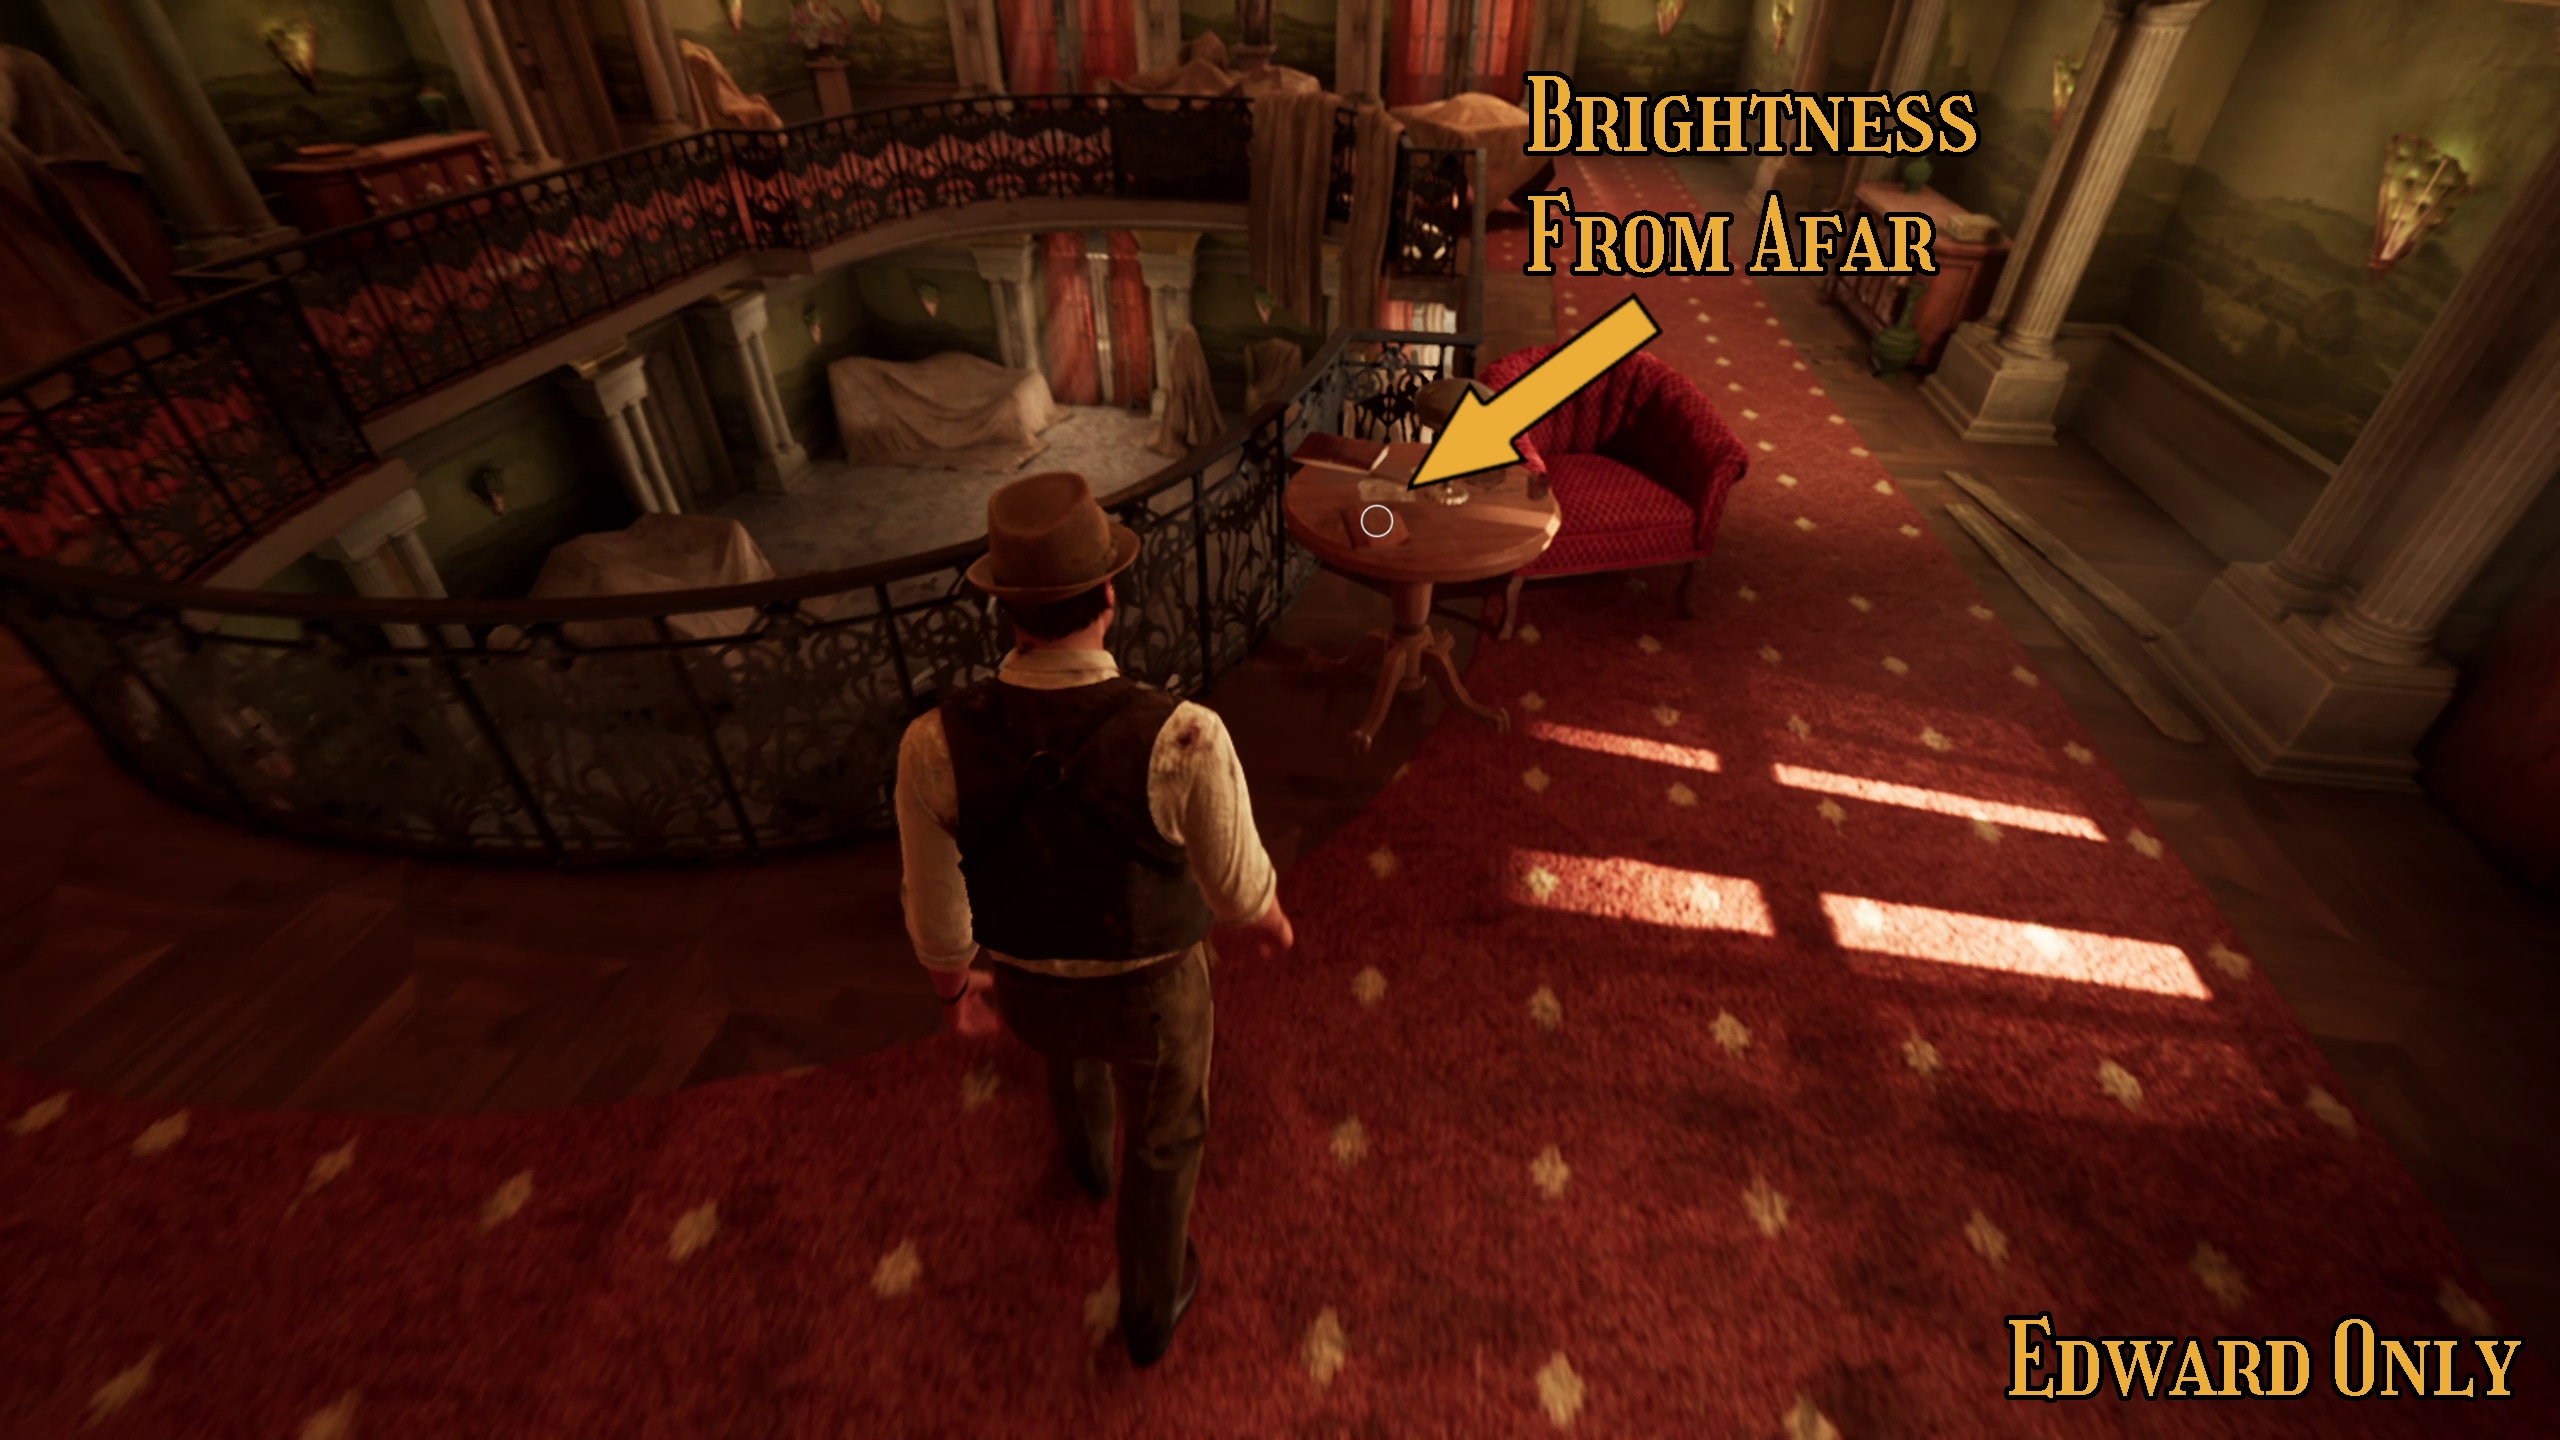
After getting the plate, Emily should return back the direction she came from. First through the Conservatory Door (Image 18), then into the Library through the small Parlor (Image 19). Once in the Library, look at the table where Ruth was and grab the A Brightness From Afar Lagniappe (Image 20). Then continue and go to the Piazza. If you are playing as Edward or already have this Lagniappe from a previous playthough, you can simply use the ladder in the Garden to reach the Piazza (Image 21).
Image 18Image 19Image 20Image 21
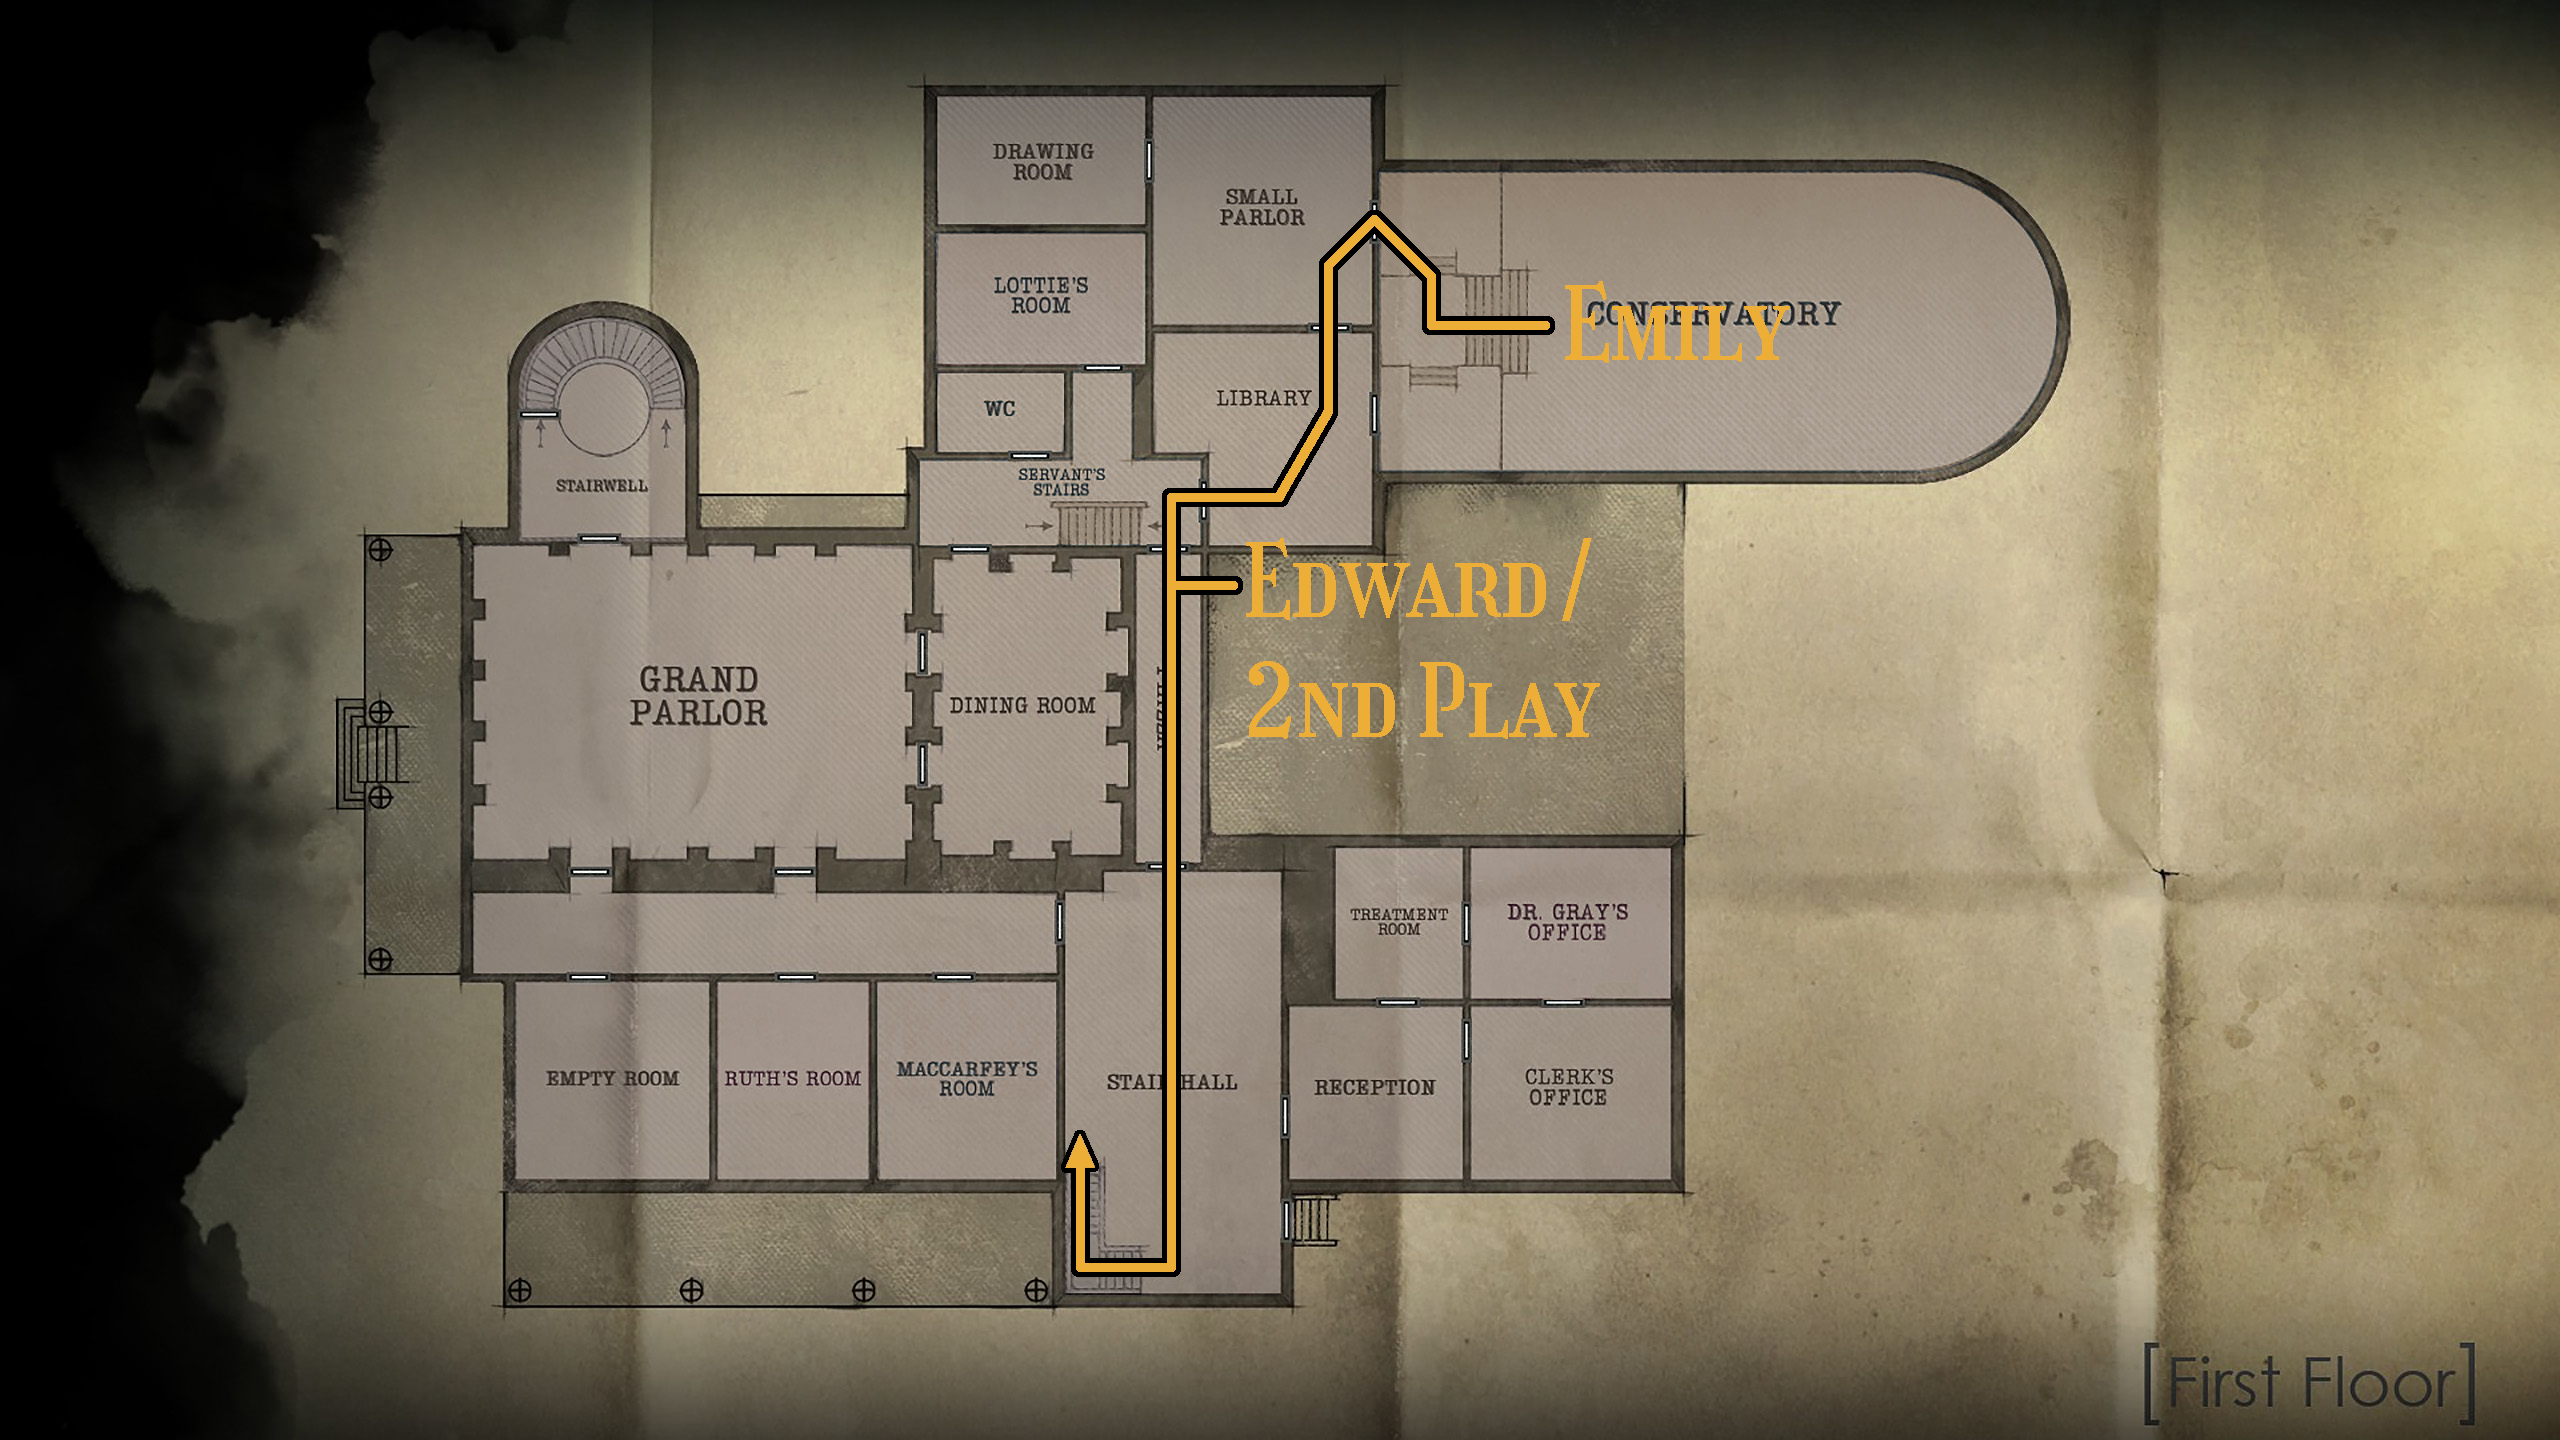
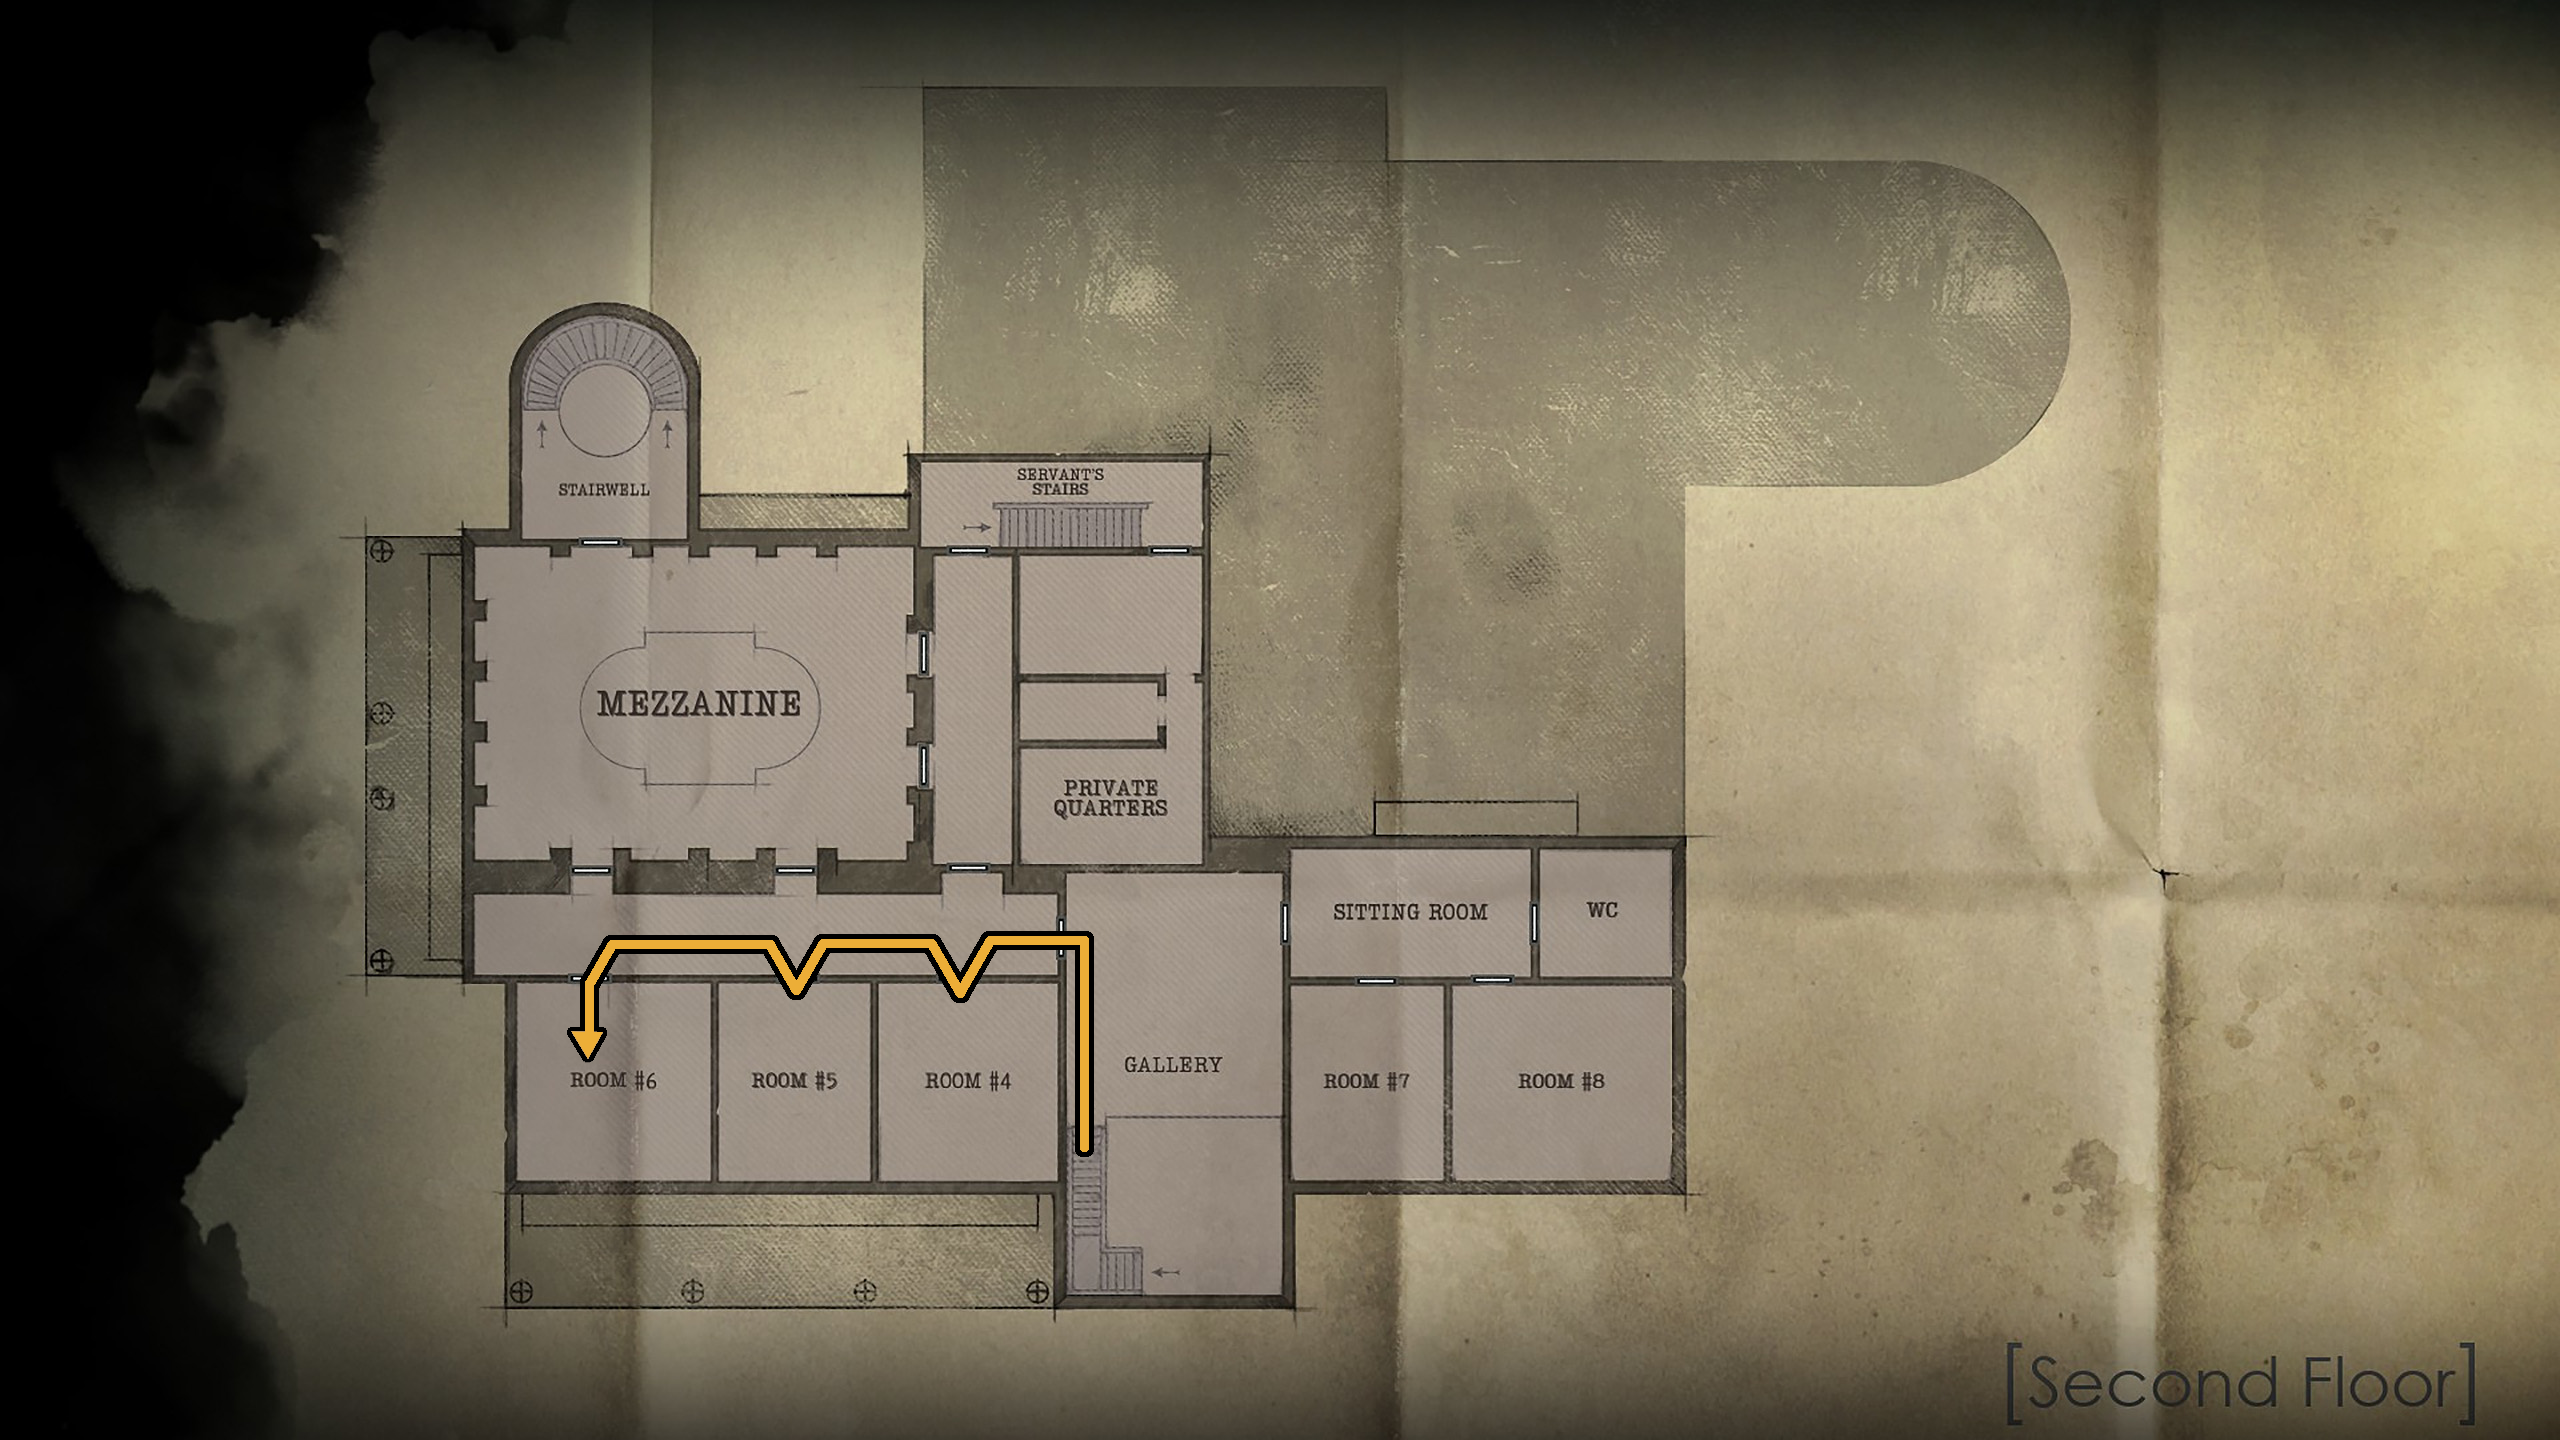
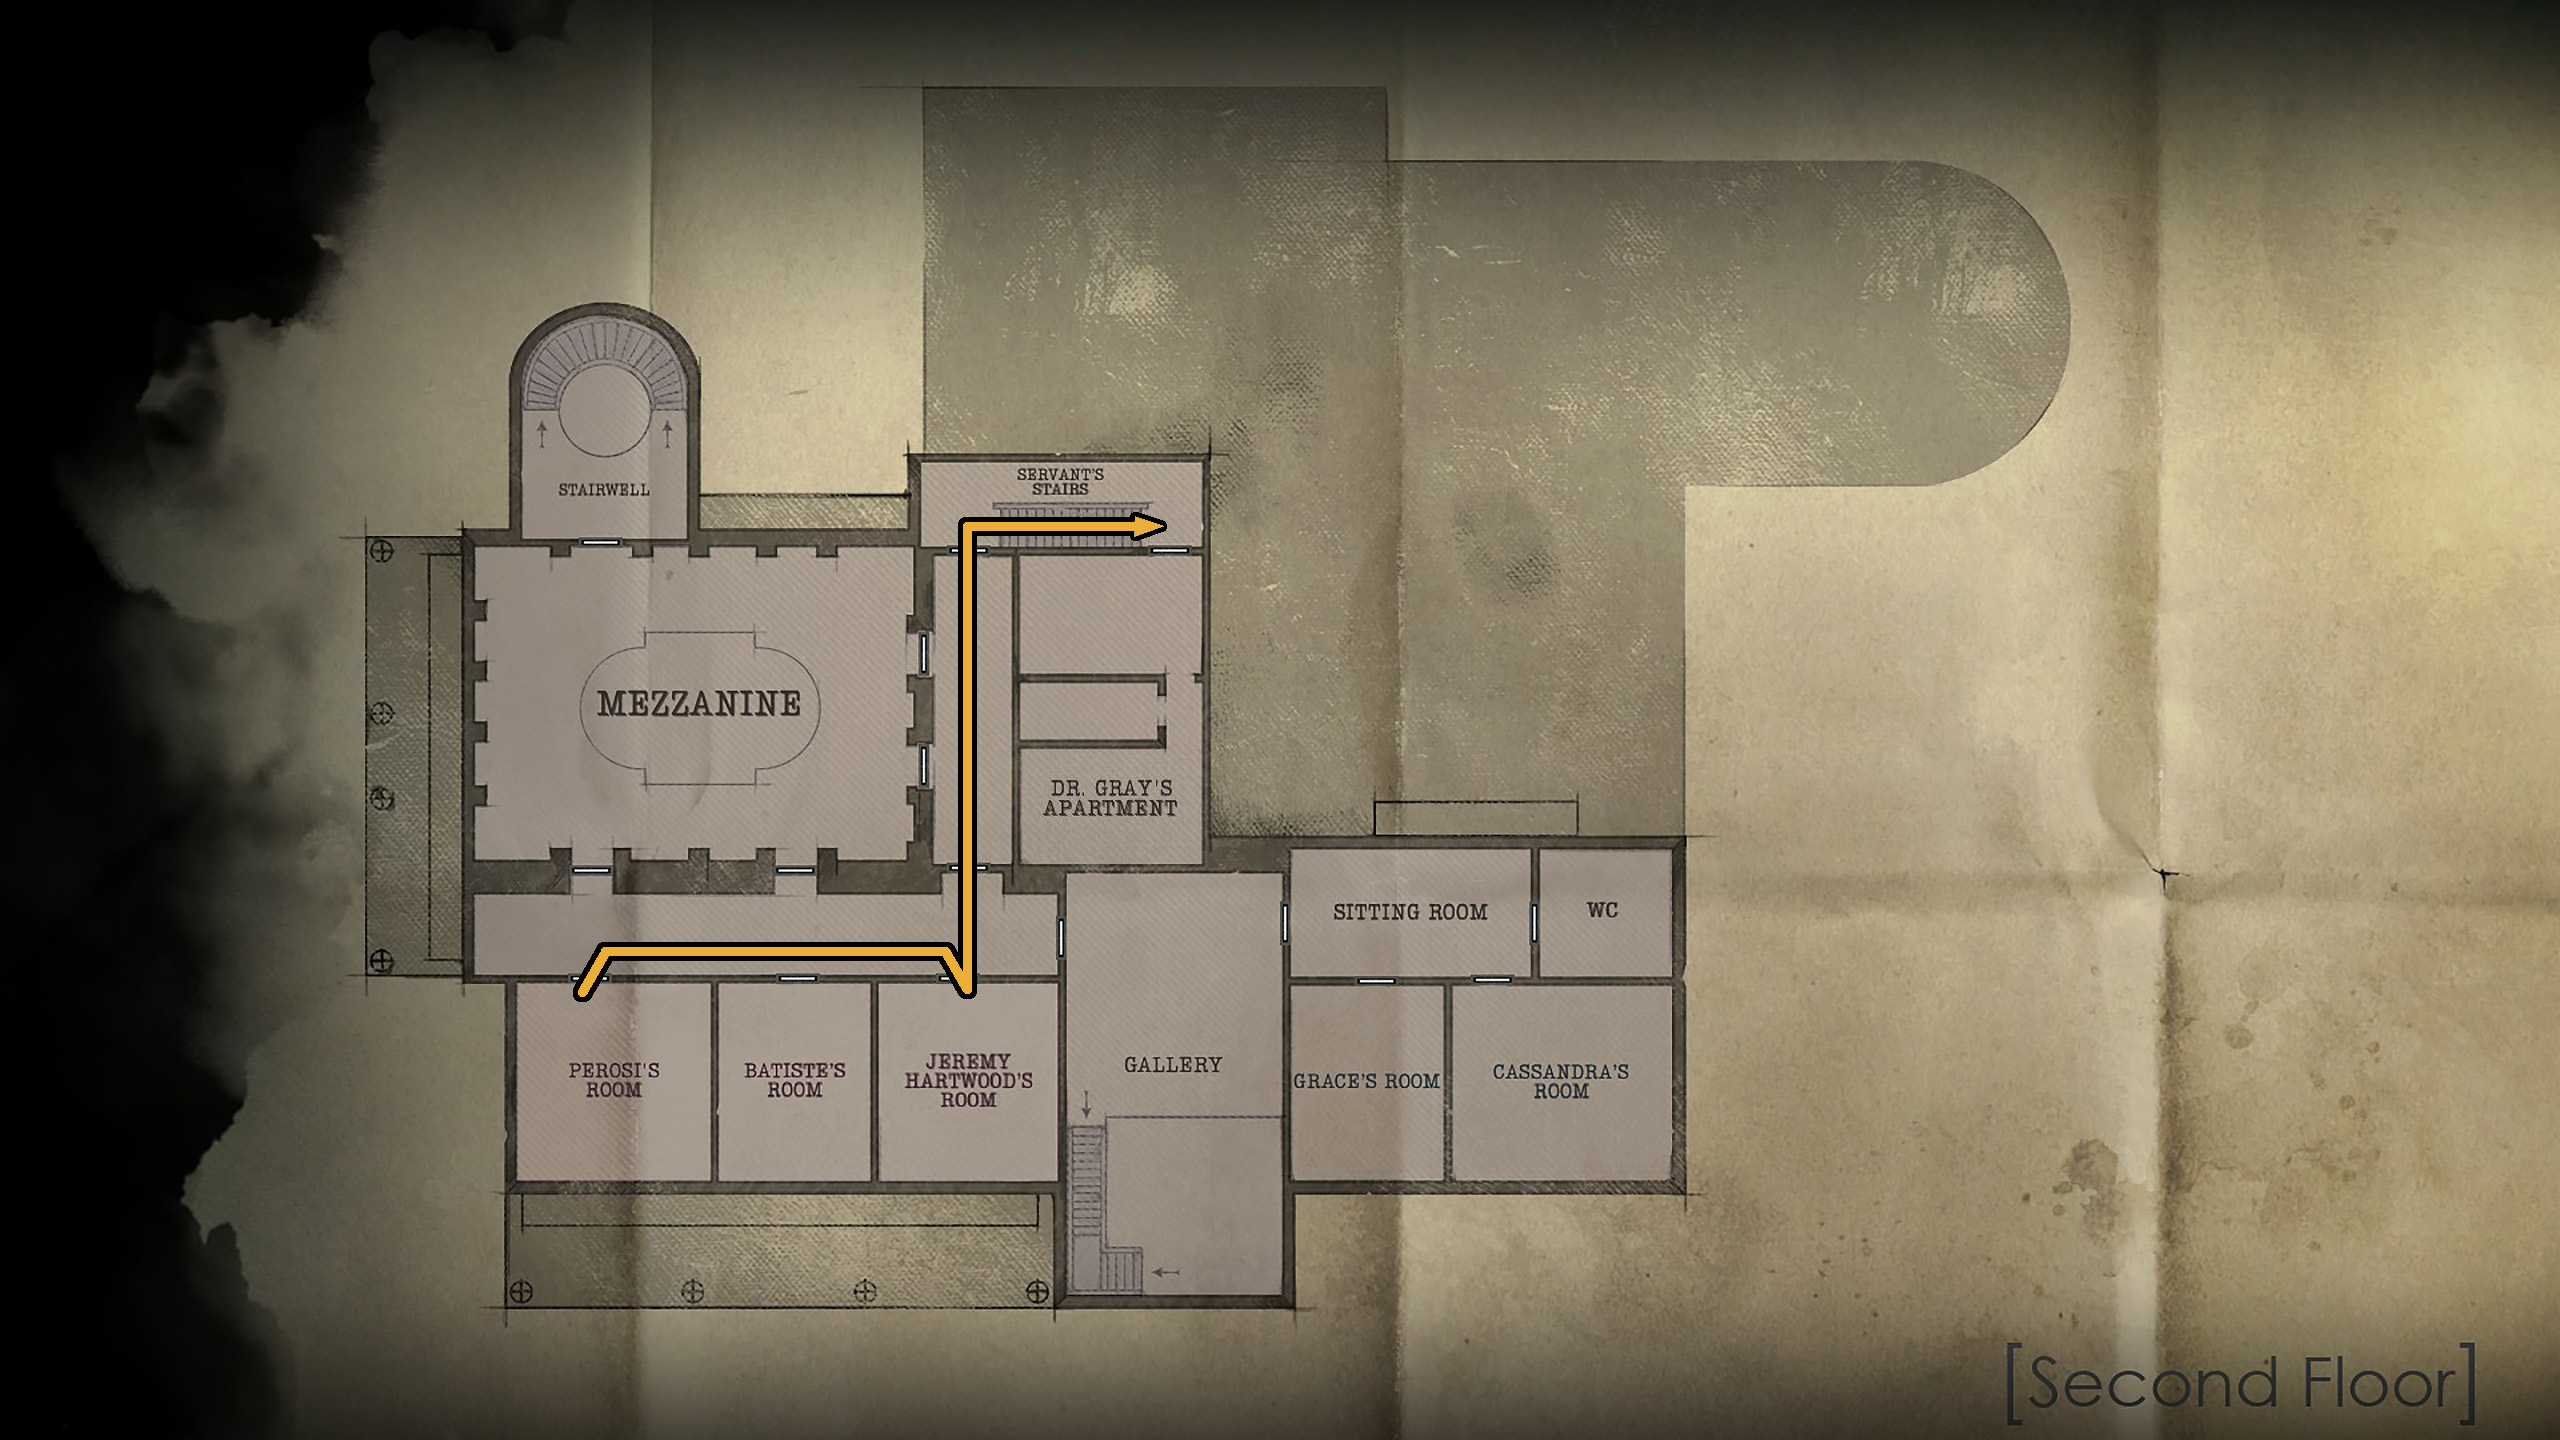
From here, you want to make your way upstairs and to the 2nd floor hallway, where the patients stay. You are trying to get to Perosi’s room (#6), though you’ll make some stops along the way.
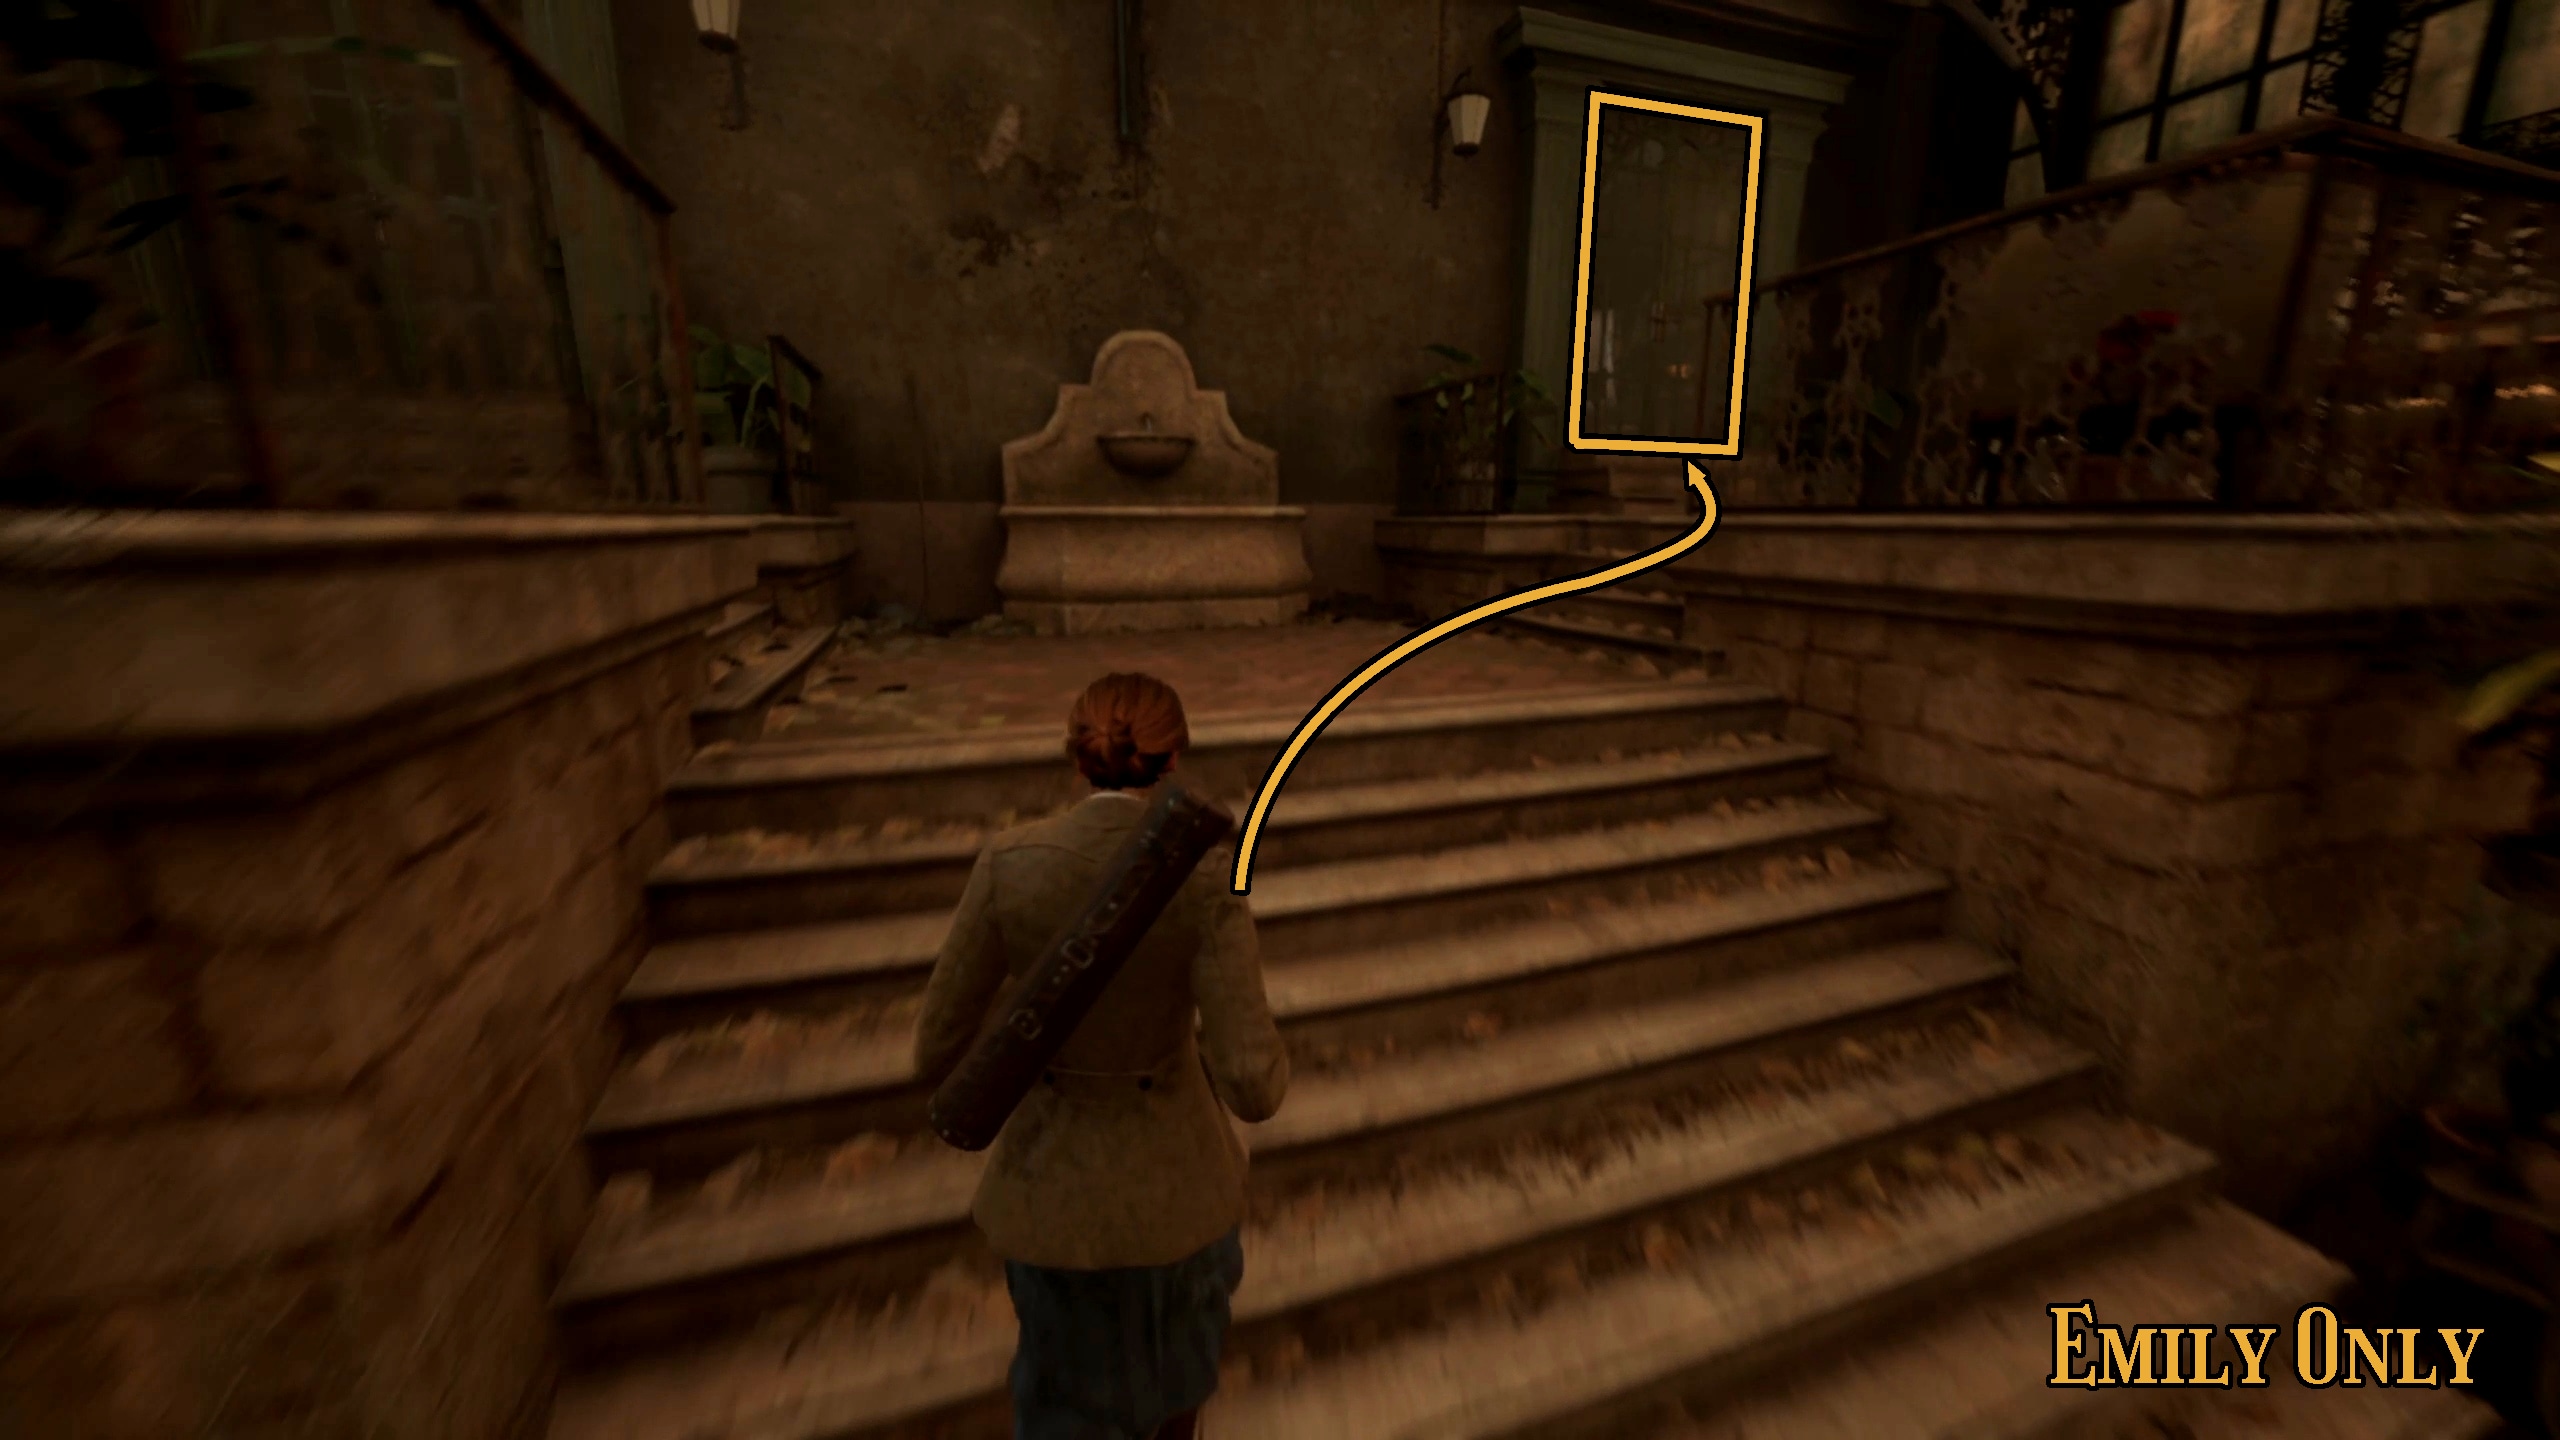
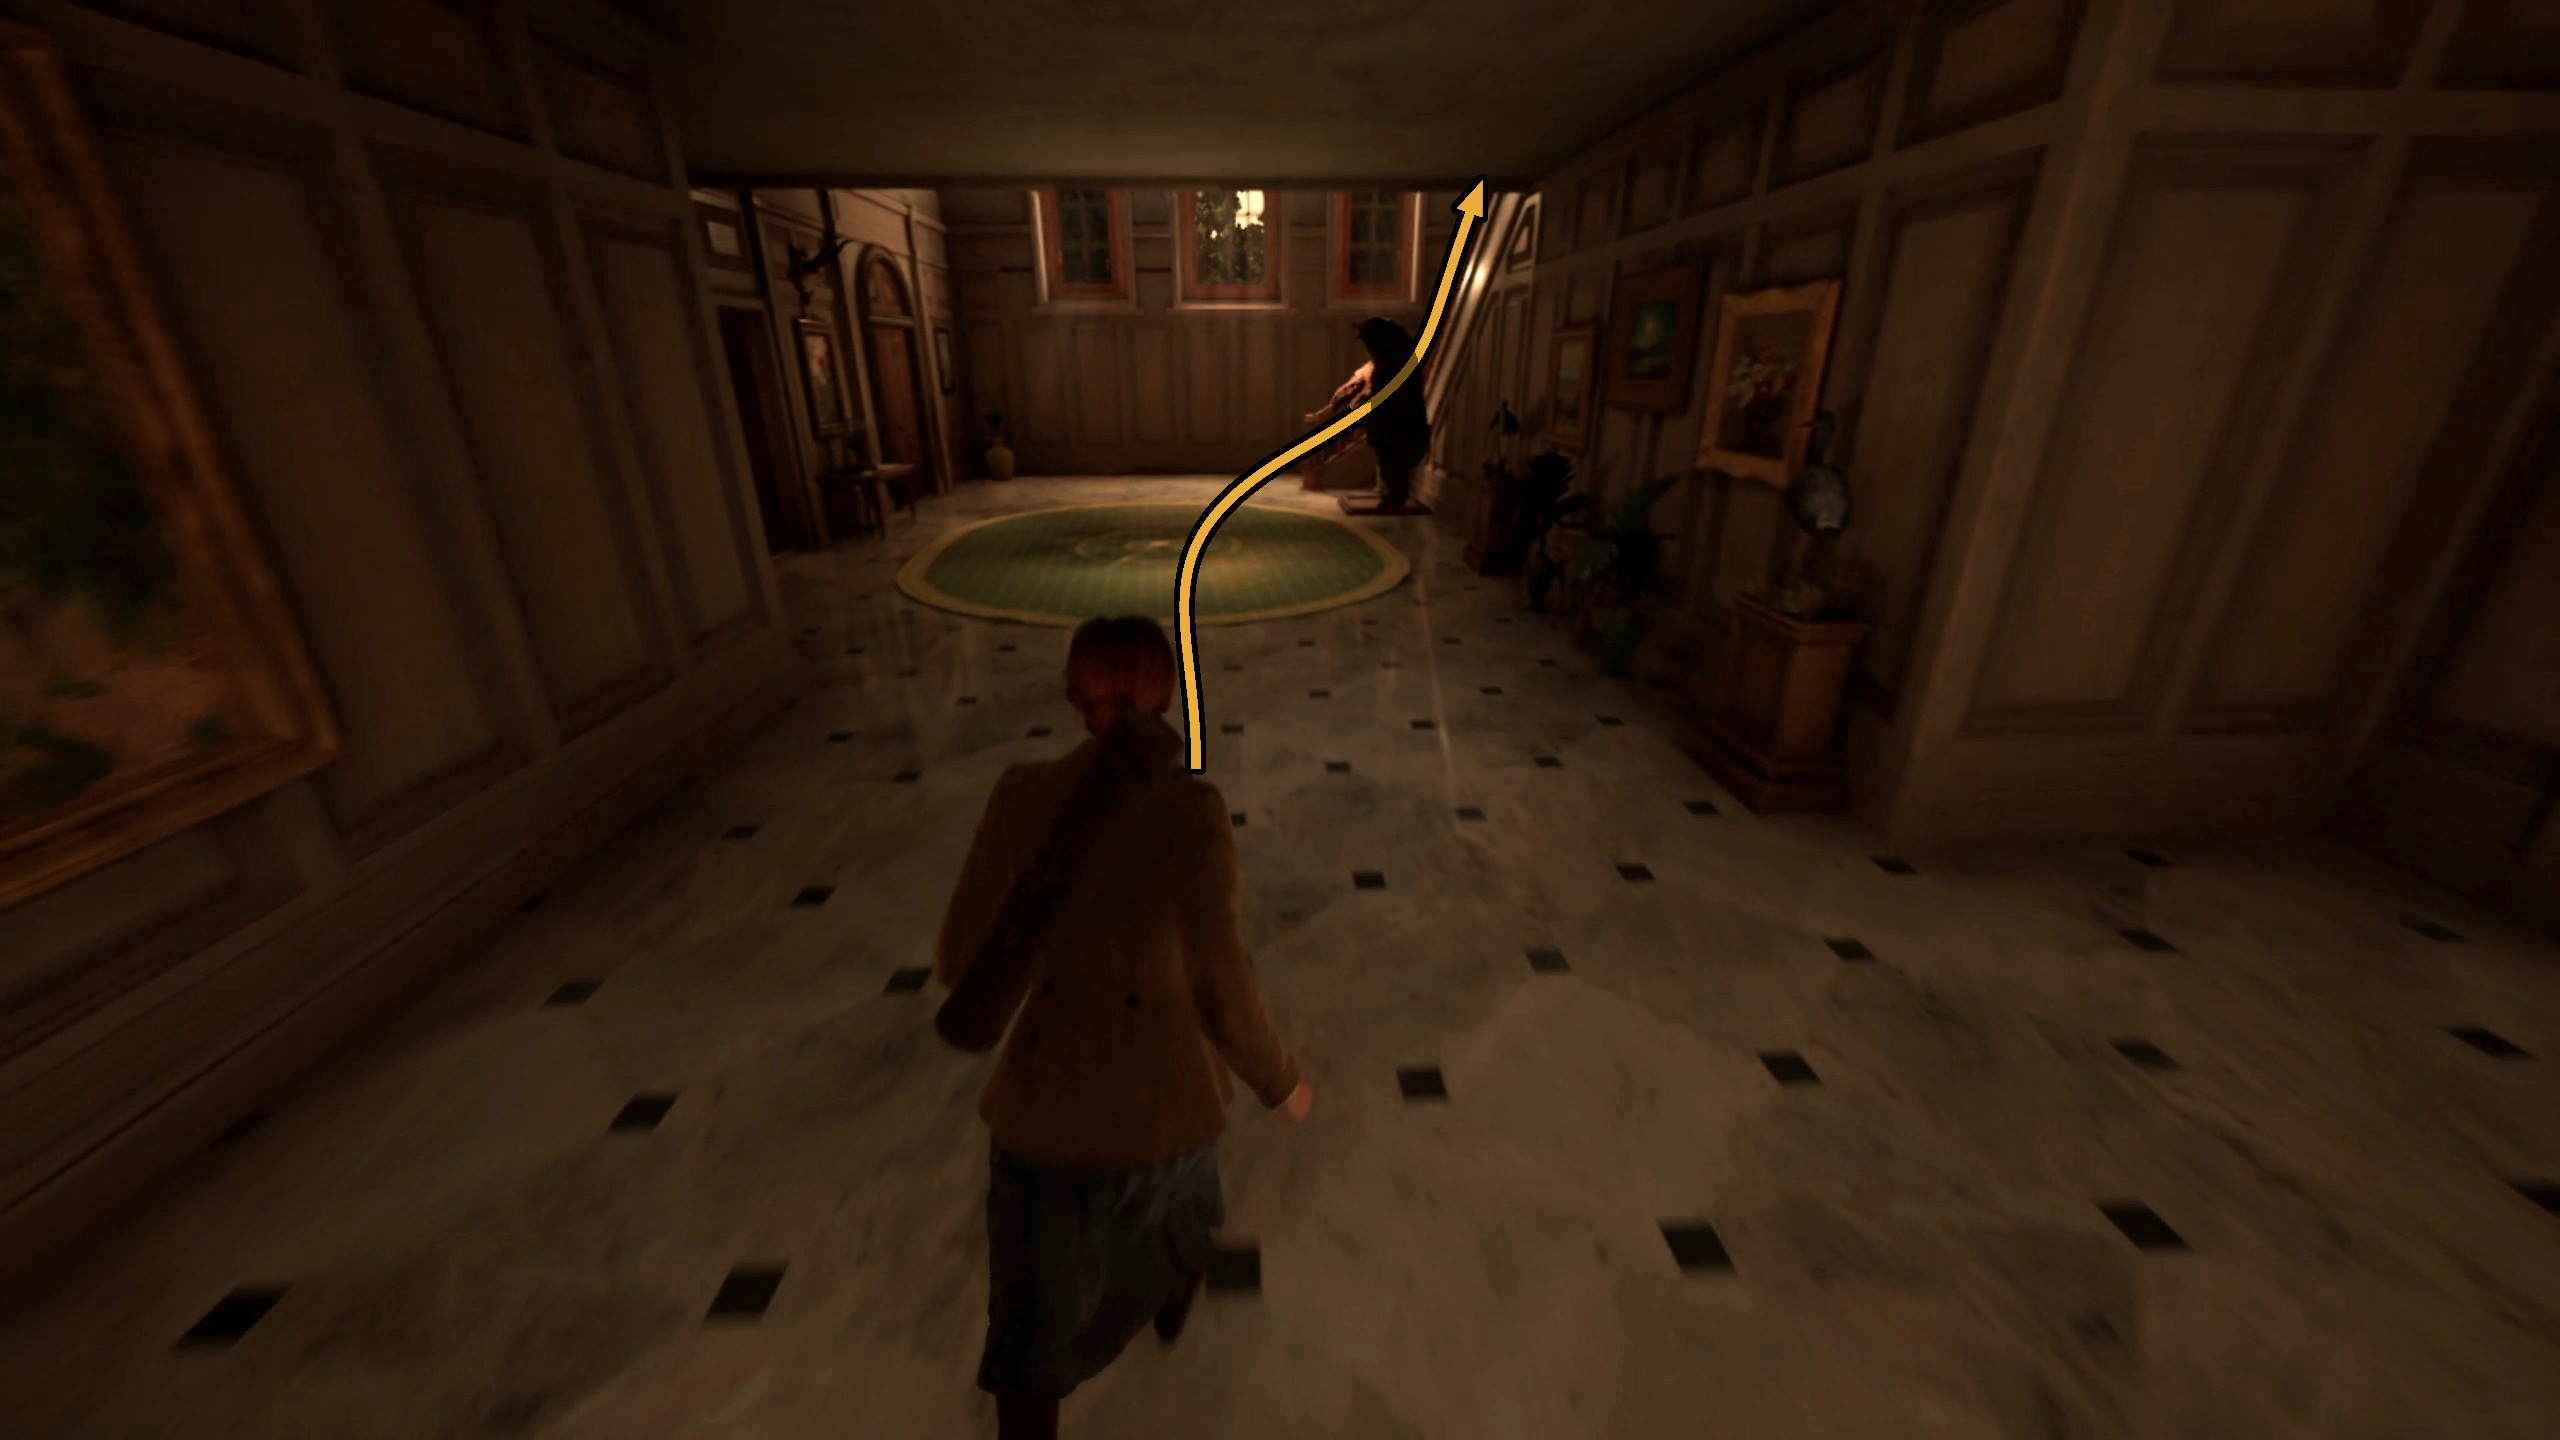
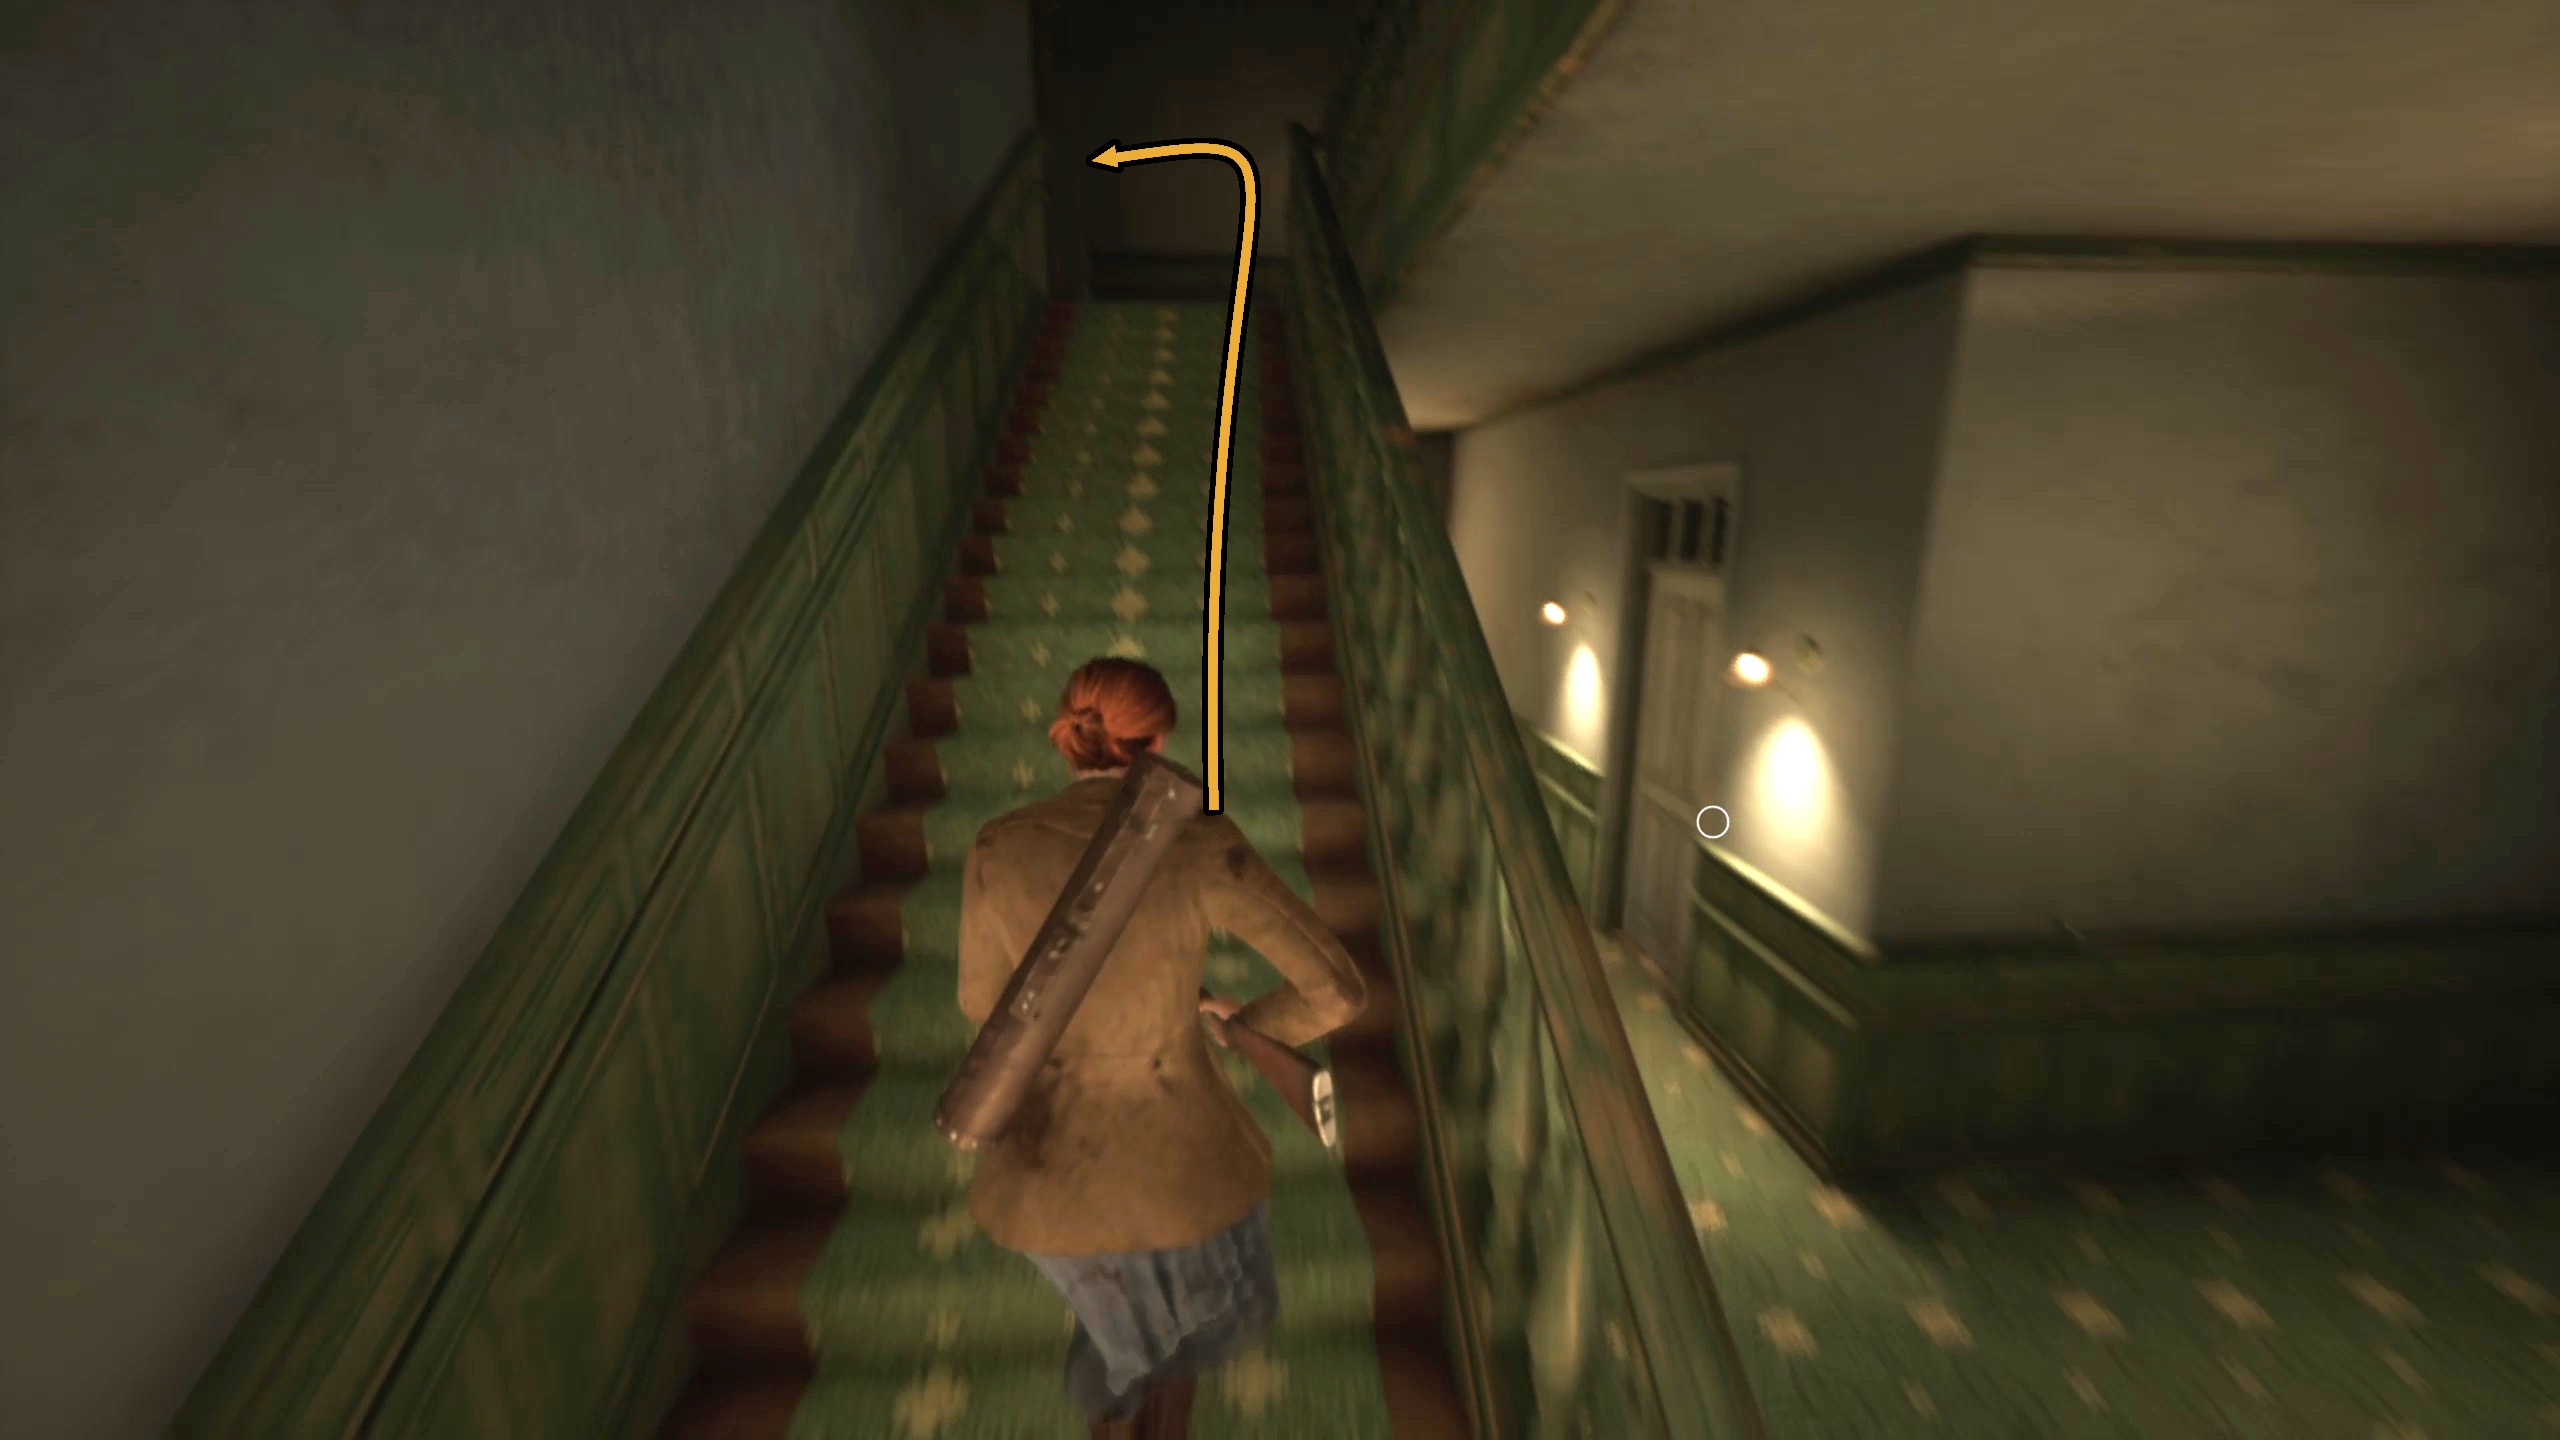
To reach the 2nd Floor Hallway from the Pizza, simply enter the Stair Hall from the Piazza, go up the stairs, and take a left.
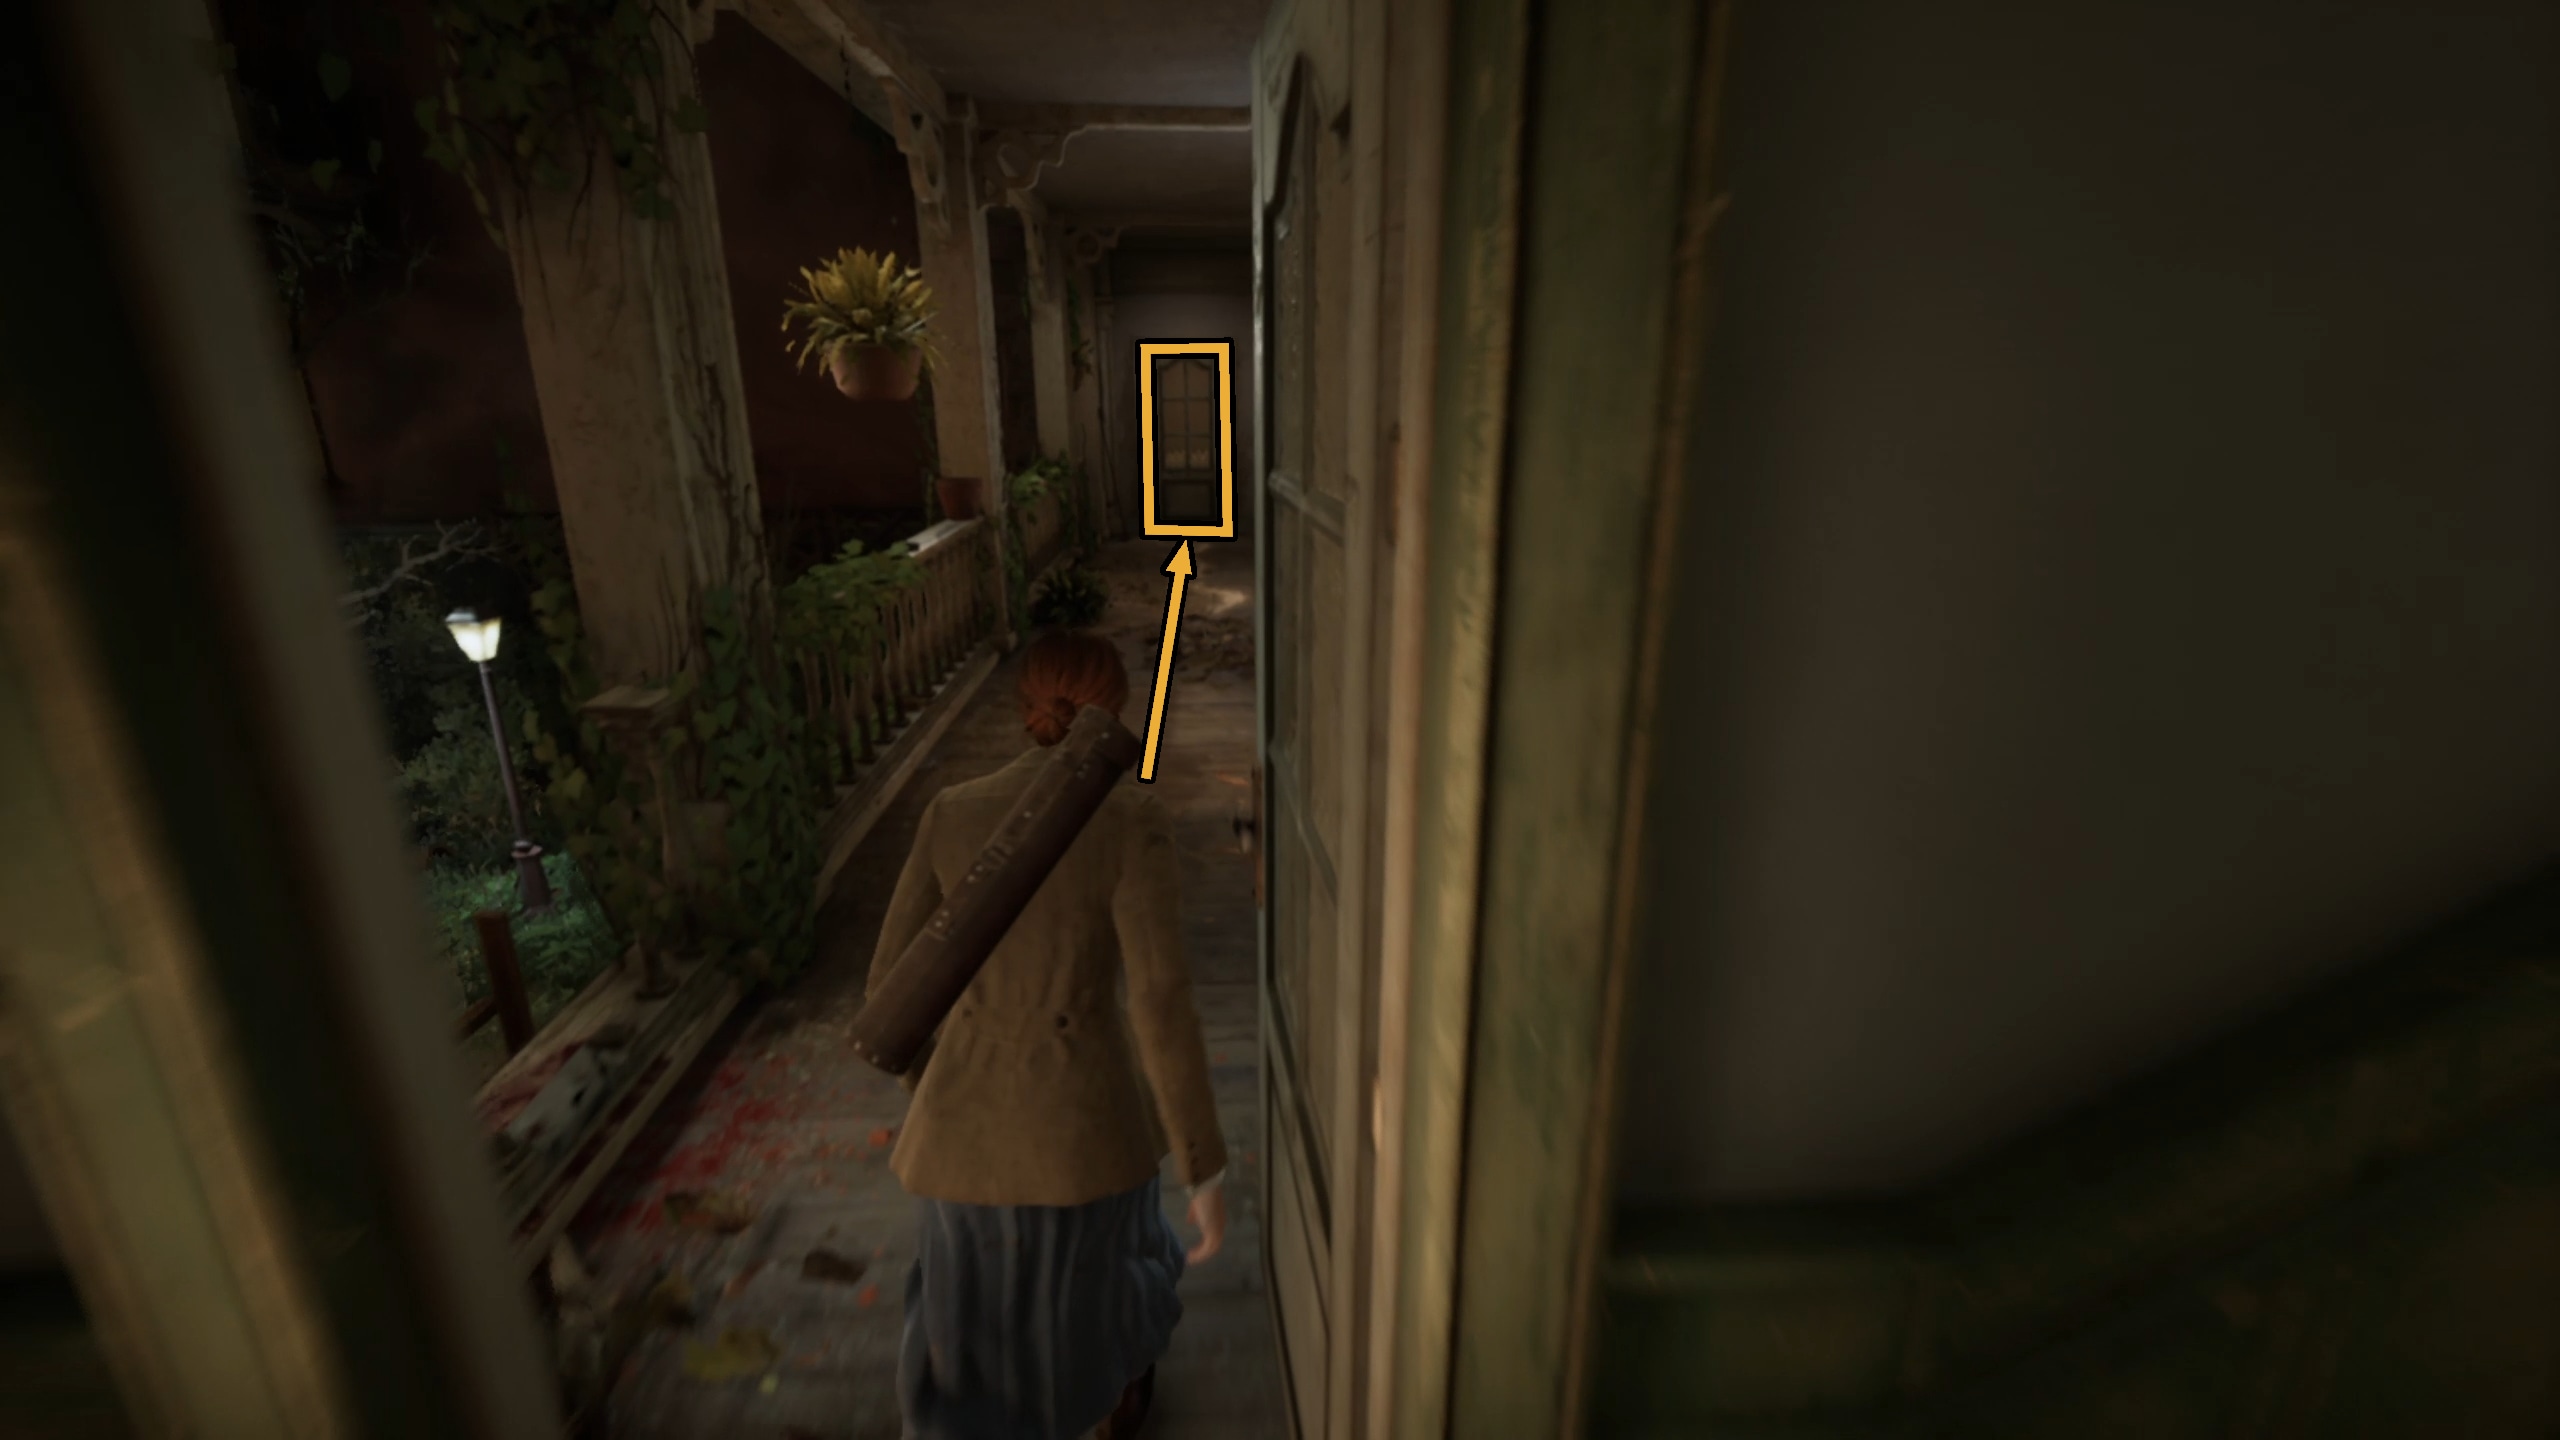
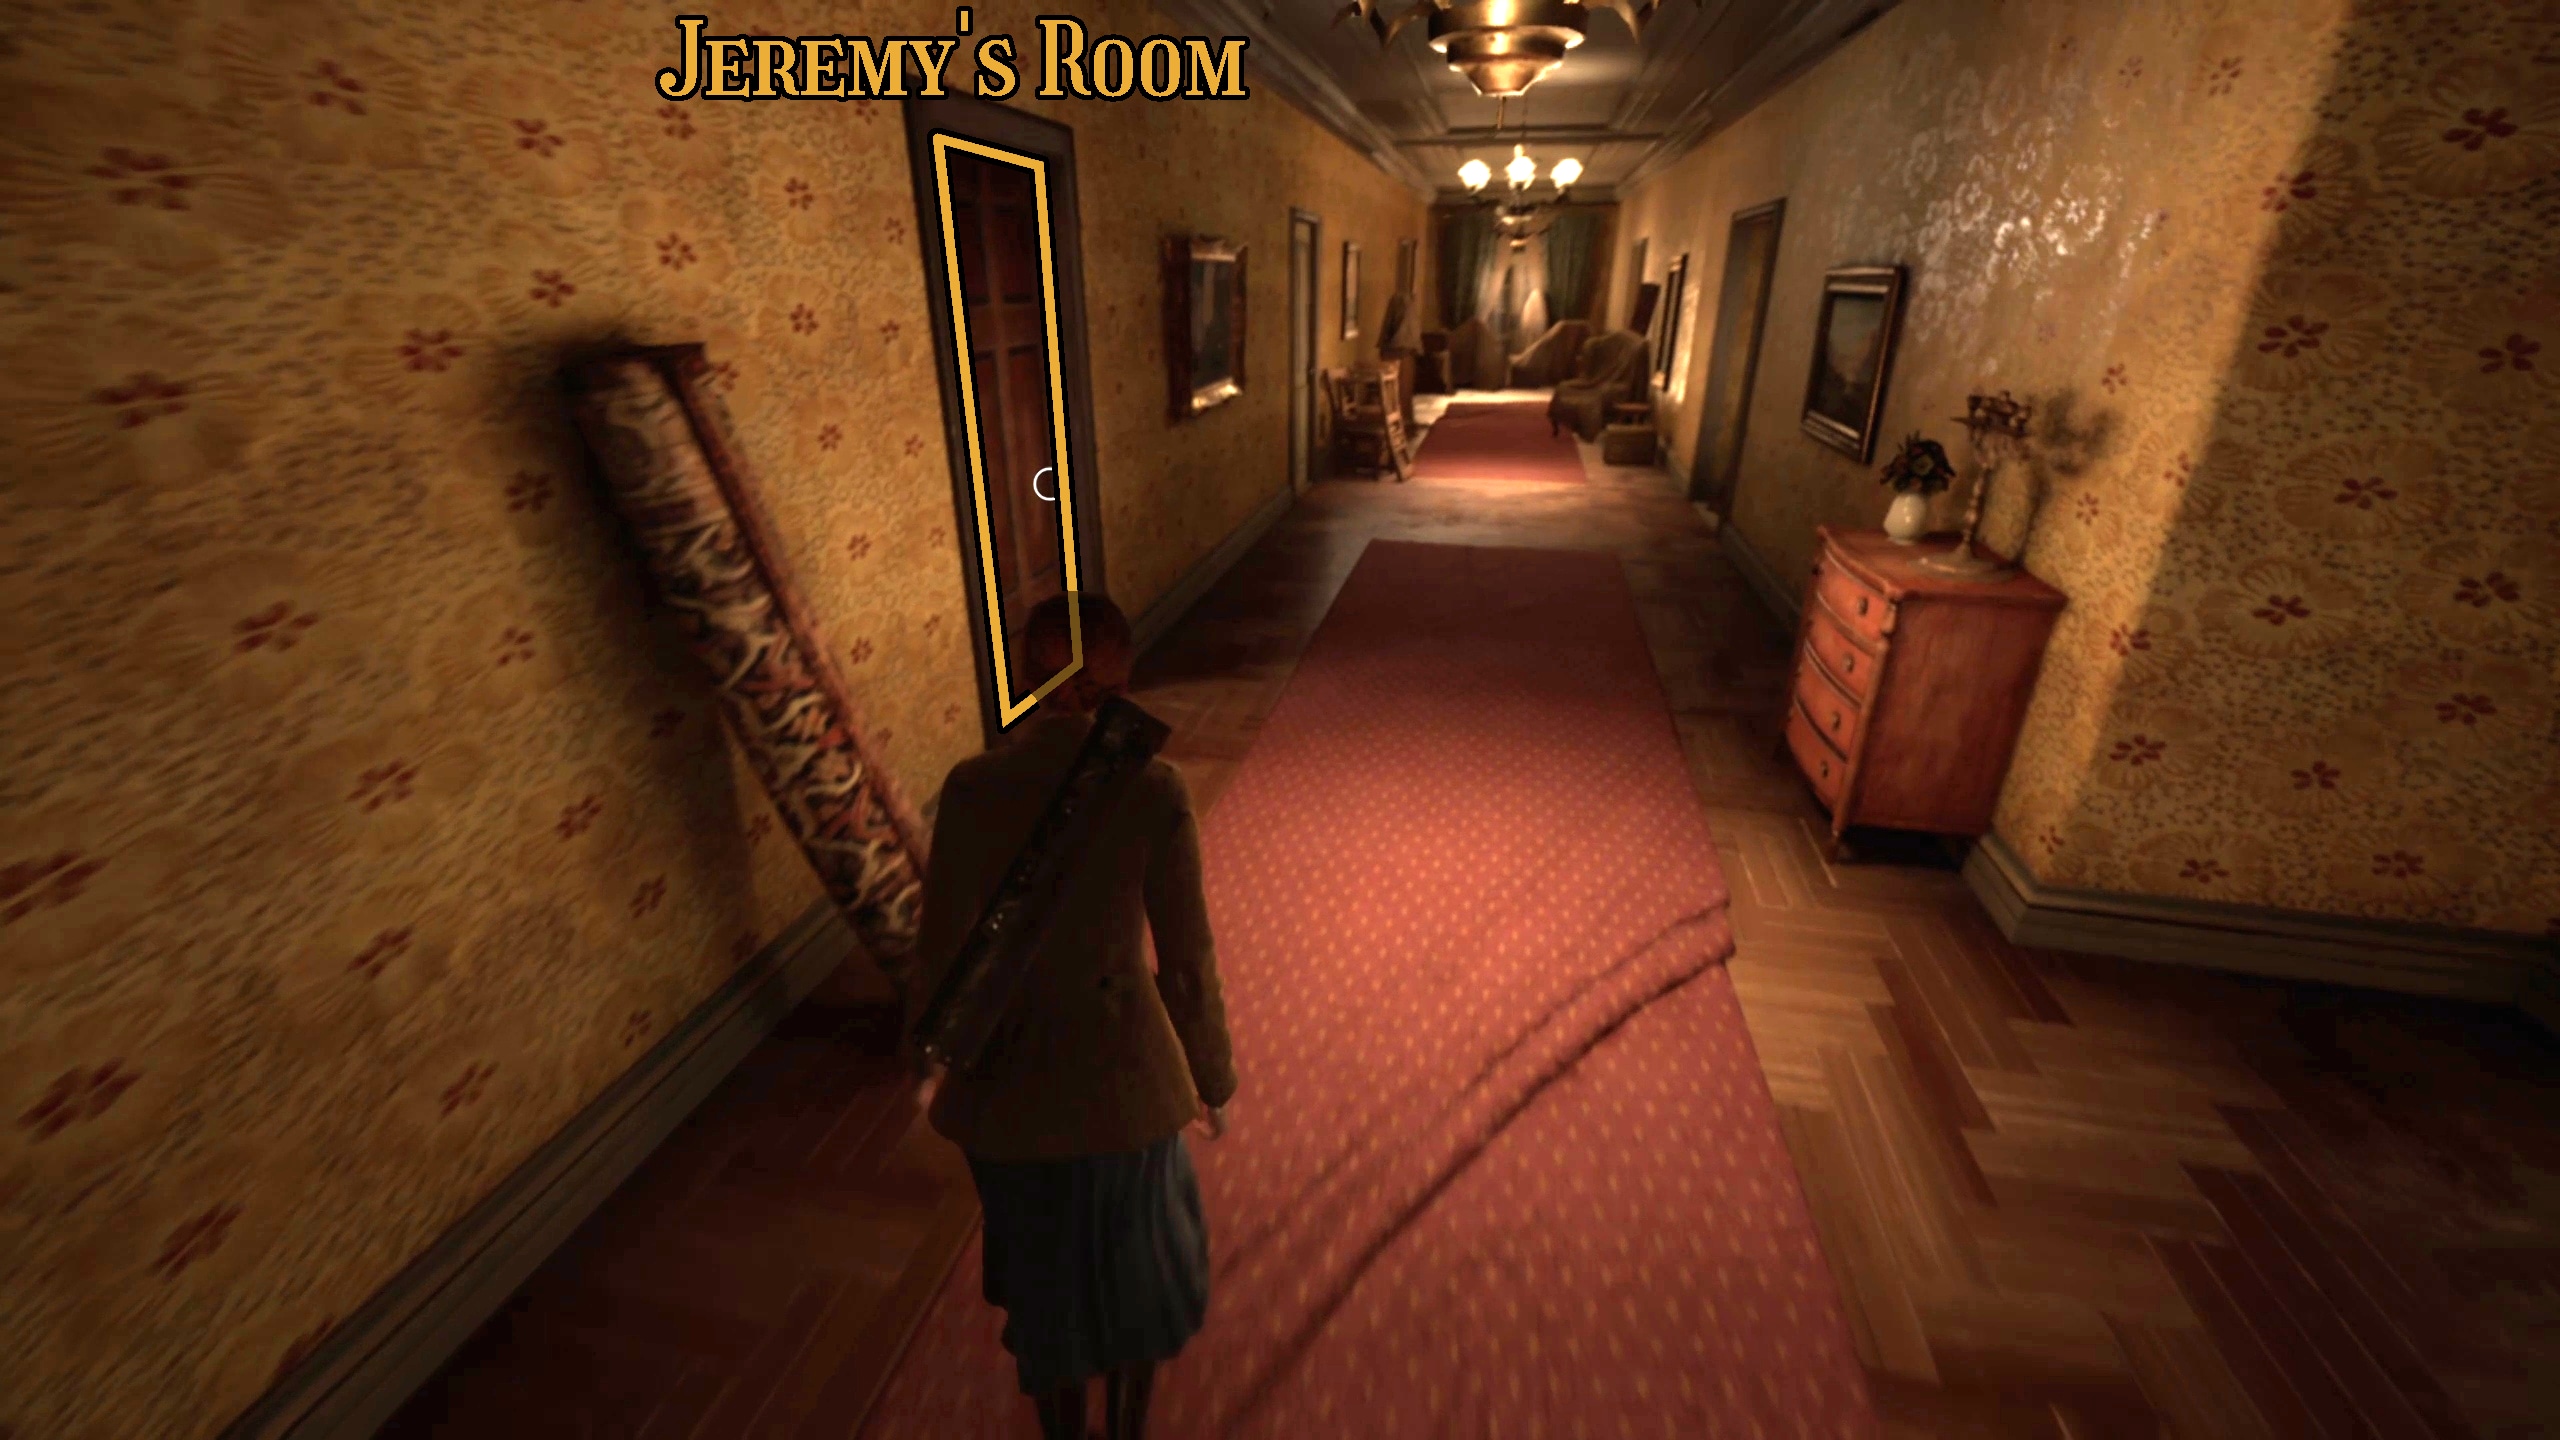
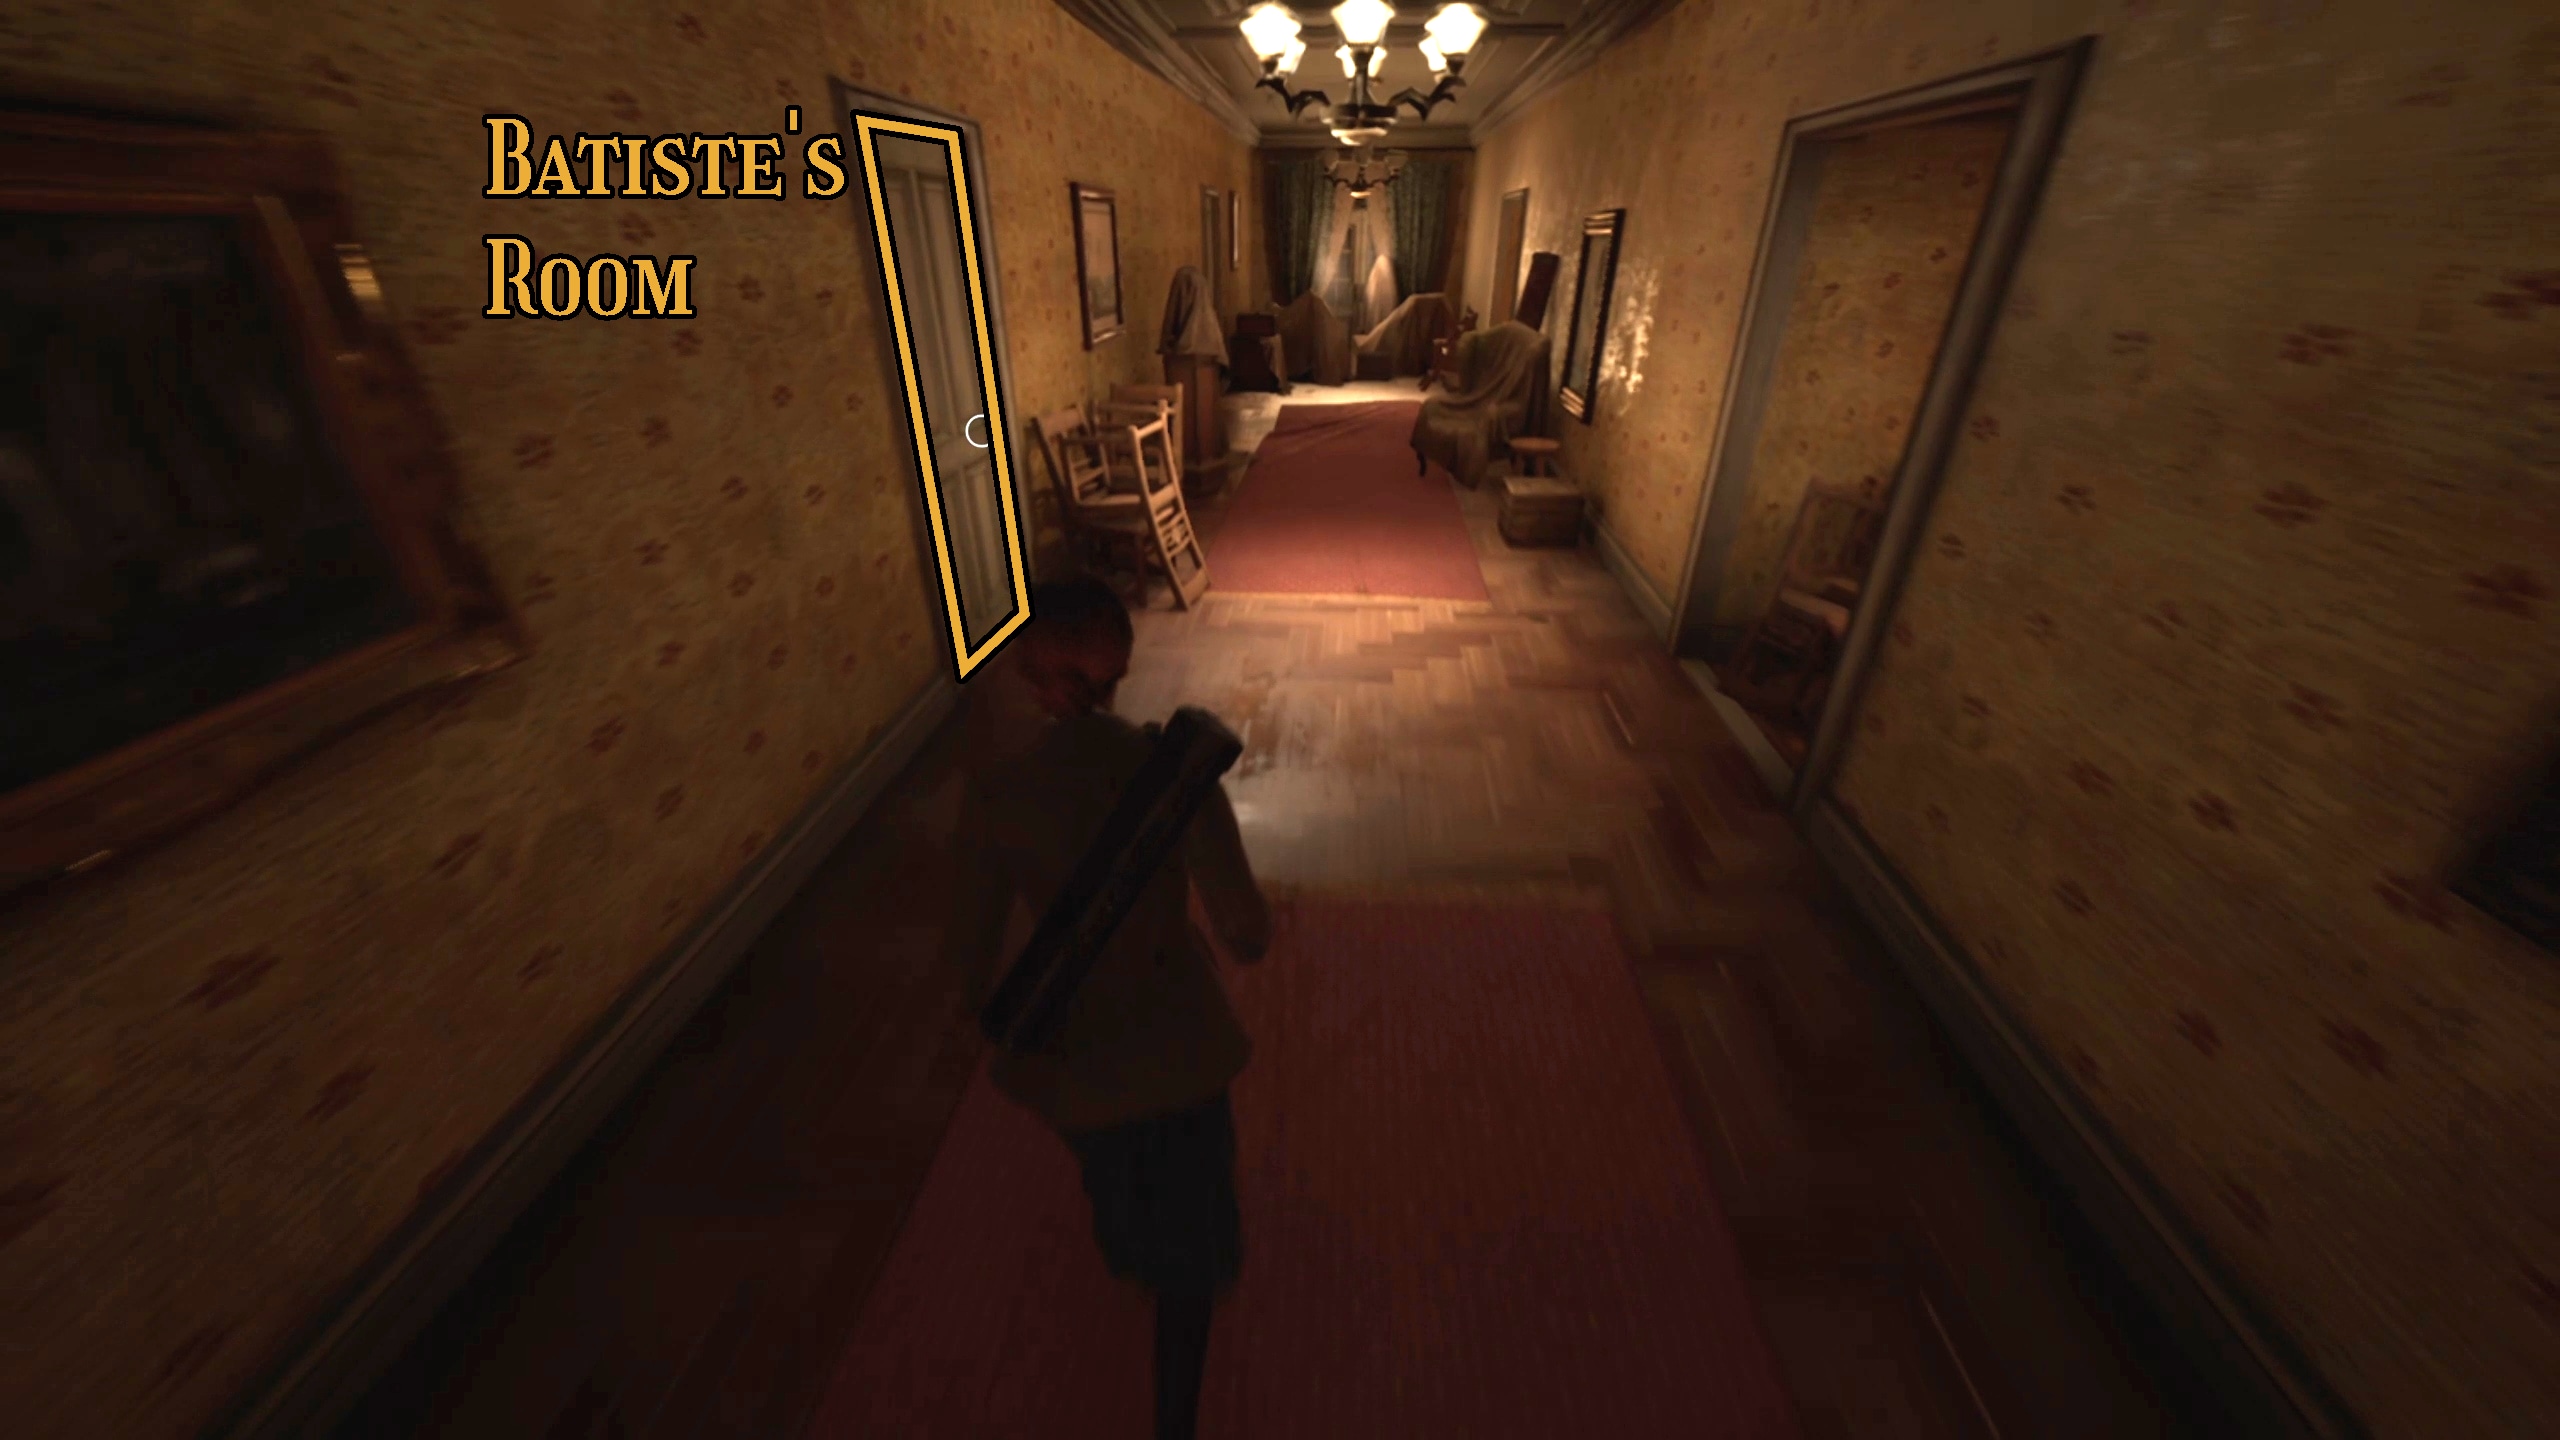
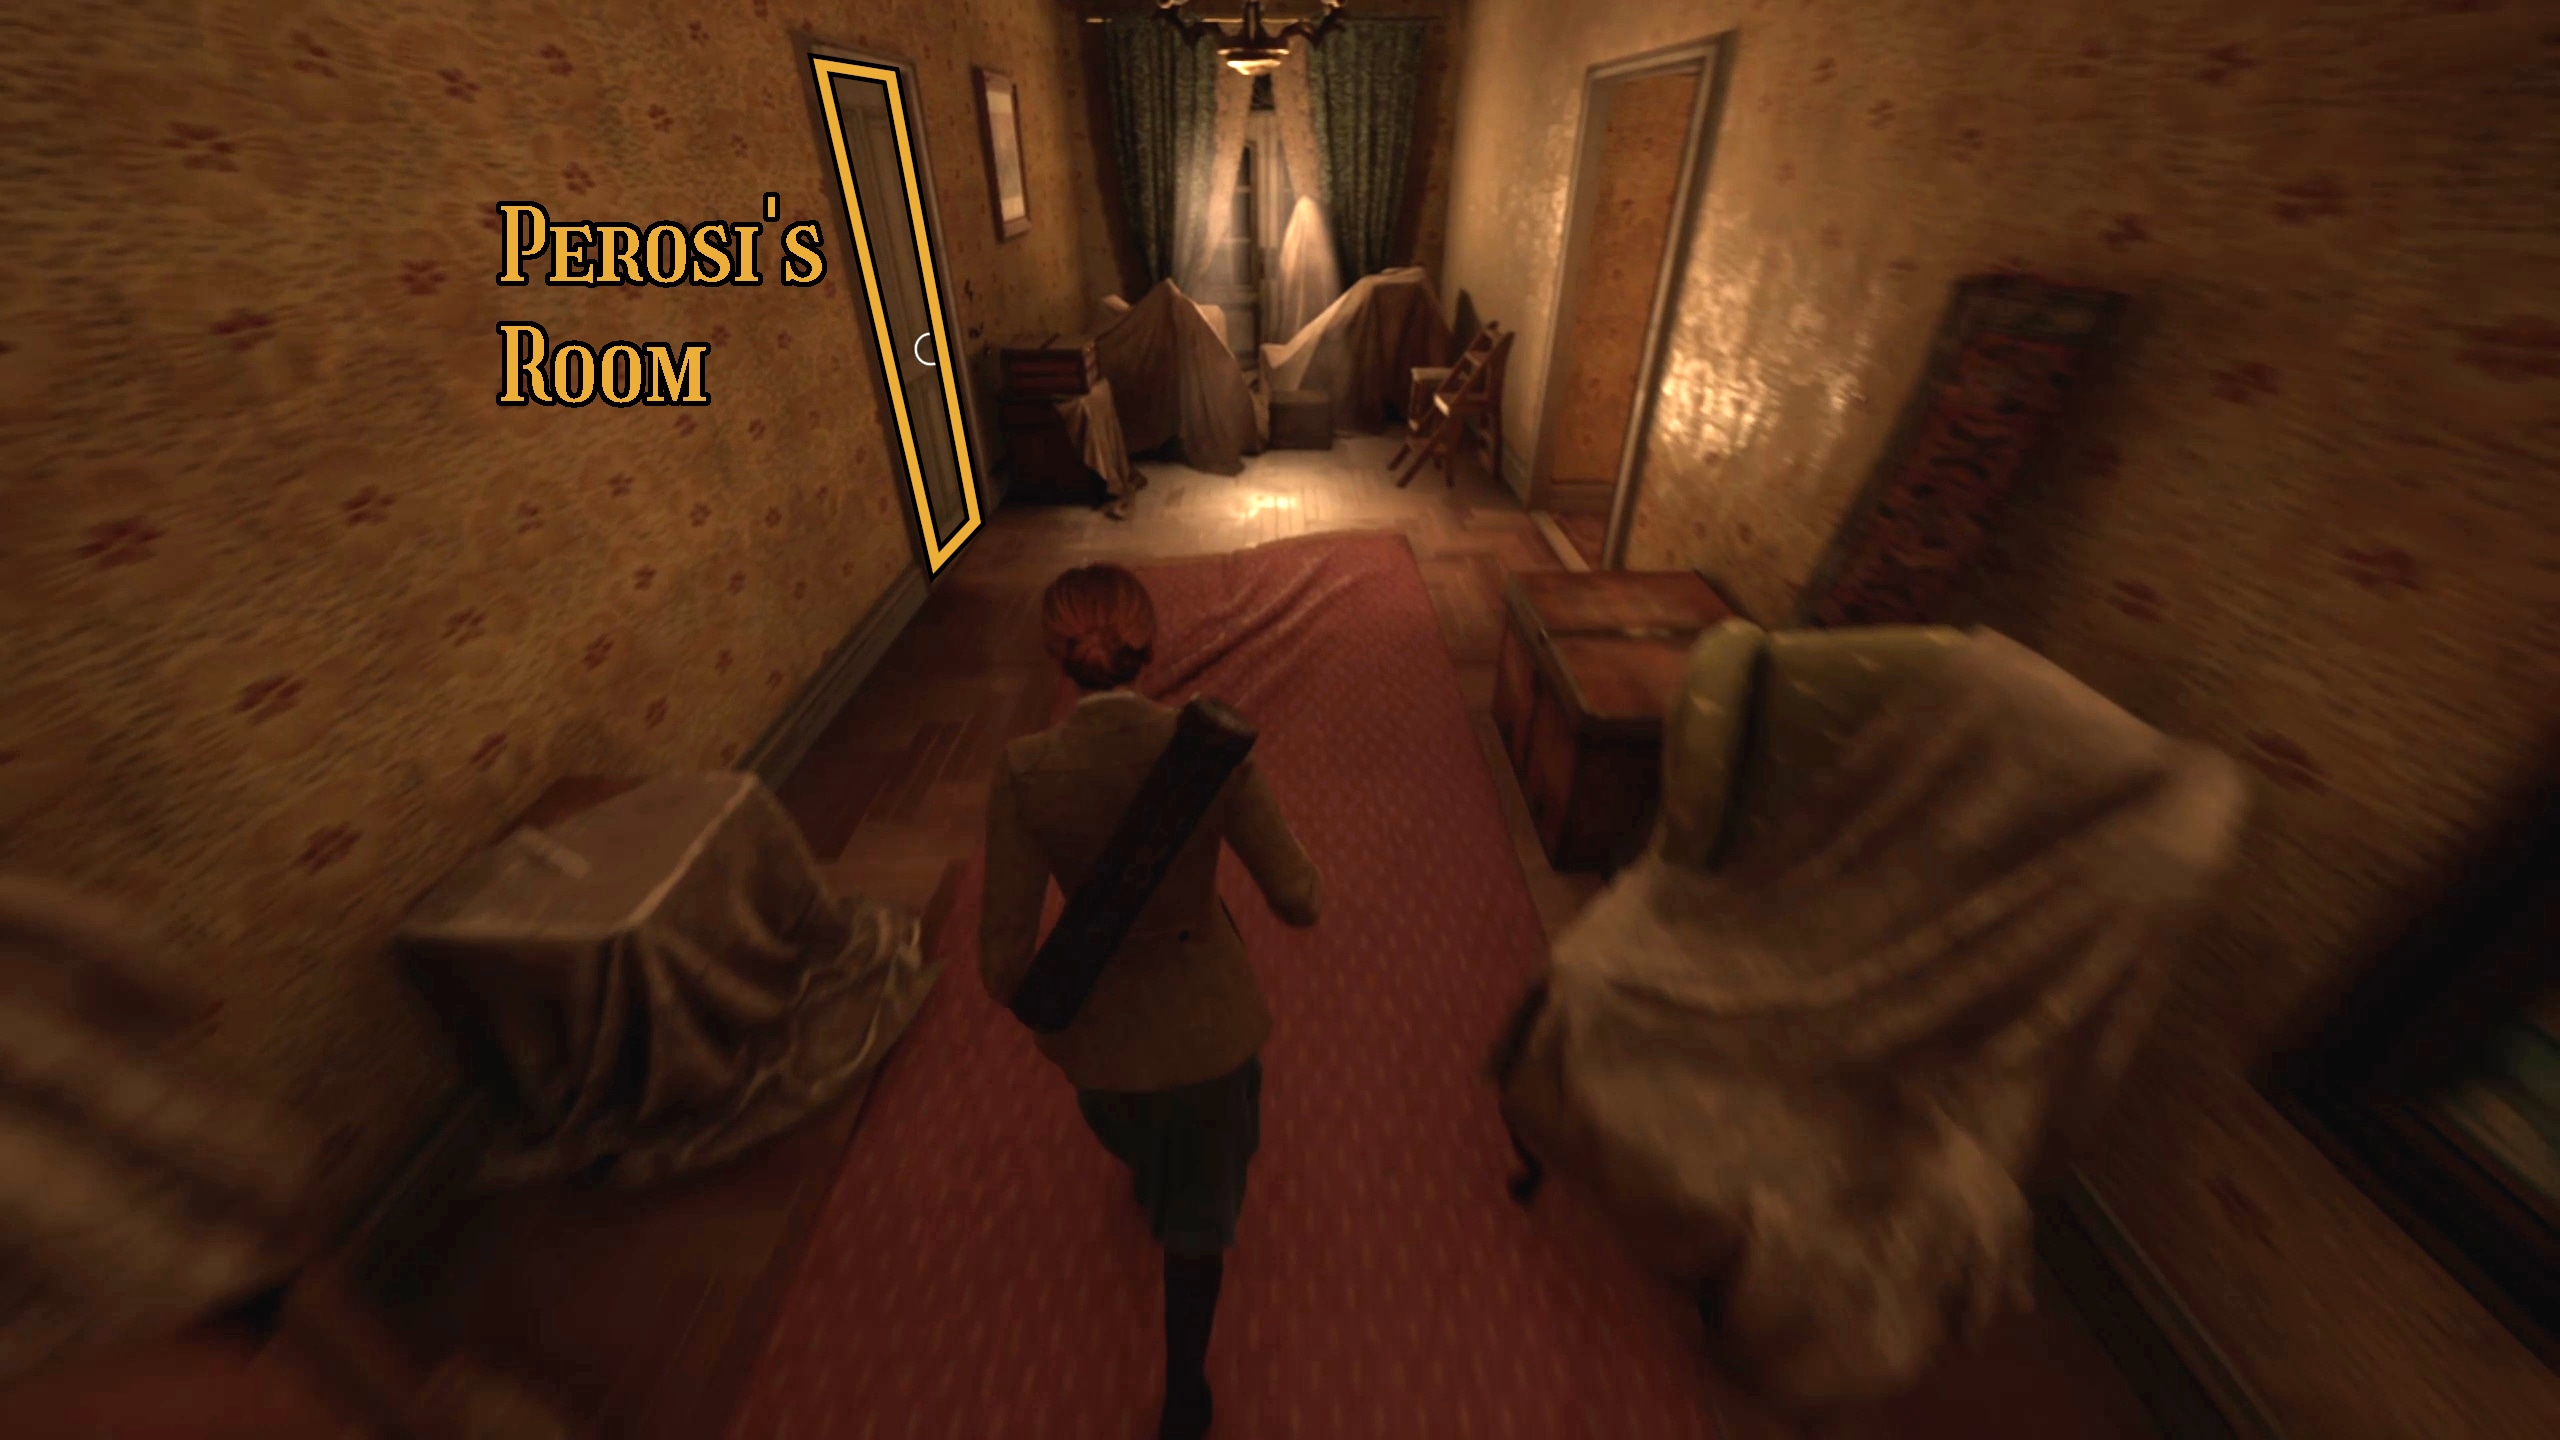
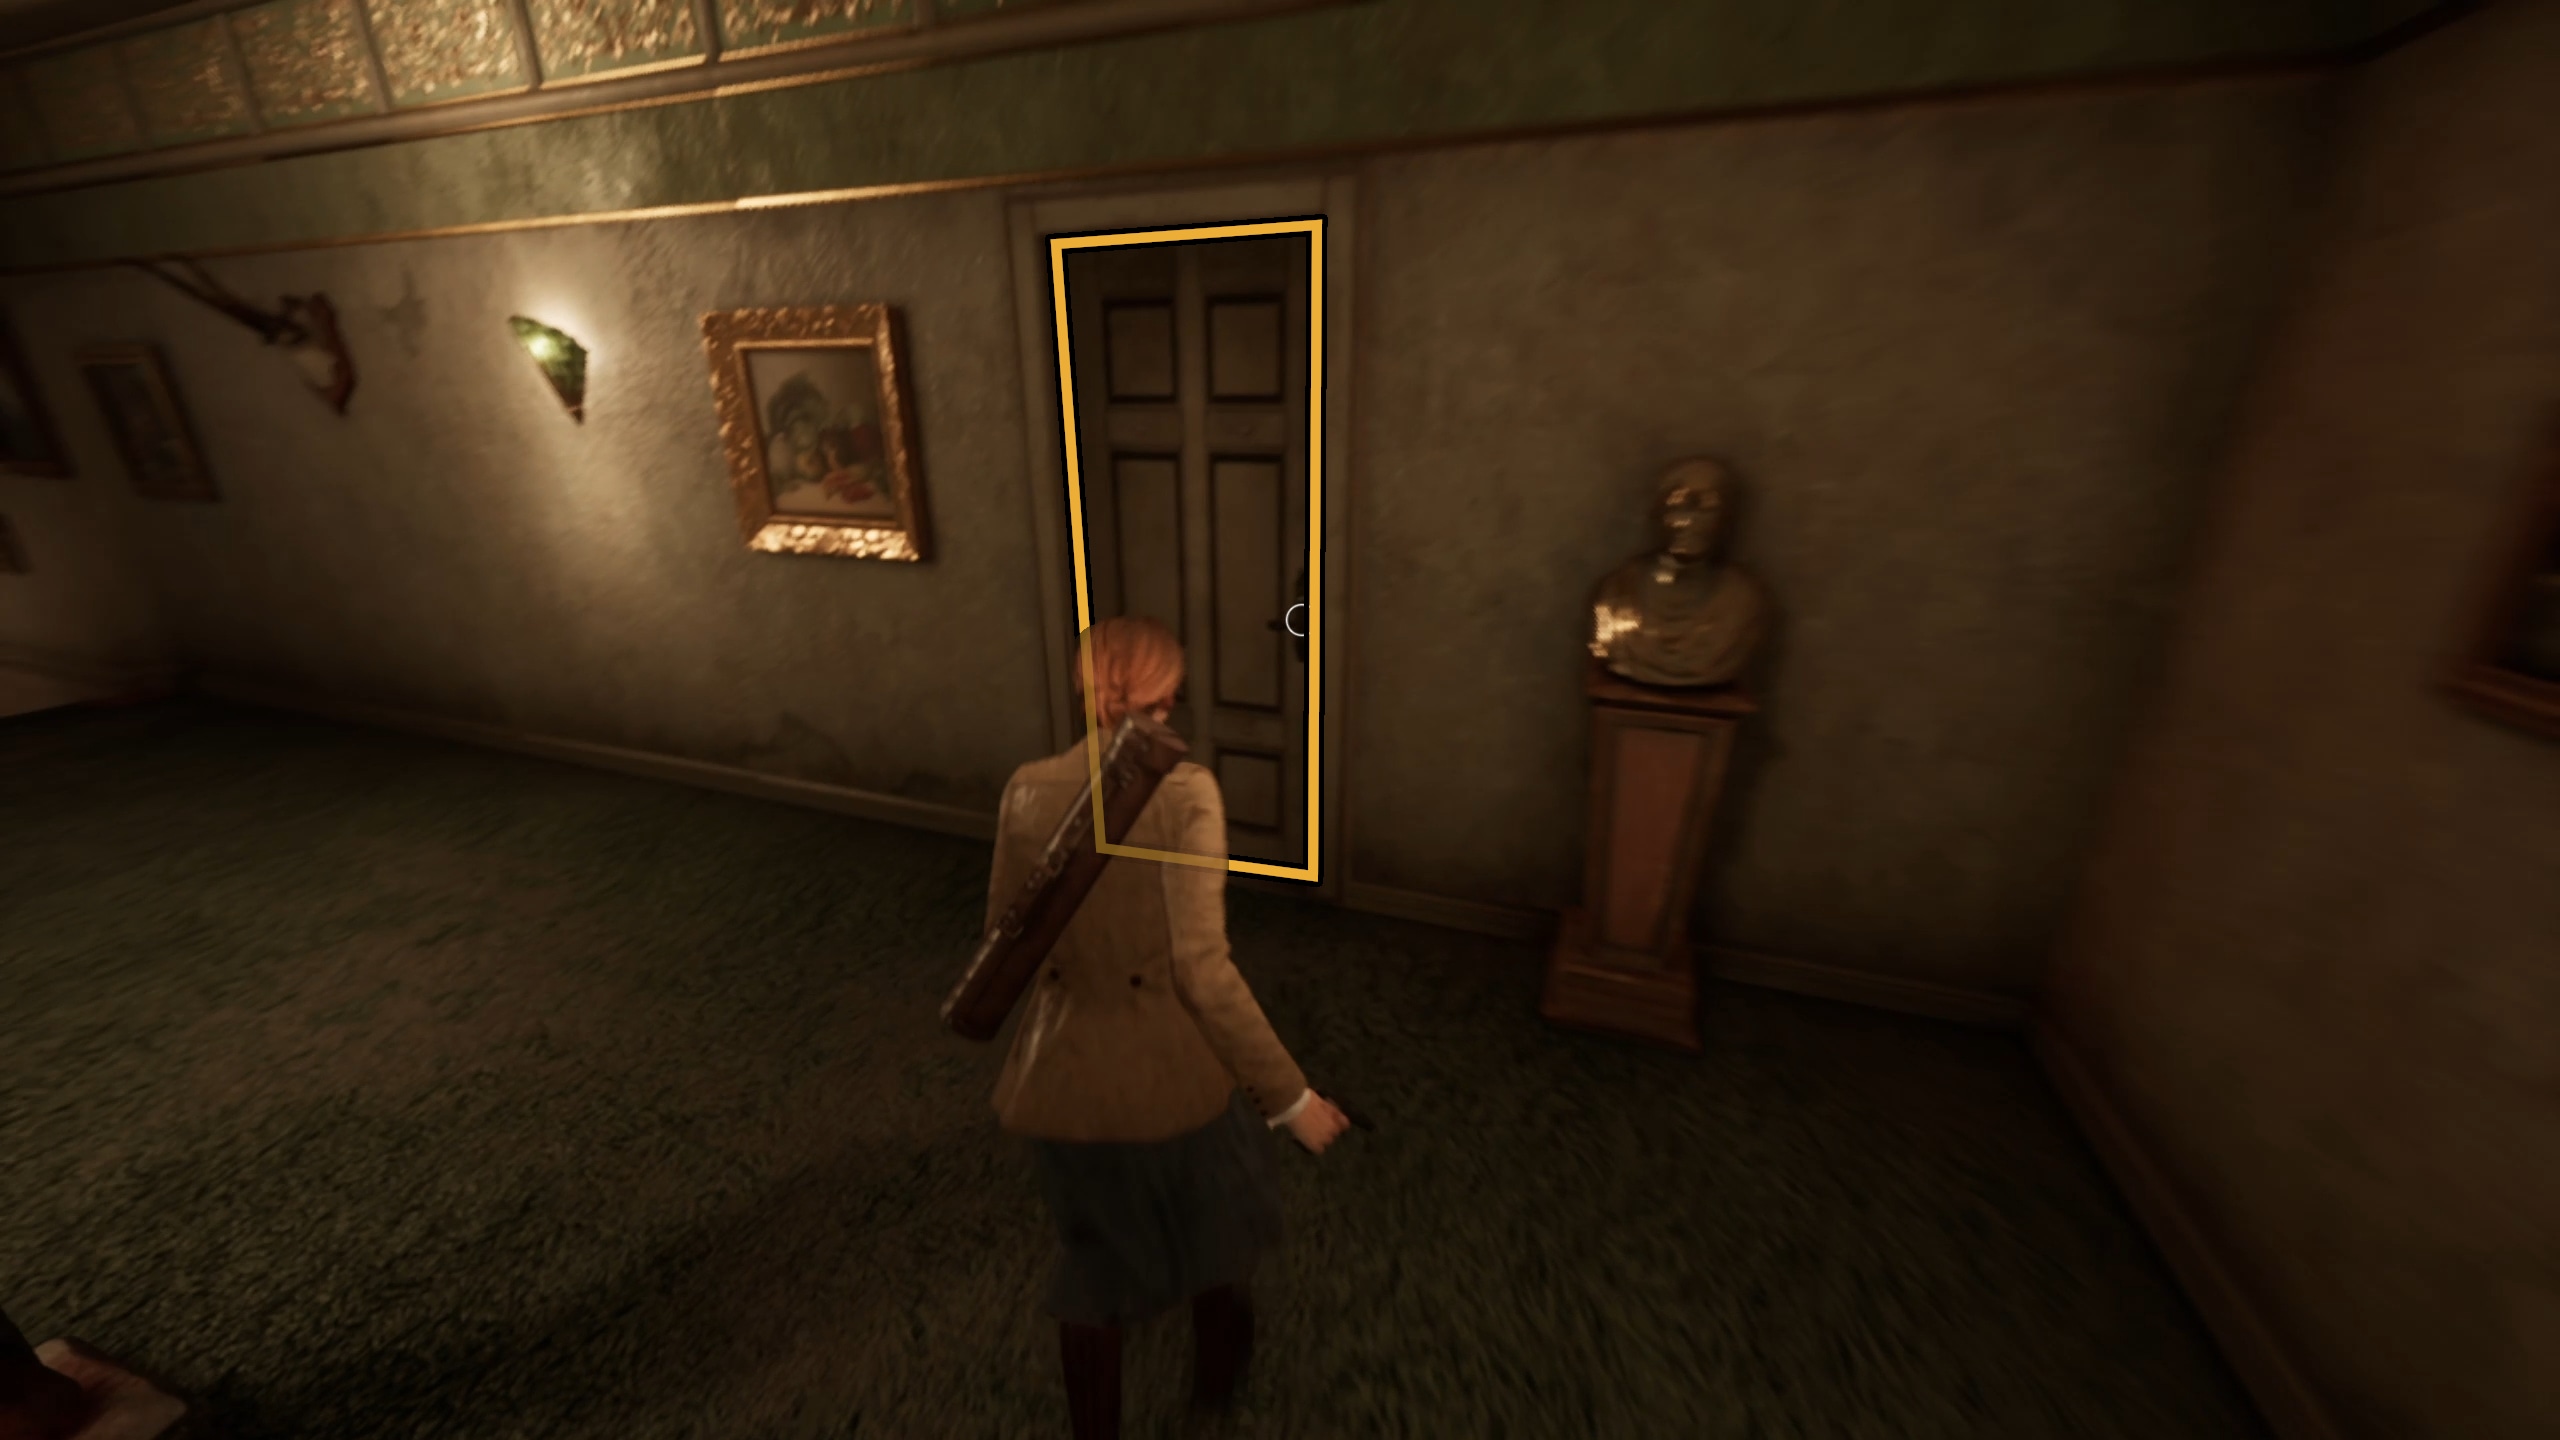
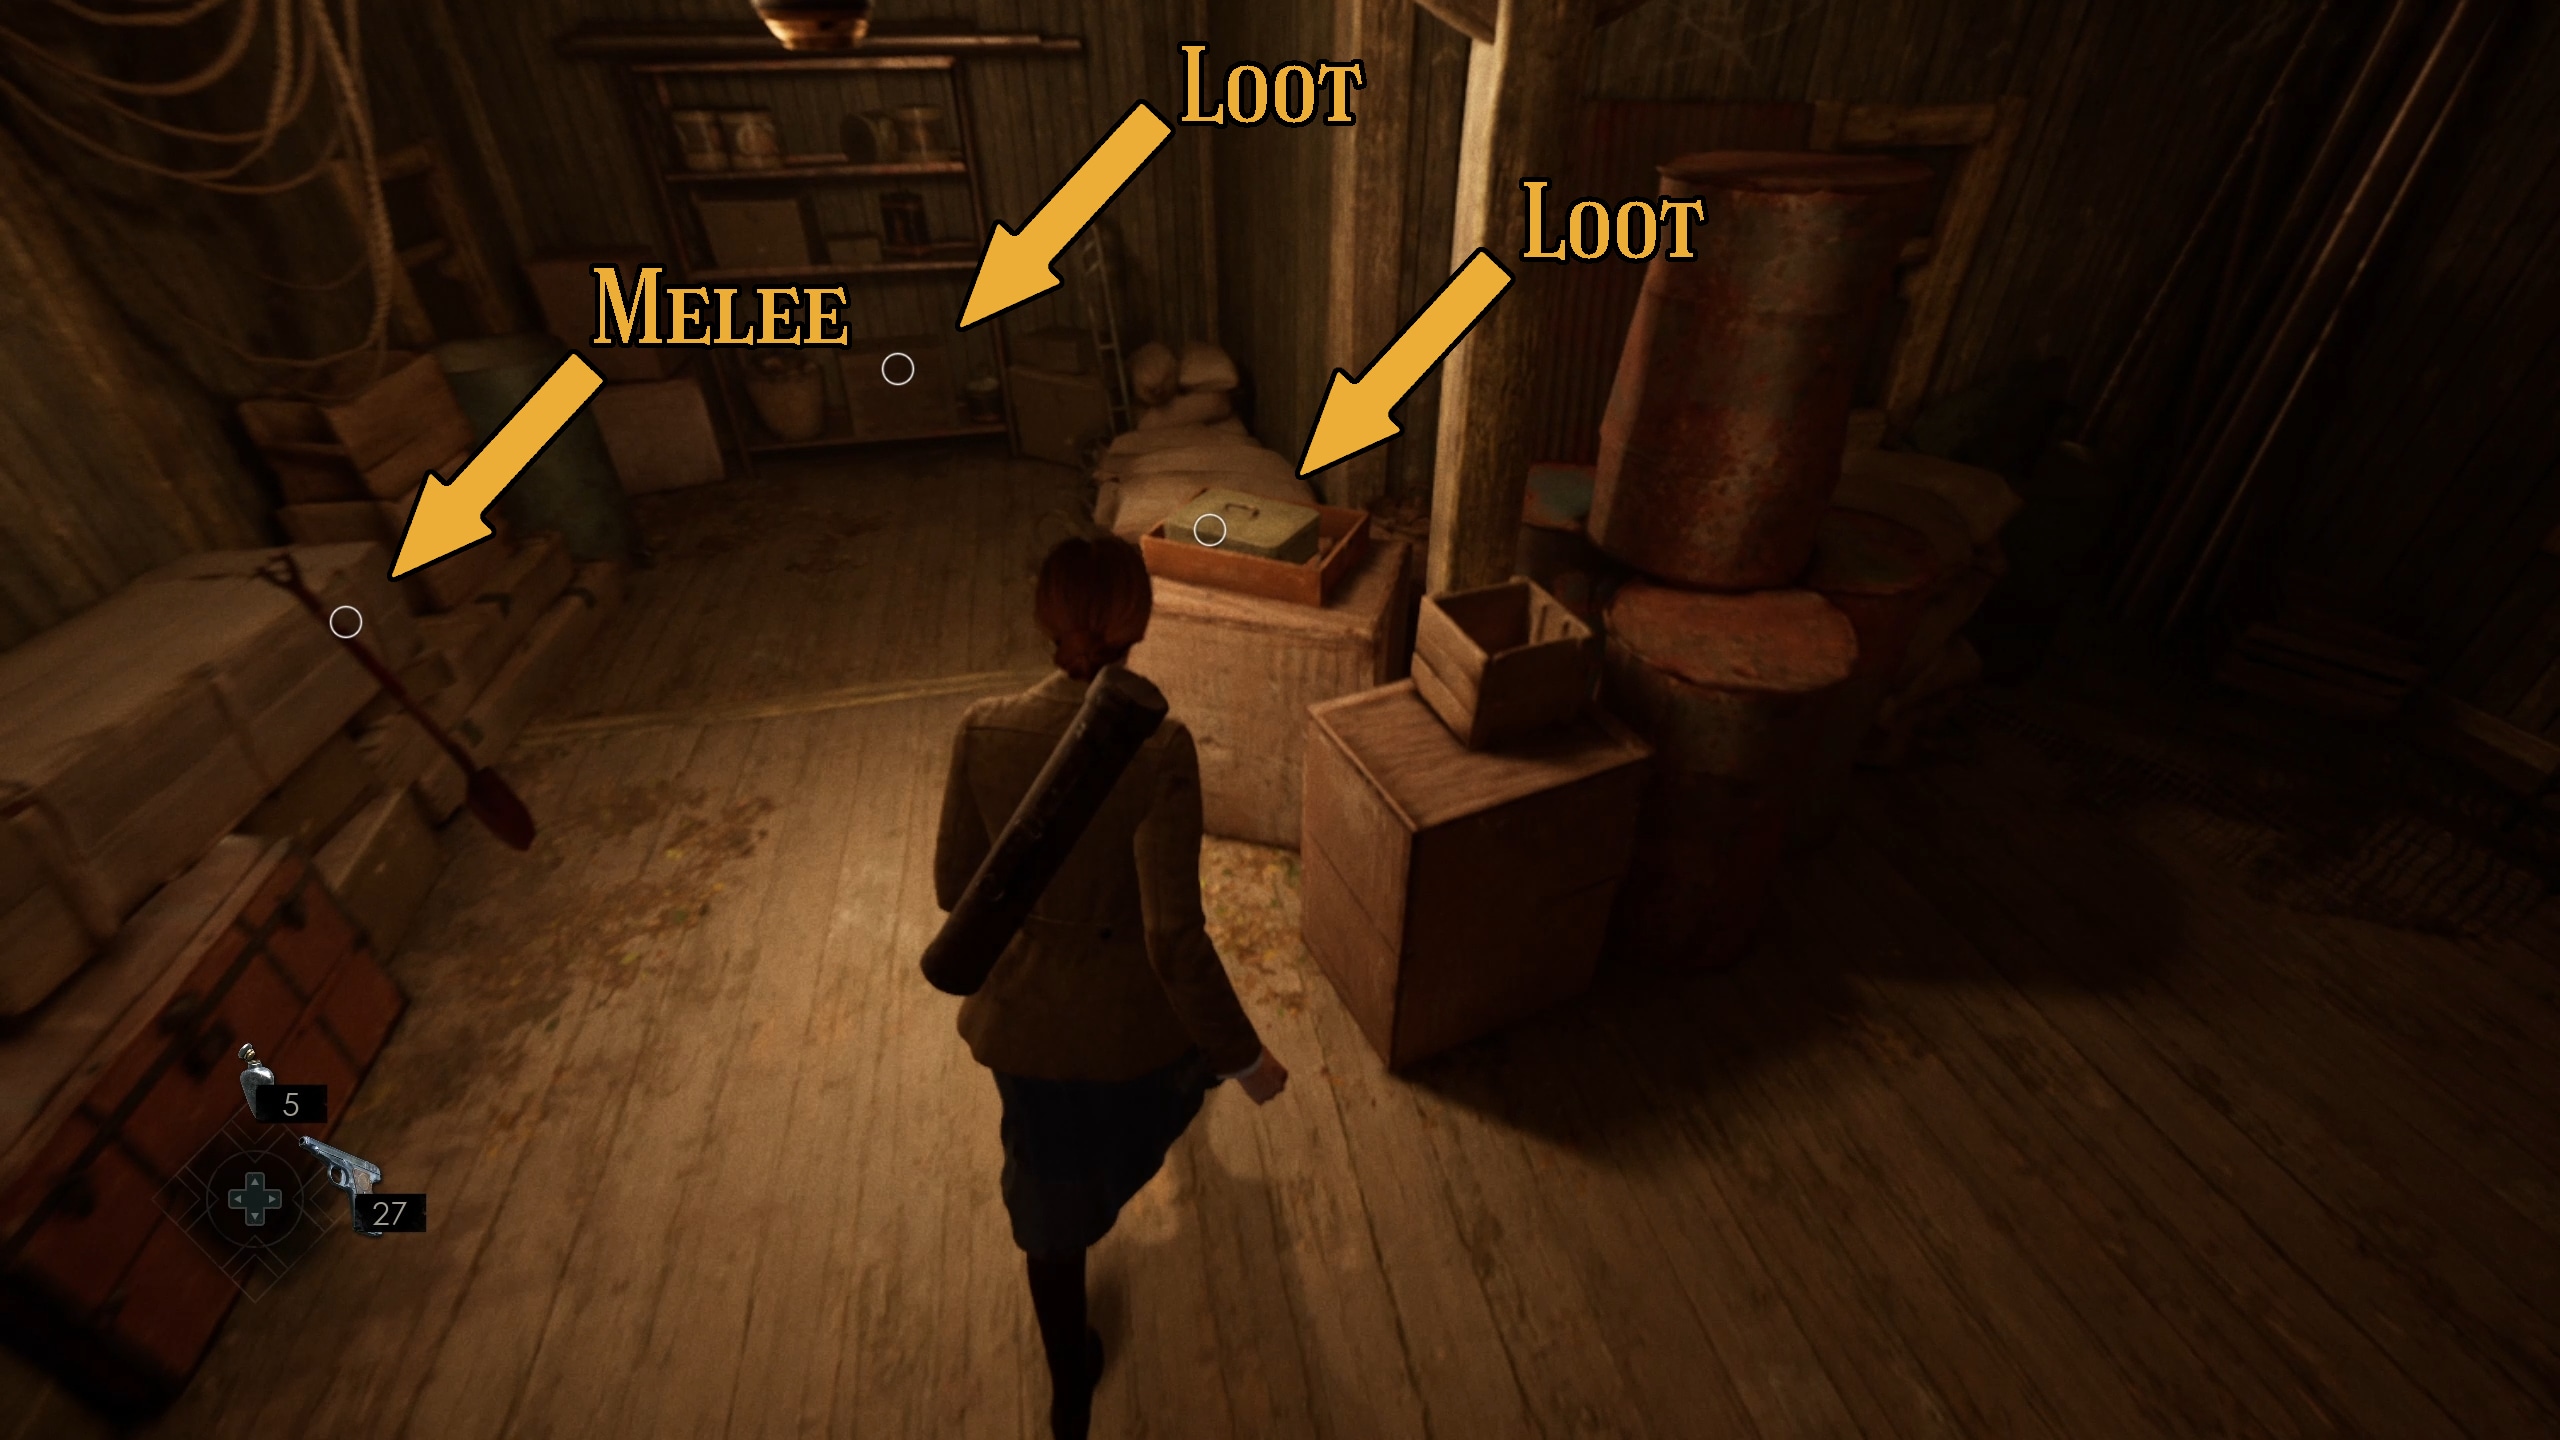
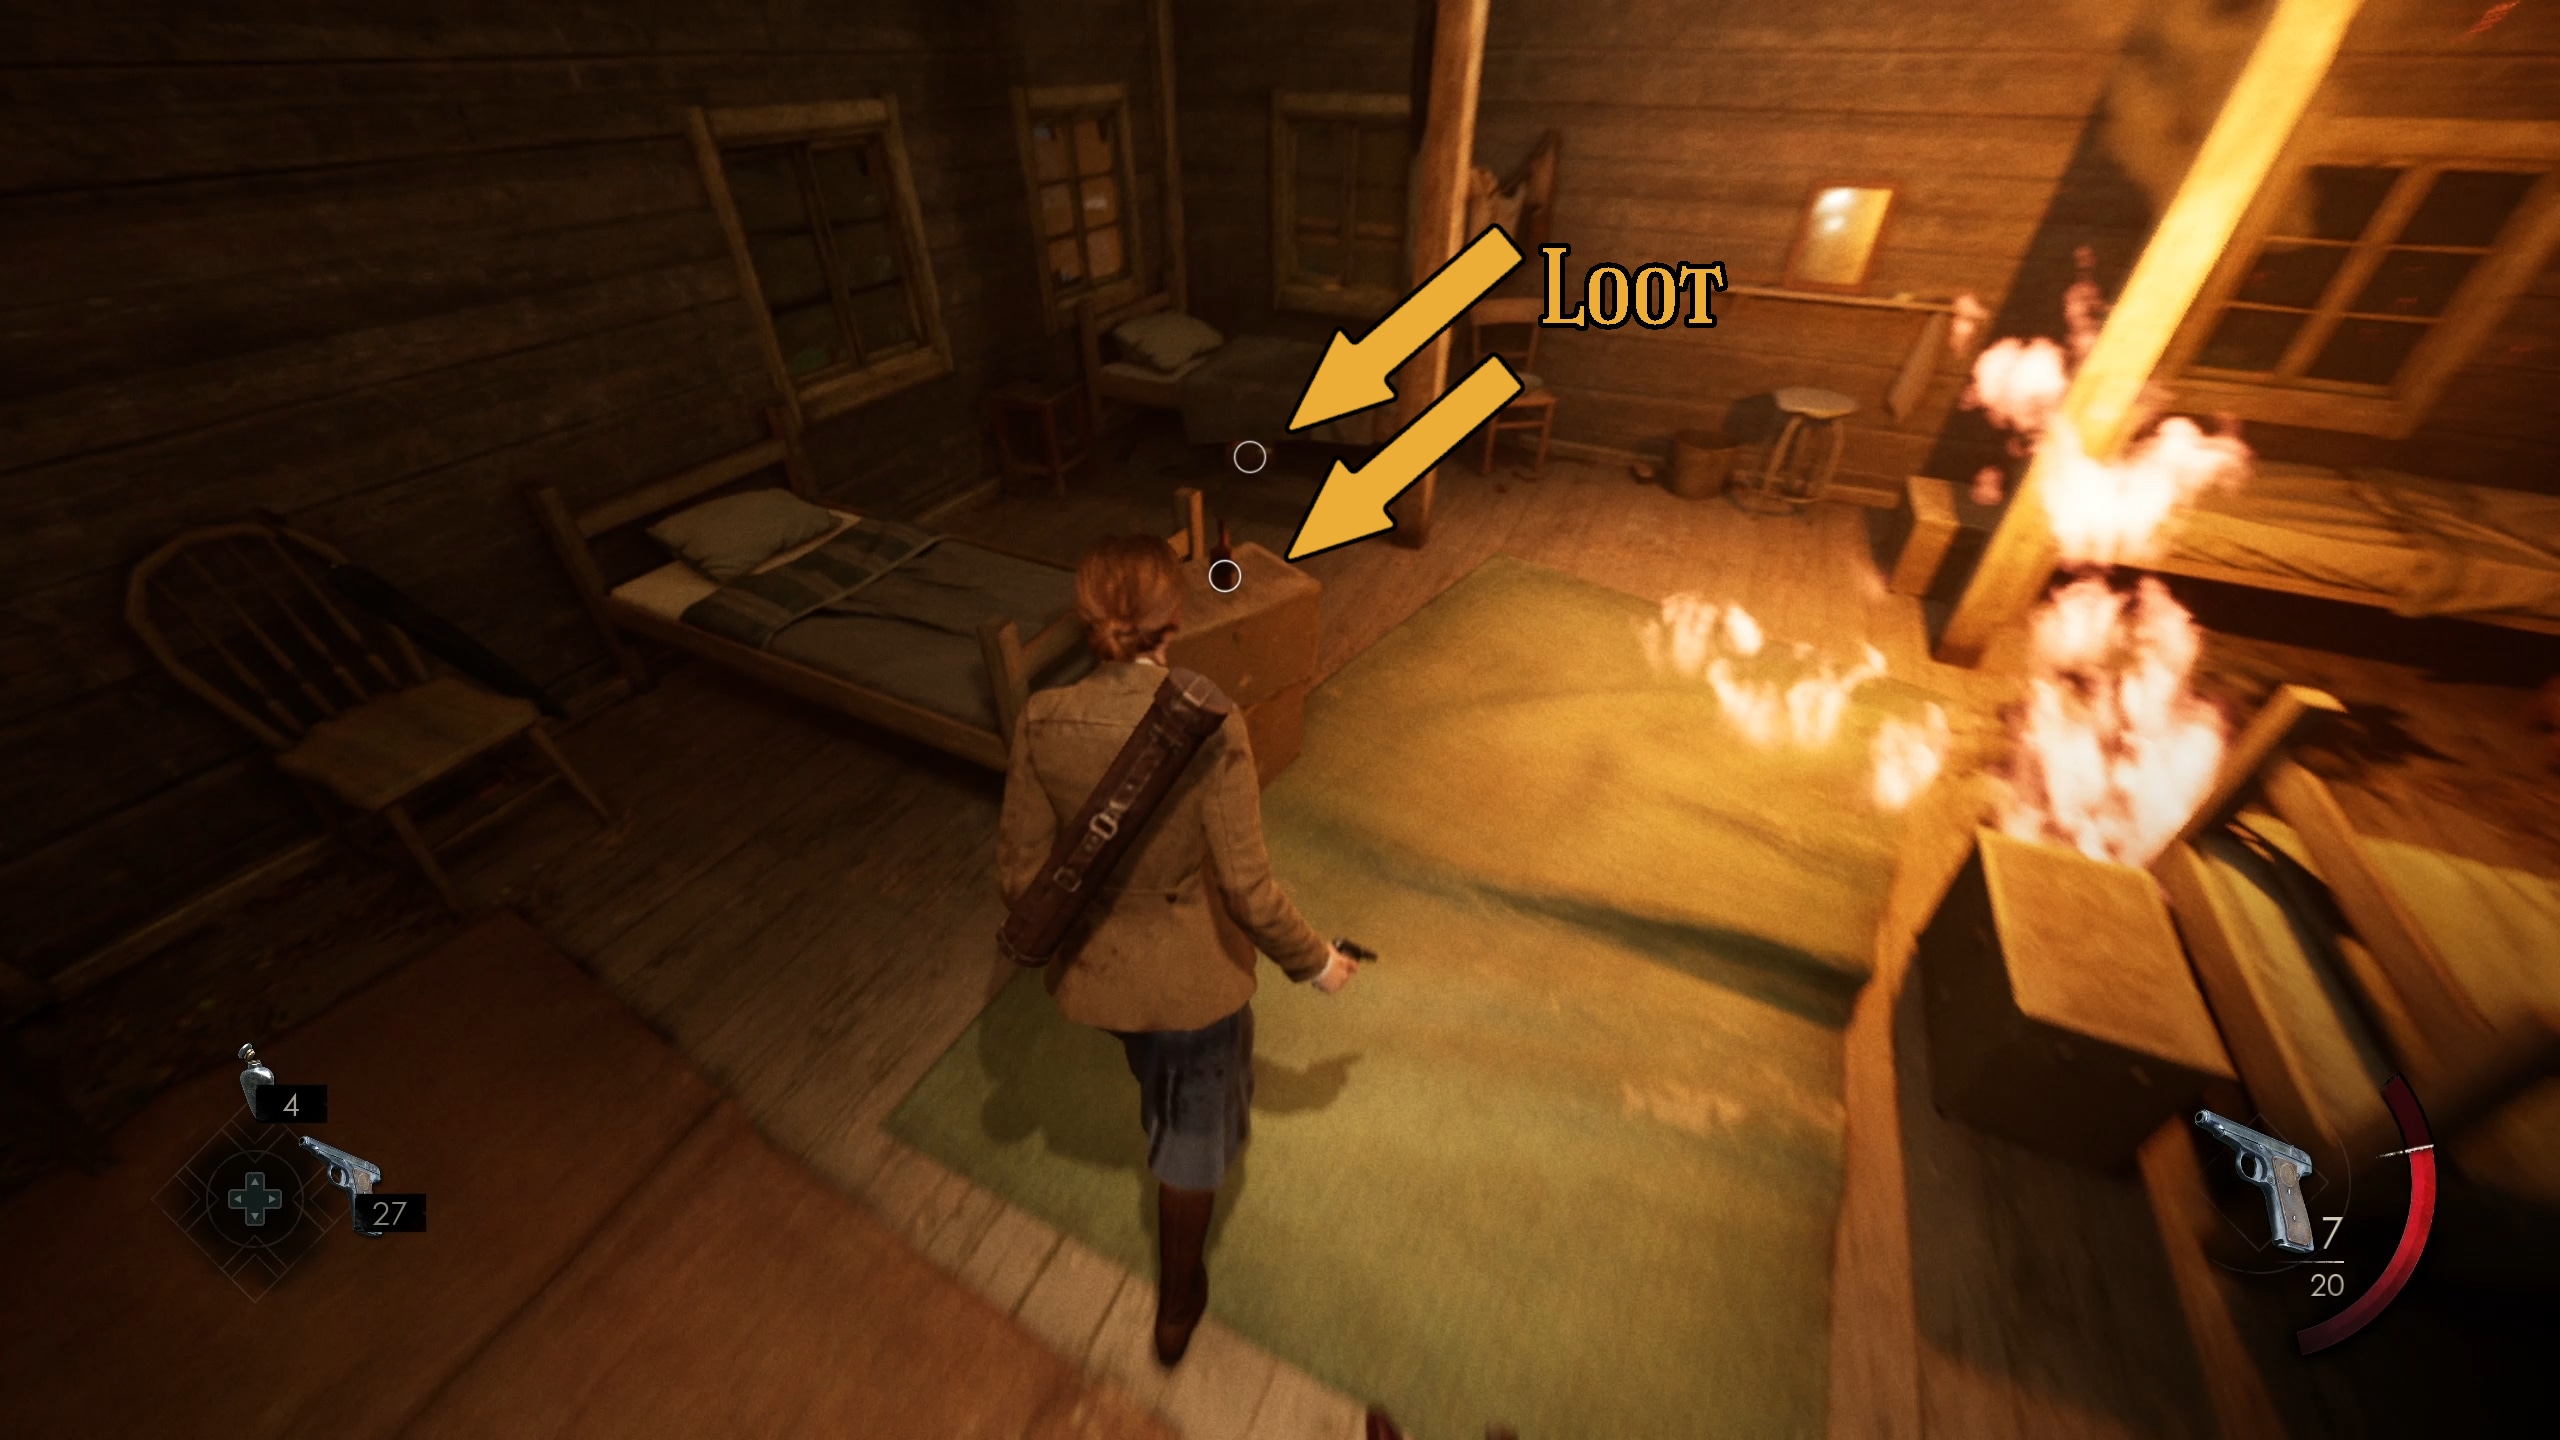
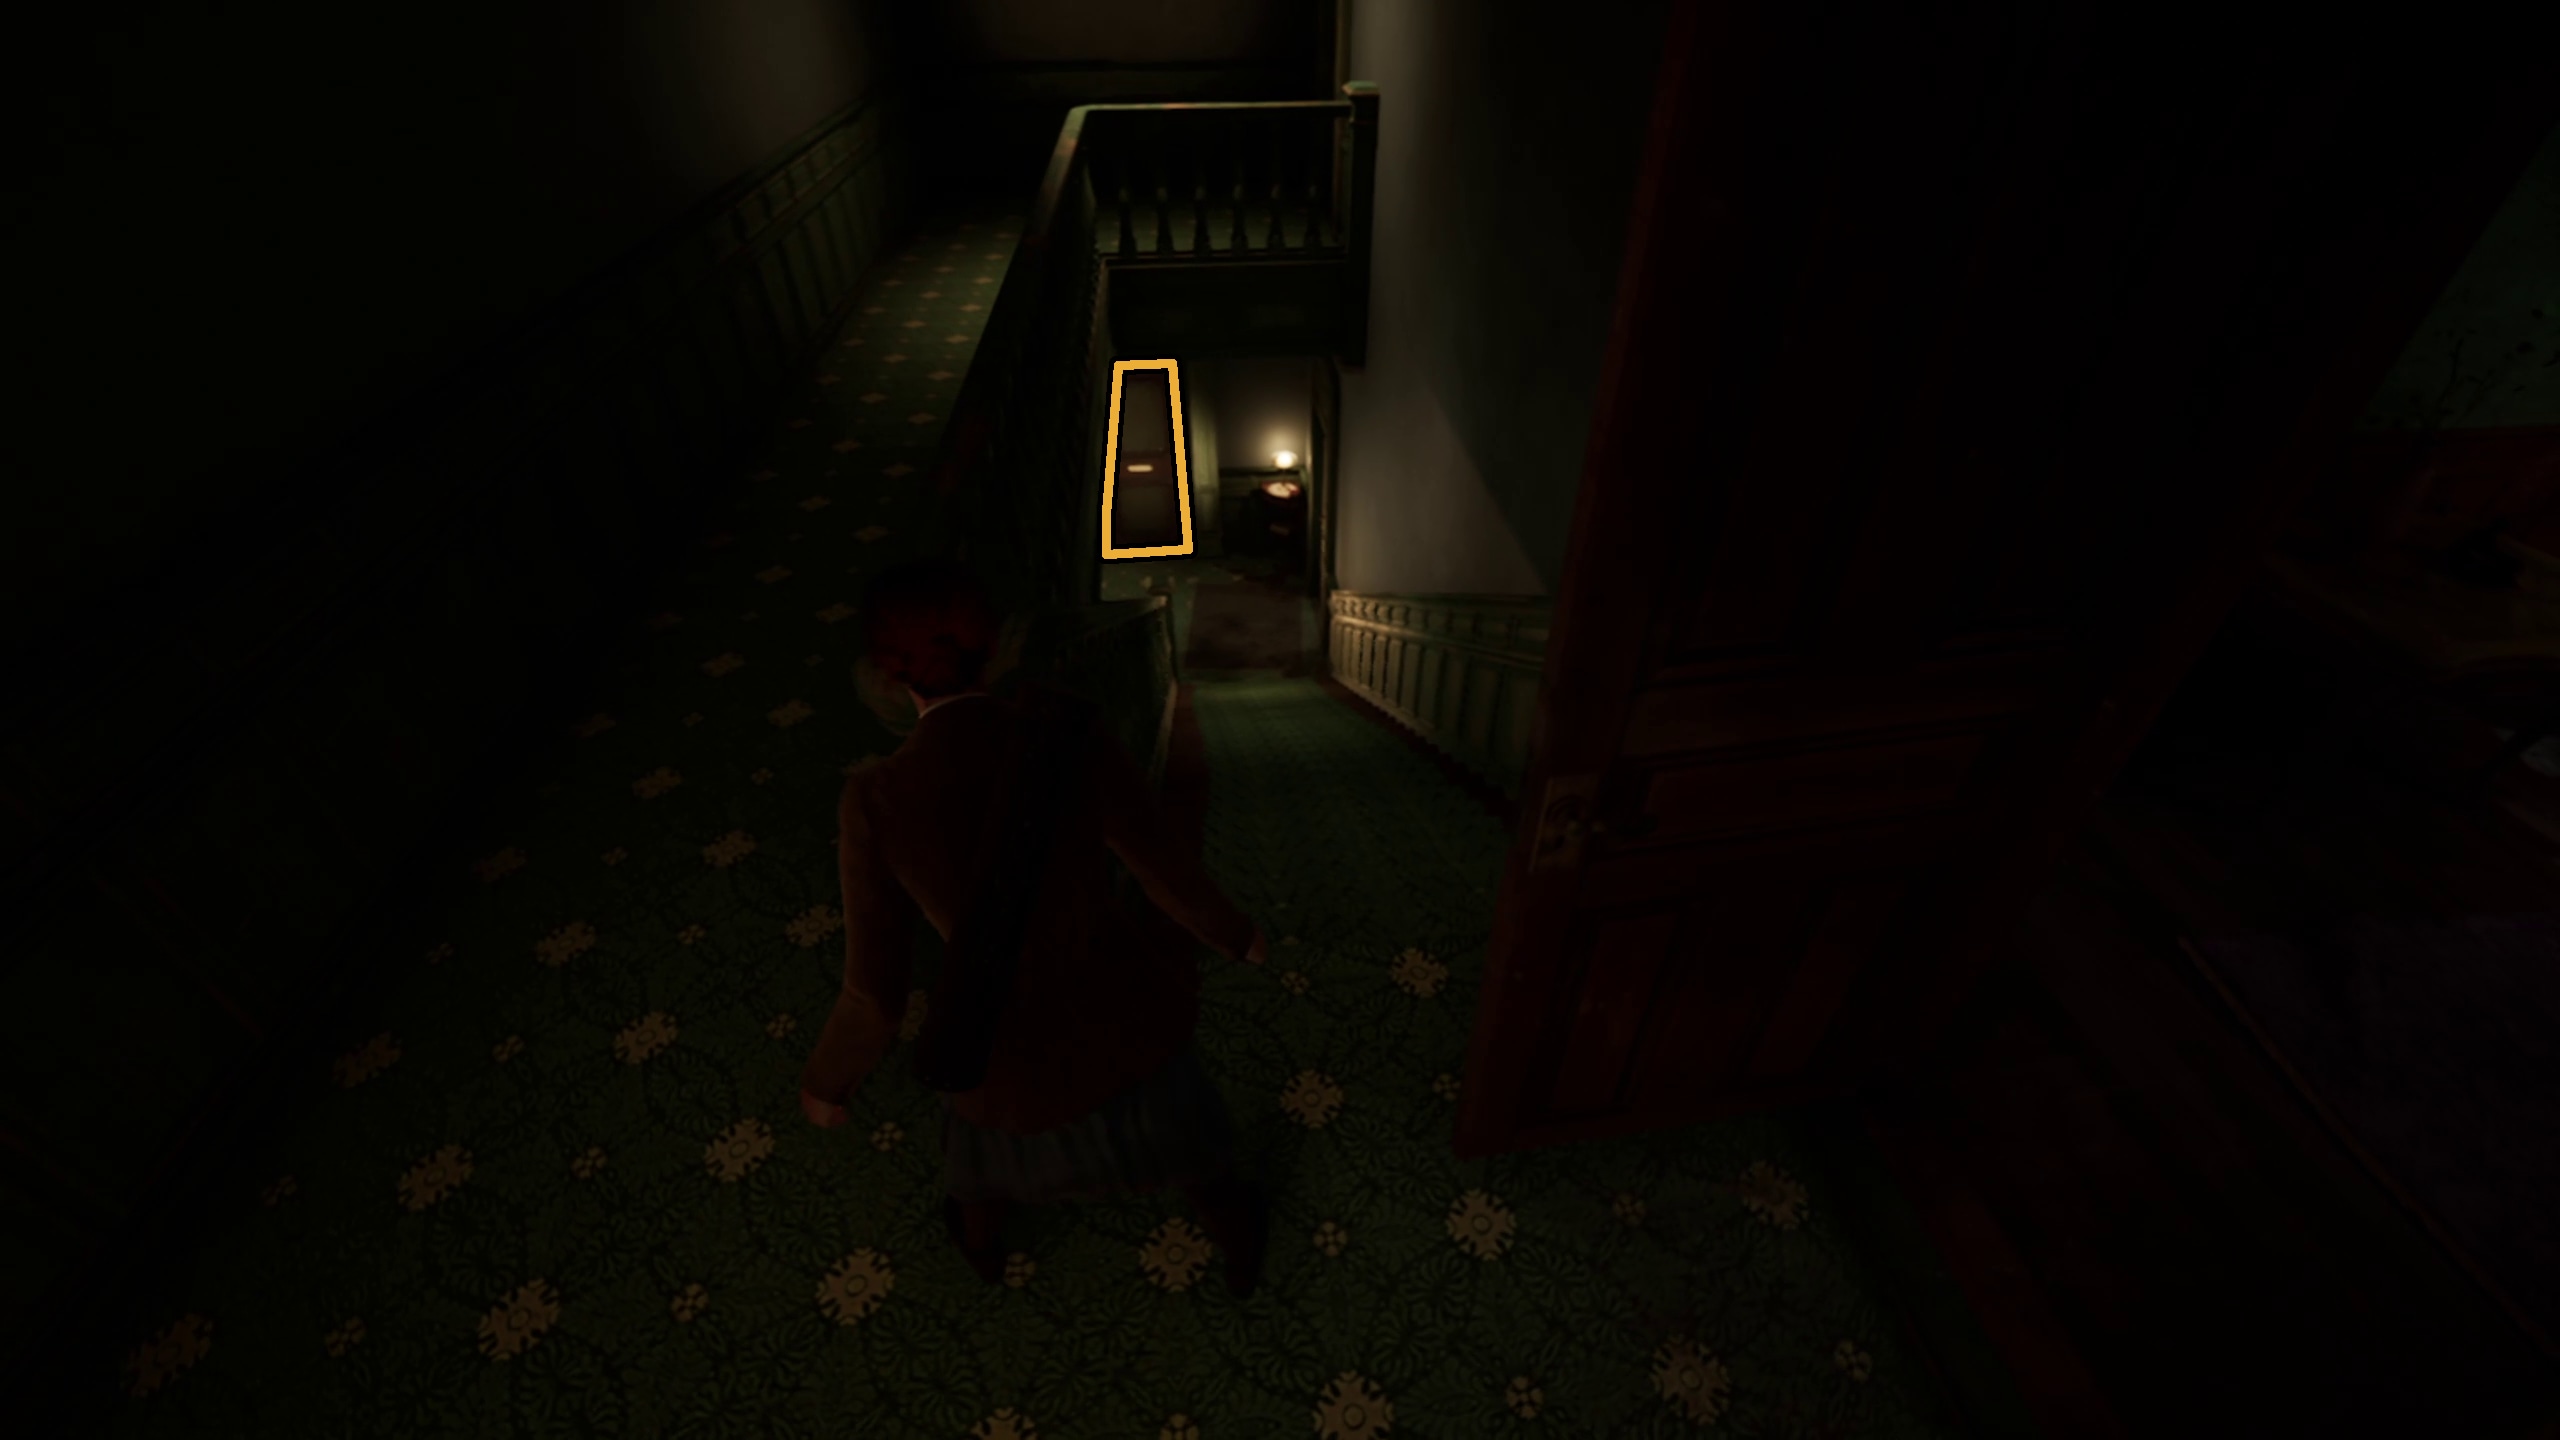
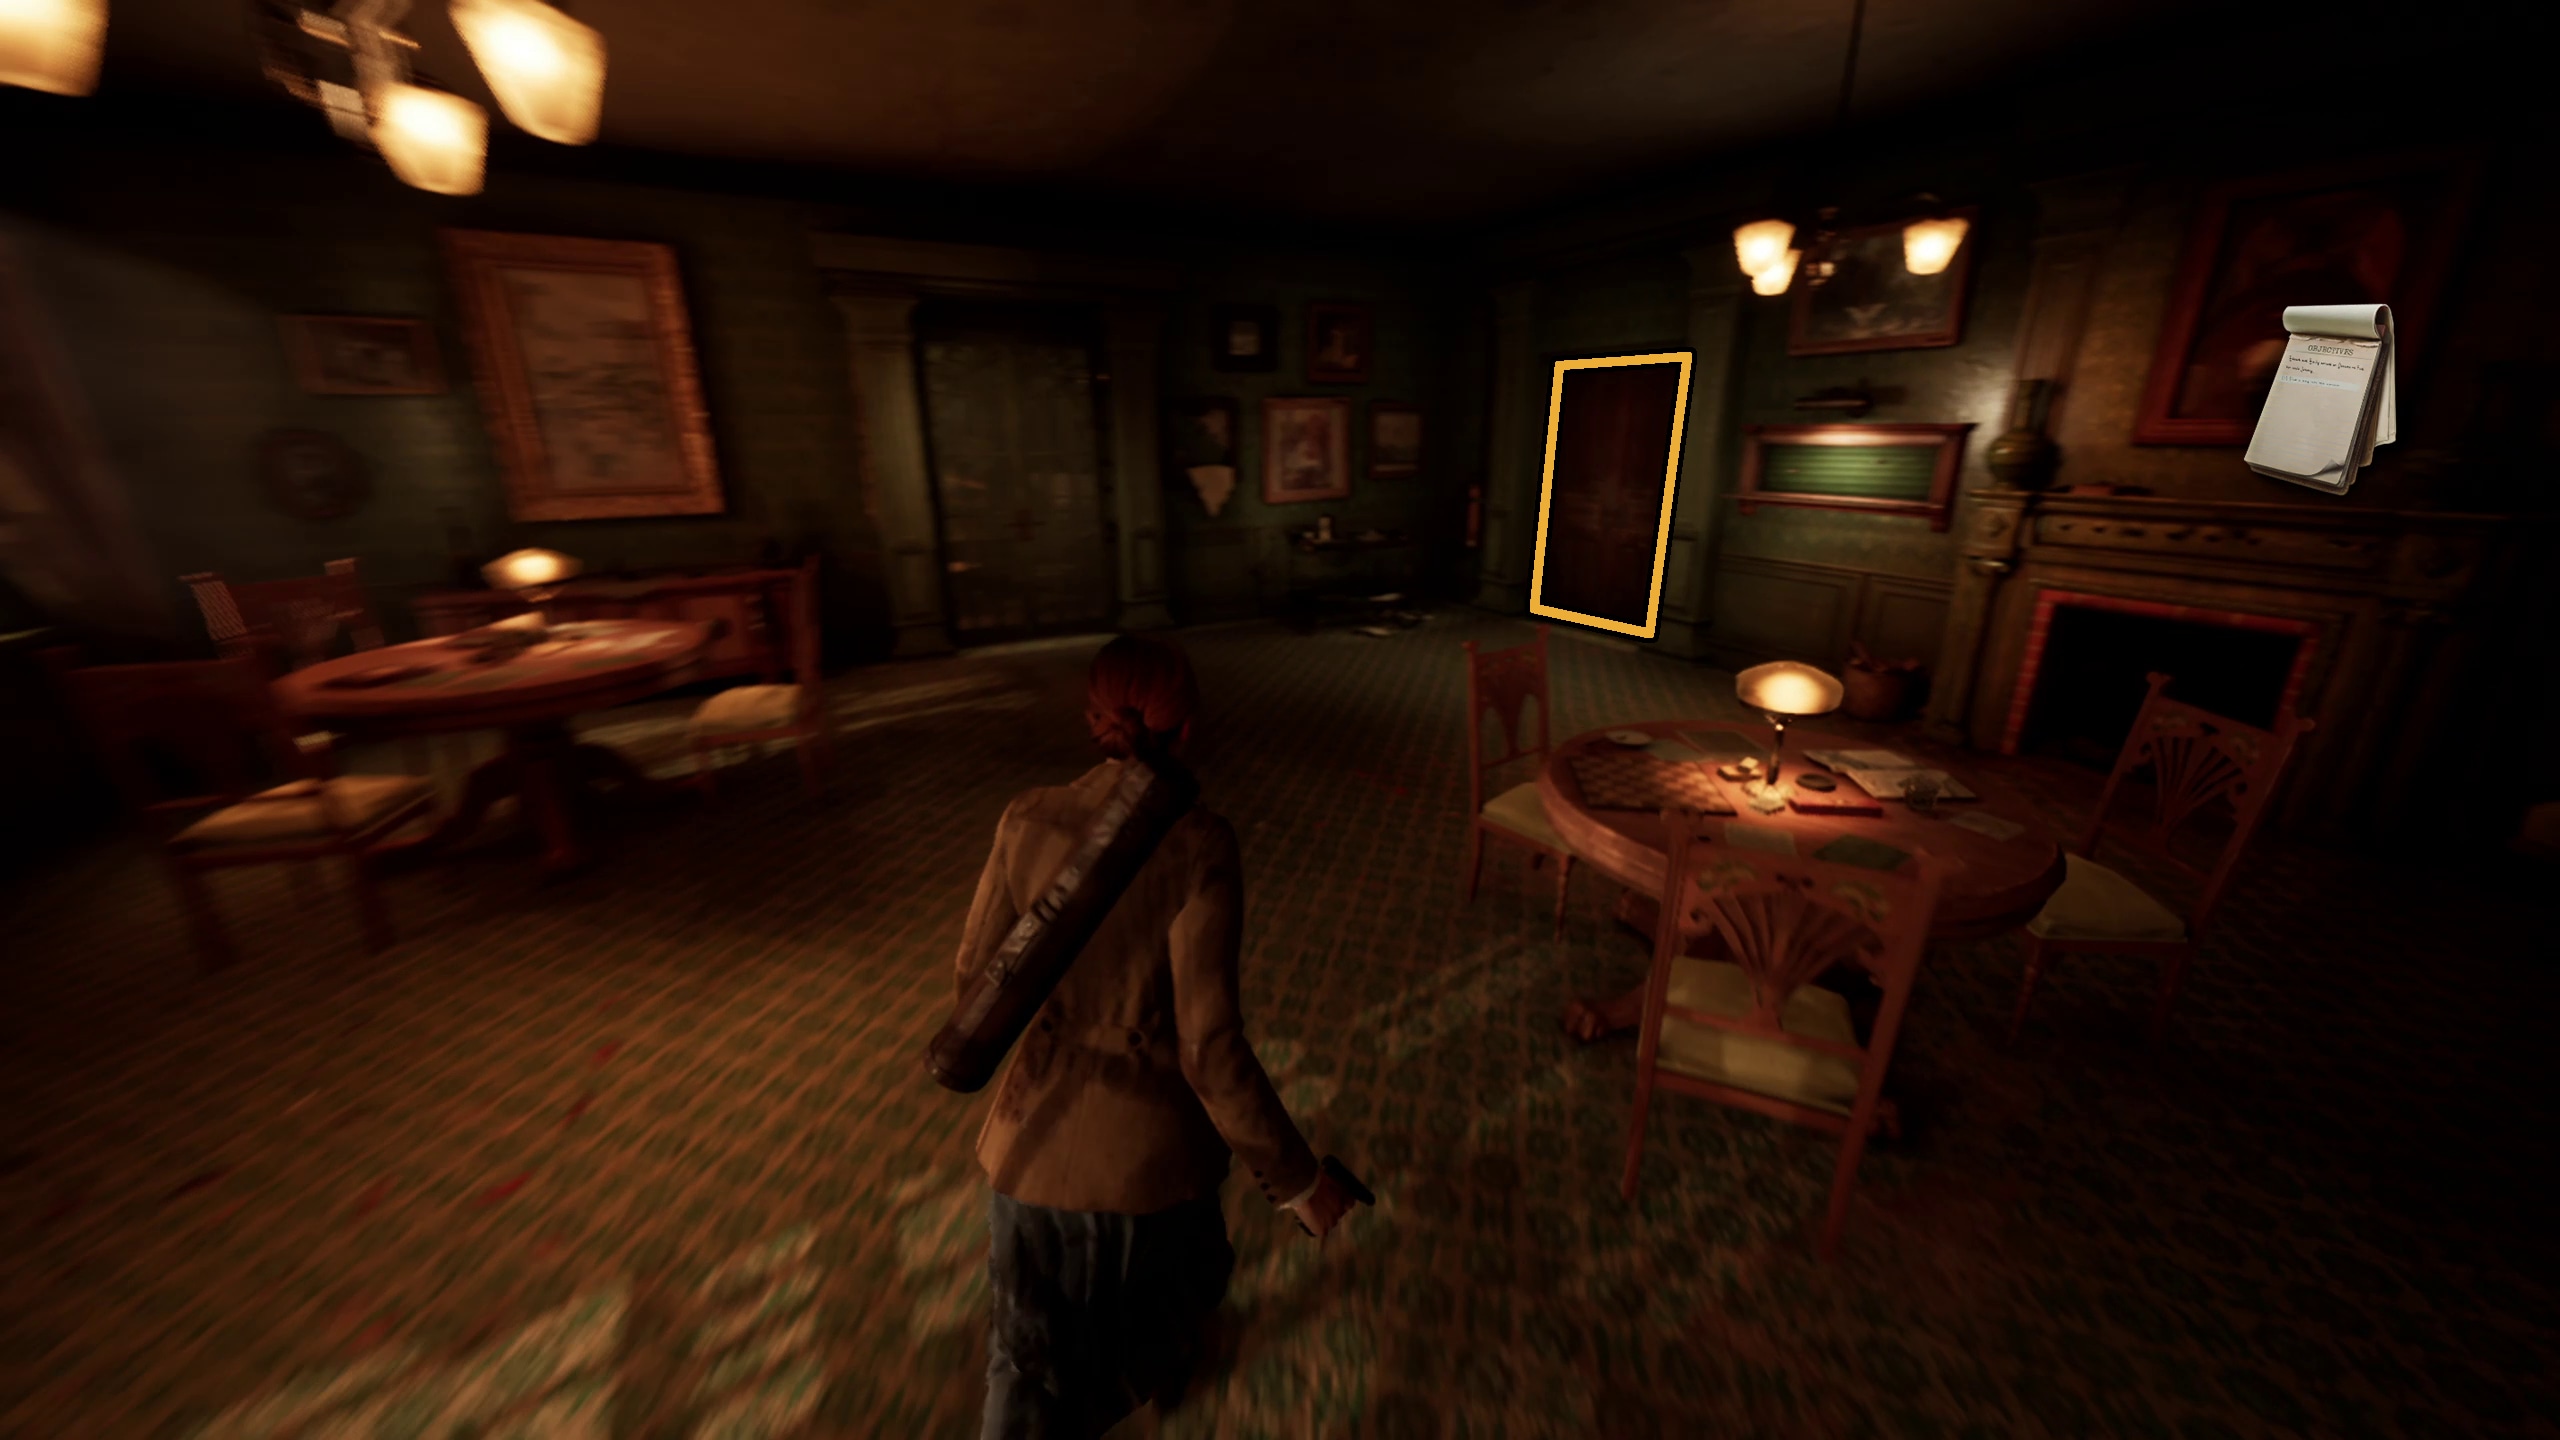
When you reach the Hallway, Edward will get a cutscene with MacCarfey (Image 22). After it or when playing as Emily, you can then enter Jeremy’s room immediately to the left (Image 23) for the “Emily is Here” note (Image 24). Then, the next room over is Batiste’s room (Image 25). With it, you can find a chest with loot and the Fountain Pen lagniappe (Image 26). Finally, you can go to the last door on the left in the hallway, Perosi’s room, #6 (Image 27).
Image 22Image 23Image 24Image 25Image 26Image 27
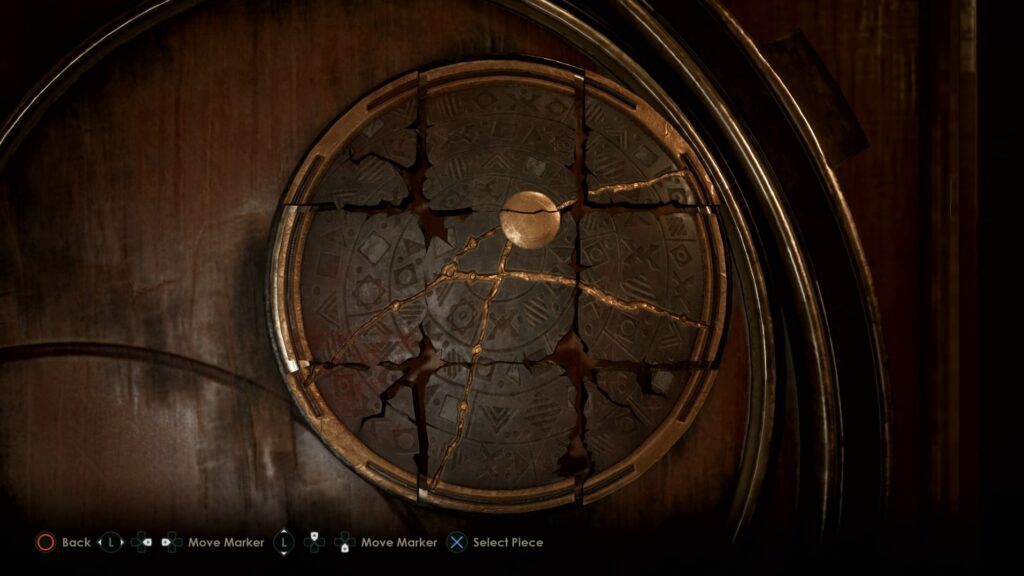
Perosi’s Portrait Puzzle
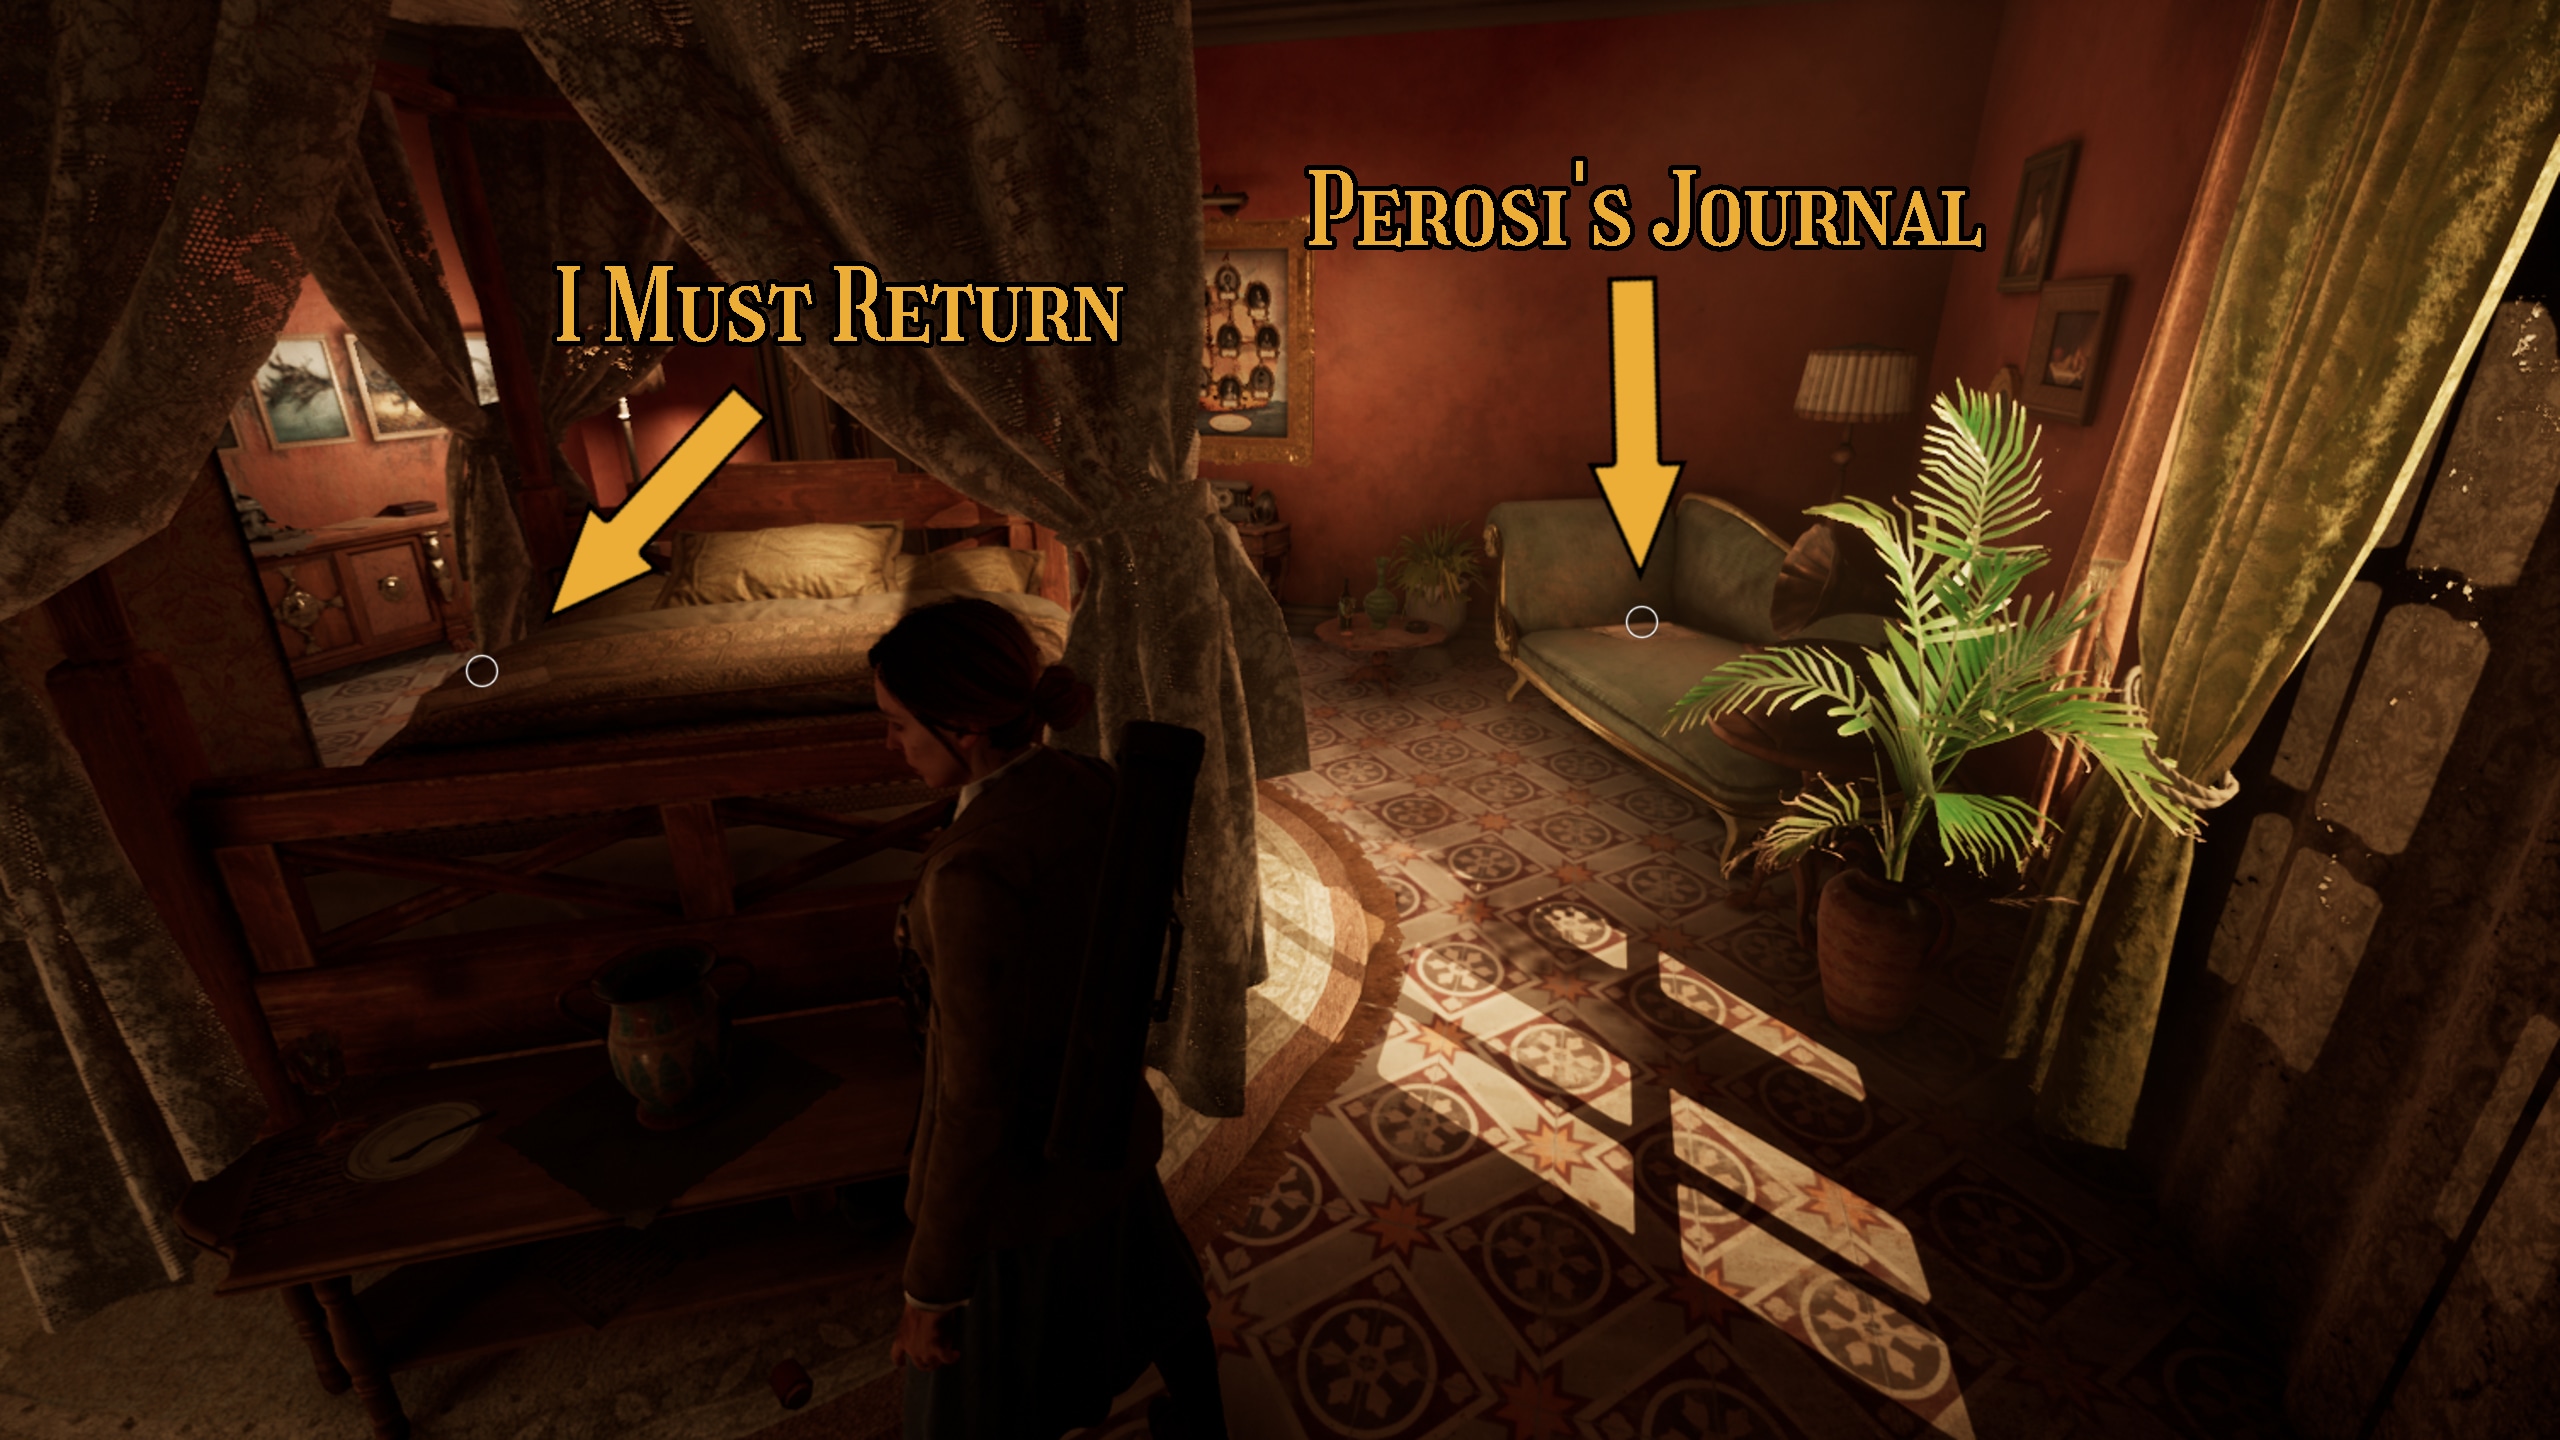
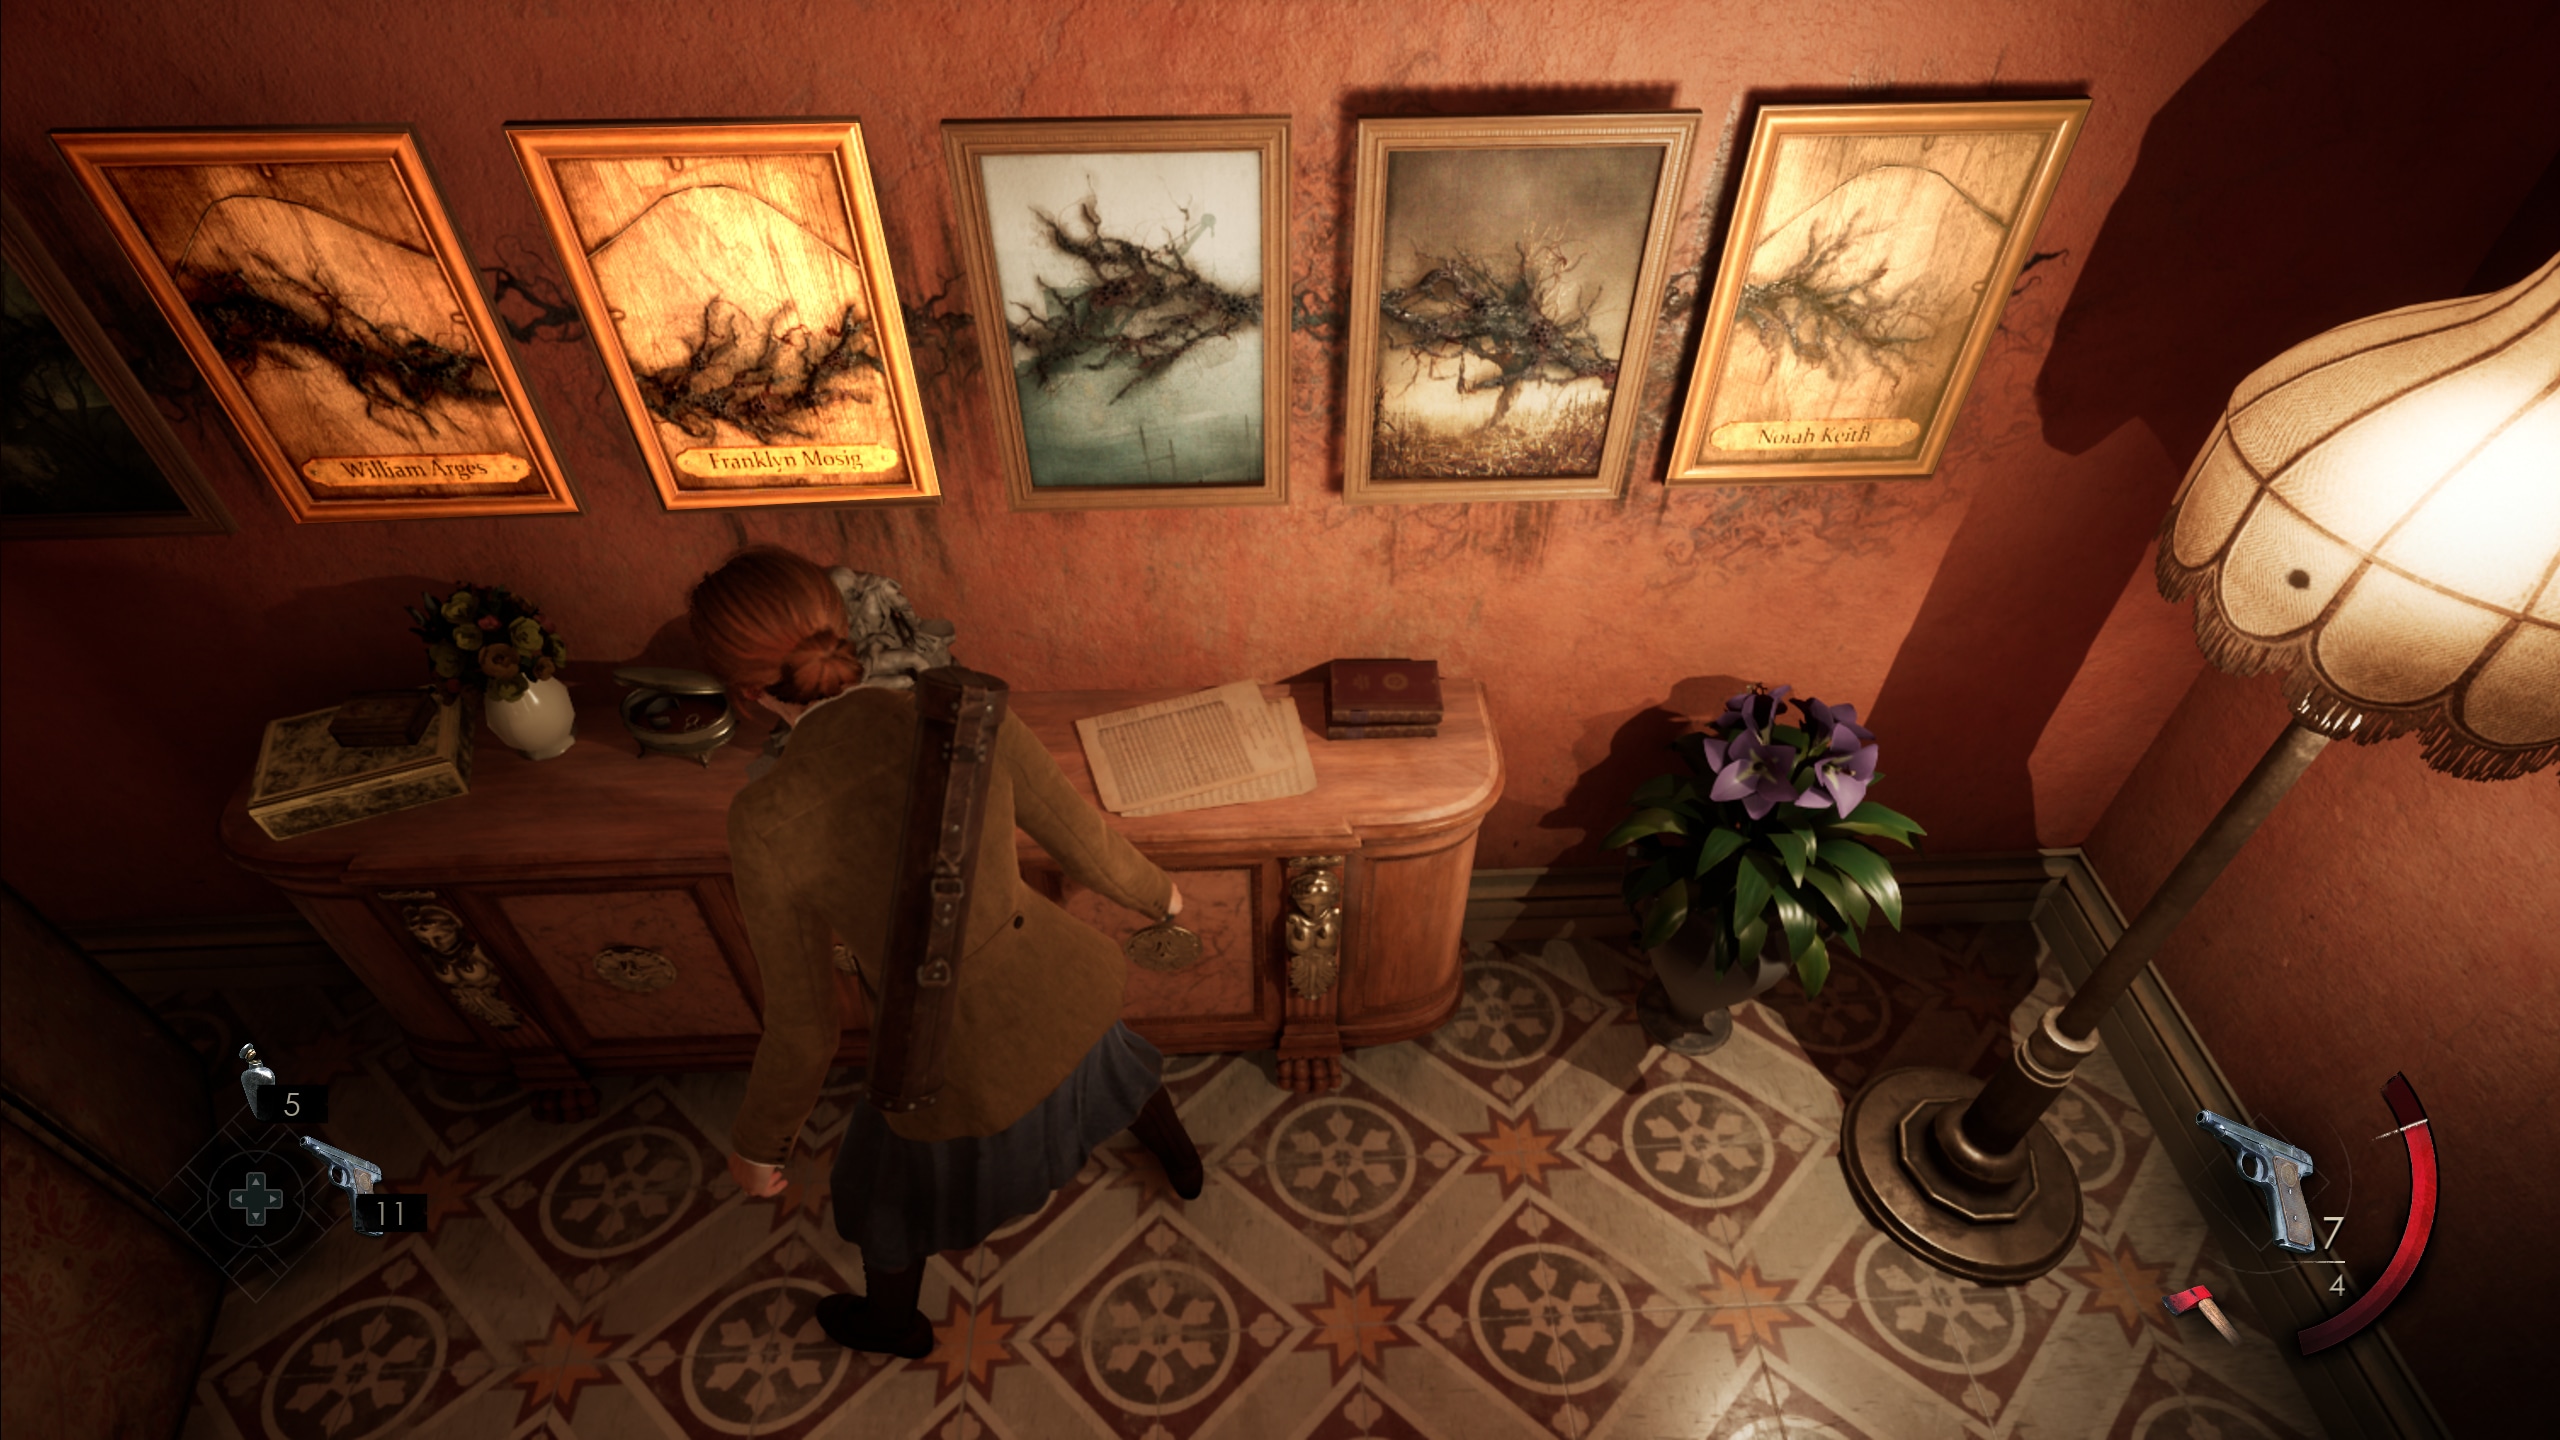
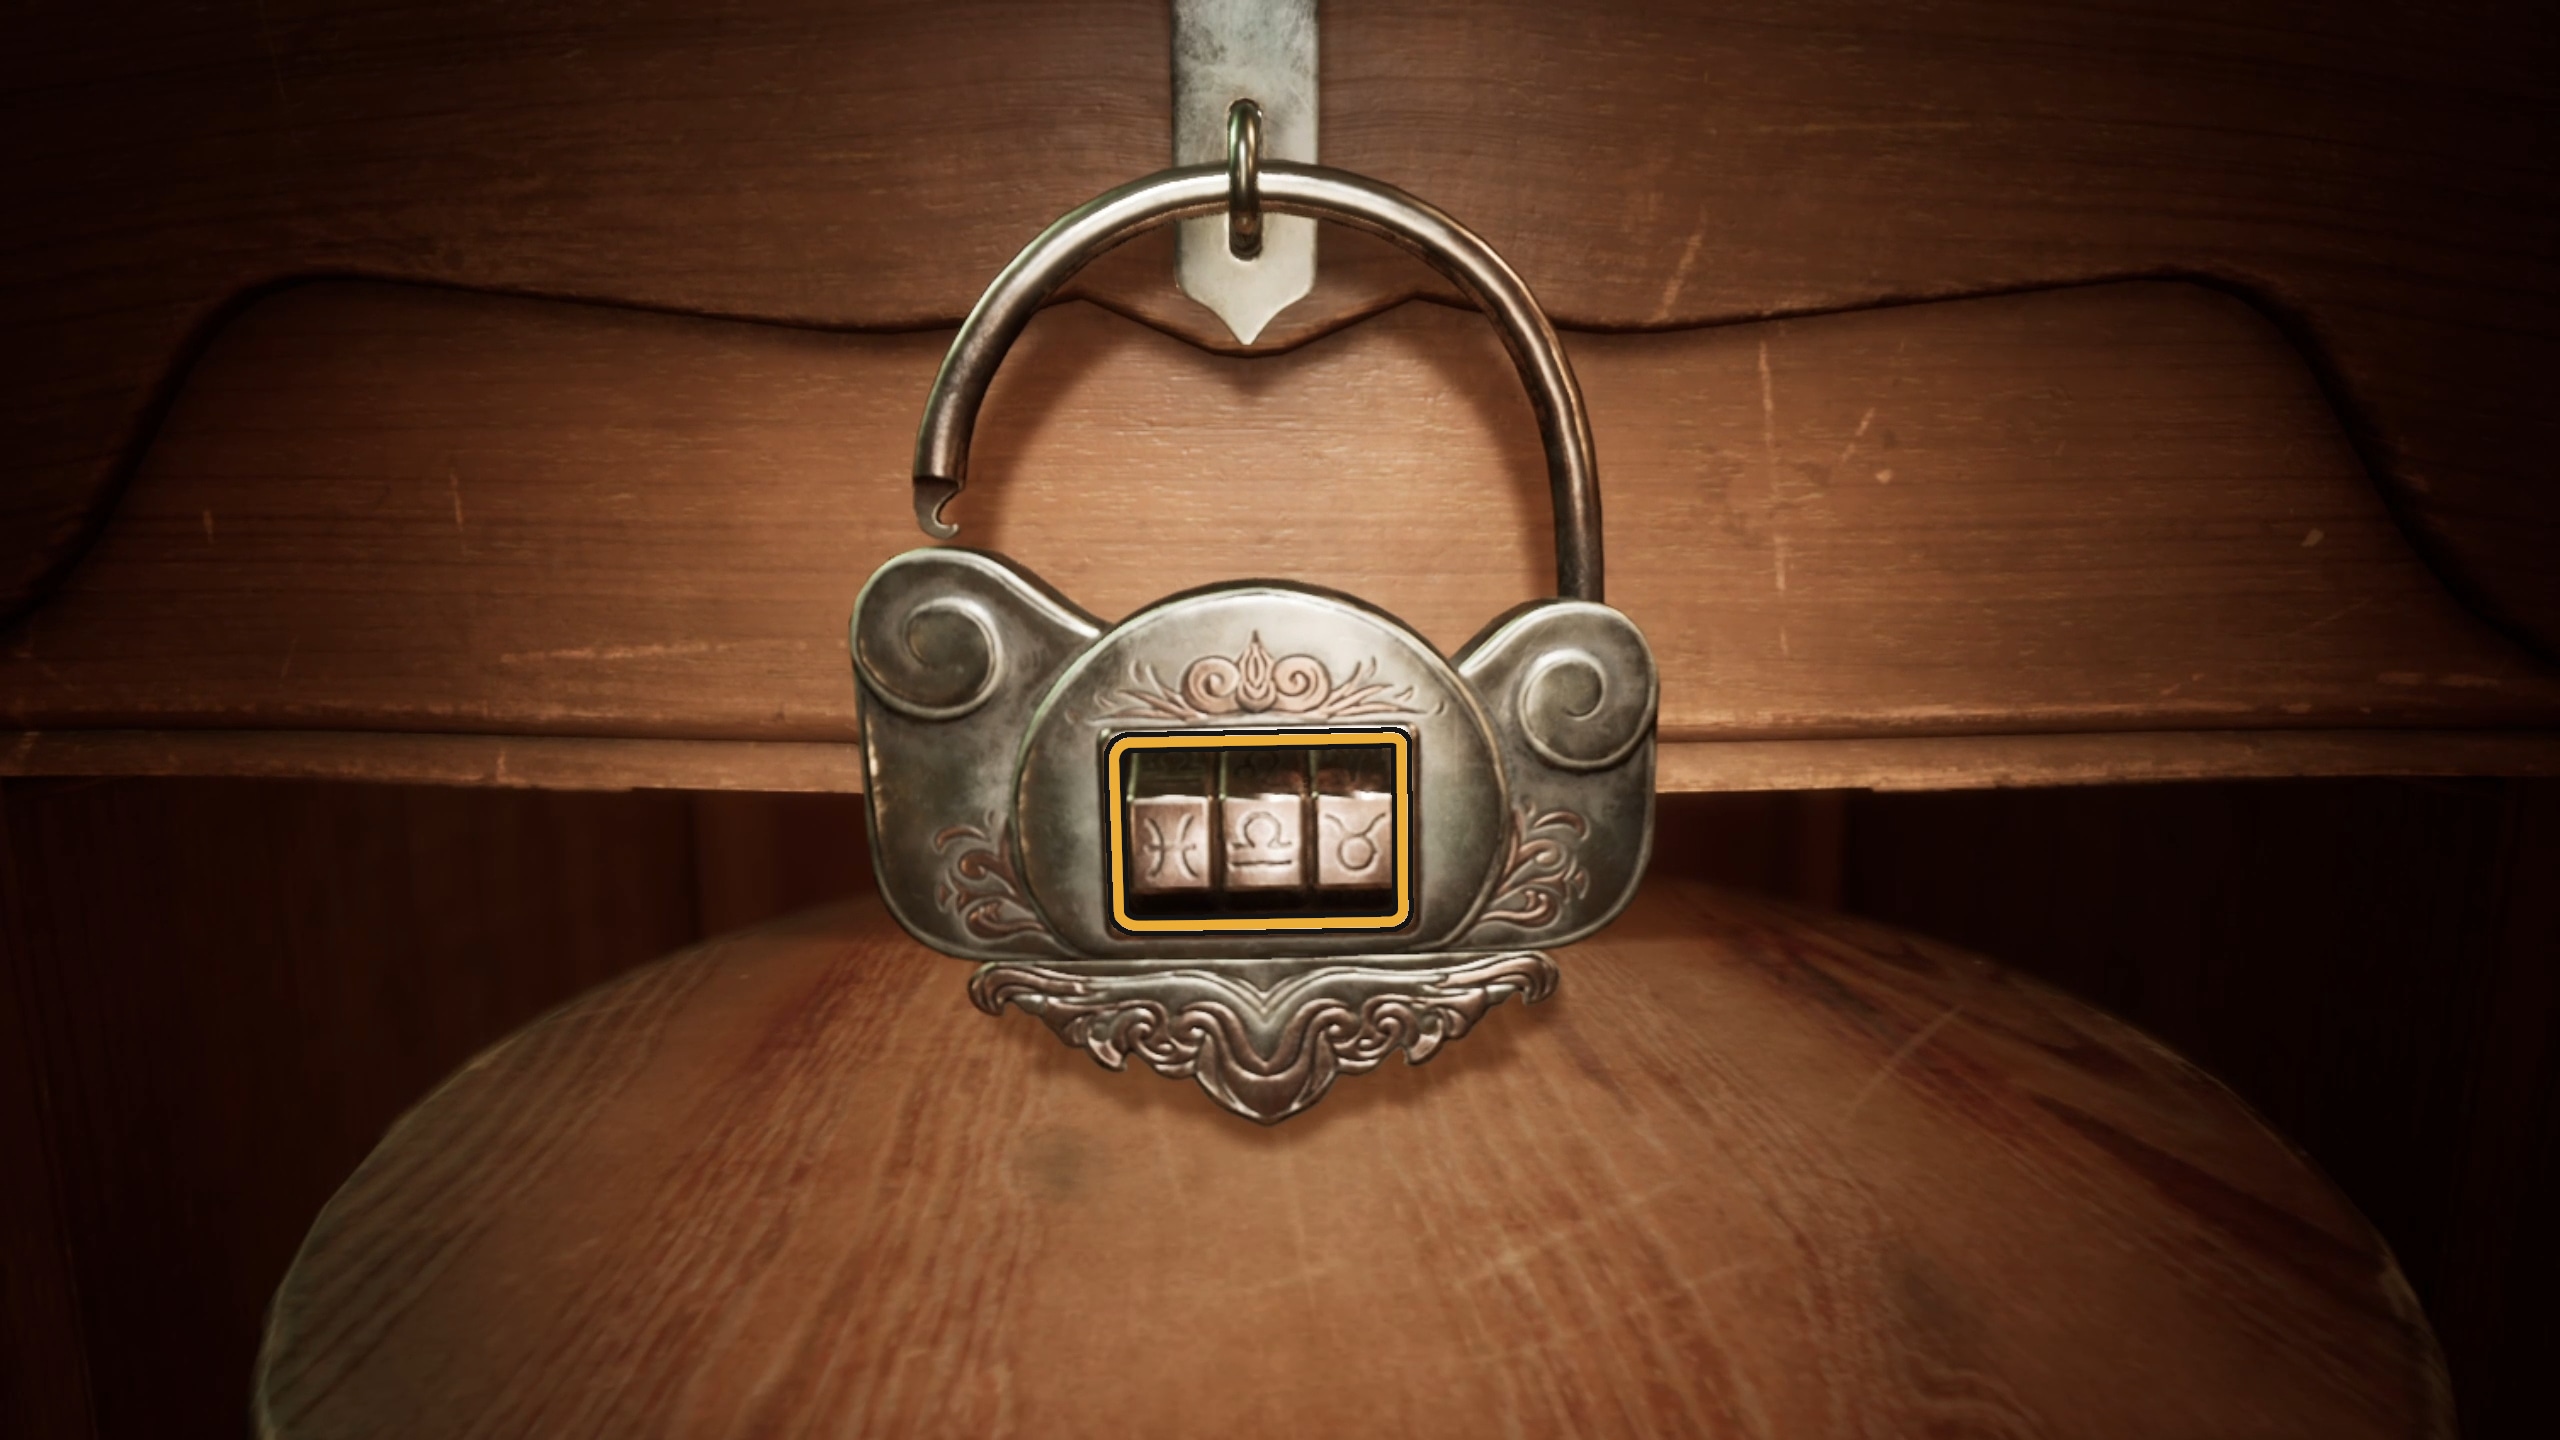
Once in this room, pick up “I Must Return” on the bed located in the center (Image 28). Now you will need to solve a puzzle. It will involve Perosi’s Journal (Image 28), the rotten portraits on the wall (Image 29), the collection of Astarte colony portraits (Image 30), and the Astronomical Lock on the dresser (Image 31)
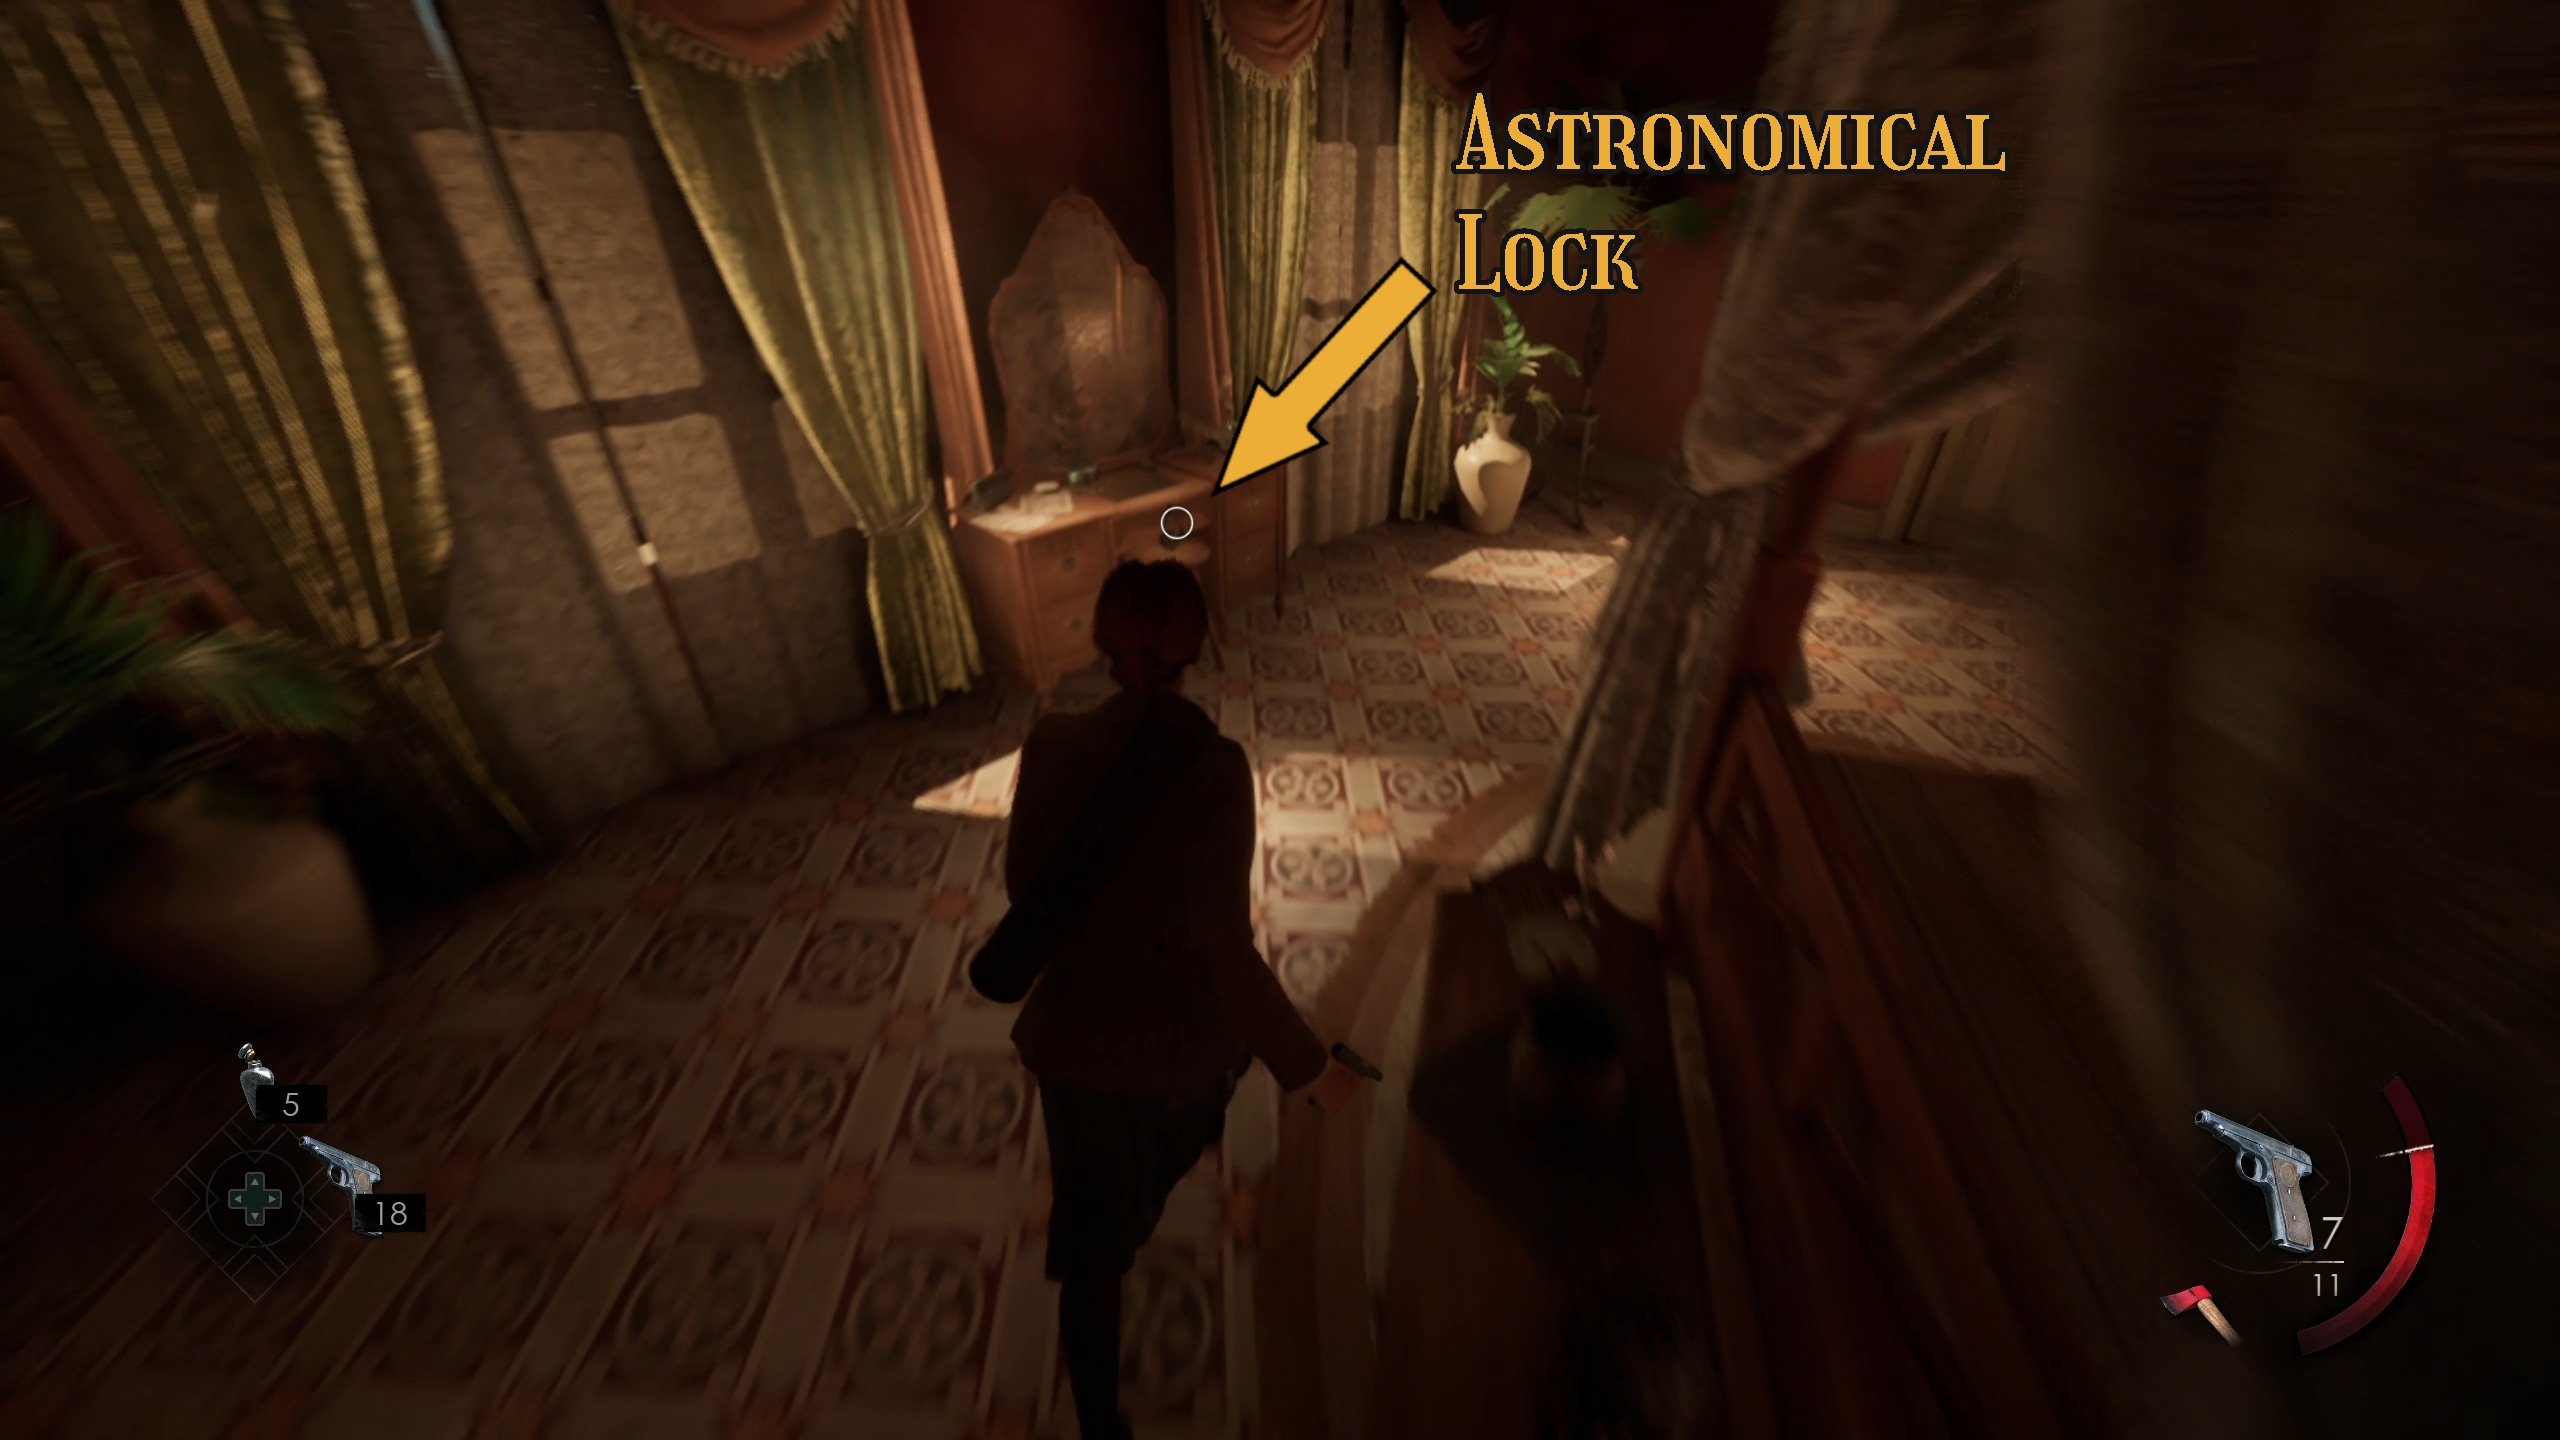
Image 28Image 29Image 30Image 31
There must be some connection between all of these different elements…
Maybe looking at Perosi’s Journal will help organize numbers into a combination.
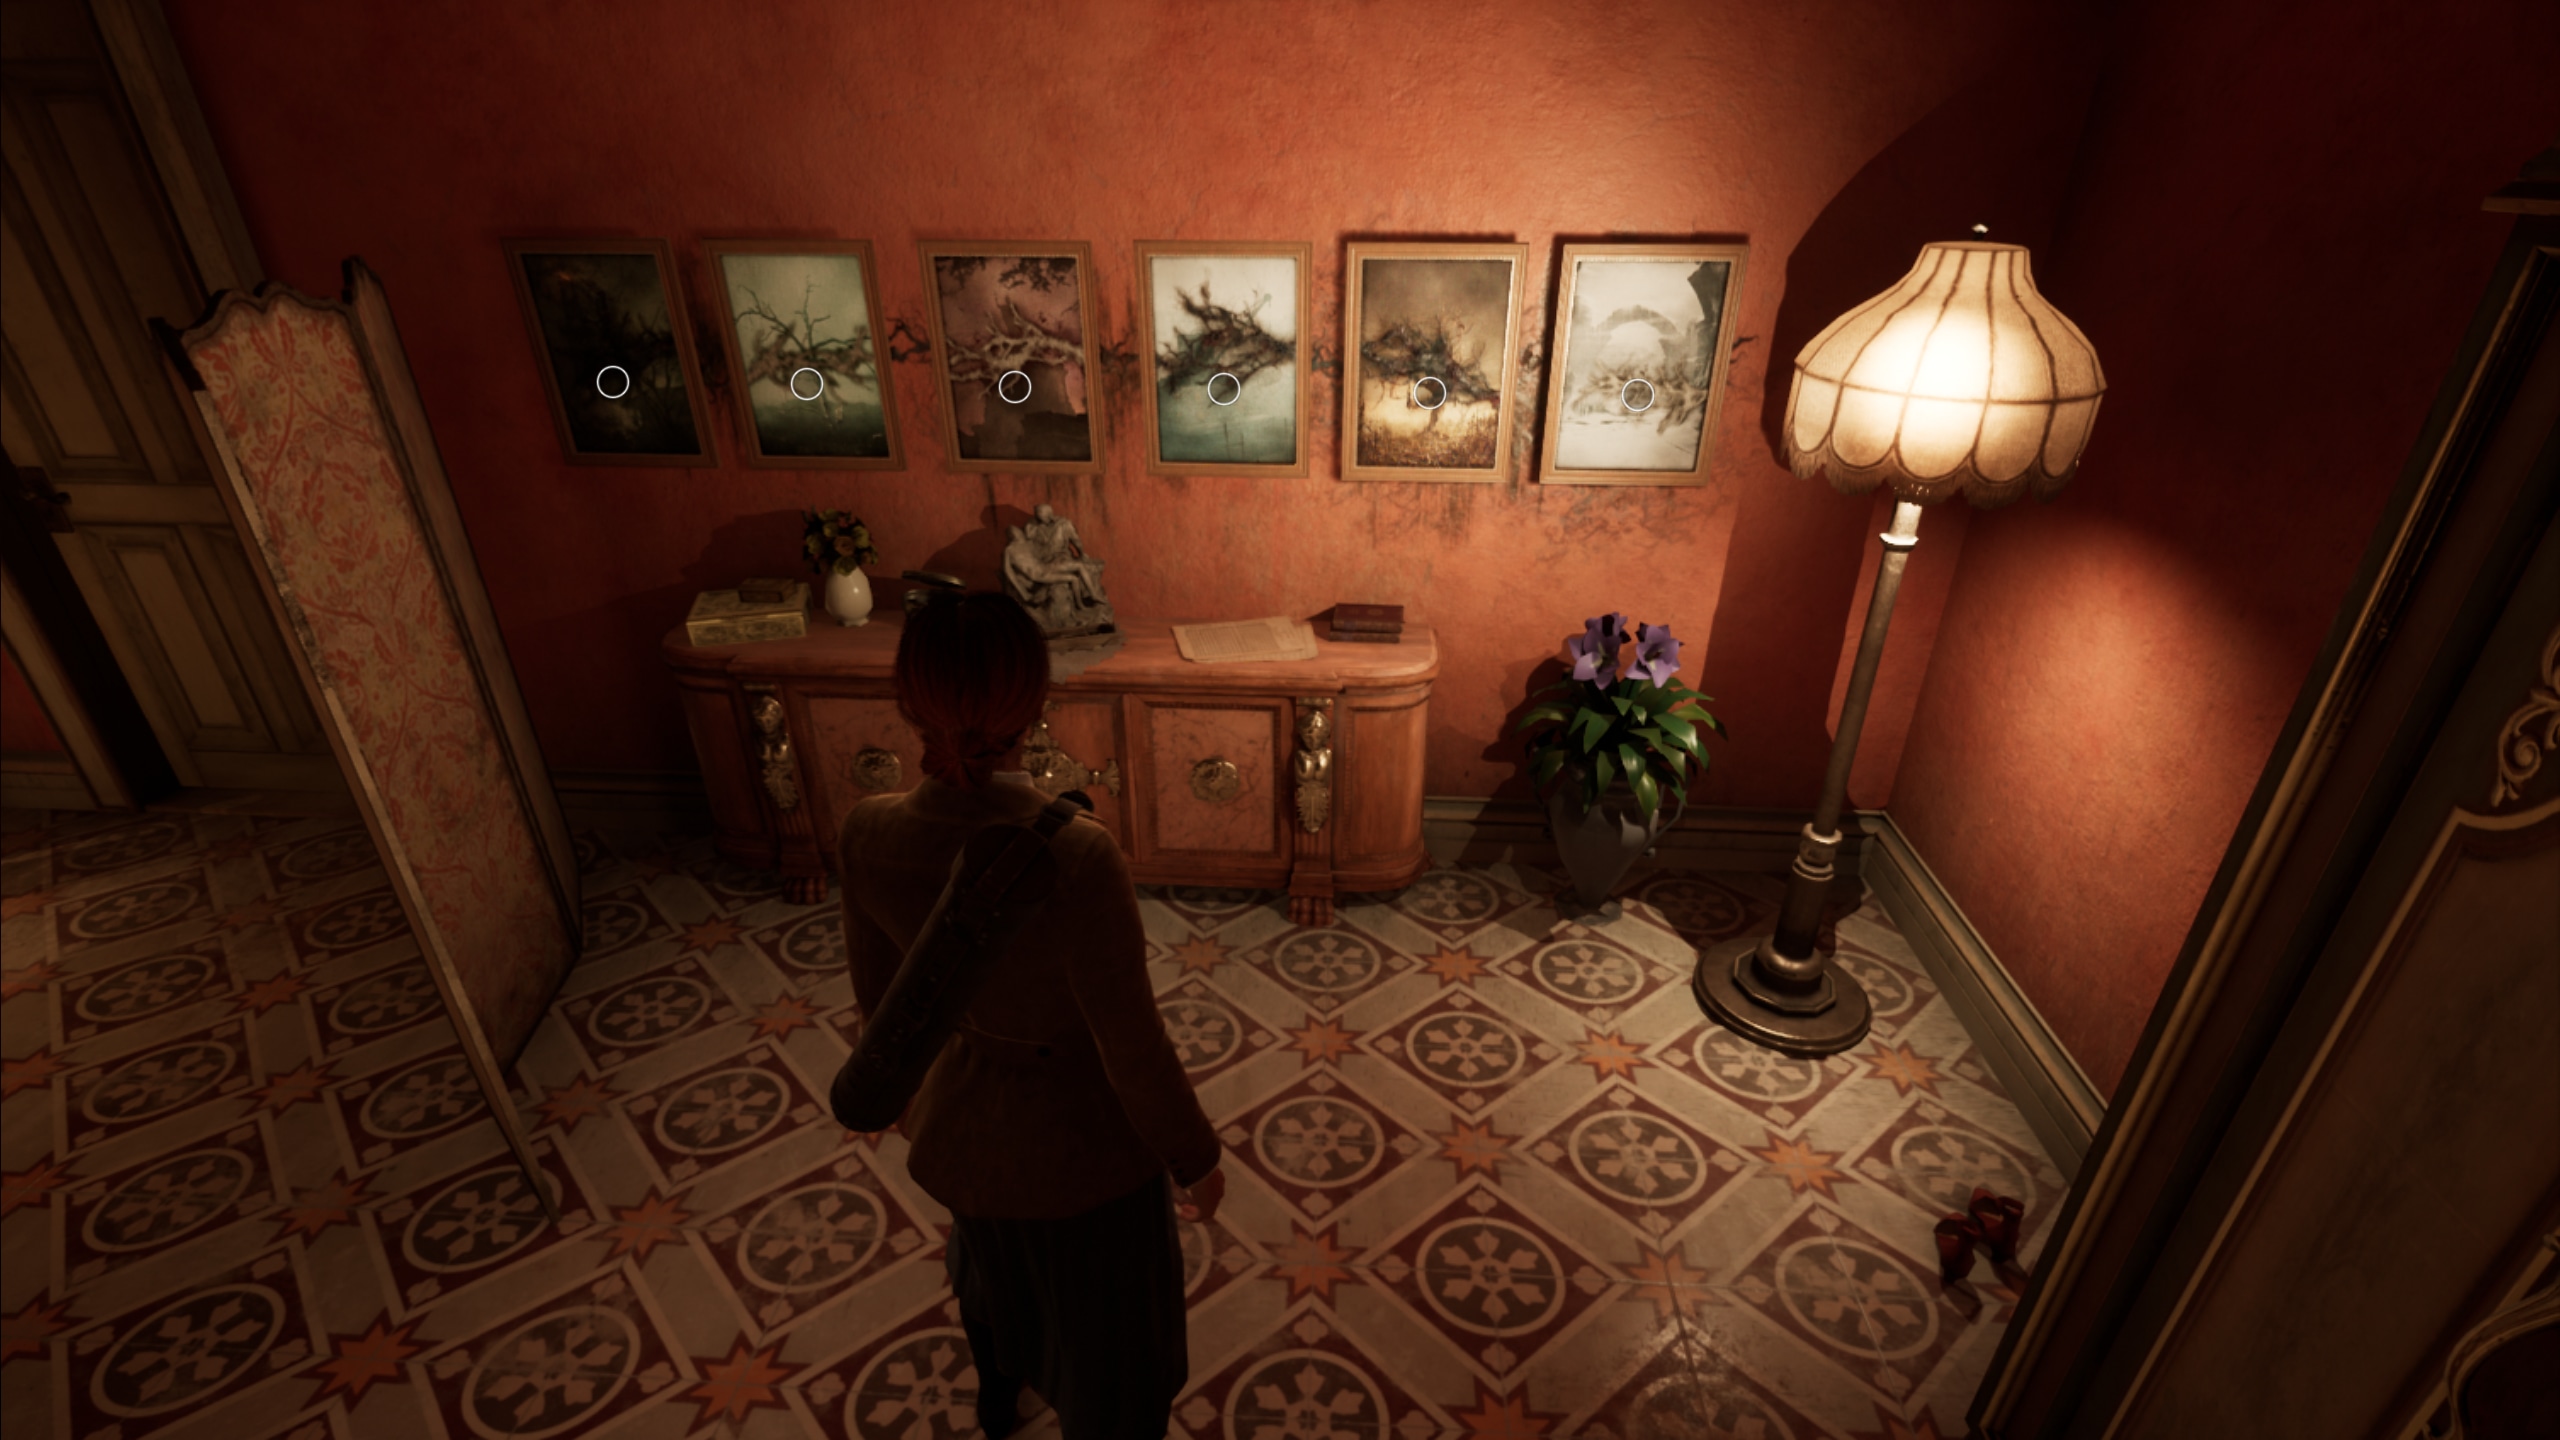
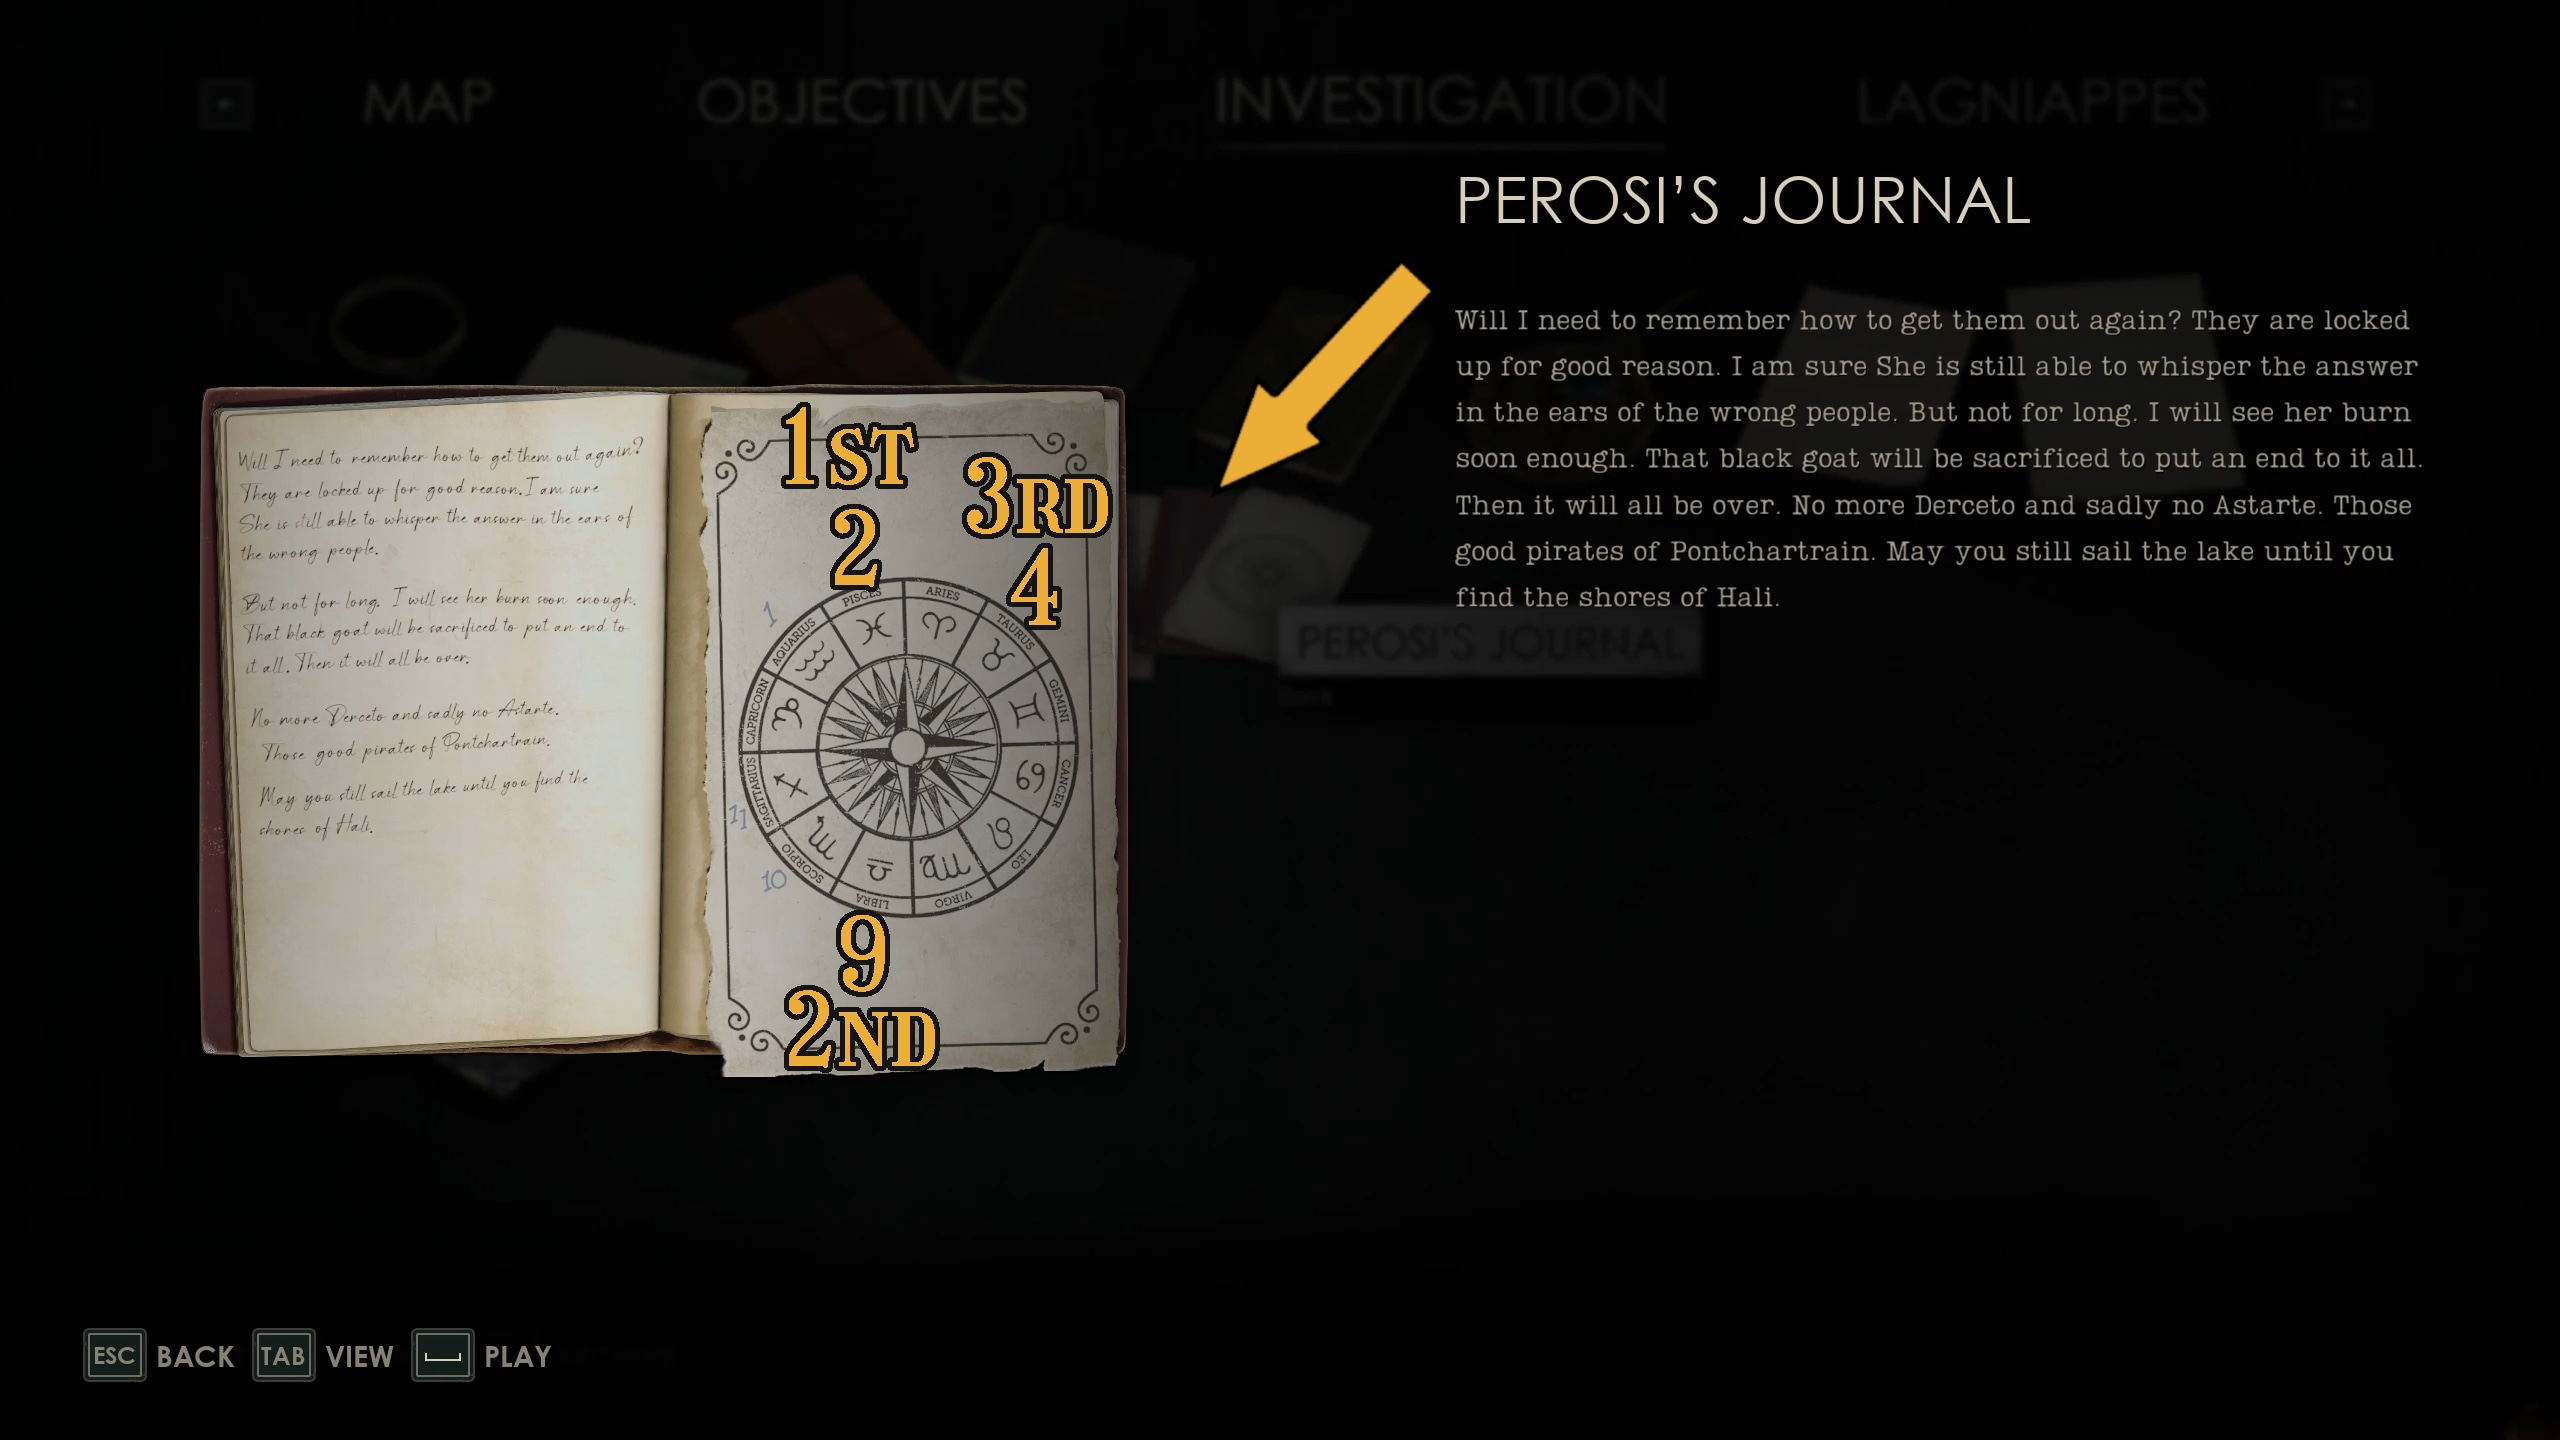
First, you’ll want to turn your attention to the rotten portraits. Flip them so that only the black rot is face you, and you will be able to read 3 names: William Arges, Franklin Mosig, and Norah Keith. Take these names and compare them to the group of portraits on the wall to convert their names into the numbers 2, 9, and 4.
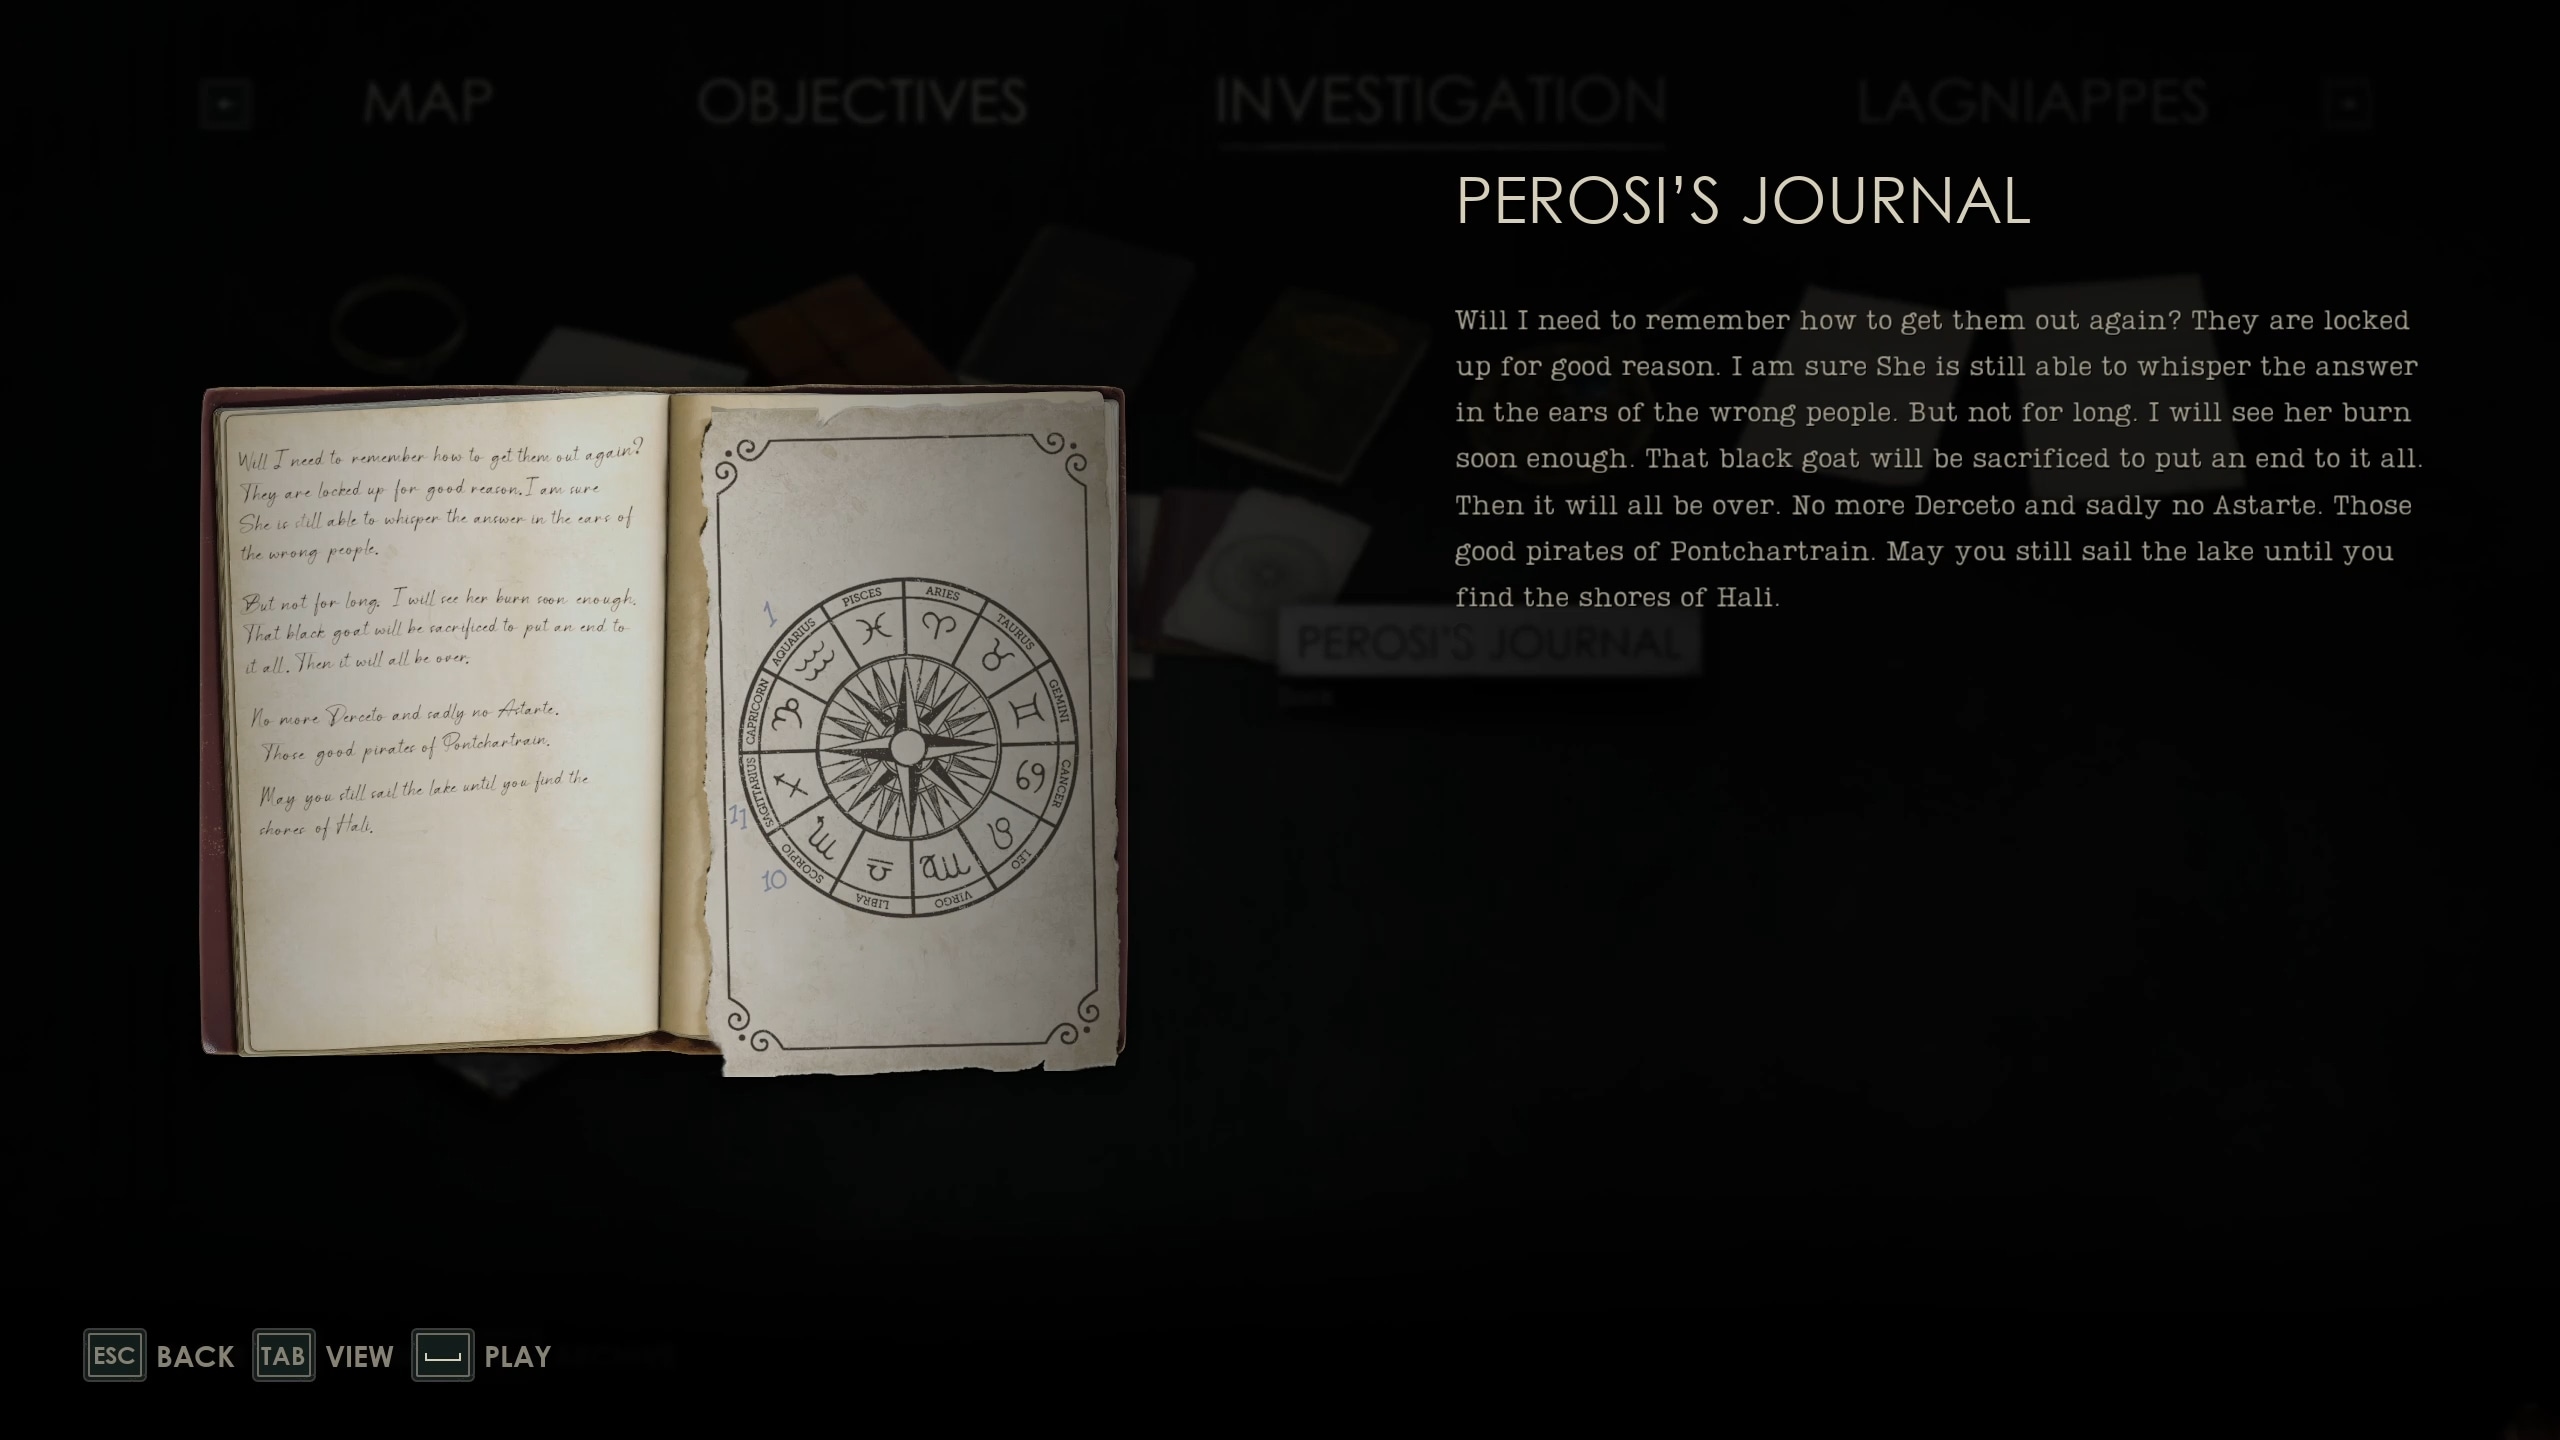
Take those 3 numbers and check Perosi’s Journal to get the solution to the Astronomical Lock: Pisces, Libra, Taurus. Inputting these into the Lock will automatically open it, giving you the 2nd Broken Plate.
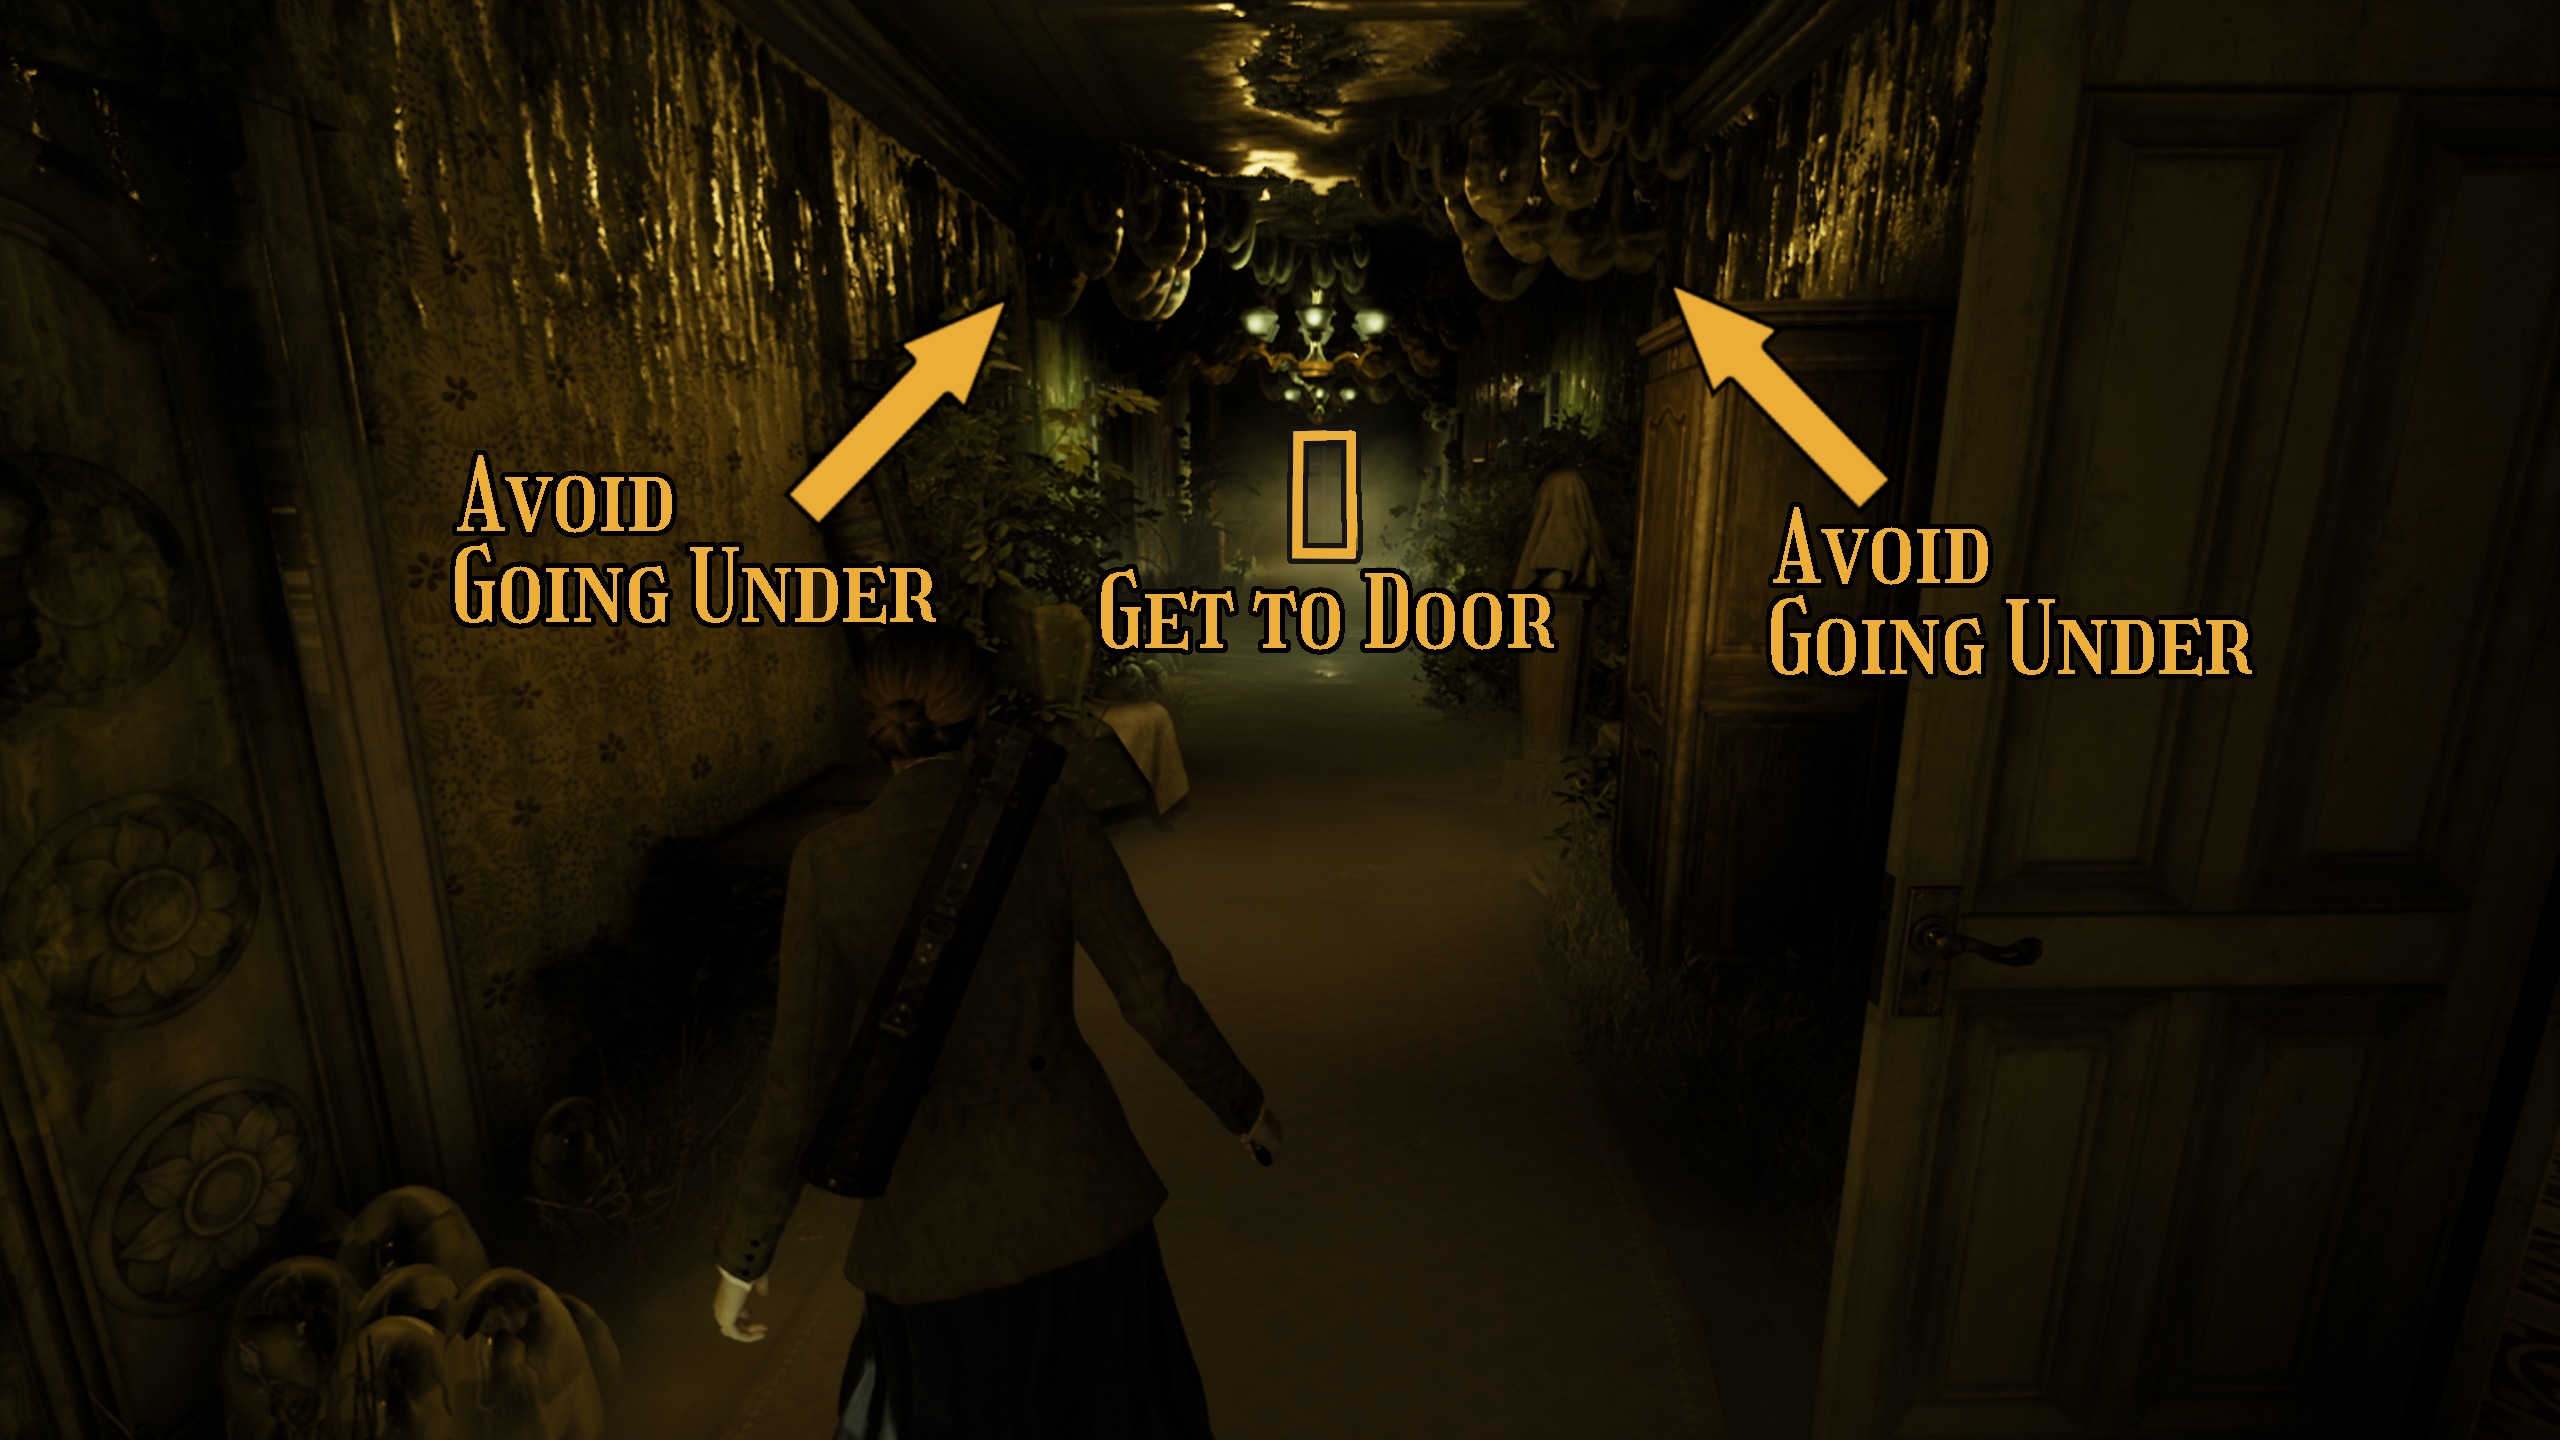
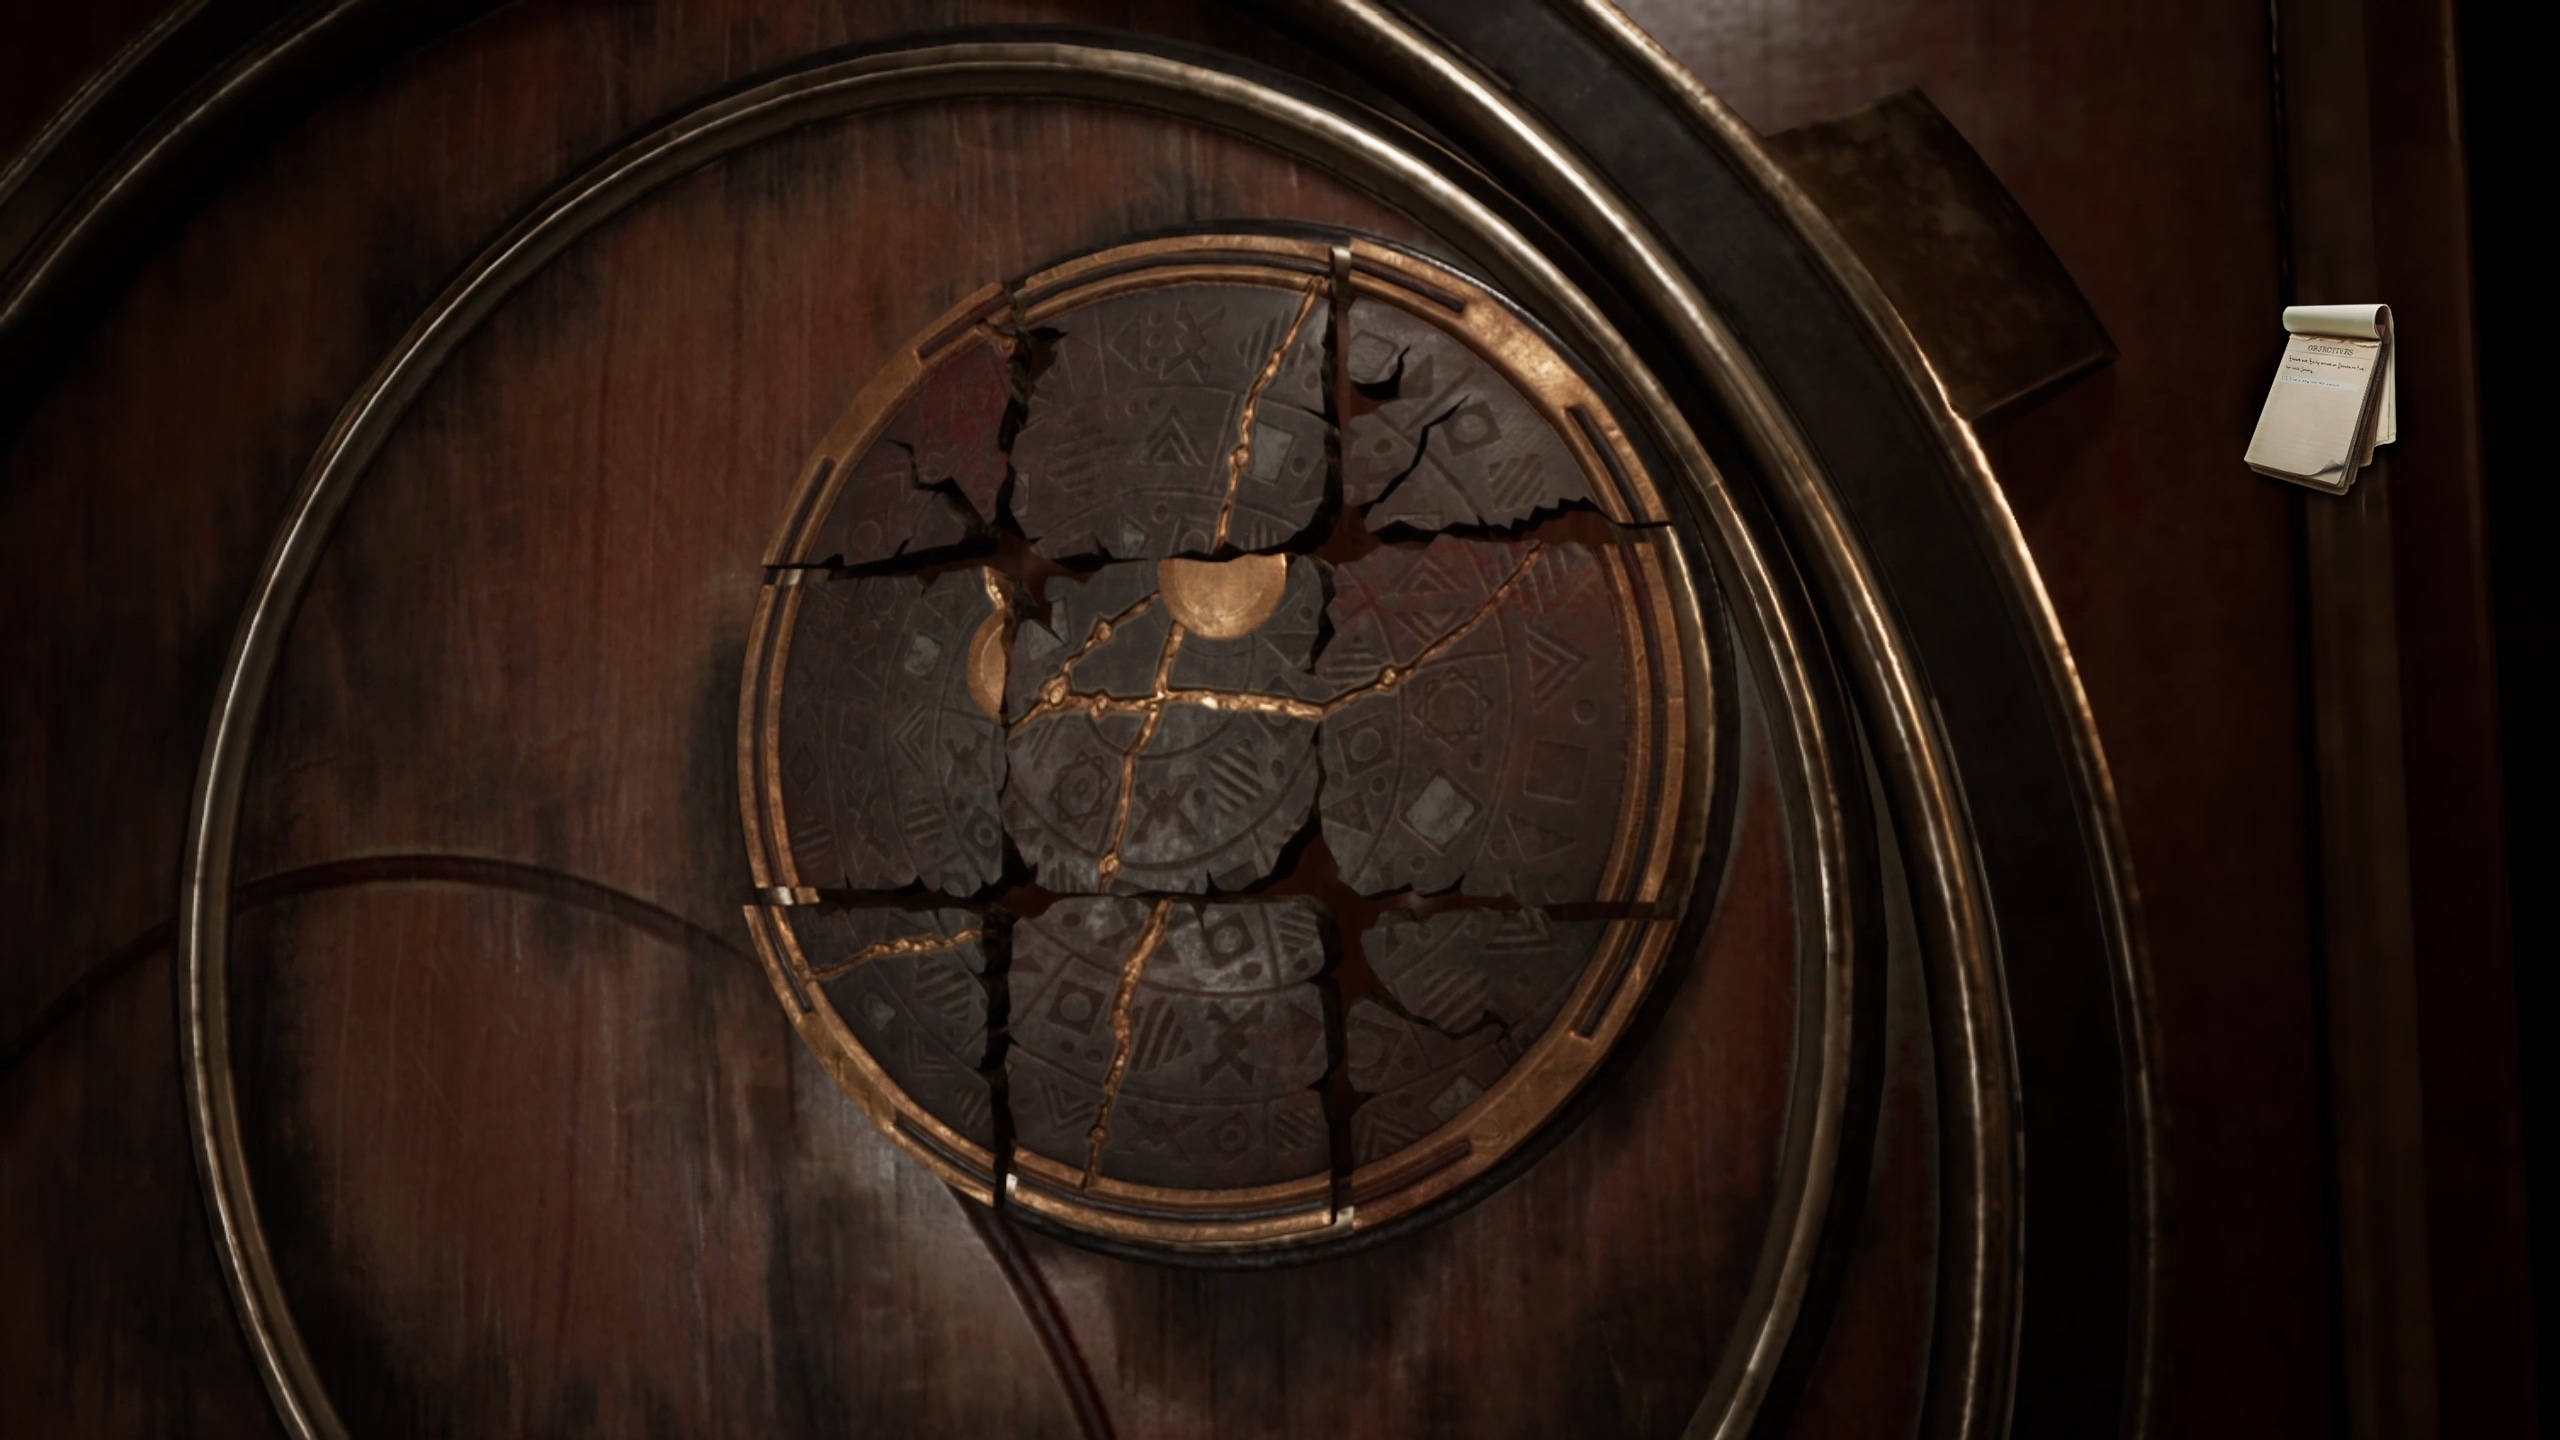
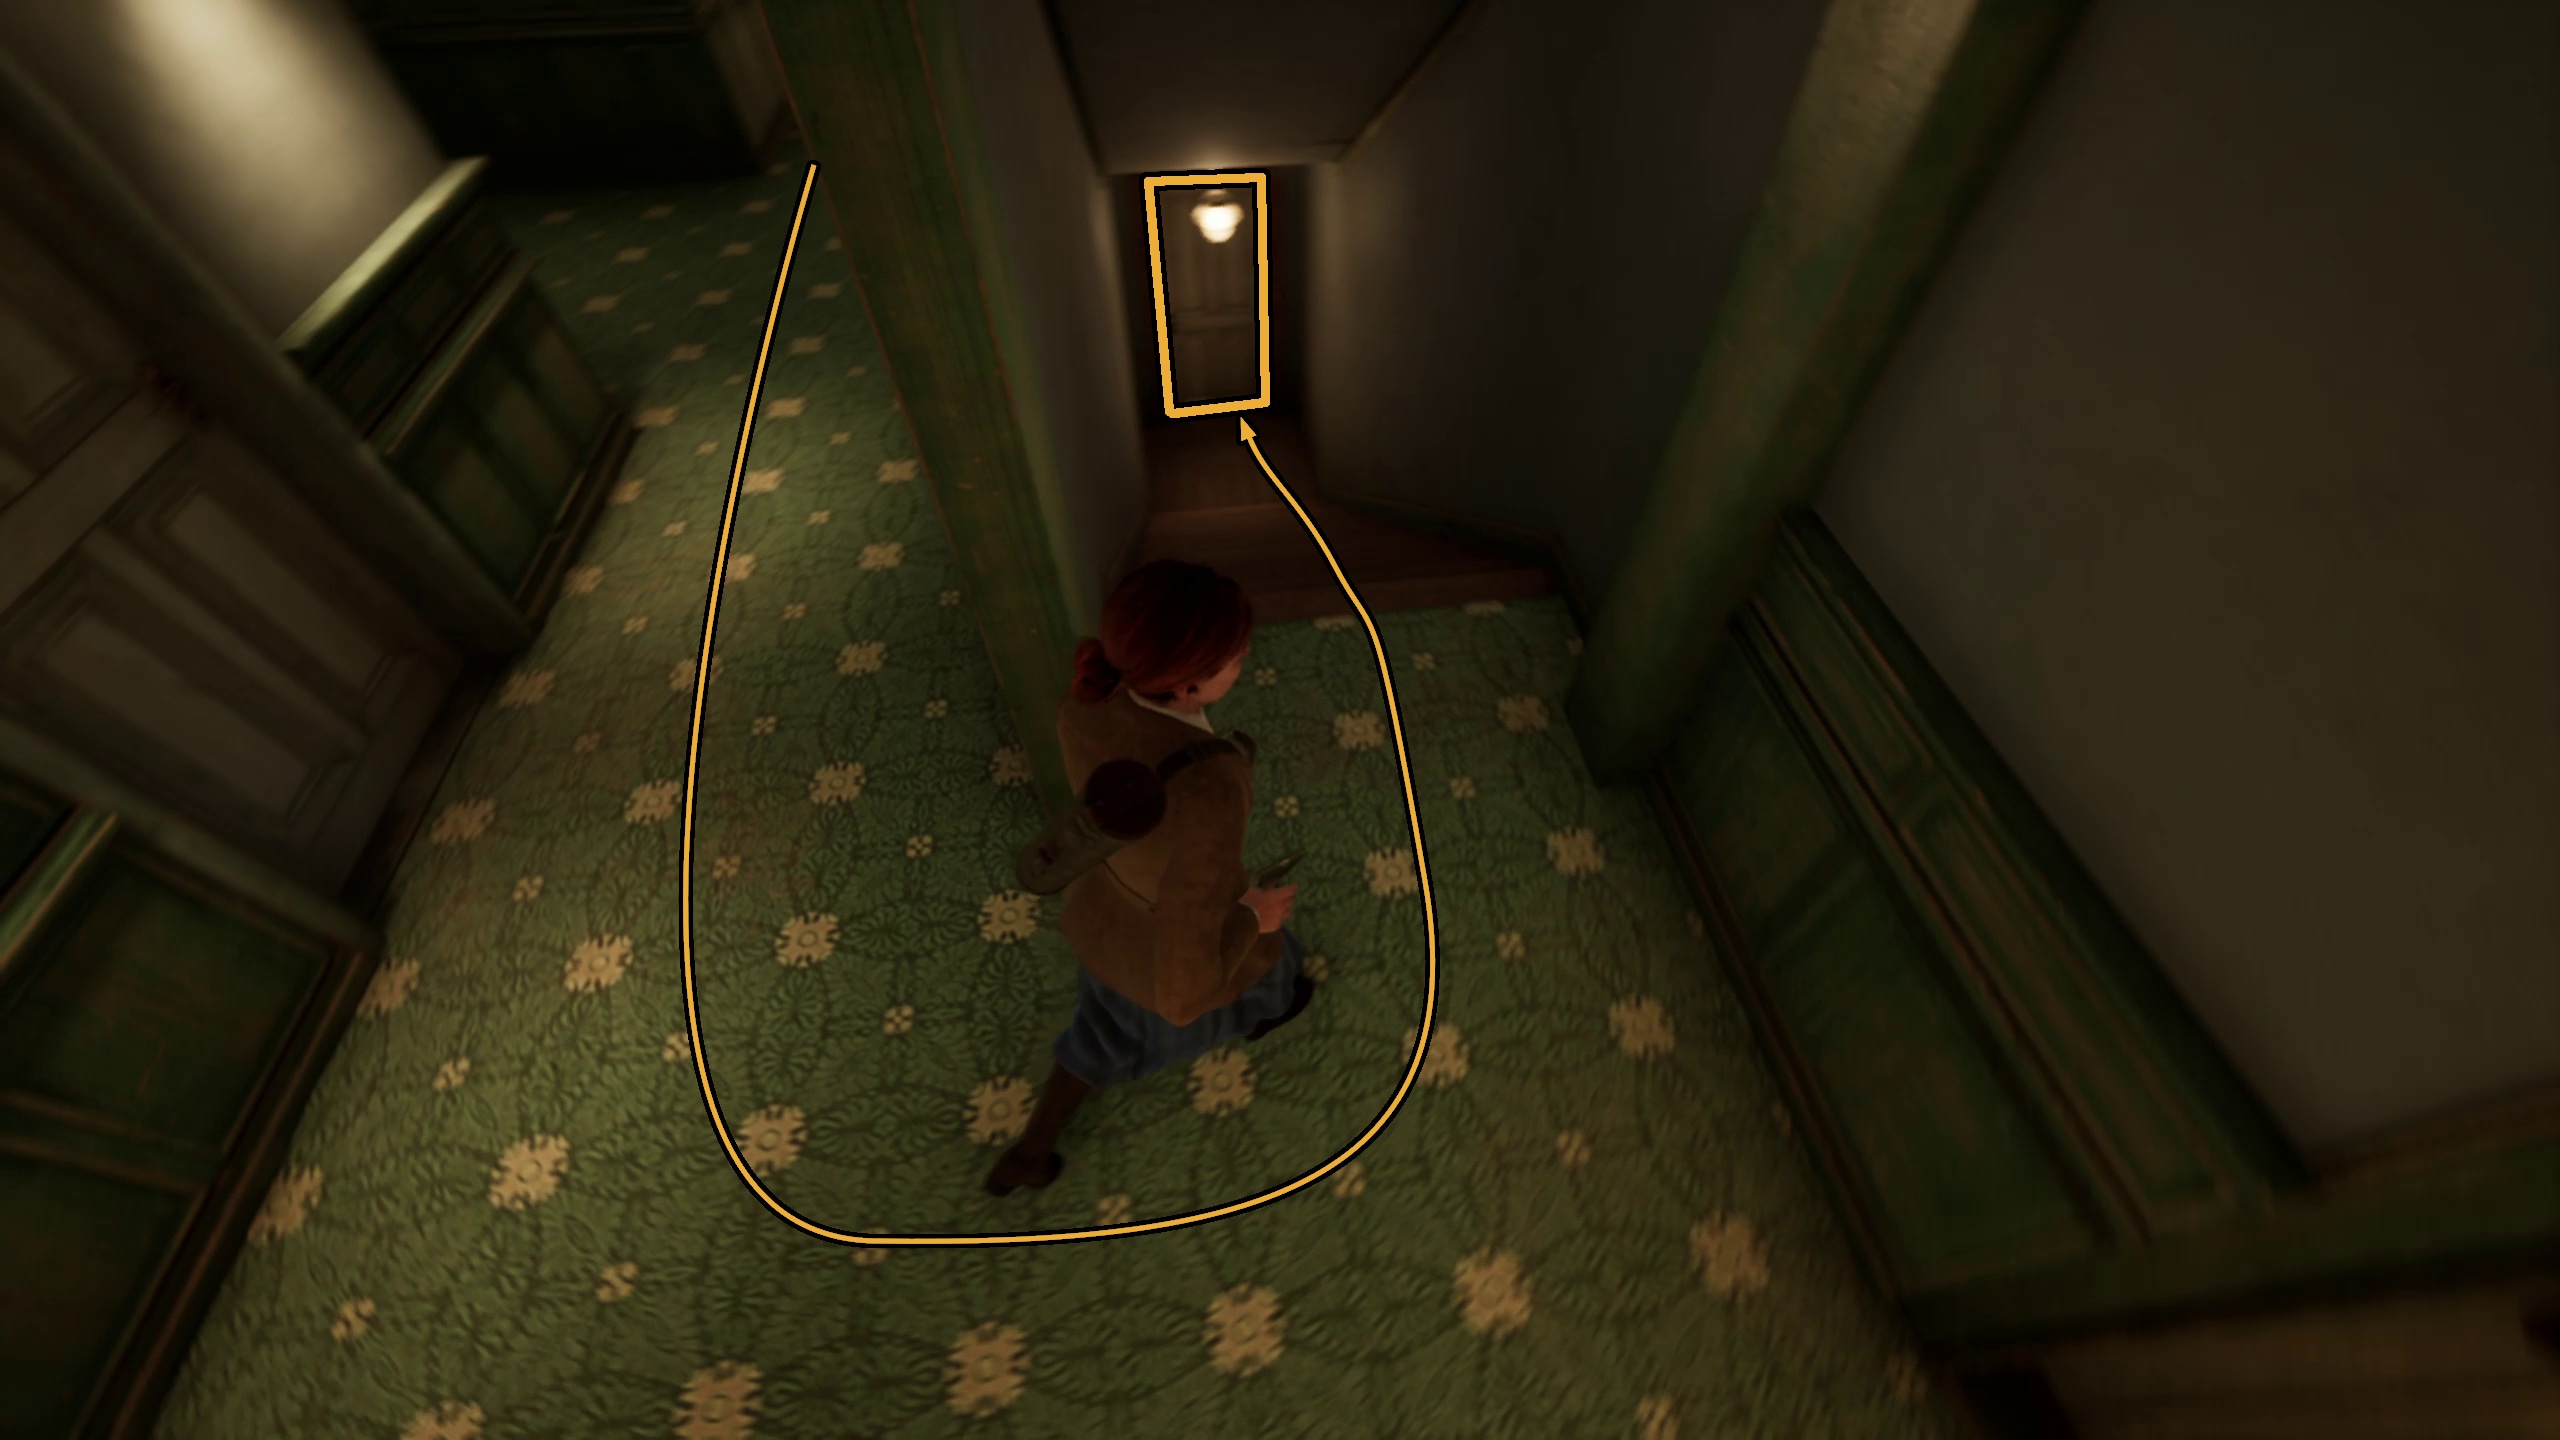
With Broken Plates in hand, it is time to leave (Image 32). However, you won’t be exactly where you were before when you try to. Instead, the hallways will now be green and filled with barnacle-like objects on the ceiling, which will drip dangerous goo onto the ground which you must avoid (Image 33).
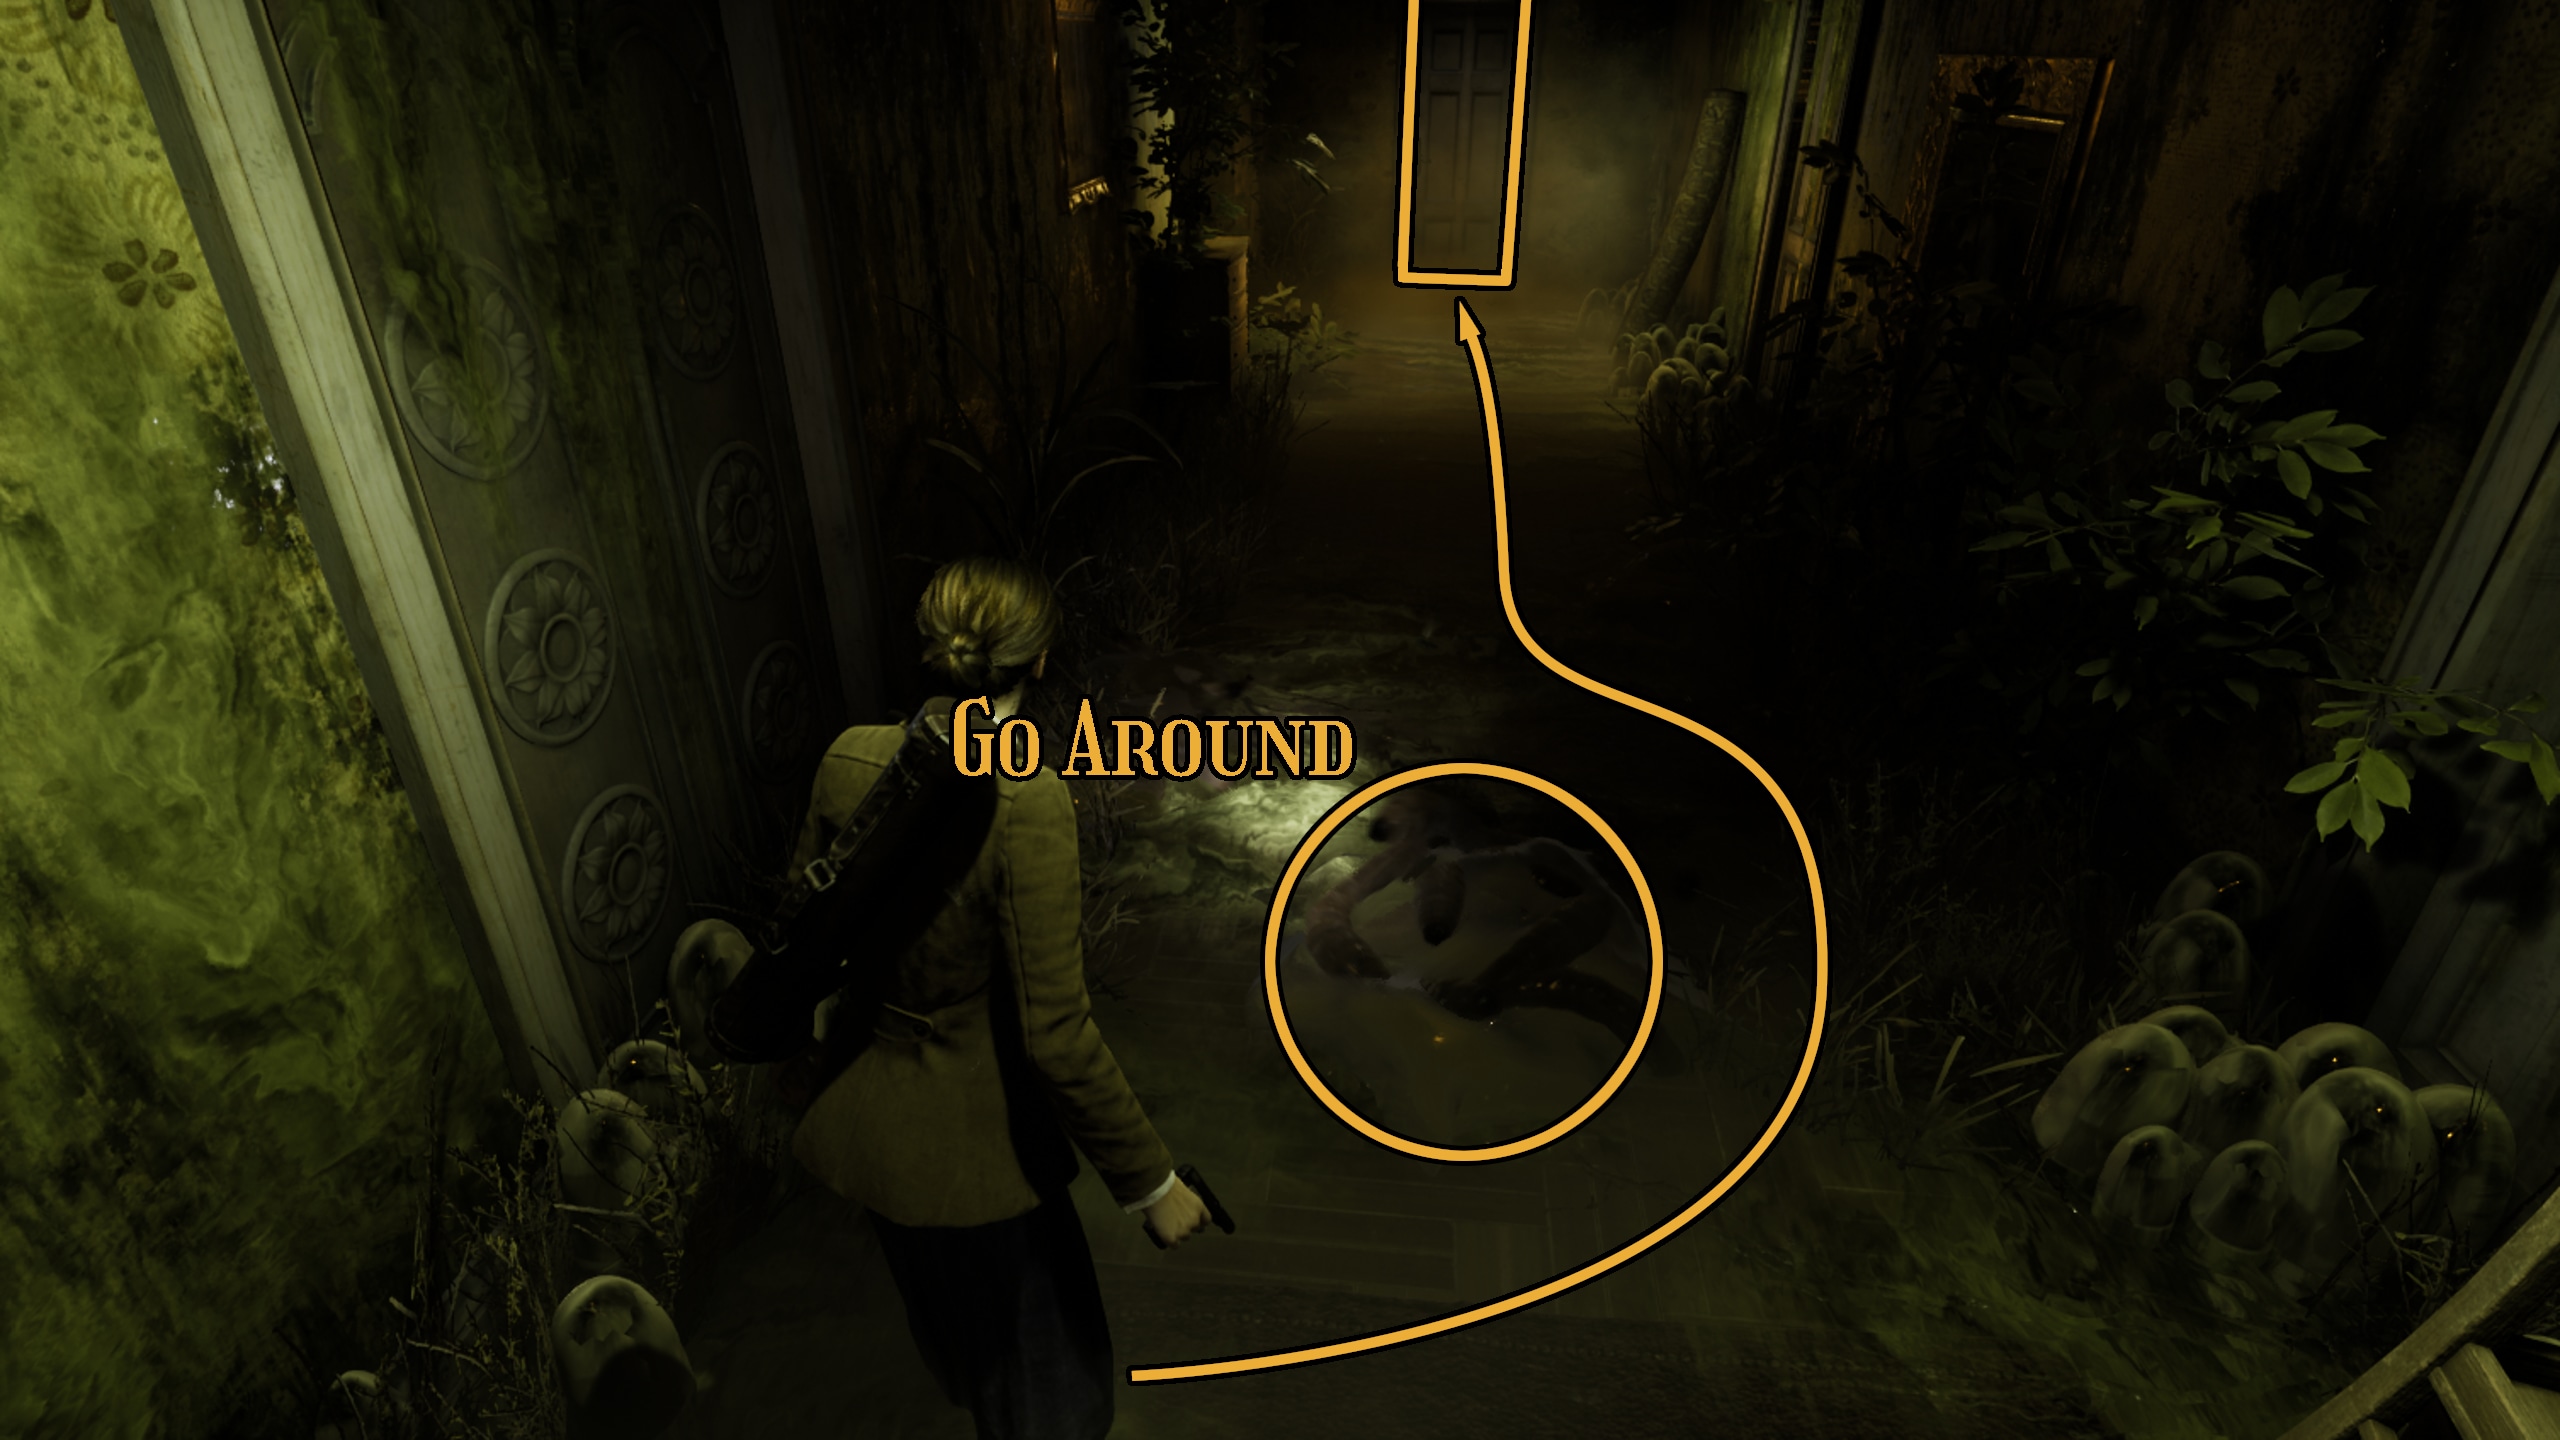
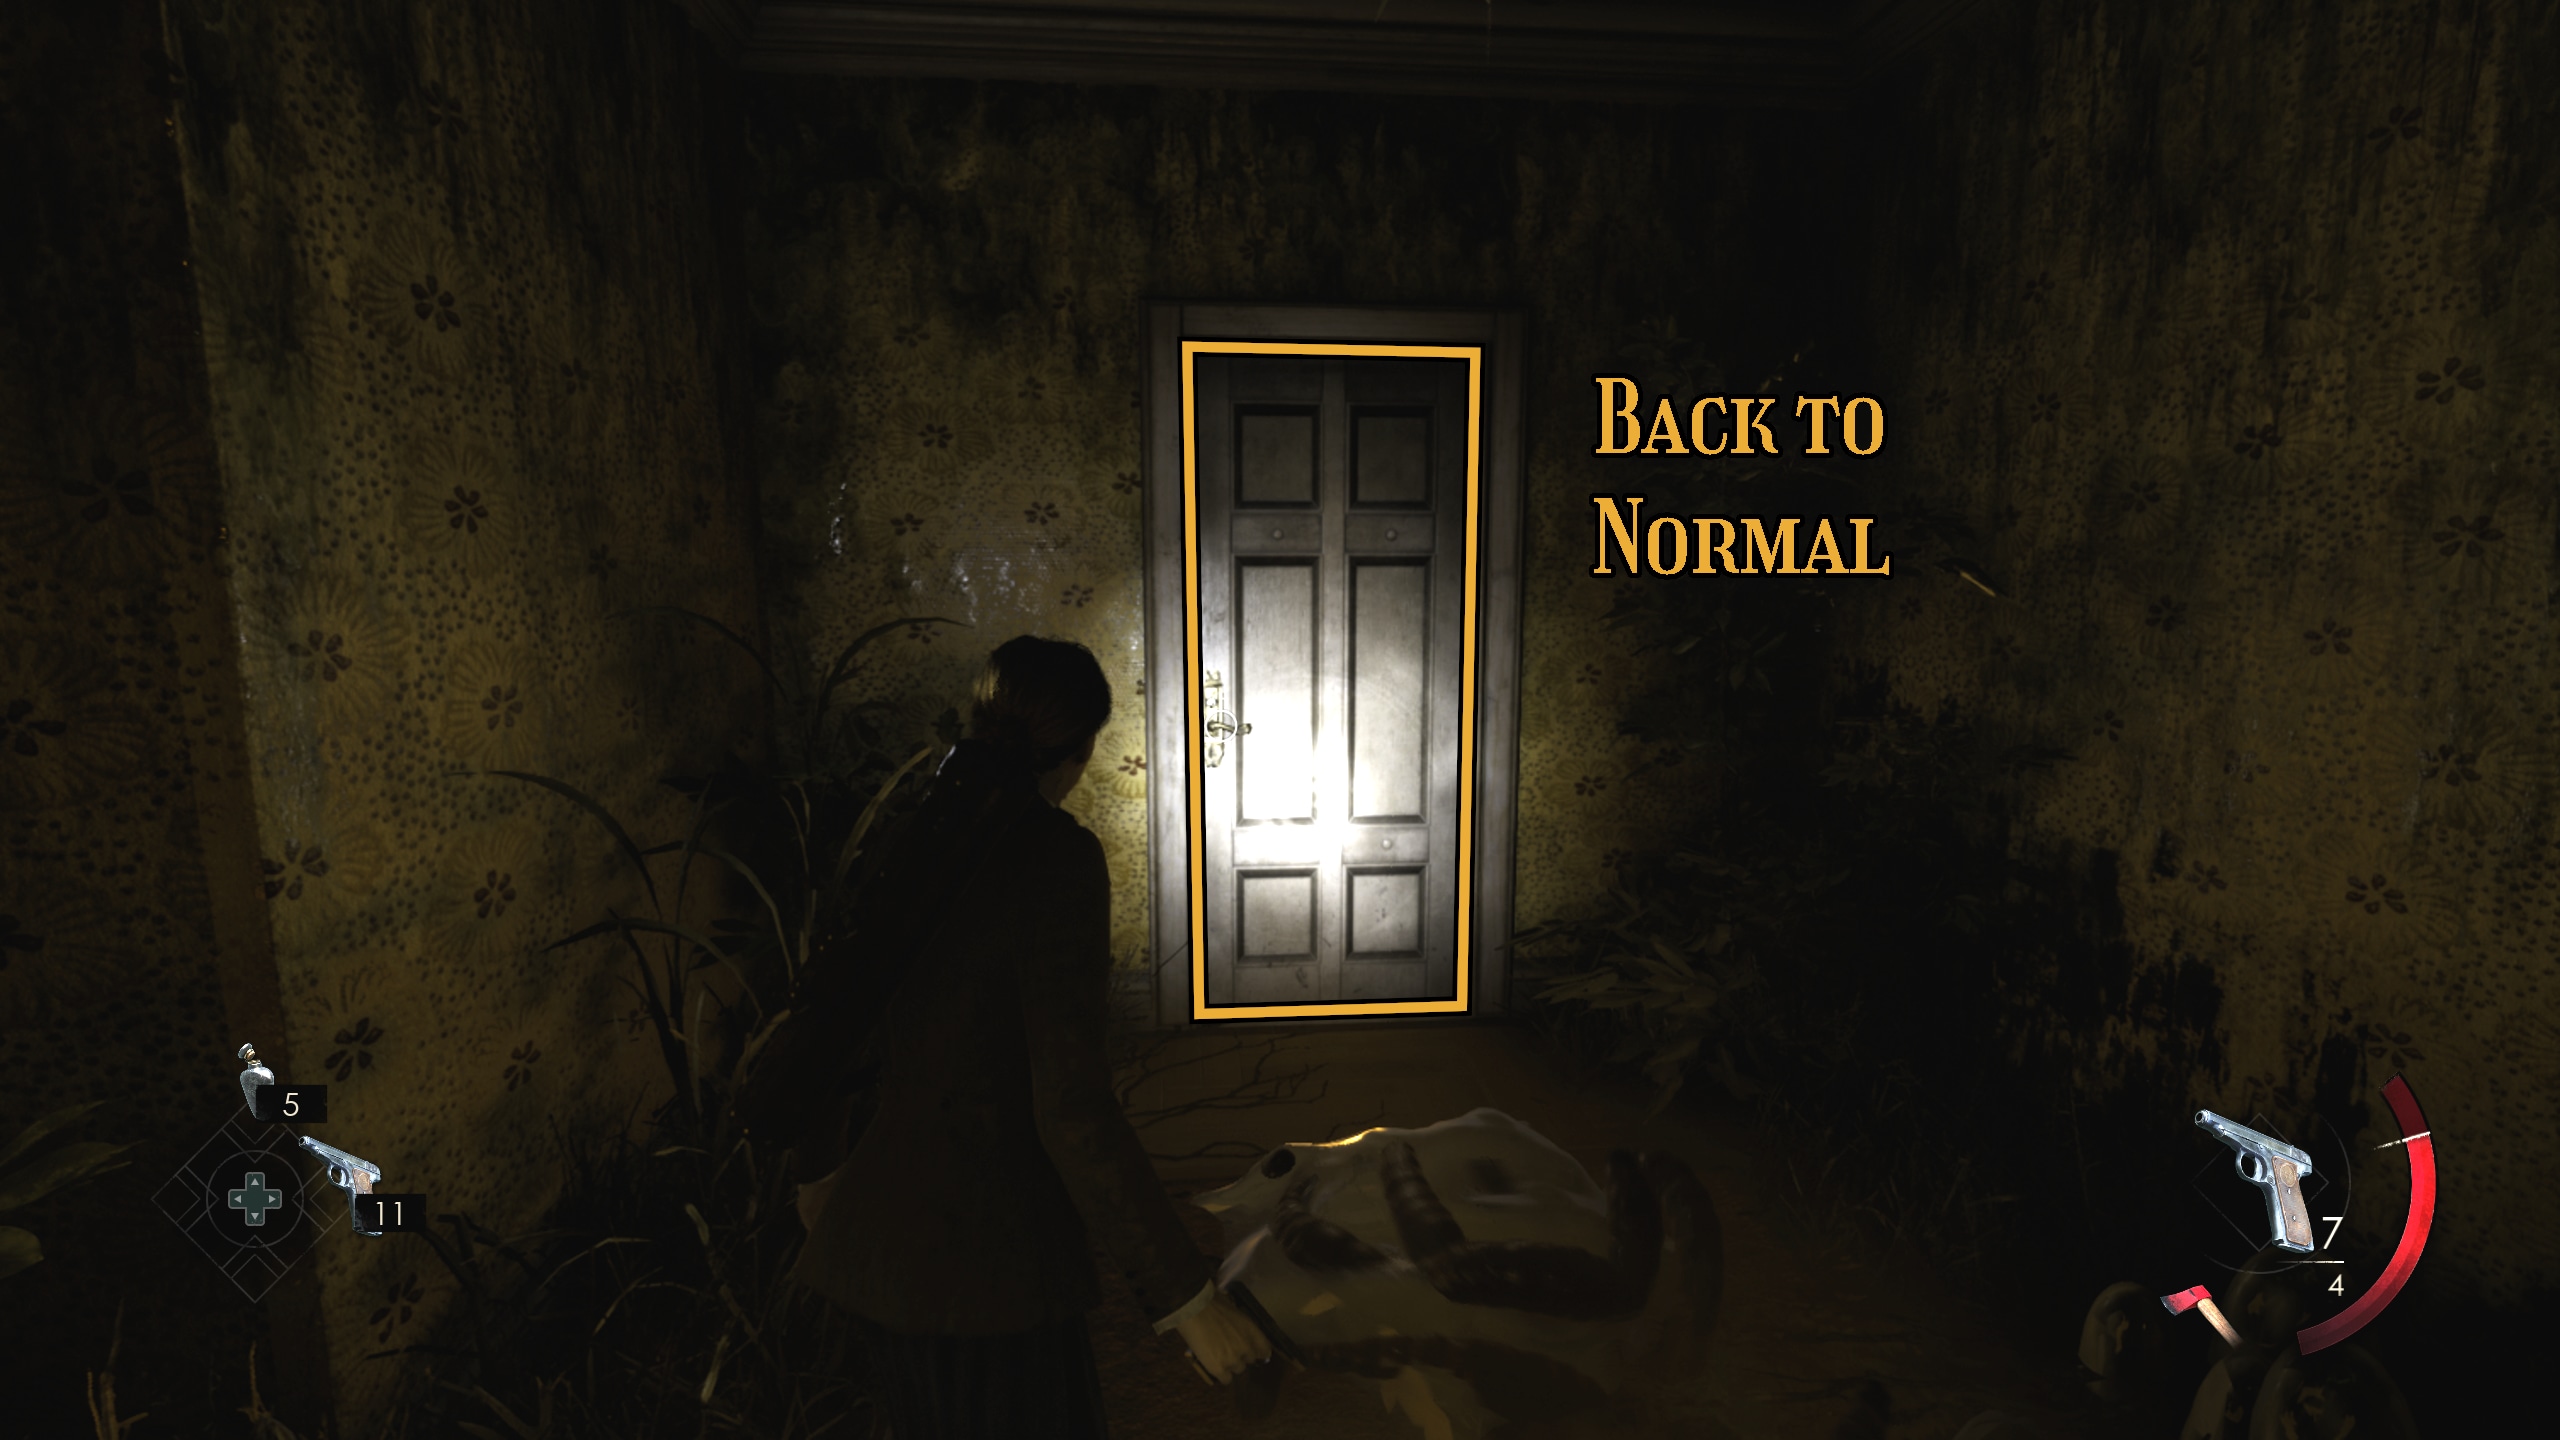
Simply running through this area can avoid a lot of damage, as can going around the goo on the floor (Image 34). Once you reach the door at the end of the hallway, you’ll end up back in “normal” Derceto (Image 35).
Image 32Image 33Image 34Image 35
Grand Clock Puzzle
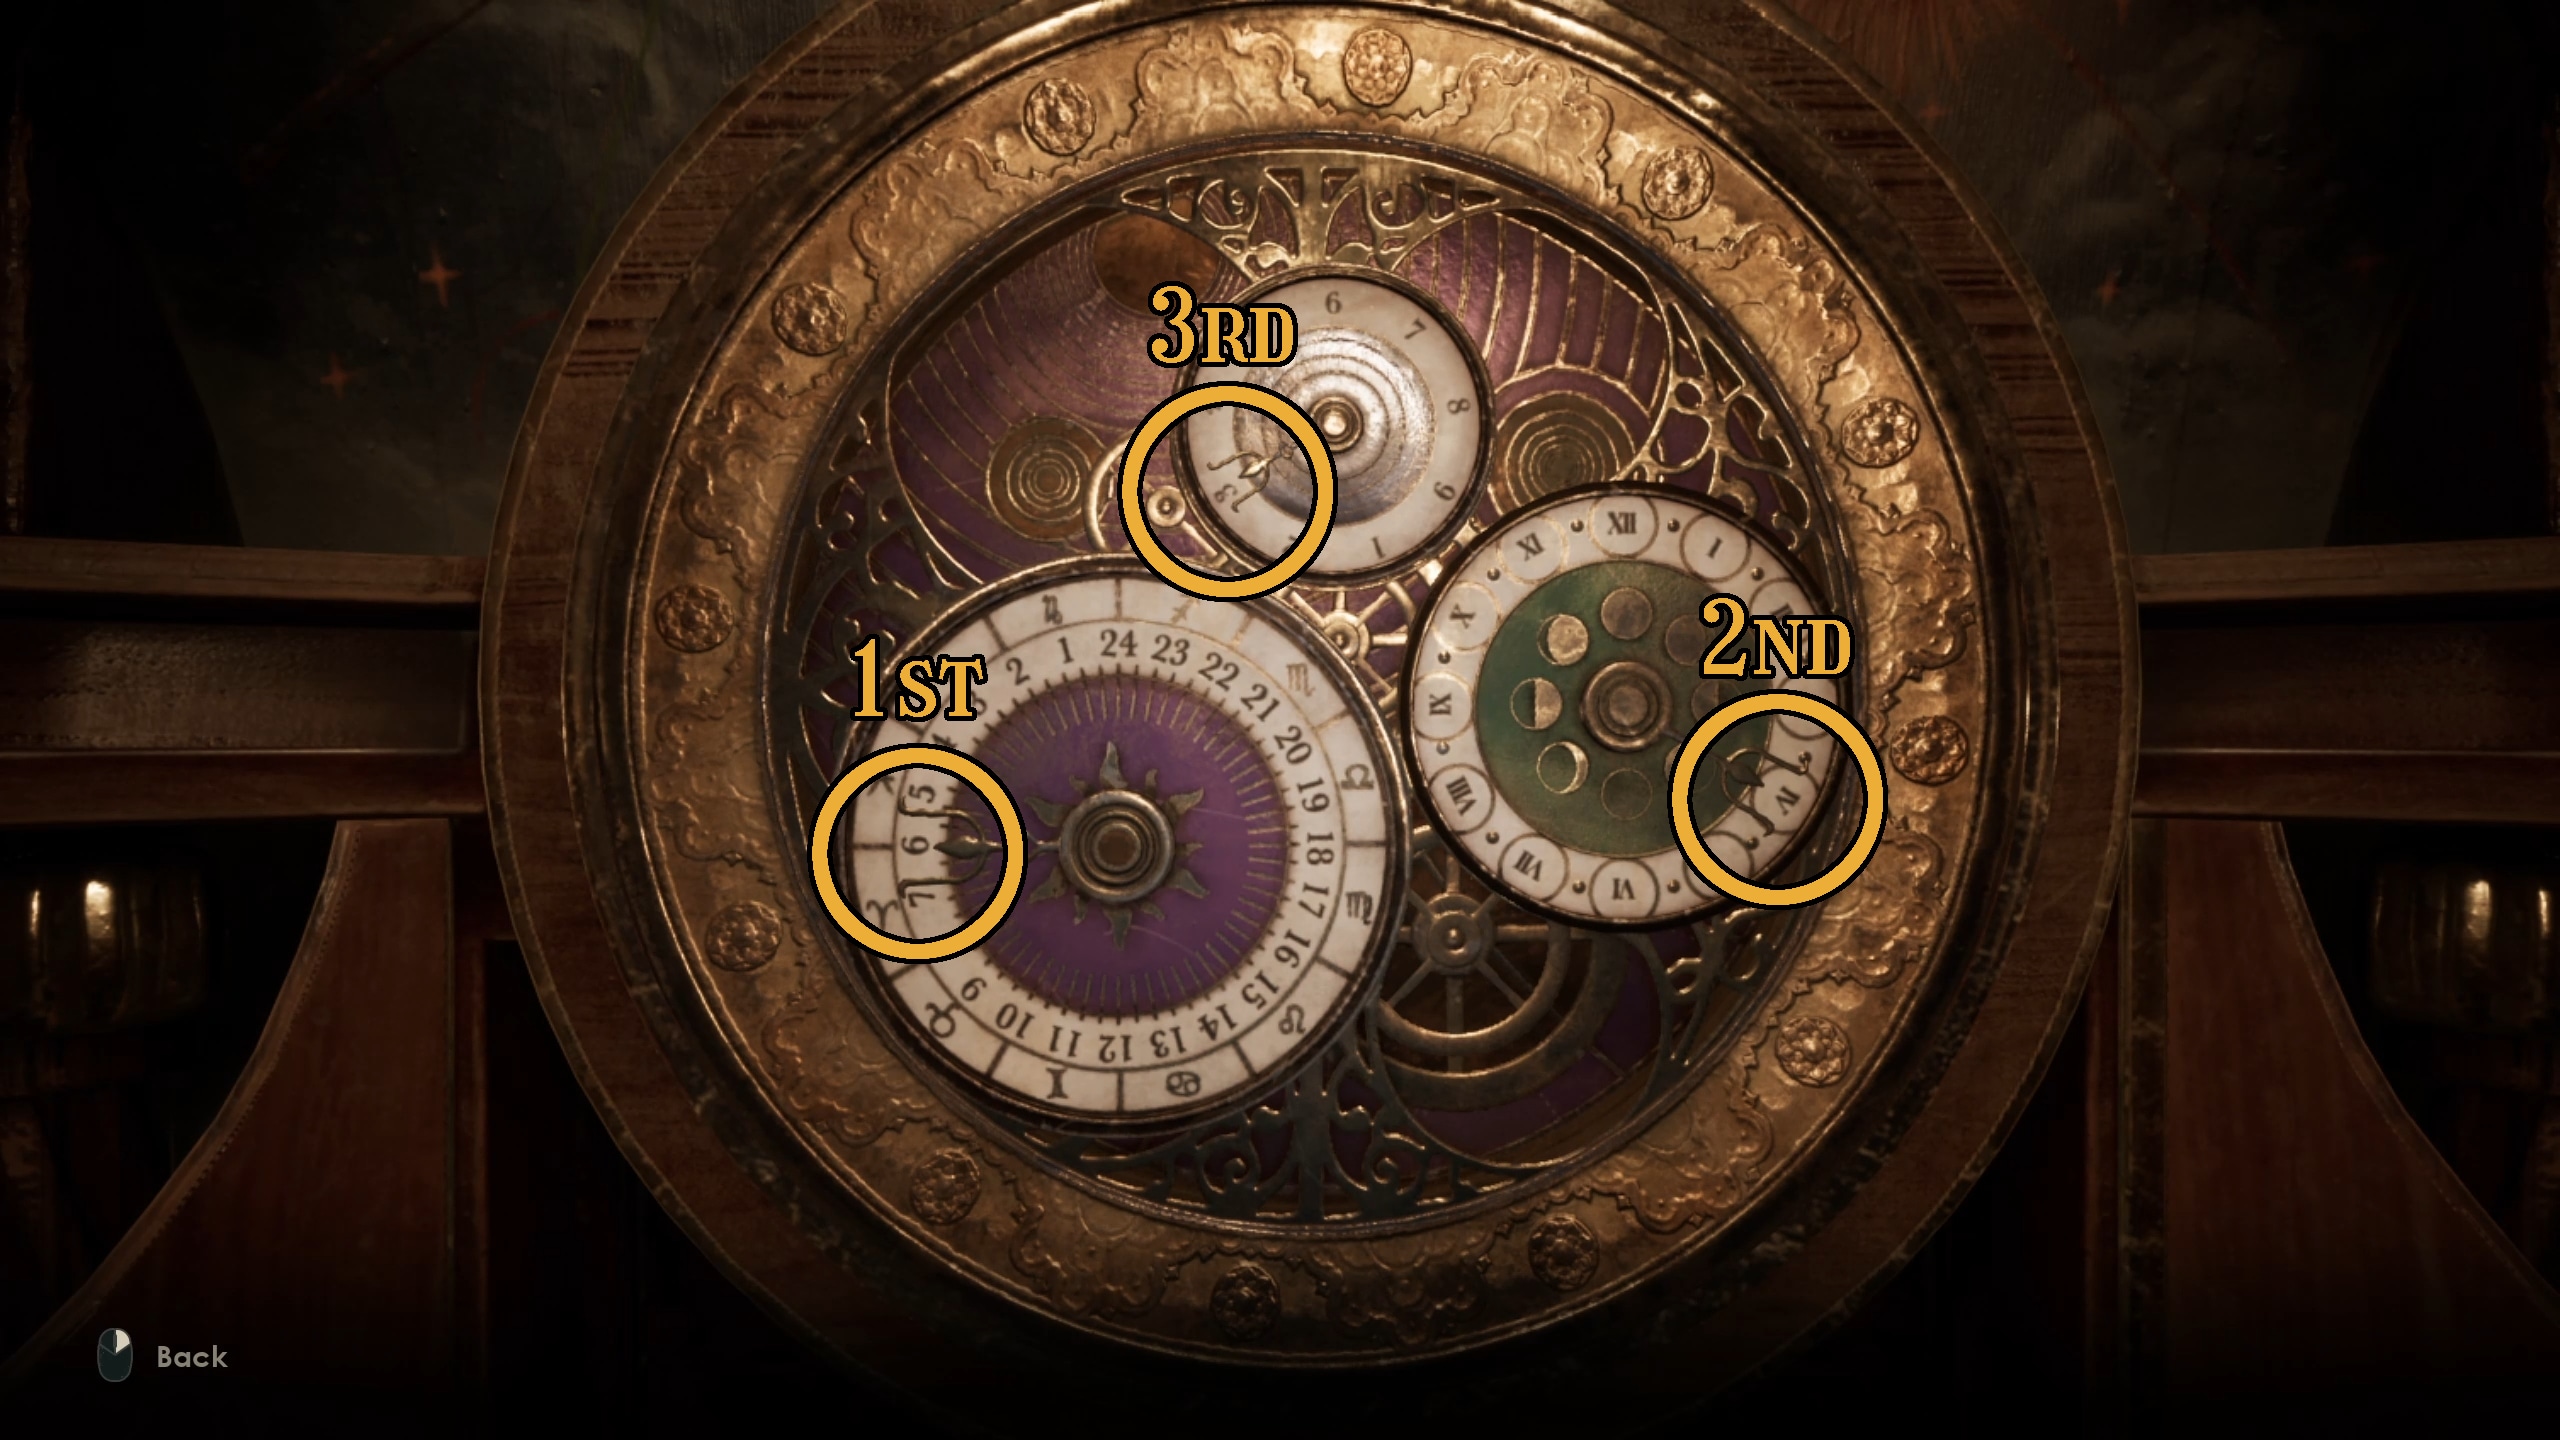
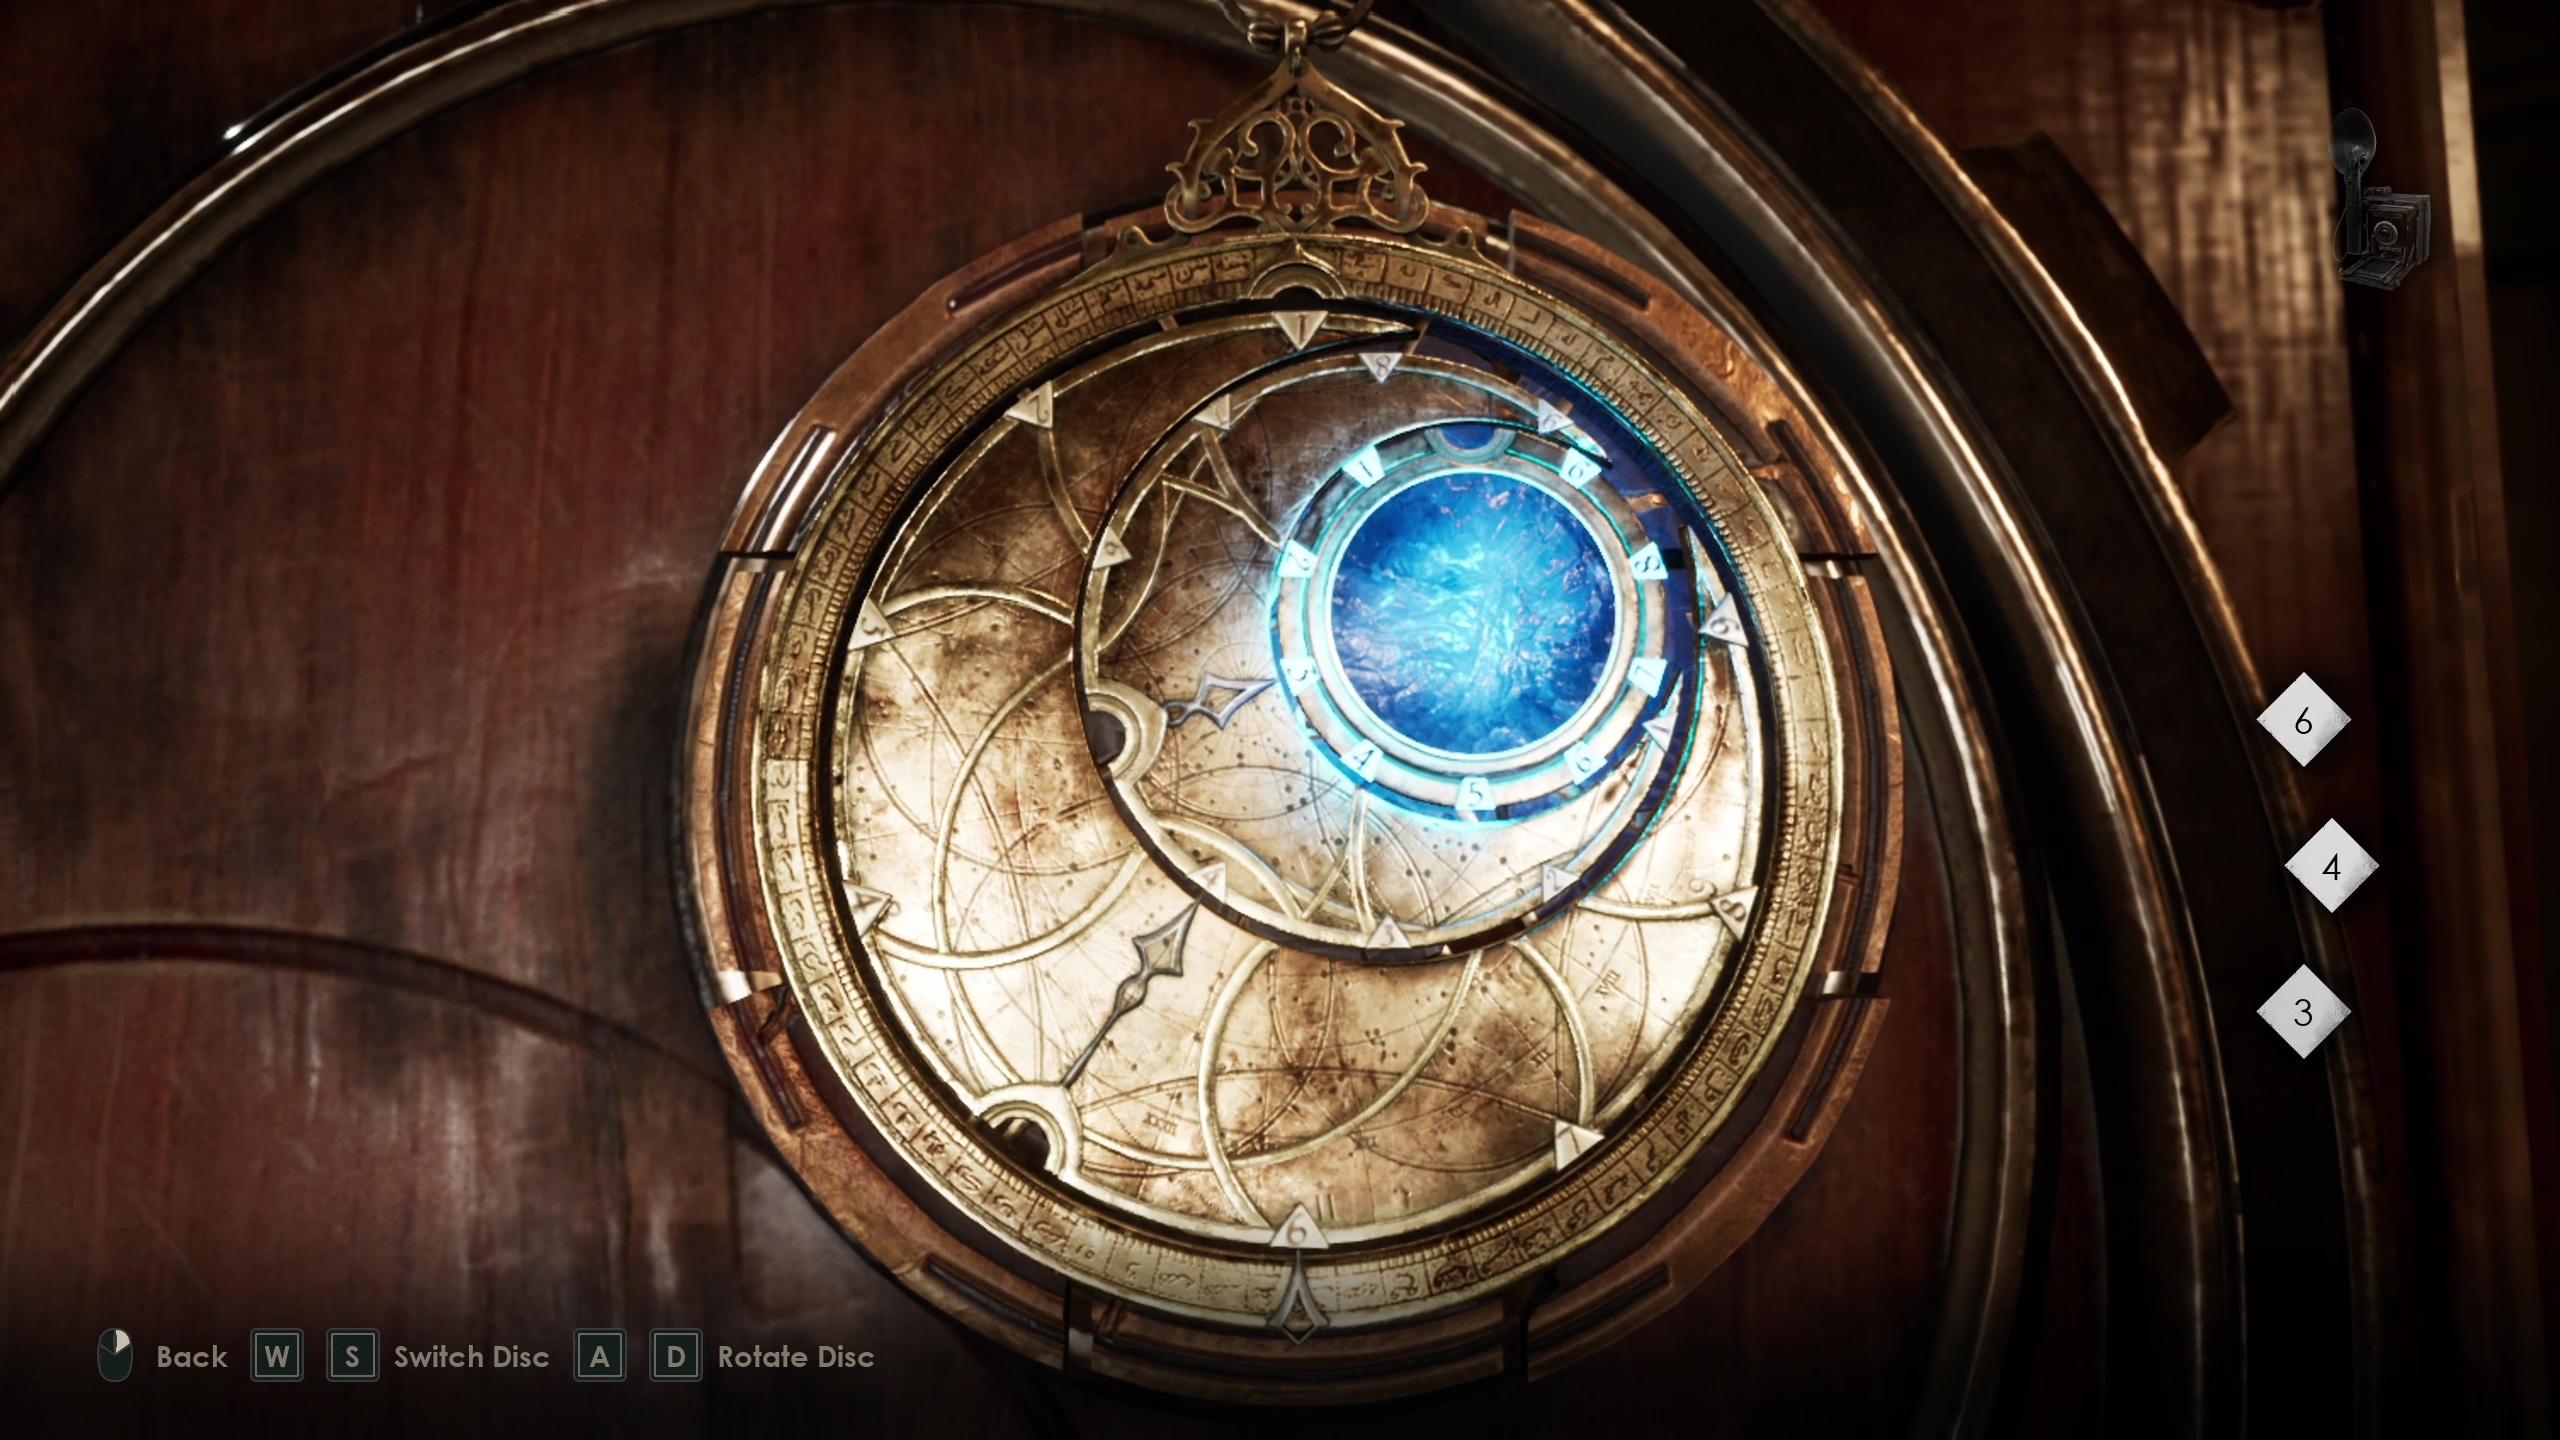
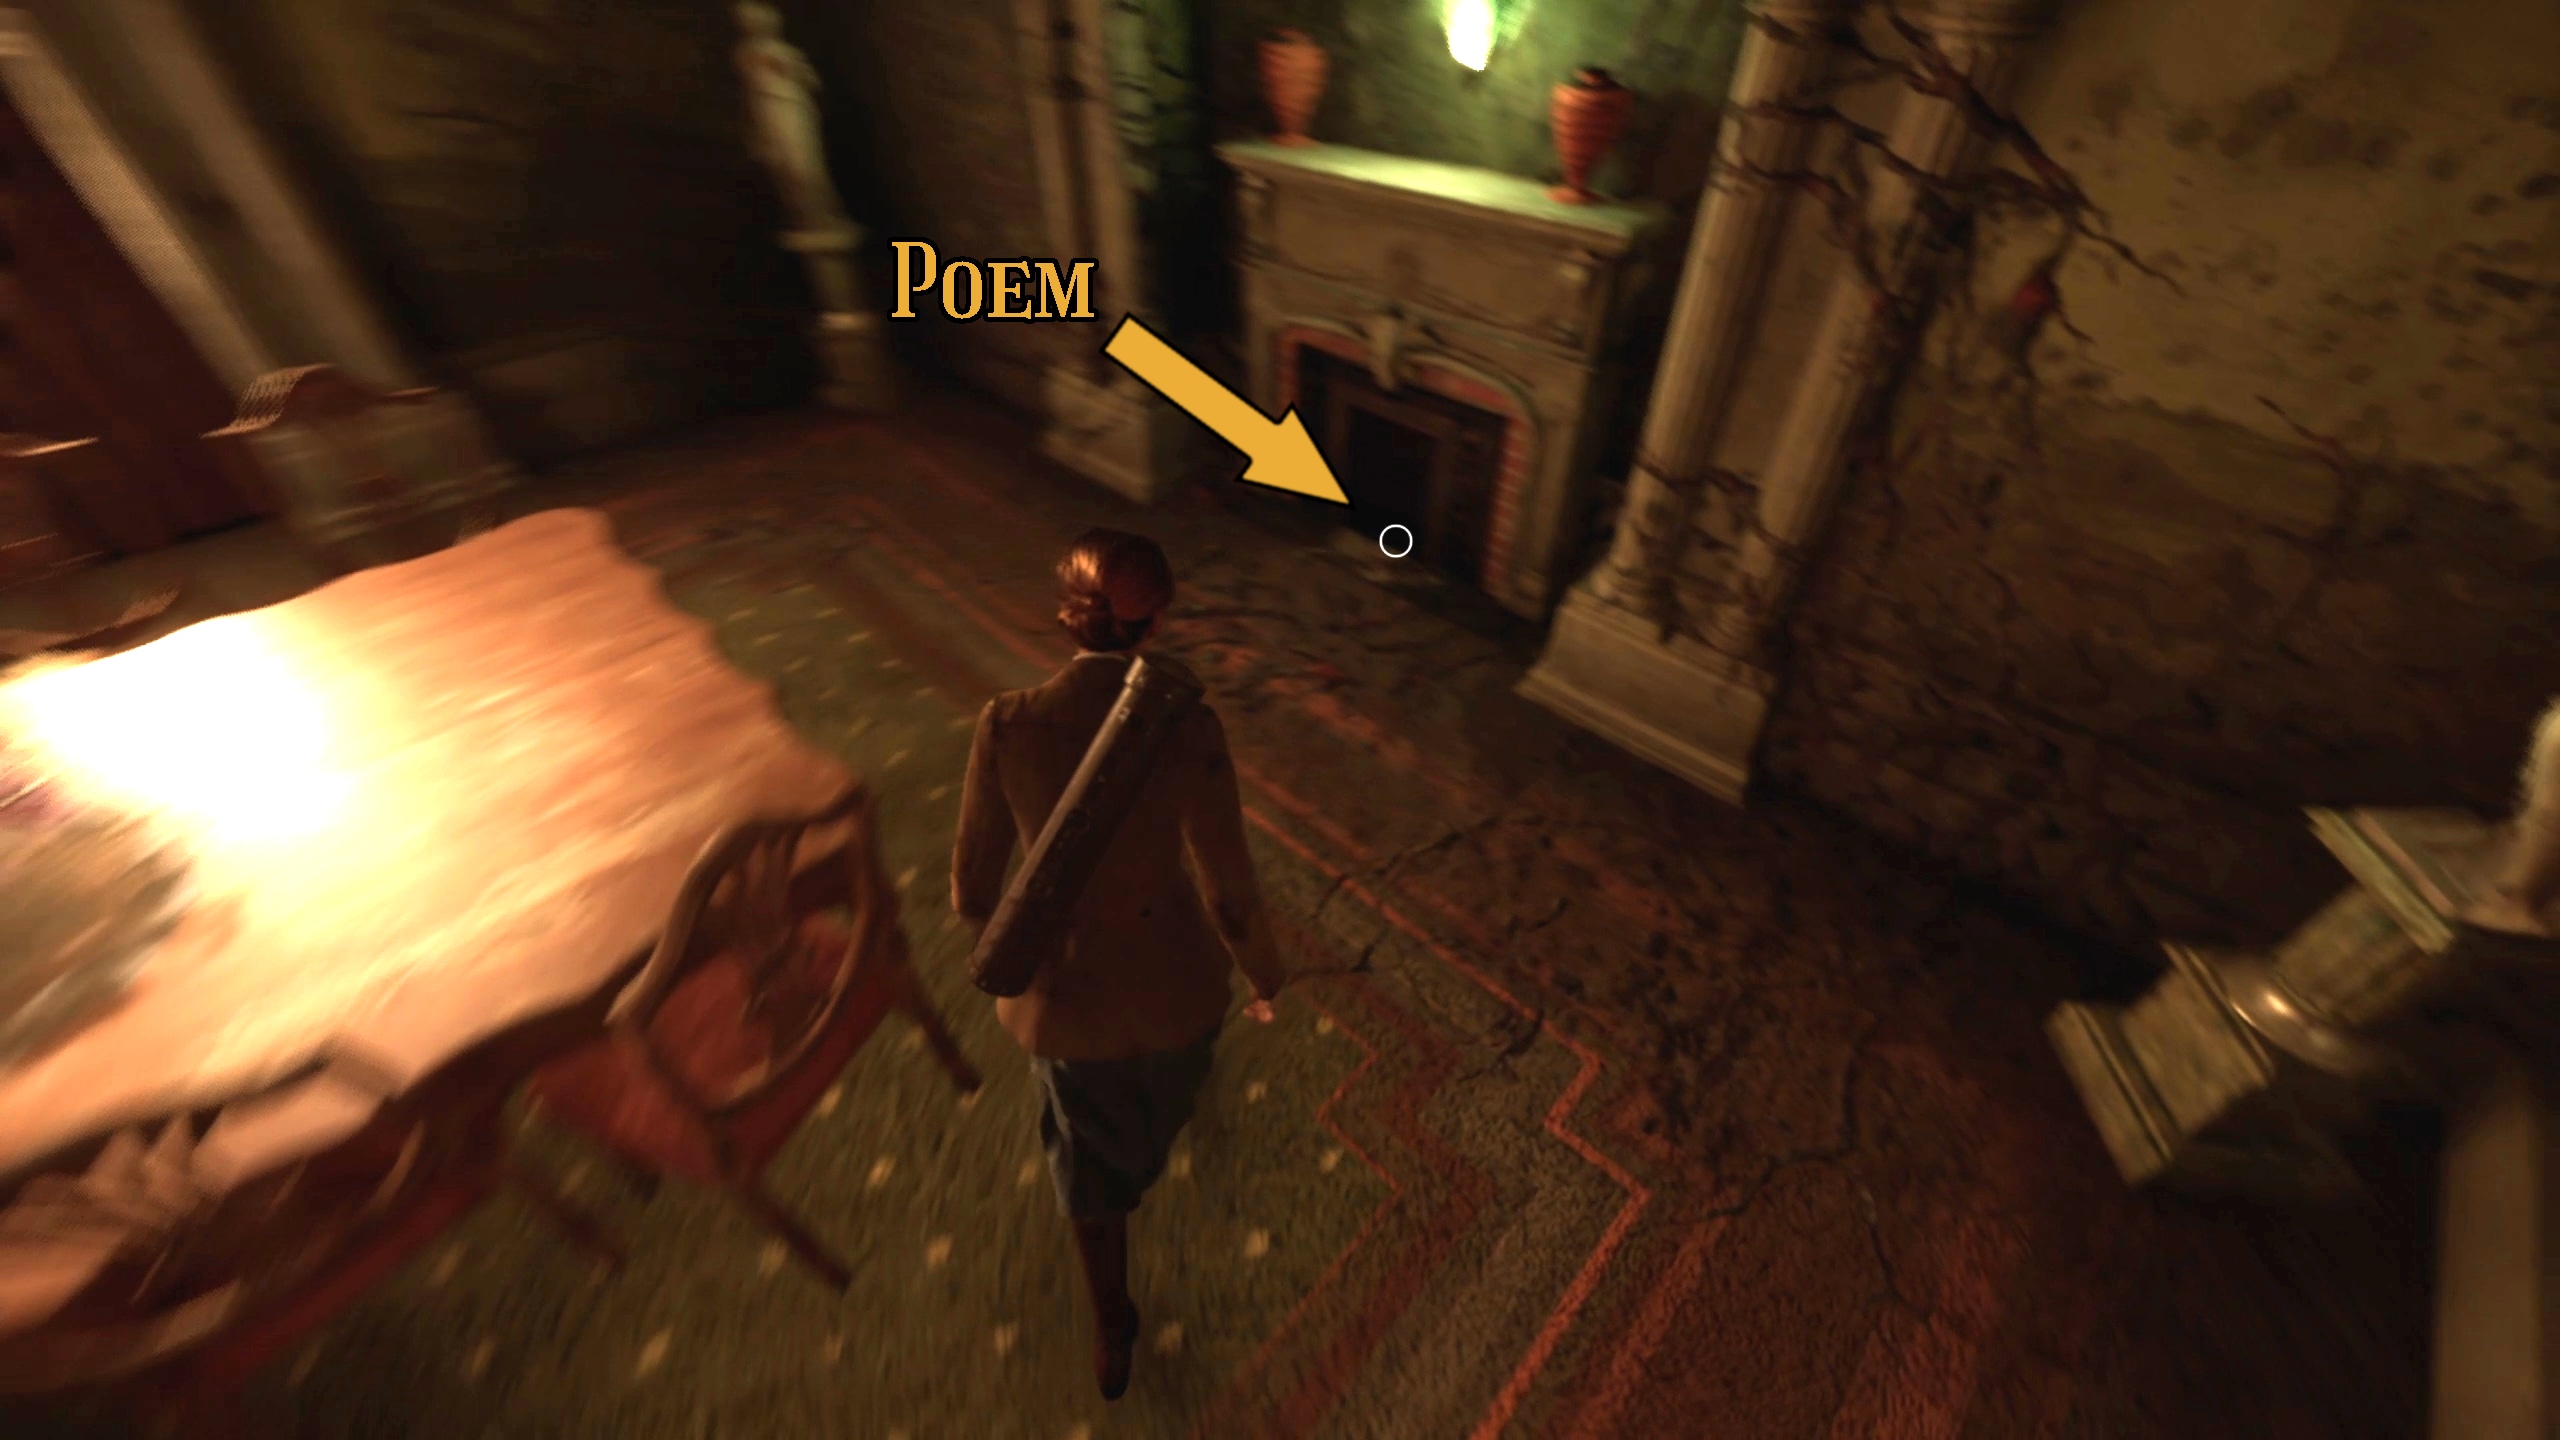
You’ll come out of that door conveniently right where you need to be. Approach and open the Grand Clock (Image 36), where you can input the Broken Plates in order to work on the puzzle (Image 37). When you complete that part of the puzzle, you’ll then need to input something into the Talisman in order to activate it (Image 38).
Image 36Image 37Image 38Image 39
Once you’ve fixed what it broken, you should check the time. Make sure not to get the dials confused: remember what the big hand, middle hand, and little hand do.
First, start by completing the Broken Plate puzzle by arranging the pieces so that they line up. The topp right and bottom left corners might need to be swapped if they aren’t working.
That will cause the dials on the clock to spin into specific places, giving you a combination to use for the Talisman: 6 – 4 – 3. Input that into the Talisman by going back to the Broken Plate, and then you’ll complete the puzzle.
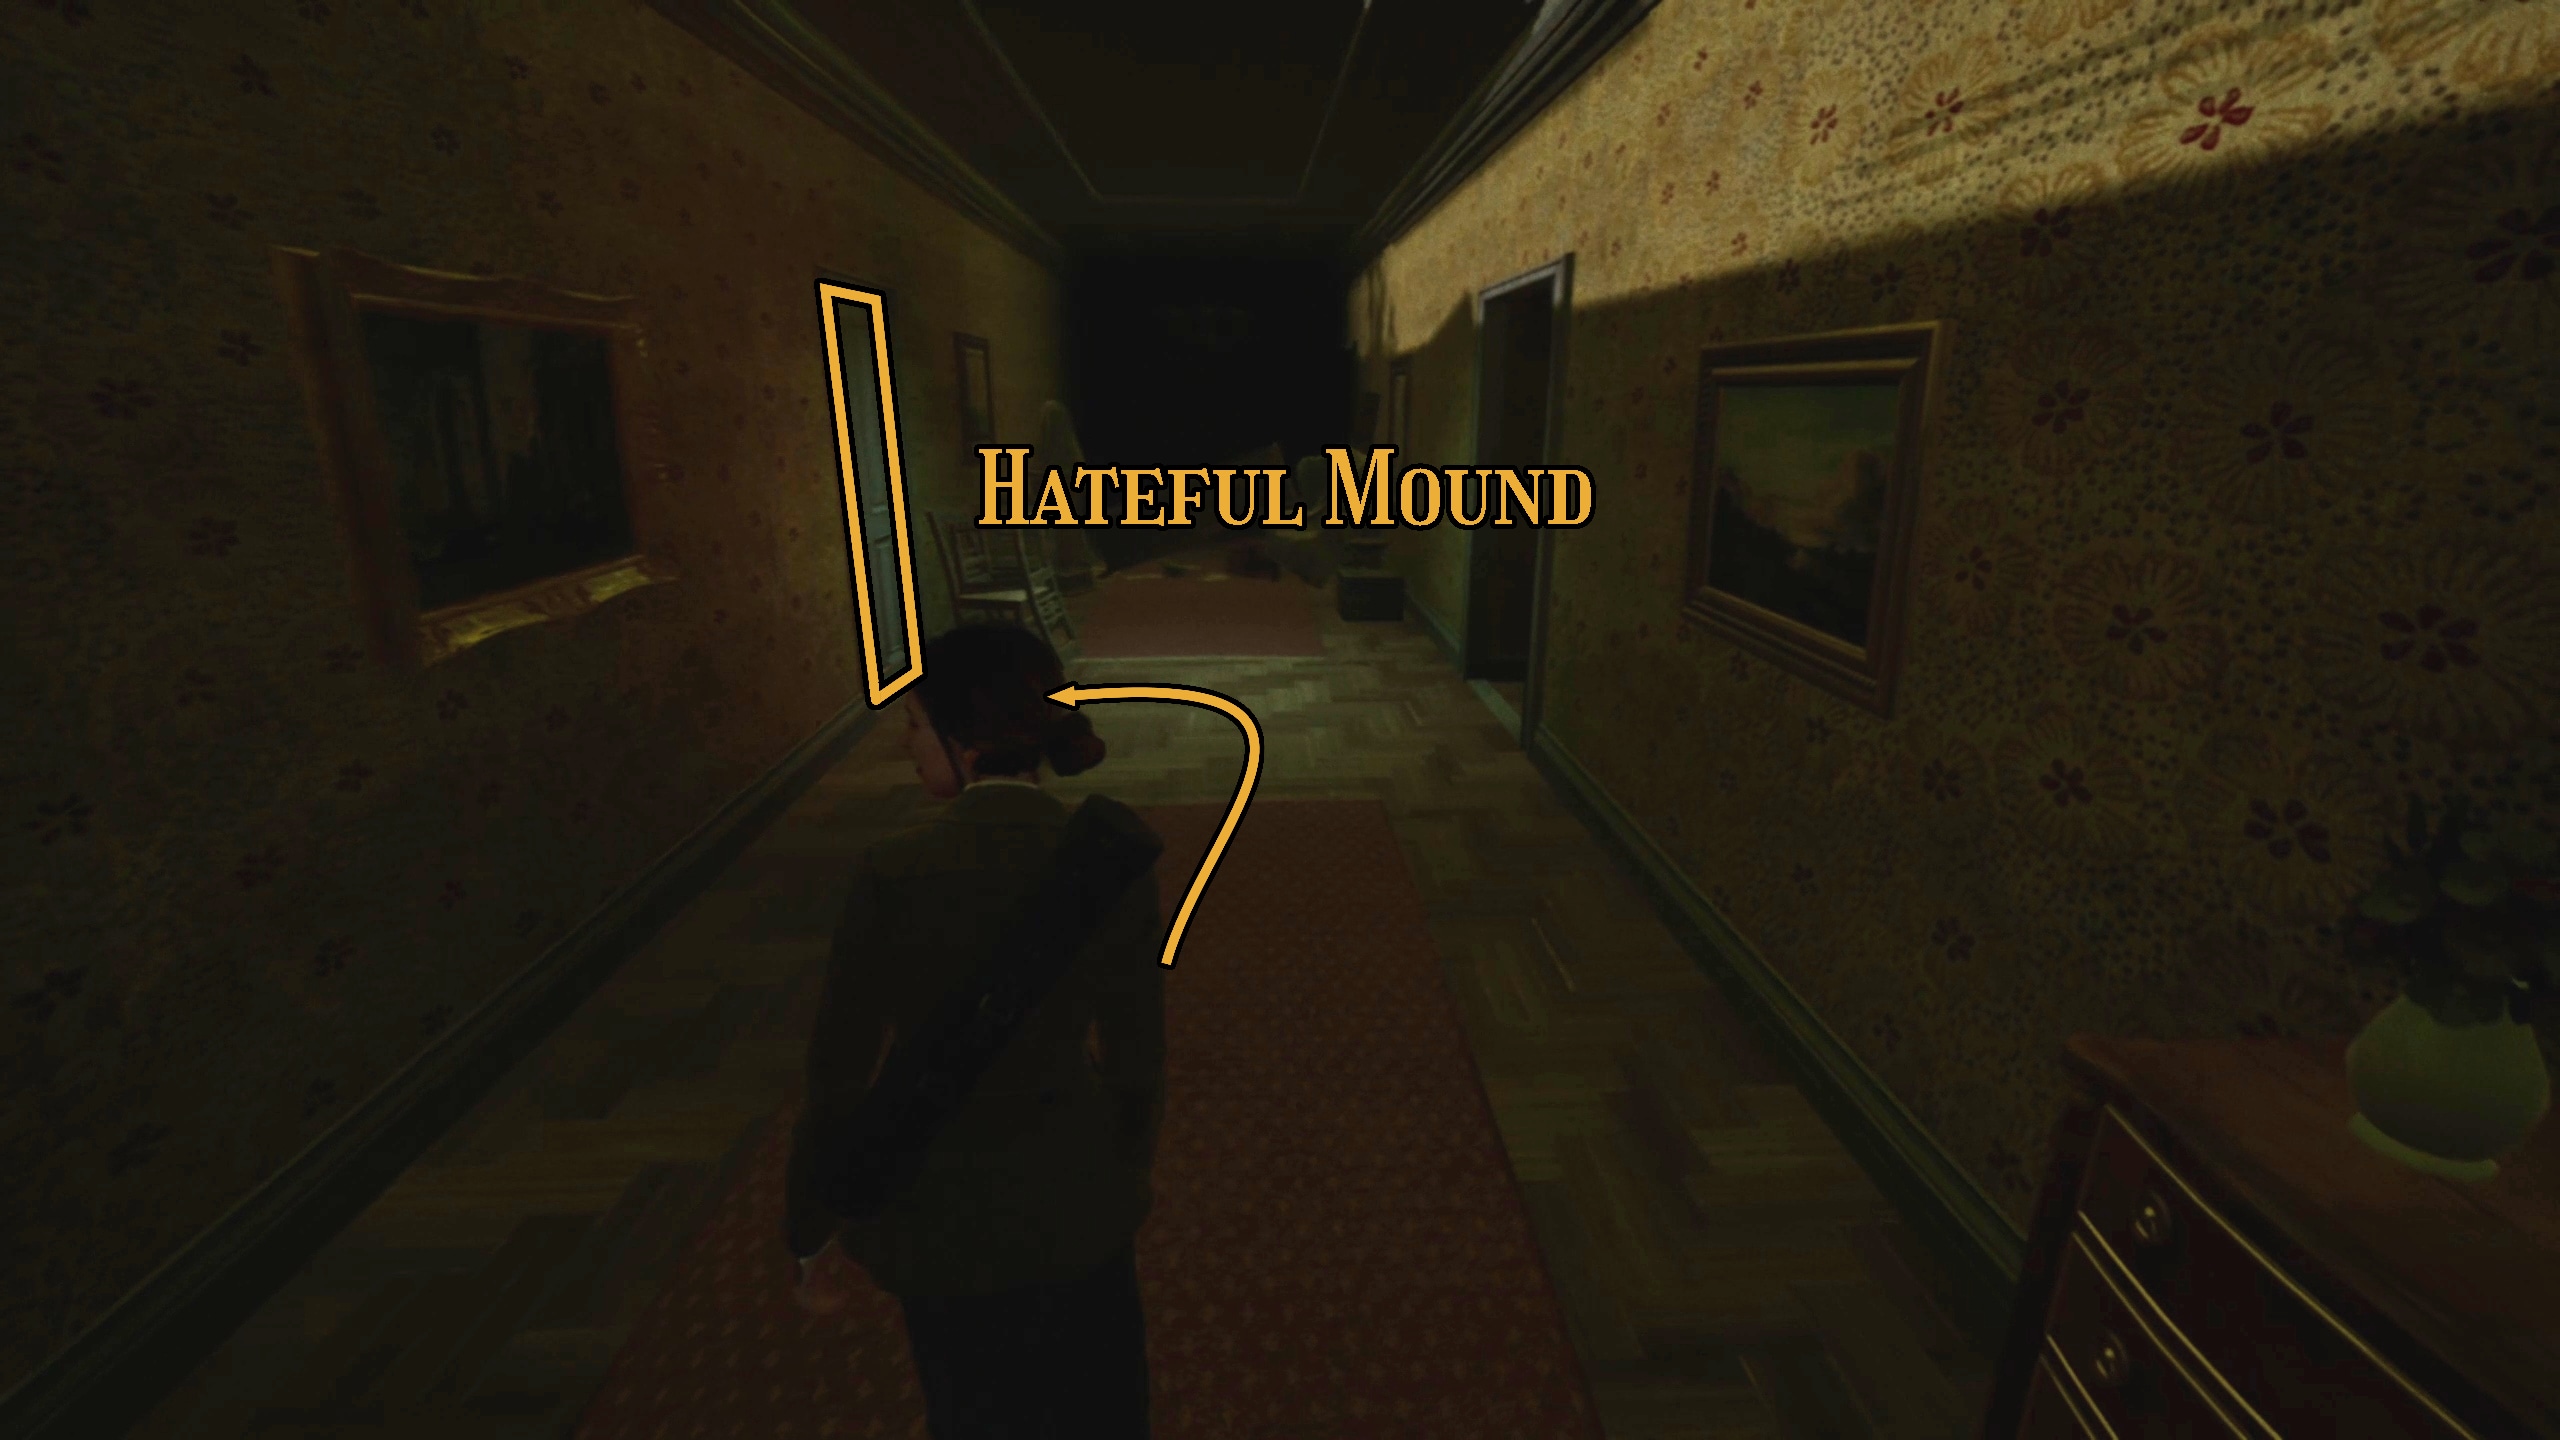
The camera will automatically turn back to the Hallway door. Go through it (Image 40). Proceed down the hallway until the lights turn off and on again, which will open up a door (Image 41) leading to a new area: the Hateful Mound (Image 42).
Image 40Image 41Image 42
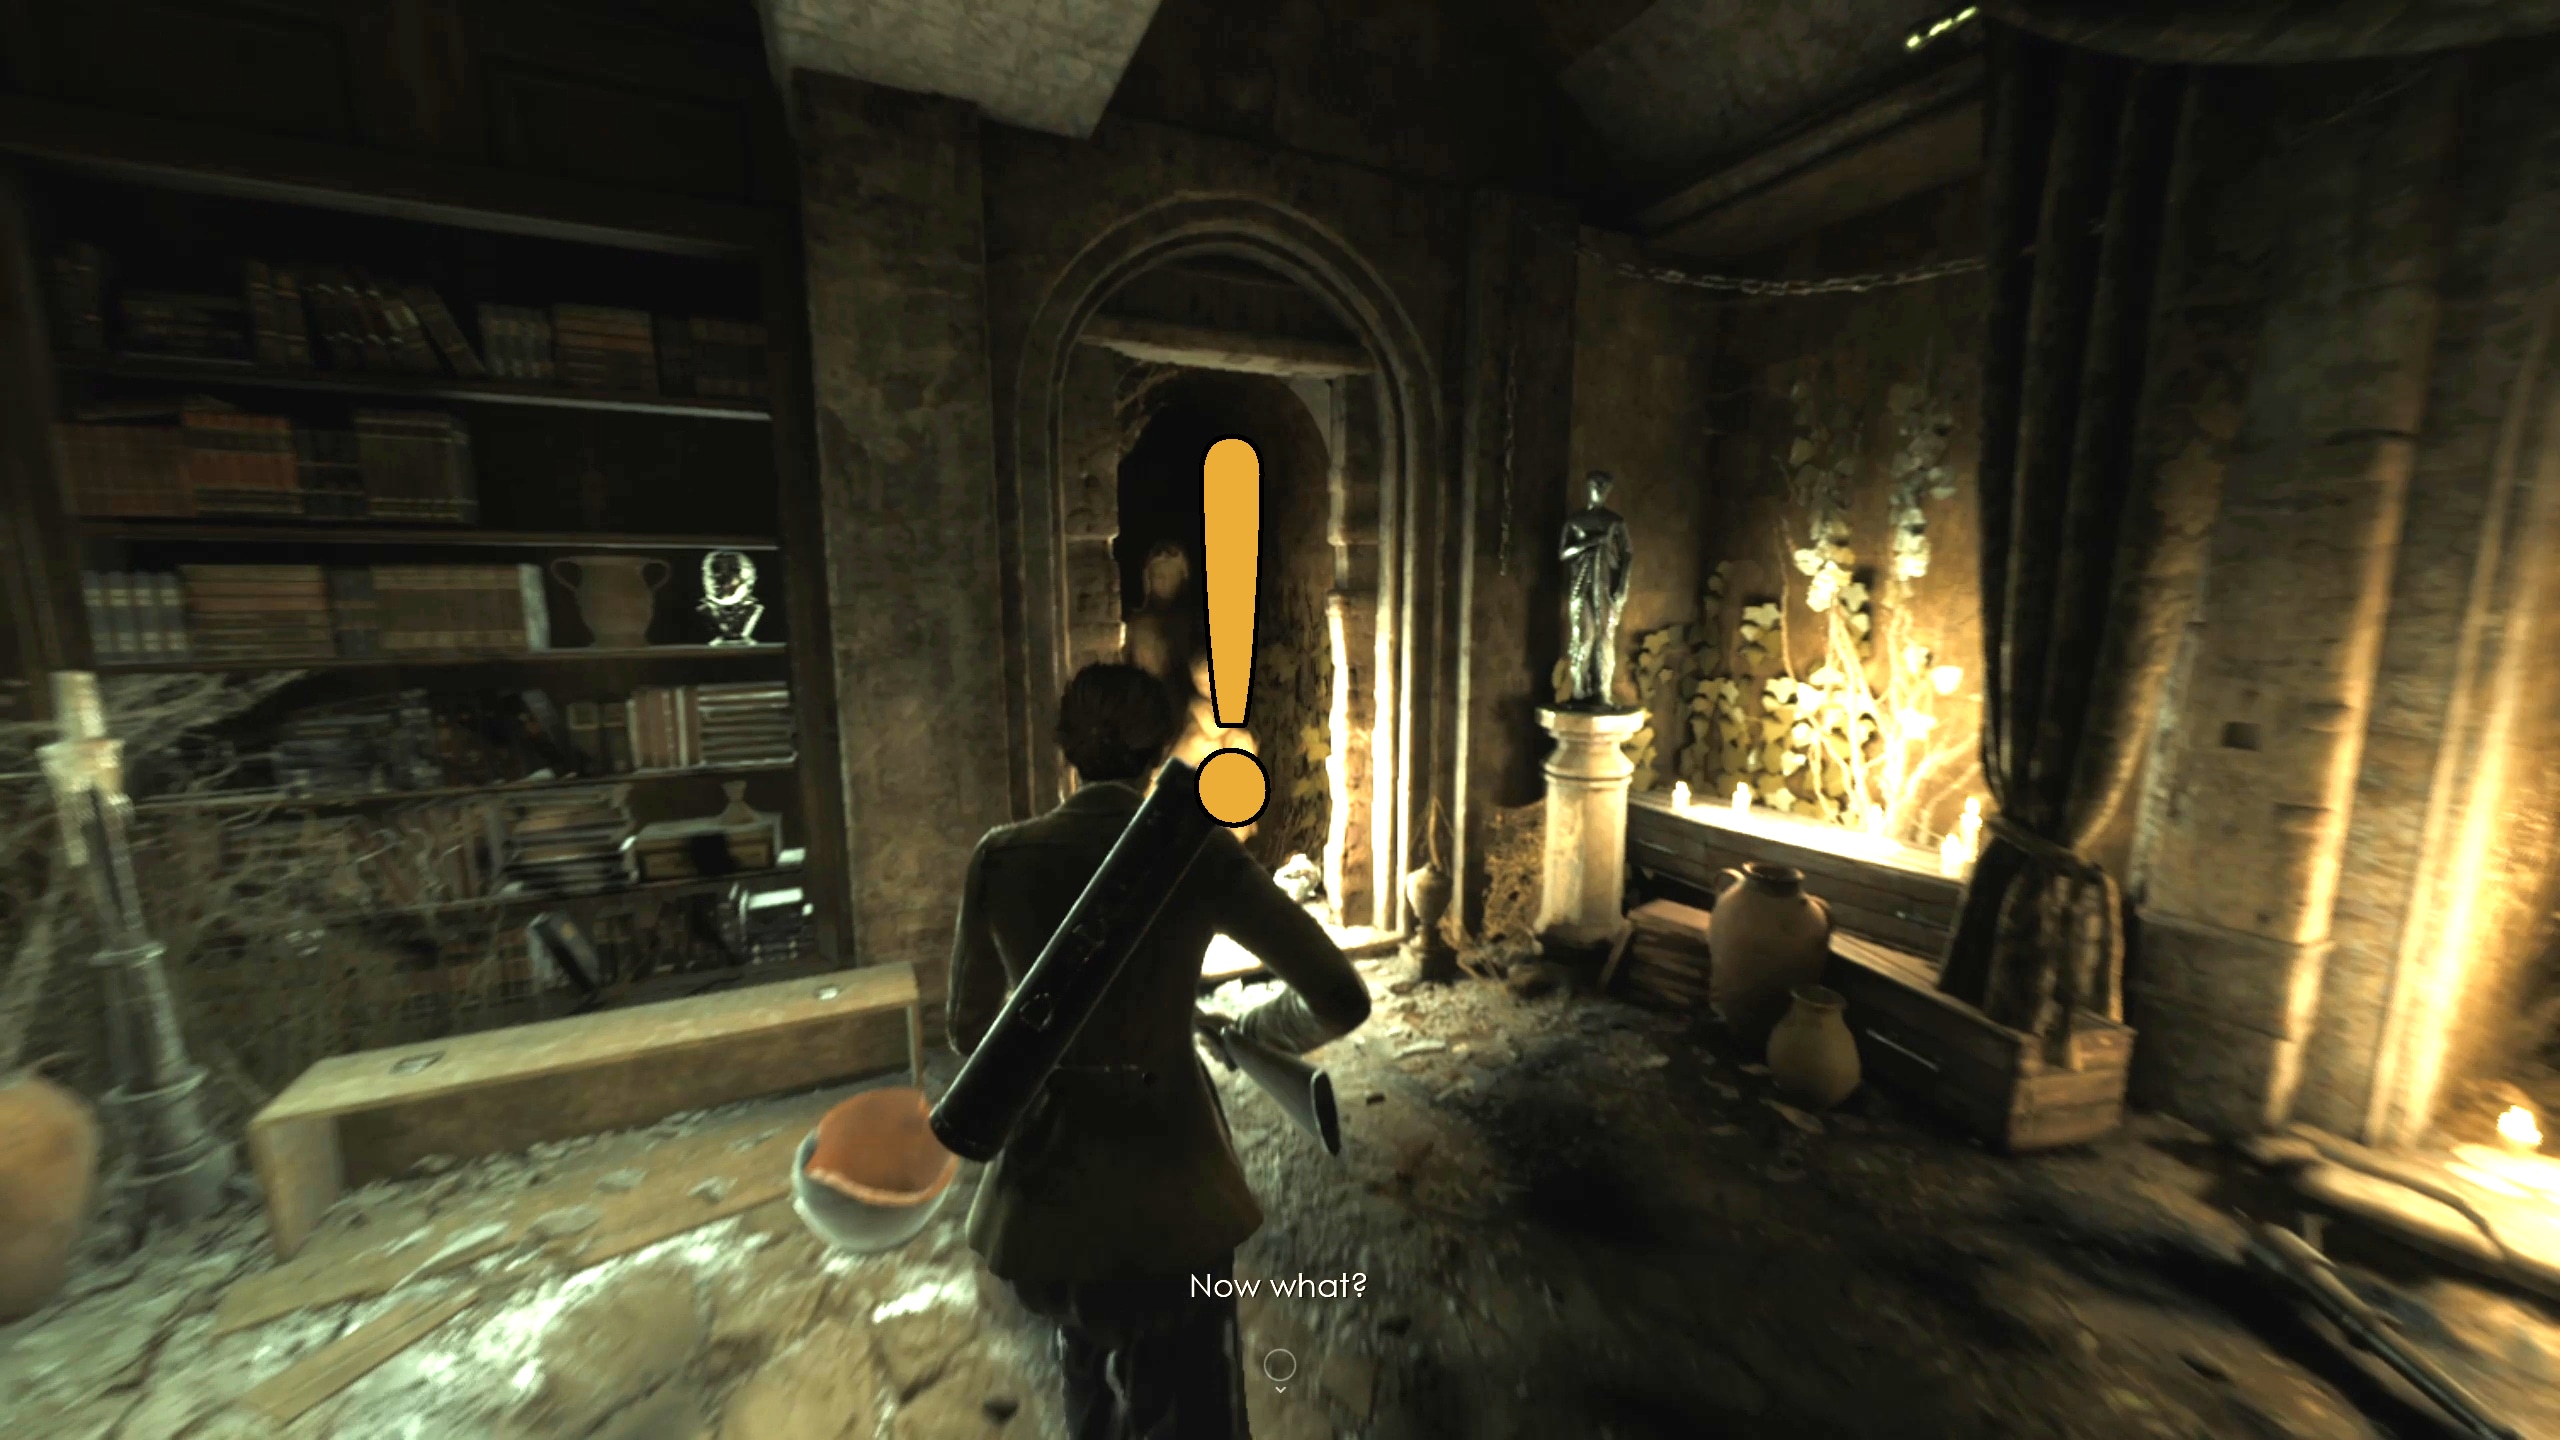
Look for Jeremy inside the Hateful Mound
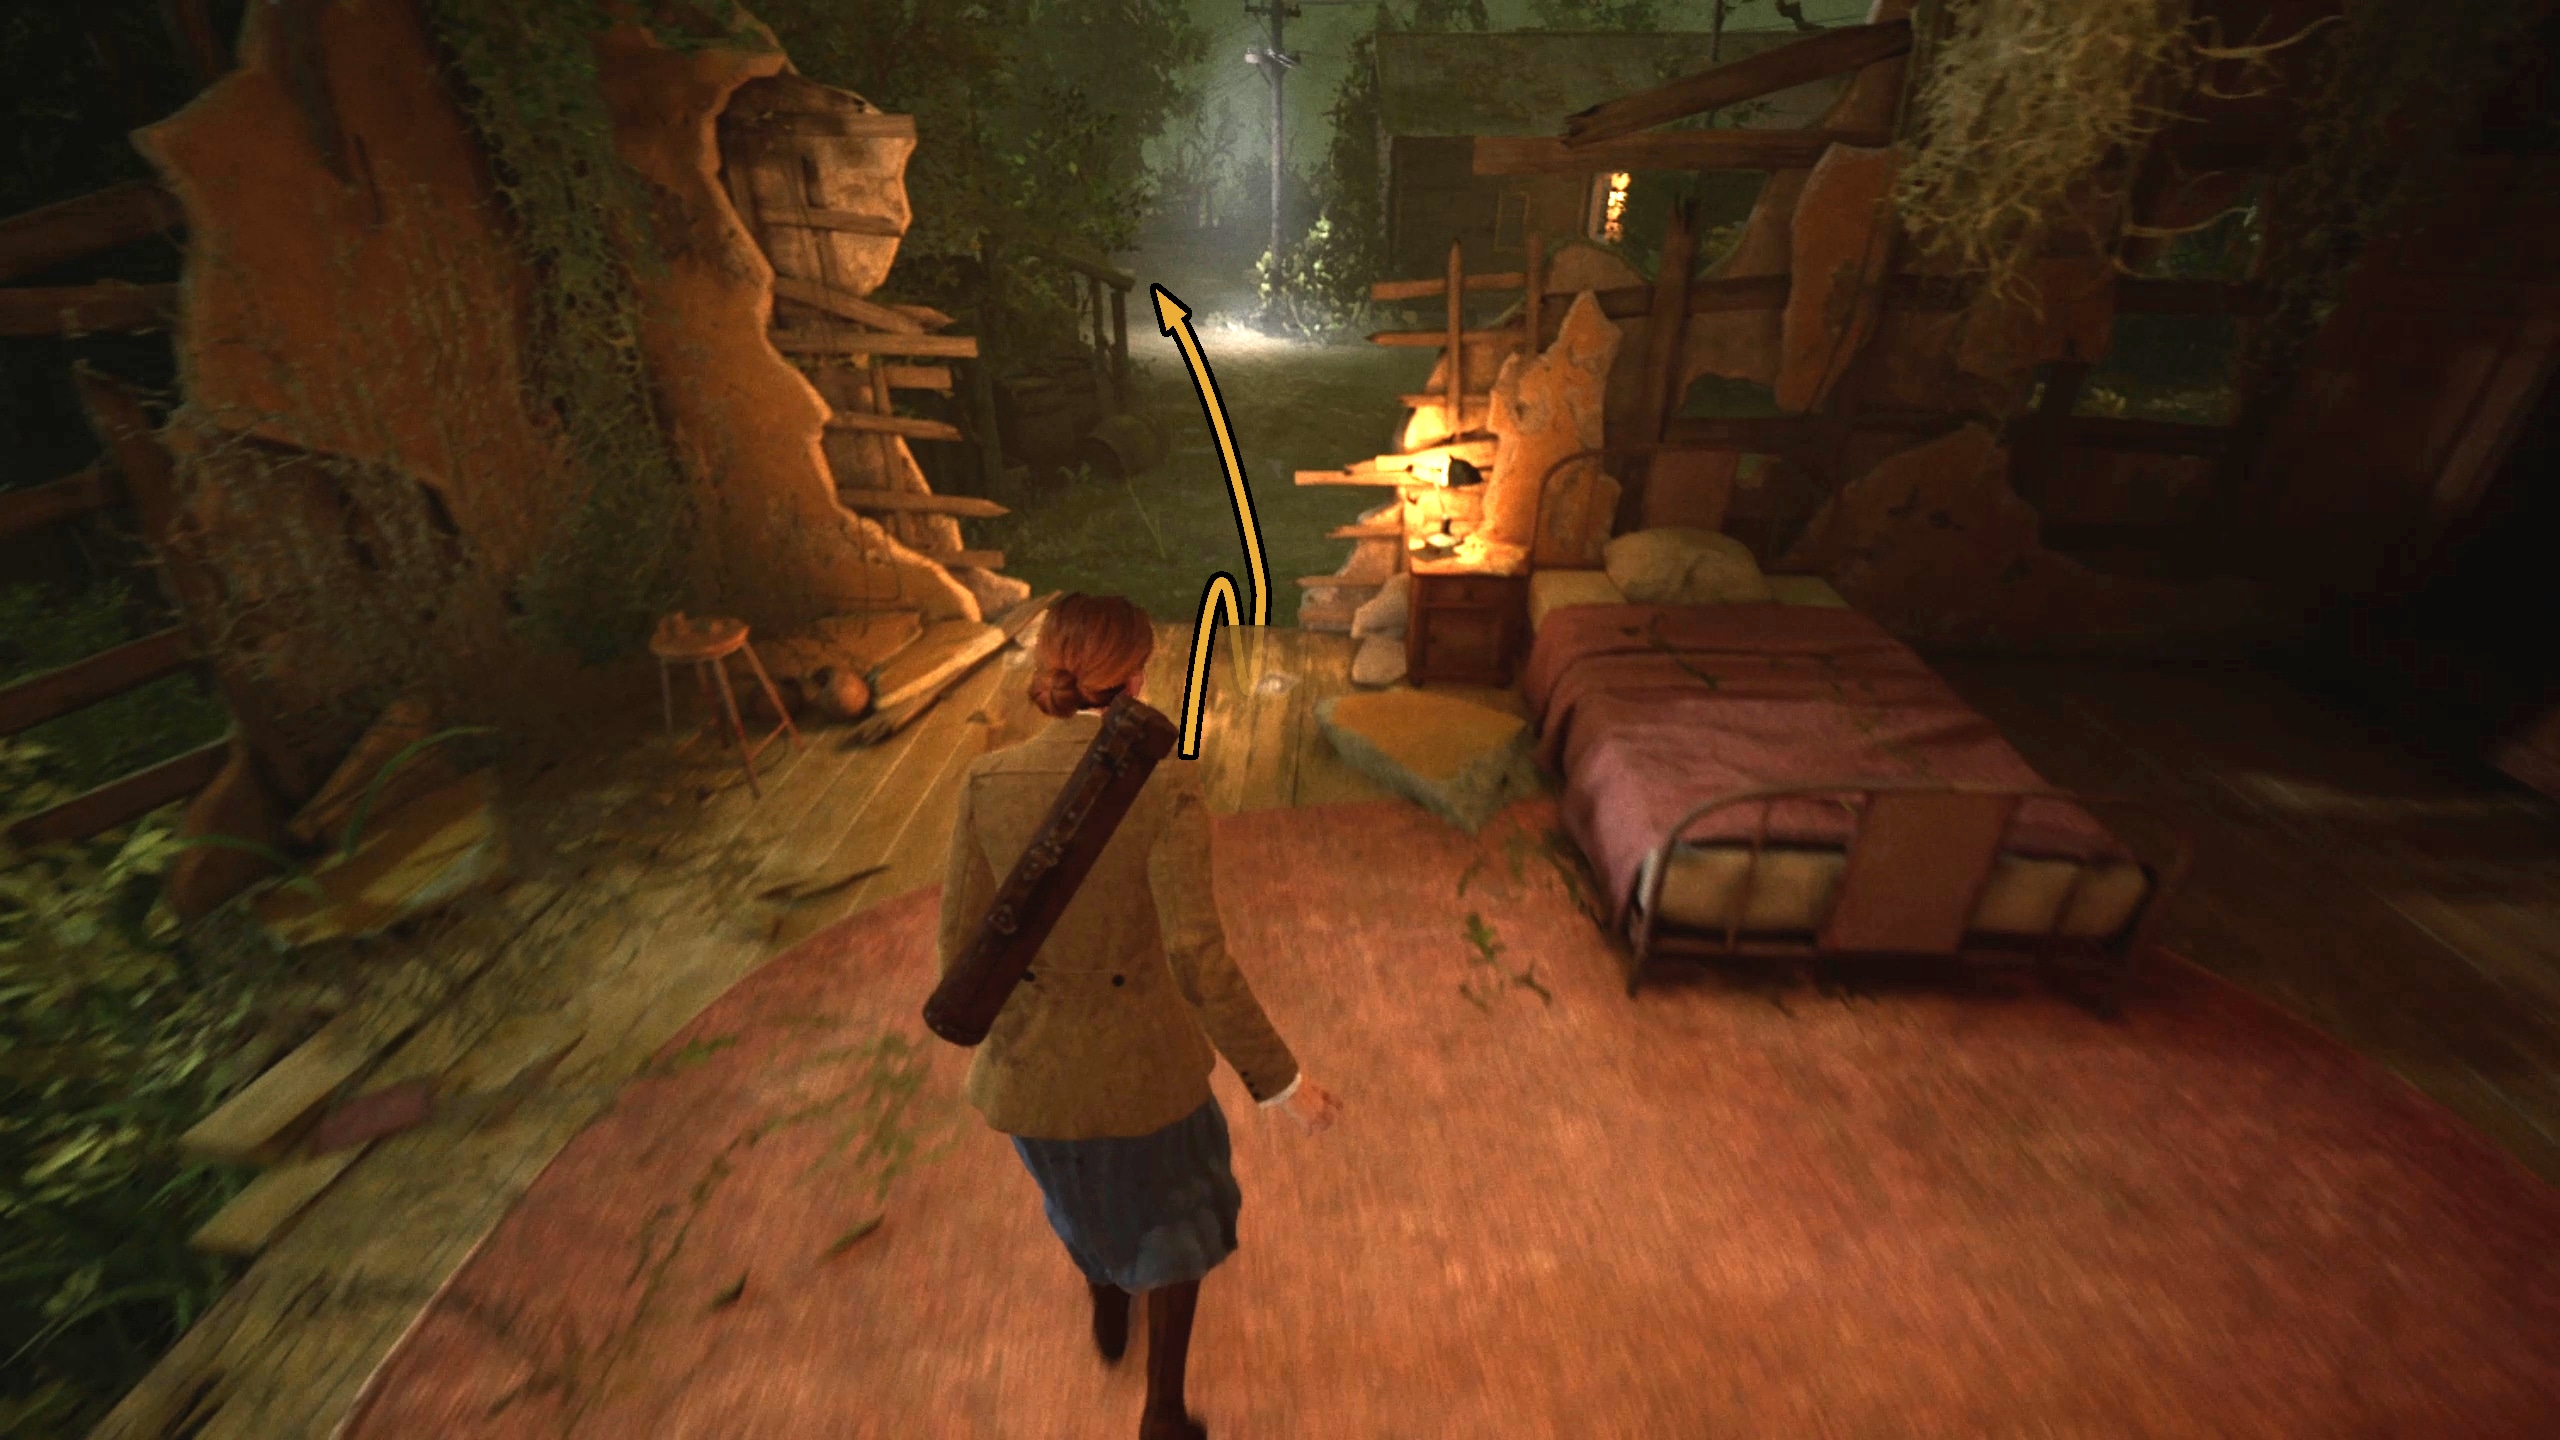
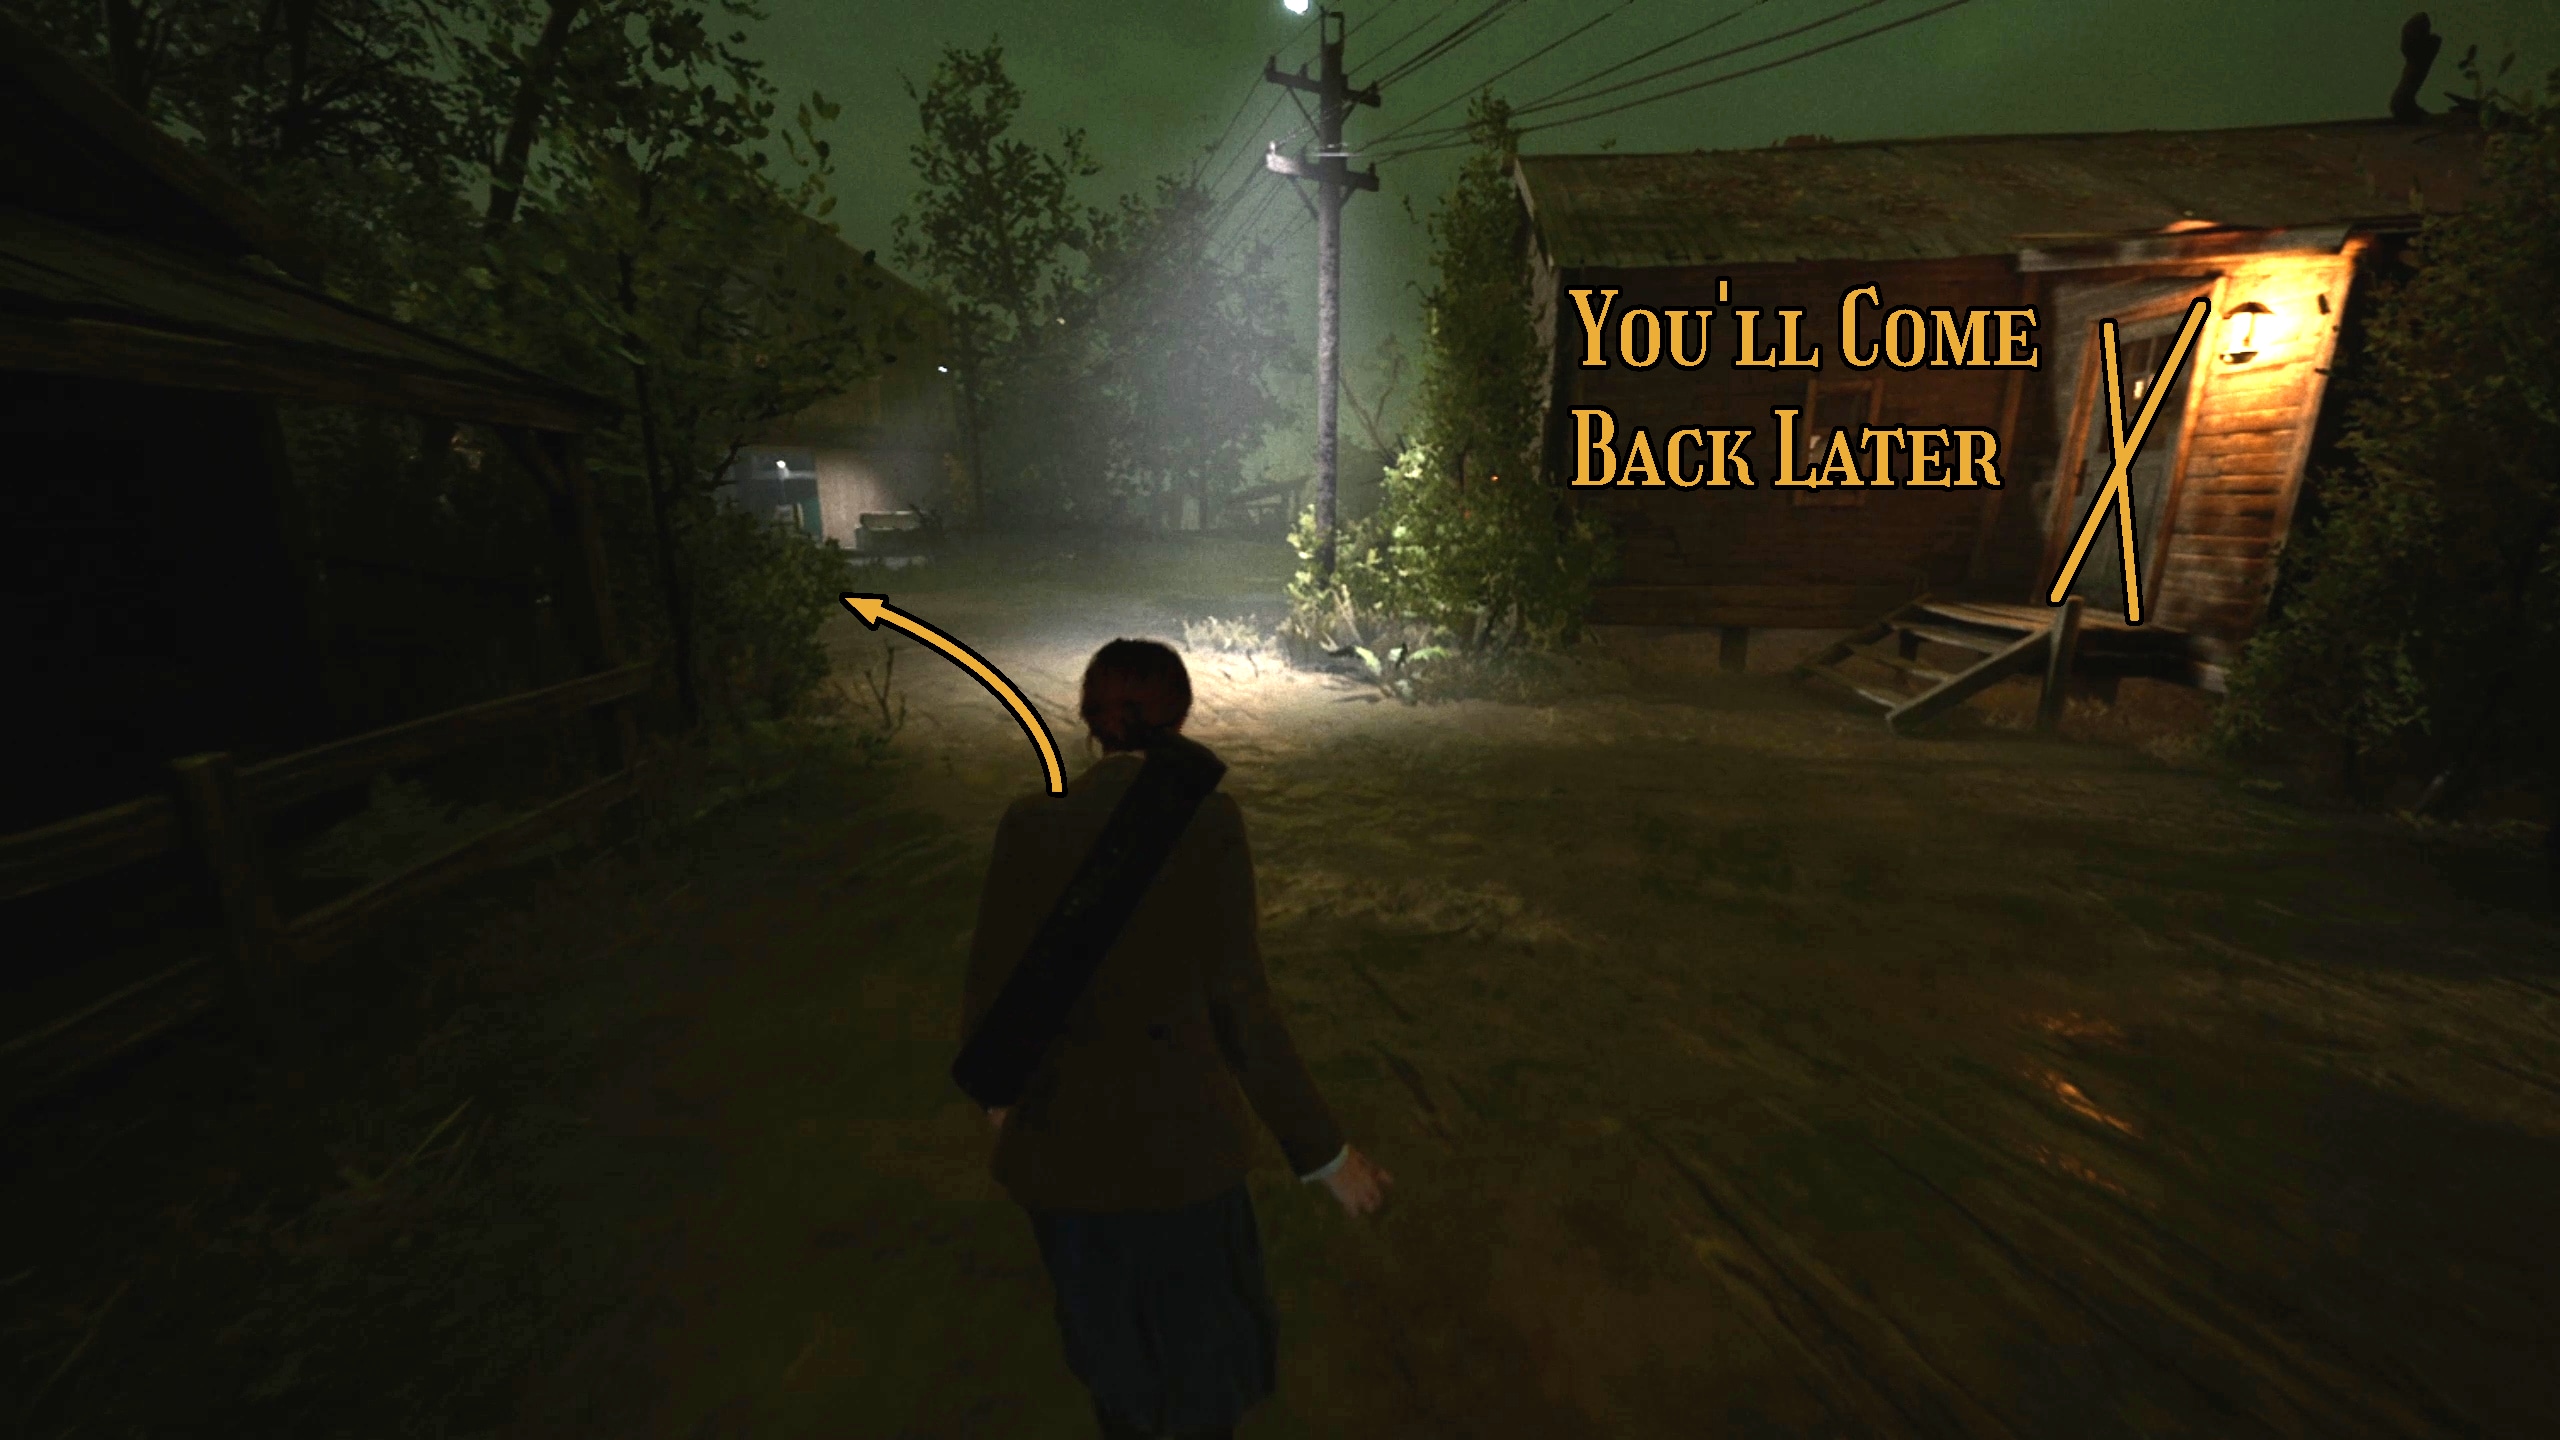
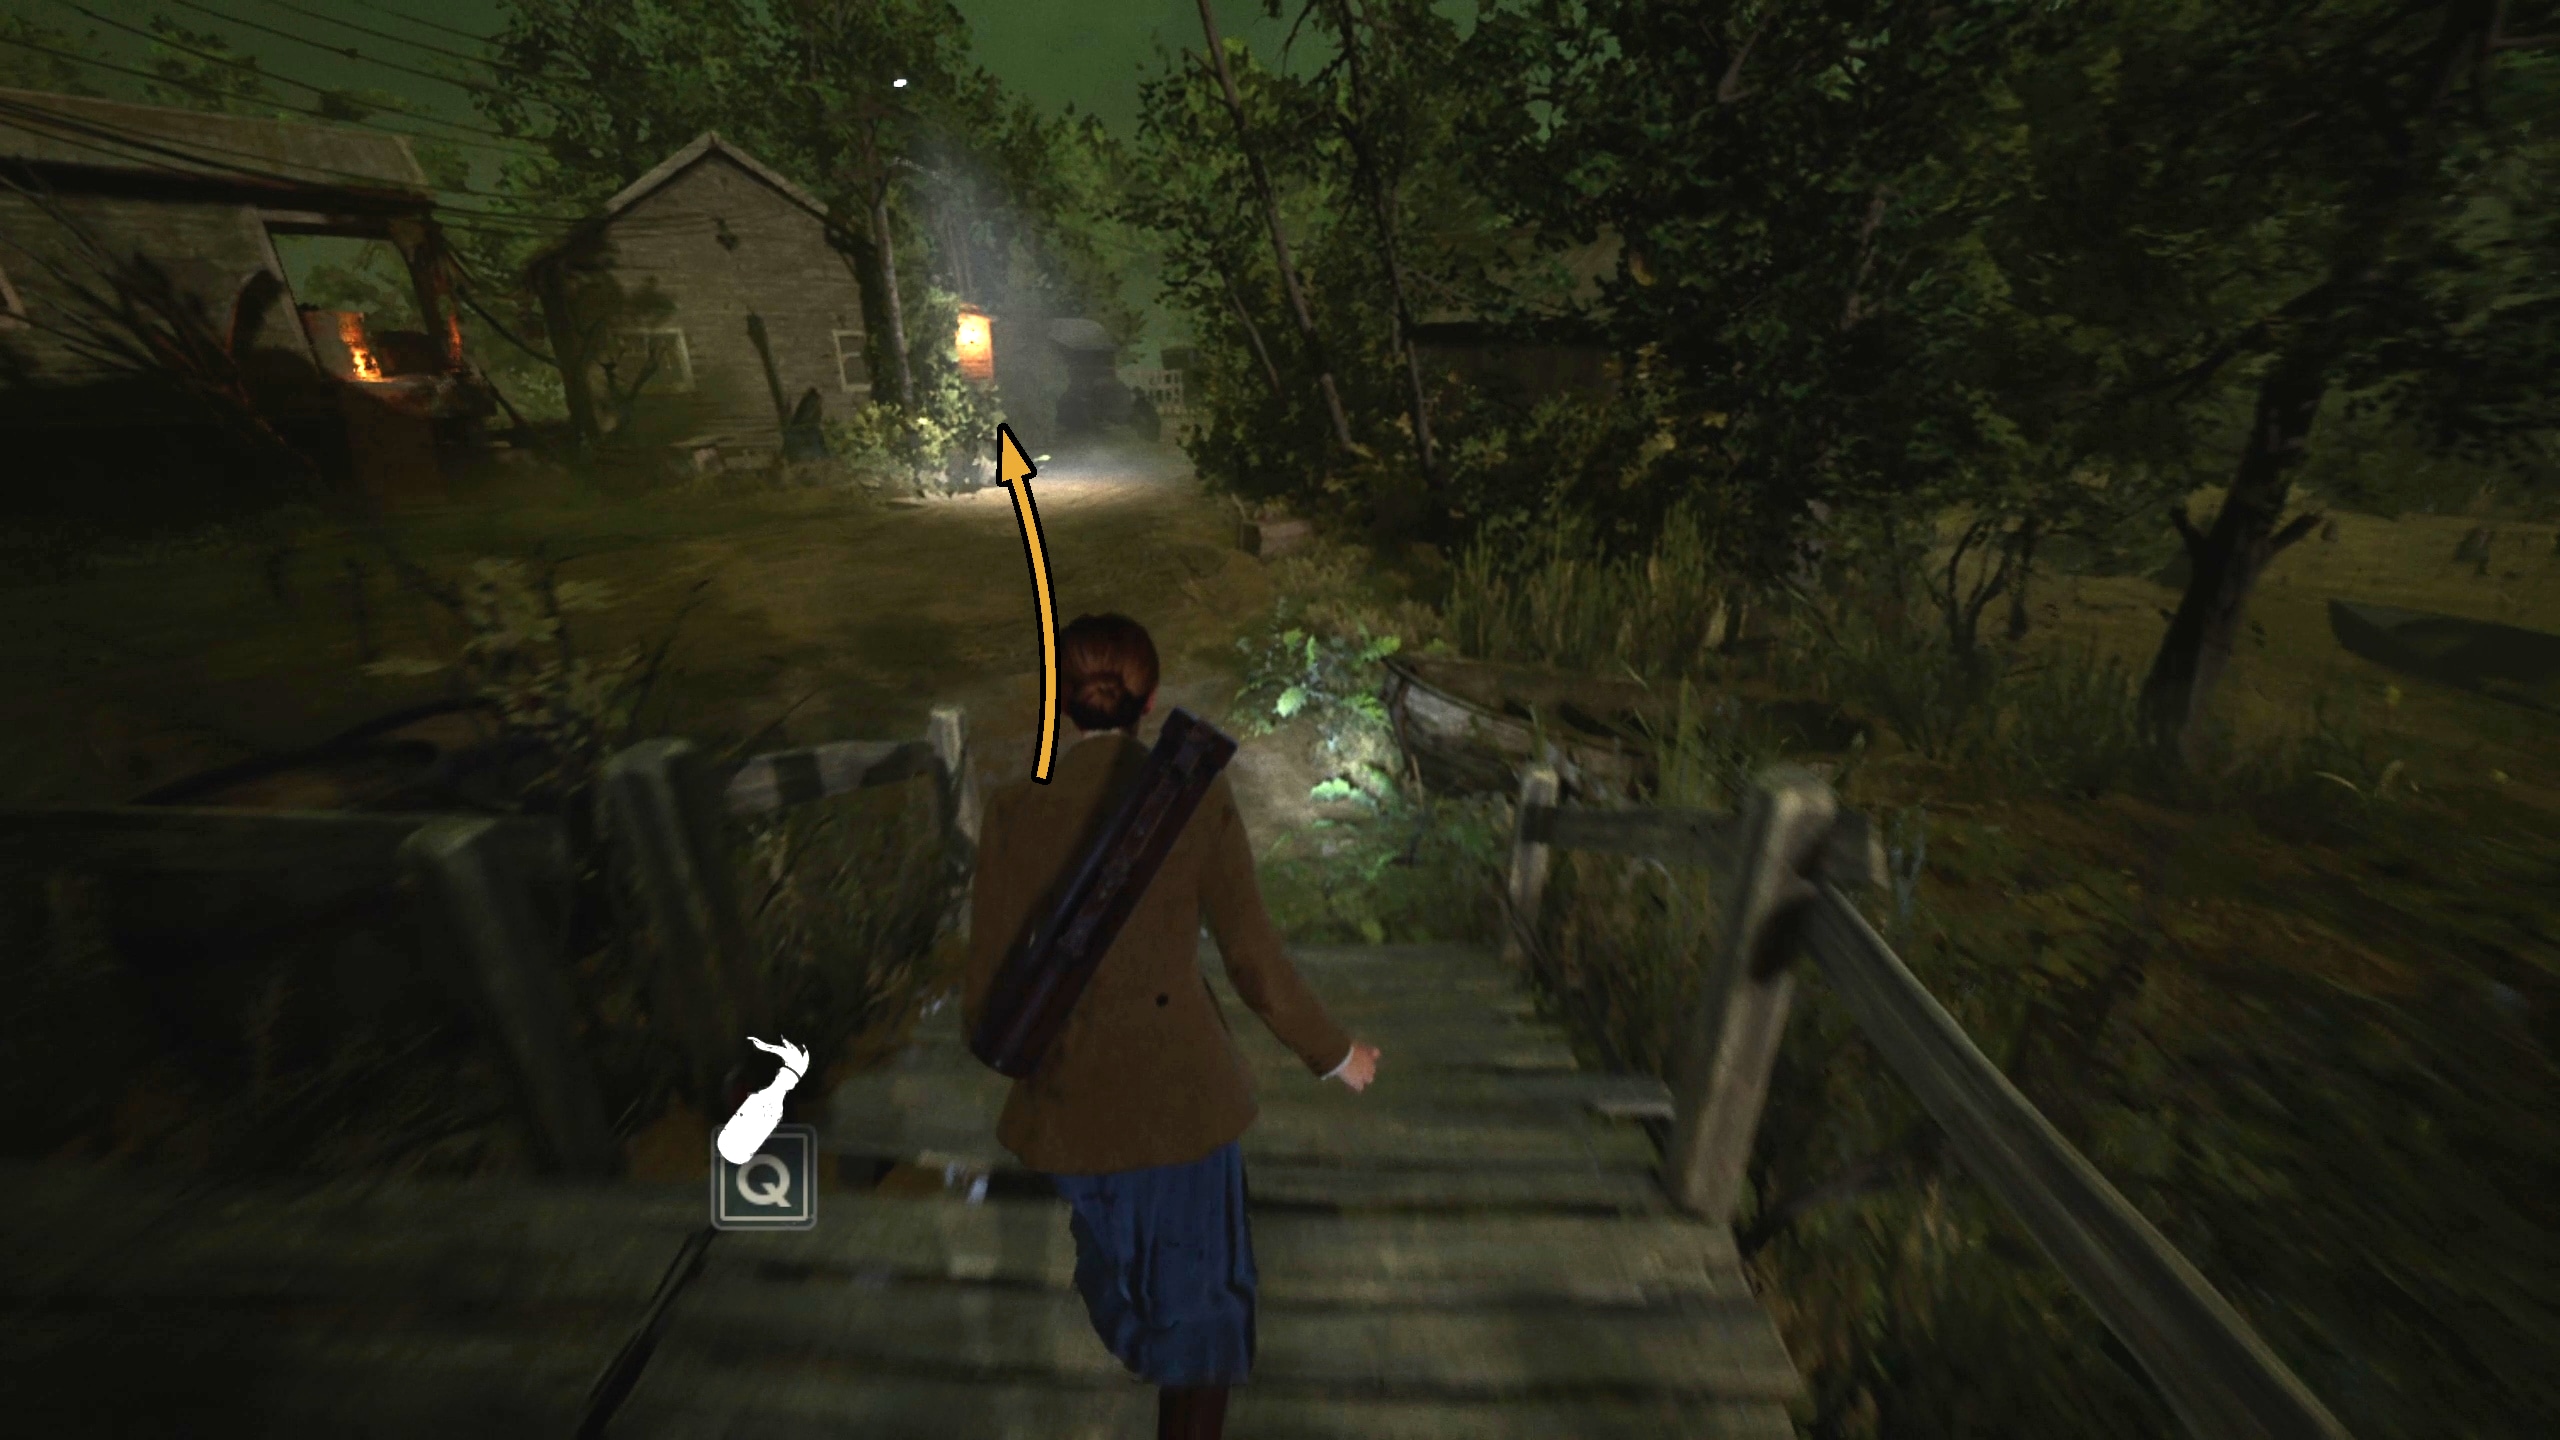
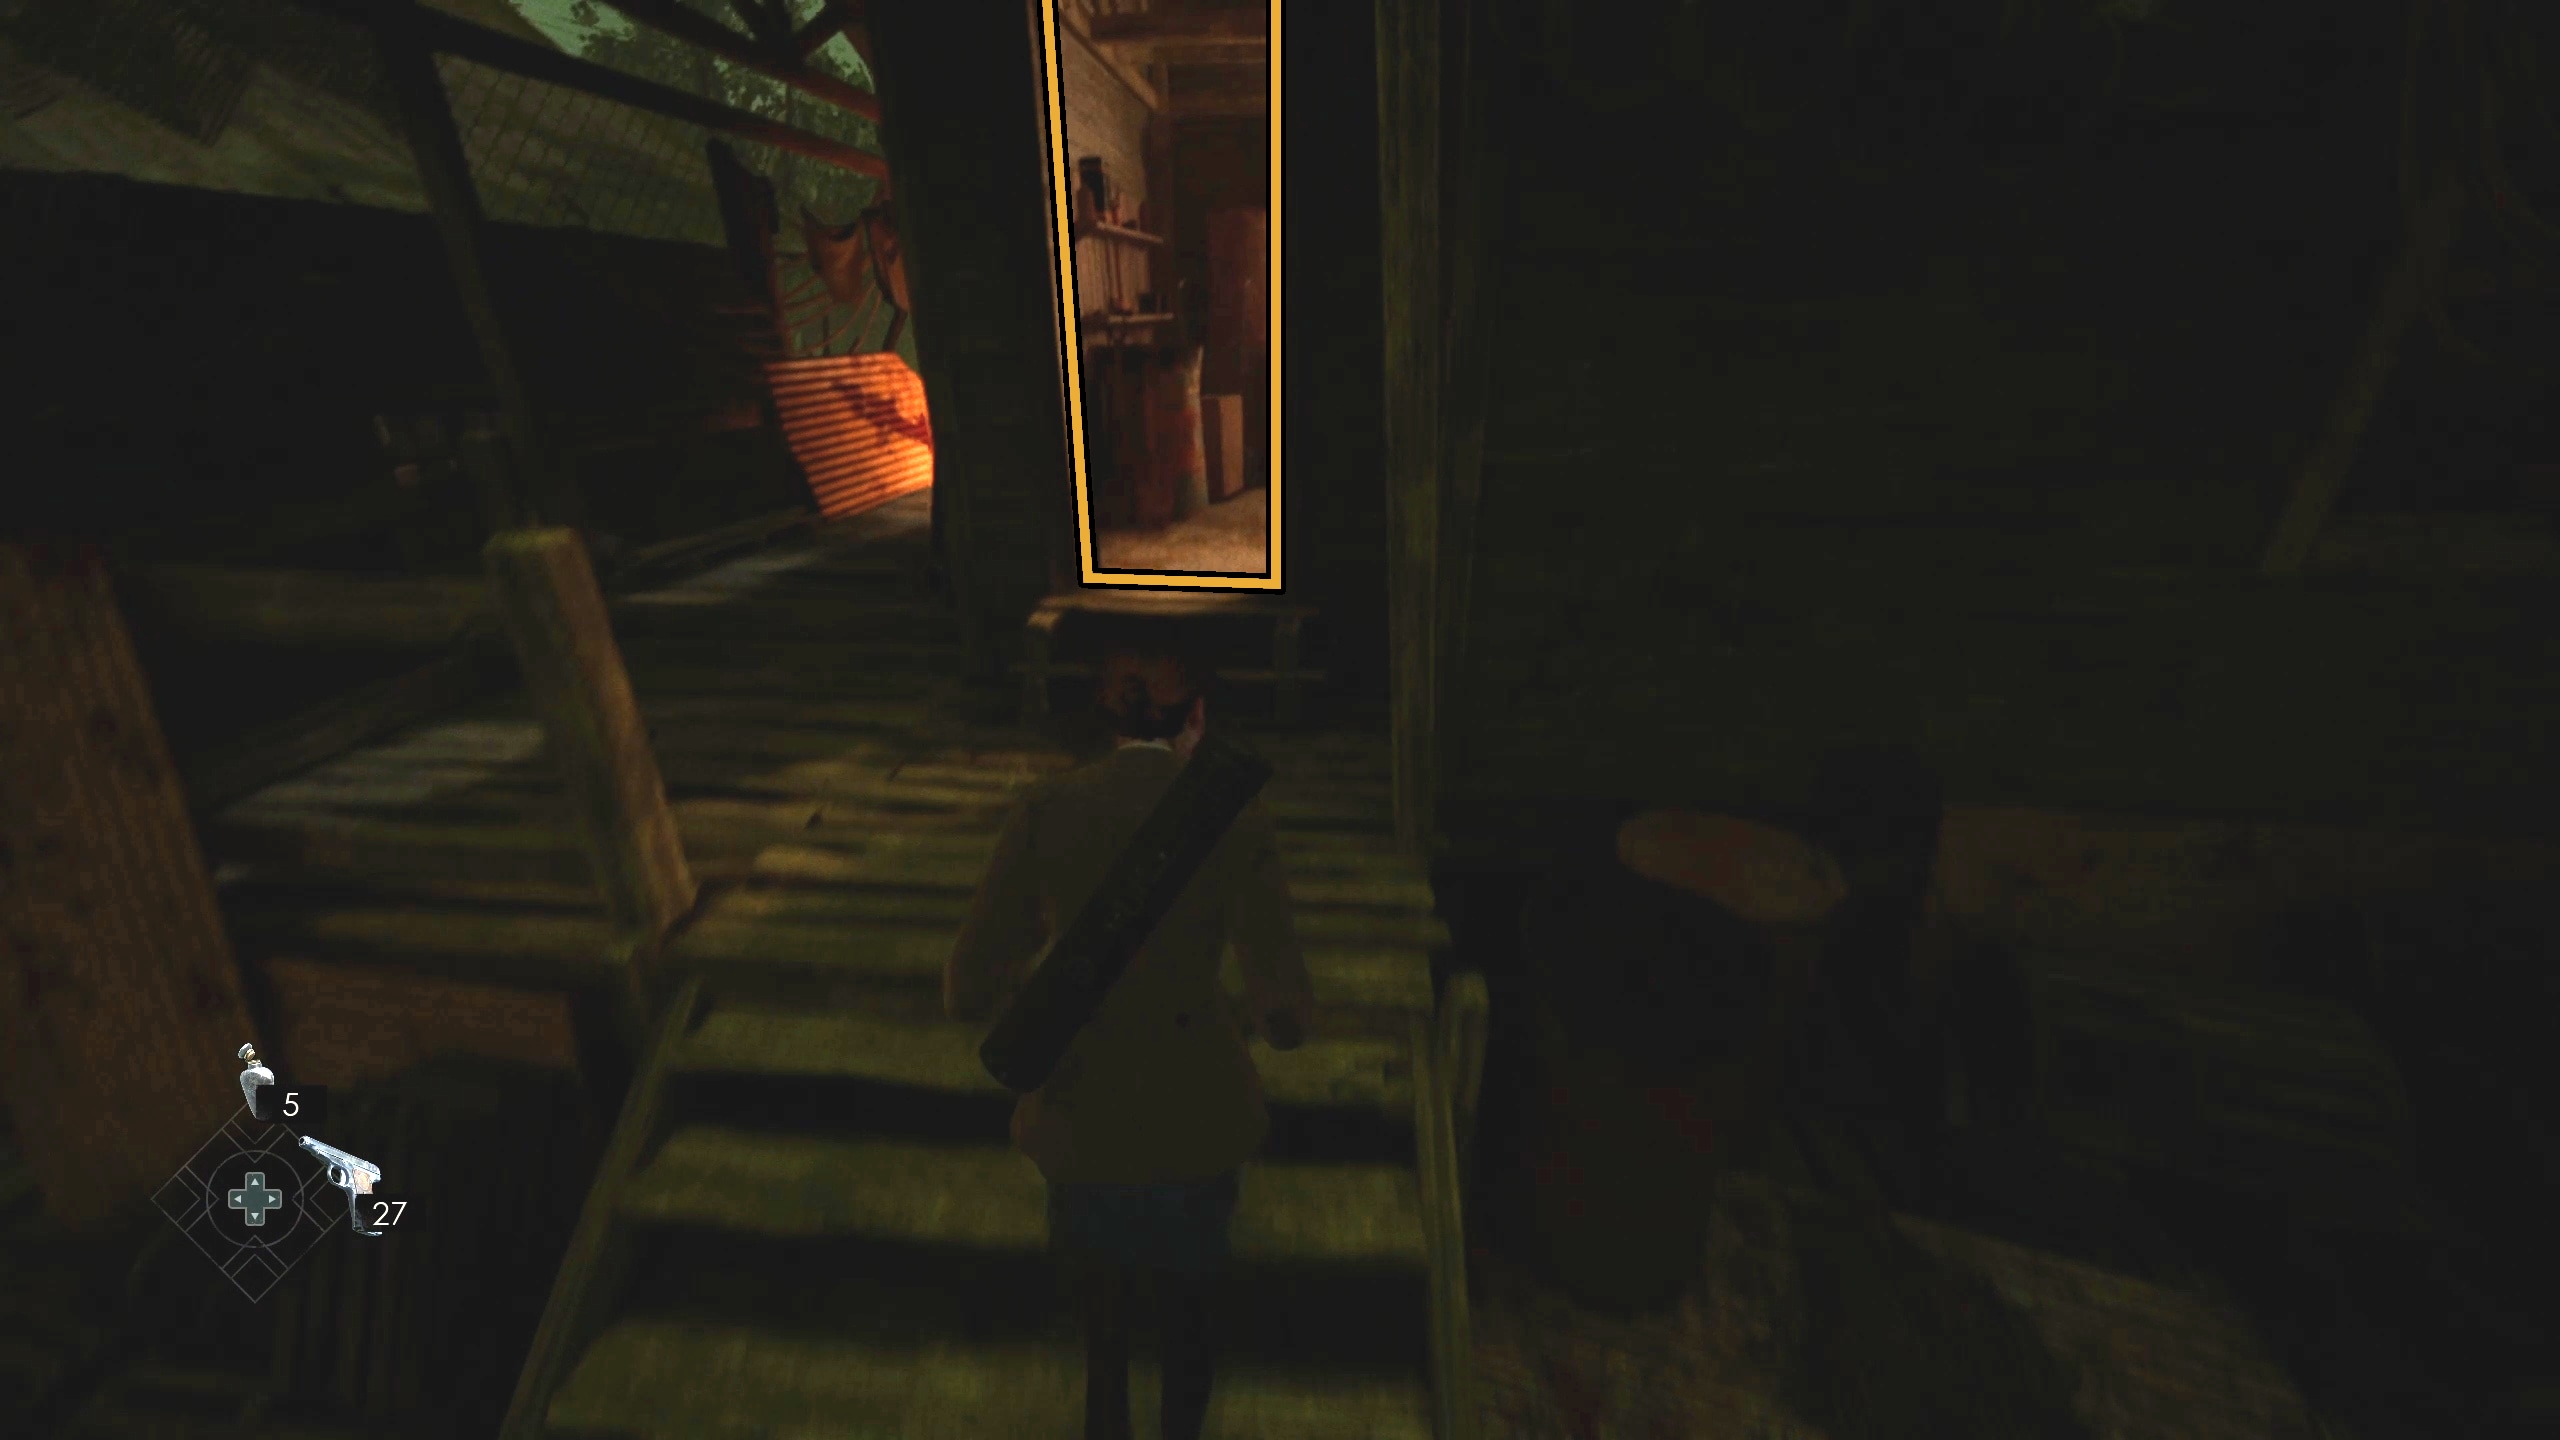
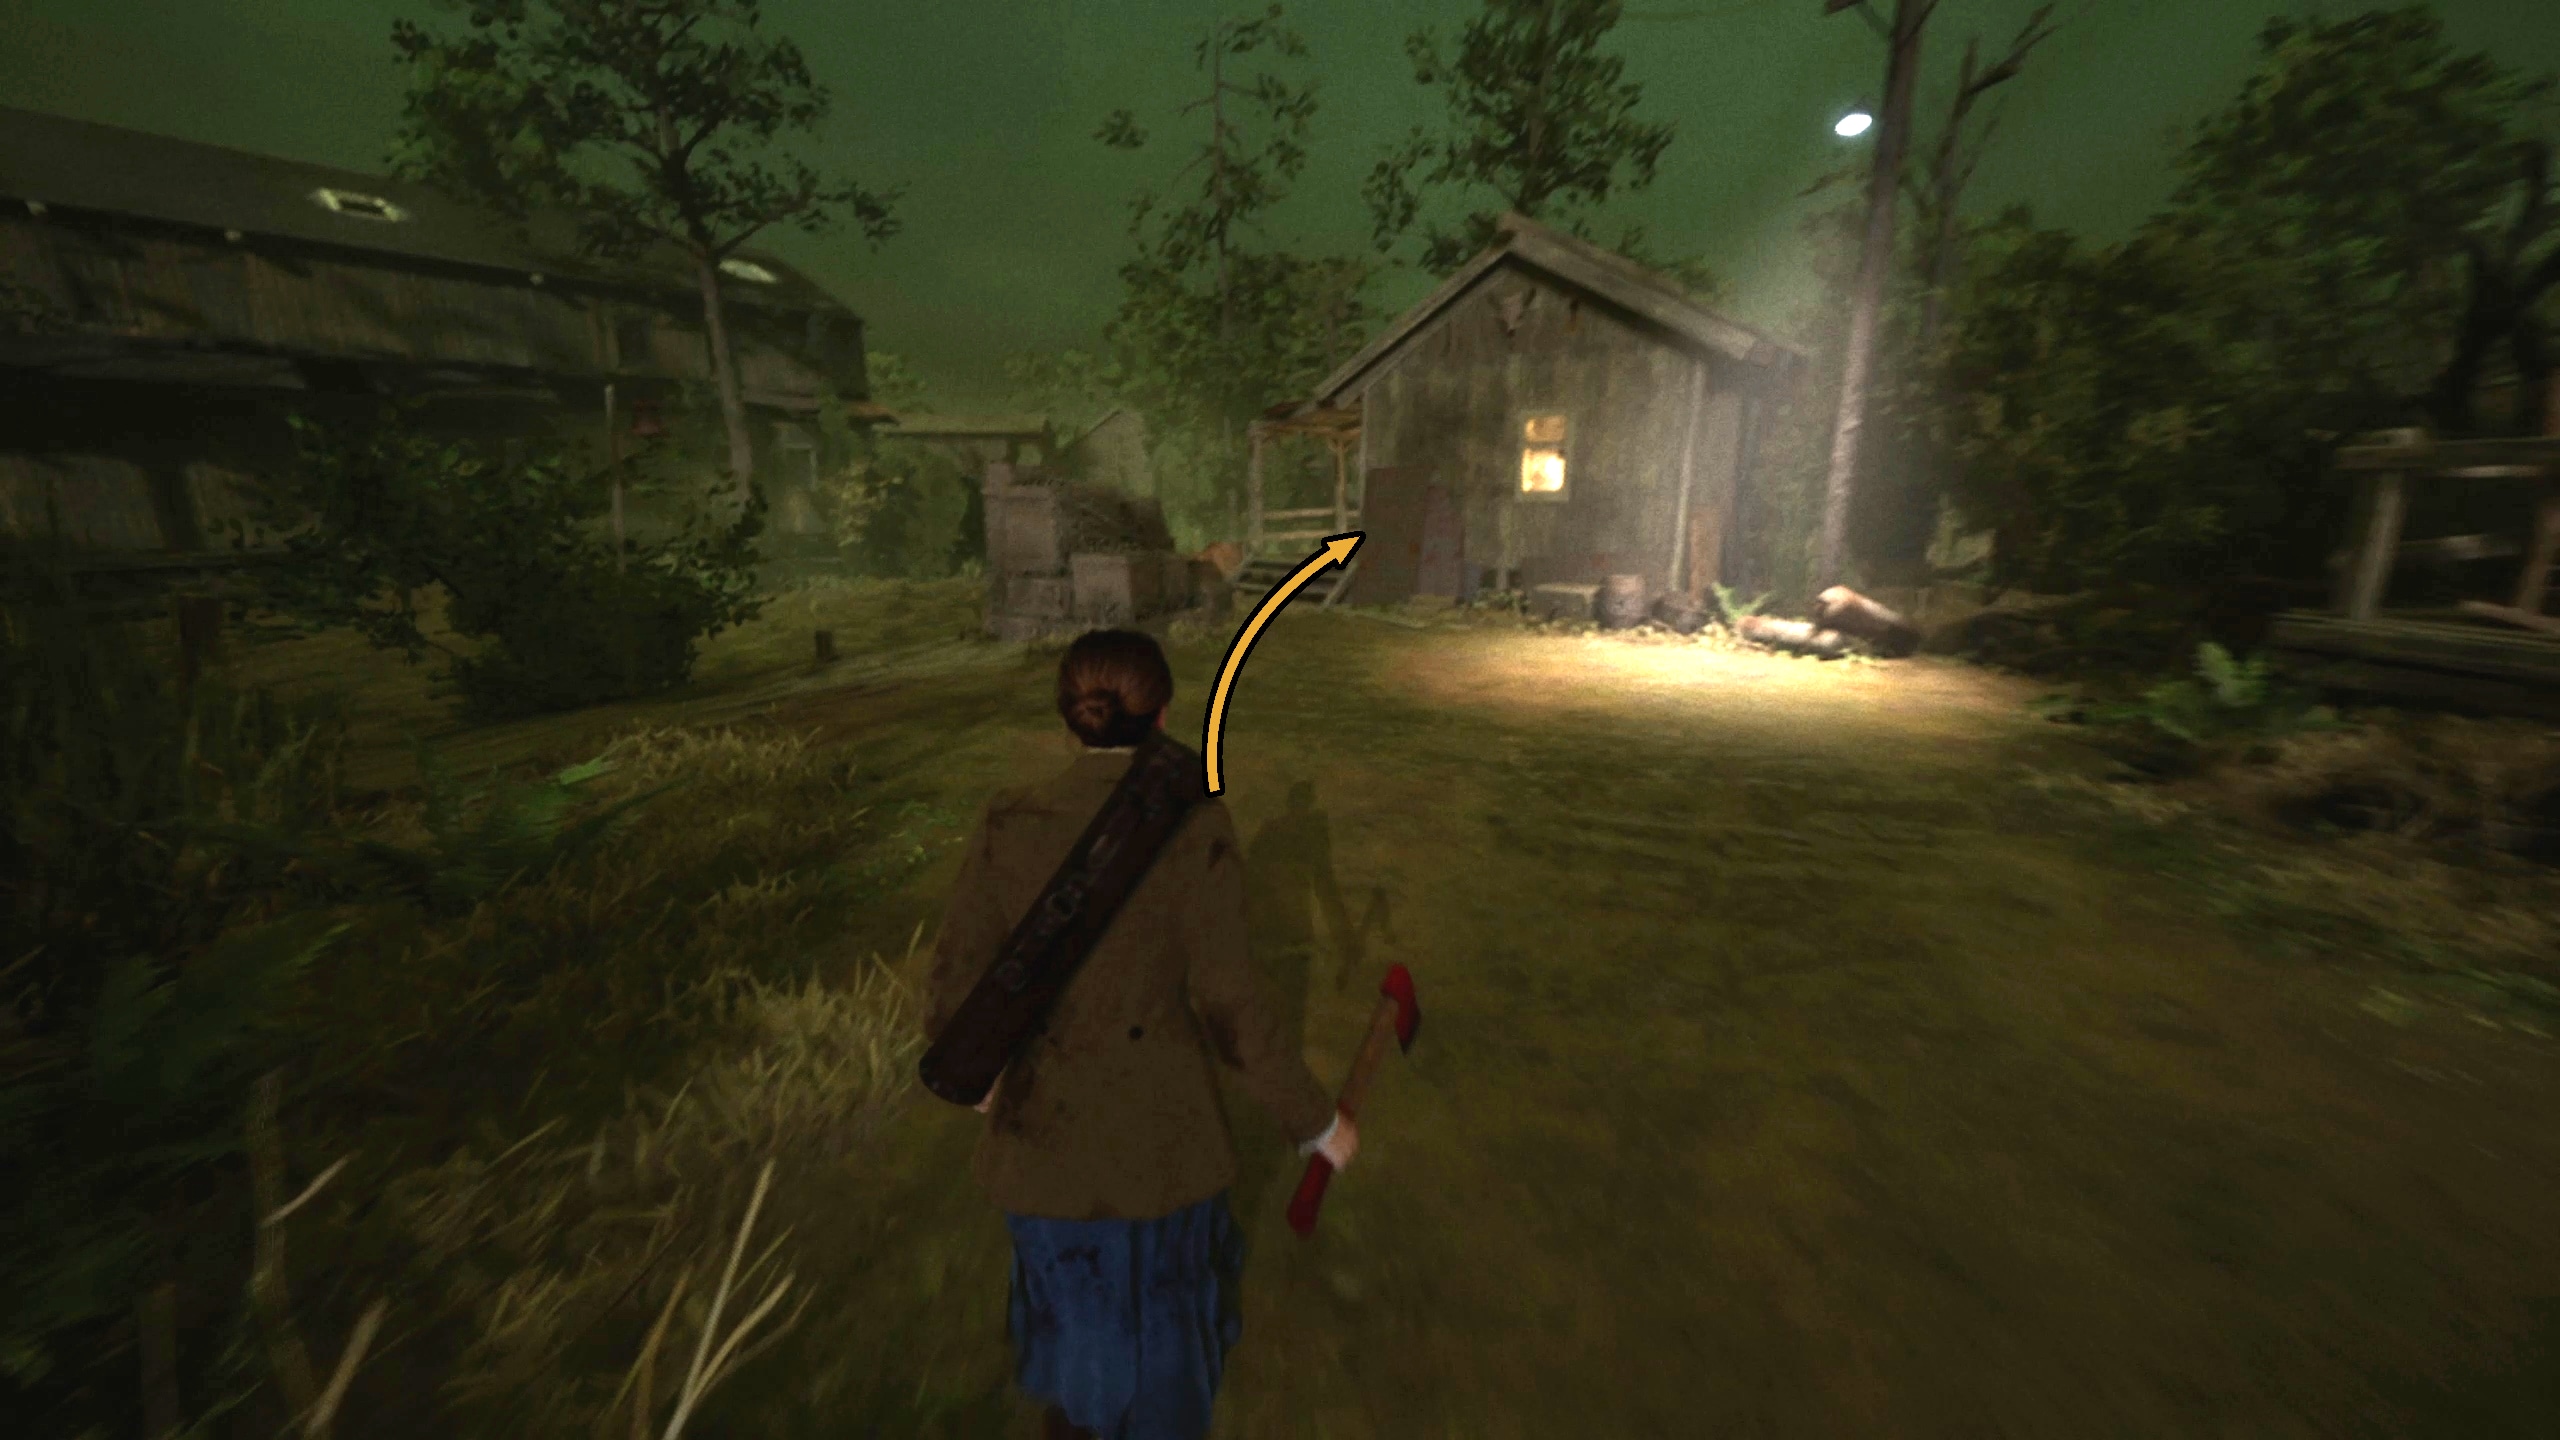
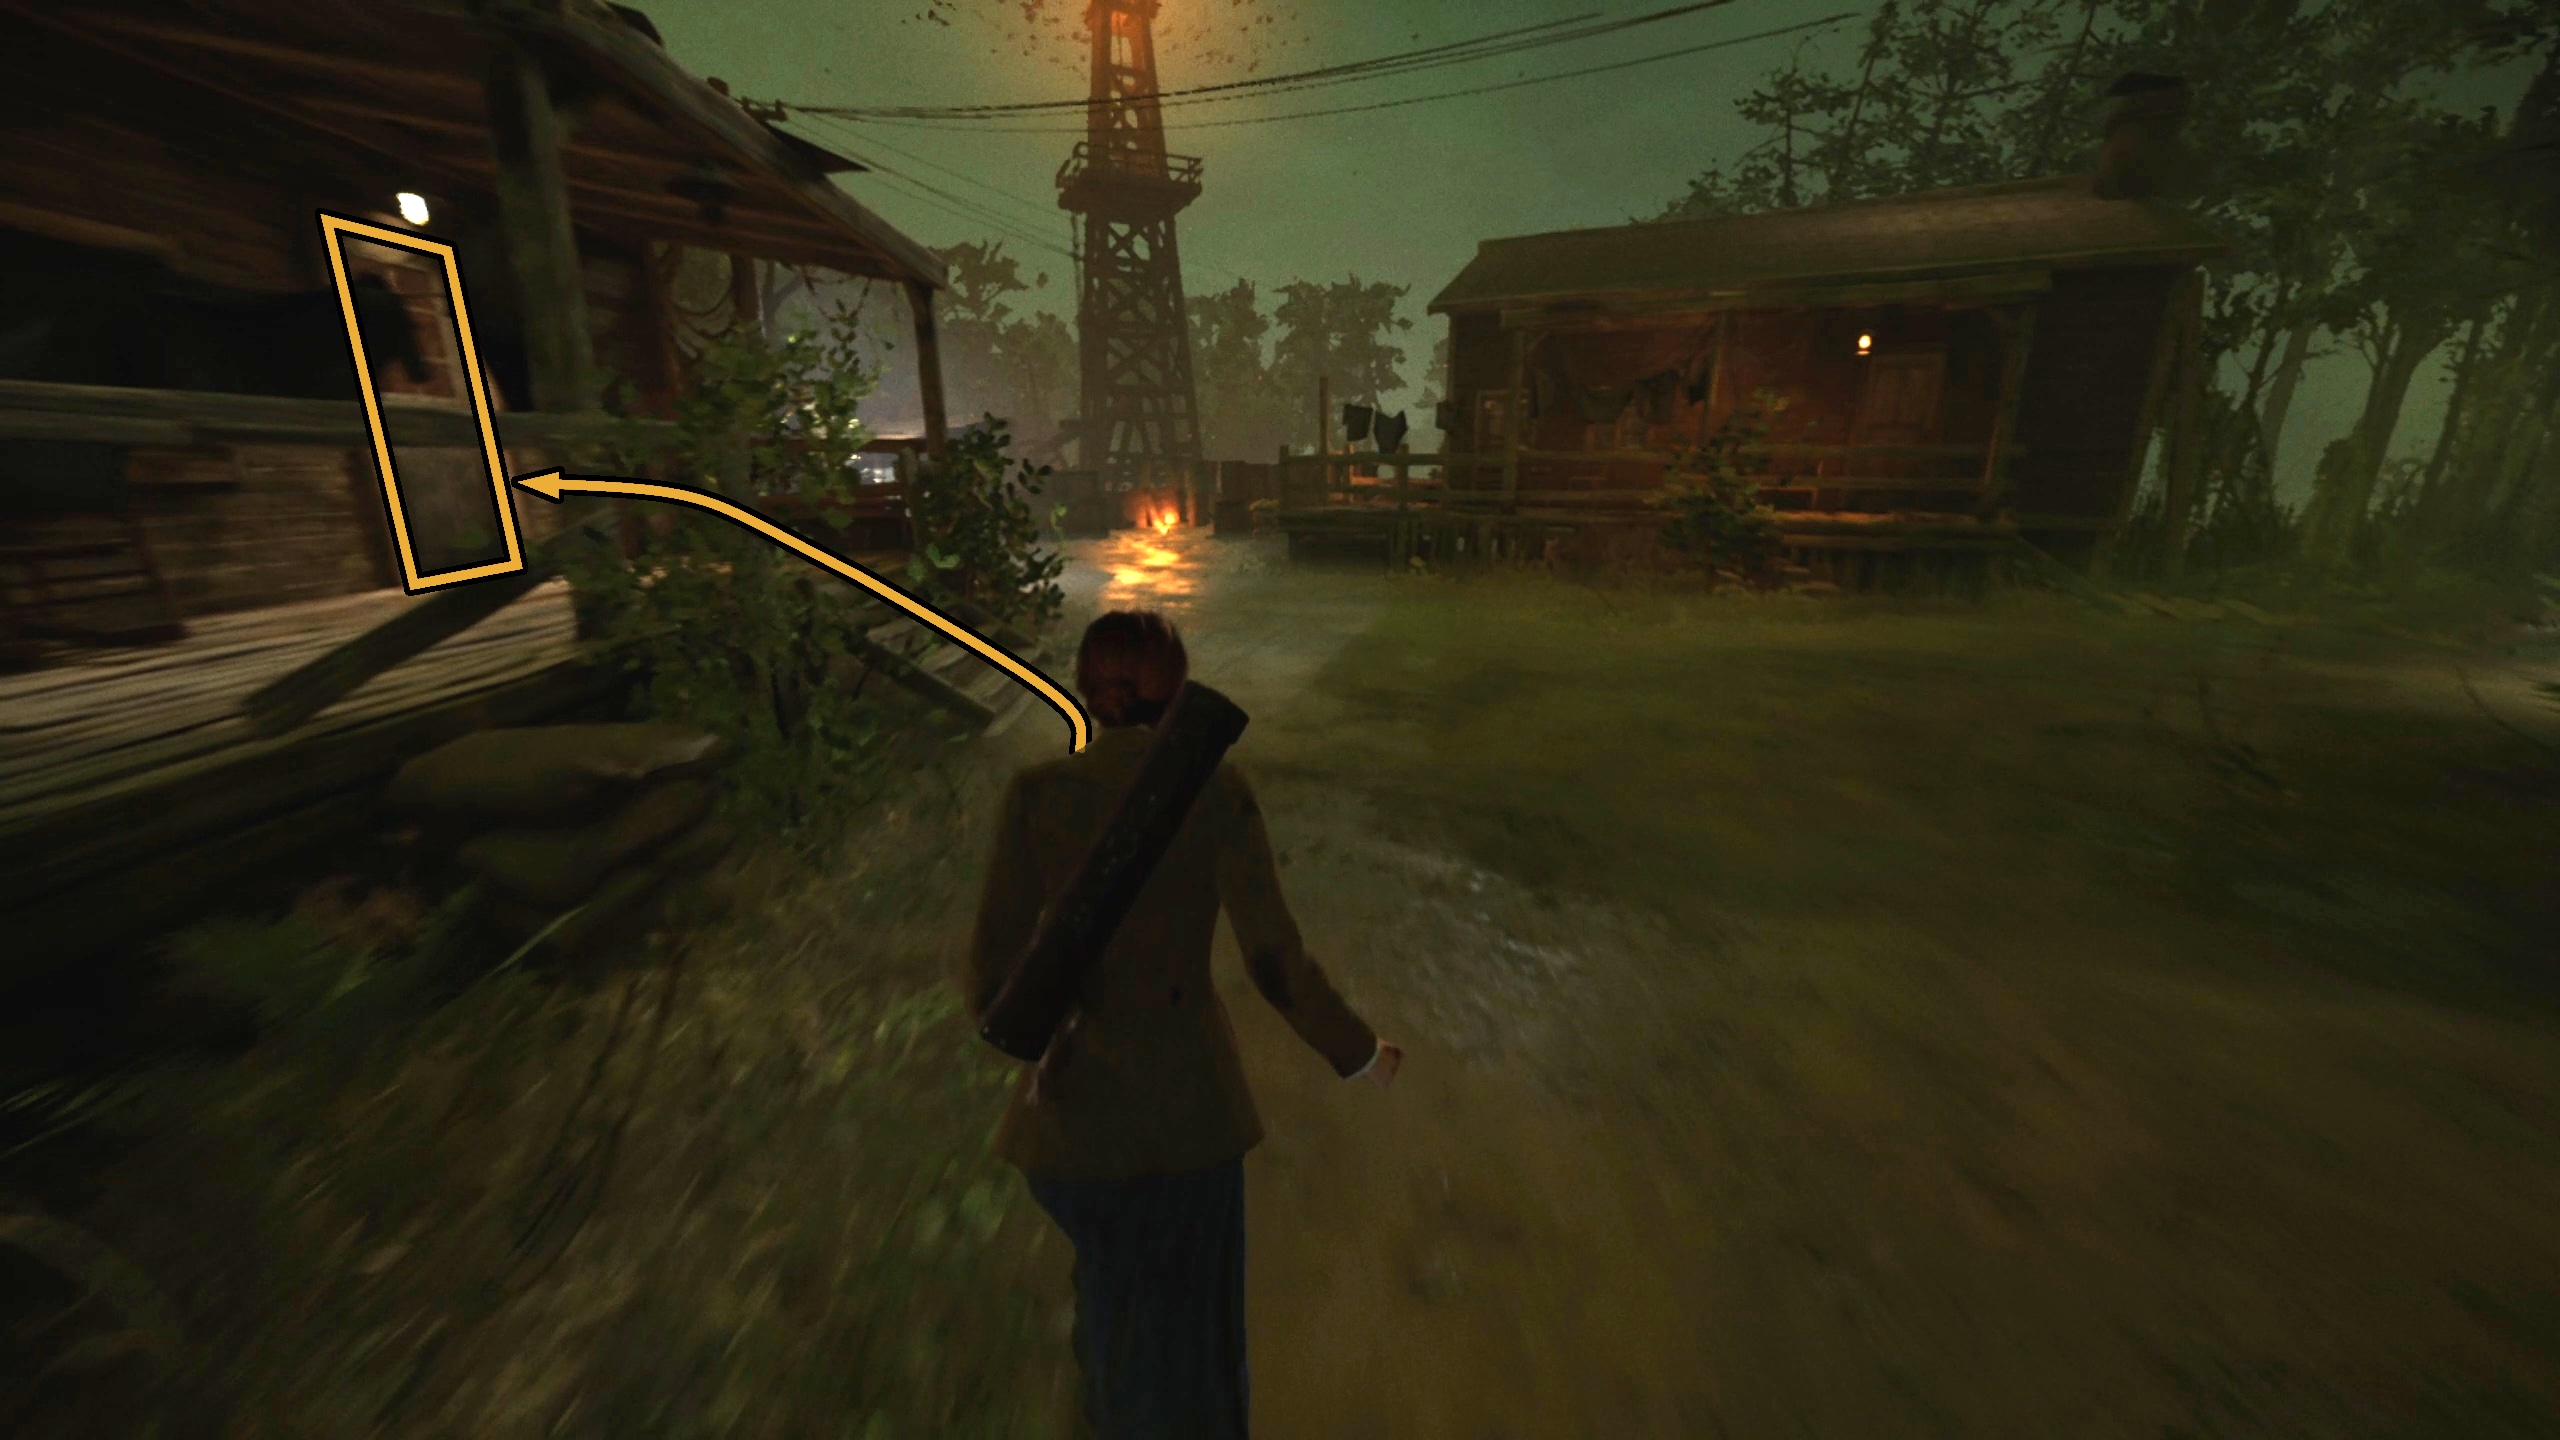
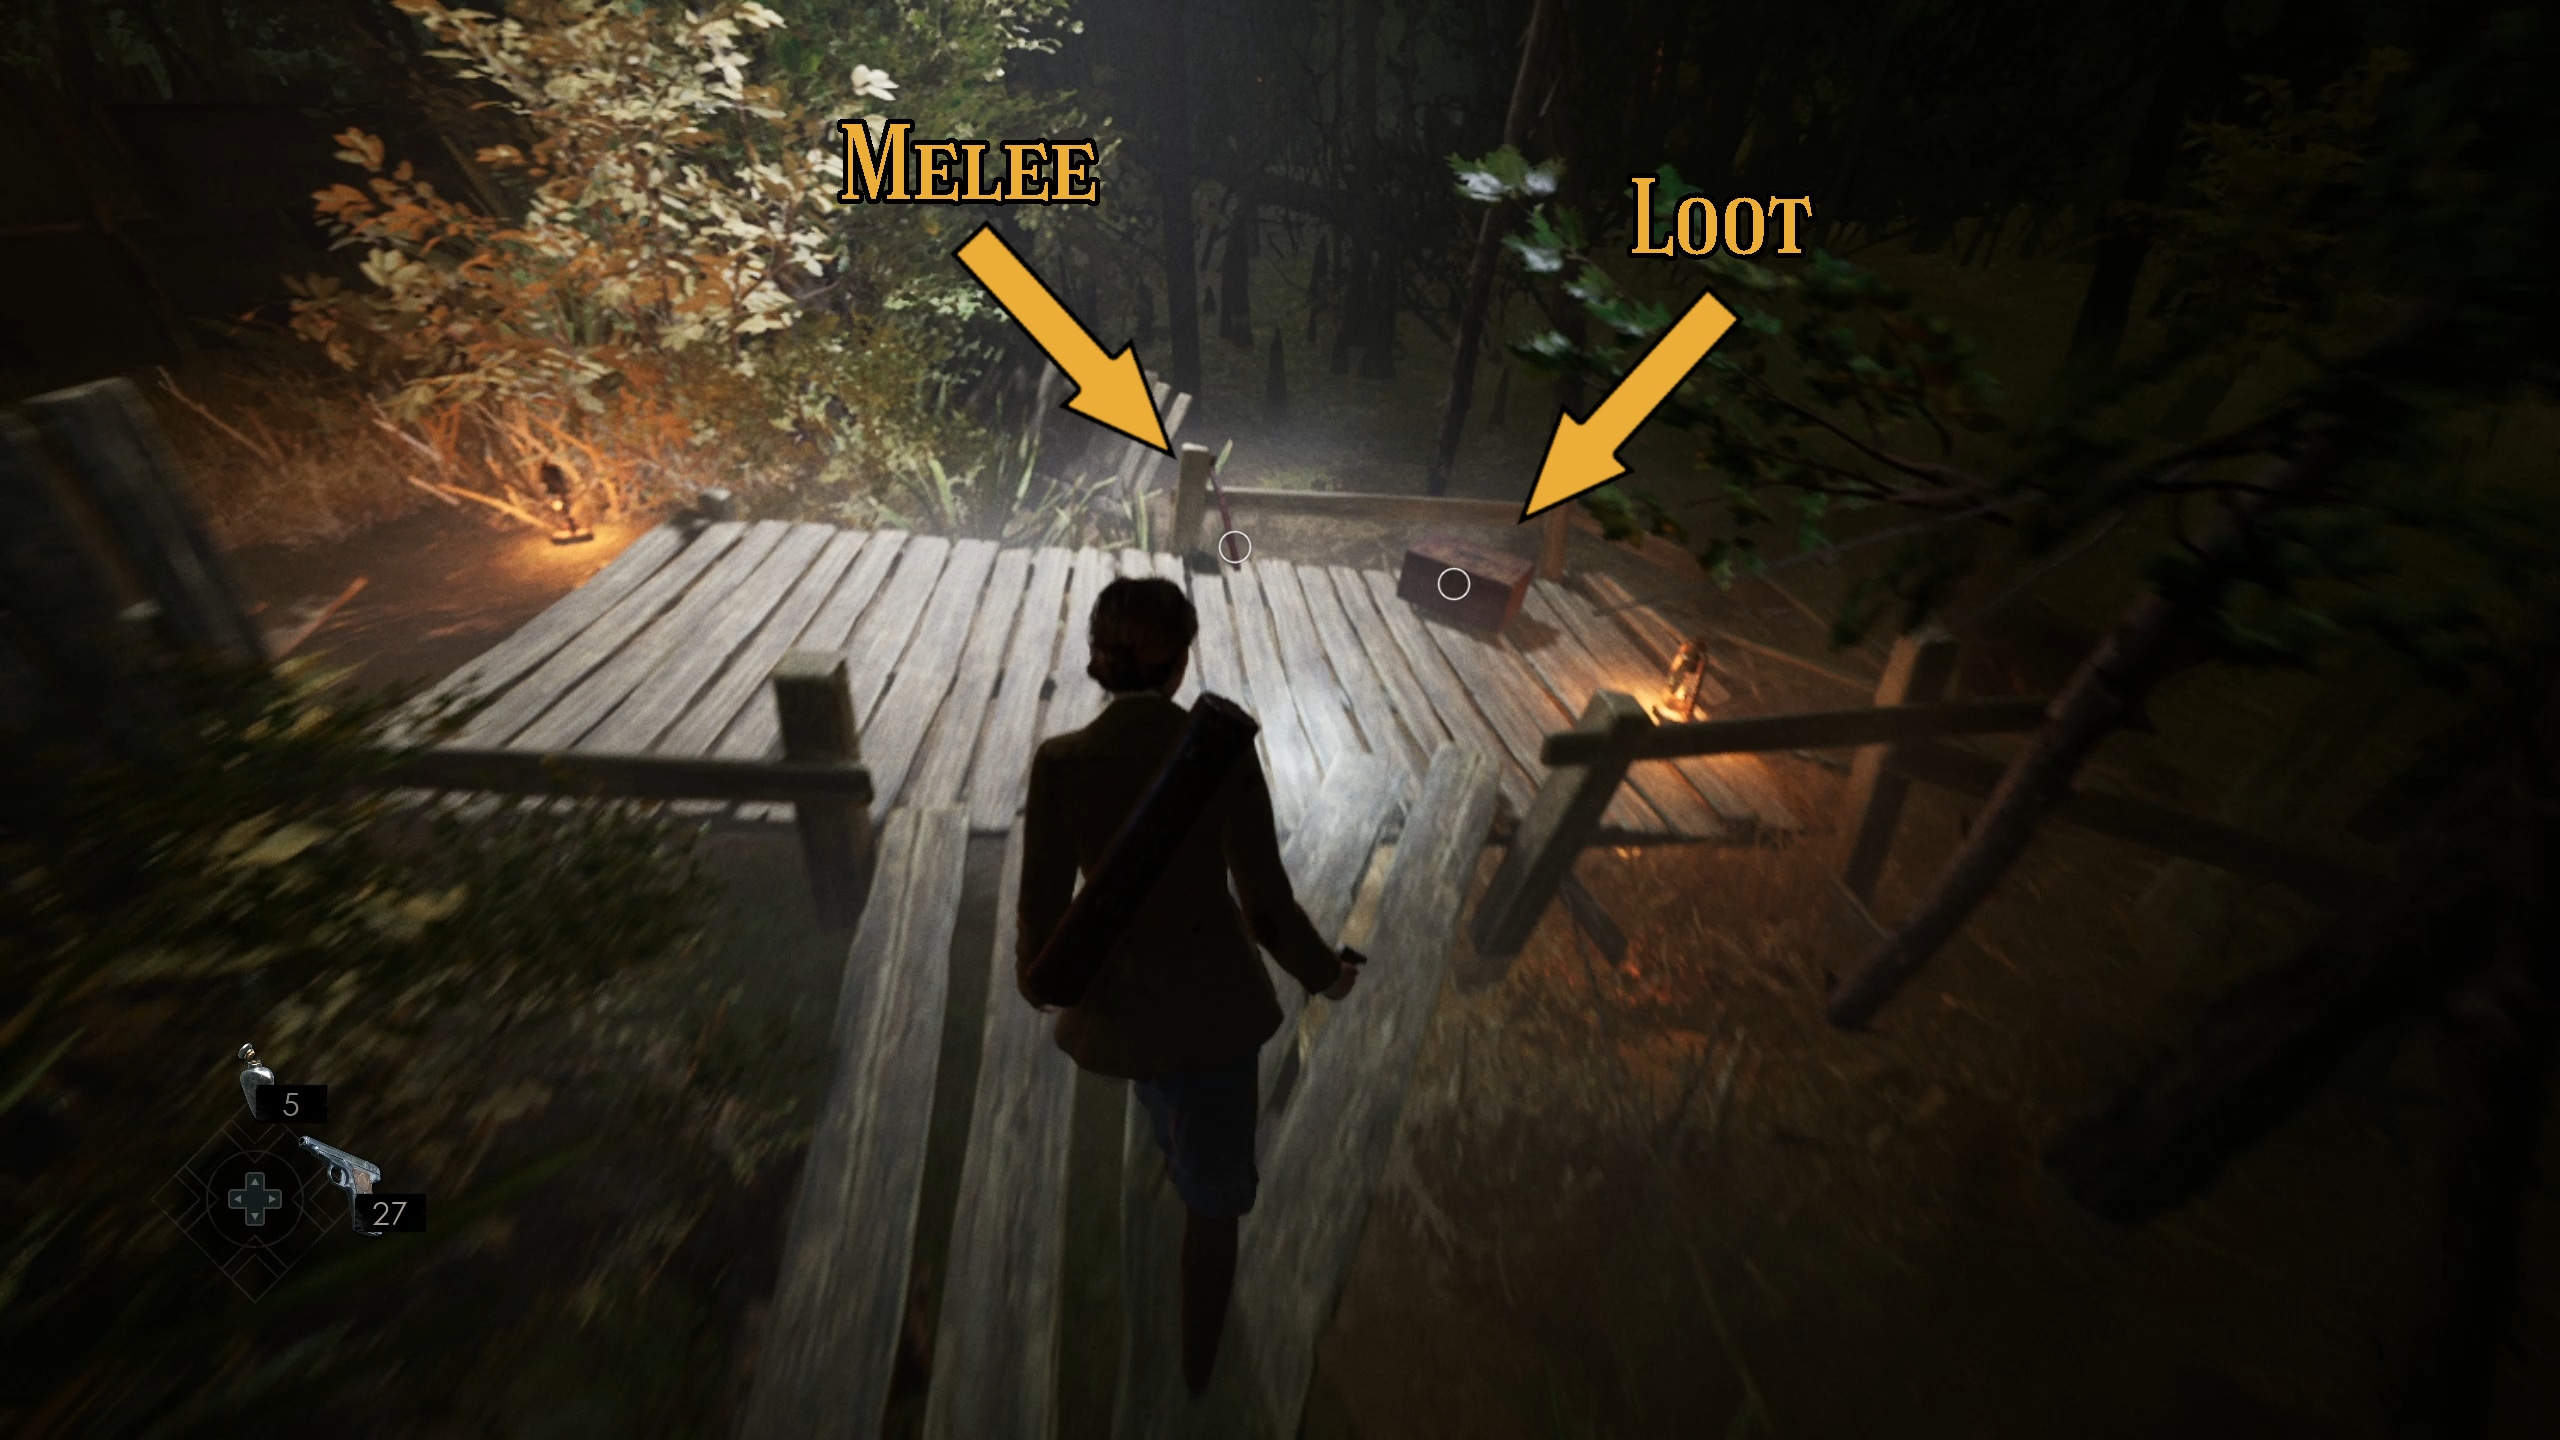
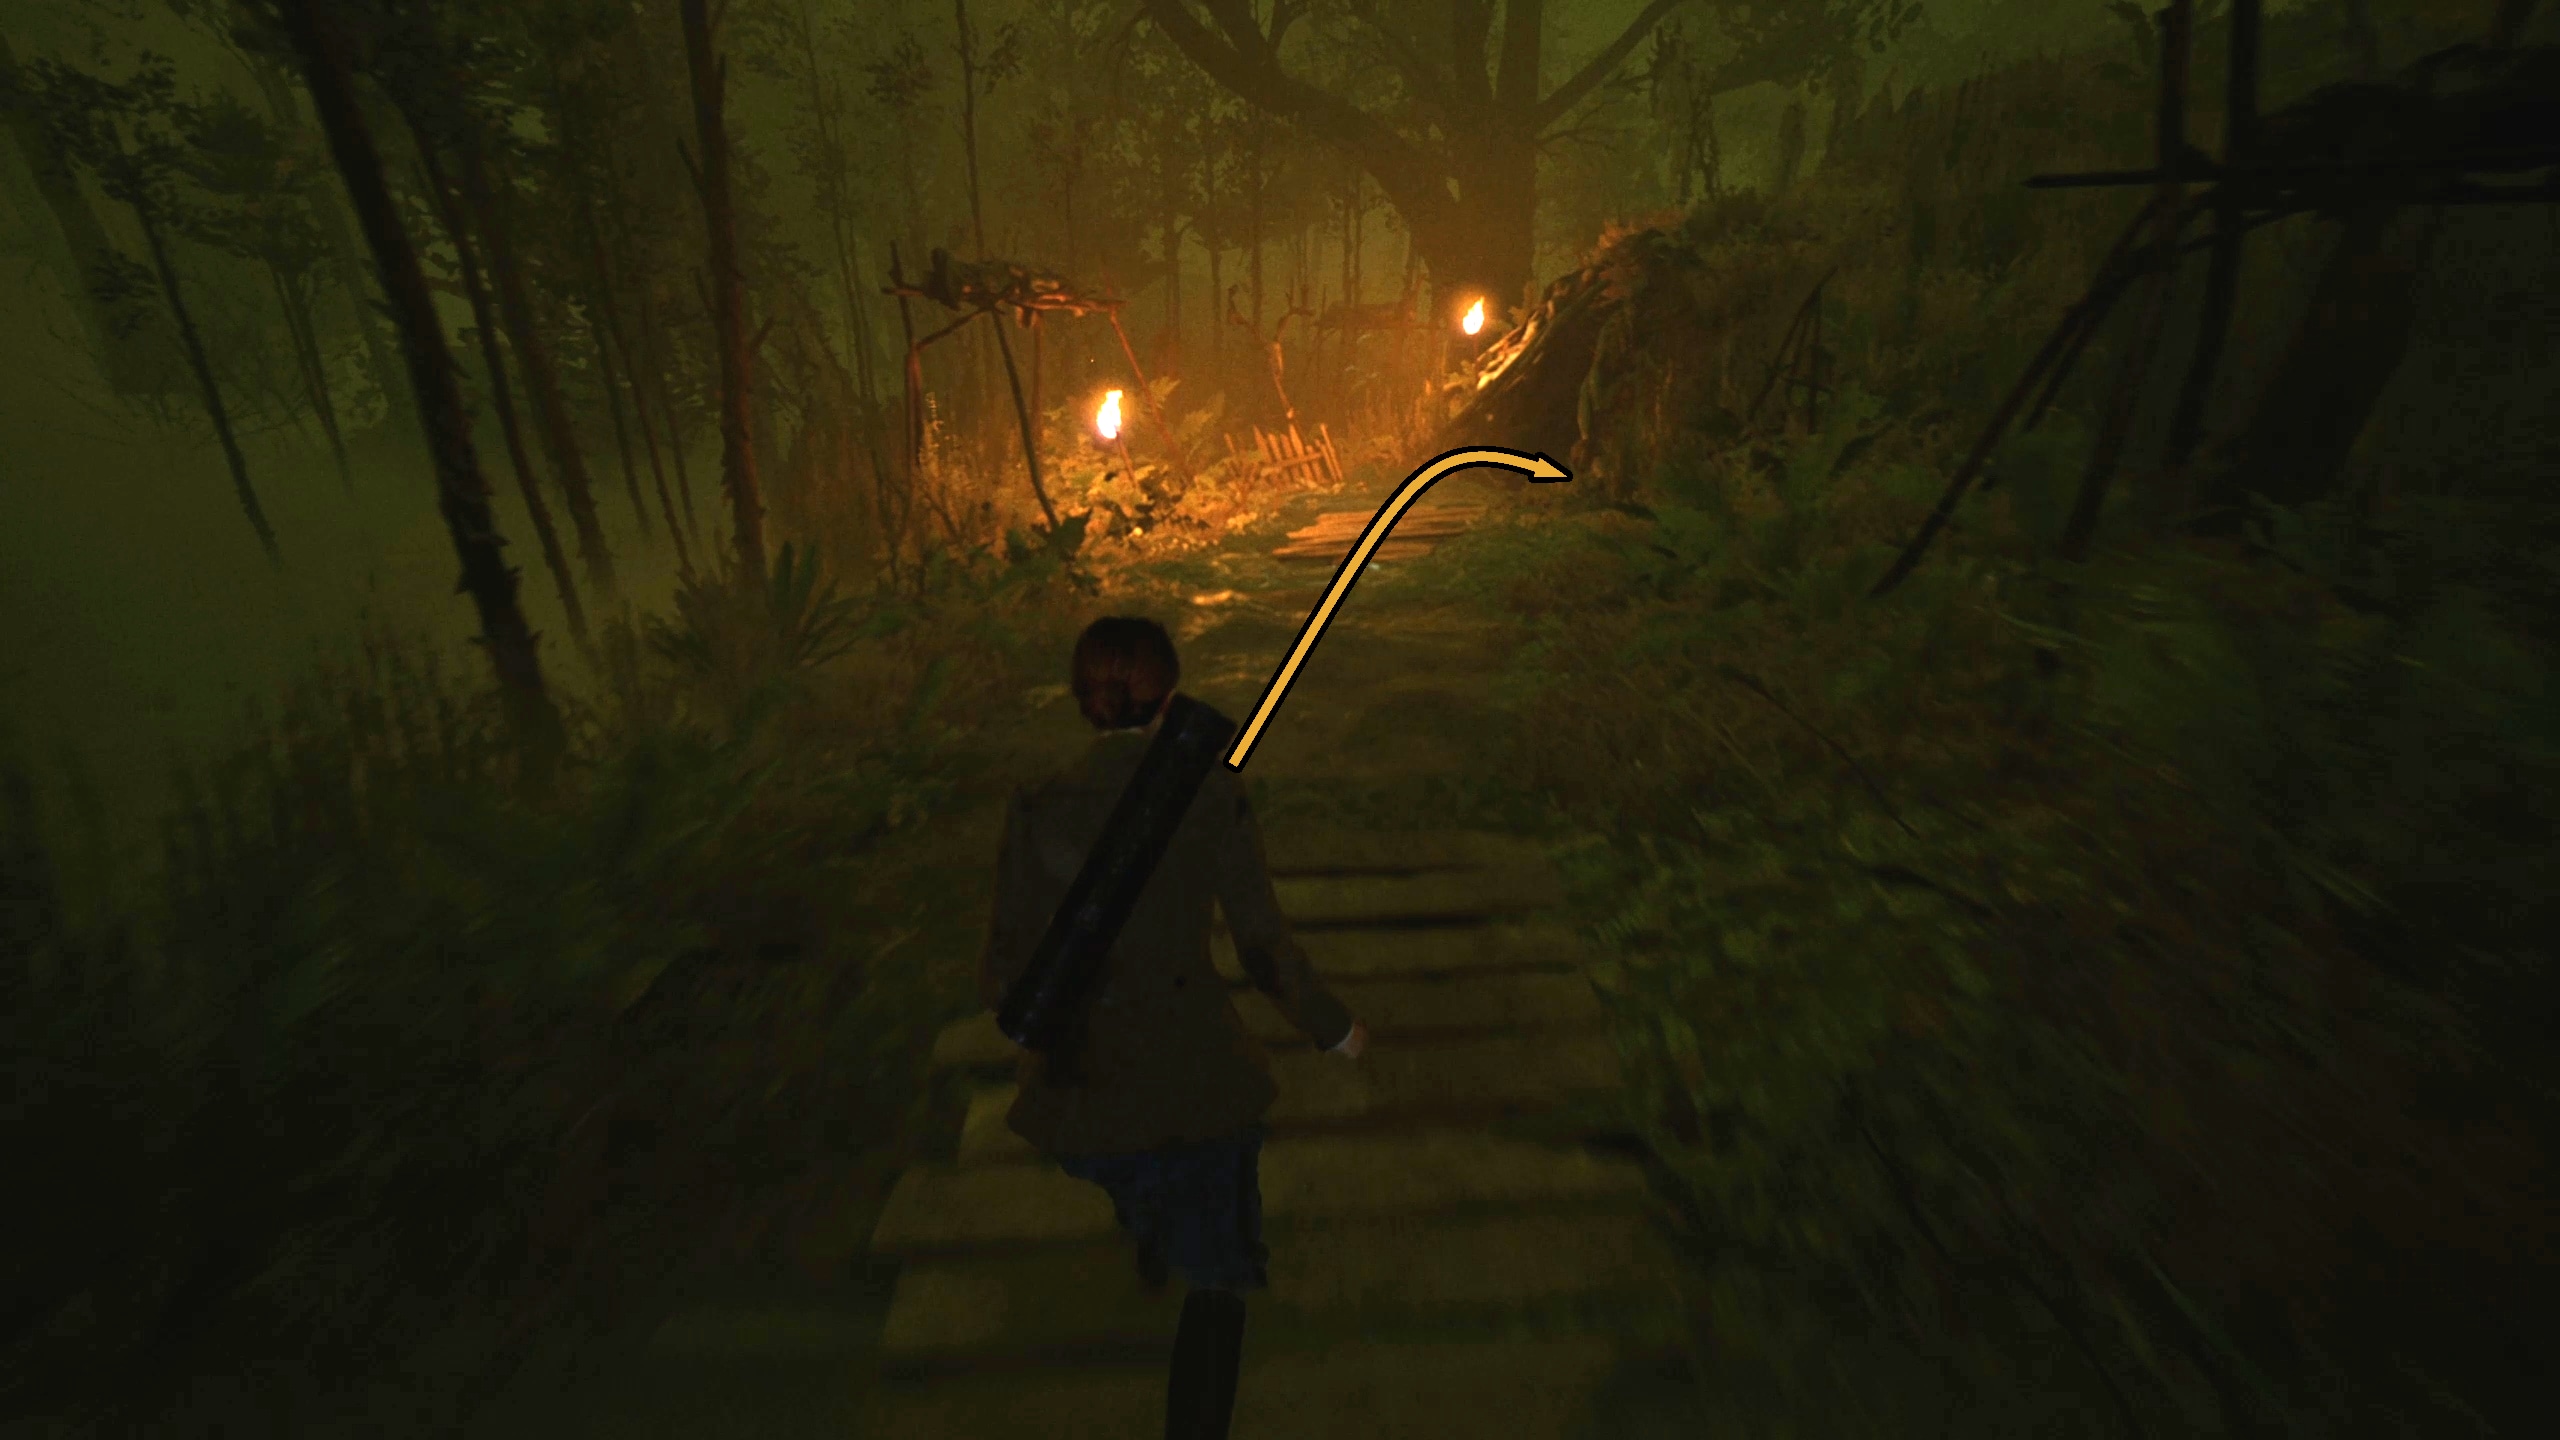
Once in this new region, look to your right and hop down (Image 43). While you can go to the illuminated Jetty House now, you’ll be back later, so you should continue to your left to the barn-like bridge house (Image 44 and 45), which you can enter. Look for a door to your left (Image 46).
Image 43Image 44Image 45Image 46
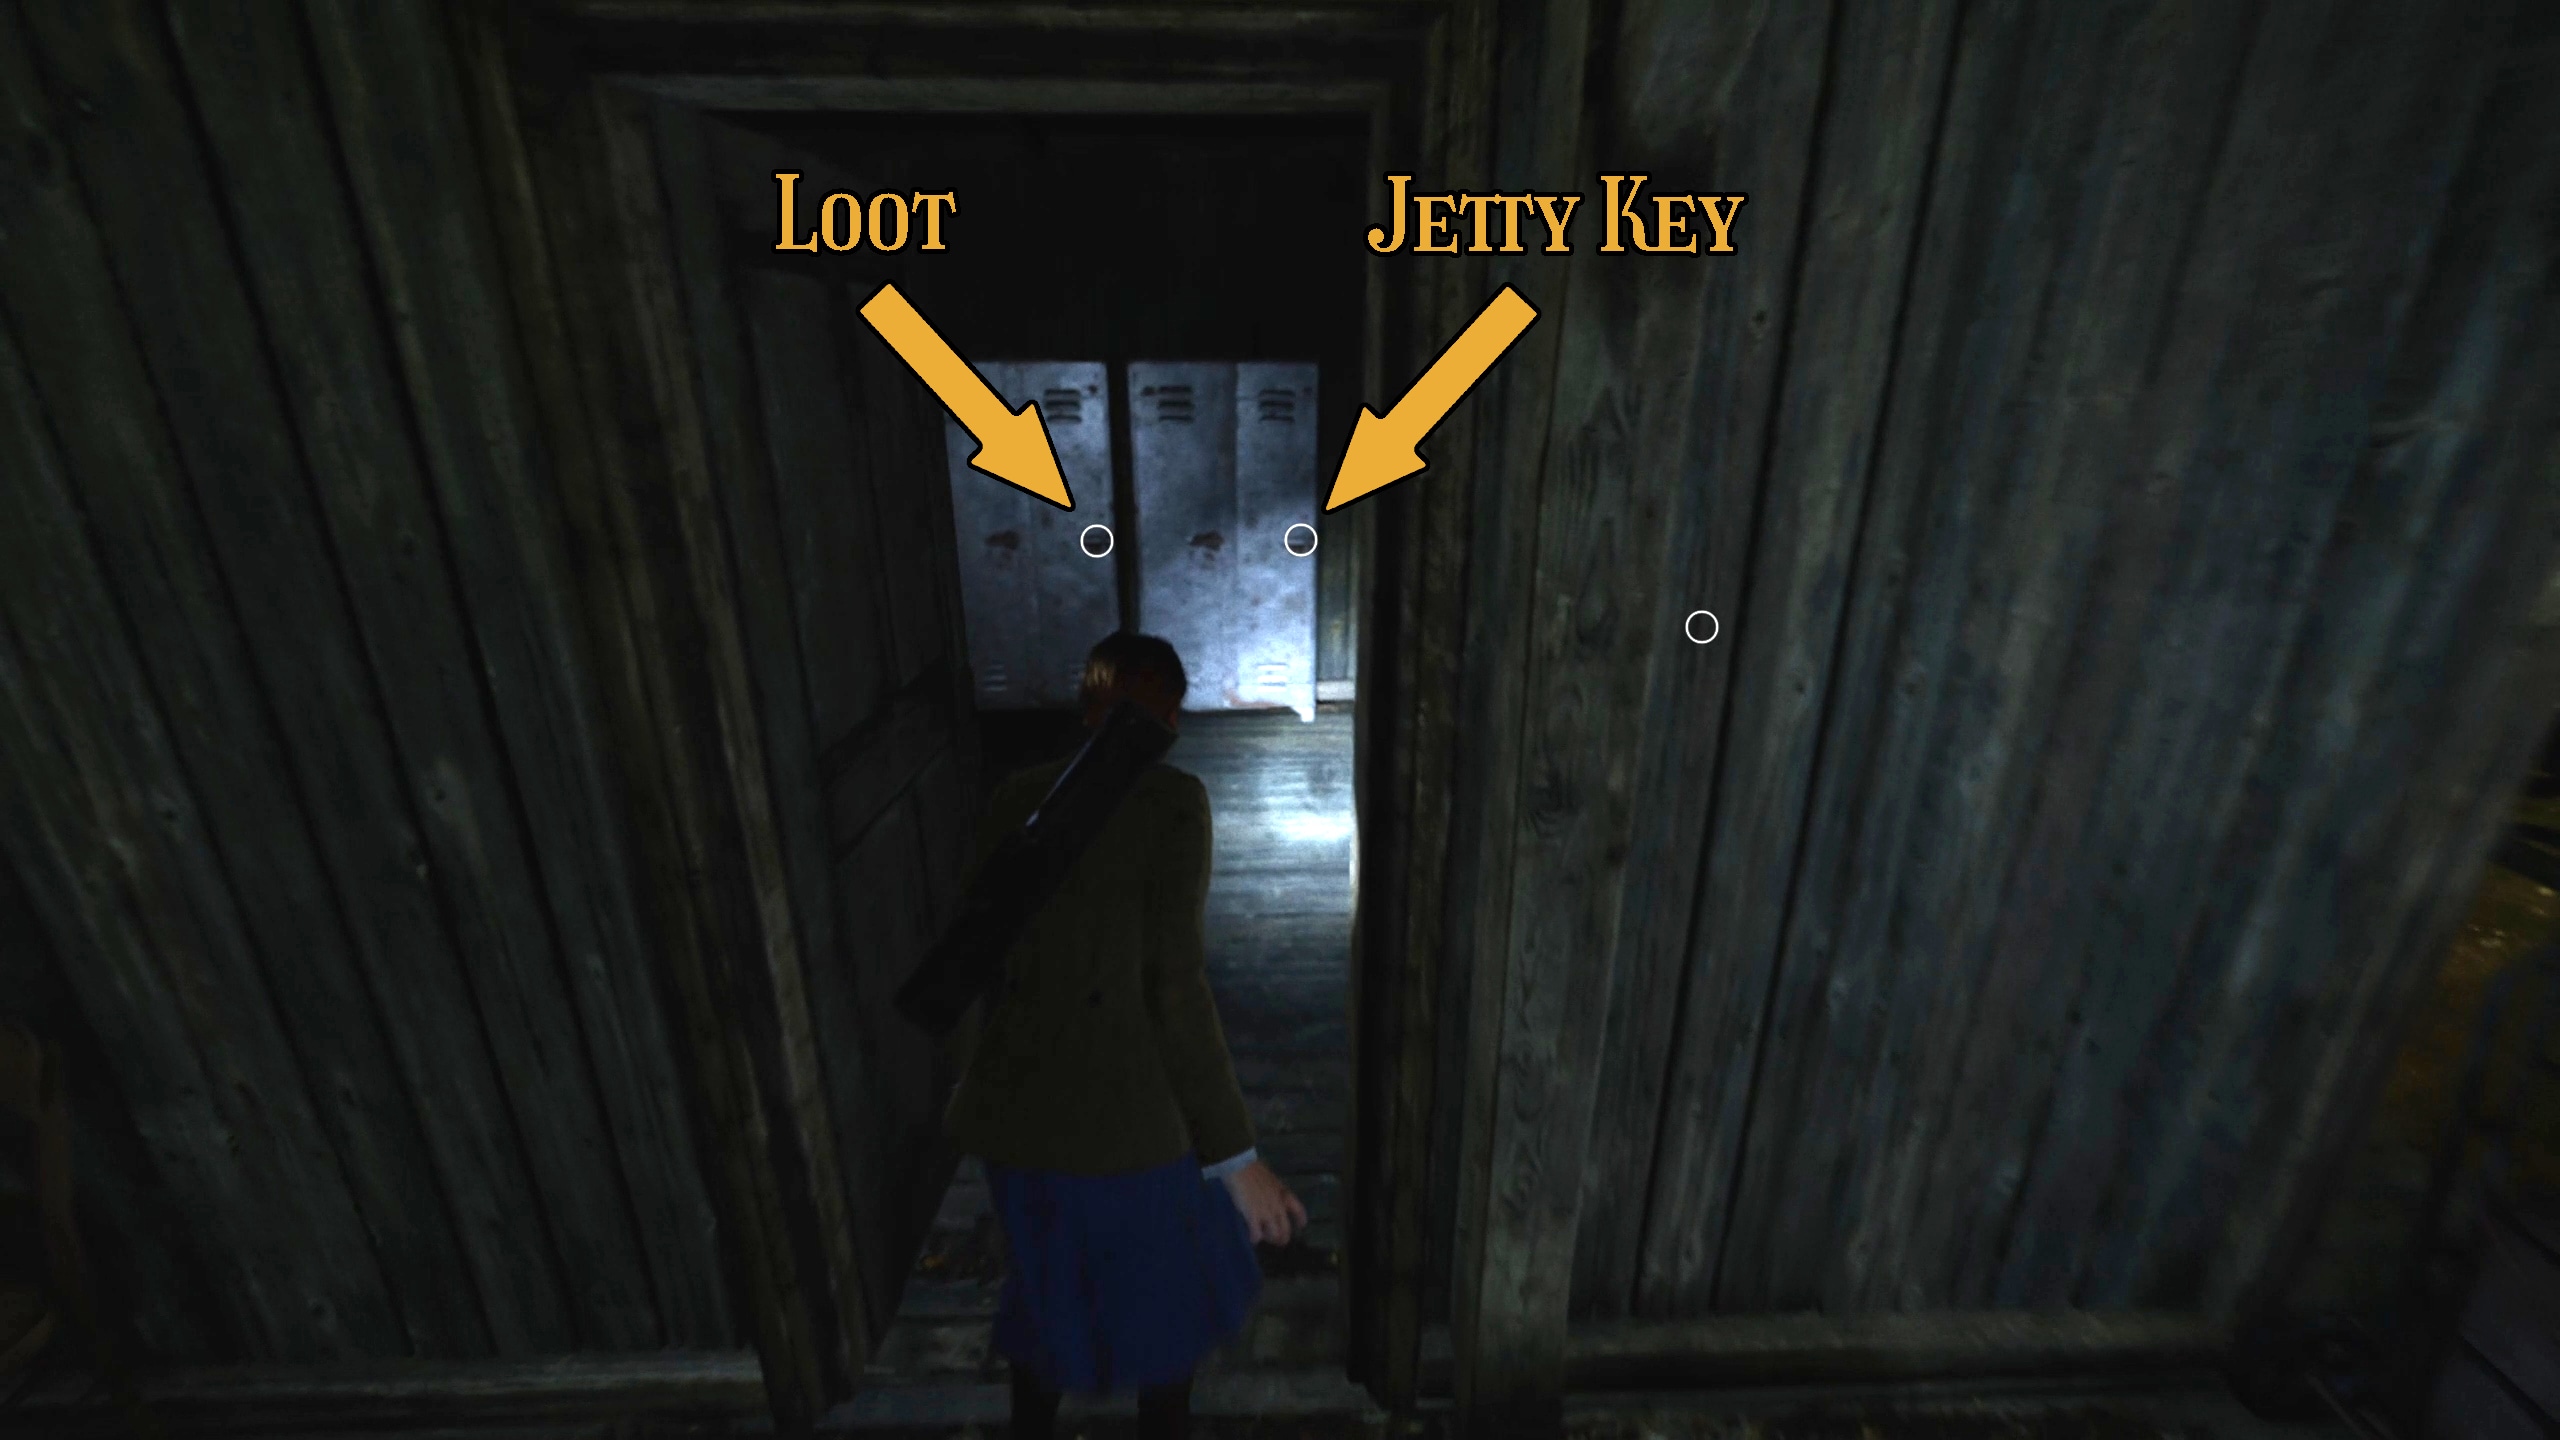
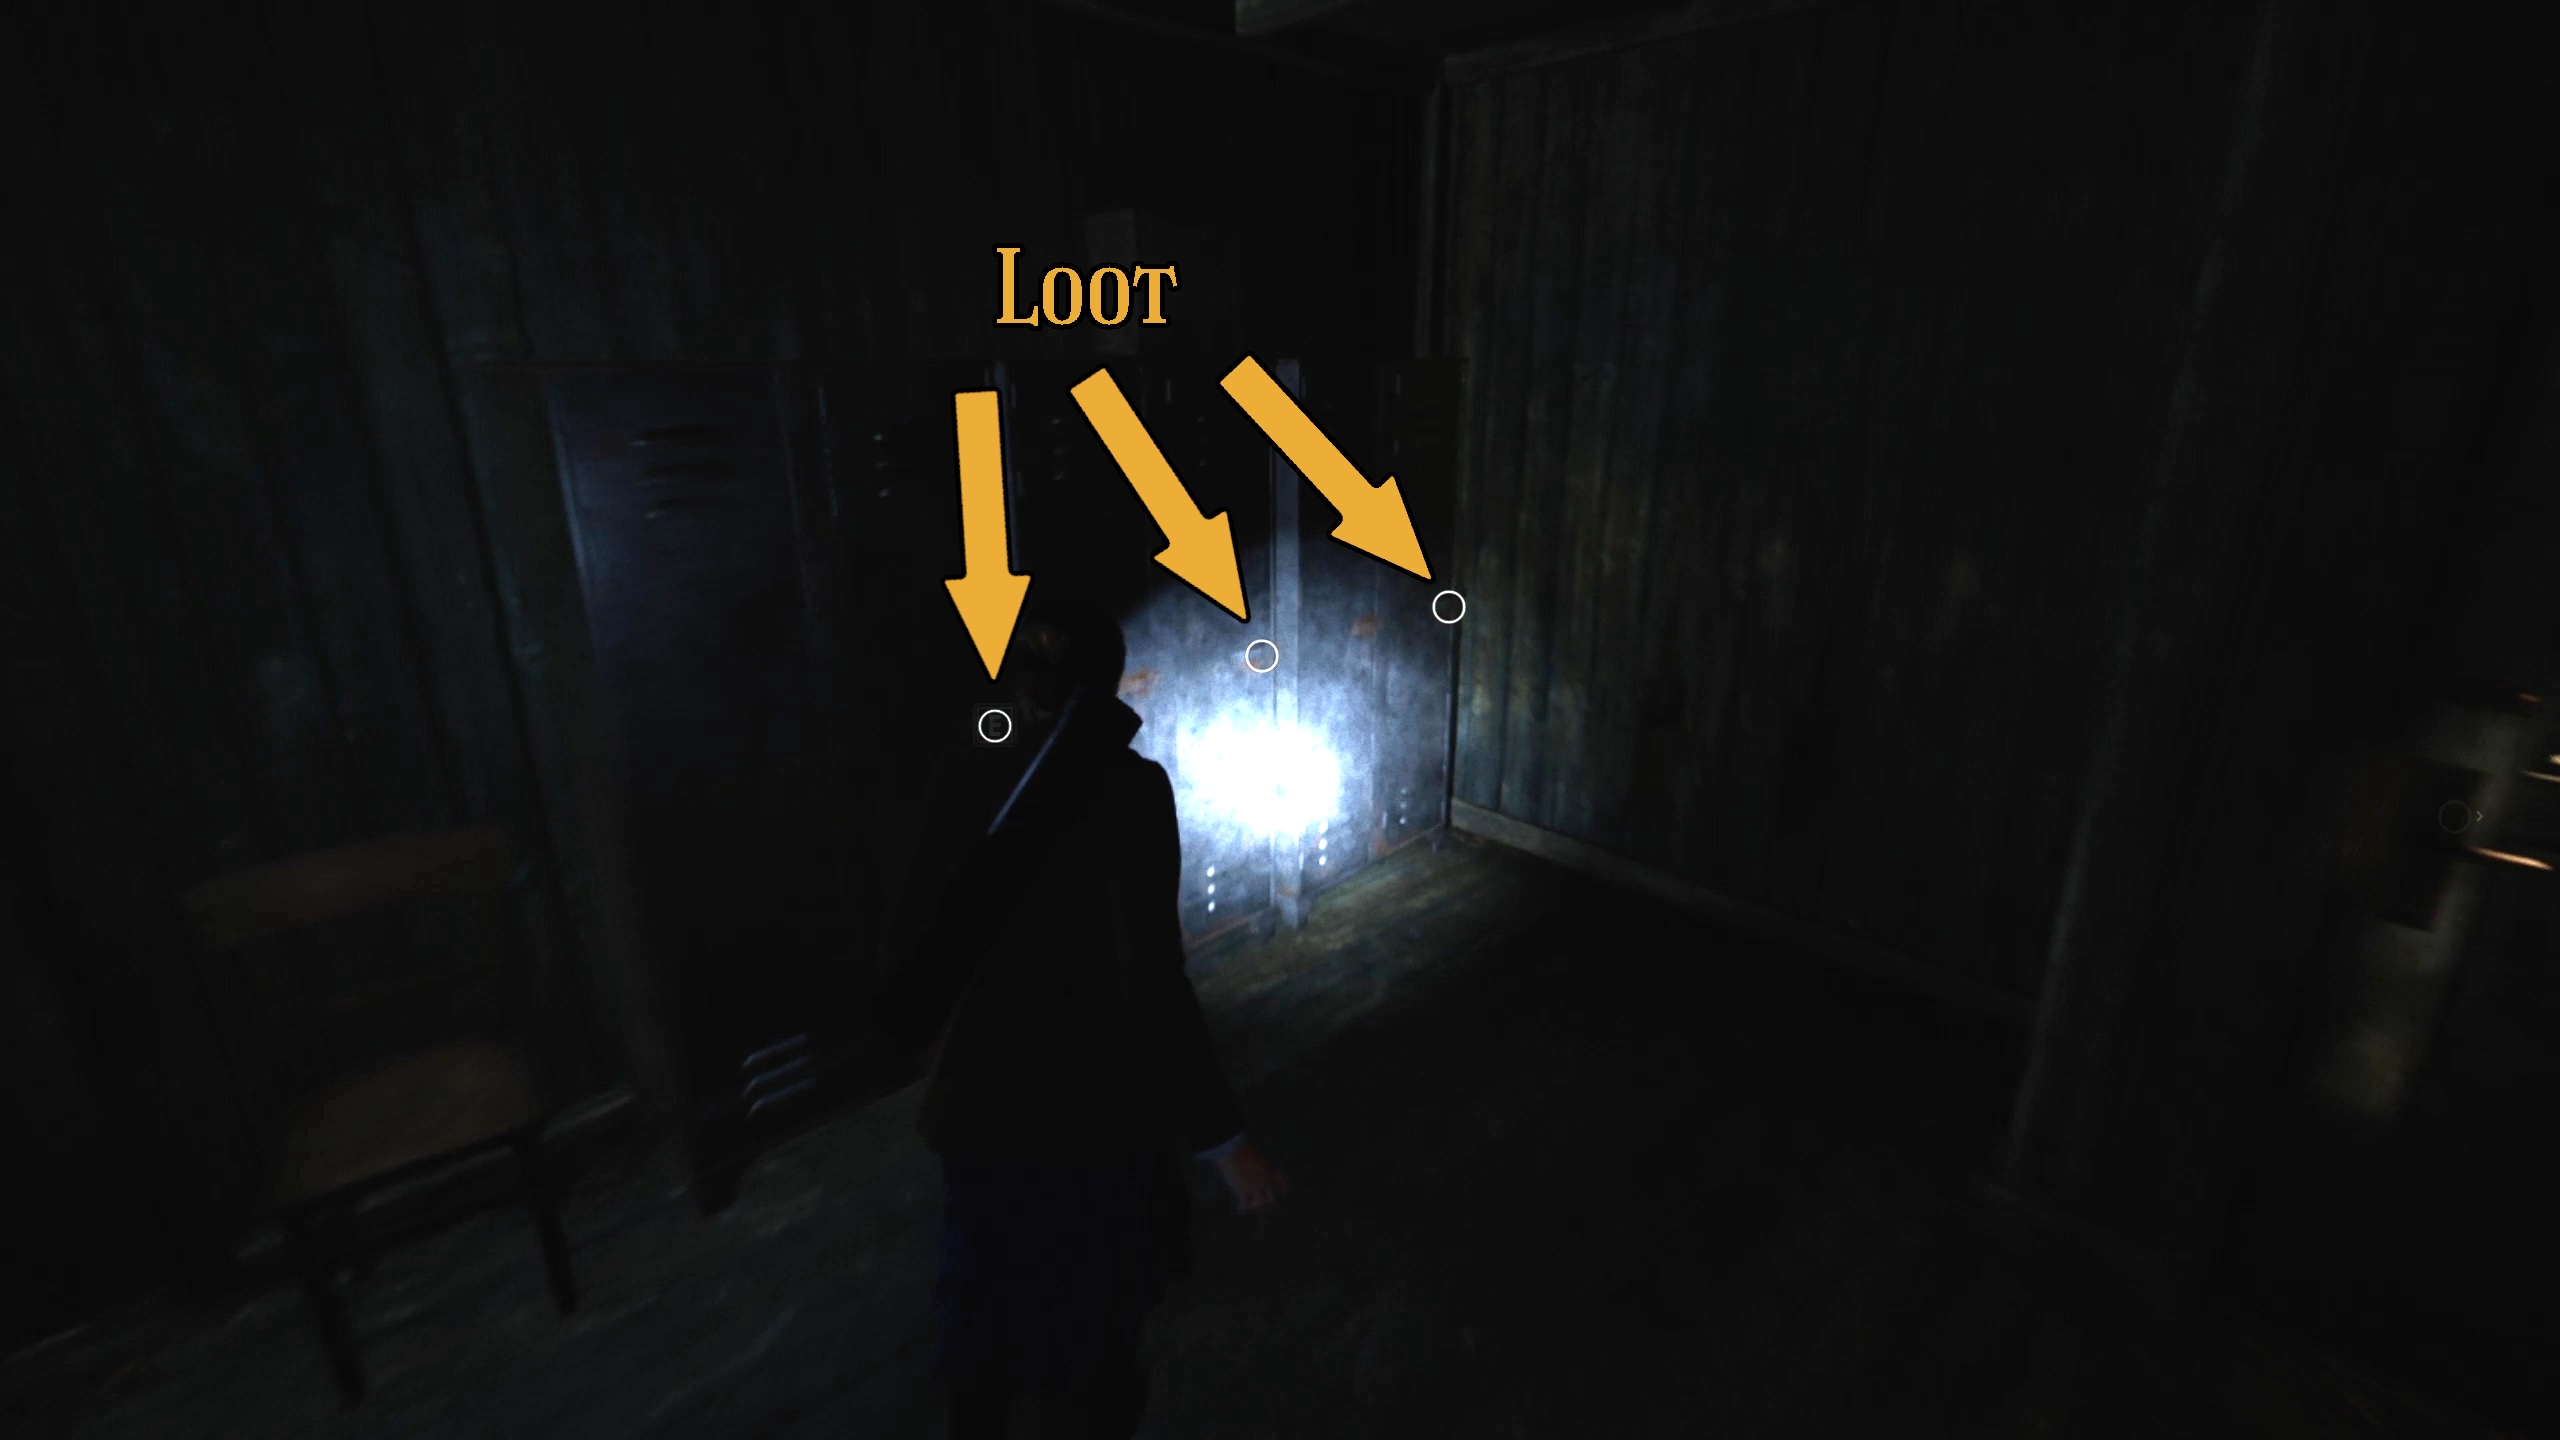
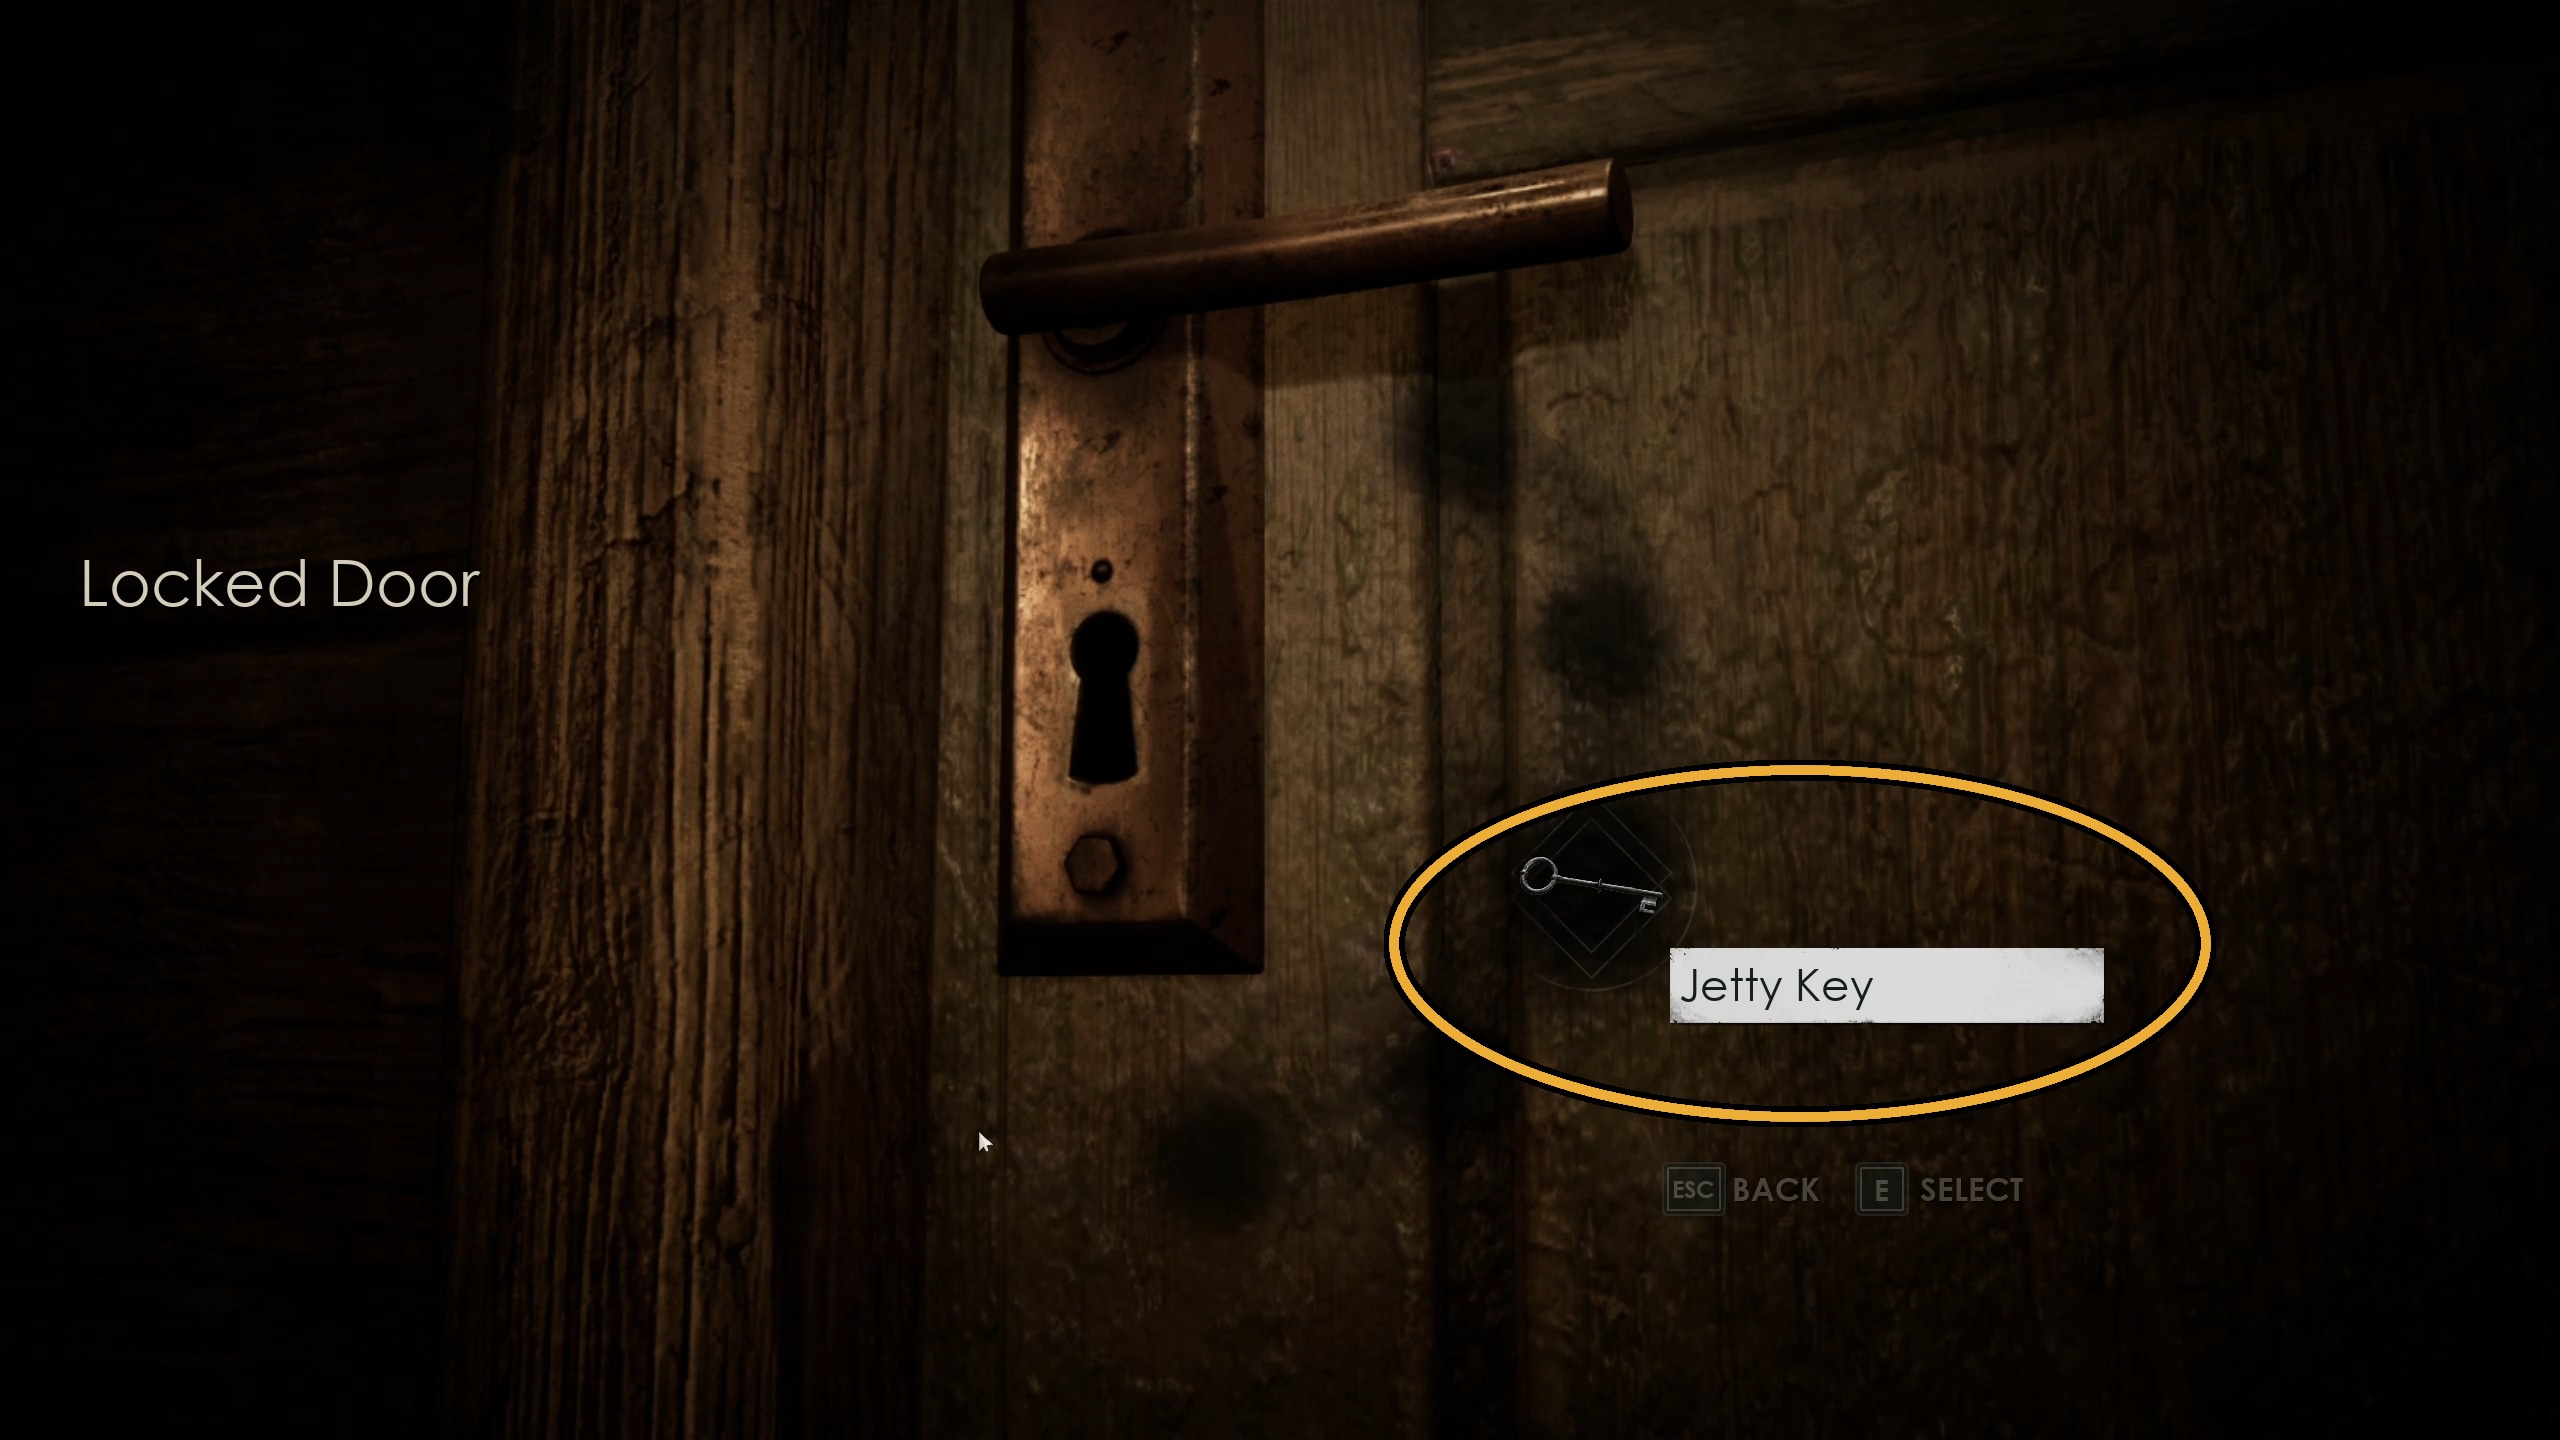
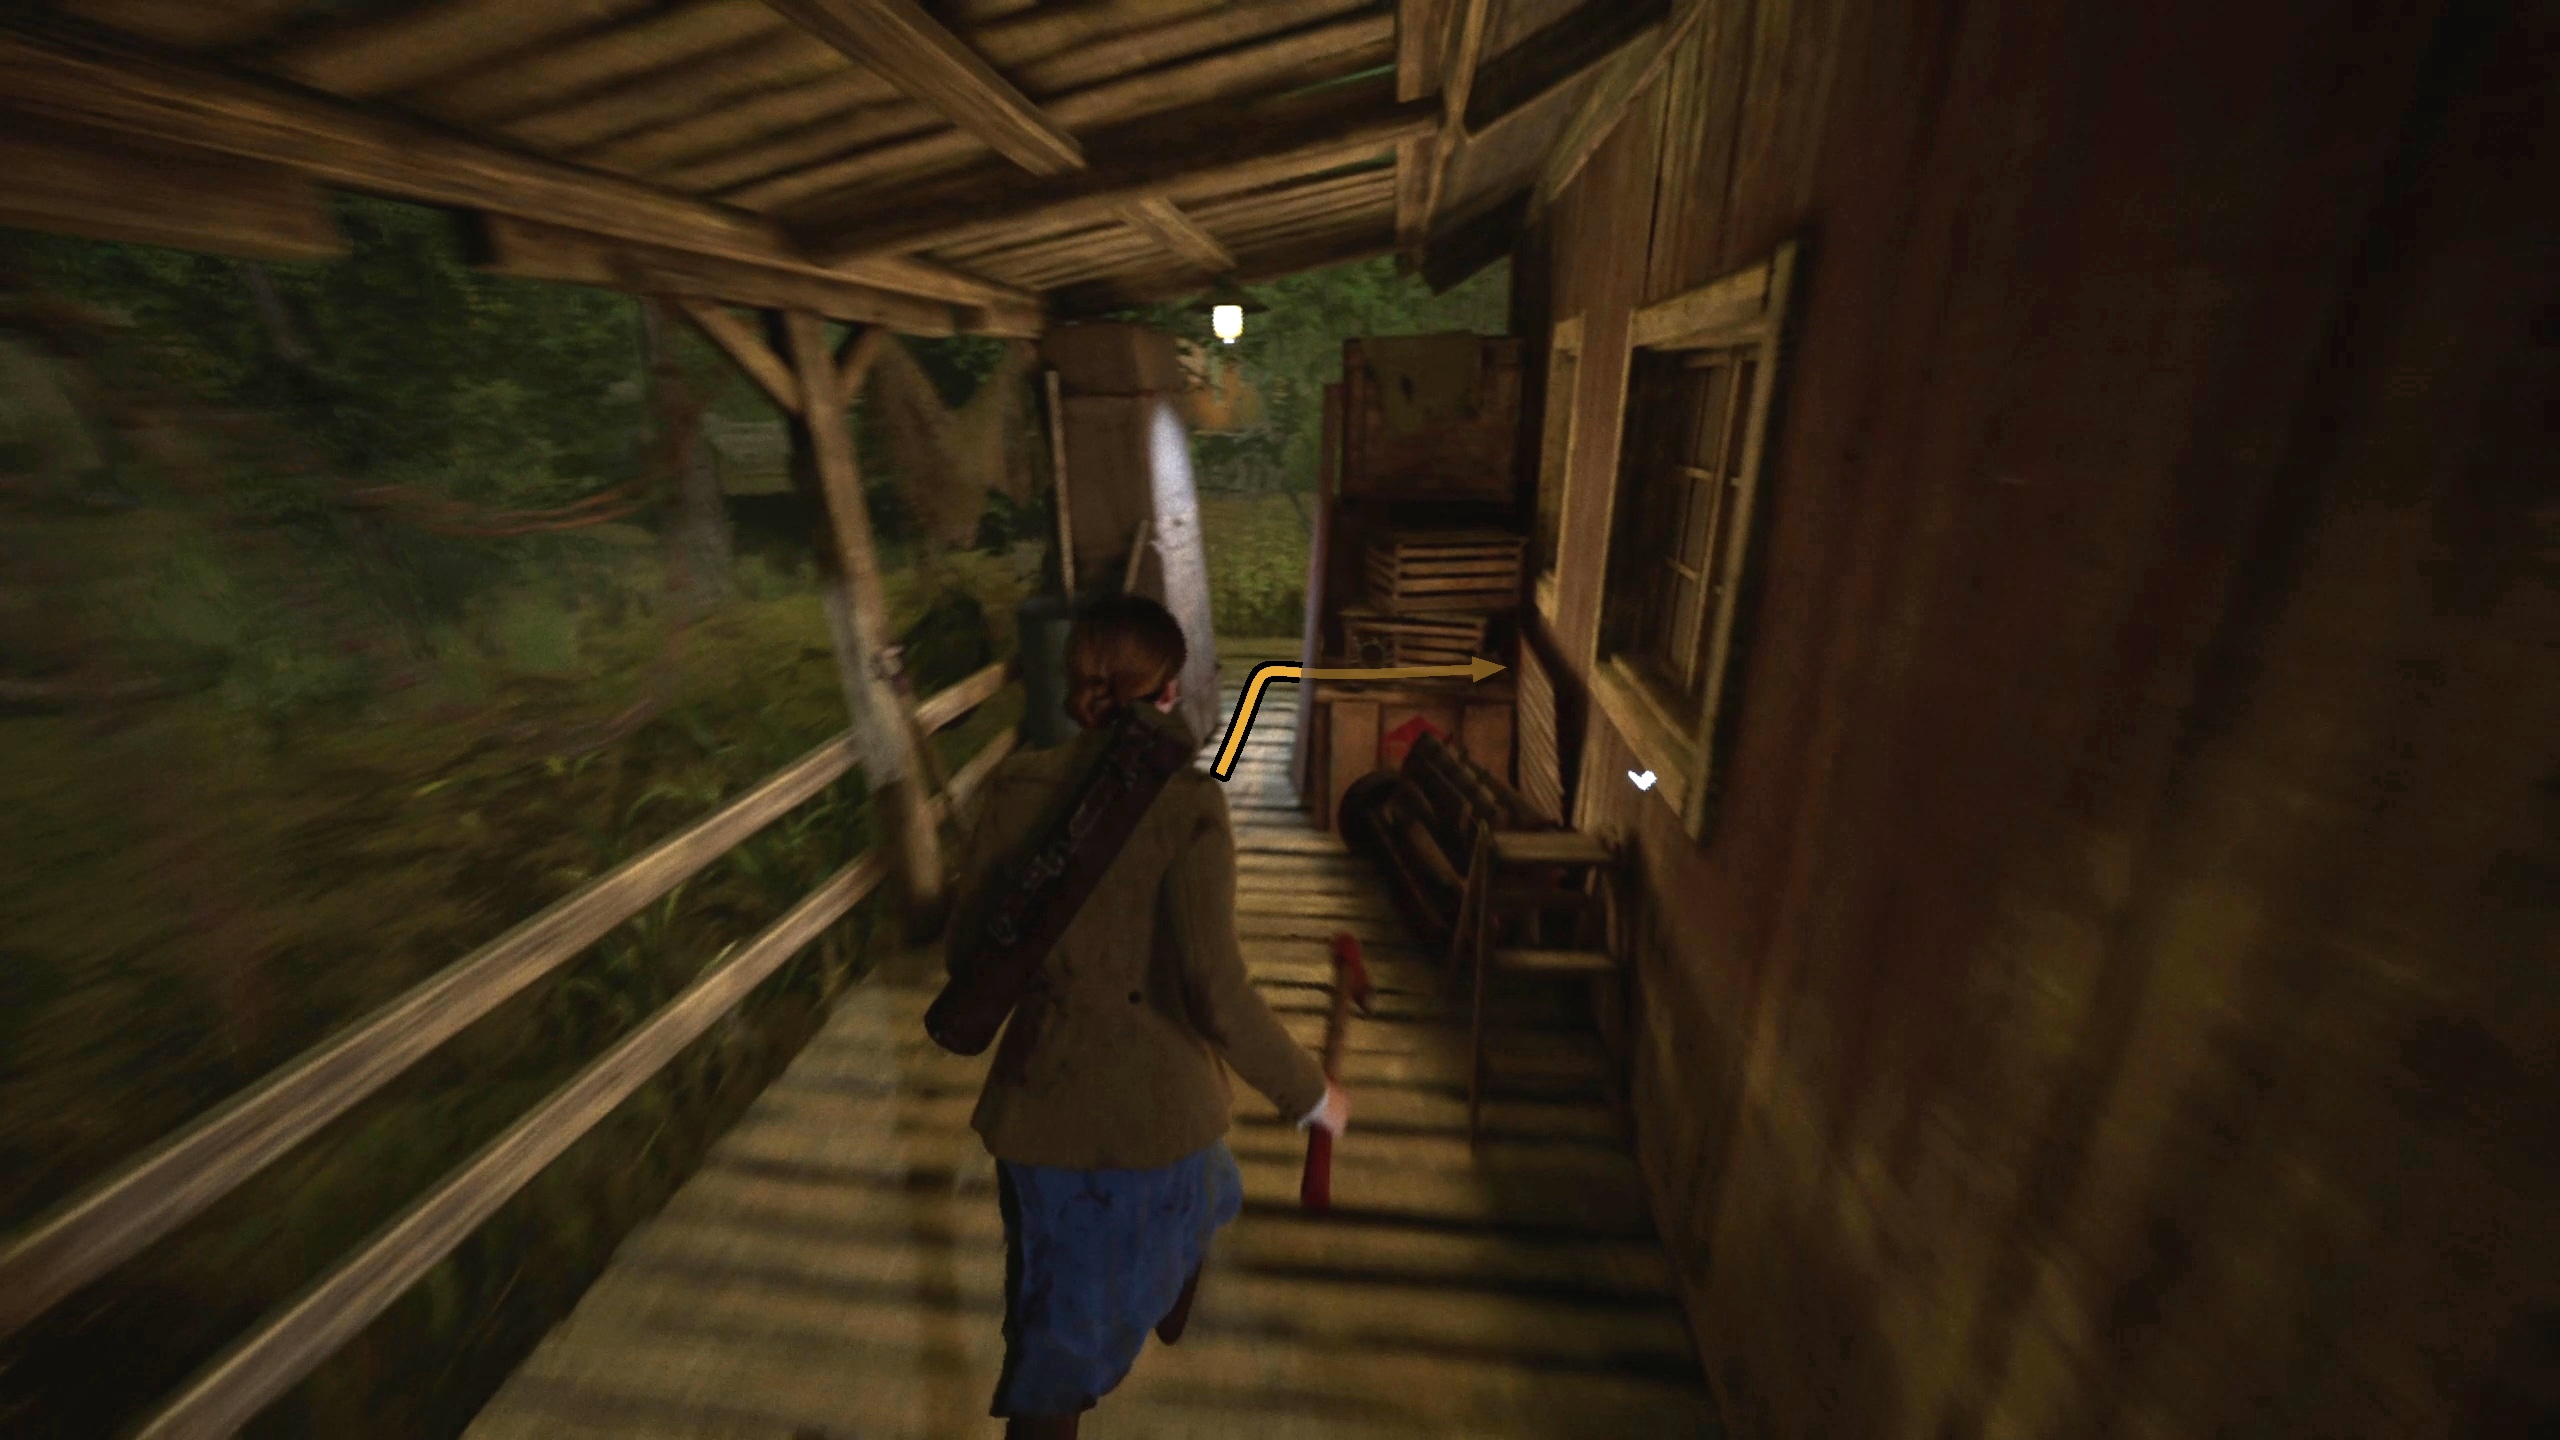
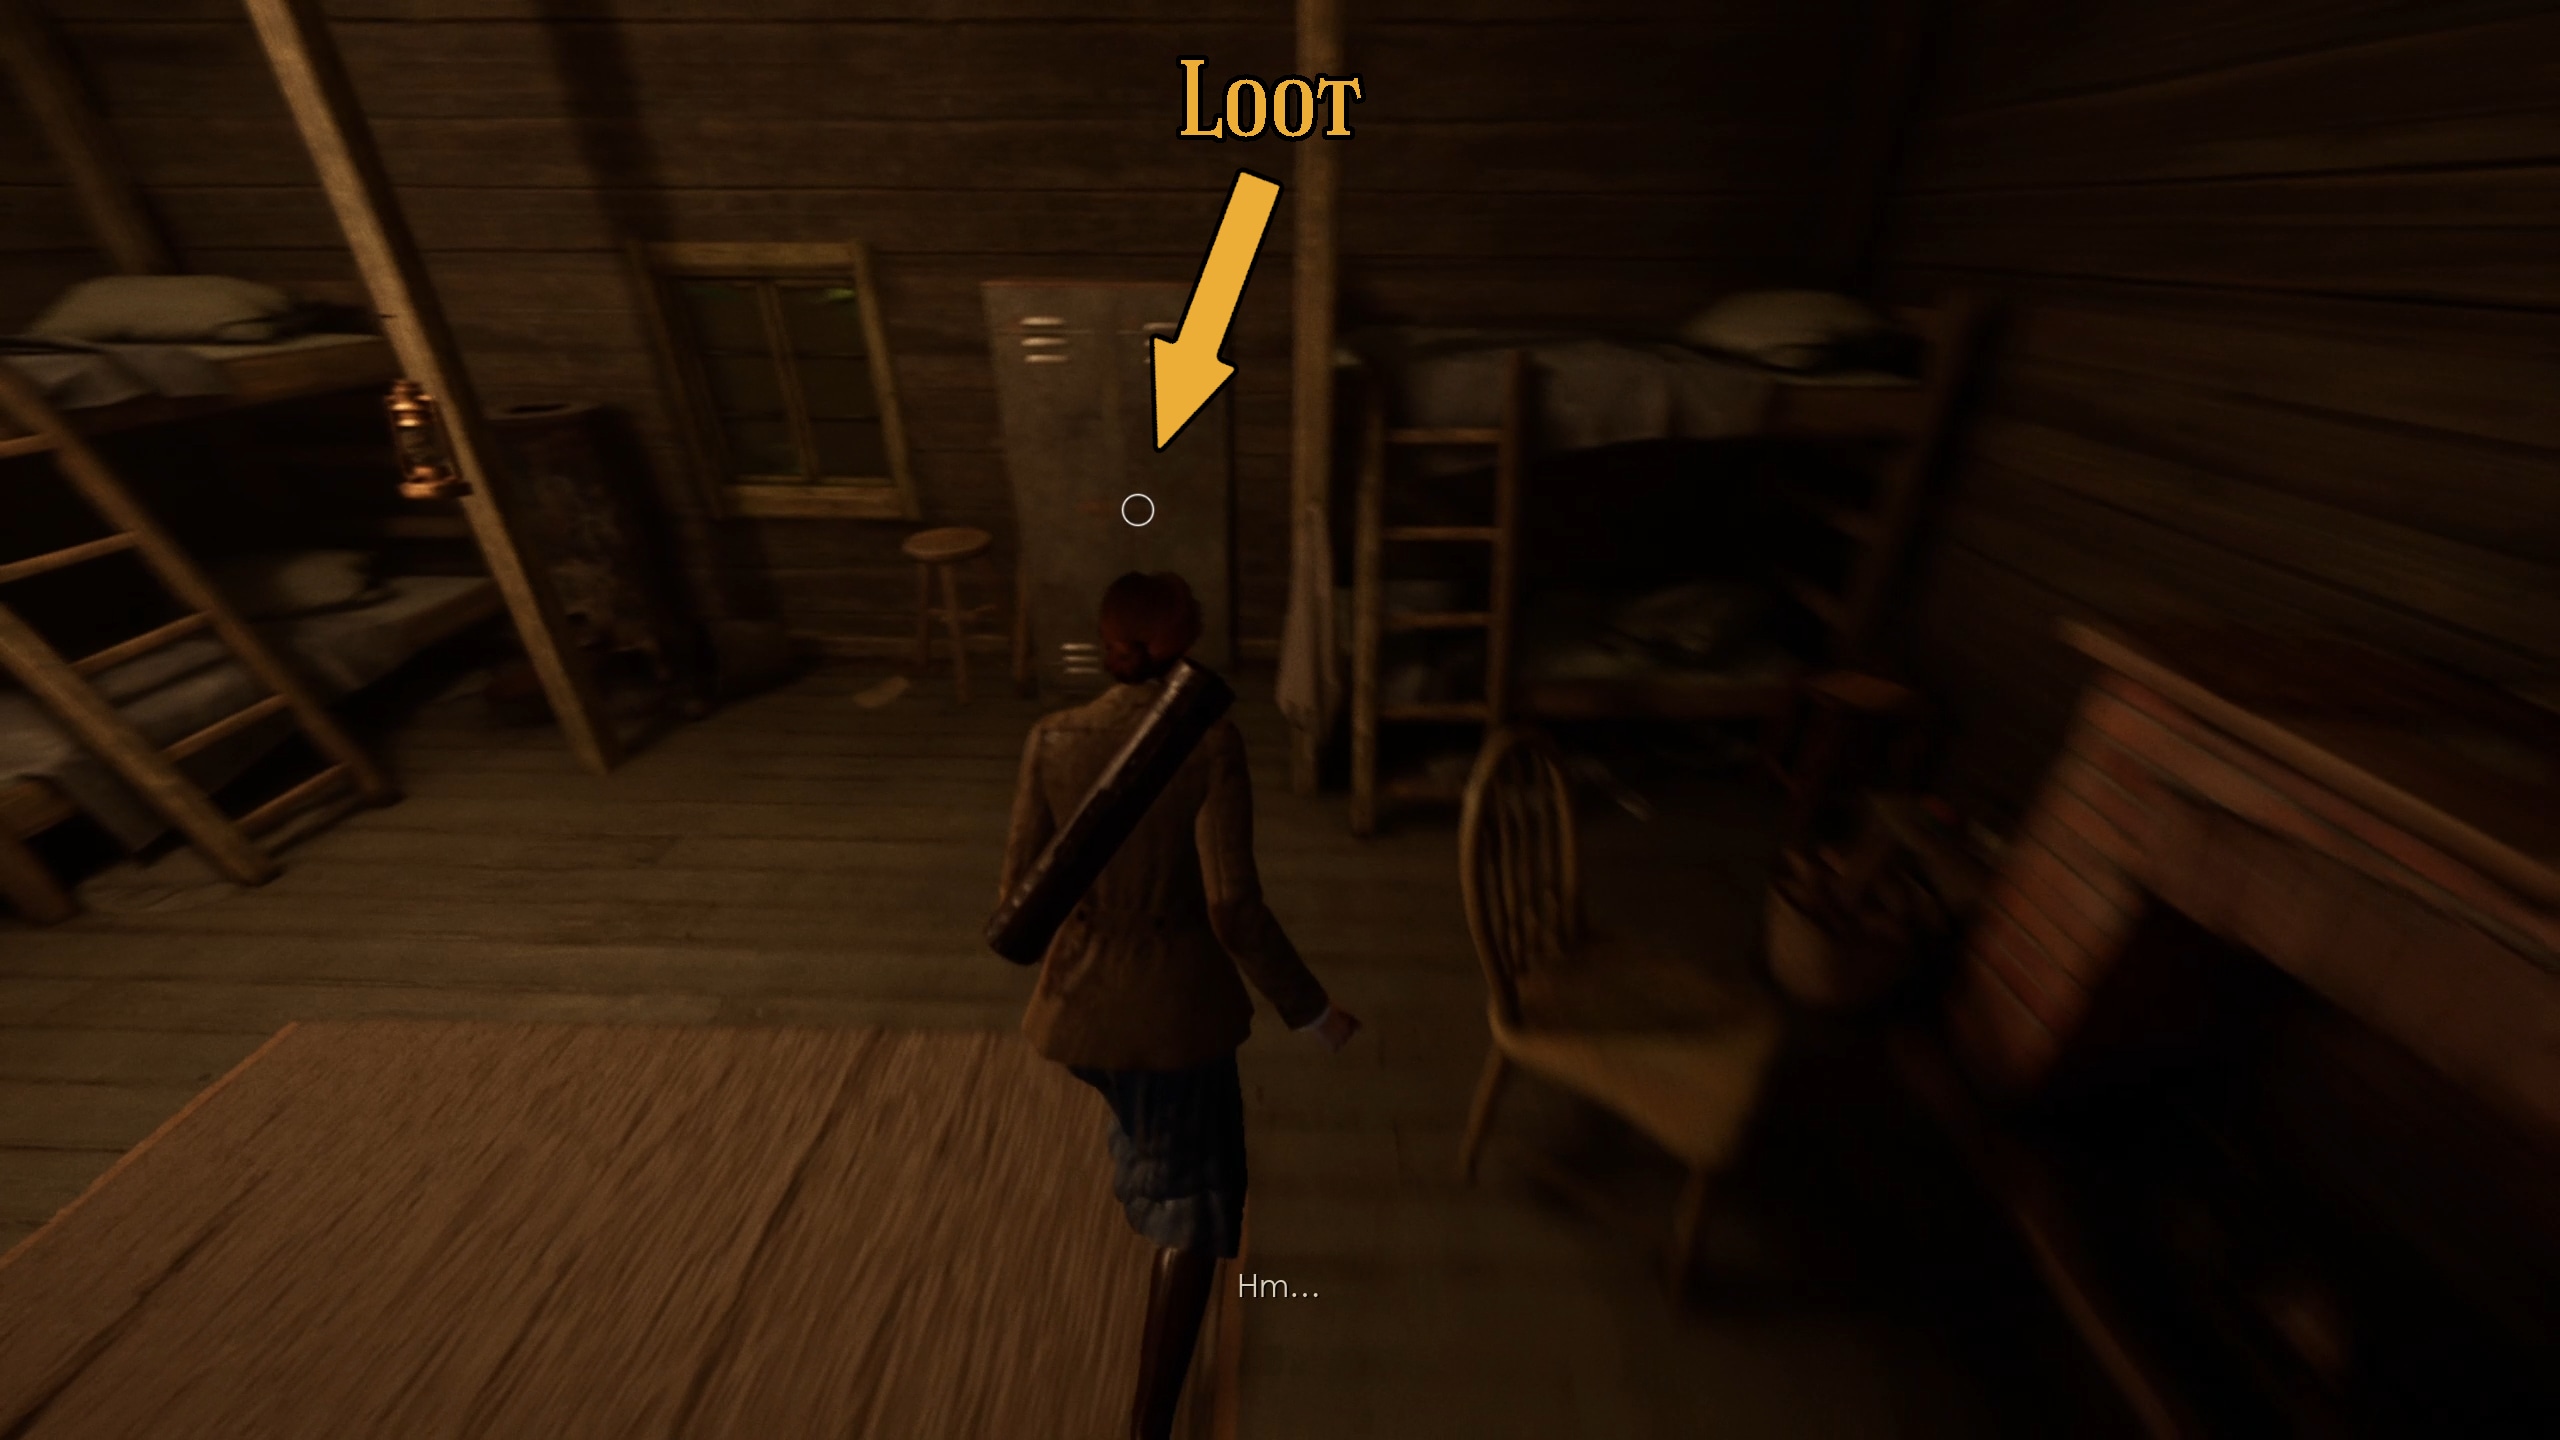
In front of you (you’ll need a flashlight), there will be 2 lockers. The one to your right contains the Jetty Key (Image 47), while the one to your left (and the other 3 on the side of the room) will contain randomized loot (Image 48). After you’ve stocked up, open the door and head to the house you previously passed (Image 49).
Image 47Image 48Image 49
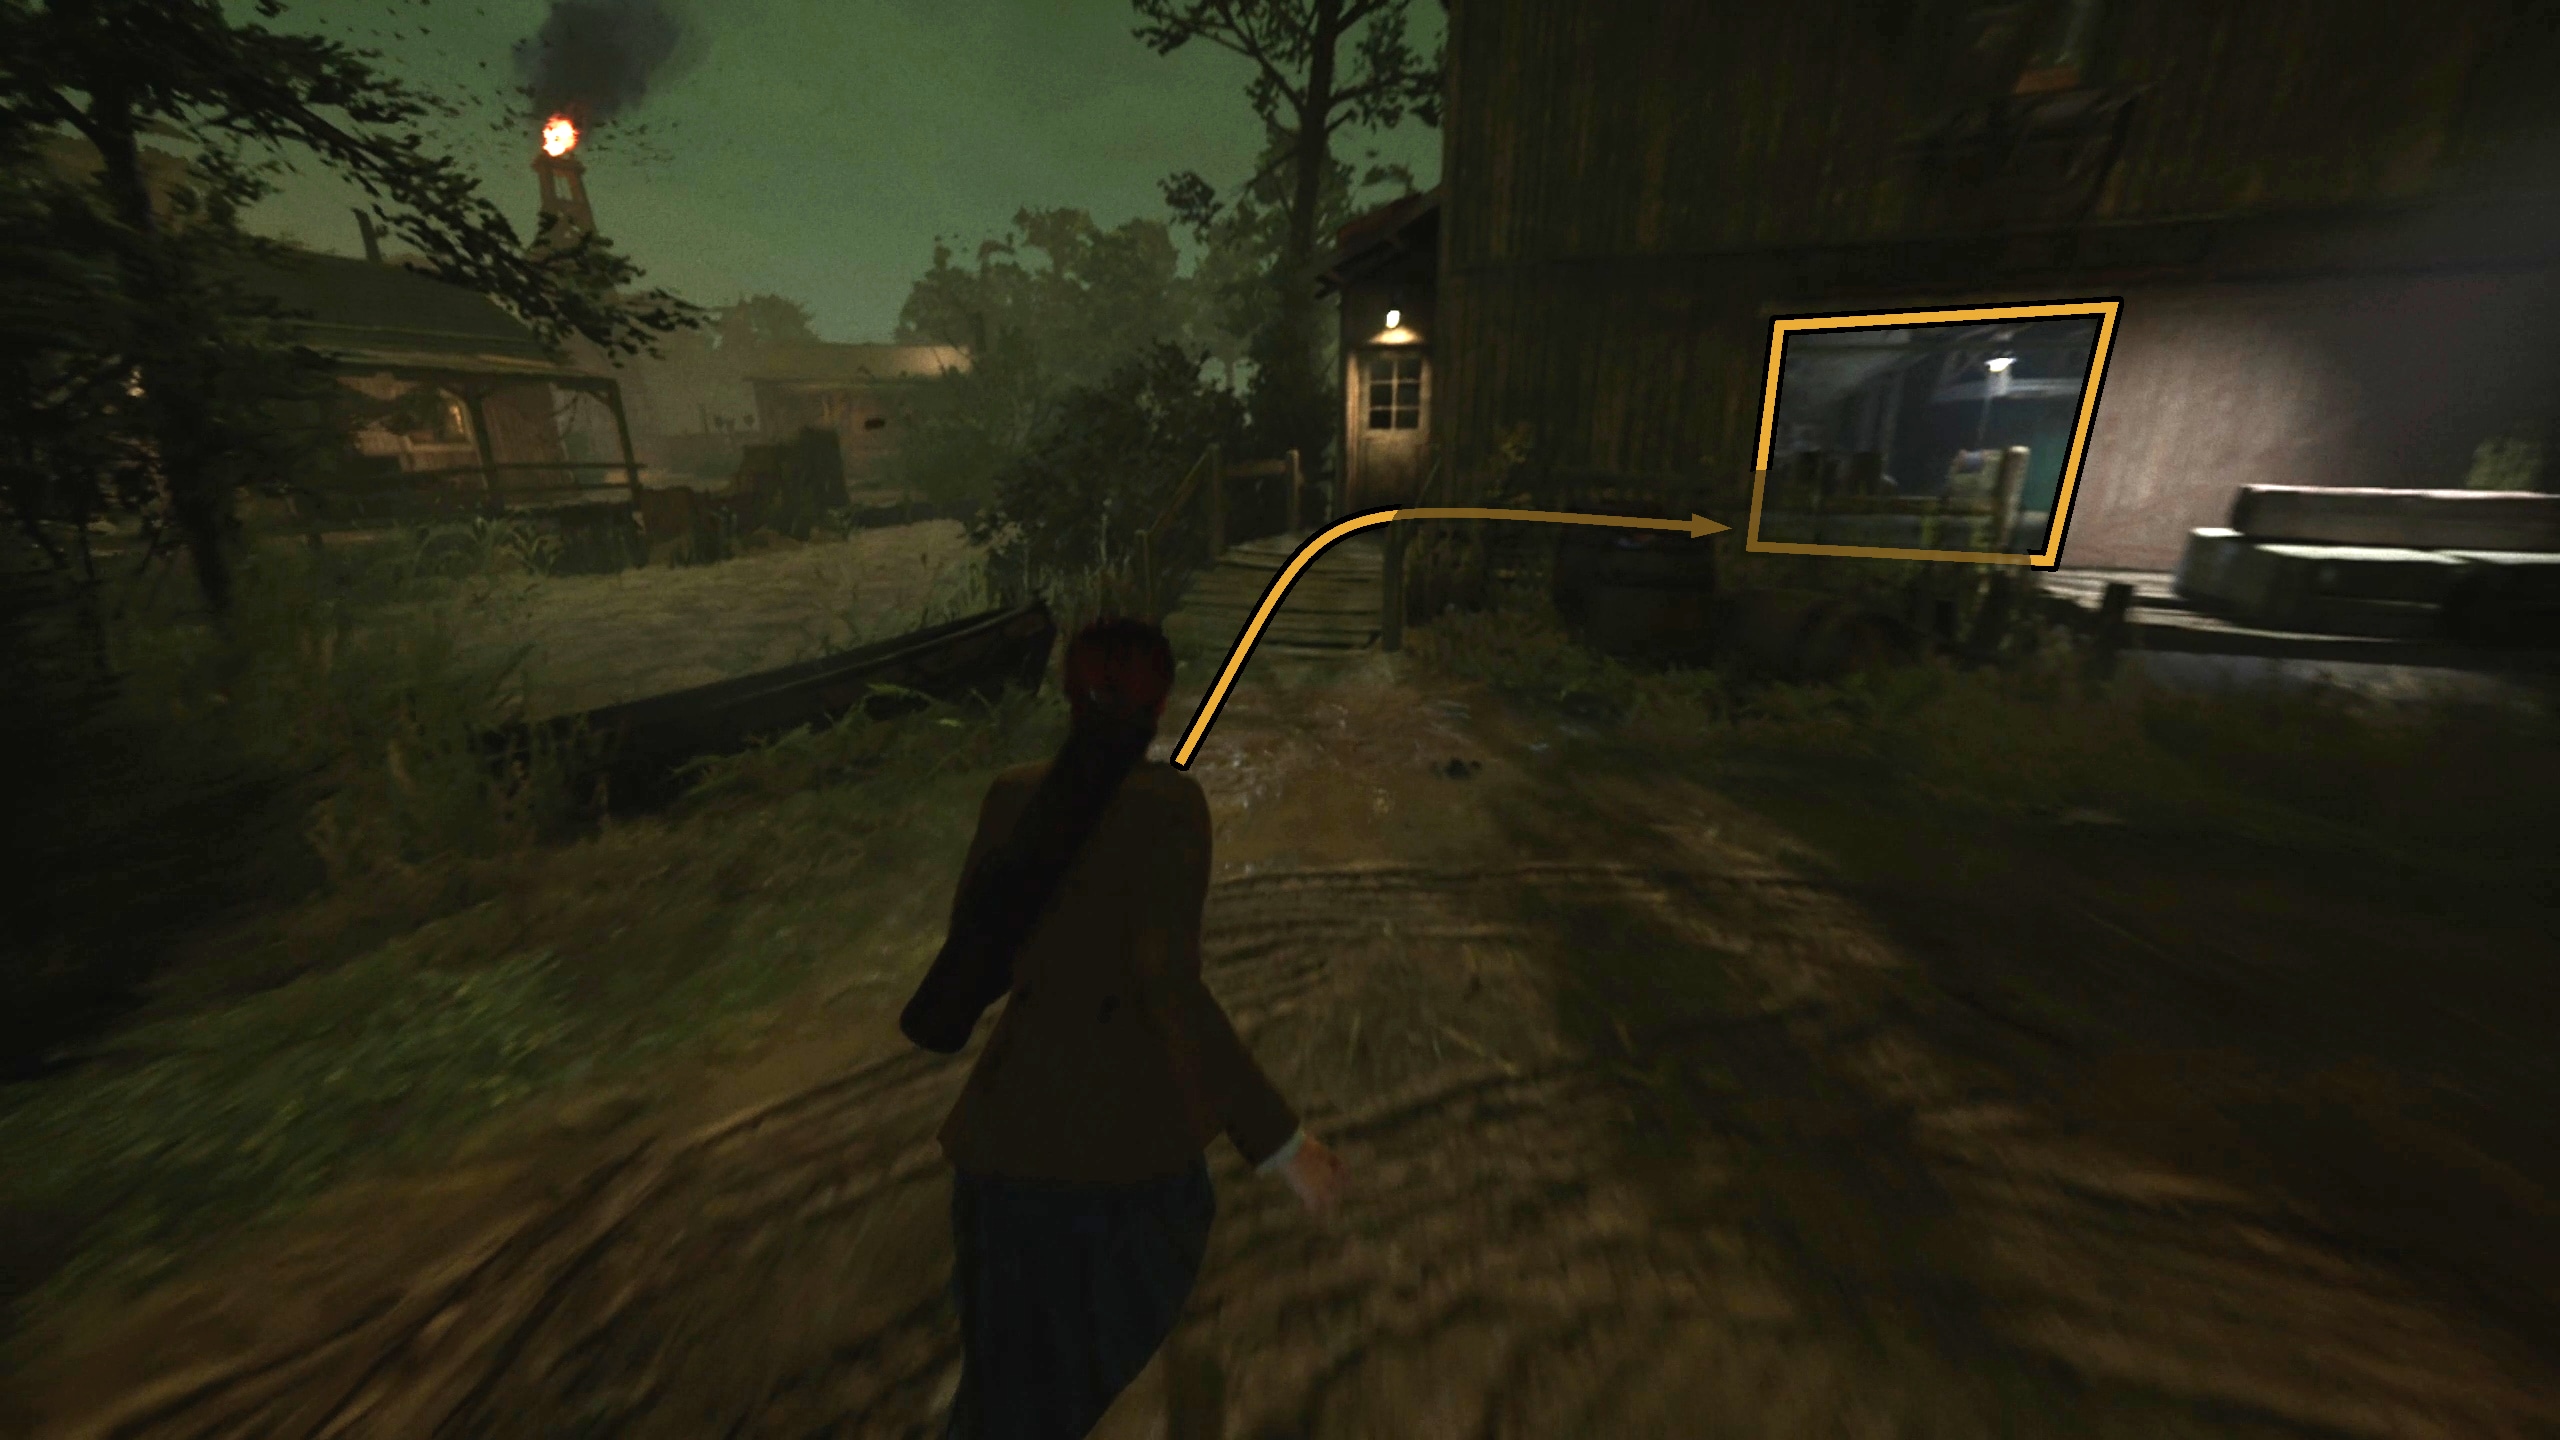
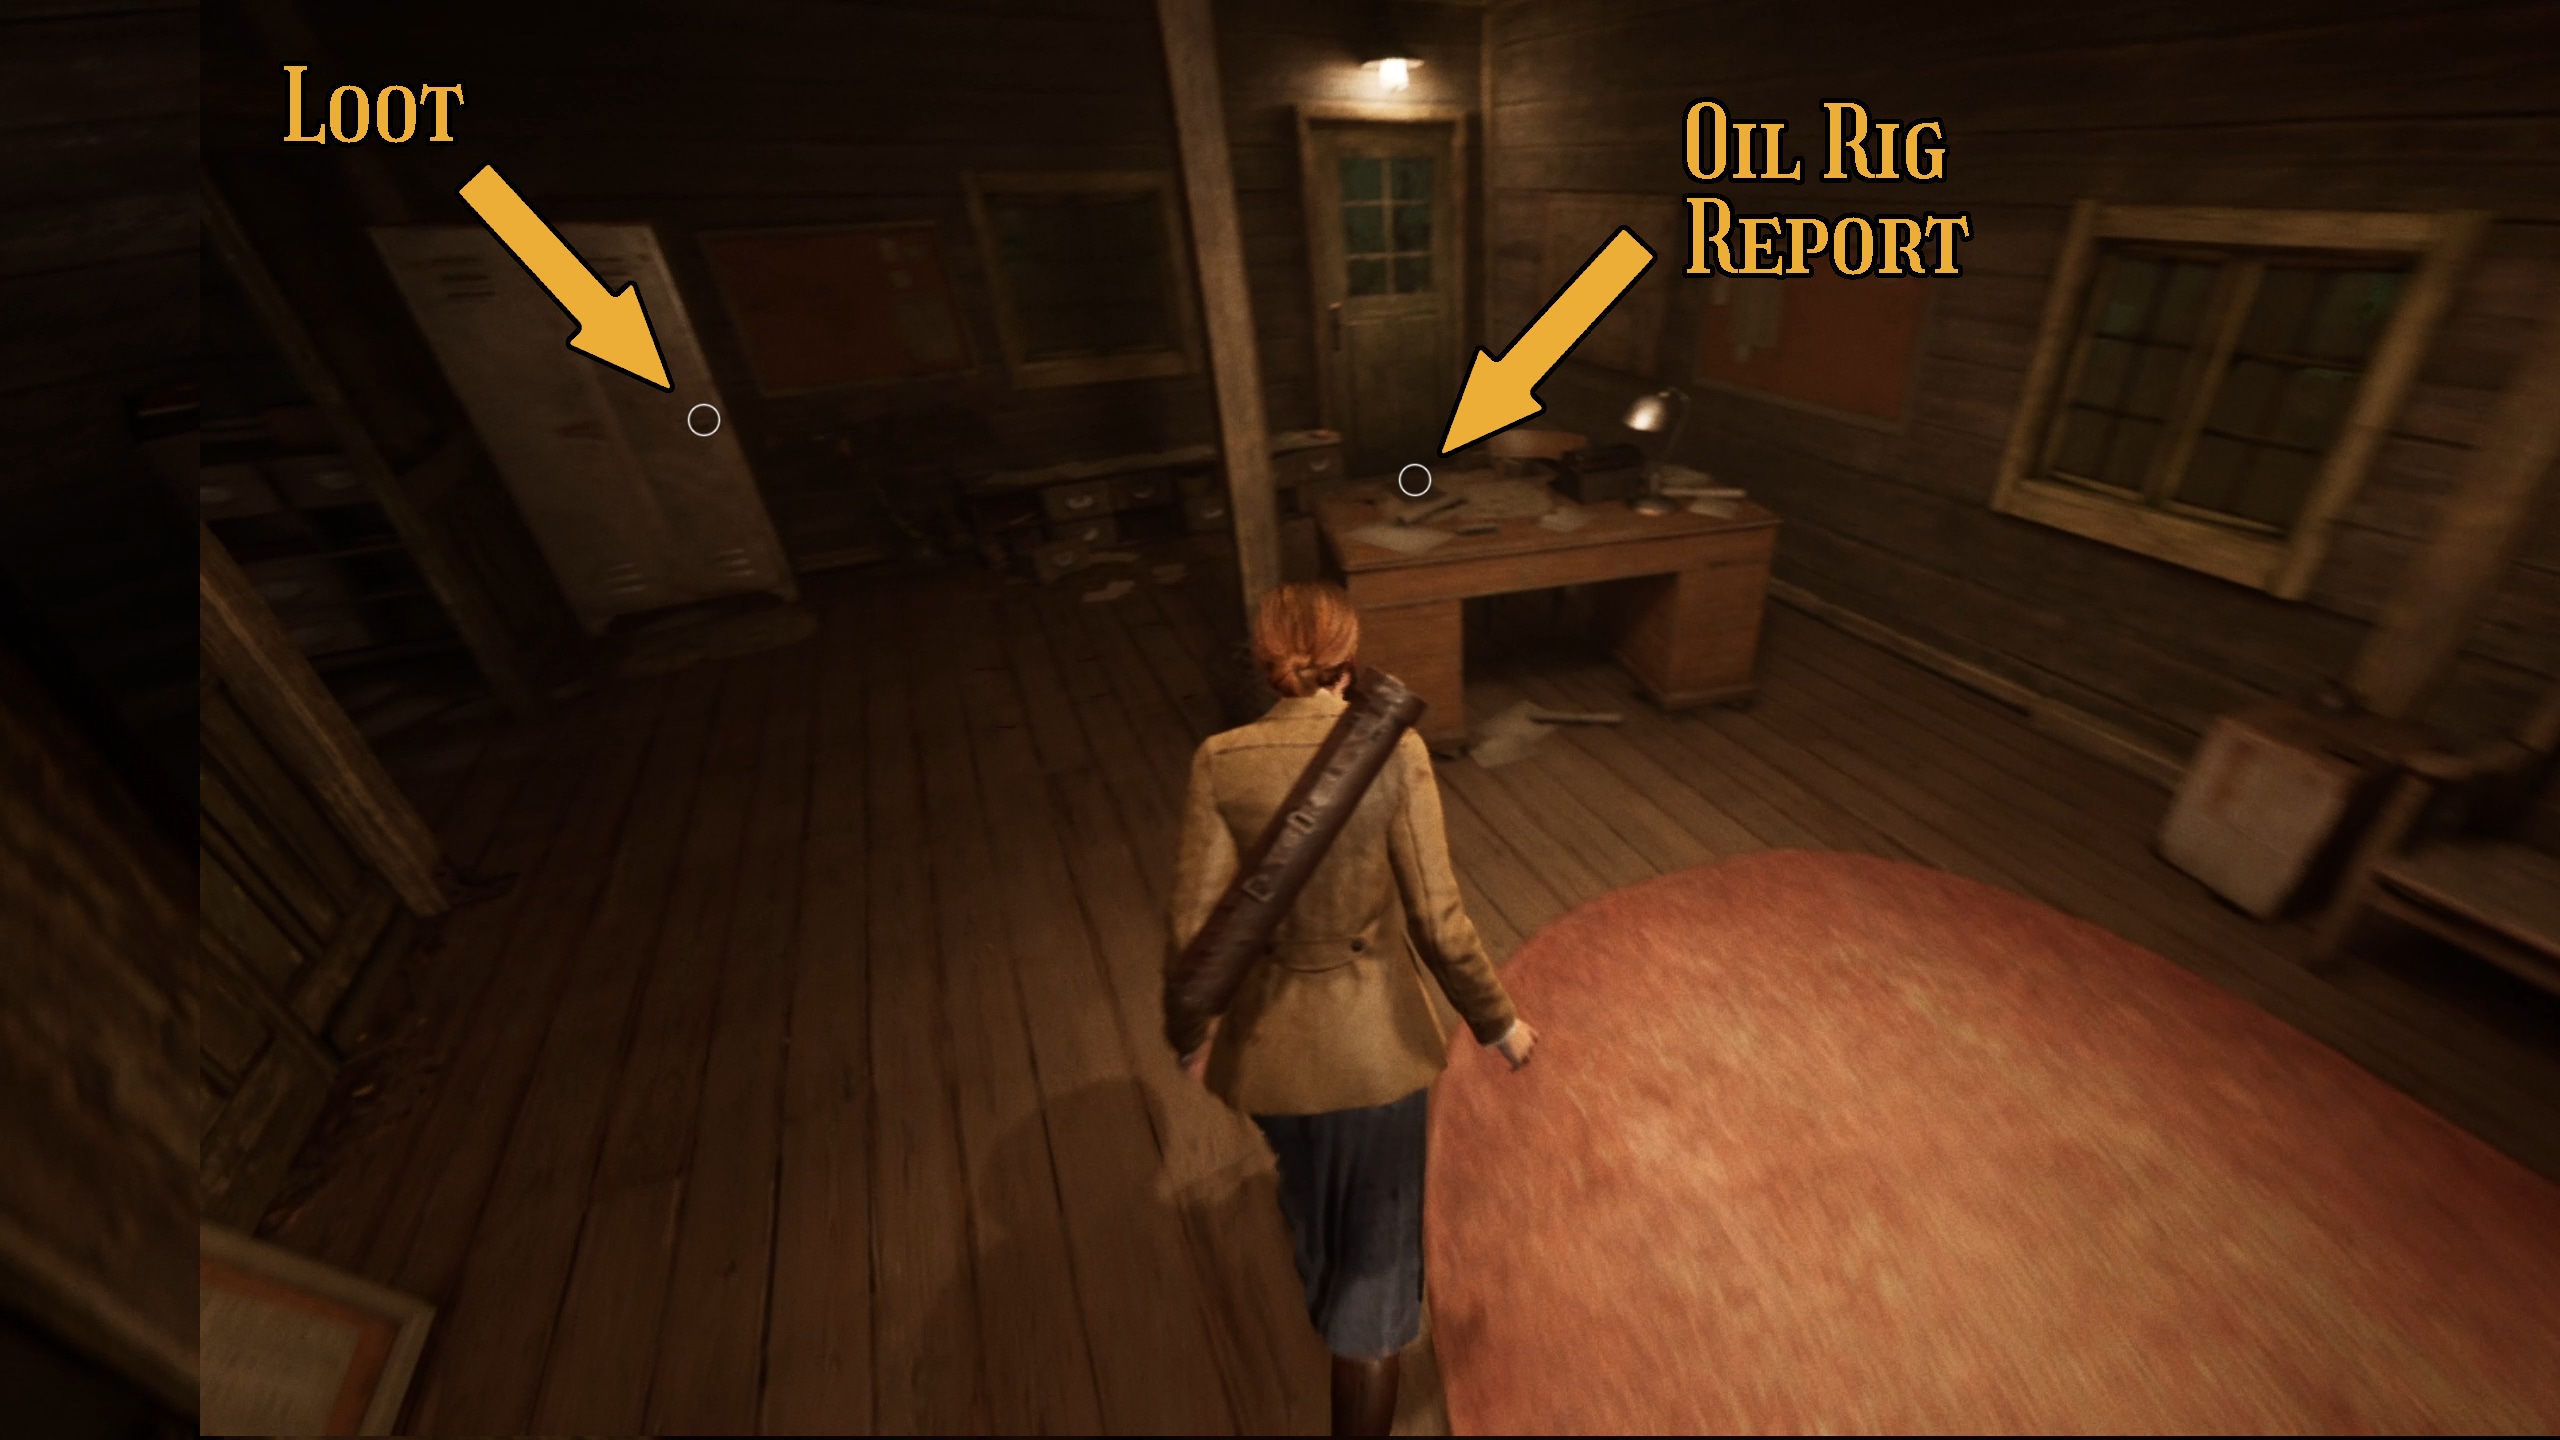
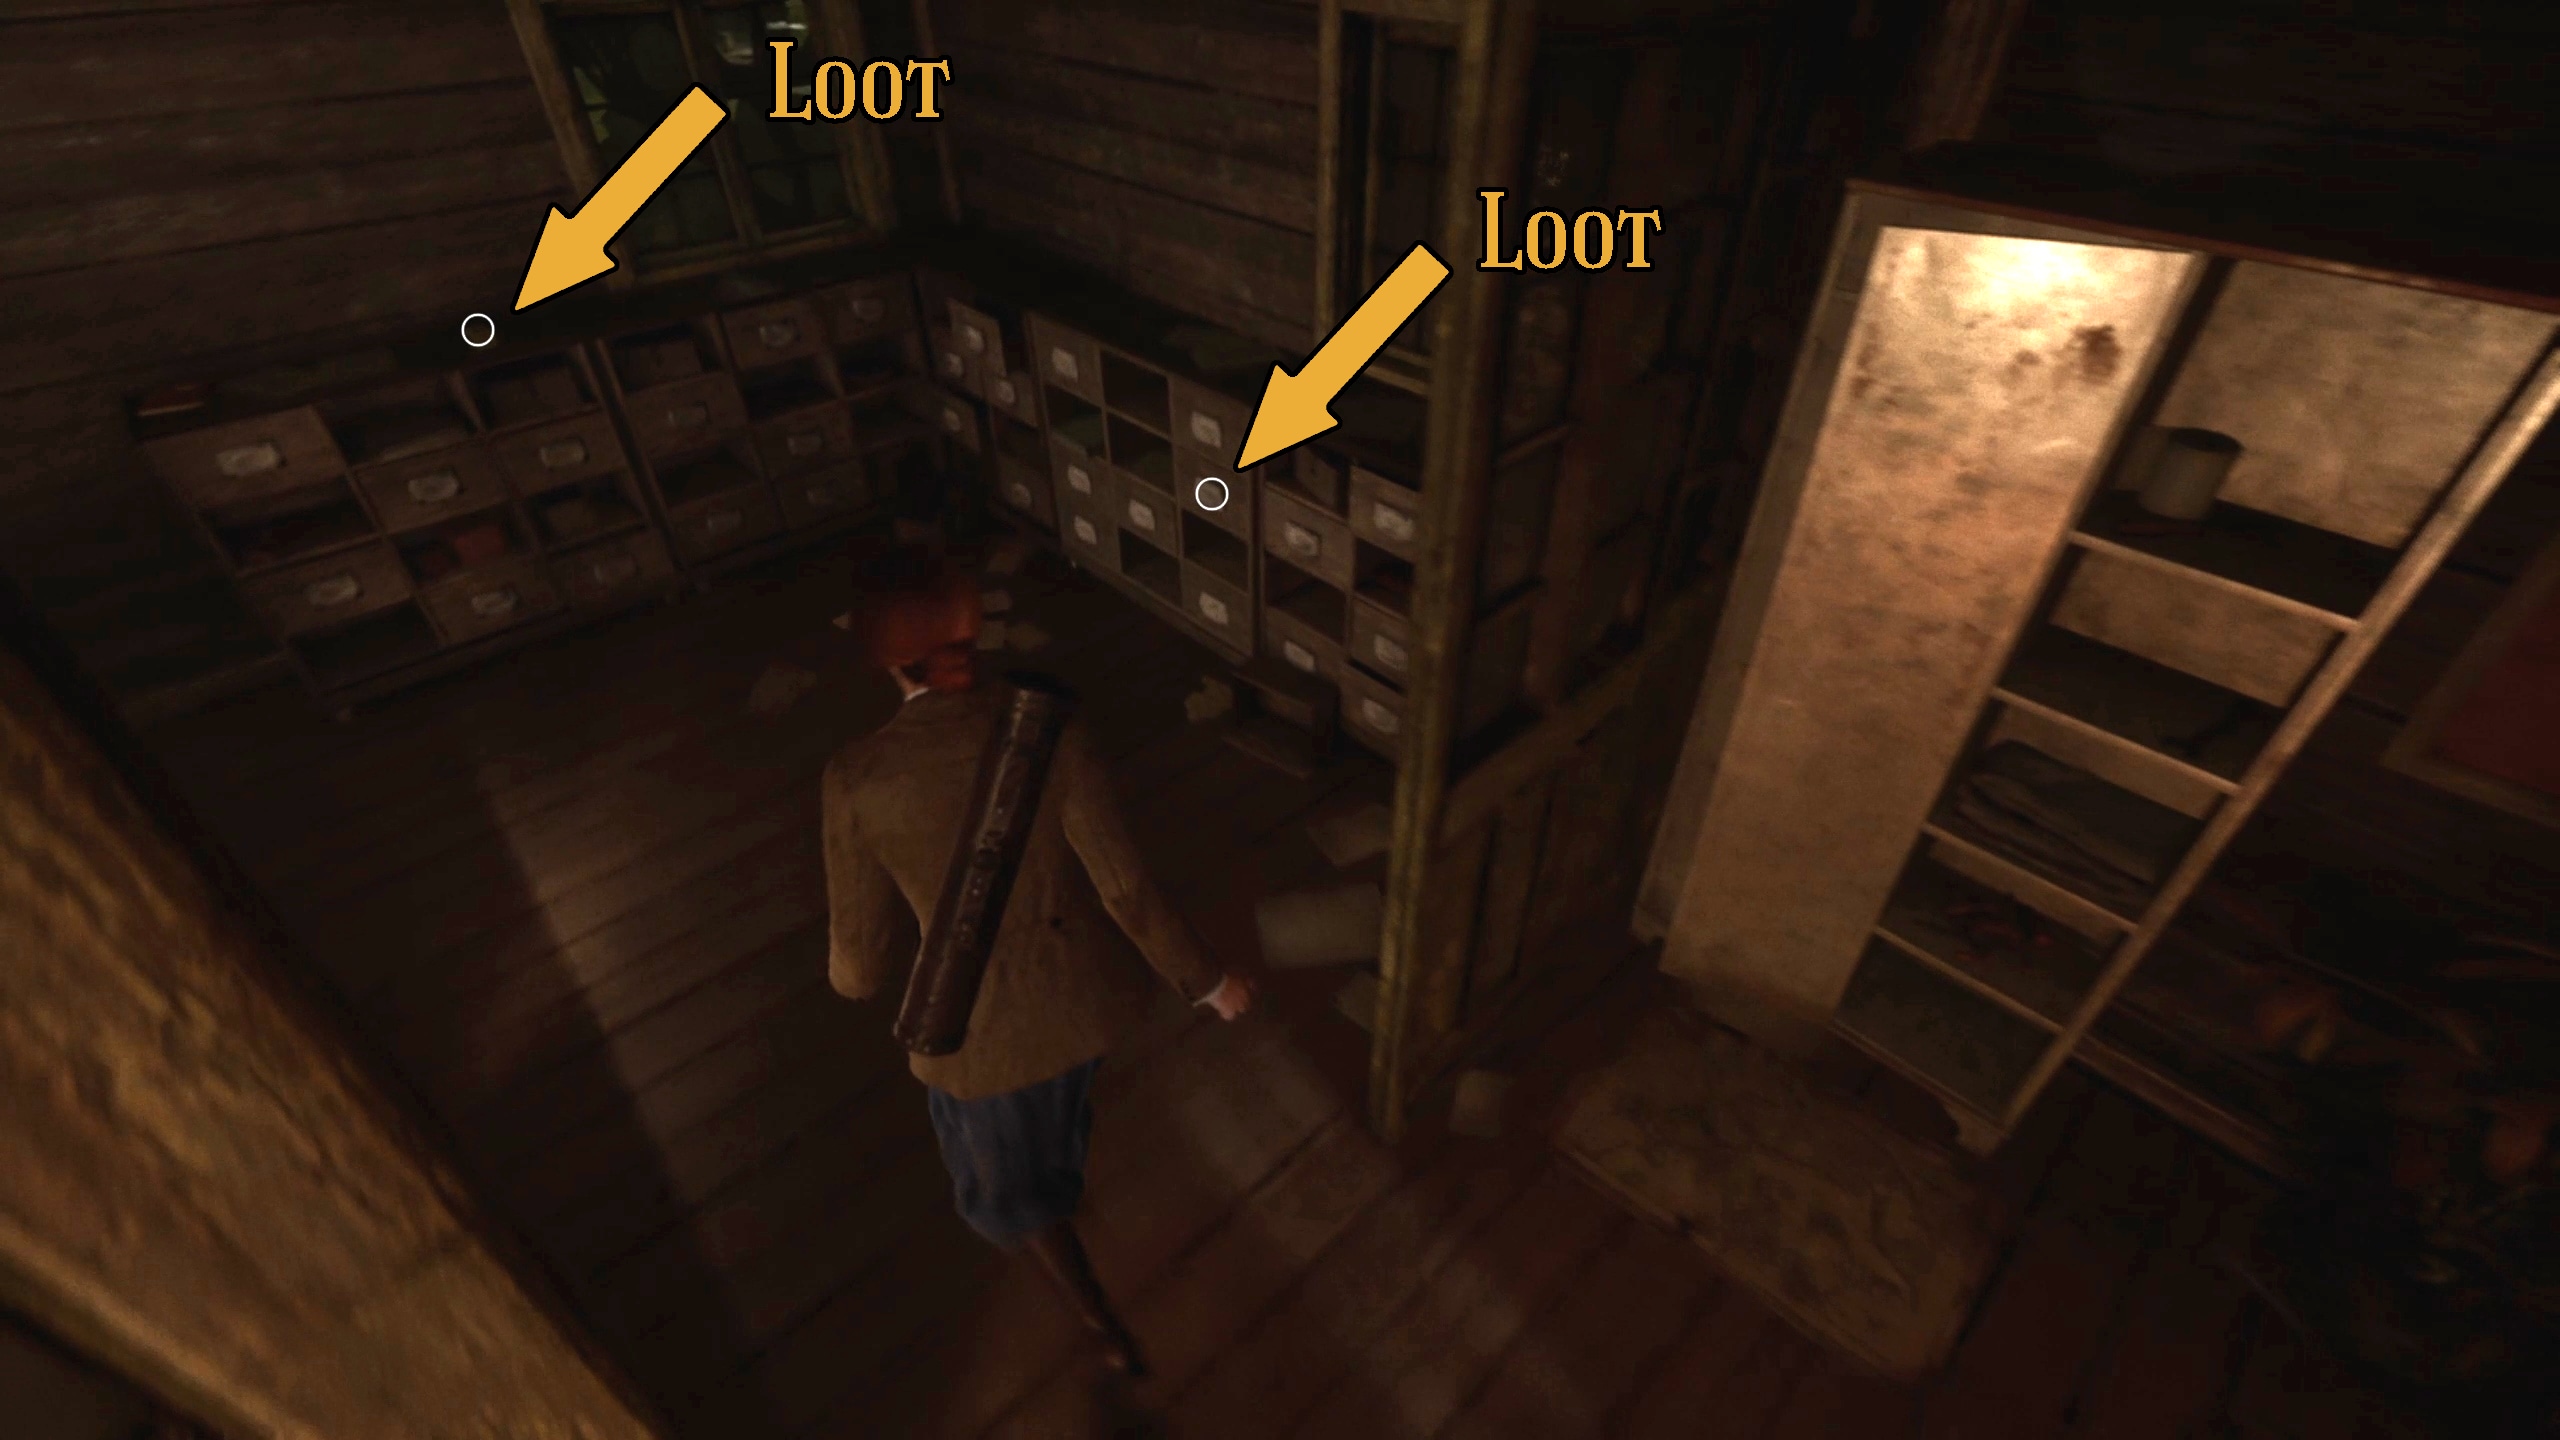
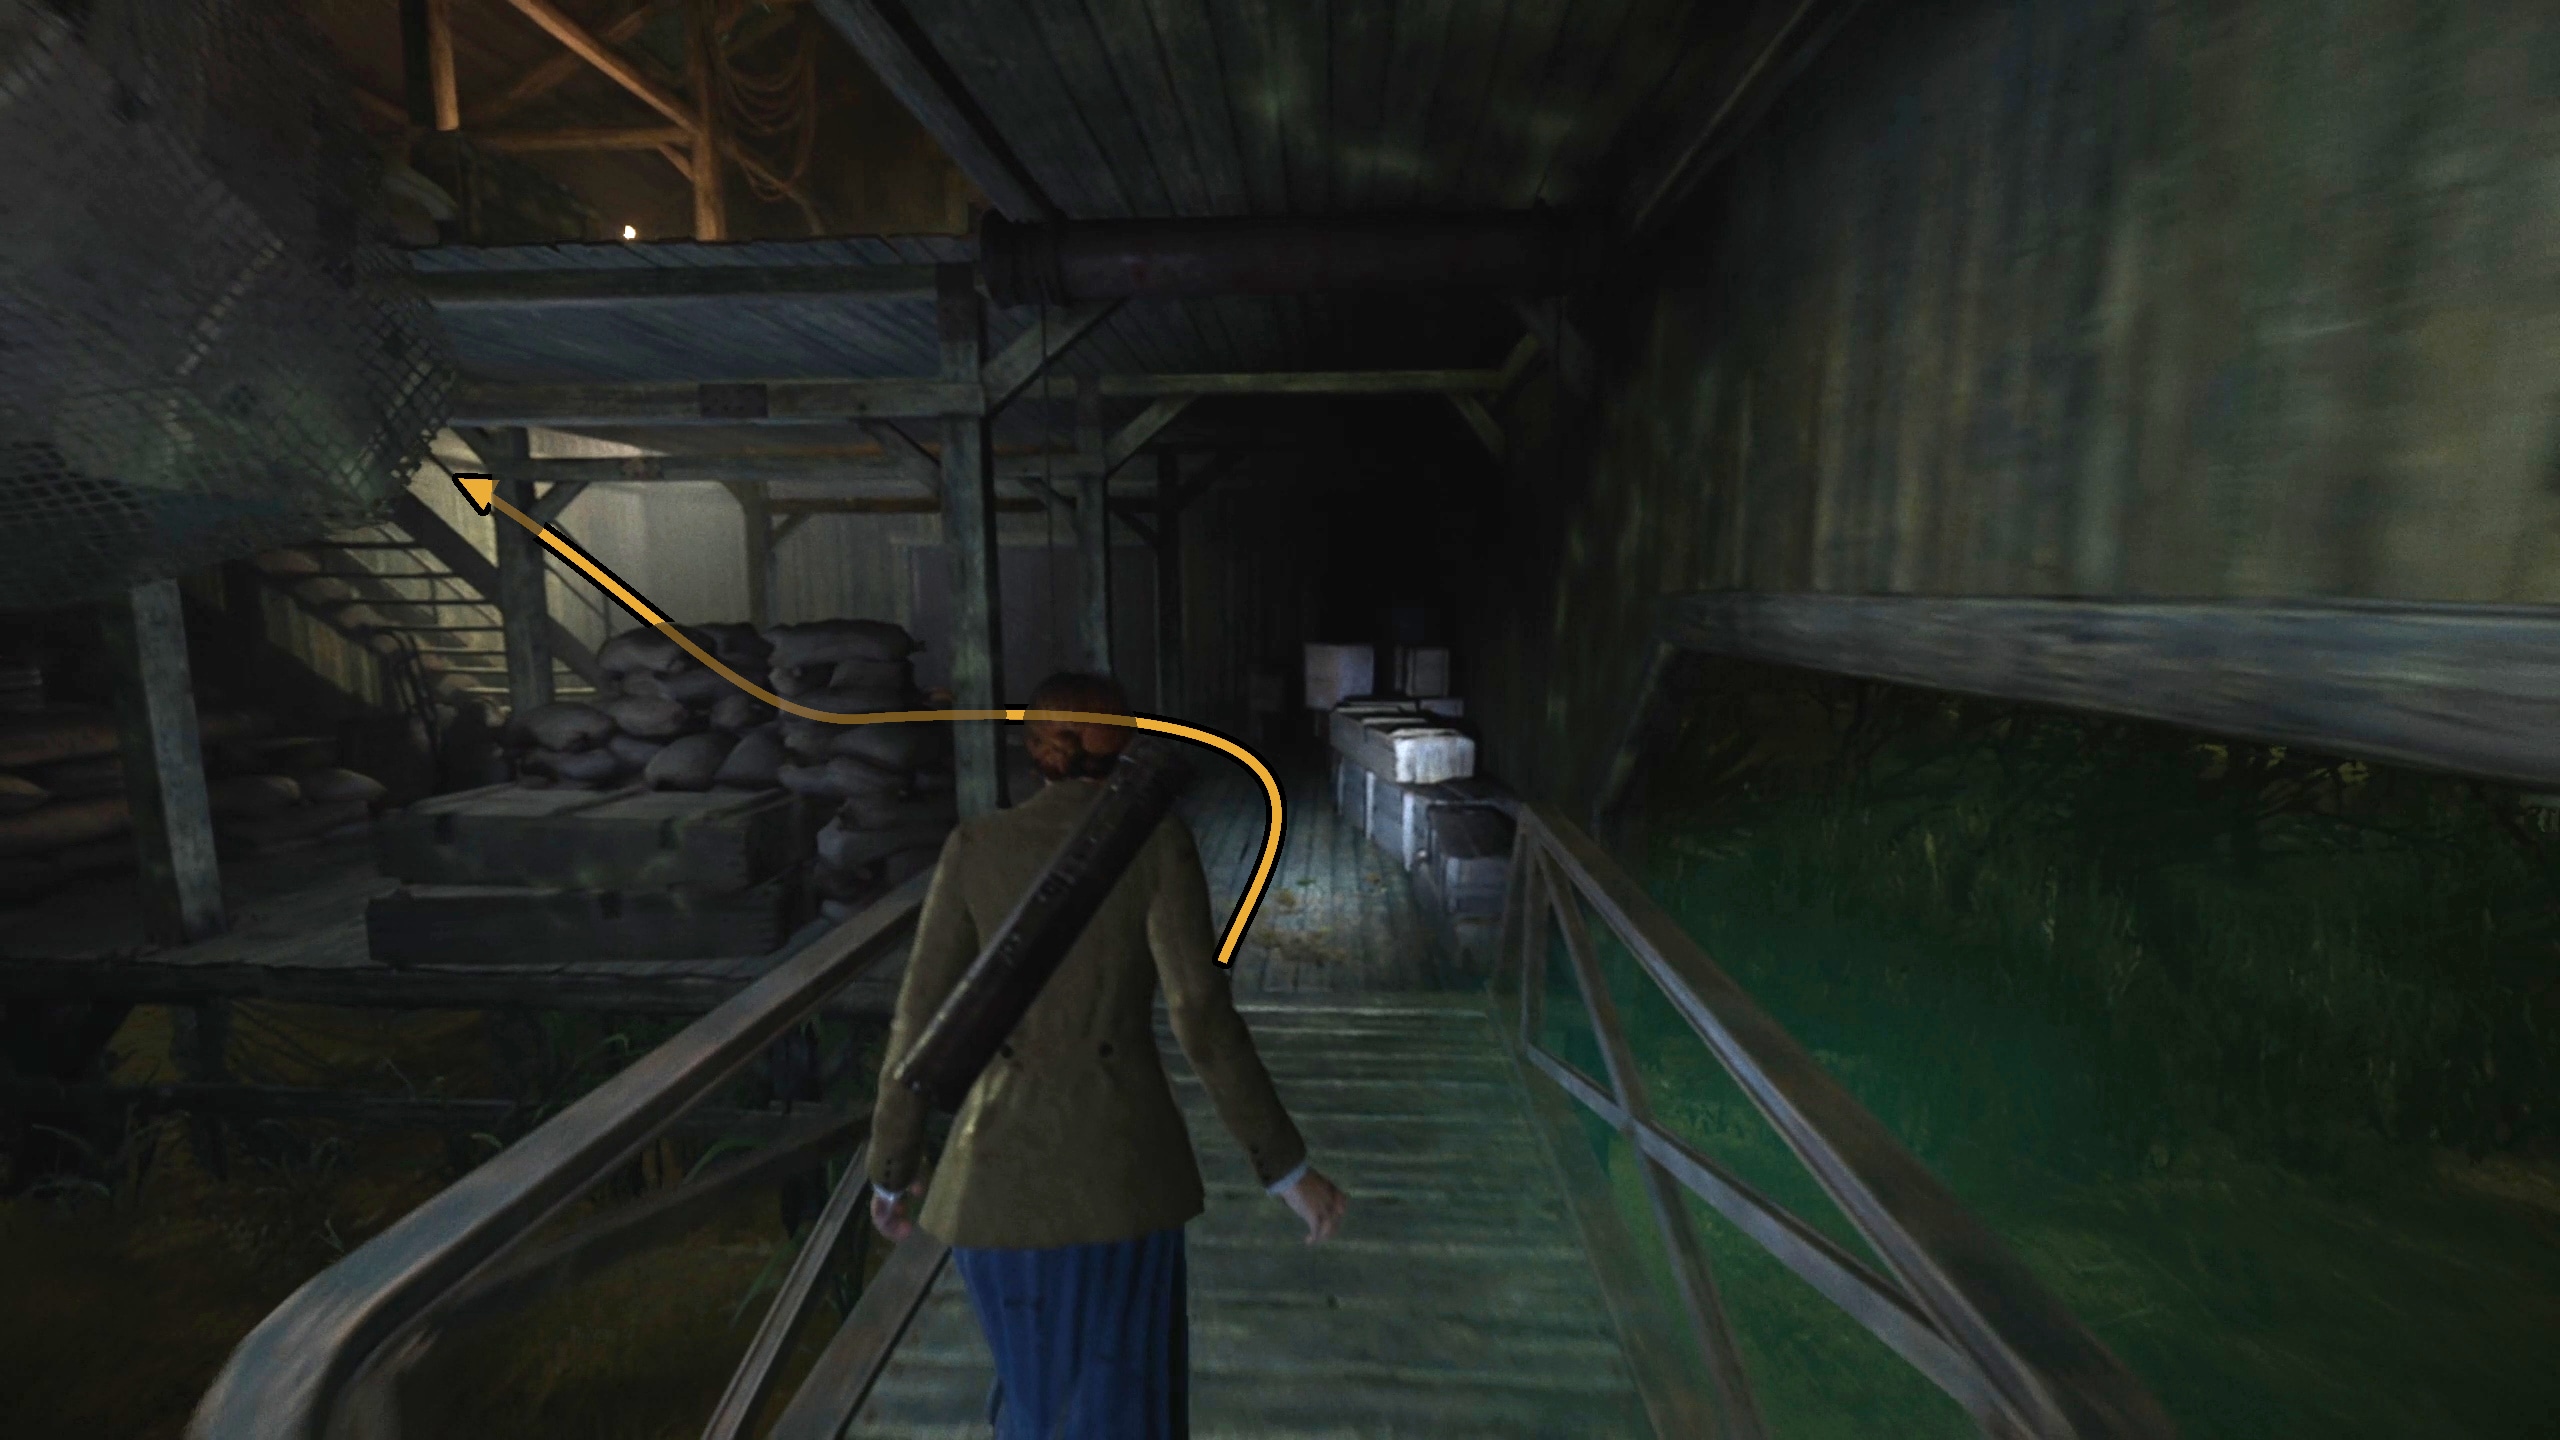
Once inside, check the table for the Oil Rig Report (Image 50), and then scour the room for loot (Image 51). Then, head to the door behind the desk and use the Jetty Key to open it (Image 52).
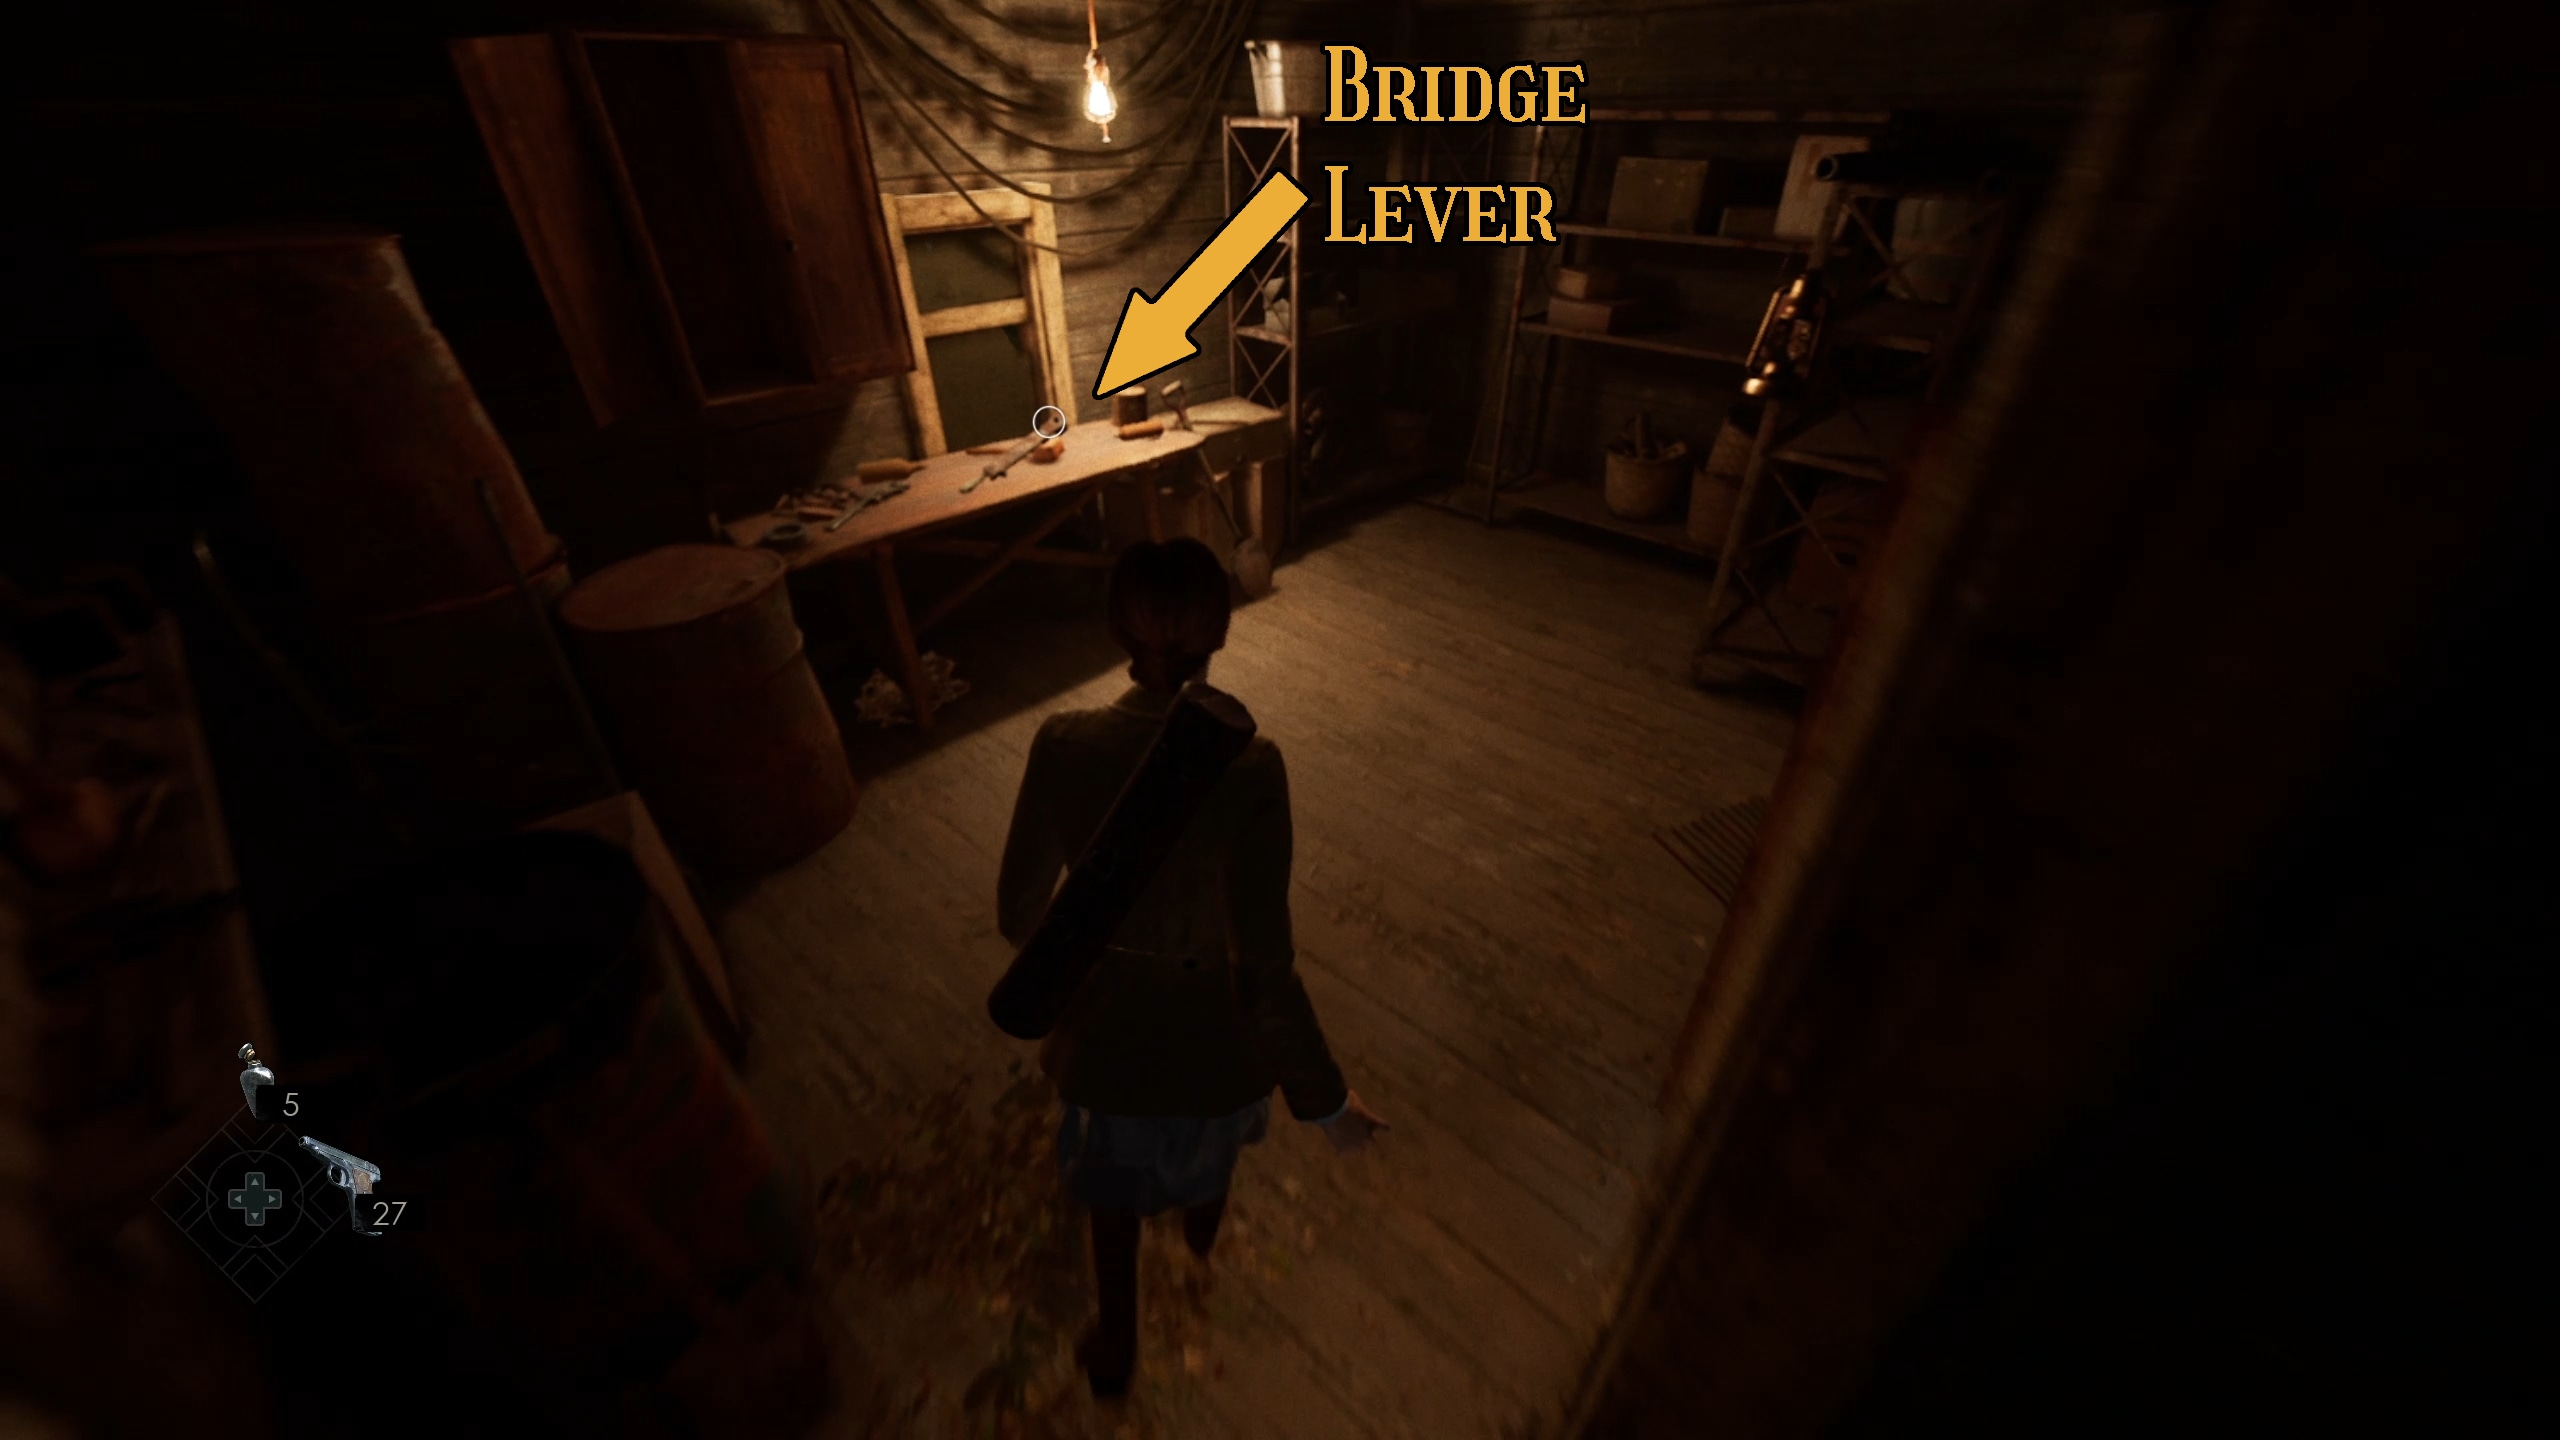
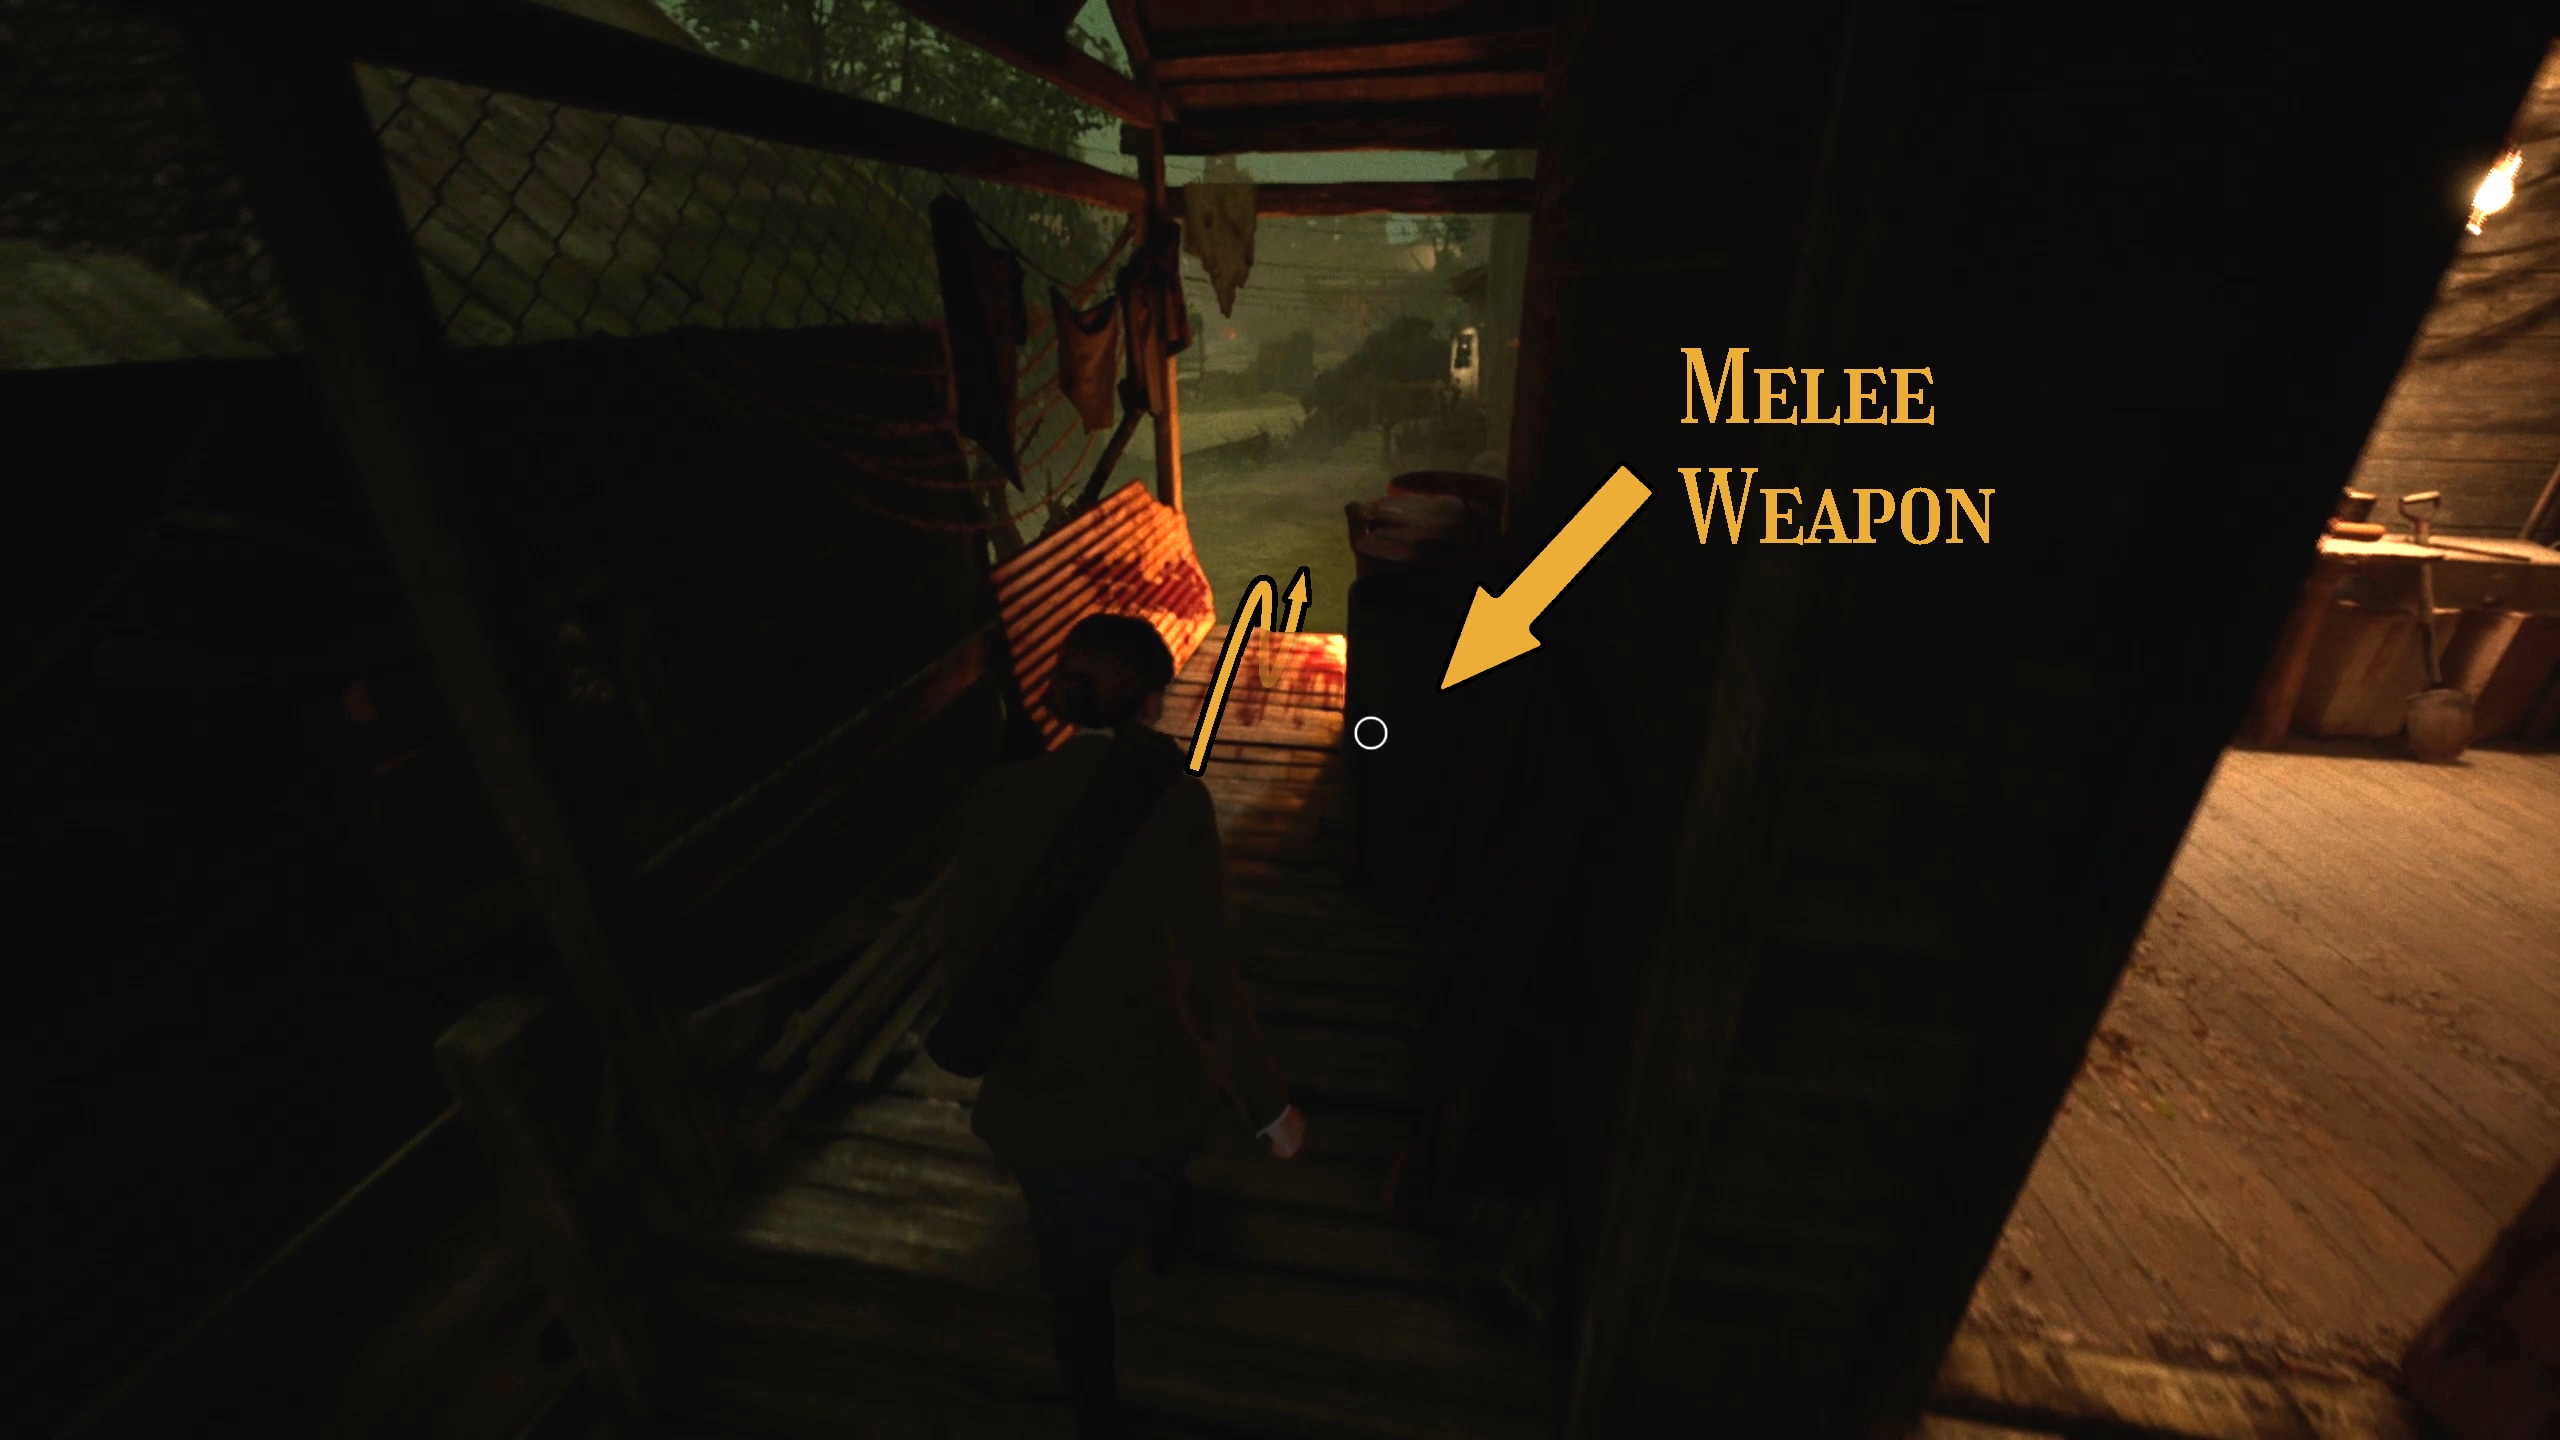
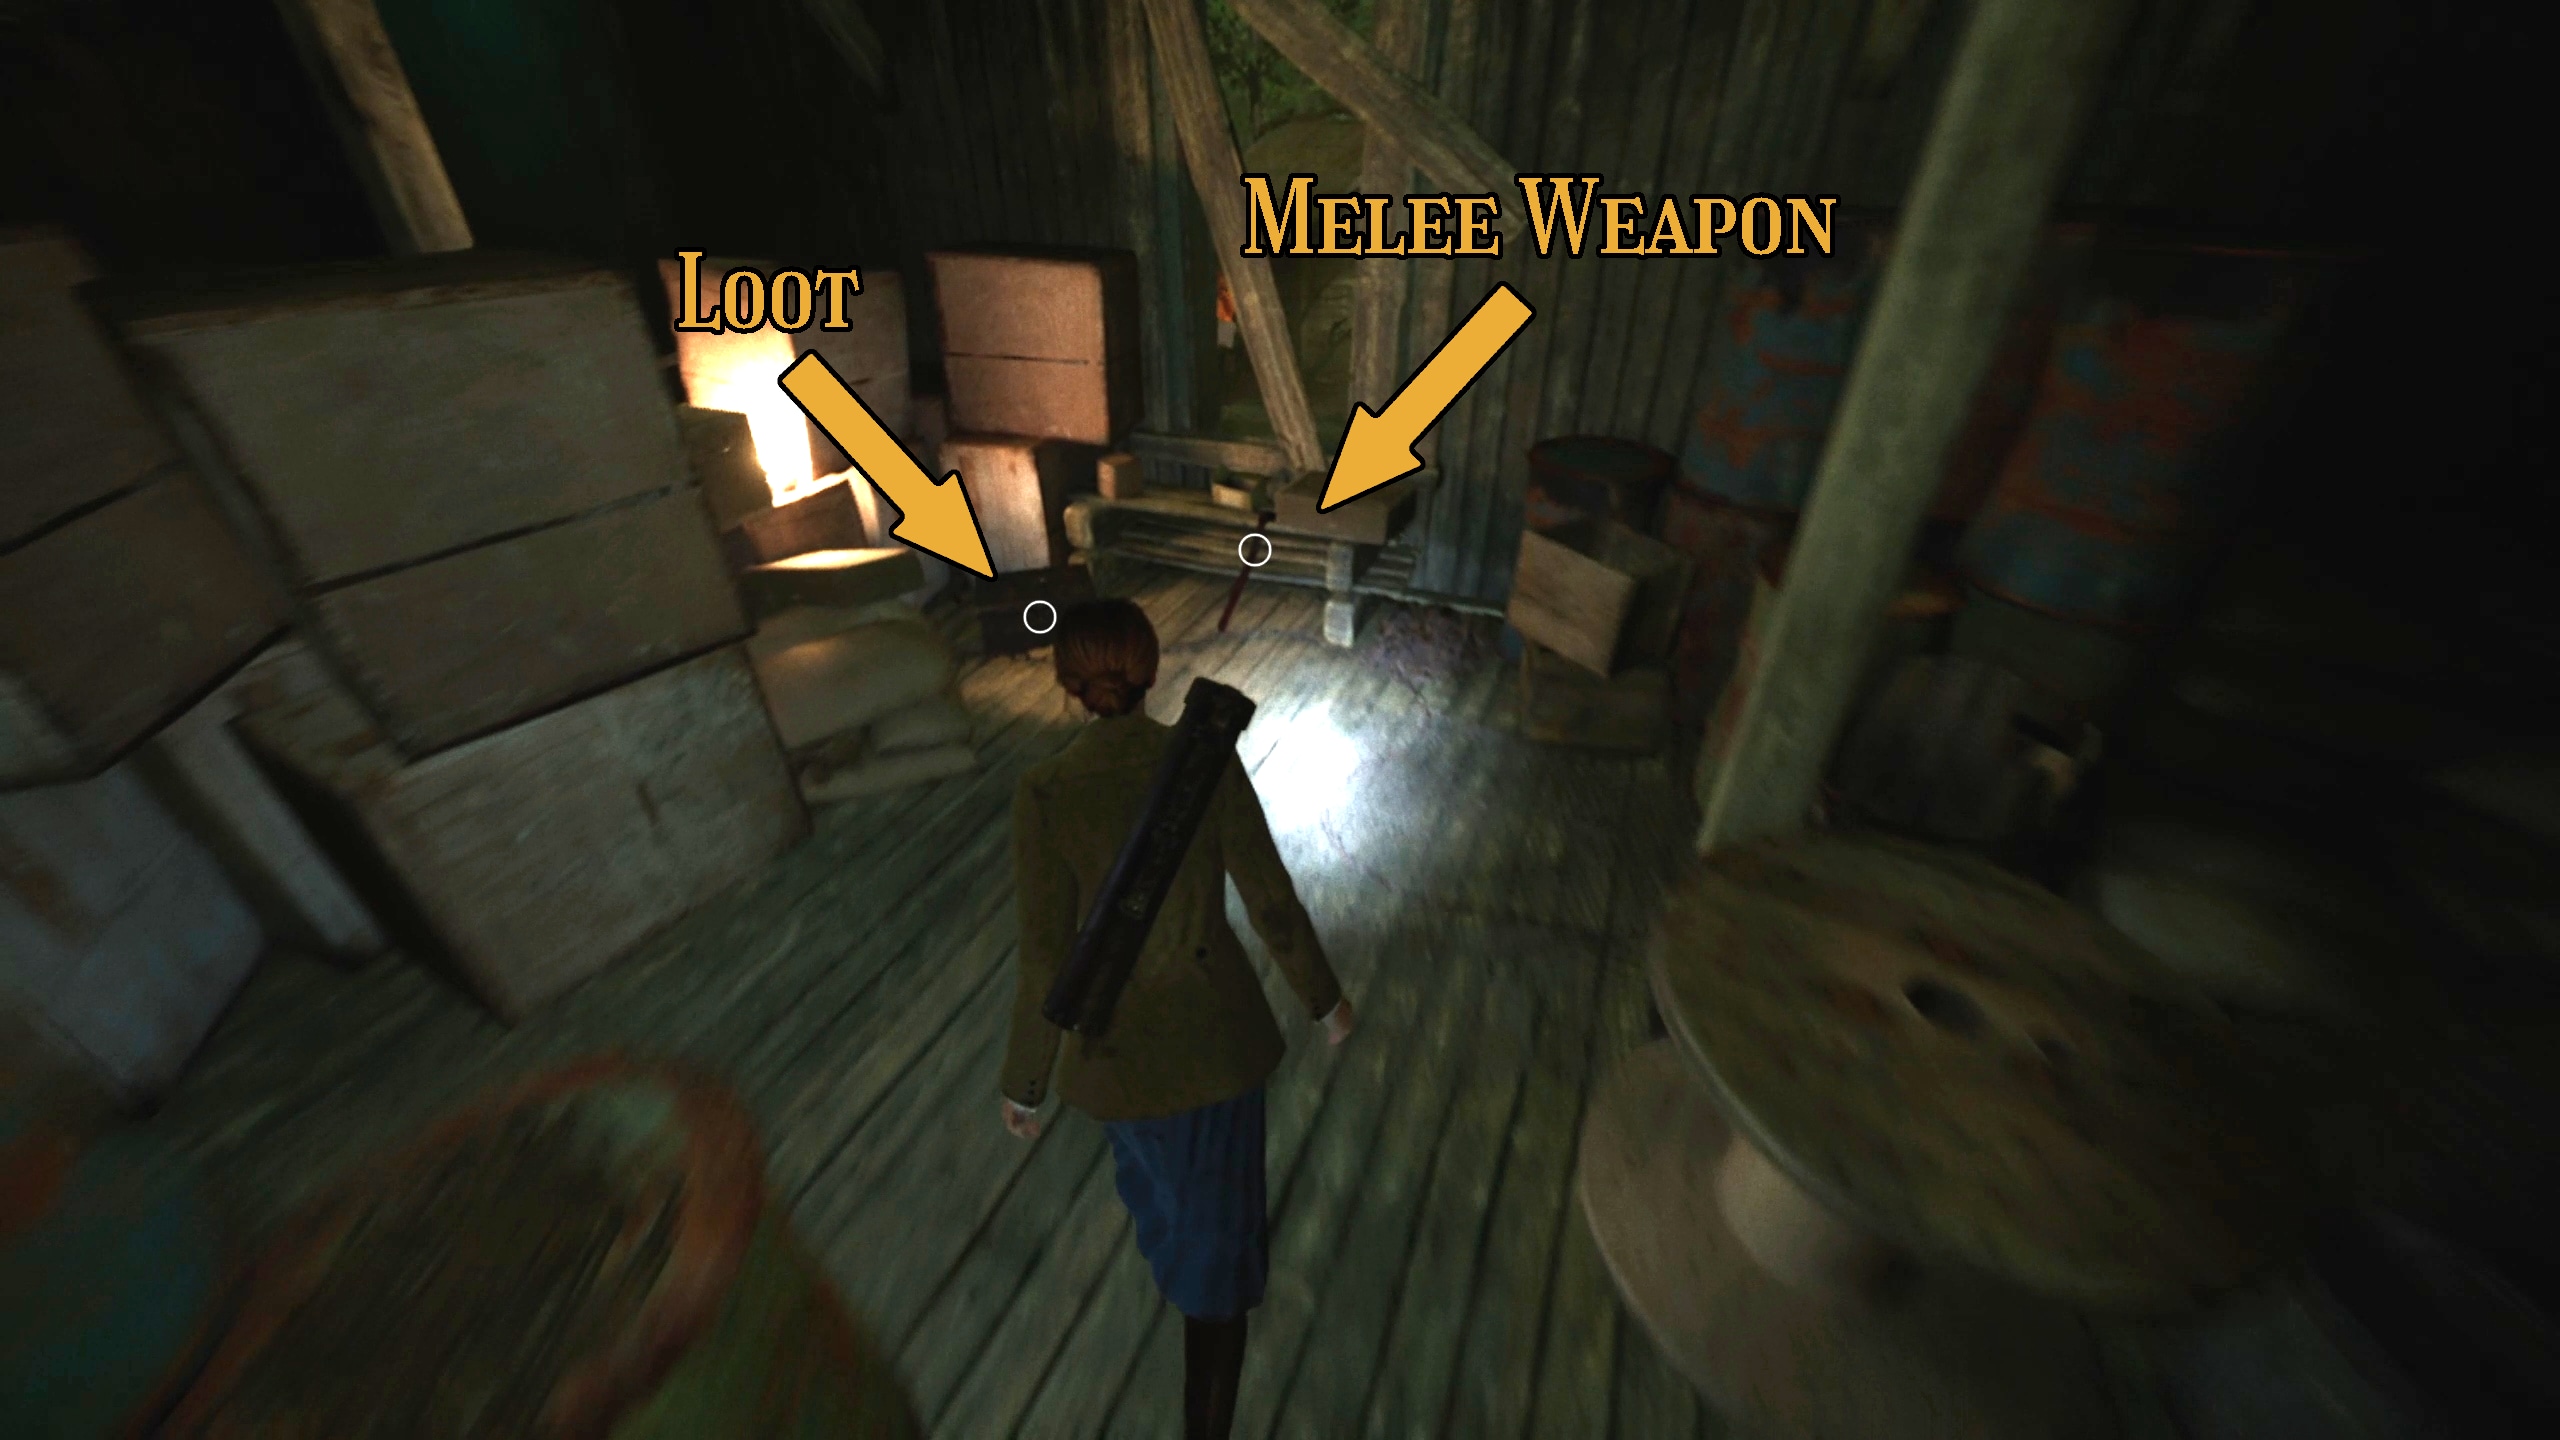
There is loot right in front of you (Image 53), then you can enter the illuminated room up the stairs (Image 54) in order to acquire the Bridge Lever (Image 55). After that, head out of that room and around the side of the building, where you can acquire a melee weapon before jumping down, ready for combat or running (Image 56).
Image 53Image 54Image 55Image 56
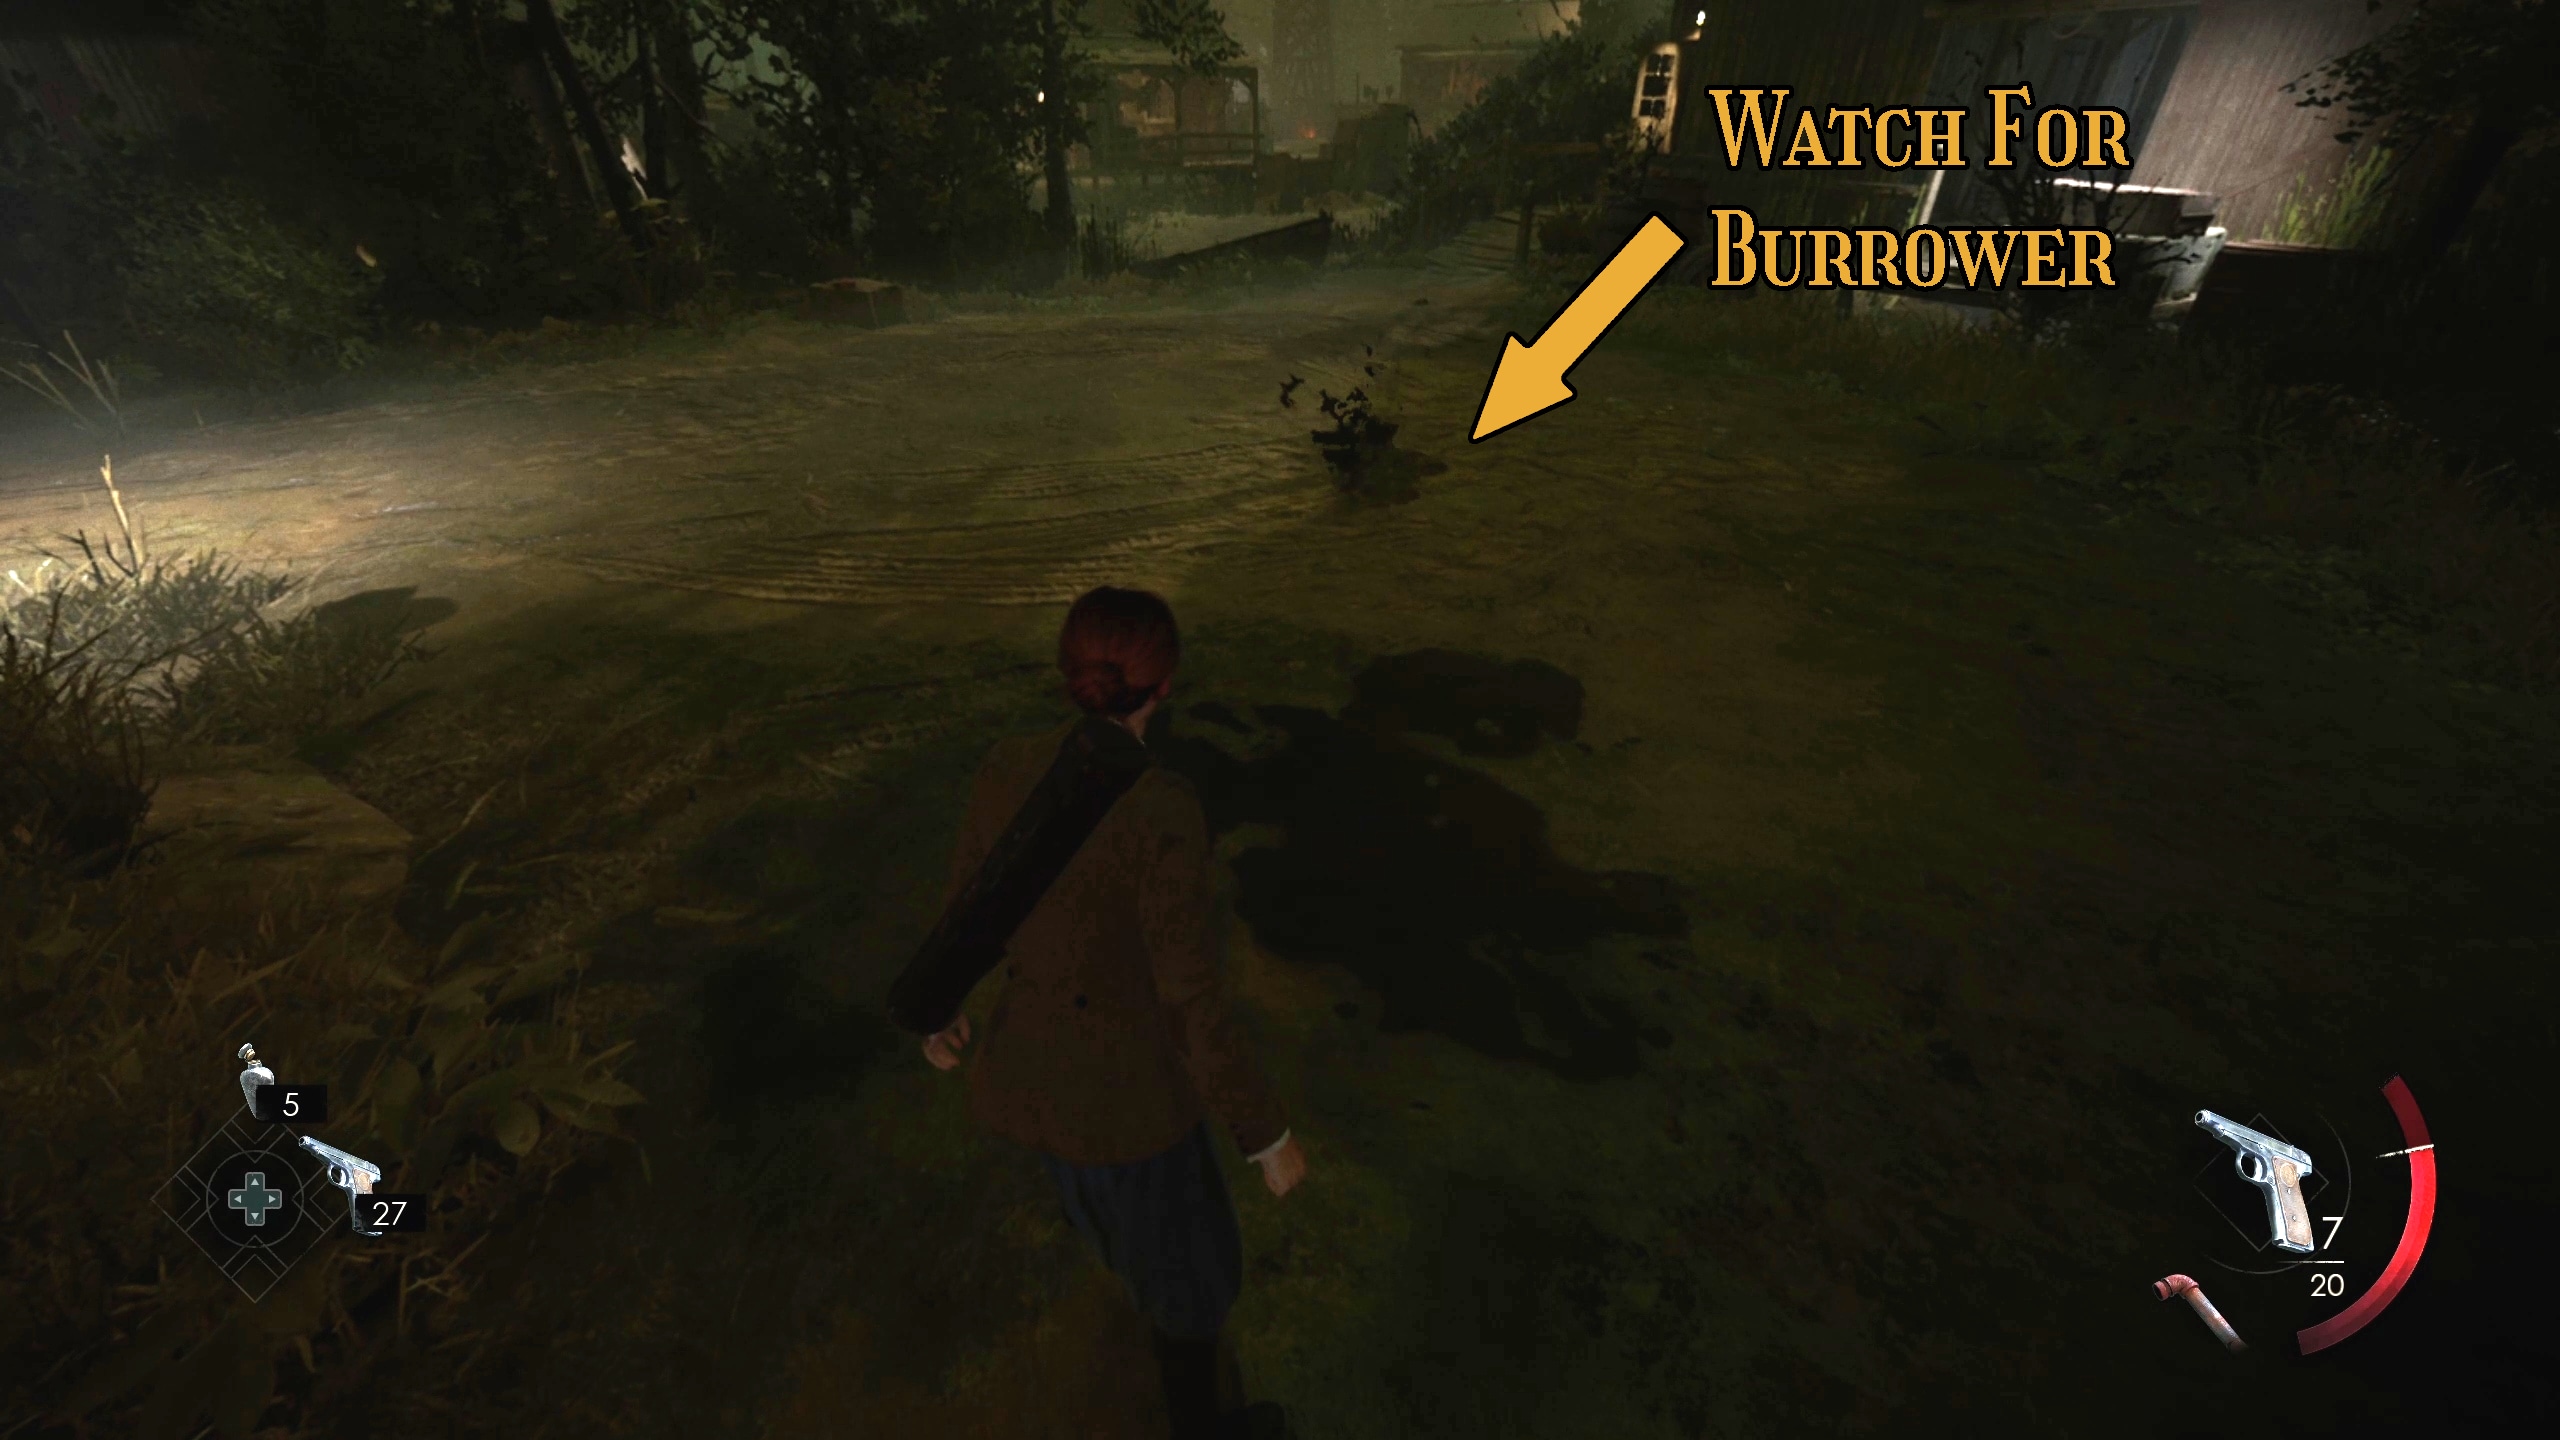
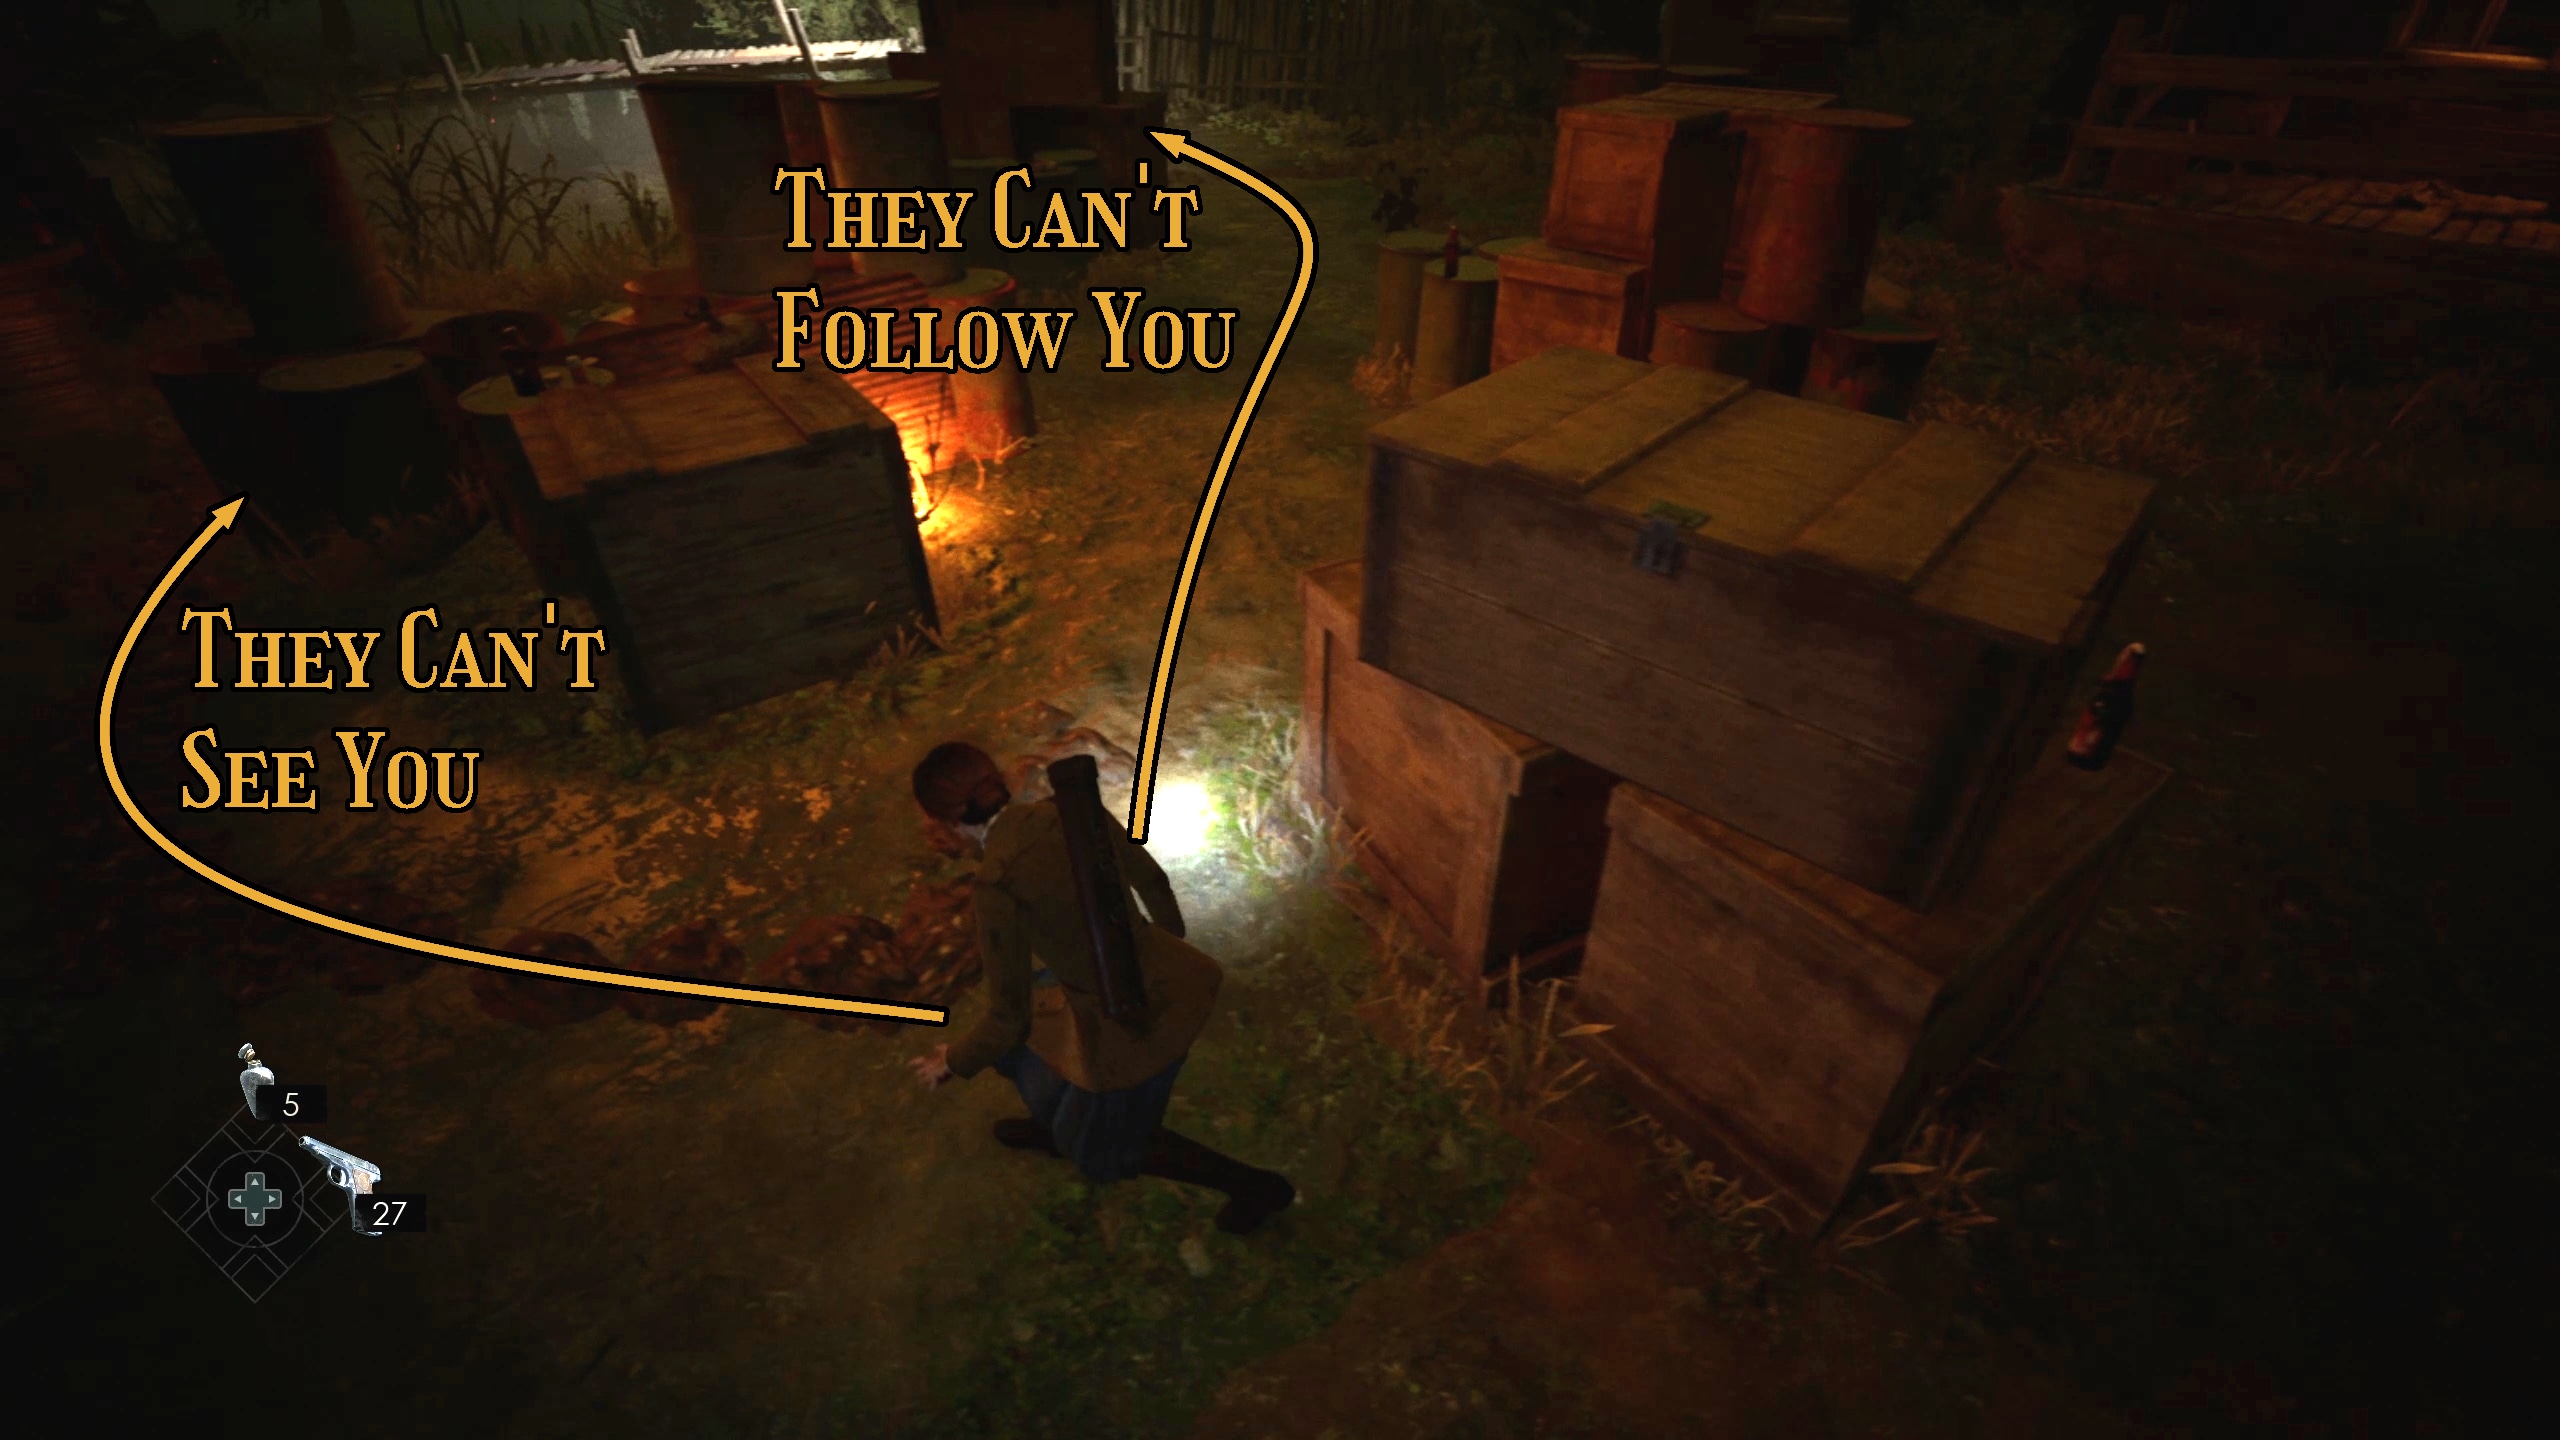
Once you jump down, you’ll meet a new enemy type: the burrower. You can see it moving underground by the dirt it disturbs (Image 57) before it leaps out to attack you. You can fight it or run from it, but either way you’ll want to make your way to the bridge house again (Image 58). Keep in mind that burrowers can’t follow you onto wooden floors. Once you are in the bridge house, you can put the Bridge Lever in the Operator (Image 59) and then pull the lever to lower the bridge (Image 60).
Image 57Image 58Image 59Image 60
Go across the bridge and up the stairs. You’ll encounter some loot and a melee weapon in front of you (Image 61). Then, turn around and take note of the window at the end of the house.
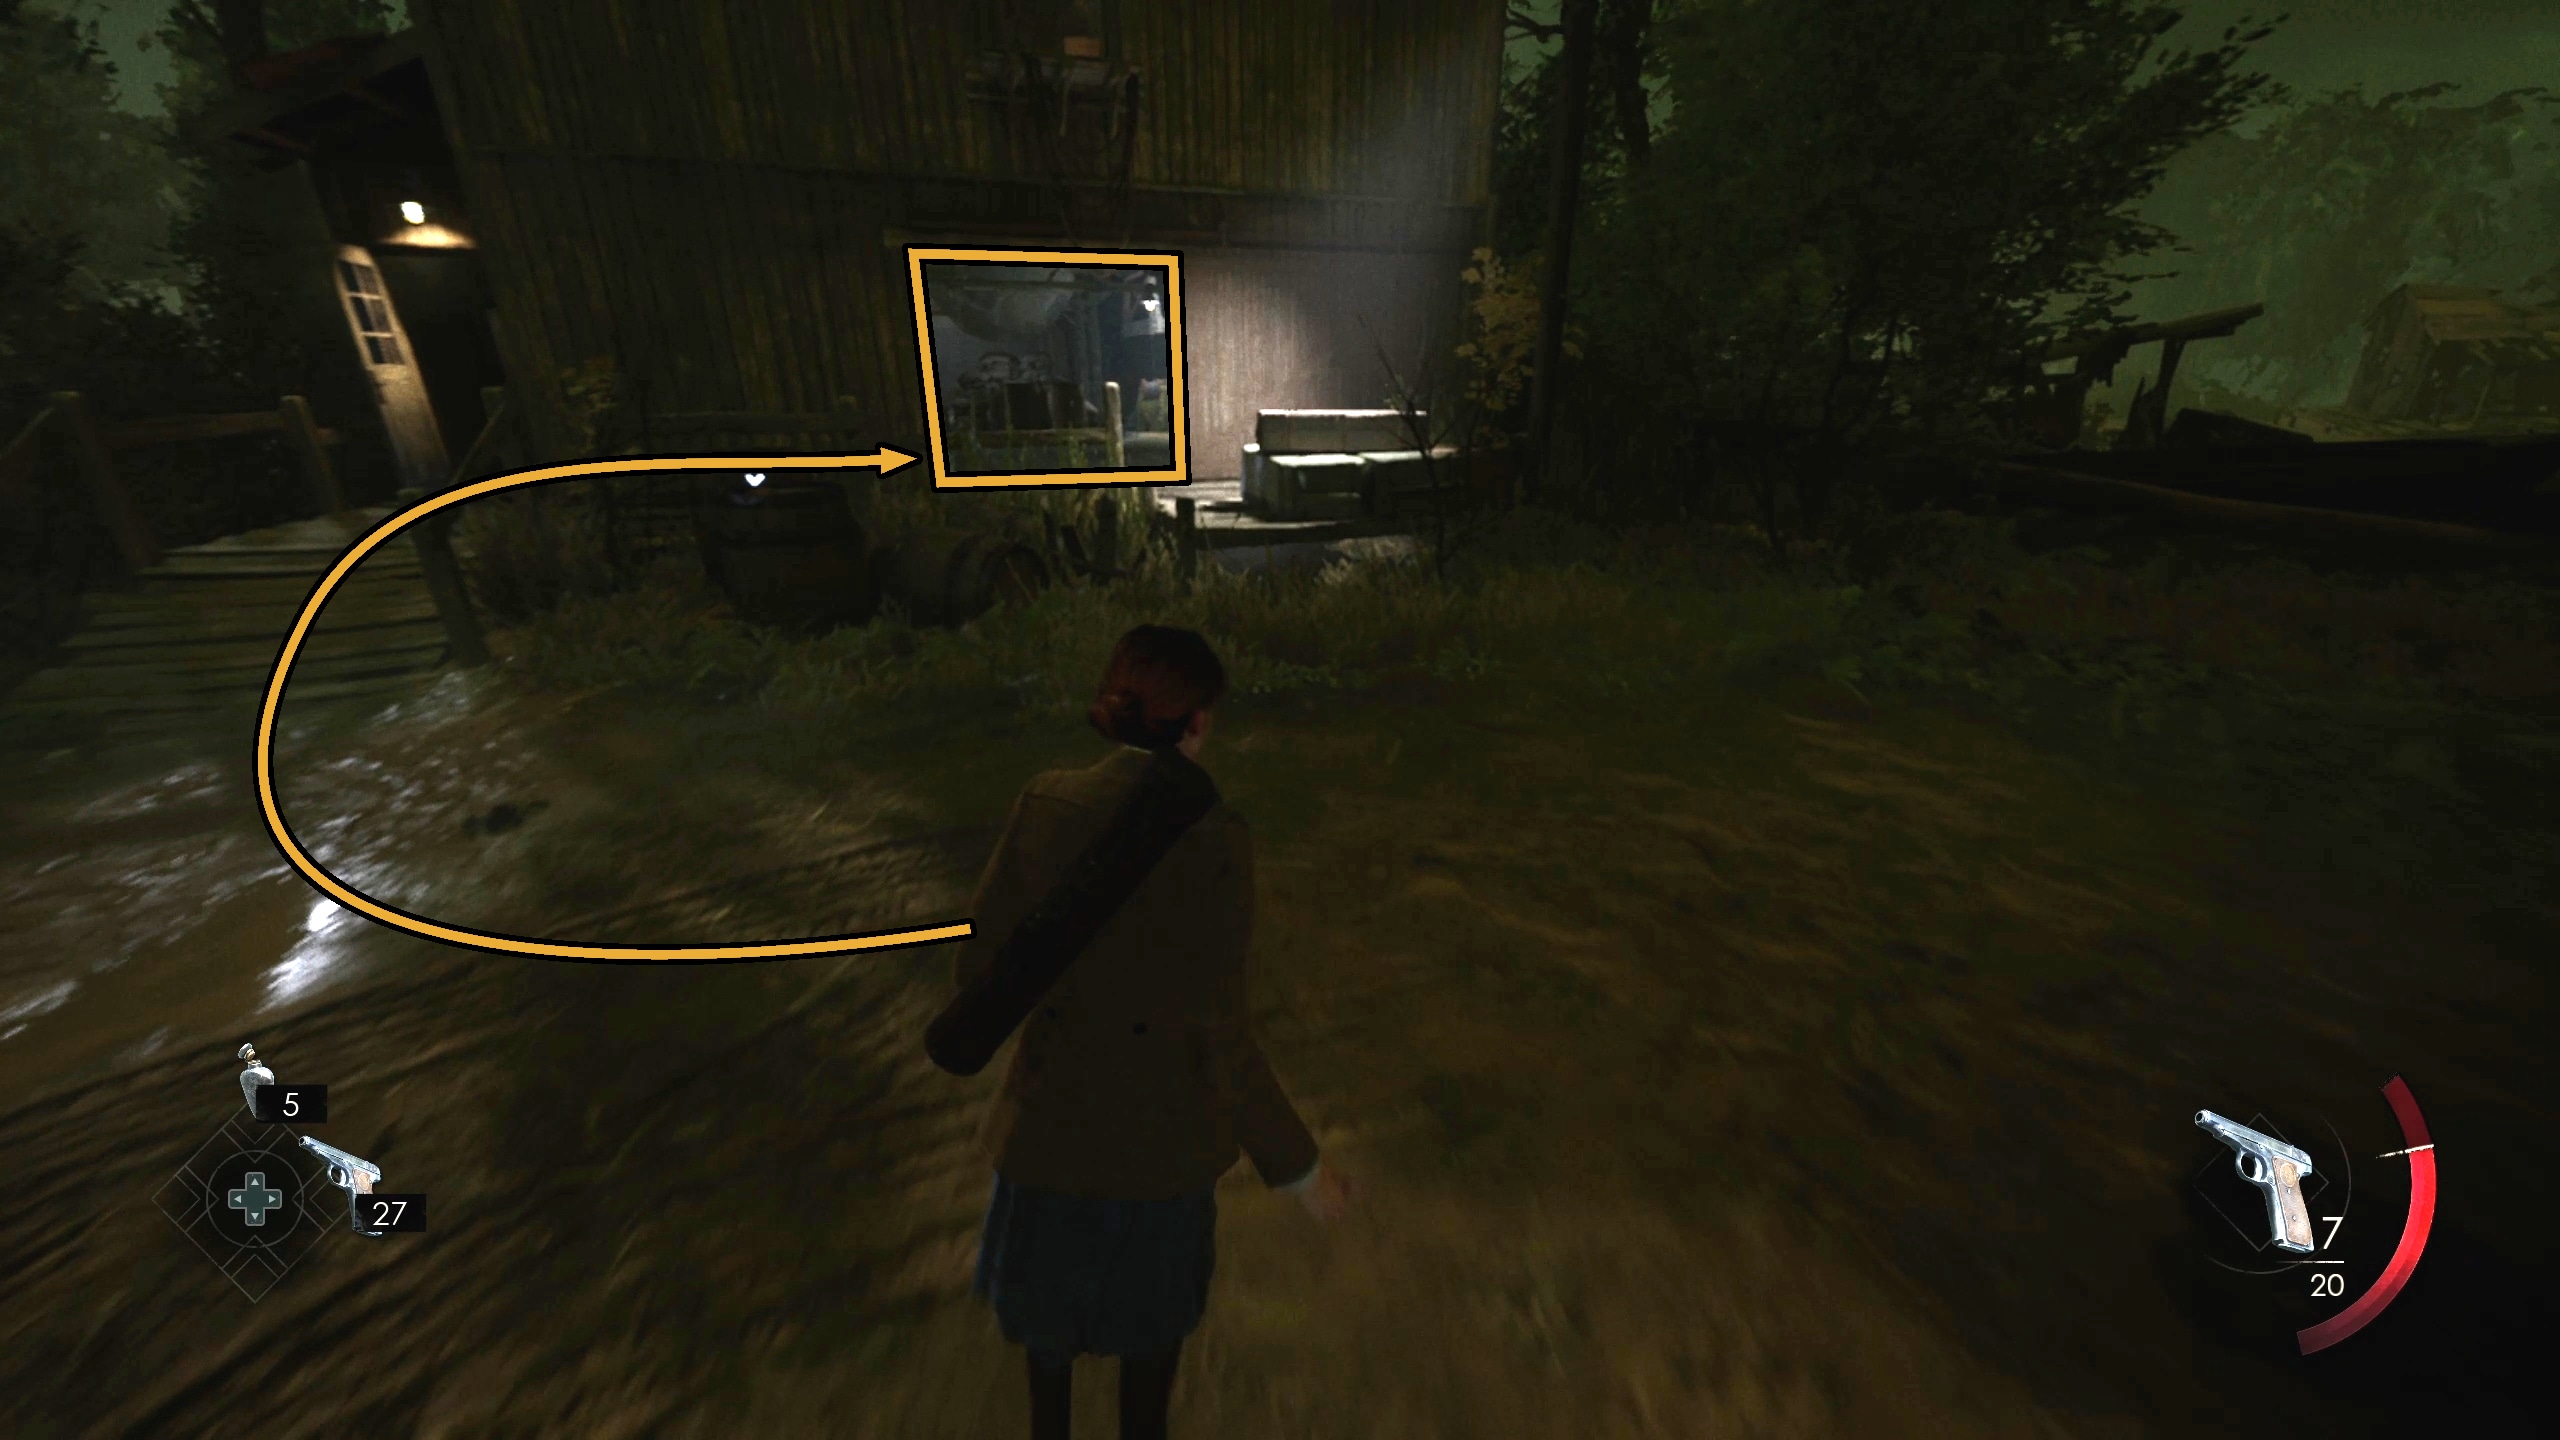
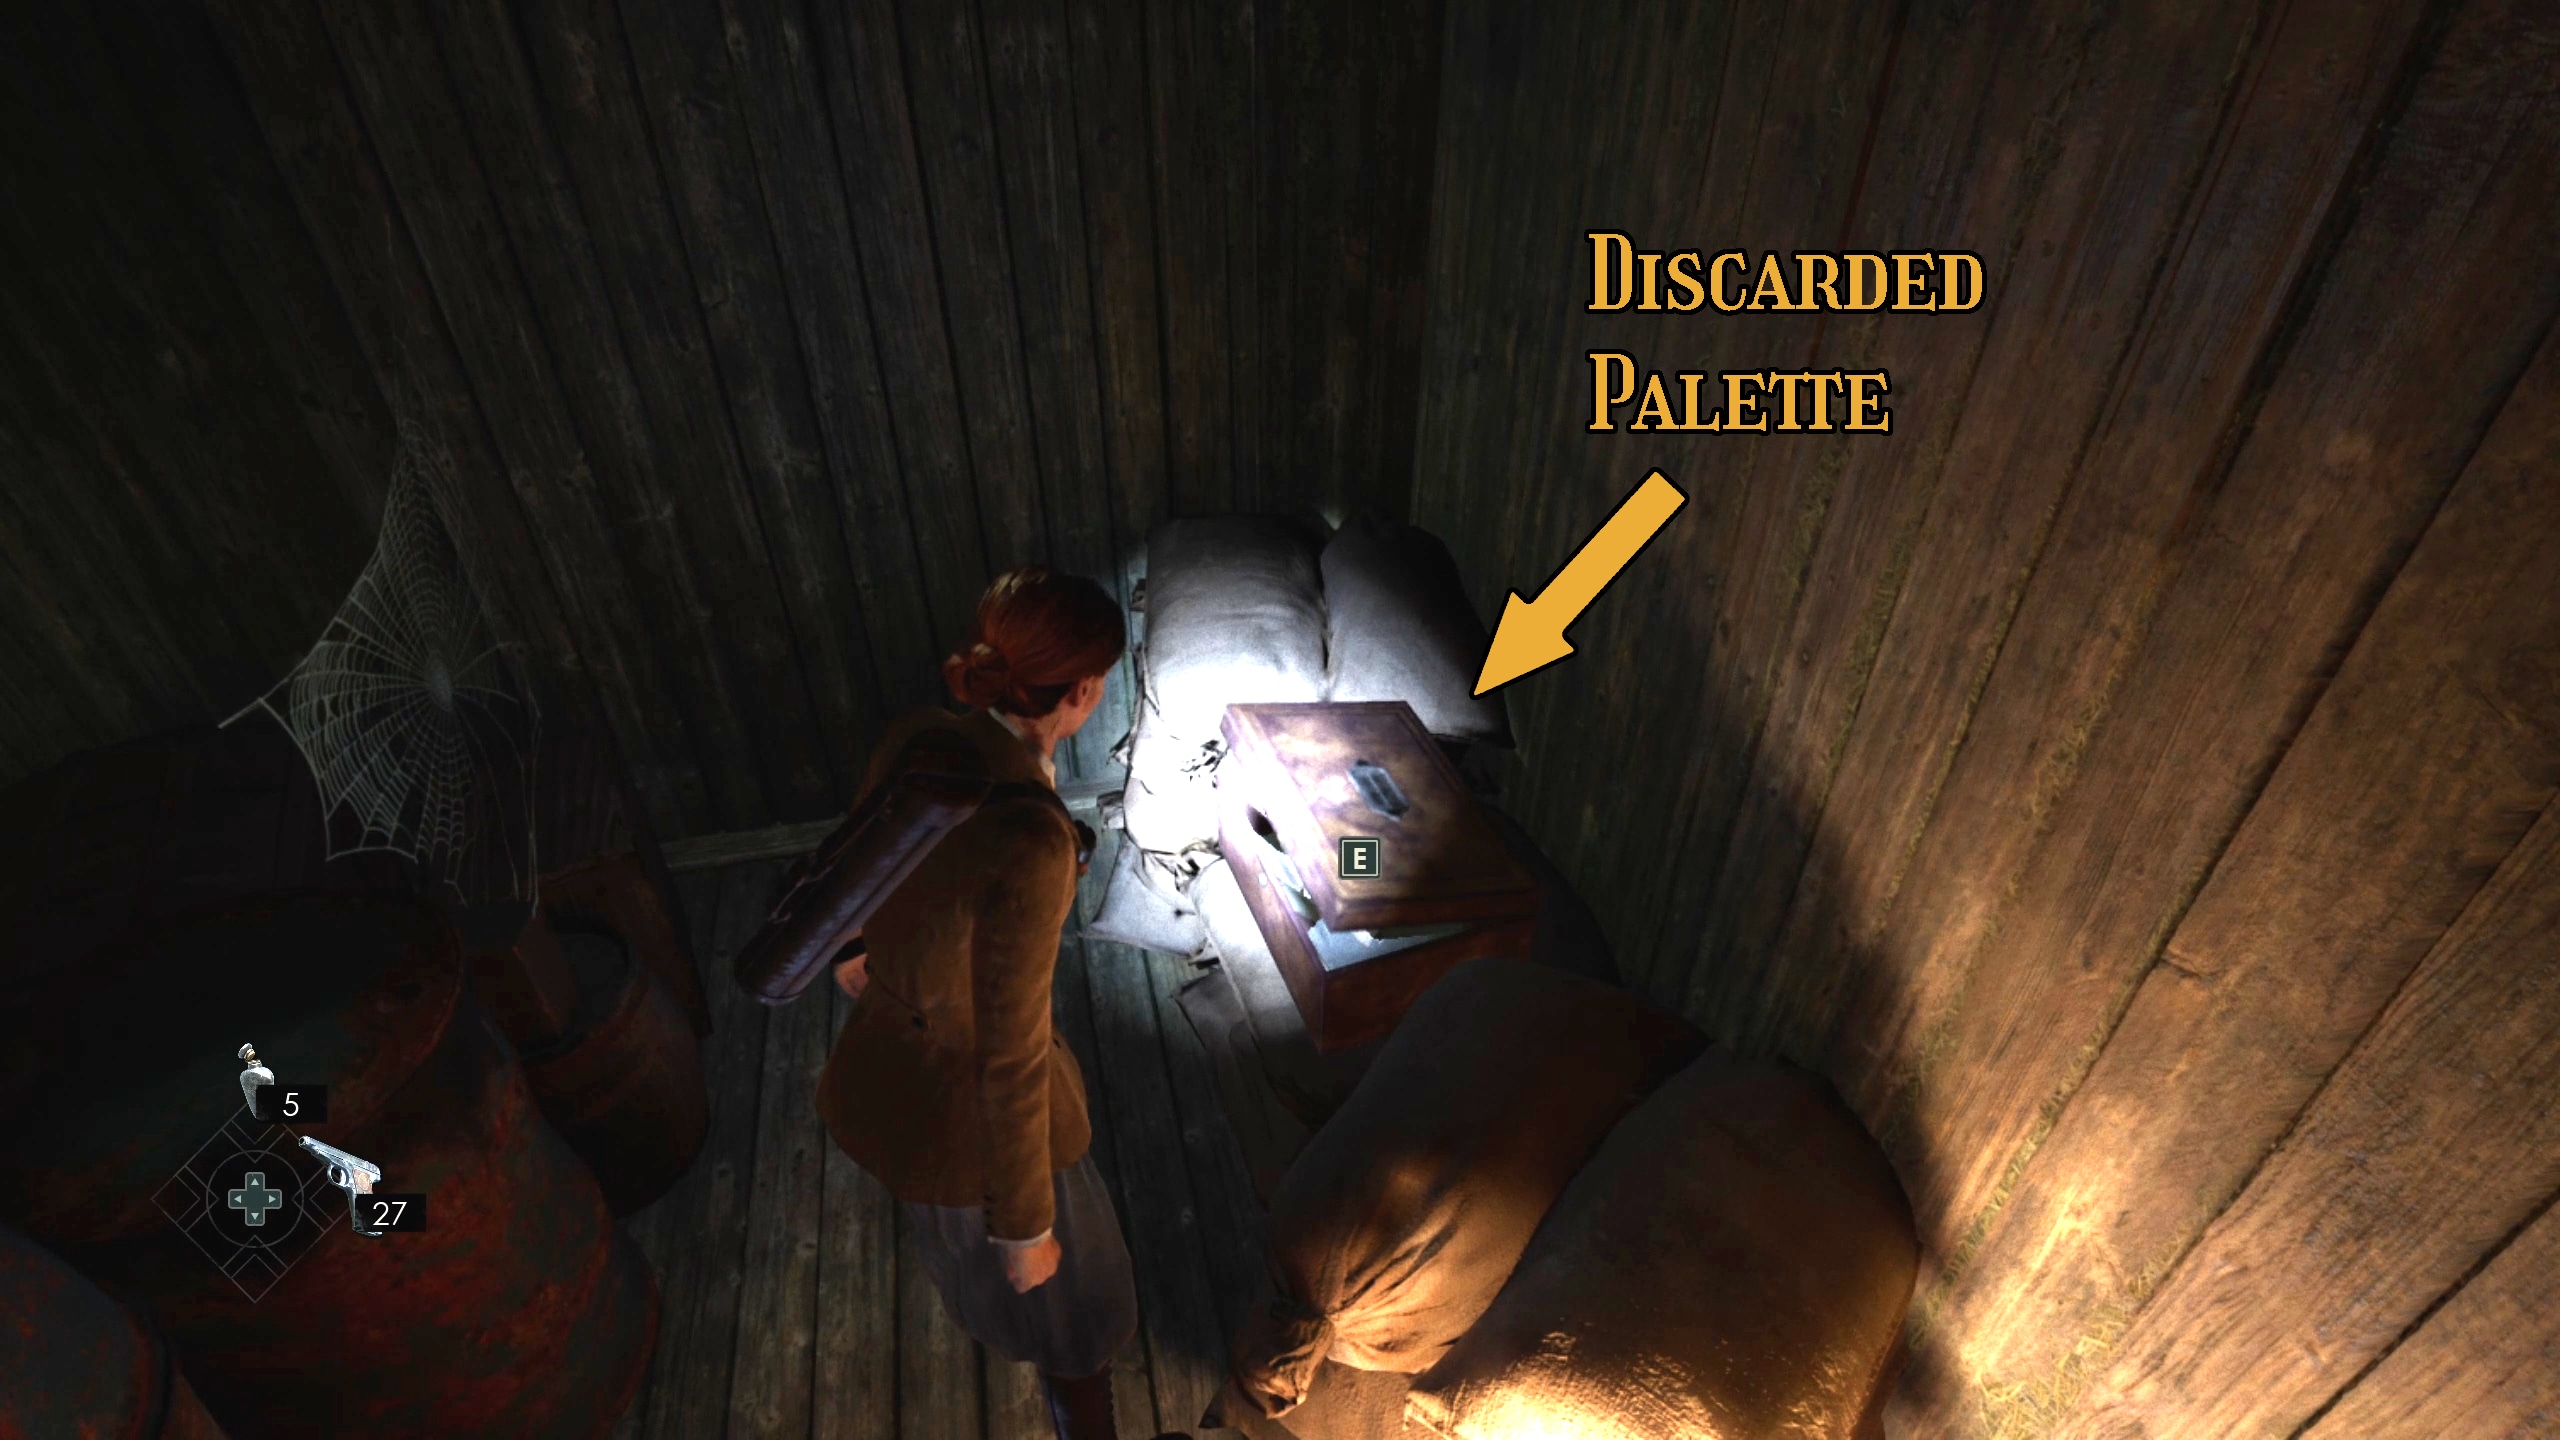
DO NOT APPROACH IT RIGHT AWAY! Instead, look to your right as you get near it, so that you can notice a tiny squeezable gap (Image 62) leading to the Discarded Palette lagniappe (Image 65). Grab that, and then approach the window for a short cutscene (Image 64).
Image 62Image 63Image 64Image 65
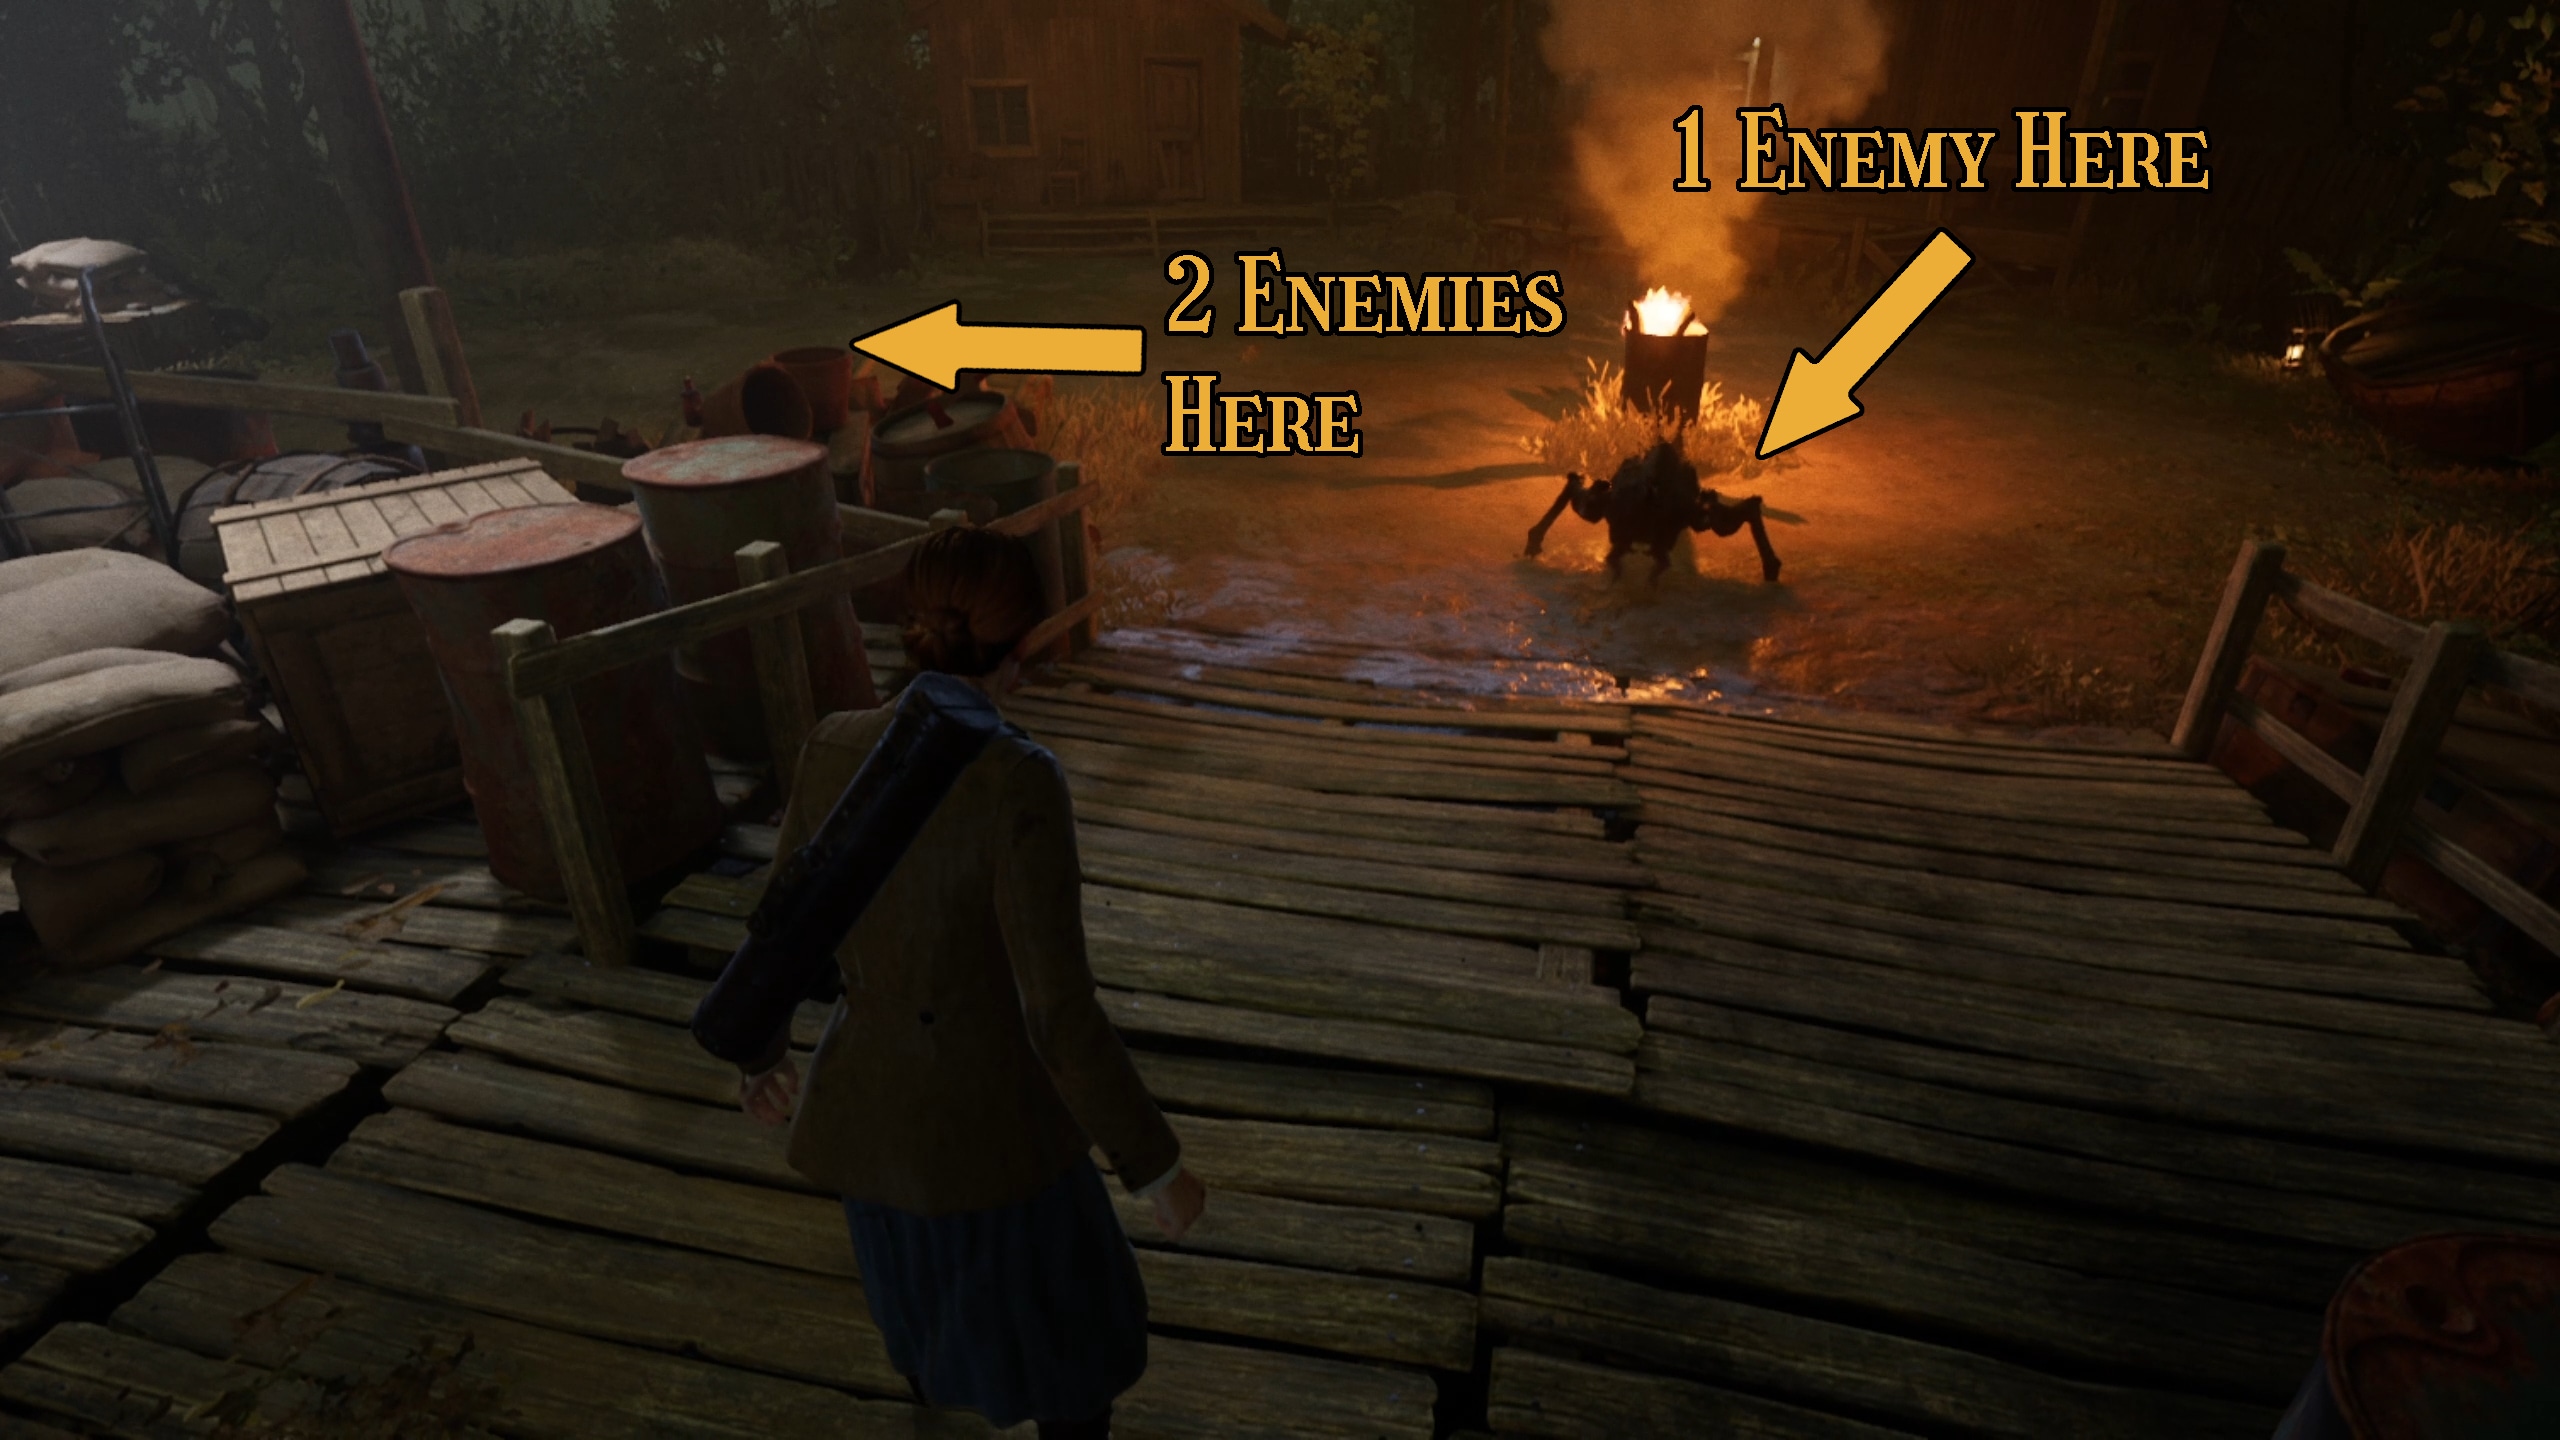
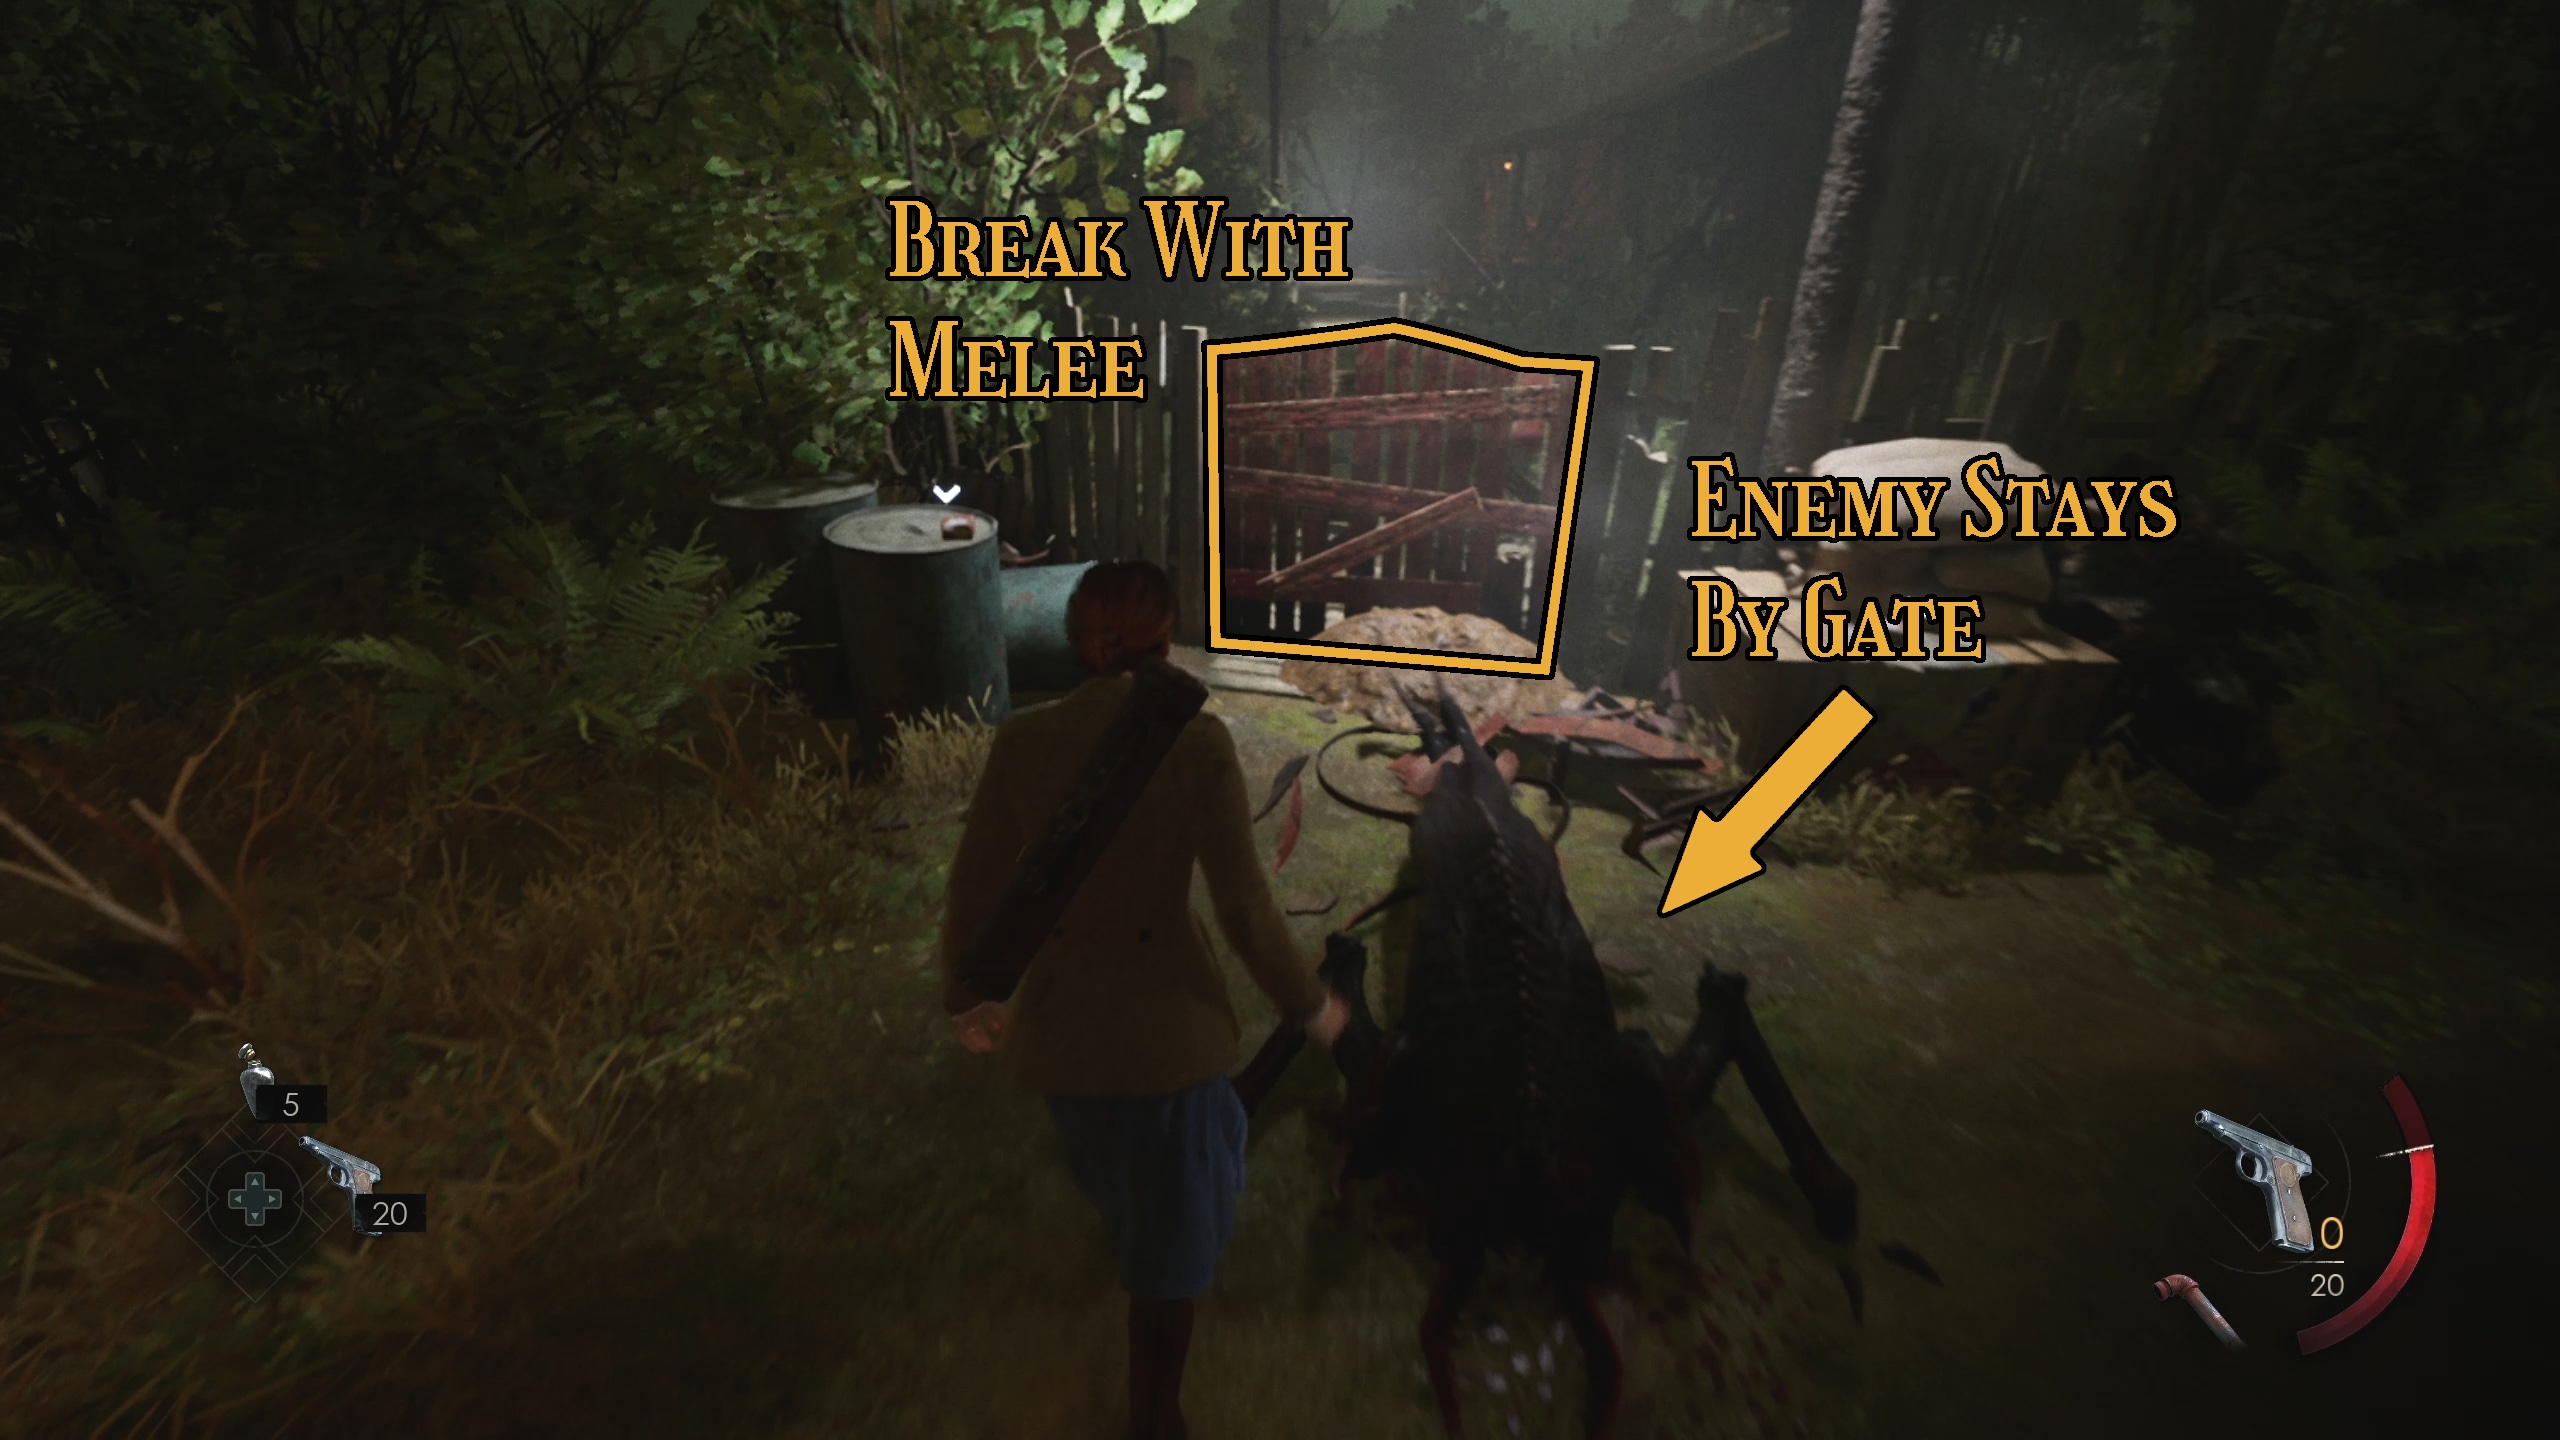
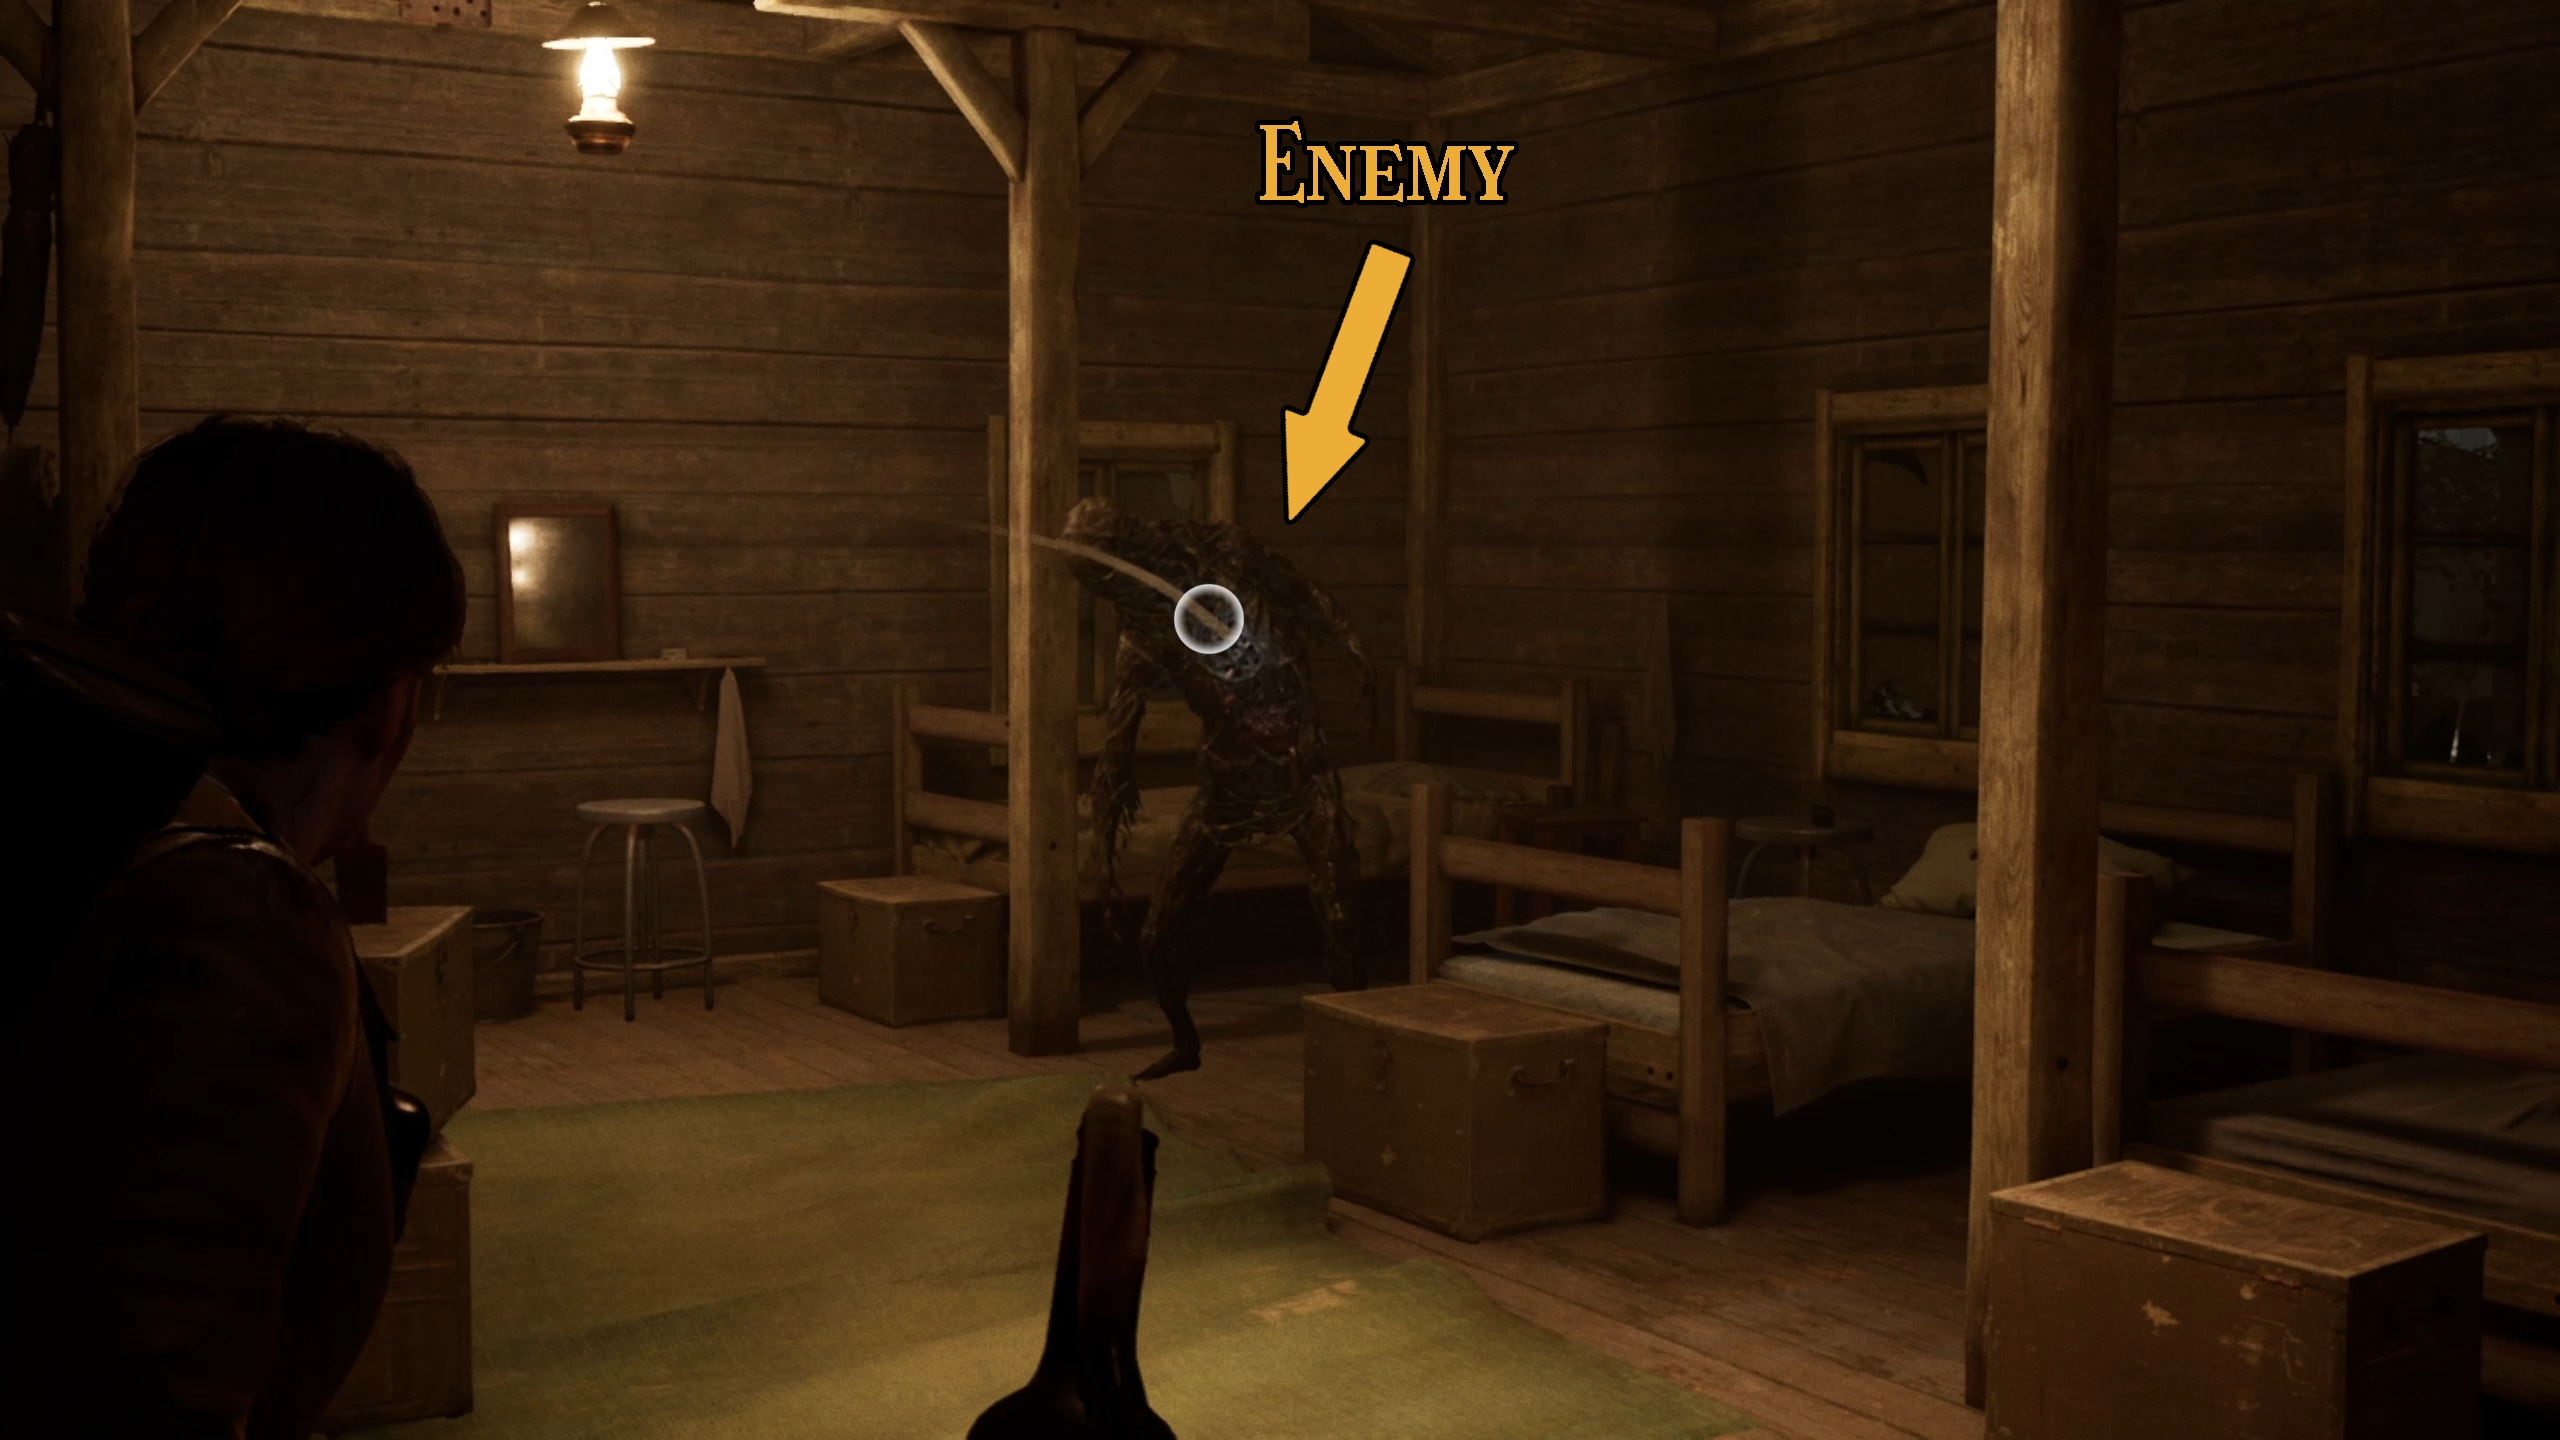
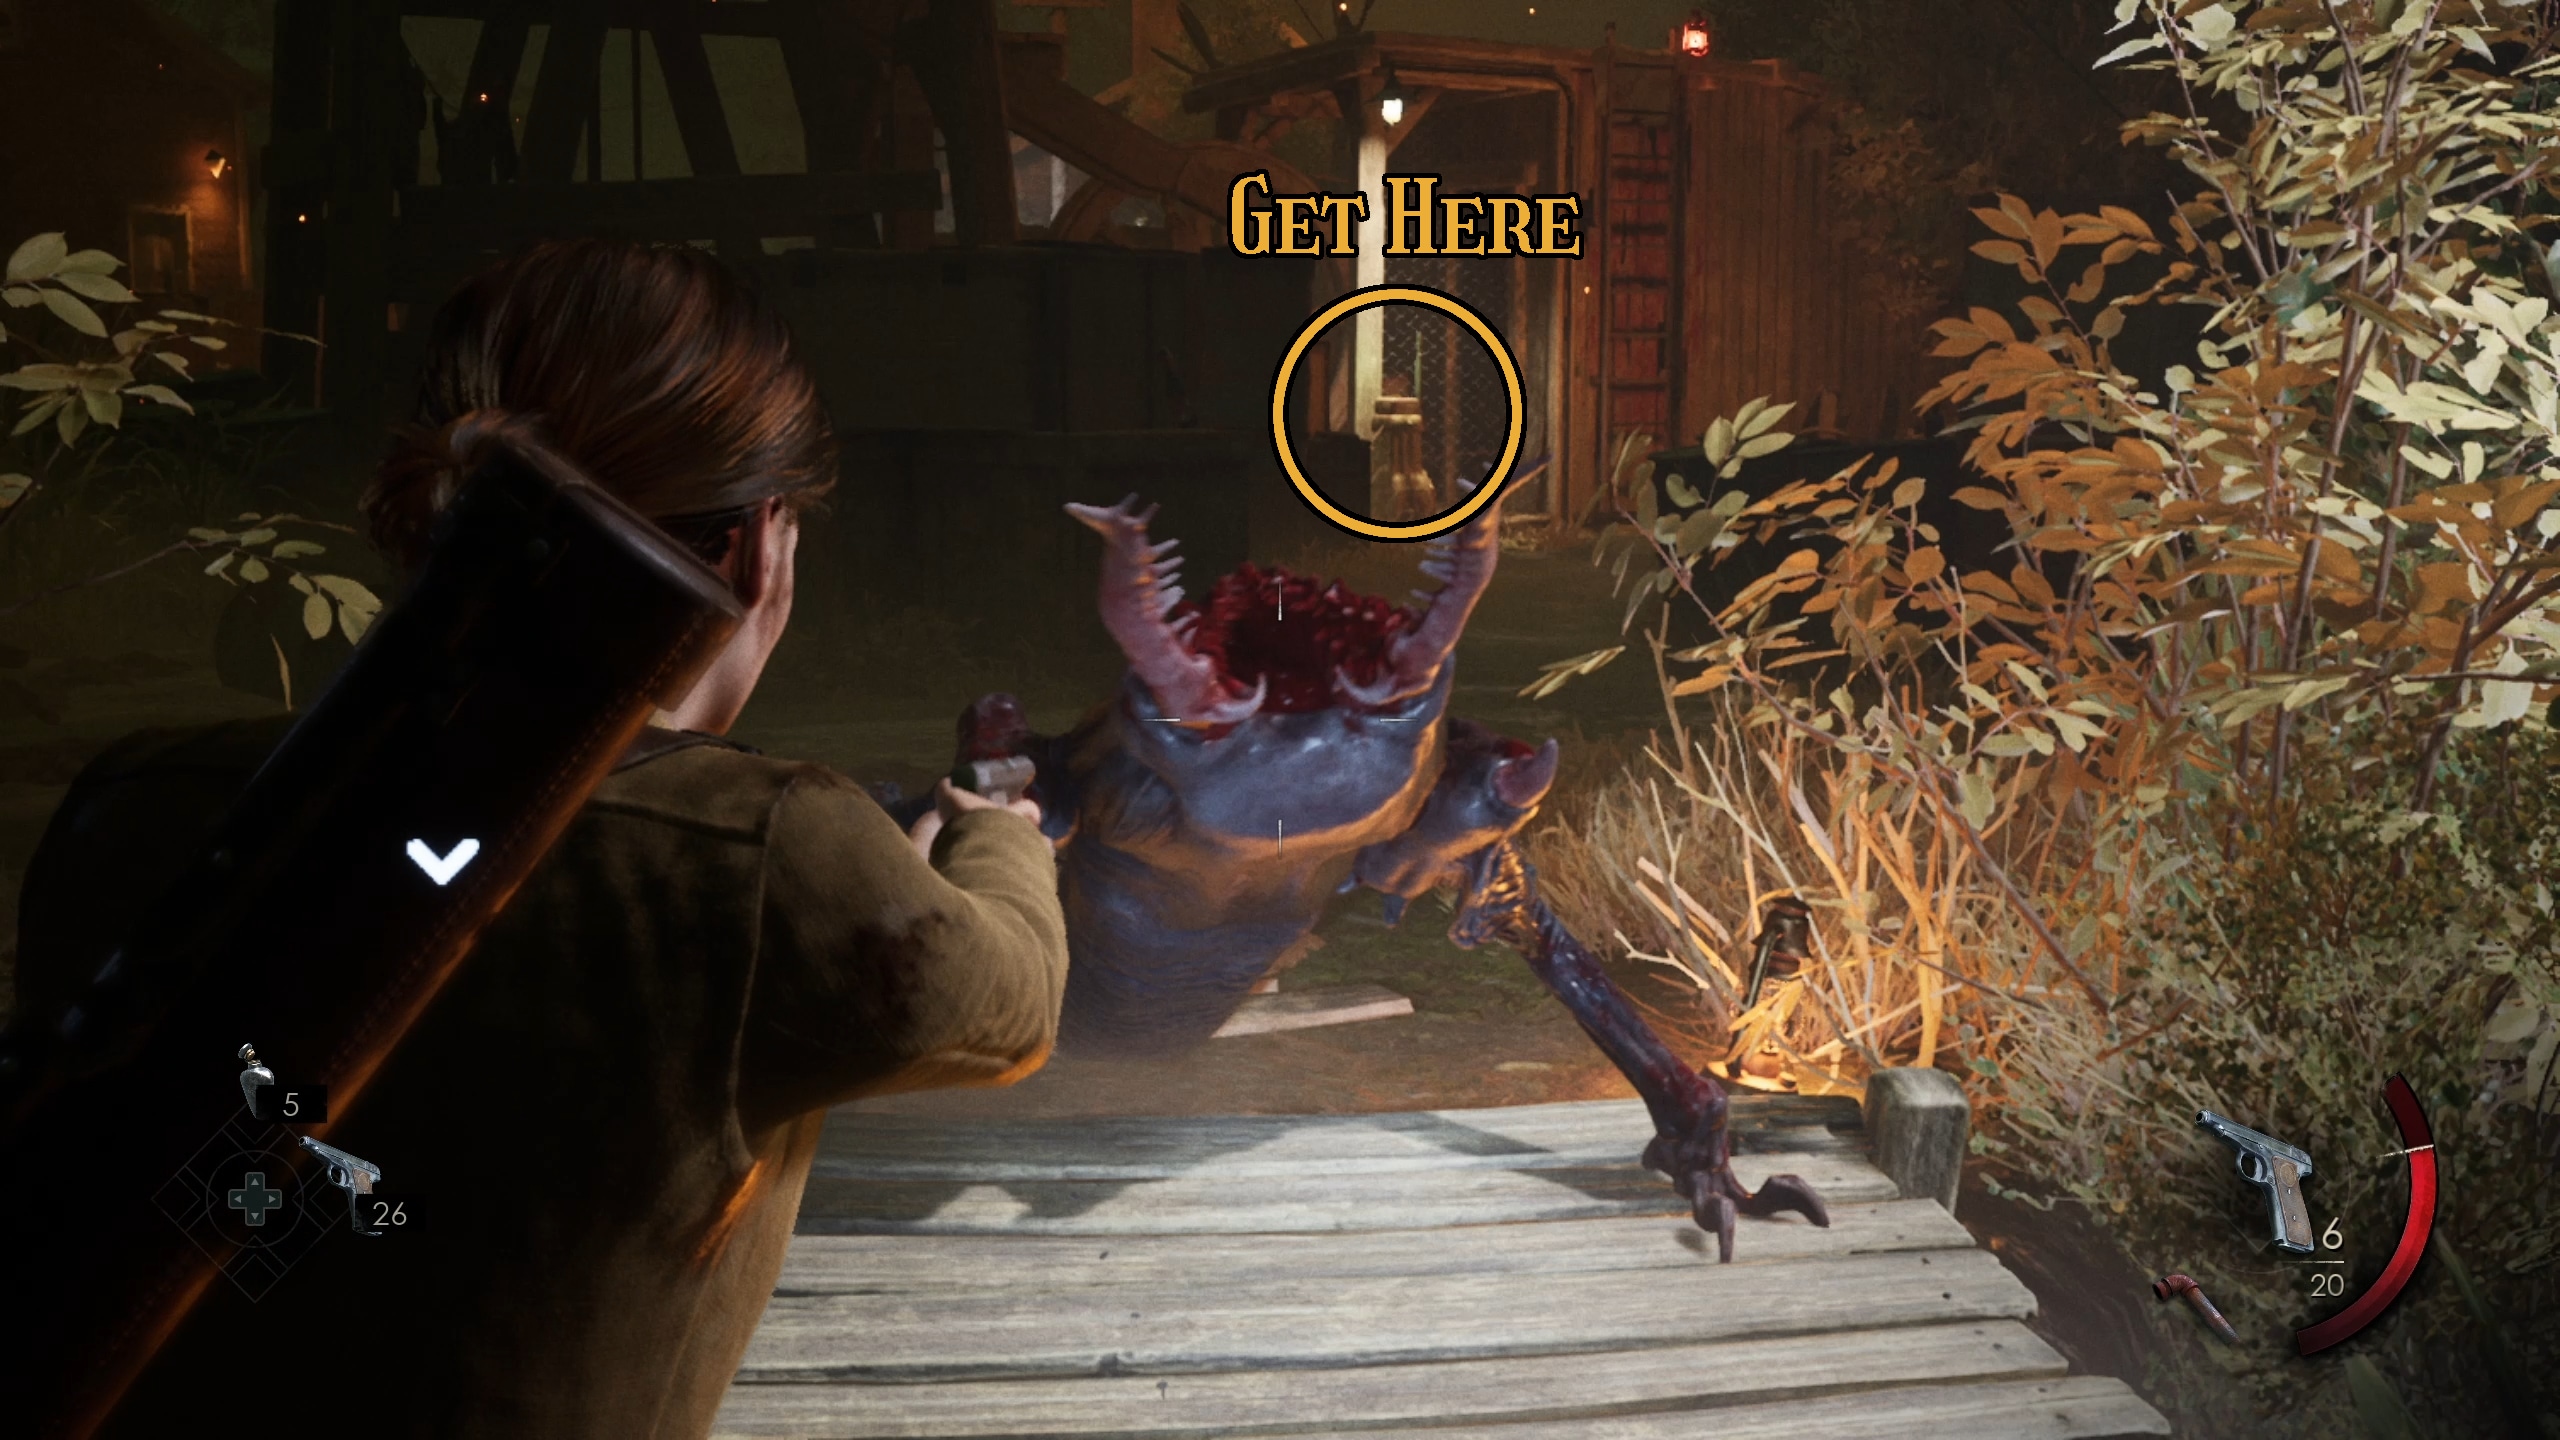
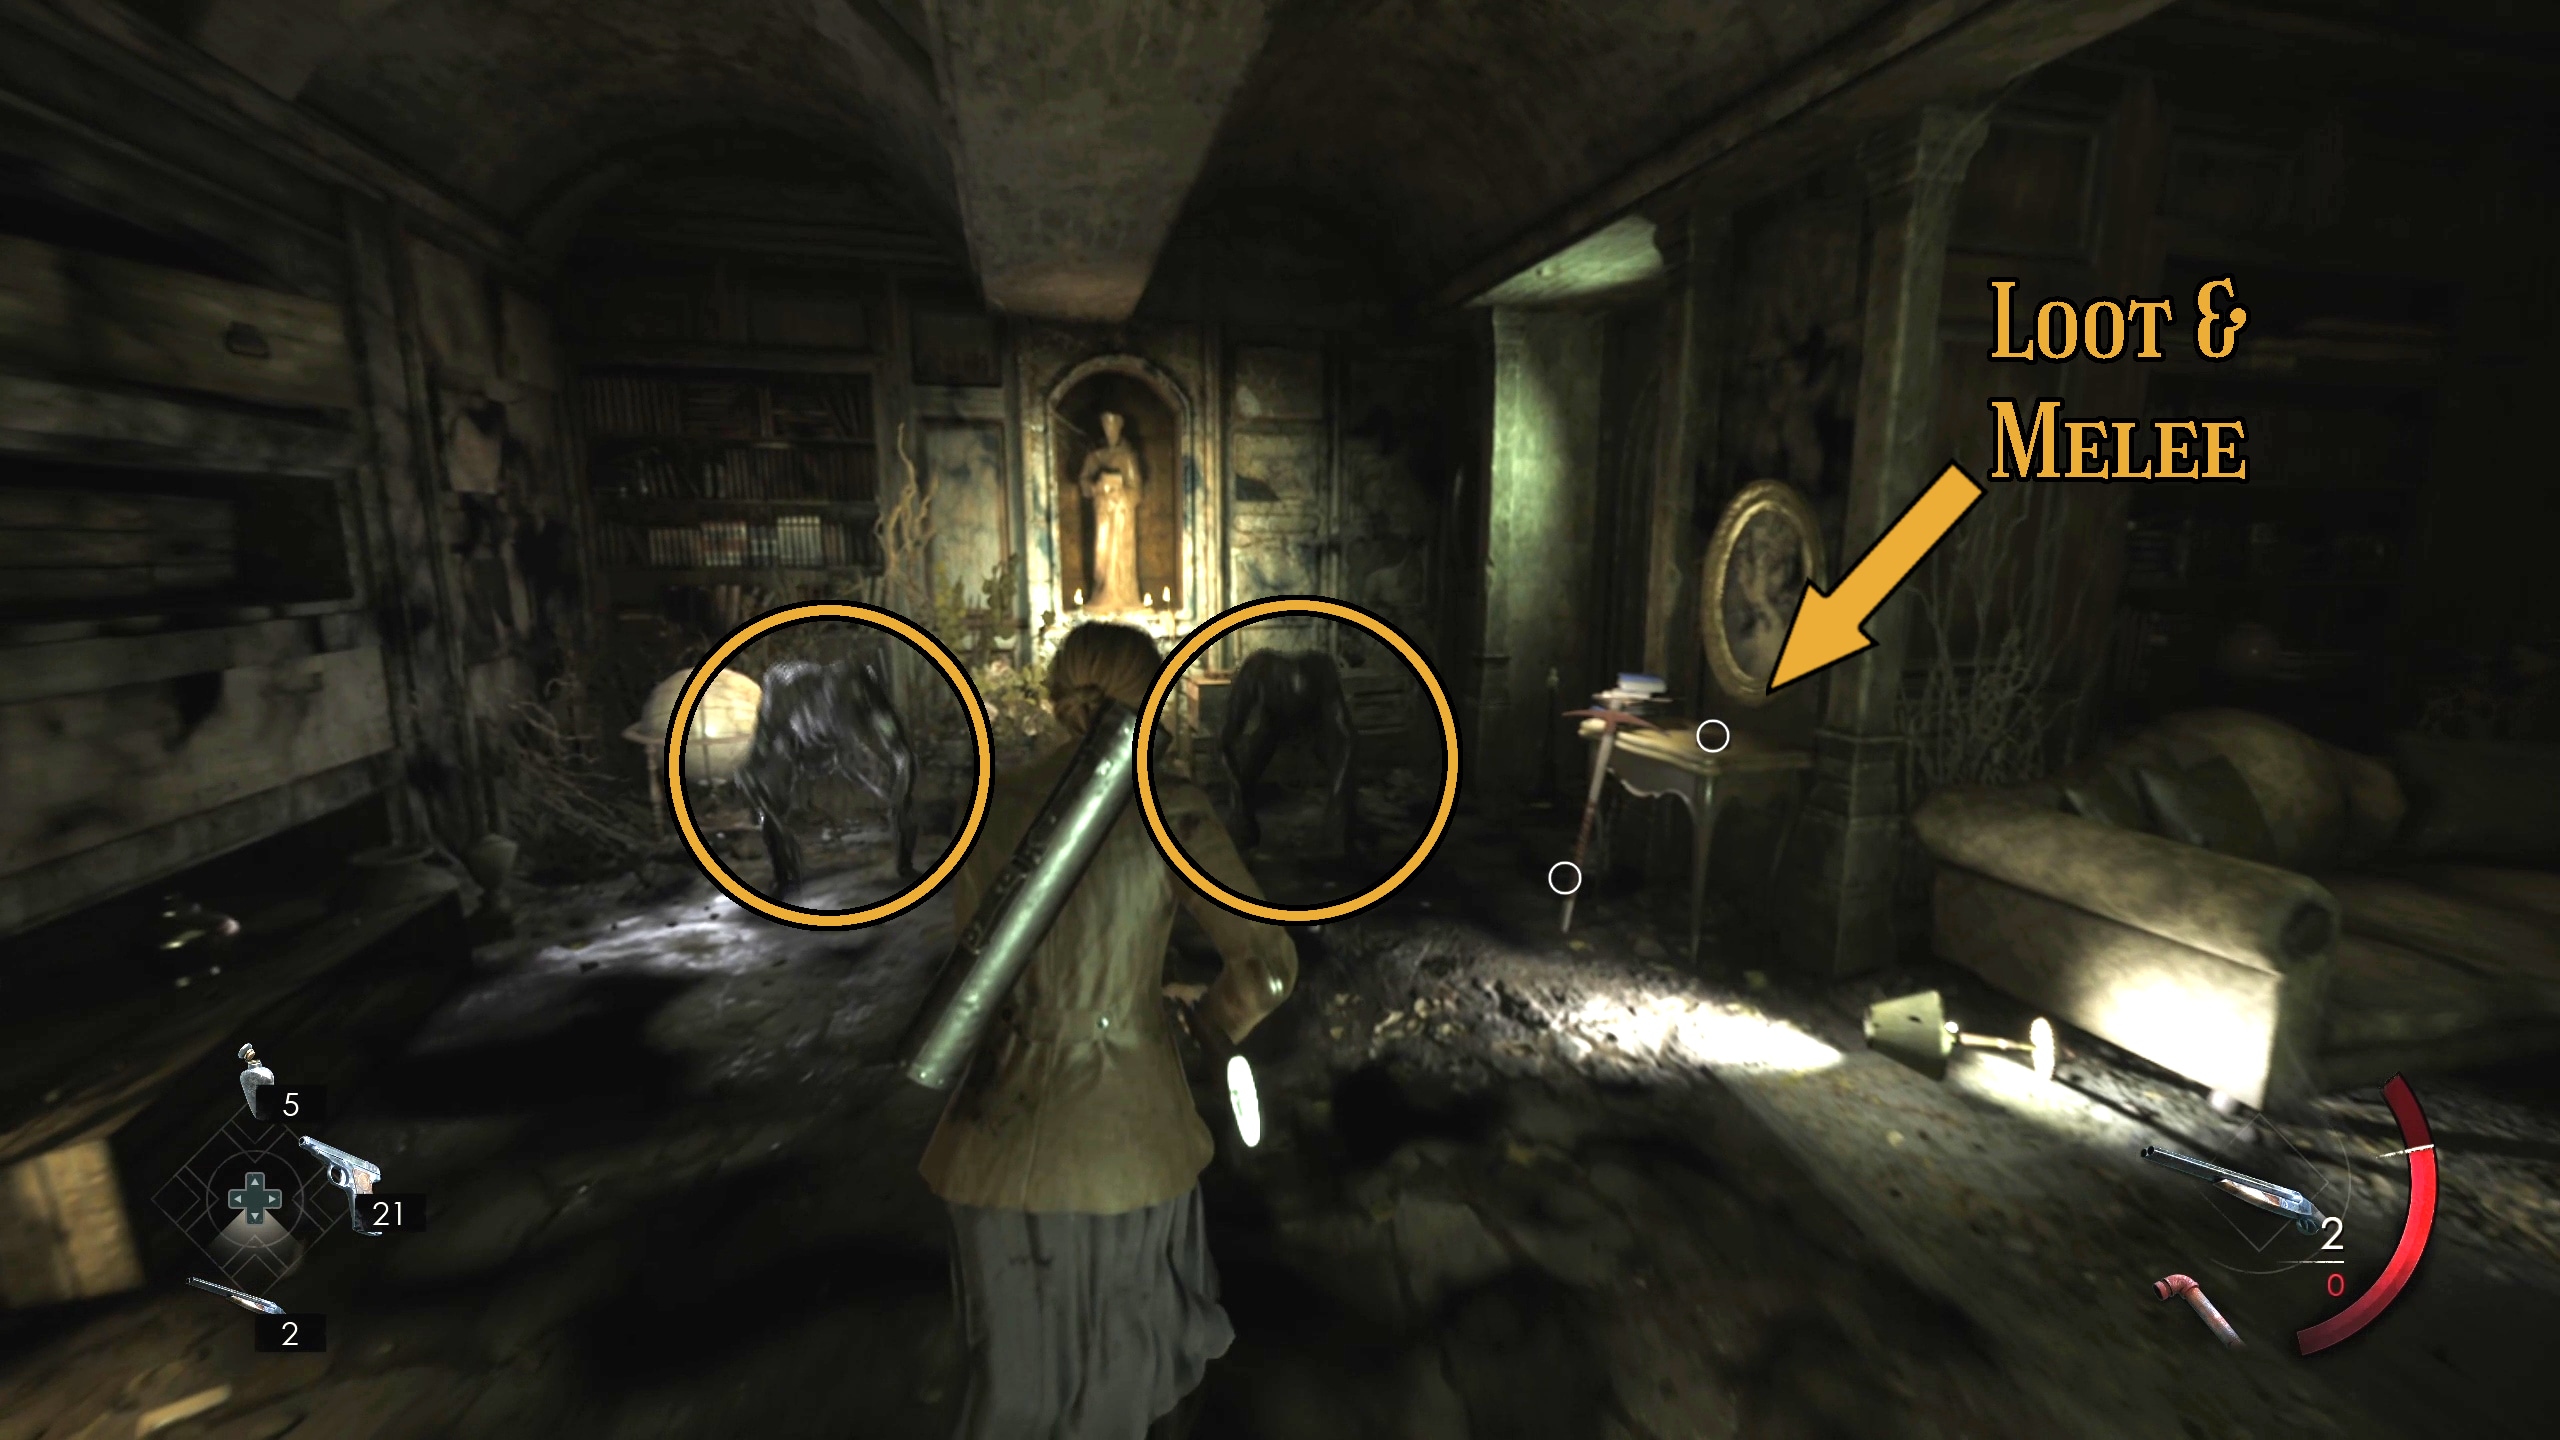
Immediately, you’ll be faced with a Burrower in front of you (Image 66). There are also two more in this area: one near a red gate you need to get through, and one that will appear when you damage the red gate.
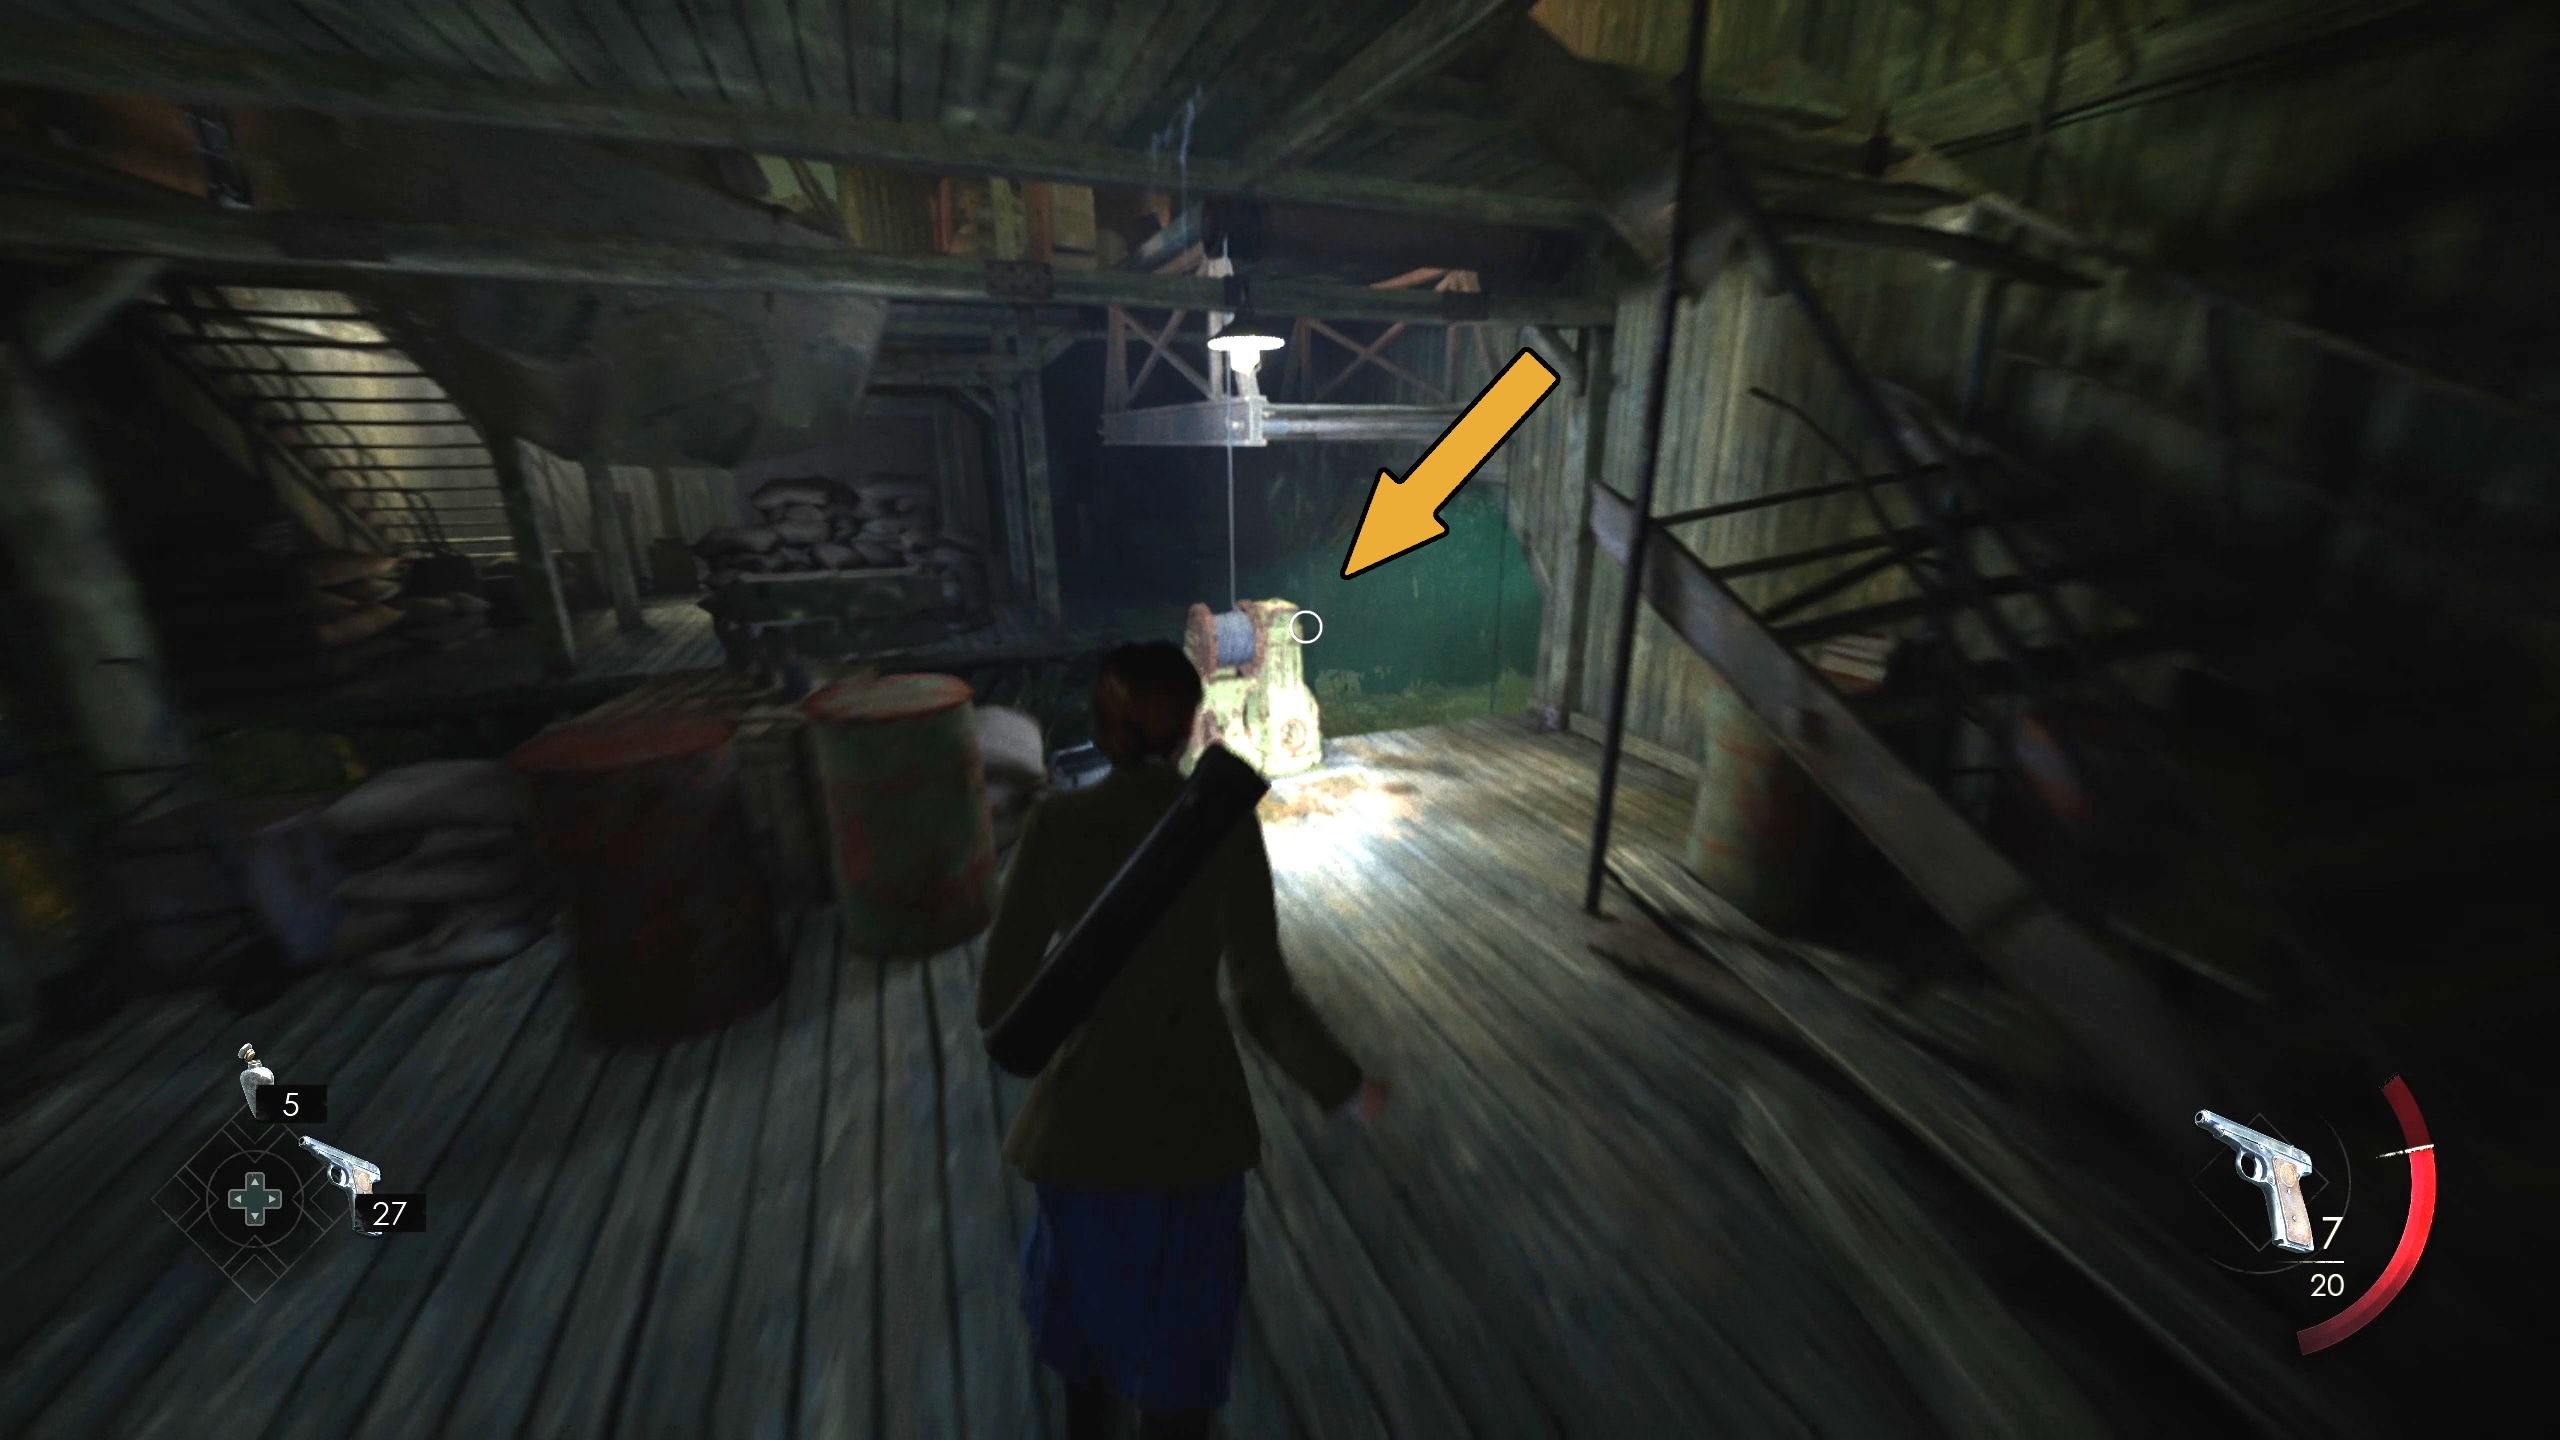
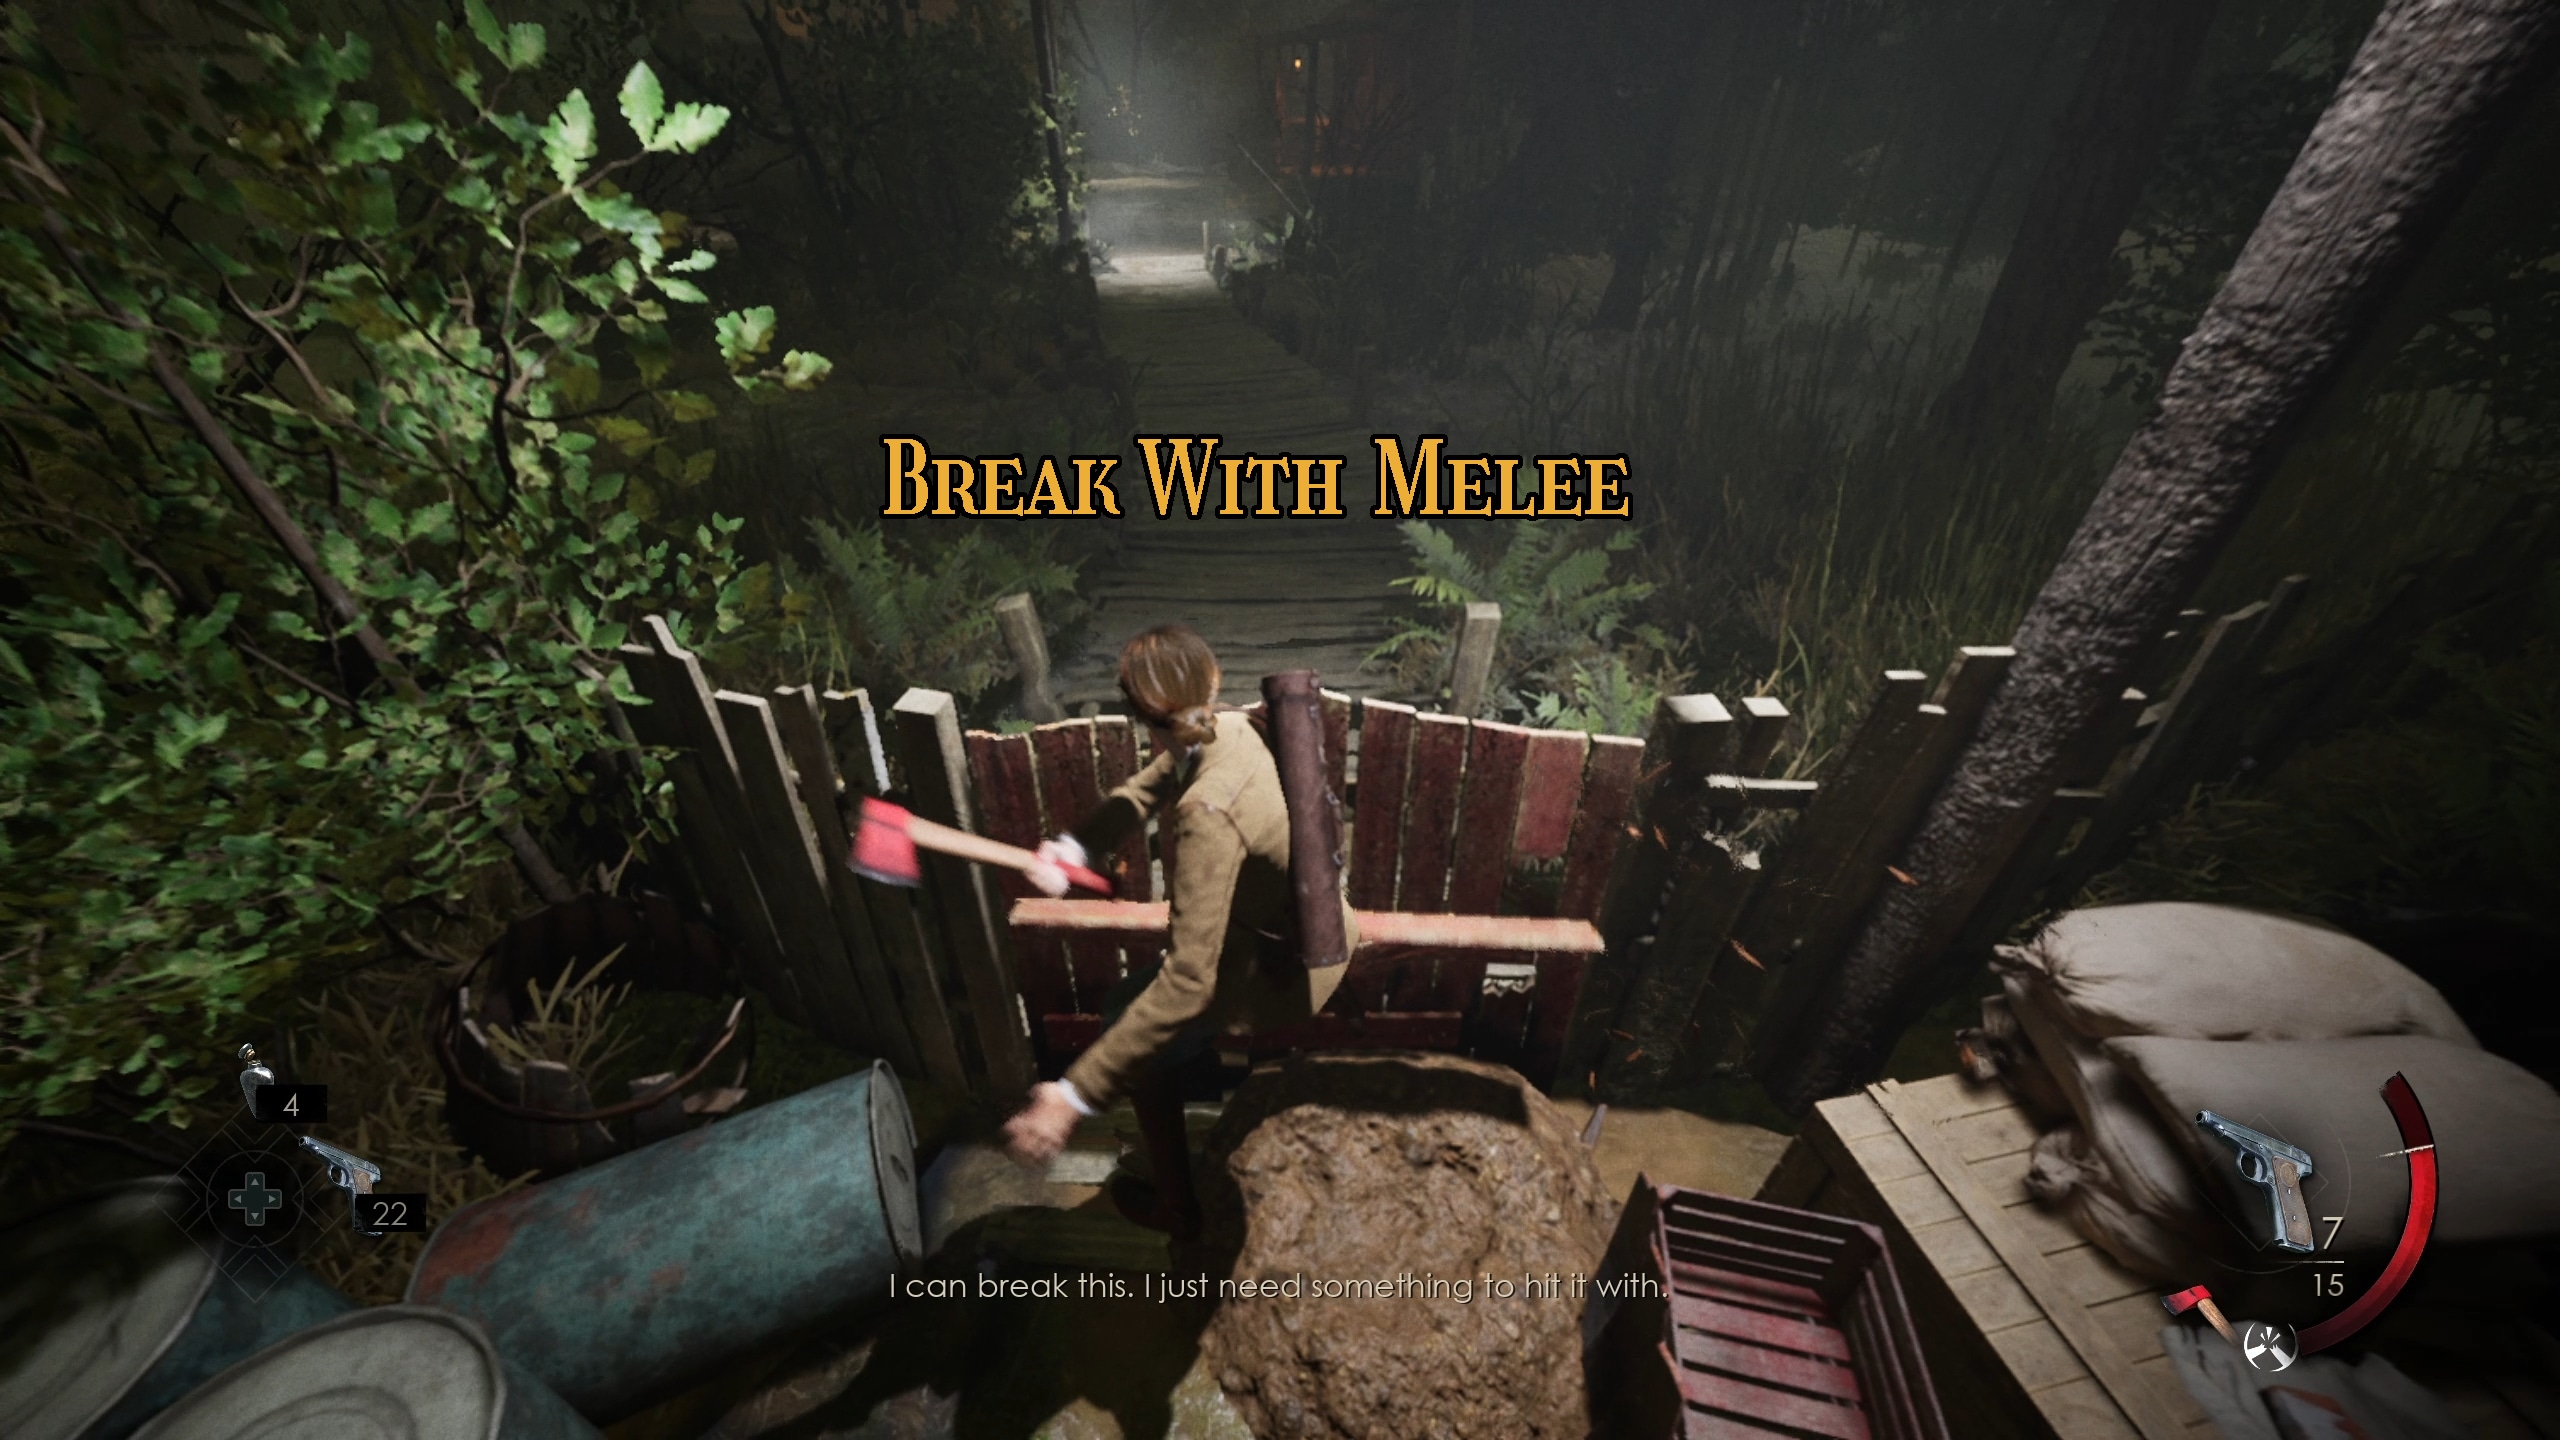
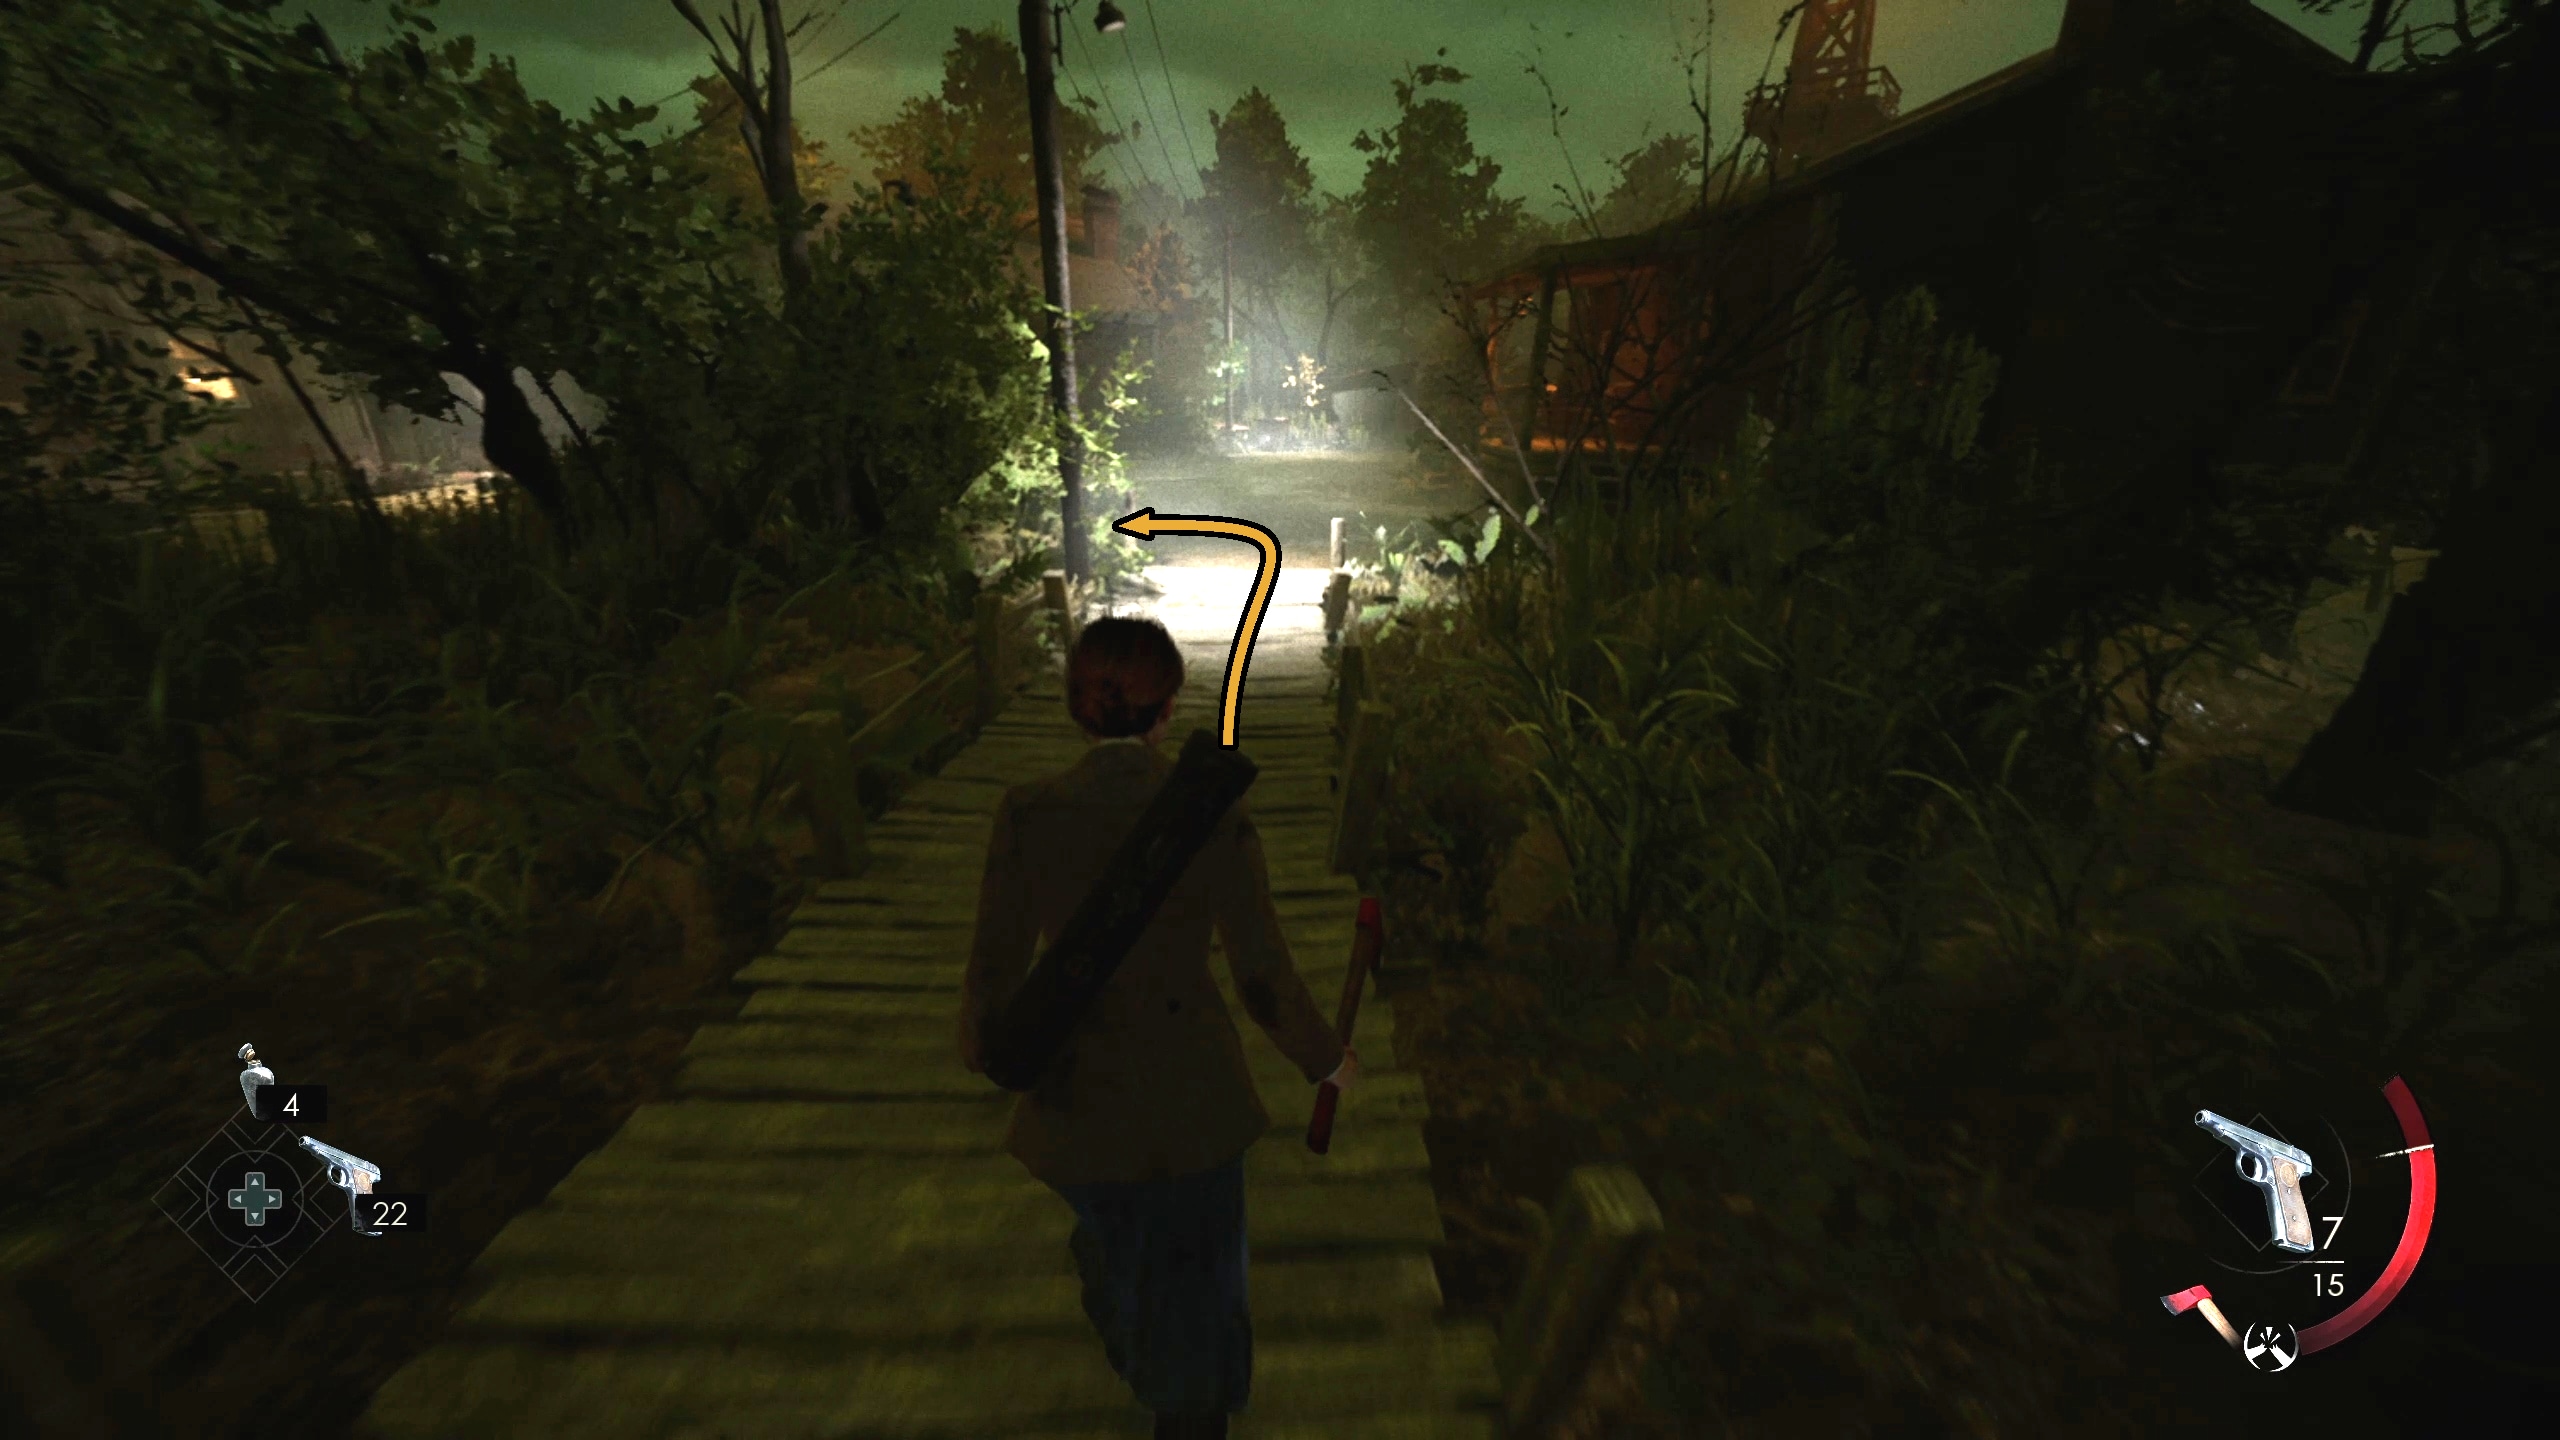
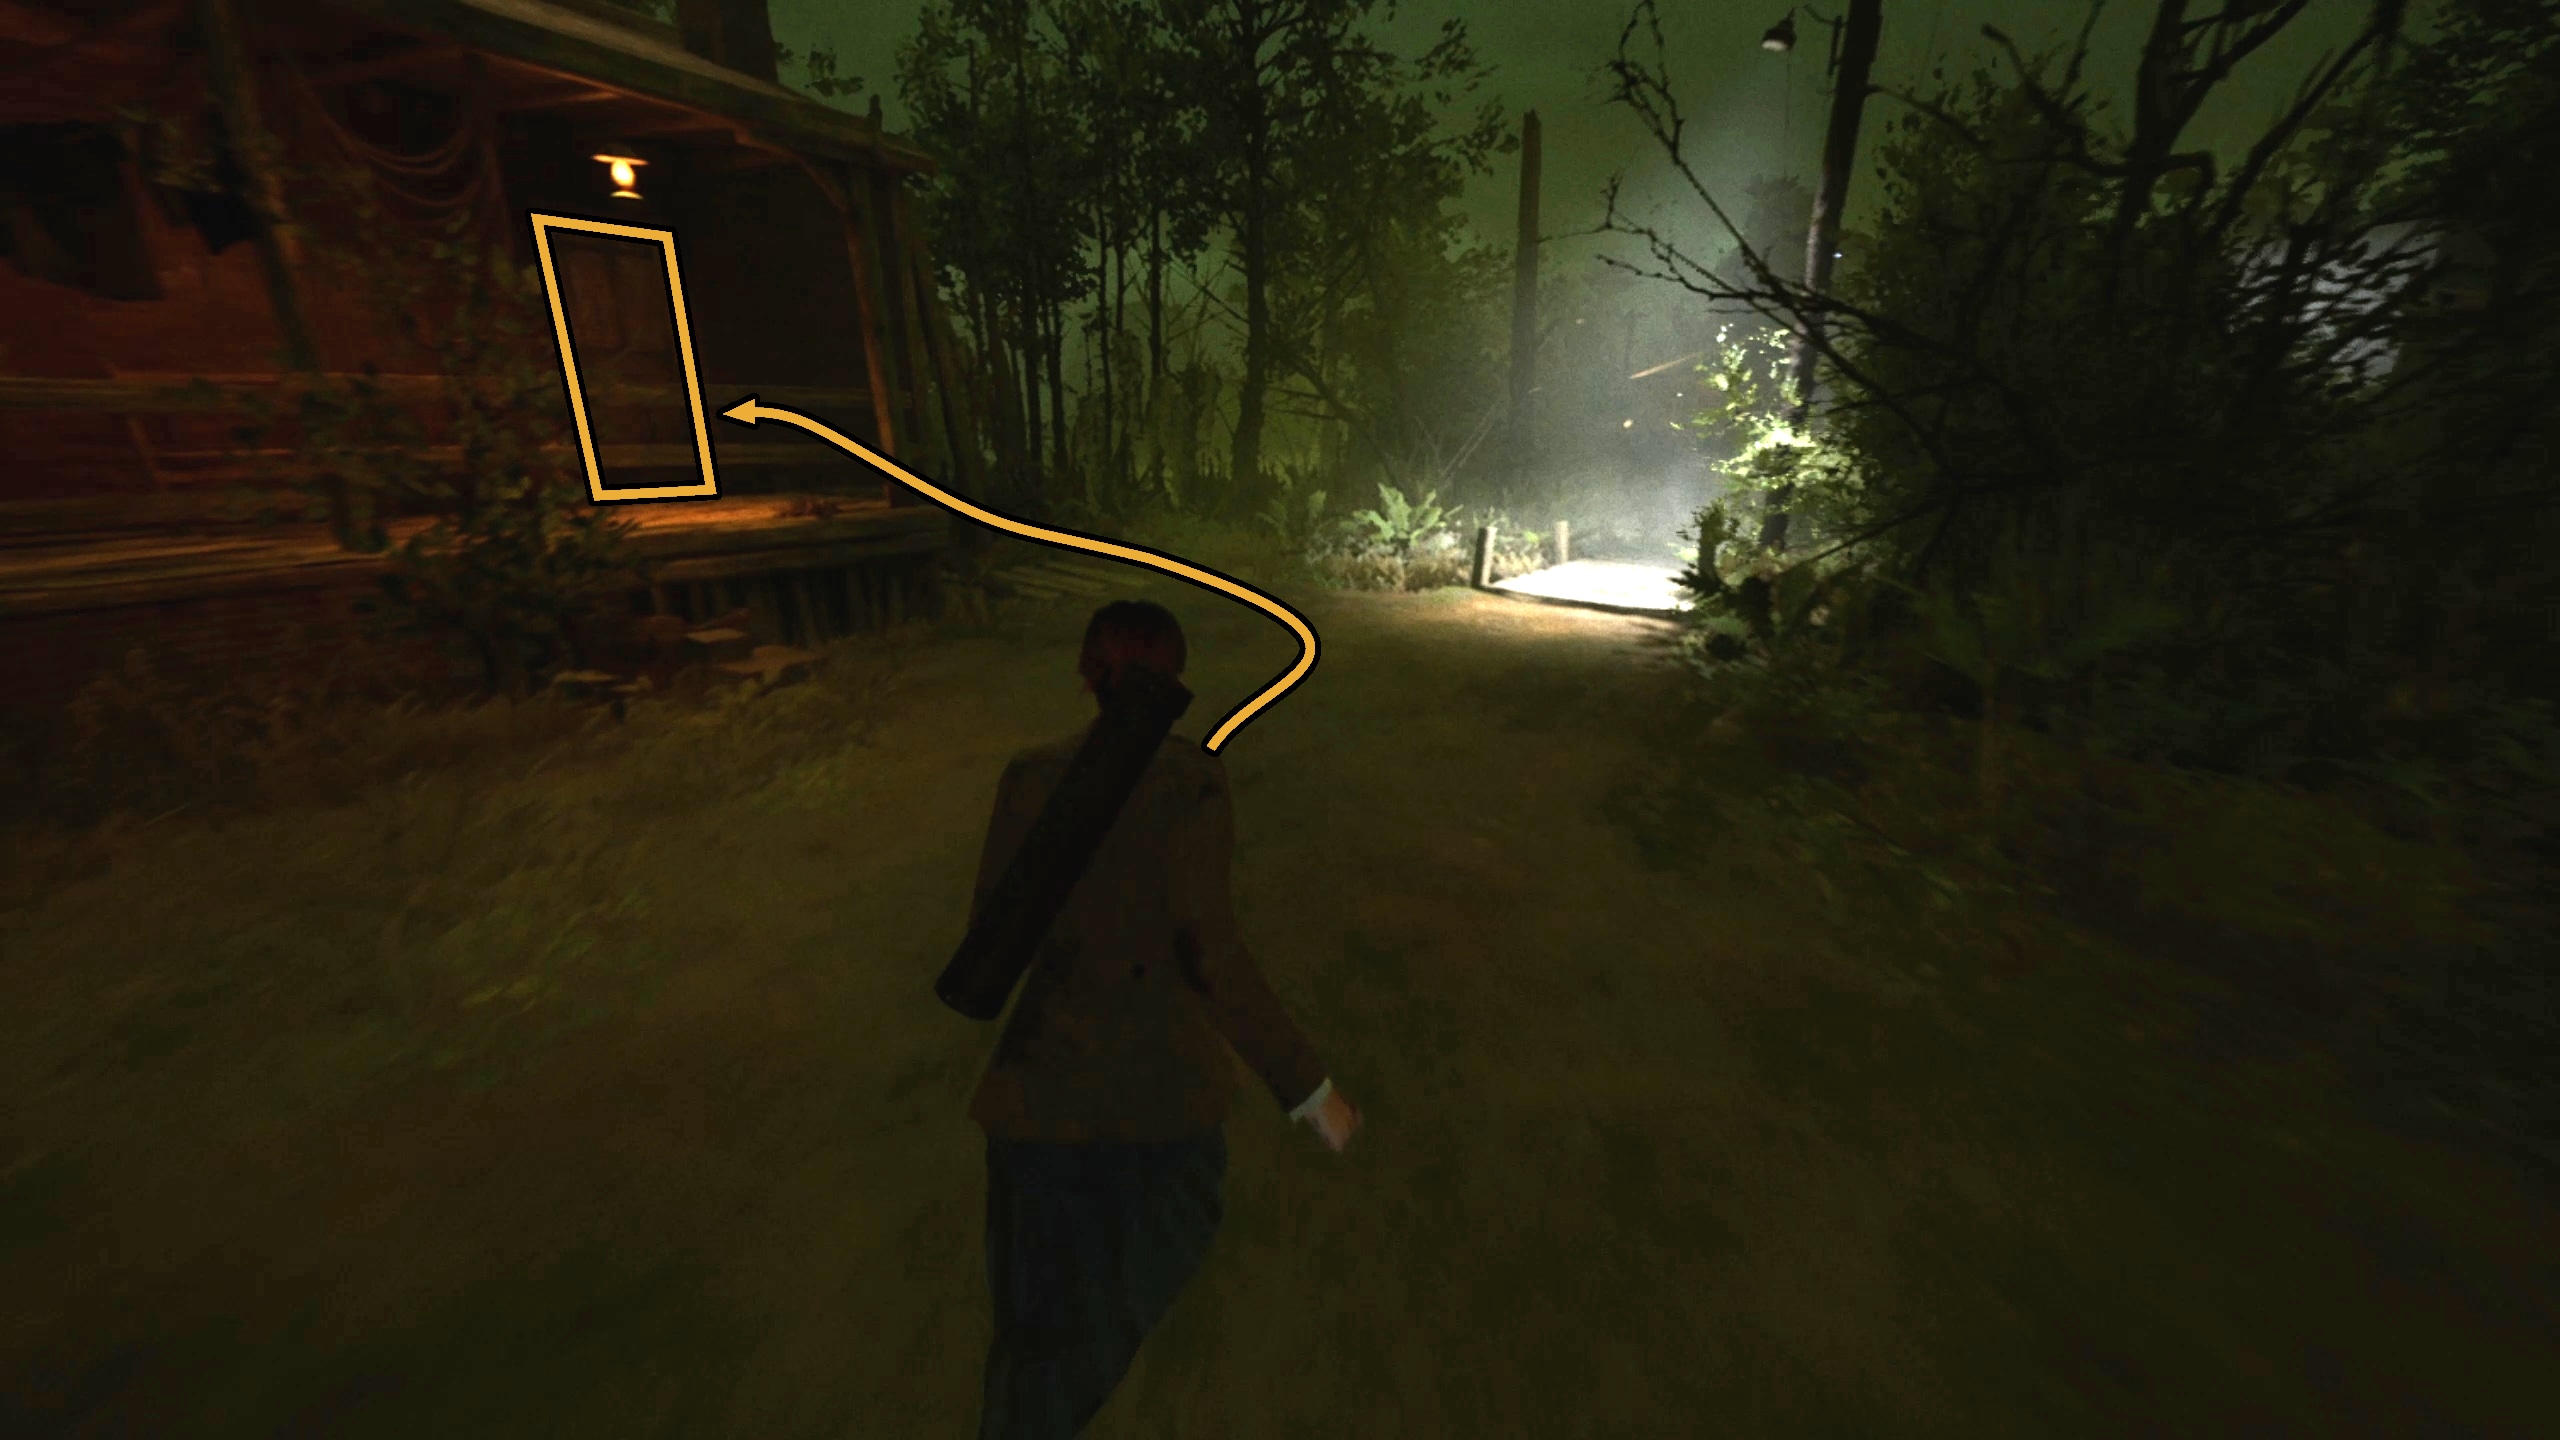
If you need ammunition, you can go to the cabin on the other side of the clearing (Image 67), which is filled with loot (Image 68) and a melee weapon. Otherwise or after, look for the red gate illuminate by a lamp above (Image 69). You’ll need to hit it with a melee weapon to break it, though you’ll probably need to clear out the burrowers first (Image 70).
Image 66Image 67Image 68Image 69Image 70
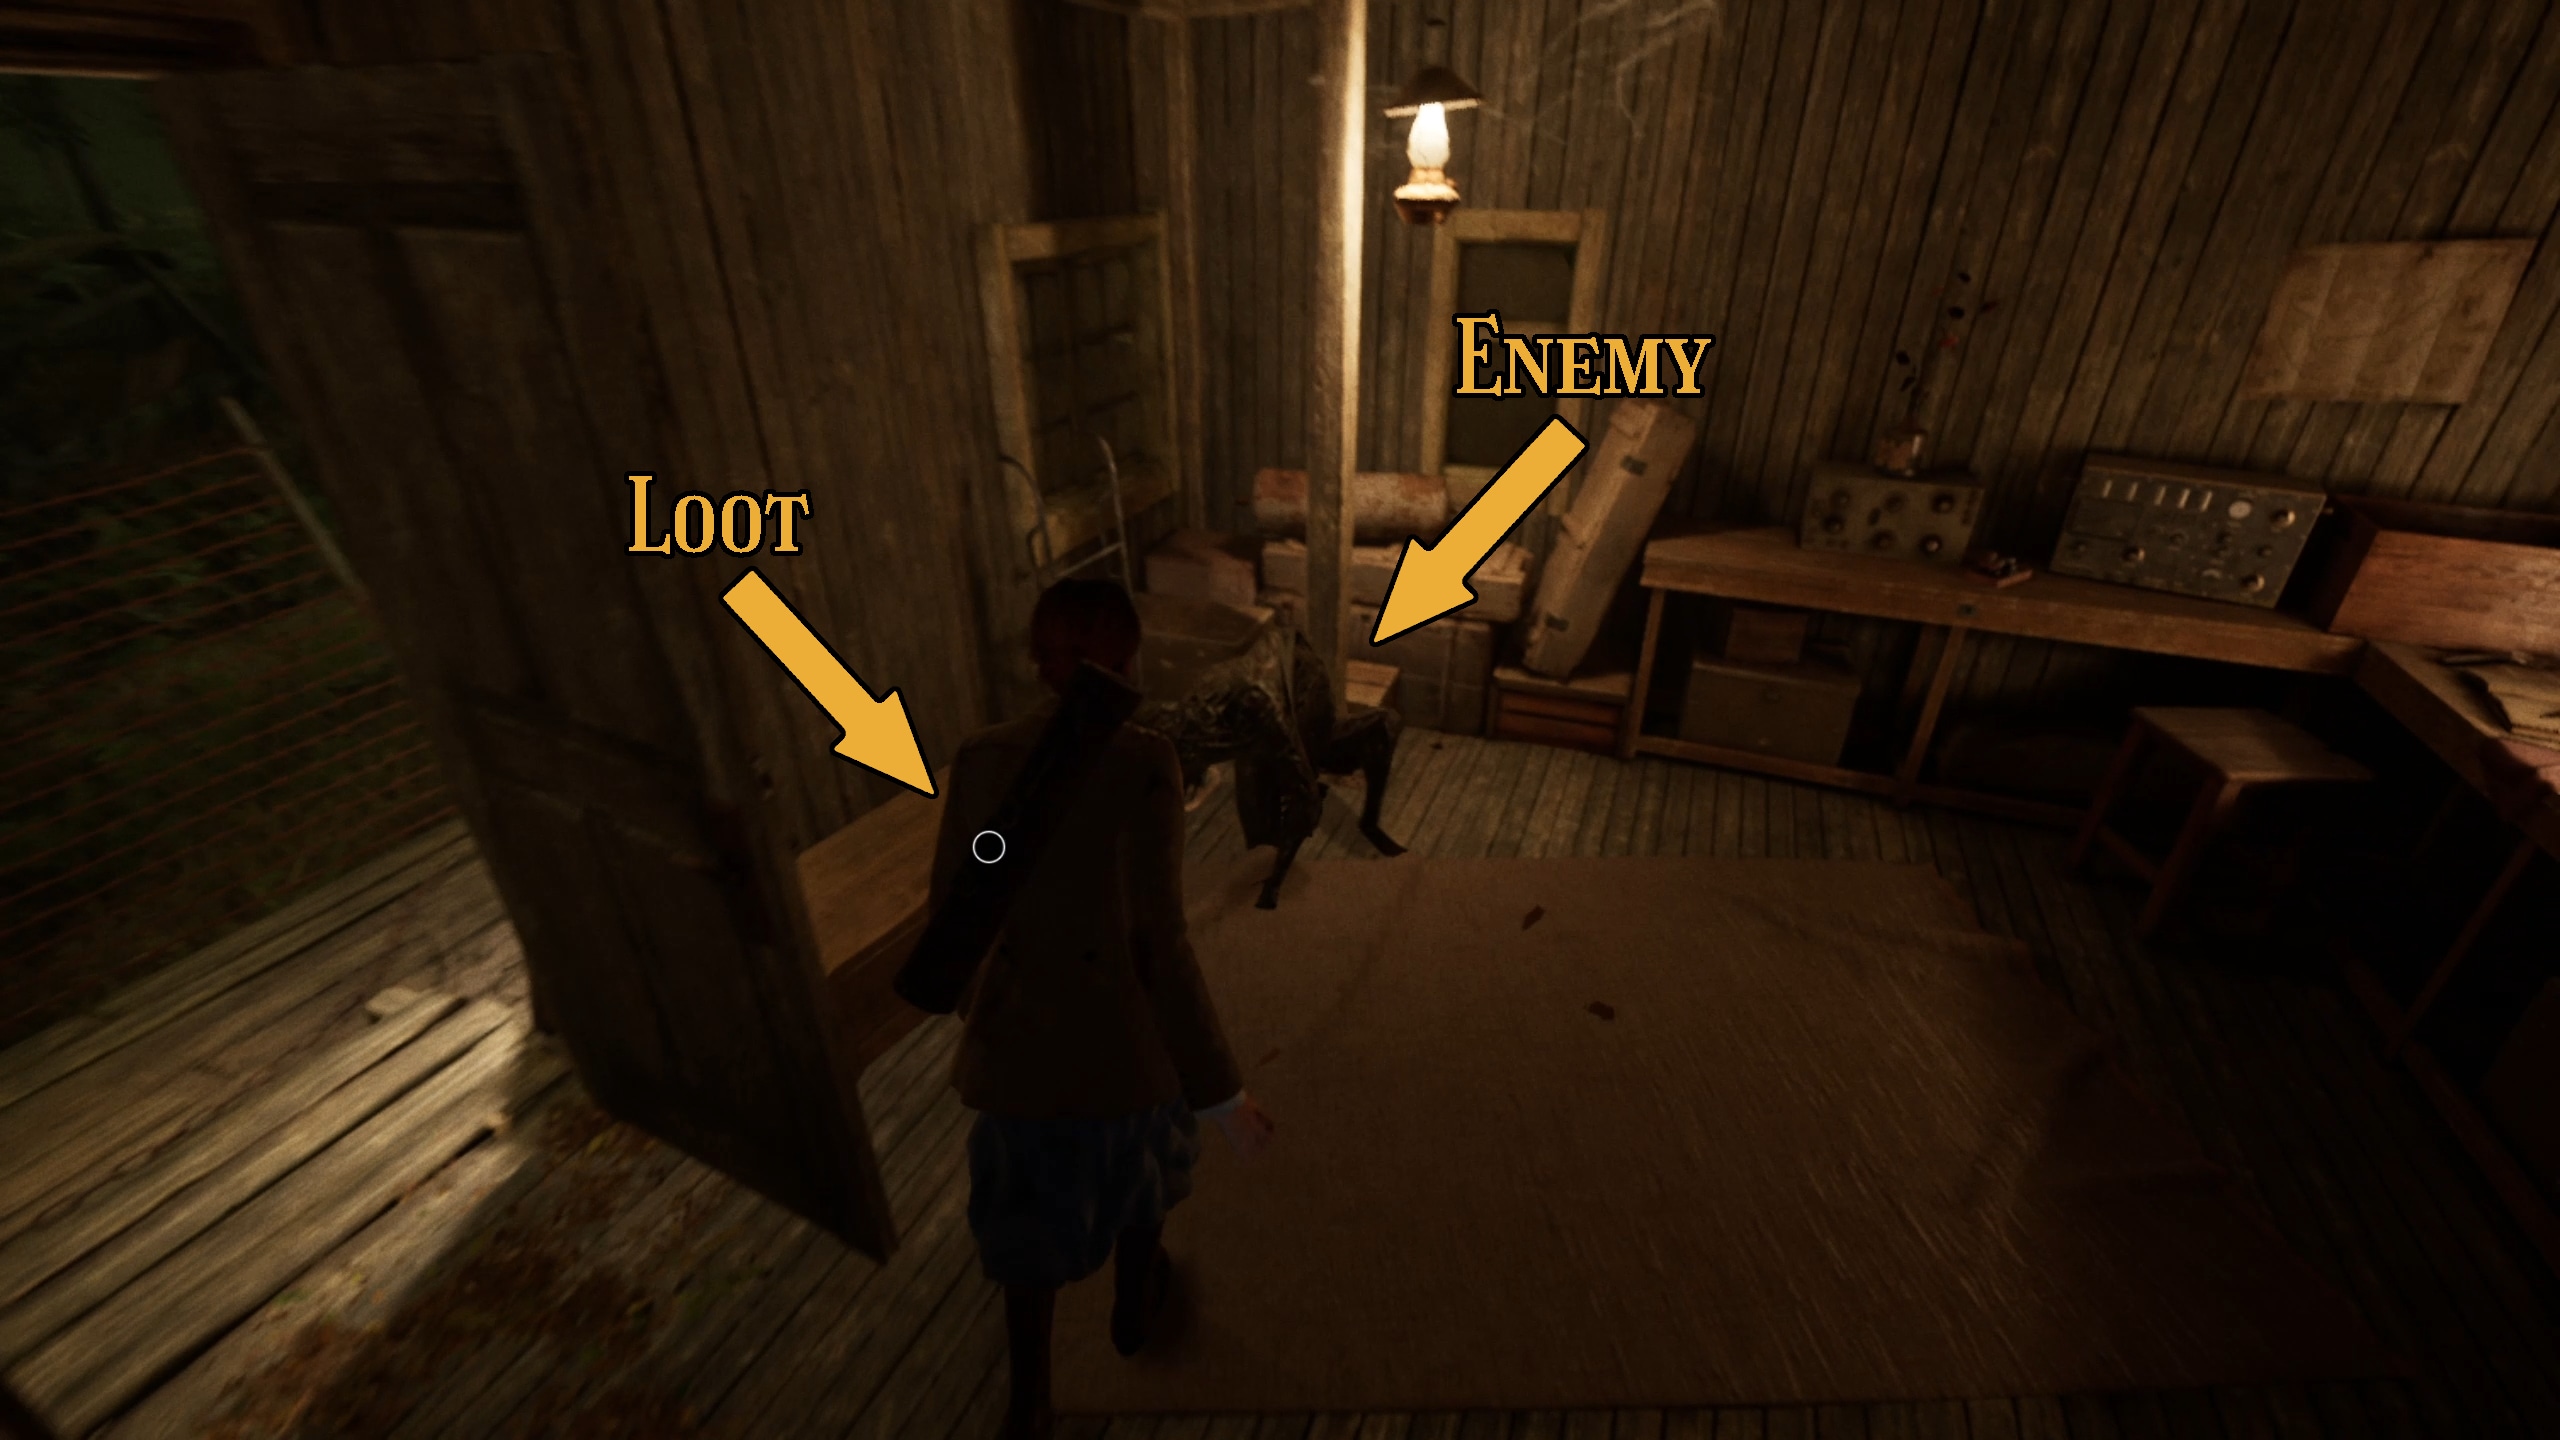
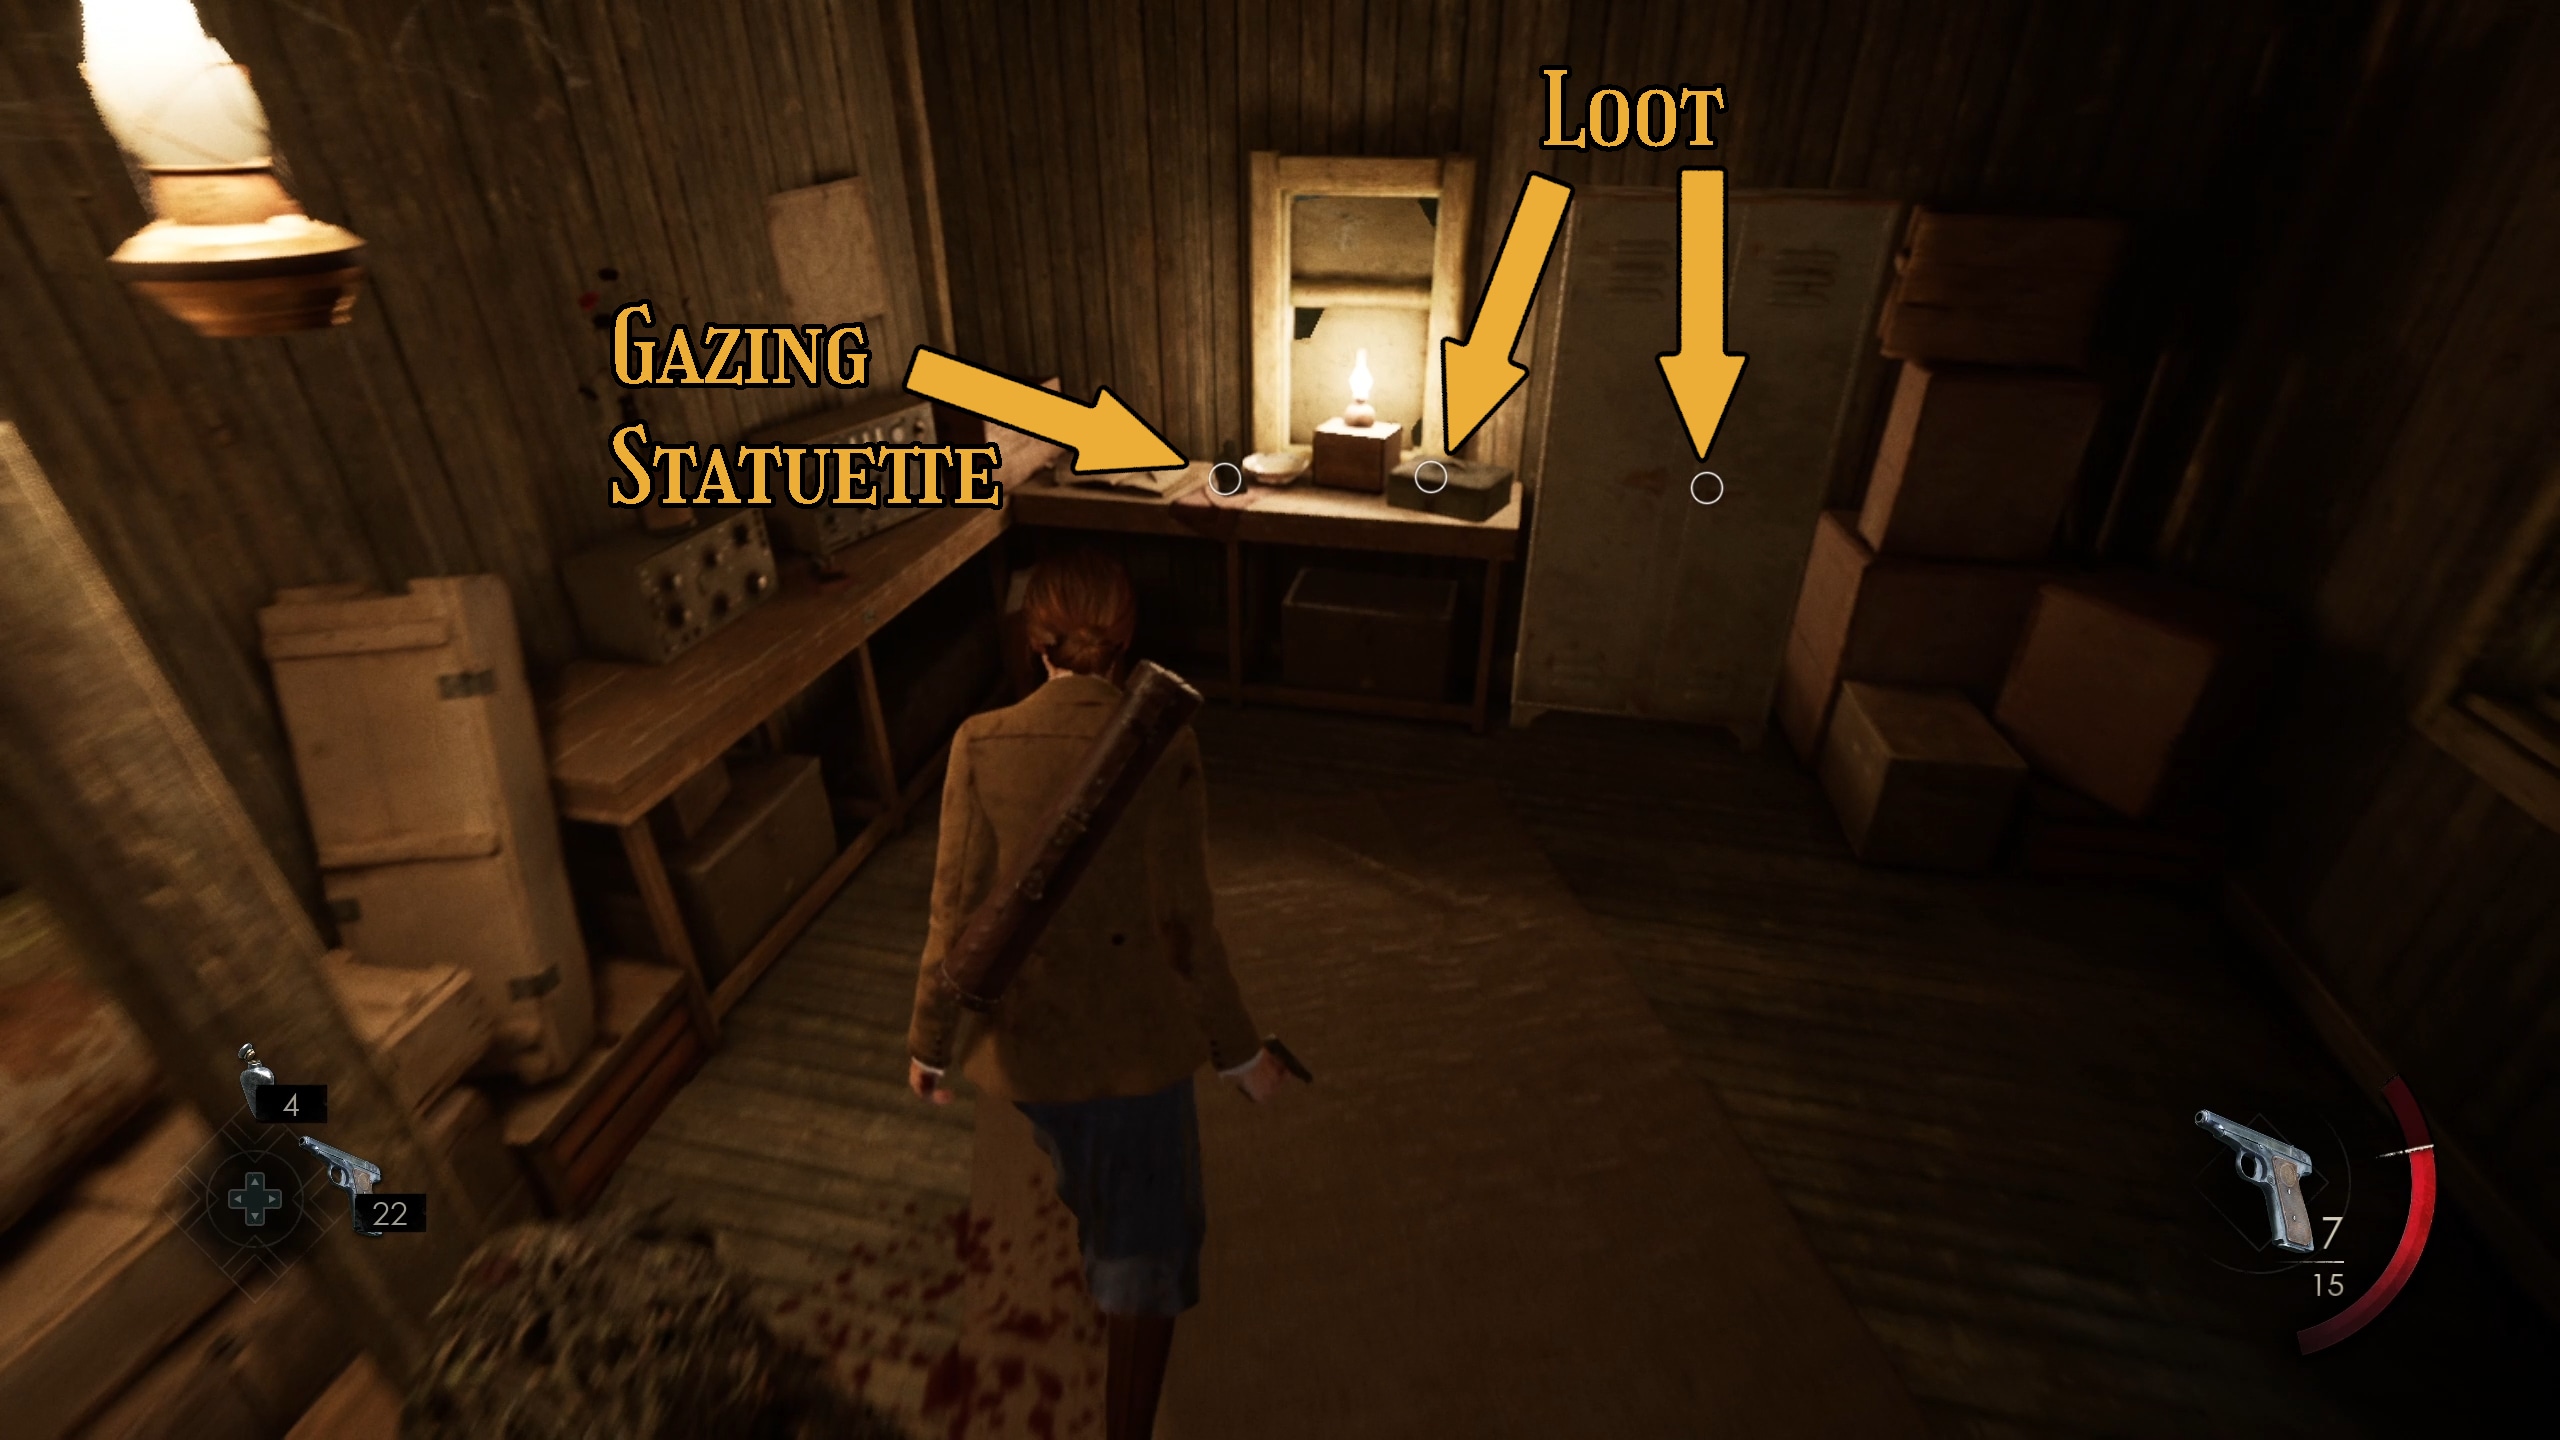
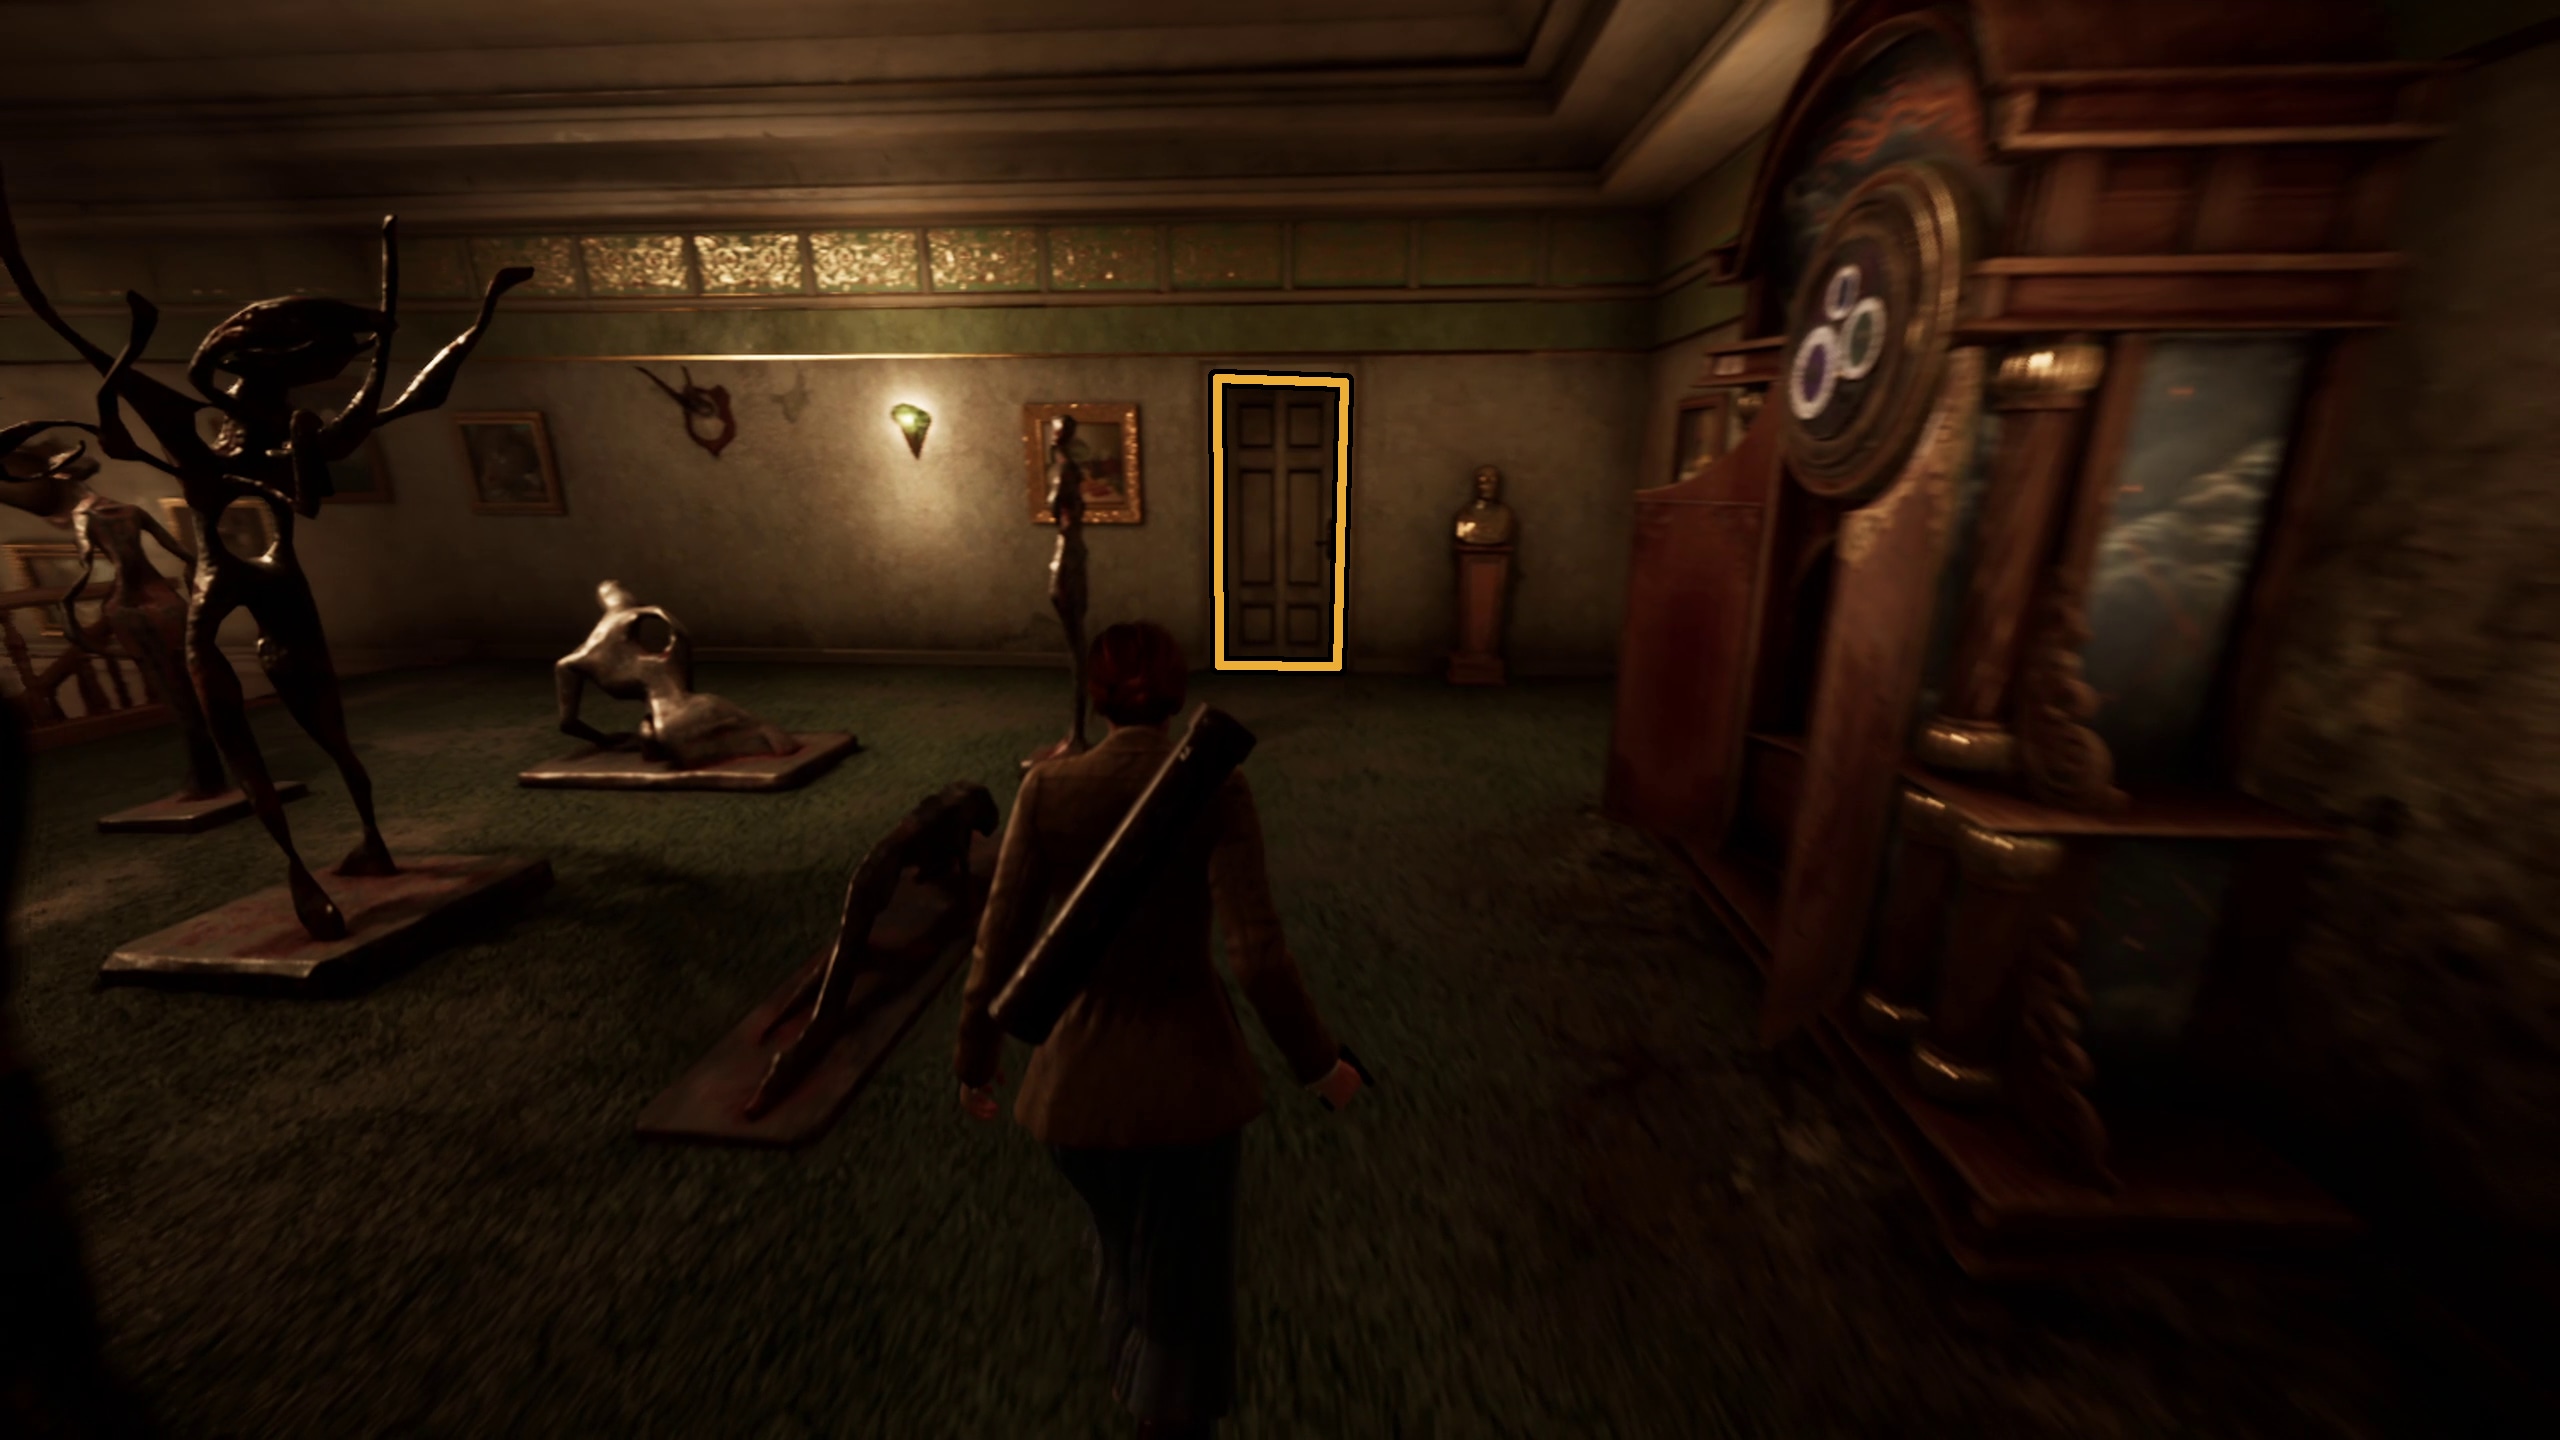
Continue forward and then turn to the left once you reach the next clearing (Image 71). You’ll see a house out of the way, which you should approach (Image 72). Squeeze through a gap (Image 73), and be ready to taken on the enemy hiding within once you actually go into the building (Image 74). Once you’ve killed it, you can grab the Gazing StatuetteLagniappe and some loot (Image 75).
7172737475
Leave the cabin and head back to the clearing. There will be another cabin to your left, containing some loot (Image 76 and 77), as well as another red cabin across the clearing (Image 78), which will contain an enemy (Images 79) and even more loot (Image 80).
7677787980
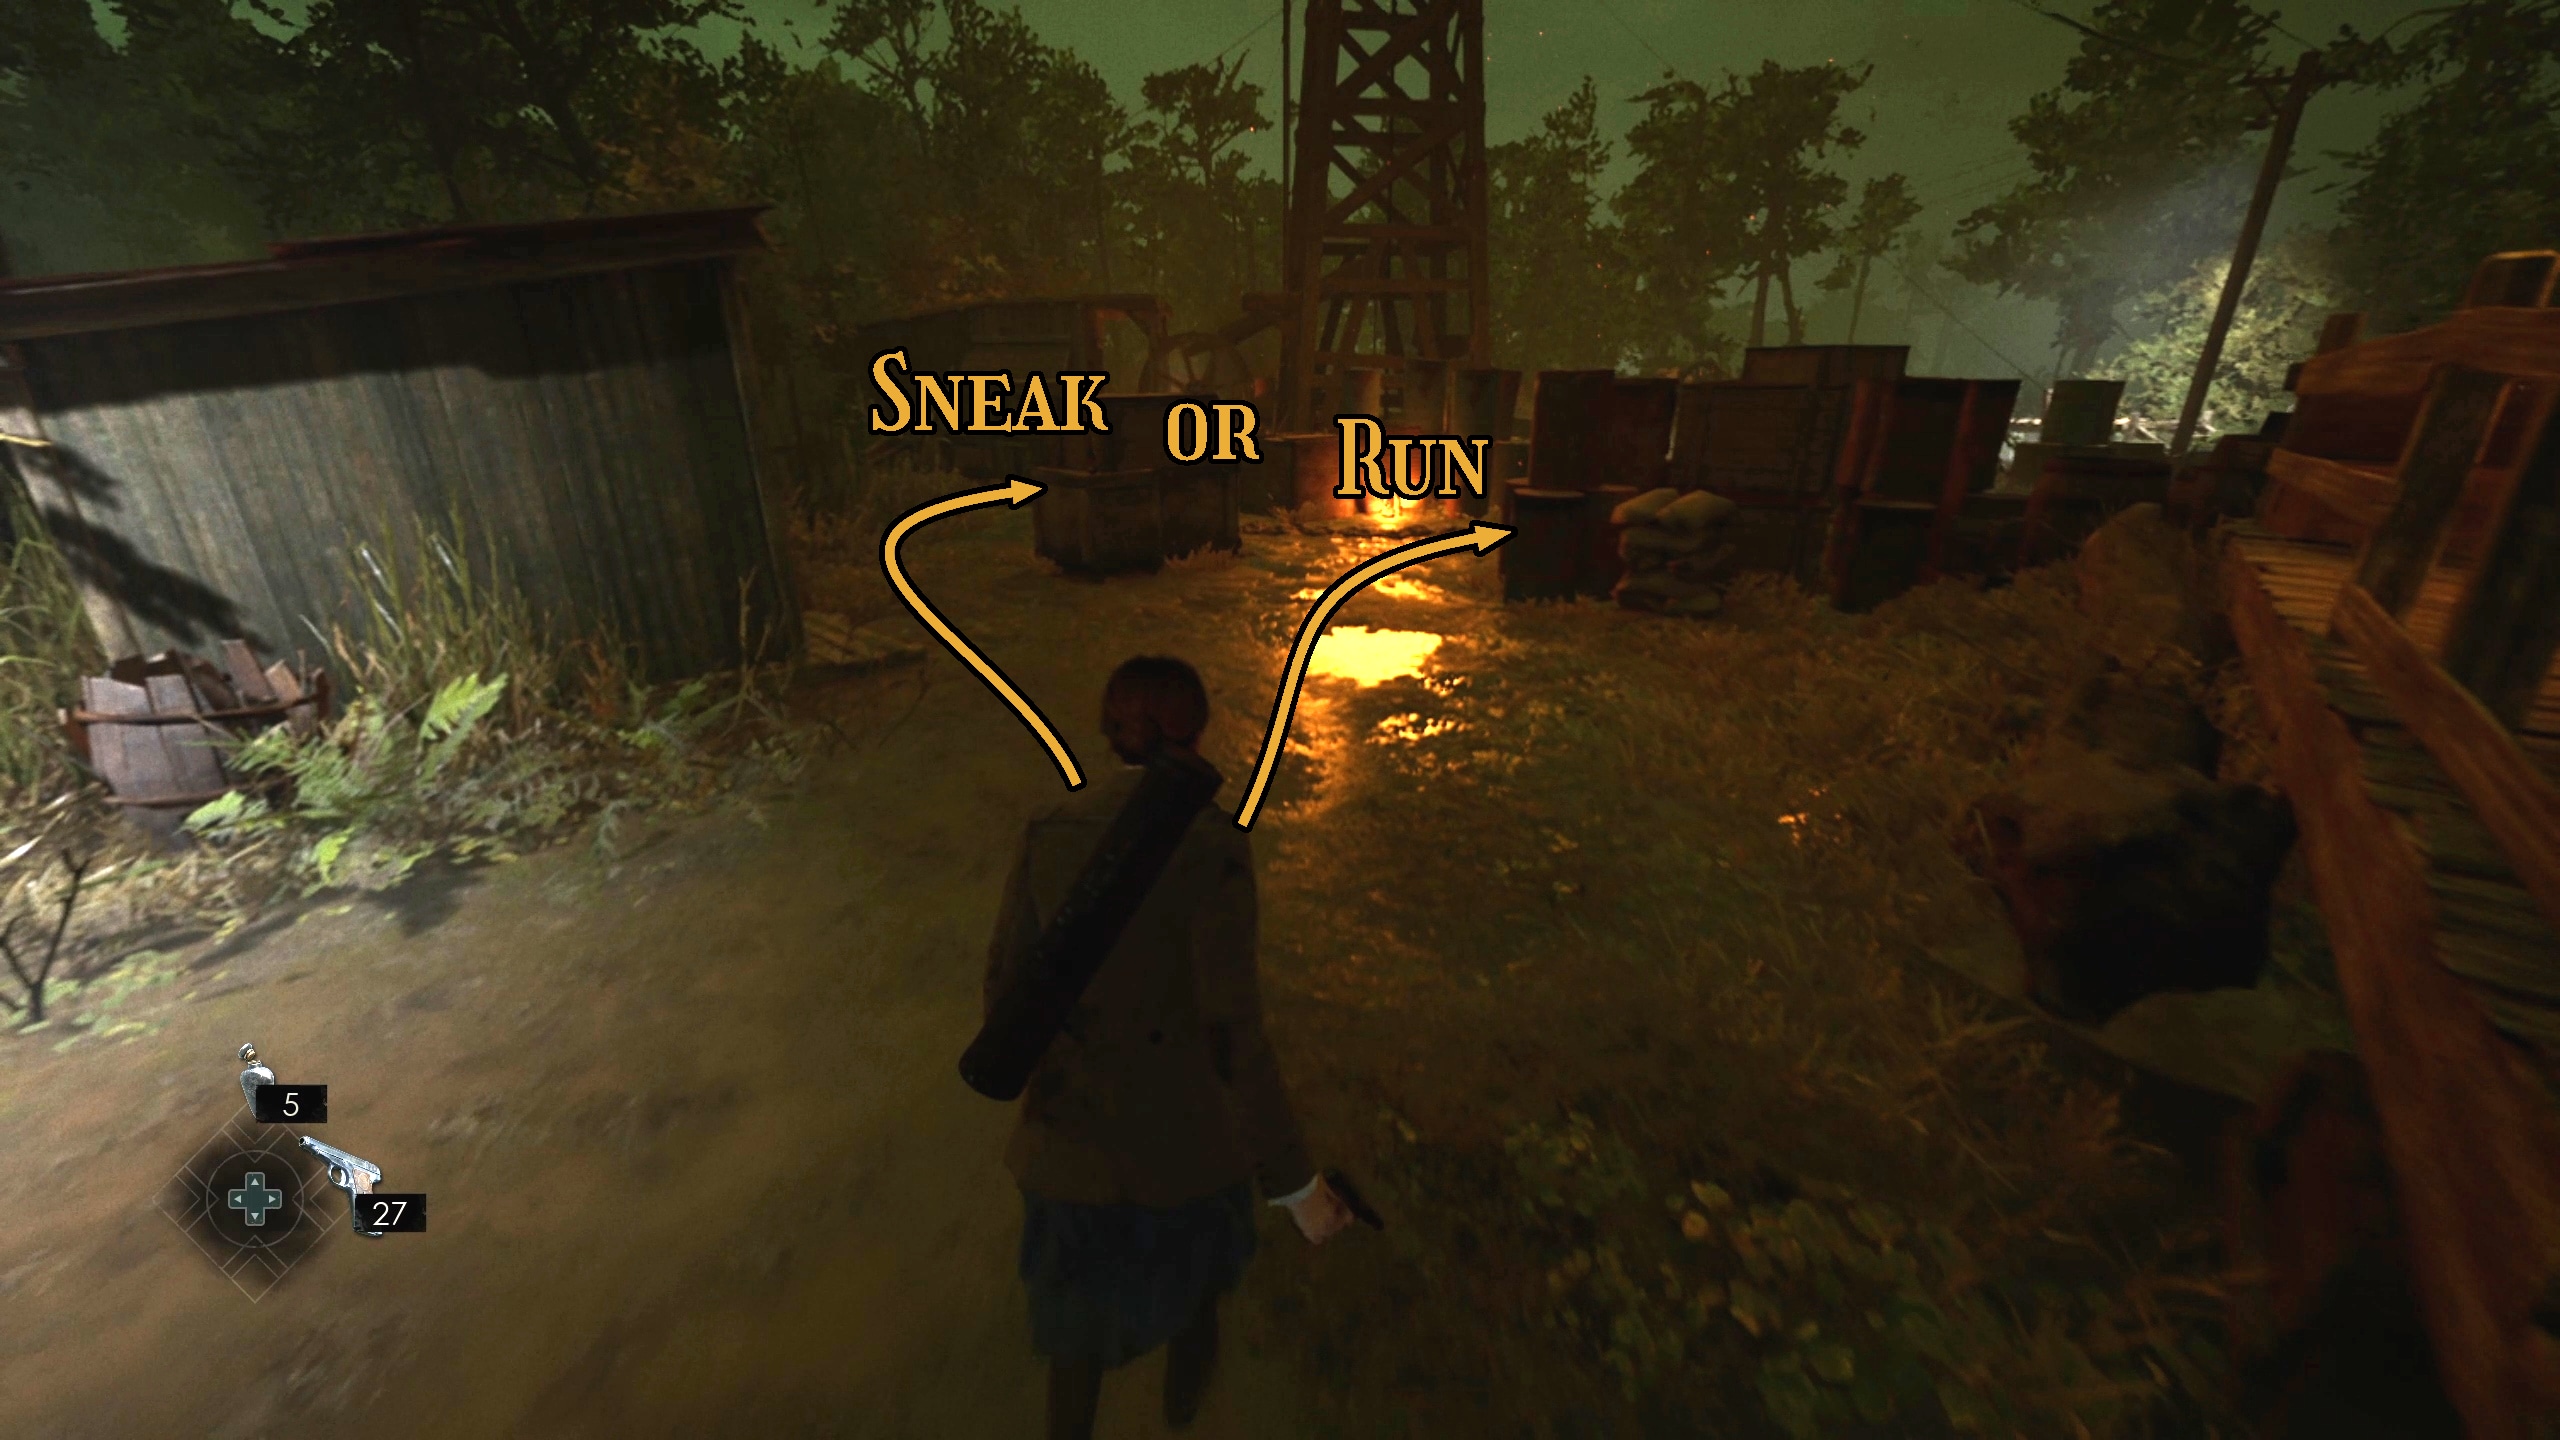
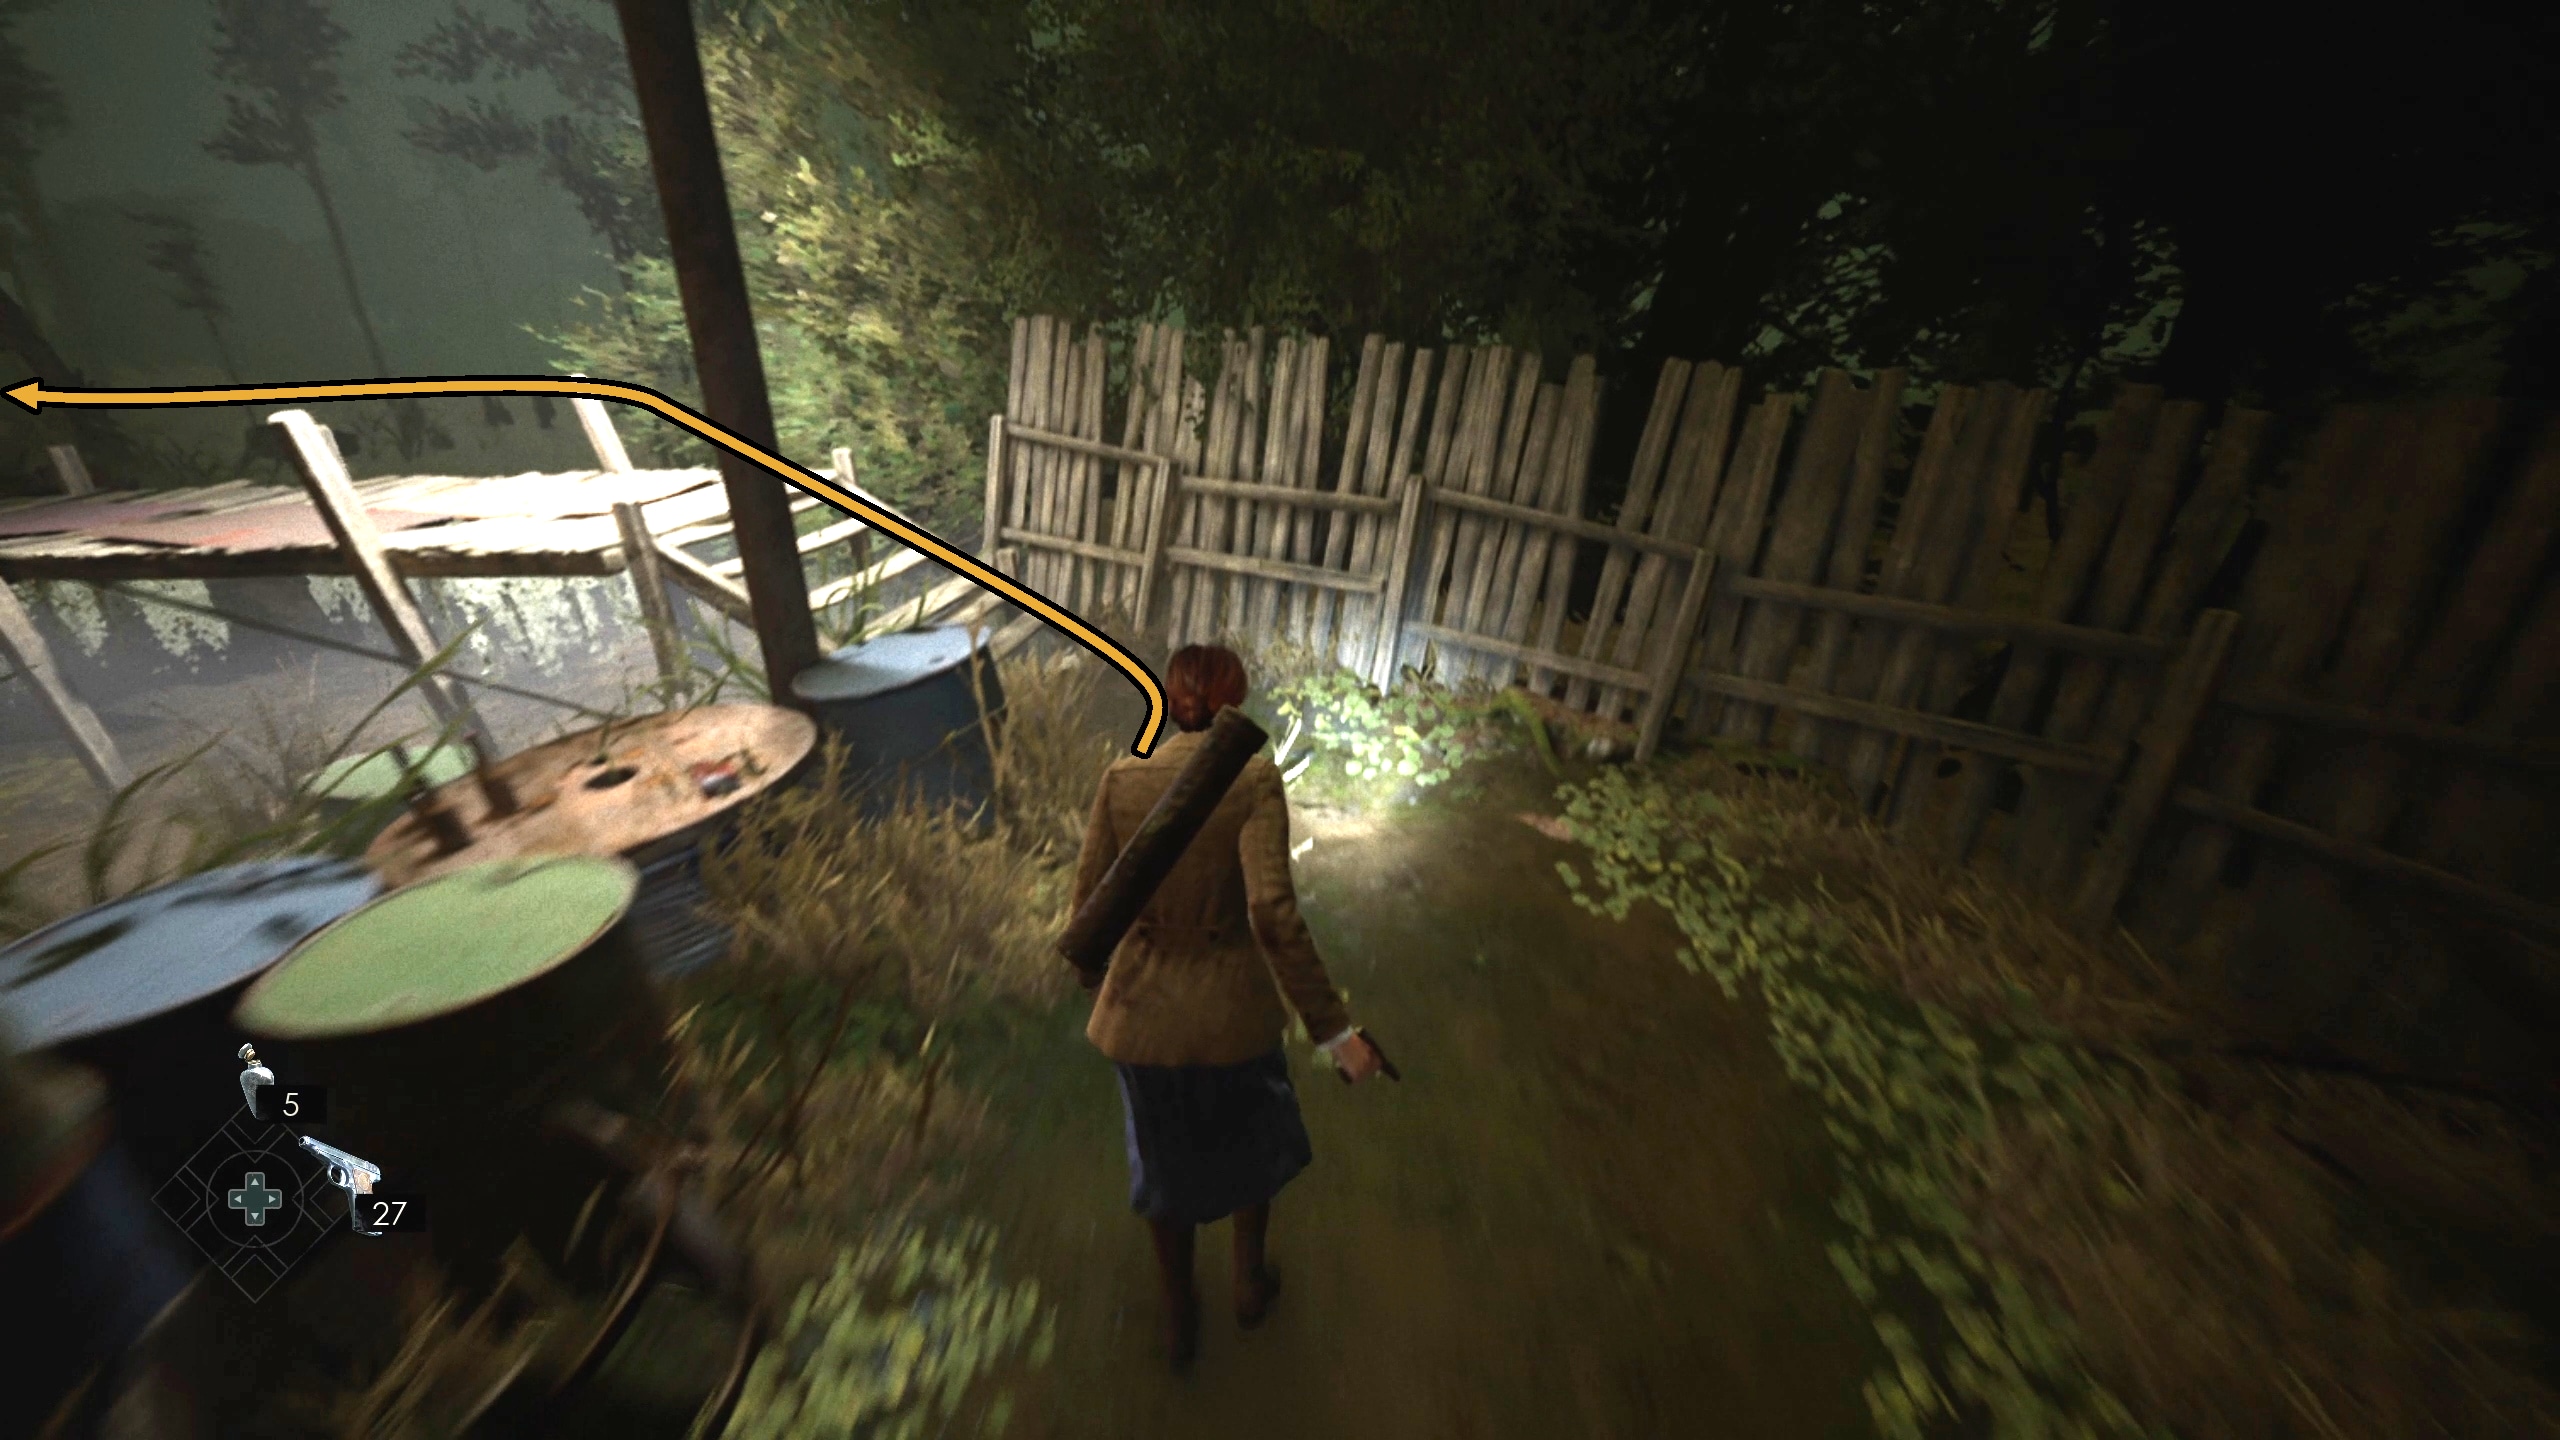
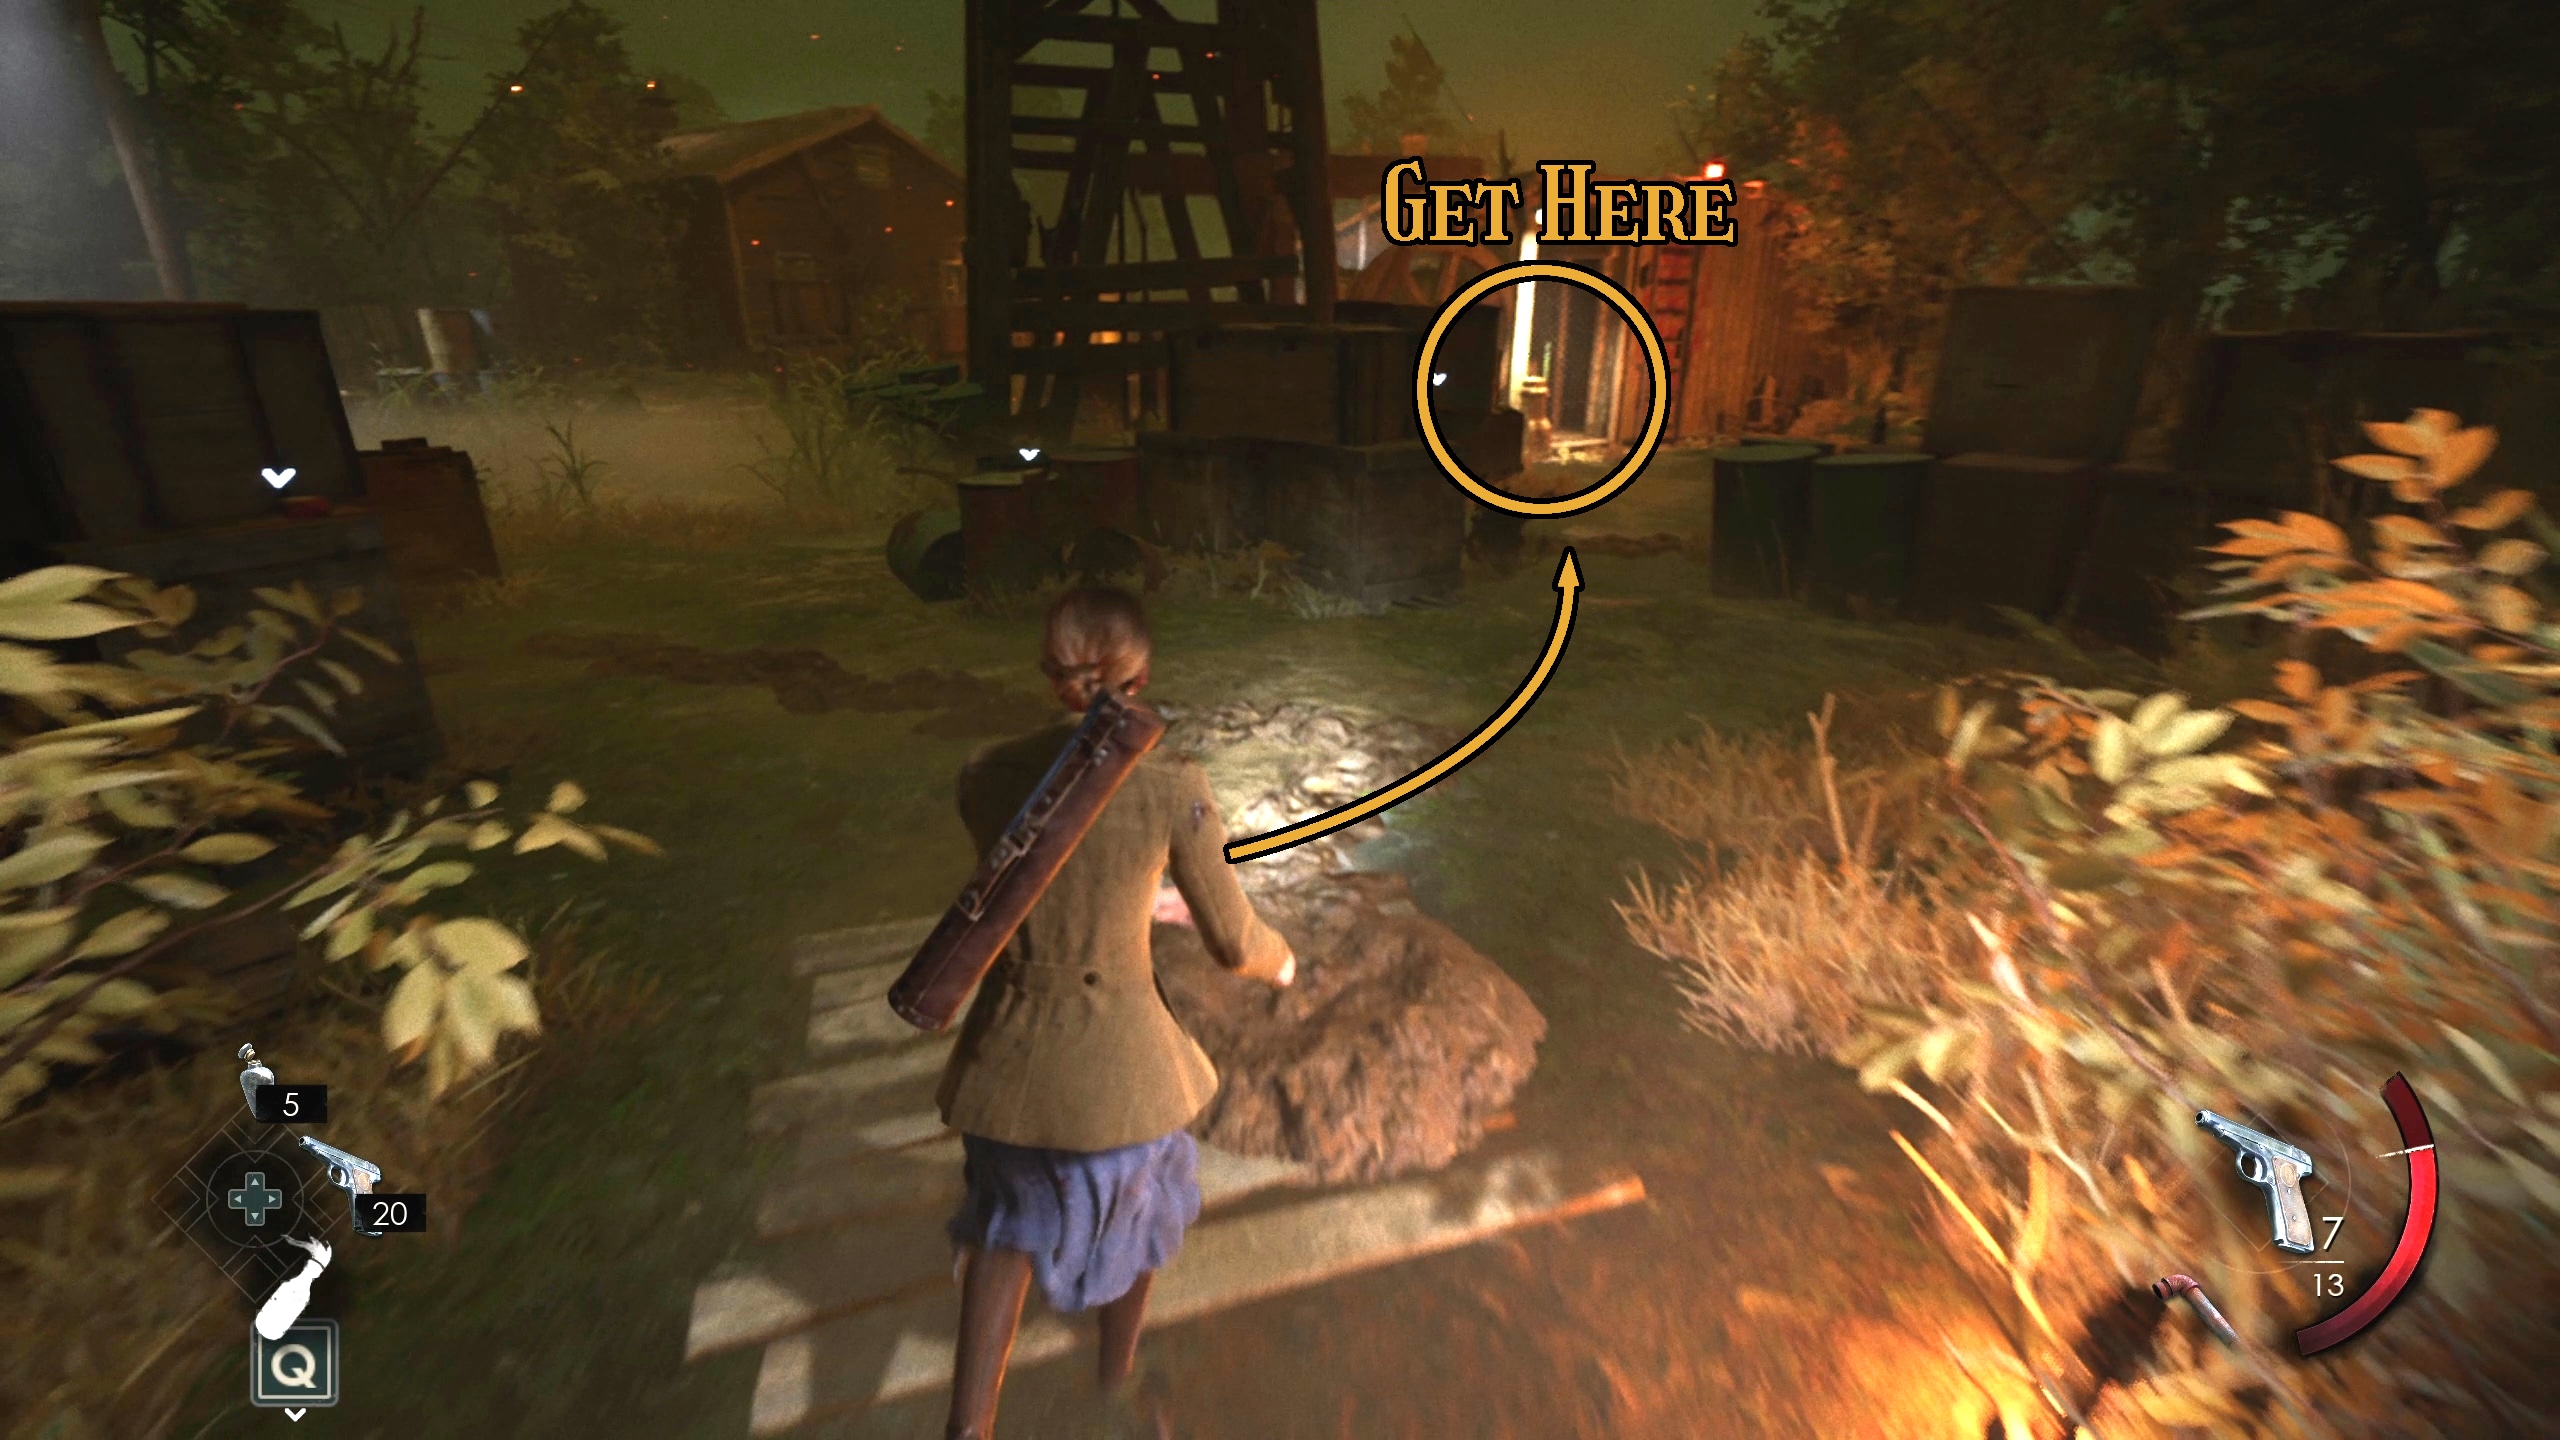
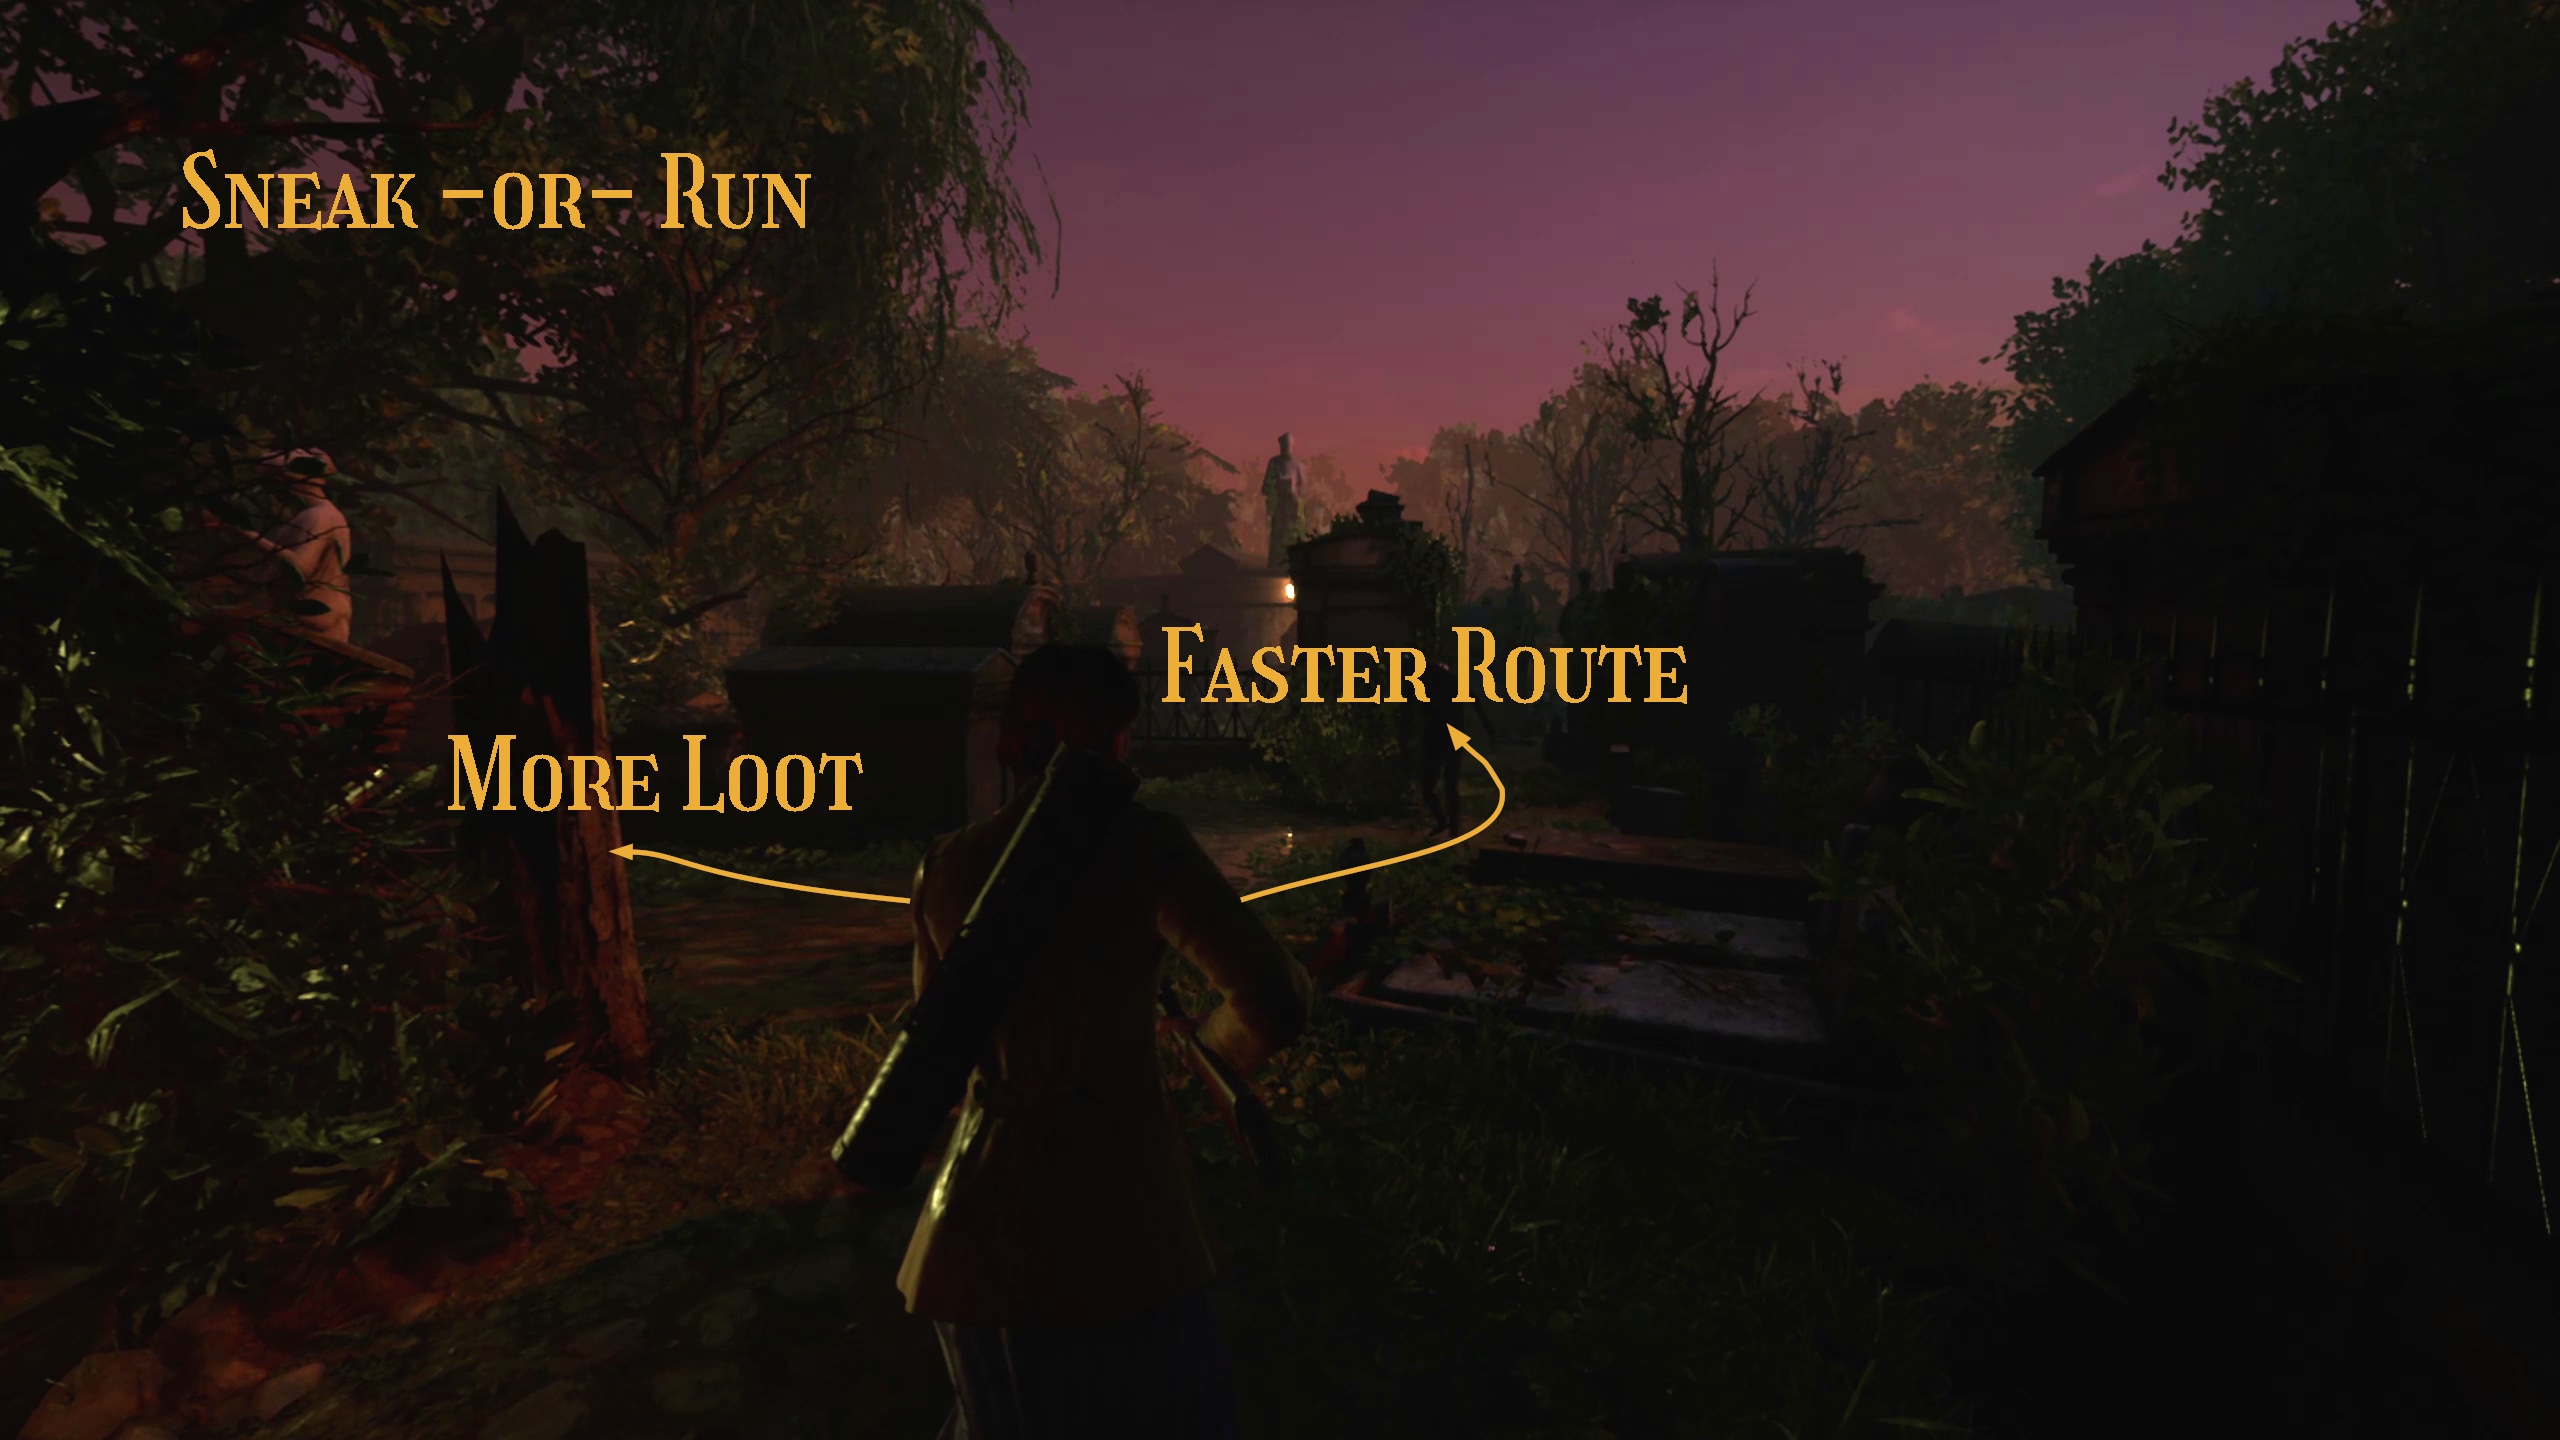
Once you’ve cleared the cabins, turn toward the oil rig. In this next section, you will have a choice: you can either choose to crouch down and sneak past the enemy burrowers, or you can just run (Image 81). Keep note that, while crouched, the burrowers can not see you, and so by manuevering to the left, you can simply avoid touching their dirt to avoid notifying them (Image 82). Otherwise, you can just run, looking to the right, until you reach an illuminated wooden walkway (Image 83), which will have loot at the end of it (Image 84).
81828384
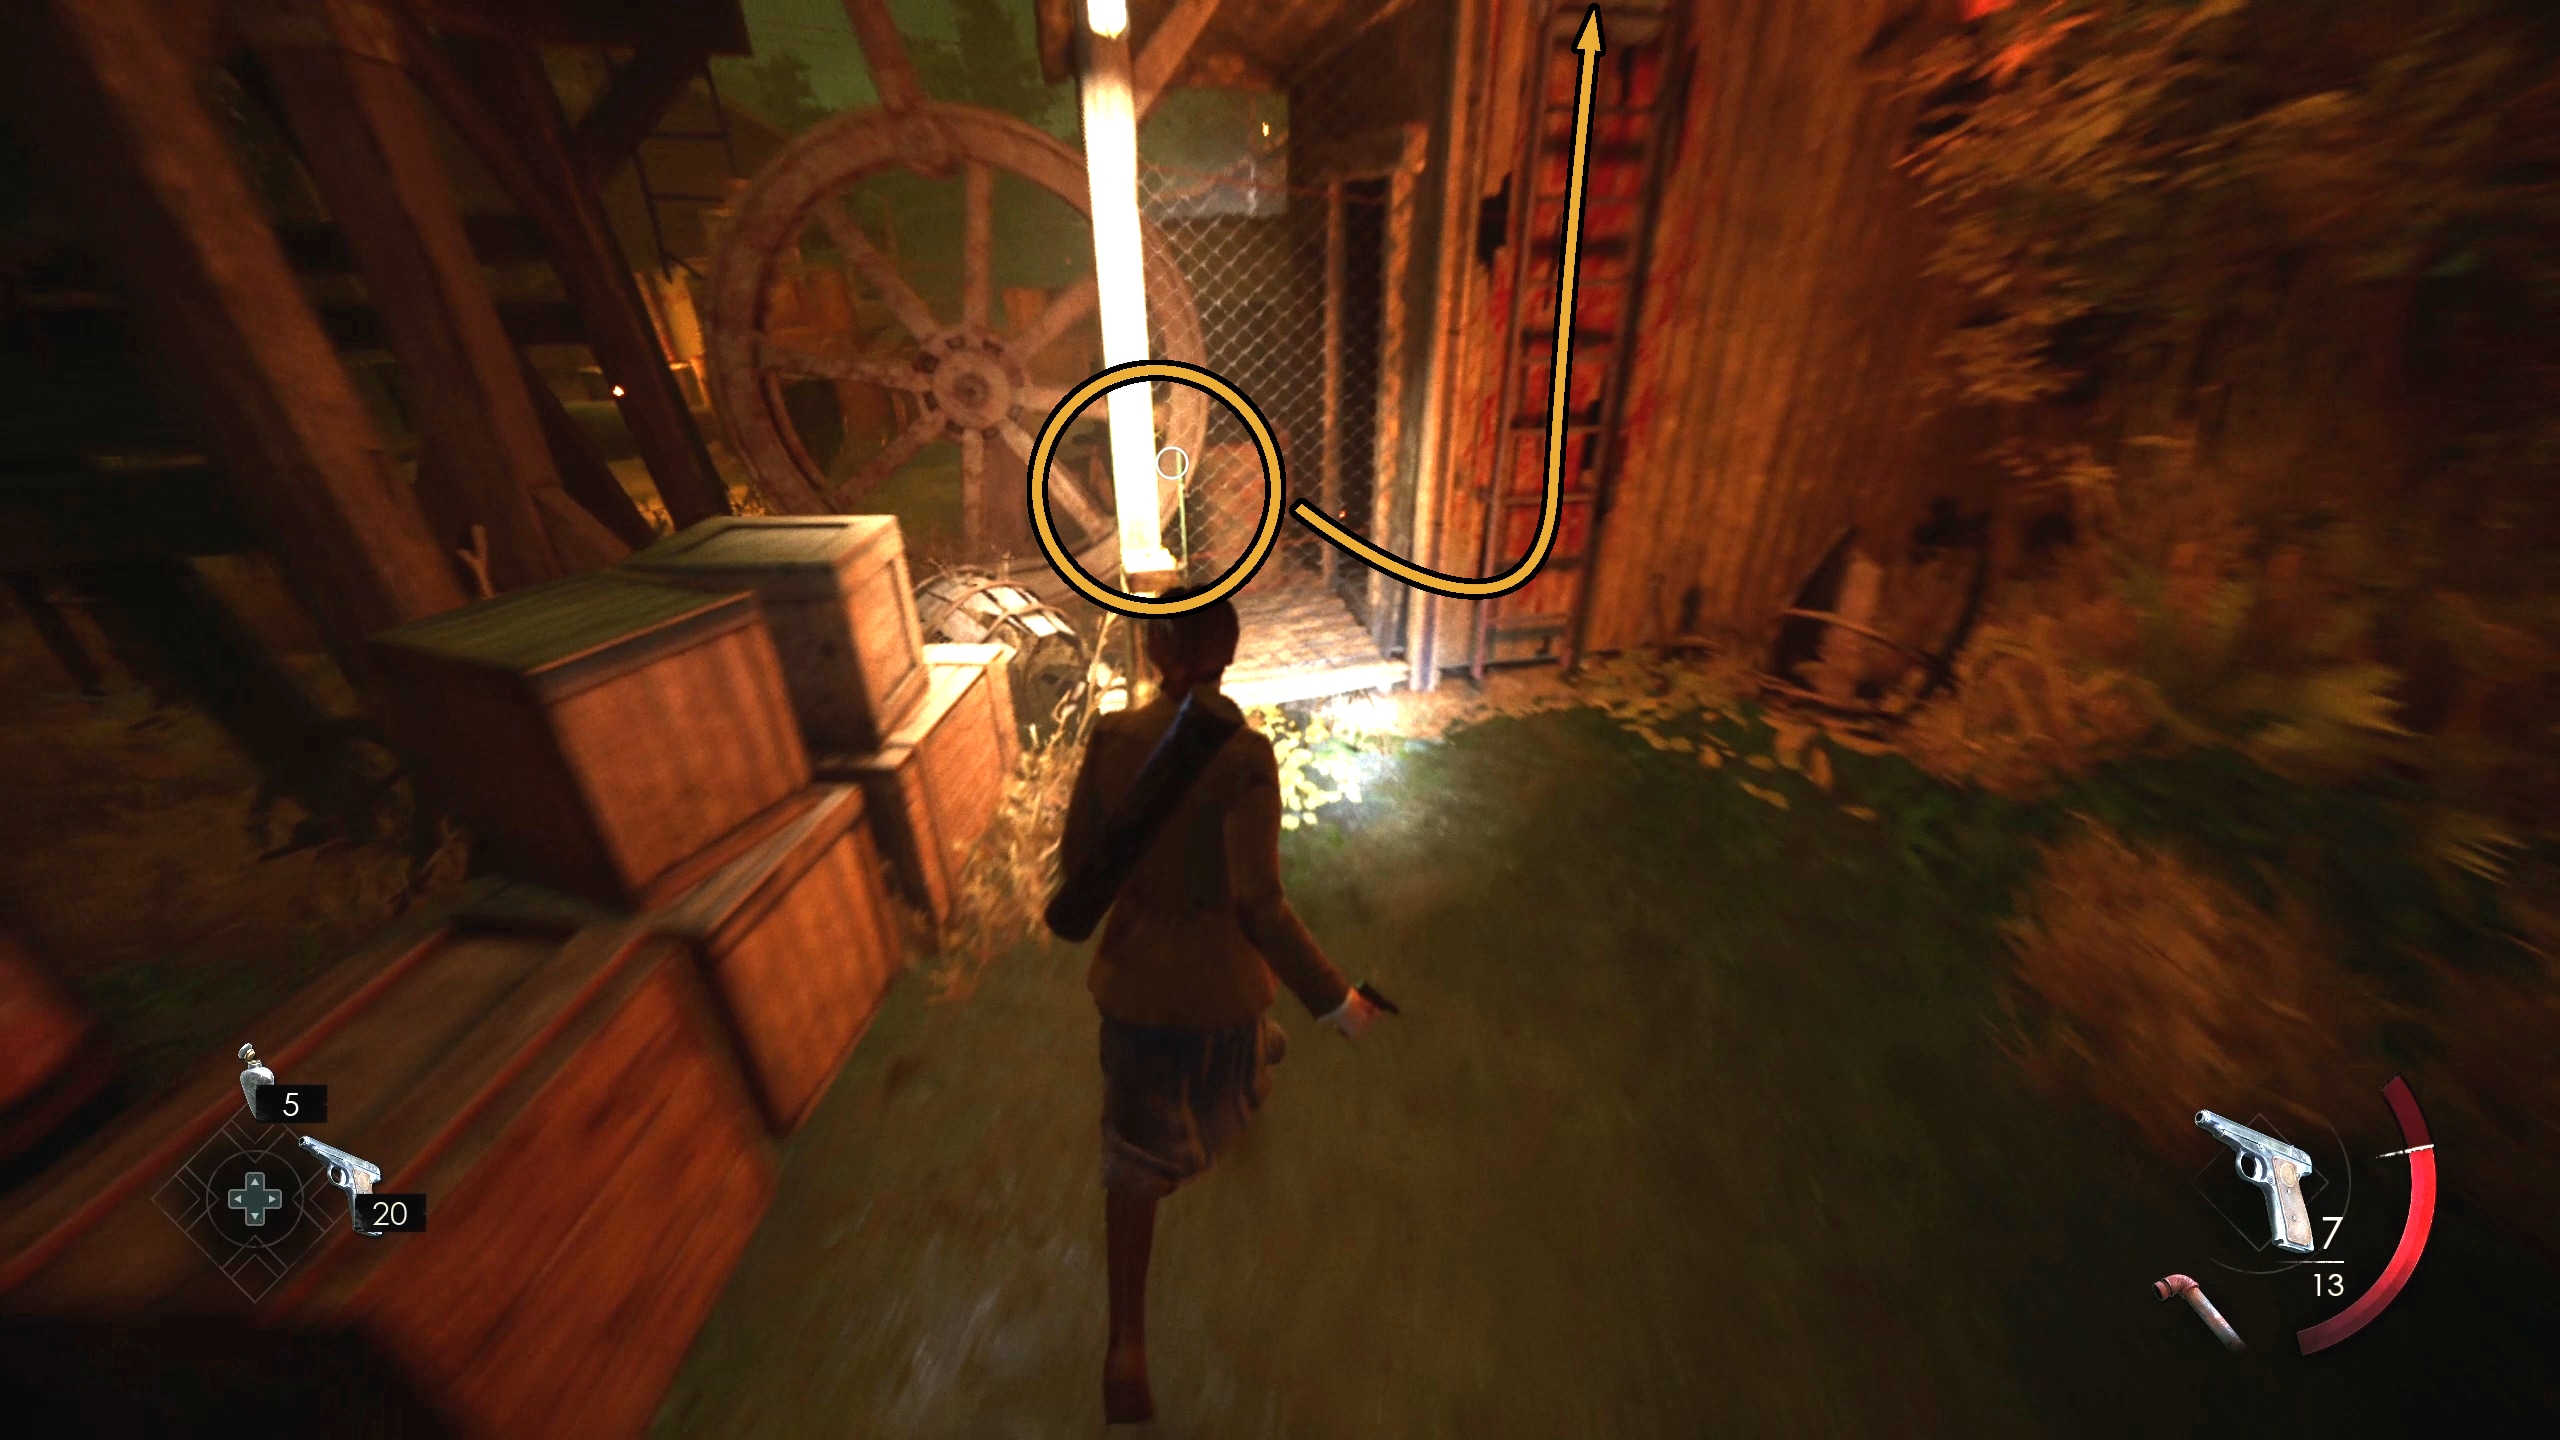
If you approach the next area after having run, the burrowers in the next section might be notified (Image 85). Regardless, however, you simply need to reach a lever right next to the oil rig (Image 86), and then climb the ladder afterward (Image 87).
You can usually outrun all the enemies to do this, and you’ll be safe if you reach the ladder. Or you could opt to fight or sneak past the enemy. Either way, once you are on top of the small building, you can cross the gap above the flames you caused and go up another ladder (Image 88).
85868788
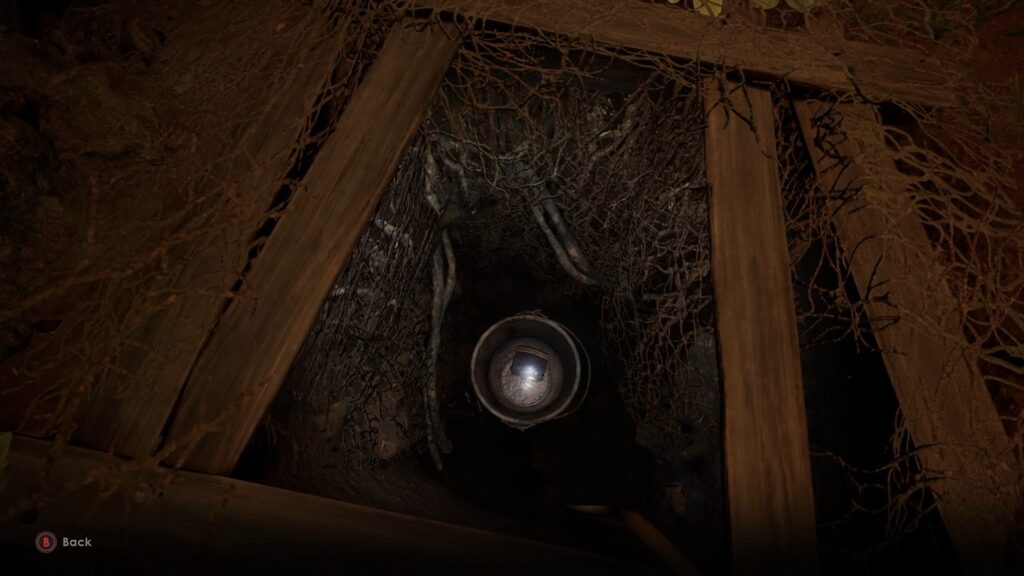
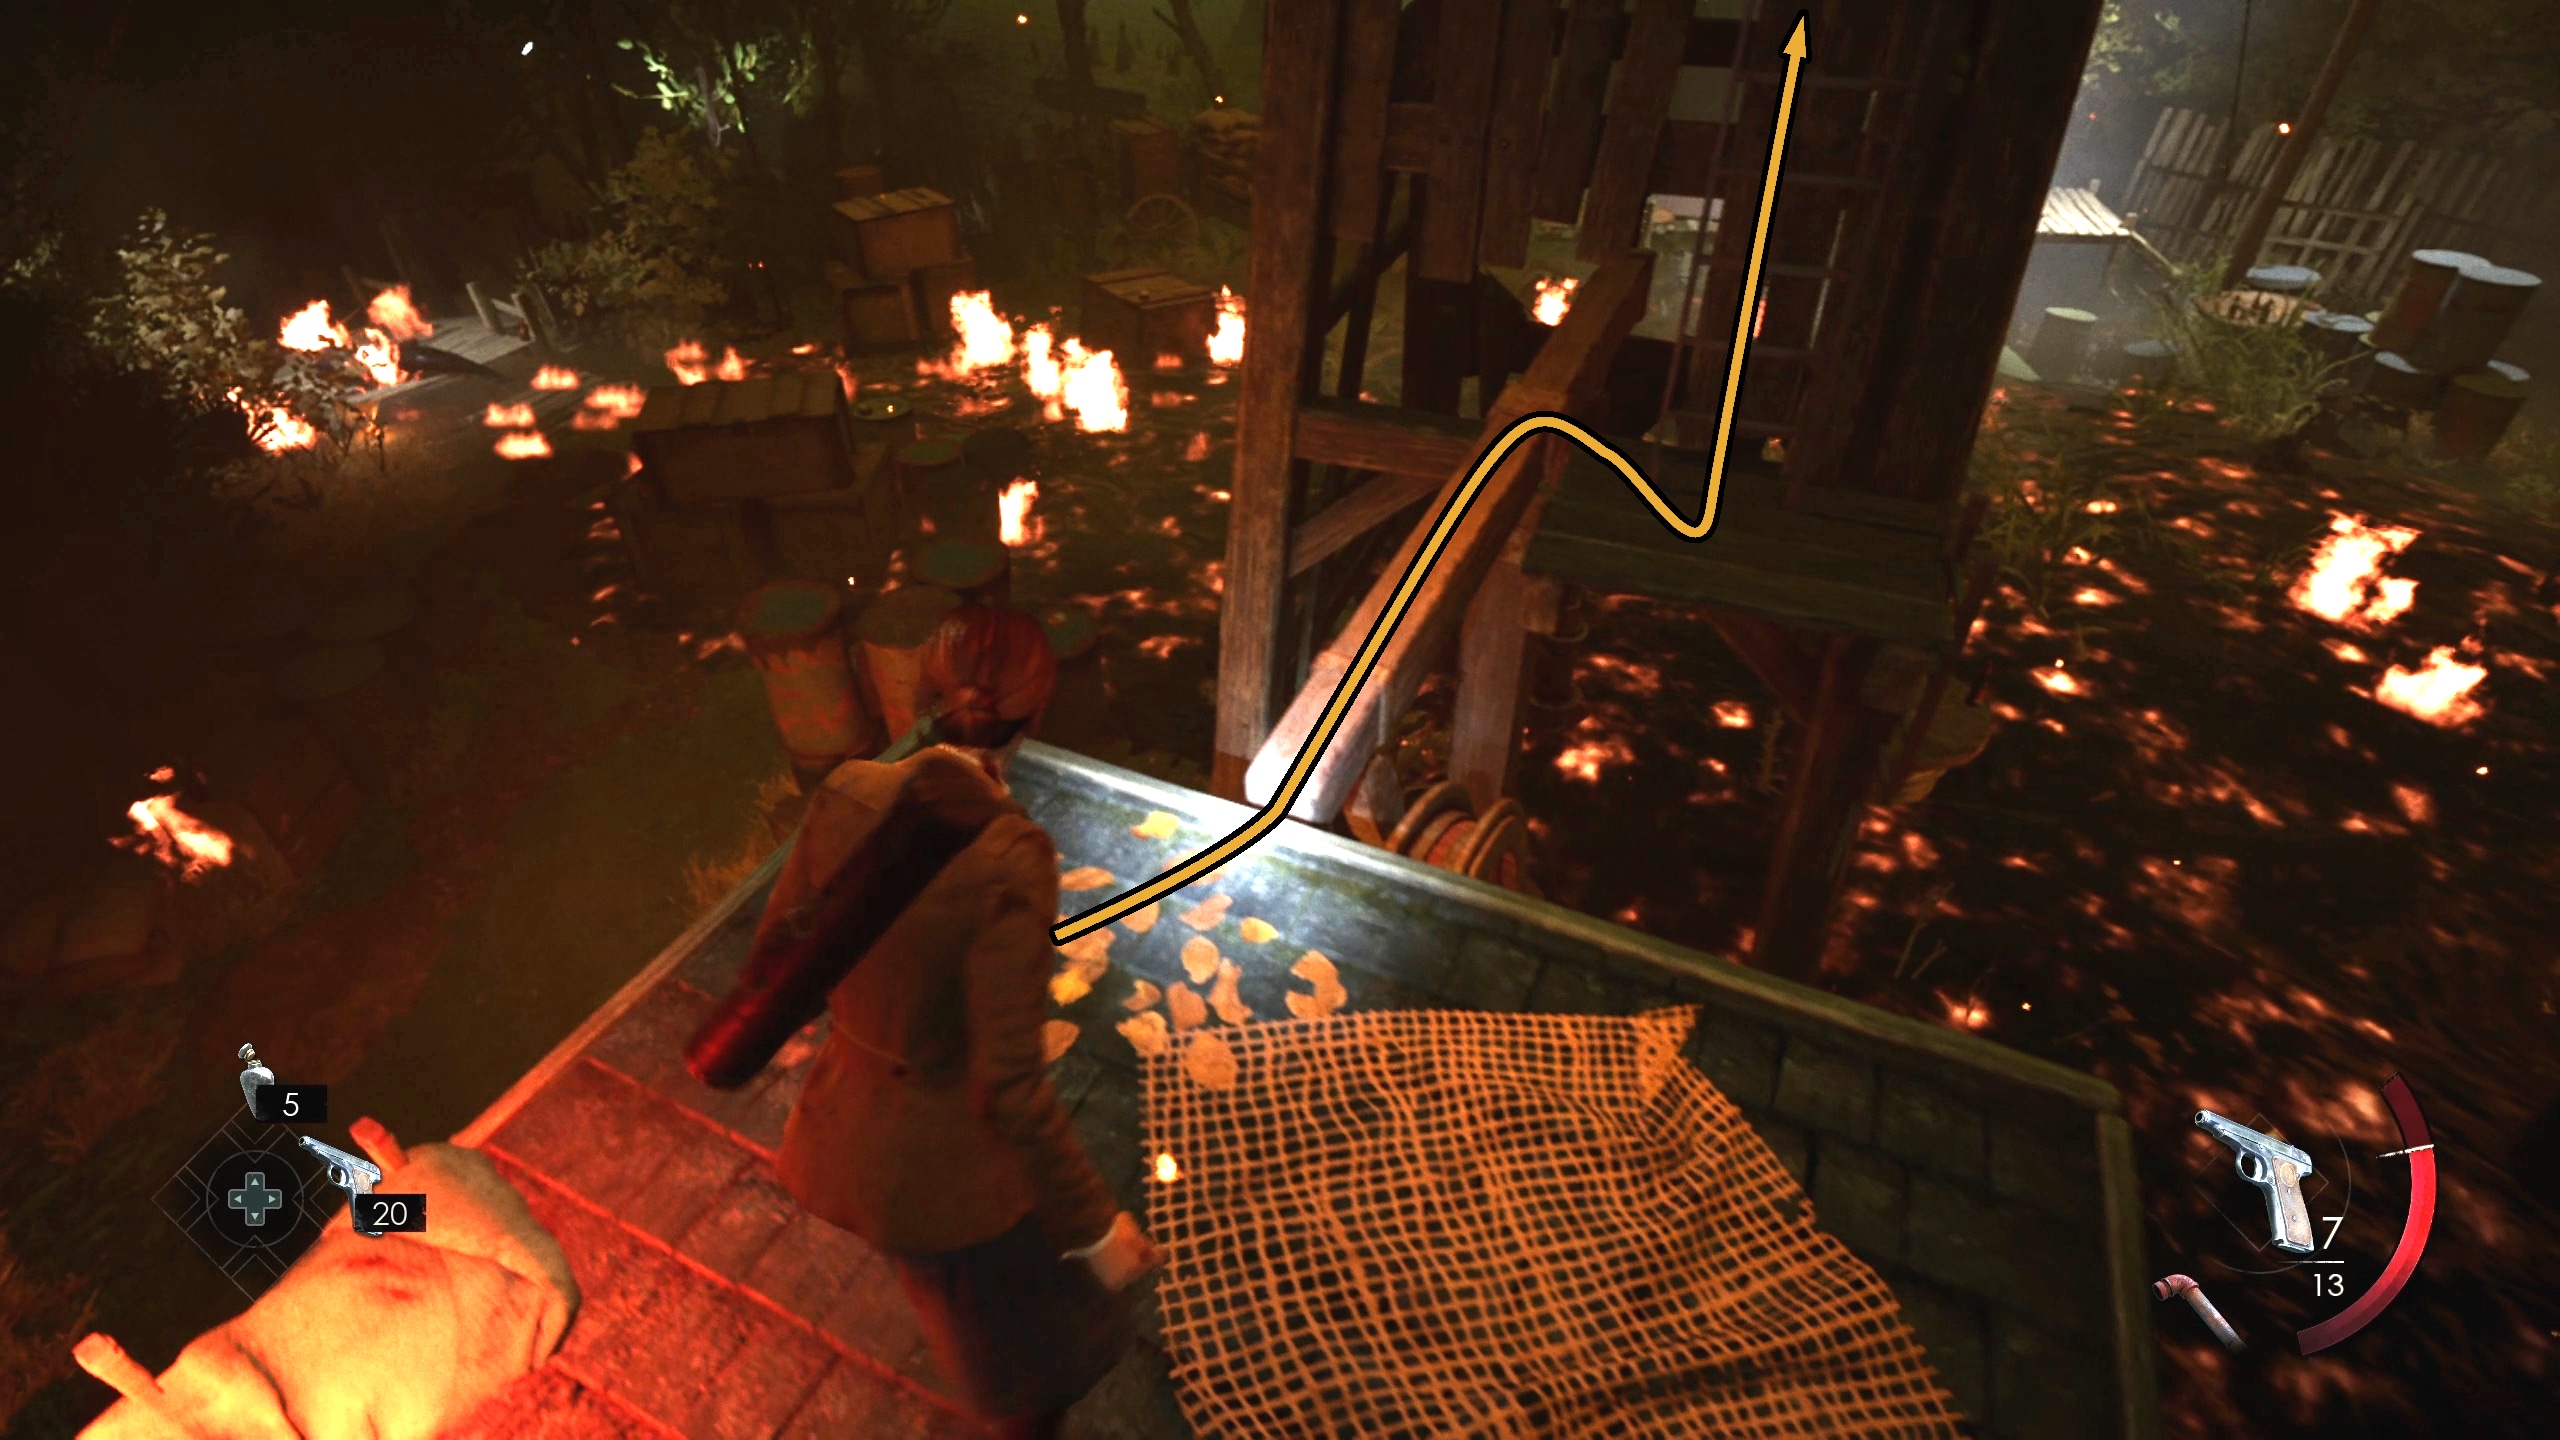
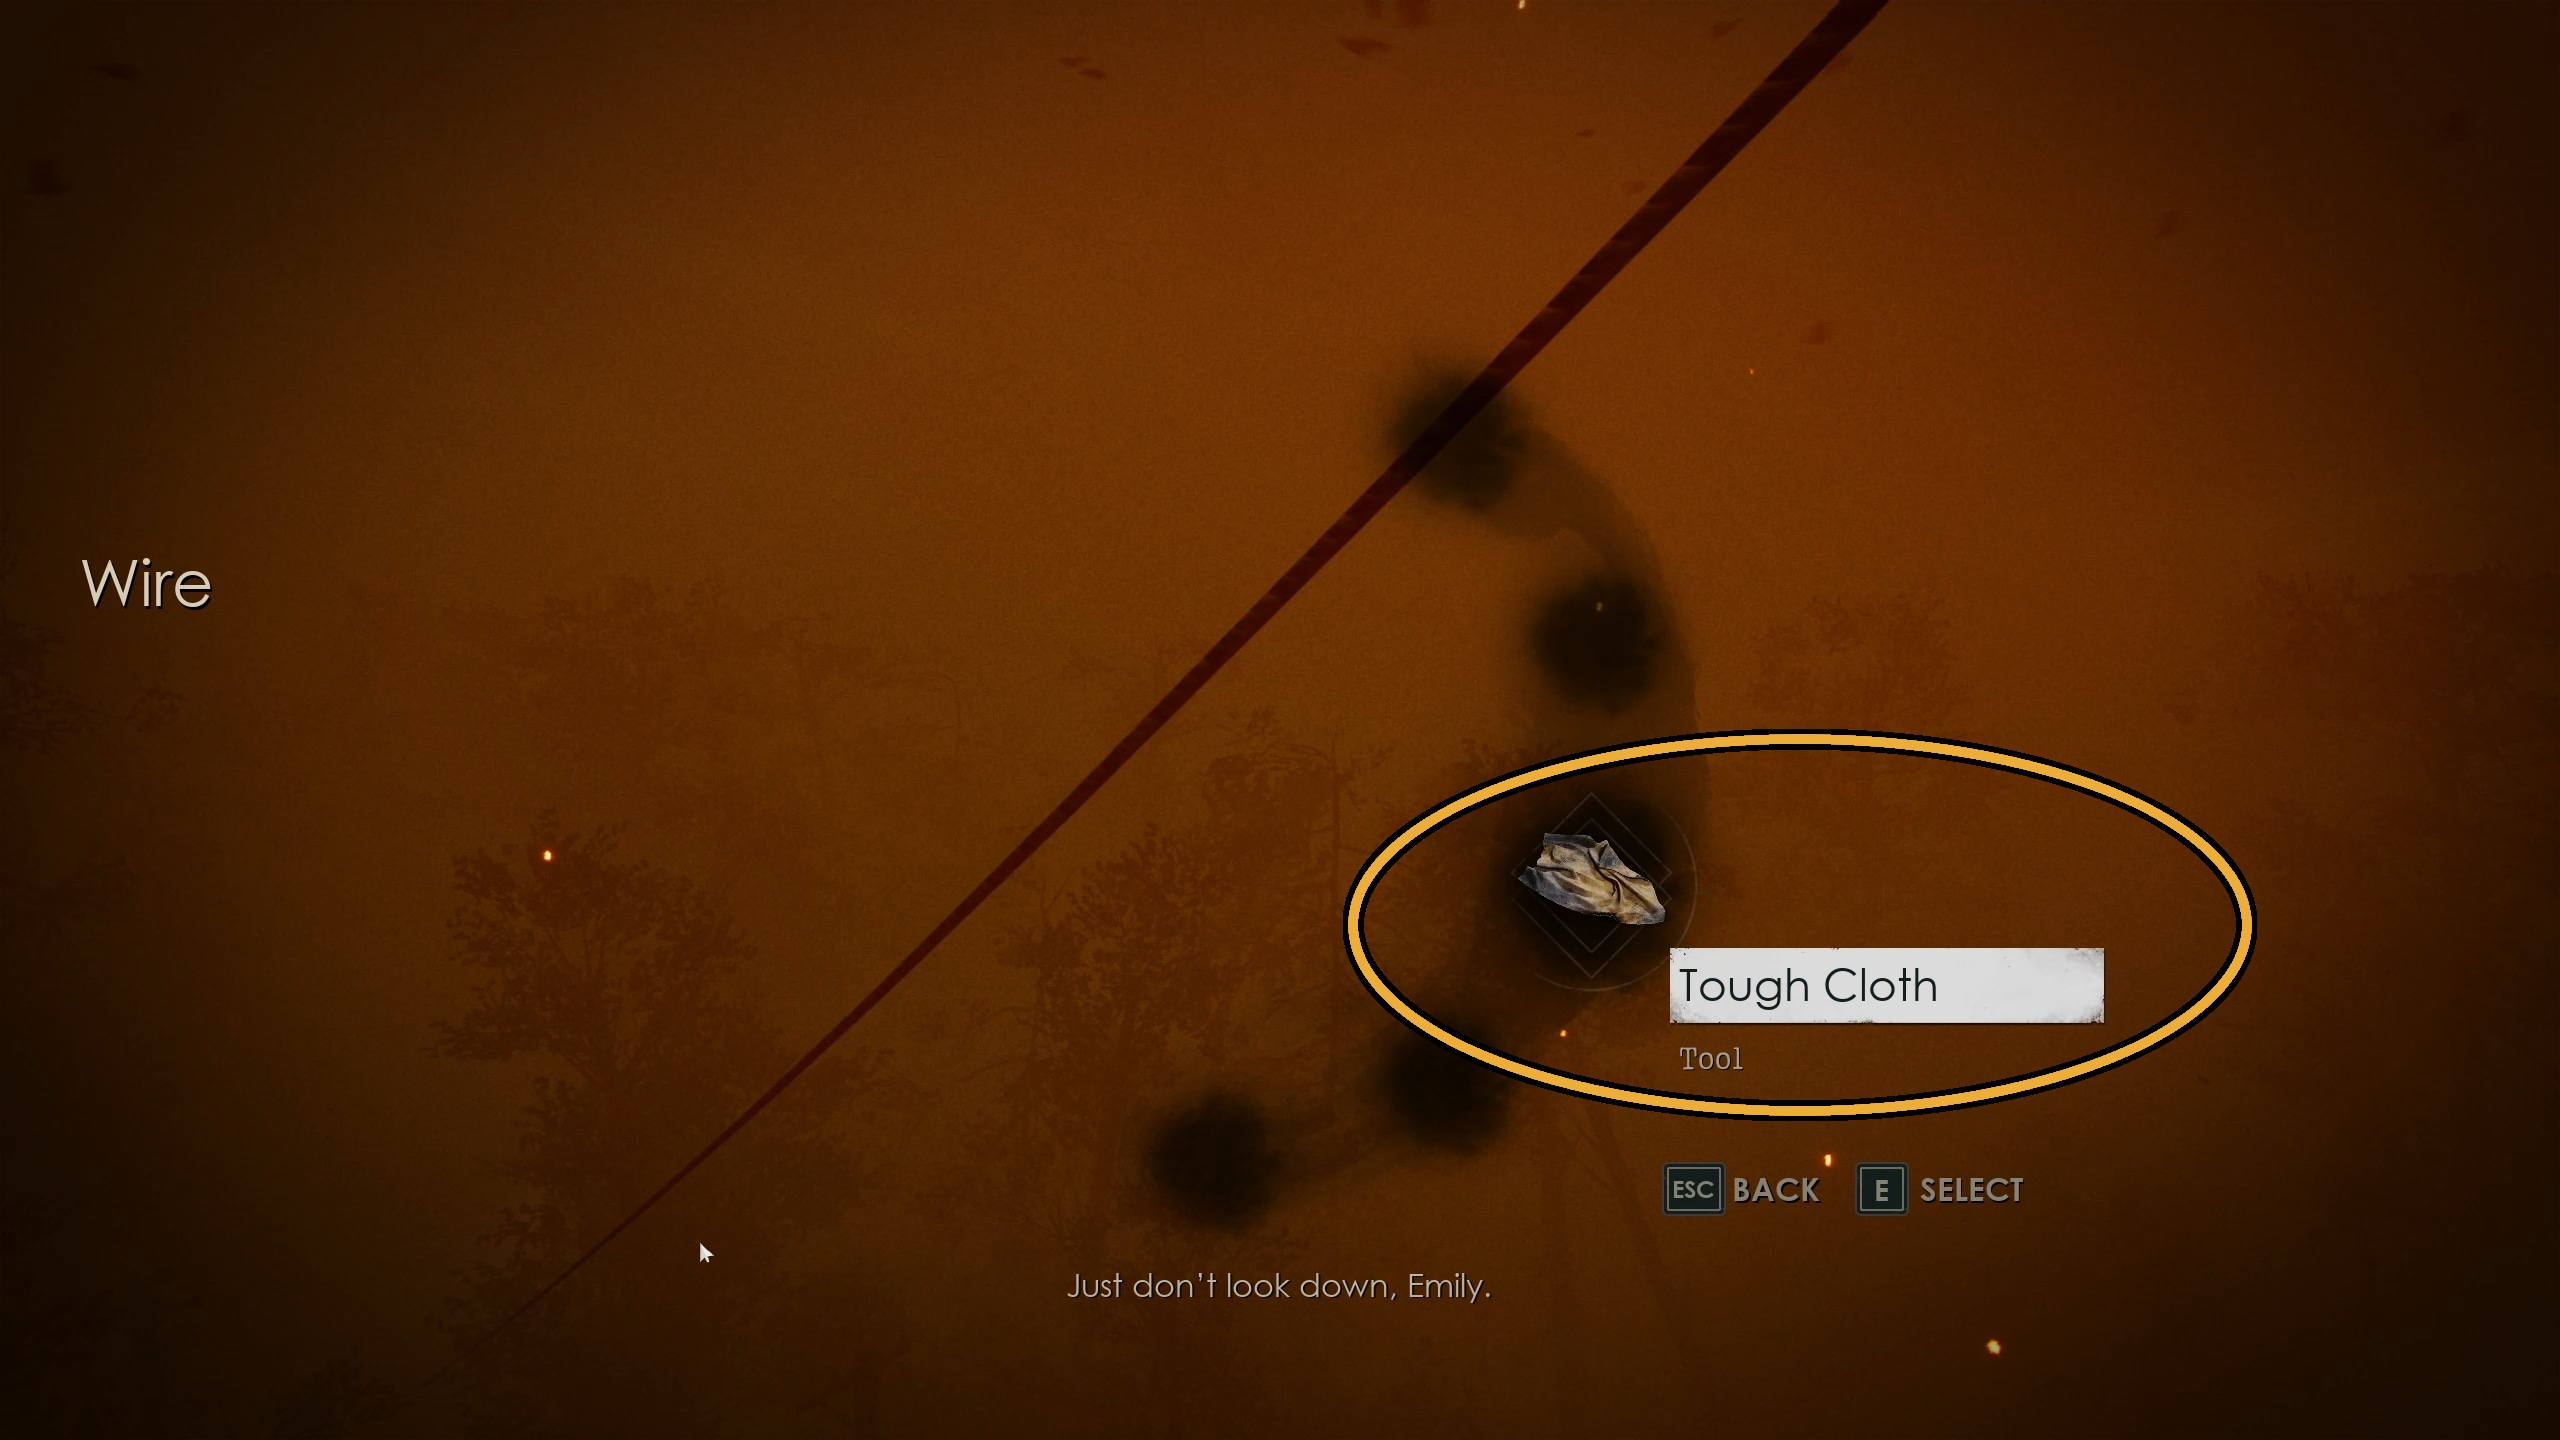
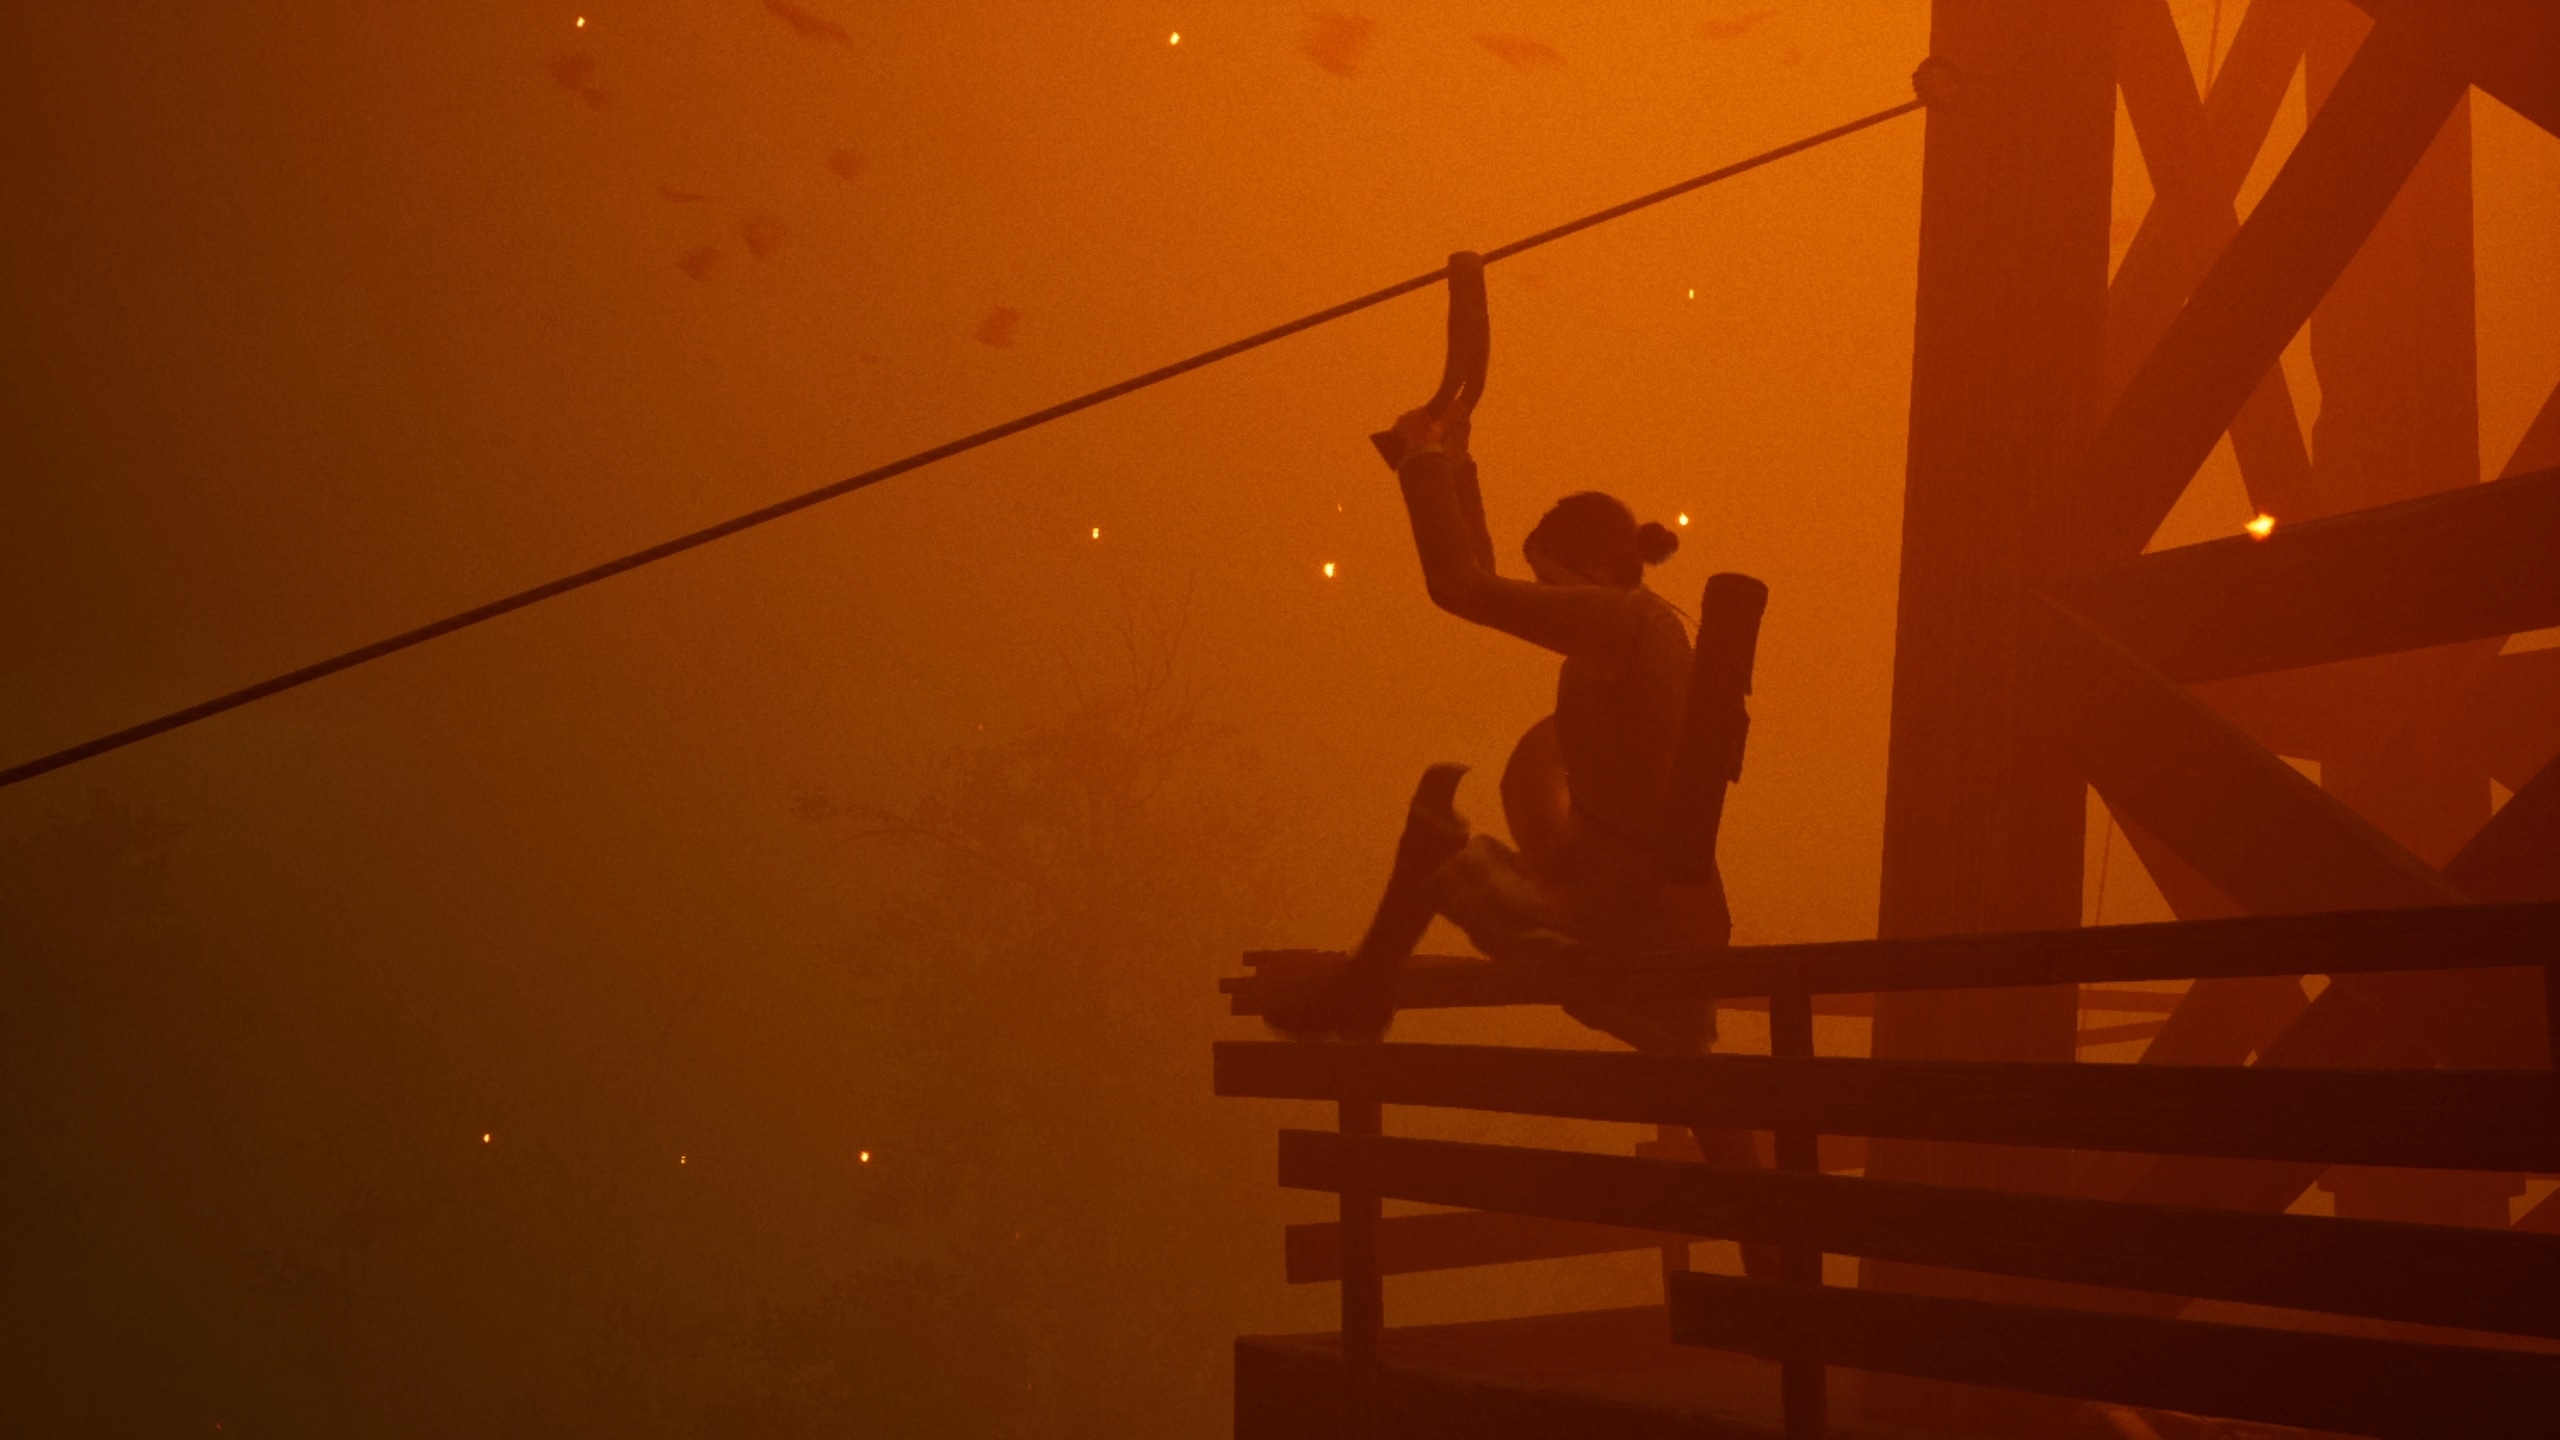
Once on top, you’ll want to follow the railing around until you find a piece of tough cloth (Image 89). Bring this back to a wire leading down out of the oil rig (Image 90) and then you’ll rappel down it (Image 91).
899091
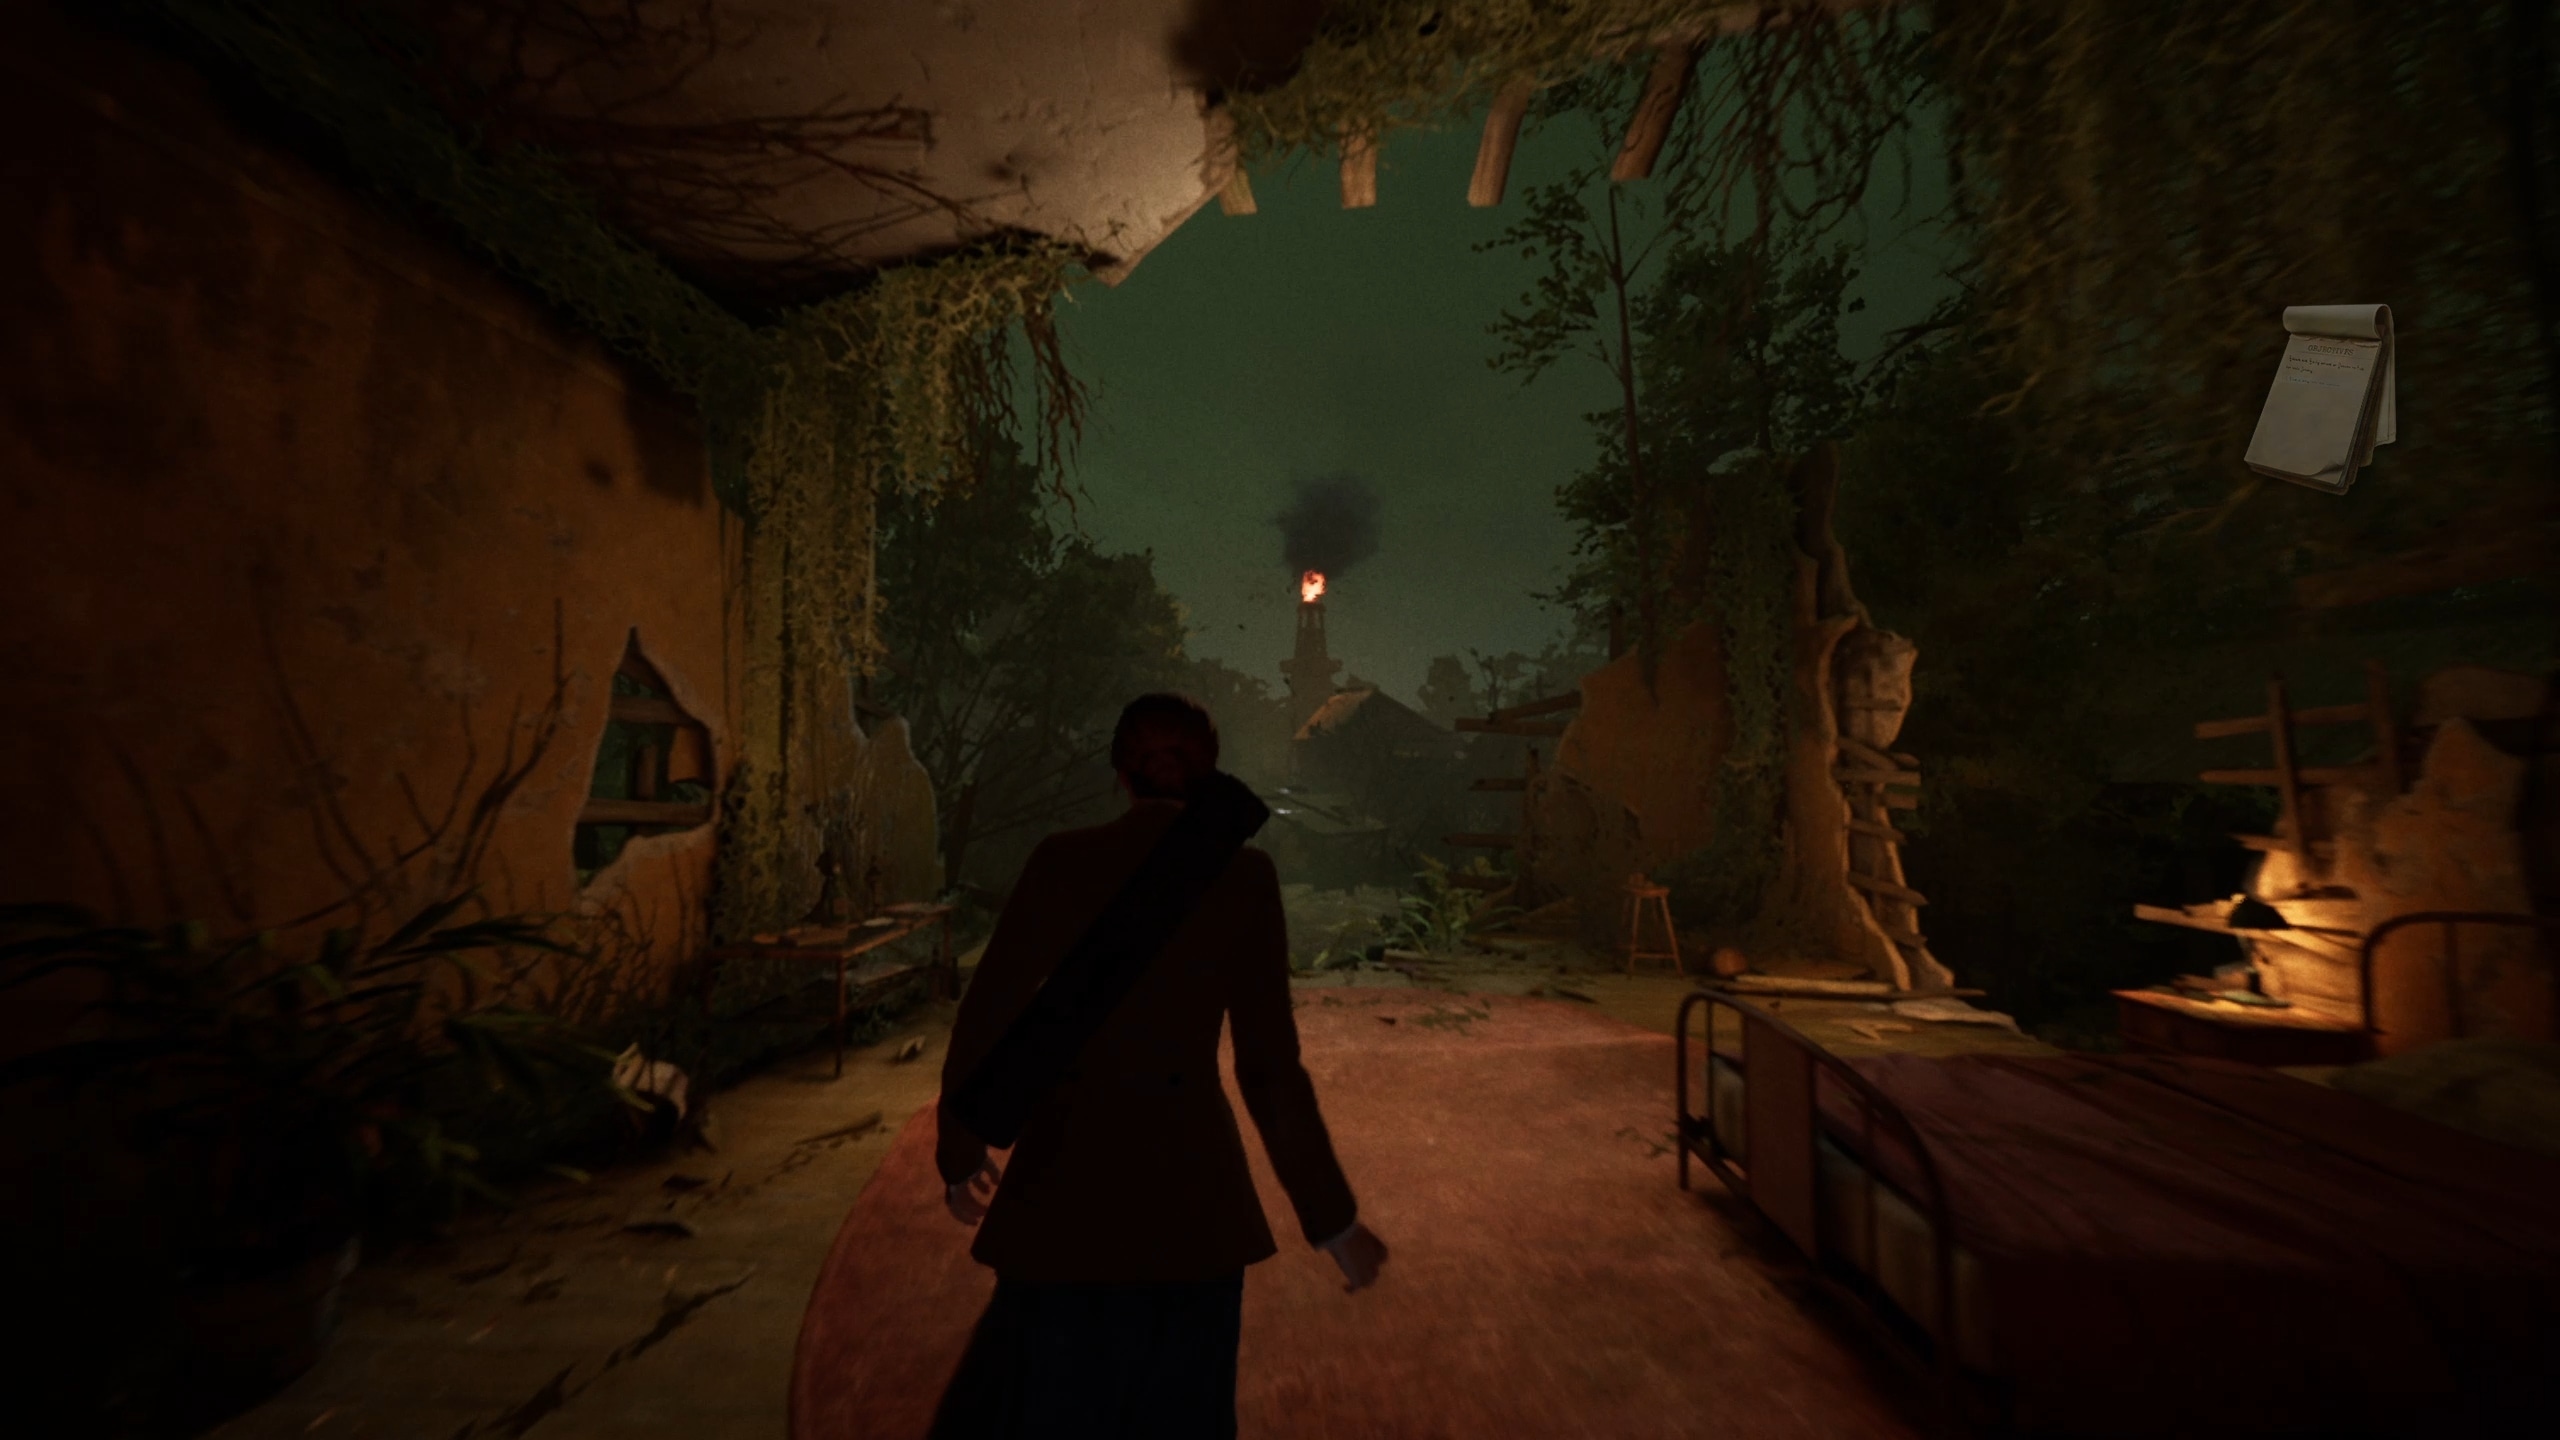
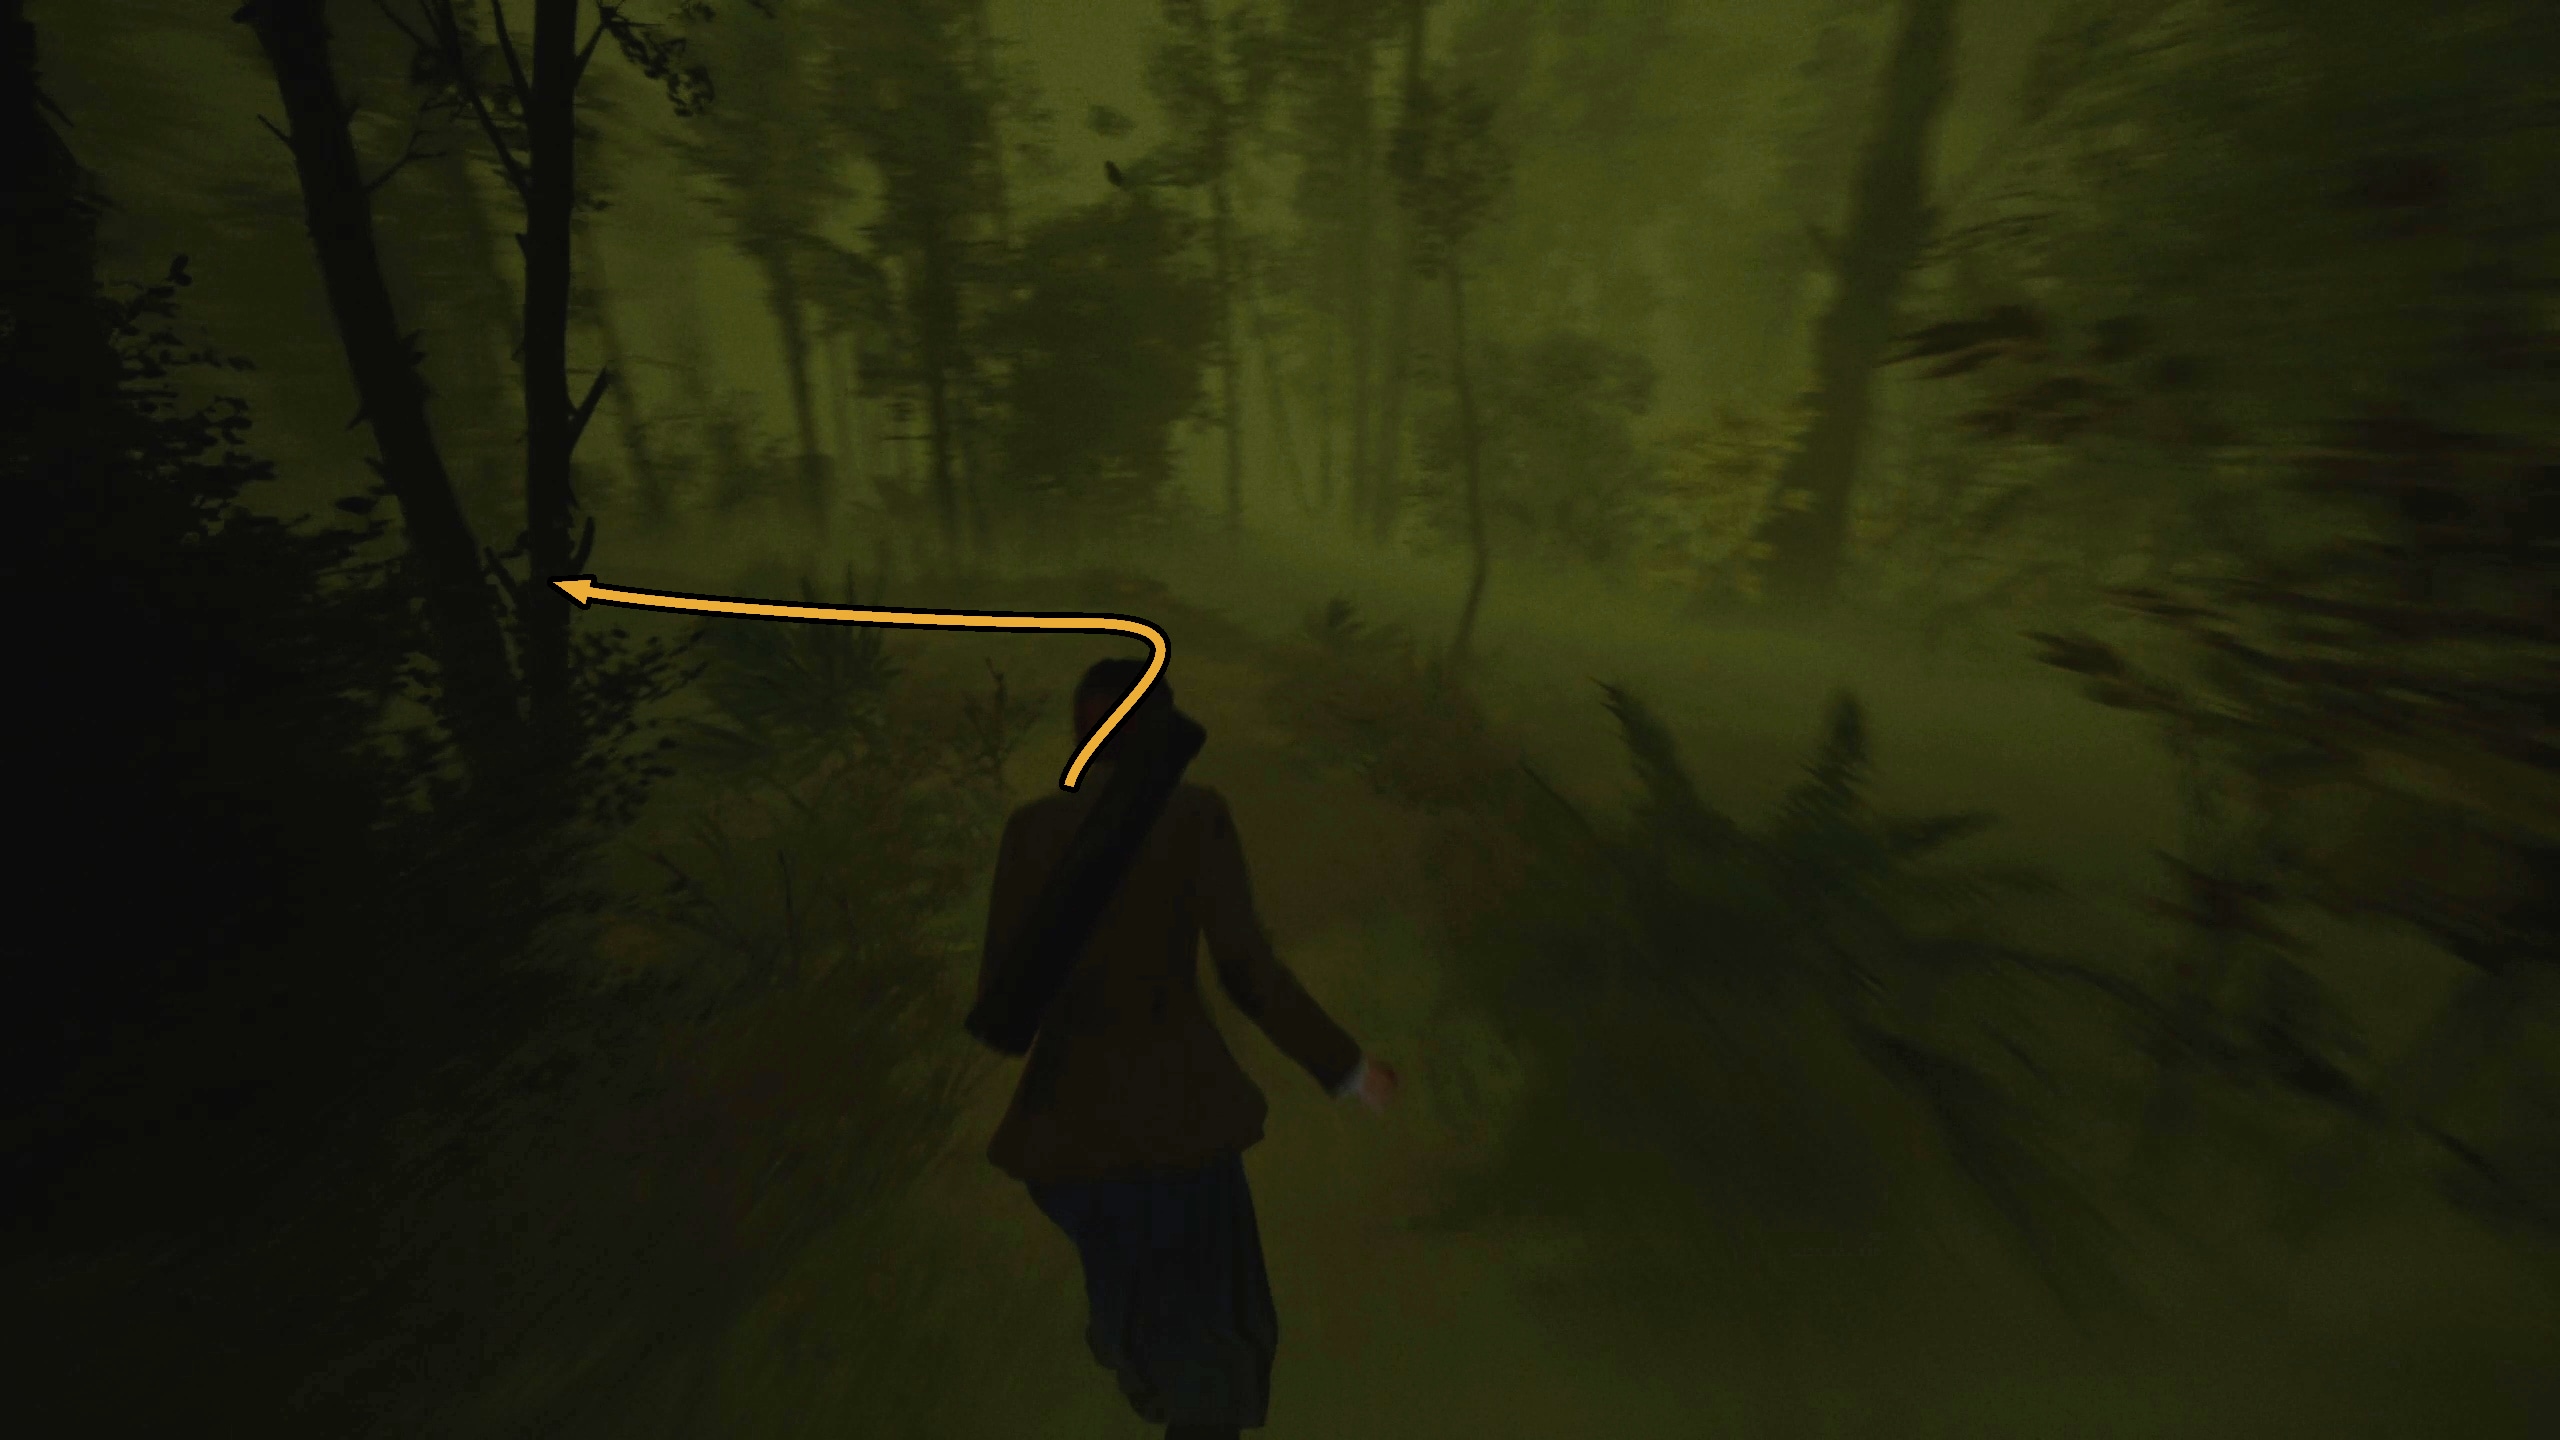
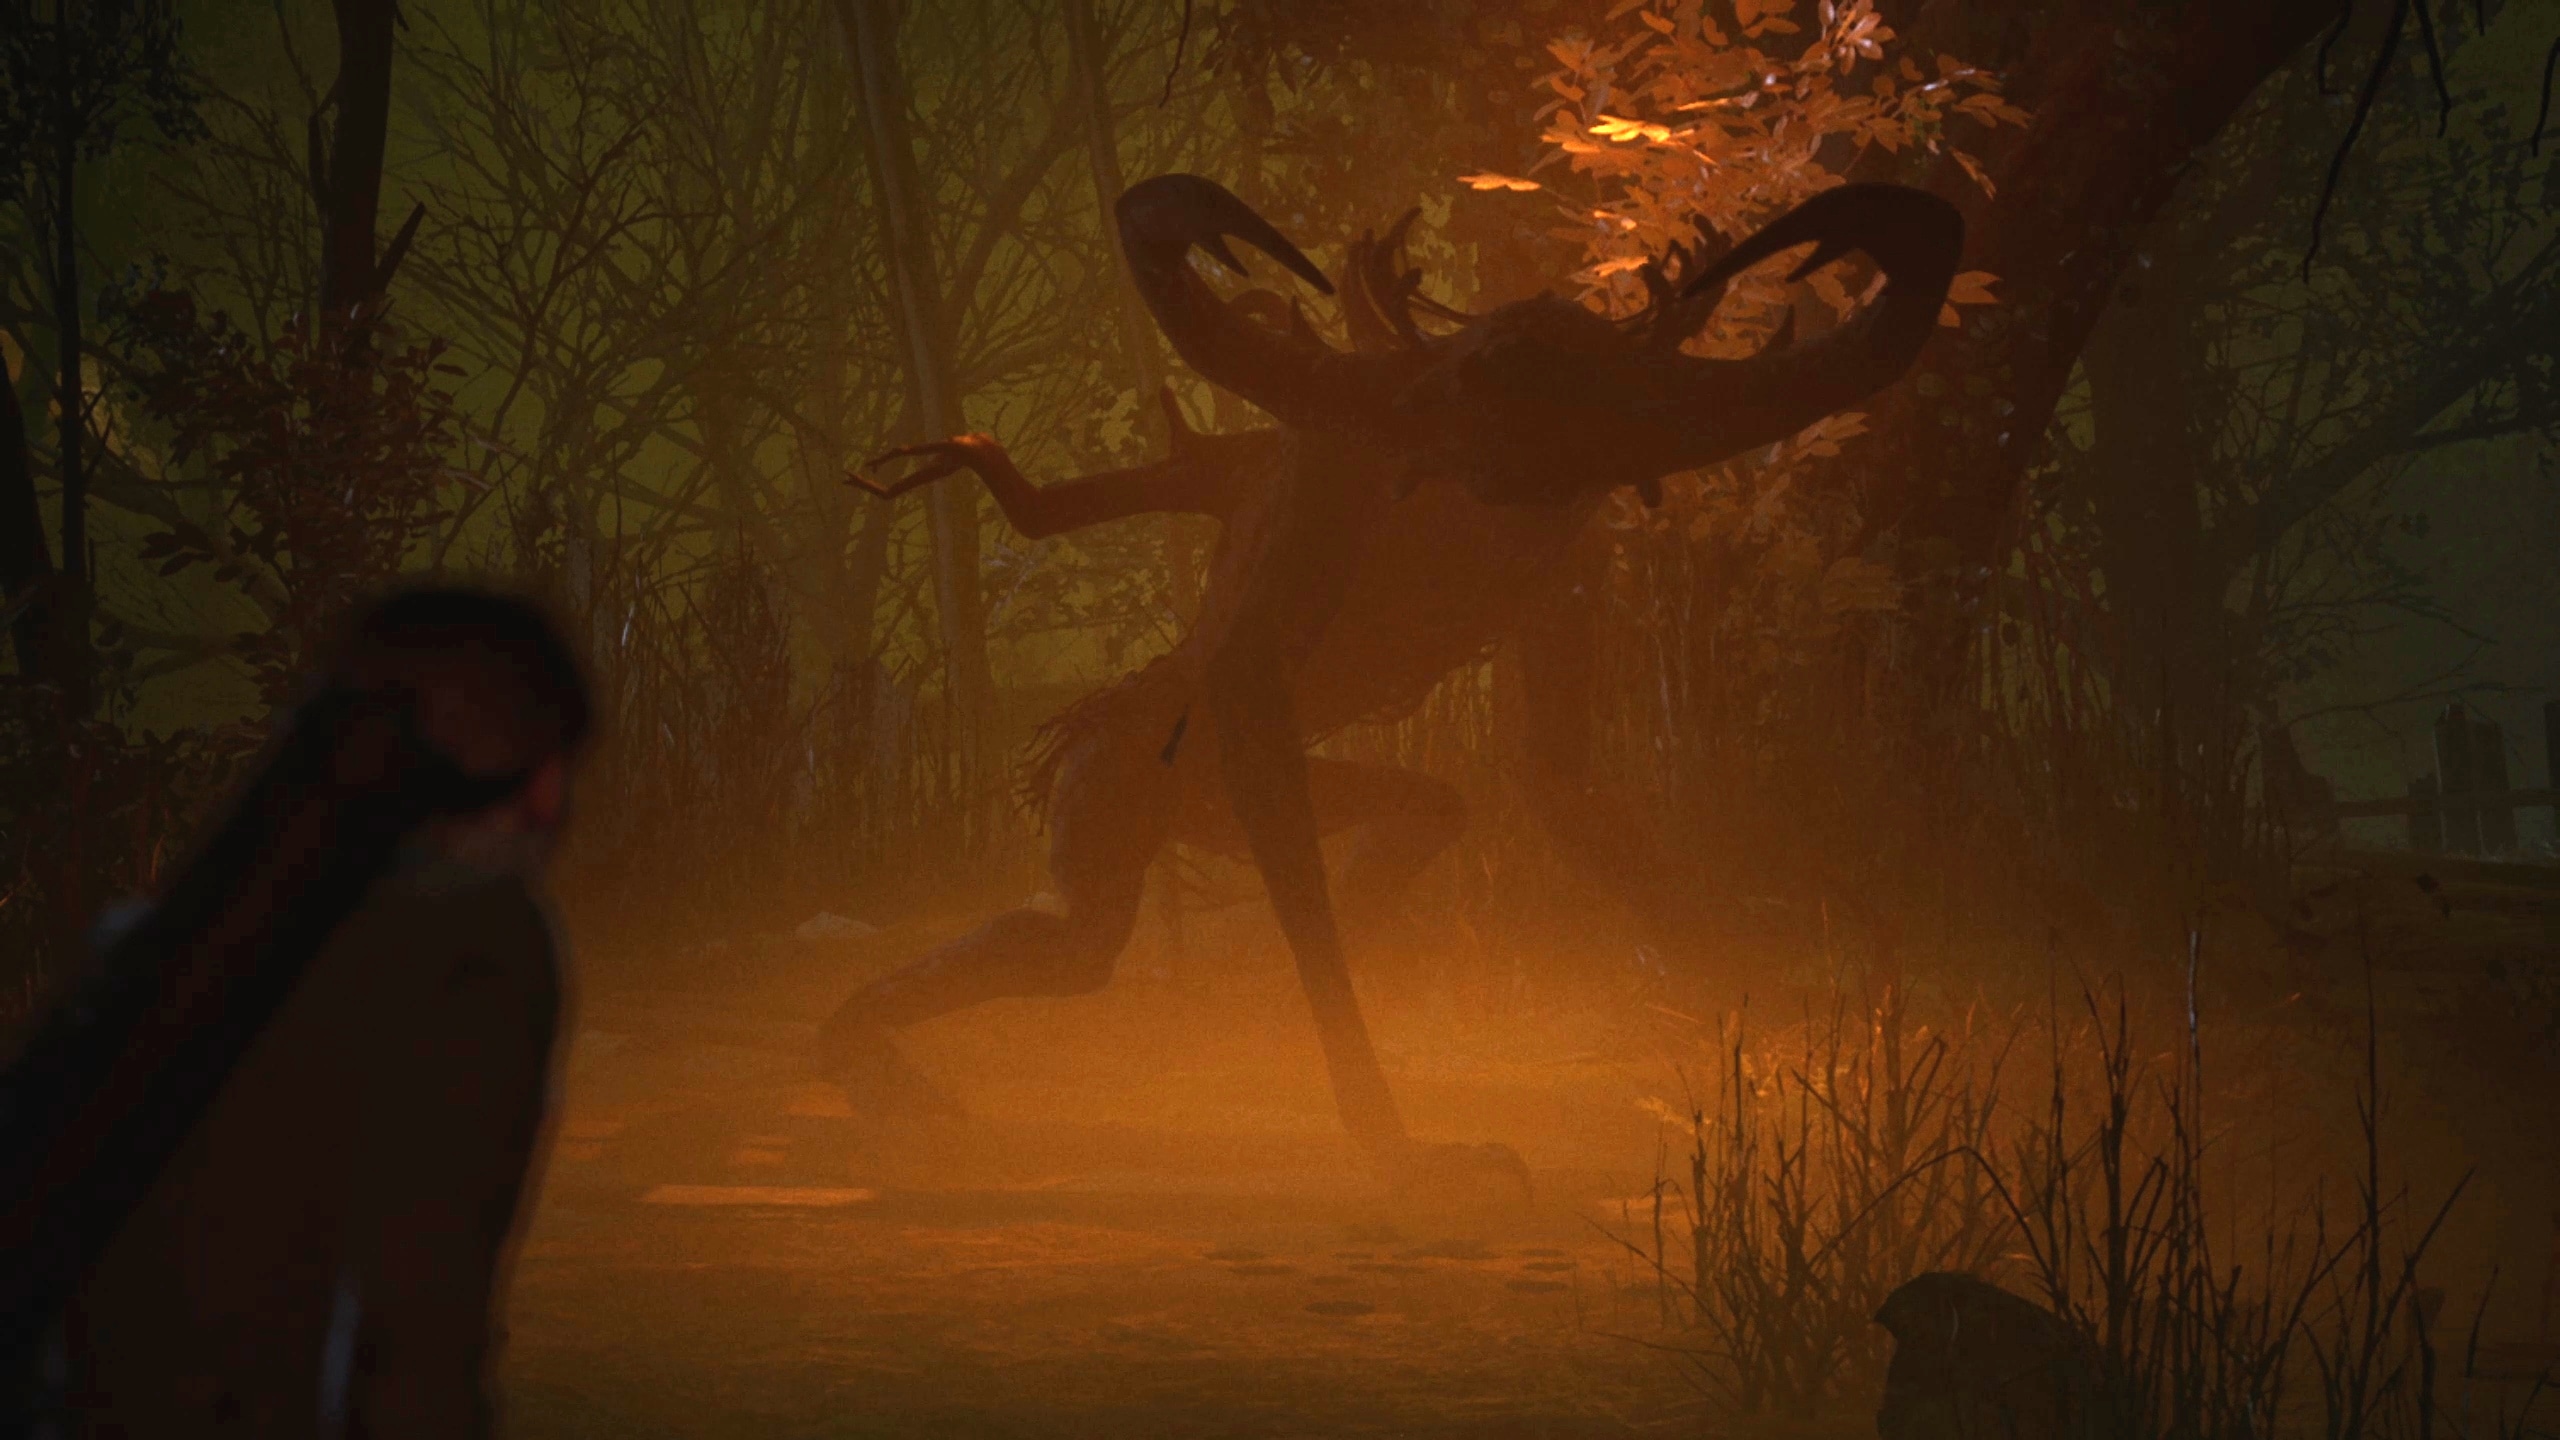
In the next section, you can continue along the straightforward path into the swamp (Image 92). At some point, a huge monster will dive out of the trees to attack an enemy (Image 93), but it will eventually leap away again. When it does, you can continue along the path (Image 94) until you reach the Hateful Mound (Image 95).
92939495
You’ll meet Lottie in a cutscene, and then wind back back in Derceto (Image 96 and 97).
9697
Find Derceto’s Boiler
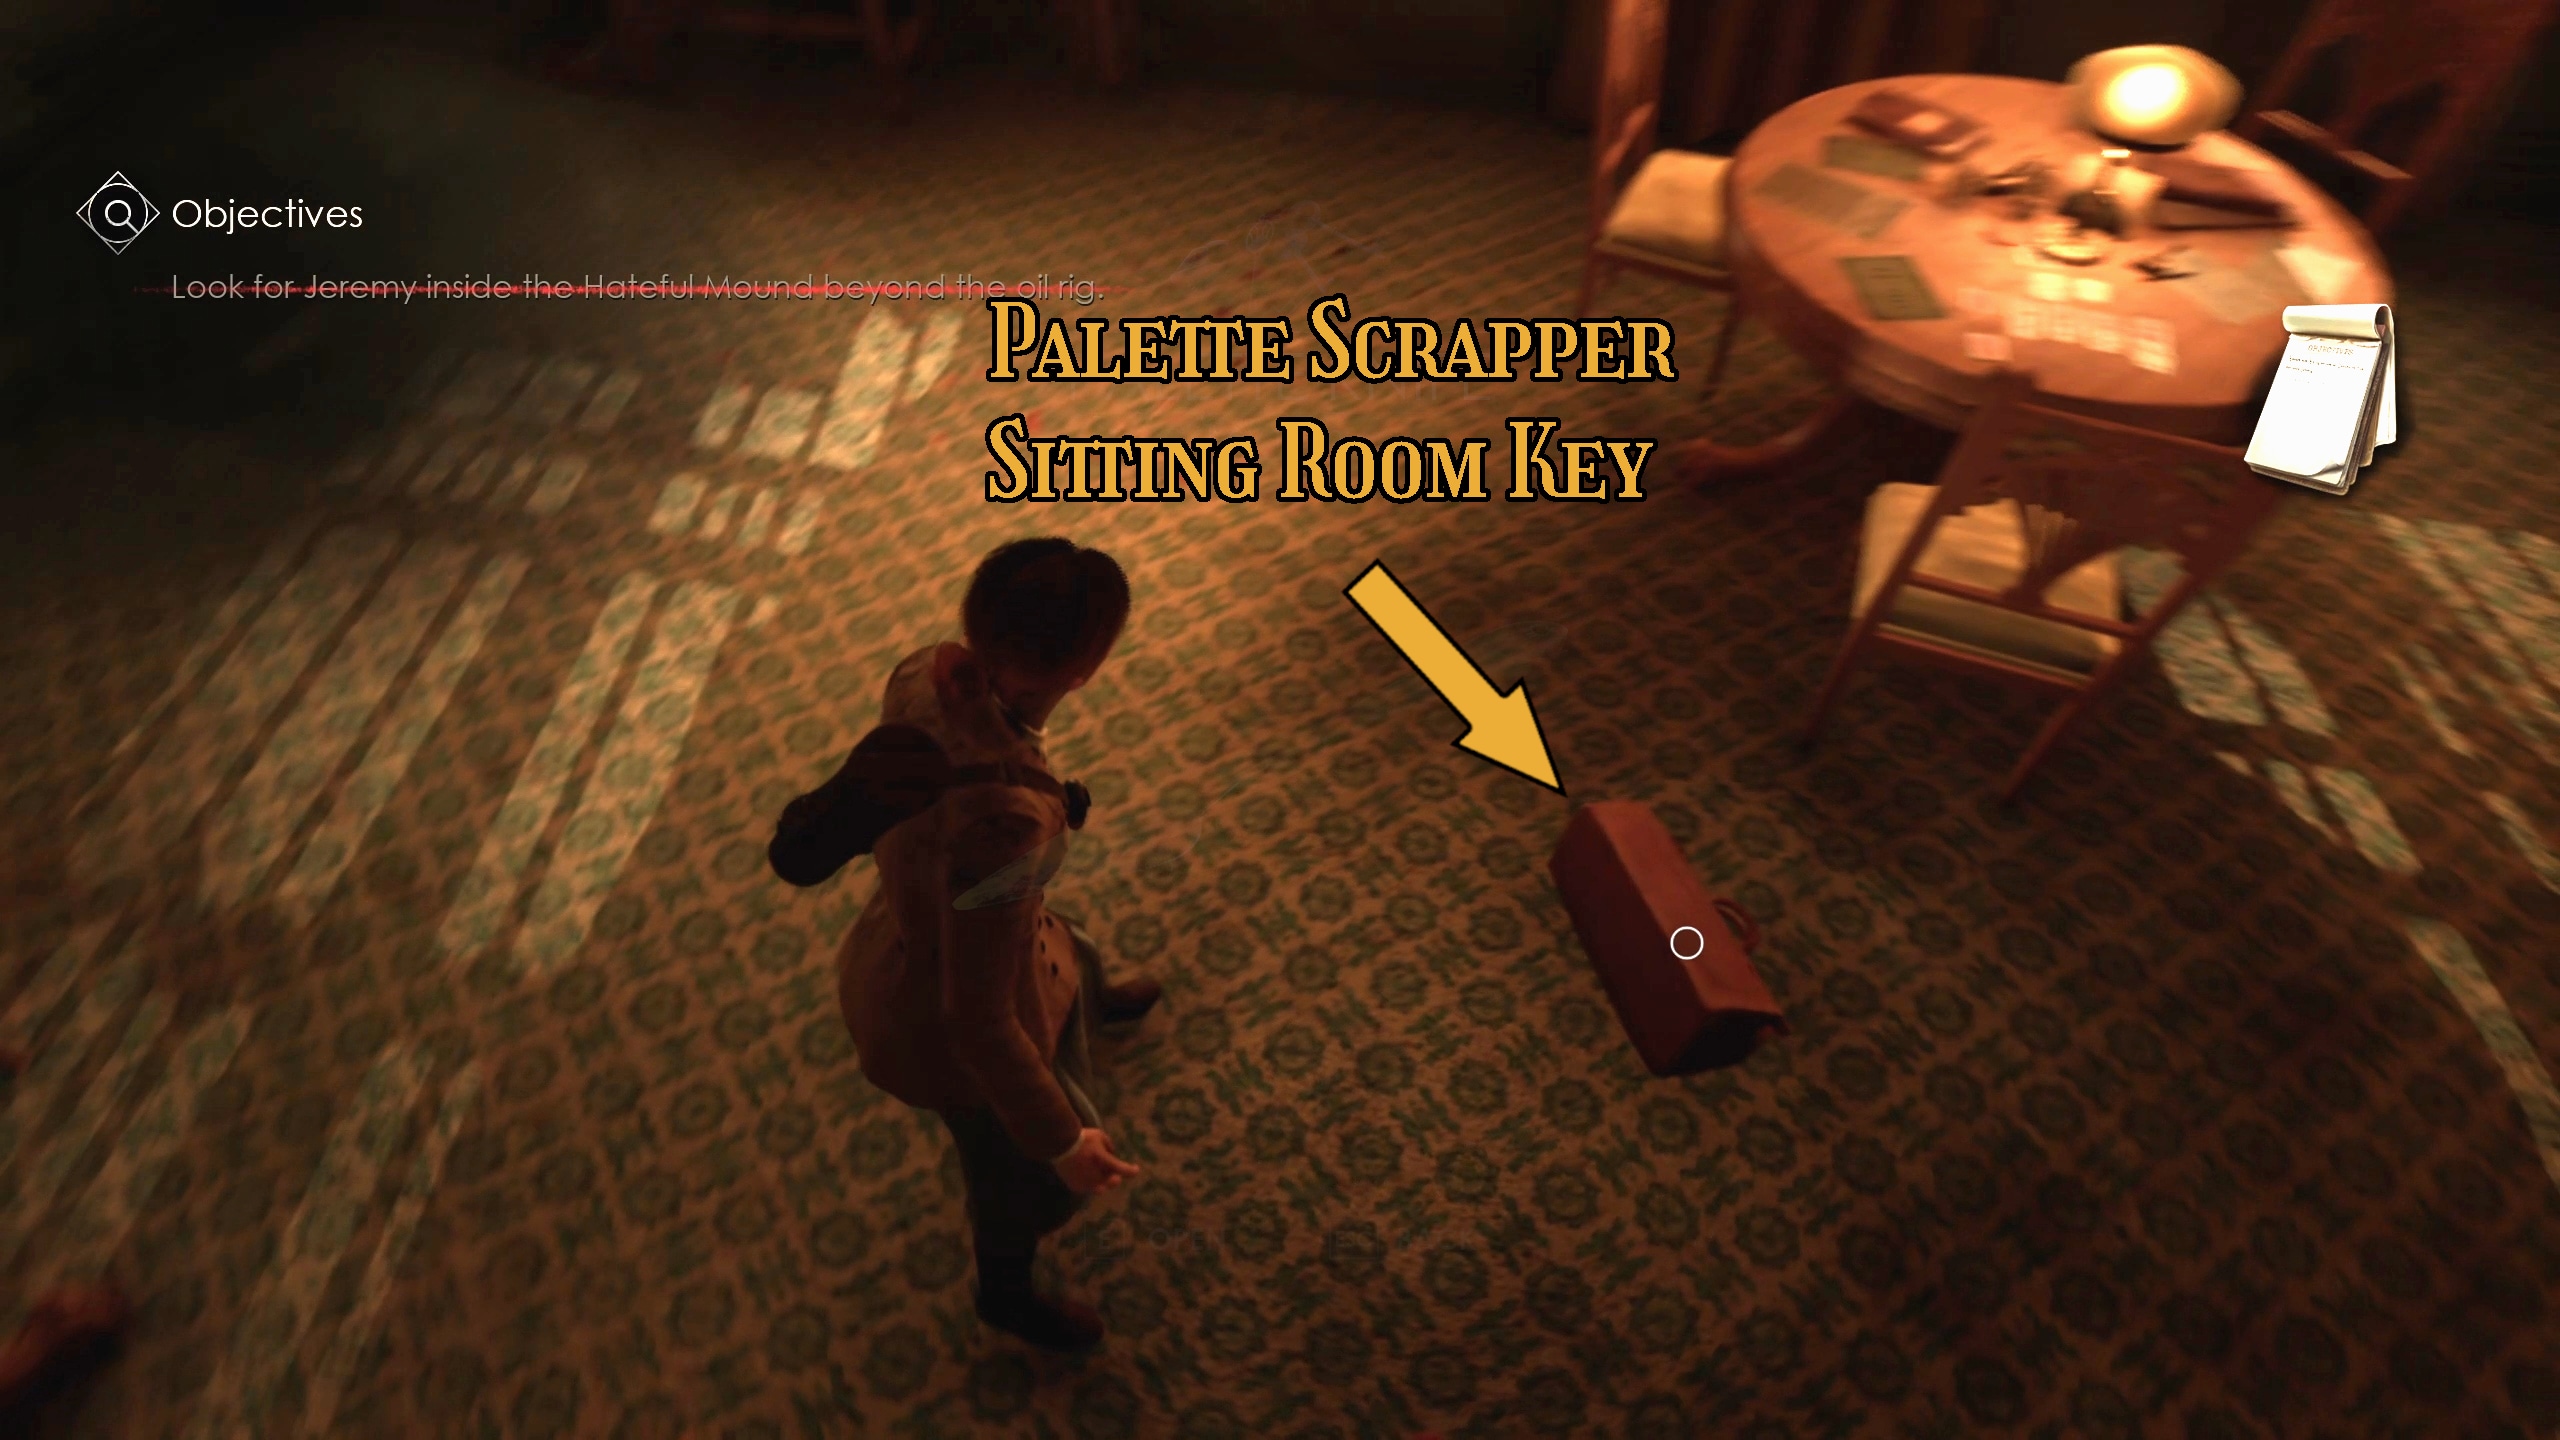
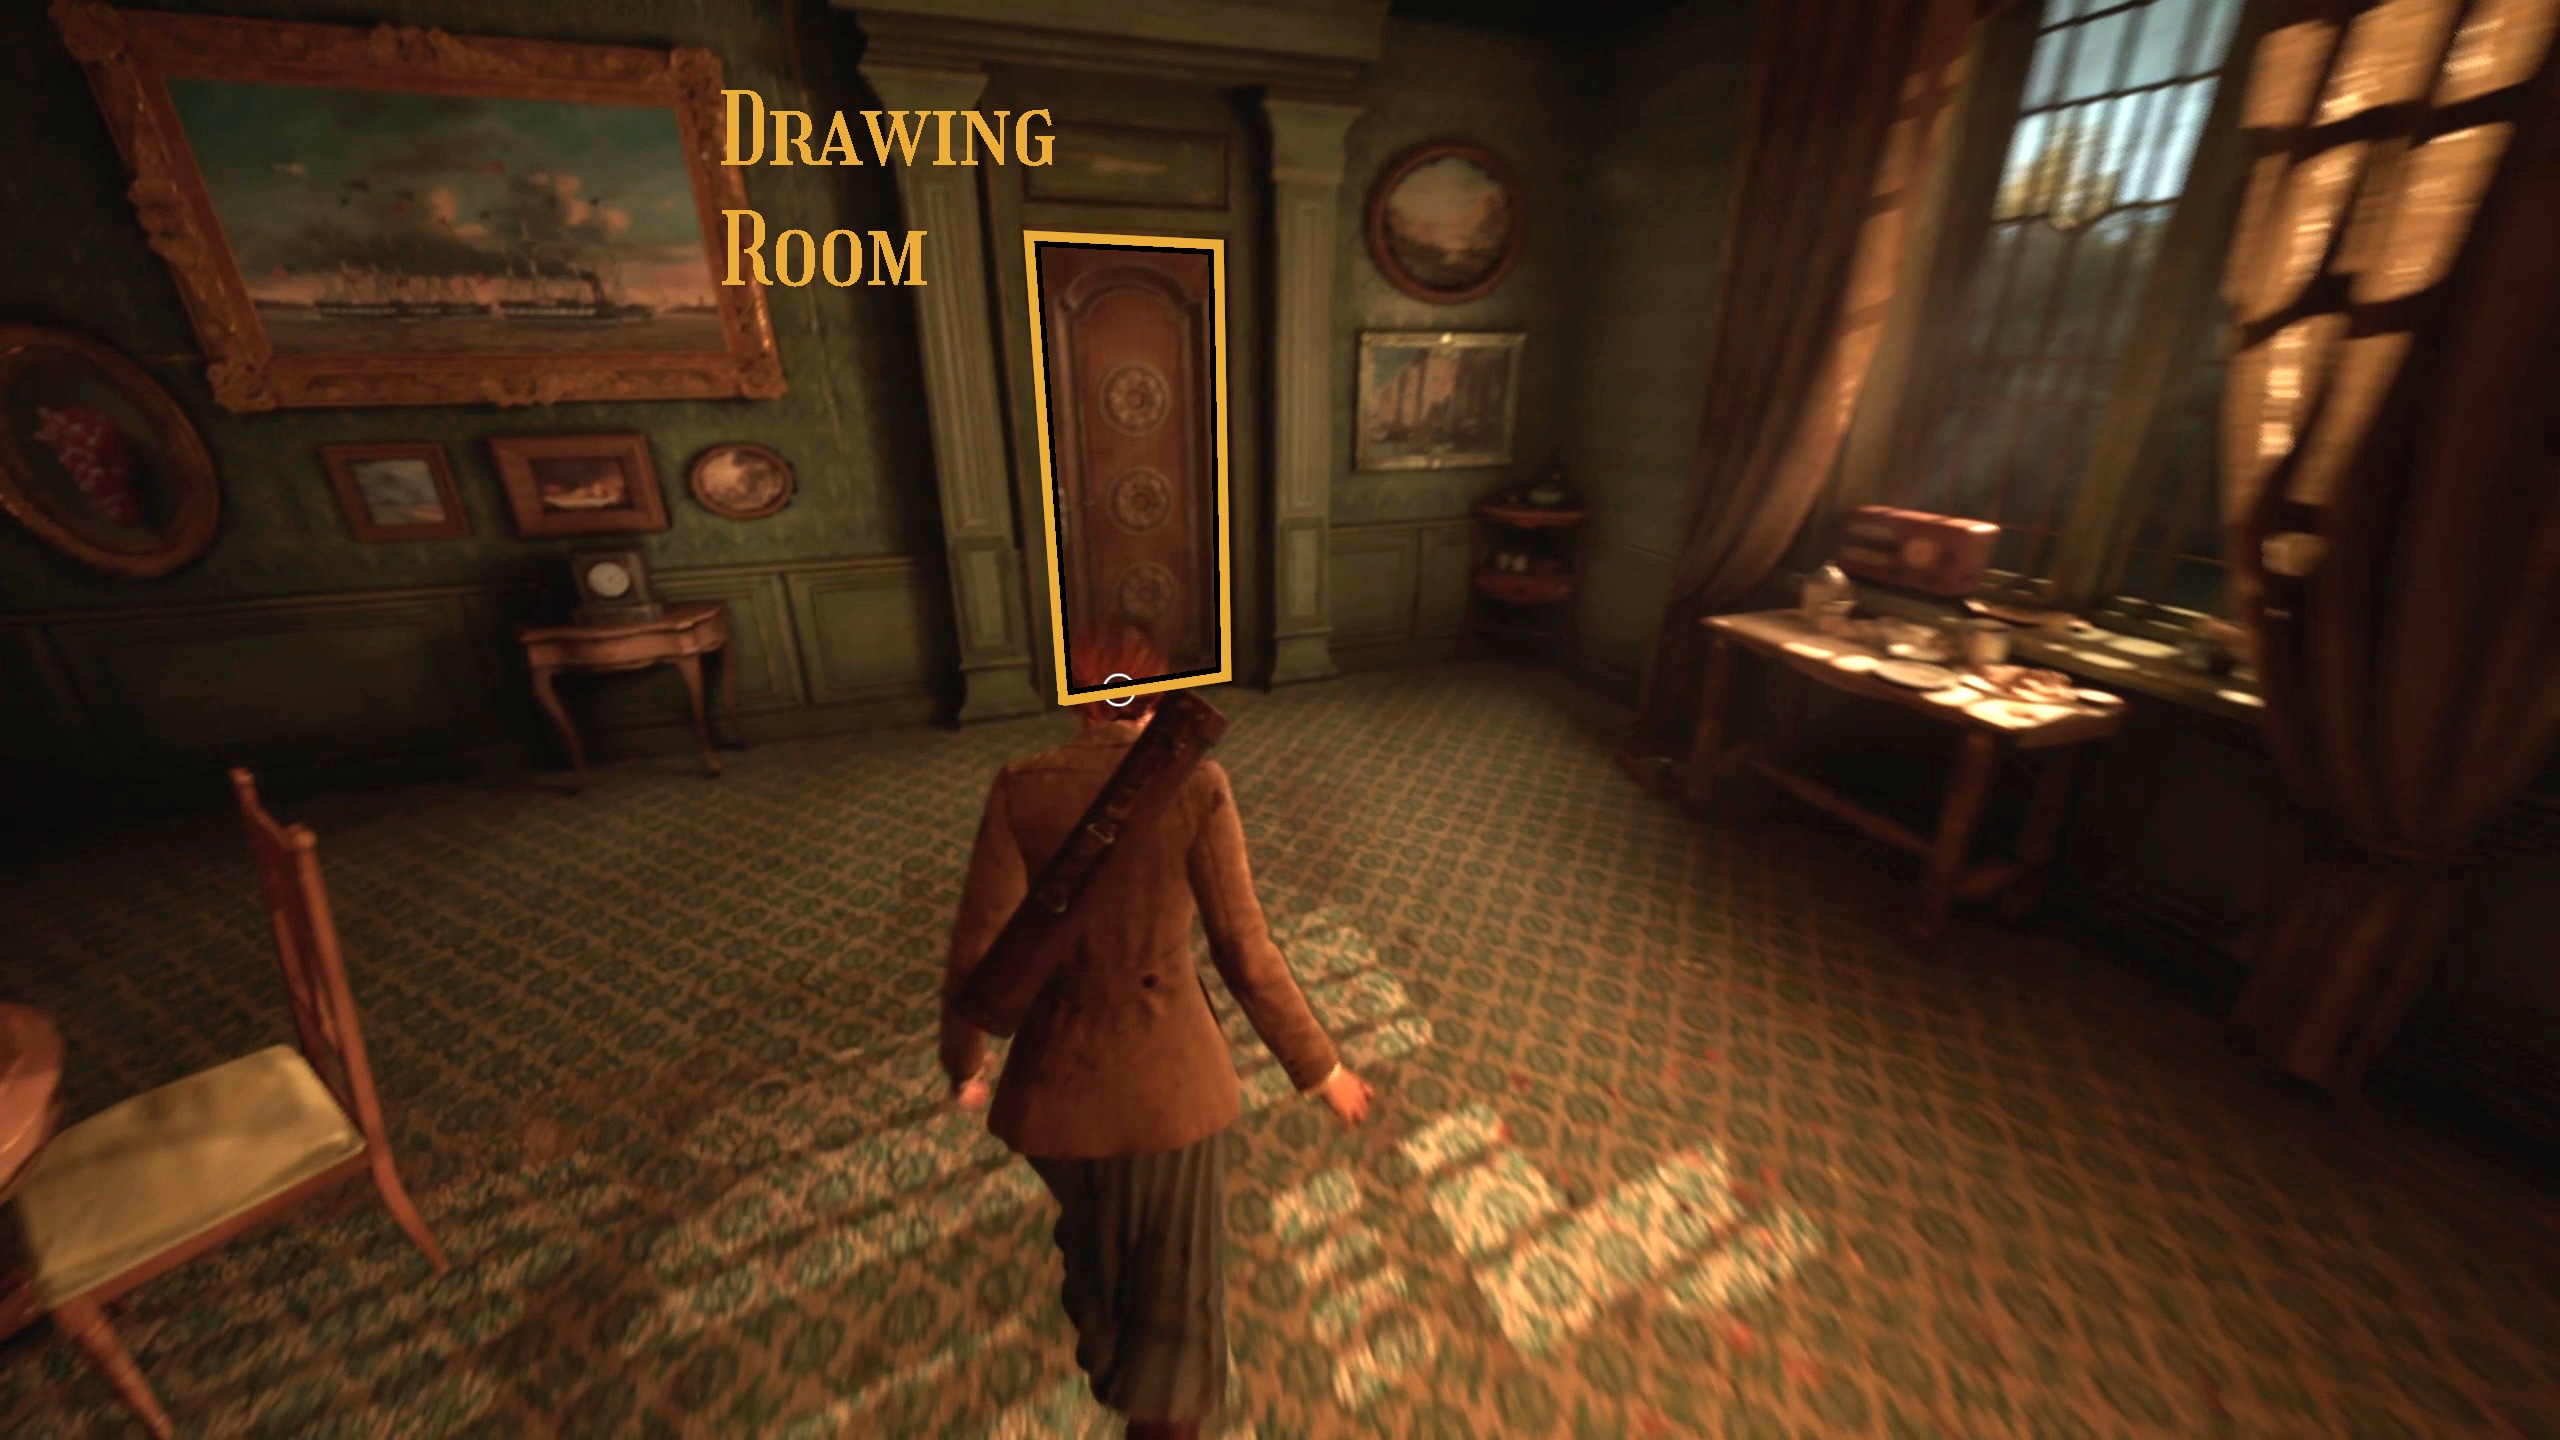
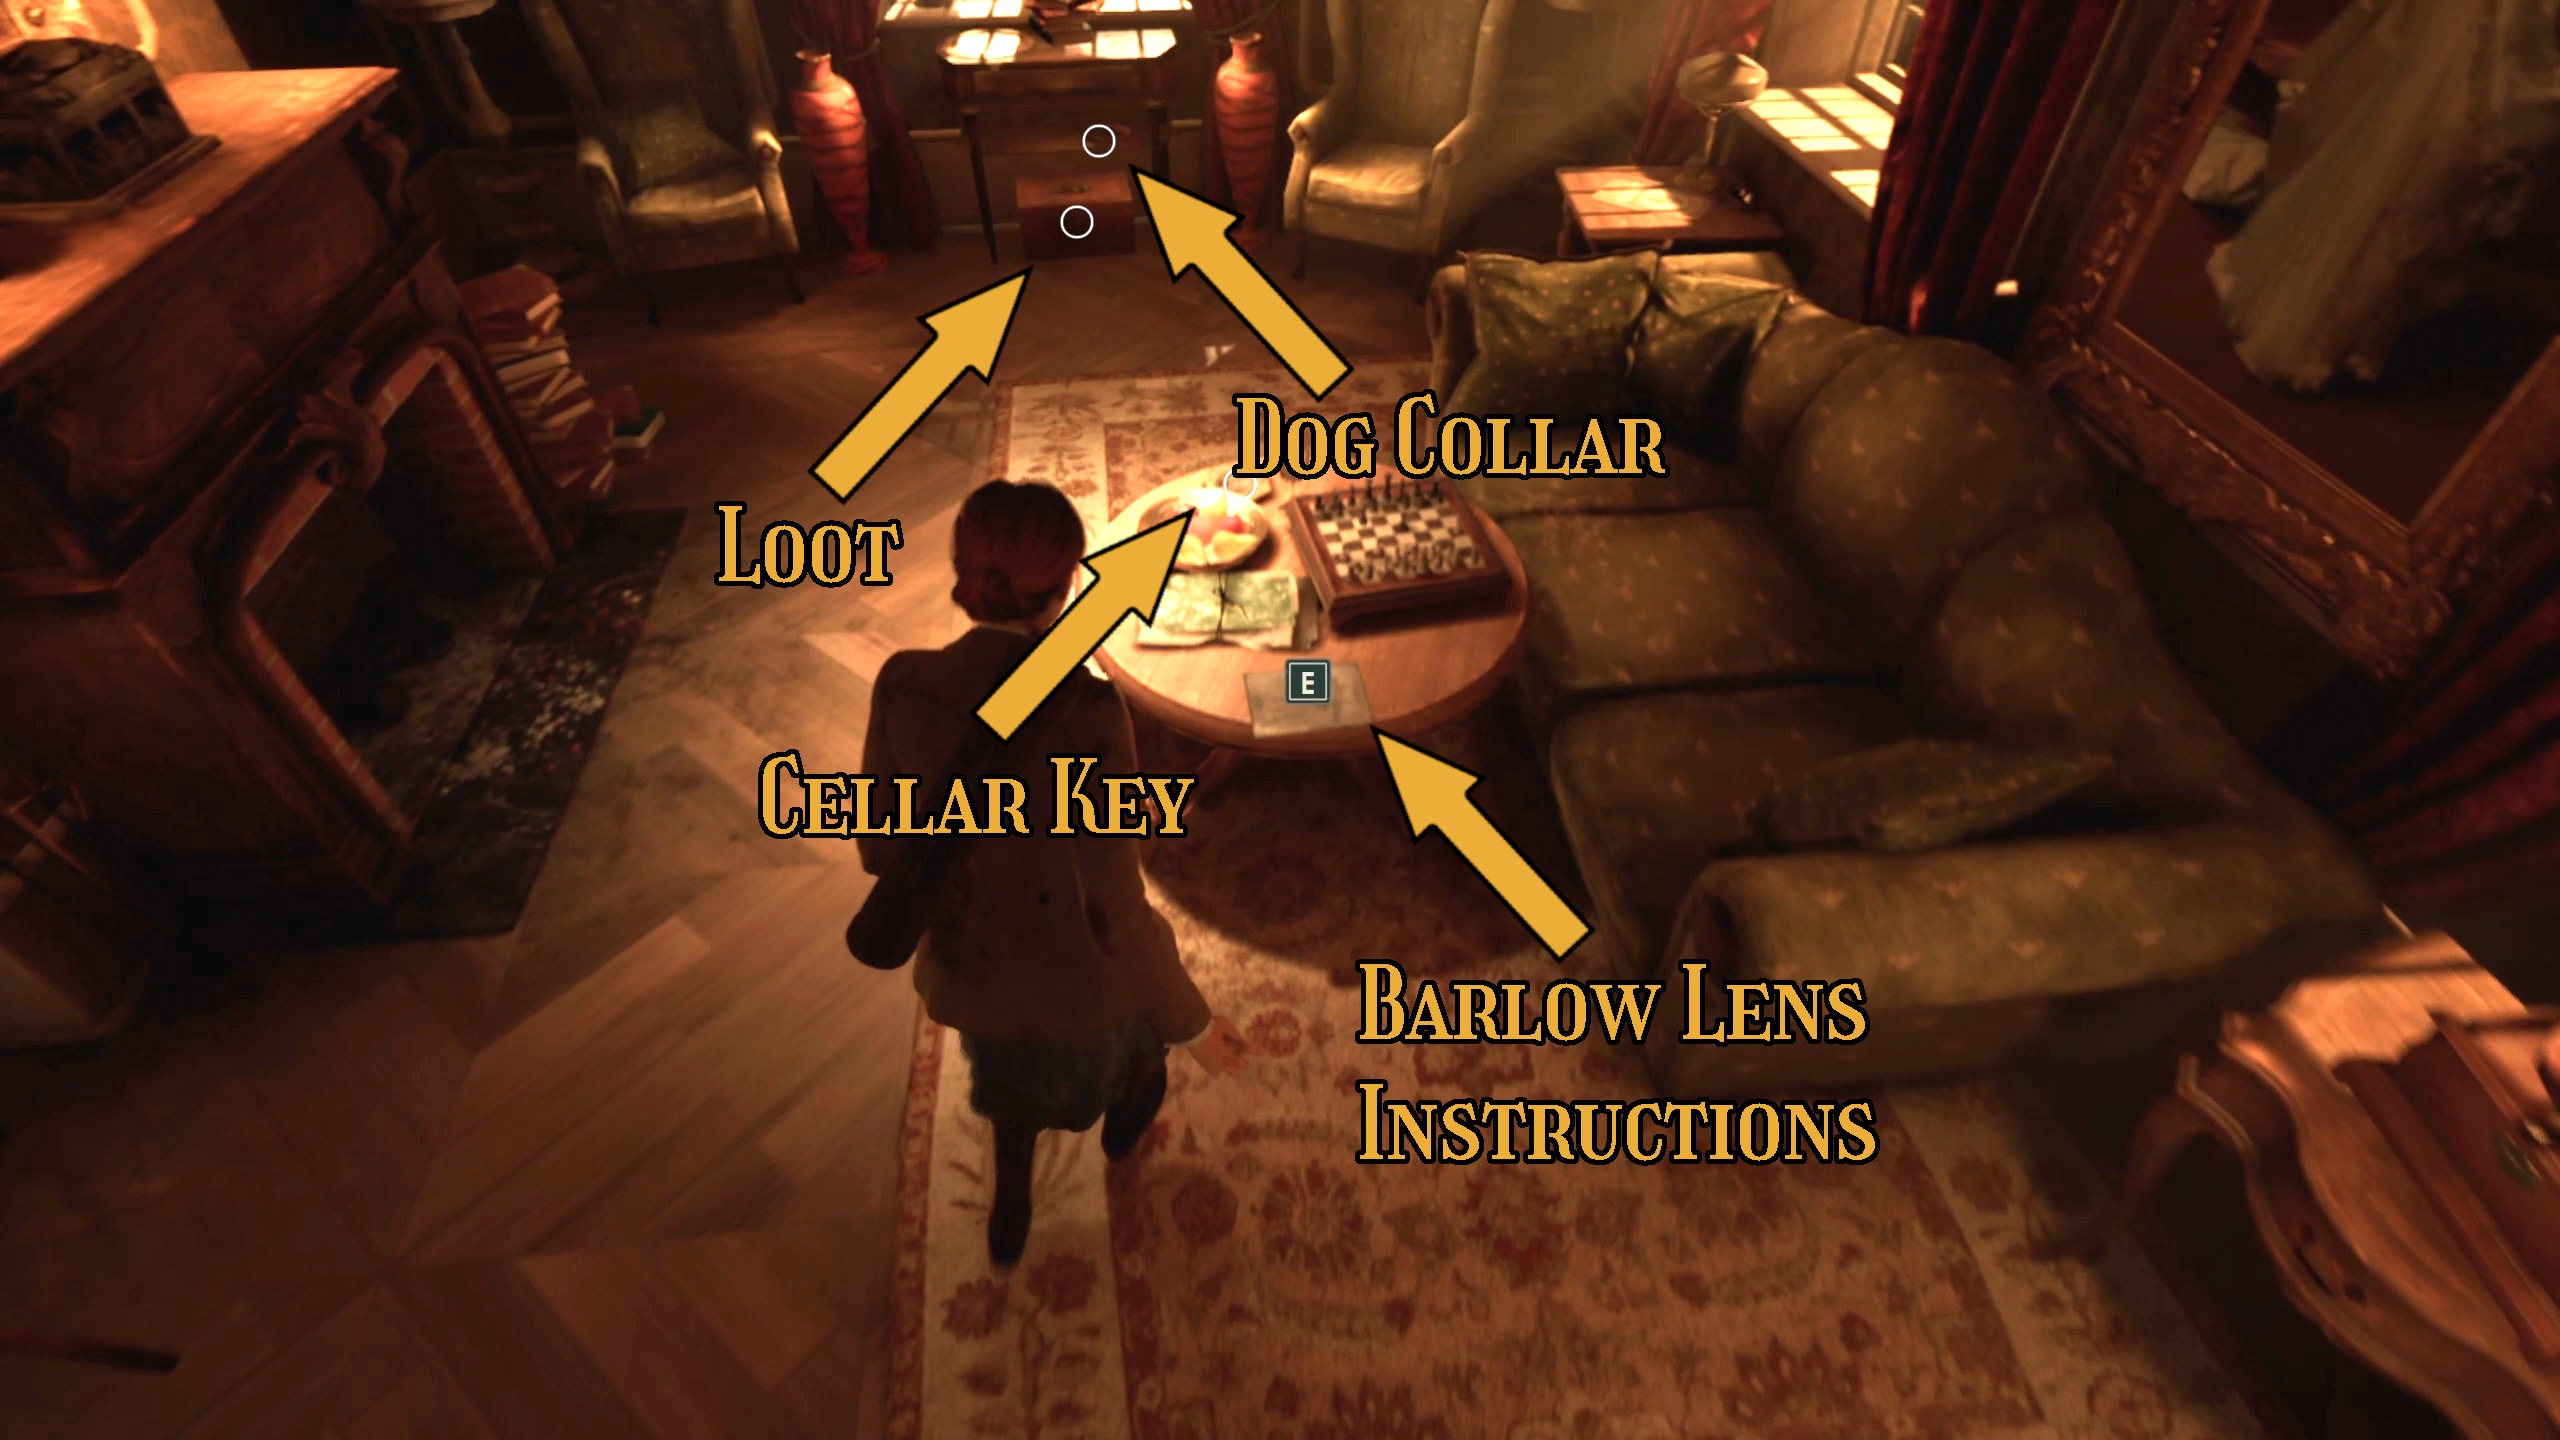
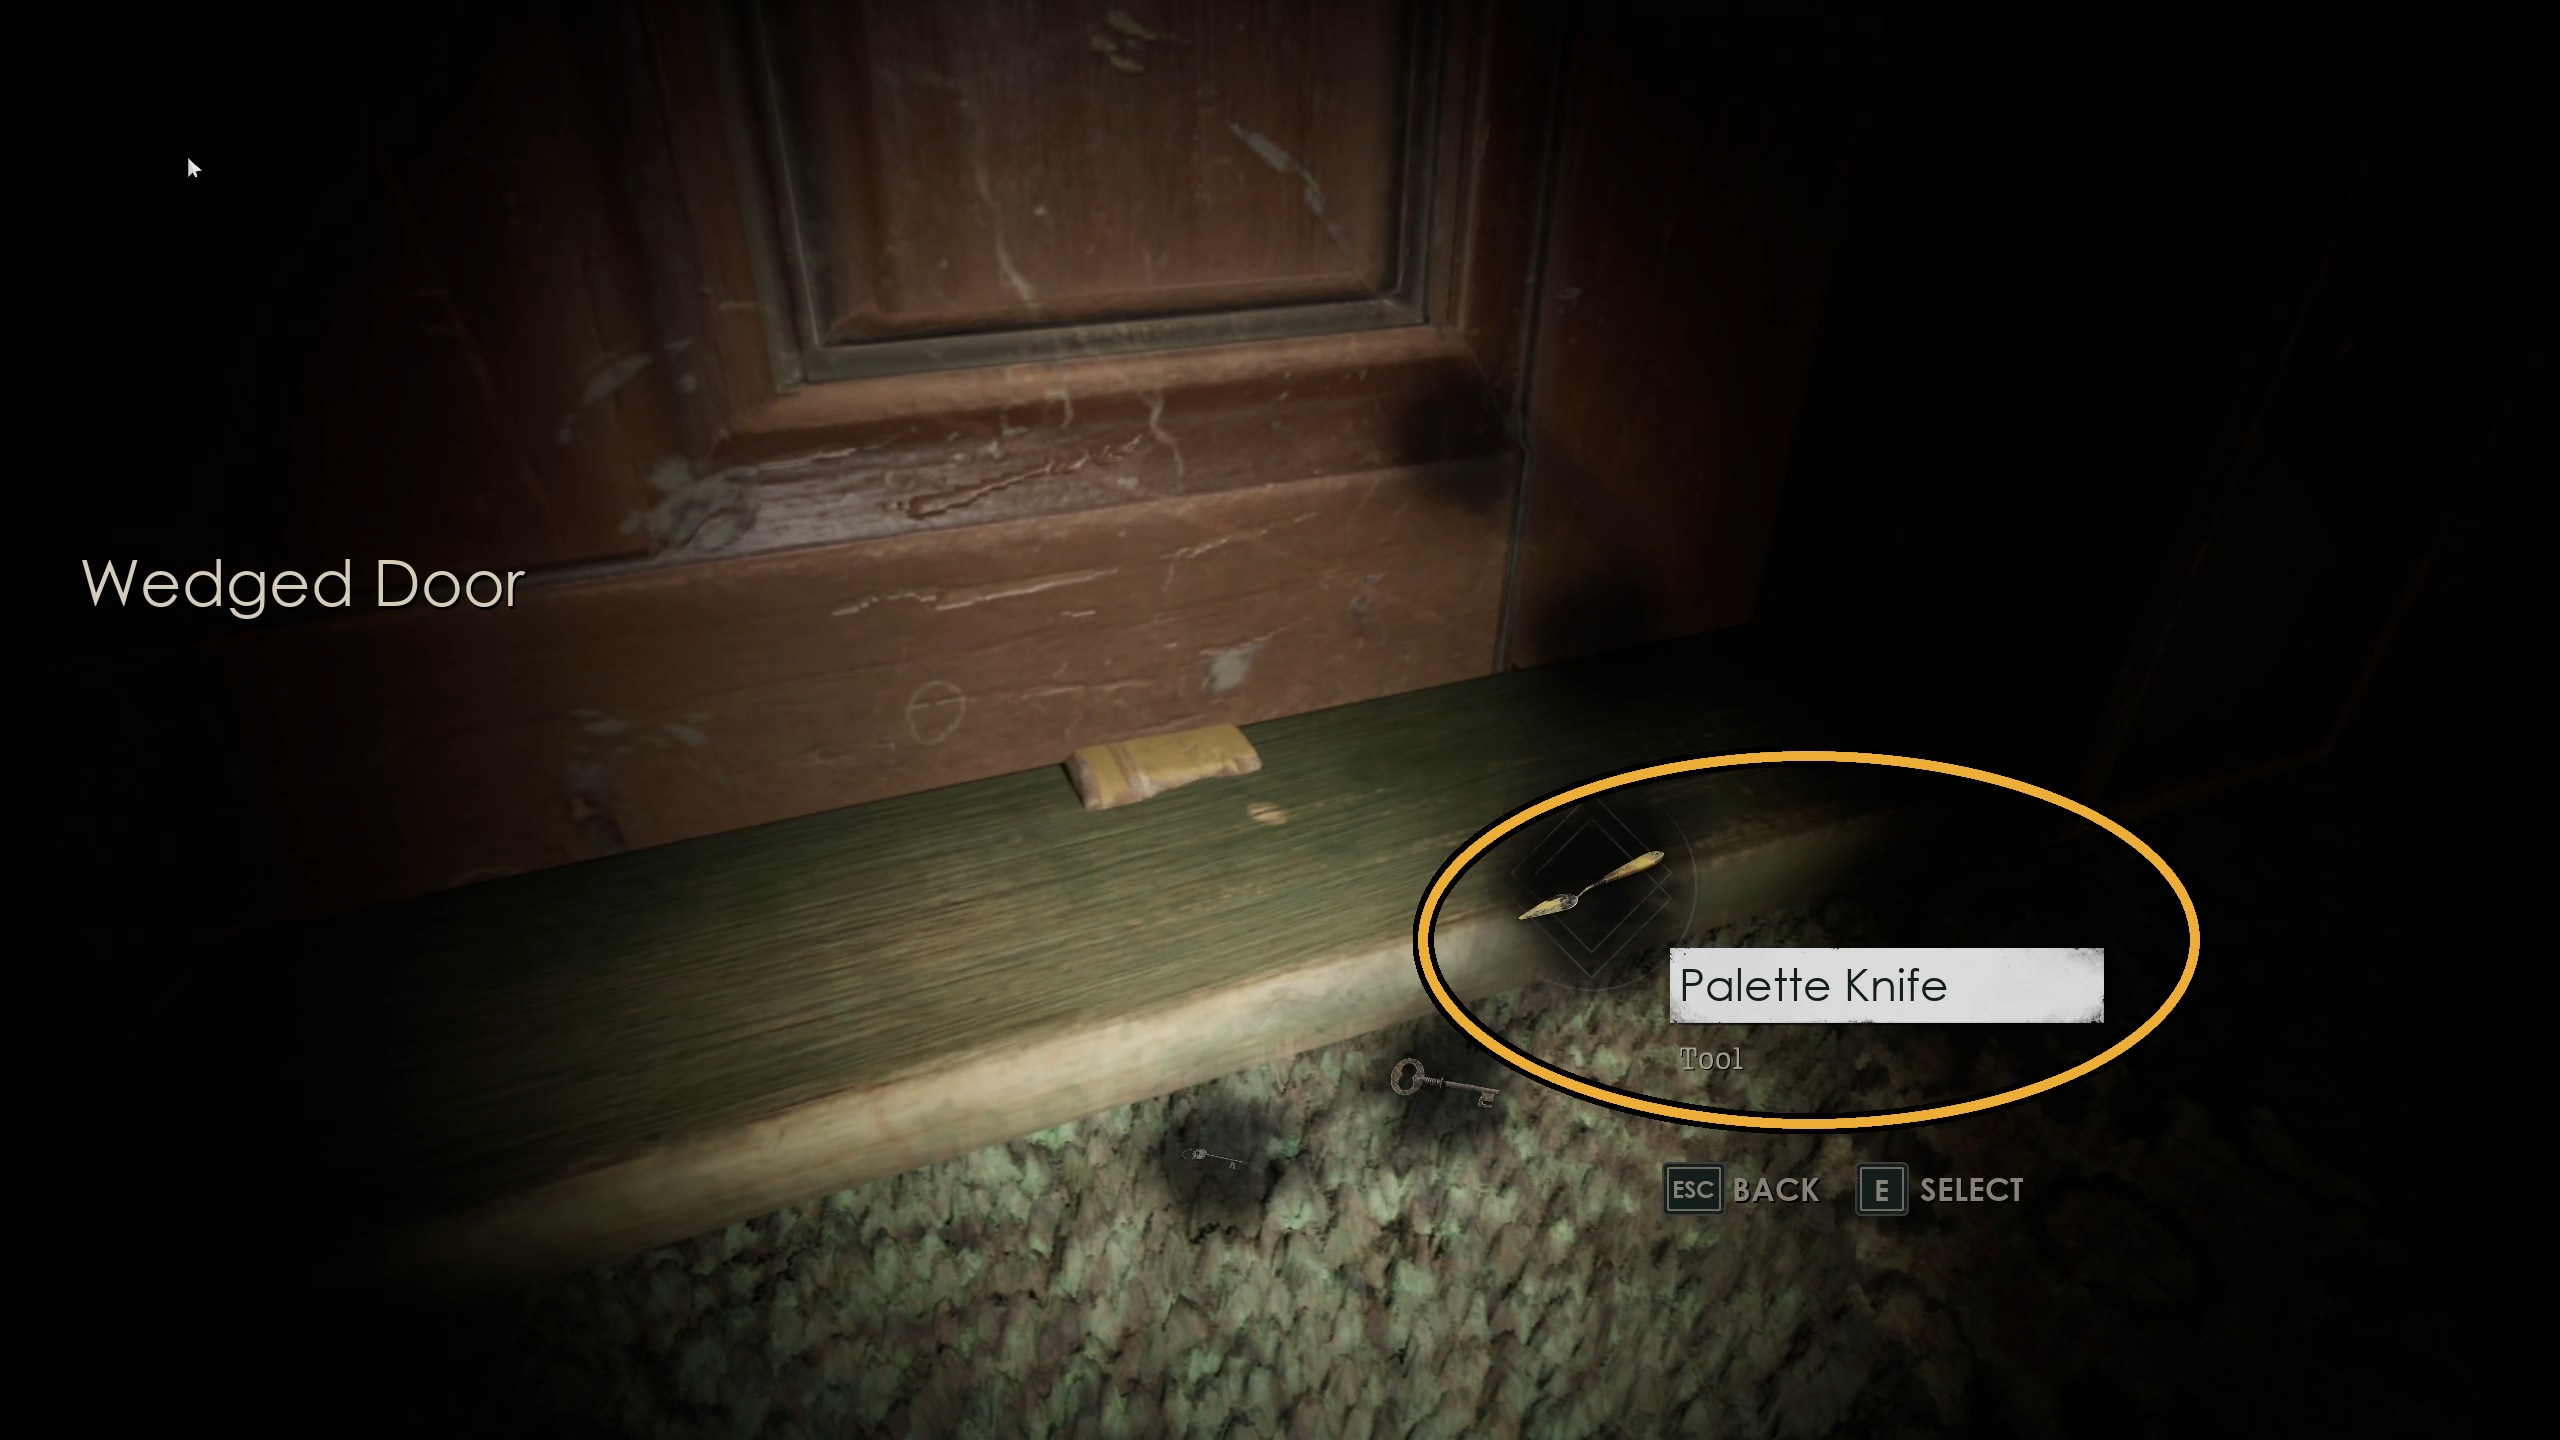
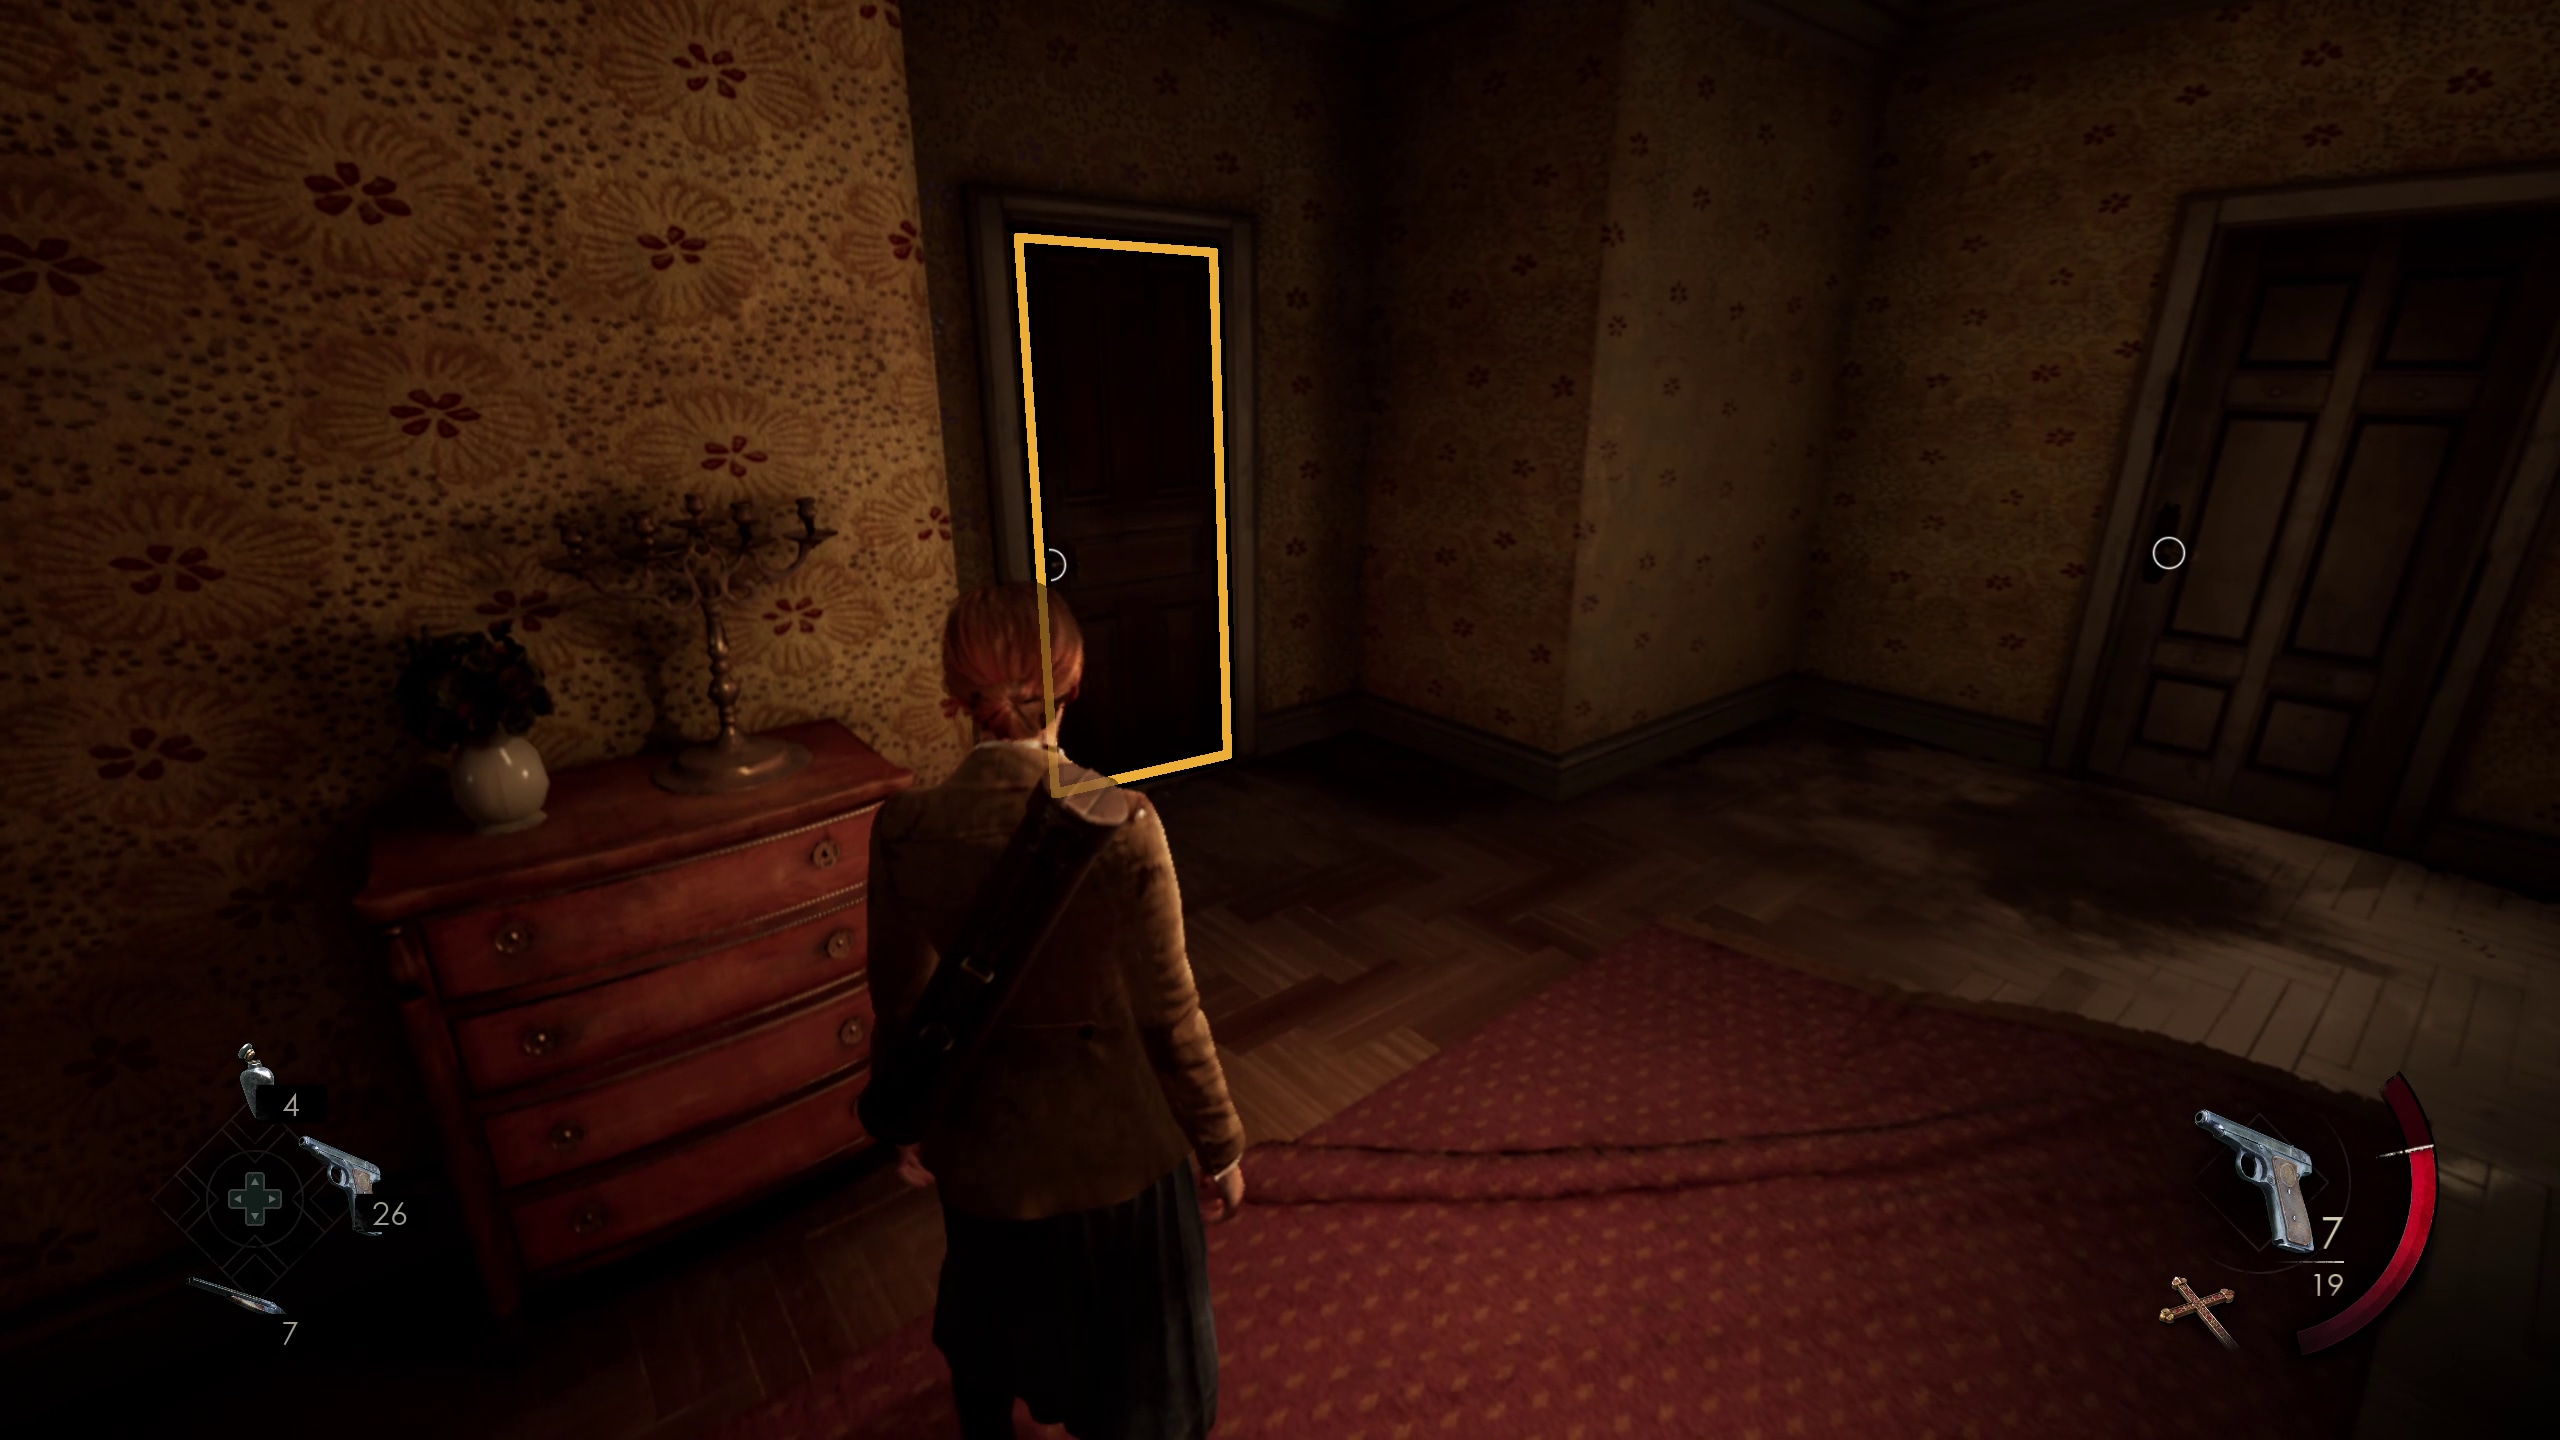
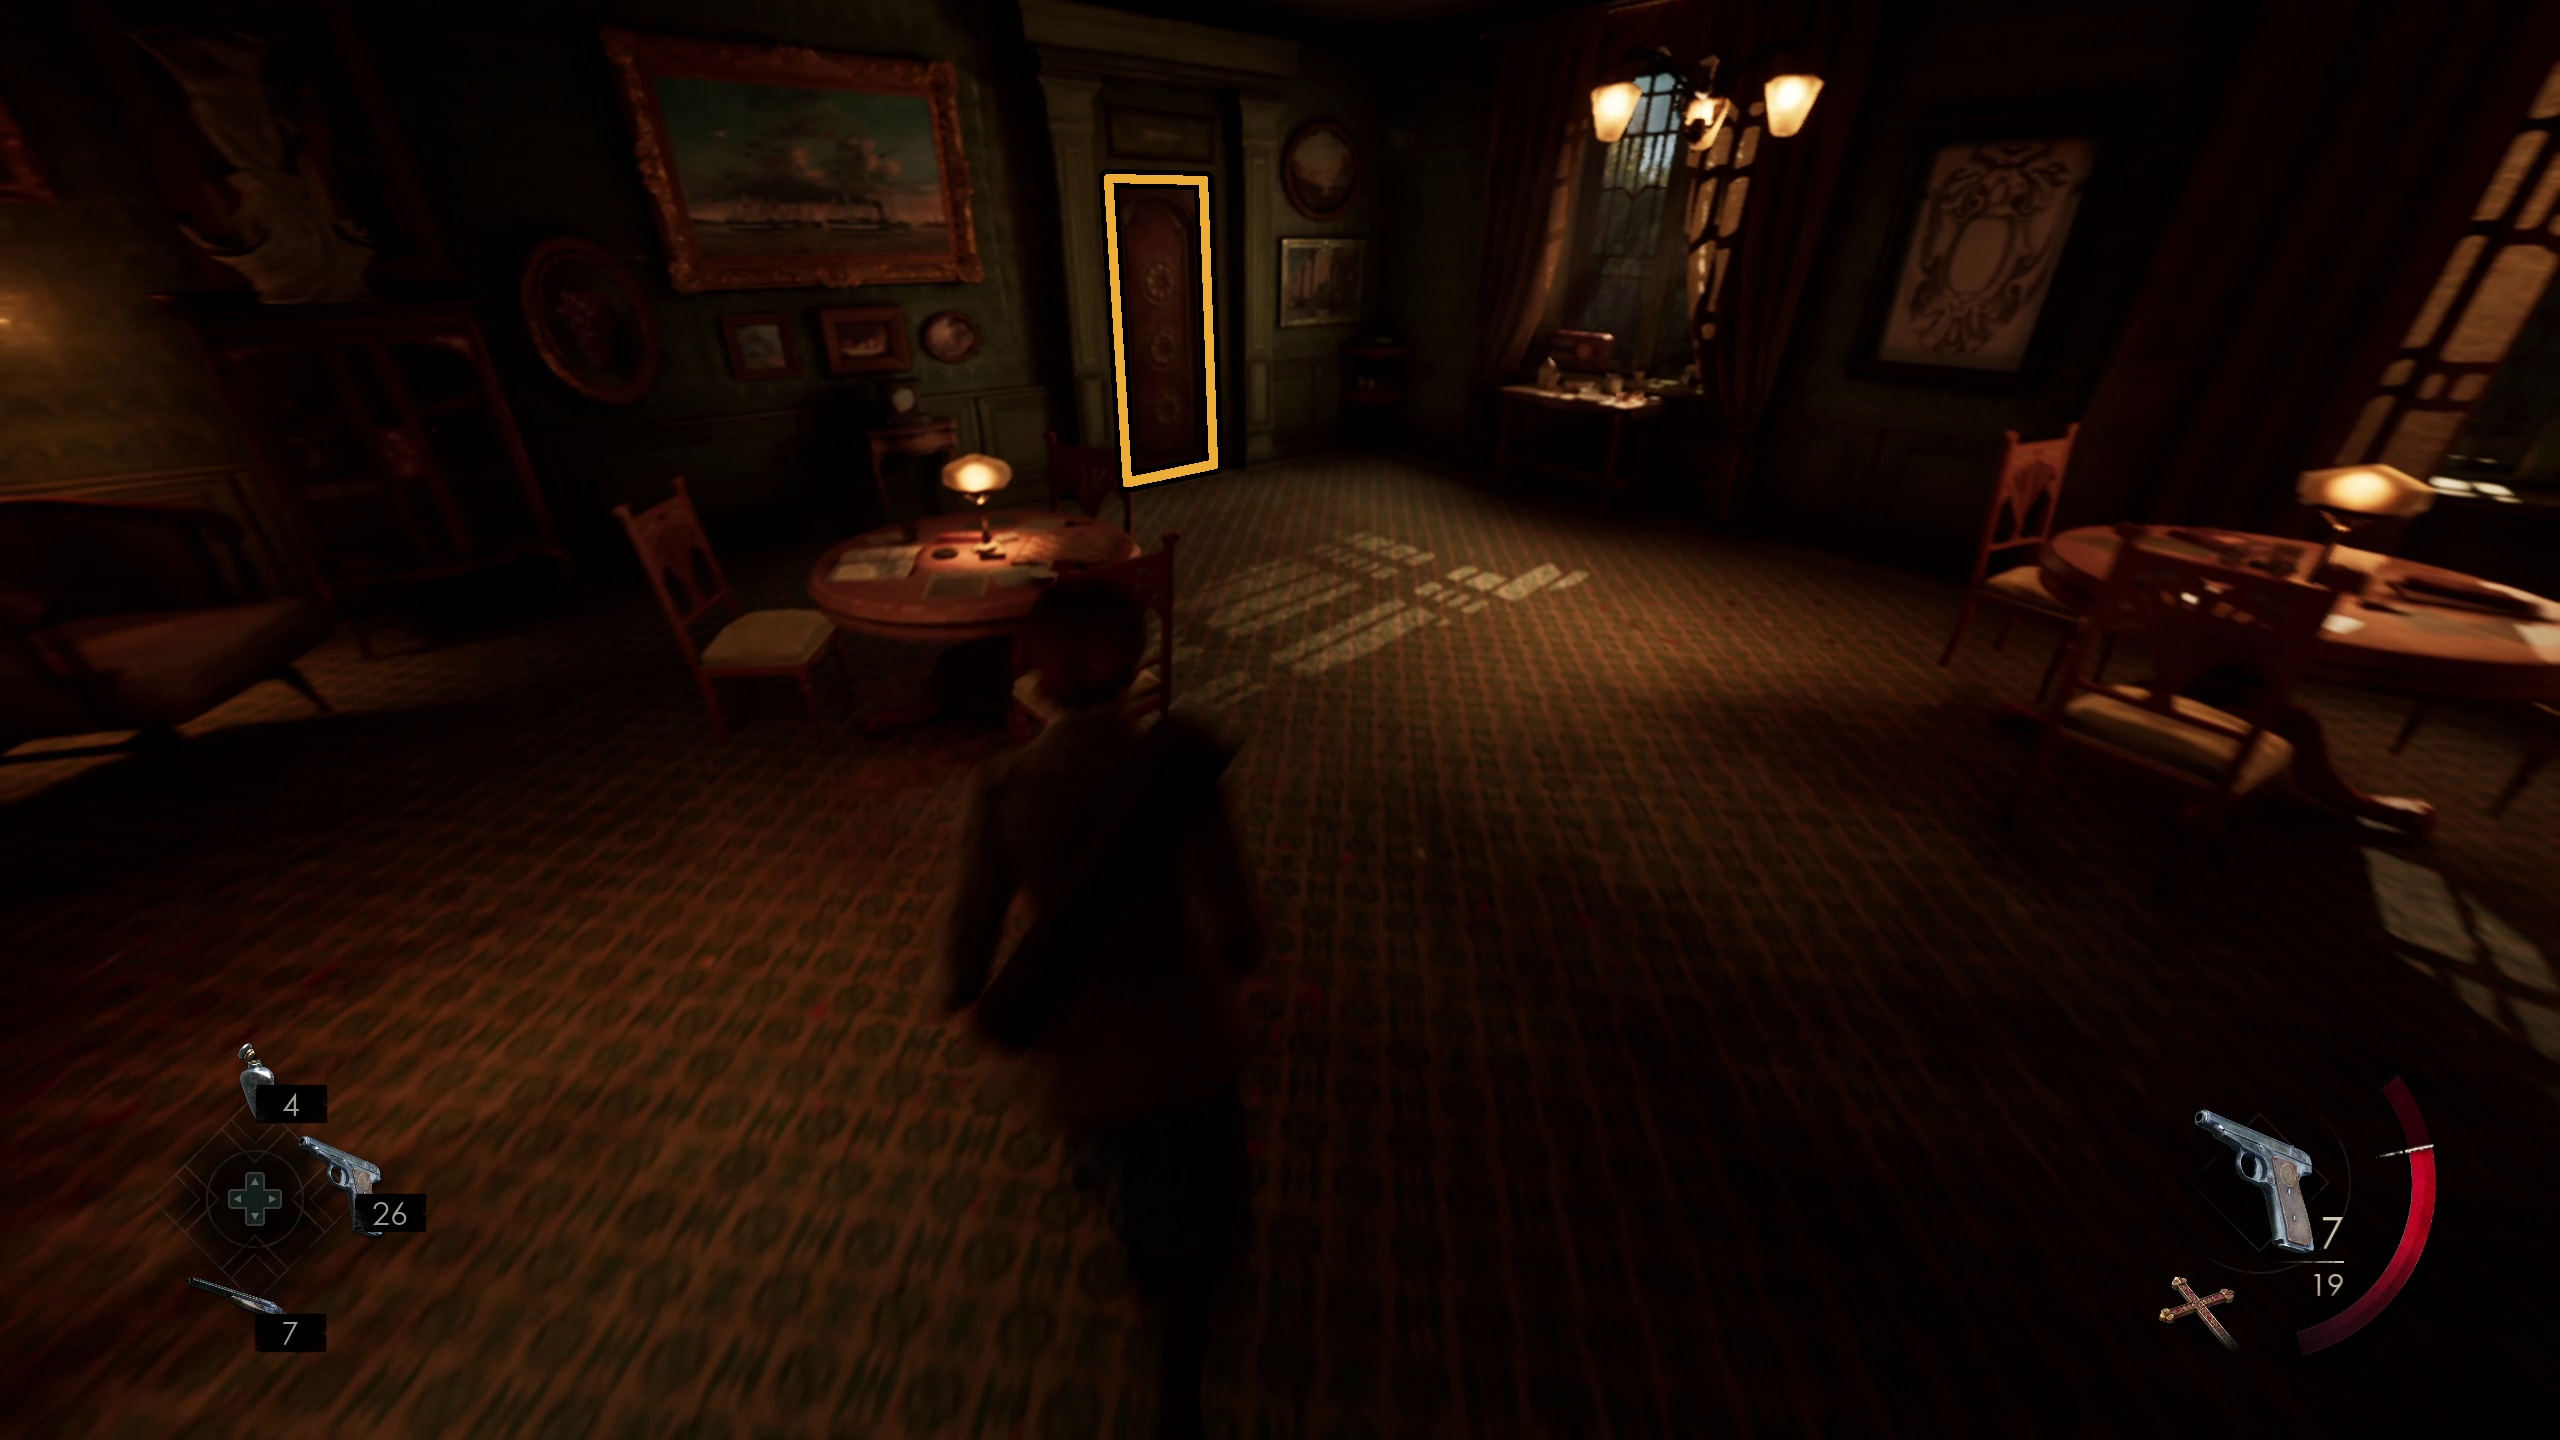
Once you regain control of your character, look at the ground. You’ll see a bag that you acquired in the cutscene. Looting it will get you the Palette Scrapper, the Sitting Room Key, and an important note (Image 98). Immediately, you can use the Palette Scrapper to open the door to the Drawing Room (Image 99), which has the “Barlow Lens Instructions” note, the Cellar Key, and the Dog Collar Lagniappe (Image 100).
9899100
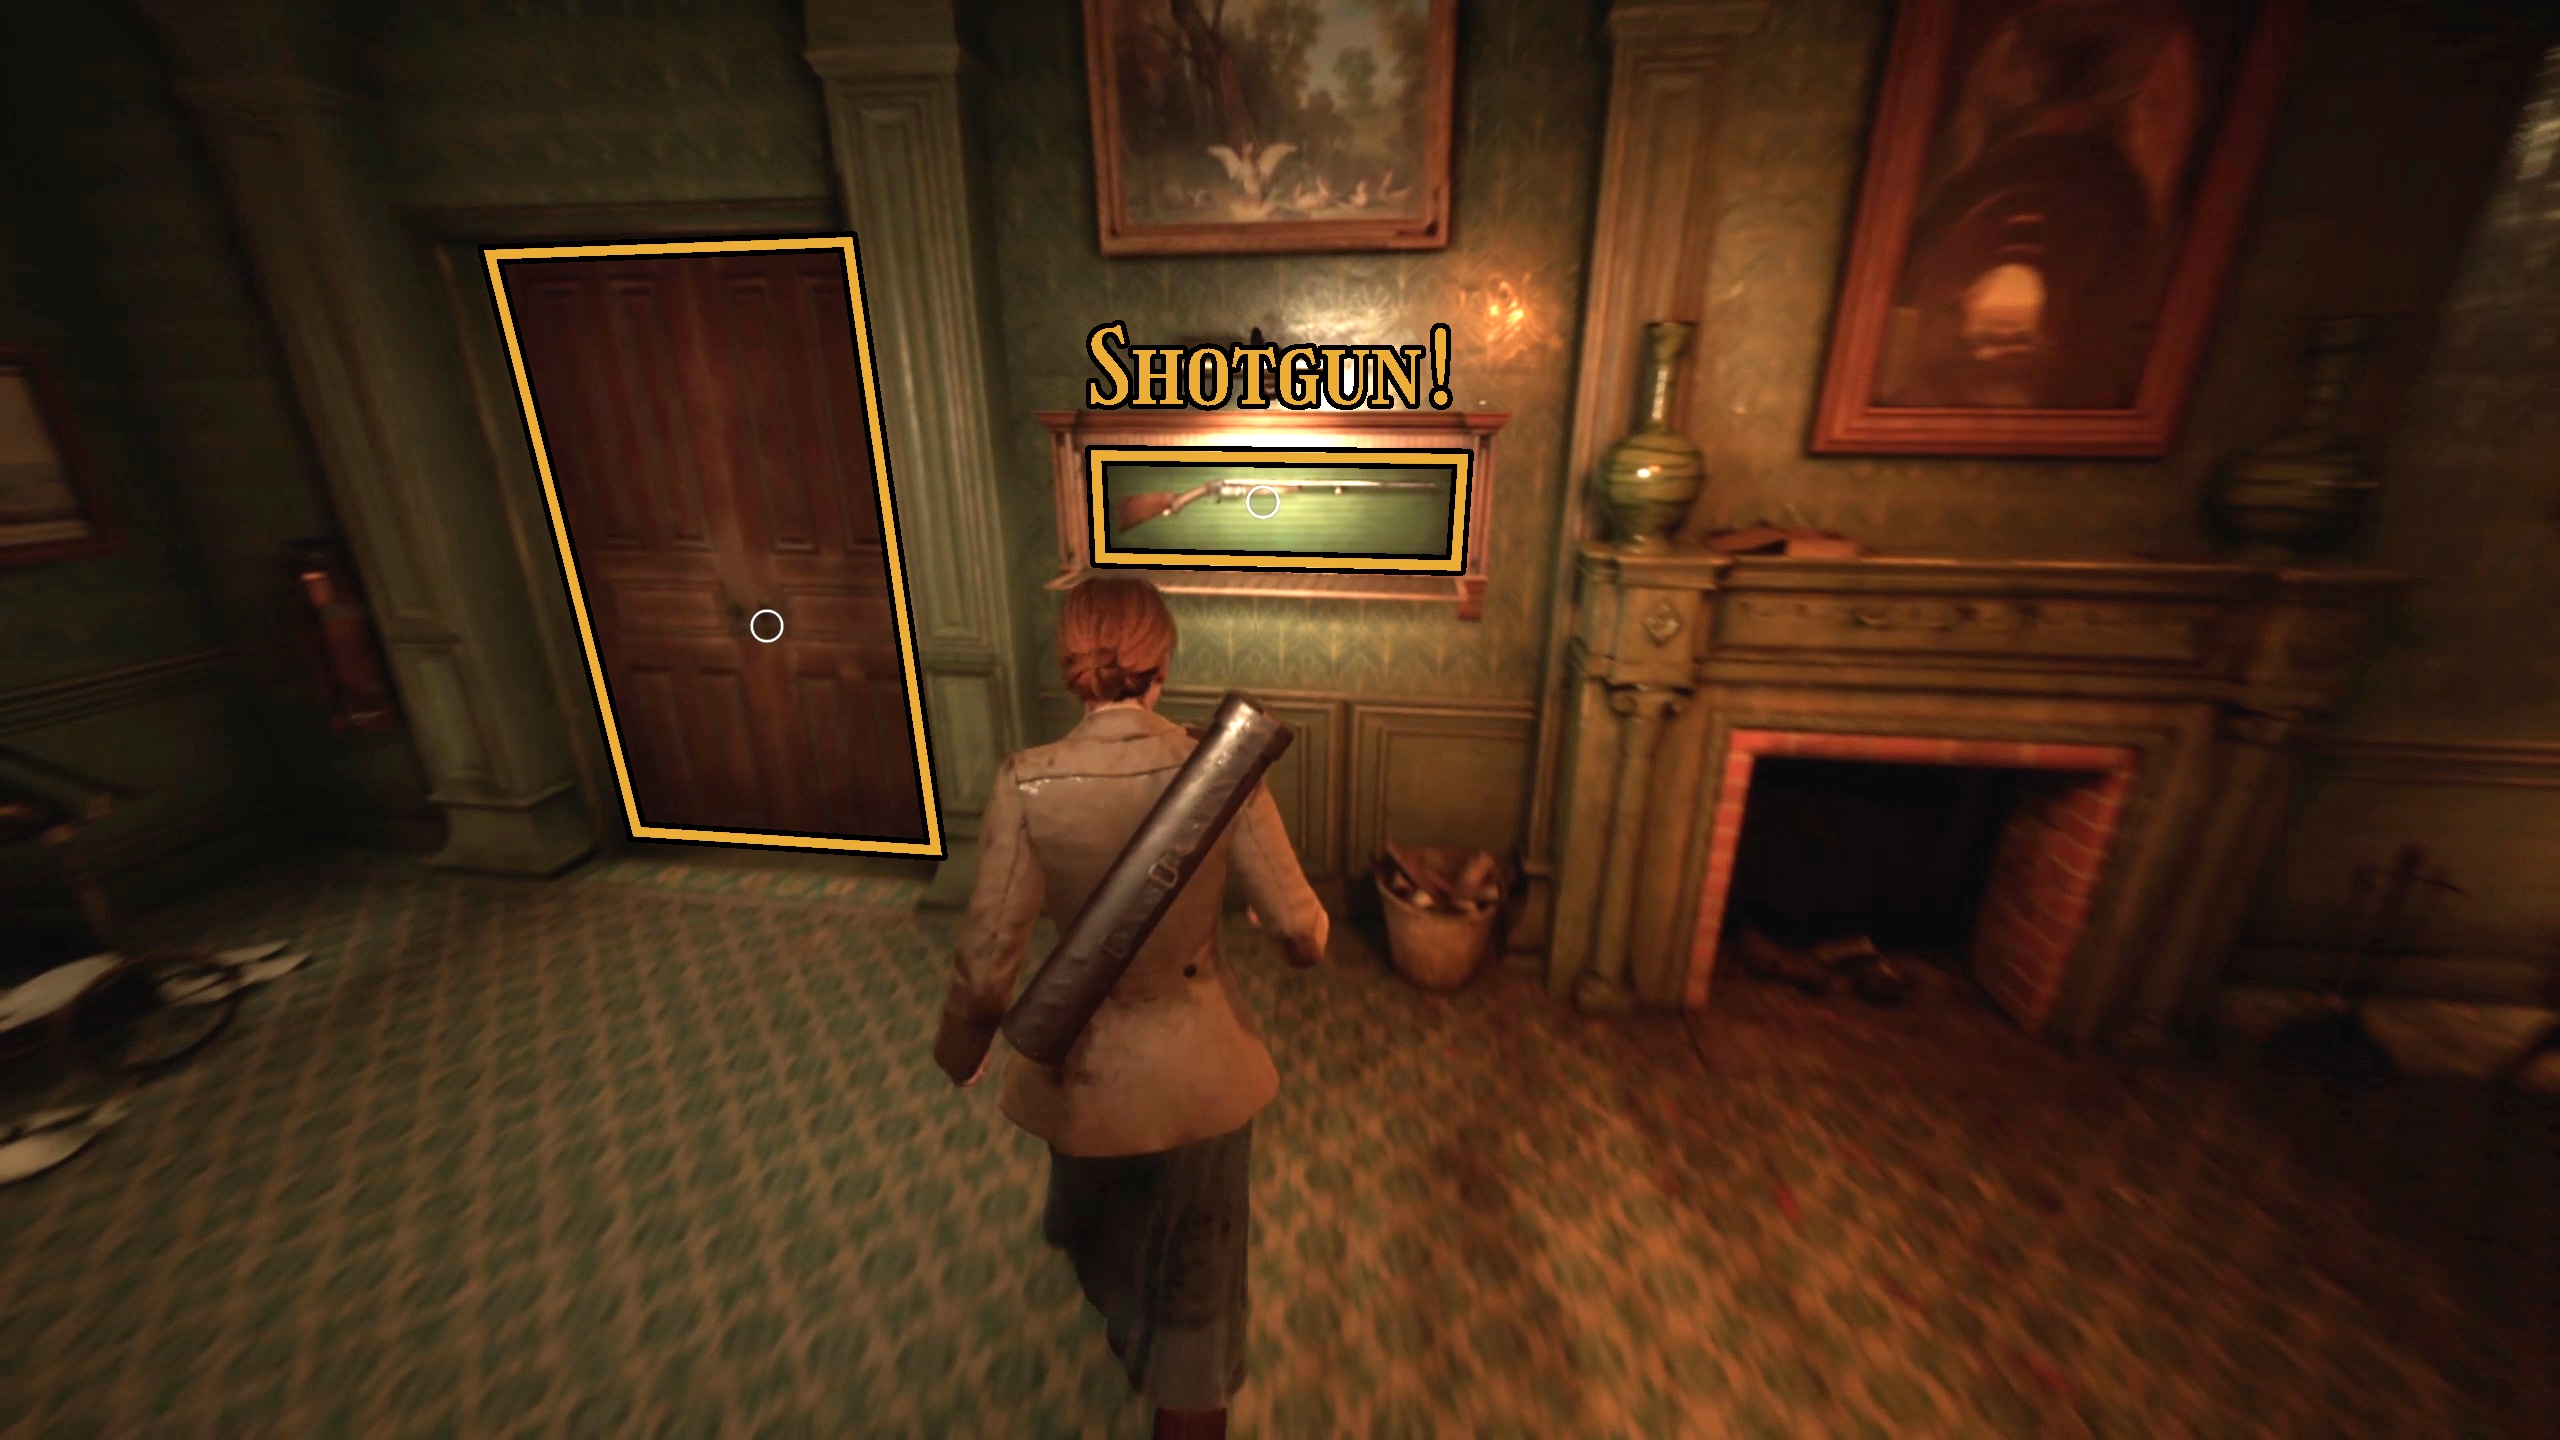
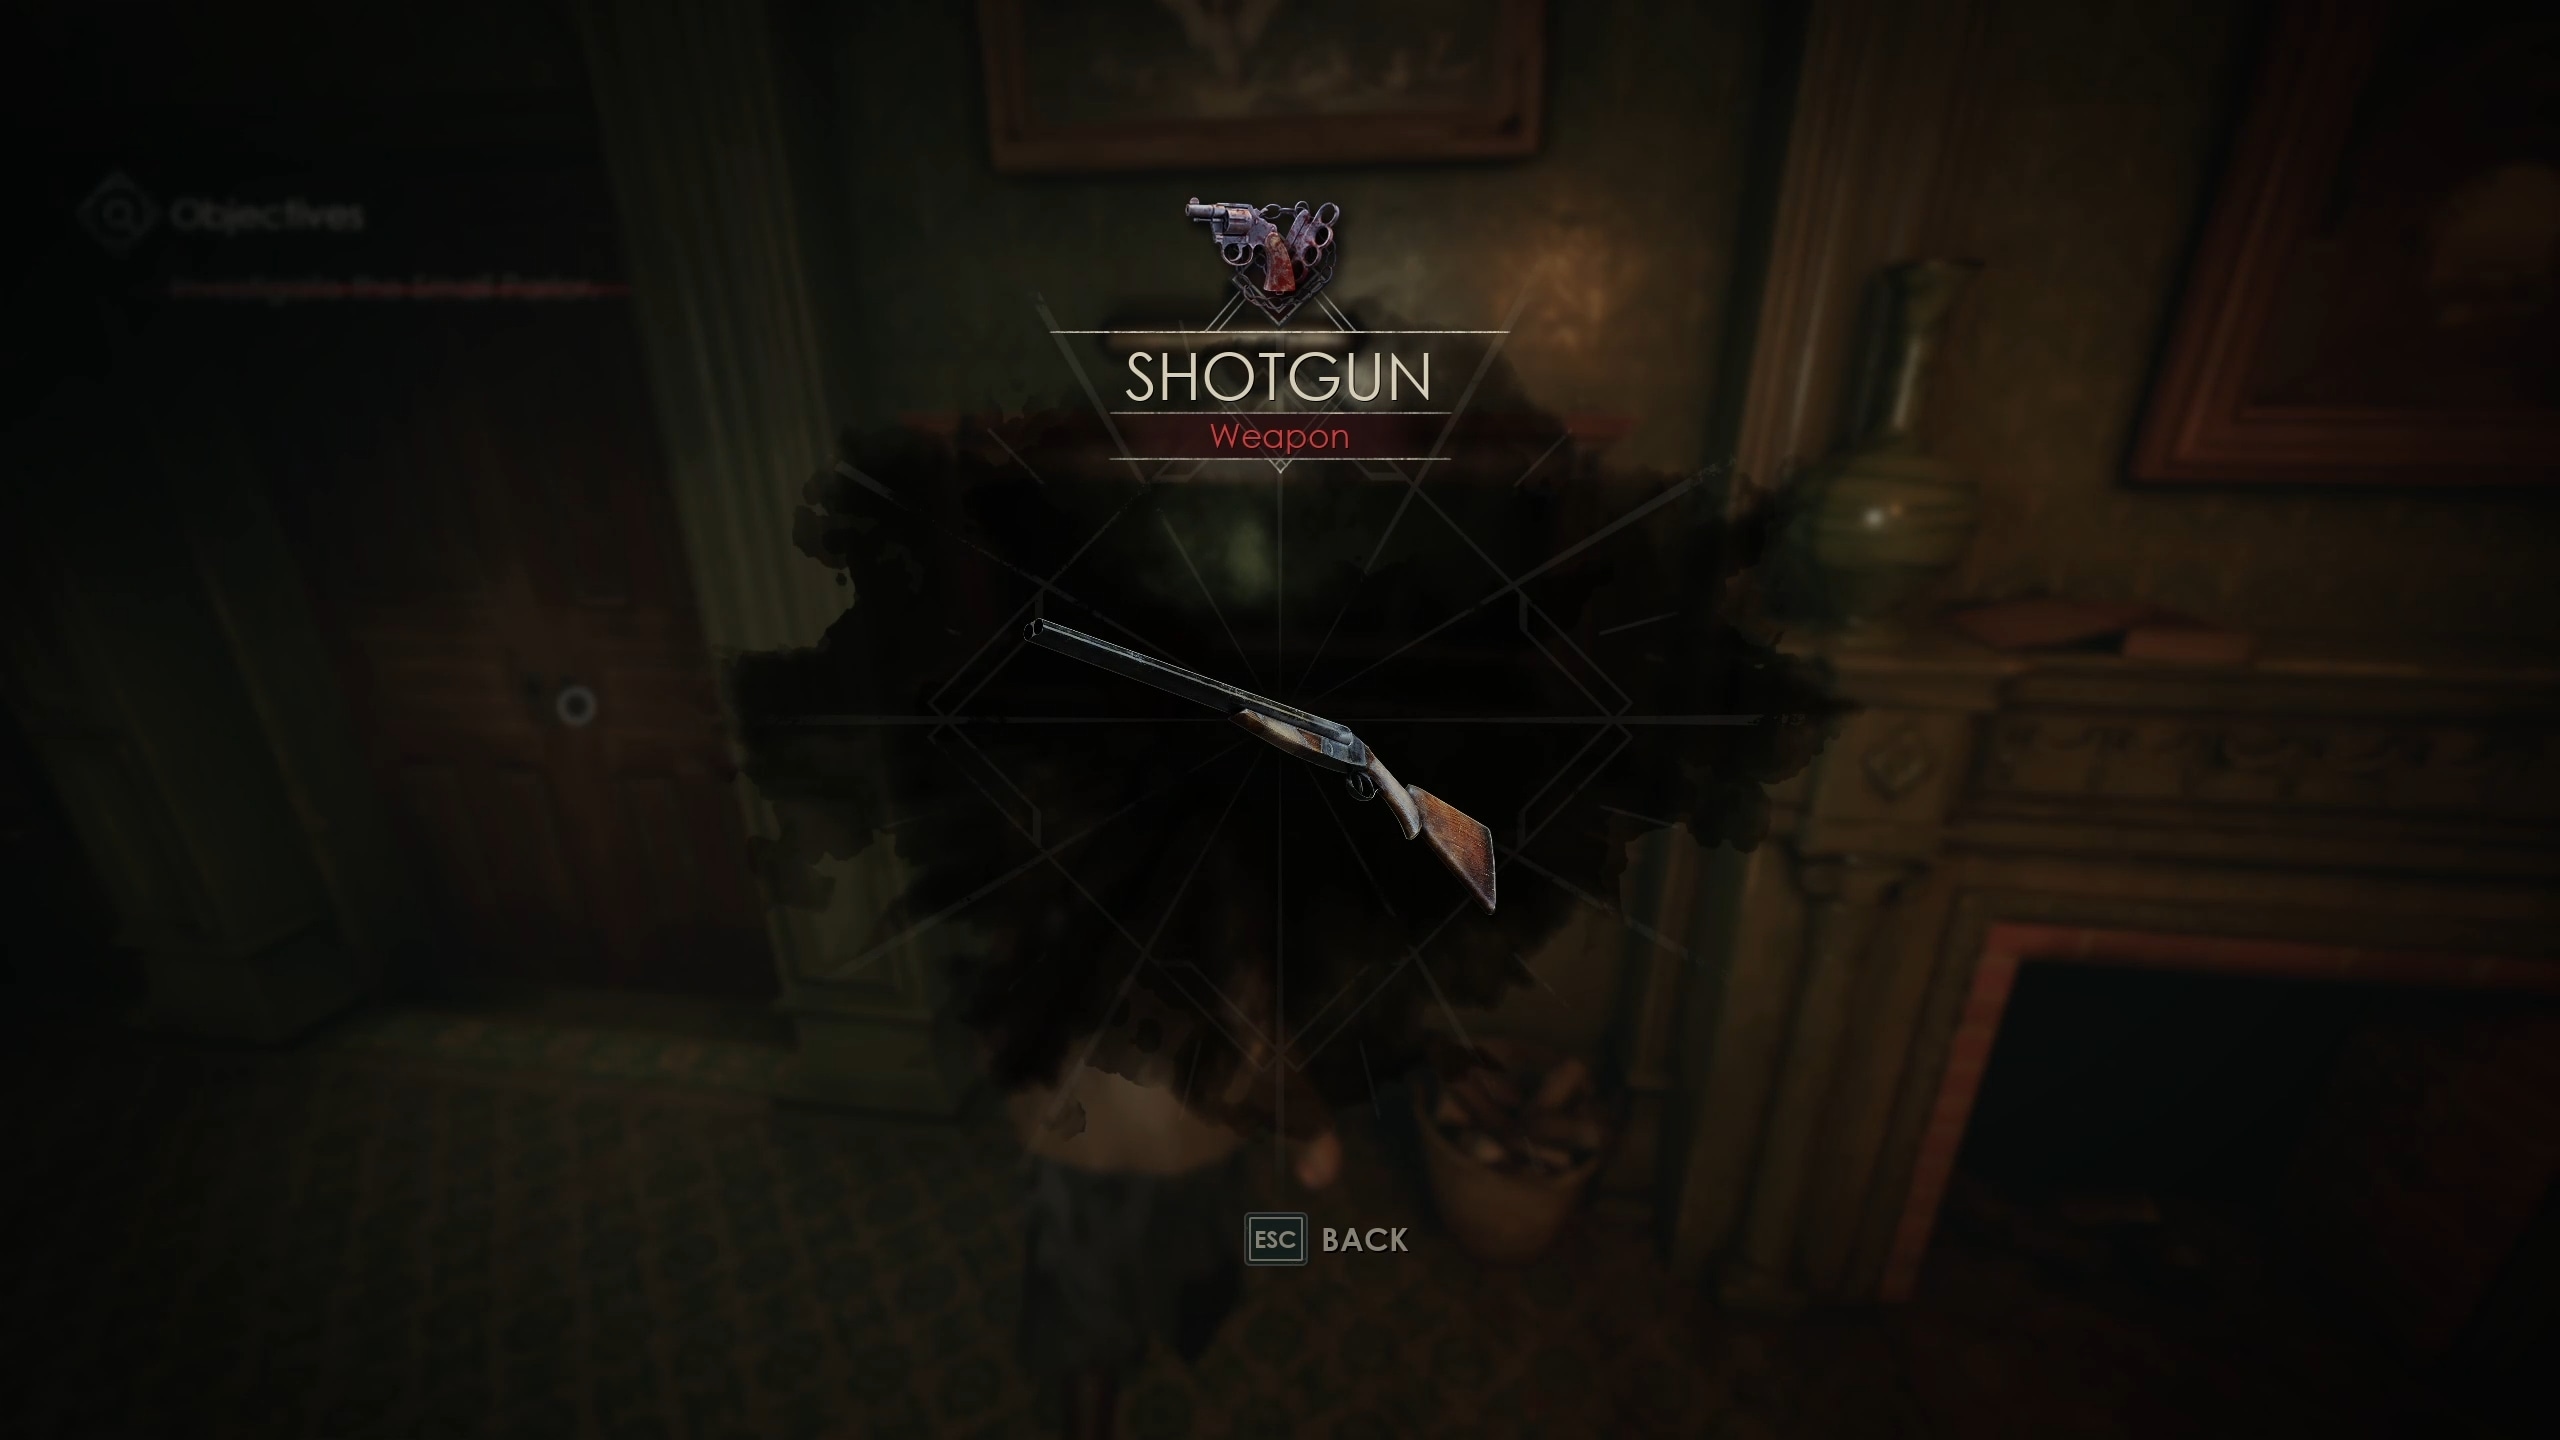
When you leave the Drawing Room, you should now have access to the Shotgun if you didn’t before, thanks to completing the Lost Children Lagniappe set (Images 101 and 102), comprising the Rubber Stamp, the Fountain Pen, and the Dog Collar.
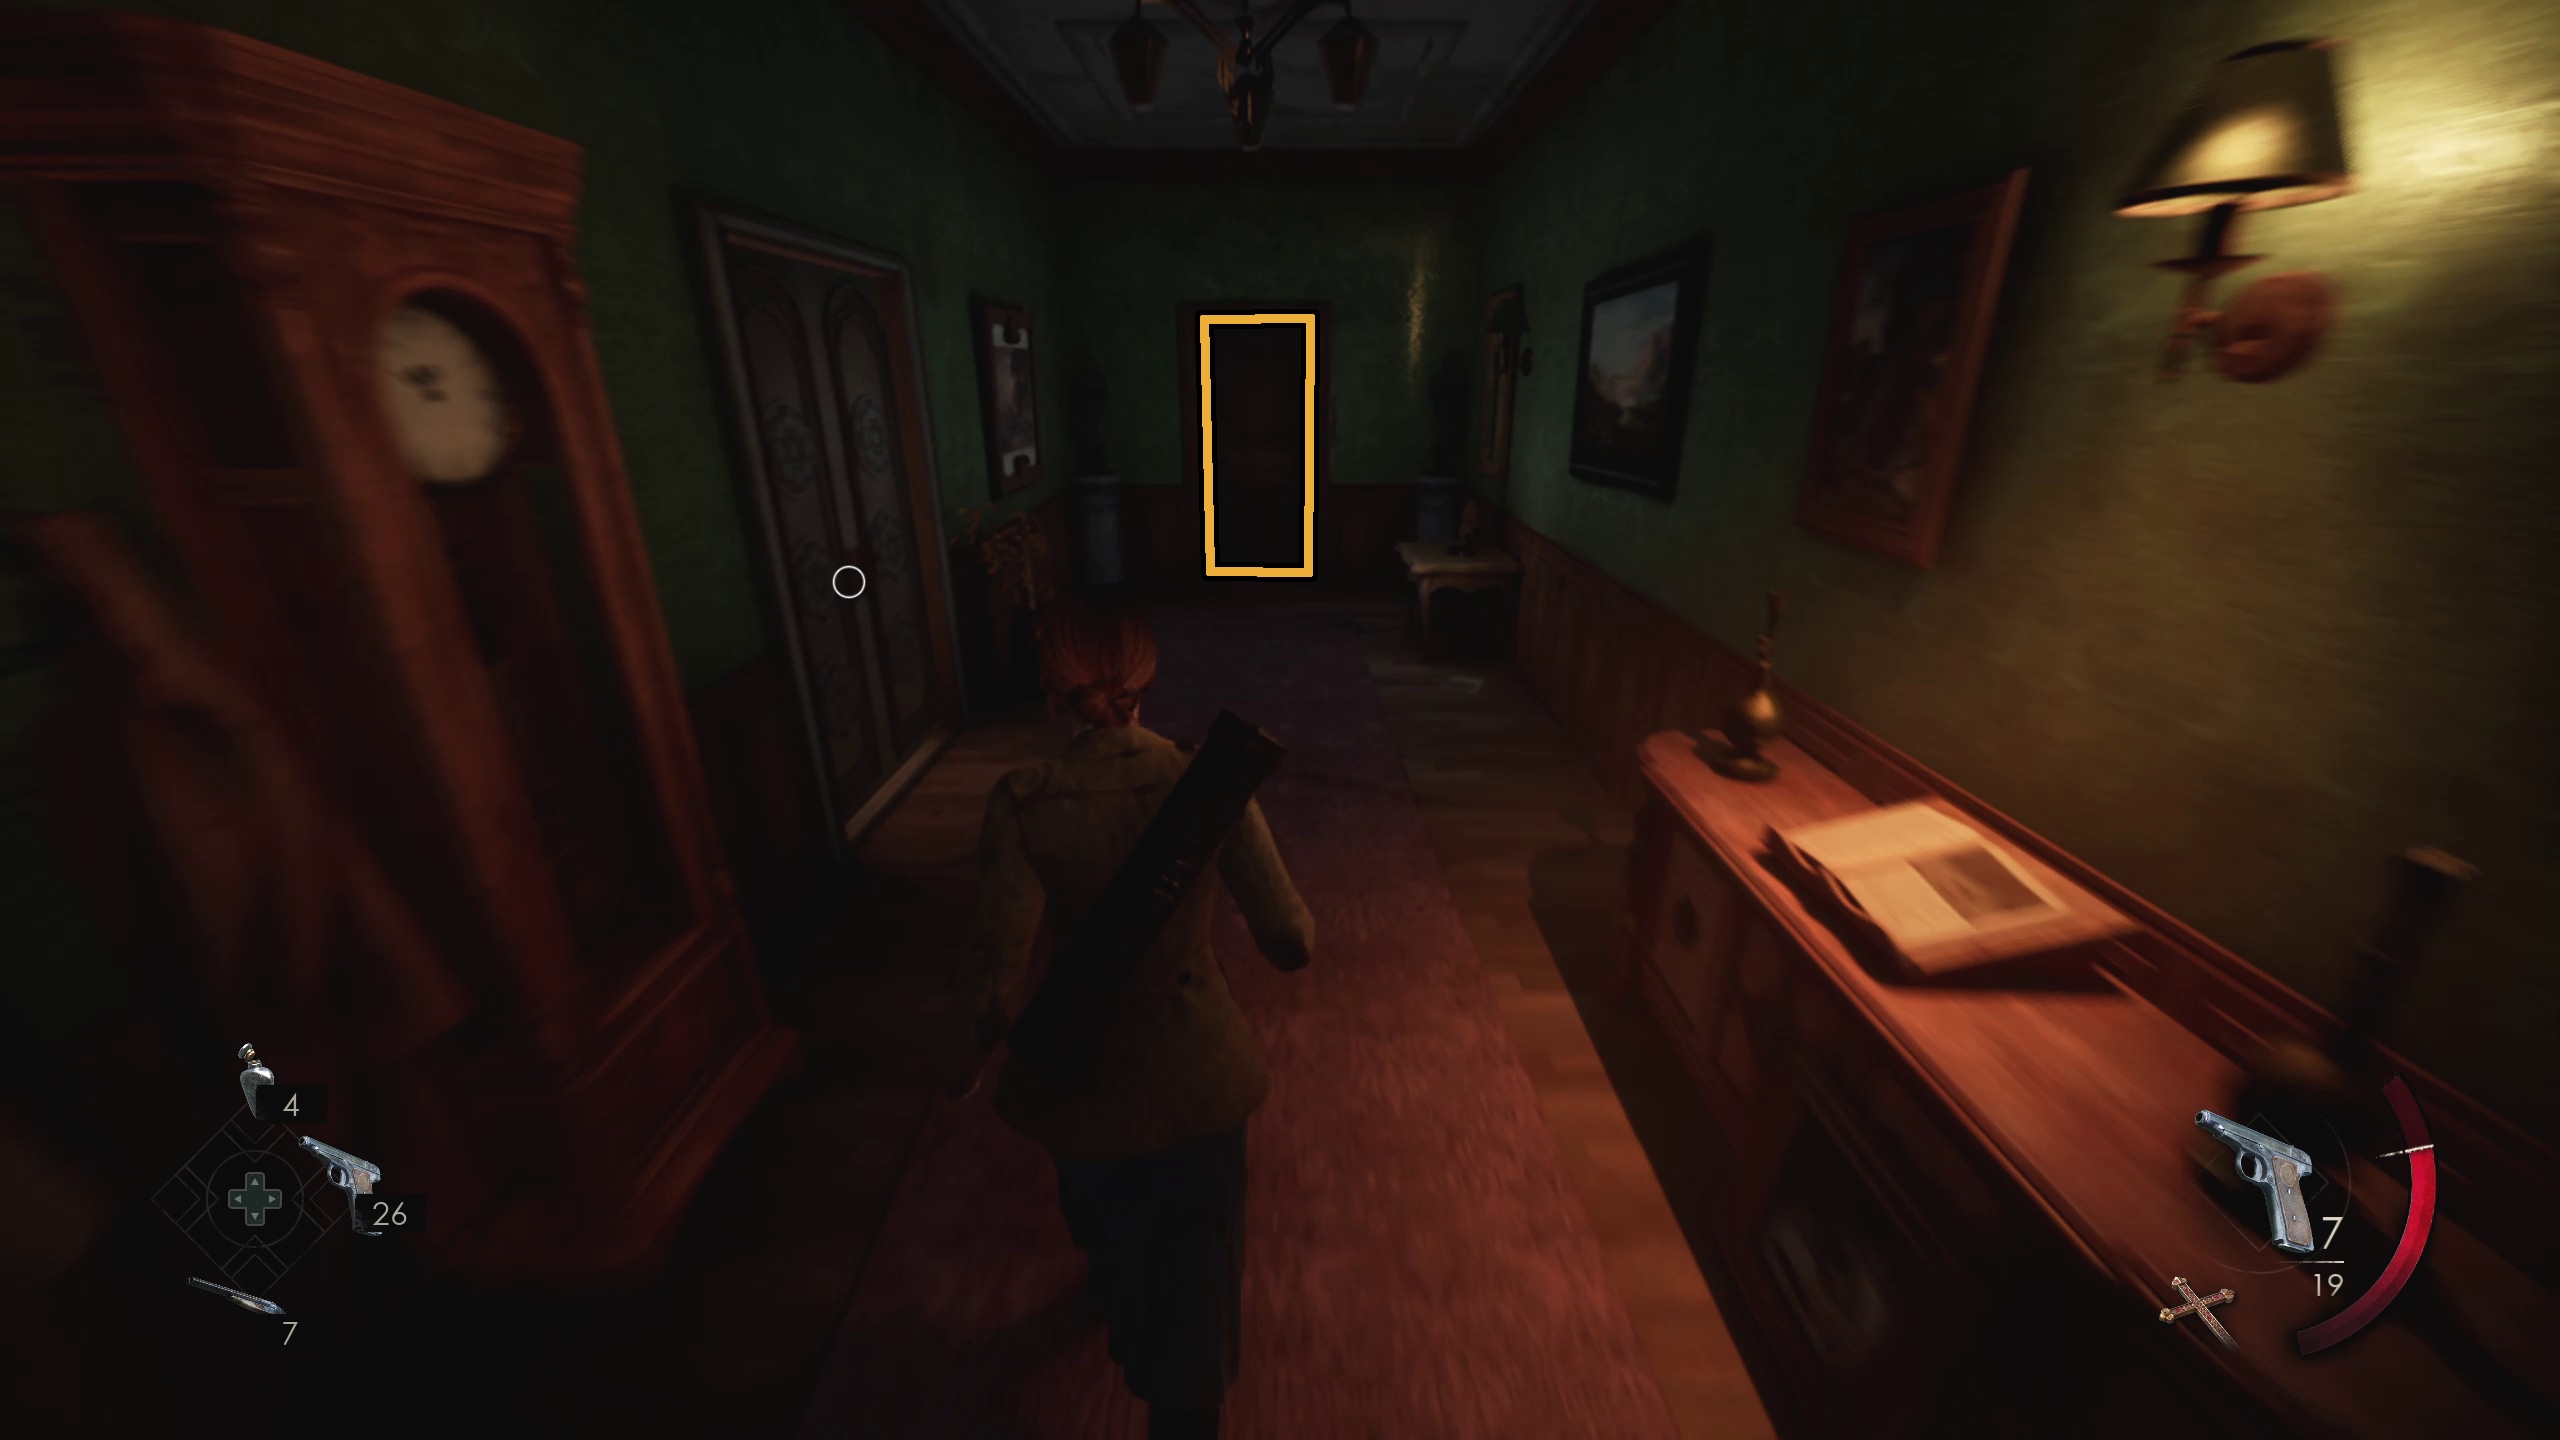
Next, get ready for an ambush. Head through the door to the Library, and then attempt to leave the Library through the other door (Image 103). It will be locked, and so you will need to head back to the Small Parlor door (Image 104). Before you reach it, however, you’ll end up in an alternate version of the library (Image 105), where 2 enemies will ambush you (Image 106). While this event can technically be avoided by going through the garden, you will need to take these enemies on eventually, so it is best to do it now.
103104105106
After you’ve dispatched the enemies, you can go out of the door you originally tried, which will be unlocked now (Image 107). Continue up the stairs and use the Palette Scrapper on the door immediately to the left at the top of the stairs (Image 108 and 109).
107108109
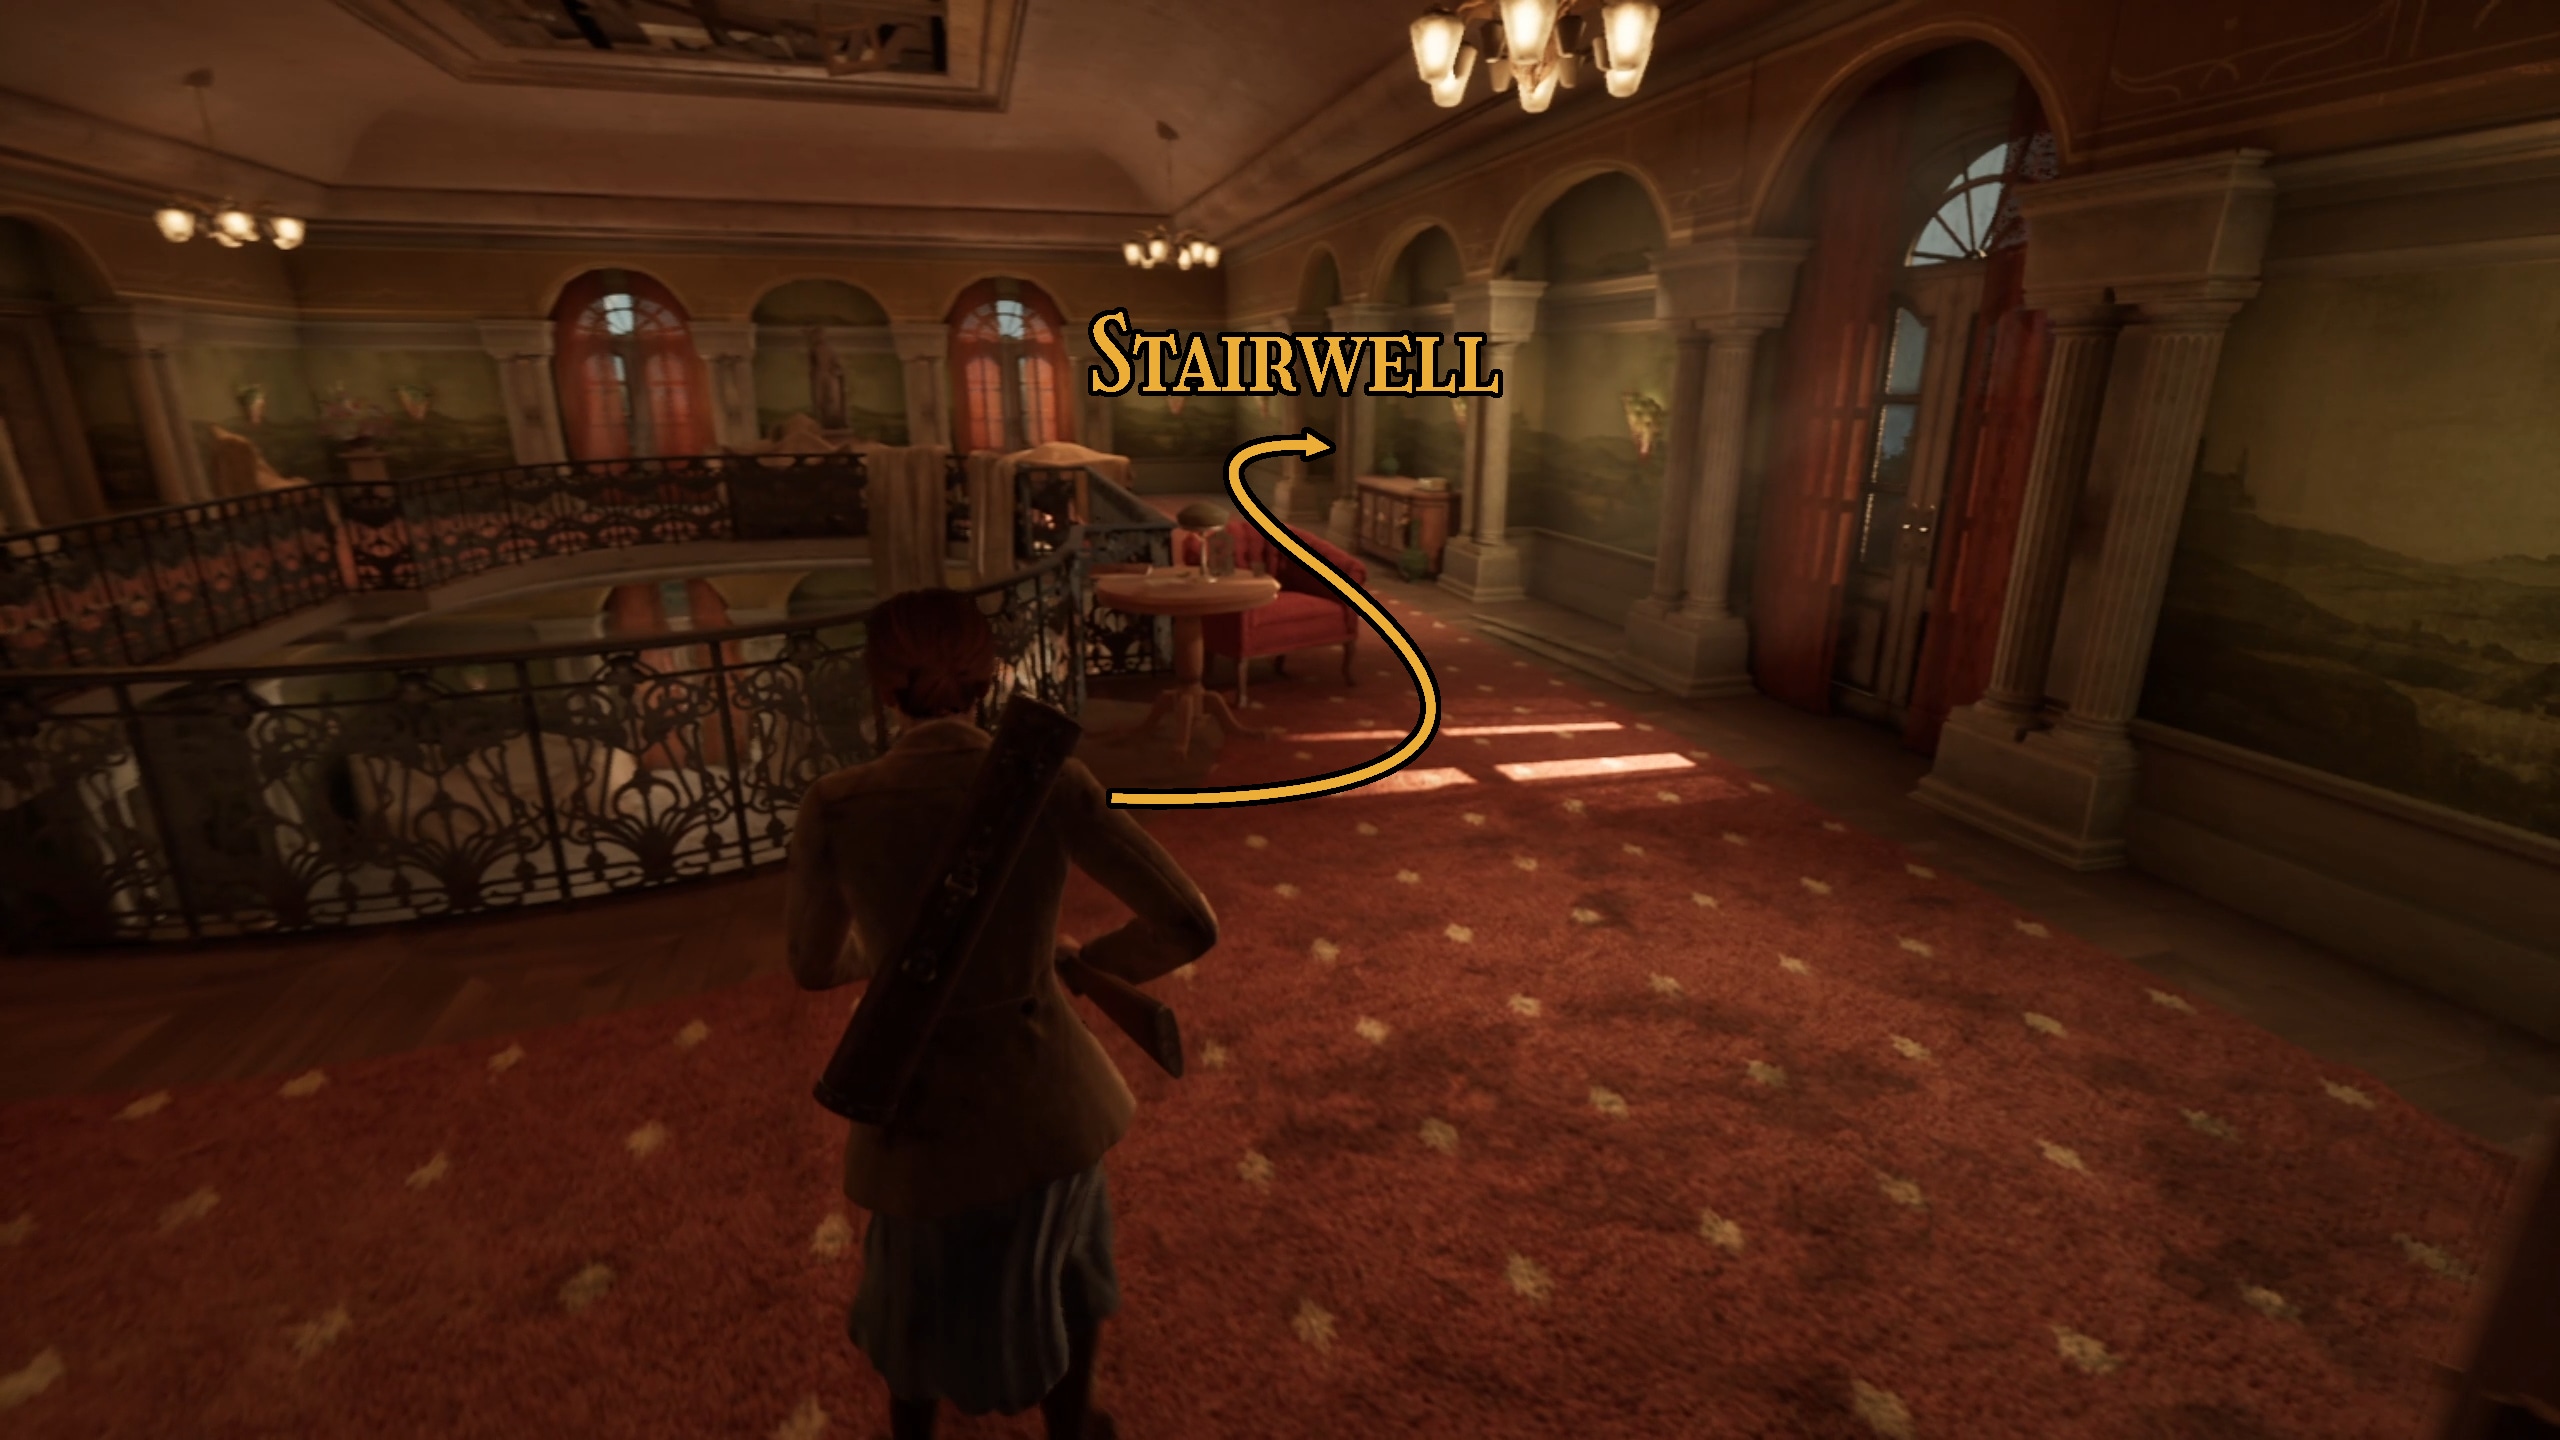
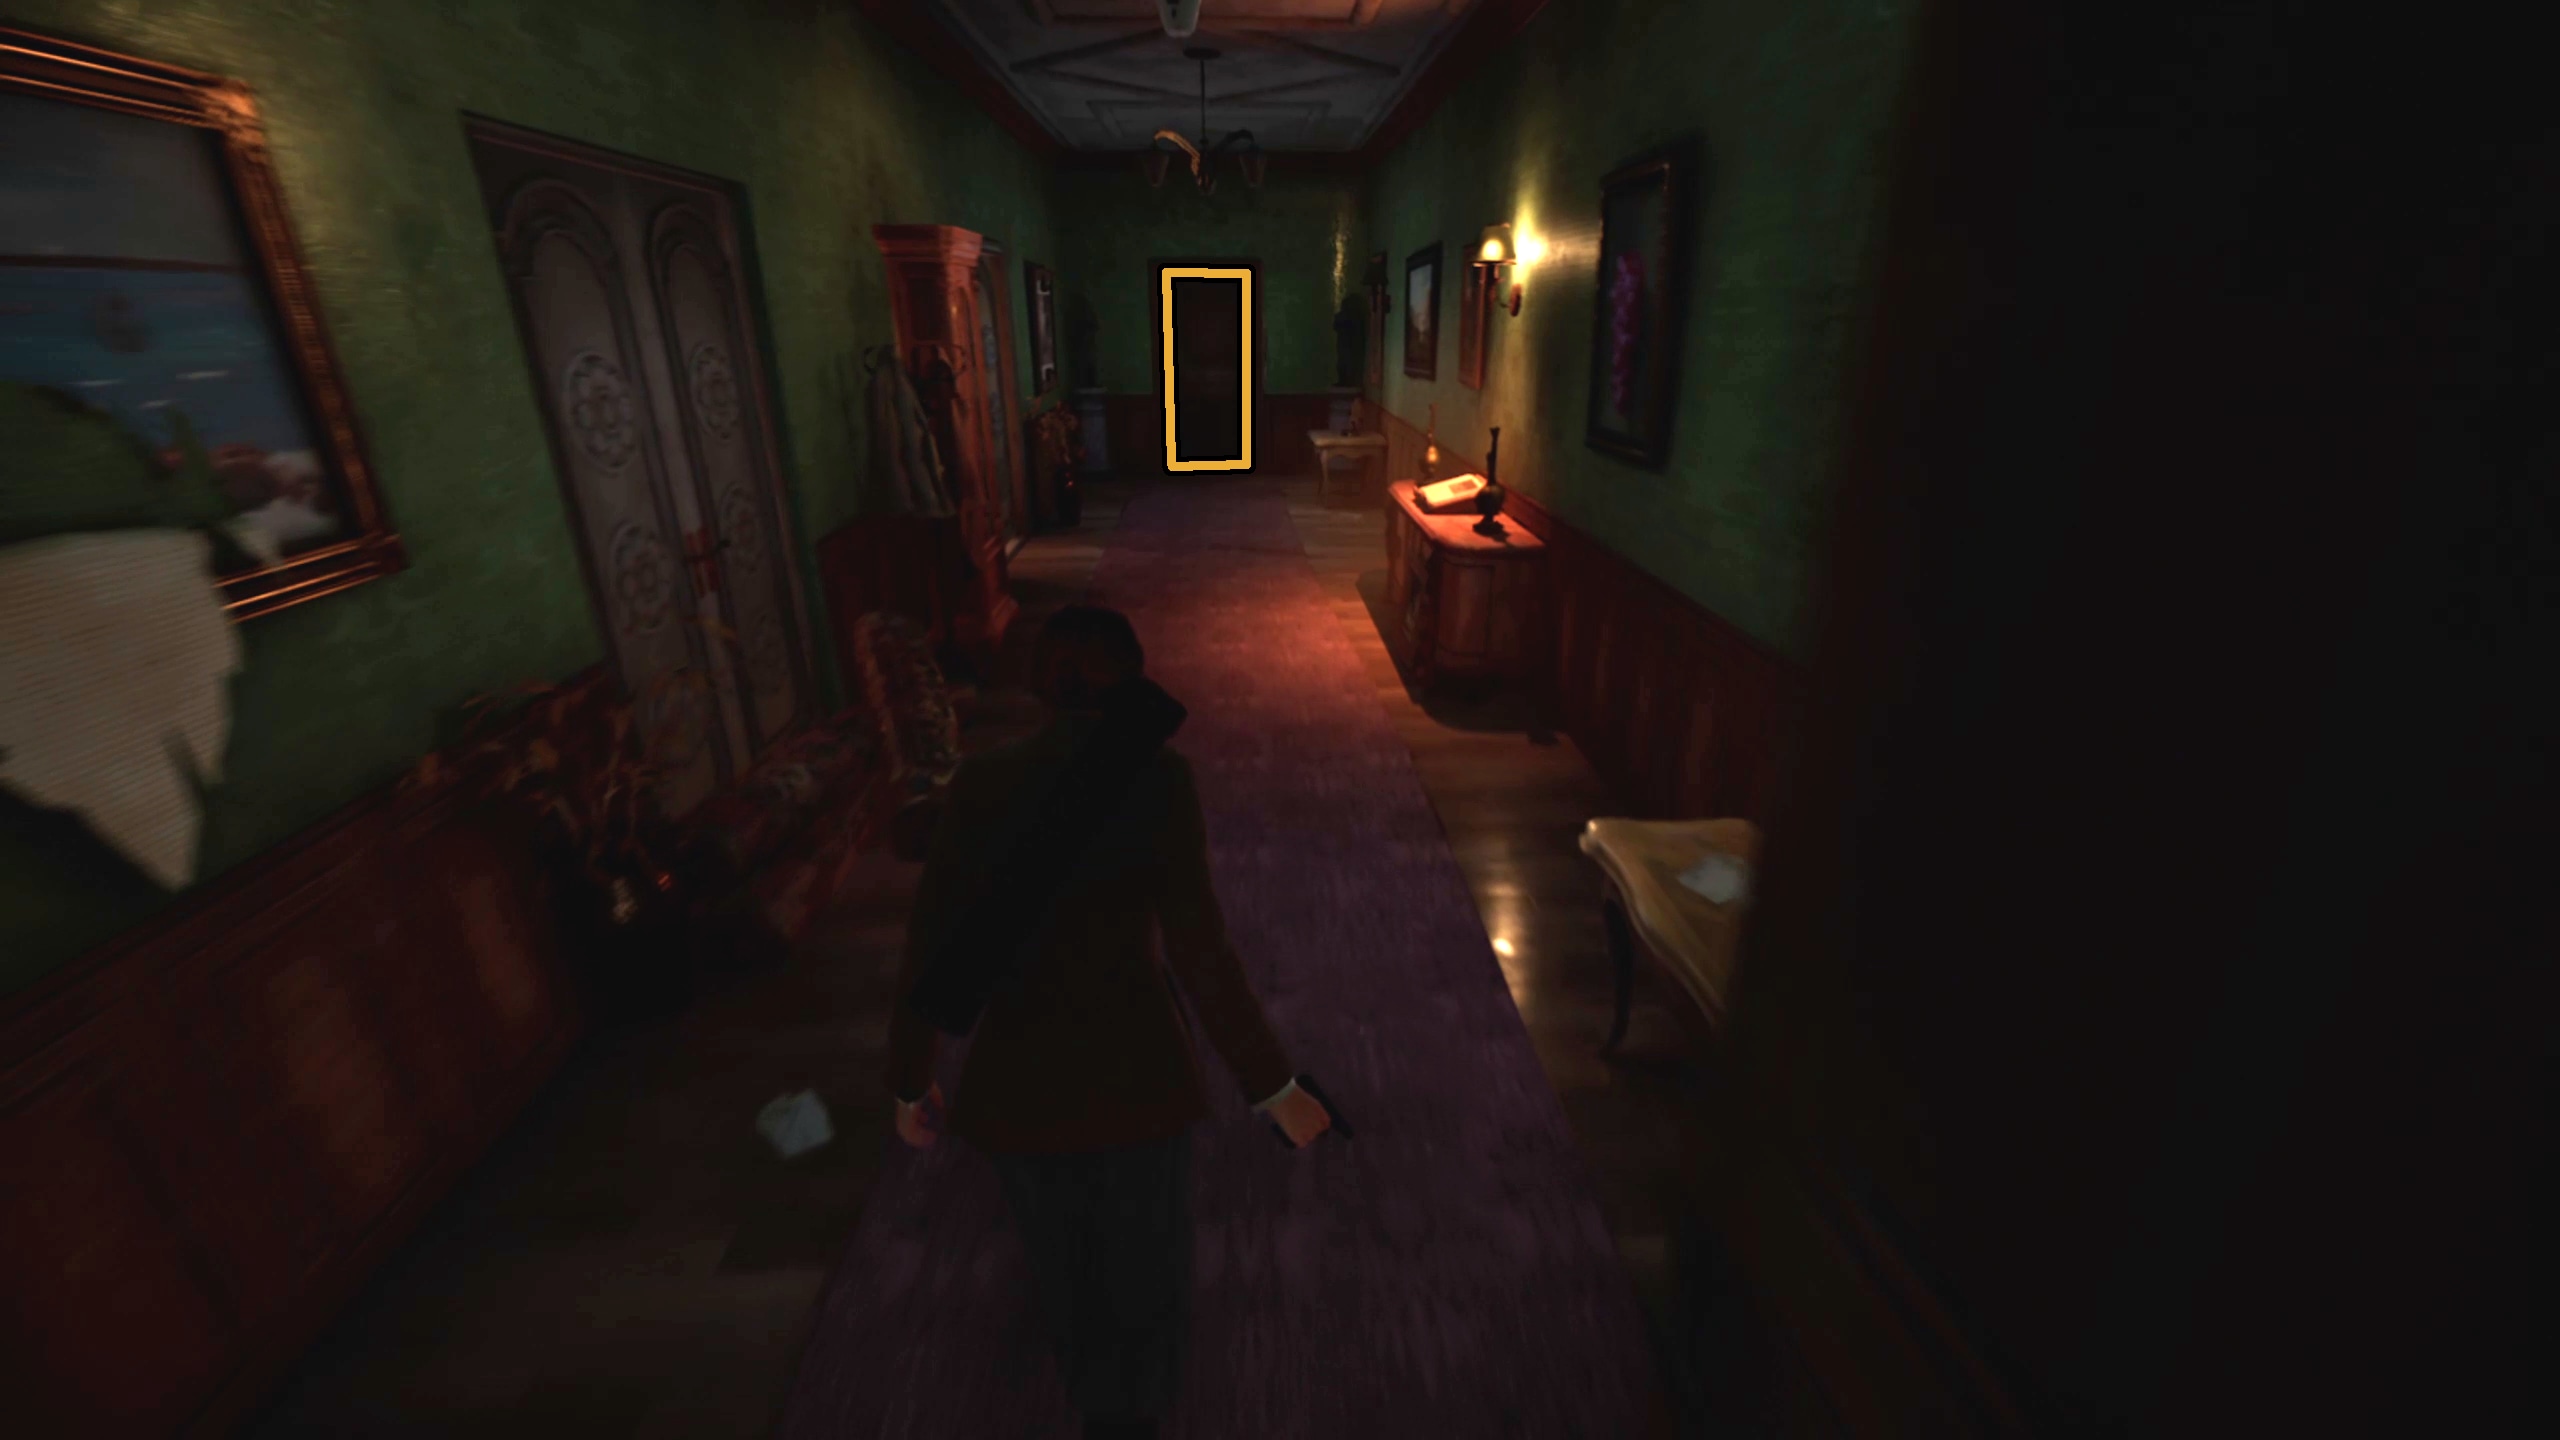
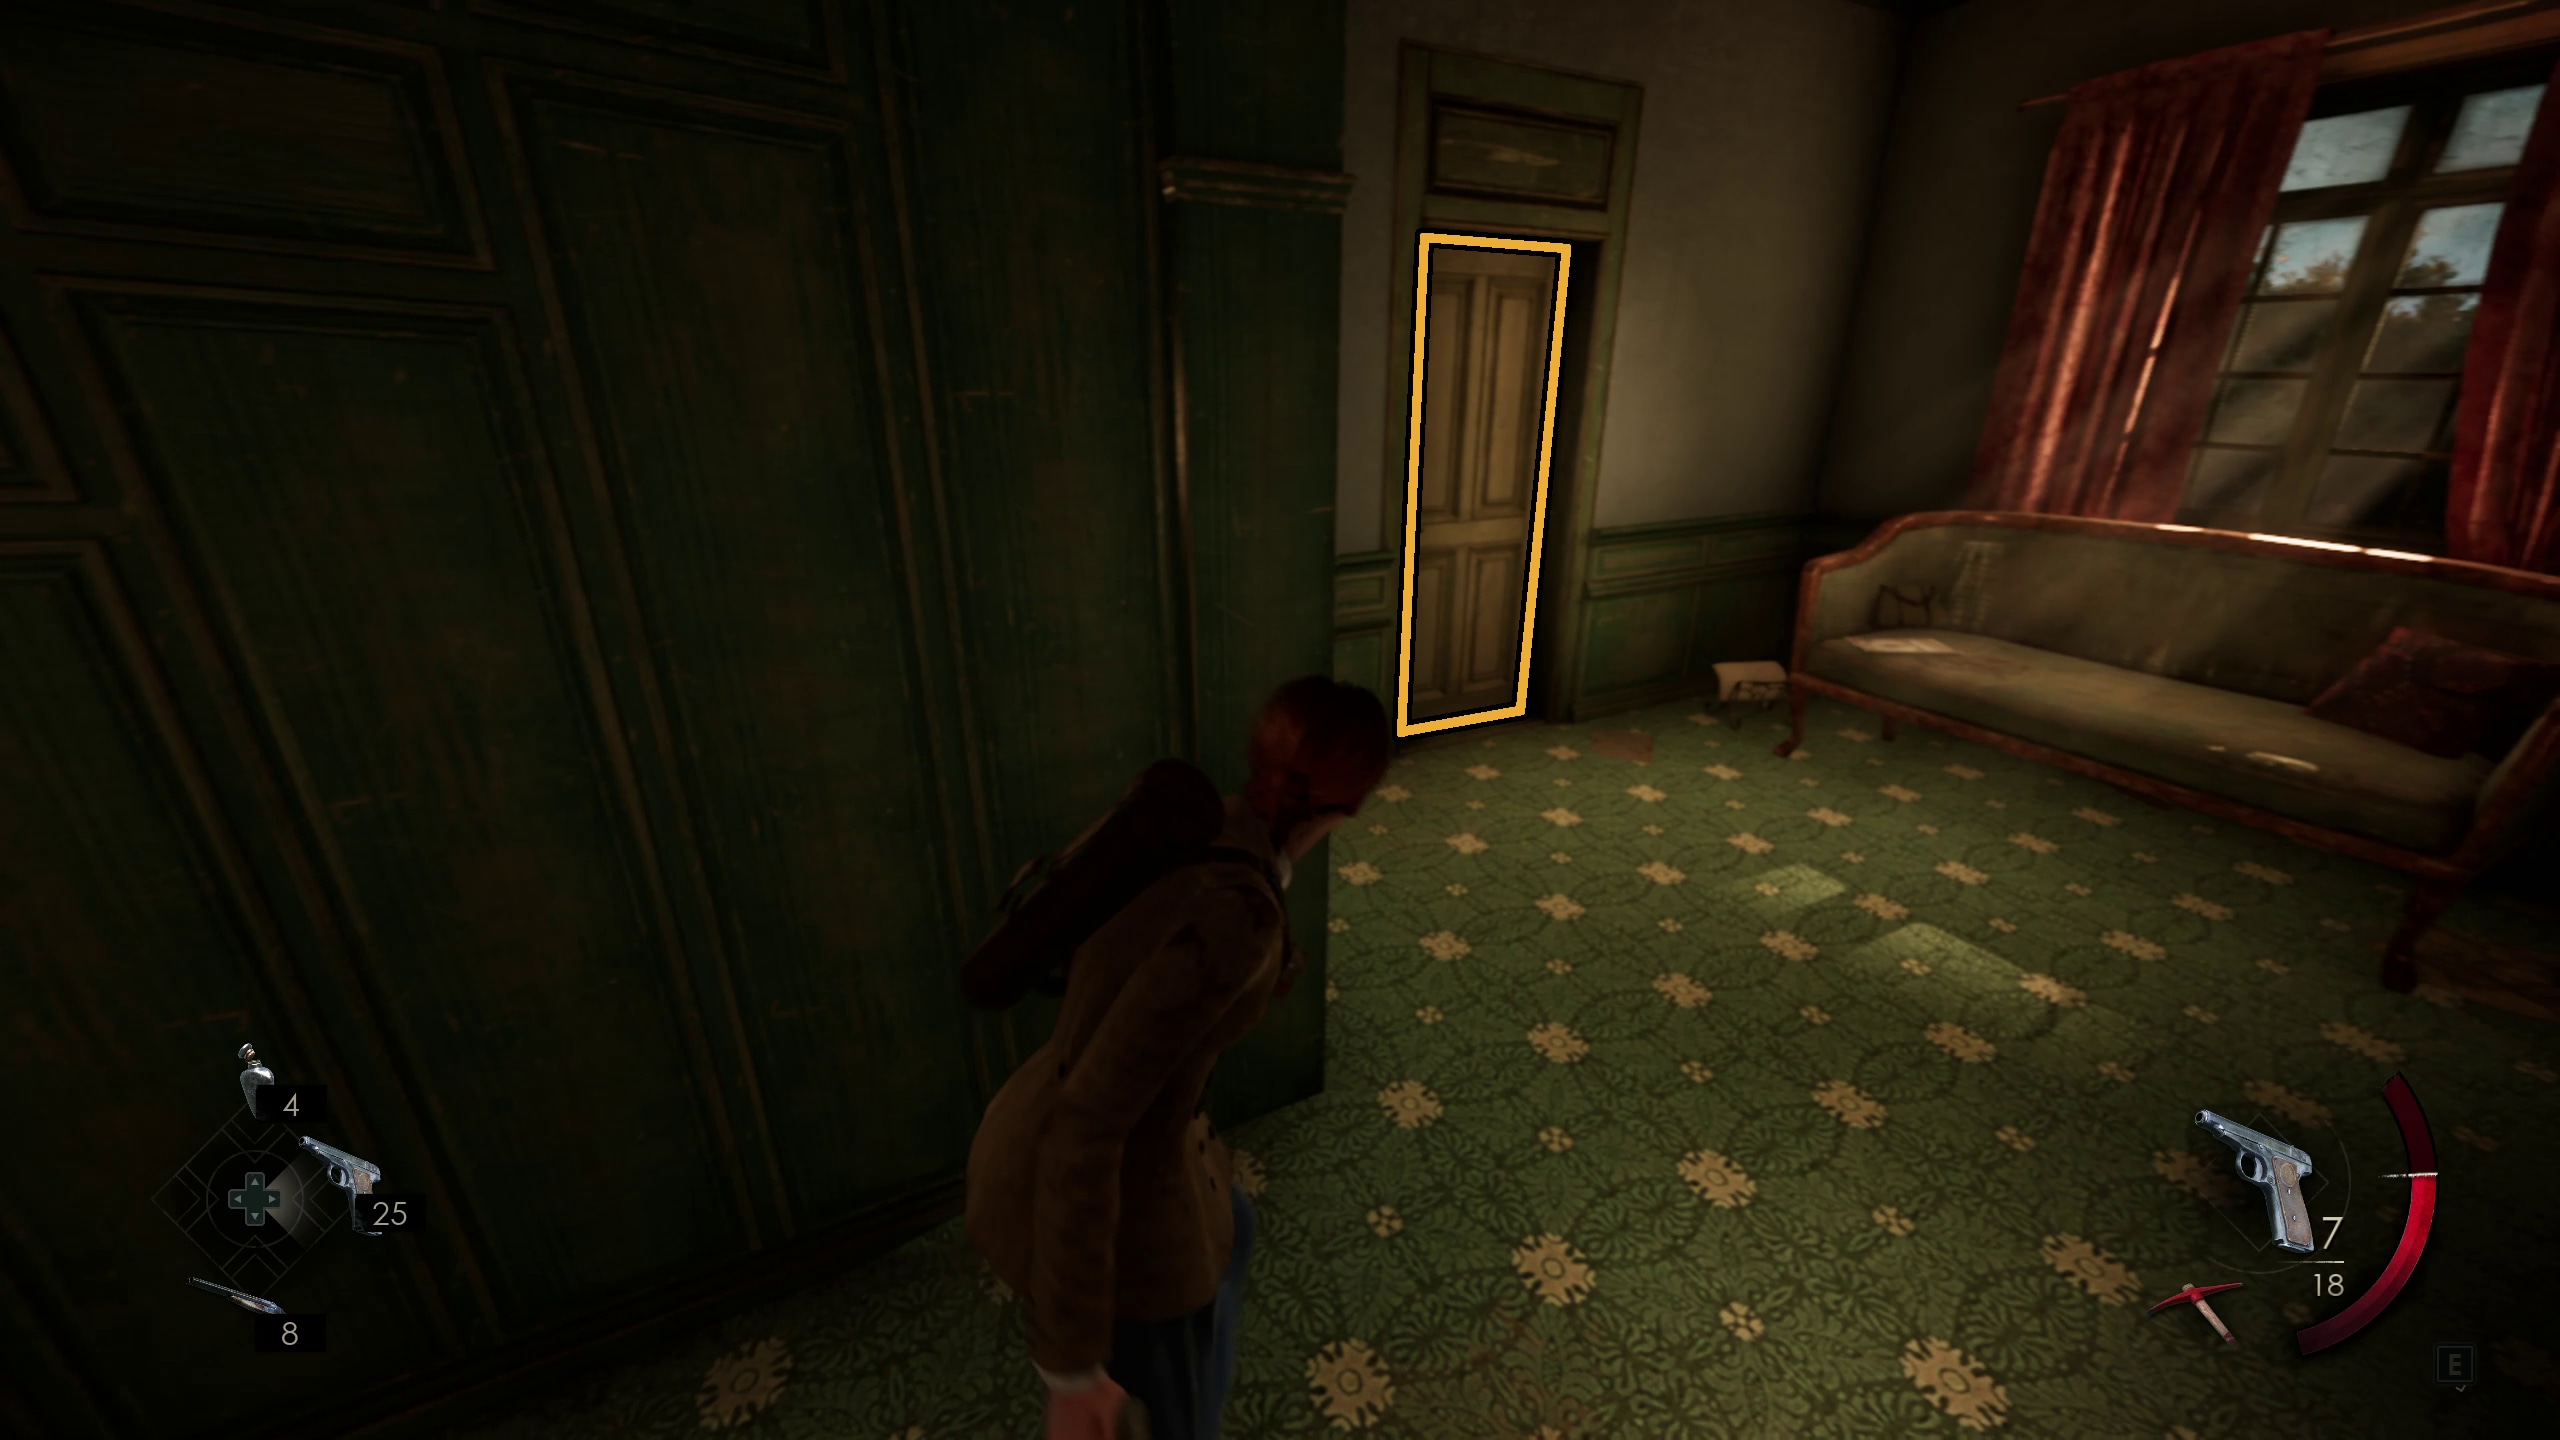
Go to the end of the next hallway to unlock the door to the 2nd Floor Hallway, but then you should turn around and go through the door to the side that leads to the Mezzanine (Image 110). Edward will get a cutscene with Ruth (Image 111). After that, go to the left to get the BeignetLagniappe (Image 112) and to unlock another door to the 2nd Floor Hallway. Then, go to the other side of the Mezzanine and enter the door at the end of it to enter the Stairwell 9Image 113).
110111112113
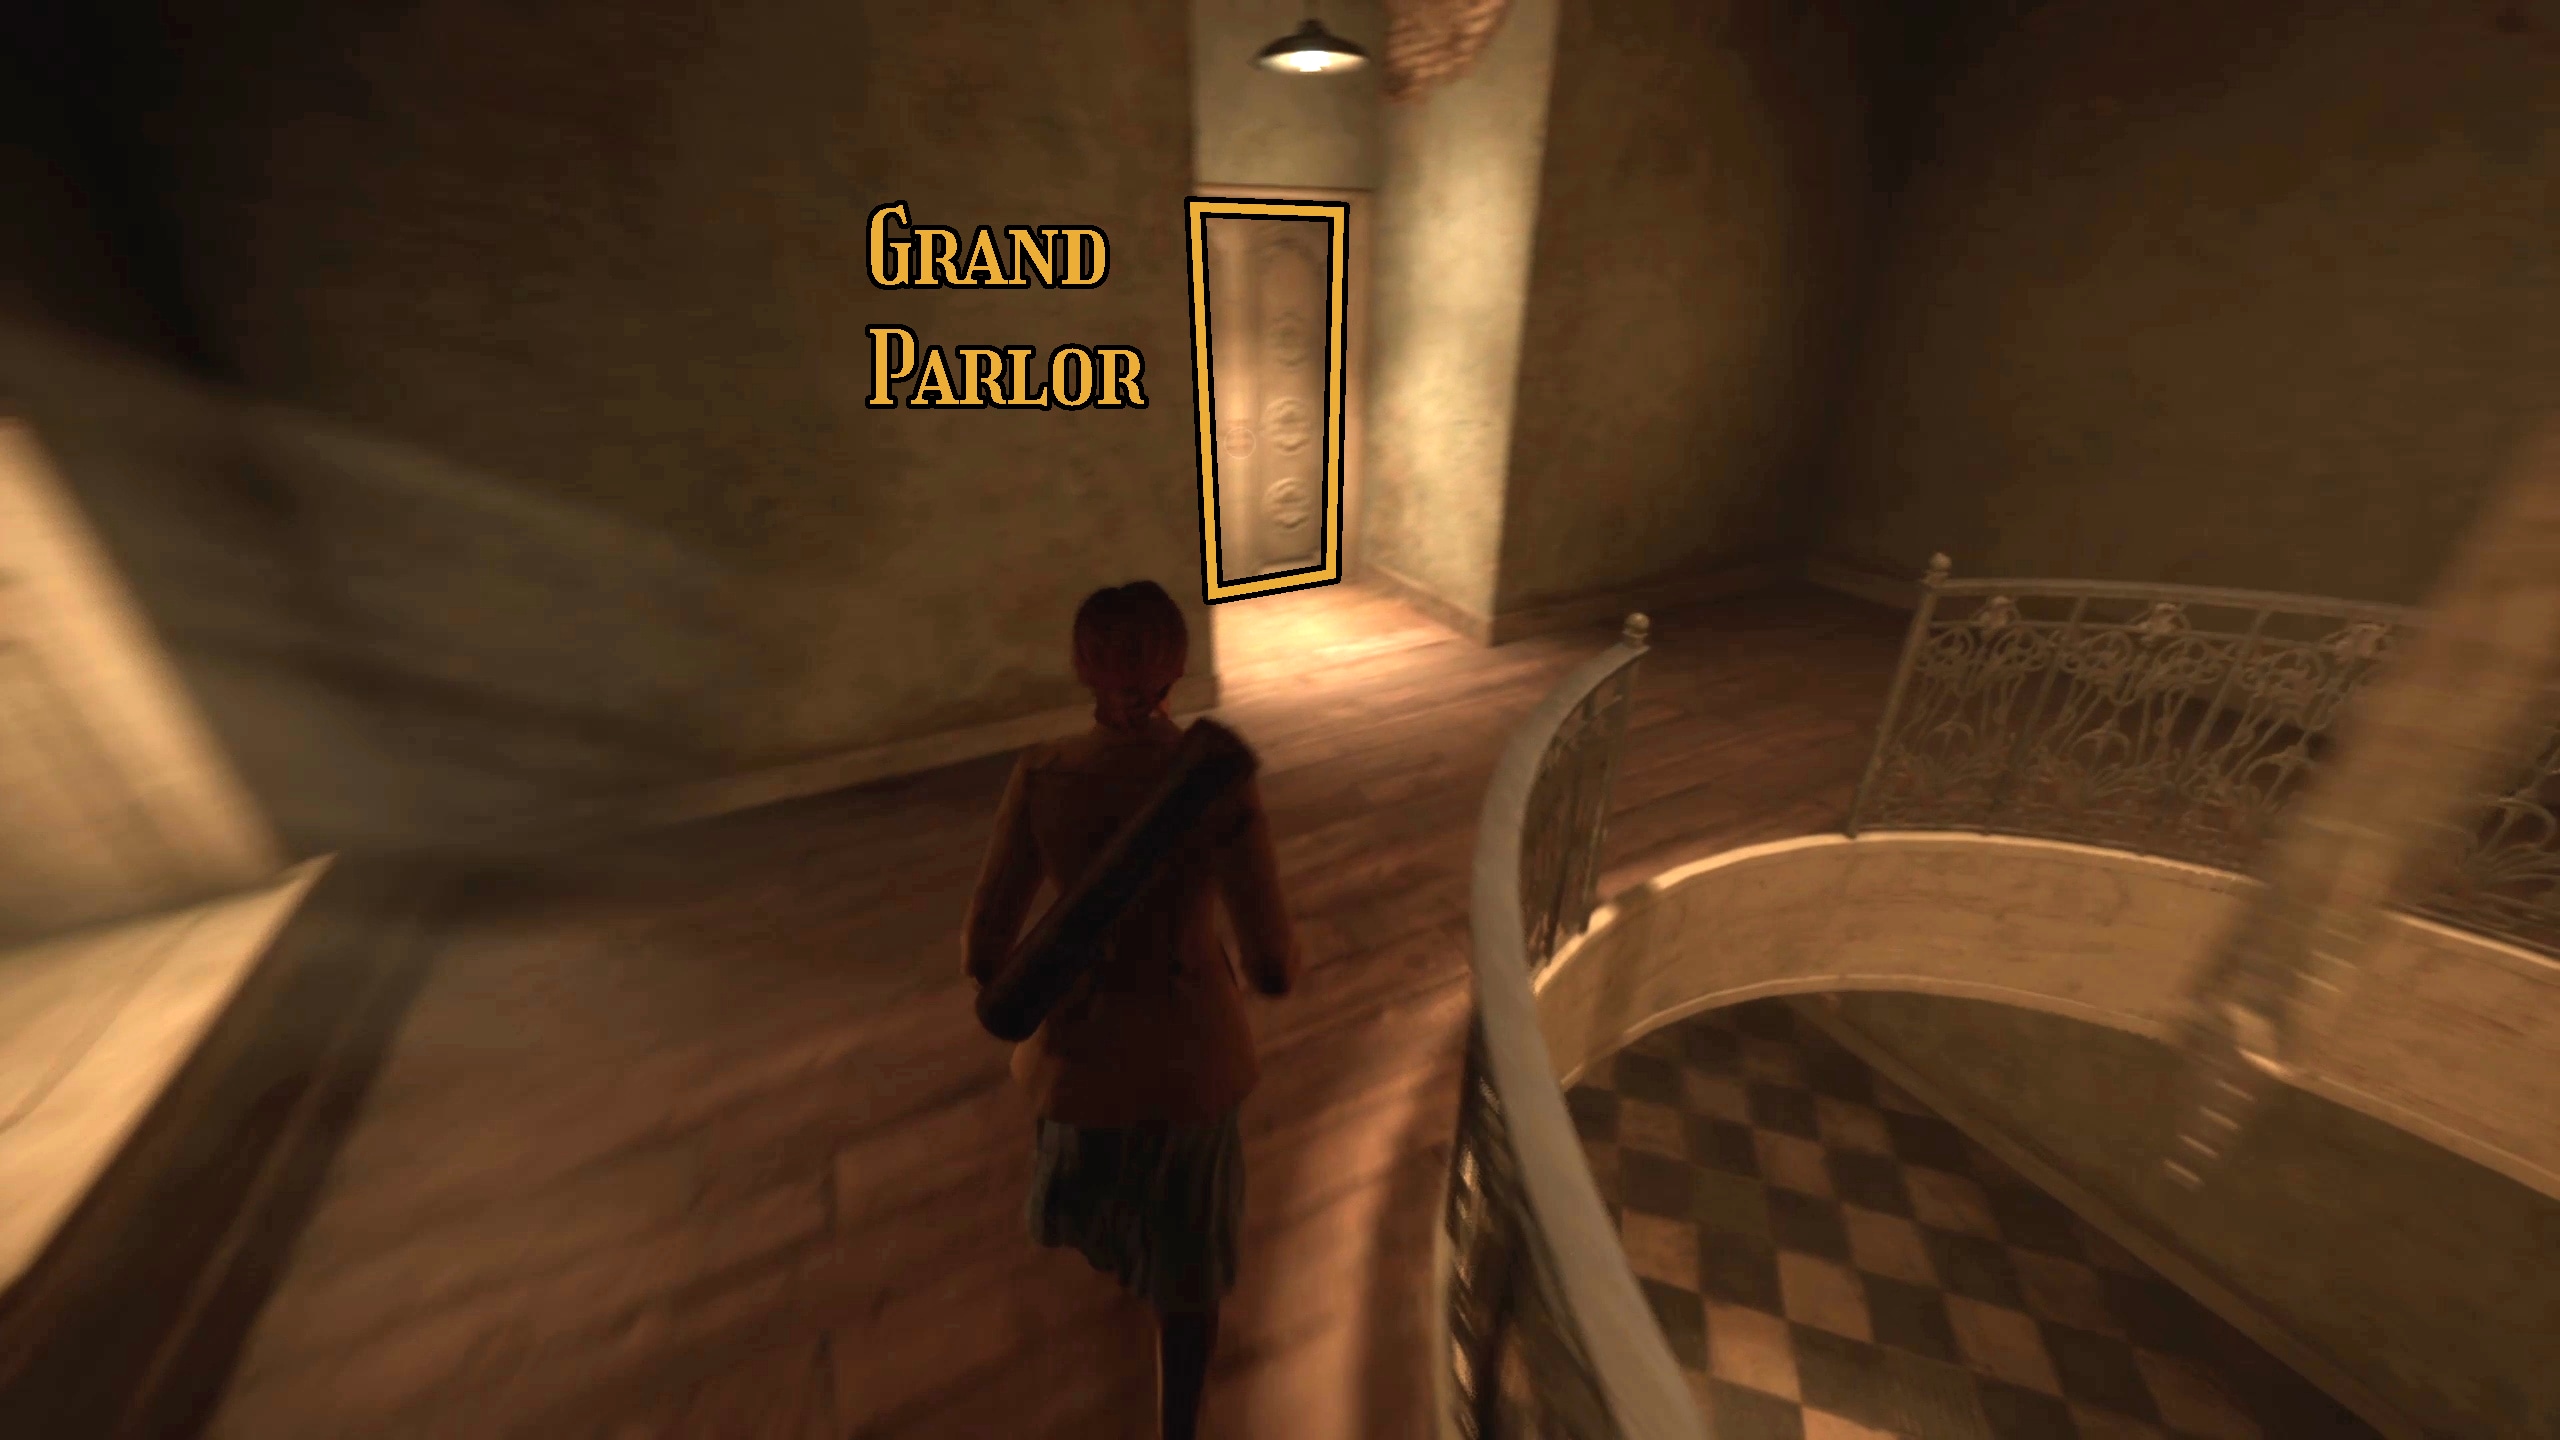
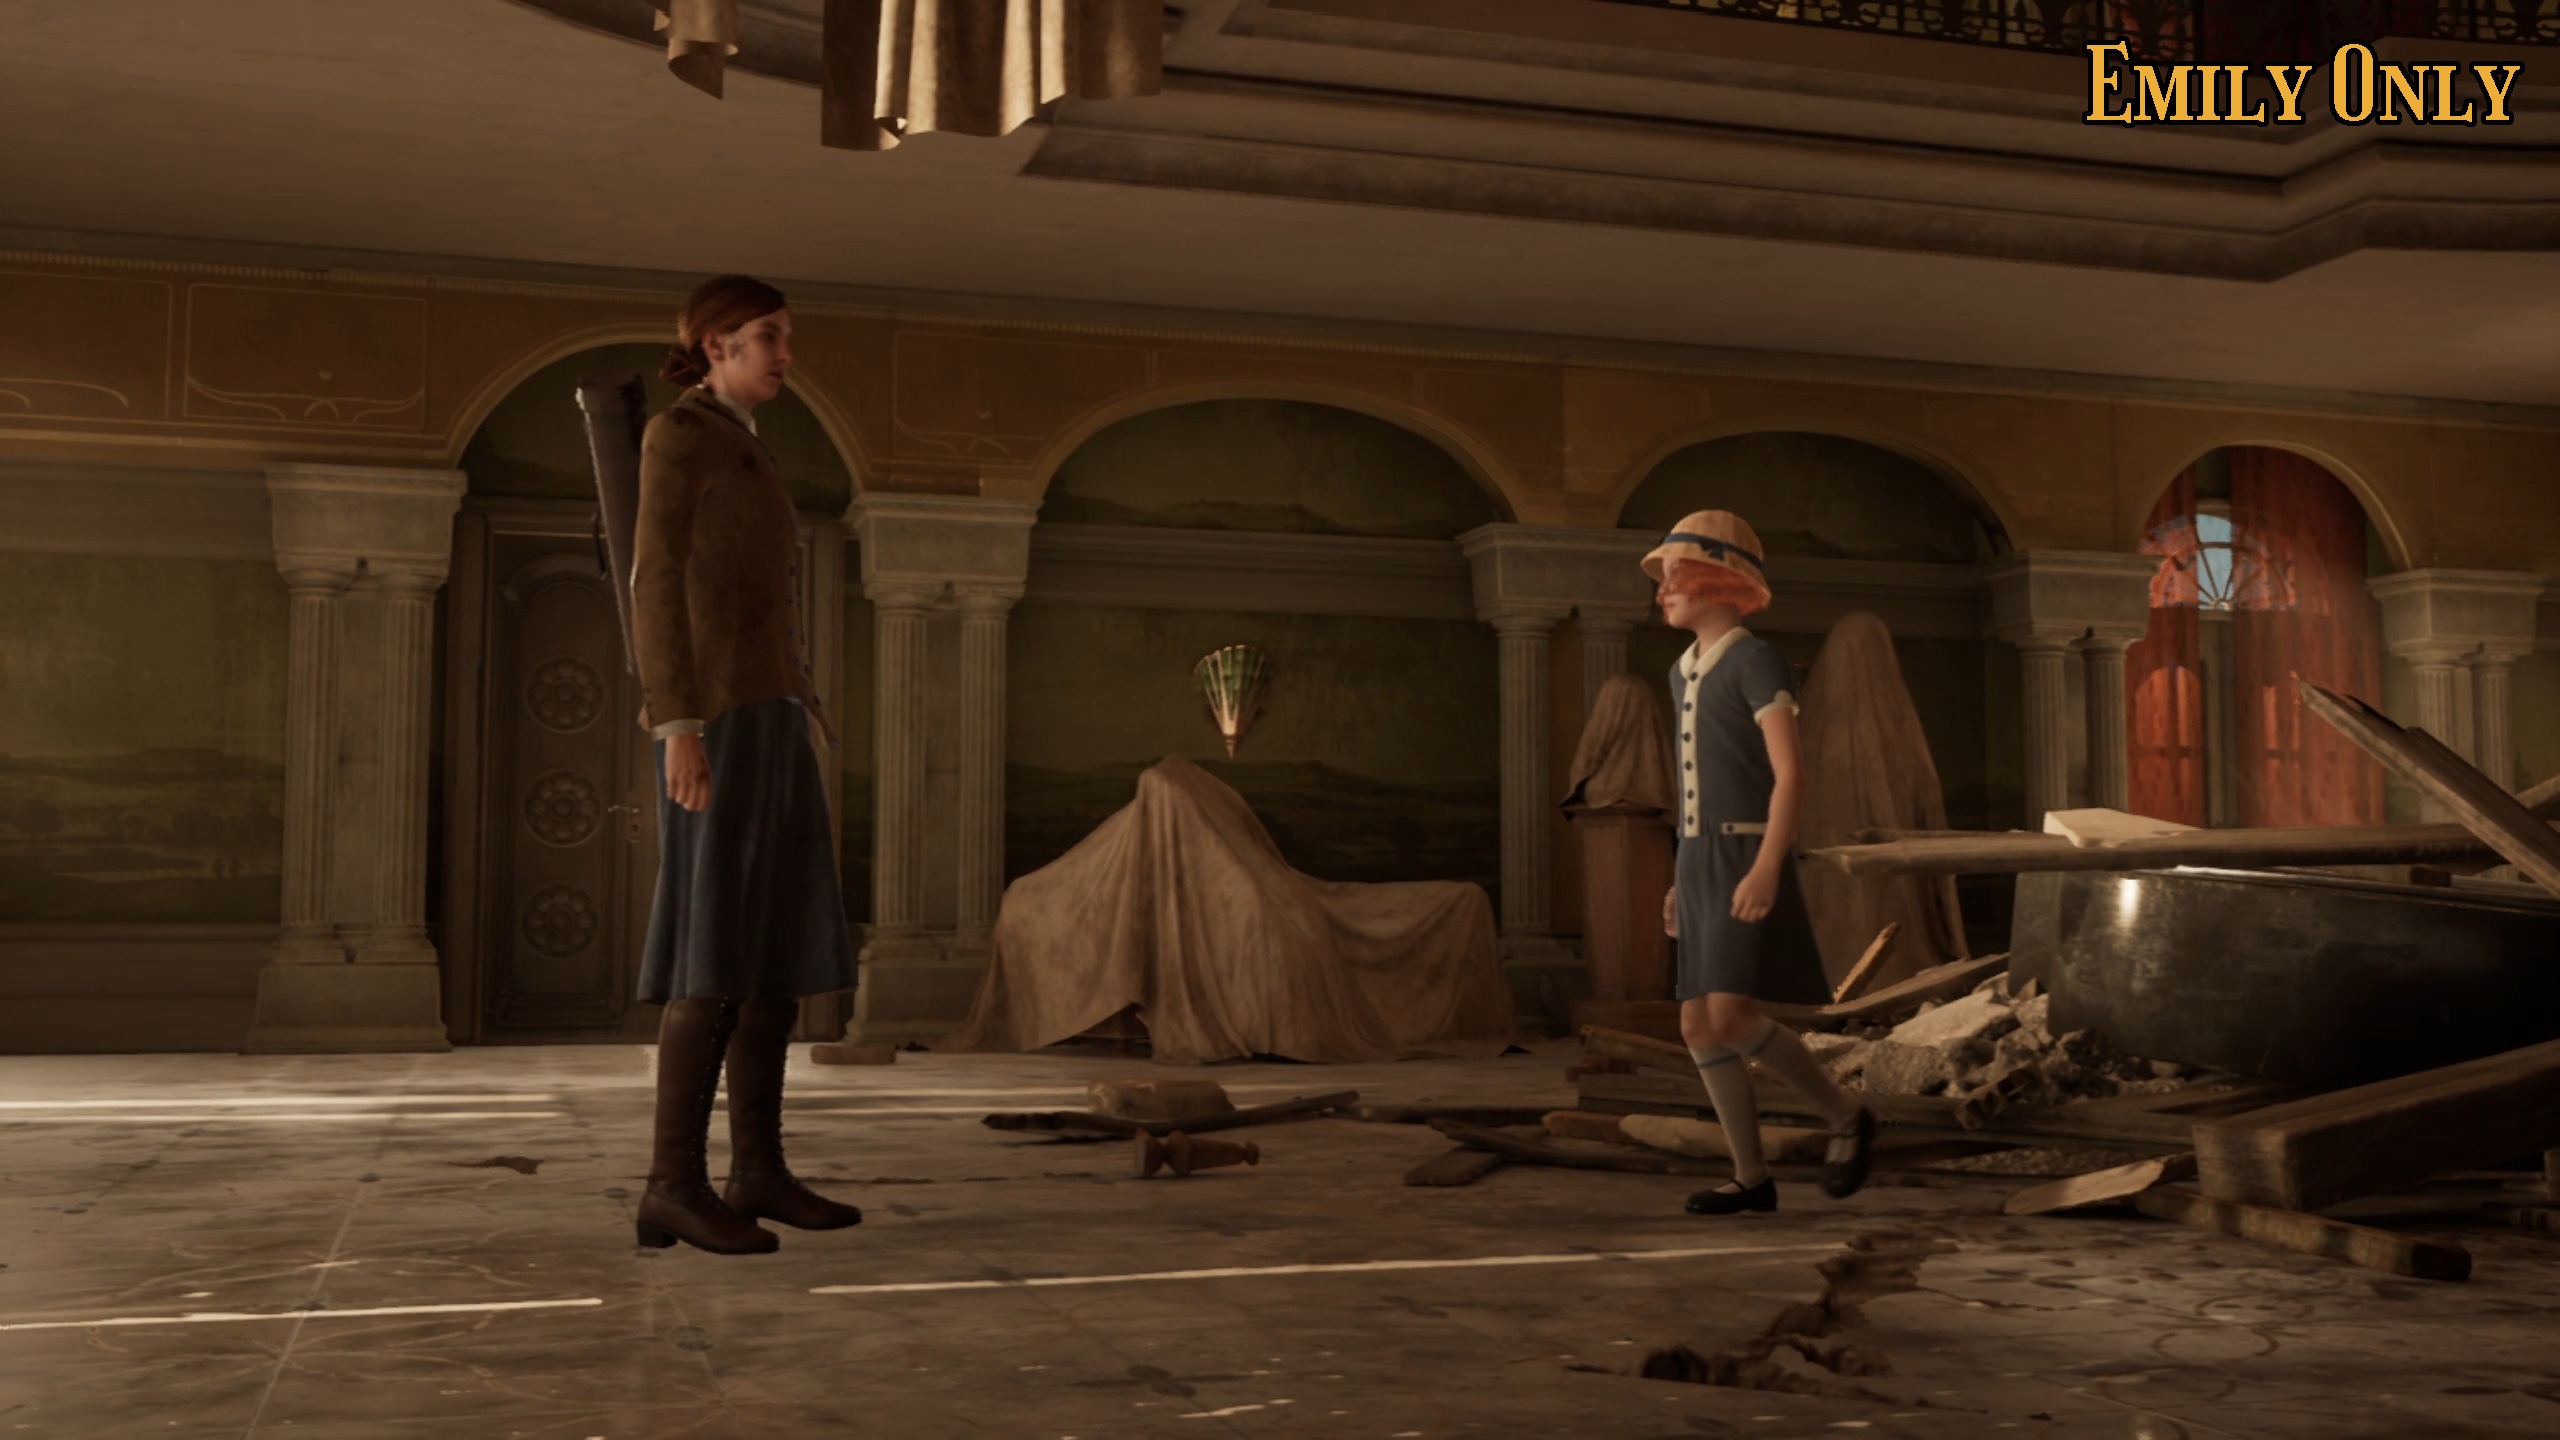
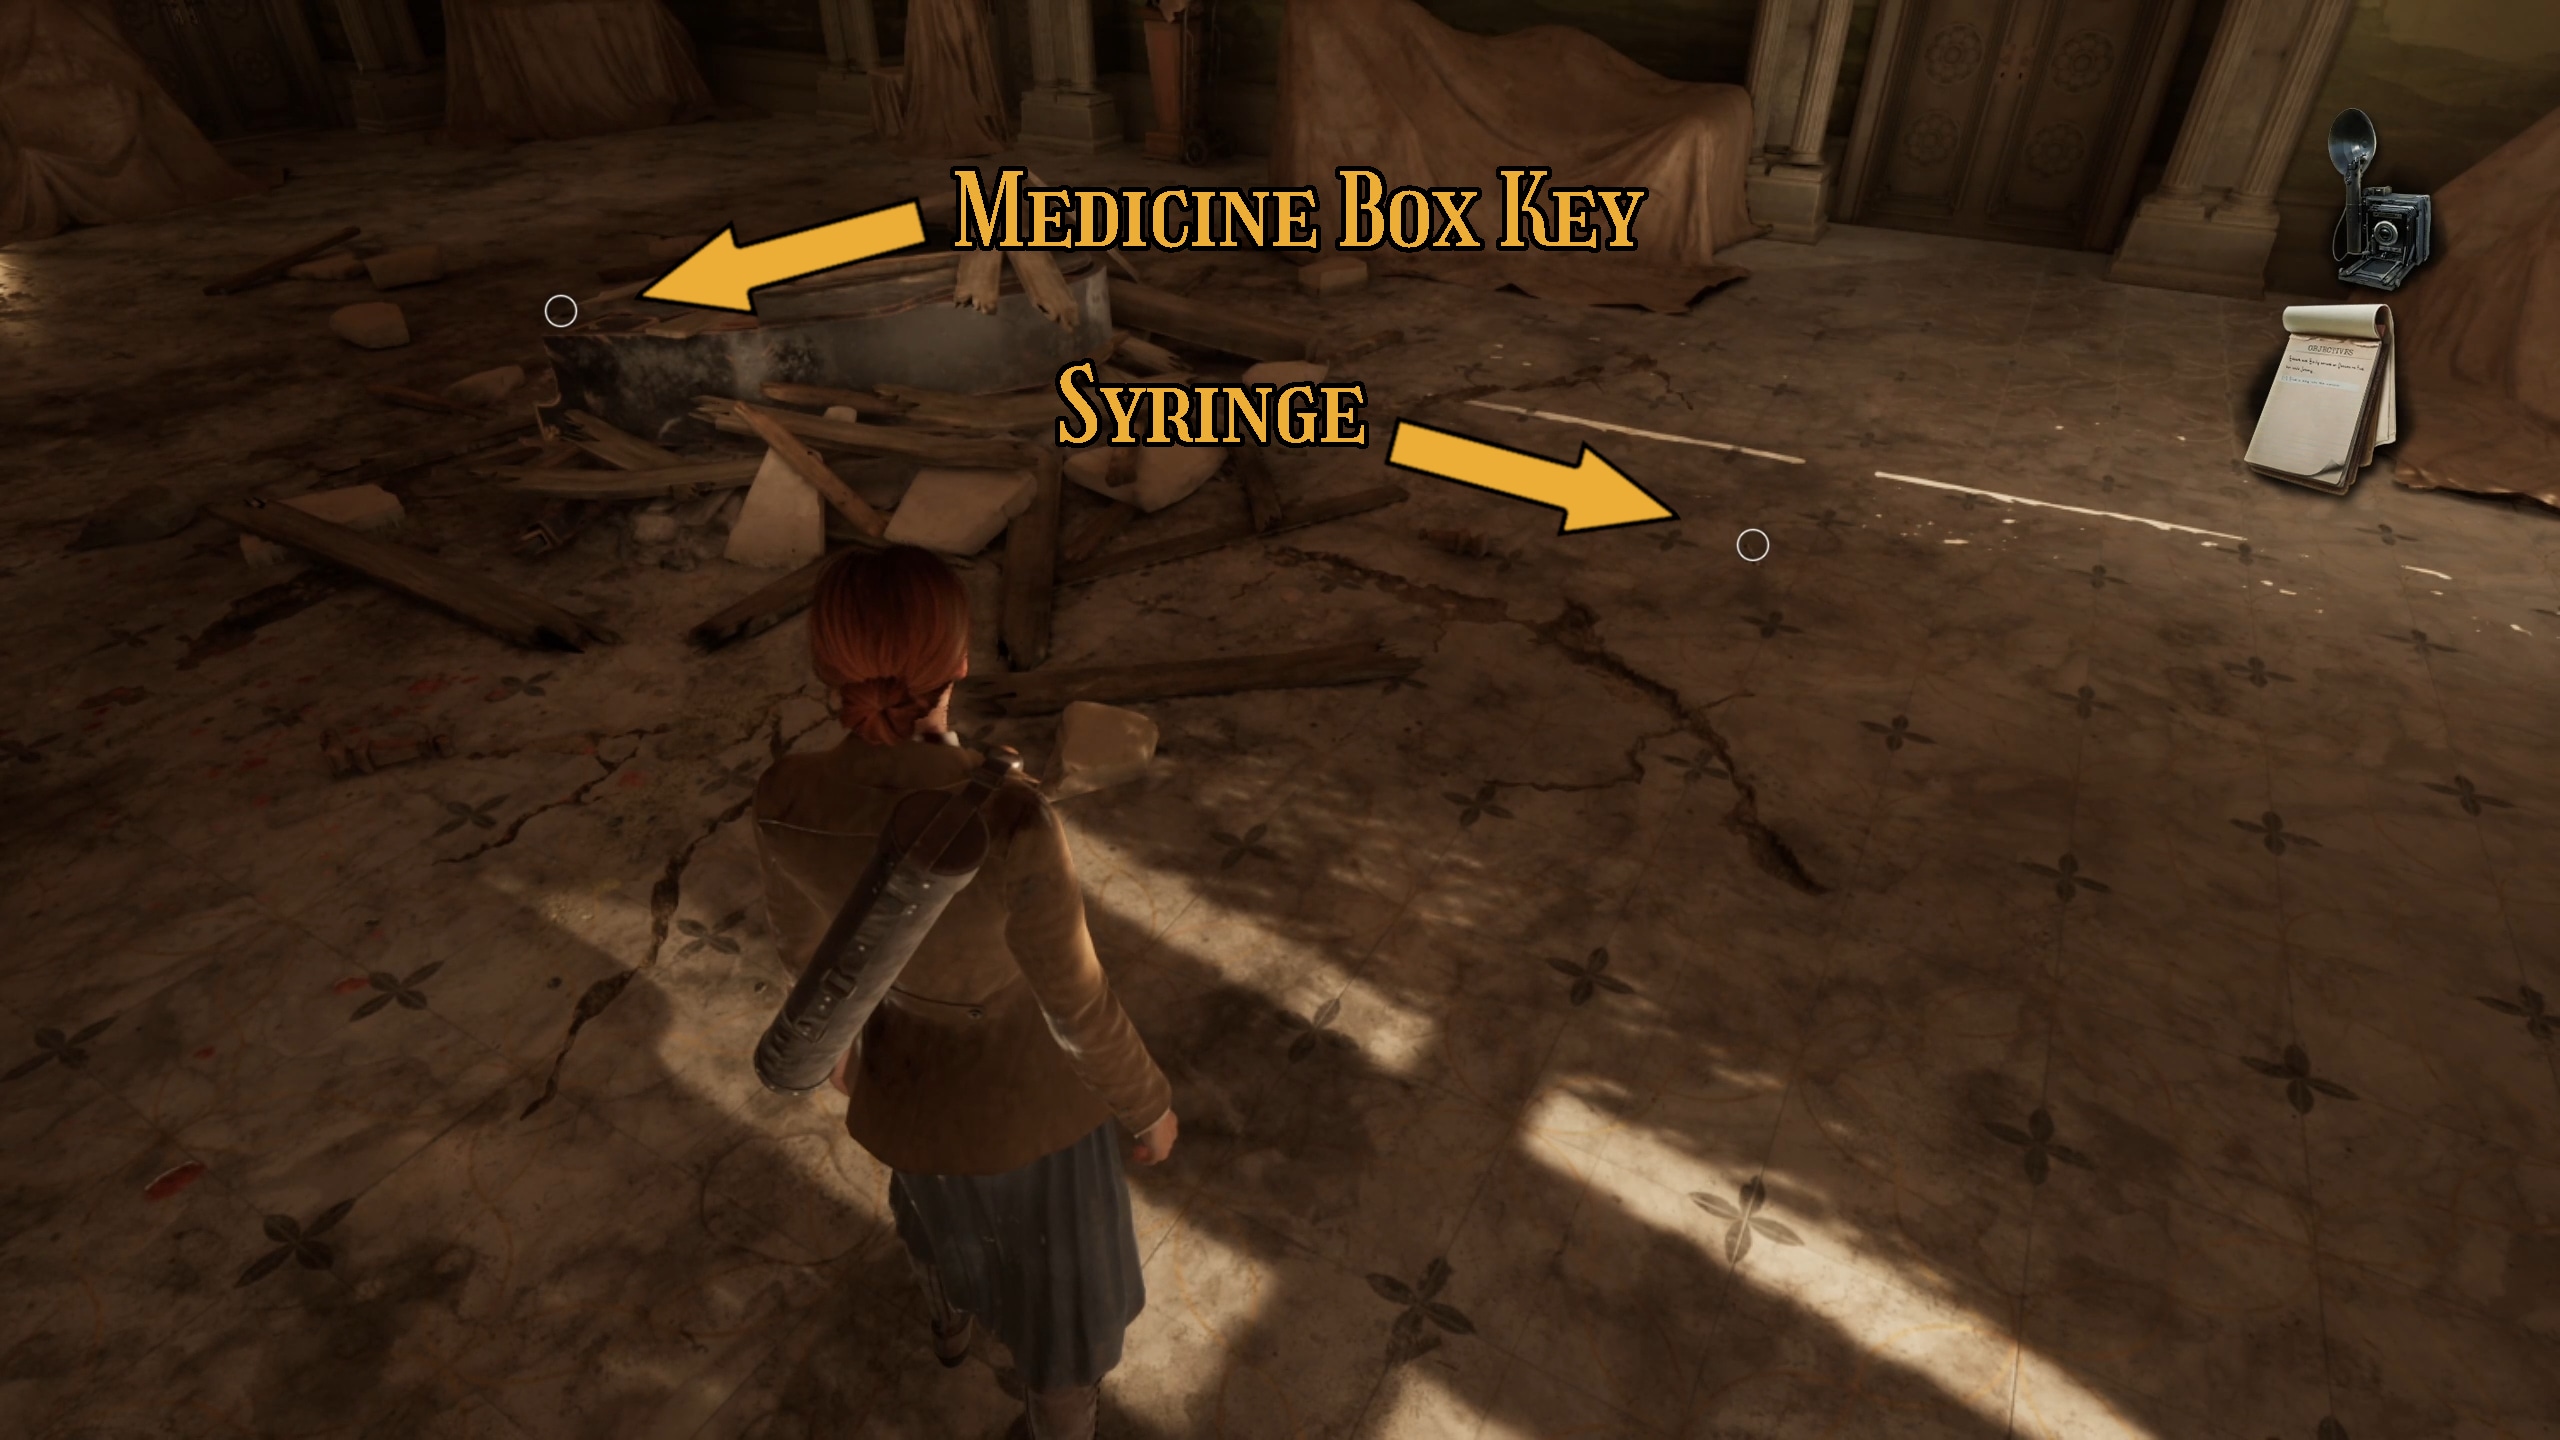
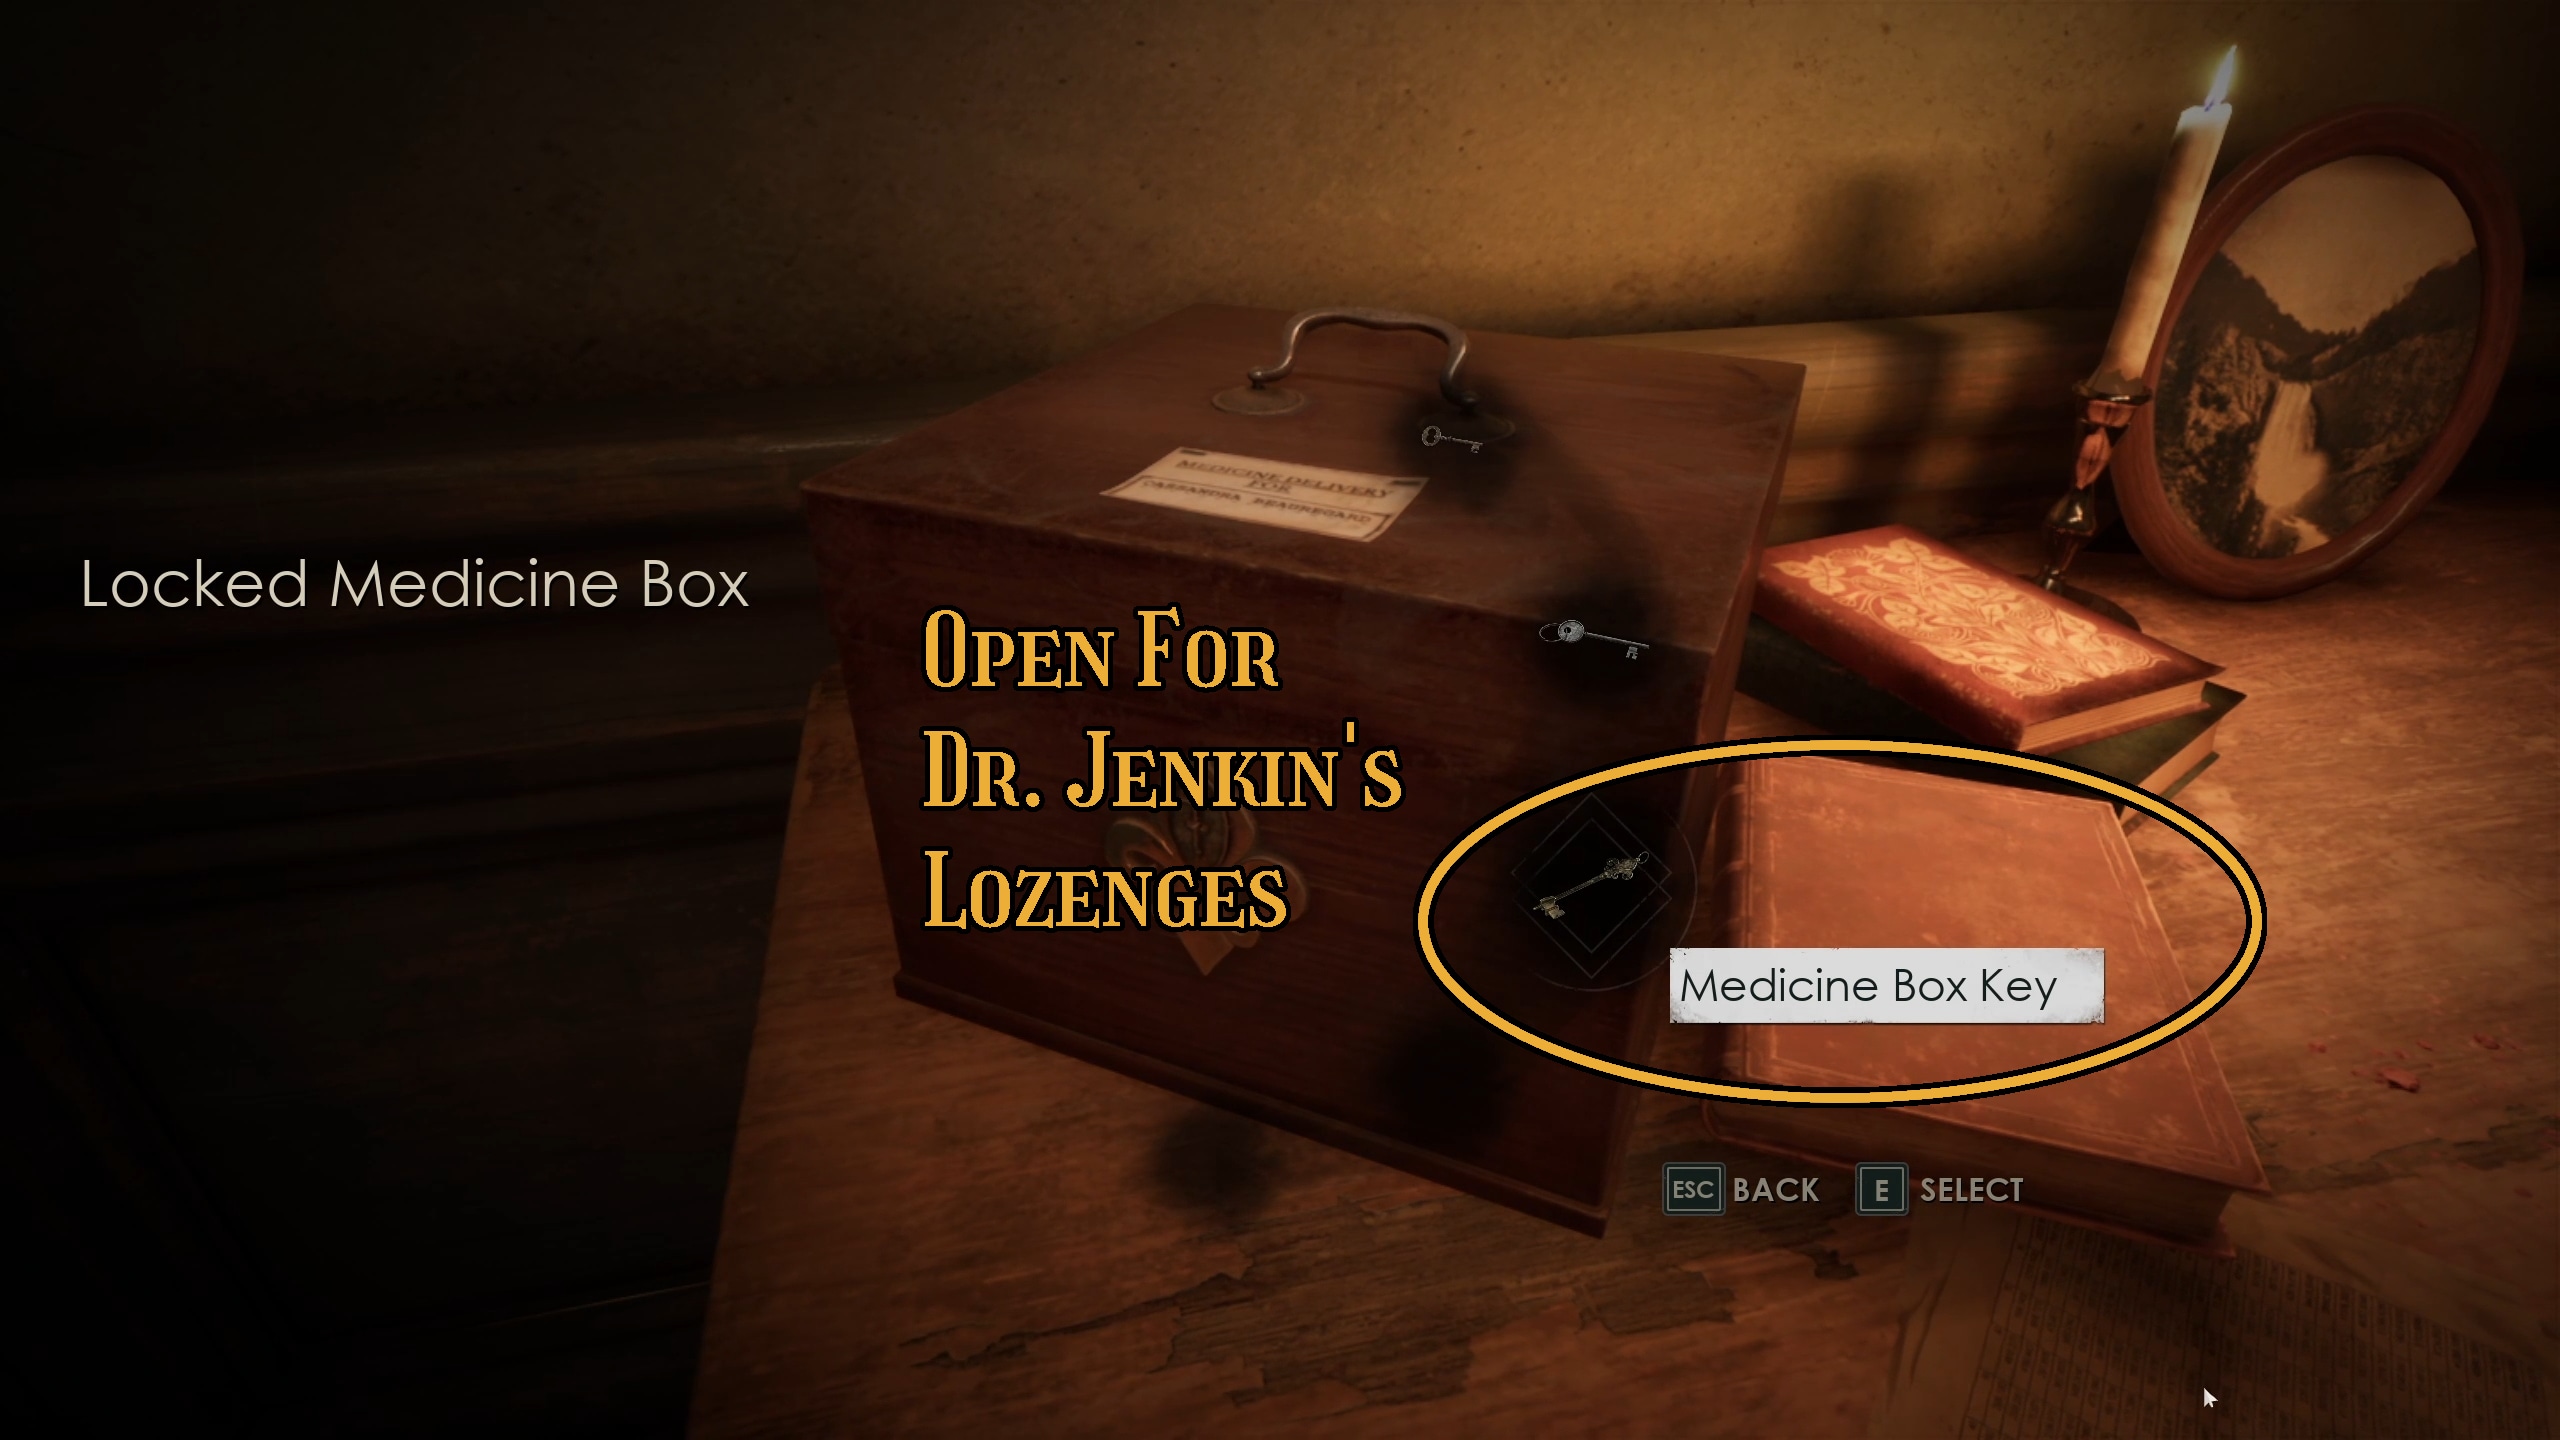
Go down one flight of stairs and then enter the door leading back into the Grand Parlor, which you were above (Image 114). Emily will get a unique cutscene where she is eventually stabbed with a syringe by Grace (Image 115). After that, you can pick up the Syringe on the ground near the piano and grab the Medicine Box Key from the Piano itself (Image 116).
114115116
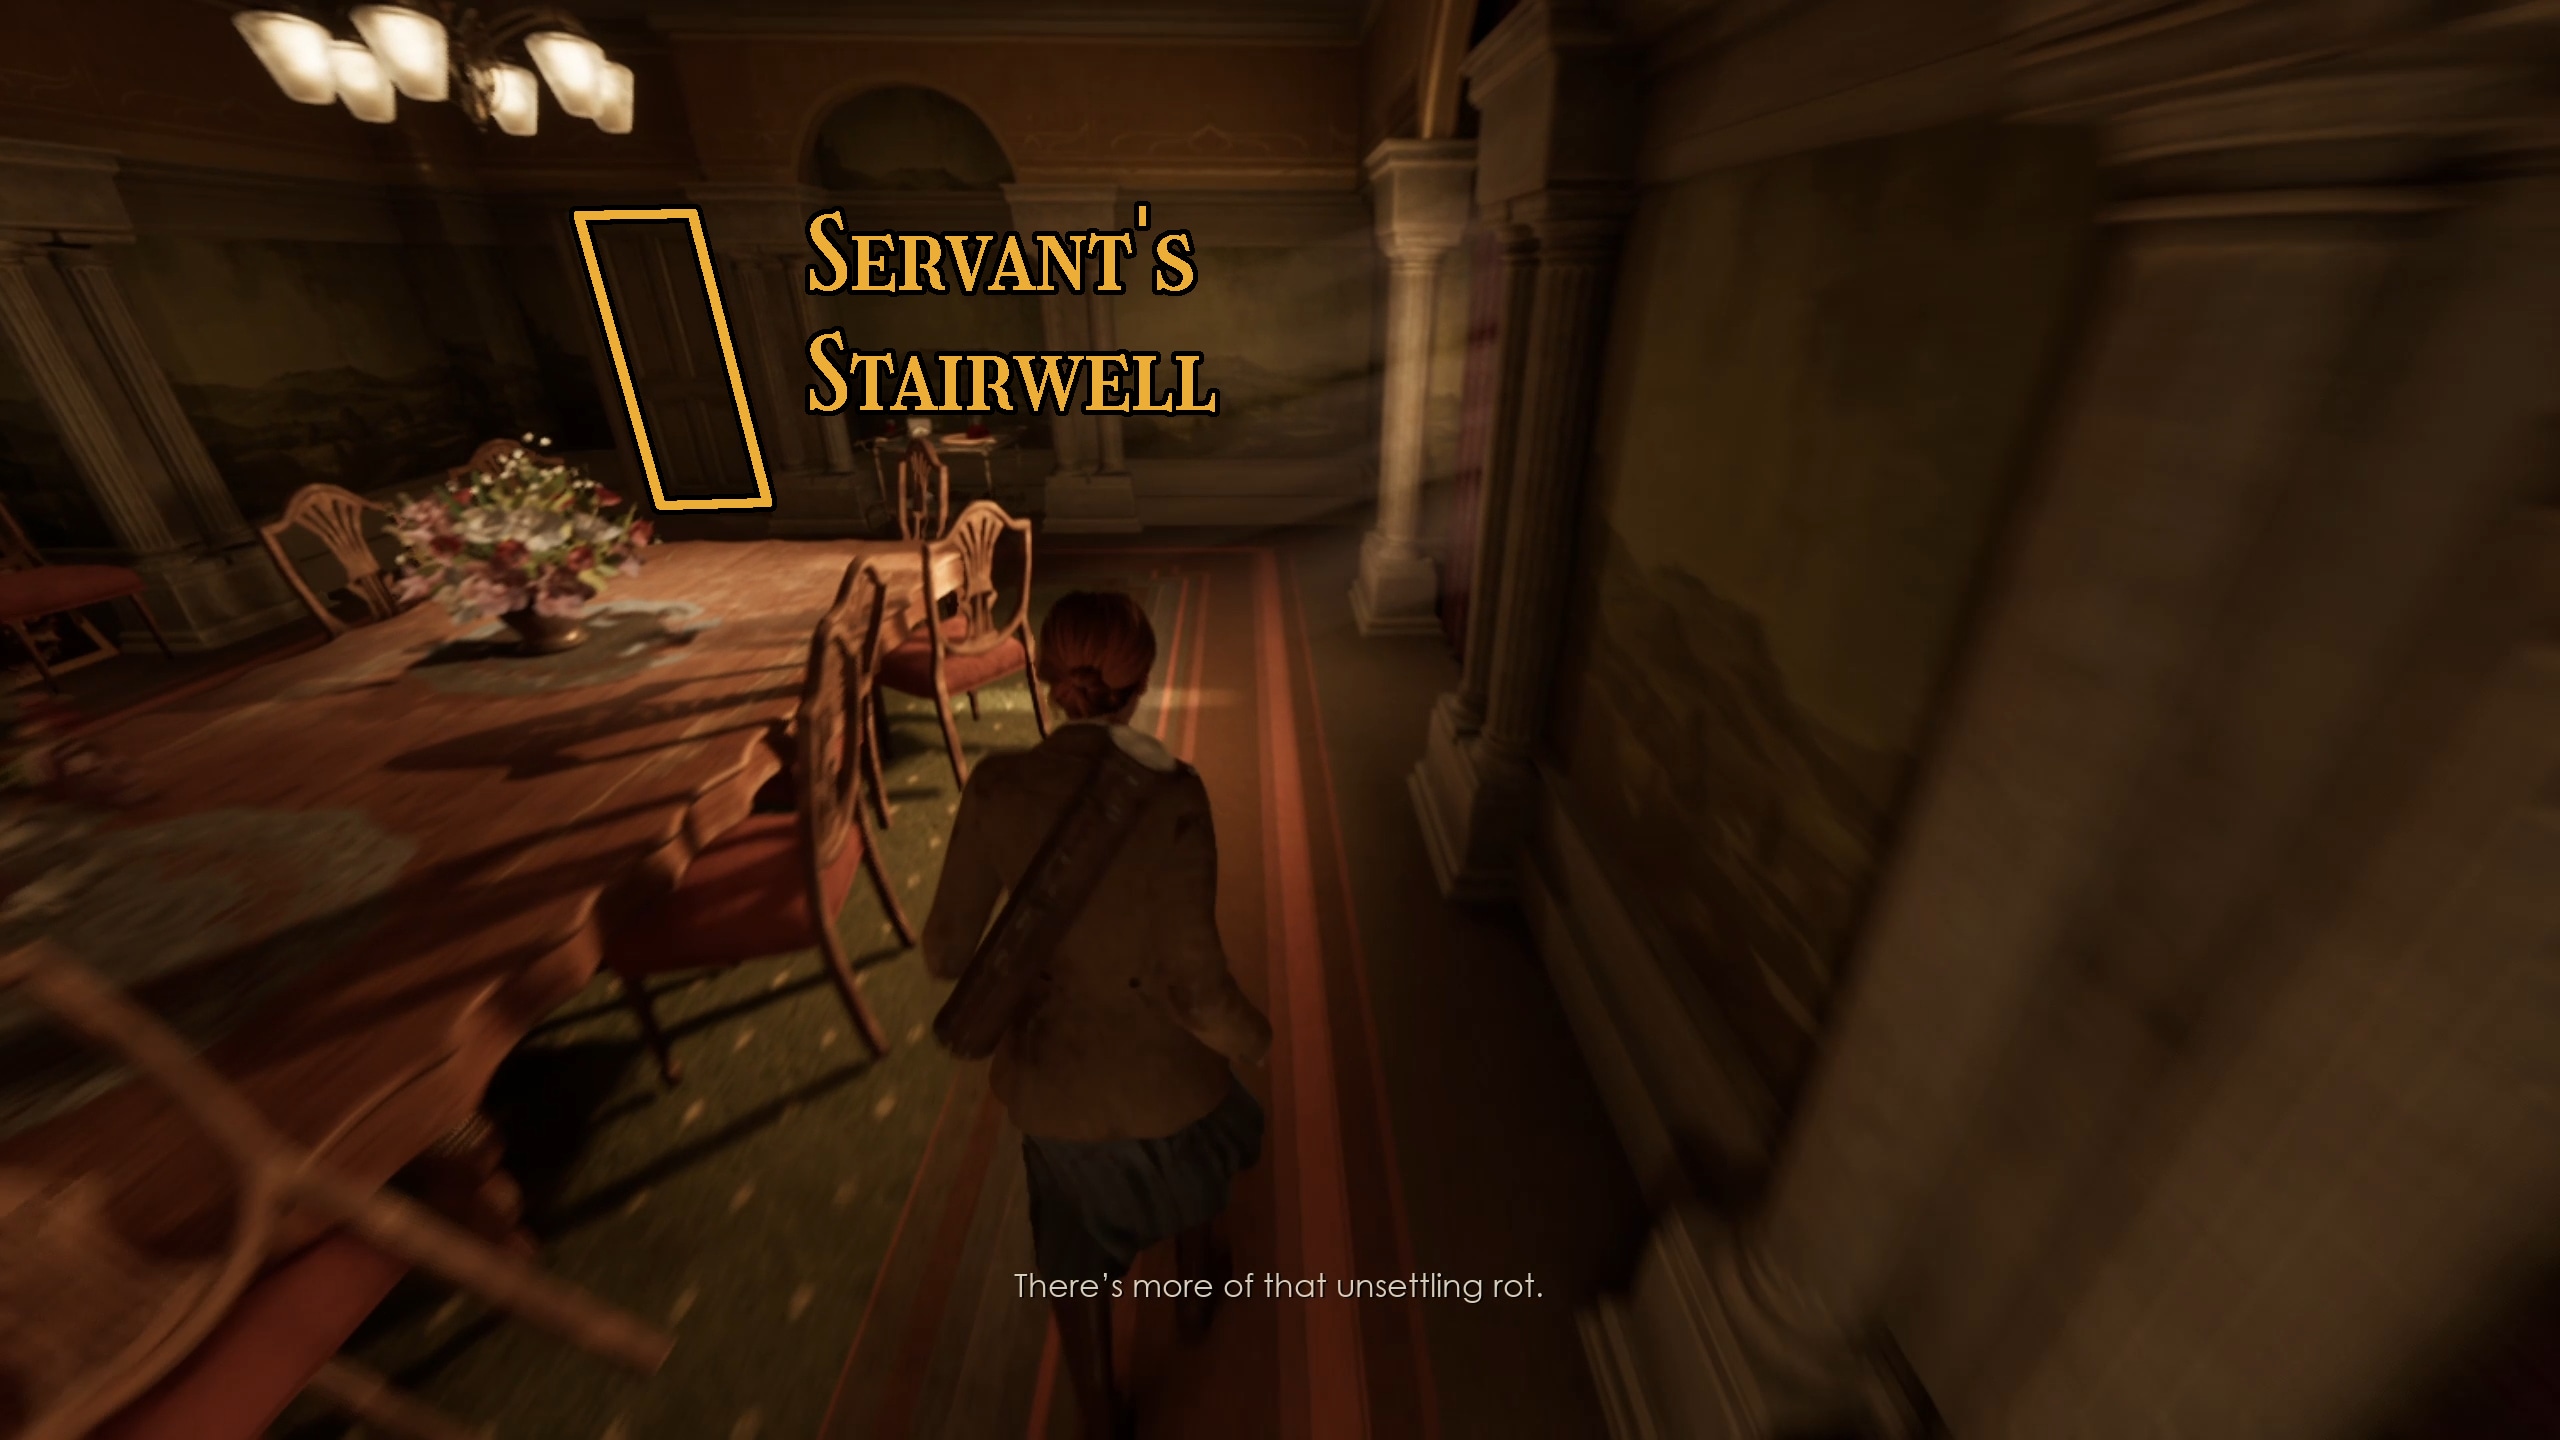
Look to the door to the left of the piano to enter the dining room (Image 117). There will be a note (“On the Commonplace of Evil”) in the fireplace (Image 118), and then you can exit the door at the far end of the room to reenter the Servant’s Stairwell (image 119).
117118119
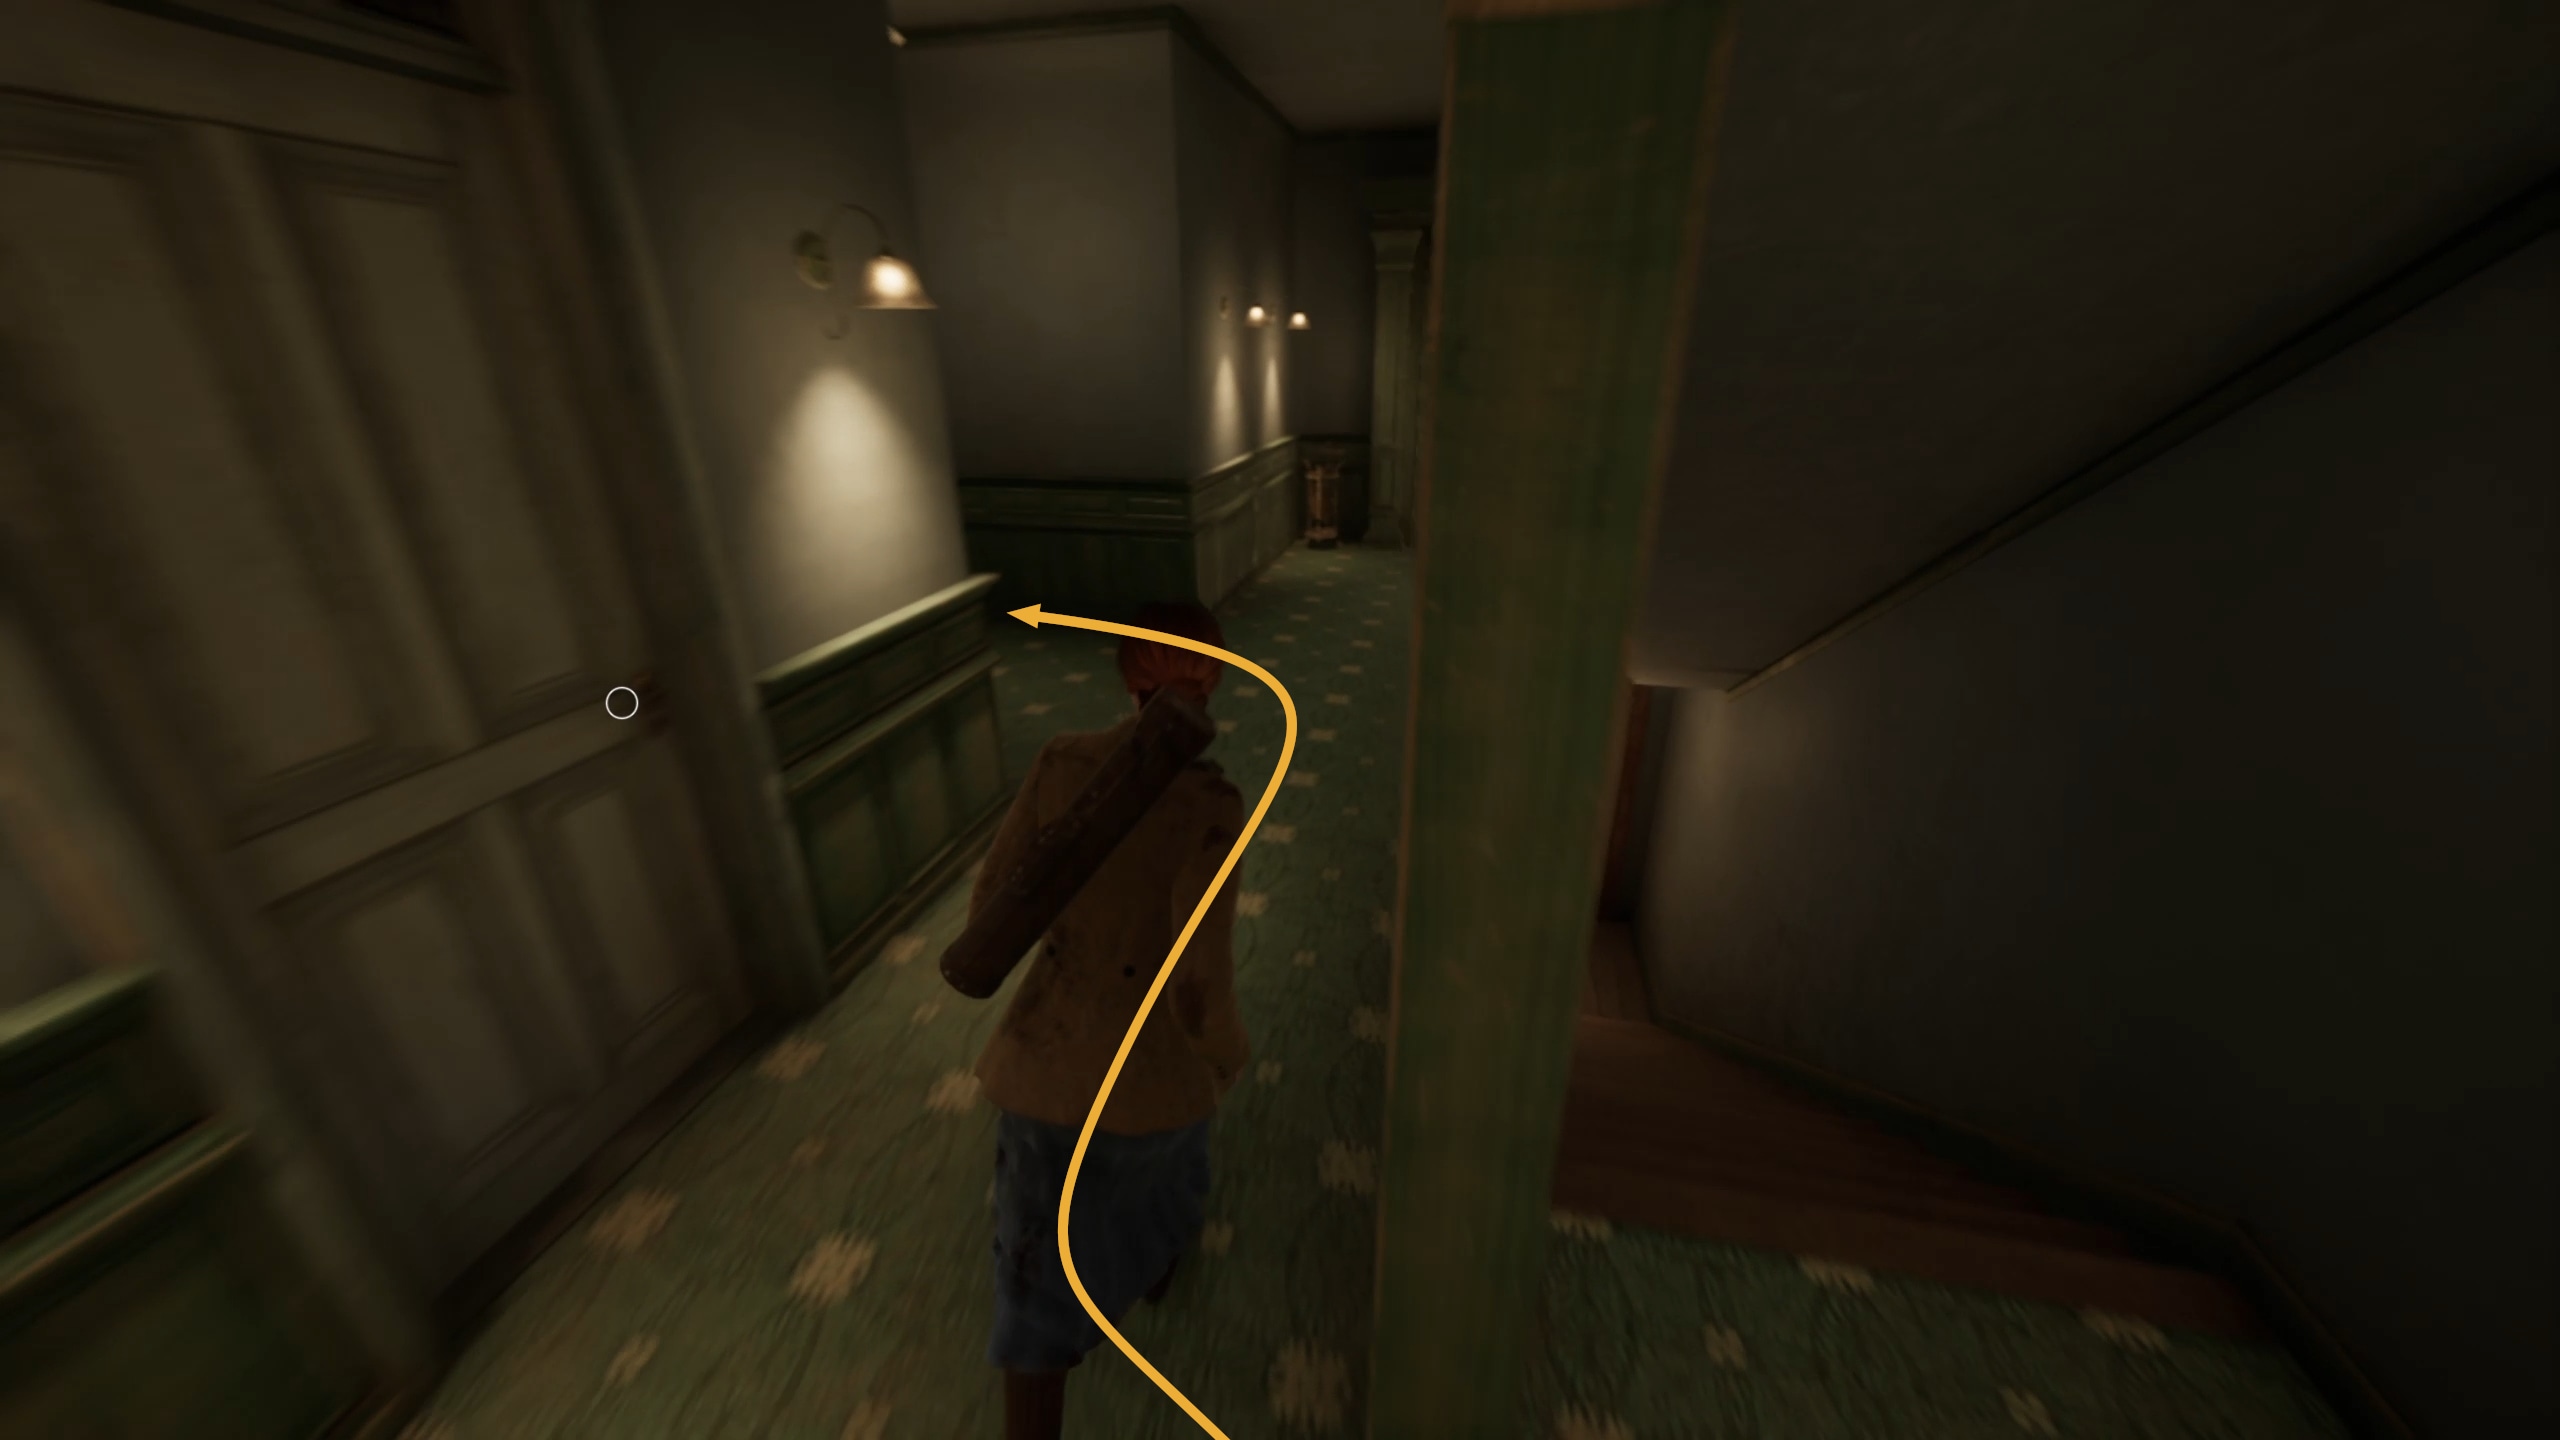
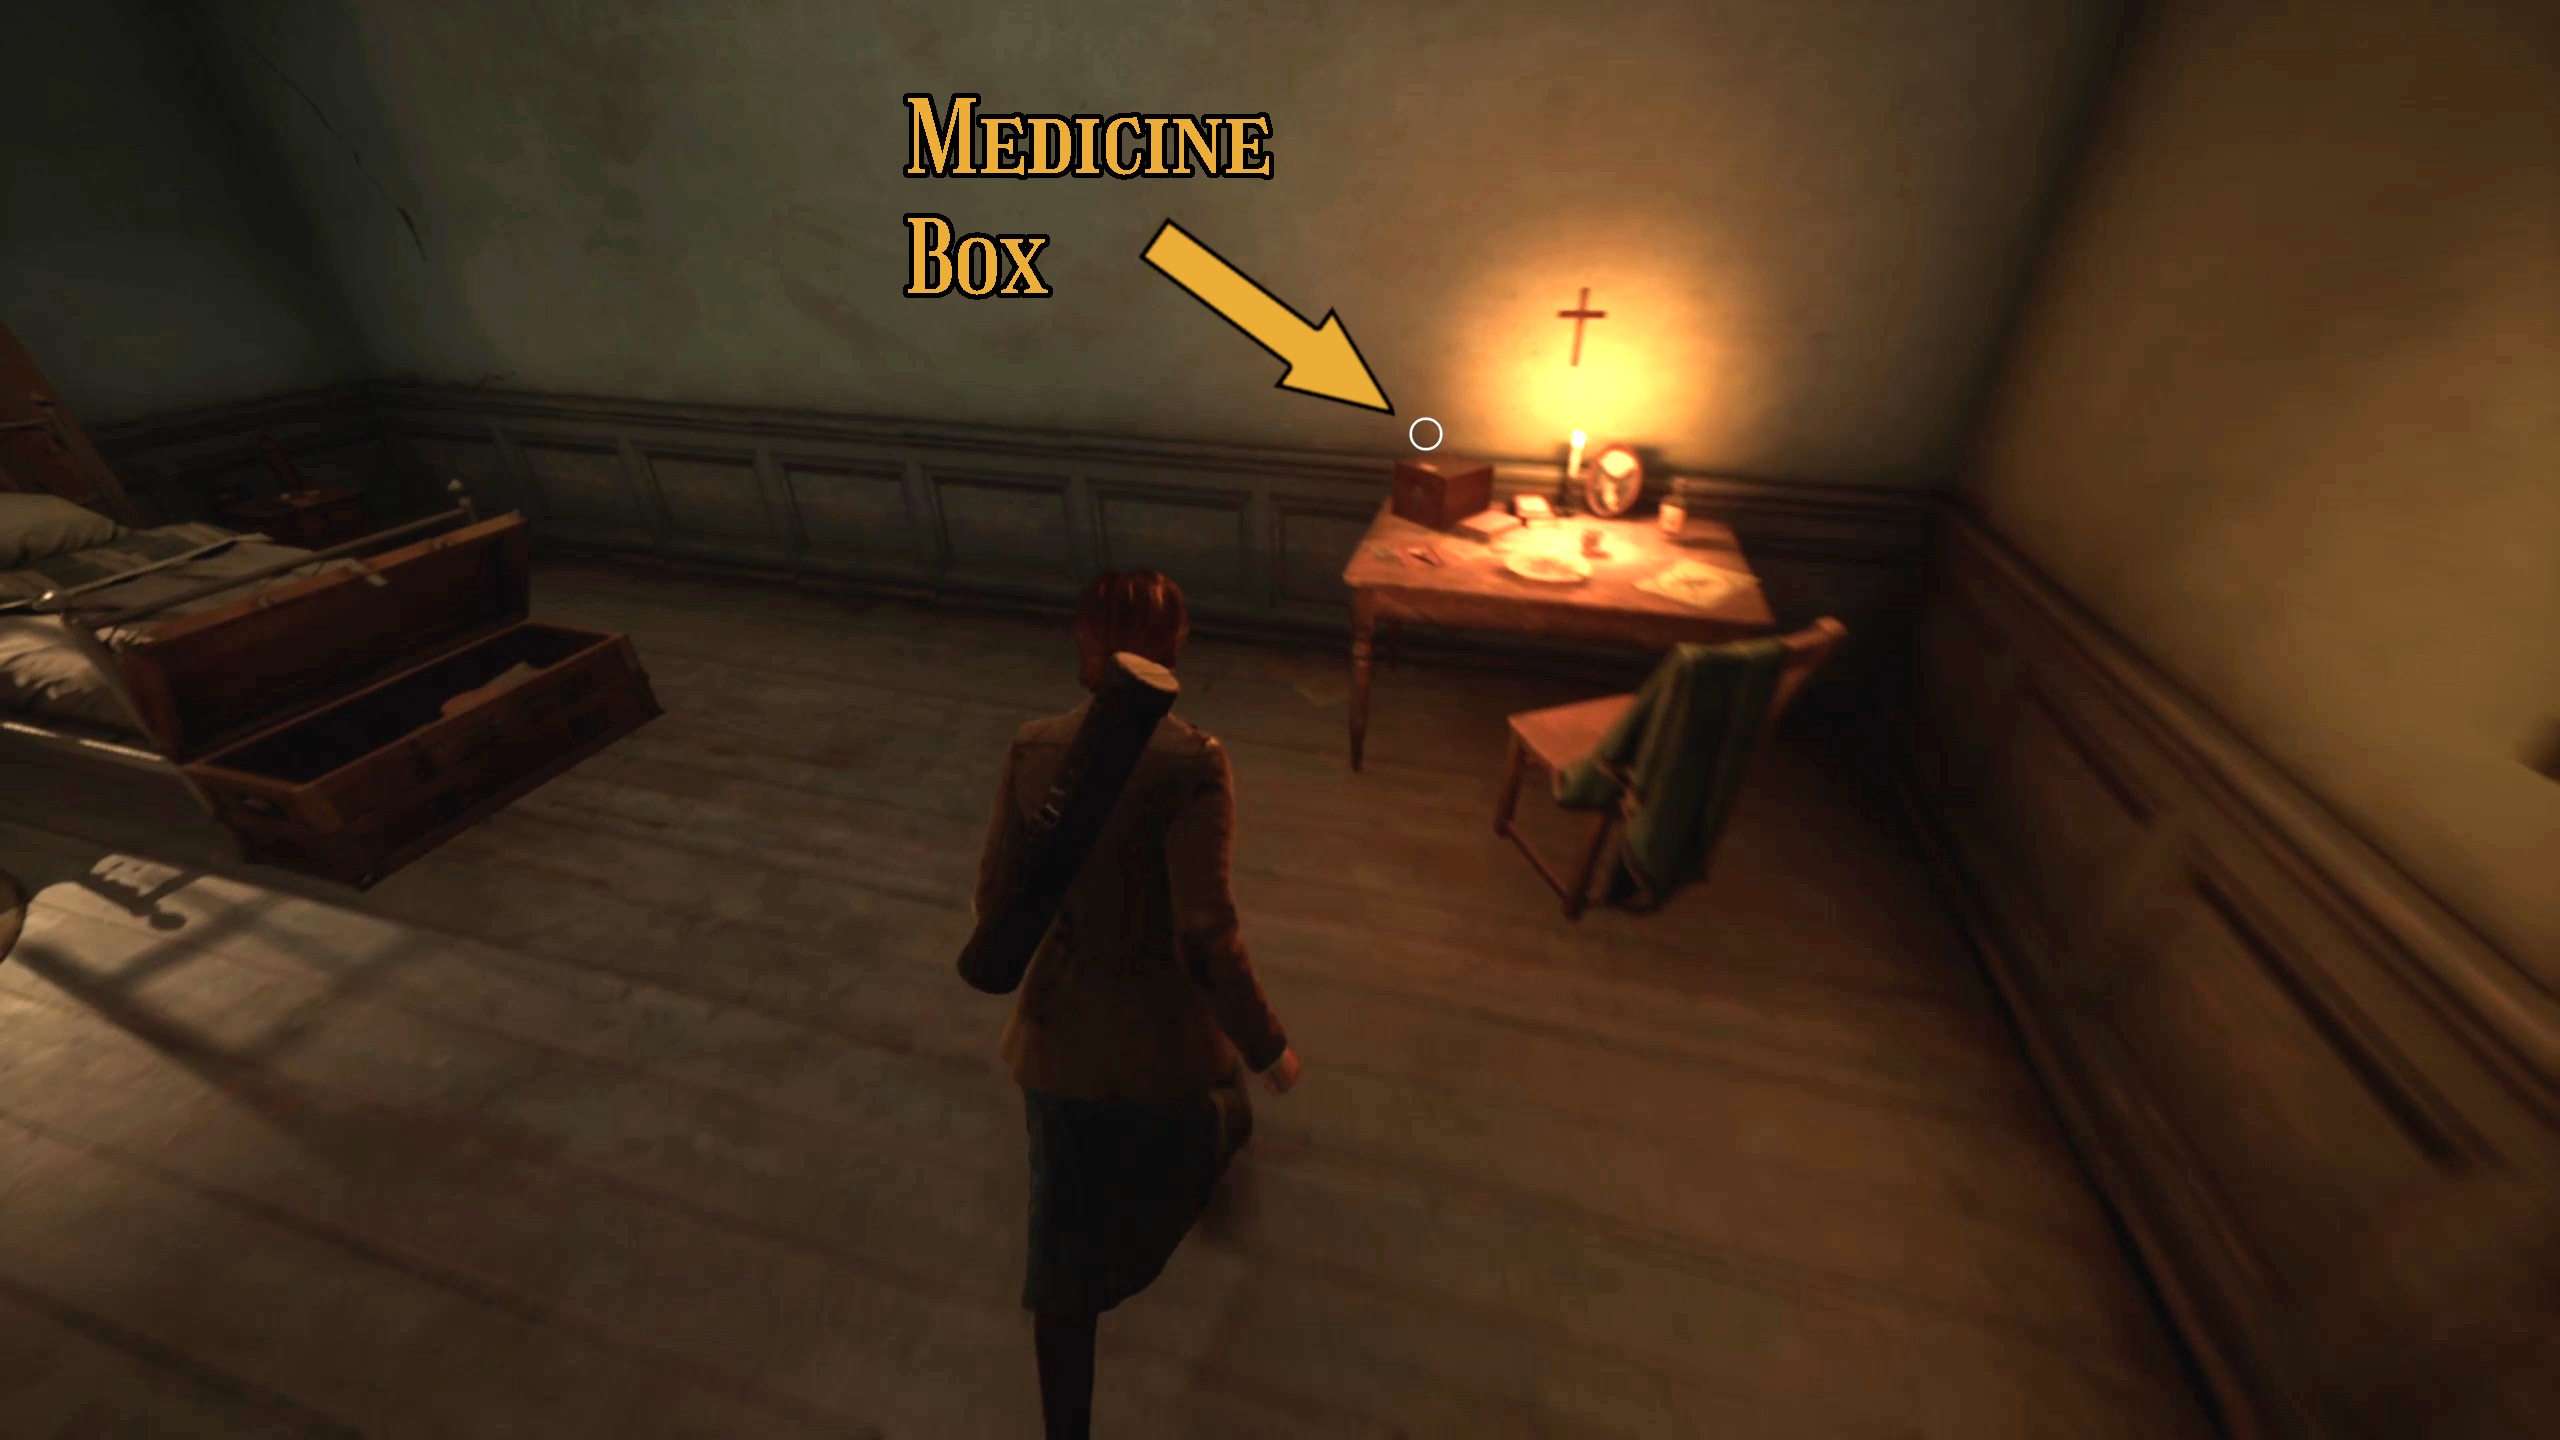
Once through this door, you can go down the first path to your left to reach Lottie’s Room (Image 120). Use the key you just got to open up the Medicine Box on the table in order to retrieve Dr. Jenkin’s Lozenges, useful for a puzzle later (Images 121 and 122).
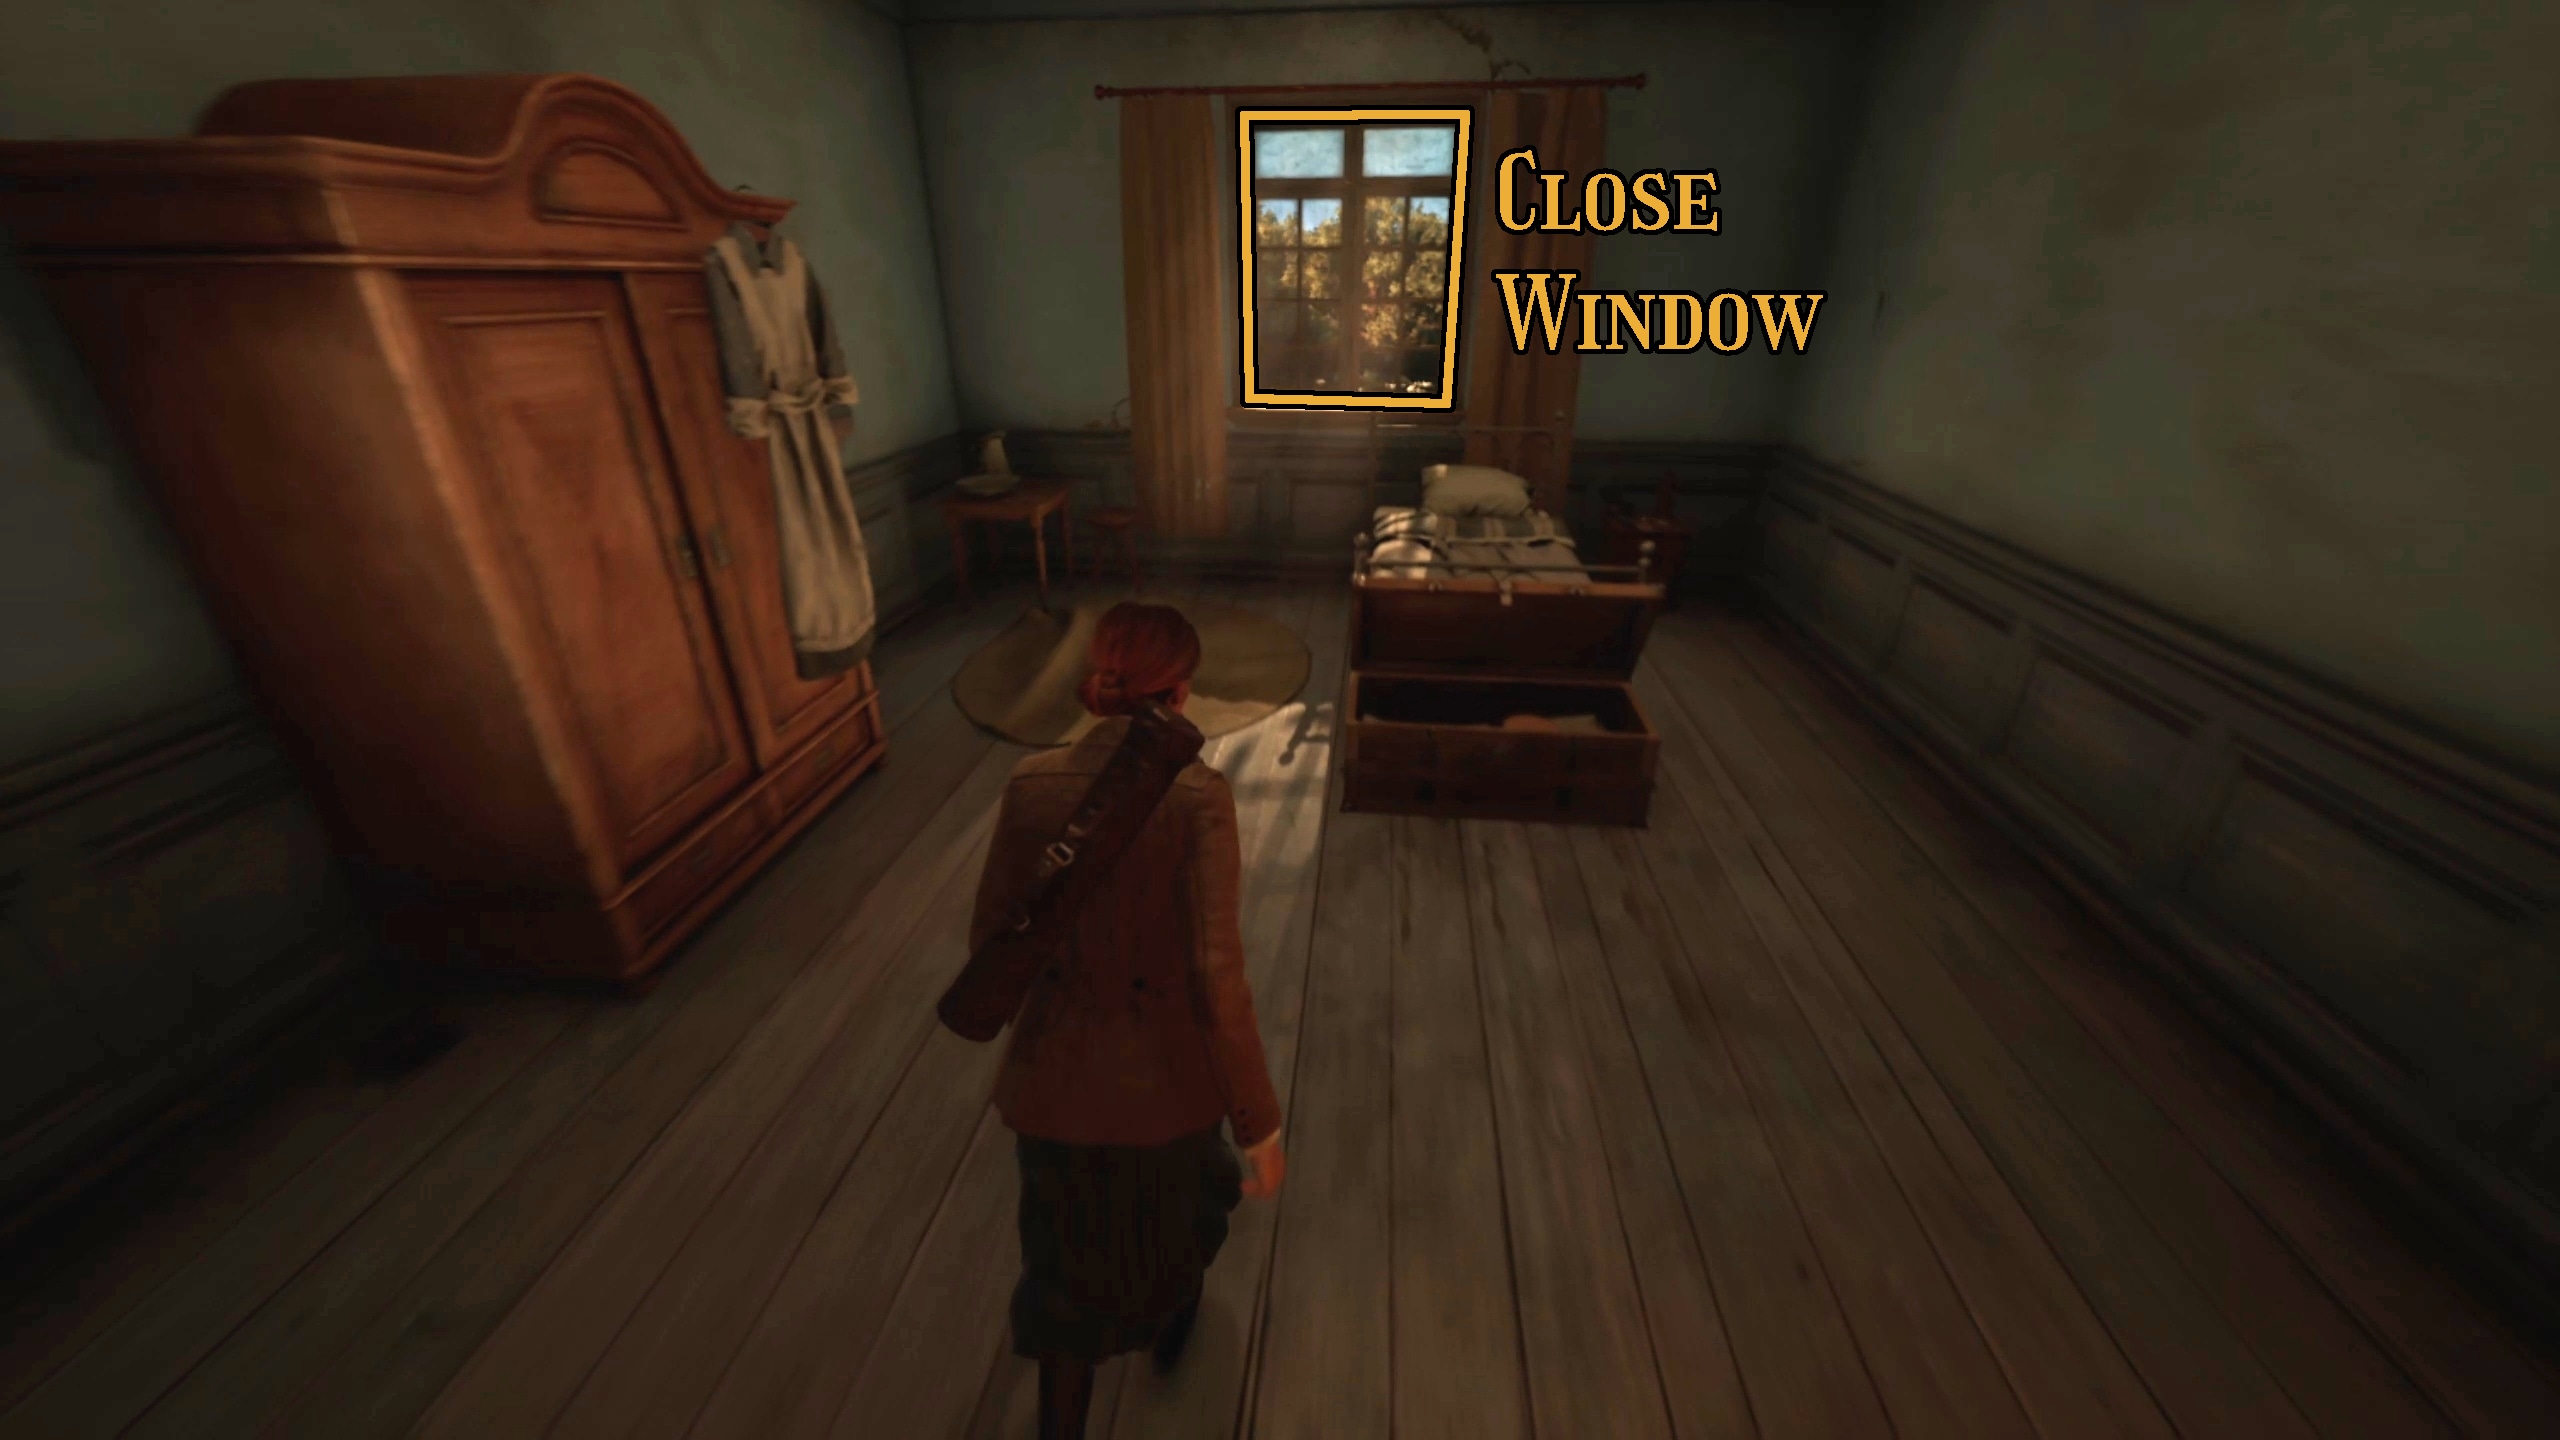
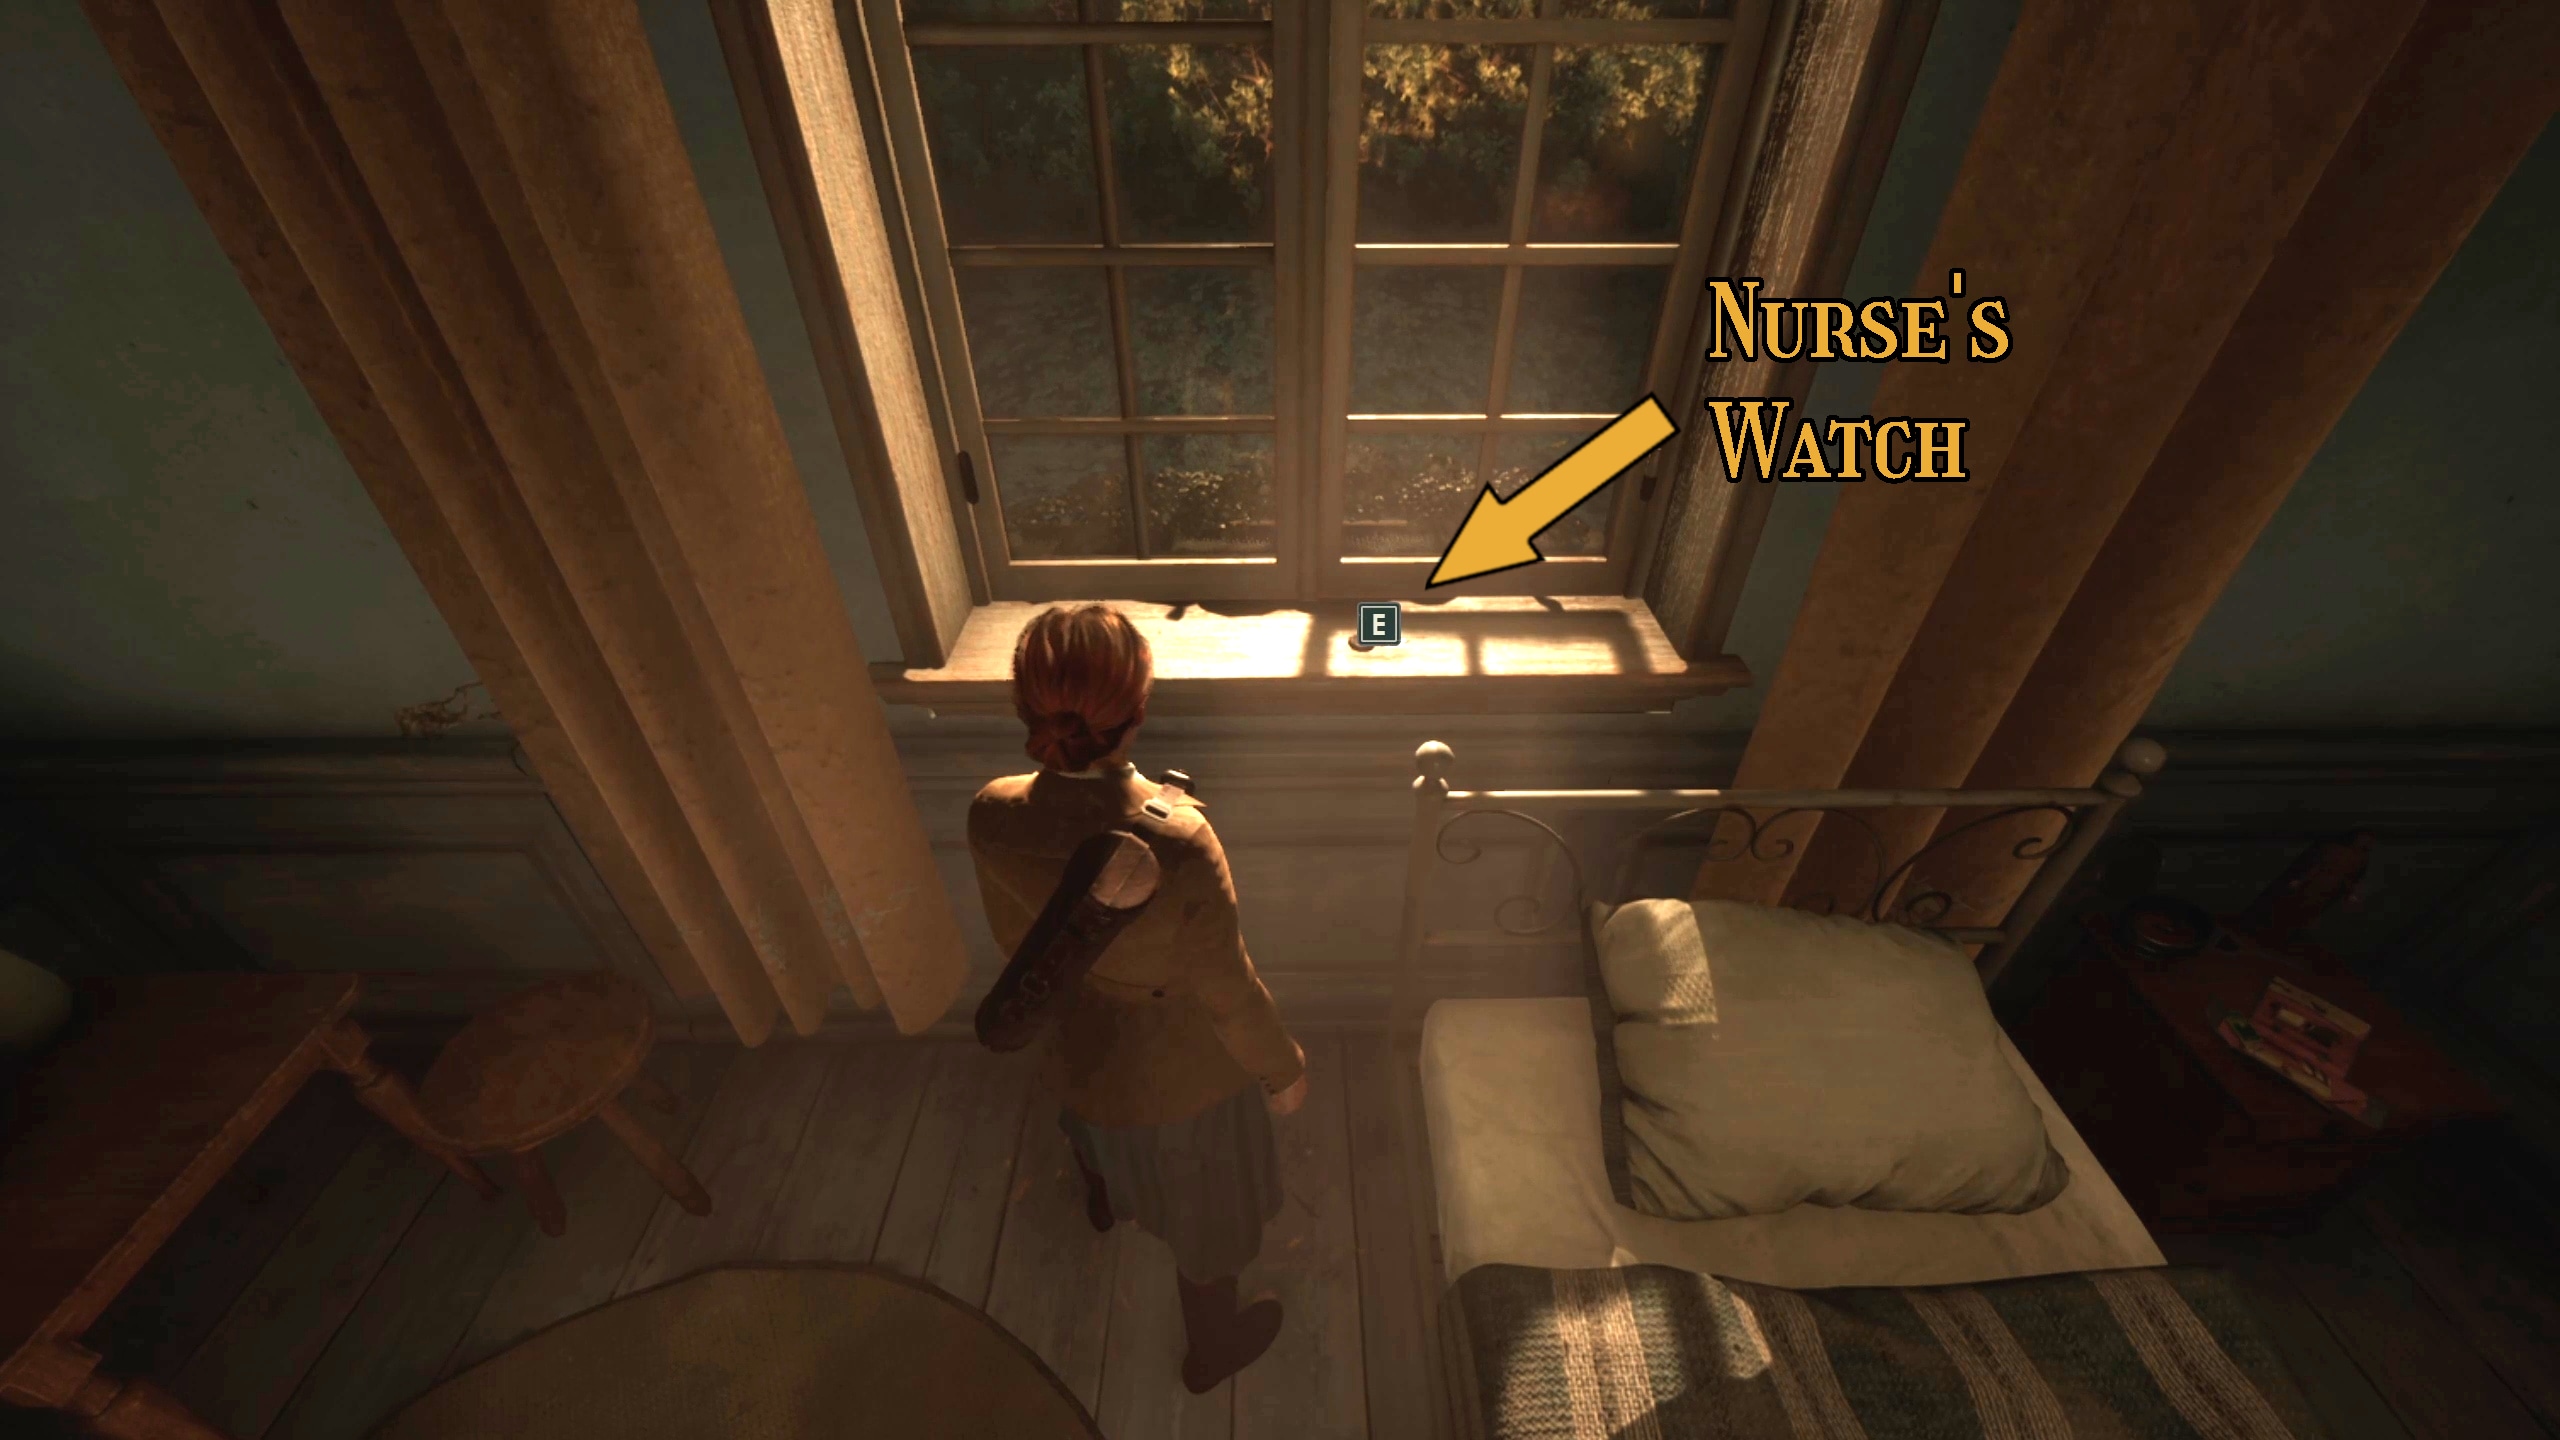
Before you leave Lottie’s Room, go up to the window and interact with it to close it (Image 123). This will reveal the Nurse’s Watch Lagniappe (Image 124).
120121122123124
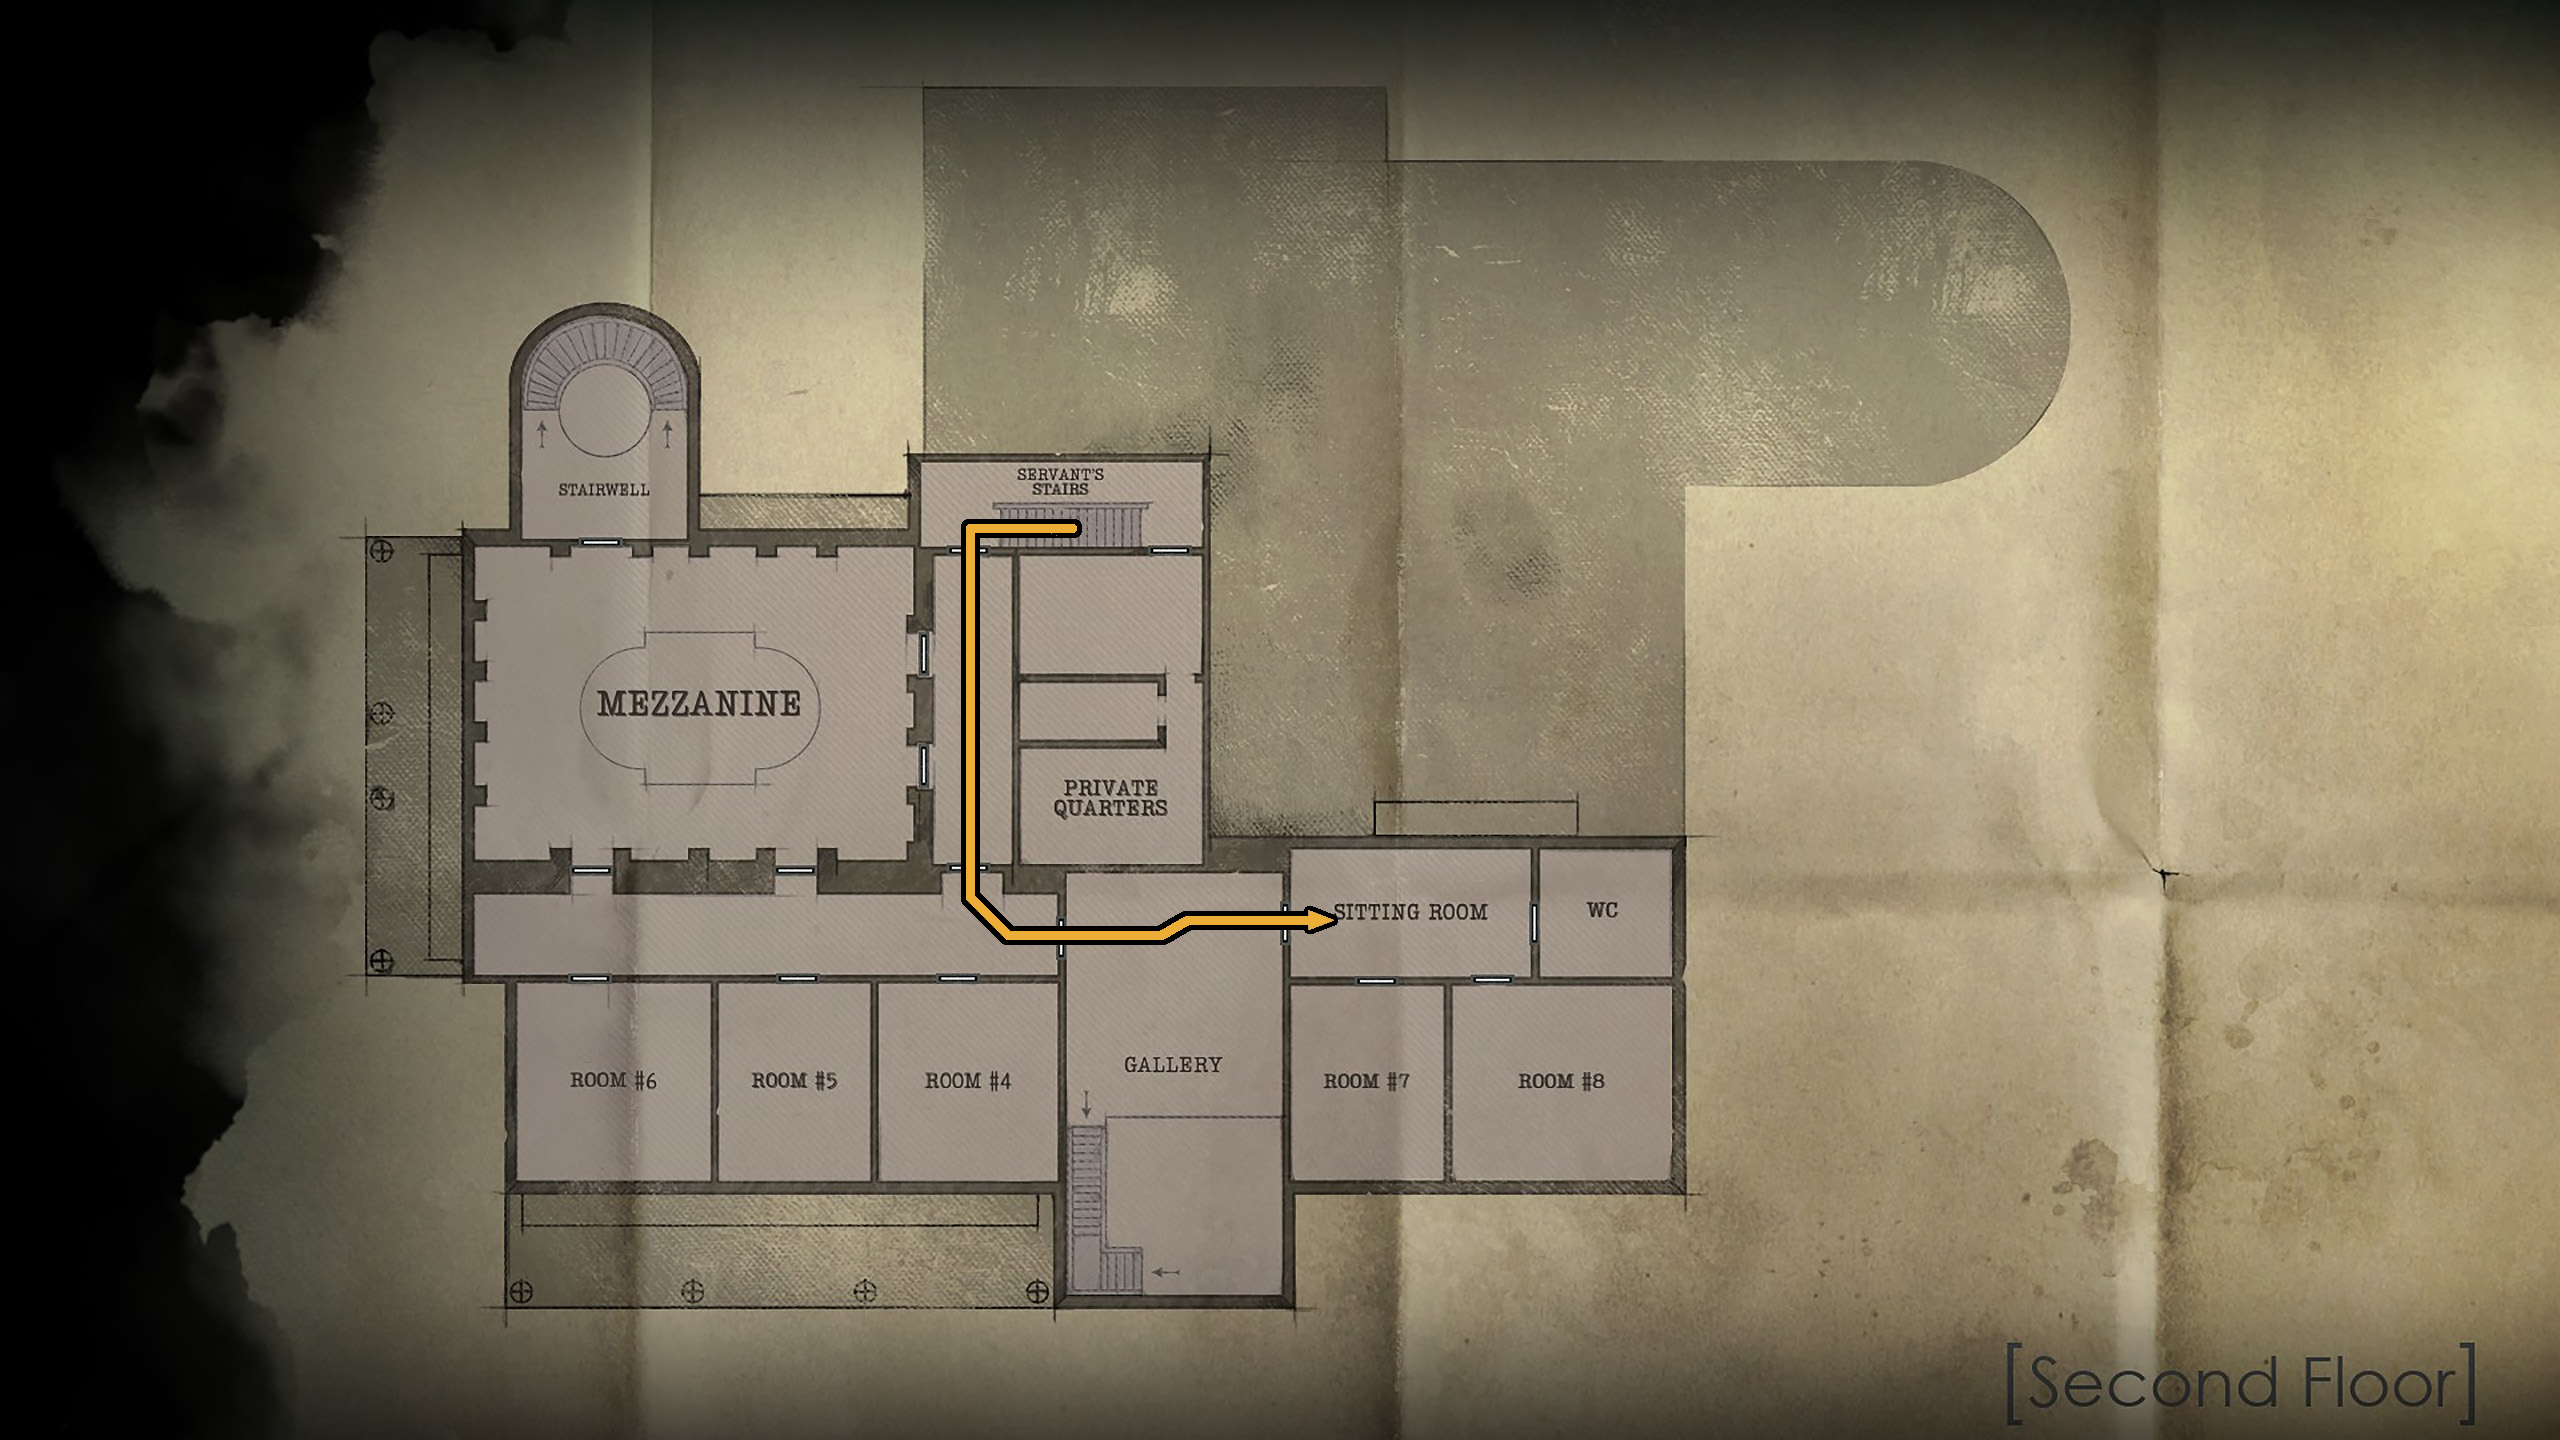
Next, you’ll want to head to the Sitting Room on the second floor.
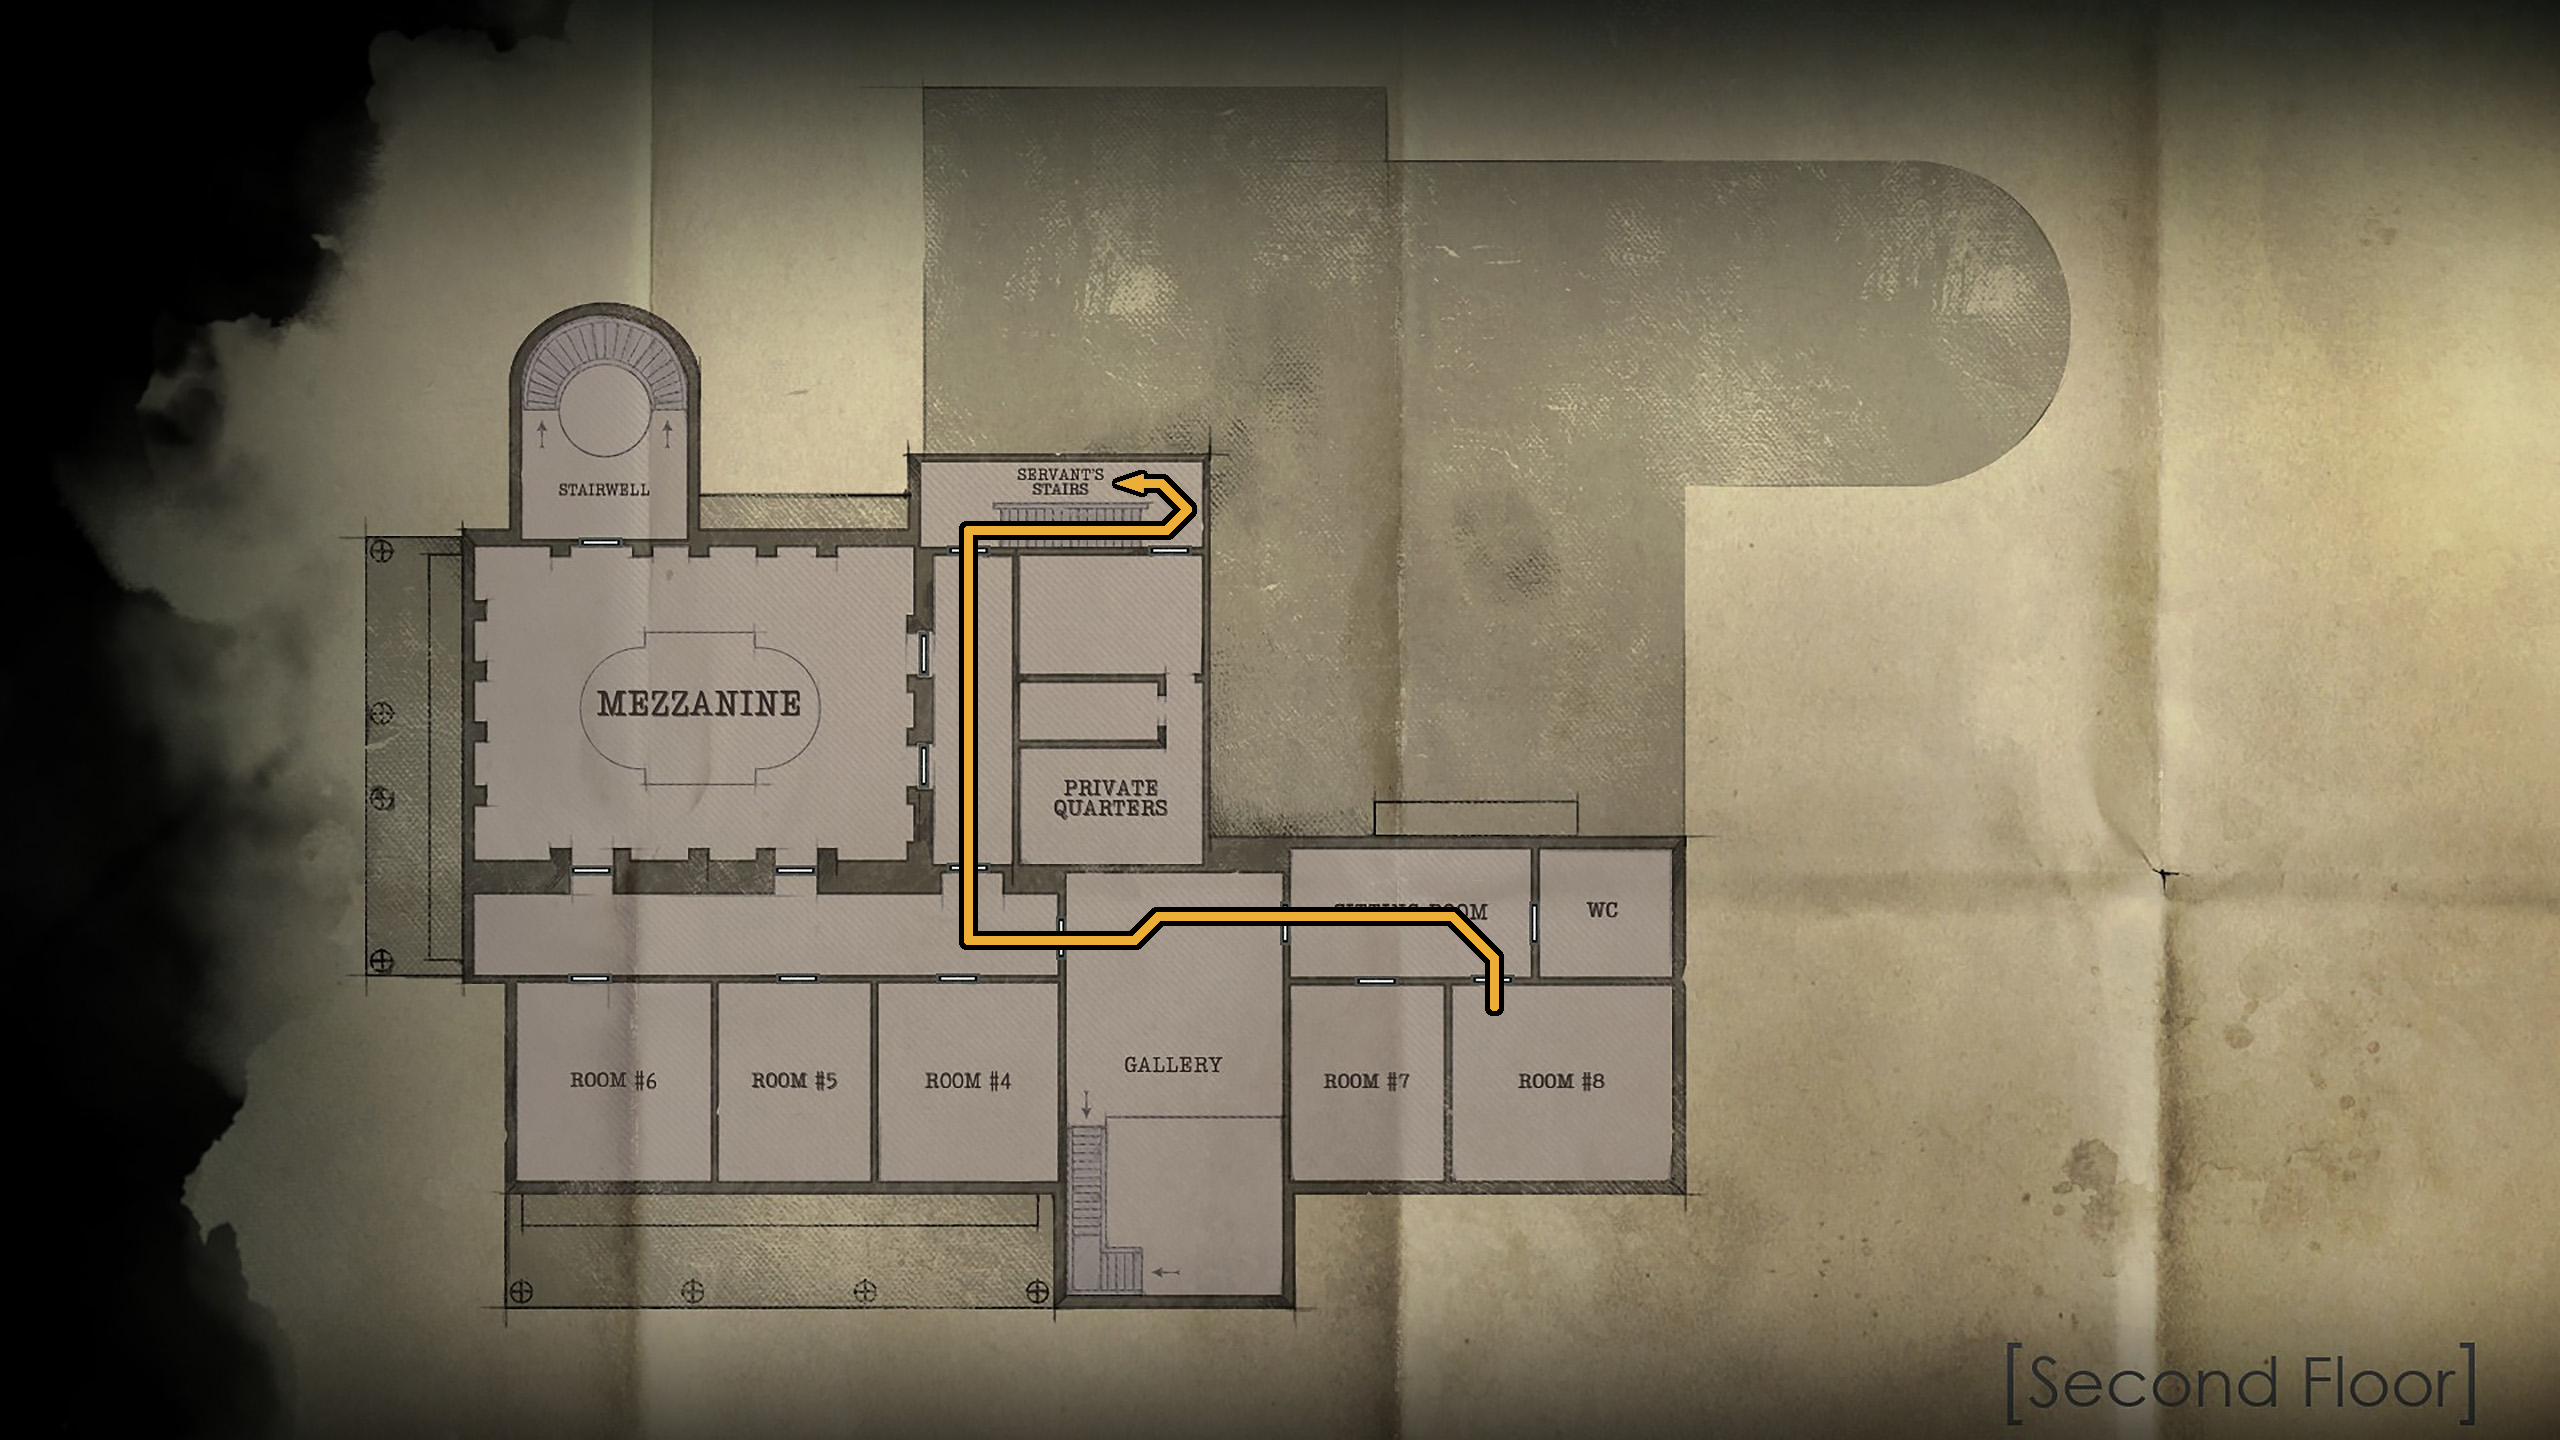
If you are playing as Edward, make sure to go back out to the Mezzanine when you pass the door (Image 125) so that you can grab the A Brightness From Afar Lagniappe from where Ruth was sitting earlier (Image 126). Then, as either character, go back to the Mezzanine hallway and head back to the Grand Clock, where the Sitting Room door will be across the room, ready to be unlocked with the key (Image 127). Emily will get a cutscene with MacCafferty here (Image 128).
125126127128
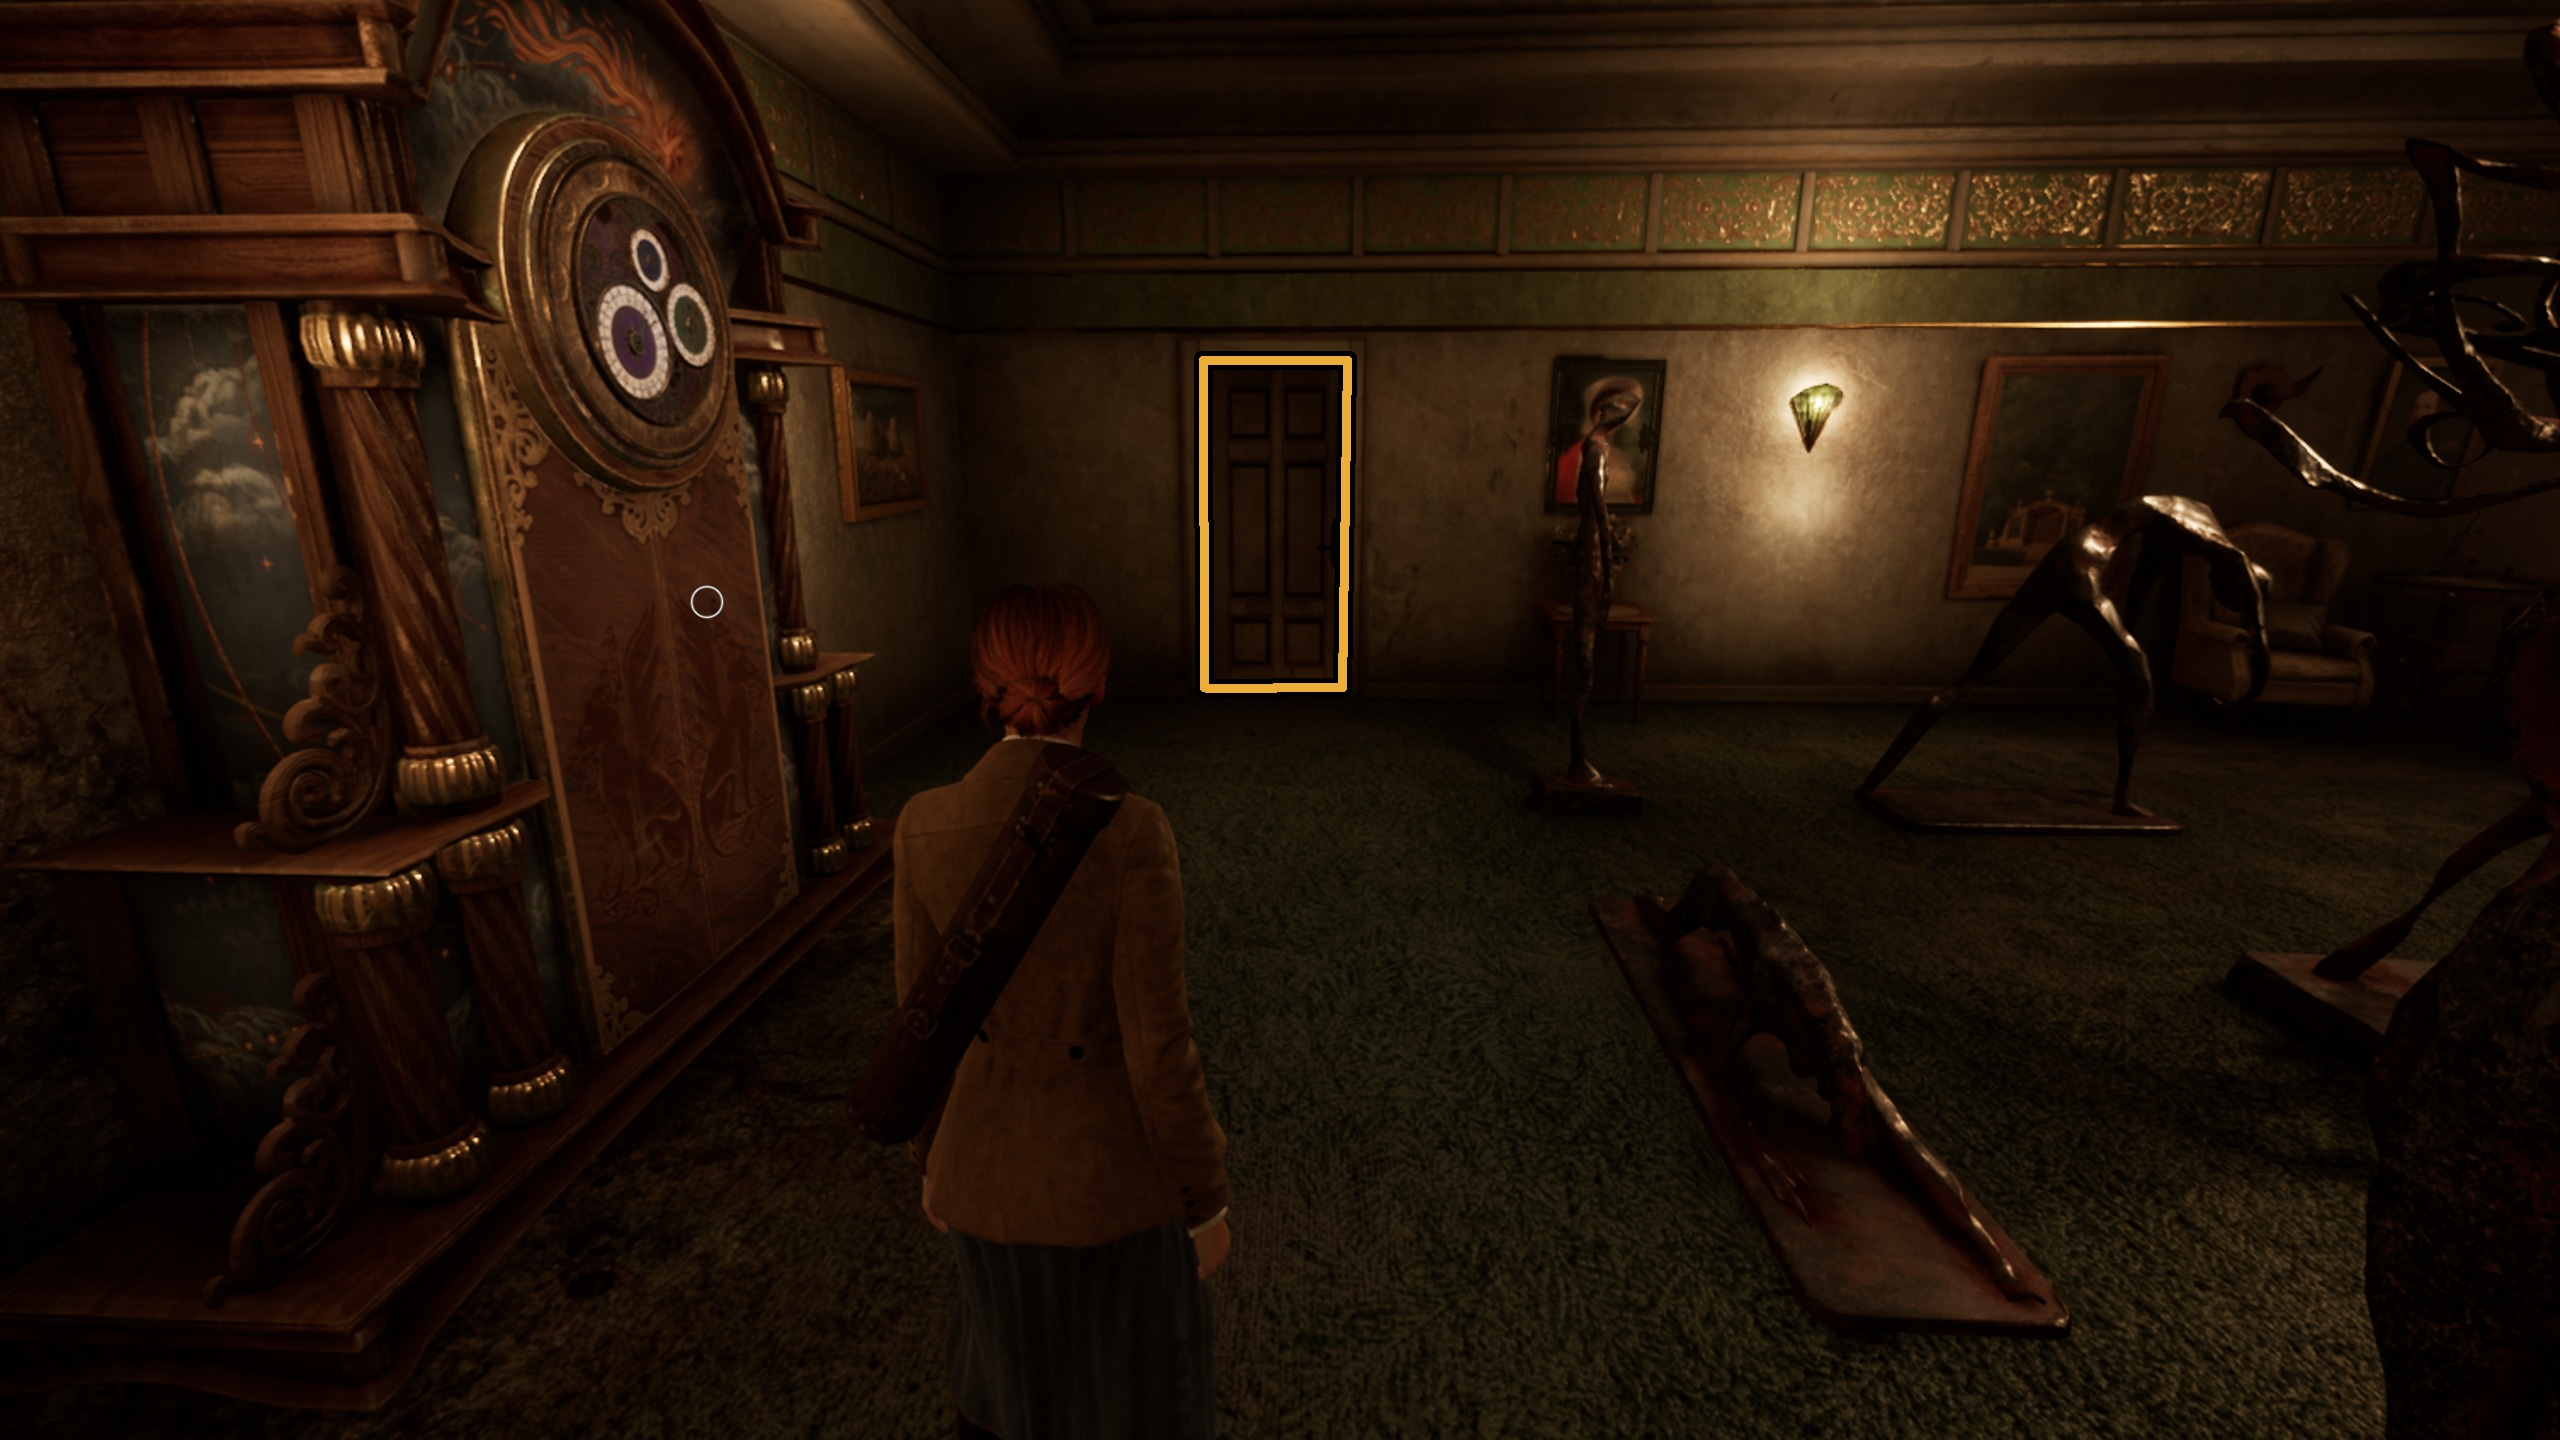
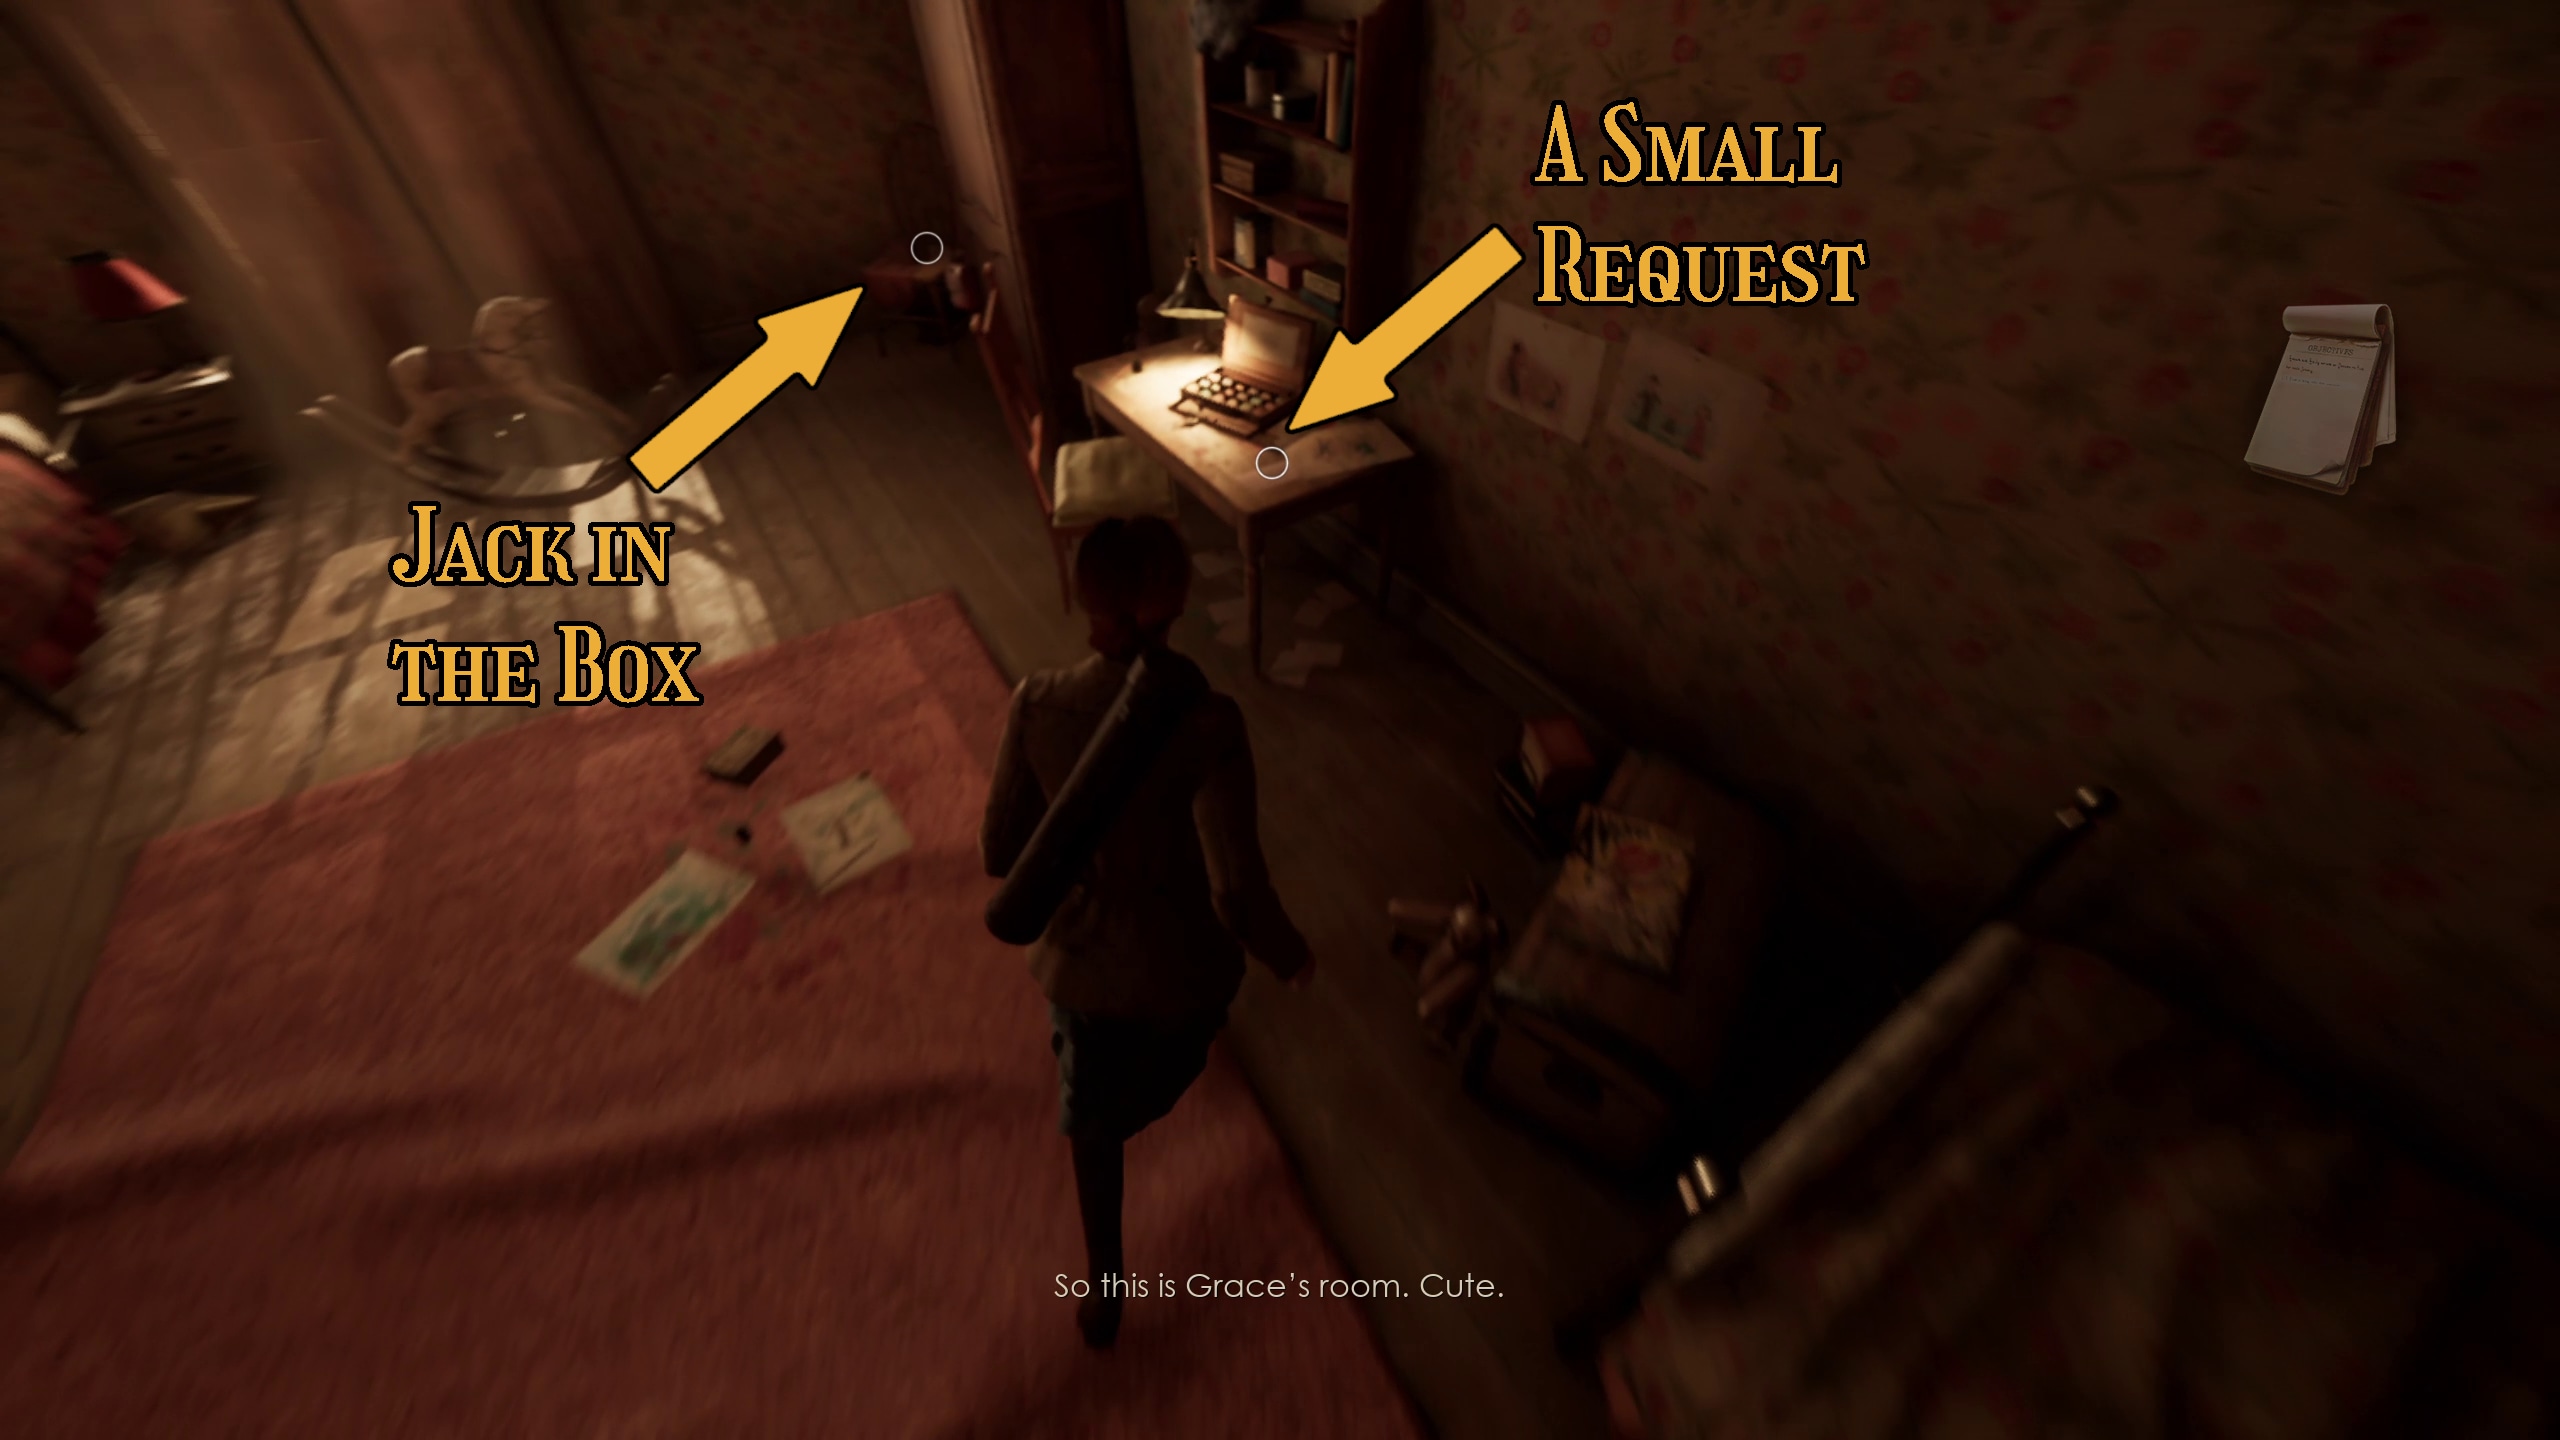
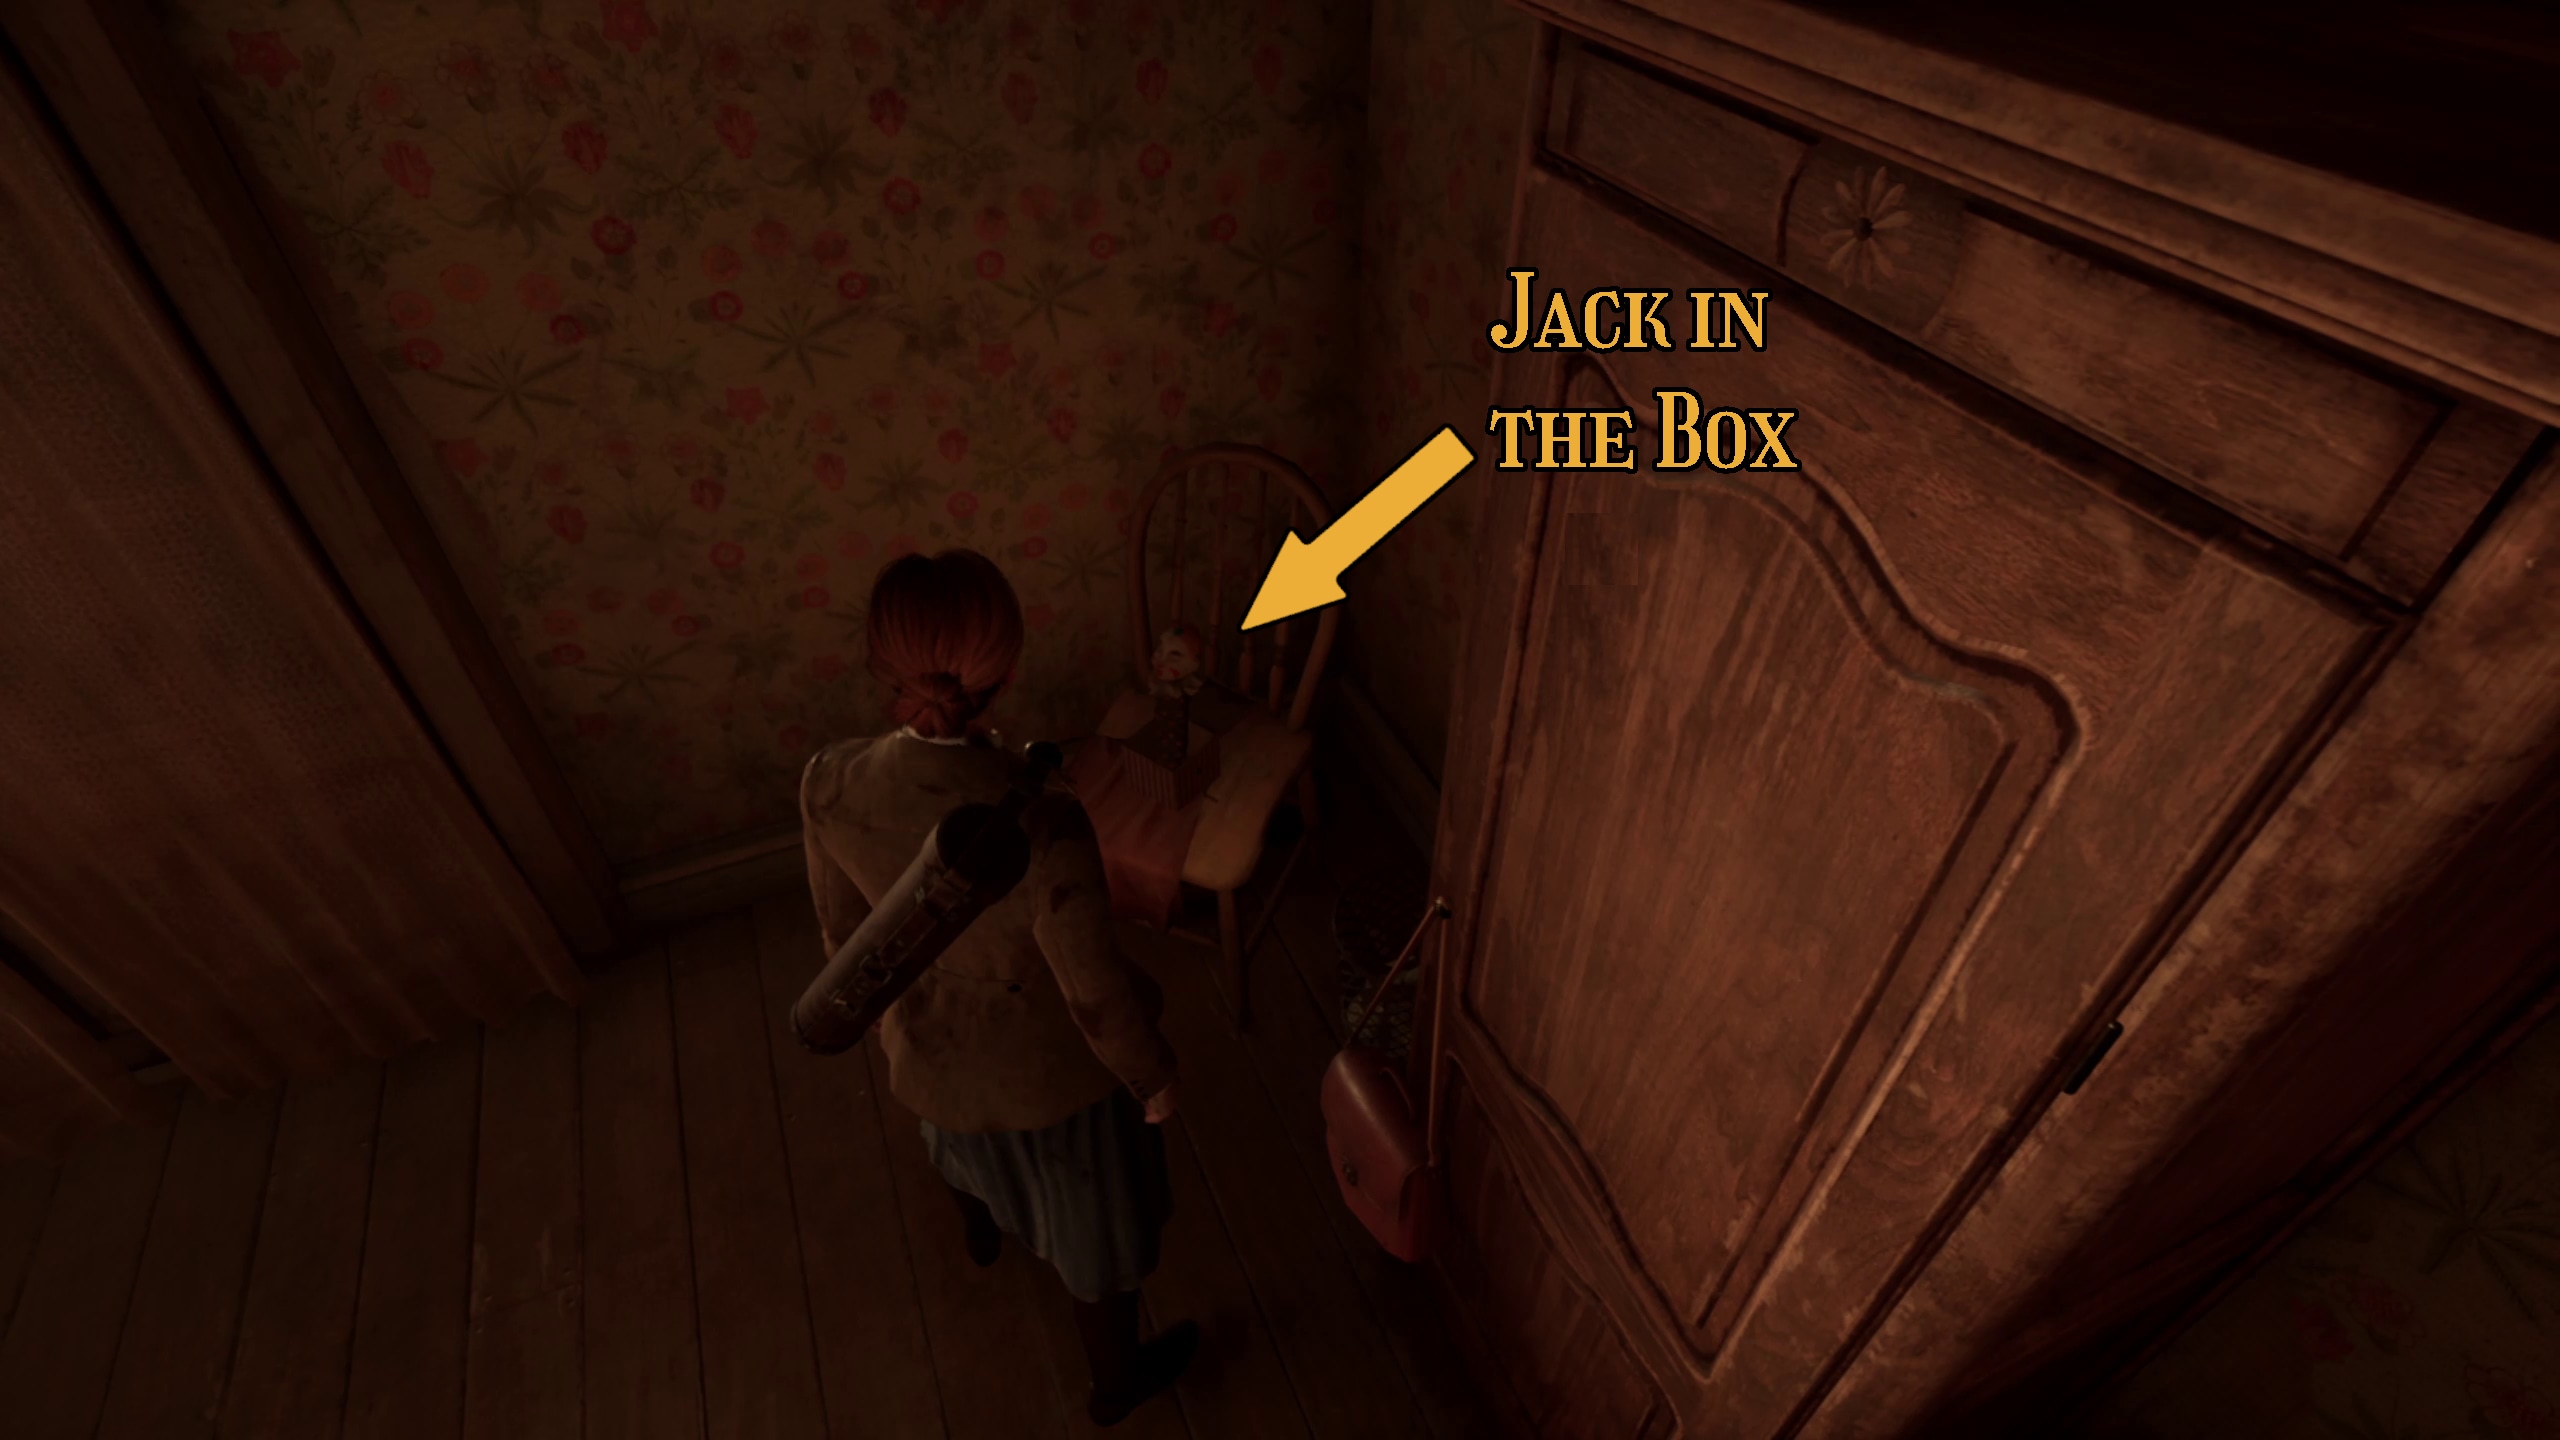
From here, the first door on the right when you enter the Sitting Room will lead to Grace’s Room. Within, you will find “A Small Request” and the Jack In the Box Lagniappe (Image 129). To get it, simply interact with it and then wait for it to pop out and stop moving (Image 130).
129130
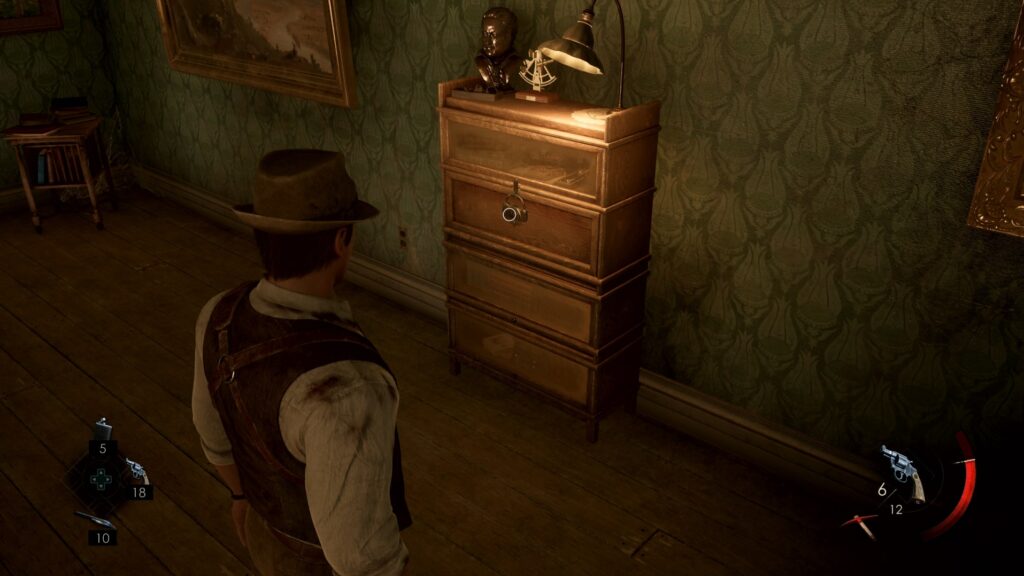
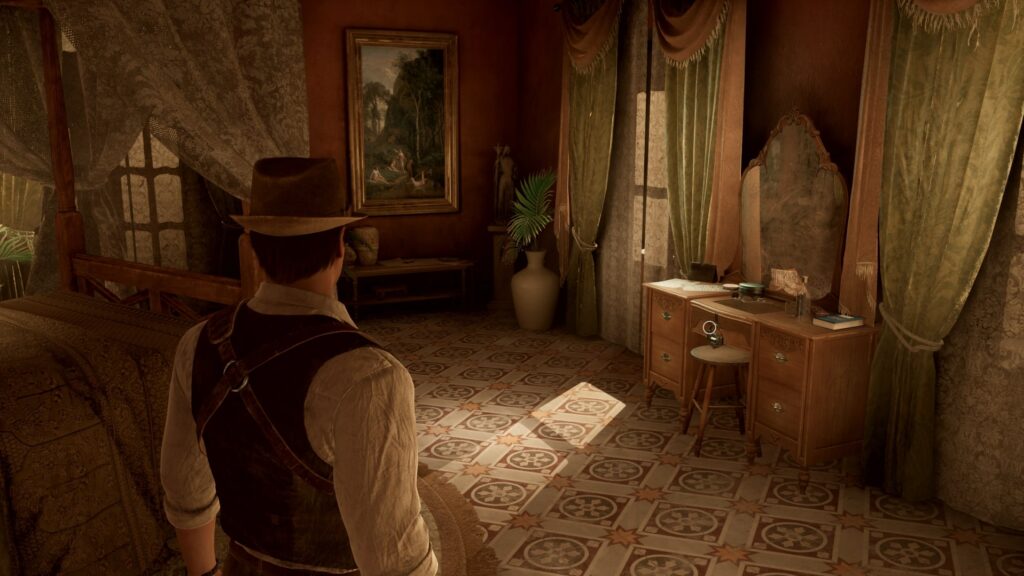
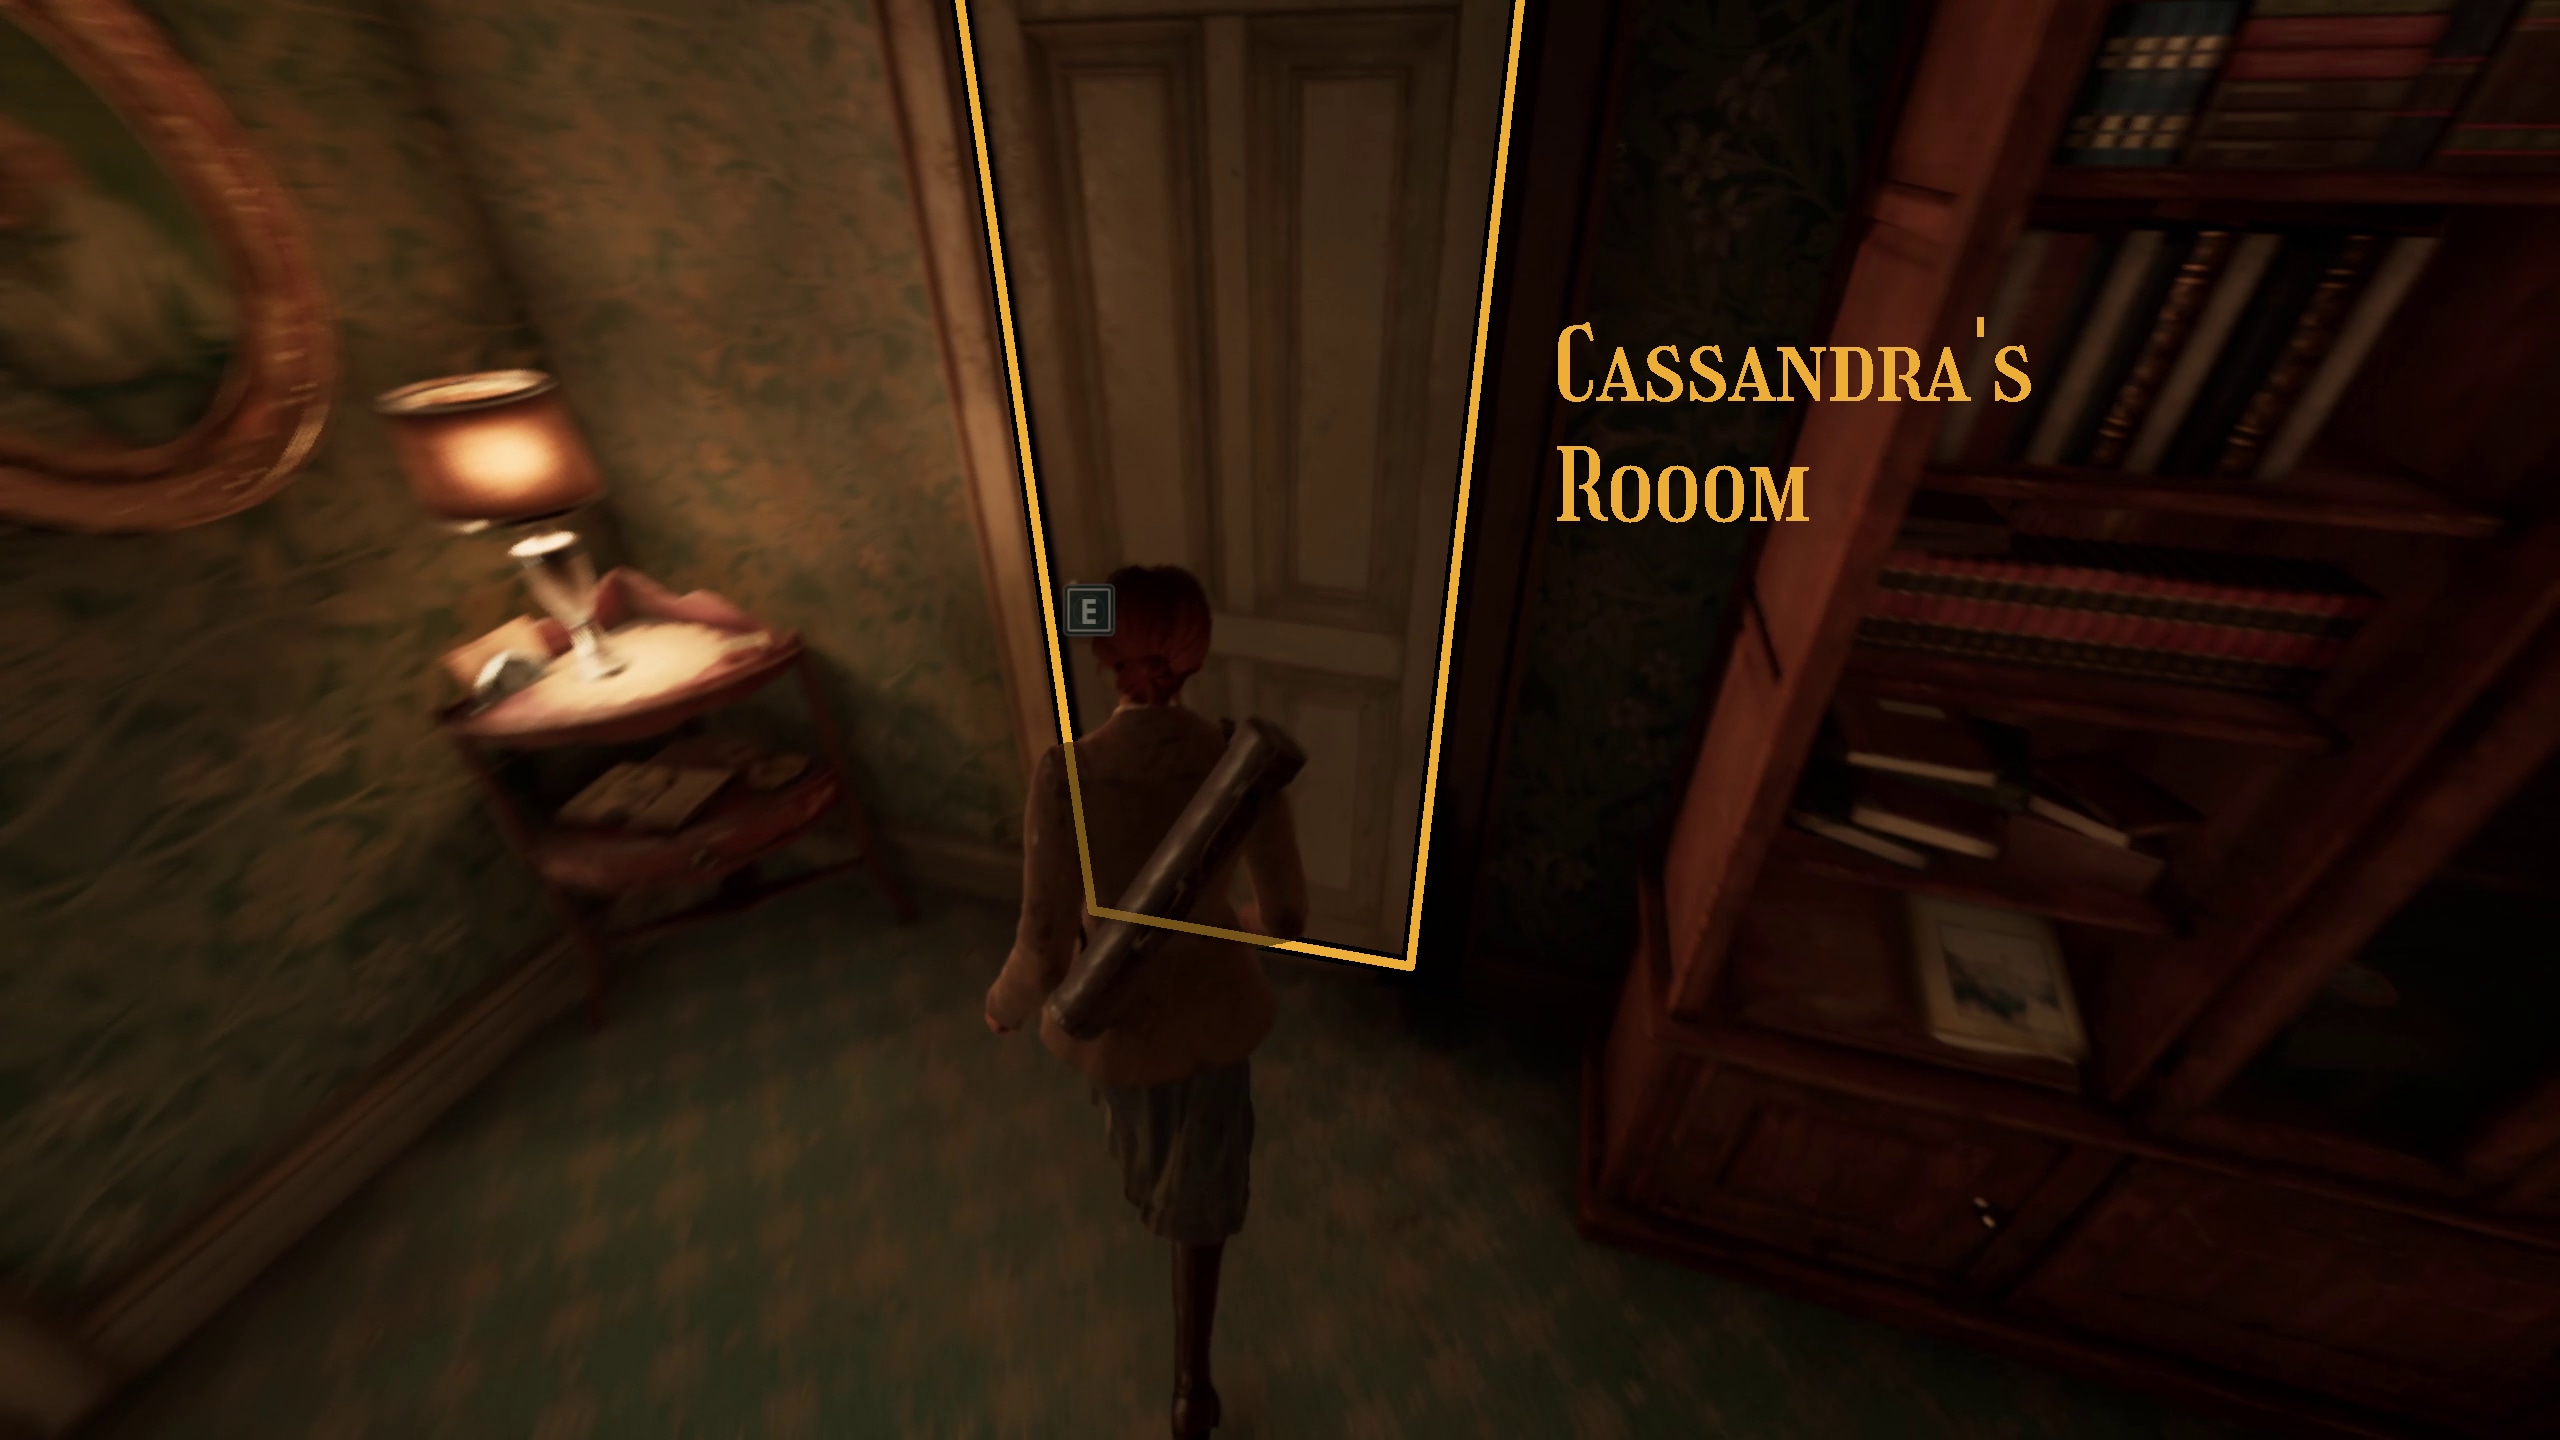
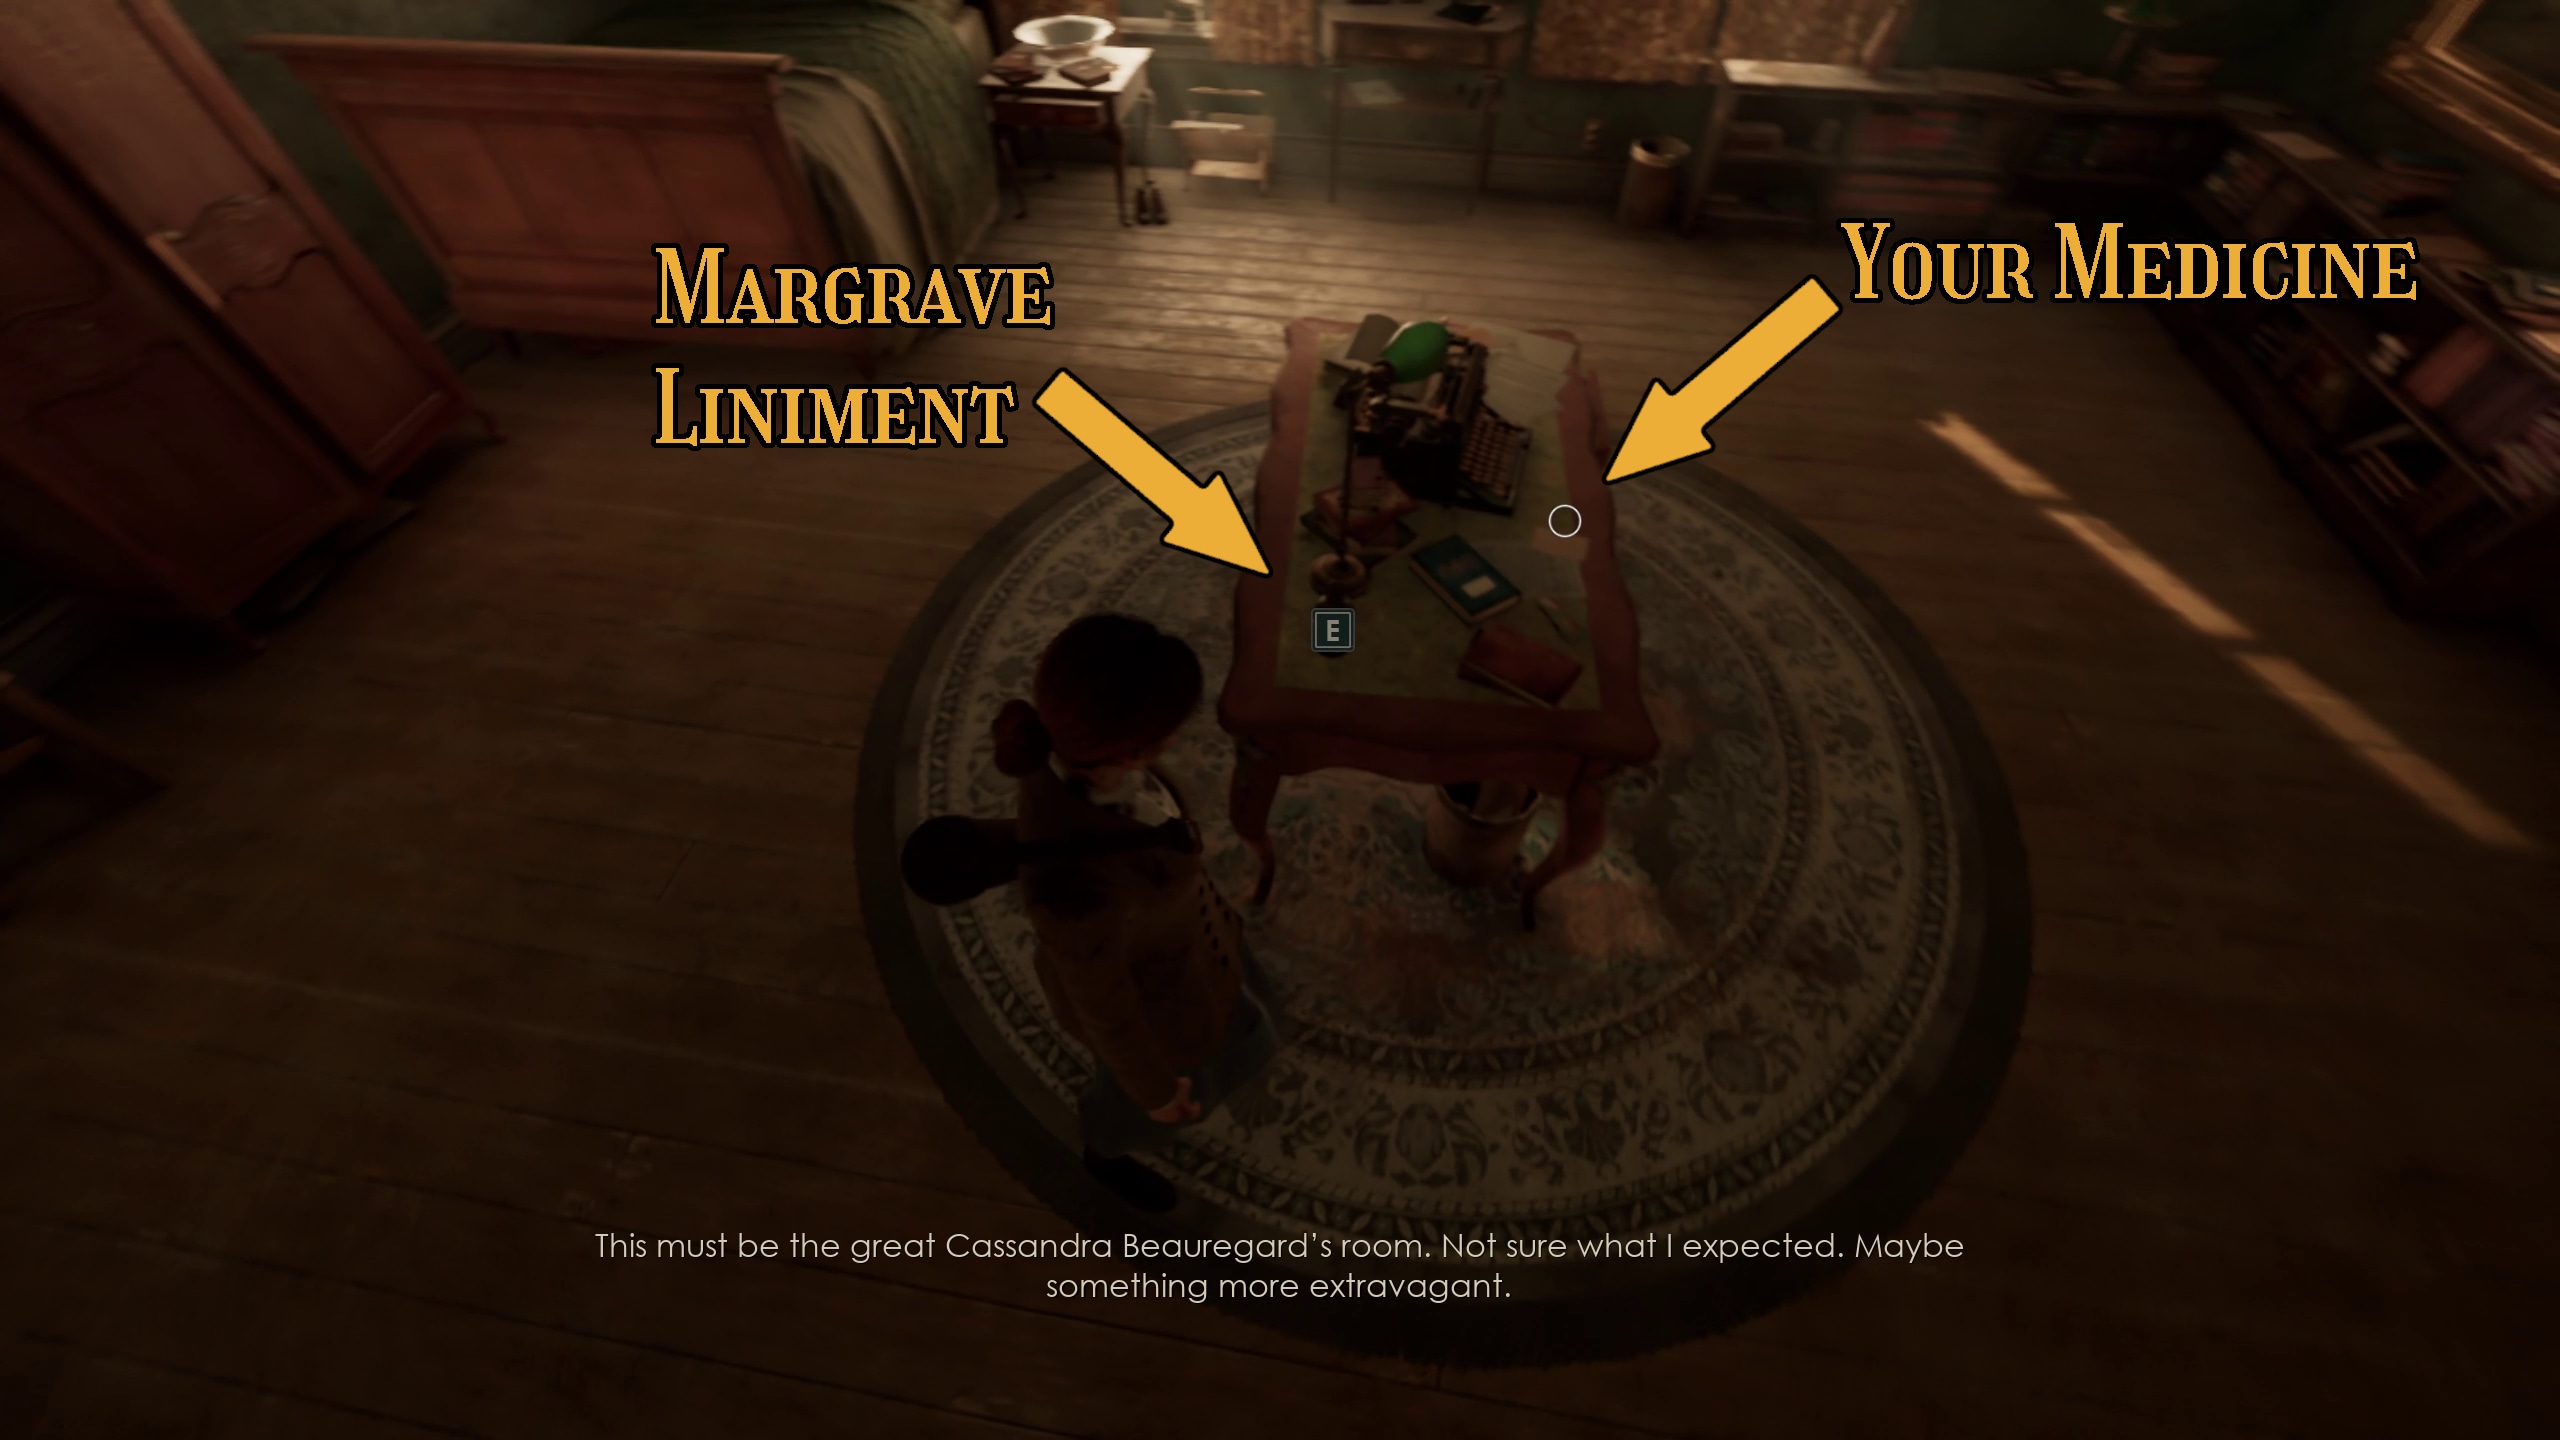
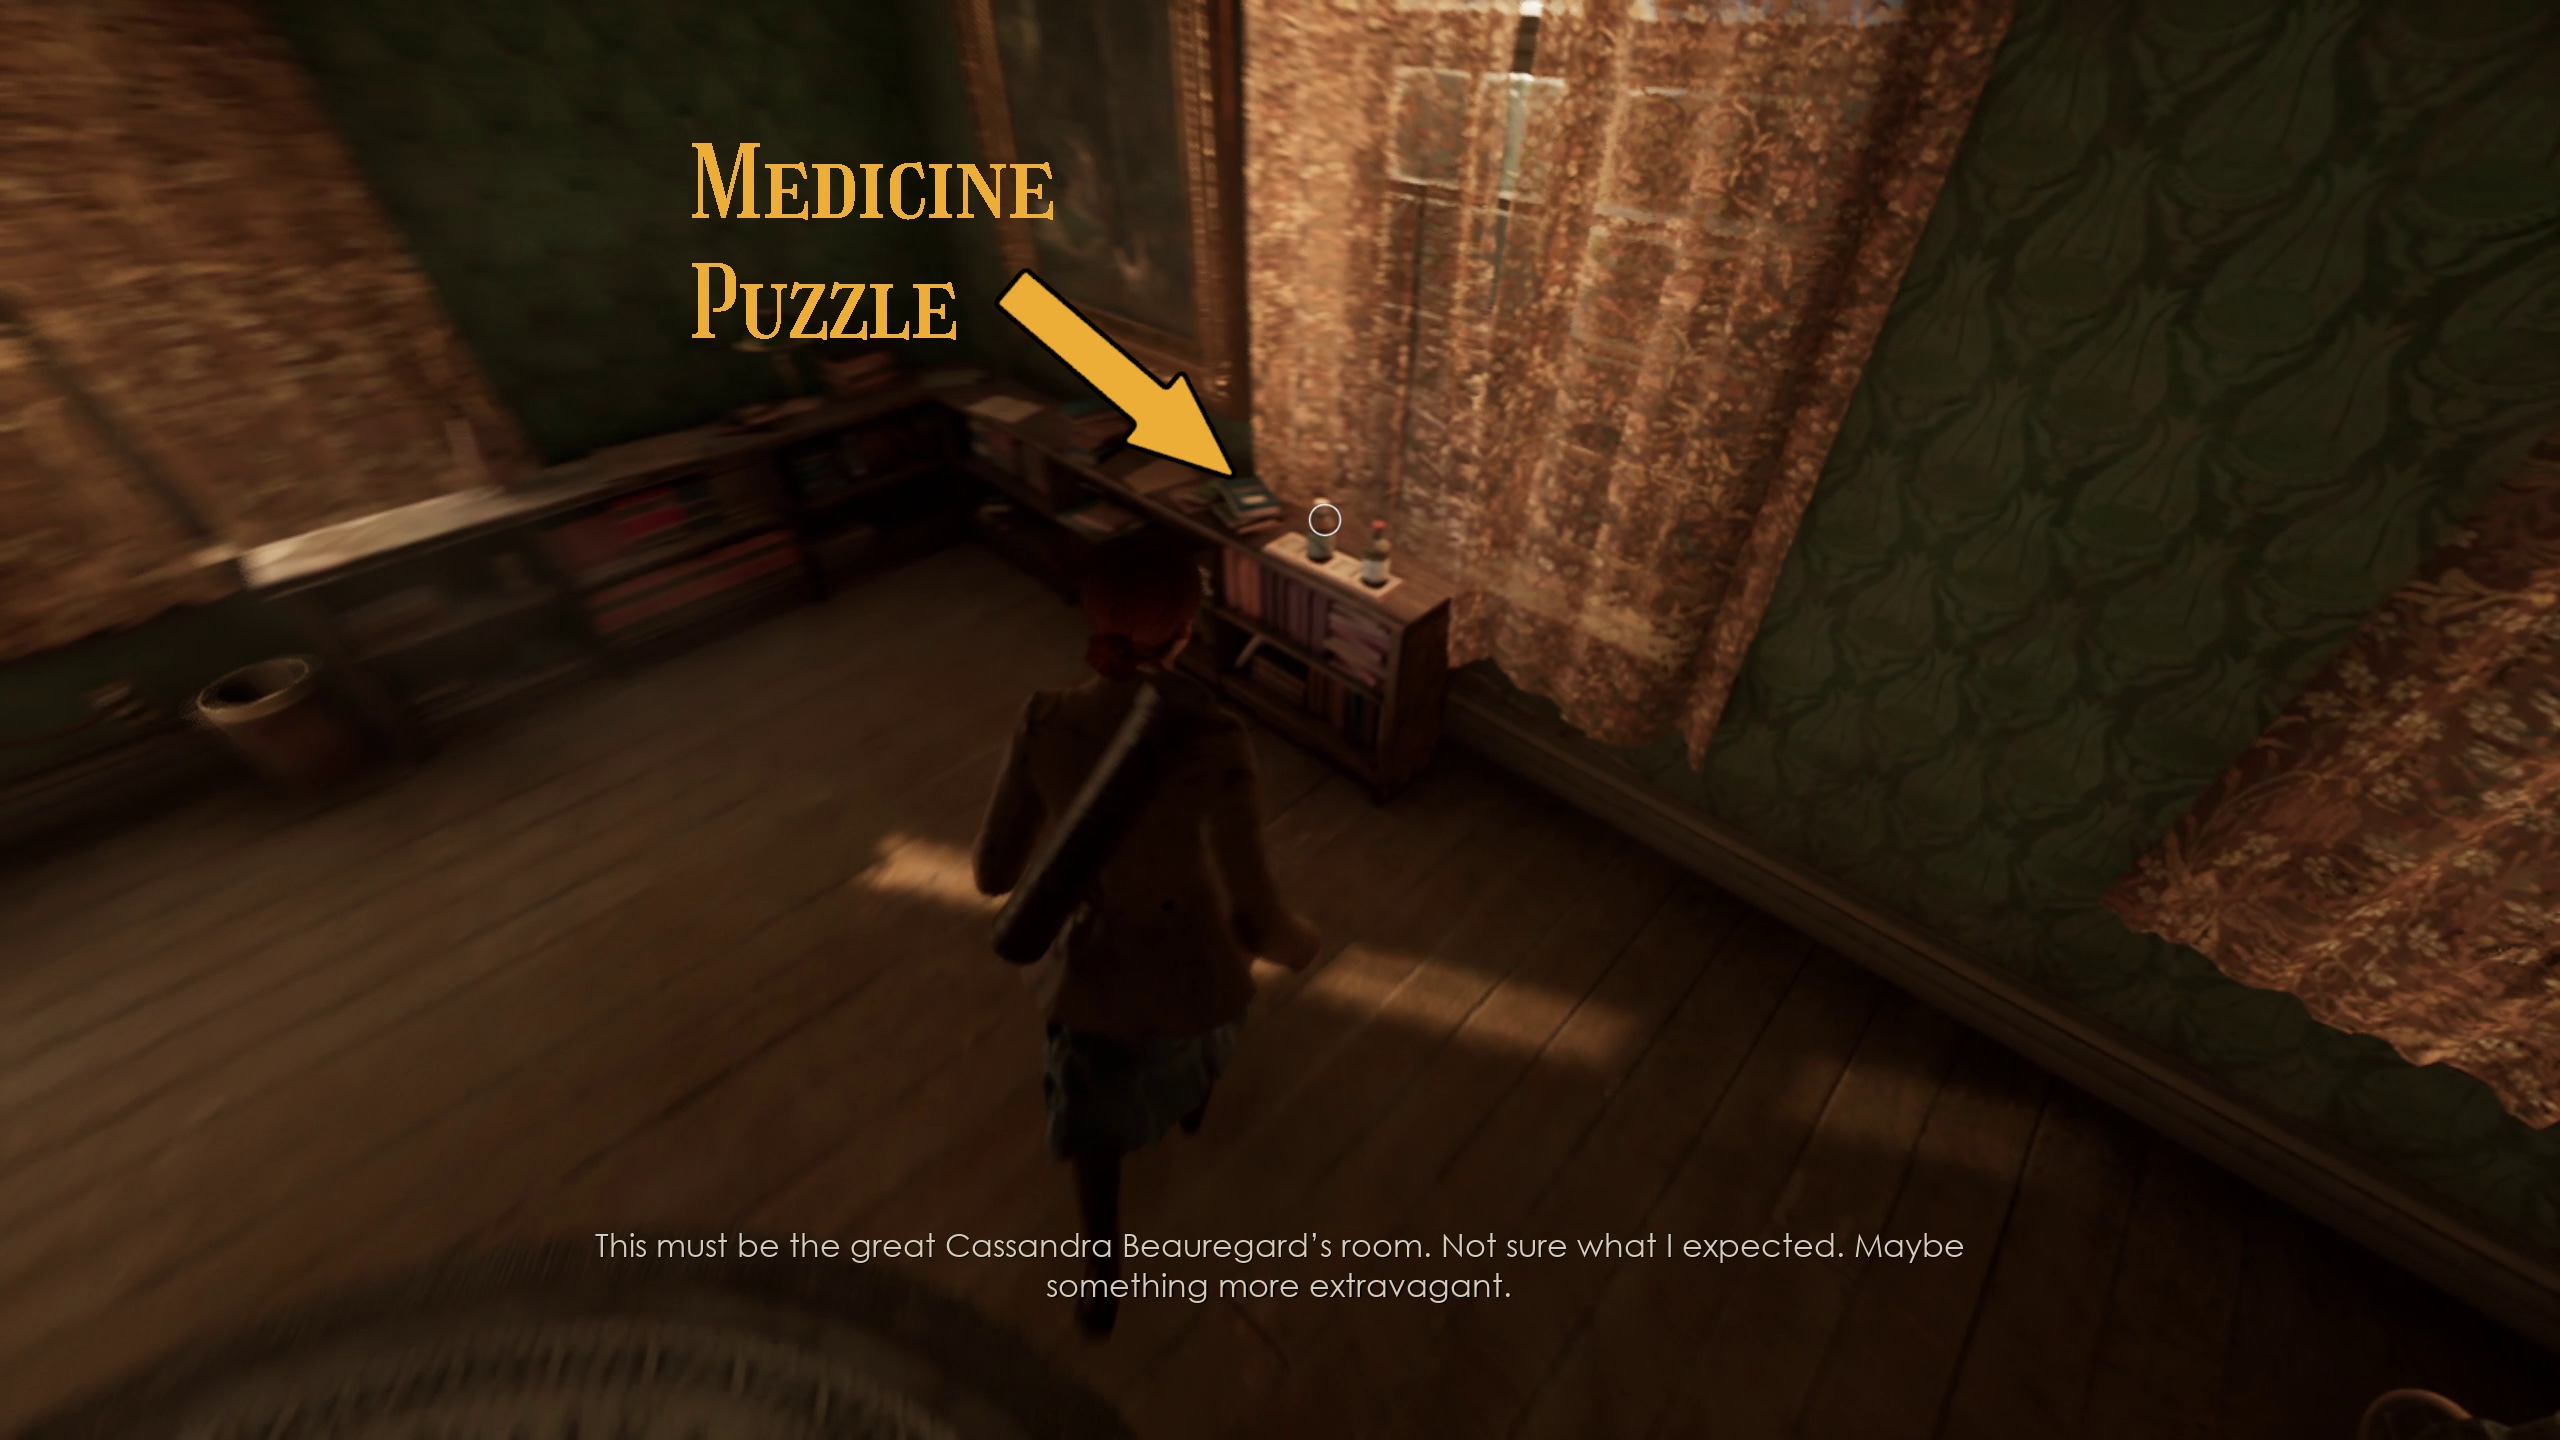
Go to the next door down the hall to enter Cassandra Beauregard’s room (Image 131). Here, Edward will meet Grace in a cutscene before leaving (Image 132). After that, there will be the note “Your Medicine” on the table in front of you, as well as a medicine, Margrave Liniment (Image 133).
131132133
Medicine Box Puzzle
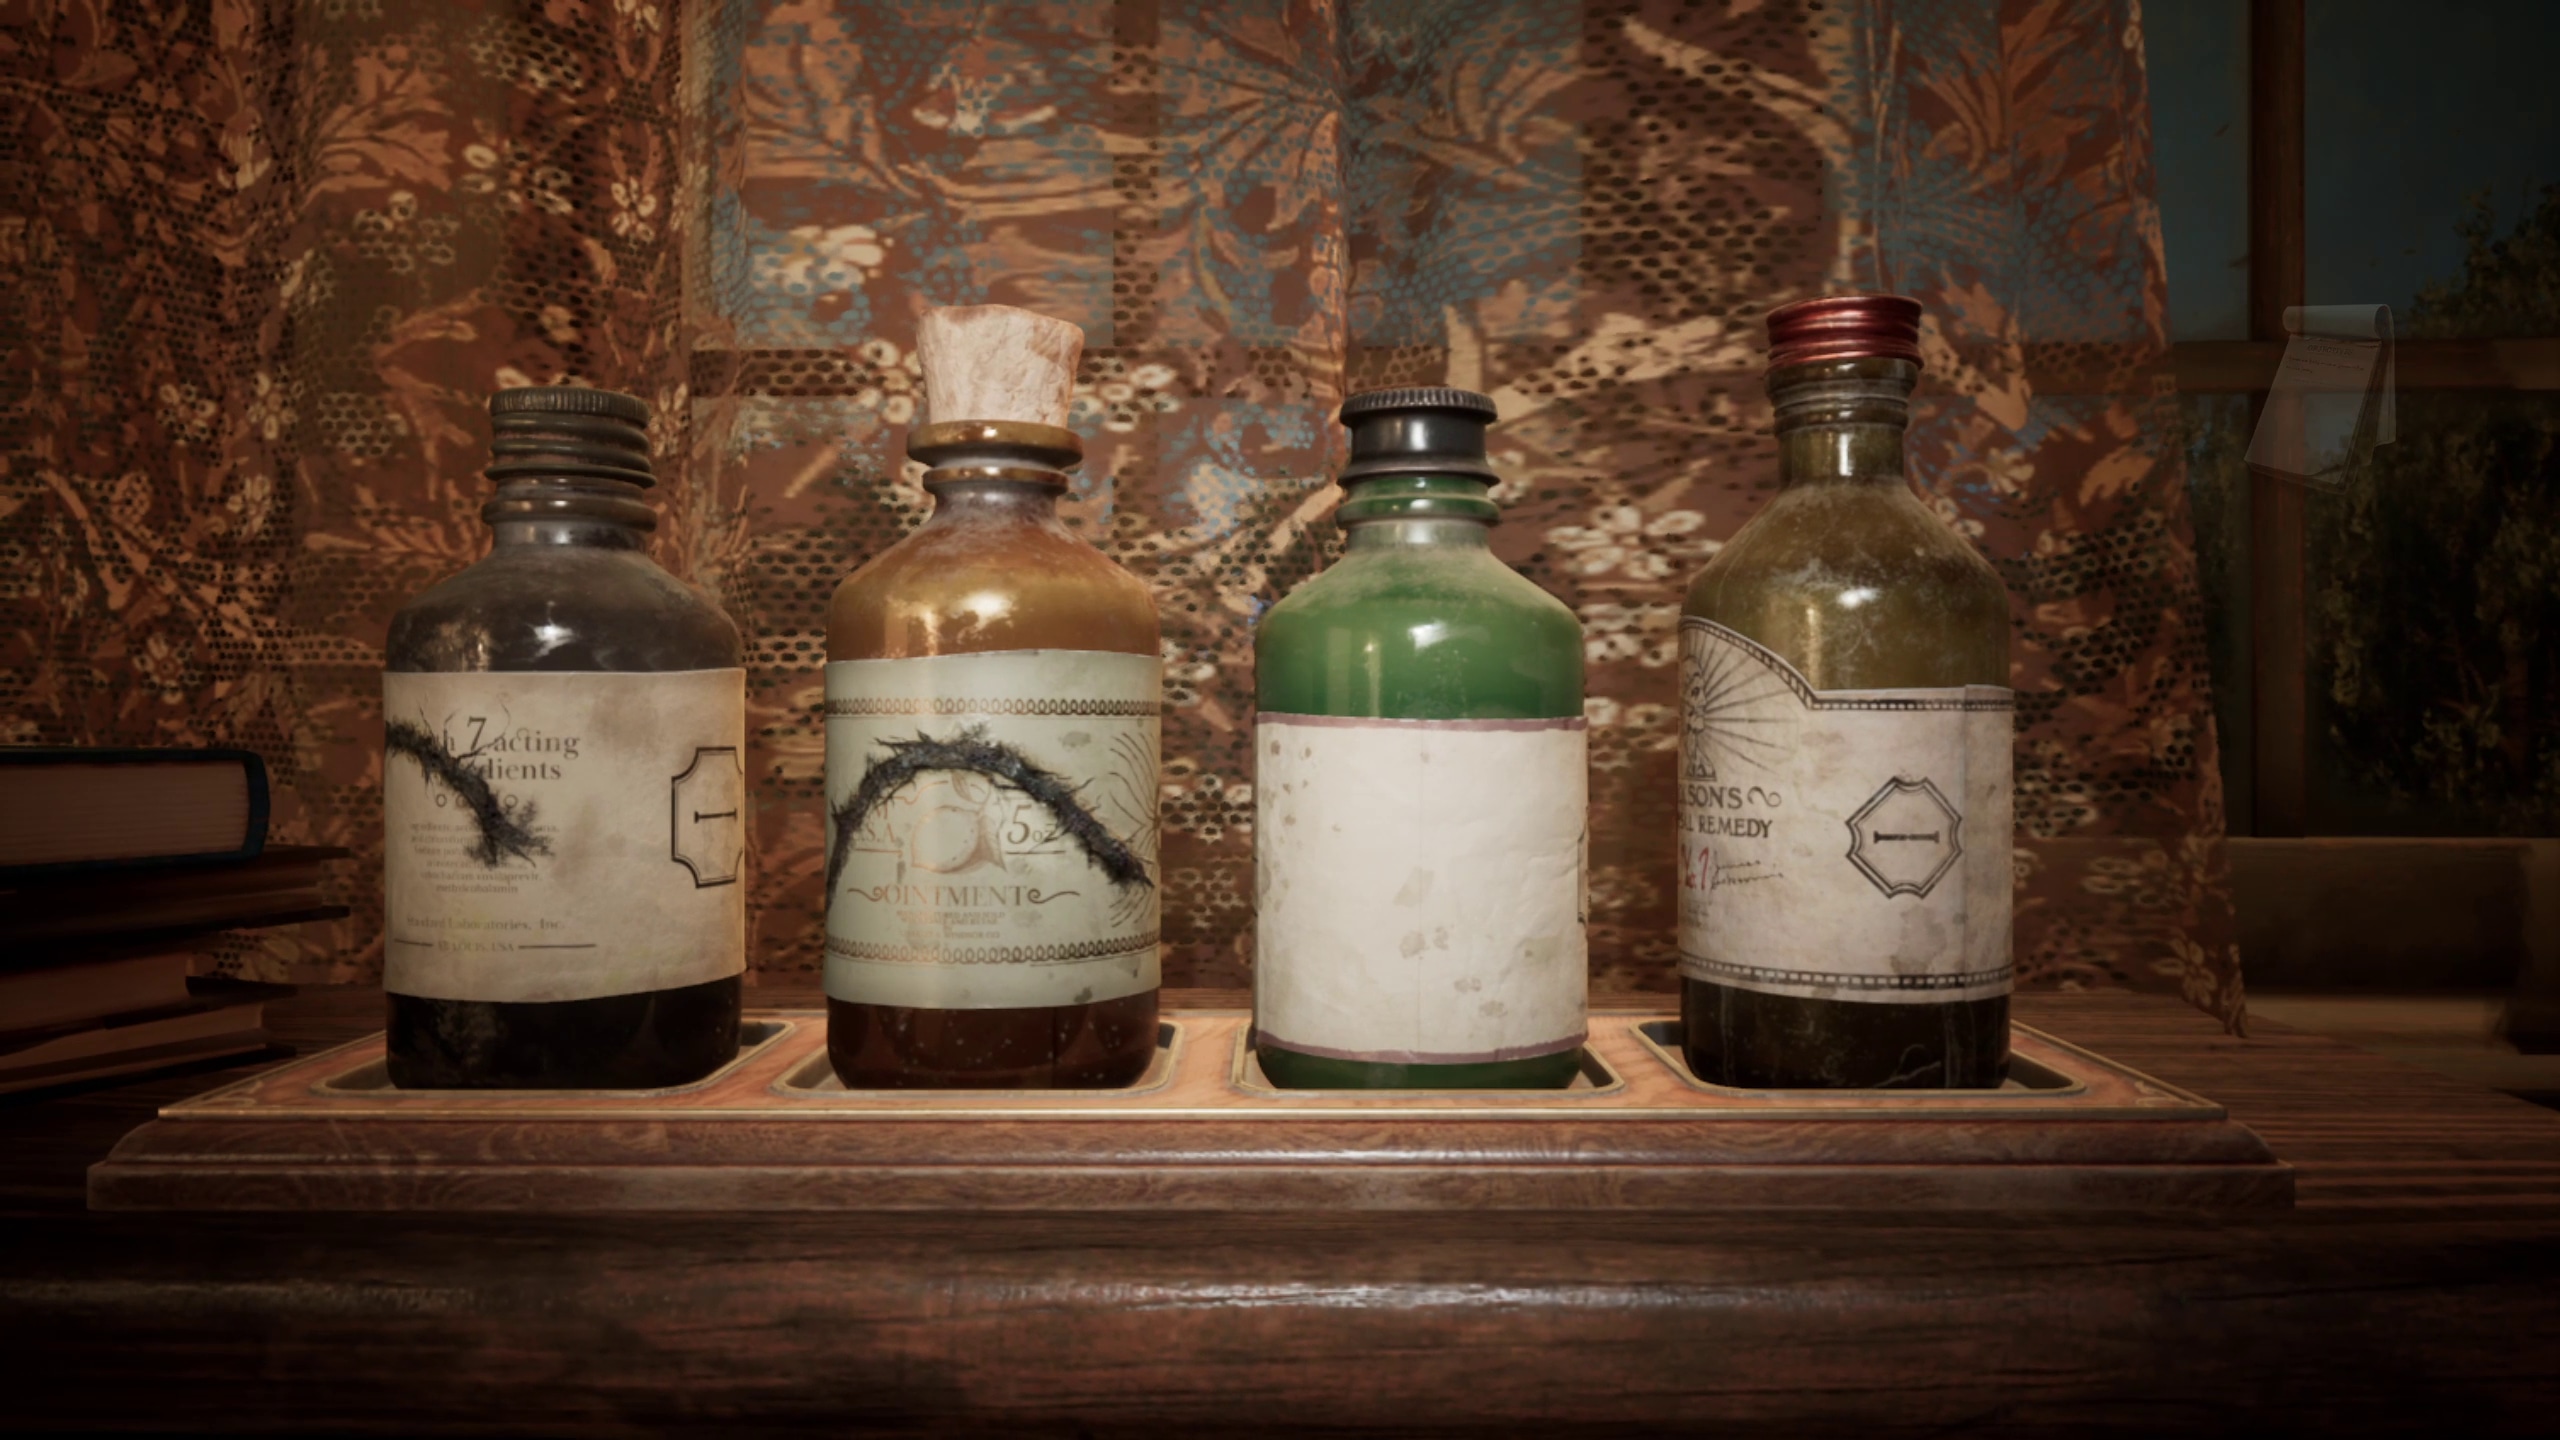
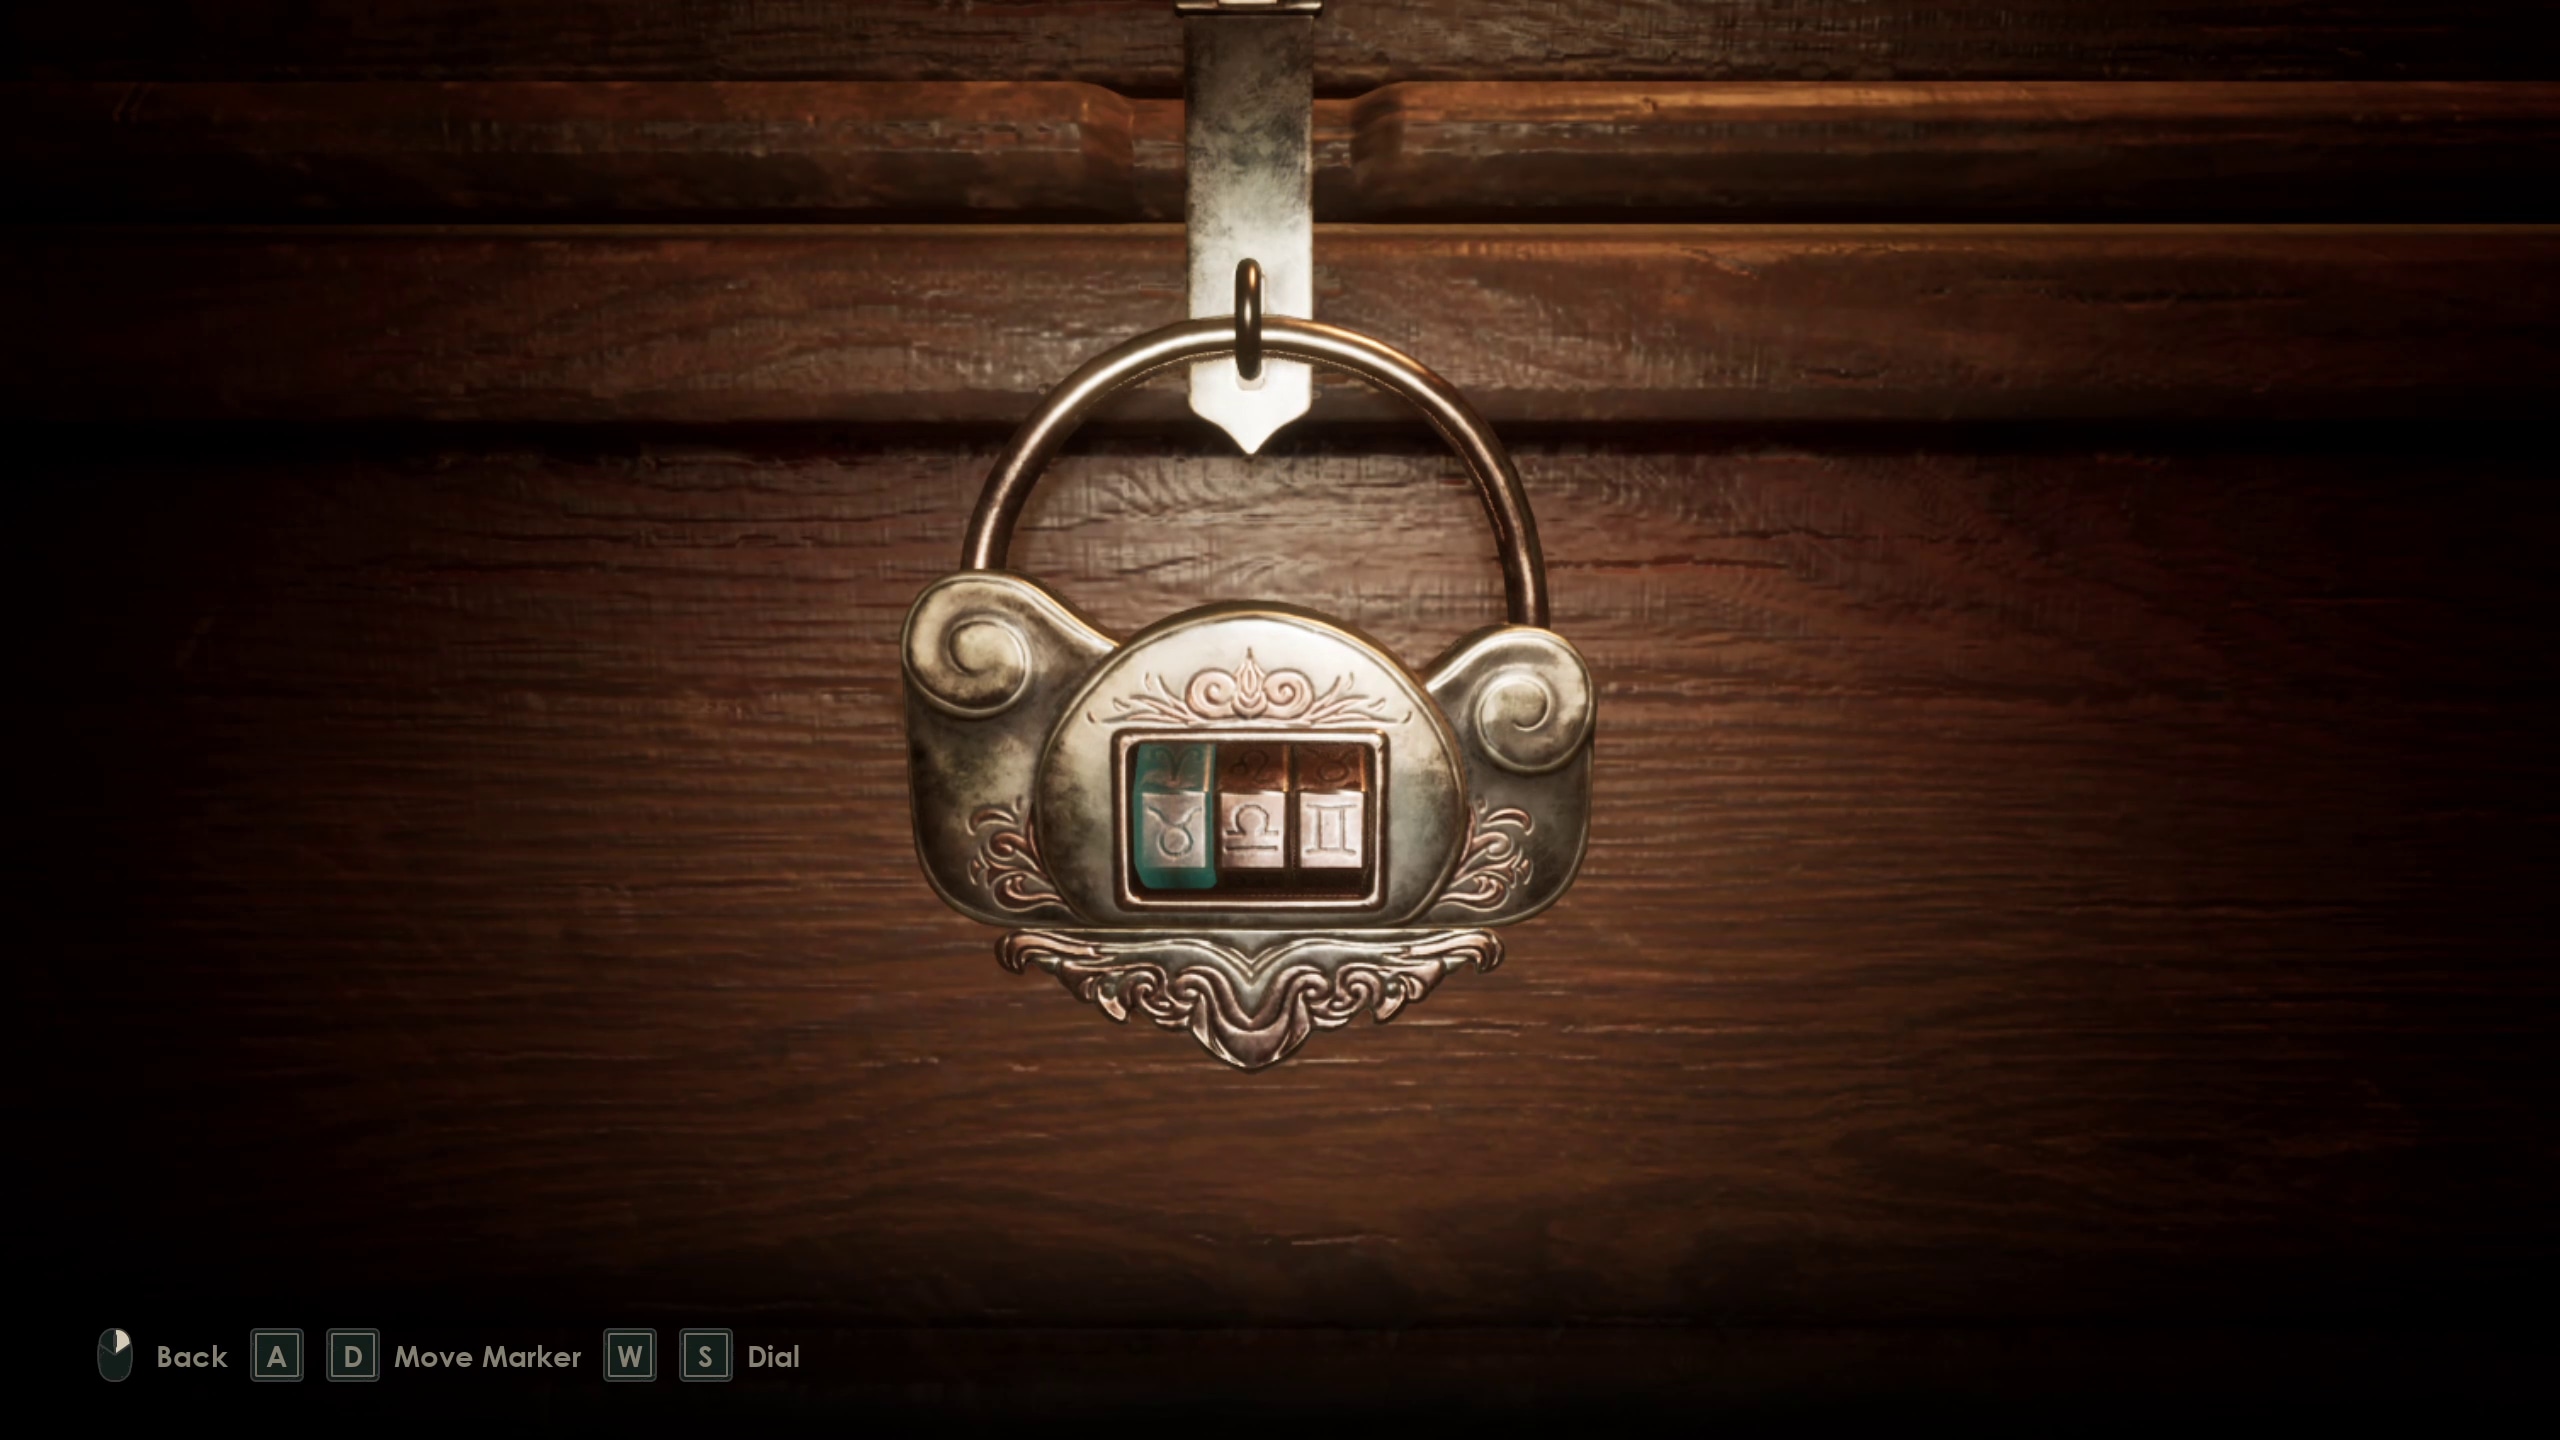
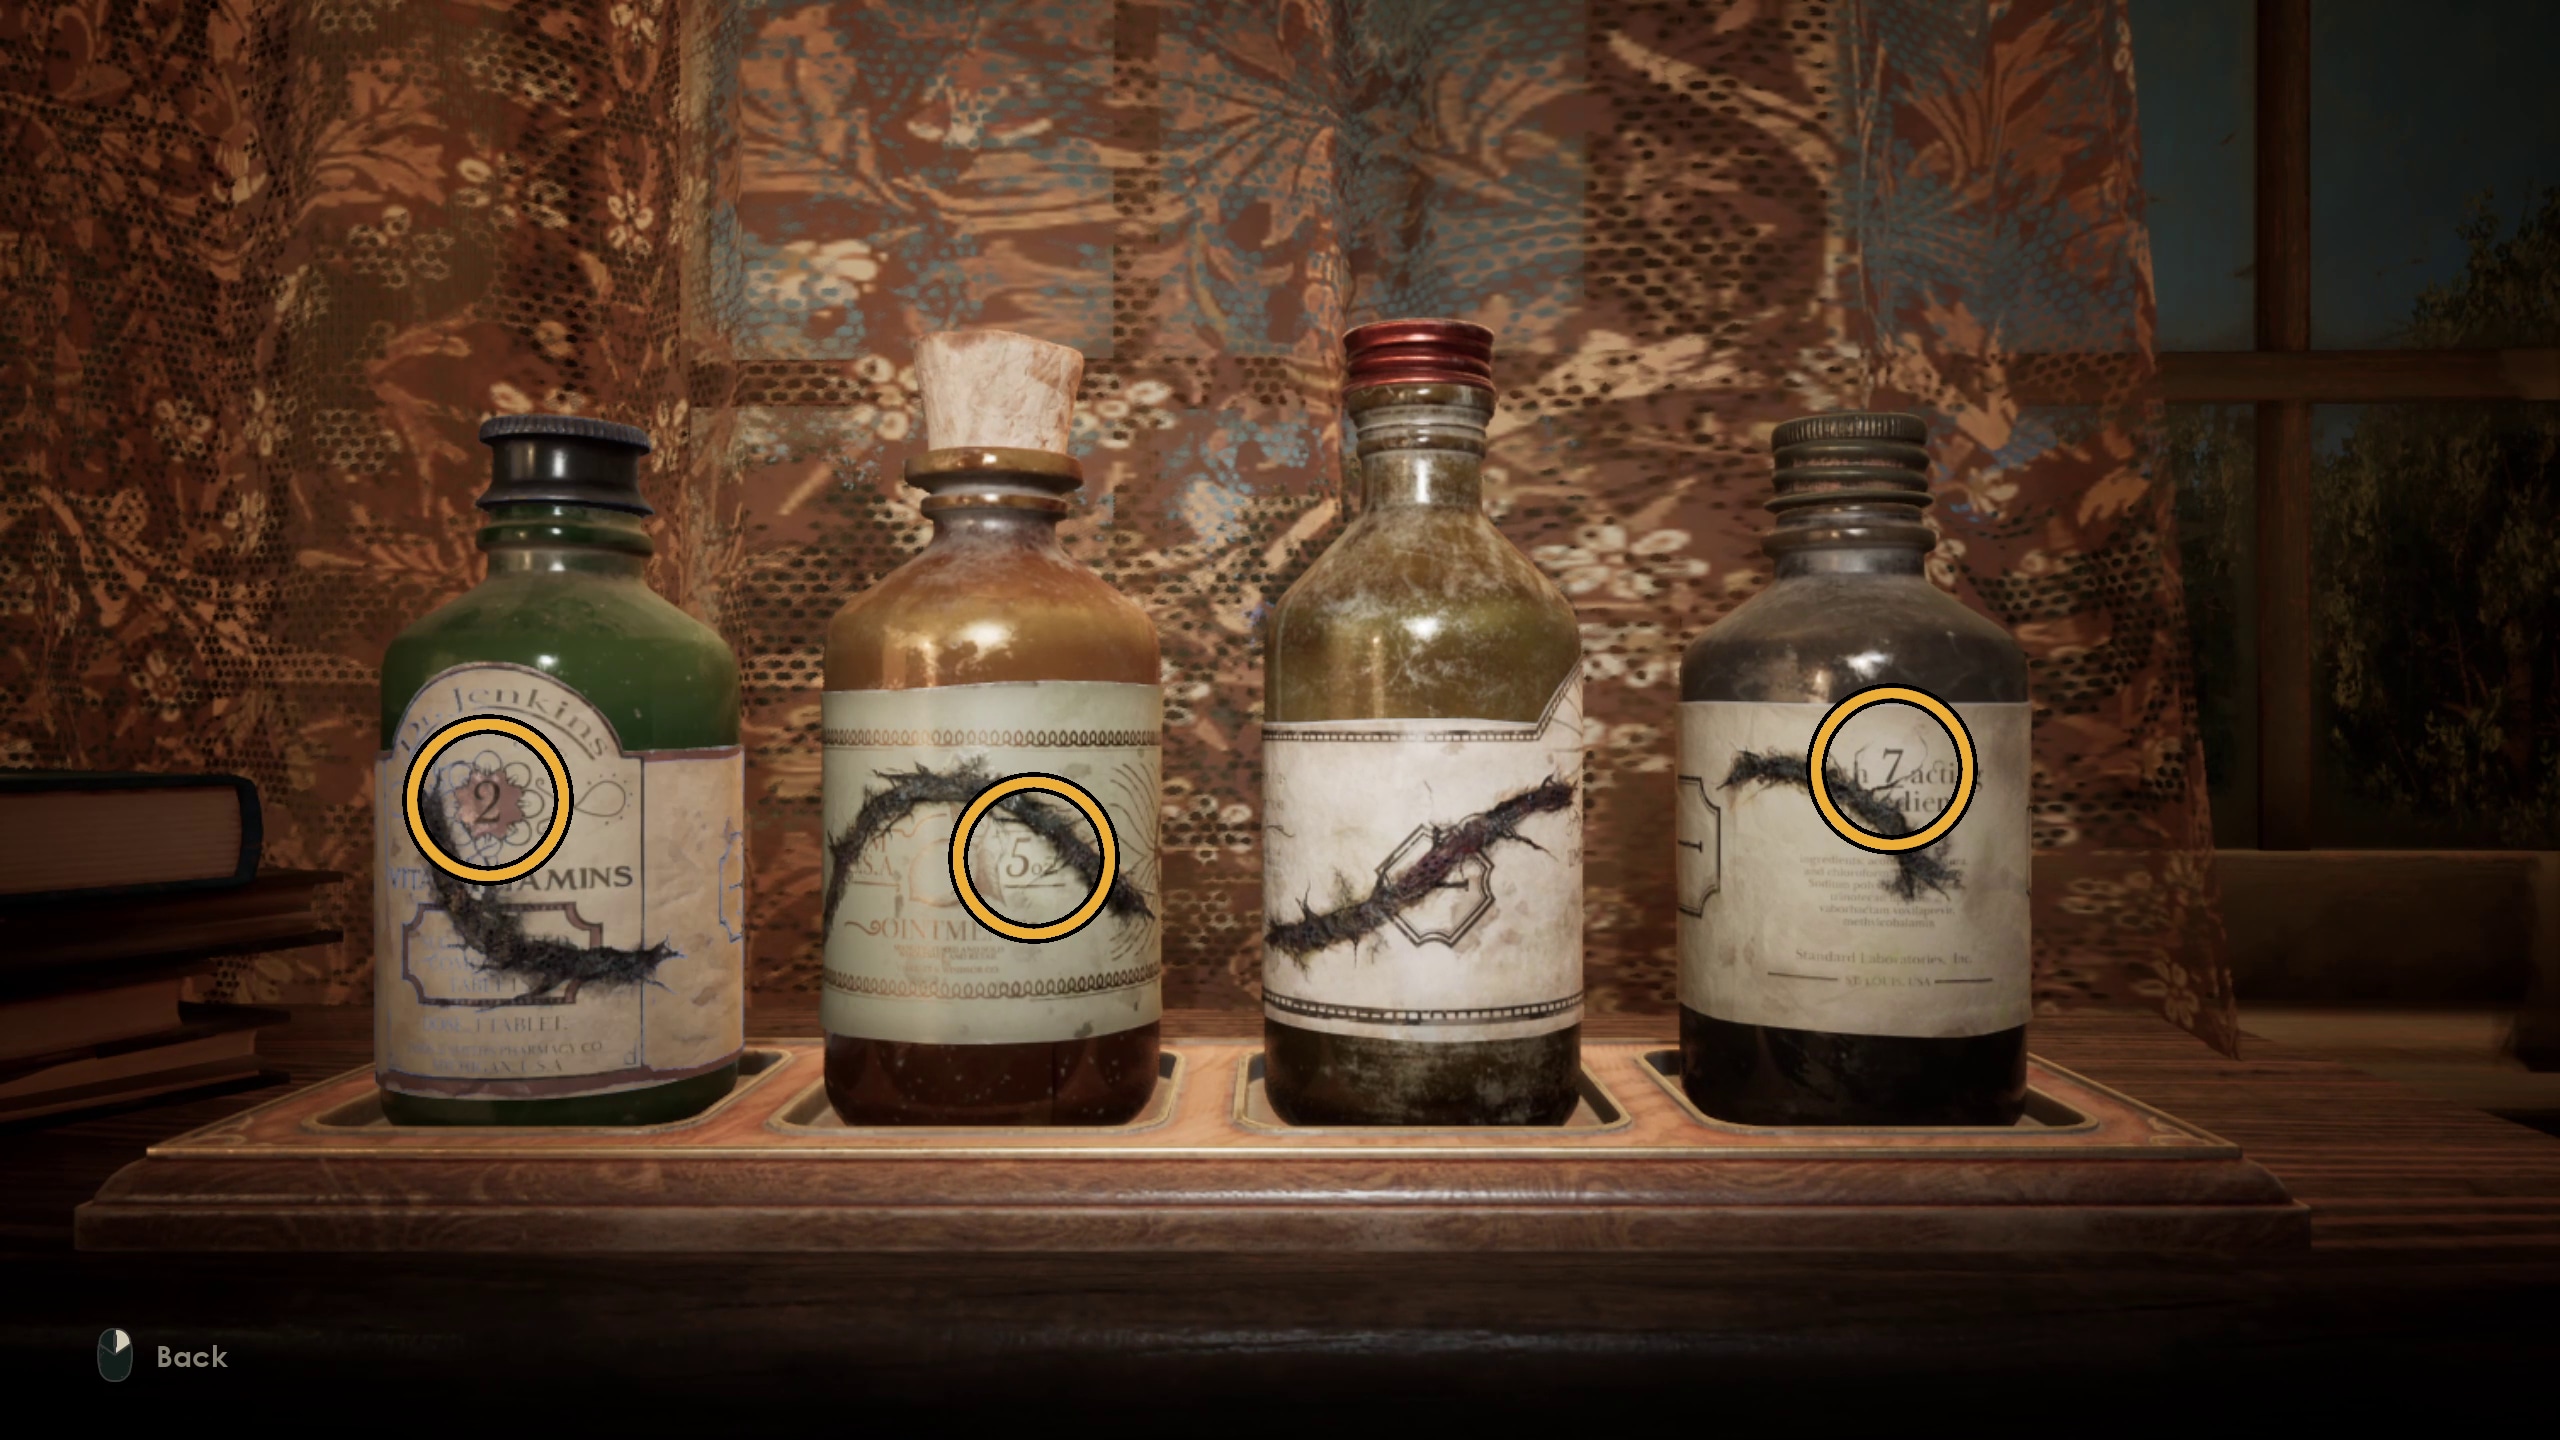
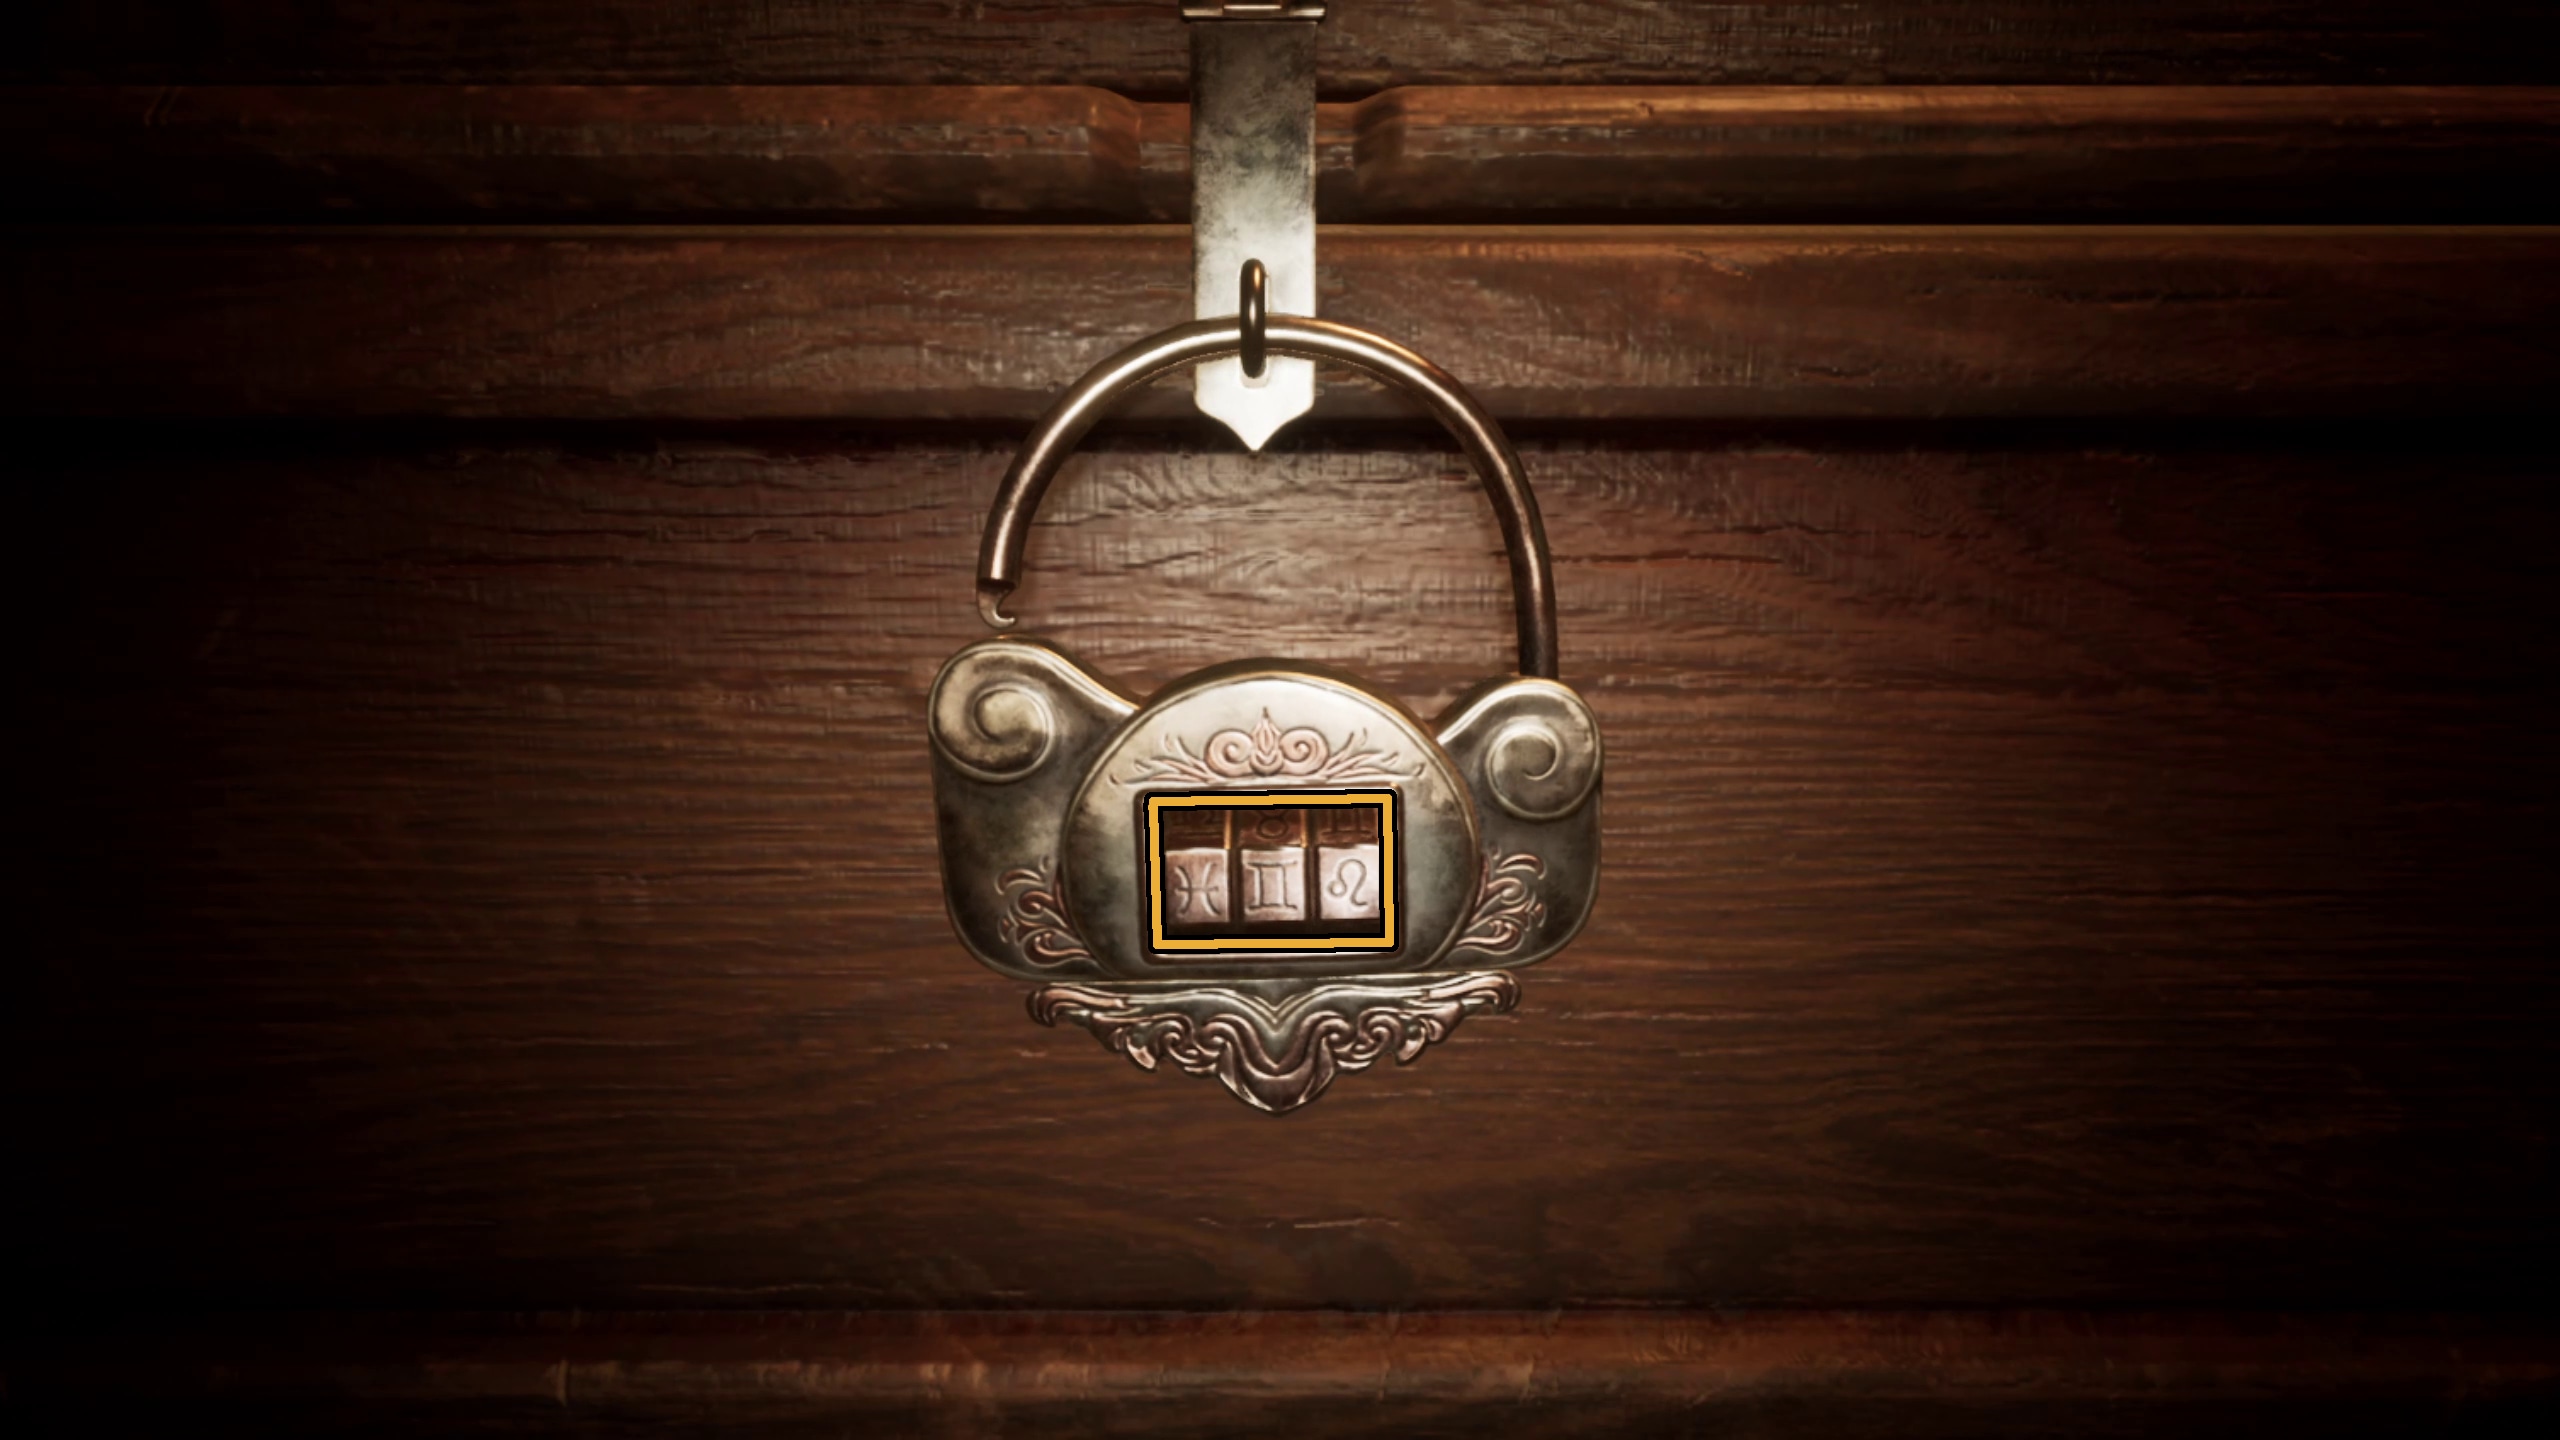
Next, you will need to solve a puzzle involving the medicine tray (Images 134 and 135) and another Astronomical Lock (Image 136).
134135136
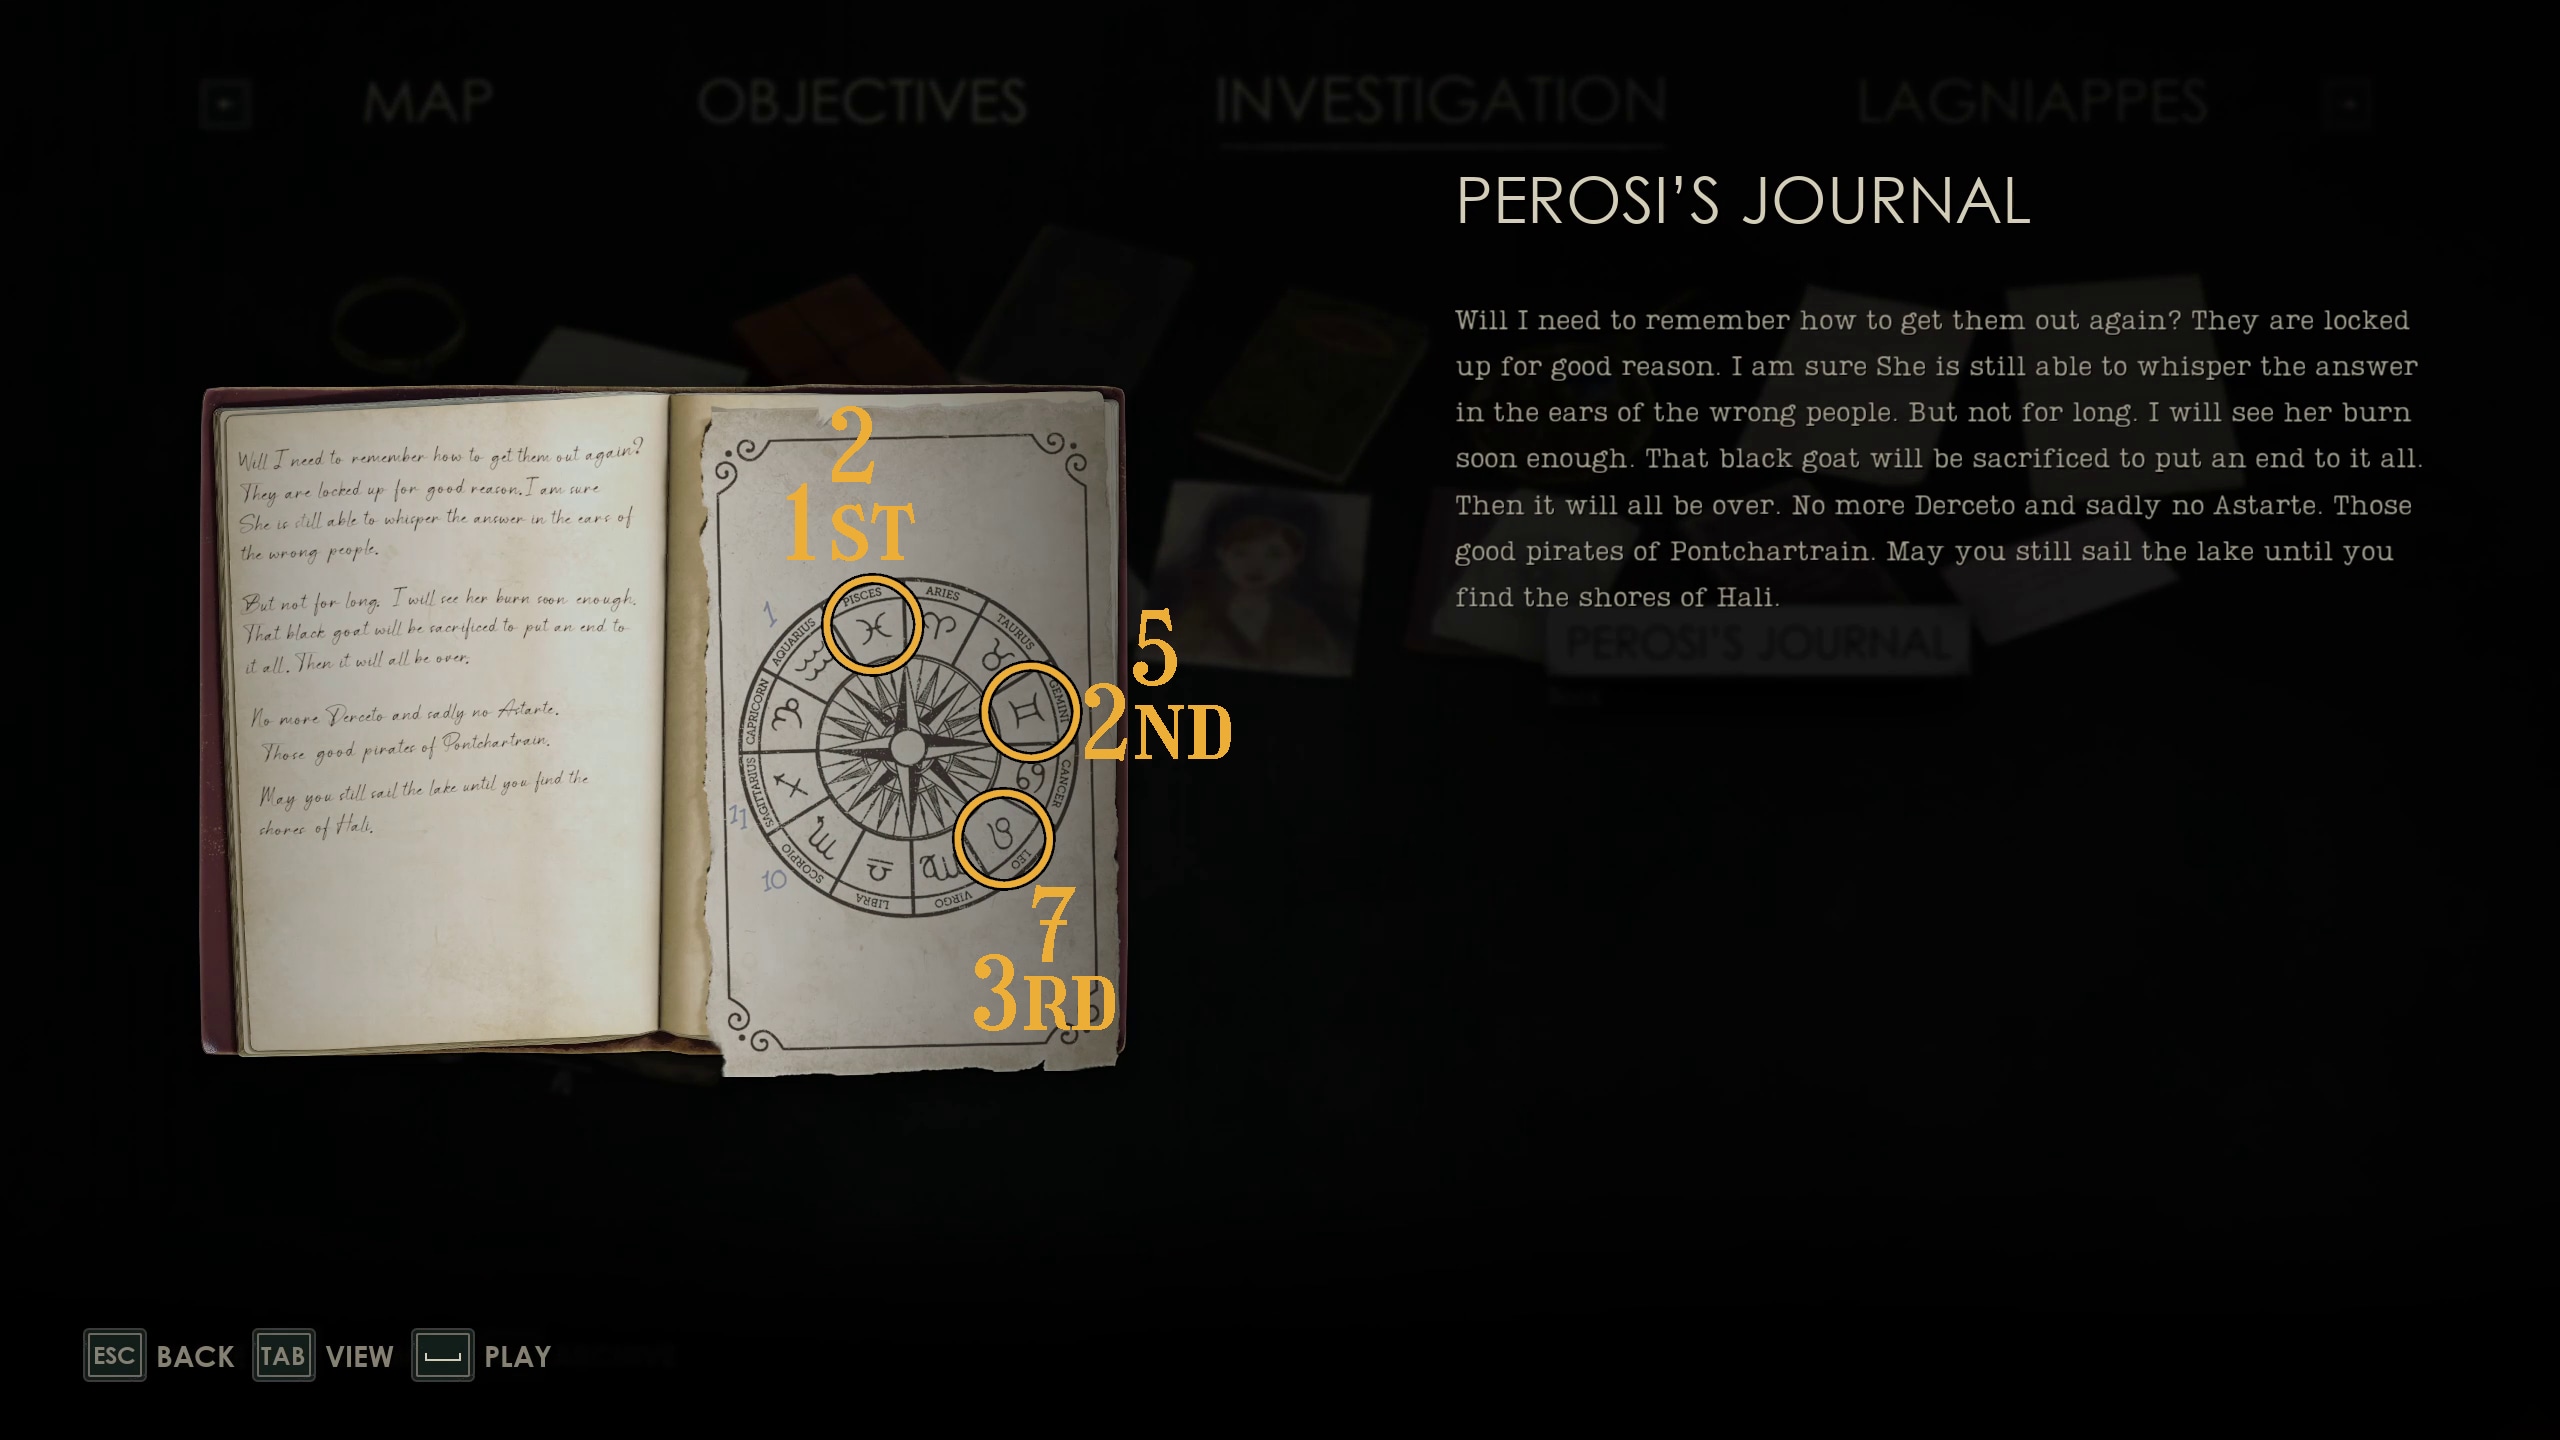
If you could find some numbers and their order on those bottles, maybe Perosi’s journal could help you interpret them…
First, place and twice the bottles of medicine so that a consistent black line of rot runs across them. There will be 3 numbers: 2, 5, and 7. These can be translated using Perosi’s Journal into the star signs Pisces, Gemini, and Leo, which can be input into the Astronomical Lock to open it.
Once you’ve completed that, you can head to the Cellar.
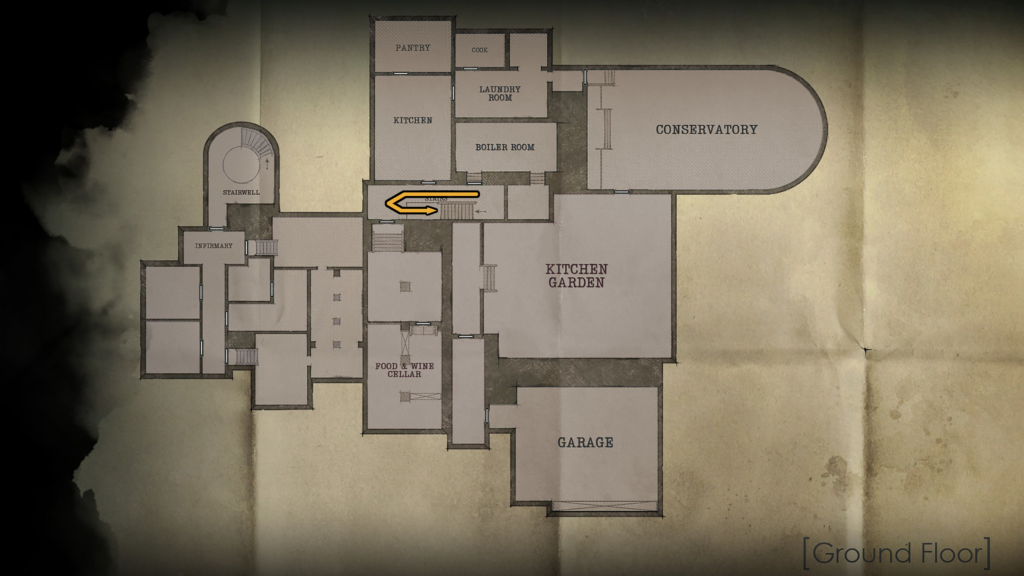
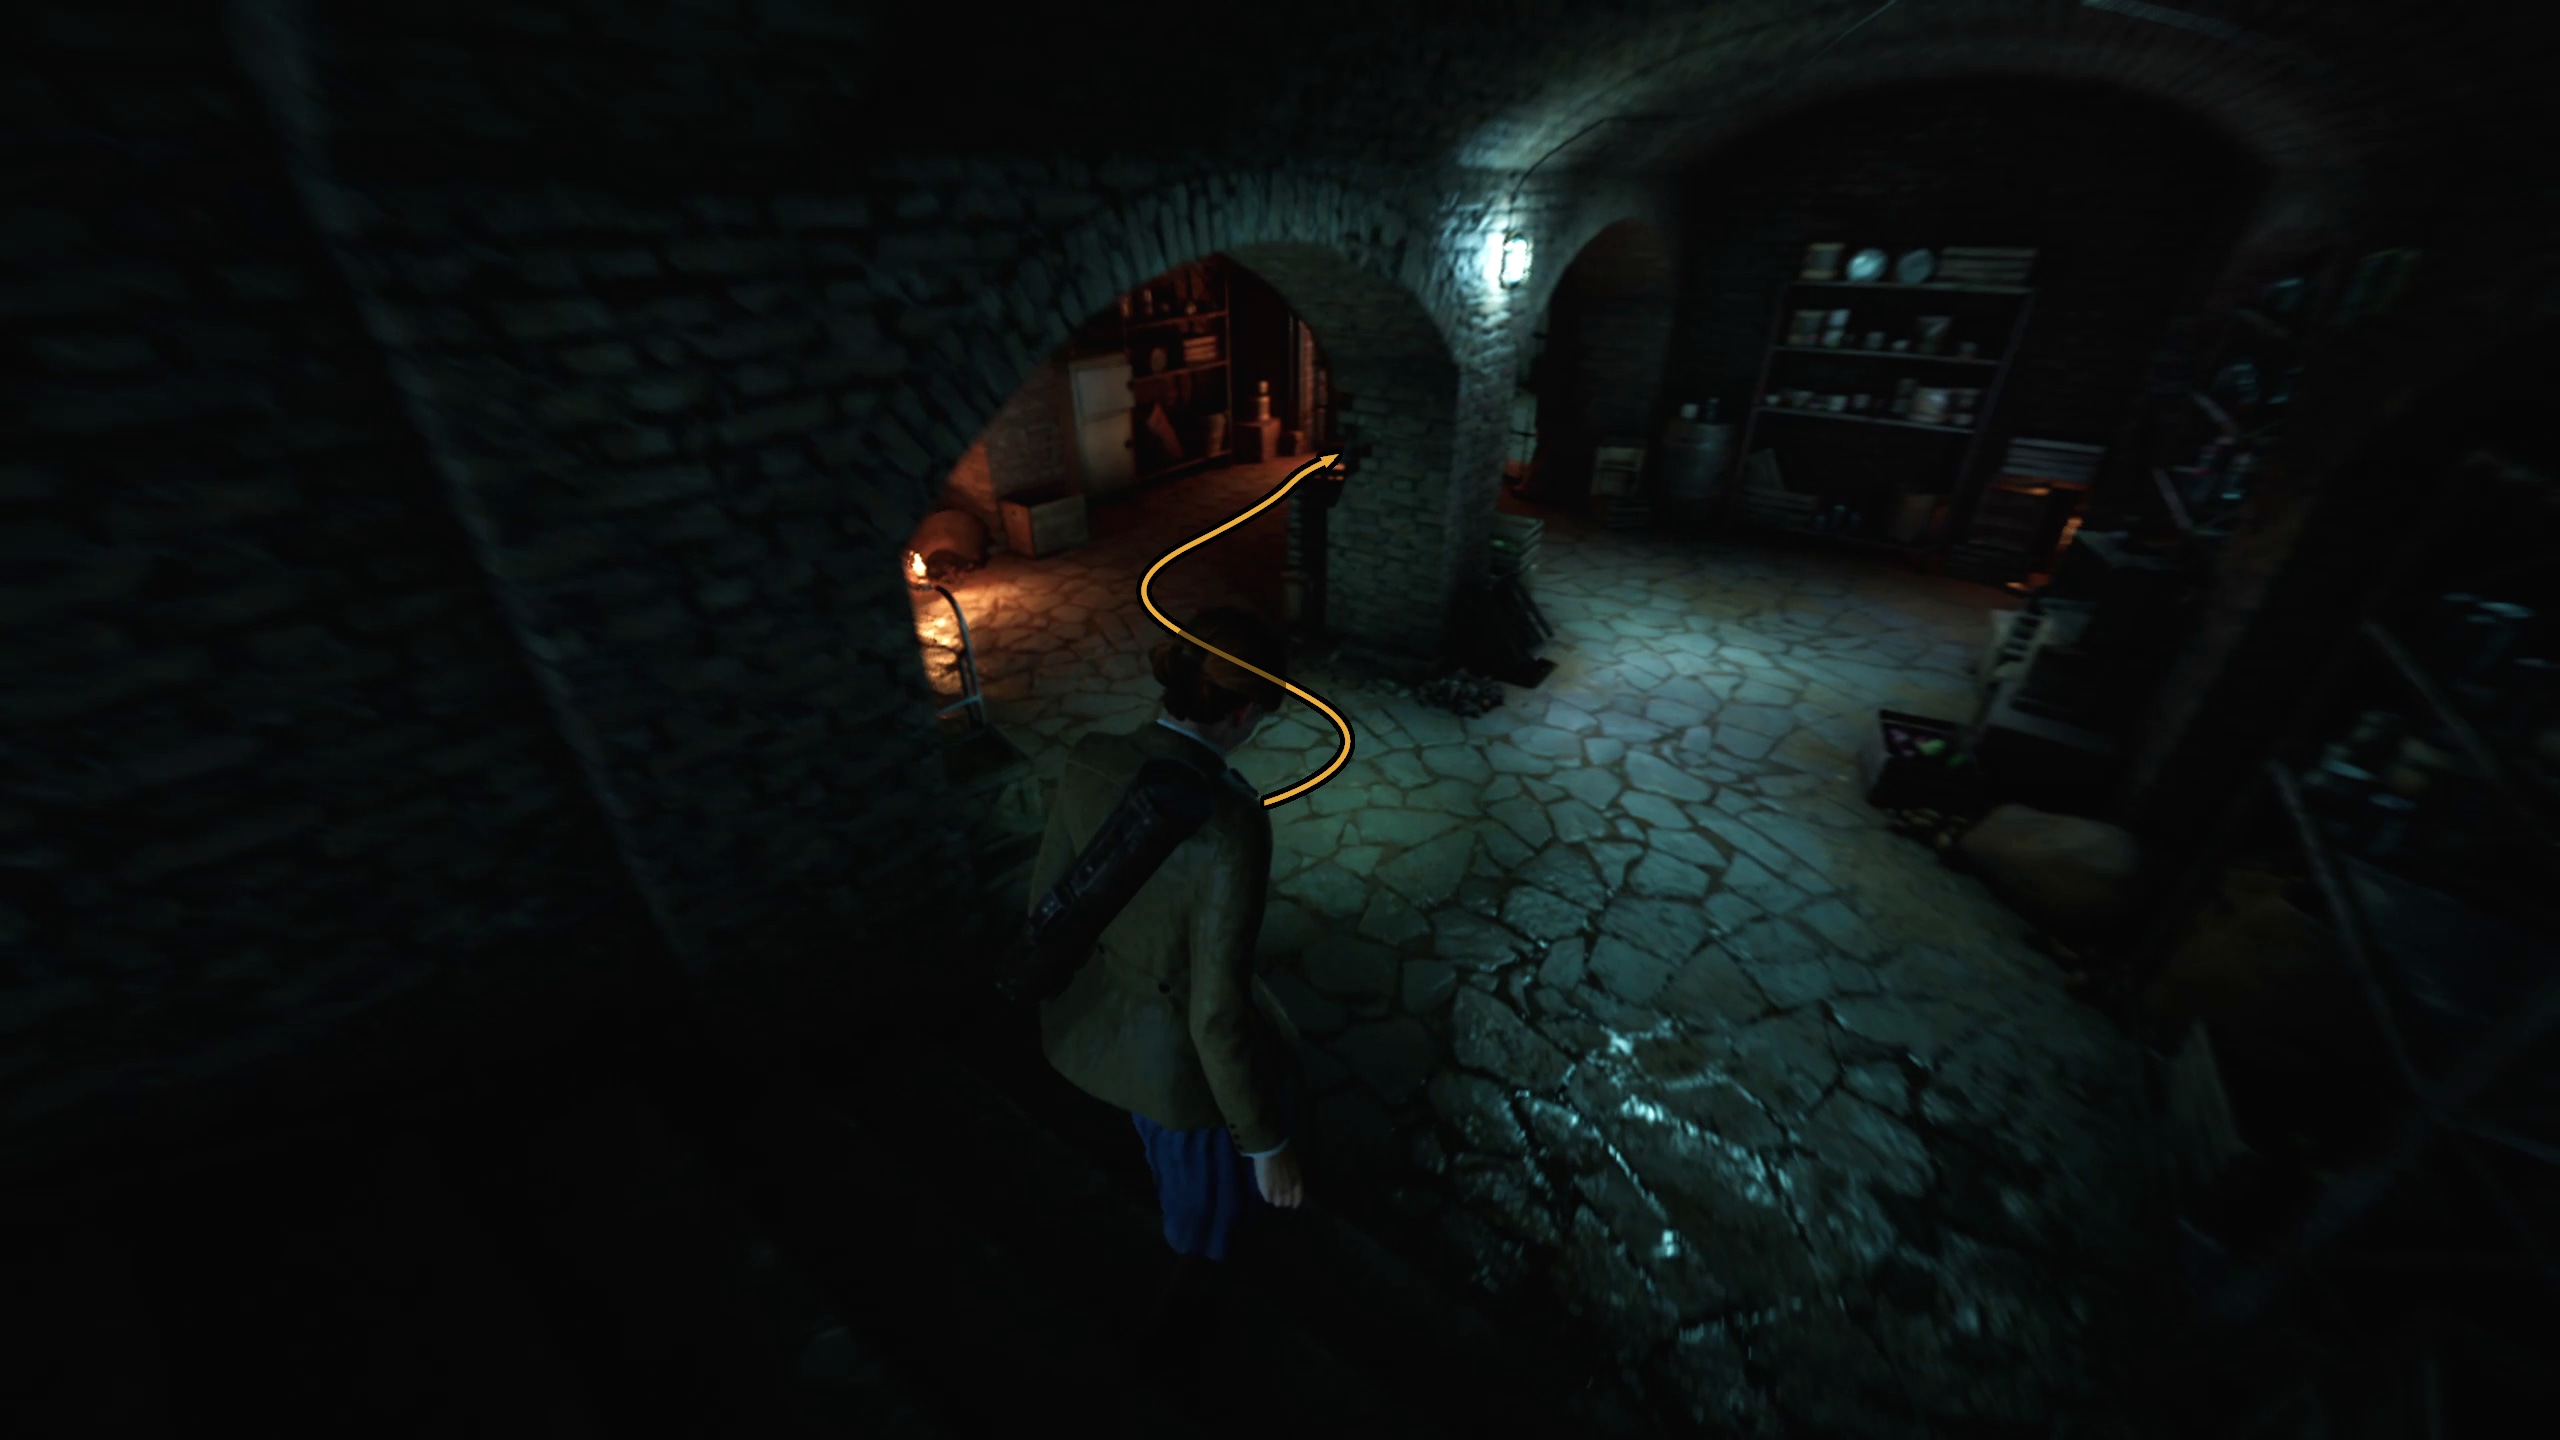
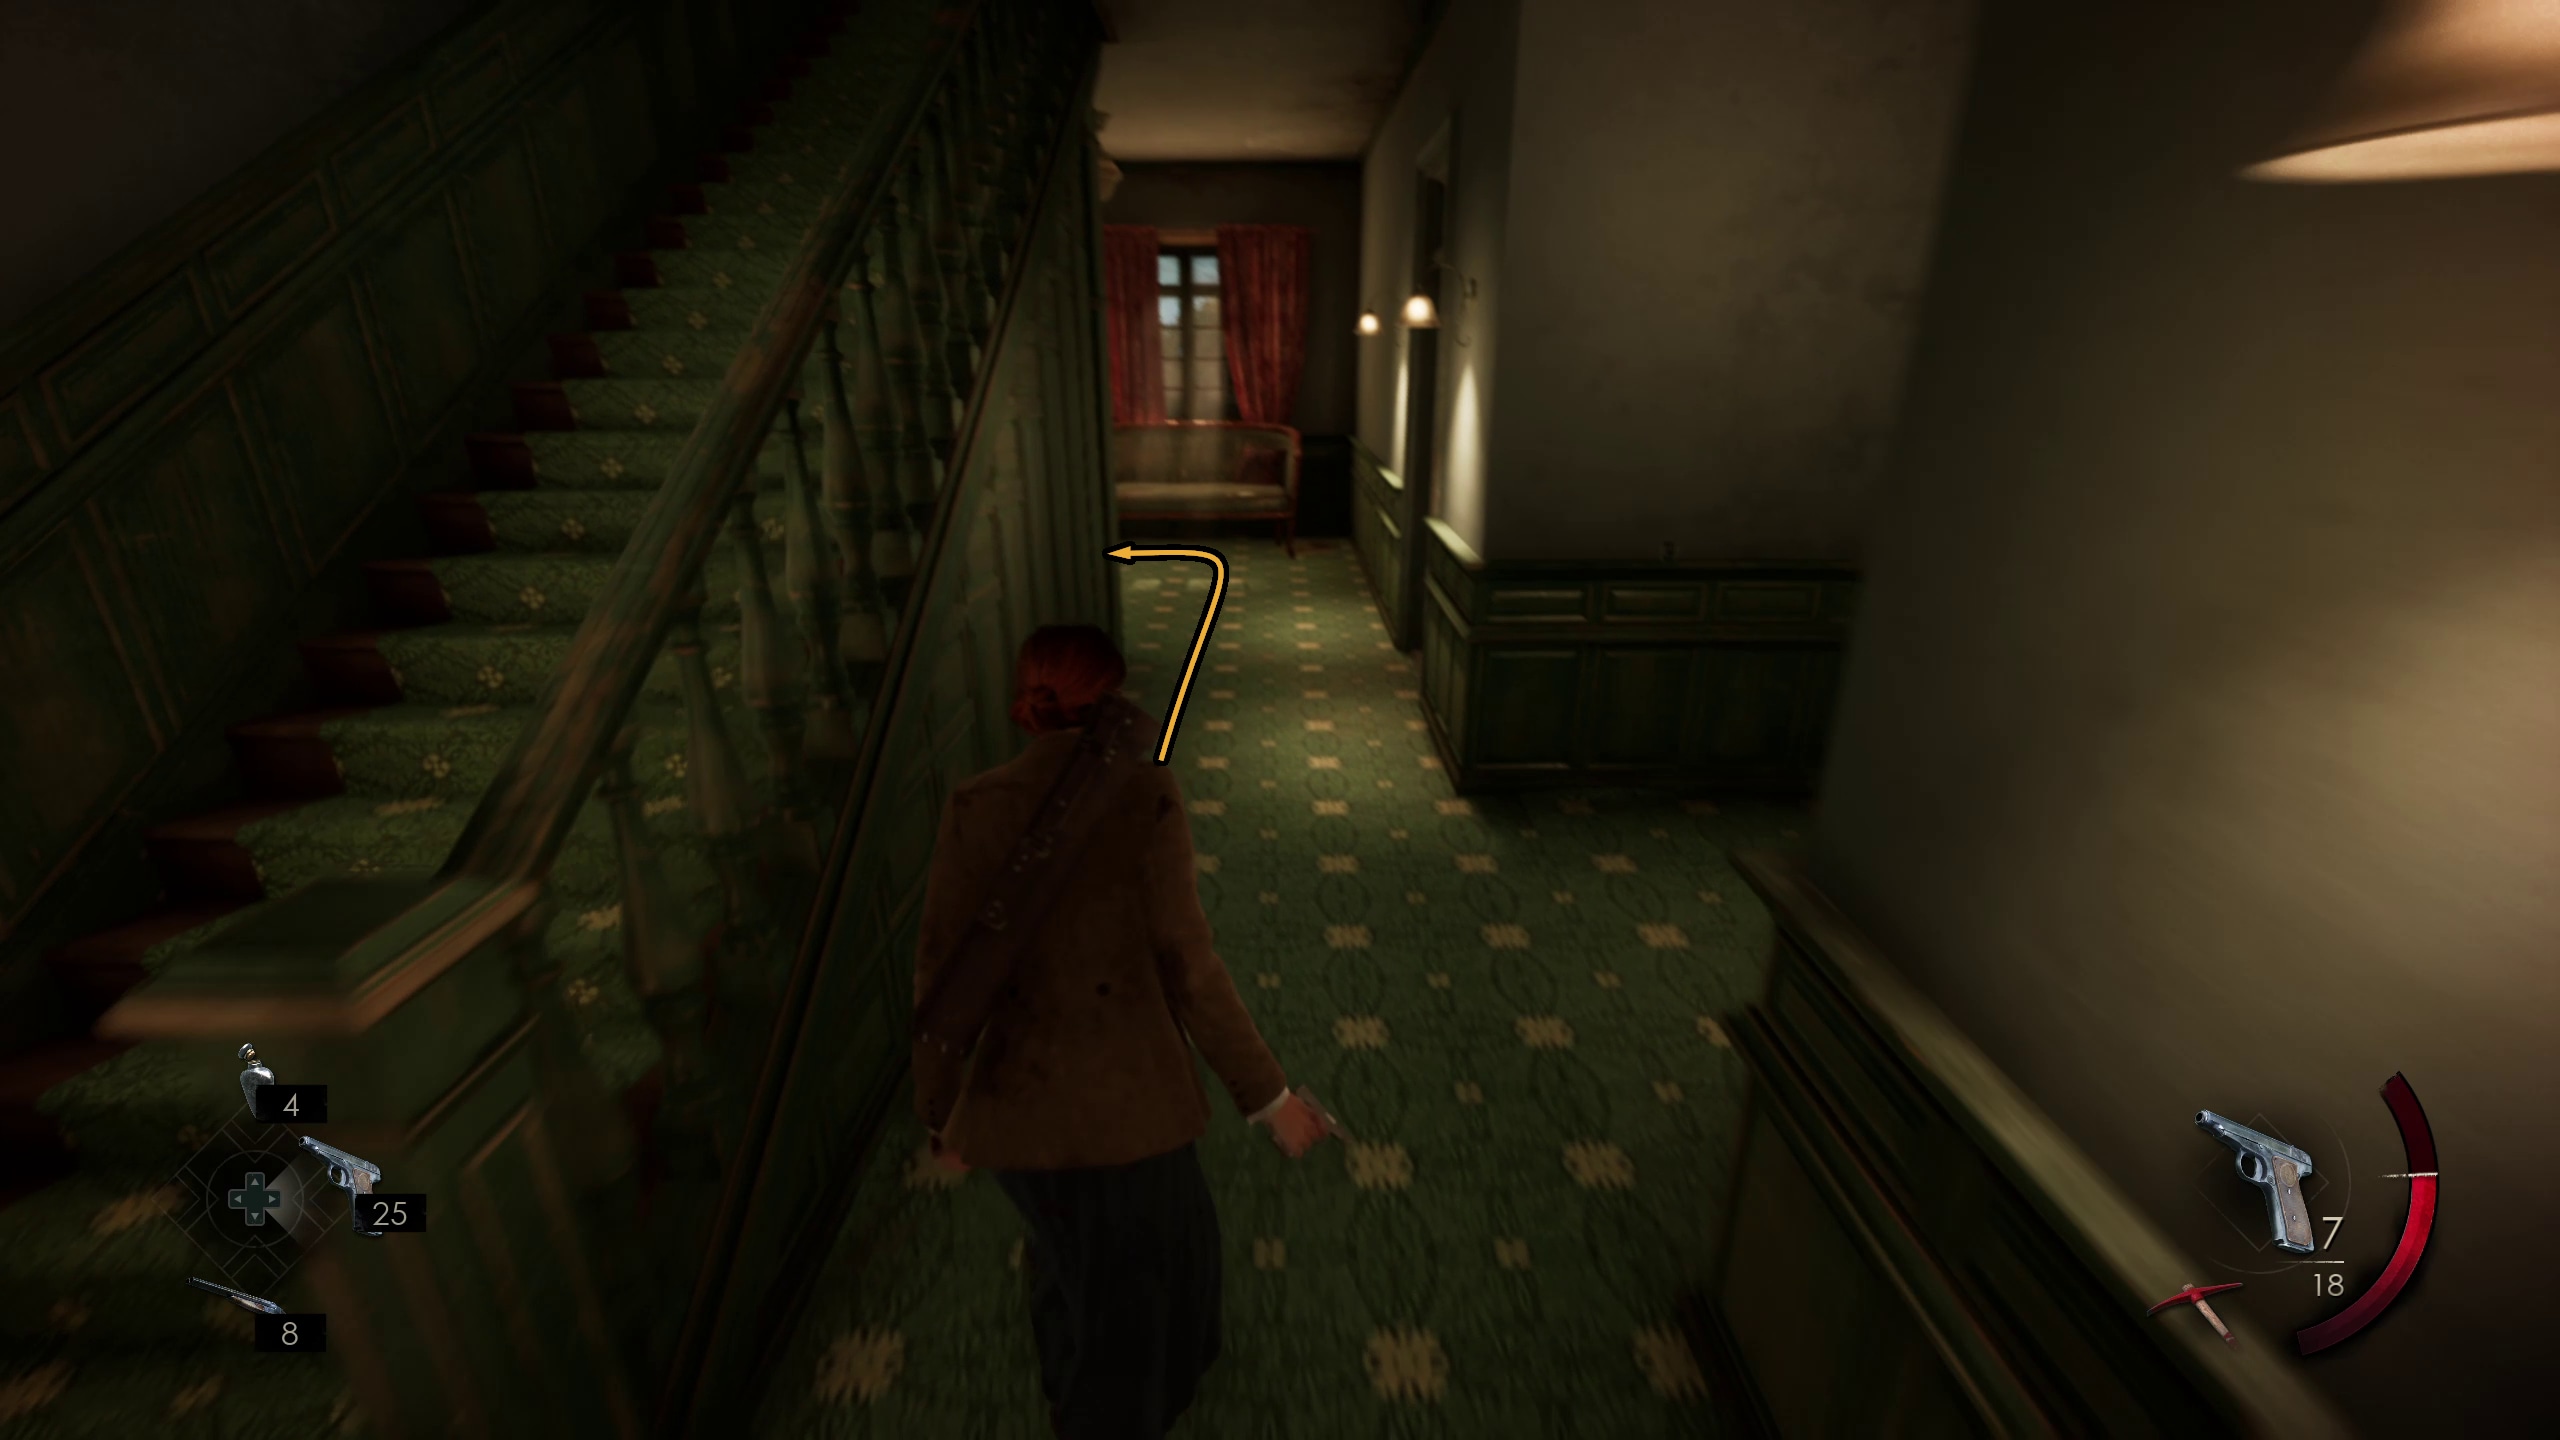
First, go out of the Sitting Room, and then through the door on the other side of the Grand Clock. Turn to the right, and continue through that door and down the hallways until you get to the door on the other side. Go through it, then turn right and go down the stairs. Then around the bend, go around to the other side of the stairs and descend that stairway into the cellar.
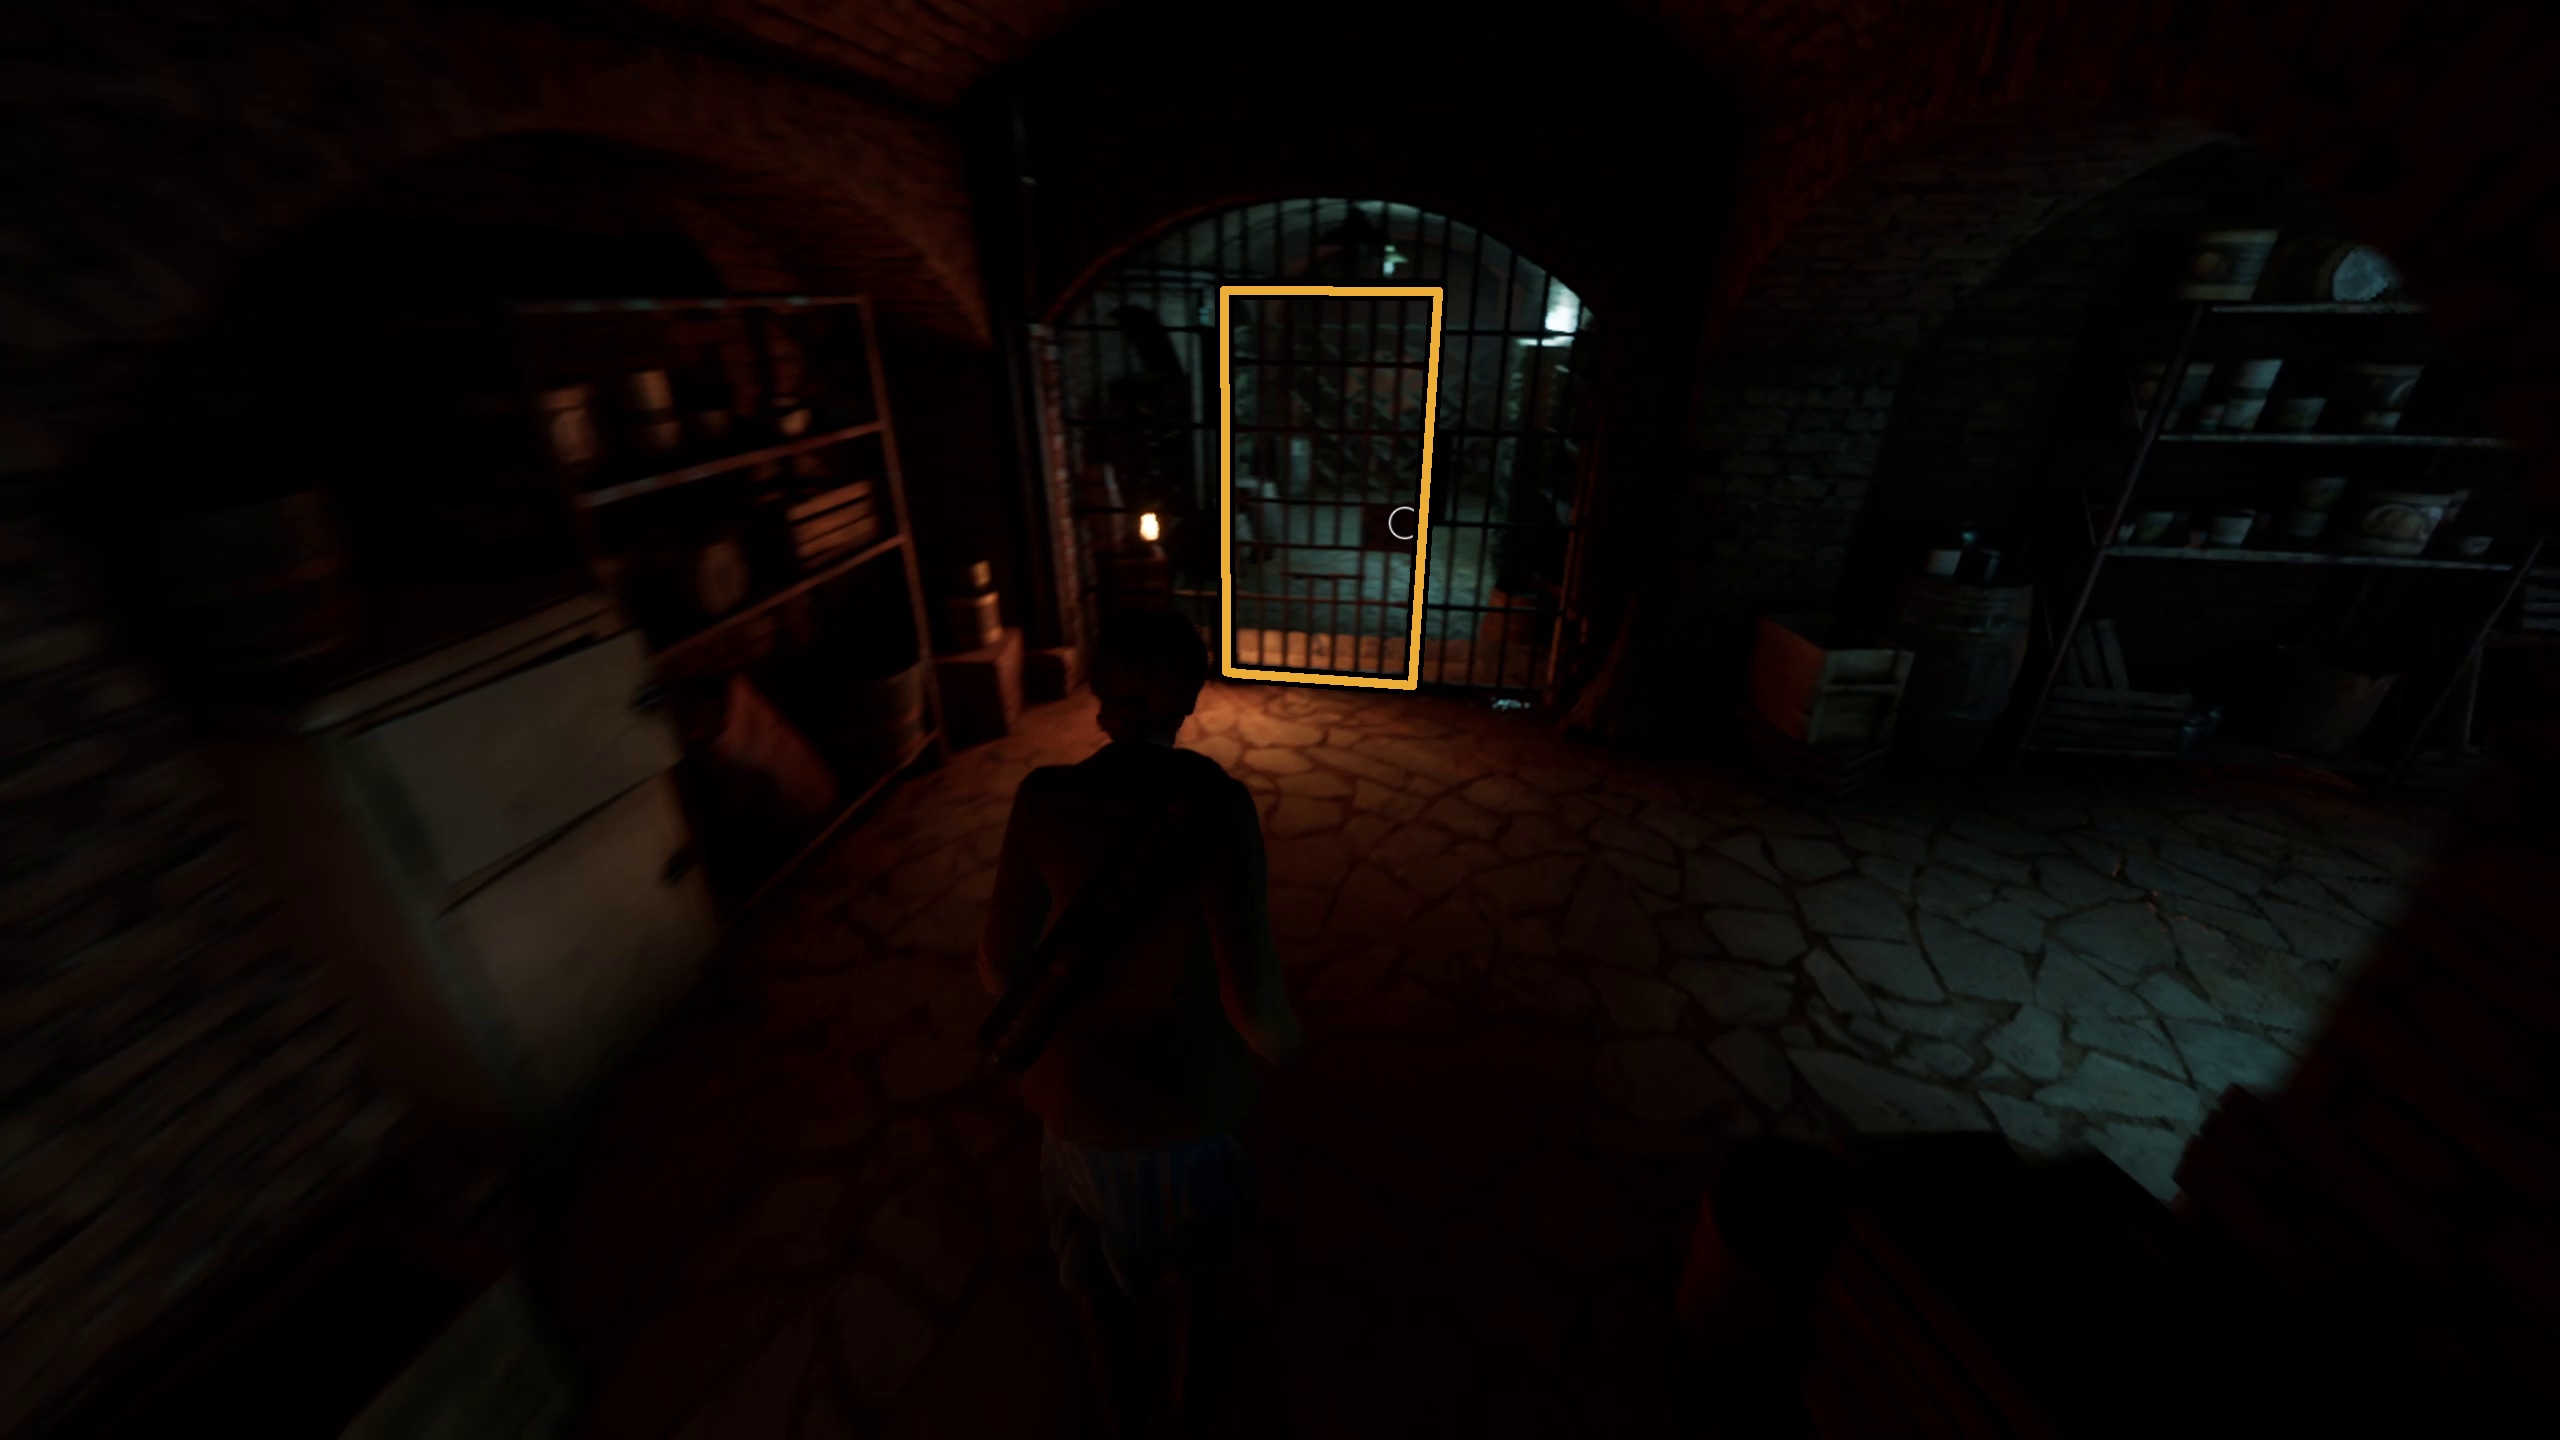
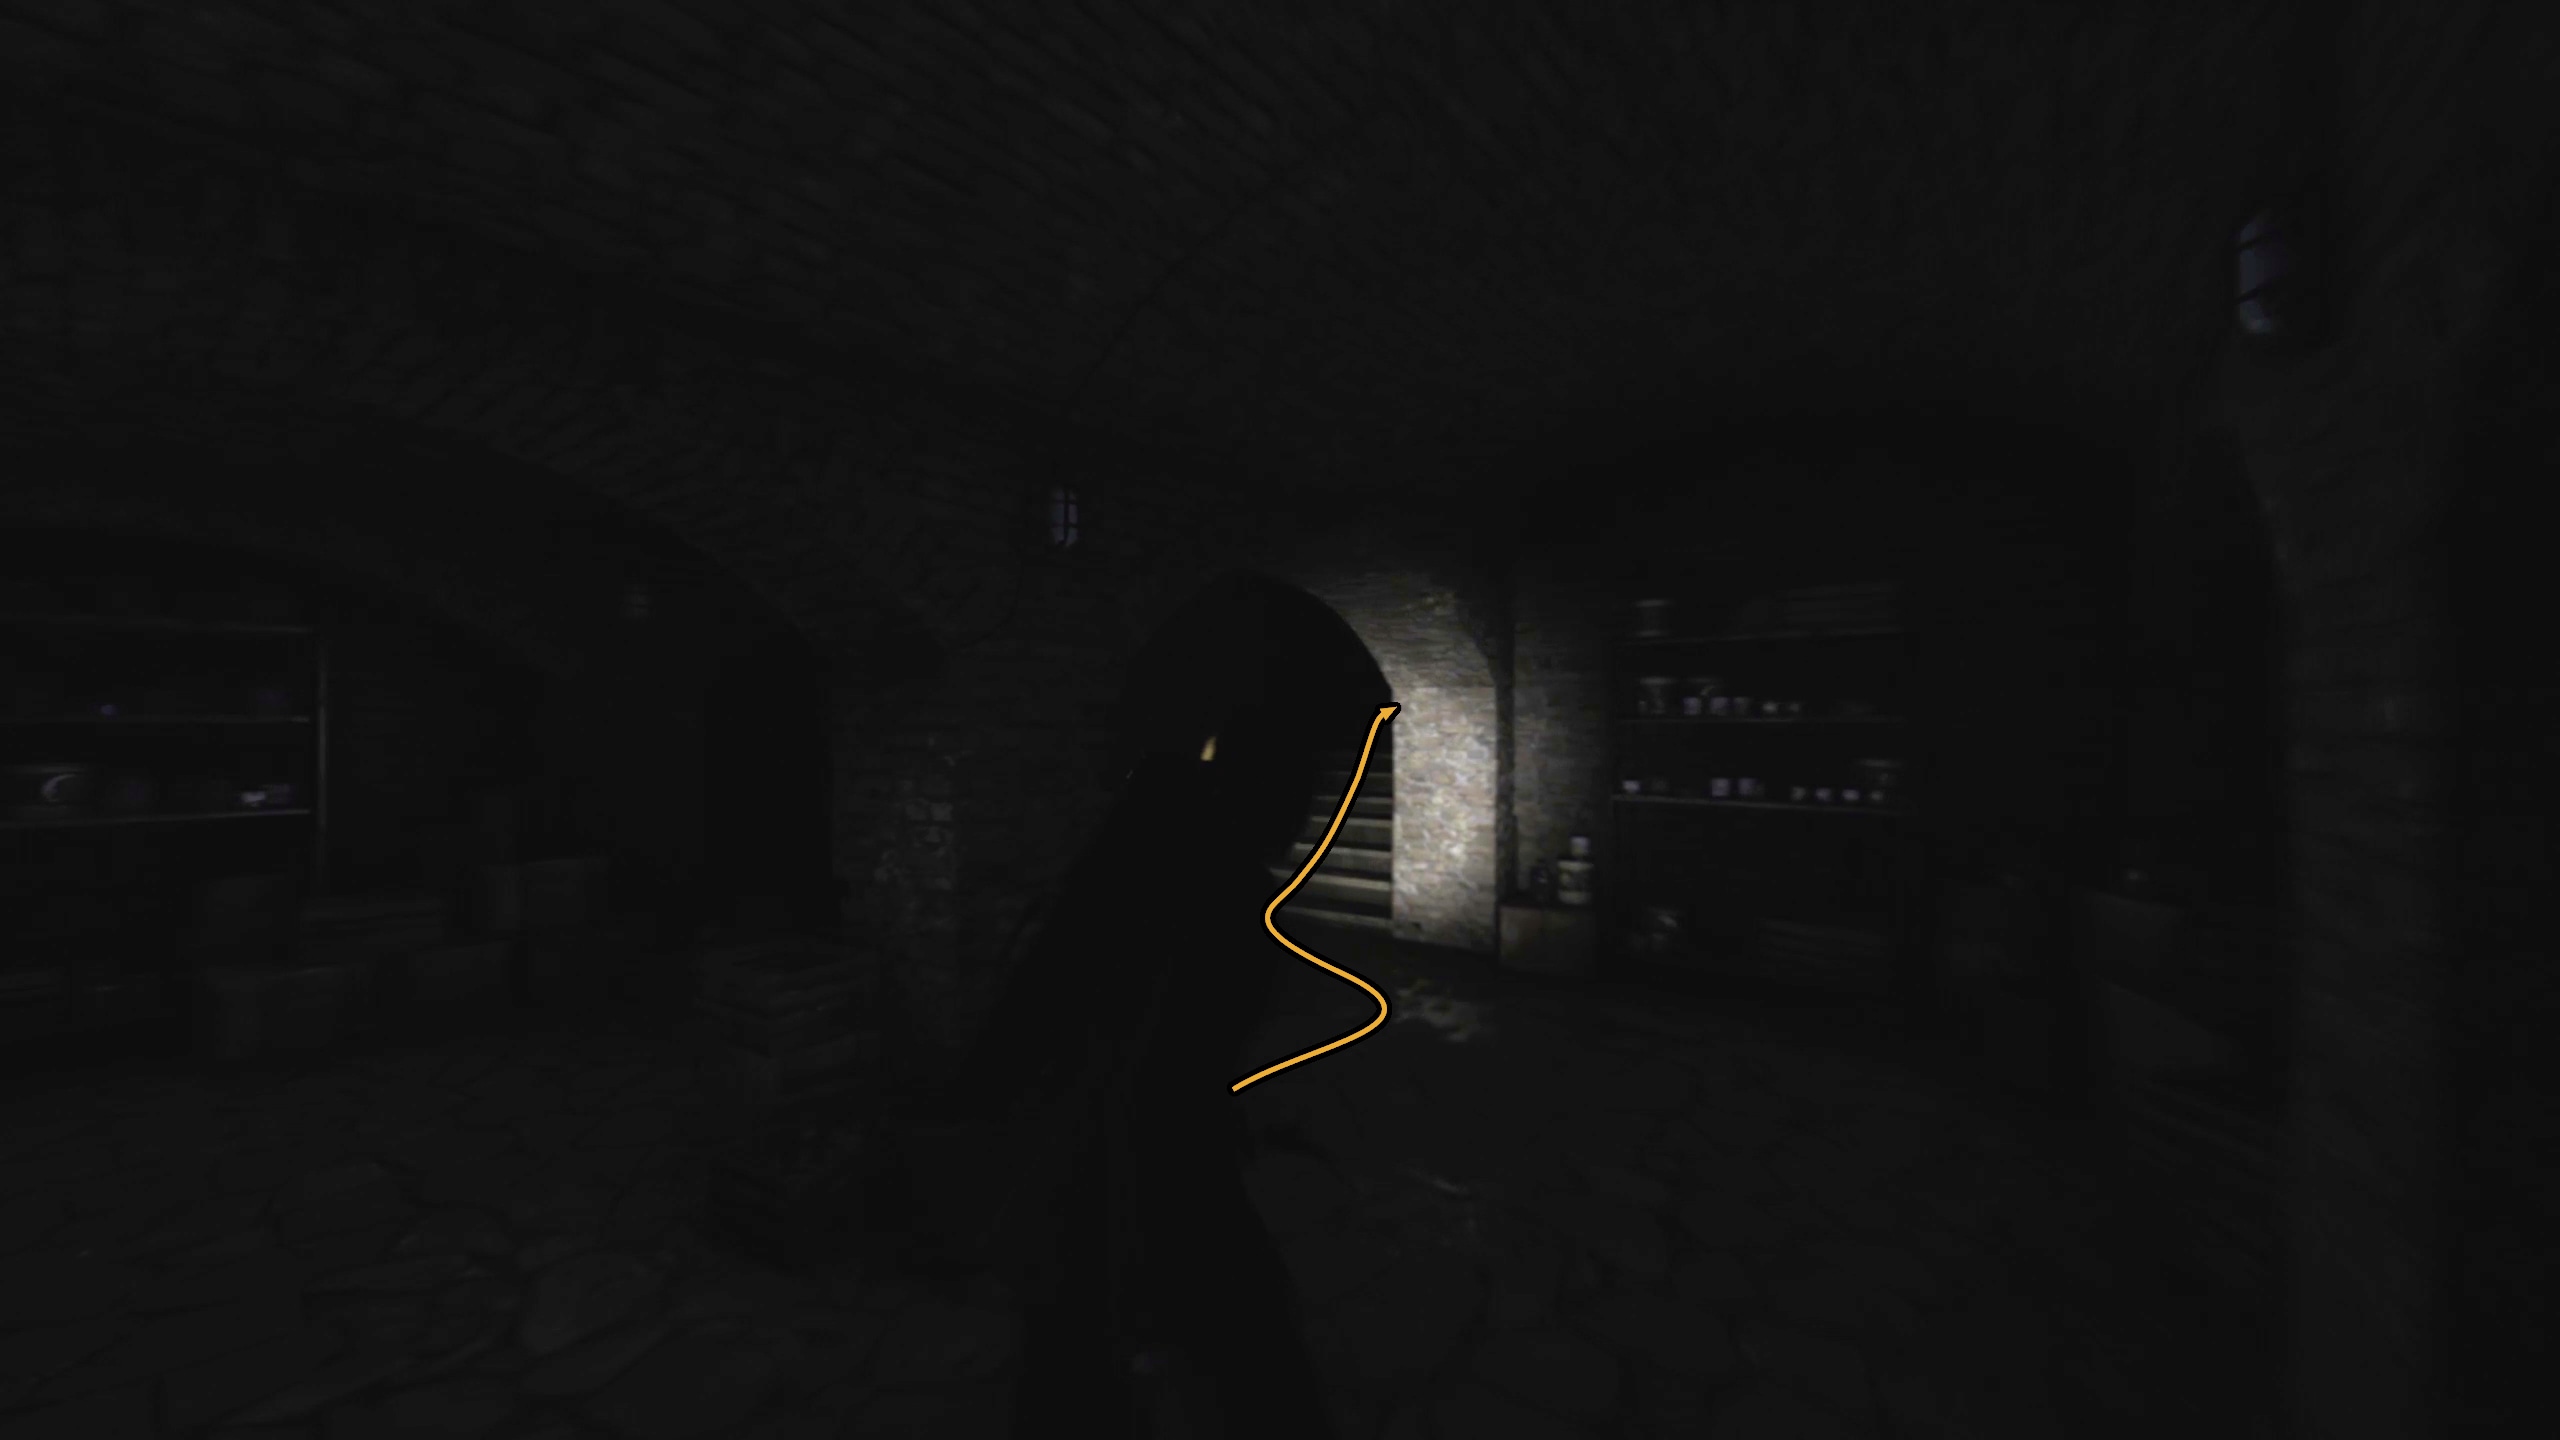
Continue down the hall in the Cellar (Image 137). If you are playing as Edward, there will be a door to your right (the second door), which you can interact with for a short cutscene (Image 138). Either way, you will want to continue until you make a turn to the left, where you’ll need to go through the metal door (Image 139) and down some stairs and around a pillar until you reach another metal door (Image 140), which you can enter using the Cellar Key (Image 141).
137138139140141
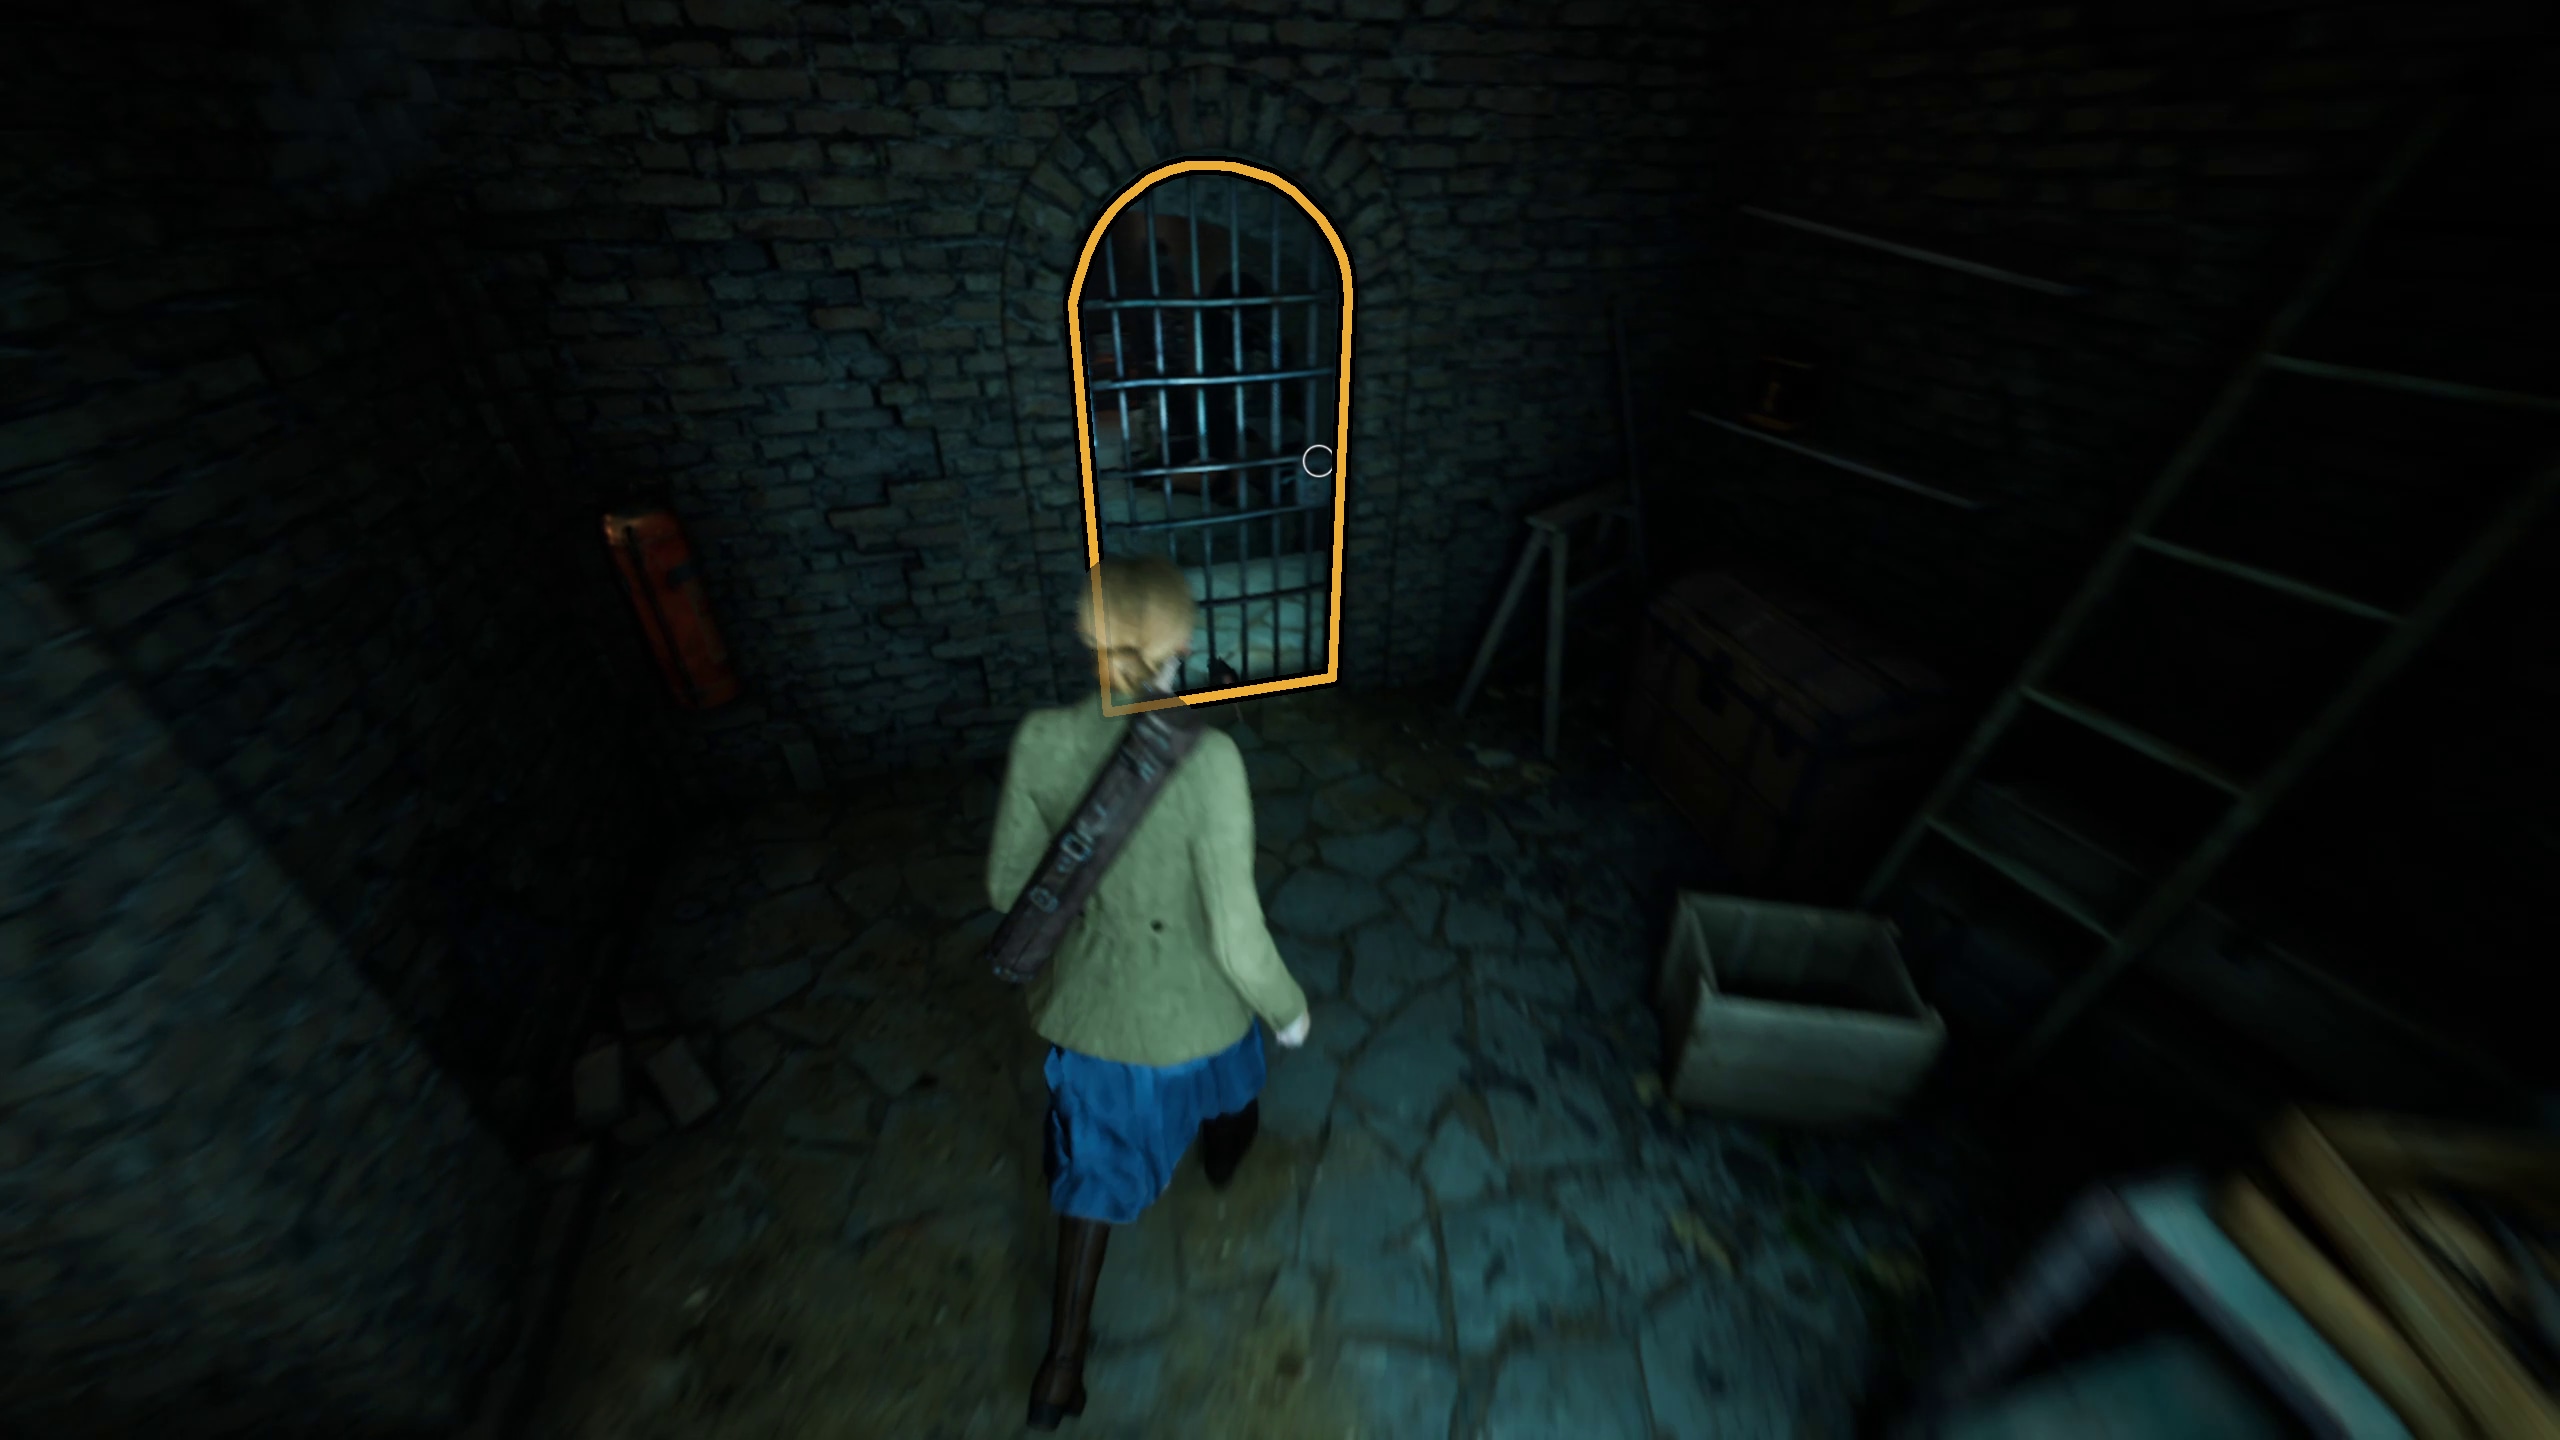
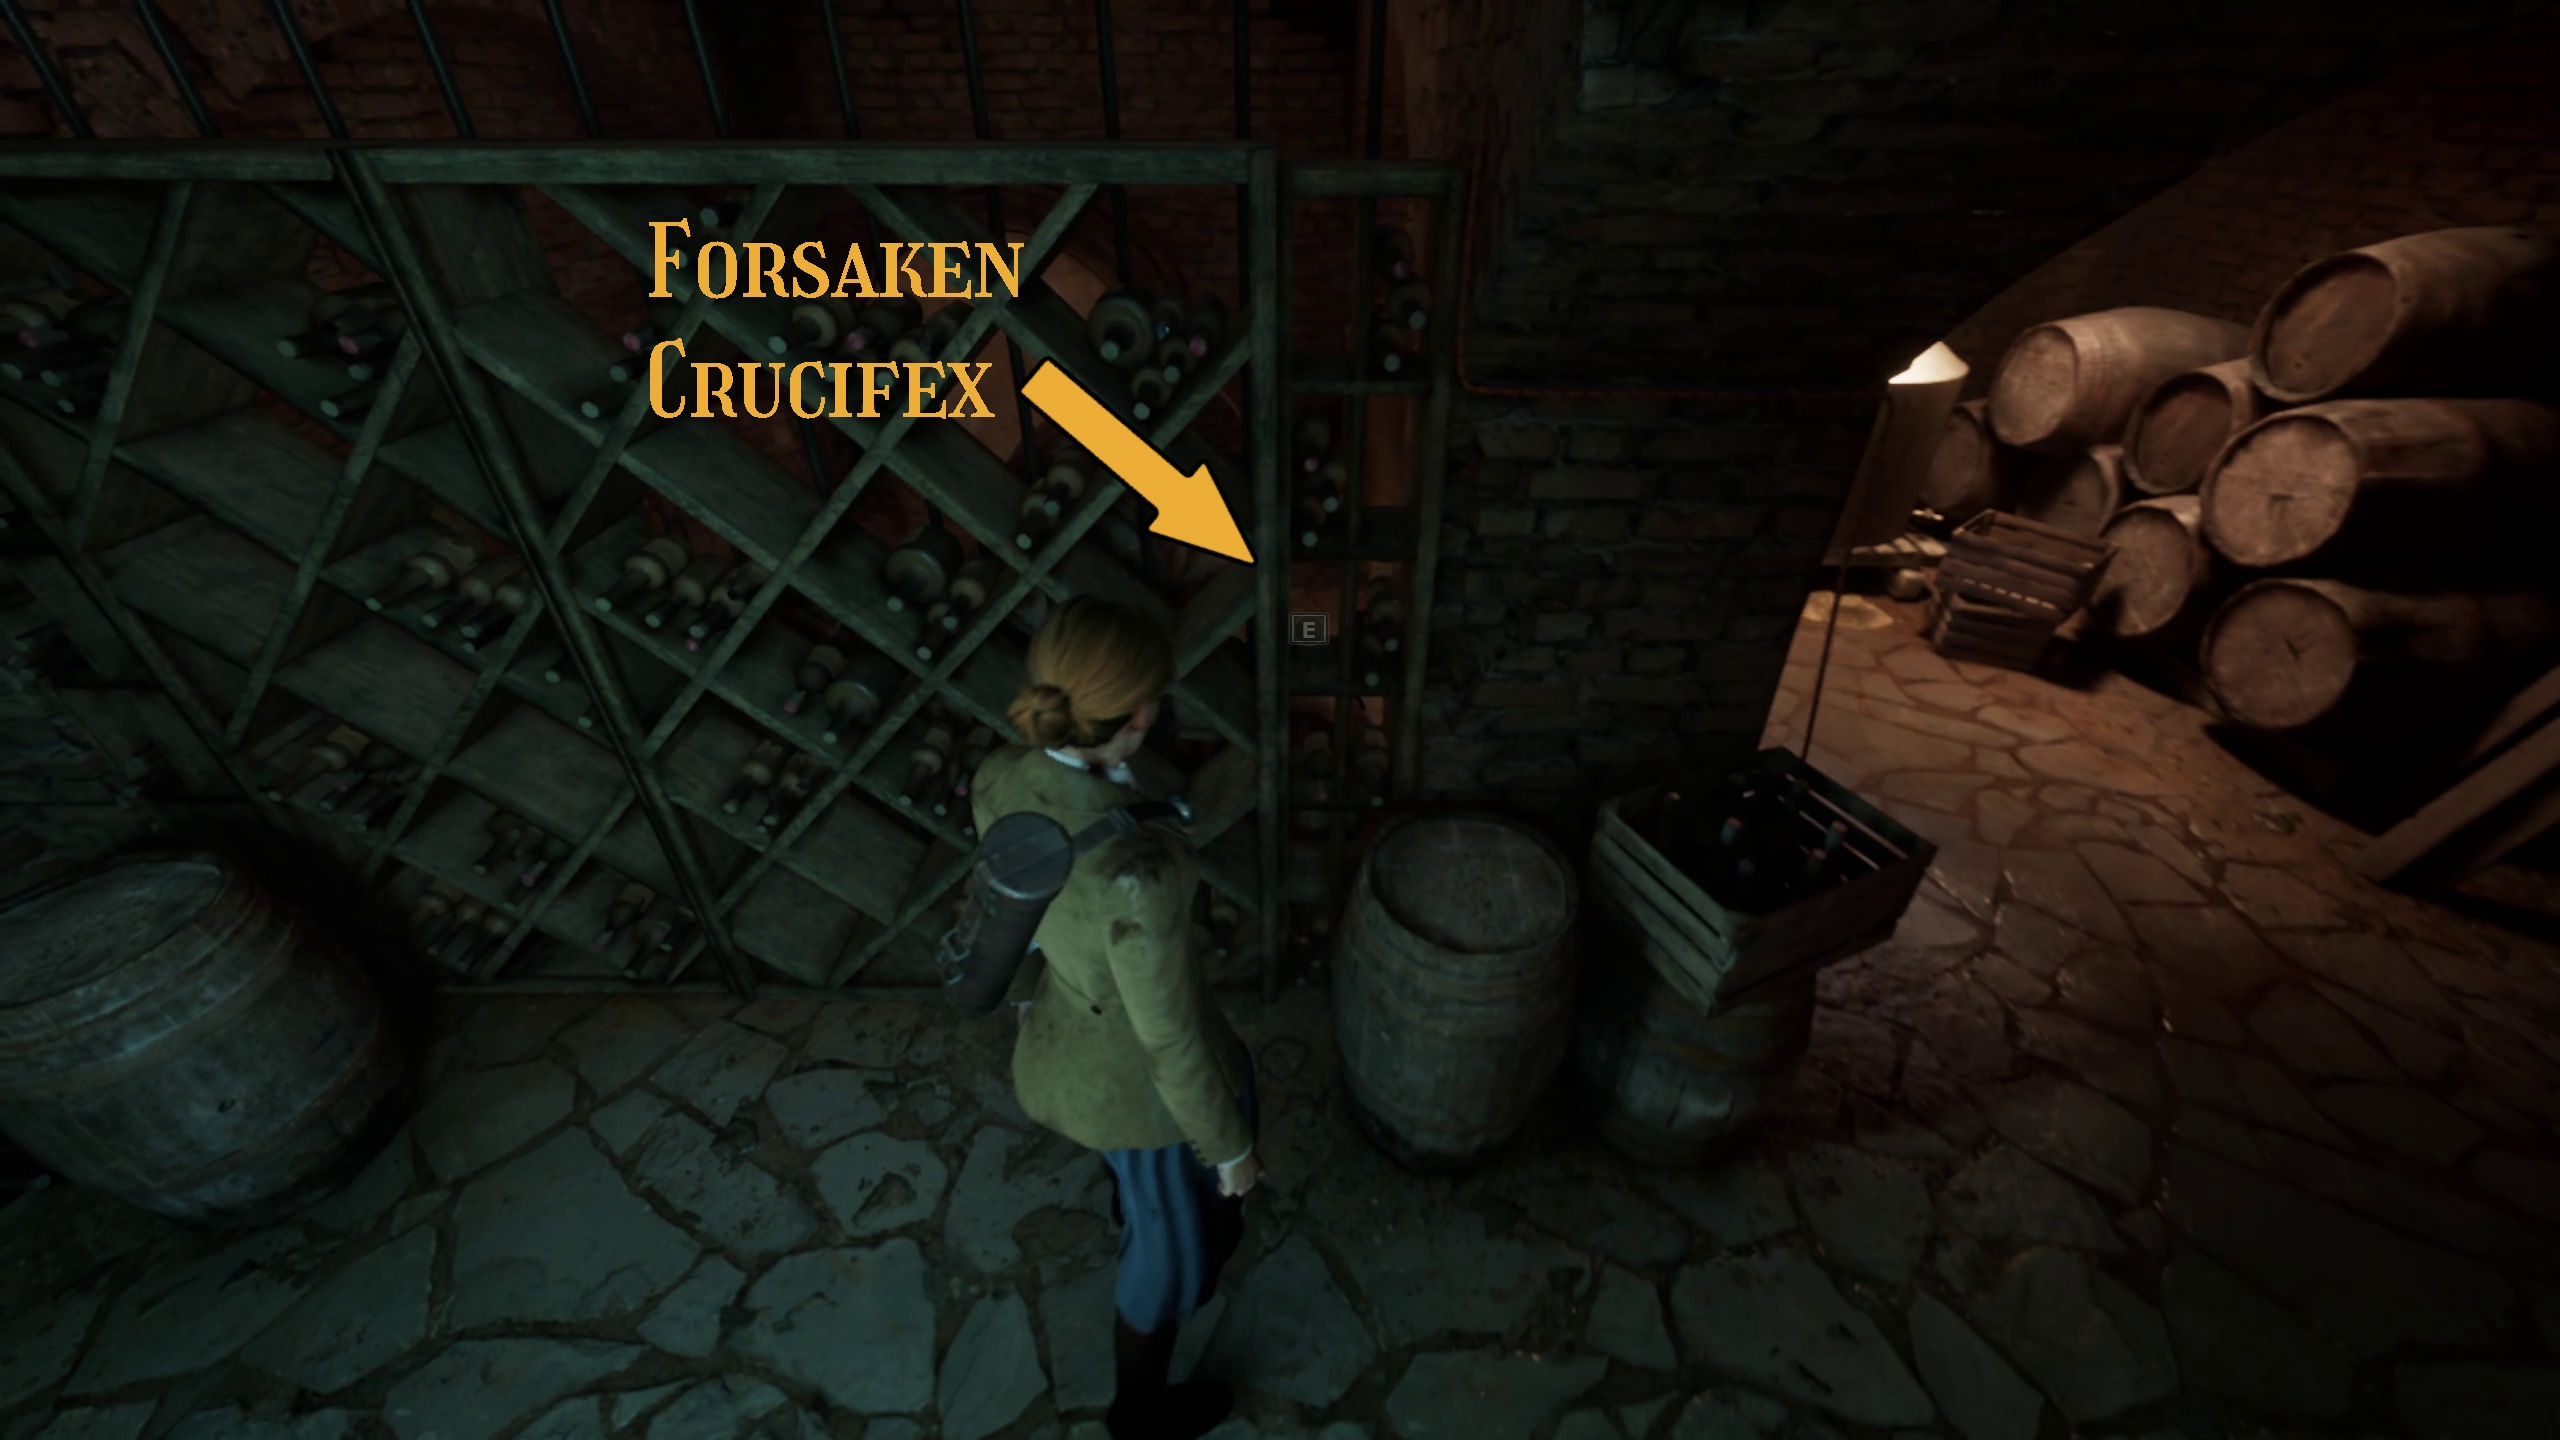
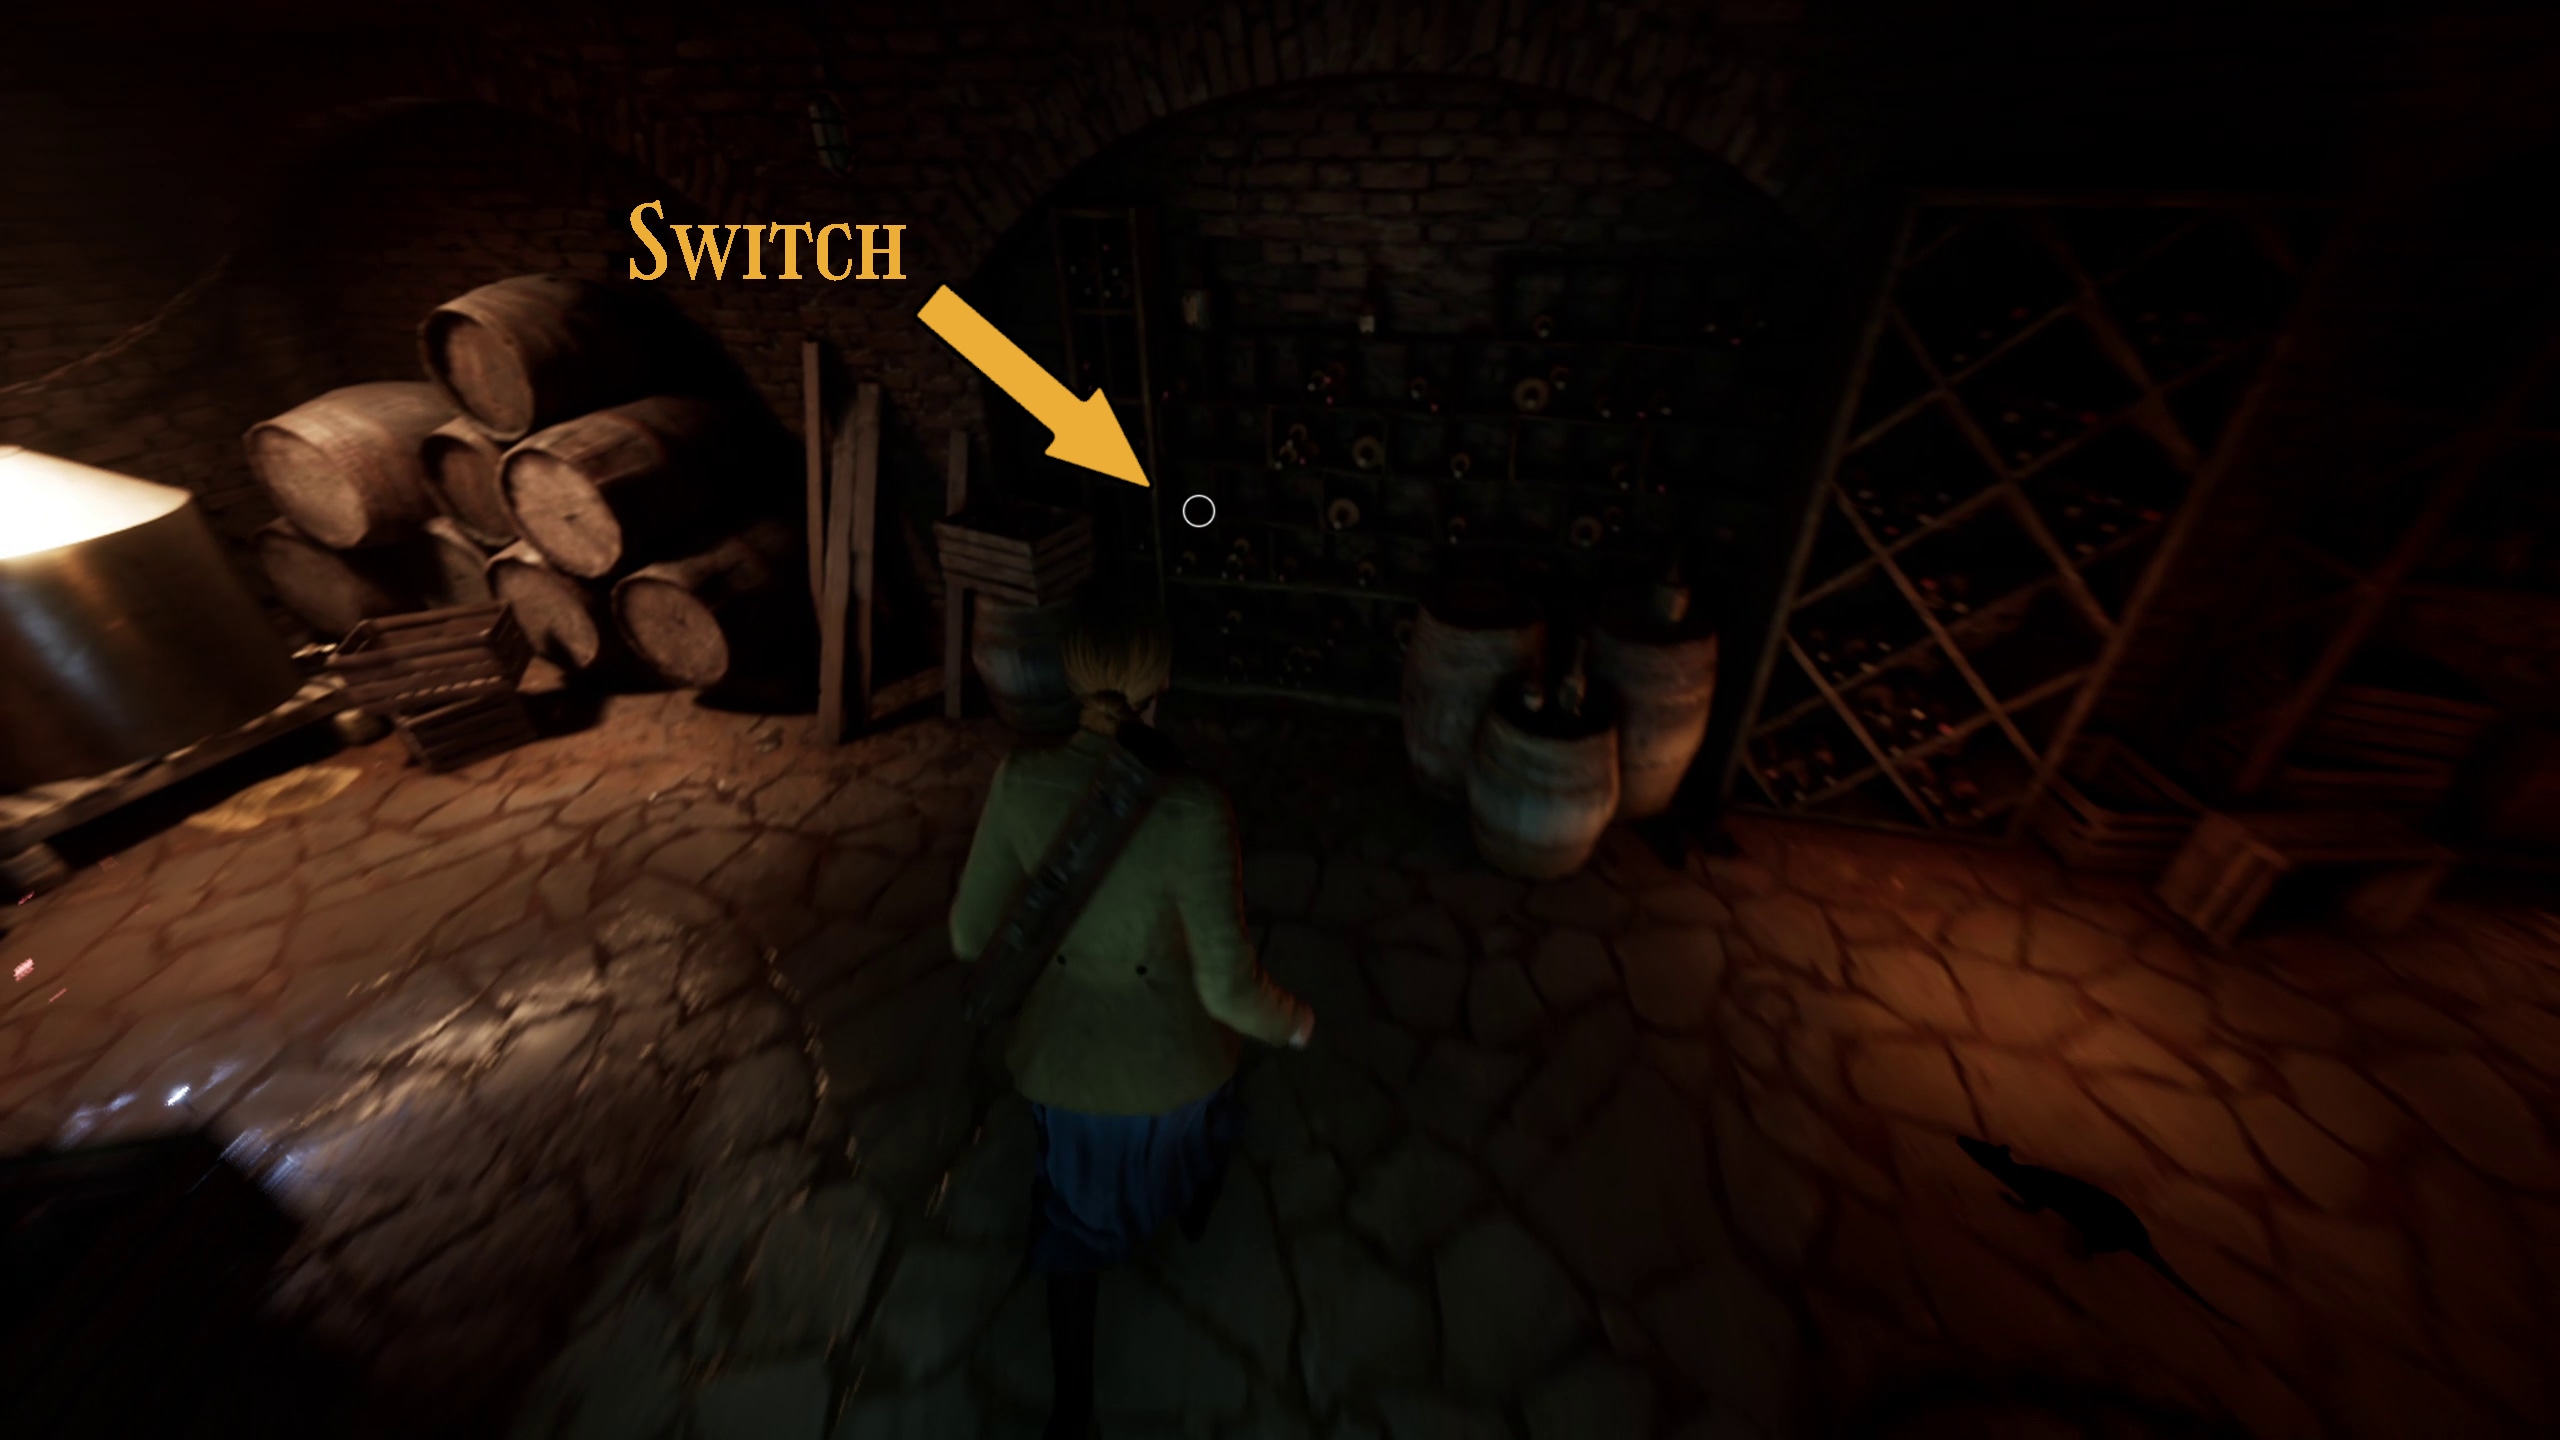
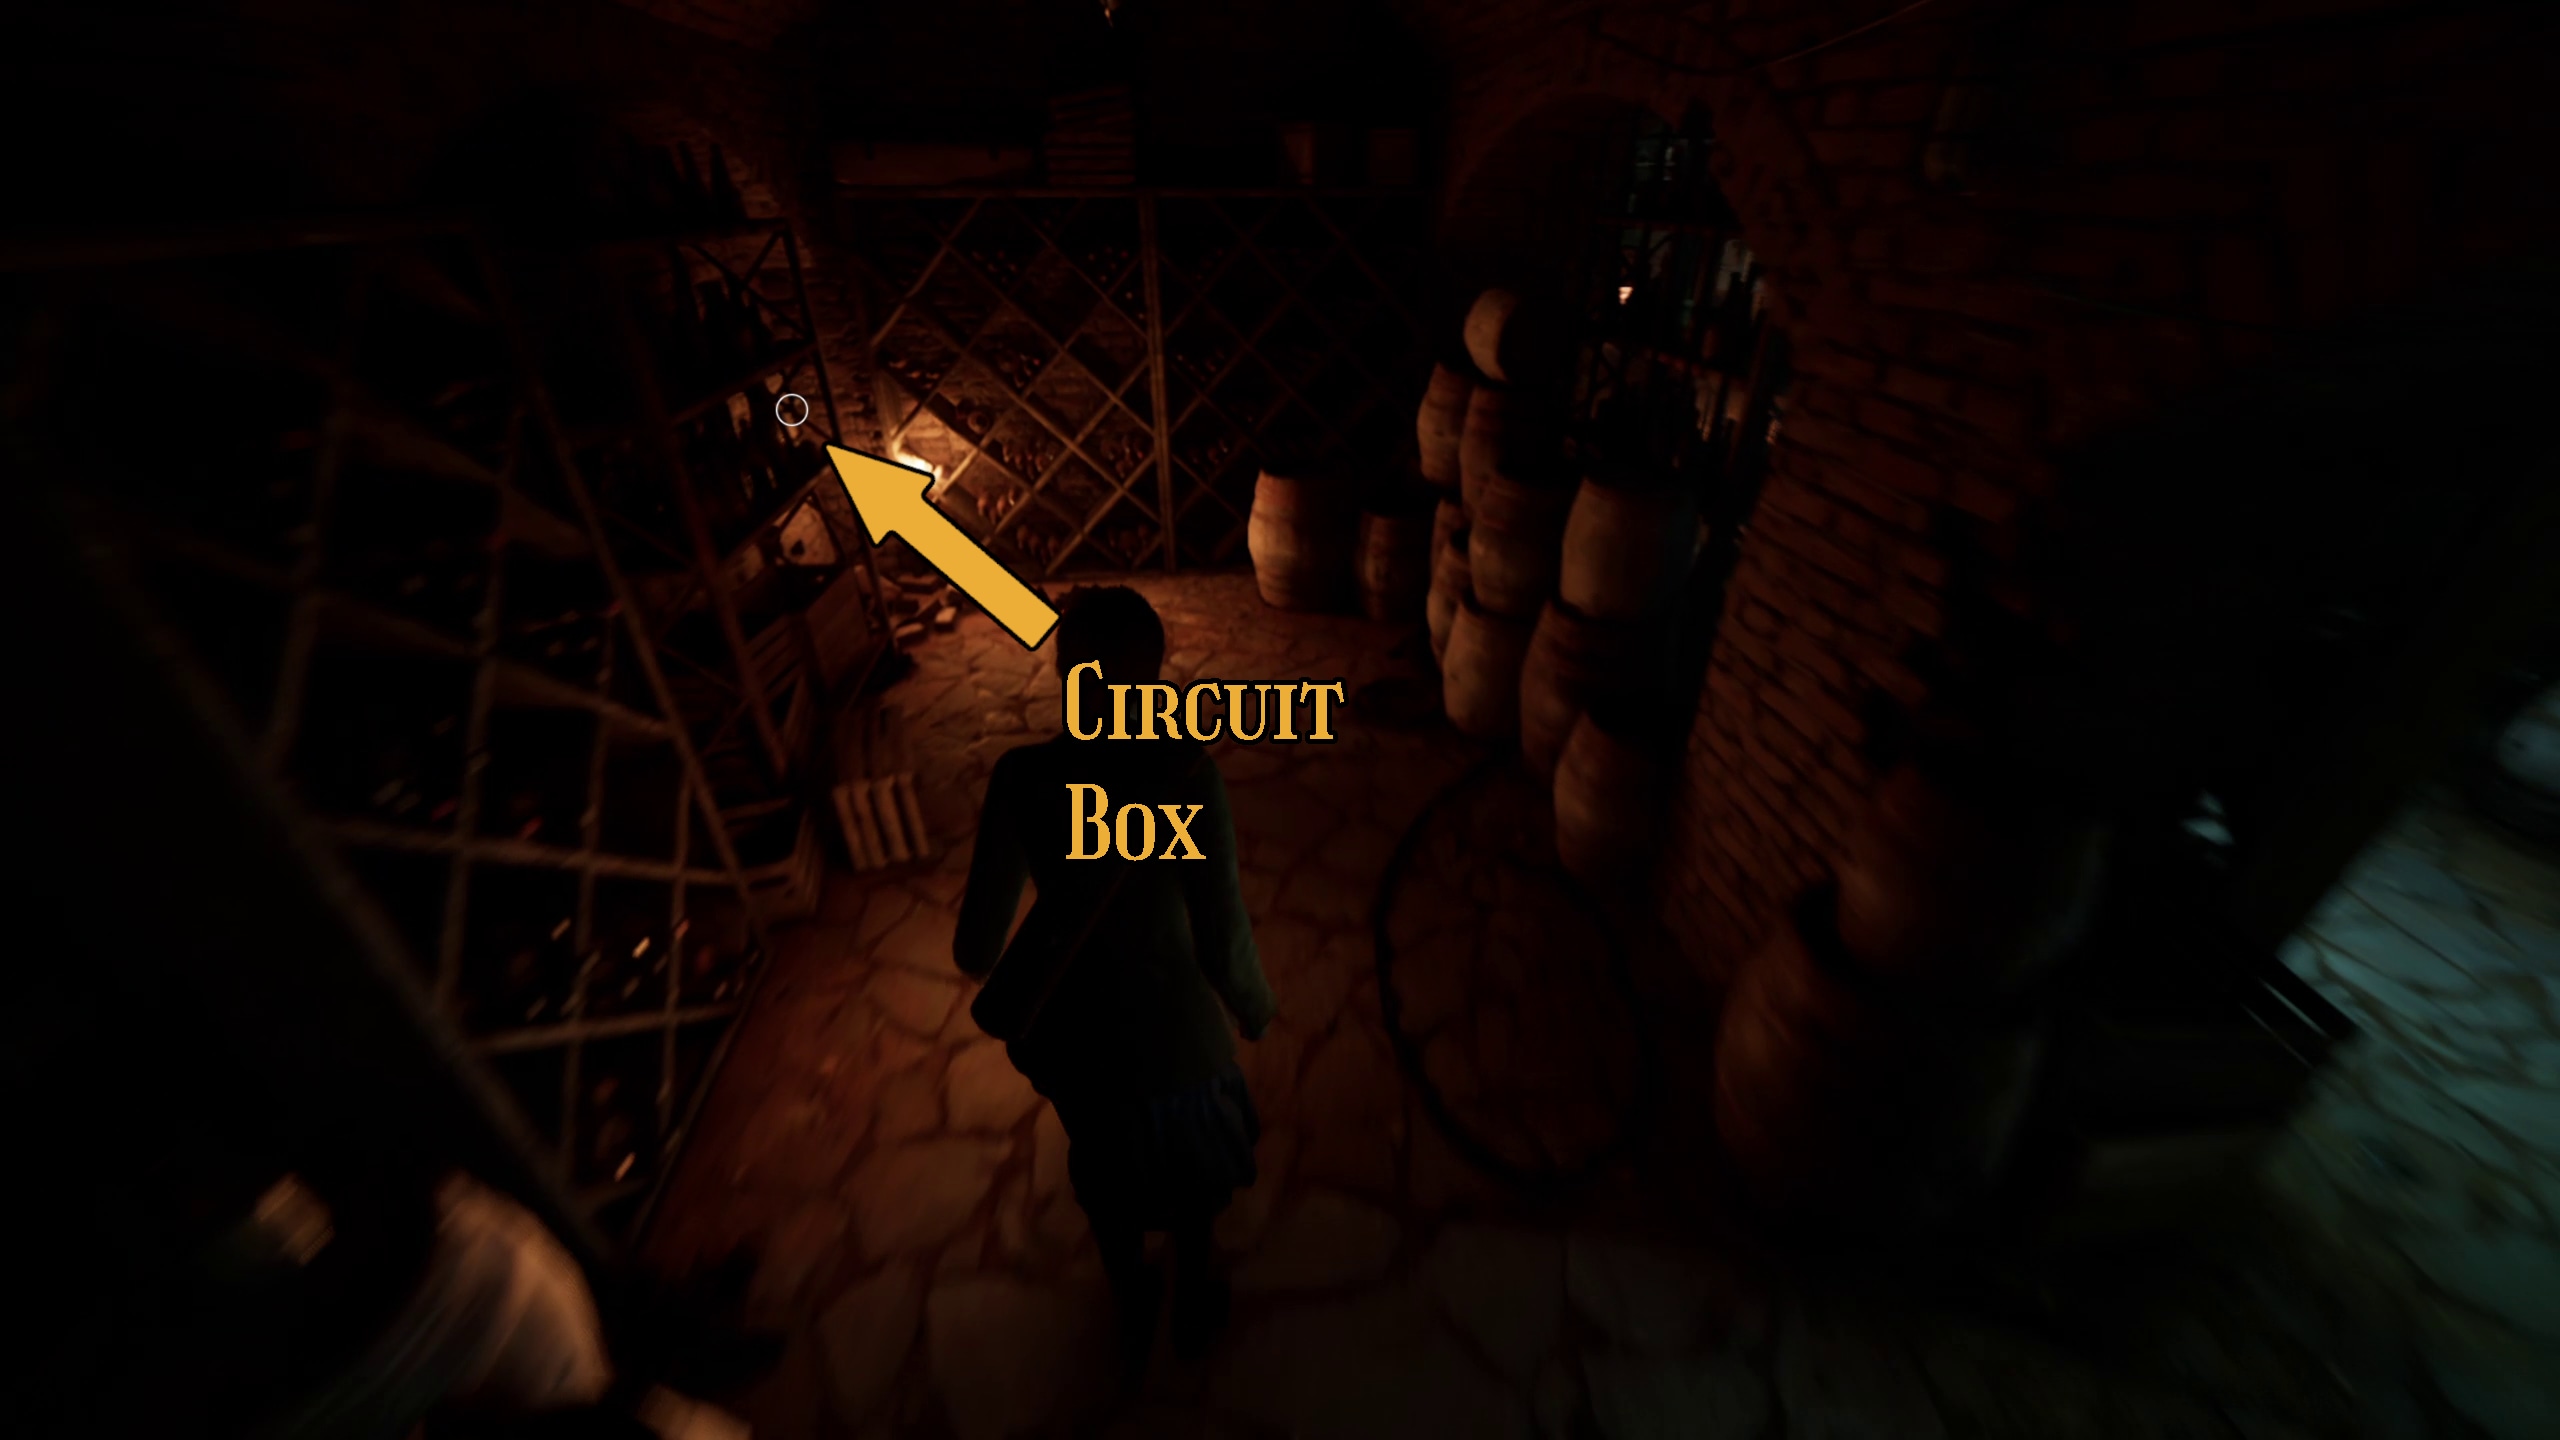
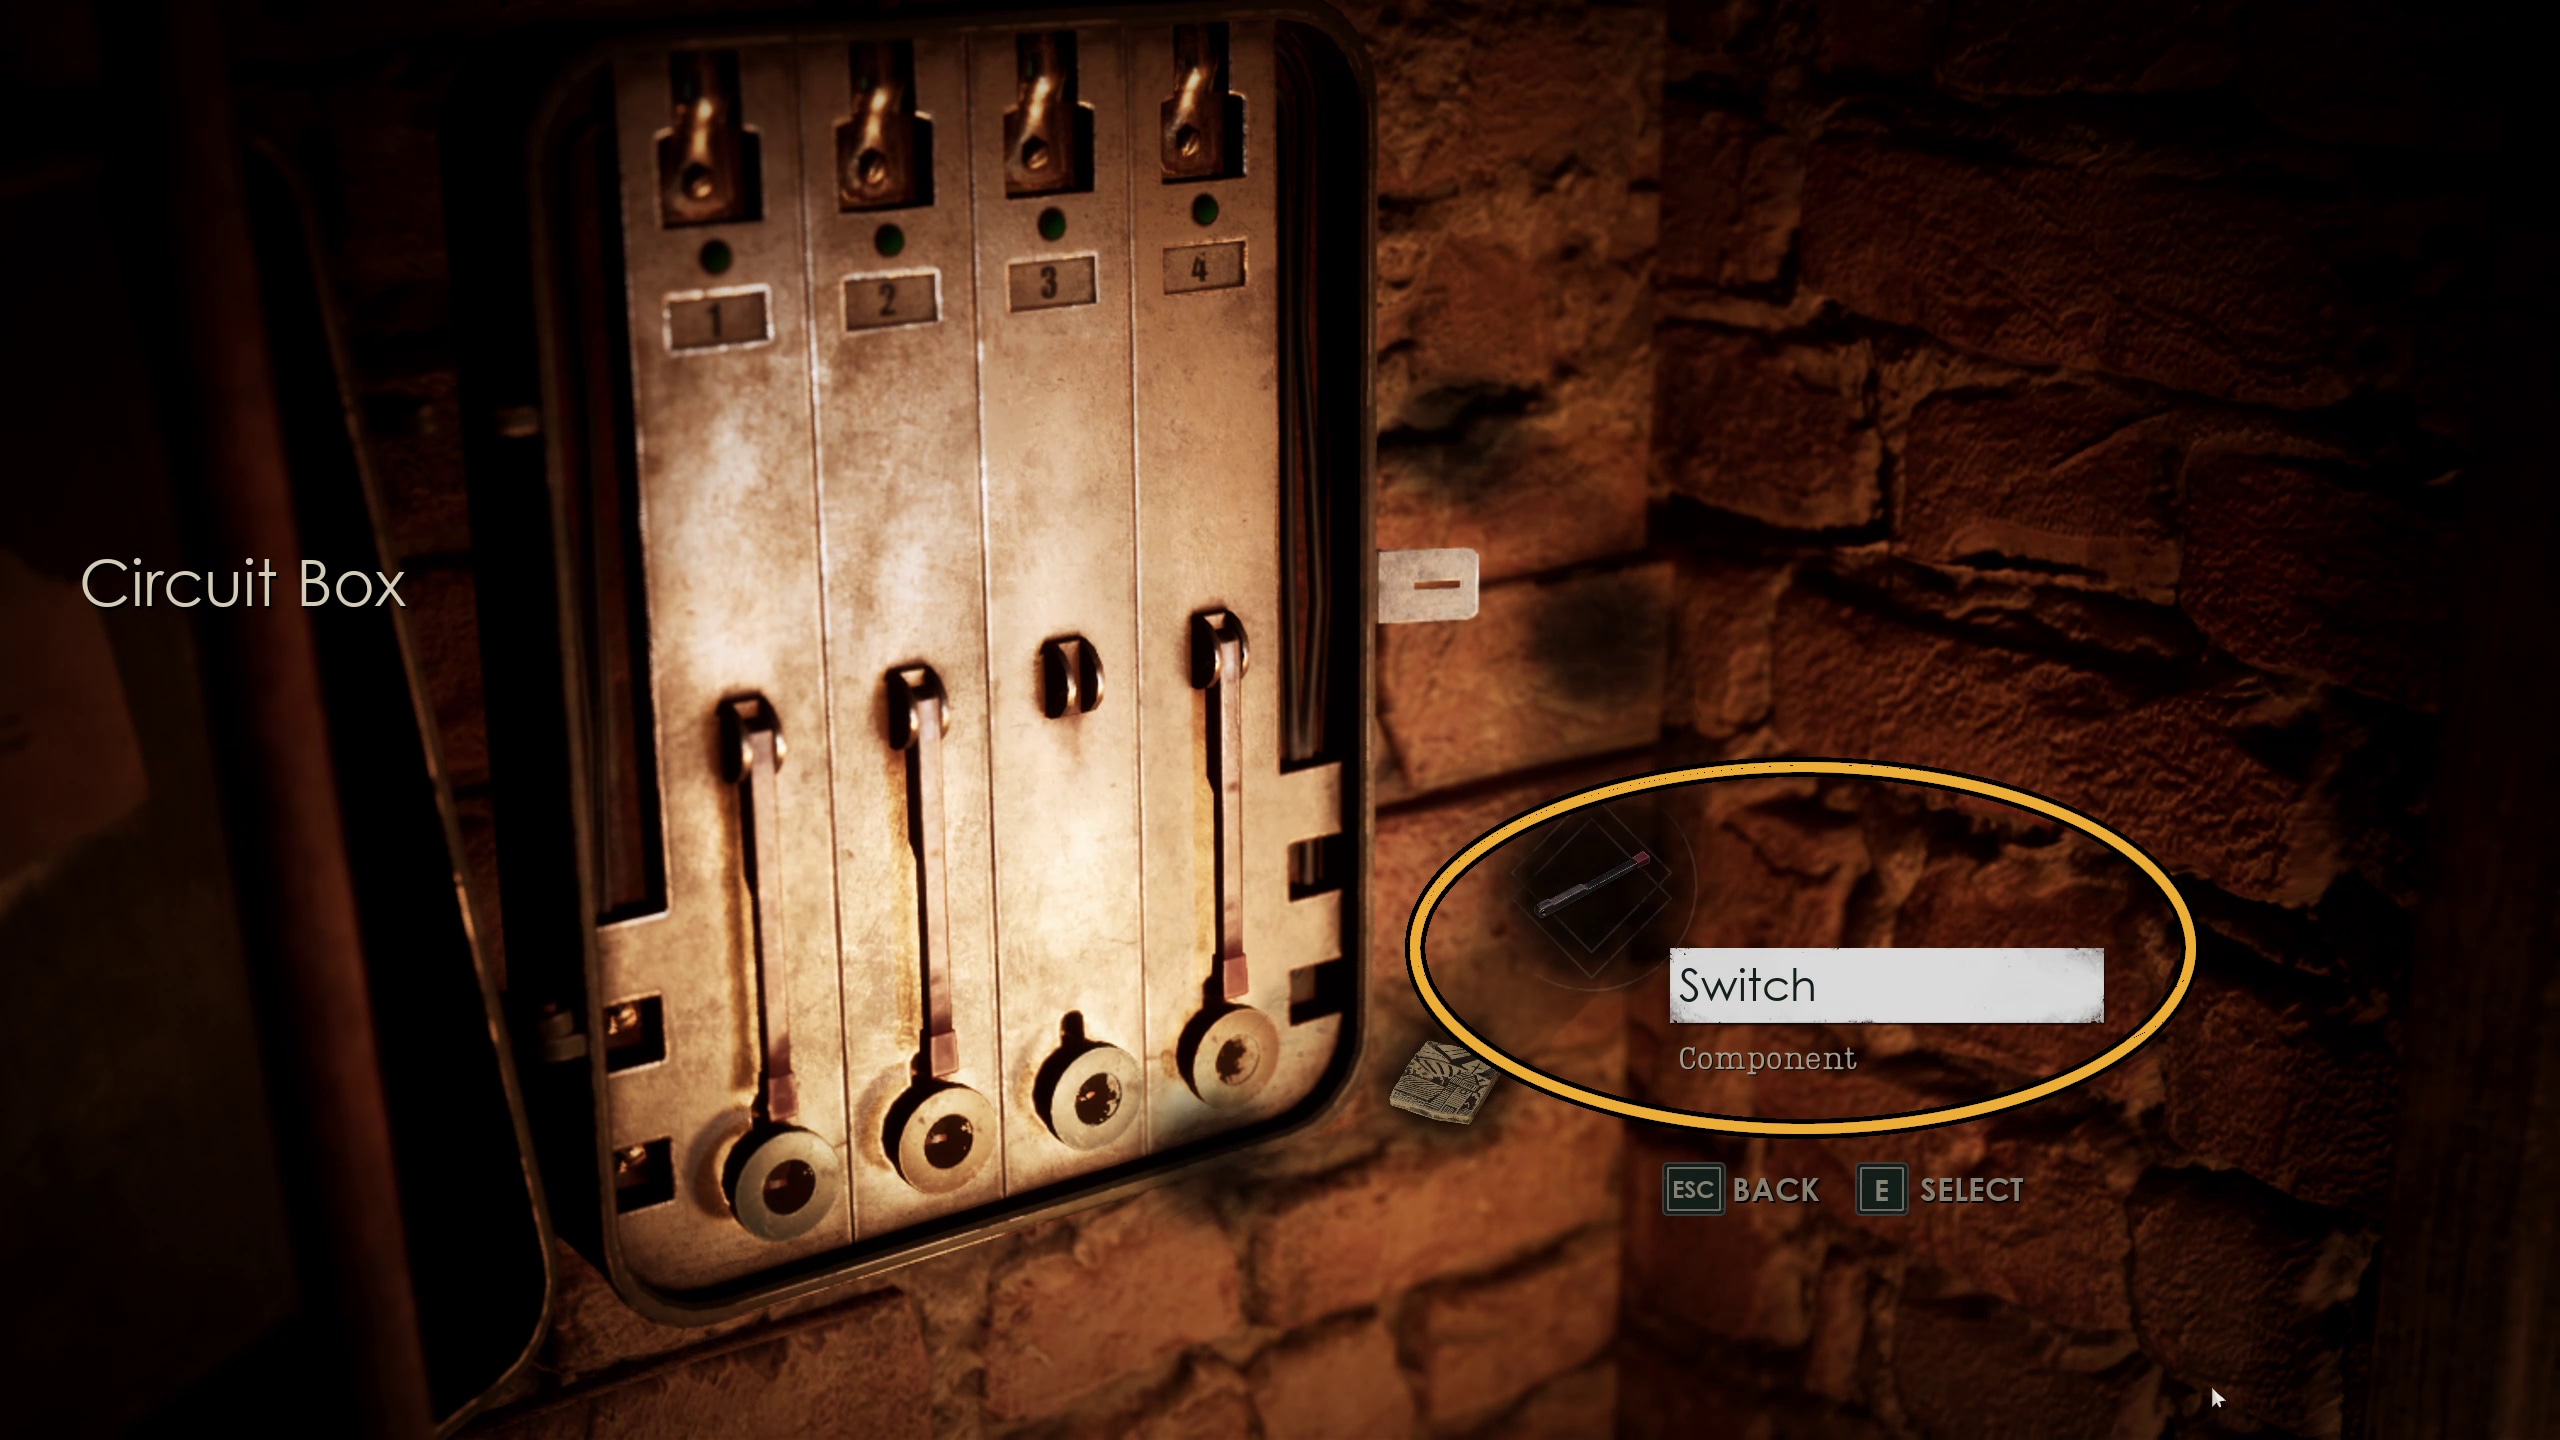
Coming into the wine cellar, look for an easier to miss Lagniappe amidst the wine right in front of you, the Forsaken Crucifix (Image 142). Then, look to your right to find a switch (Image 143). Use the Switch by turning to your right again to locate the Circuit Box (Image 144), which you can activate to turn out the power and safely cross the electrified puddle in this room (Image 145).
142143144145
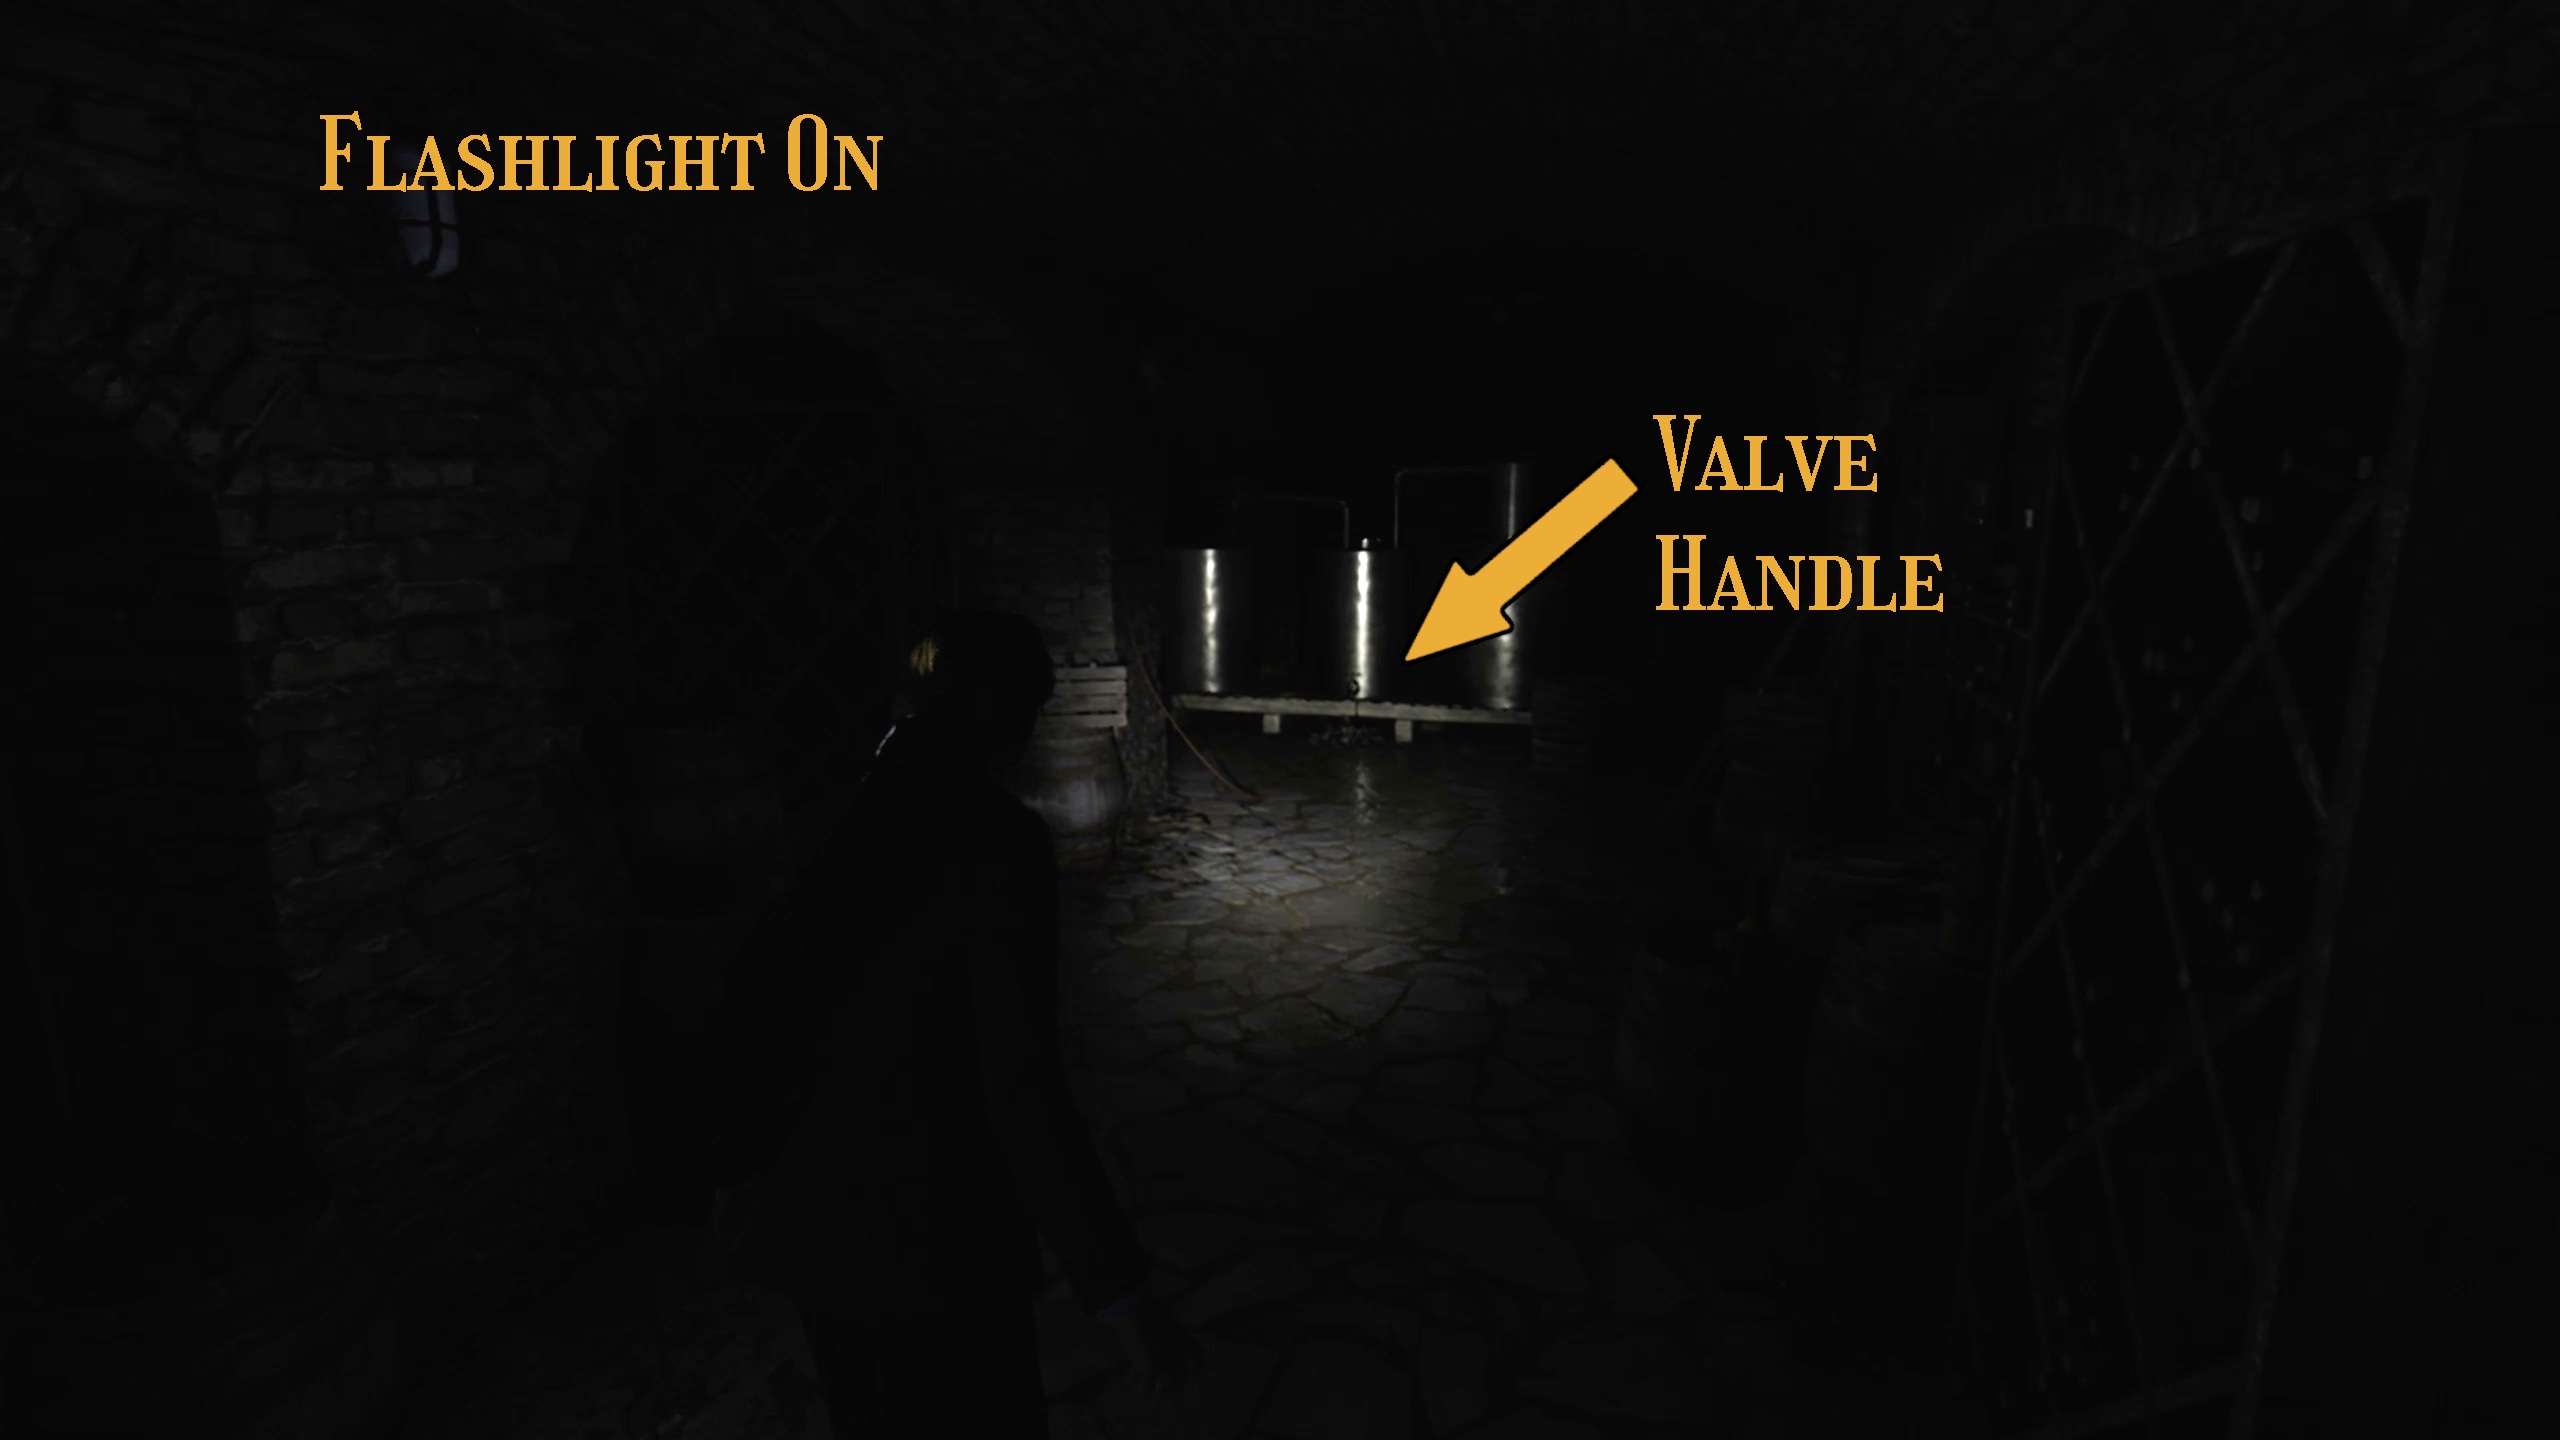
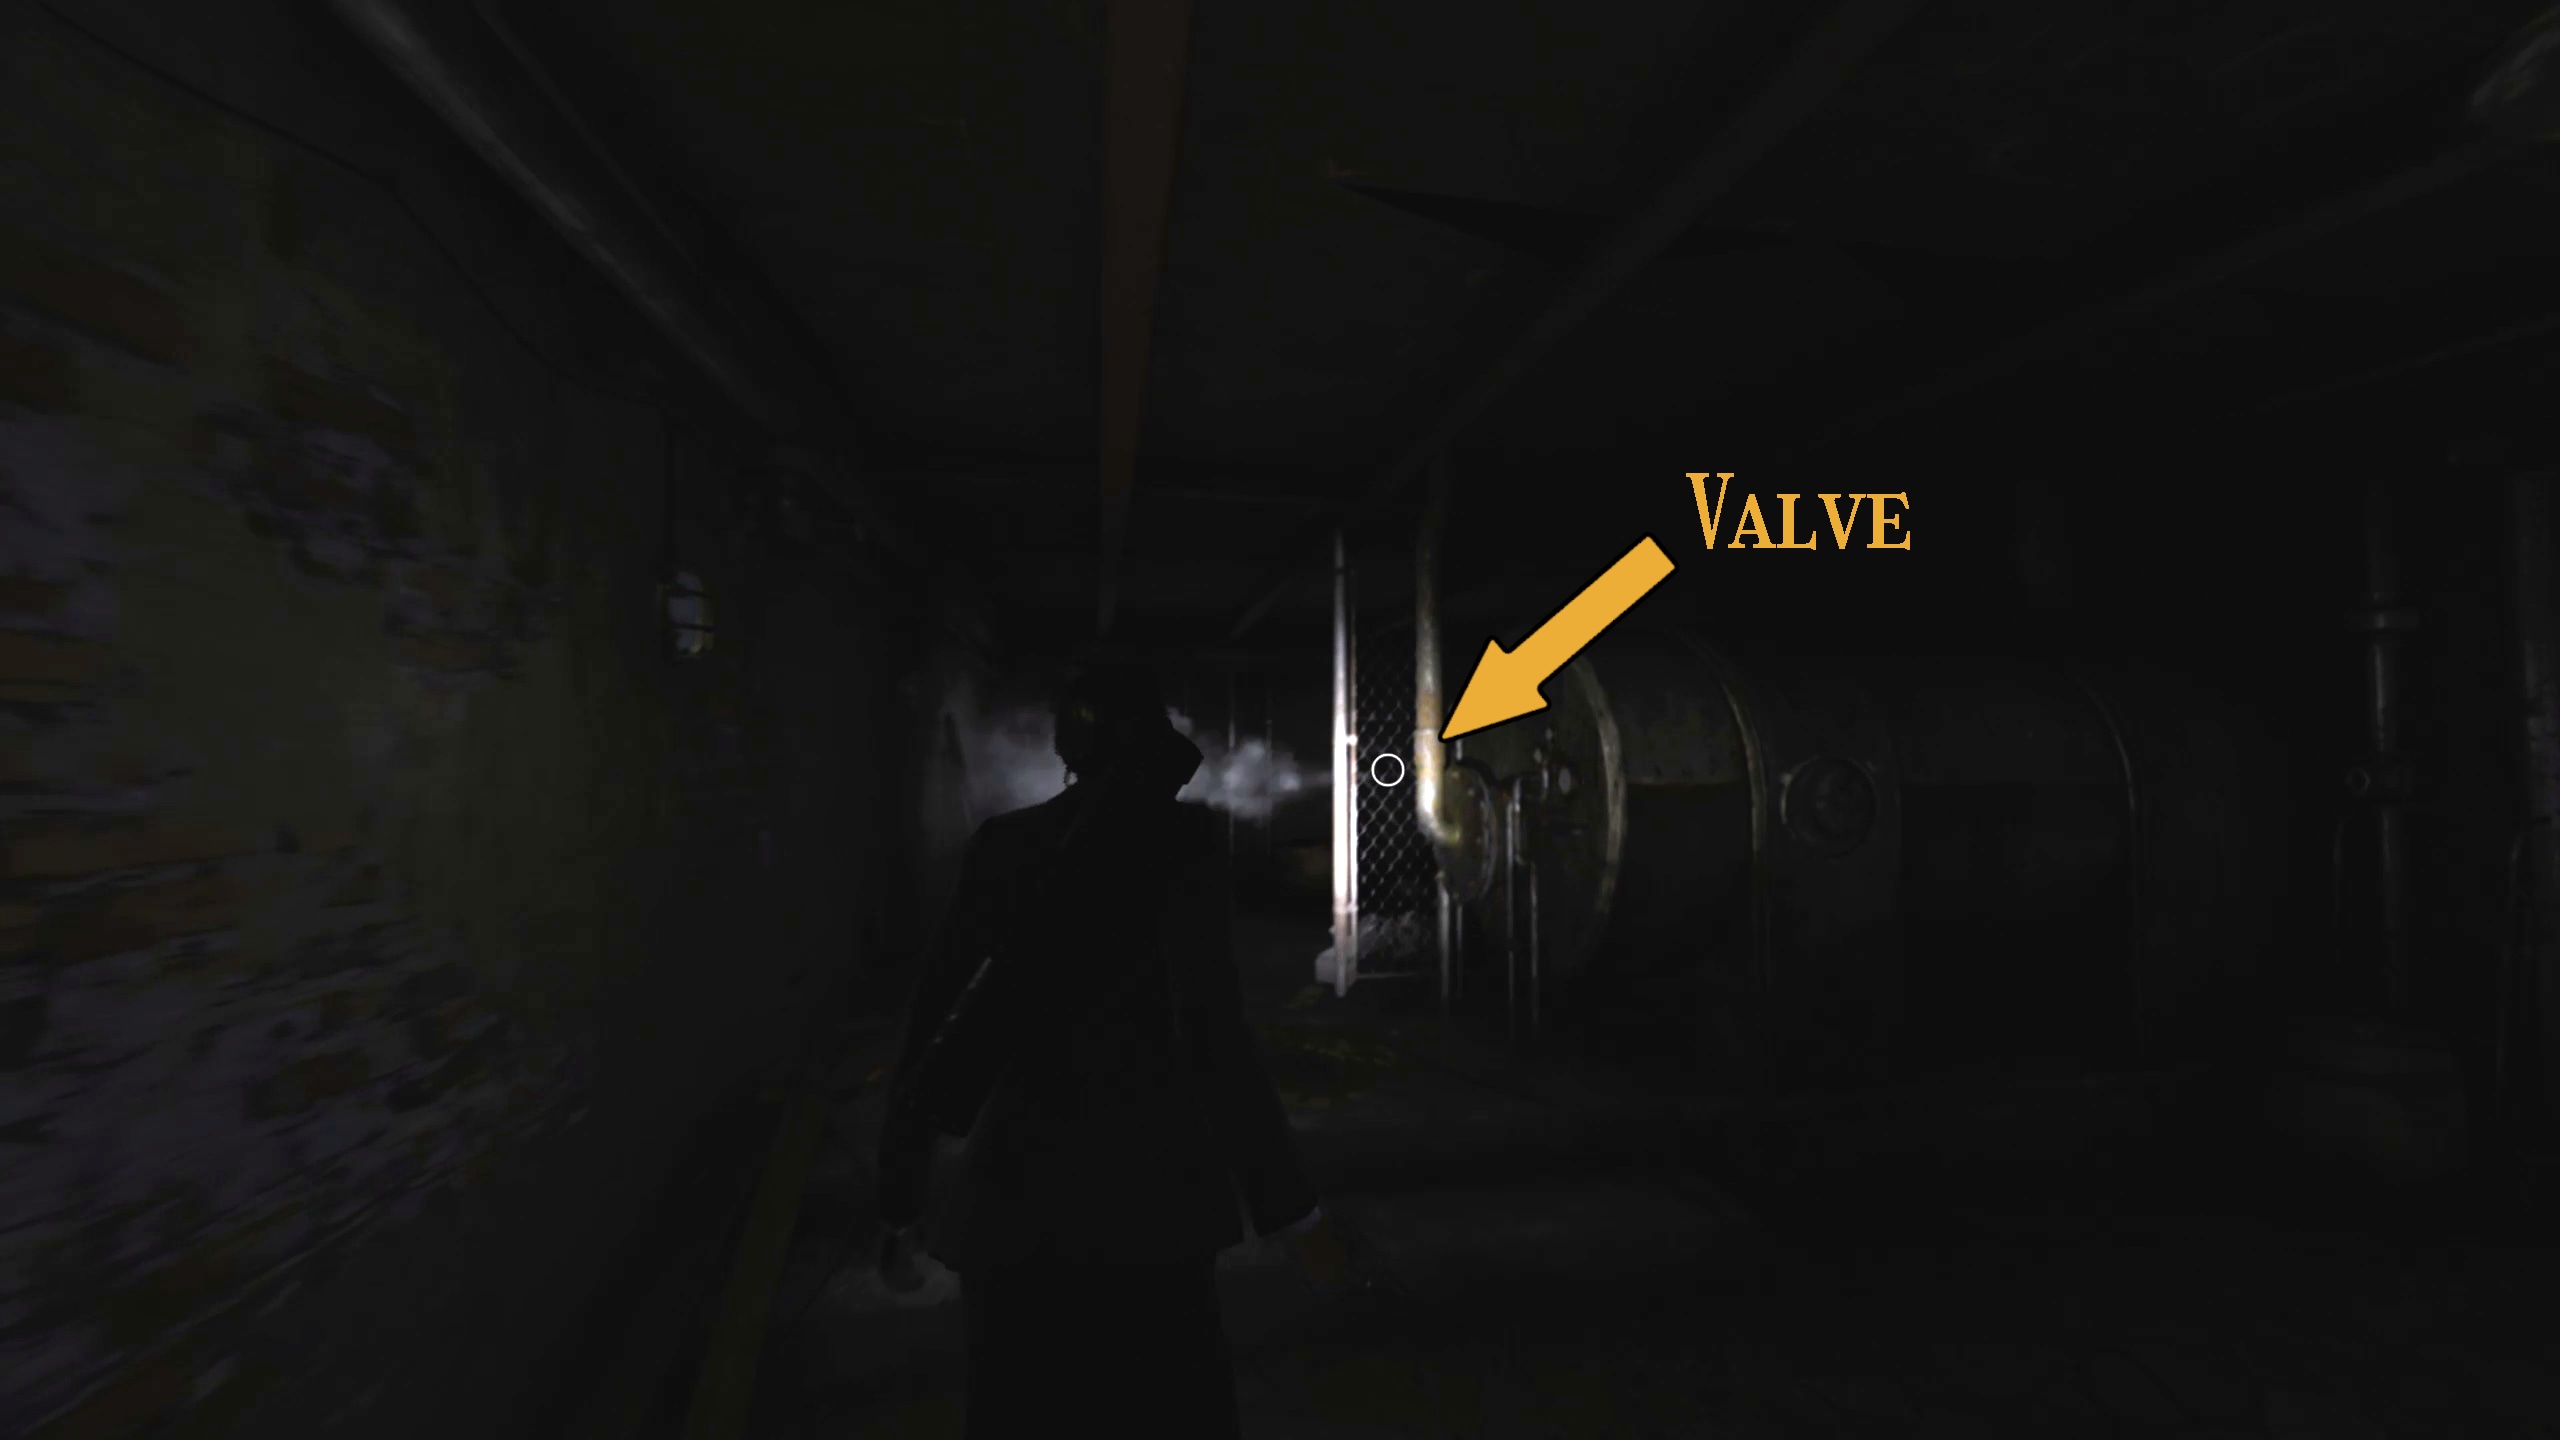
Turn your flashlight on, and the look to the other side of the room, where silver kegs will be. You can grab a valve handle from them (Image 146) before returning back where you came from (Image 147). Once you go up the stairs, be ready to fight a single monster that has appeared in your path (Image 148) before entering the door to your left leading to the Boiler Room (Image 149).
146147148149
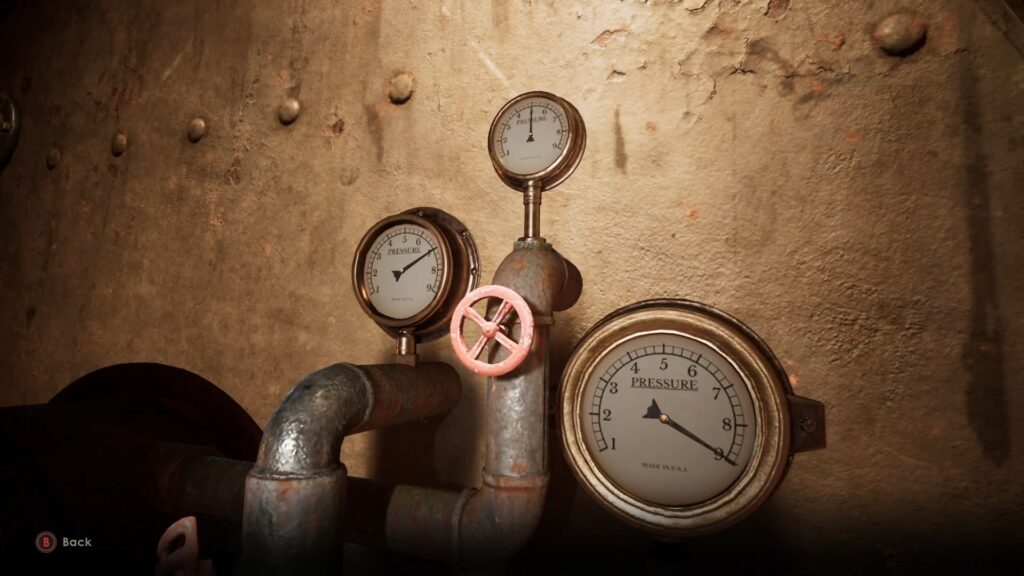
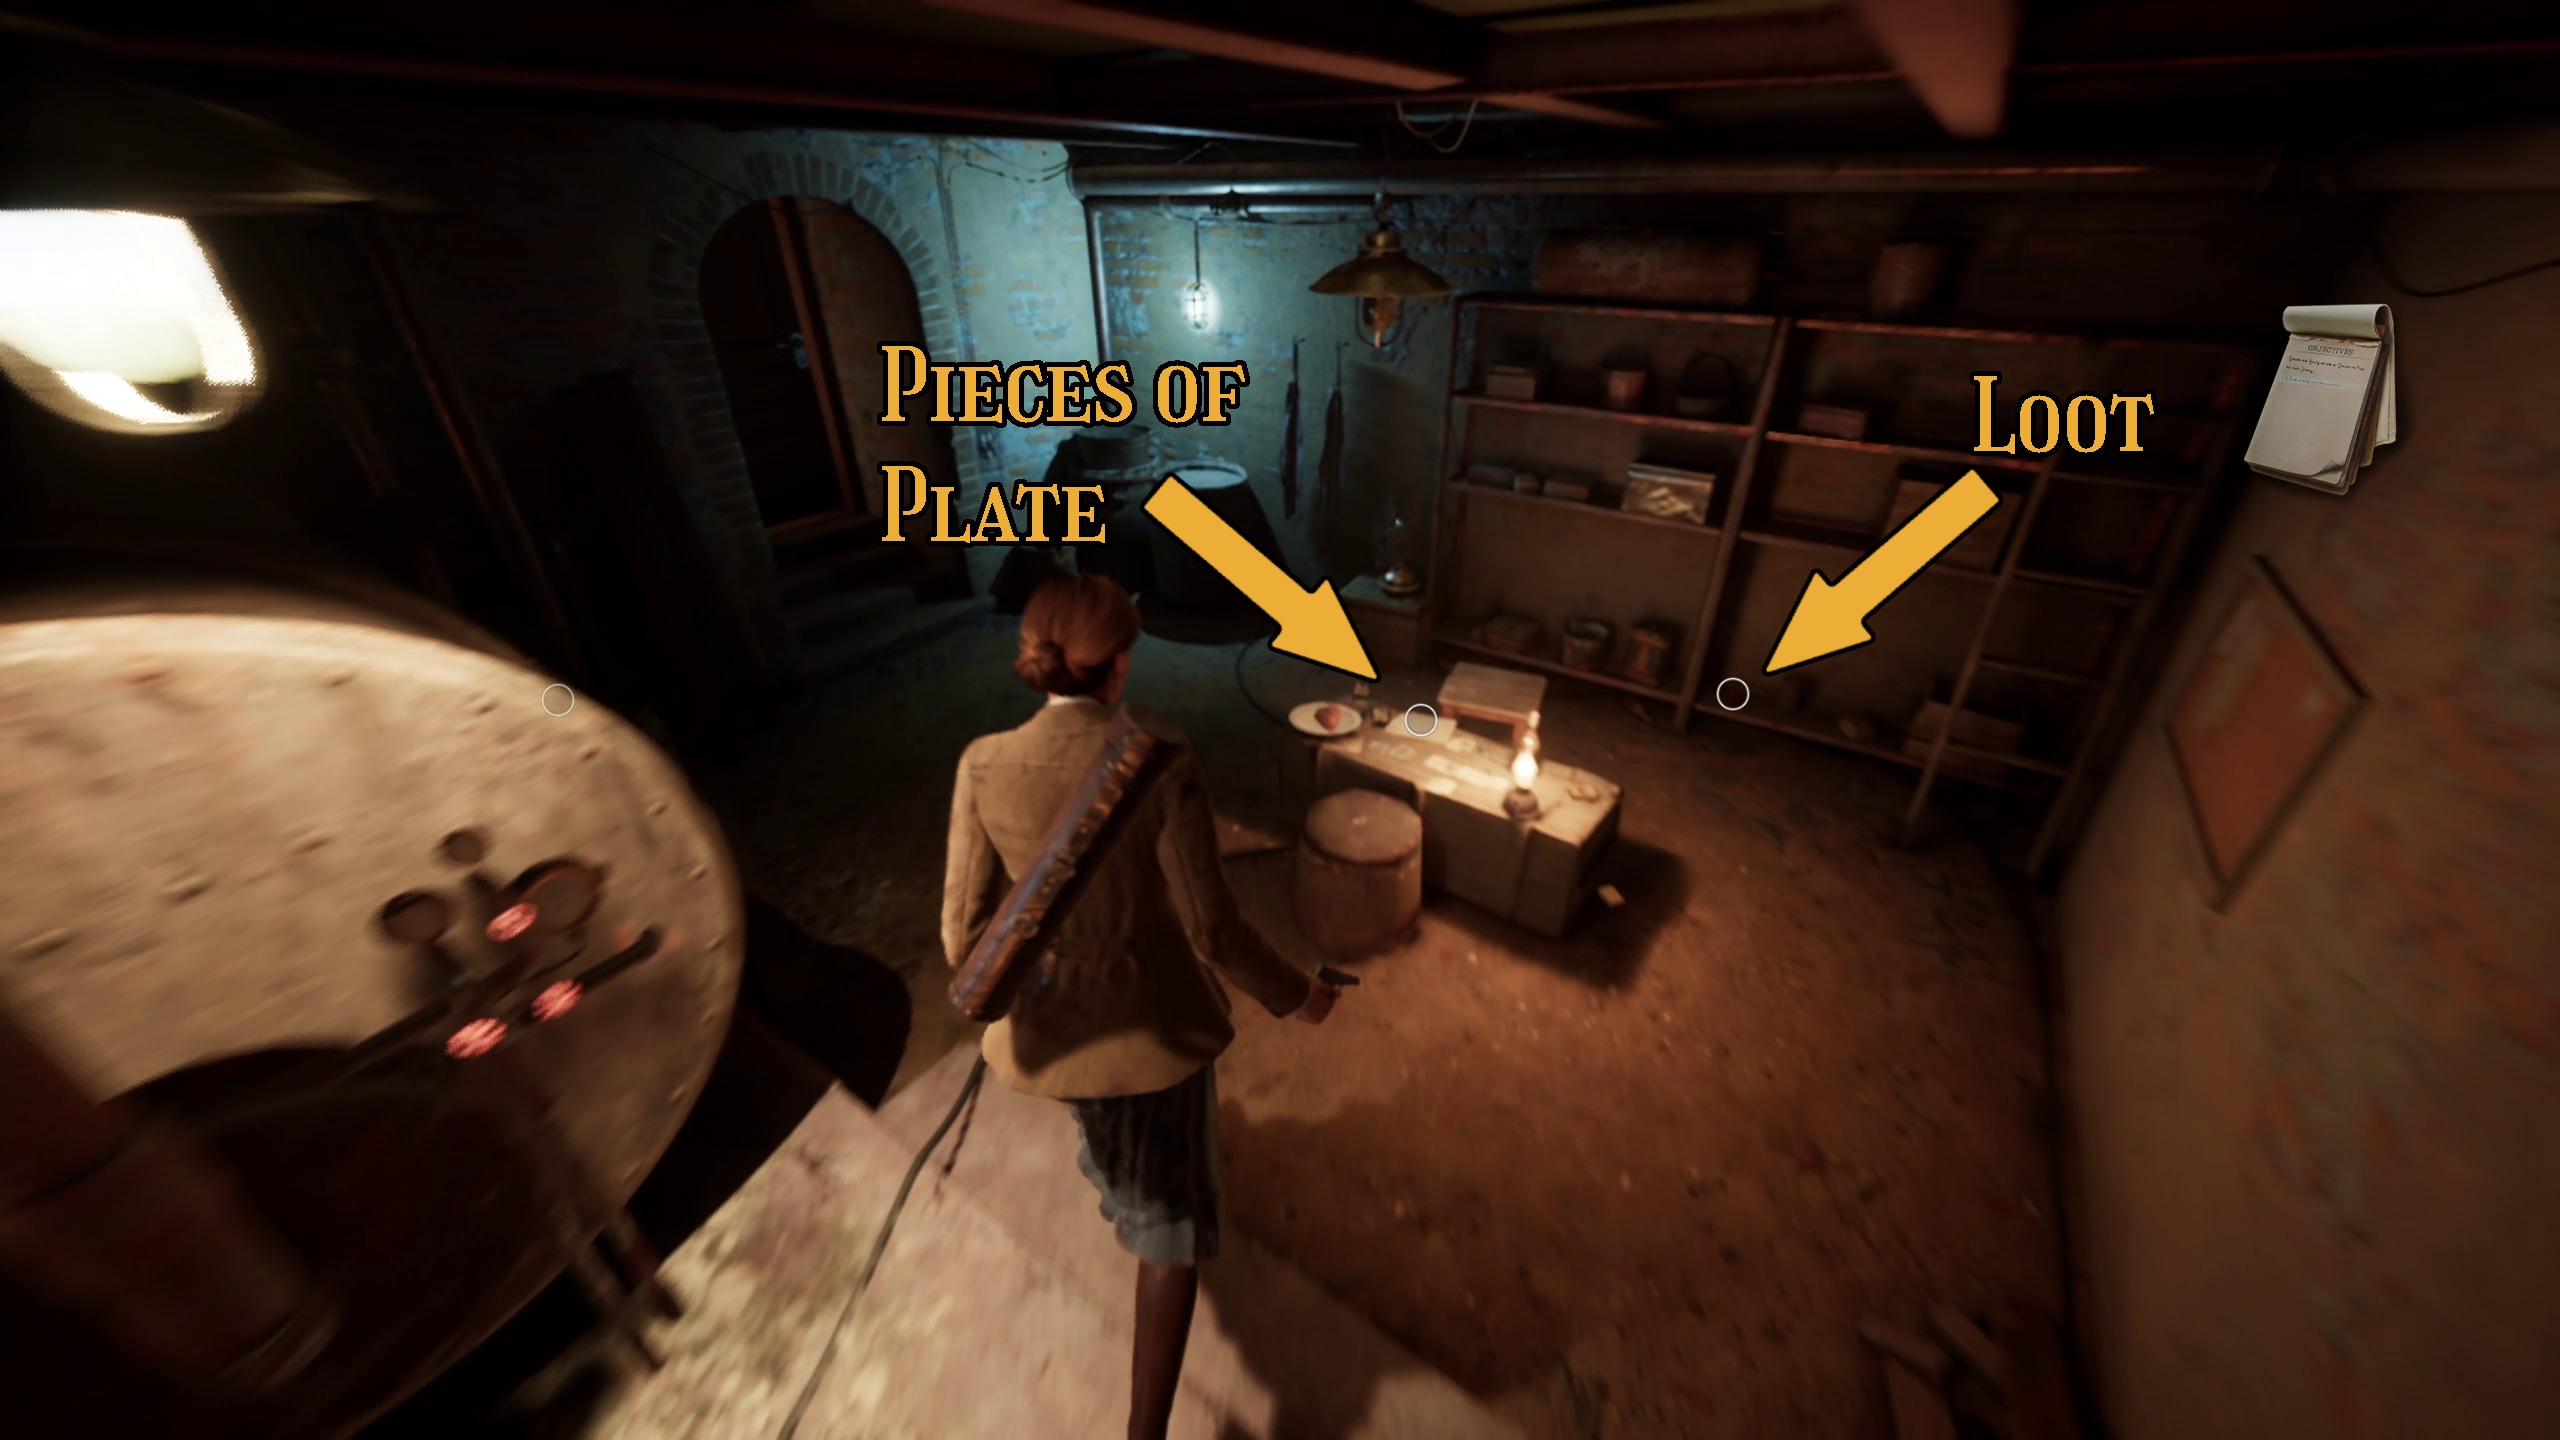
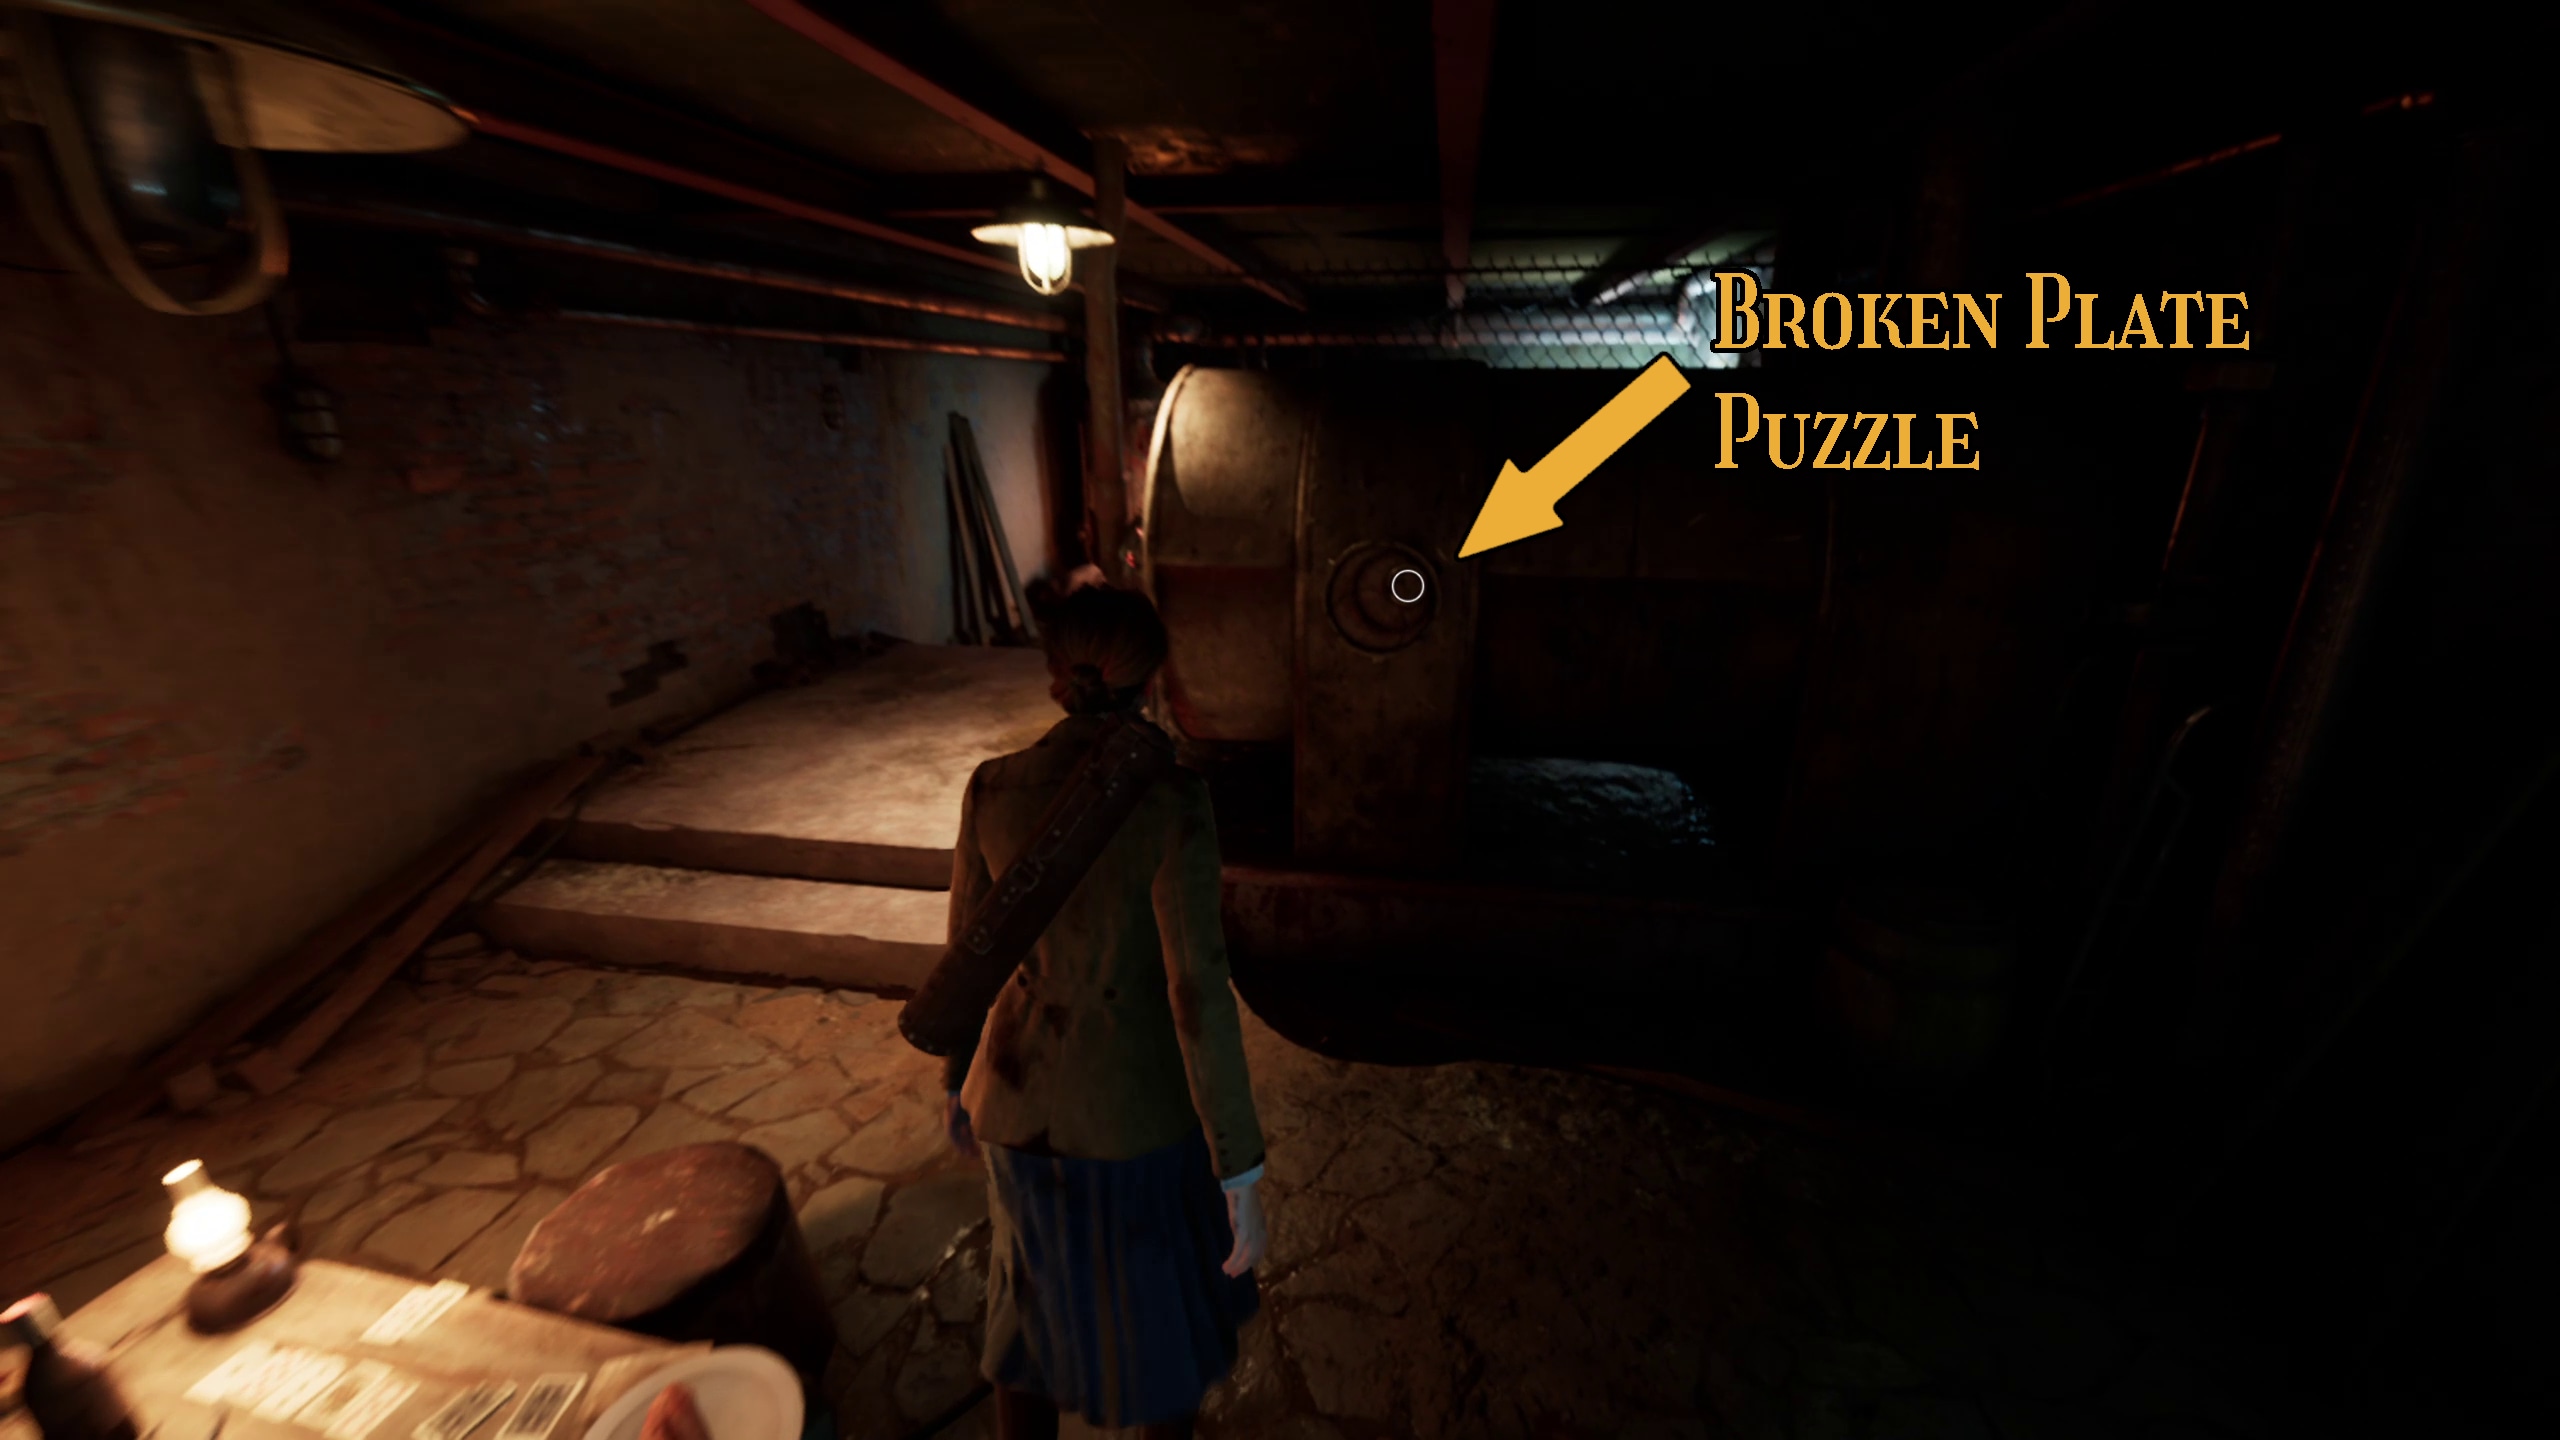
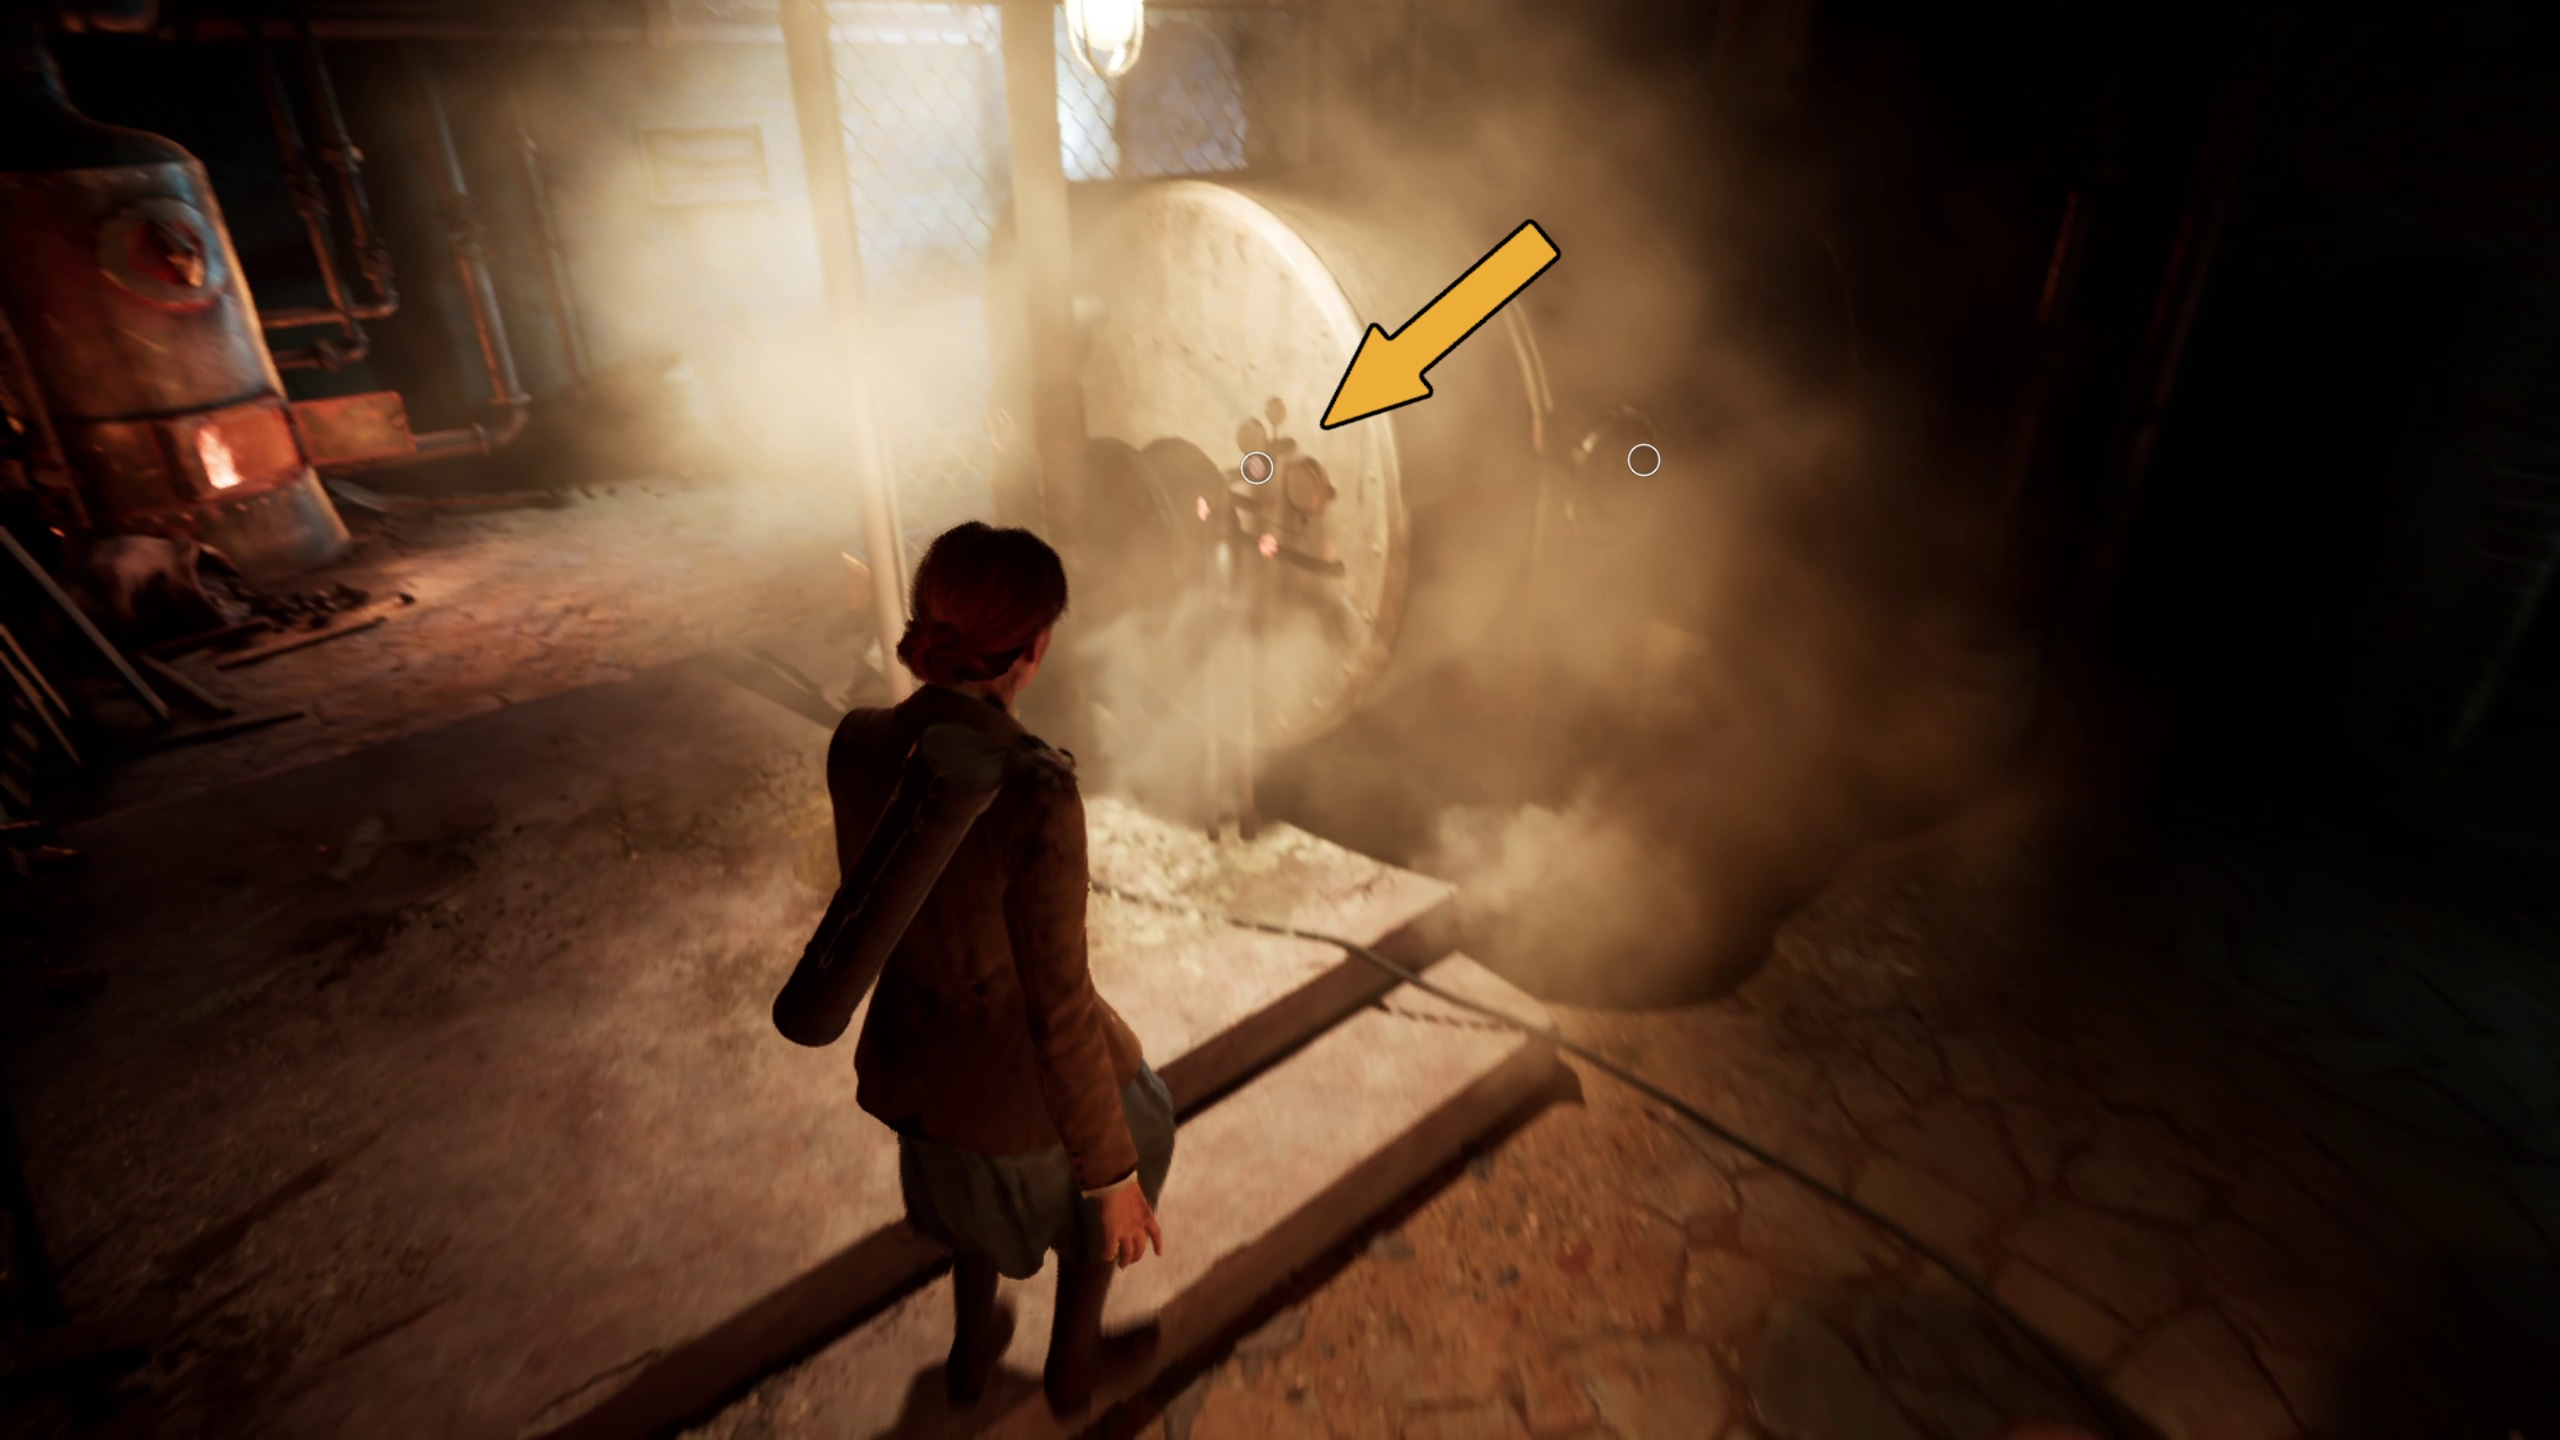
Go to the end of the boiler and use your Valve Handle on it to shut off the steam (Image 150). Then, continue past the boiler and into a bright room, where you will find what appears to be a dead body… (Image 151). After interacting with it, you will end up back in the “normal” world, and a Broken Plate will be sitting where the body was in it (Image 152). Pick it up, then head back to the boiler, making sure to grab the “Pieces of Plate” note and loot nearby (Image 153).
150151152153
Boiler Puzzle
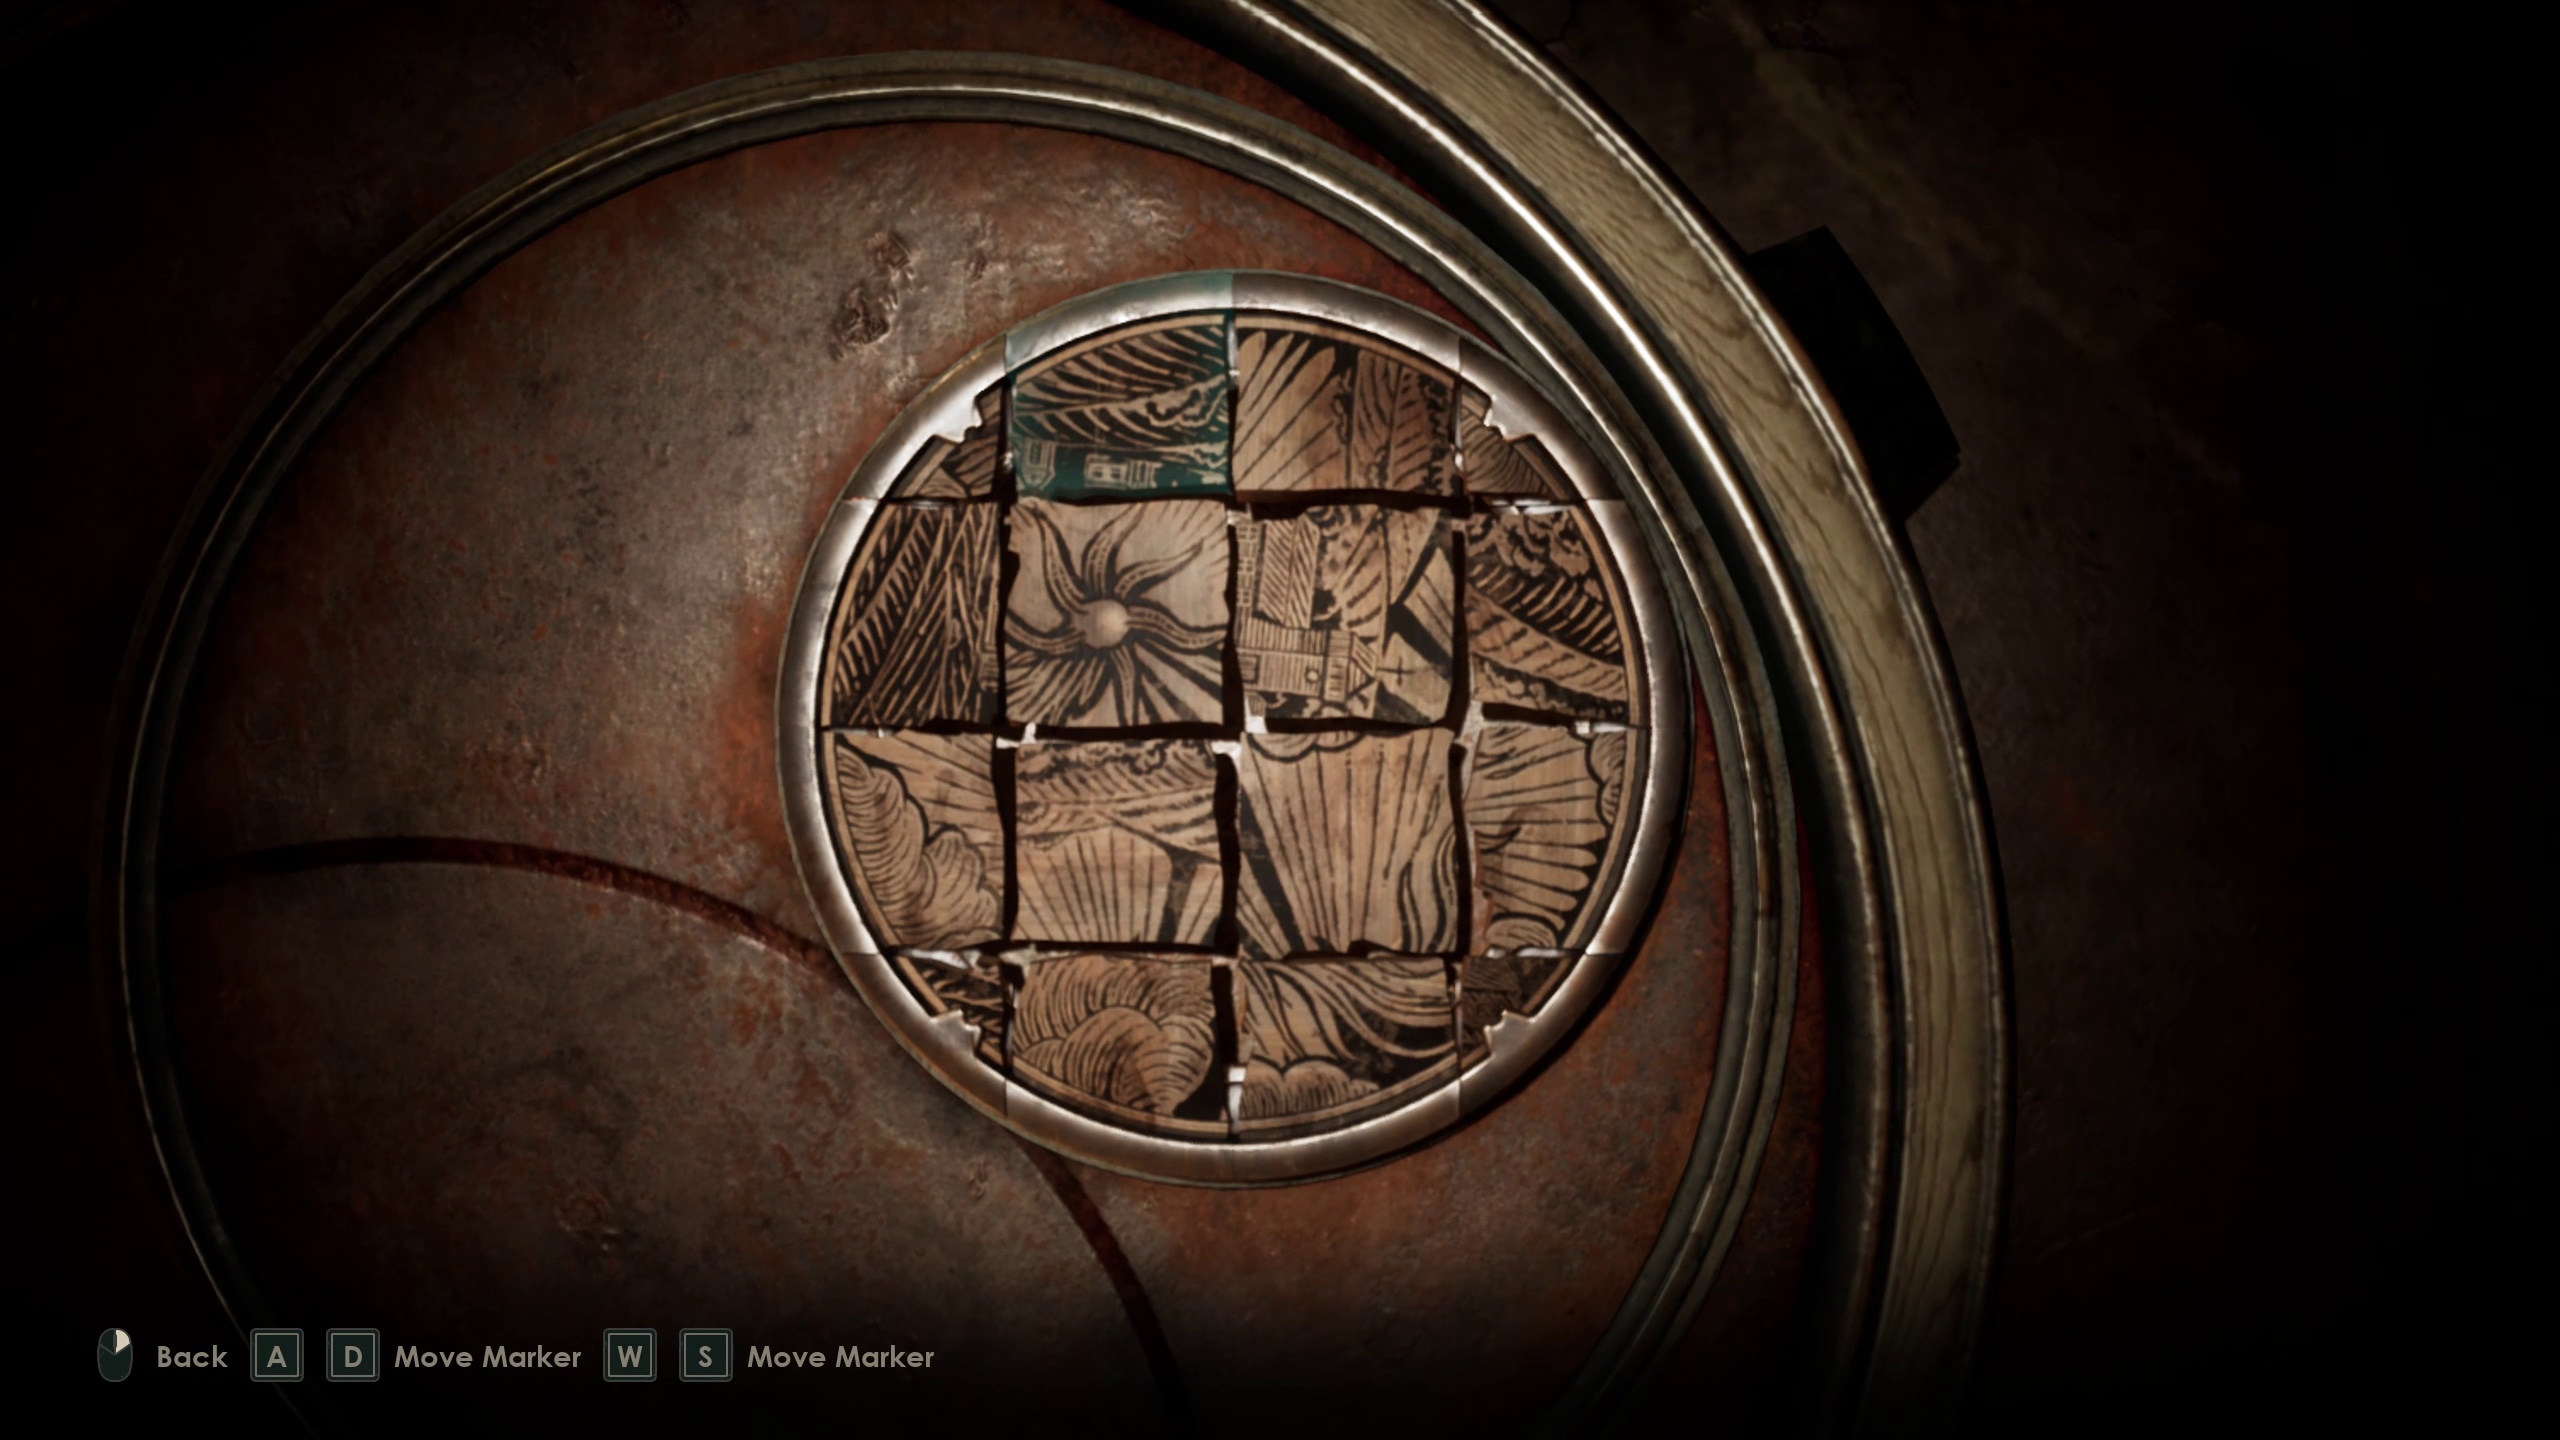
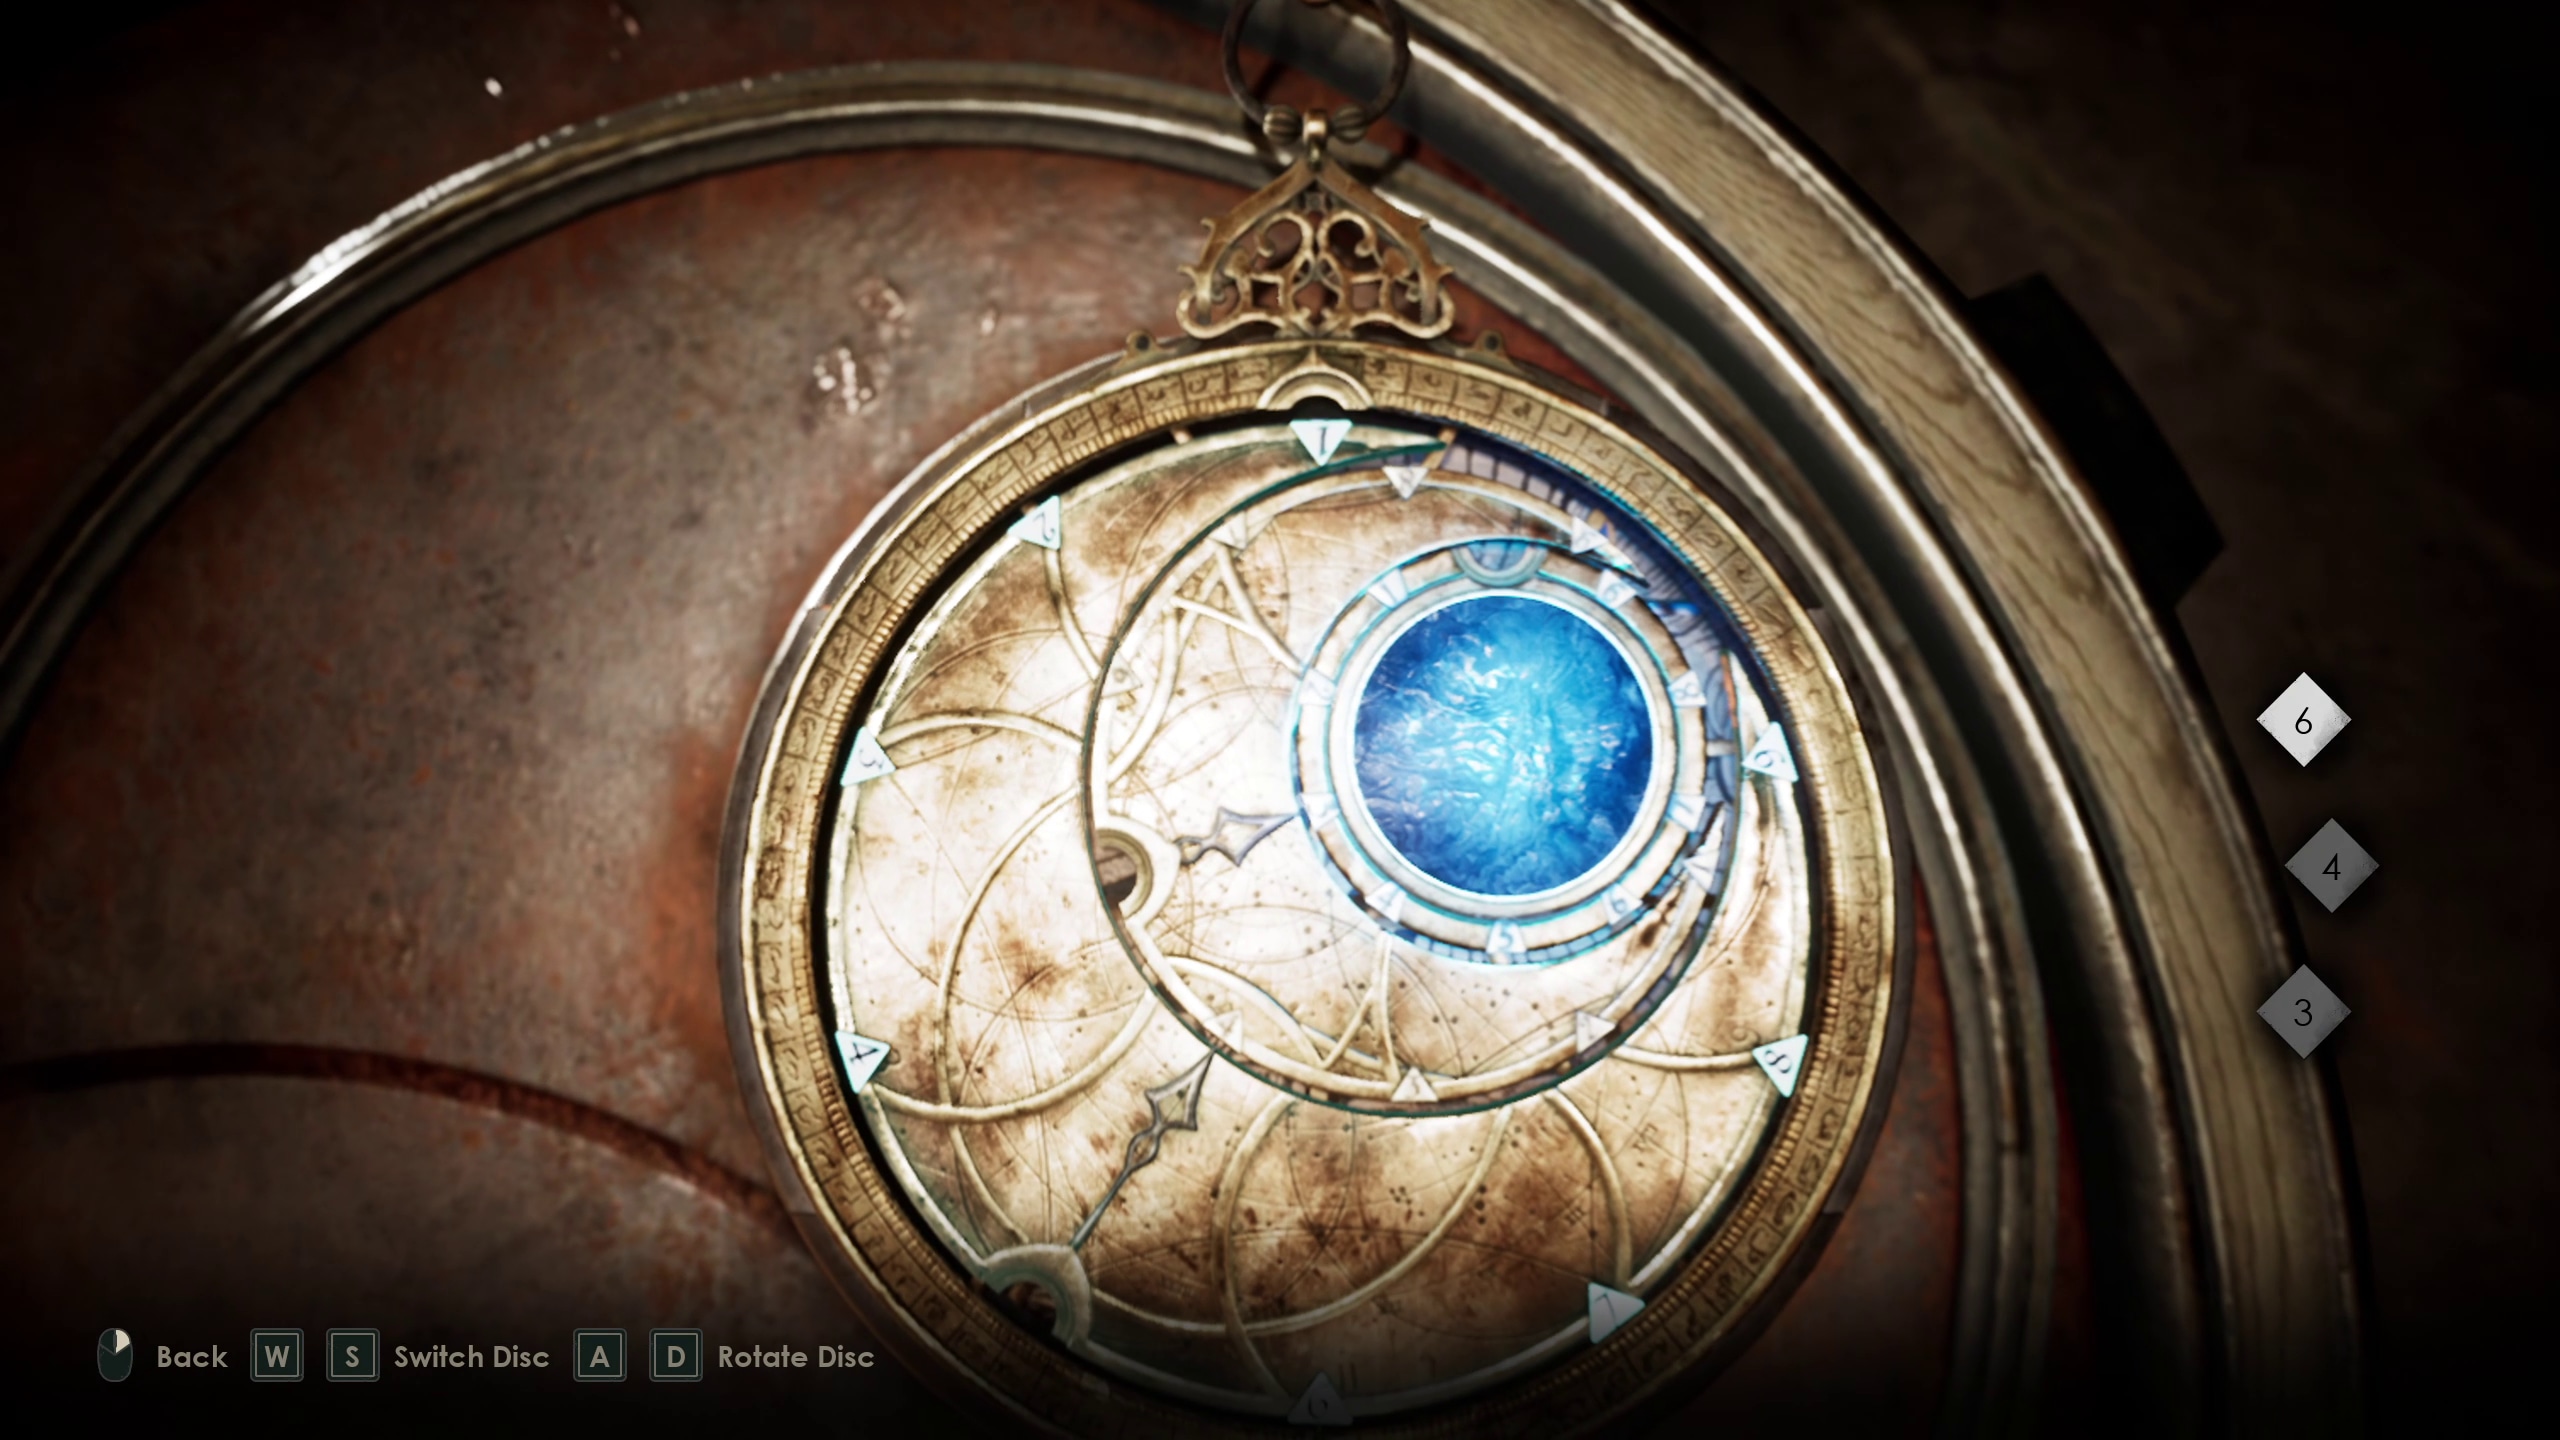
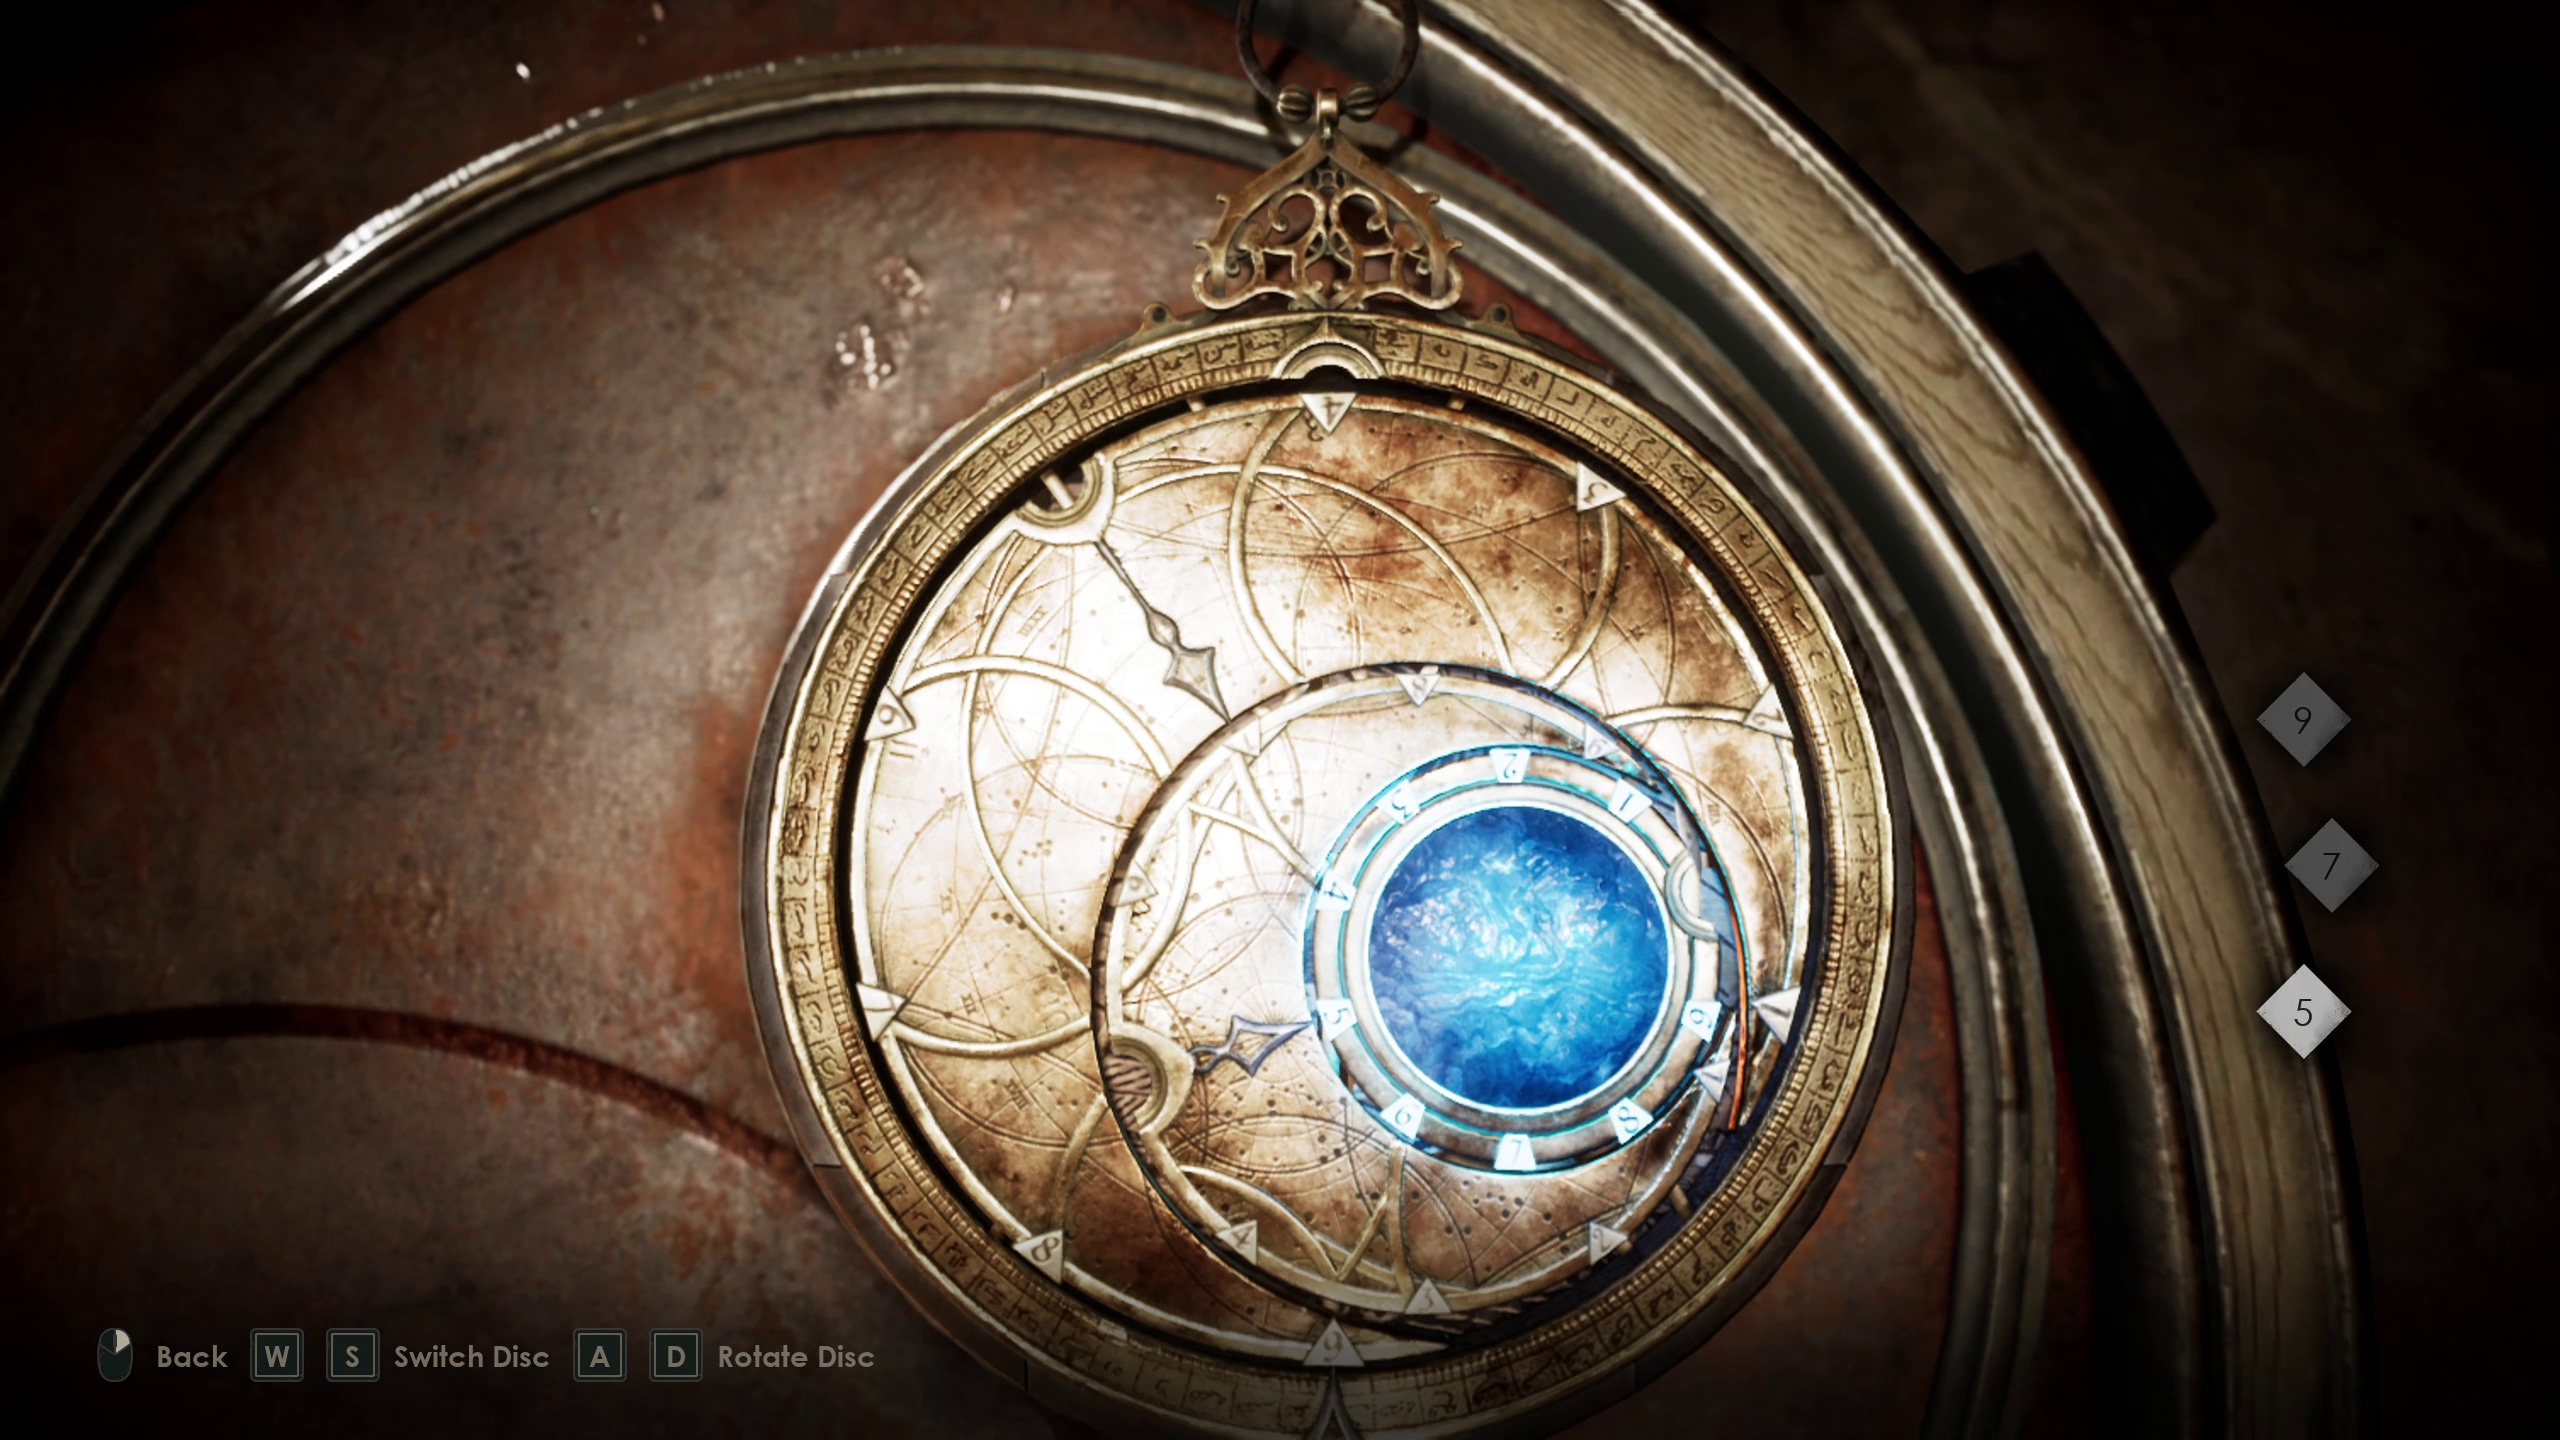
Next, you’ll need to solve the boiler puzzle (Images 154 and 155) and the Talisman puzzle (Image 156) that follows in order to get to the next memory.
154155156
You’ll need to piece together the puzzle, but then how do you determine the numbers to put into the Talisman?
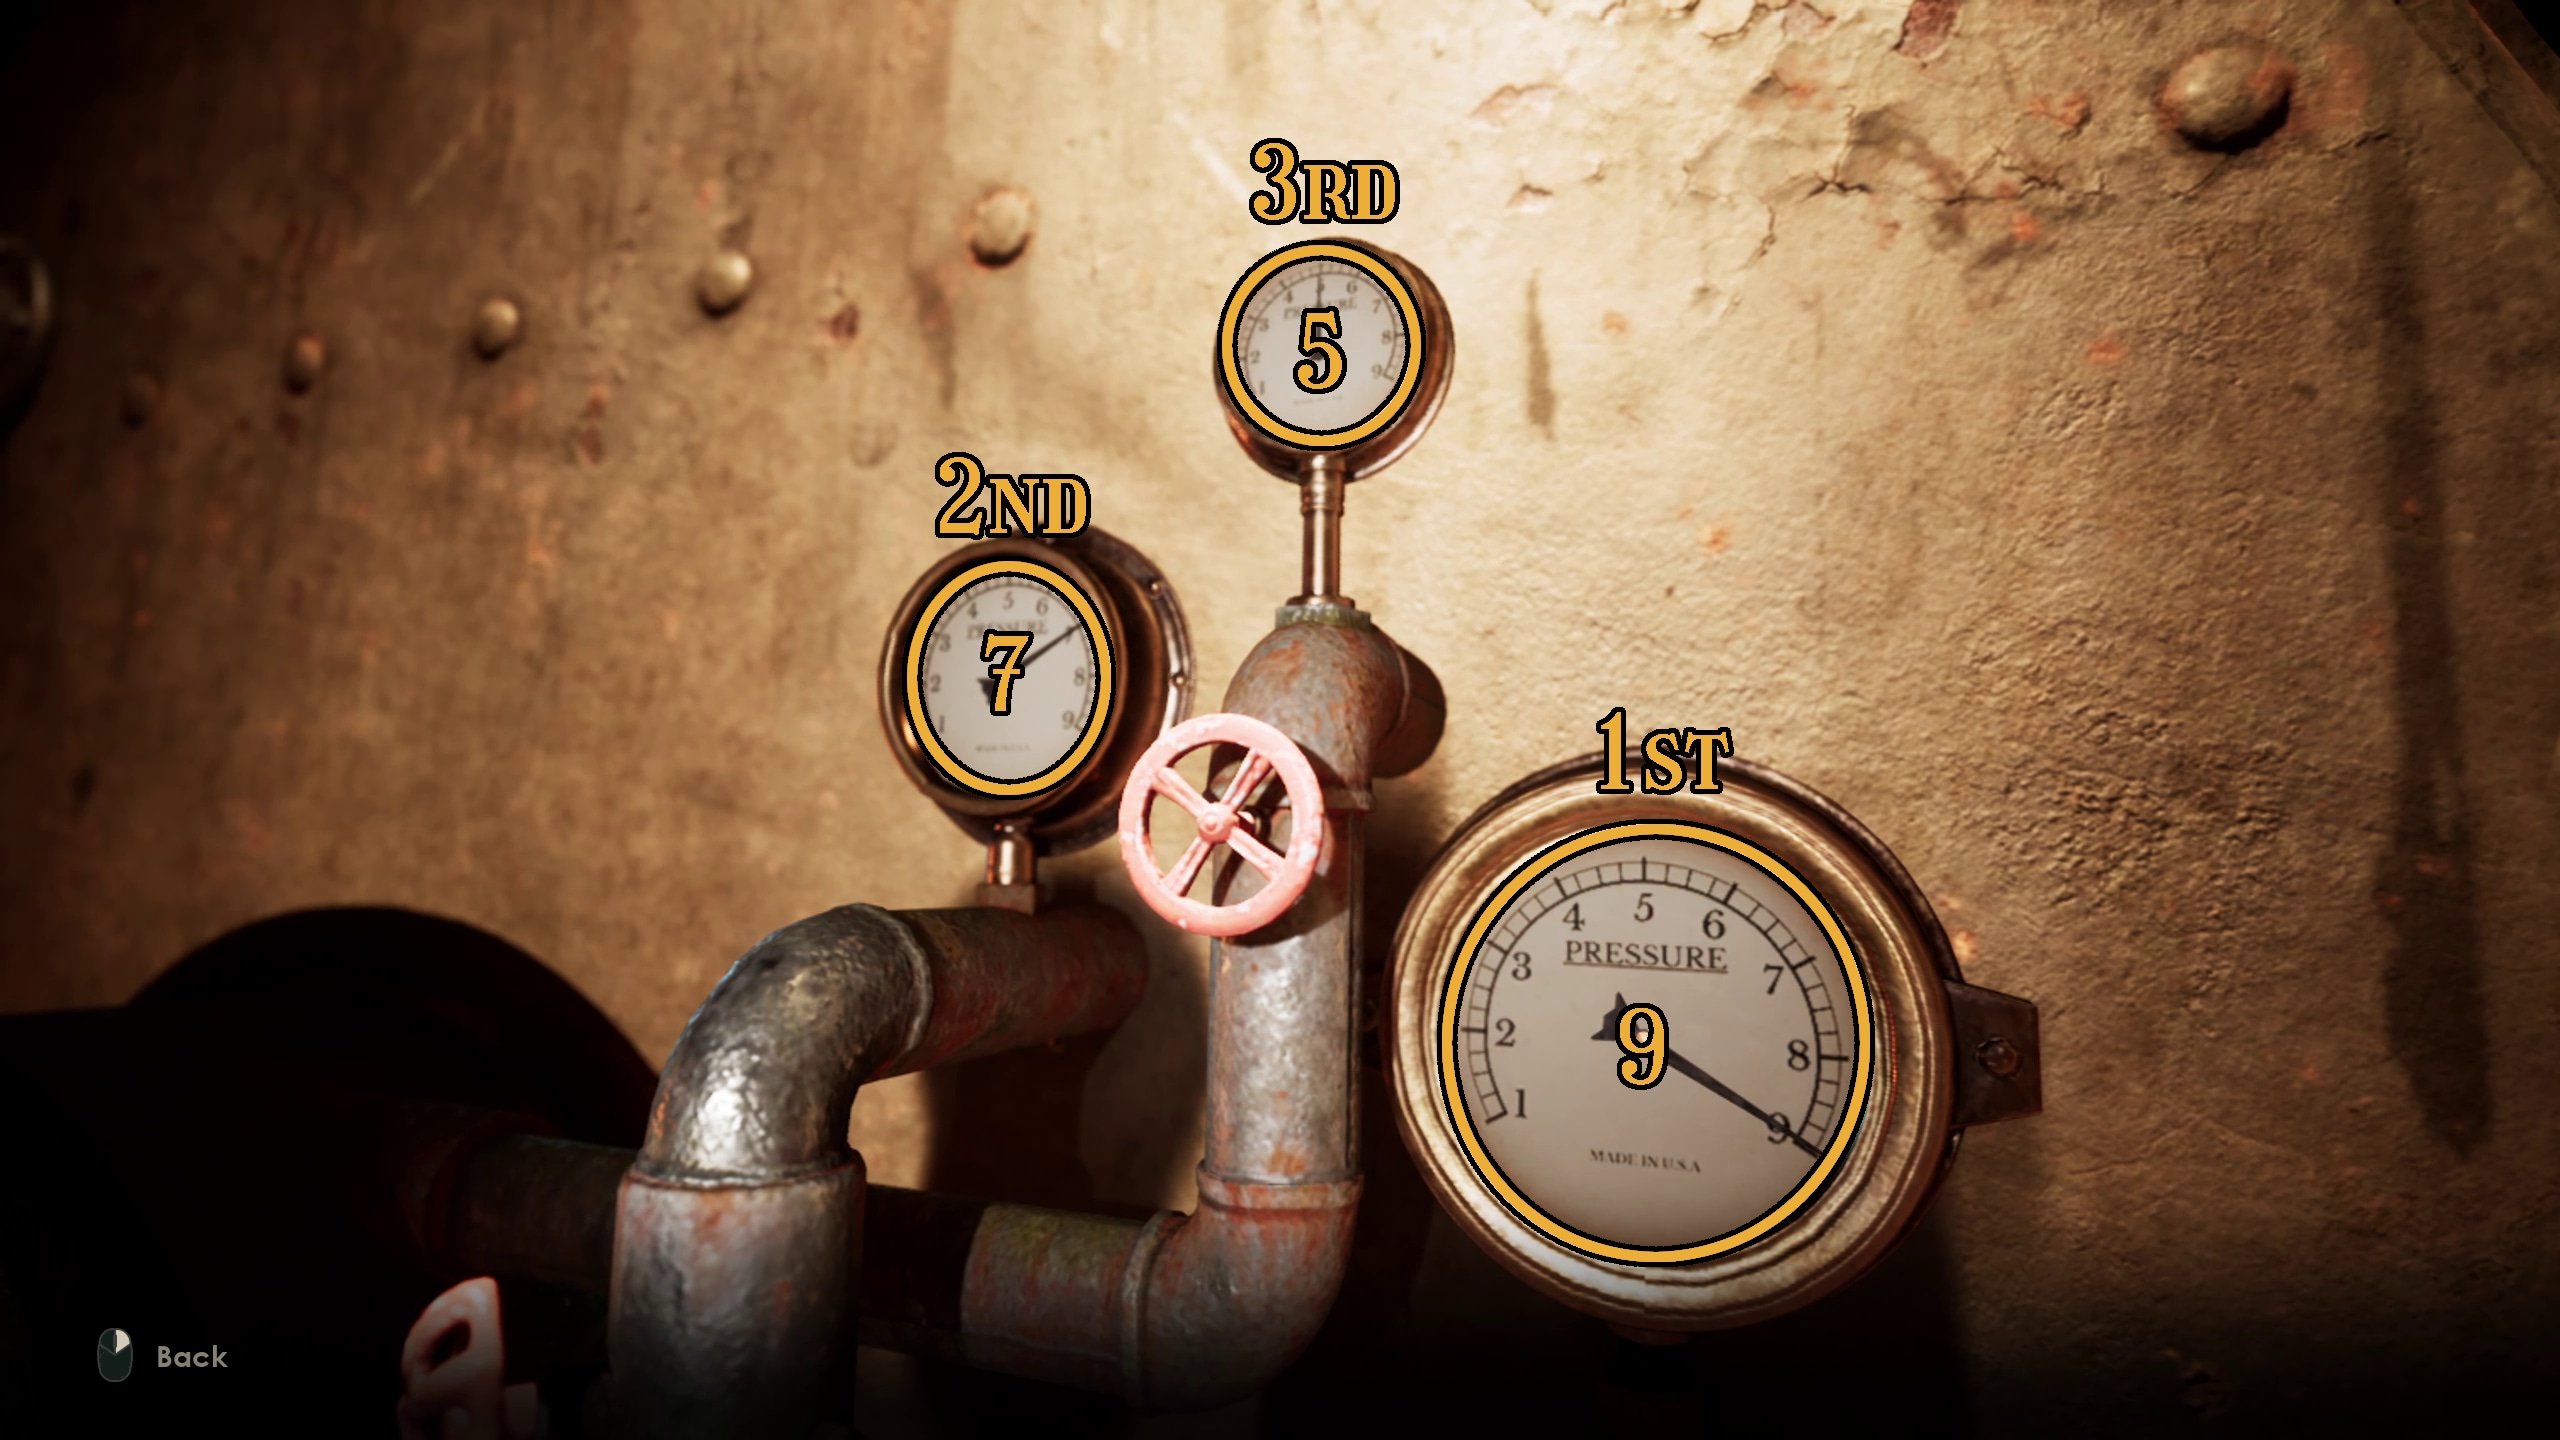
First, you’ll need to solve the puzzle pieces depicting a meteor falling above a small town (See below). Then, that will cause the boiler readouts at the end of the boiler to display 3 numbers: 9, 7, and 5. These are the numbers you will need to put into the Talisman back at the puzzle in order to continue on.
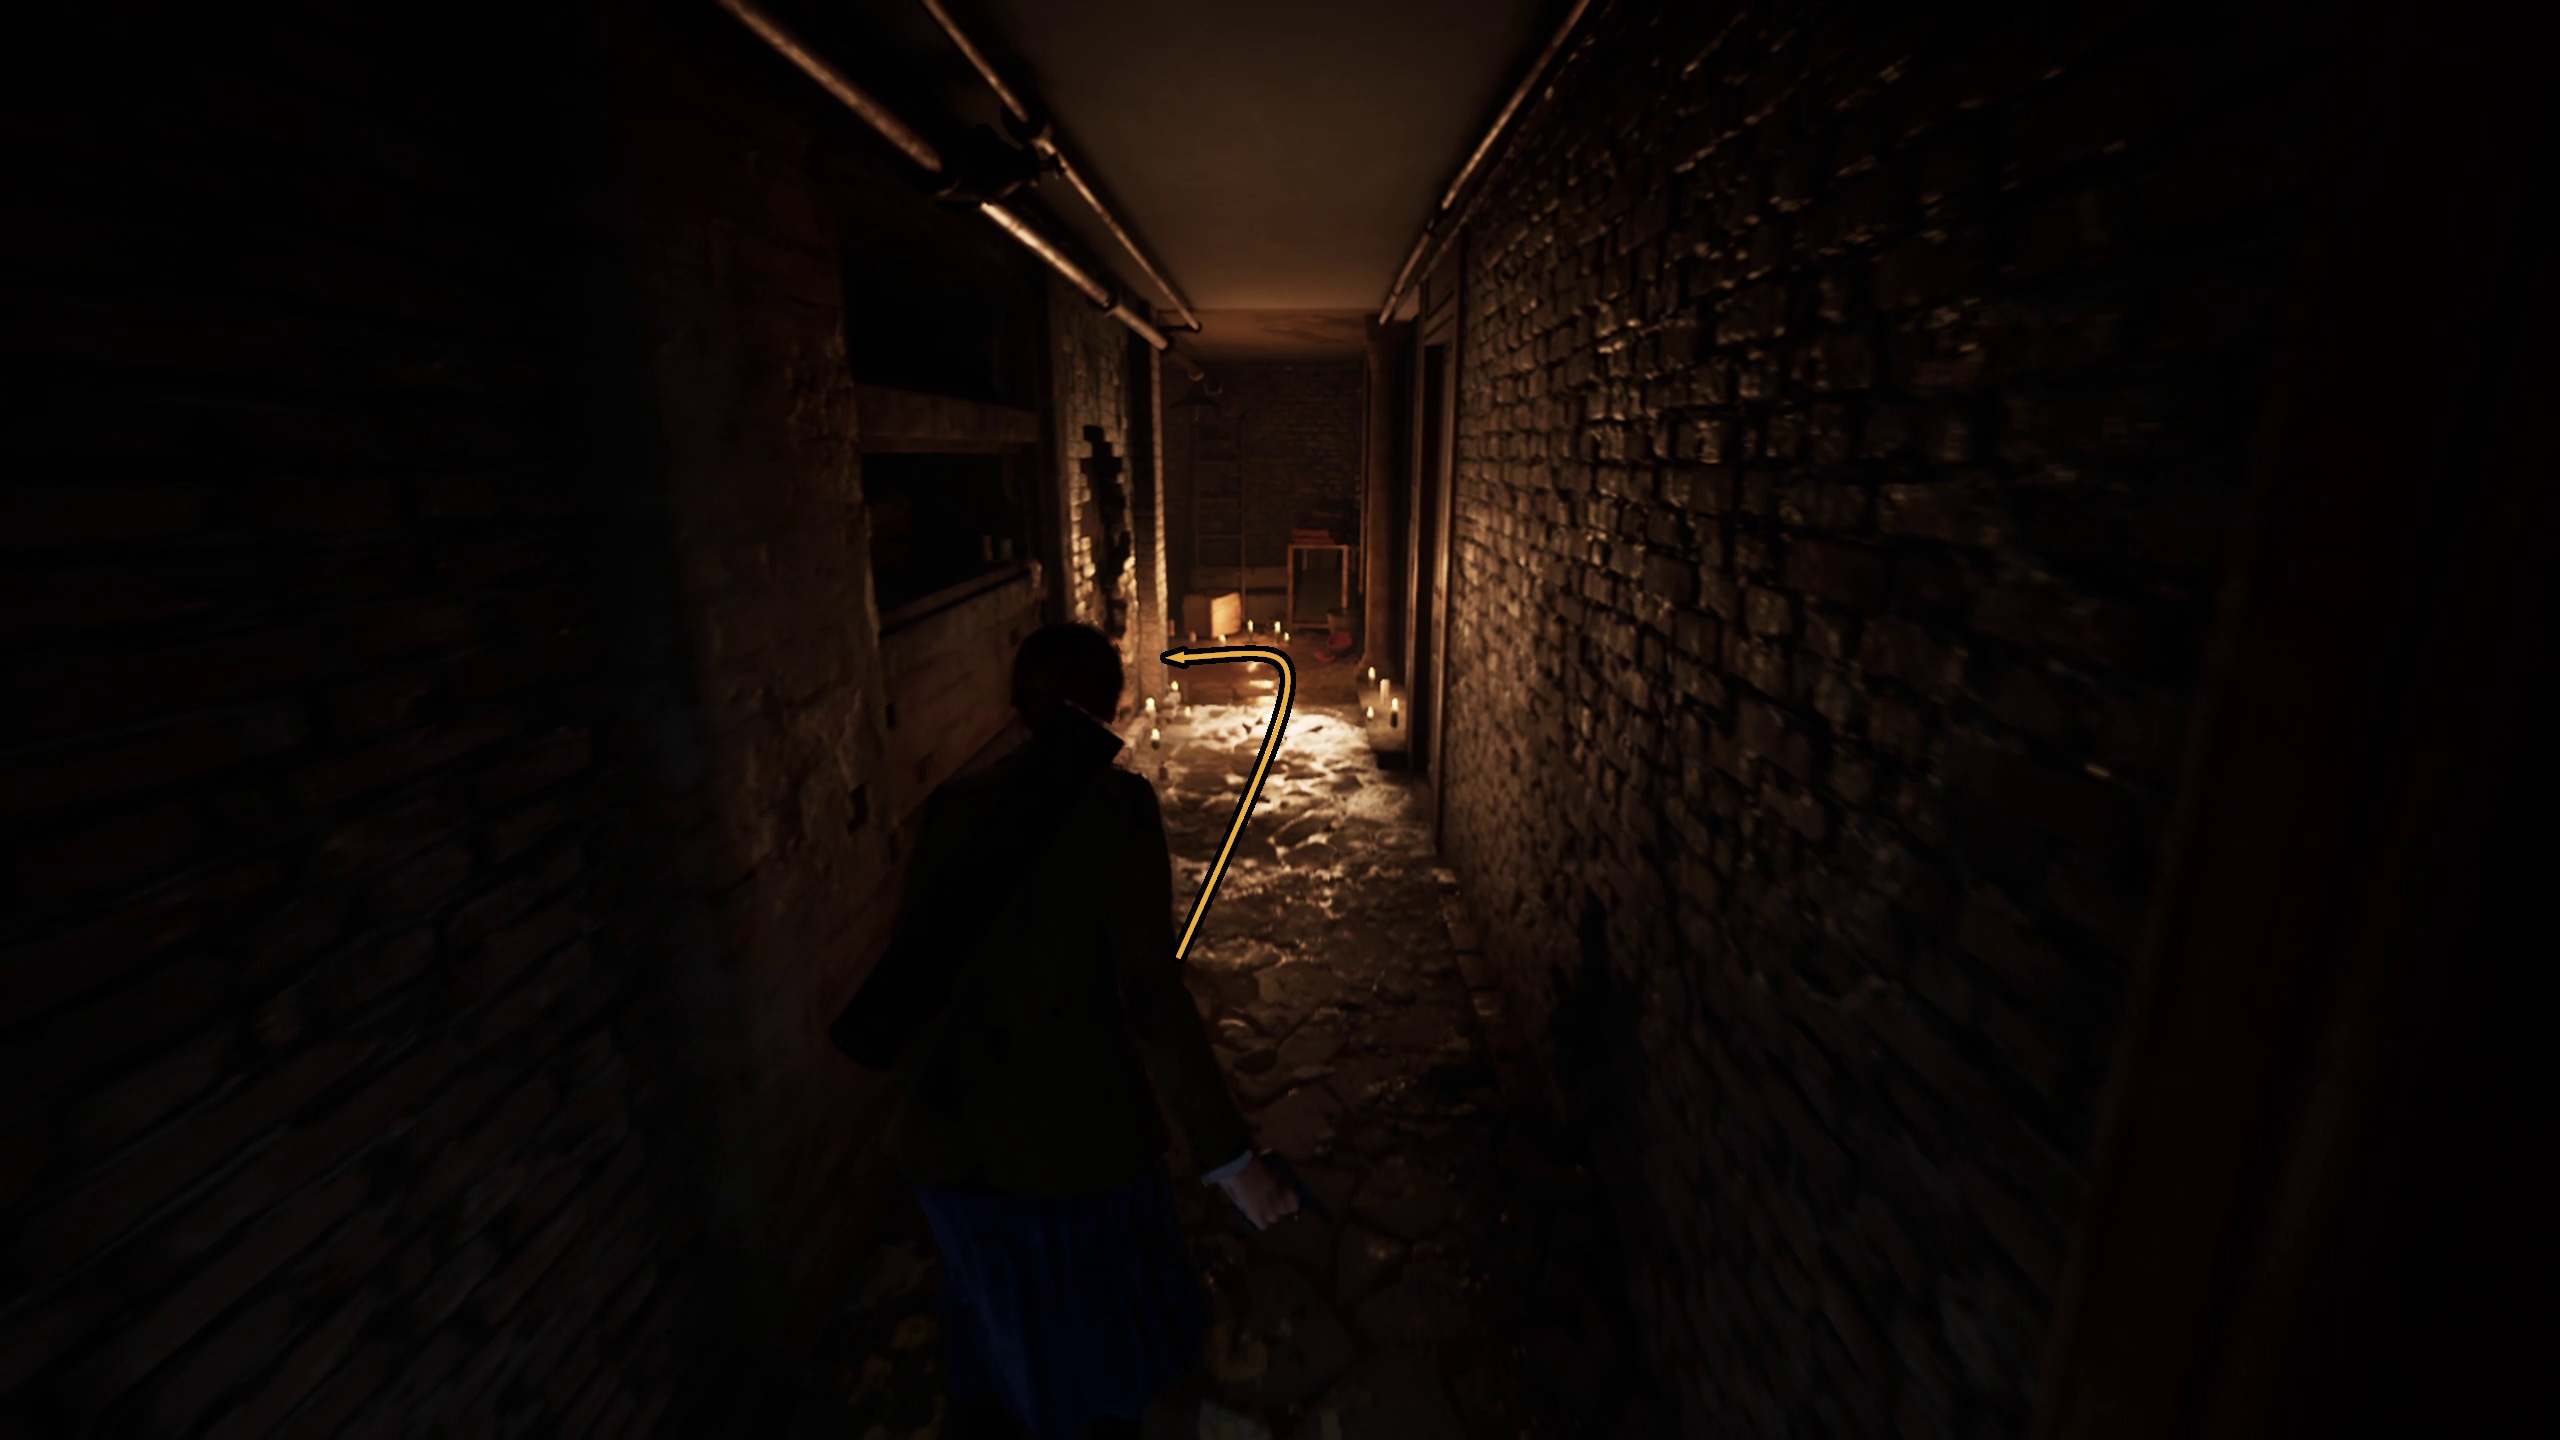
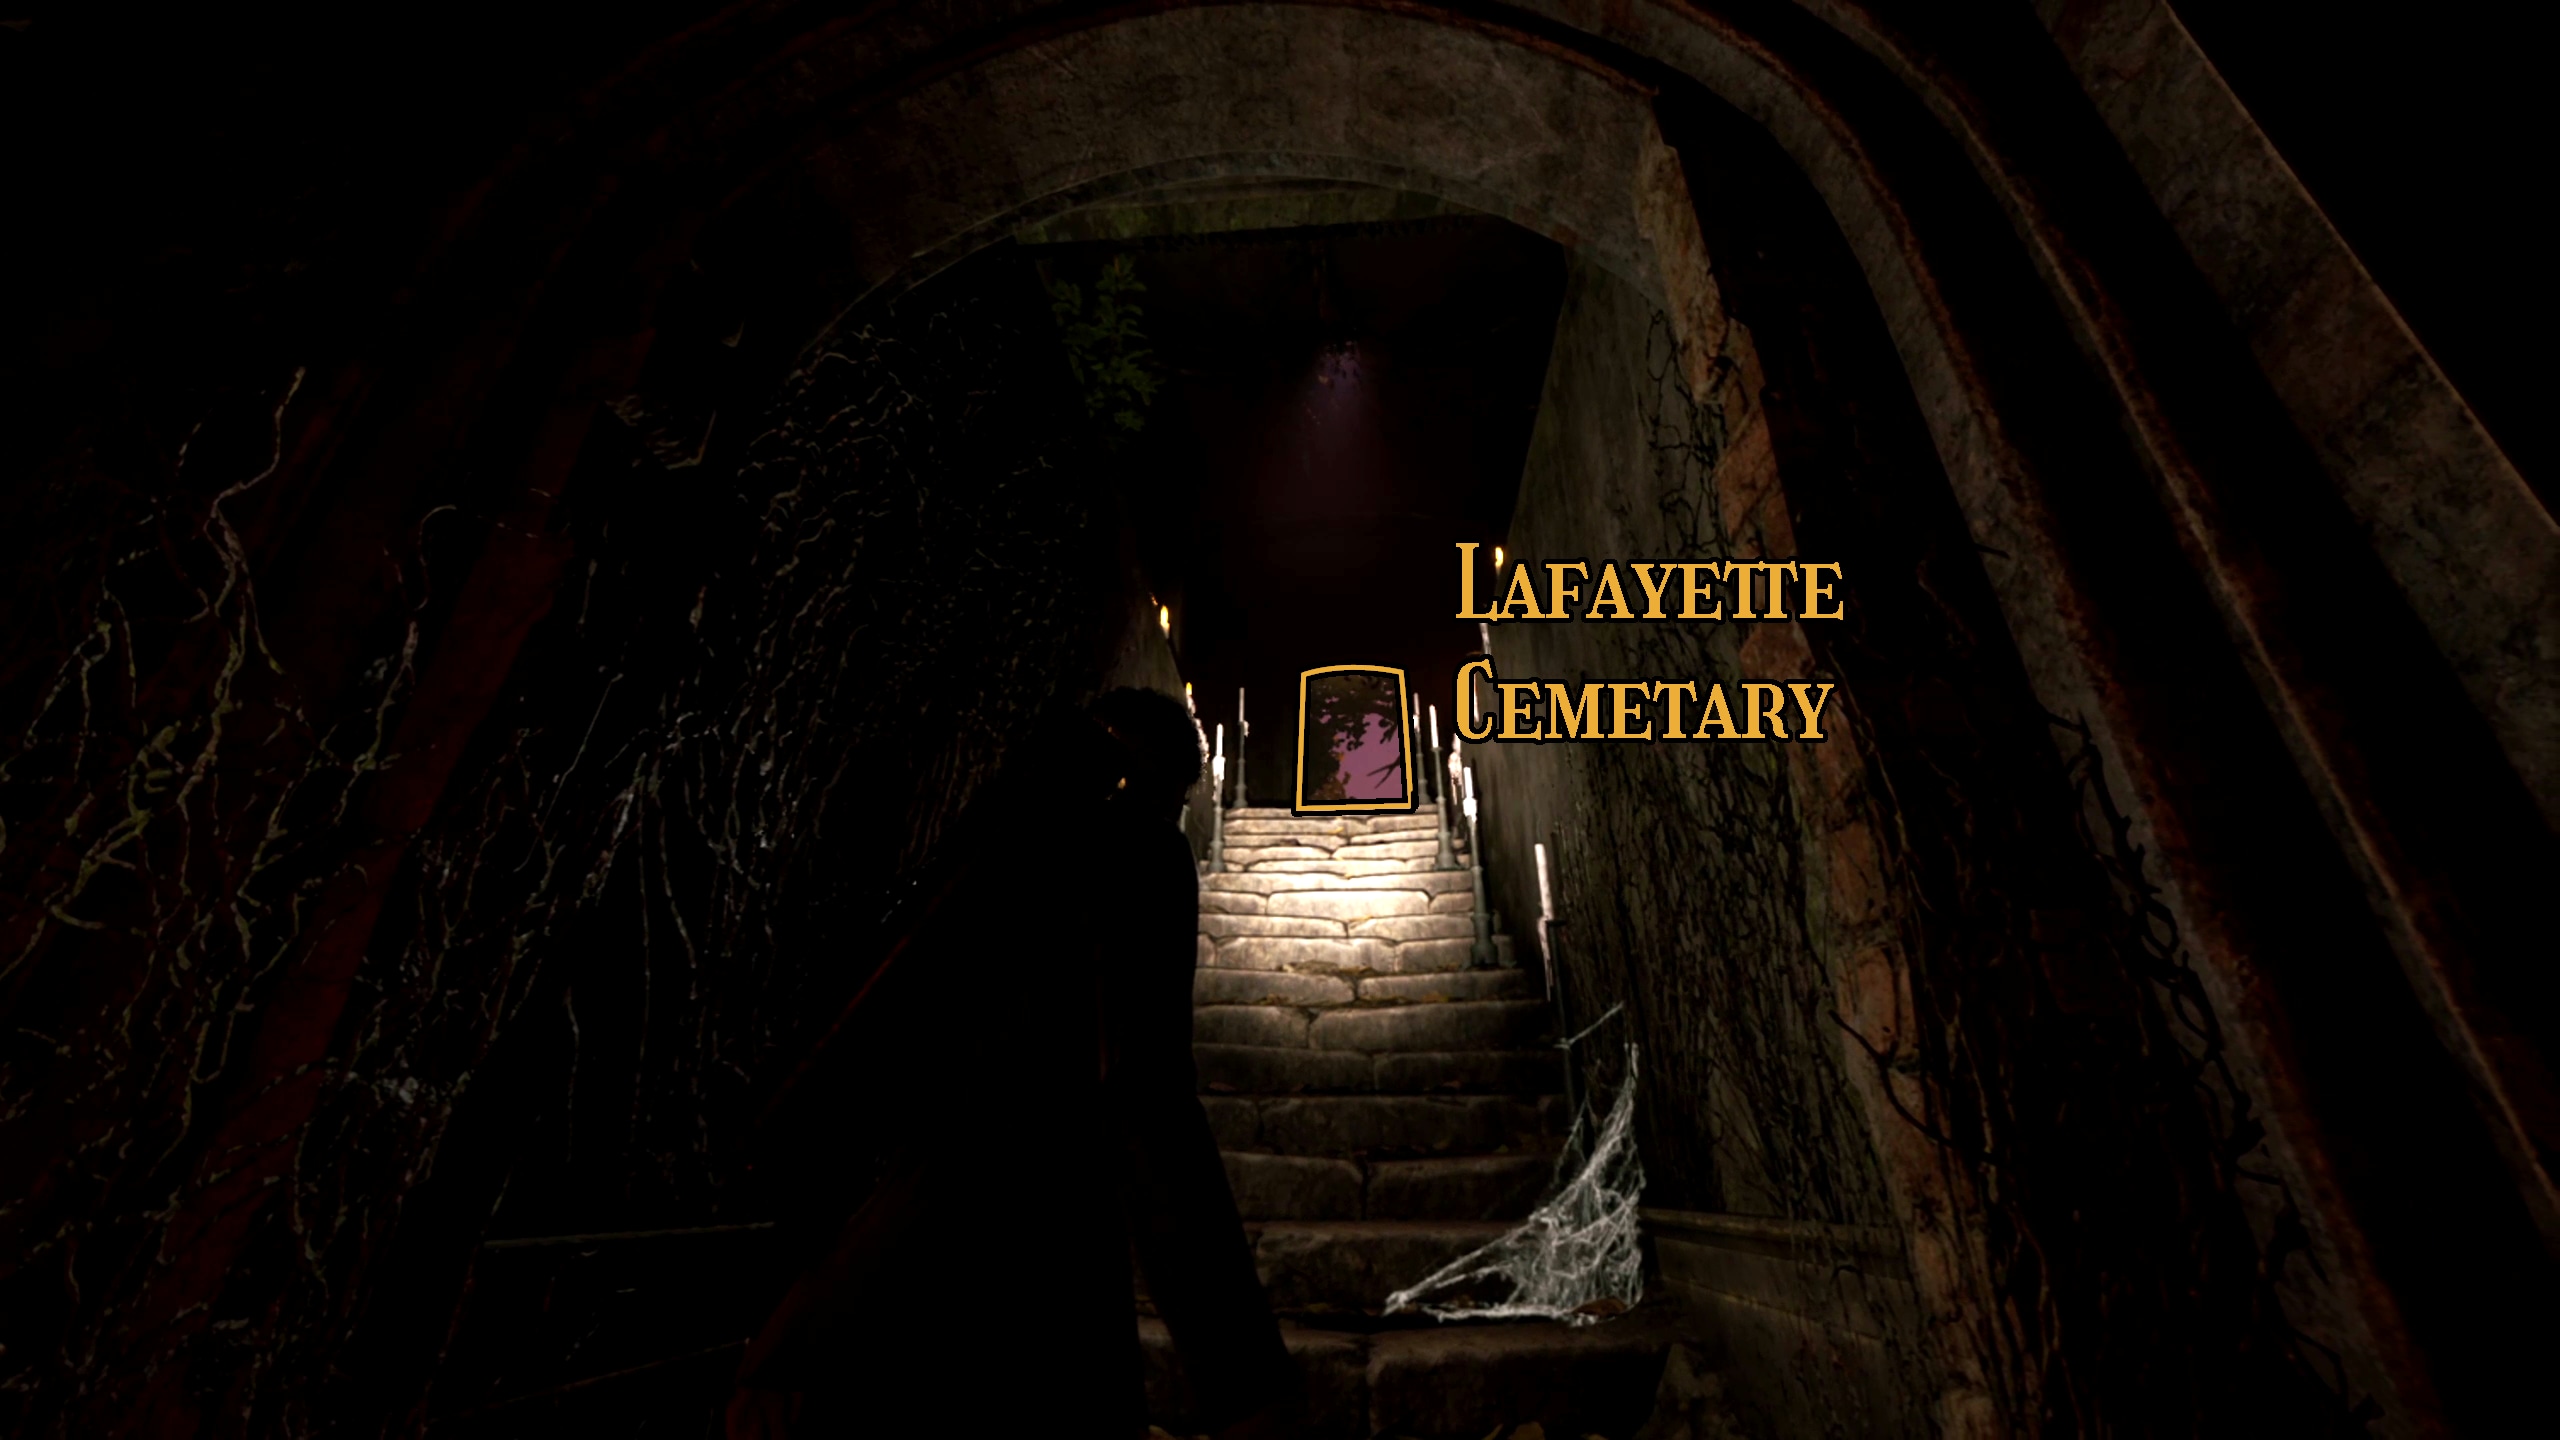
Once you’ve solved the Talisman puzzle, it will display some images. Then, you can leave the Boiler room and make a right (Image 157). The world will have changed, and you can go up and out of a new exit to enter the Lafayette Cemetary (Image 158).
157158
Look for Jeremy inside the Chapel in Lafayette Cemetary
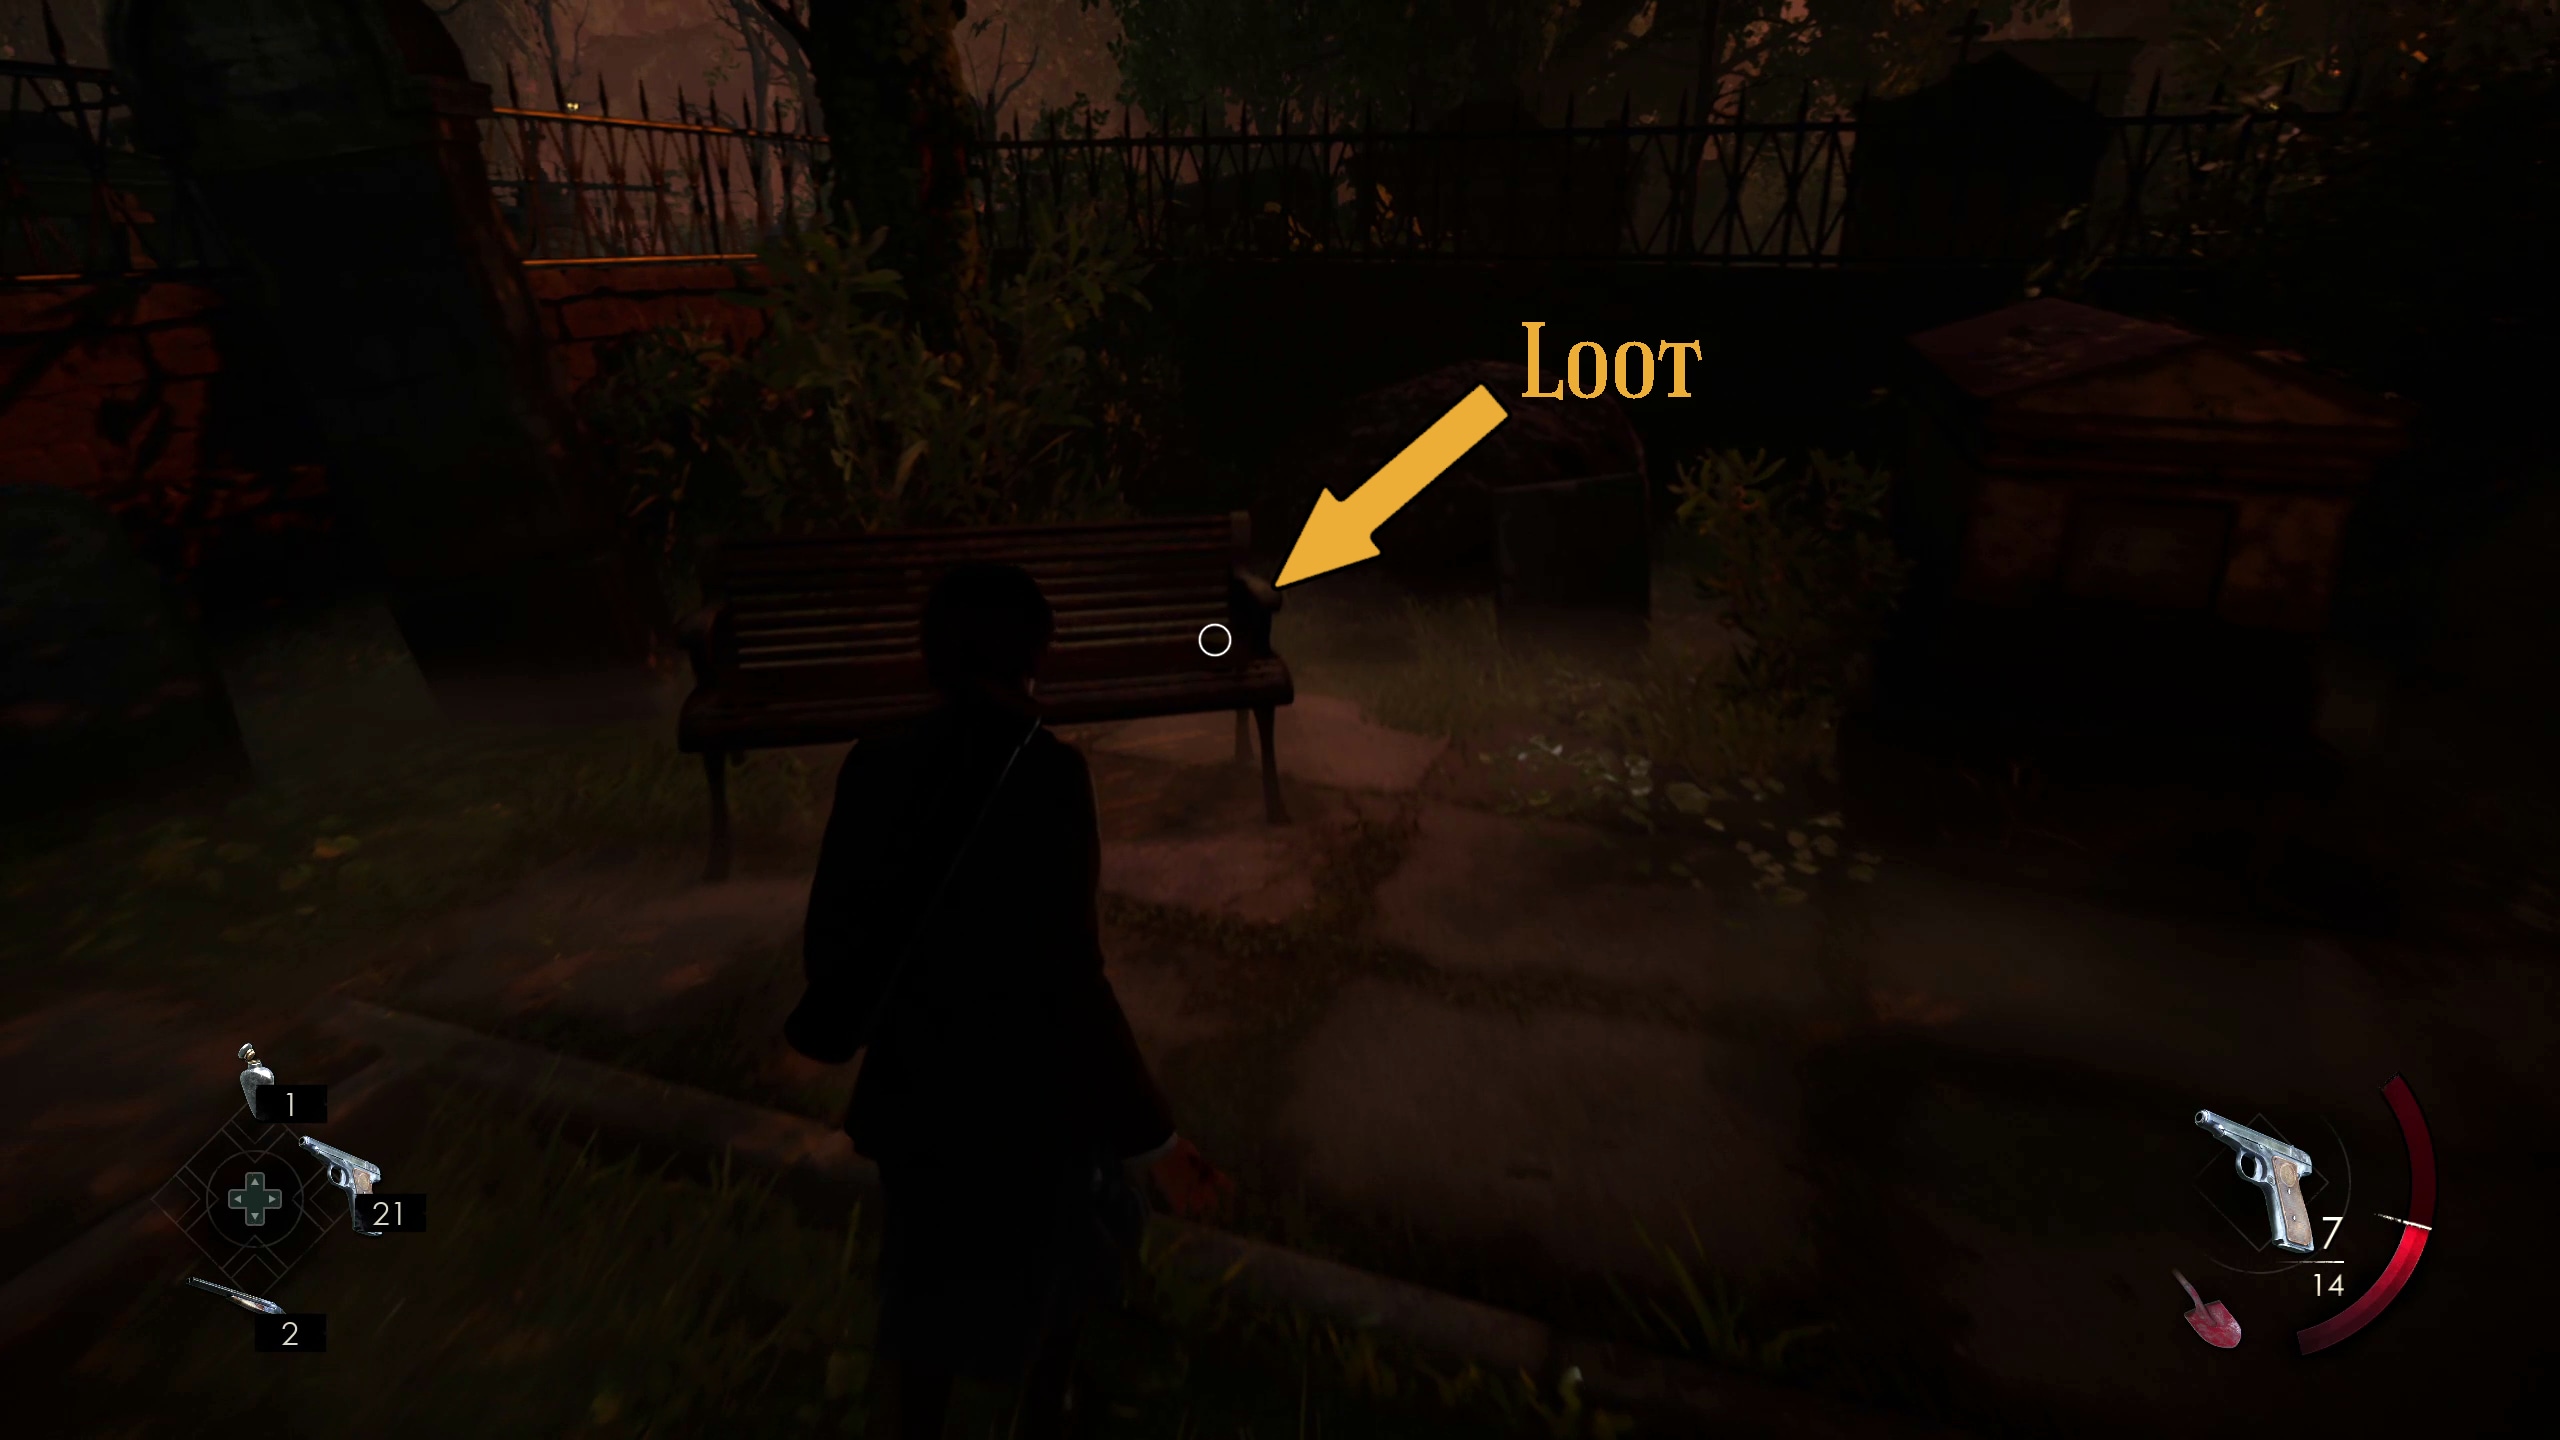
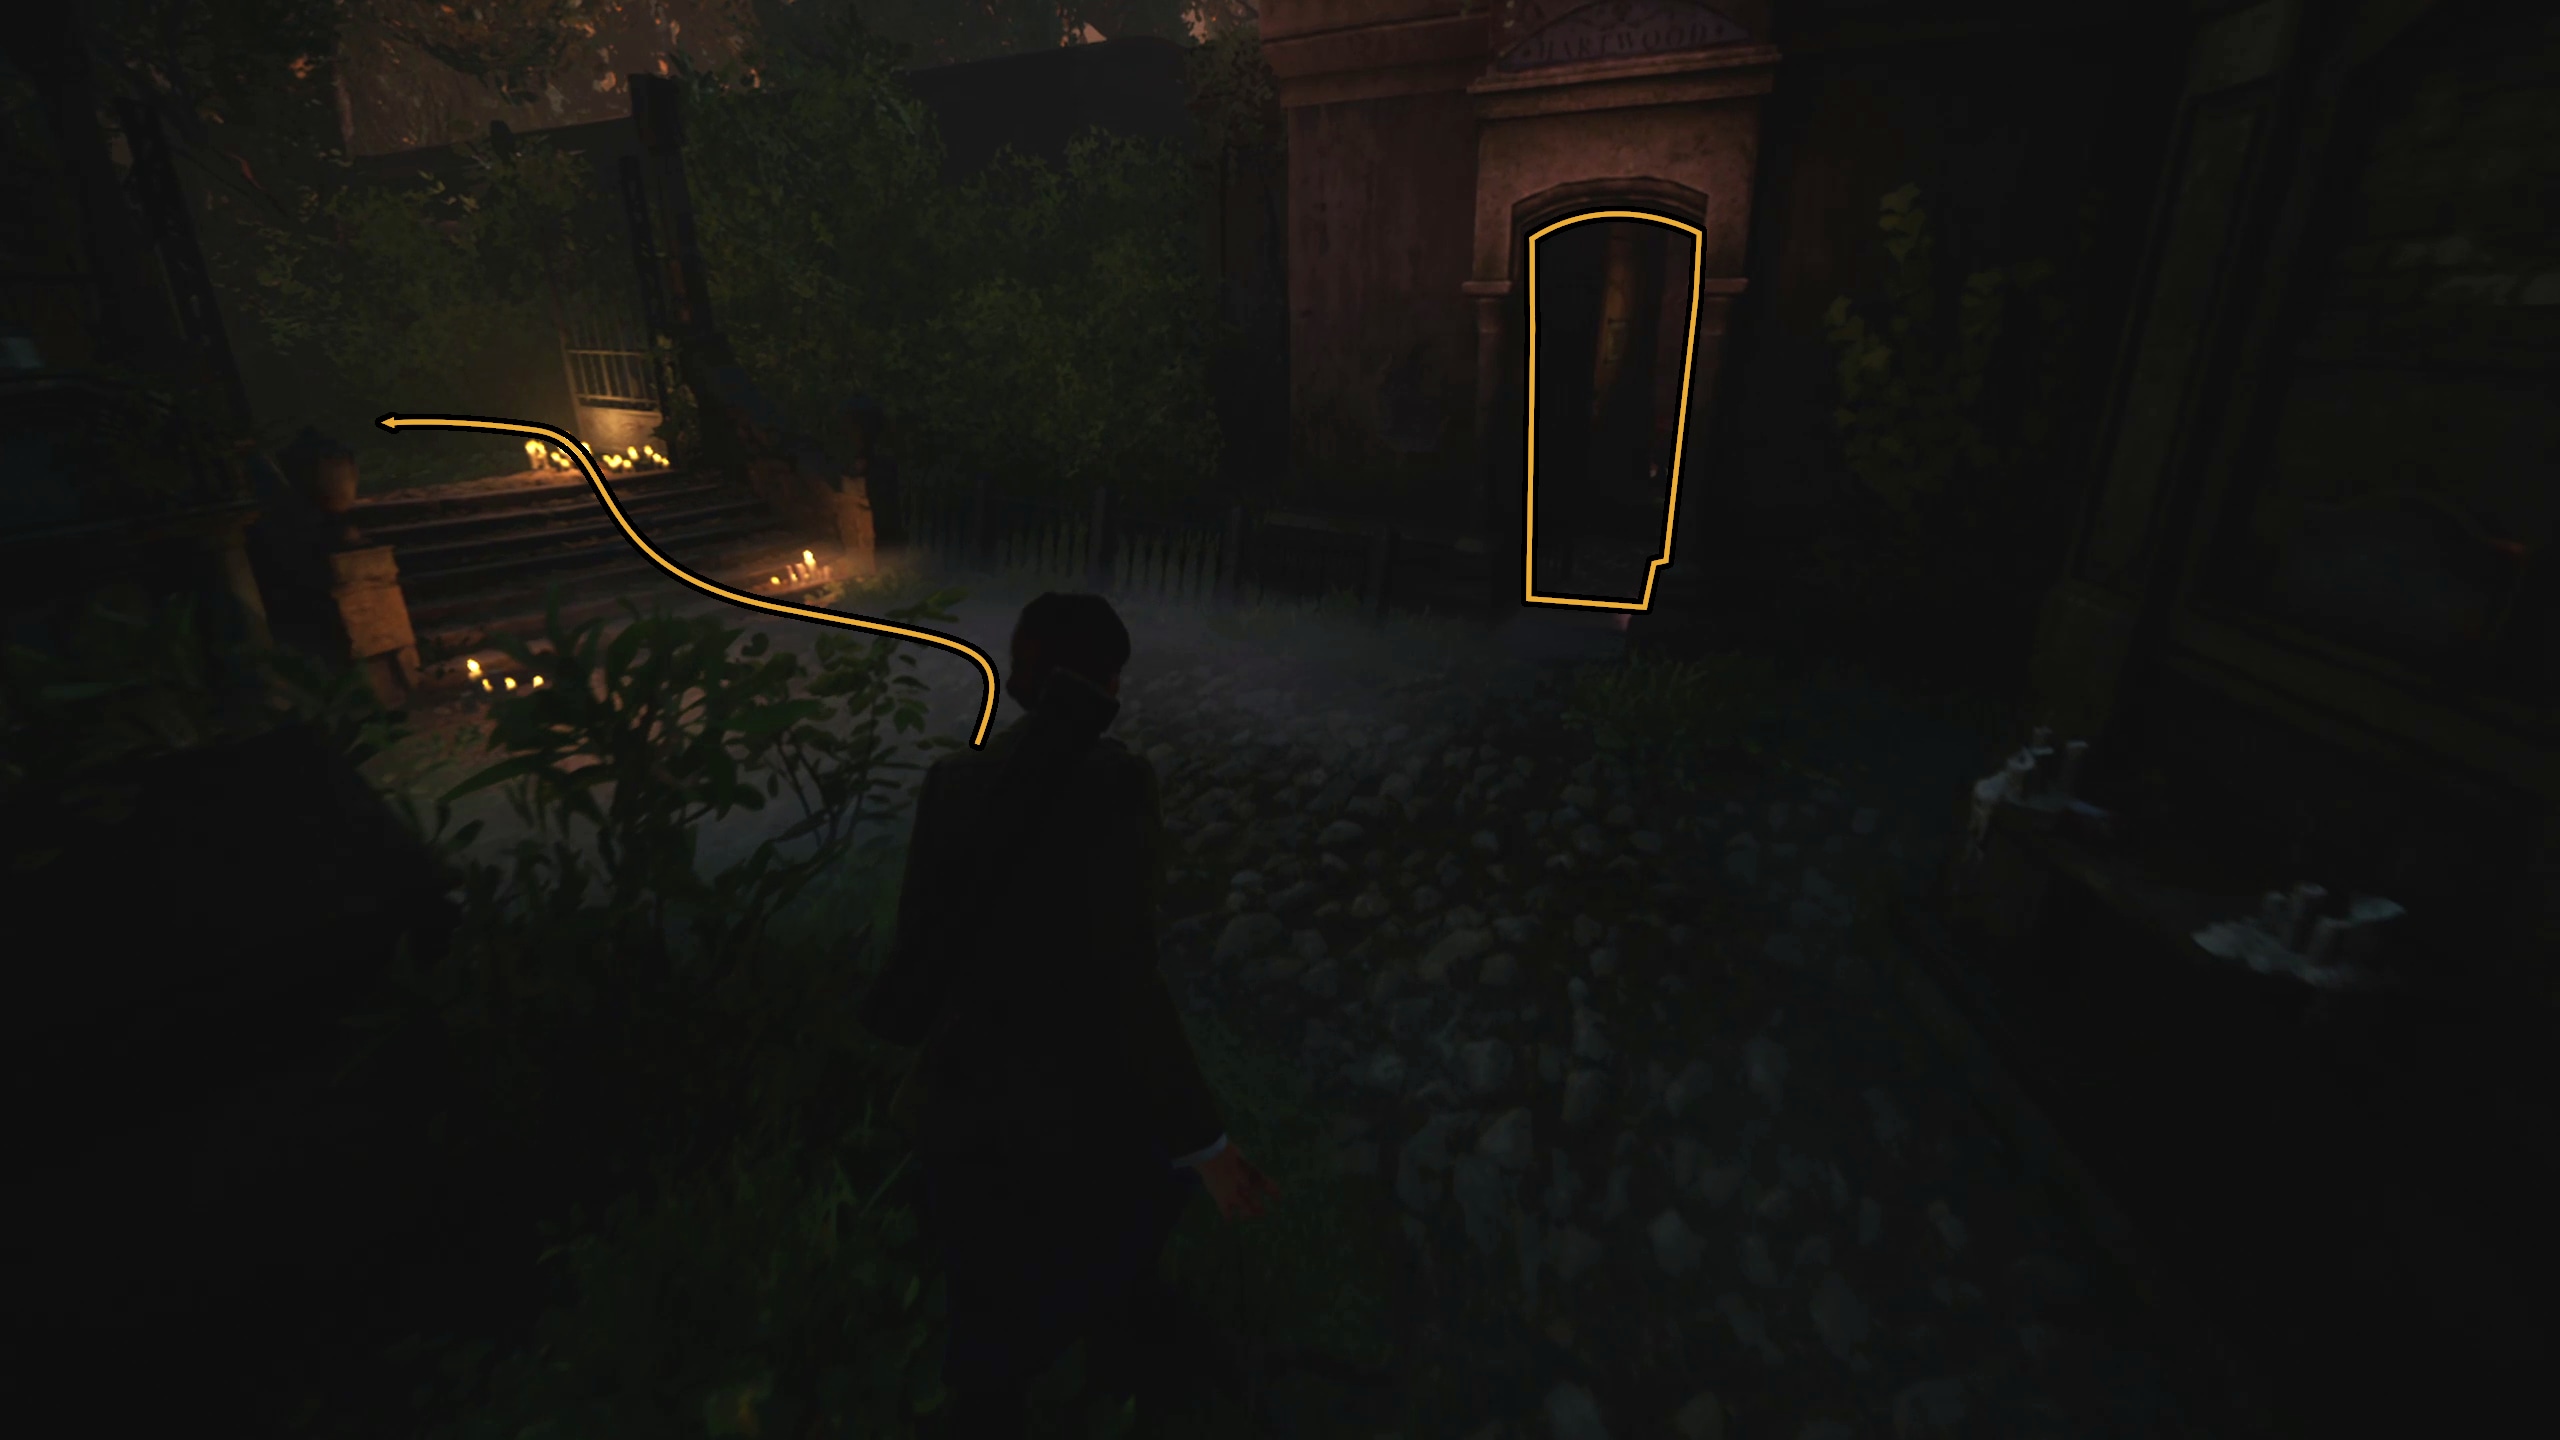
Immediately in front of you when you enter Lafayette Cemetary, you will see a bench with Loot on it (Image 159). Key an eye on the benches throughout the Cemetary for more loot. After you grab this, you can continue into the cemetary (Image 160), passing (or going into) the Hardwood family tomb and going to the left (Image 161).
159160161
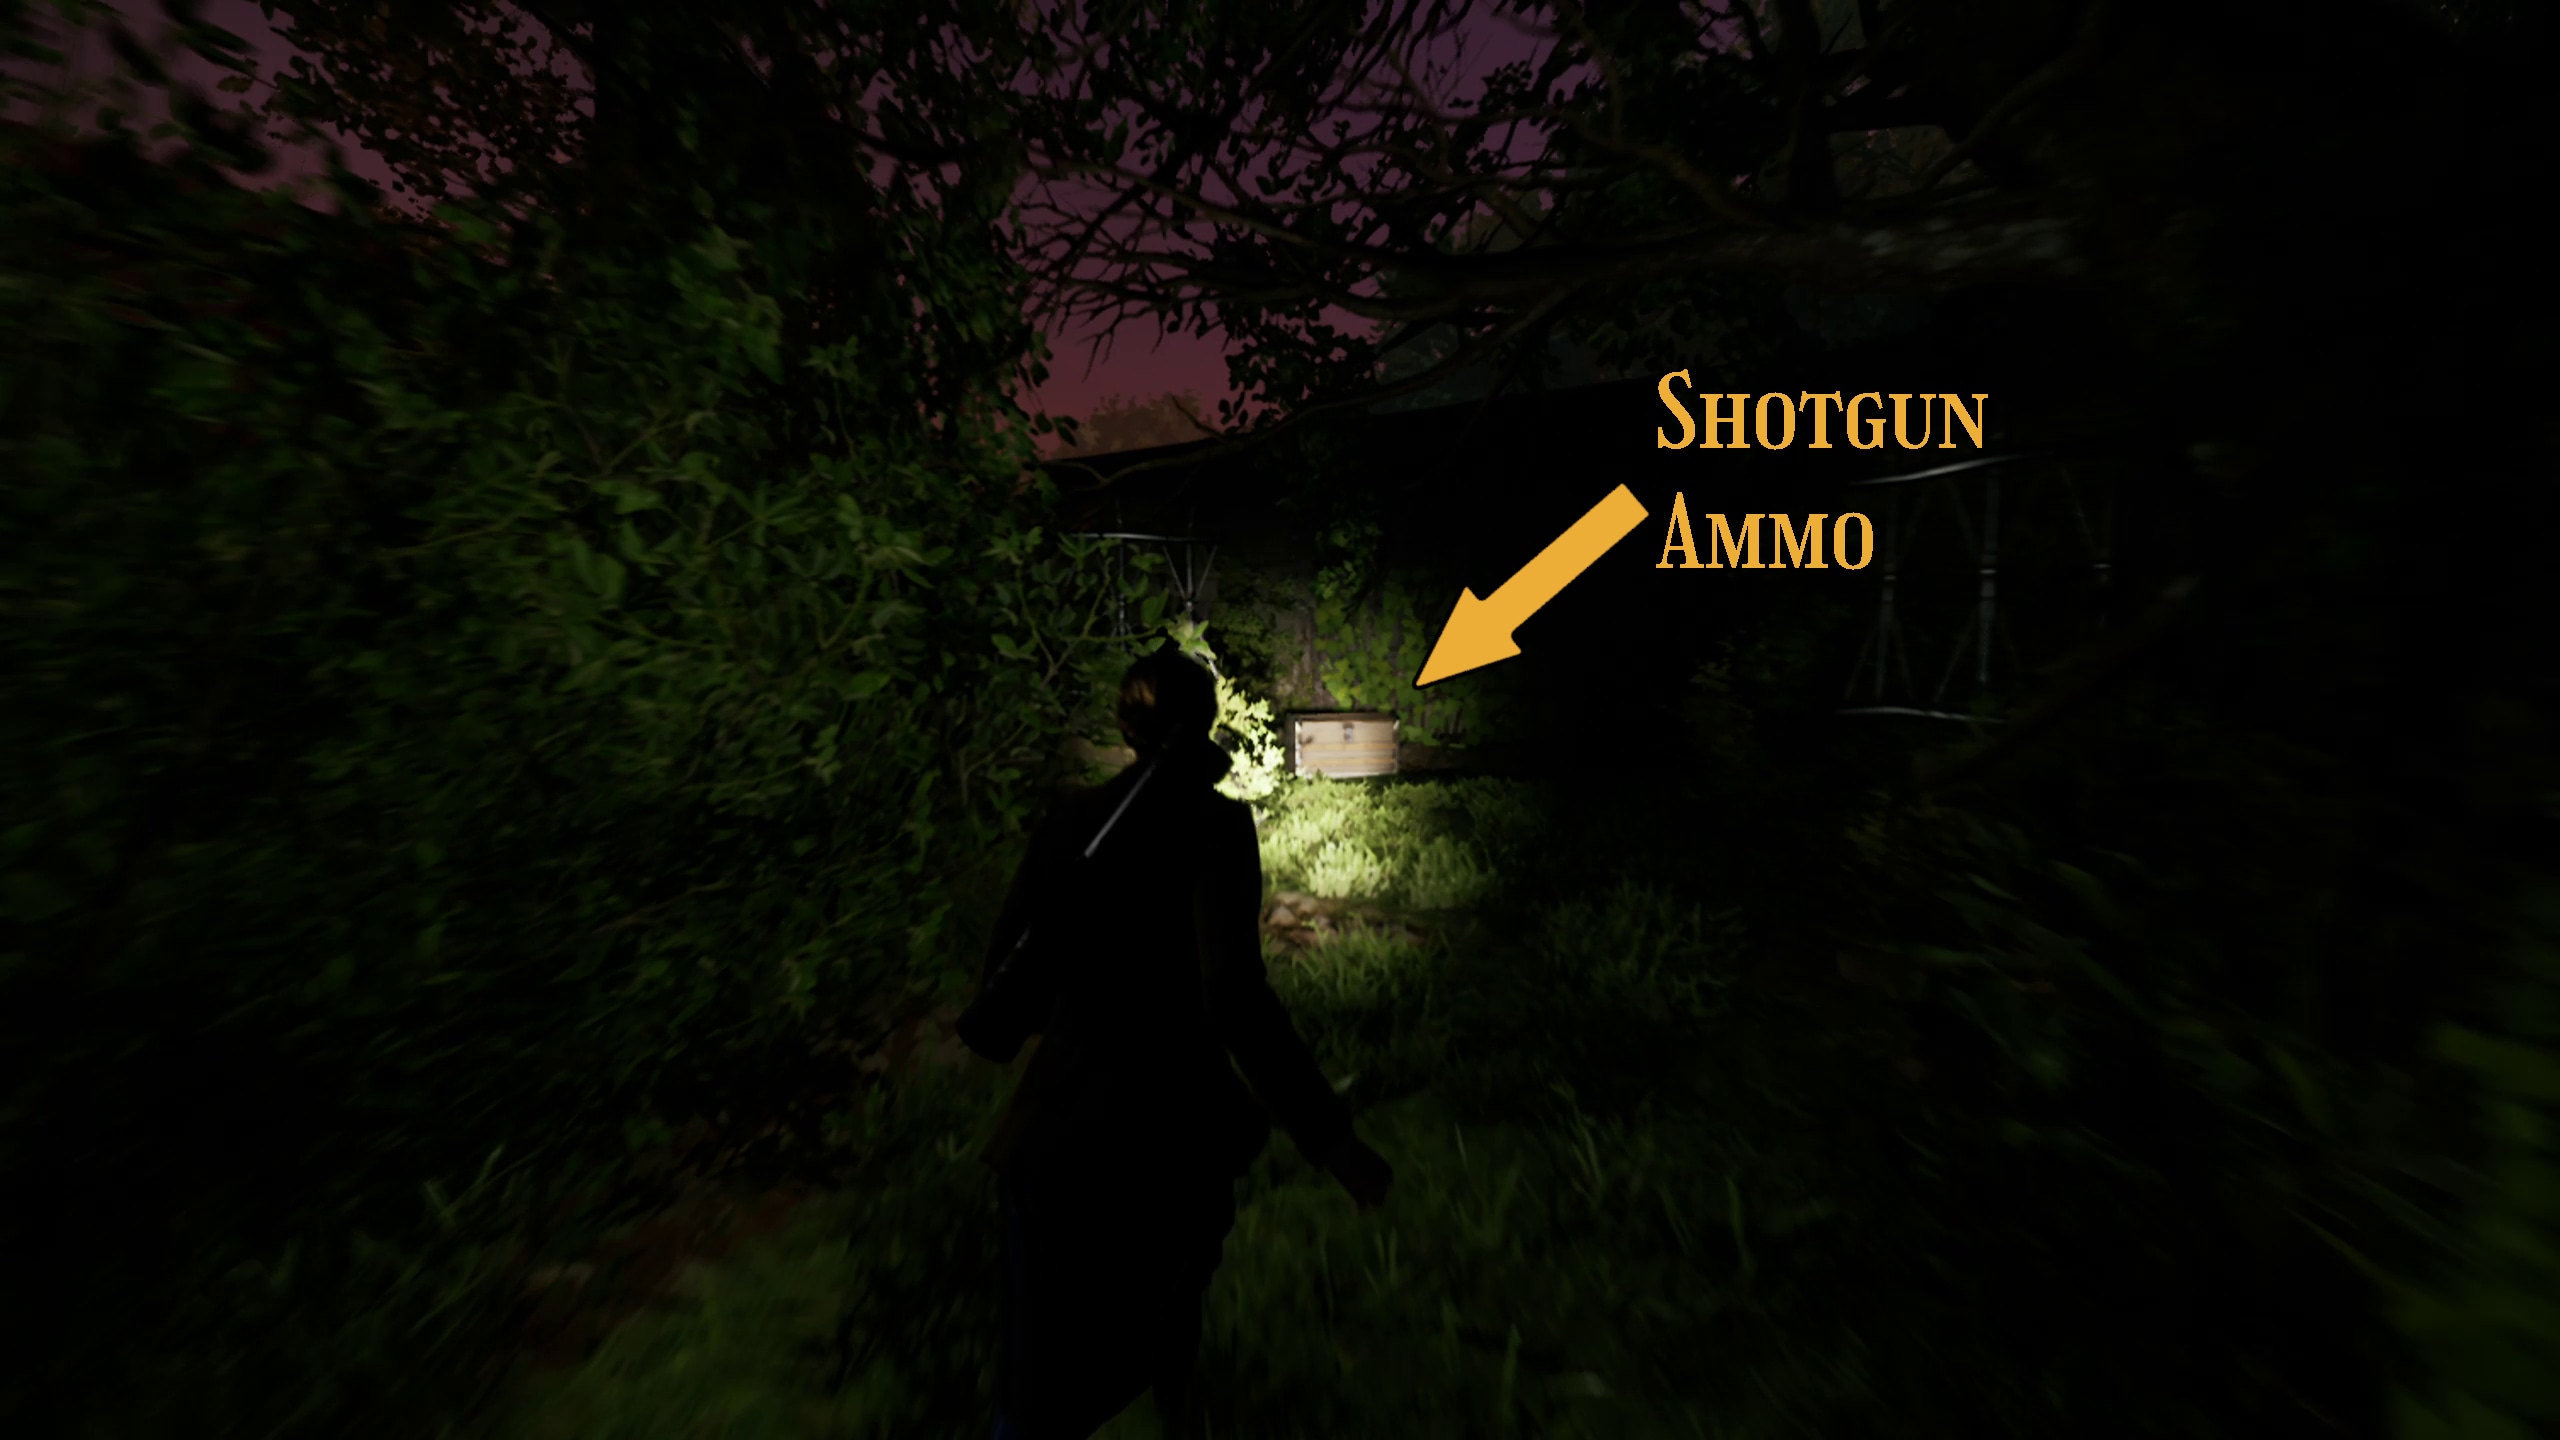
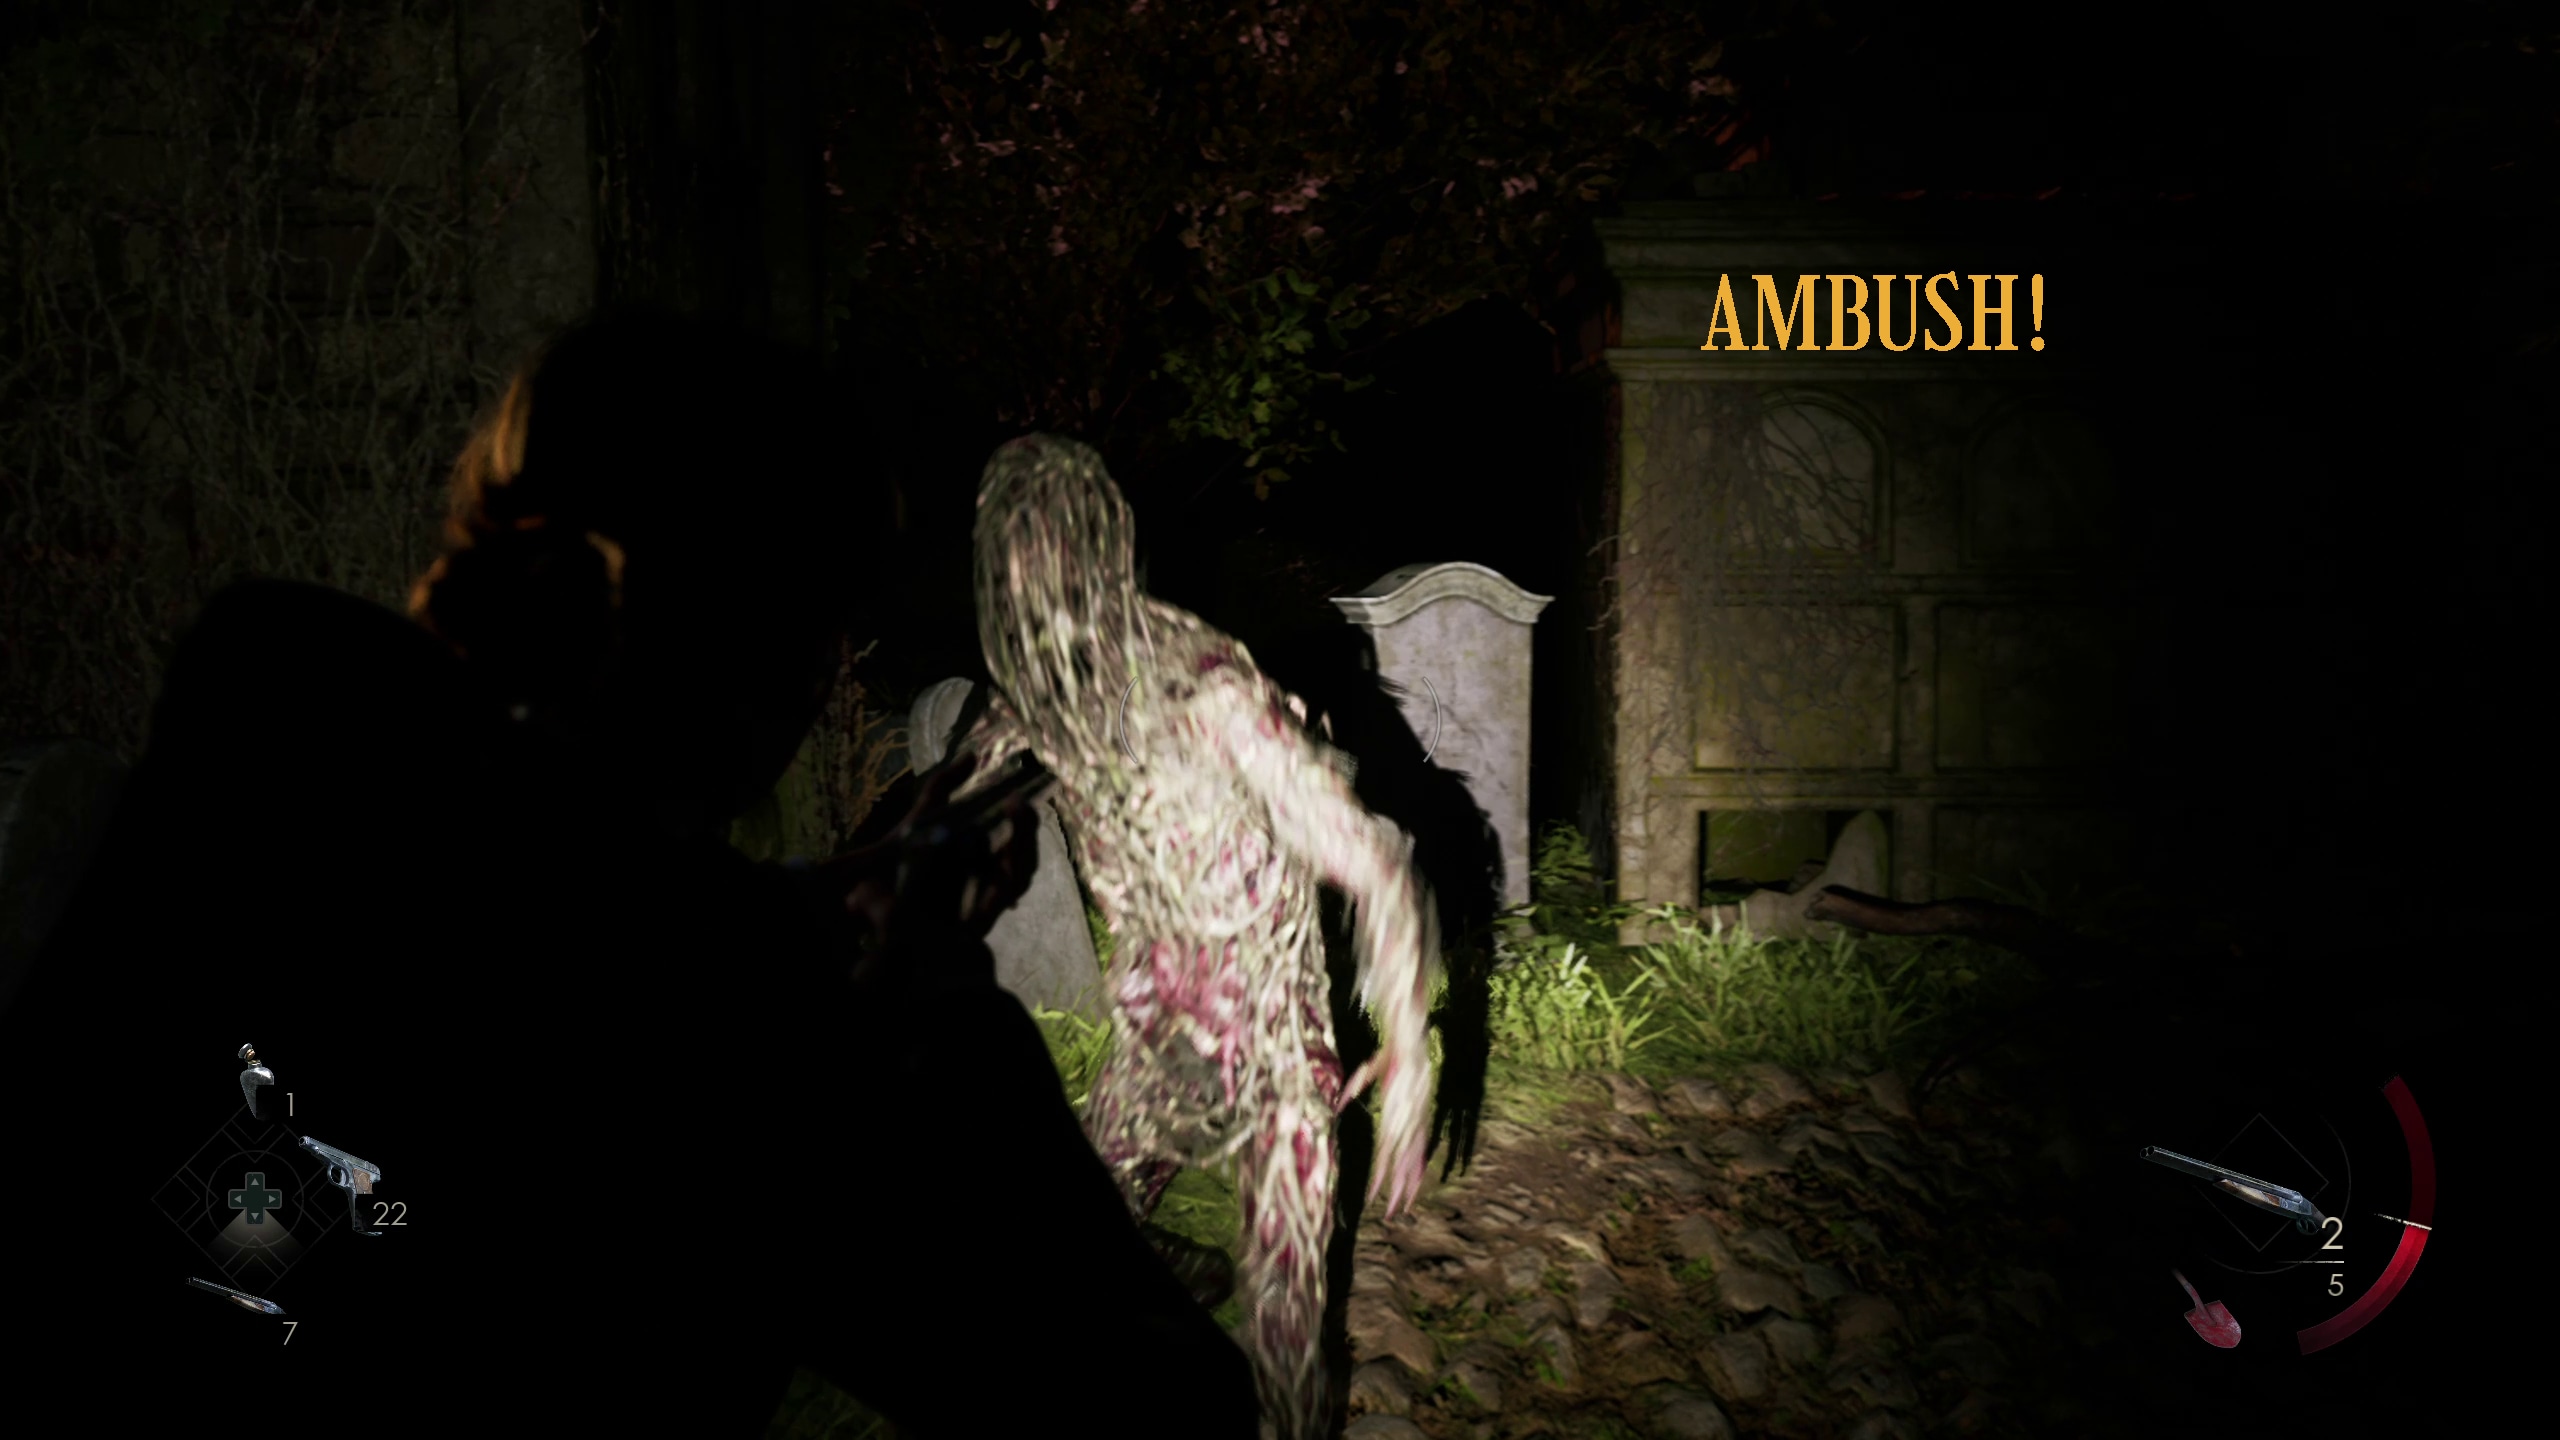
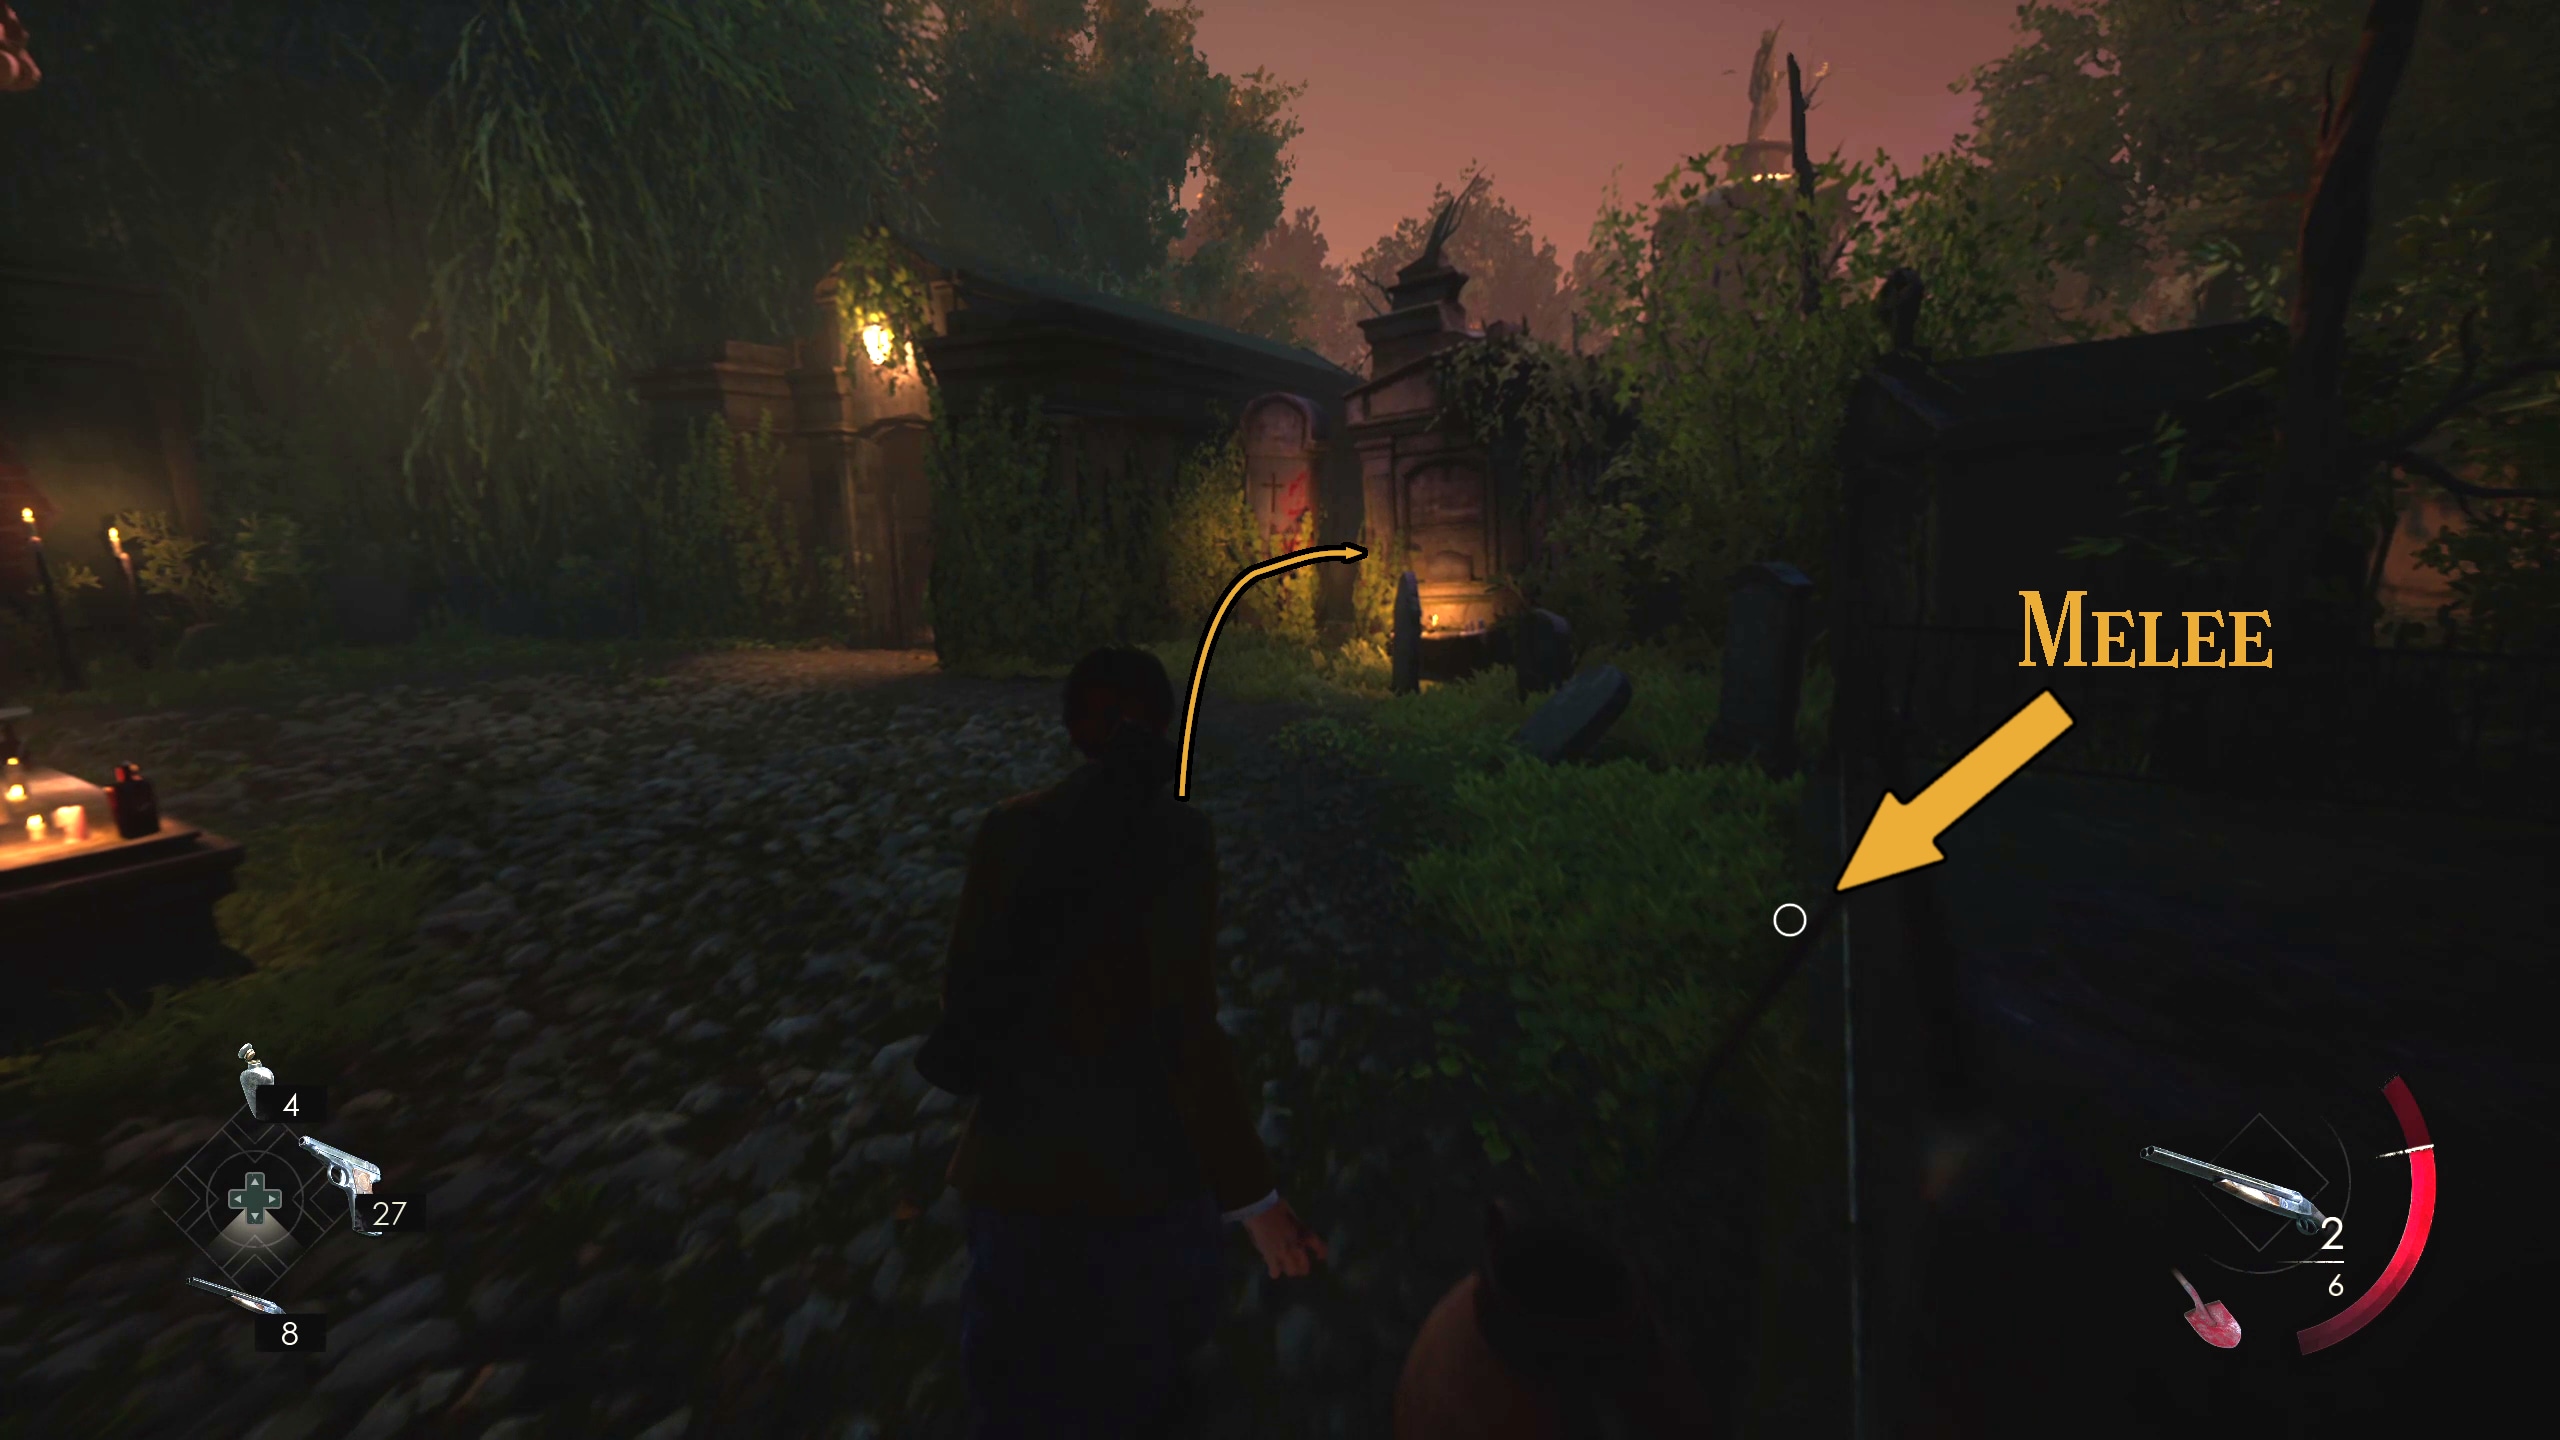
You’ll encounter a split in the road (Image 162). If you go to the right, you can continue into a grassy area to find a chest filled with shotgun ammo (Image 163). Be cafeful after you grab it, though, because you’ll be ambushed by a monster on the way out (Image 164).
162163164
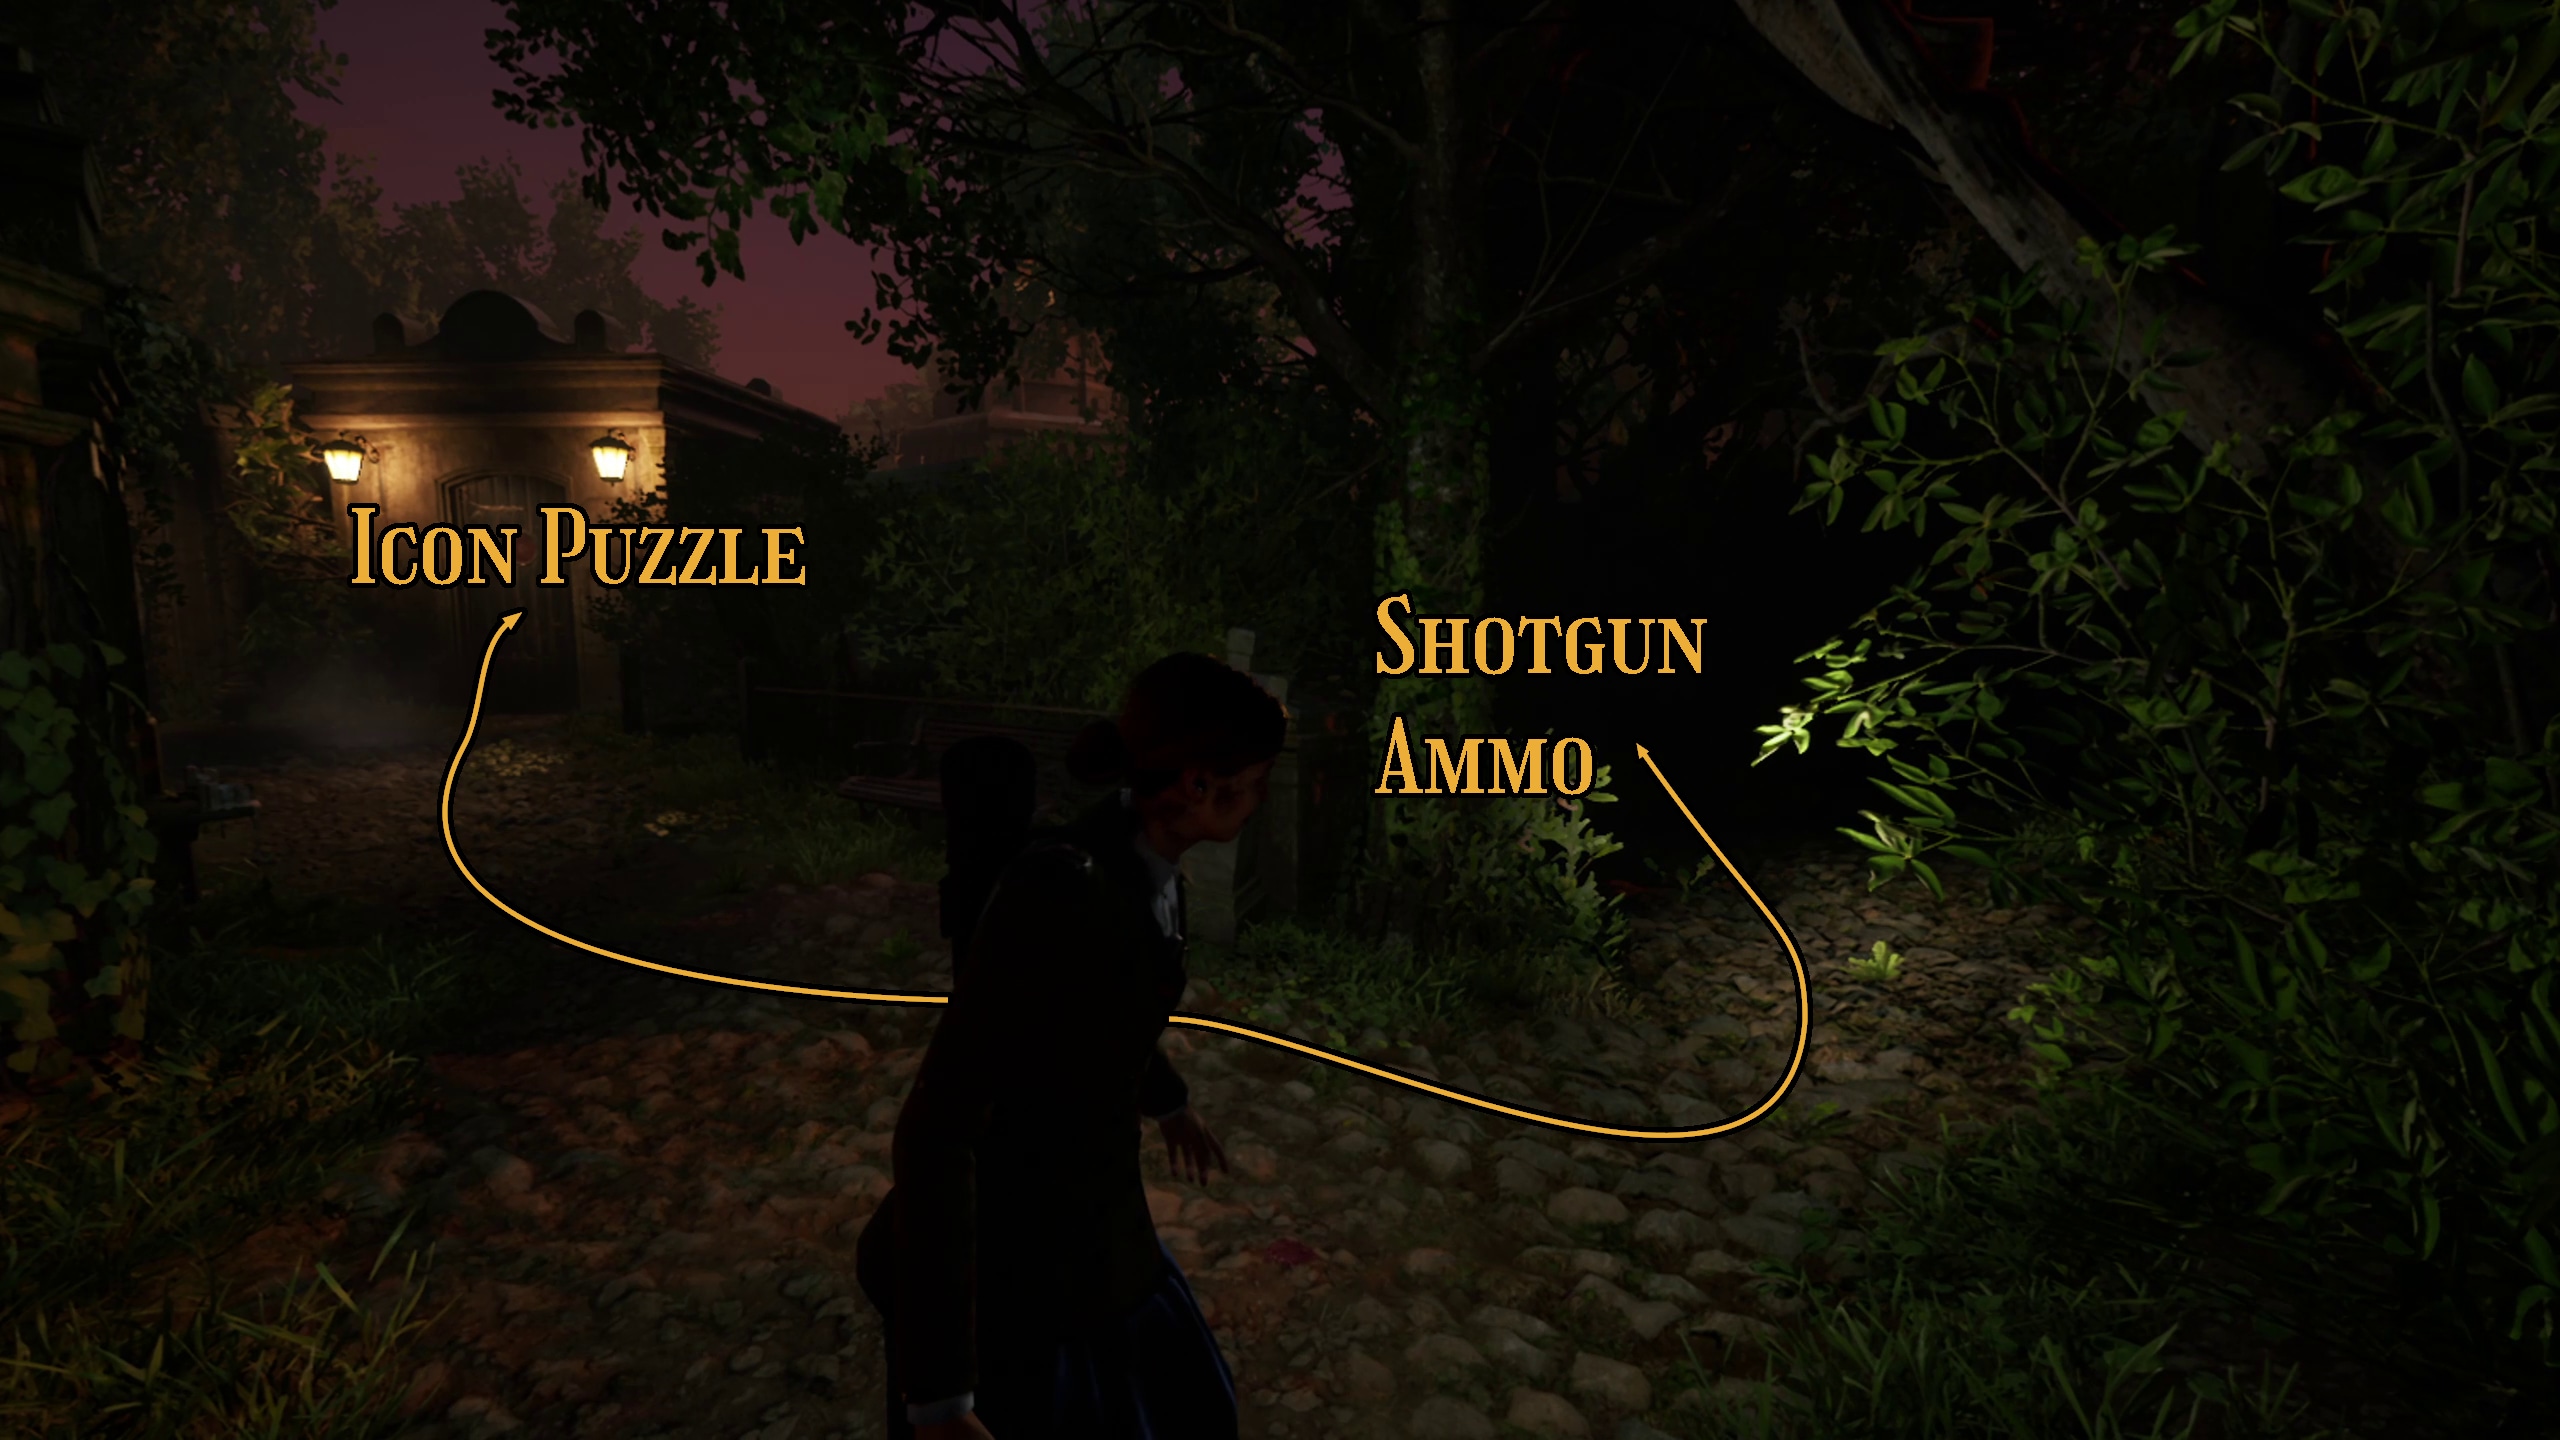
First Icon Puzzle
When you head up to the left path, you’ll come across a statue holding a Blessing Icon (Image 165), which will be used to complete what could loosely be called a puzzle (Image 166).
165166
You just have to spin this one.
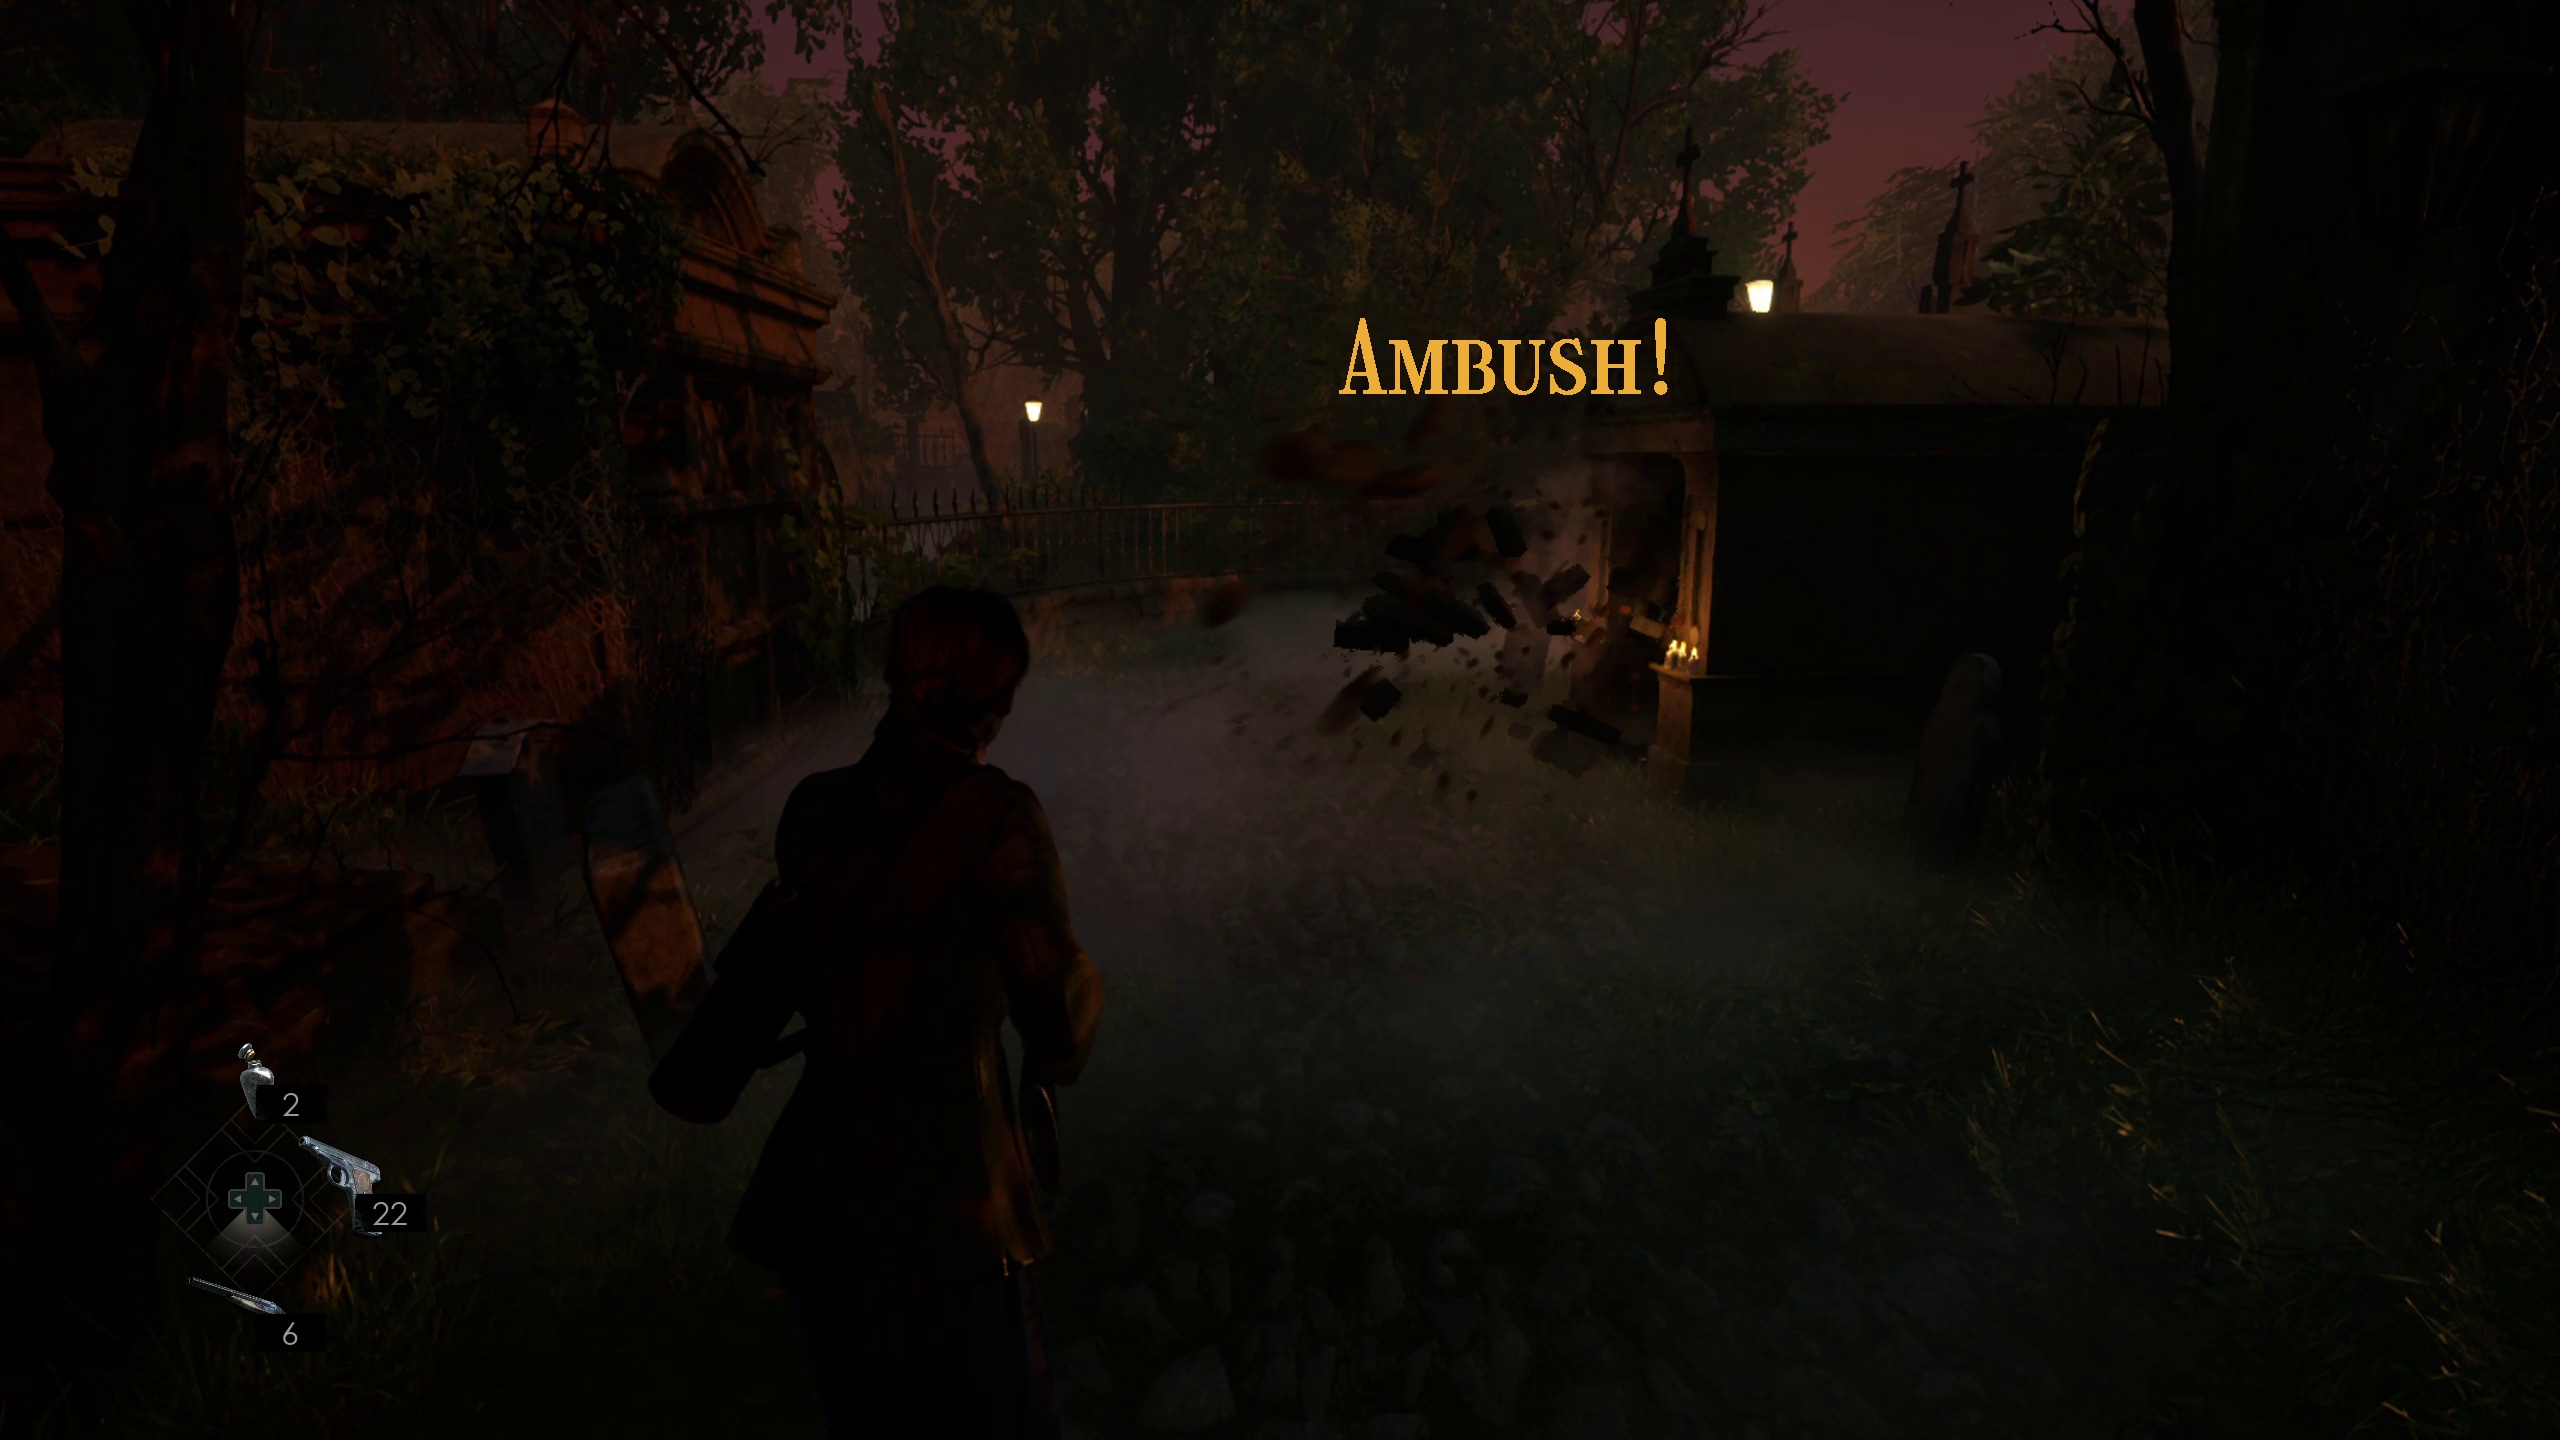
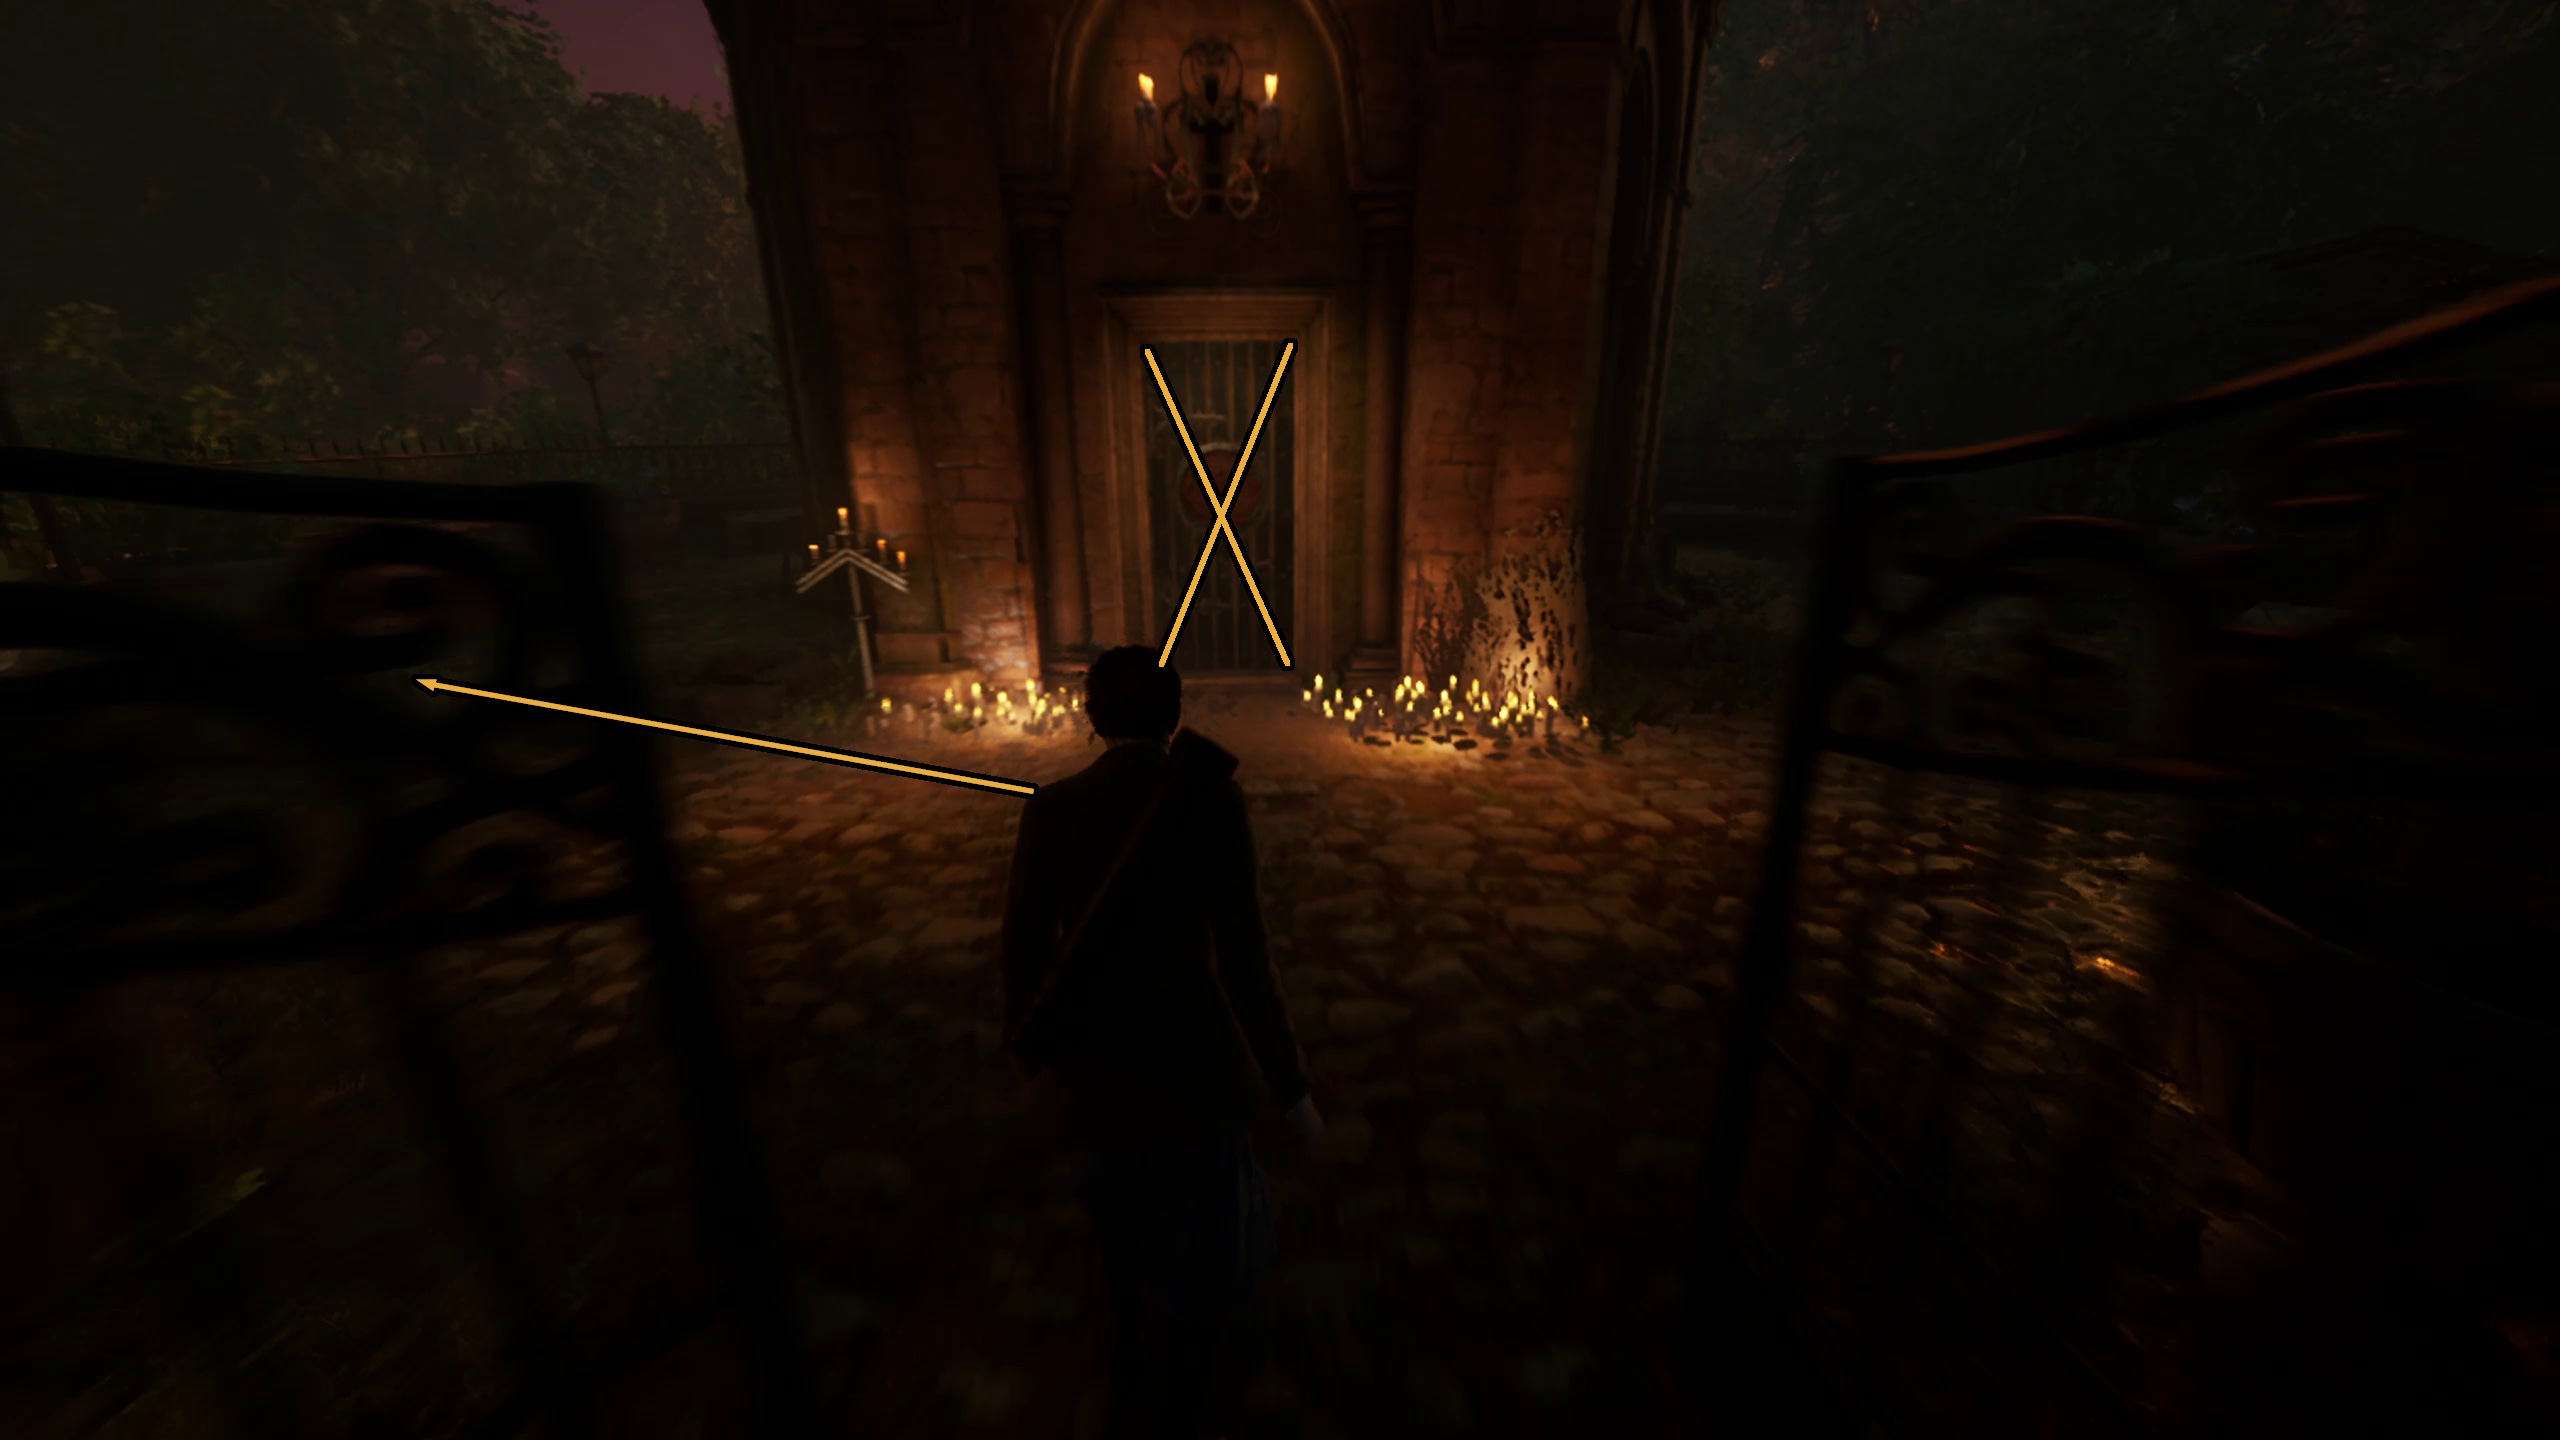
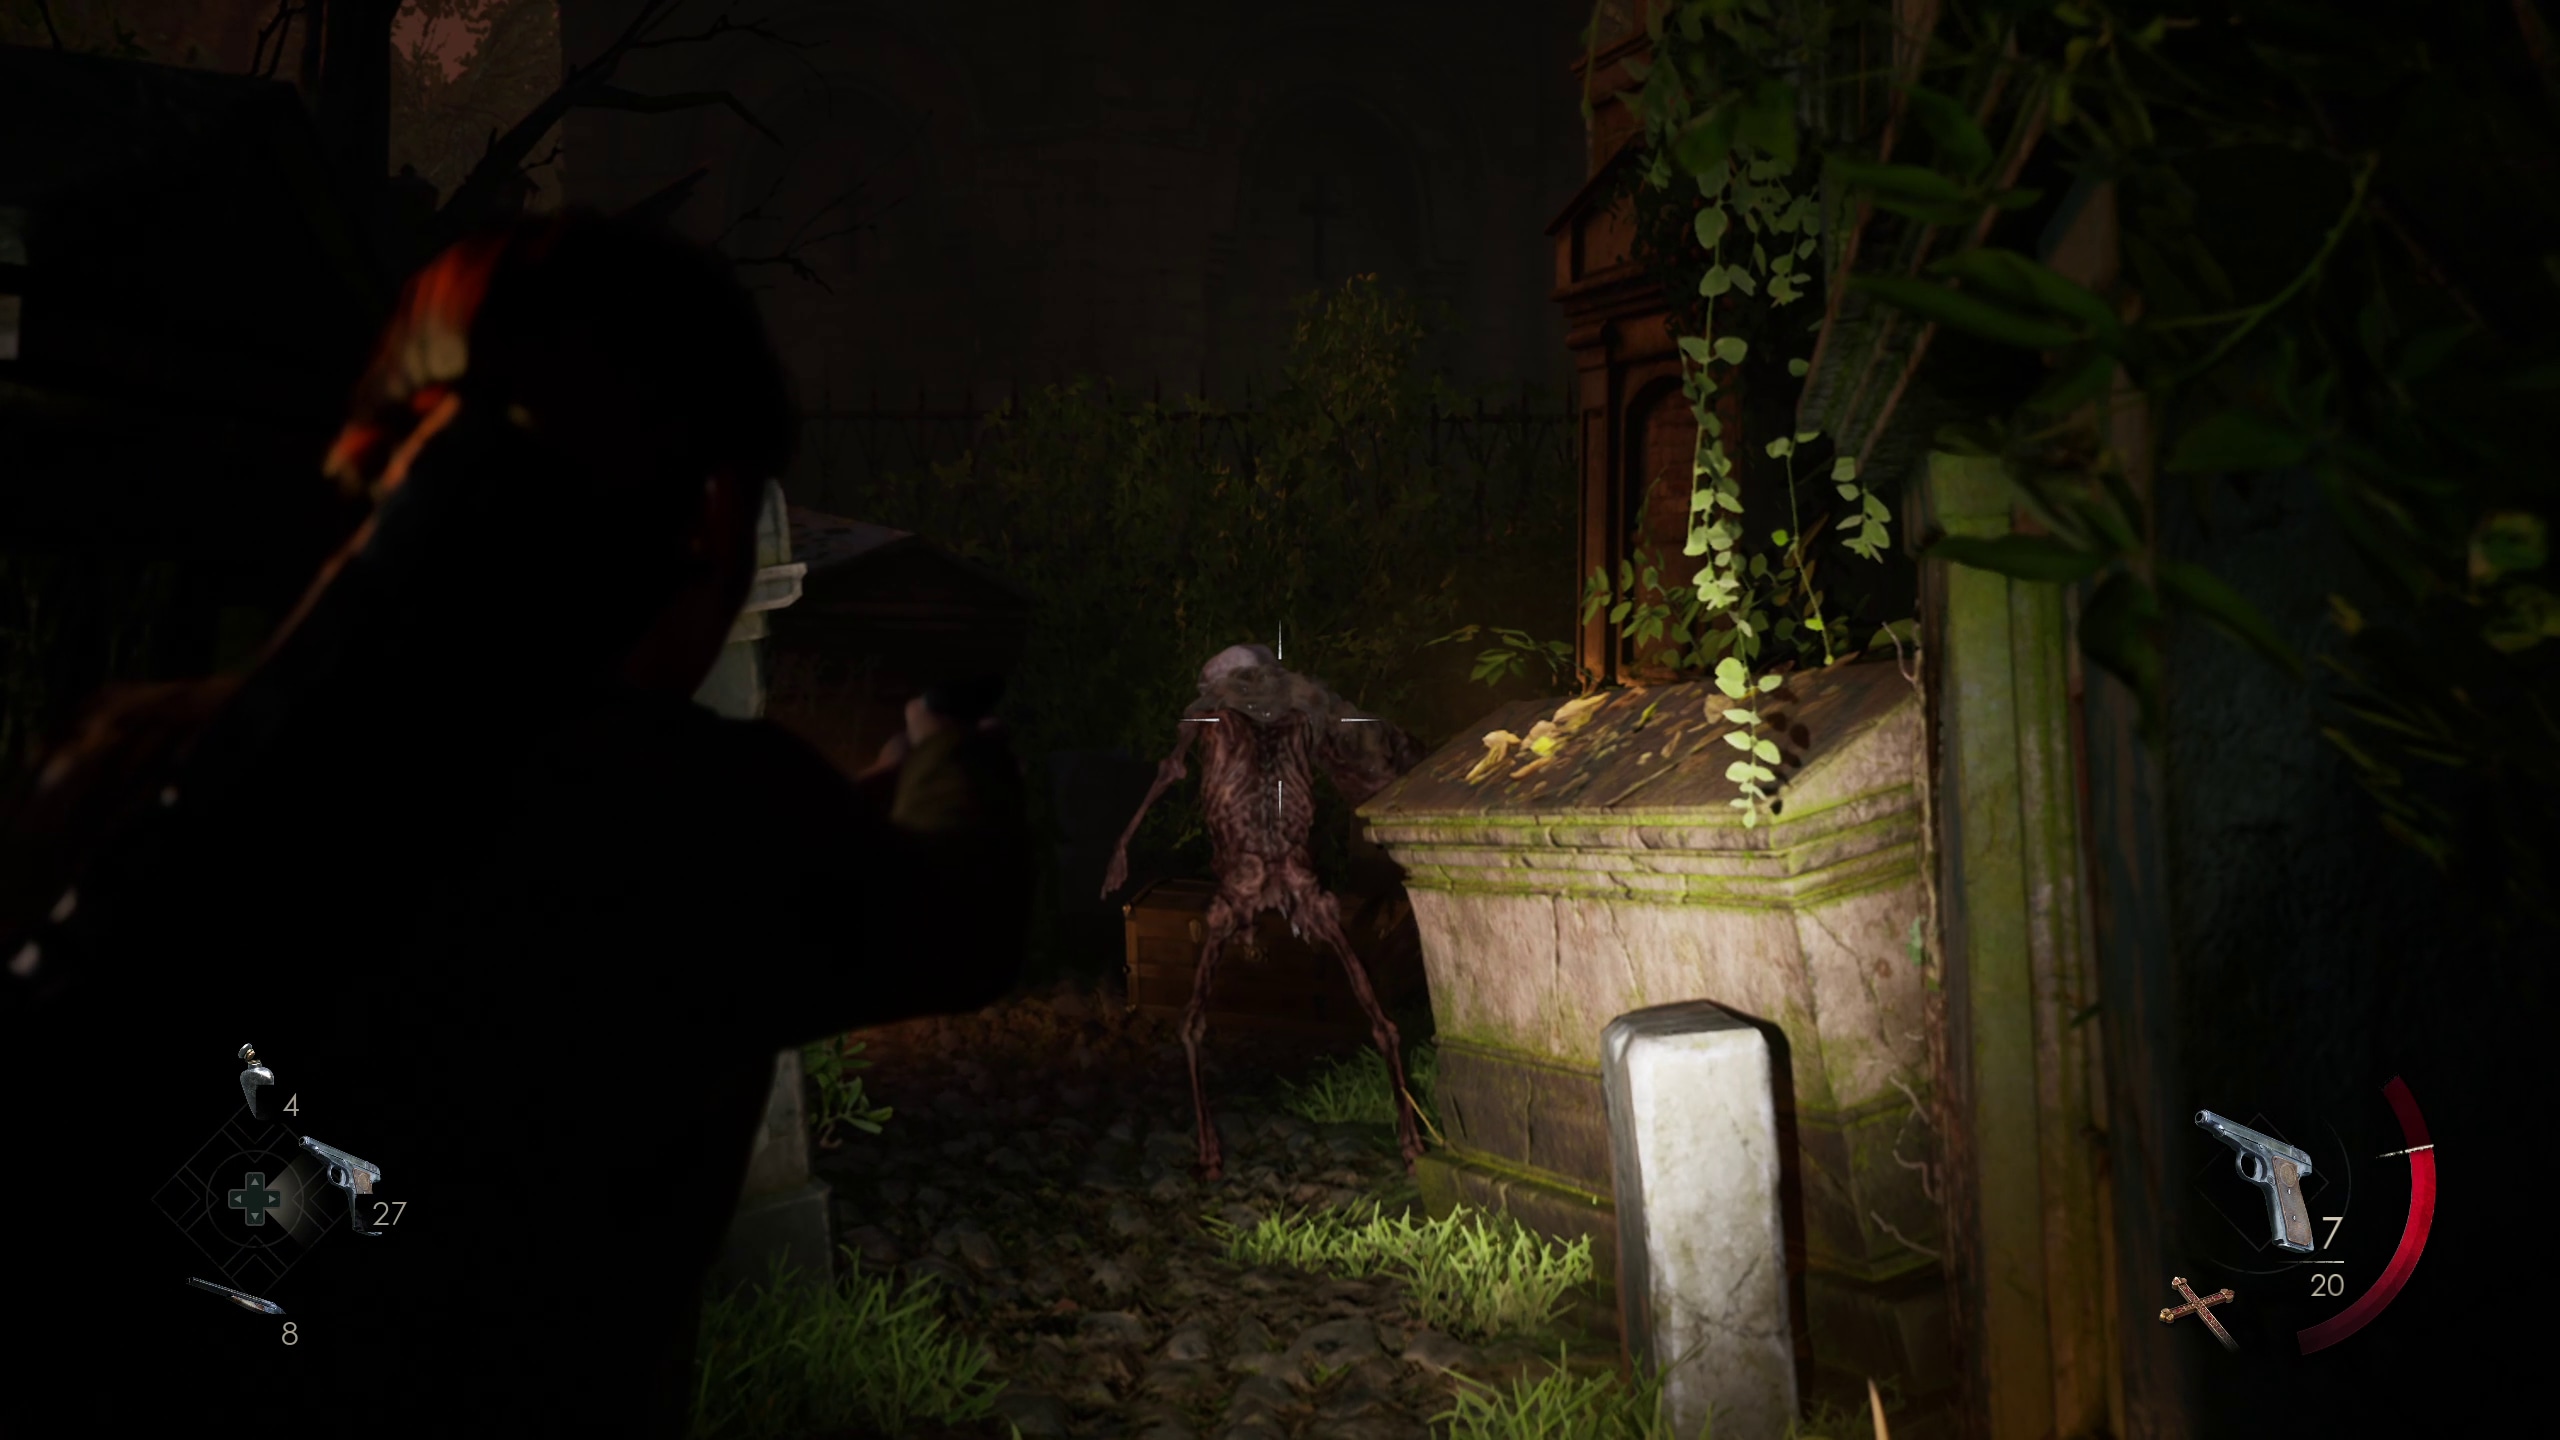
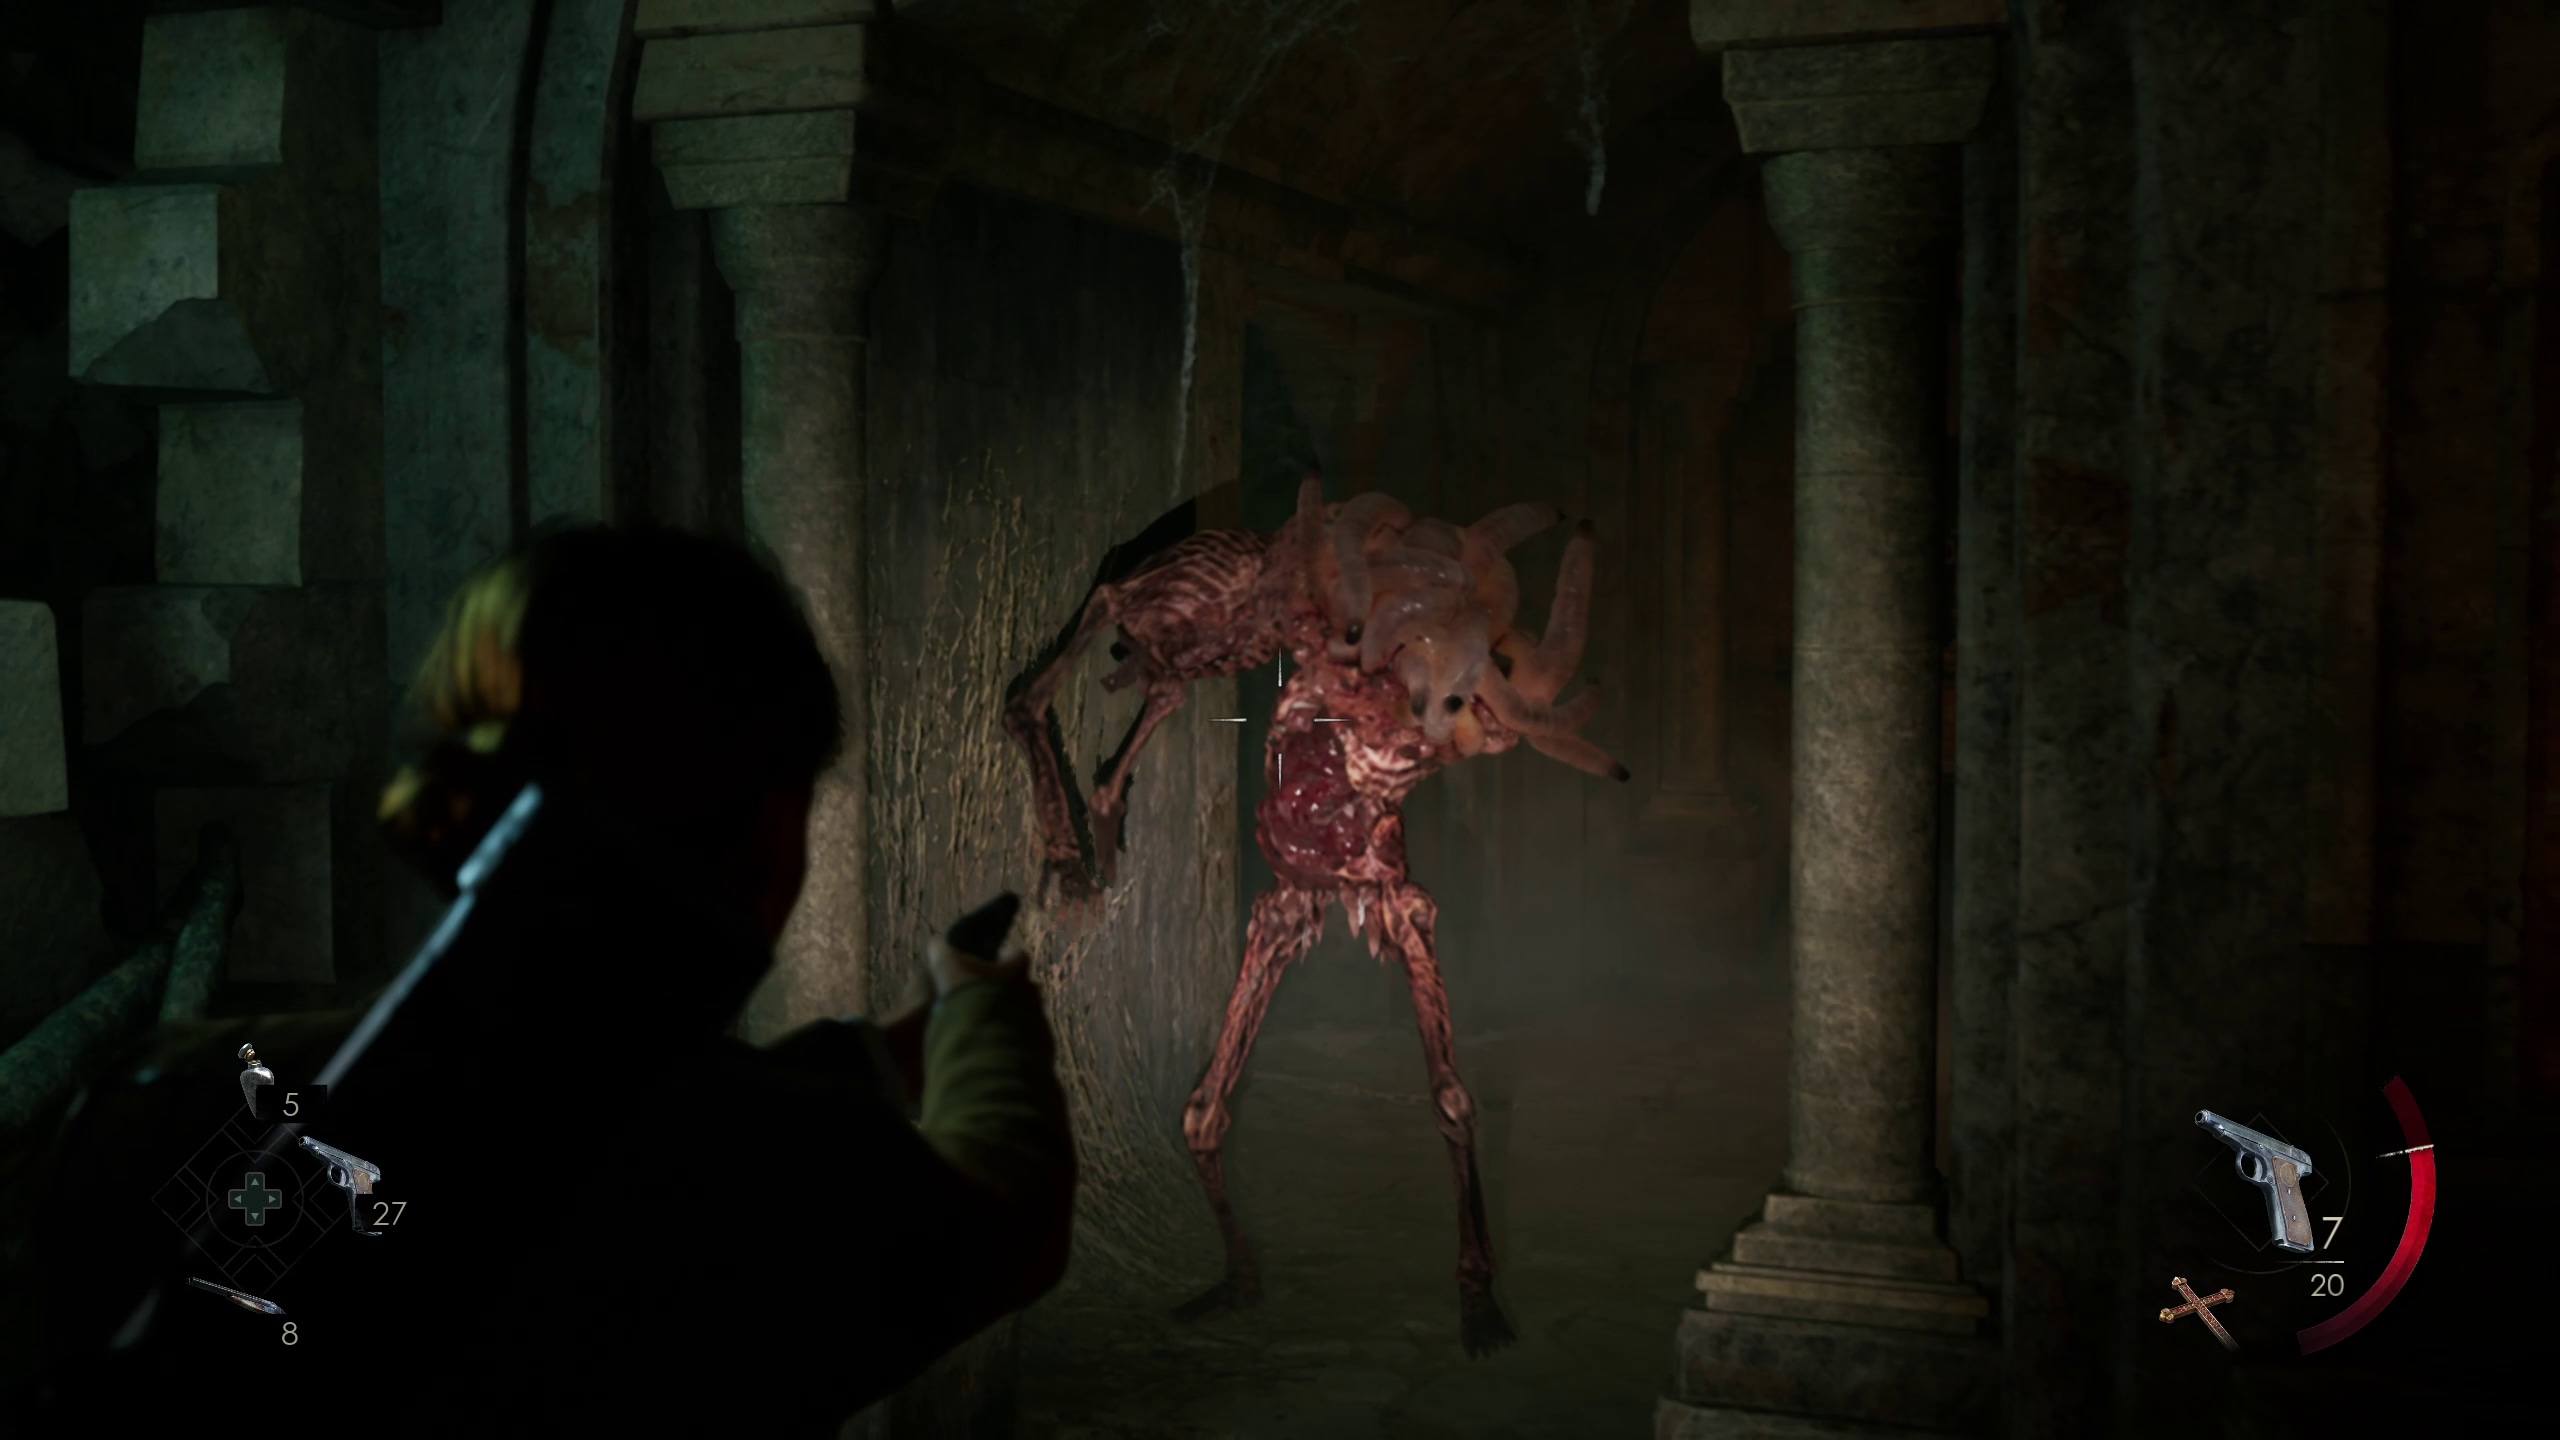
After completing the puzzle, you can head forward. But, be prepared for an Ambush from the crypt, where a monster that you will have to kill spawns (Image 167). After dispatching the mosntrosity, head up the stairs in front of you. You’ll pass by a chapel, but won’t be able to open the door yet, so you should go to the left to look for the path forward (Image 168).
You’ll come to a fork in the road (Image 169), with loot to the left and the way forward to the right. There will be enemies in the water, and it is best to shoot at them before going into the water, which can deactivate your ability to dodge (Image 170).
167168169170
The next area, similar to the Hateful Mound, is filled with enemies. You can either run or sneak through it, though we think it is much easier to run (Image 171). There is more loot in the path to the left, though the path to the right is slightly quicker. Just be ready to dodge either way! You are trying to get to a narrow opening on the other side of the area (Image 172). Once through it, you’ll be able to open the door to reach the next clearing (Image 173).
171172173
Immediately, look to your right to see a hole youy can squeeze through (Image 174). There will be an enemy at the end of this side passage (Image 175), but once you take it out there will be plenty of loot and some melee weapons to pick from (Image 176).
174175176
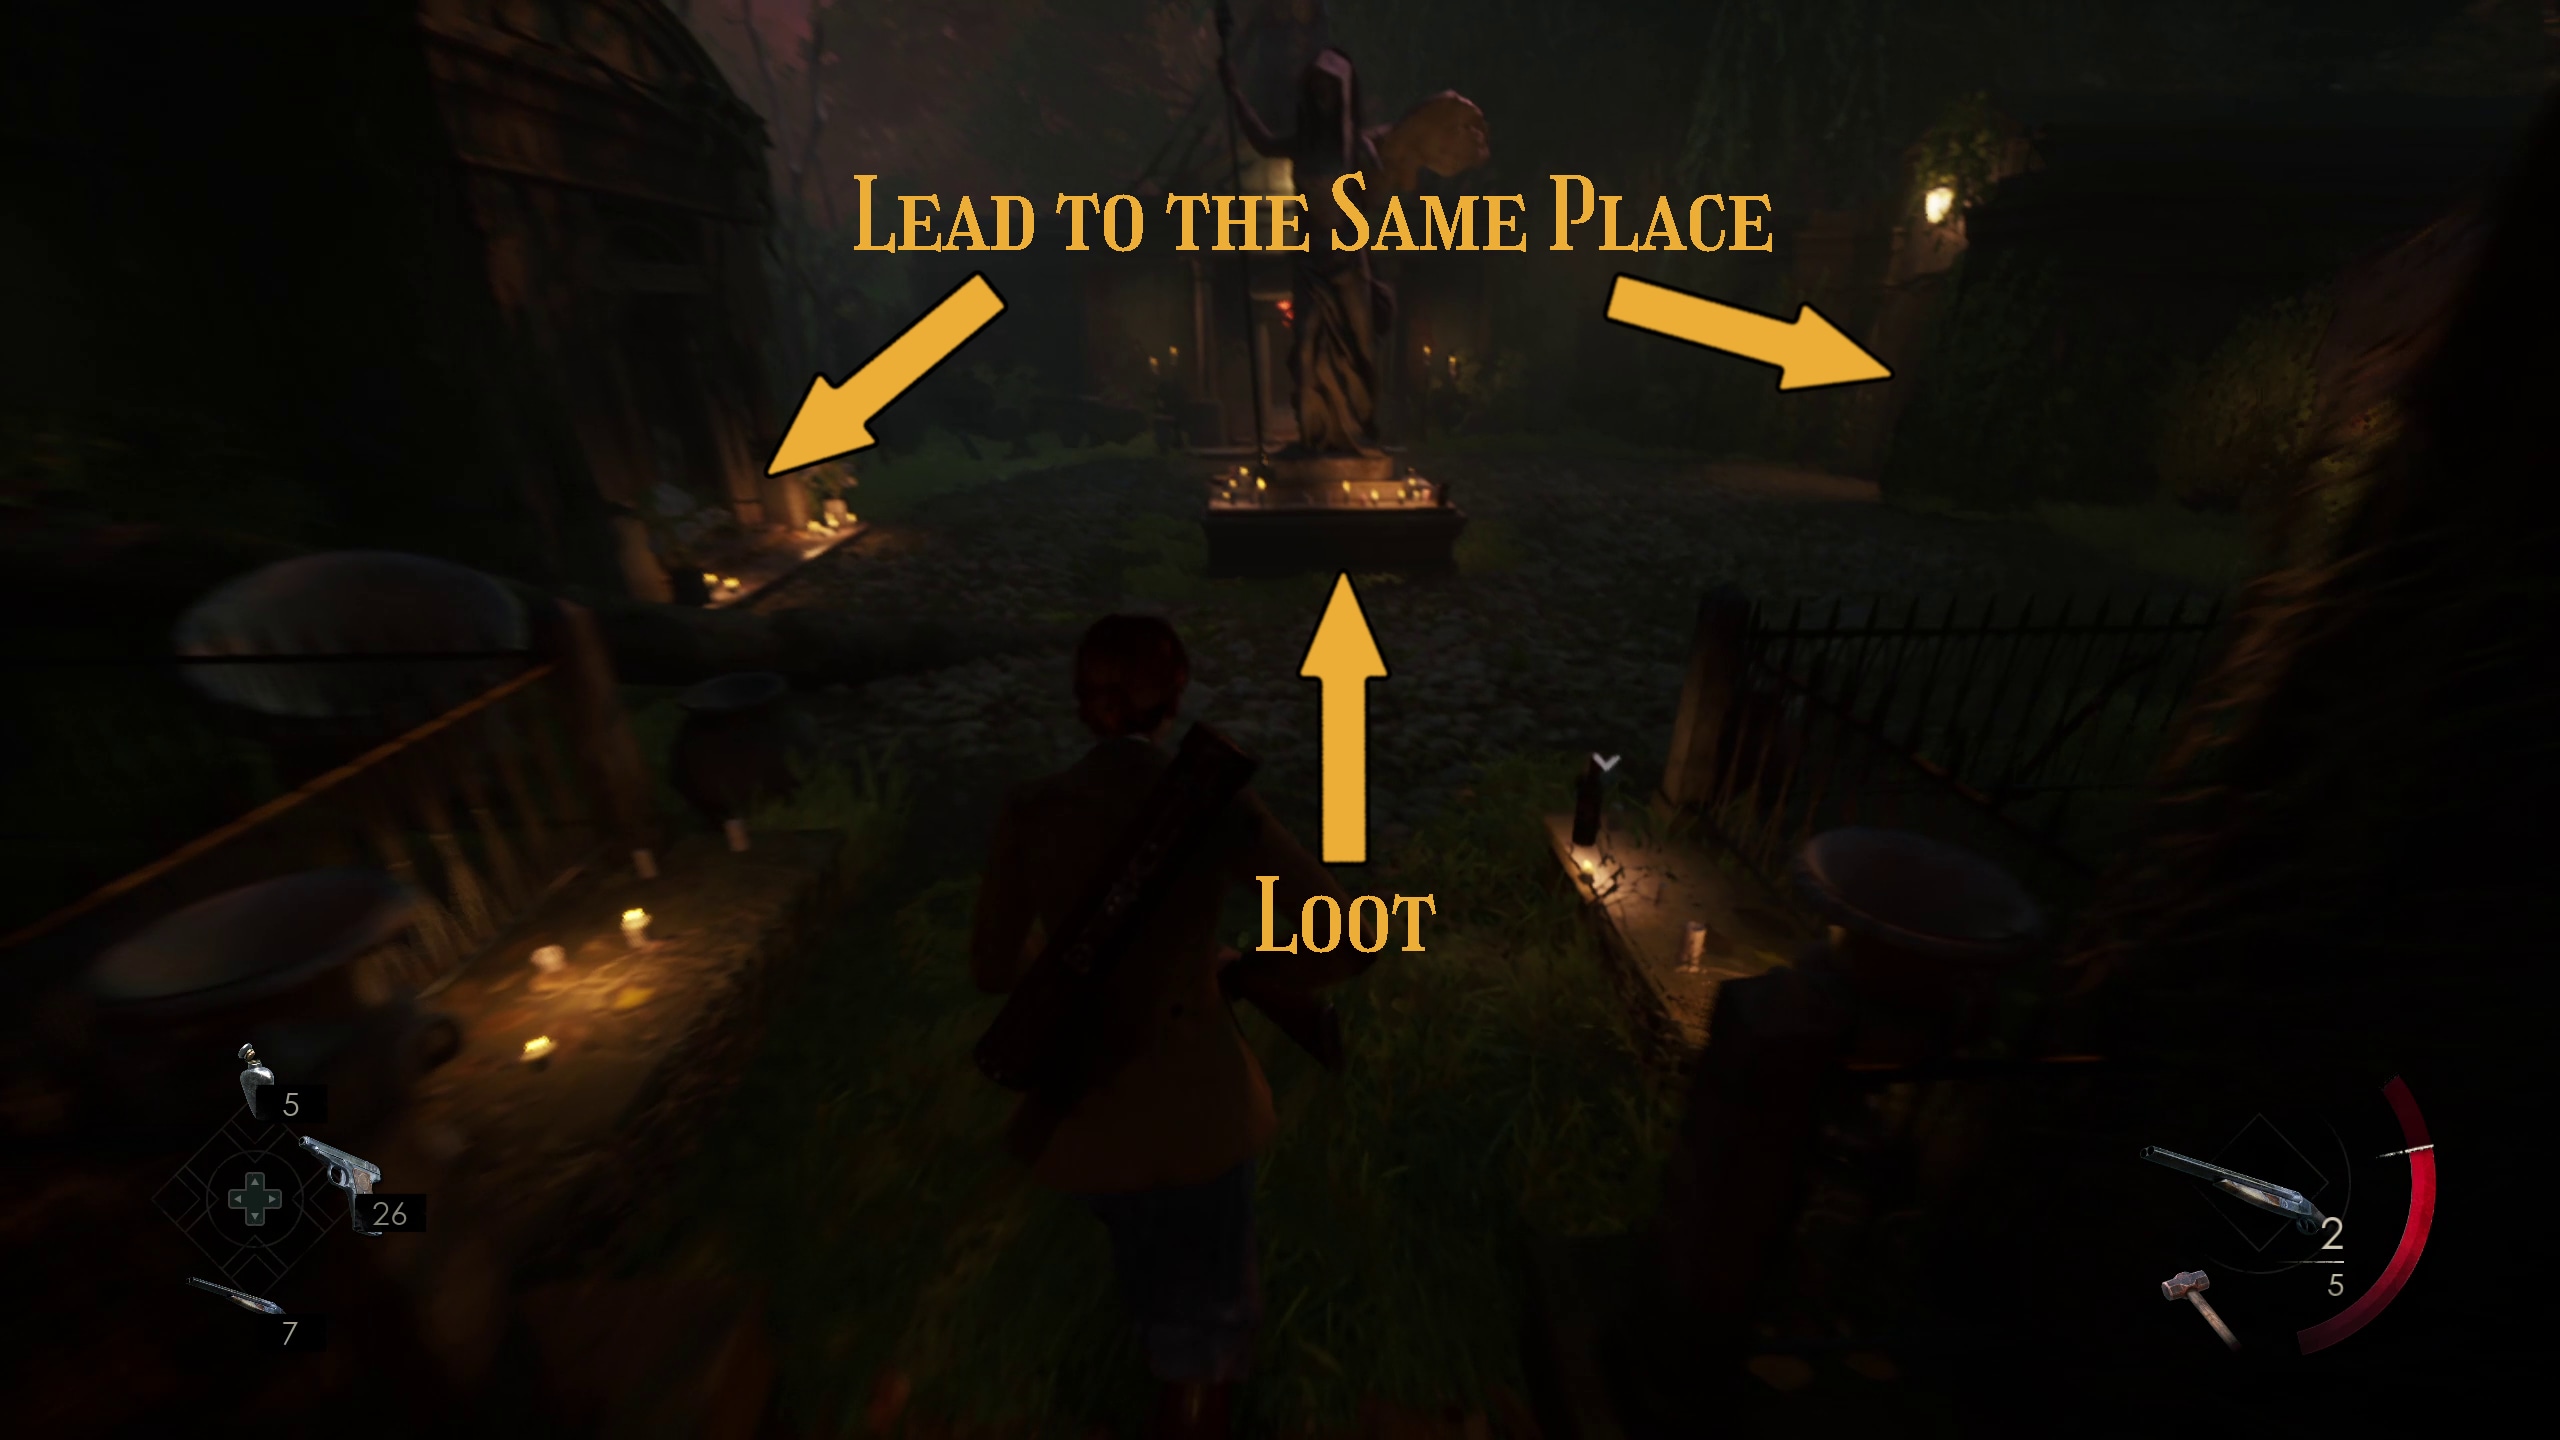
Once you are back in the area with the statue in the middle, you can explore the statue for loot, and then you can enter either tomb to its left or right (Image 177). Both lead to the same place and circle around, so it makes no difference what you pick, but either way be on the lookout for loot to the sides (Image 178). Eventually, you will find a statue in the tunnel below holding an Omen Icon (Image 179), and you will also encounter a spitting enemy that leaves a puddle of harmful goo on the ground that you will need to contend with (Image 180).
177178179180
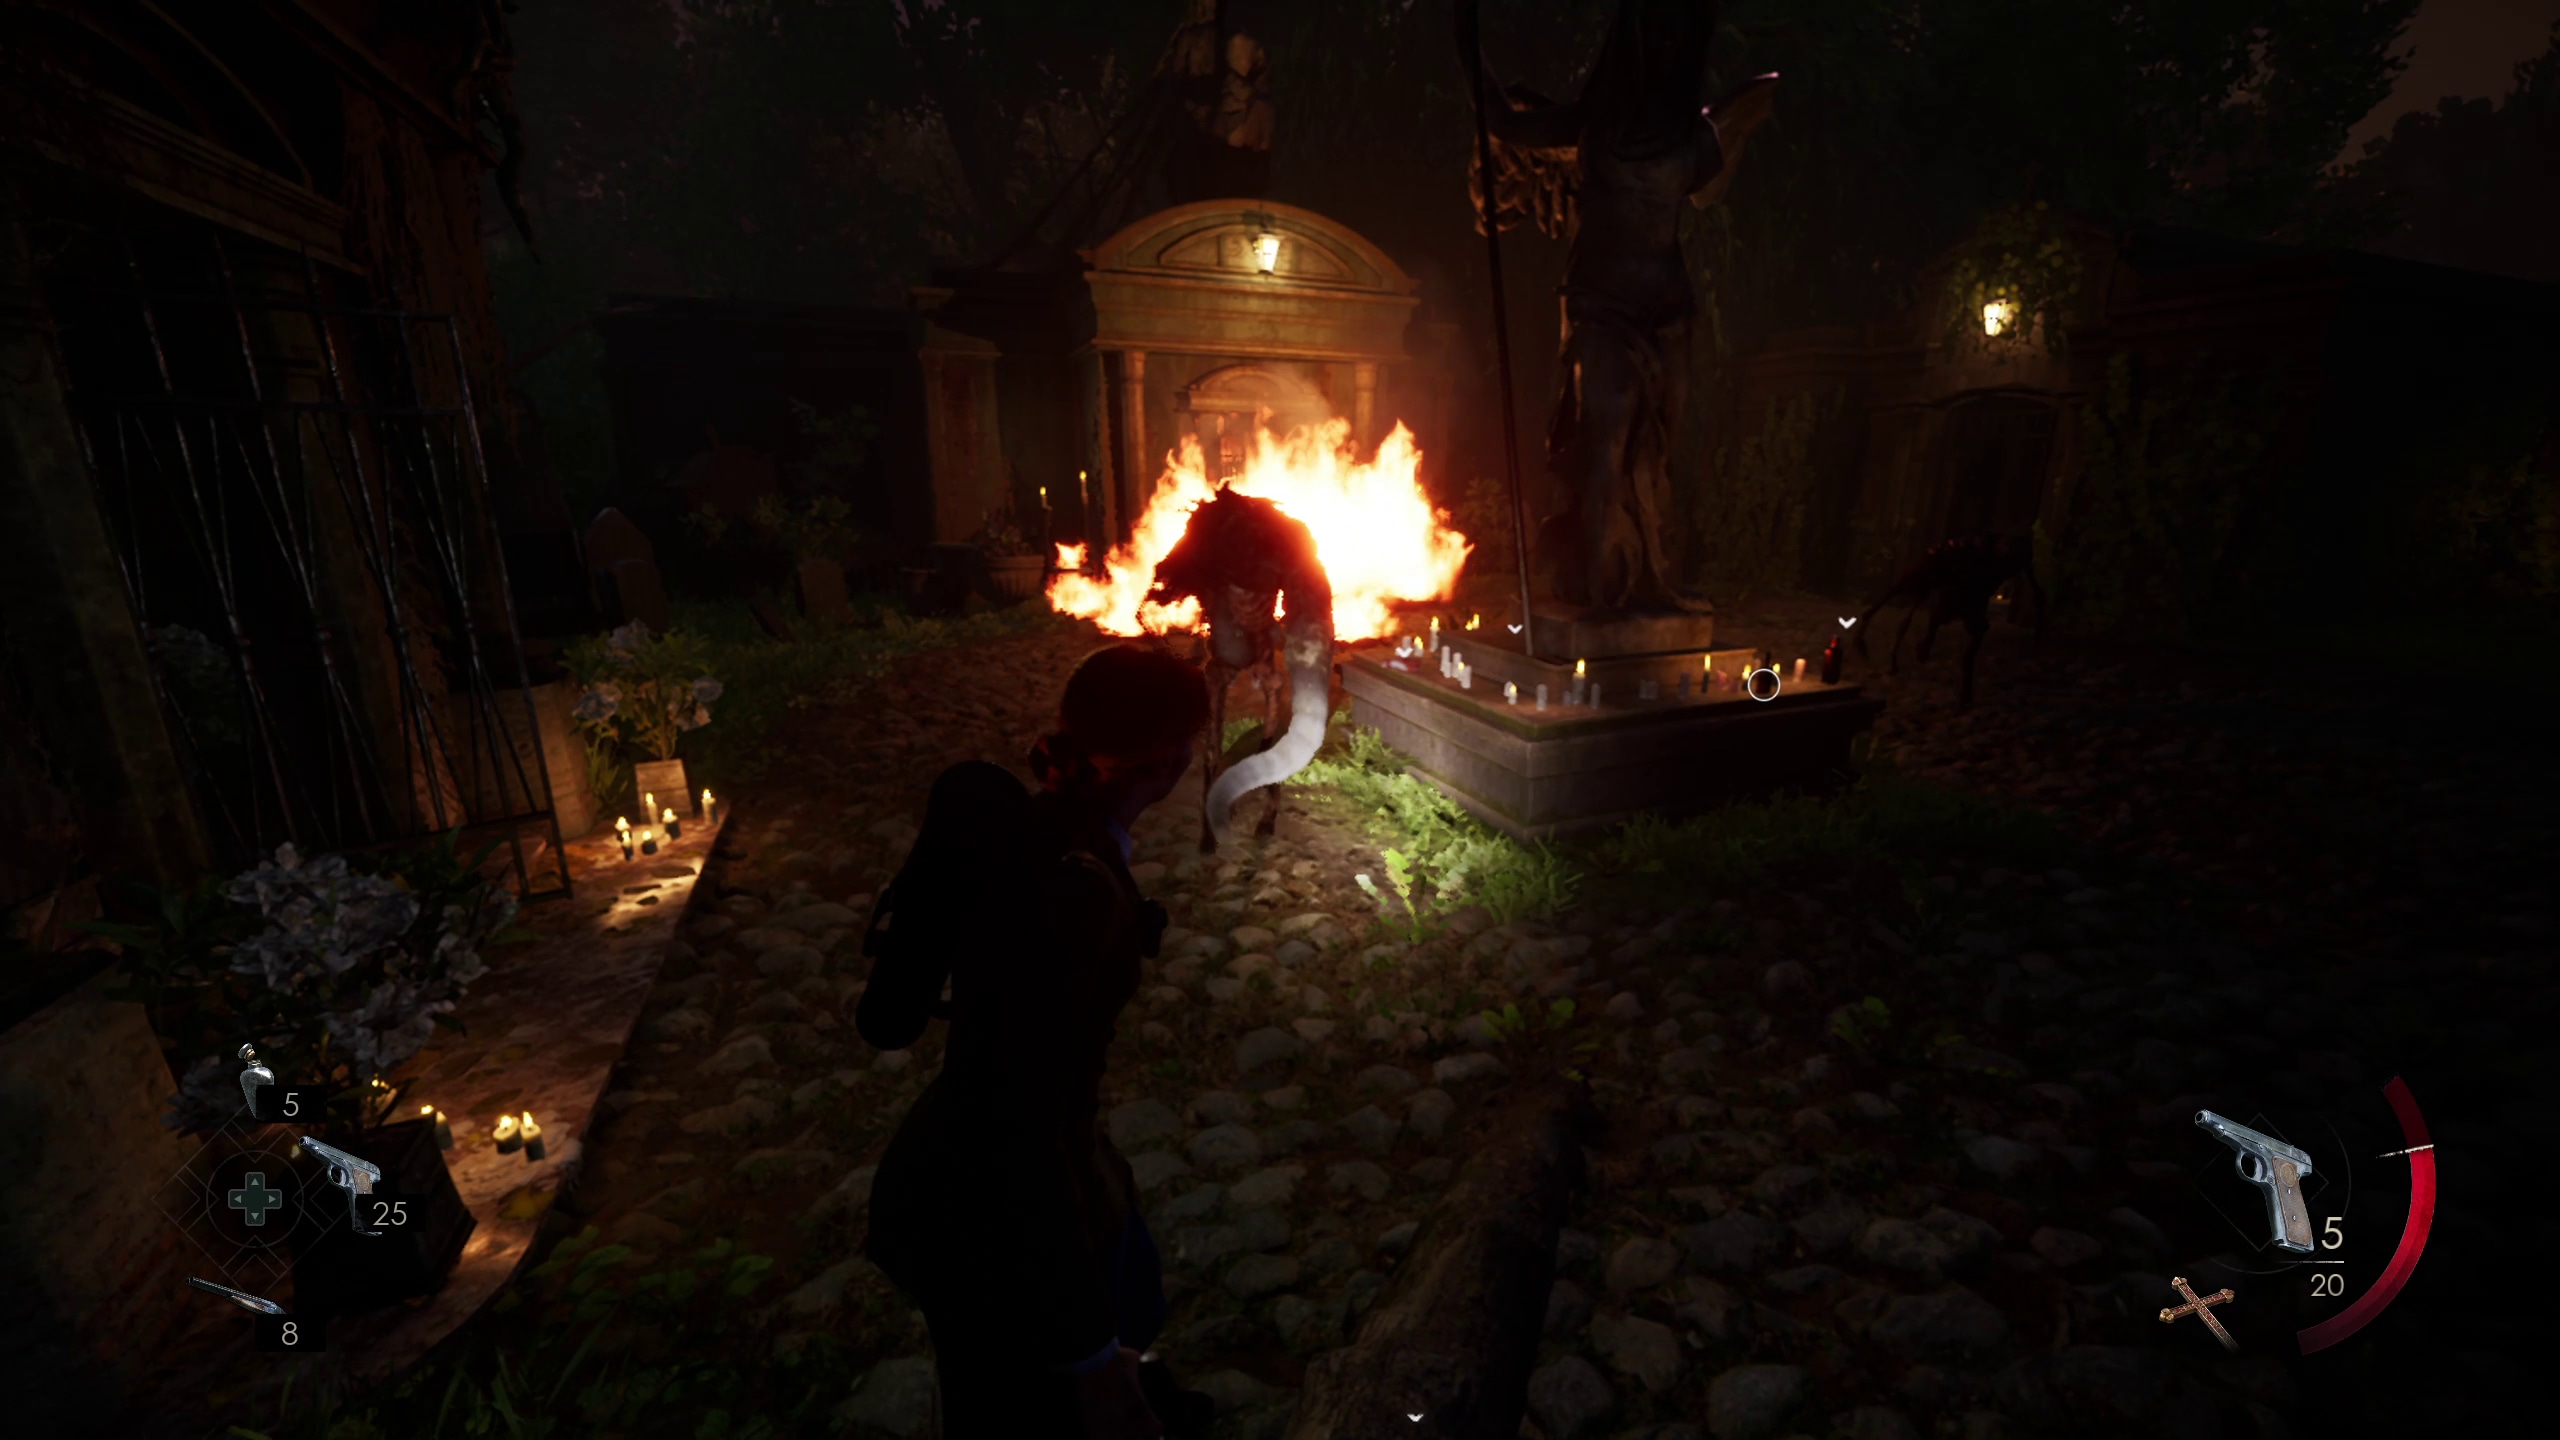
Once you emerge from the tomb after grabbing the icon, an enemy will emerge in flames from the previously-locked third tomb. Another enemy will ambush you shortly after from the tomb to the right (Image 181). After the enemies are dealt with (or after running past them) and after the fire dies down, enter the tomb the first mosnter emerged from (Image 182). Once inside, you’ll quickly come to a ladder leading down (Image 183).
181182183
Second Icon Puzzle
Eventually, you’ll come to the second Icon Puzzle, inset in another door (Images 184 and 185).
184185
Which of the two icons belongs on top…
With the bird icon on top and the finger icon below, turn each so that the three curved lines line up with those inset in the door.
Next, you will end up in a tunnel. There is some loot to the sides here (Image 186), but that is to prepare you to run. You will come across a pool of water, which will activate a lot of enemies when you touch it; enough that it is best to simply run through and escape as fast as possible.
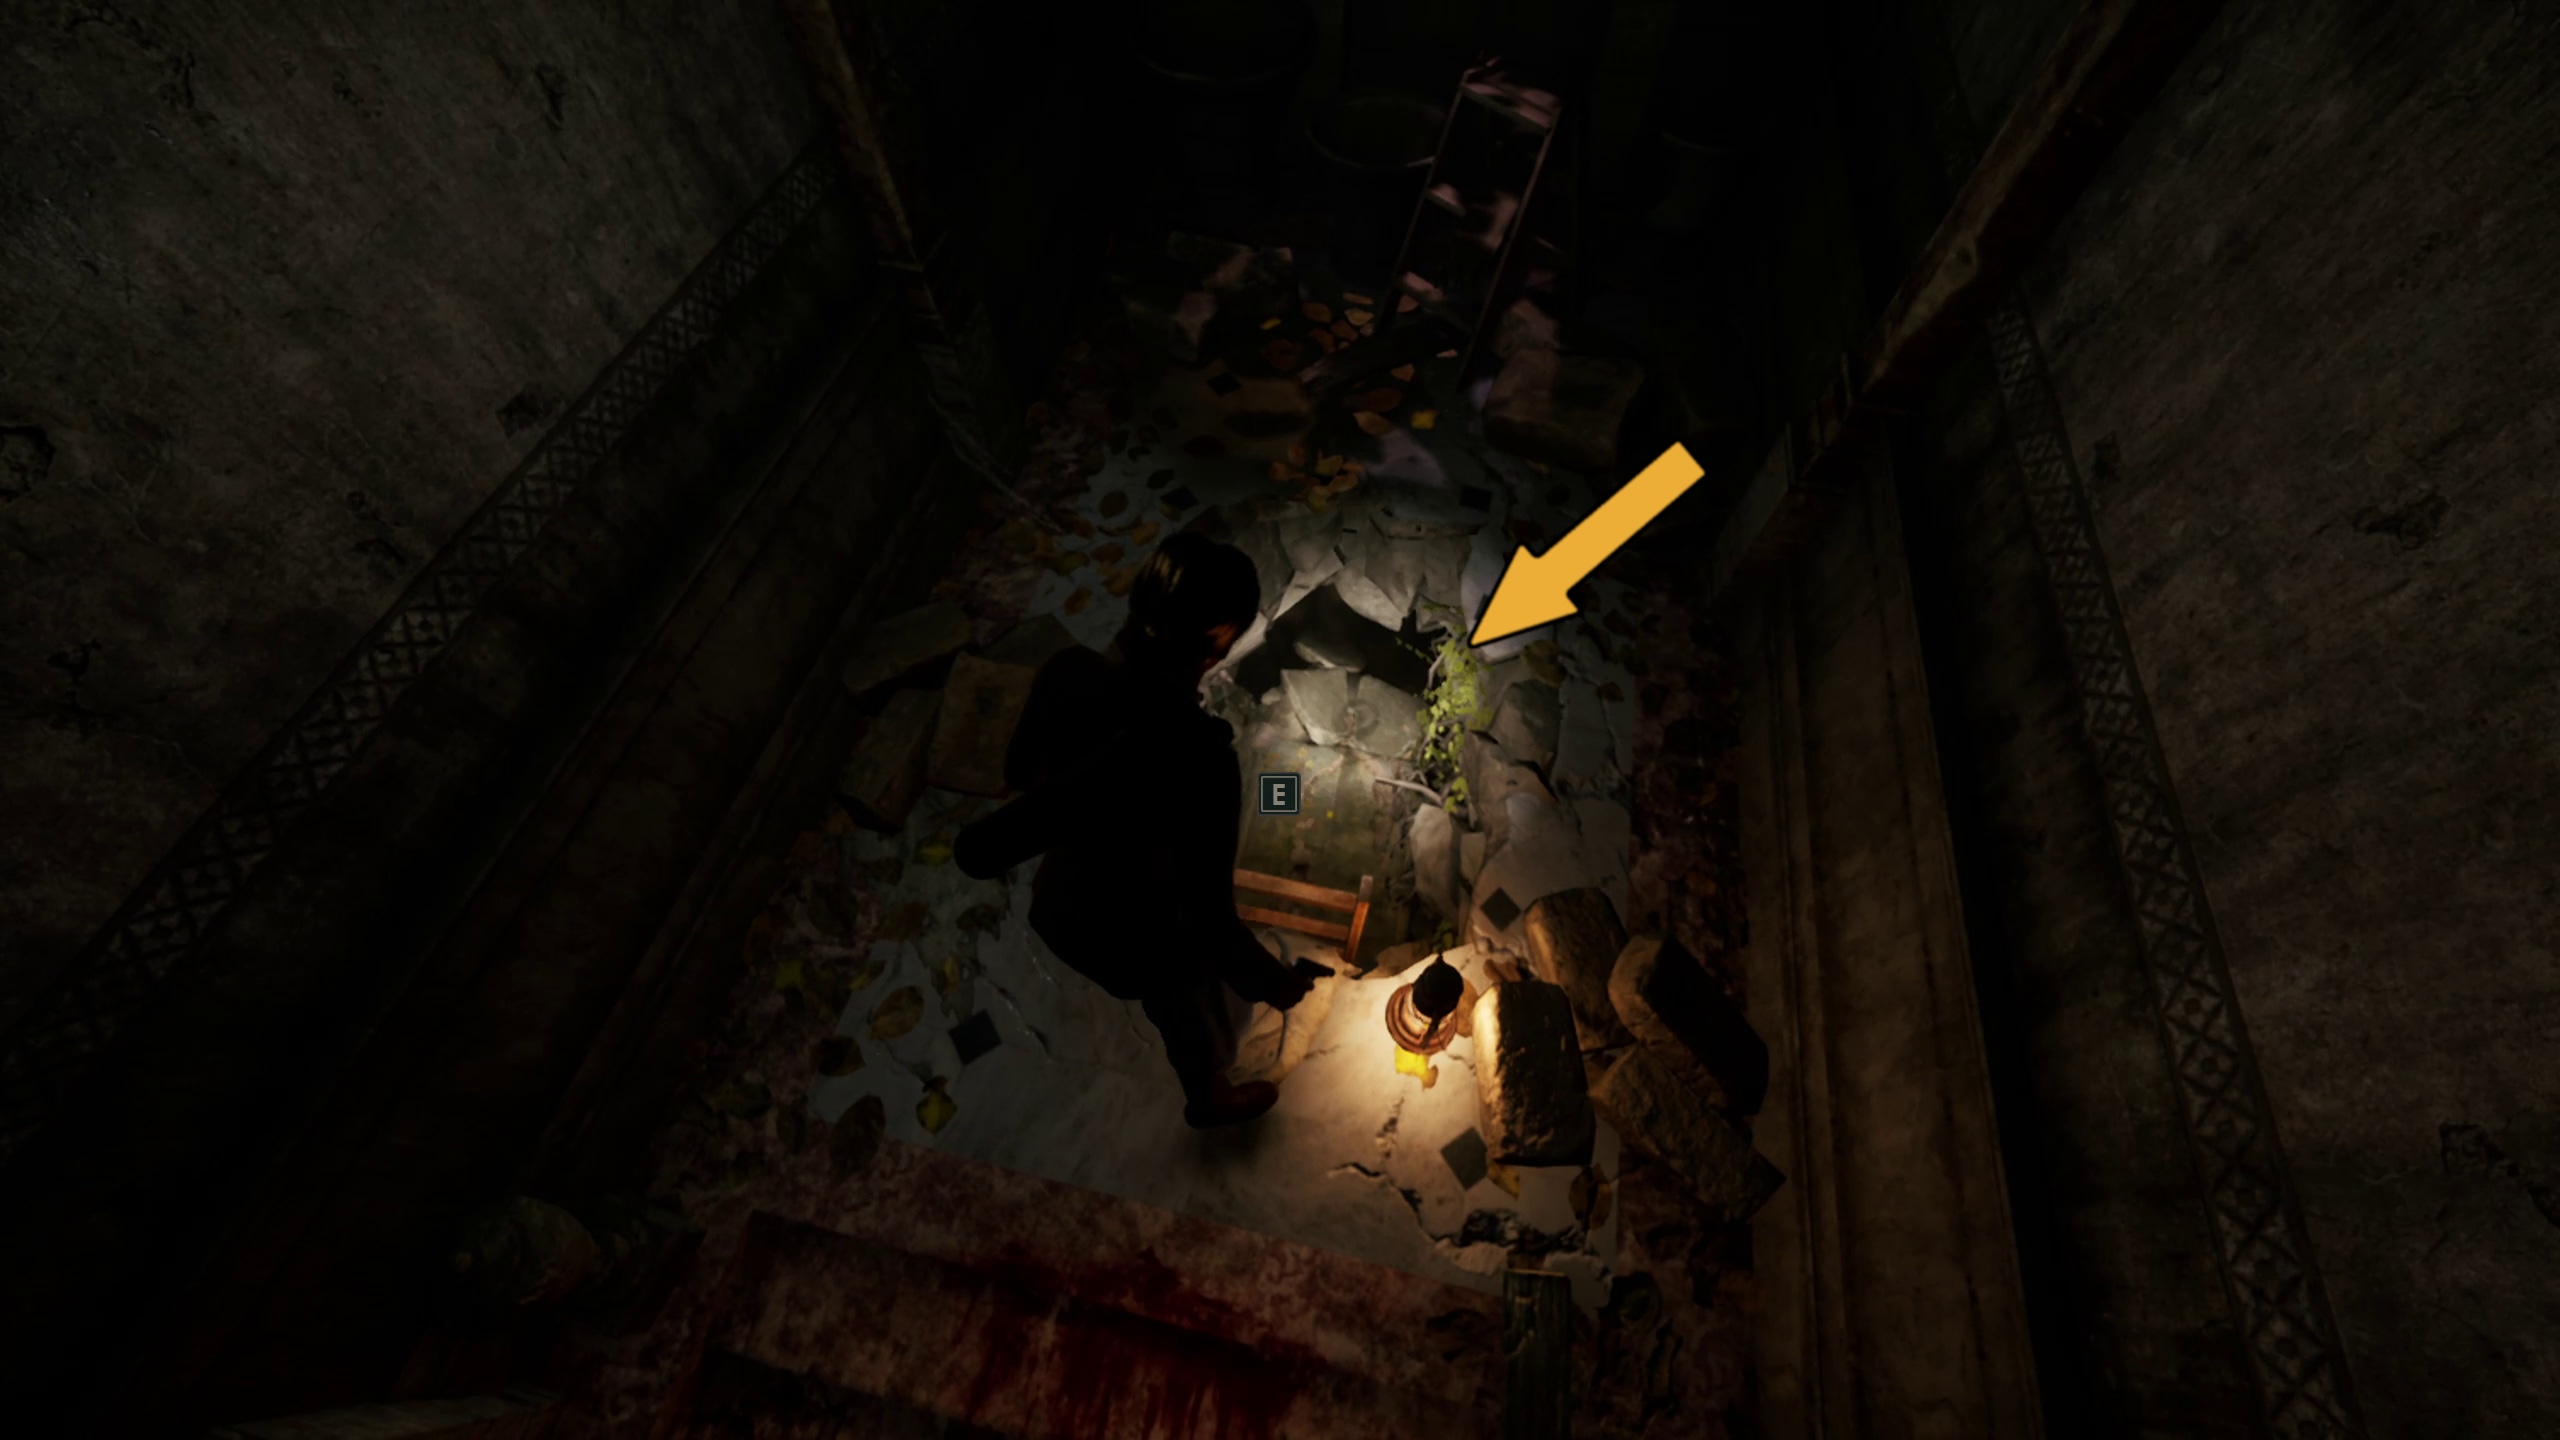
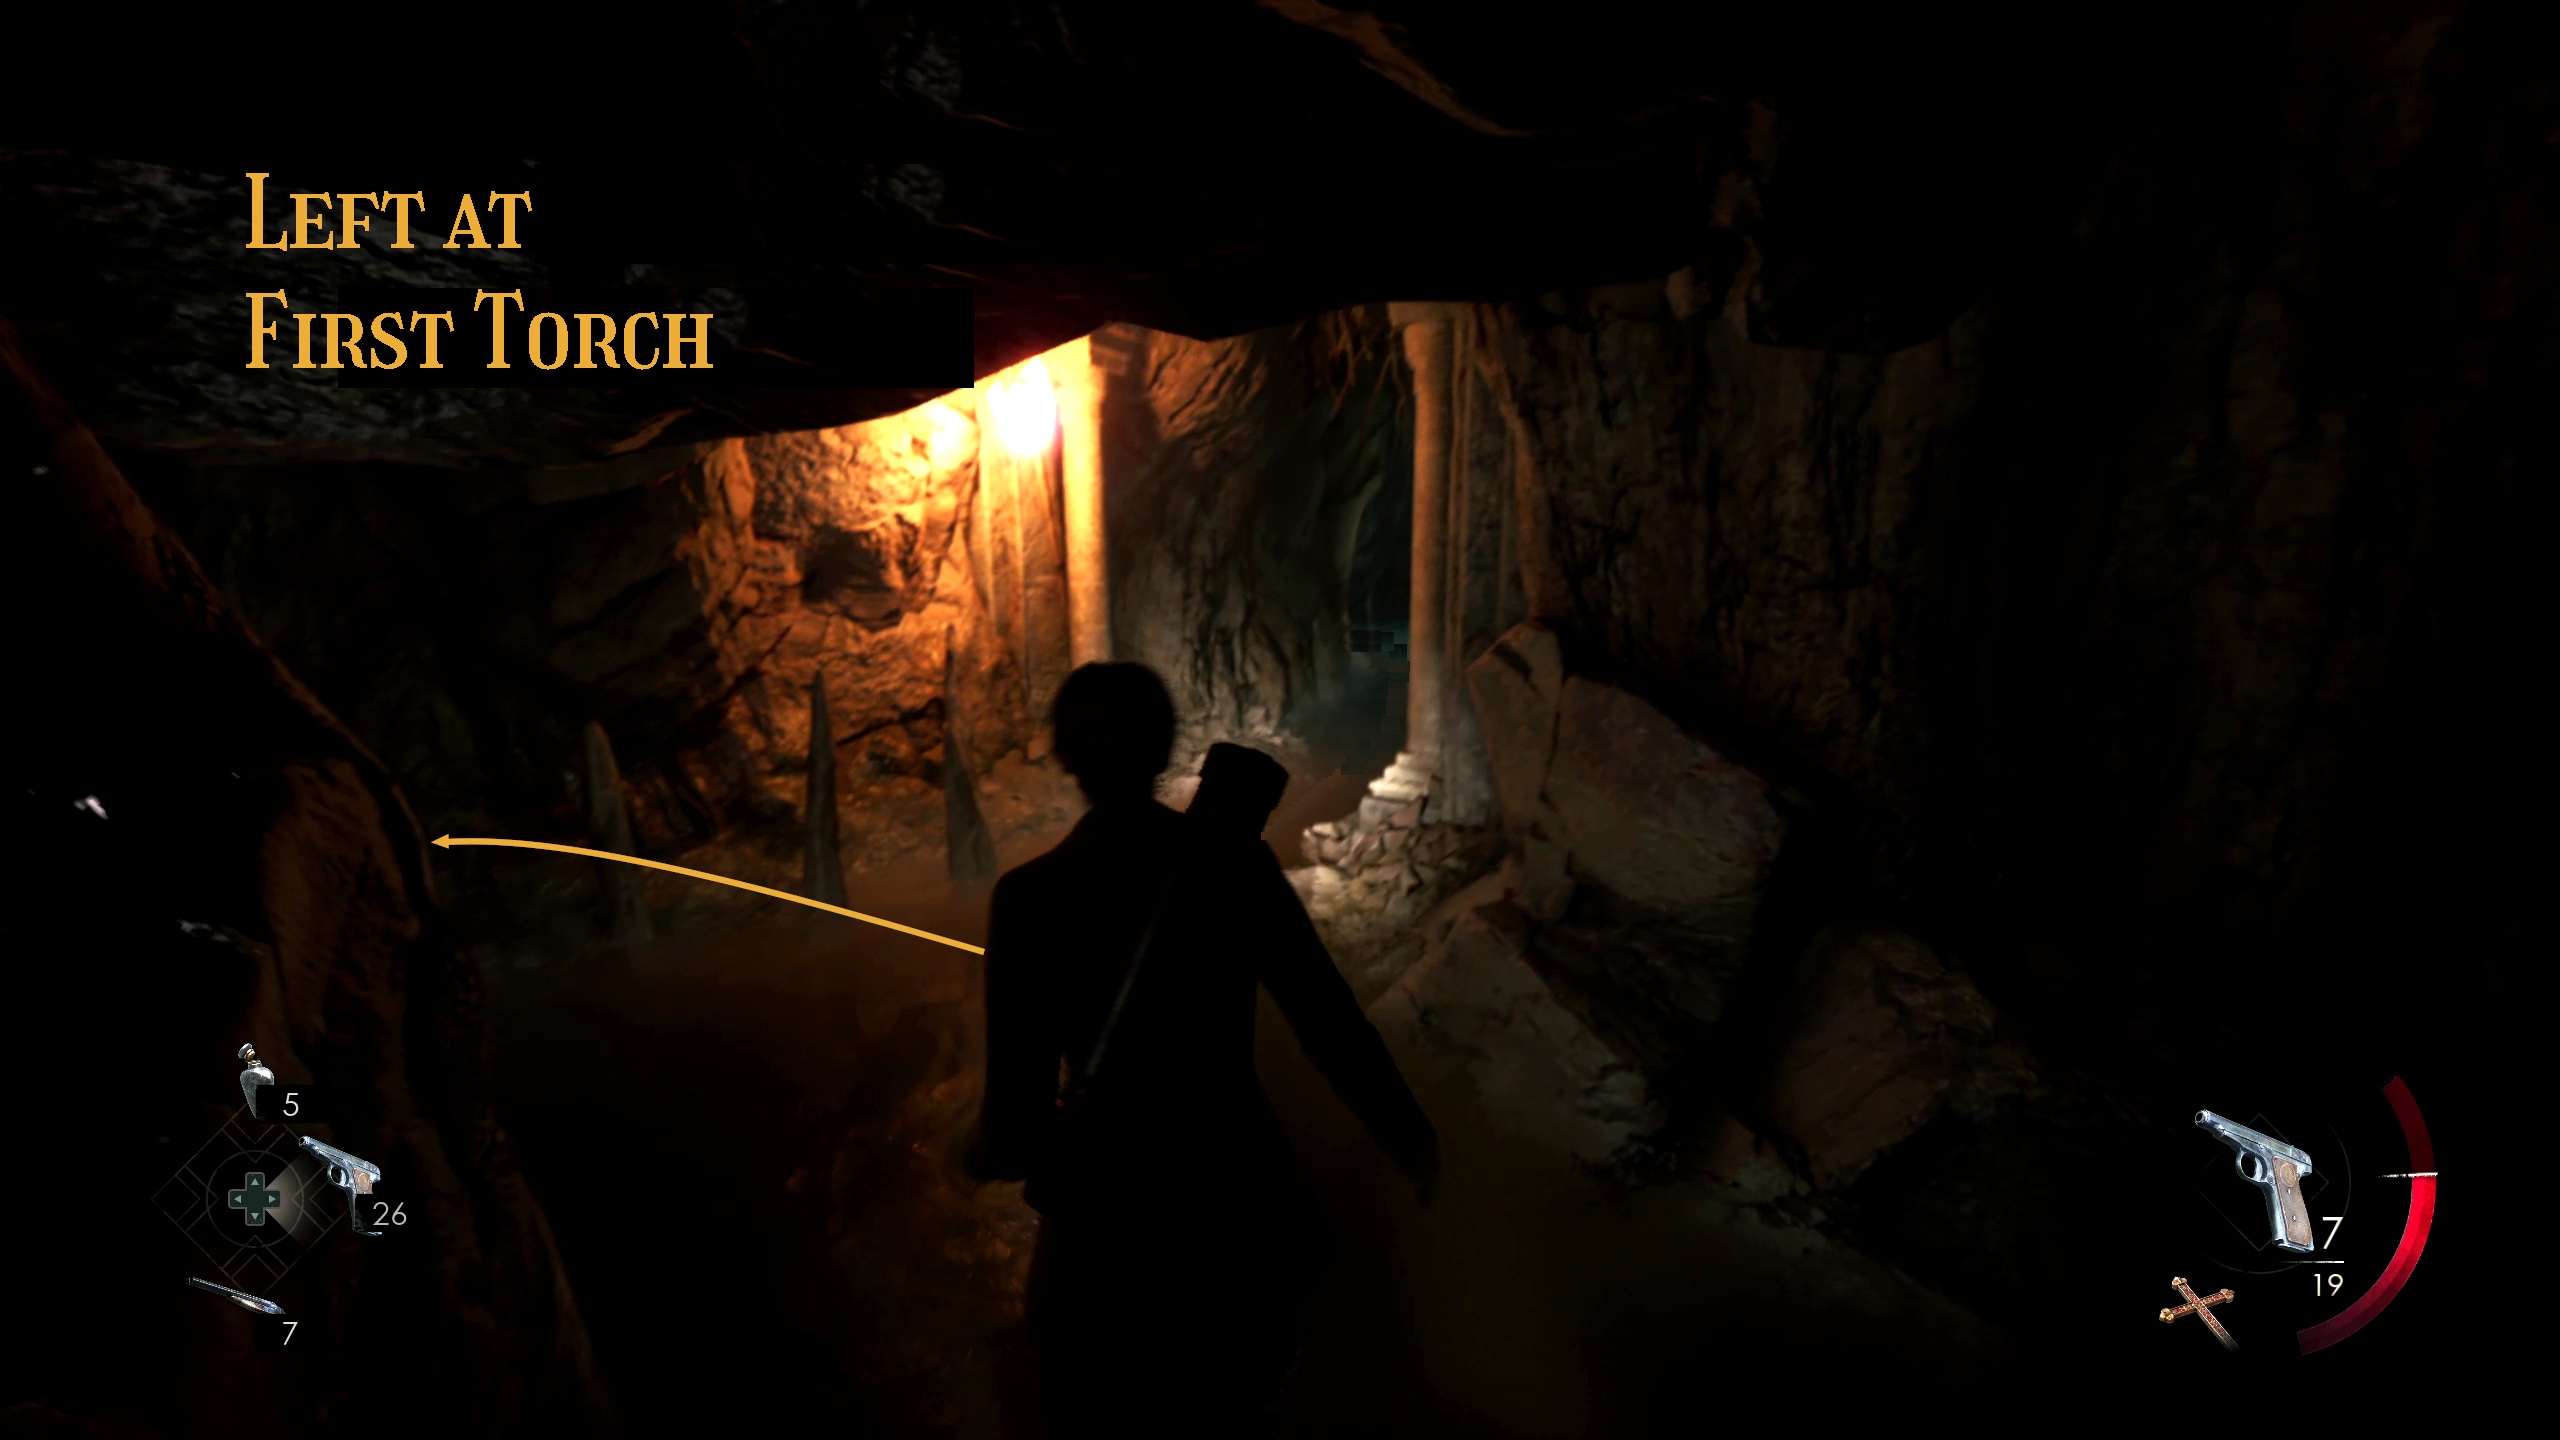
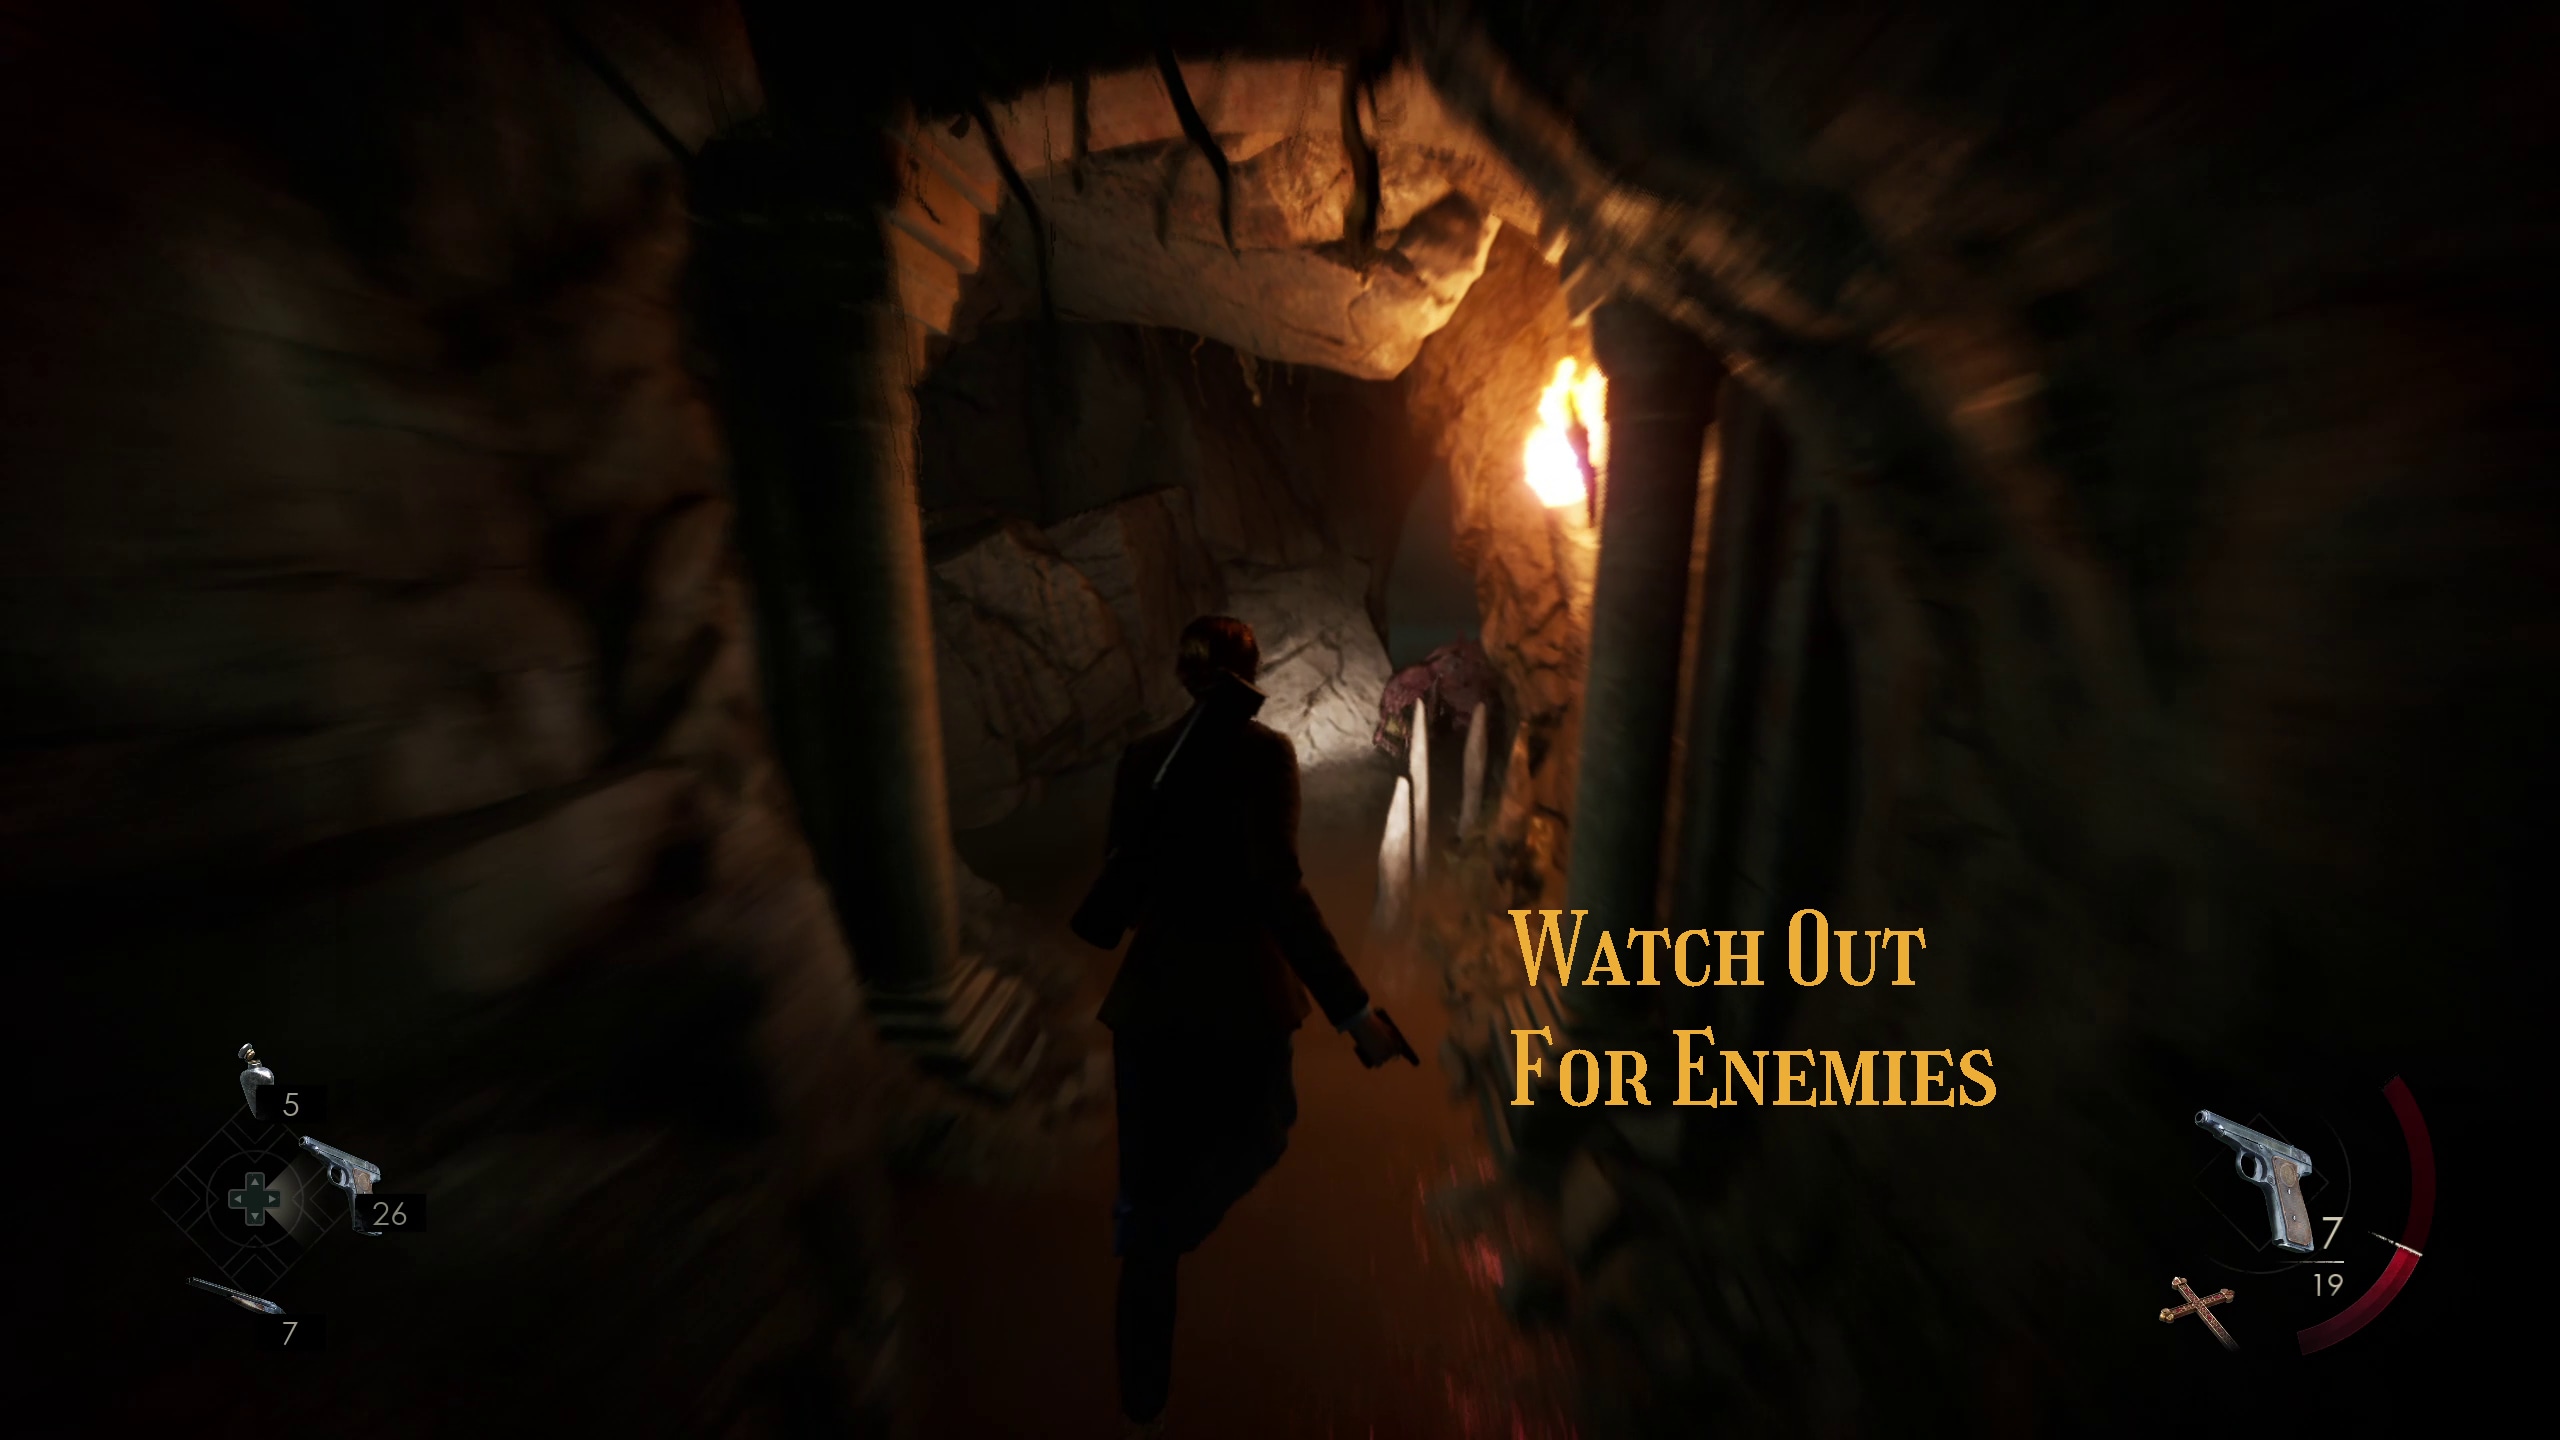
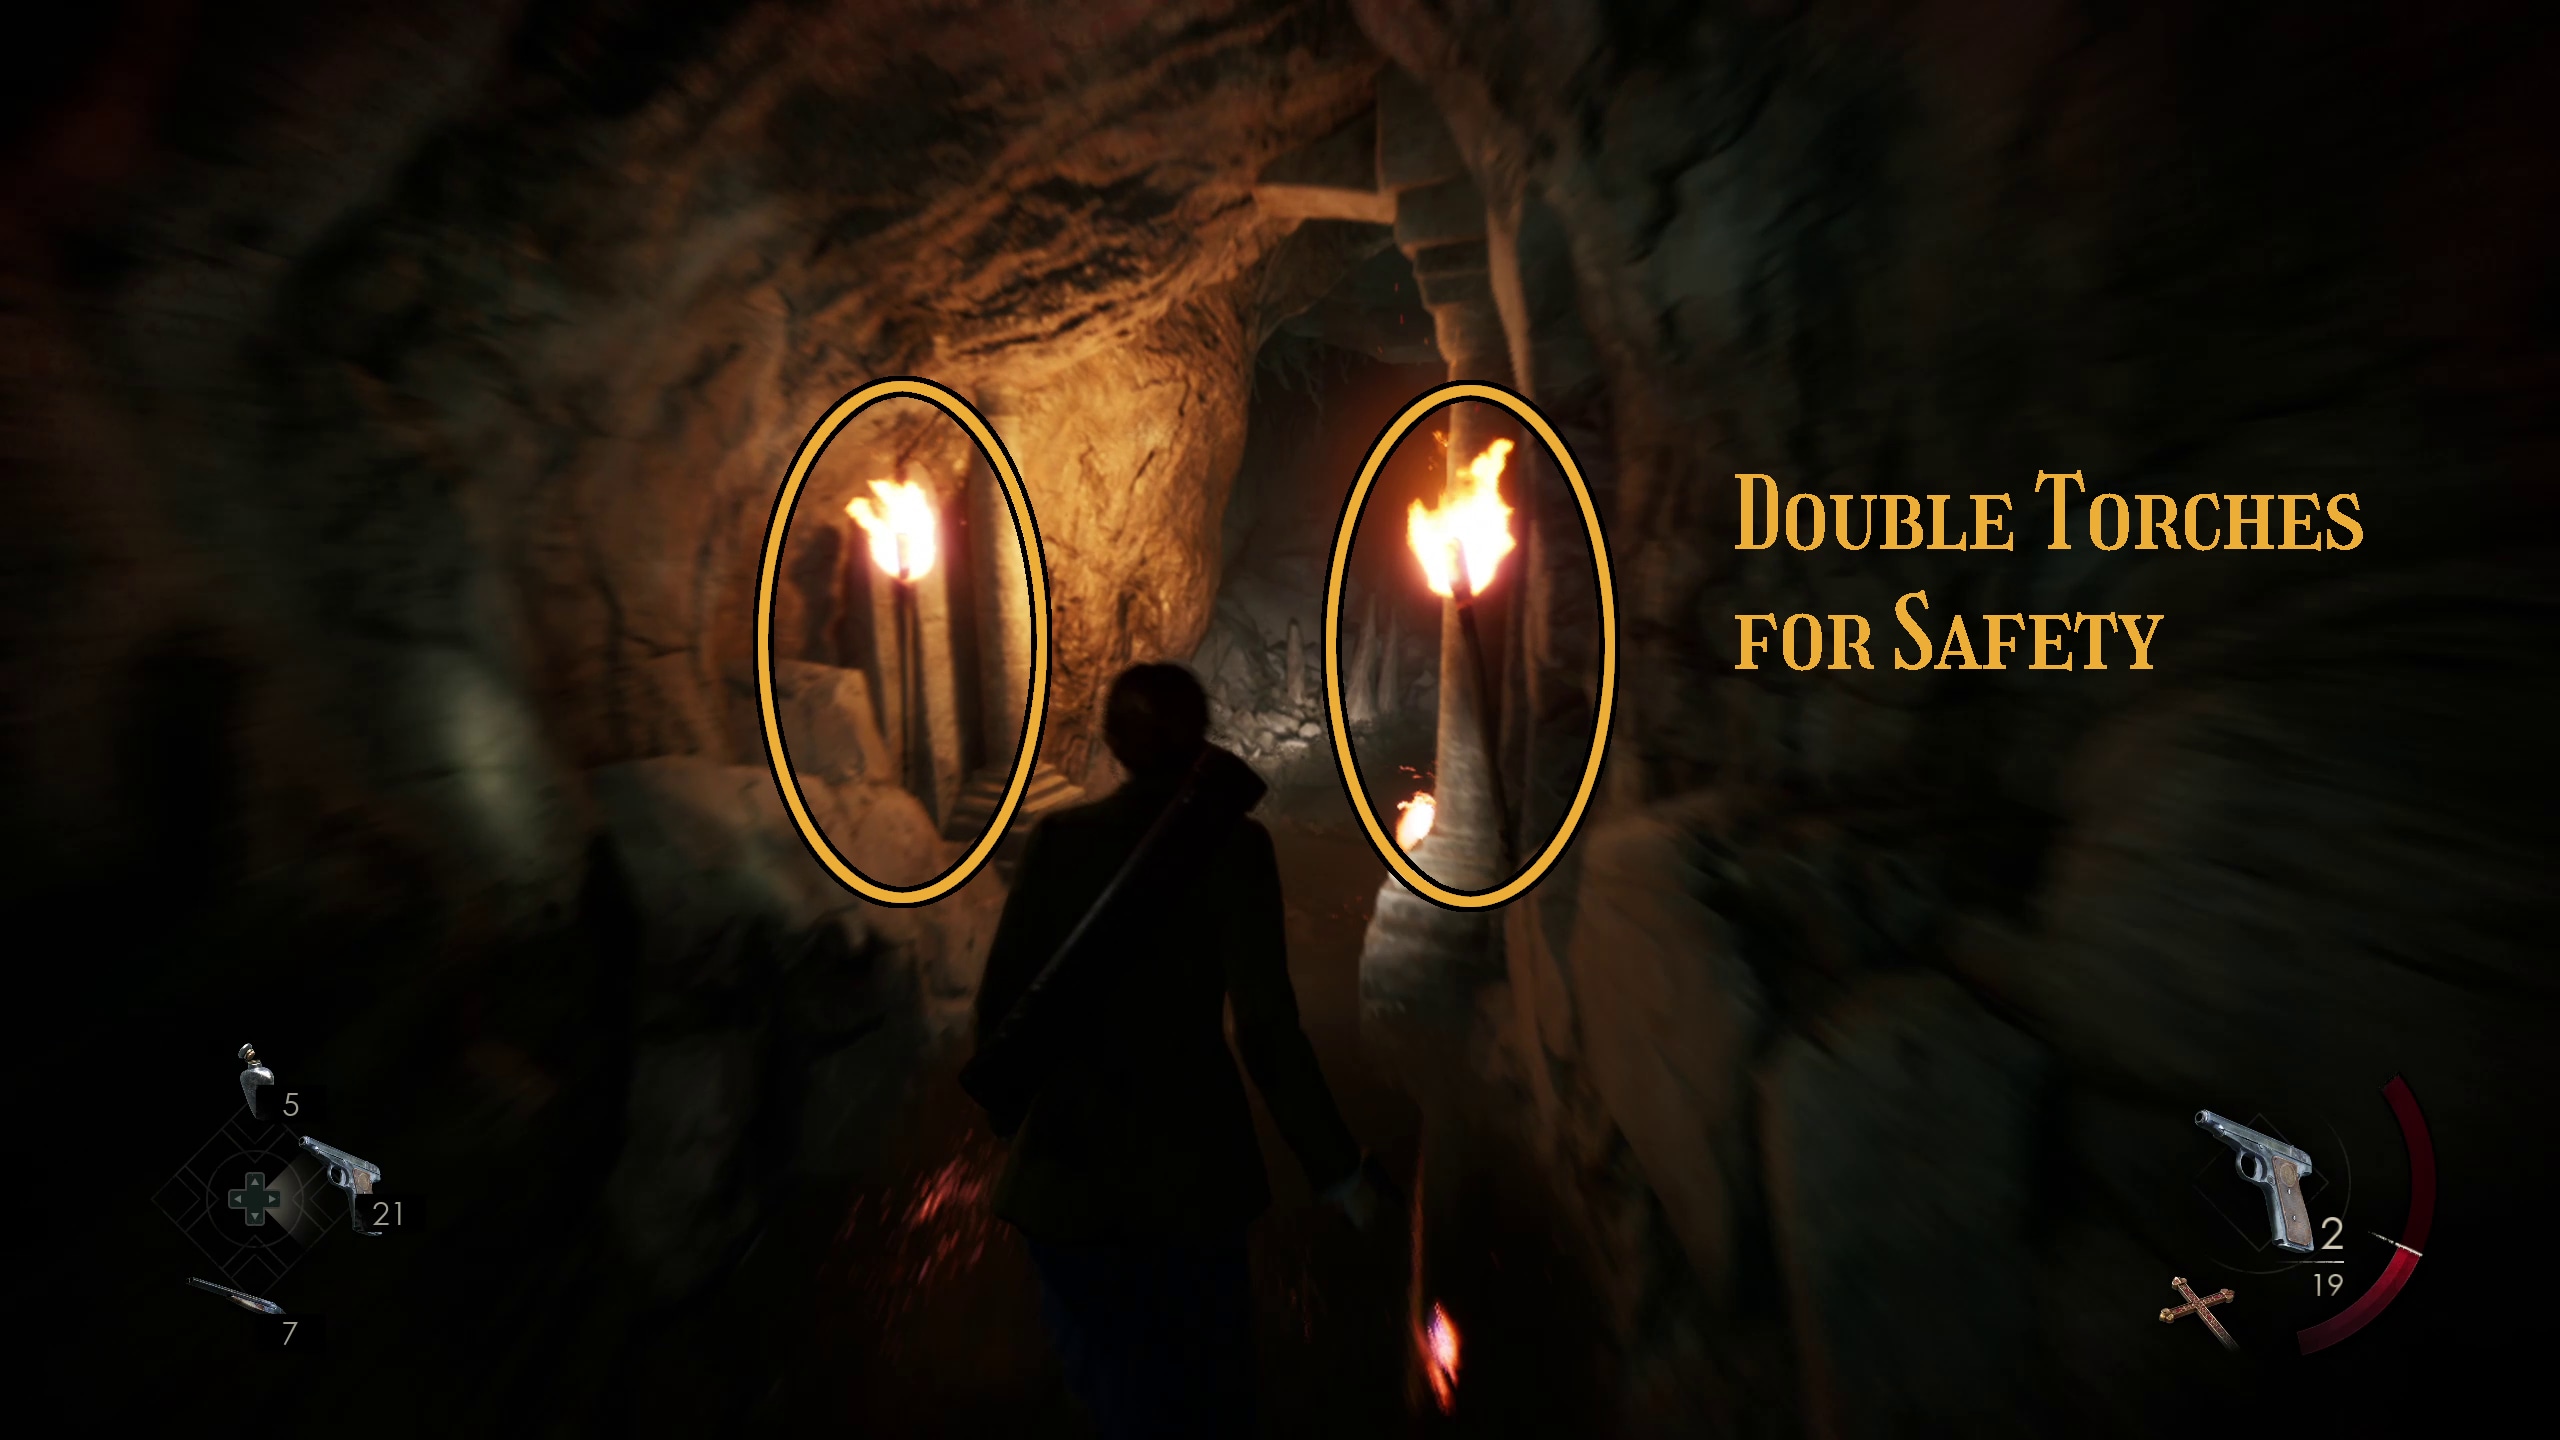
To escape the fastest, run through the pool of water and then take a left at the first torch (Image 187). Watch out for enemies (Image 188), and then look for 2 torches on either side of a passageway, which will lead to safety (Image 189).
186187188189
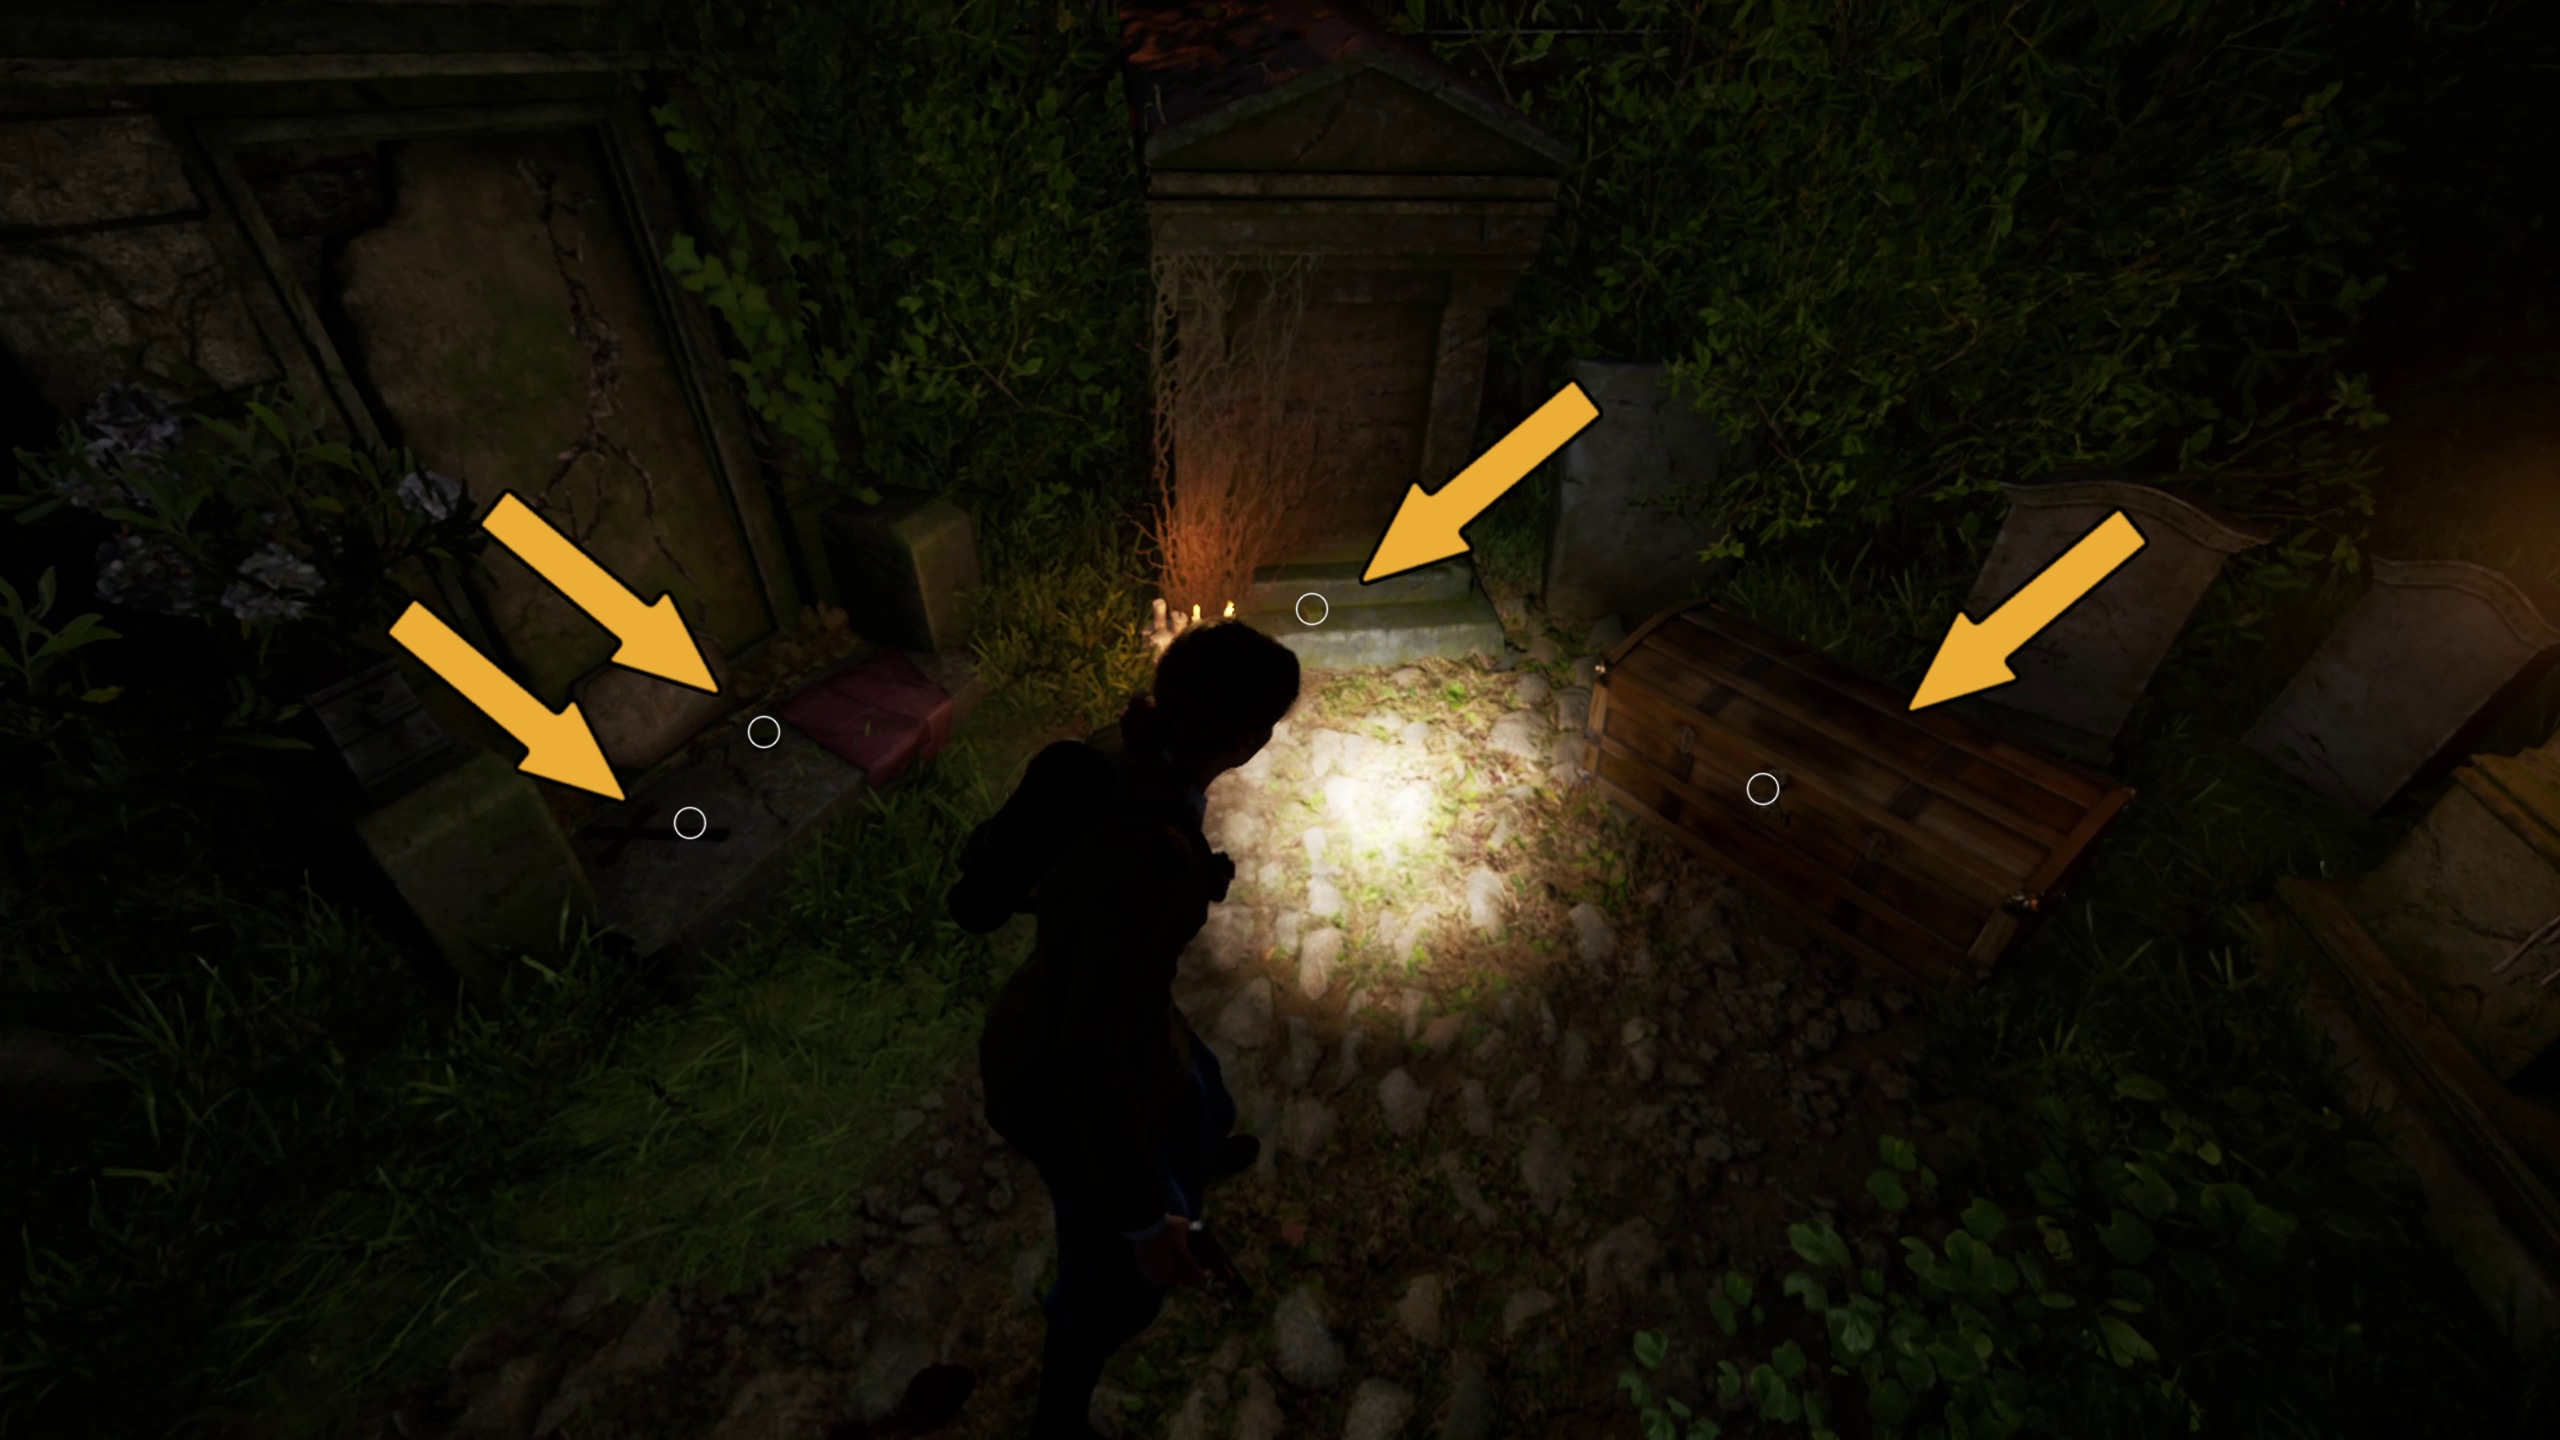
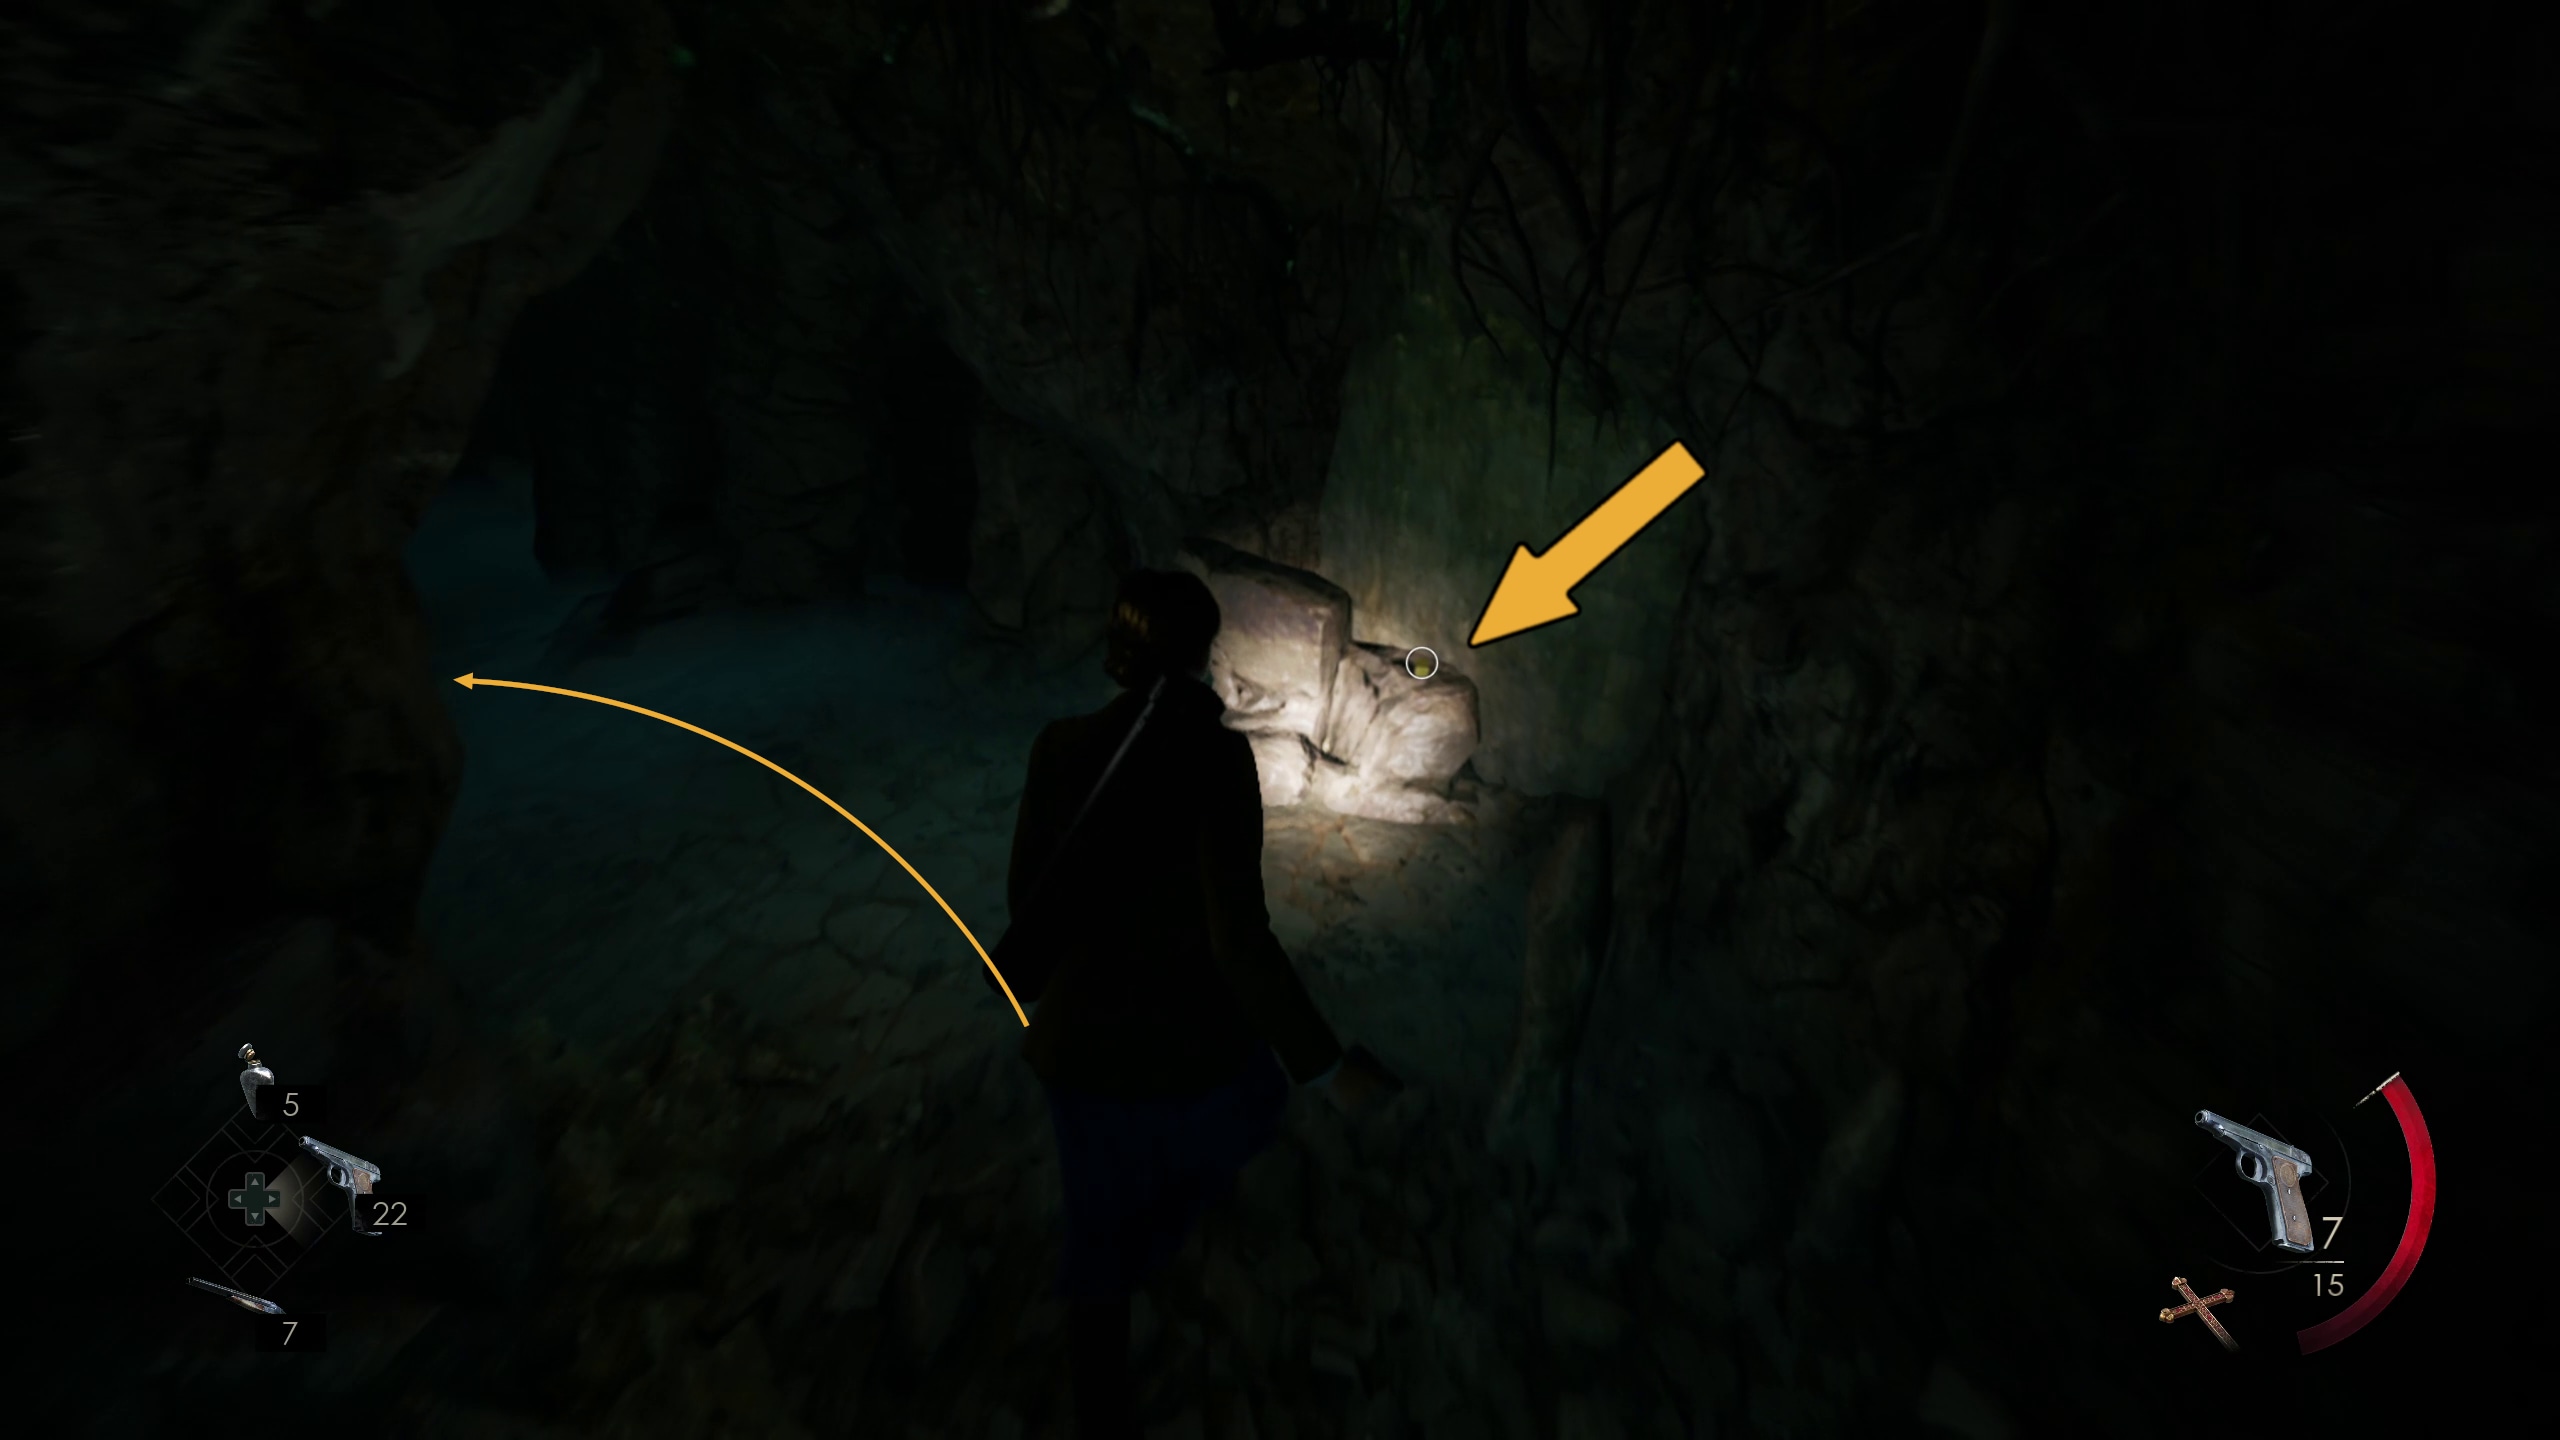
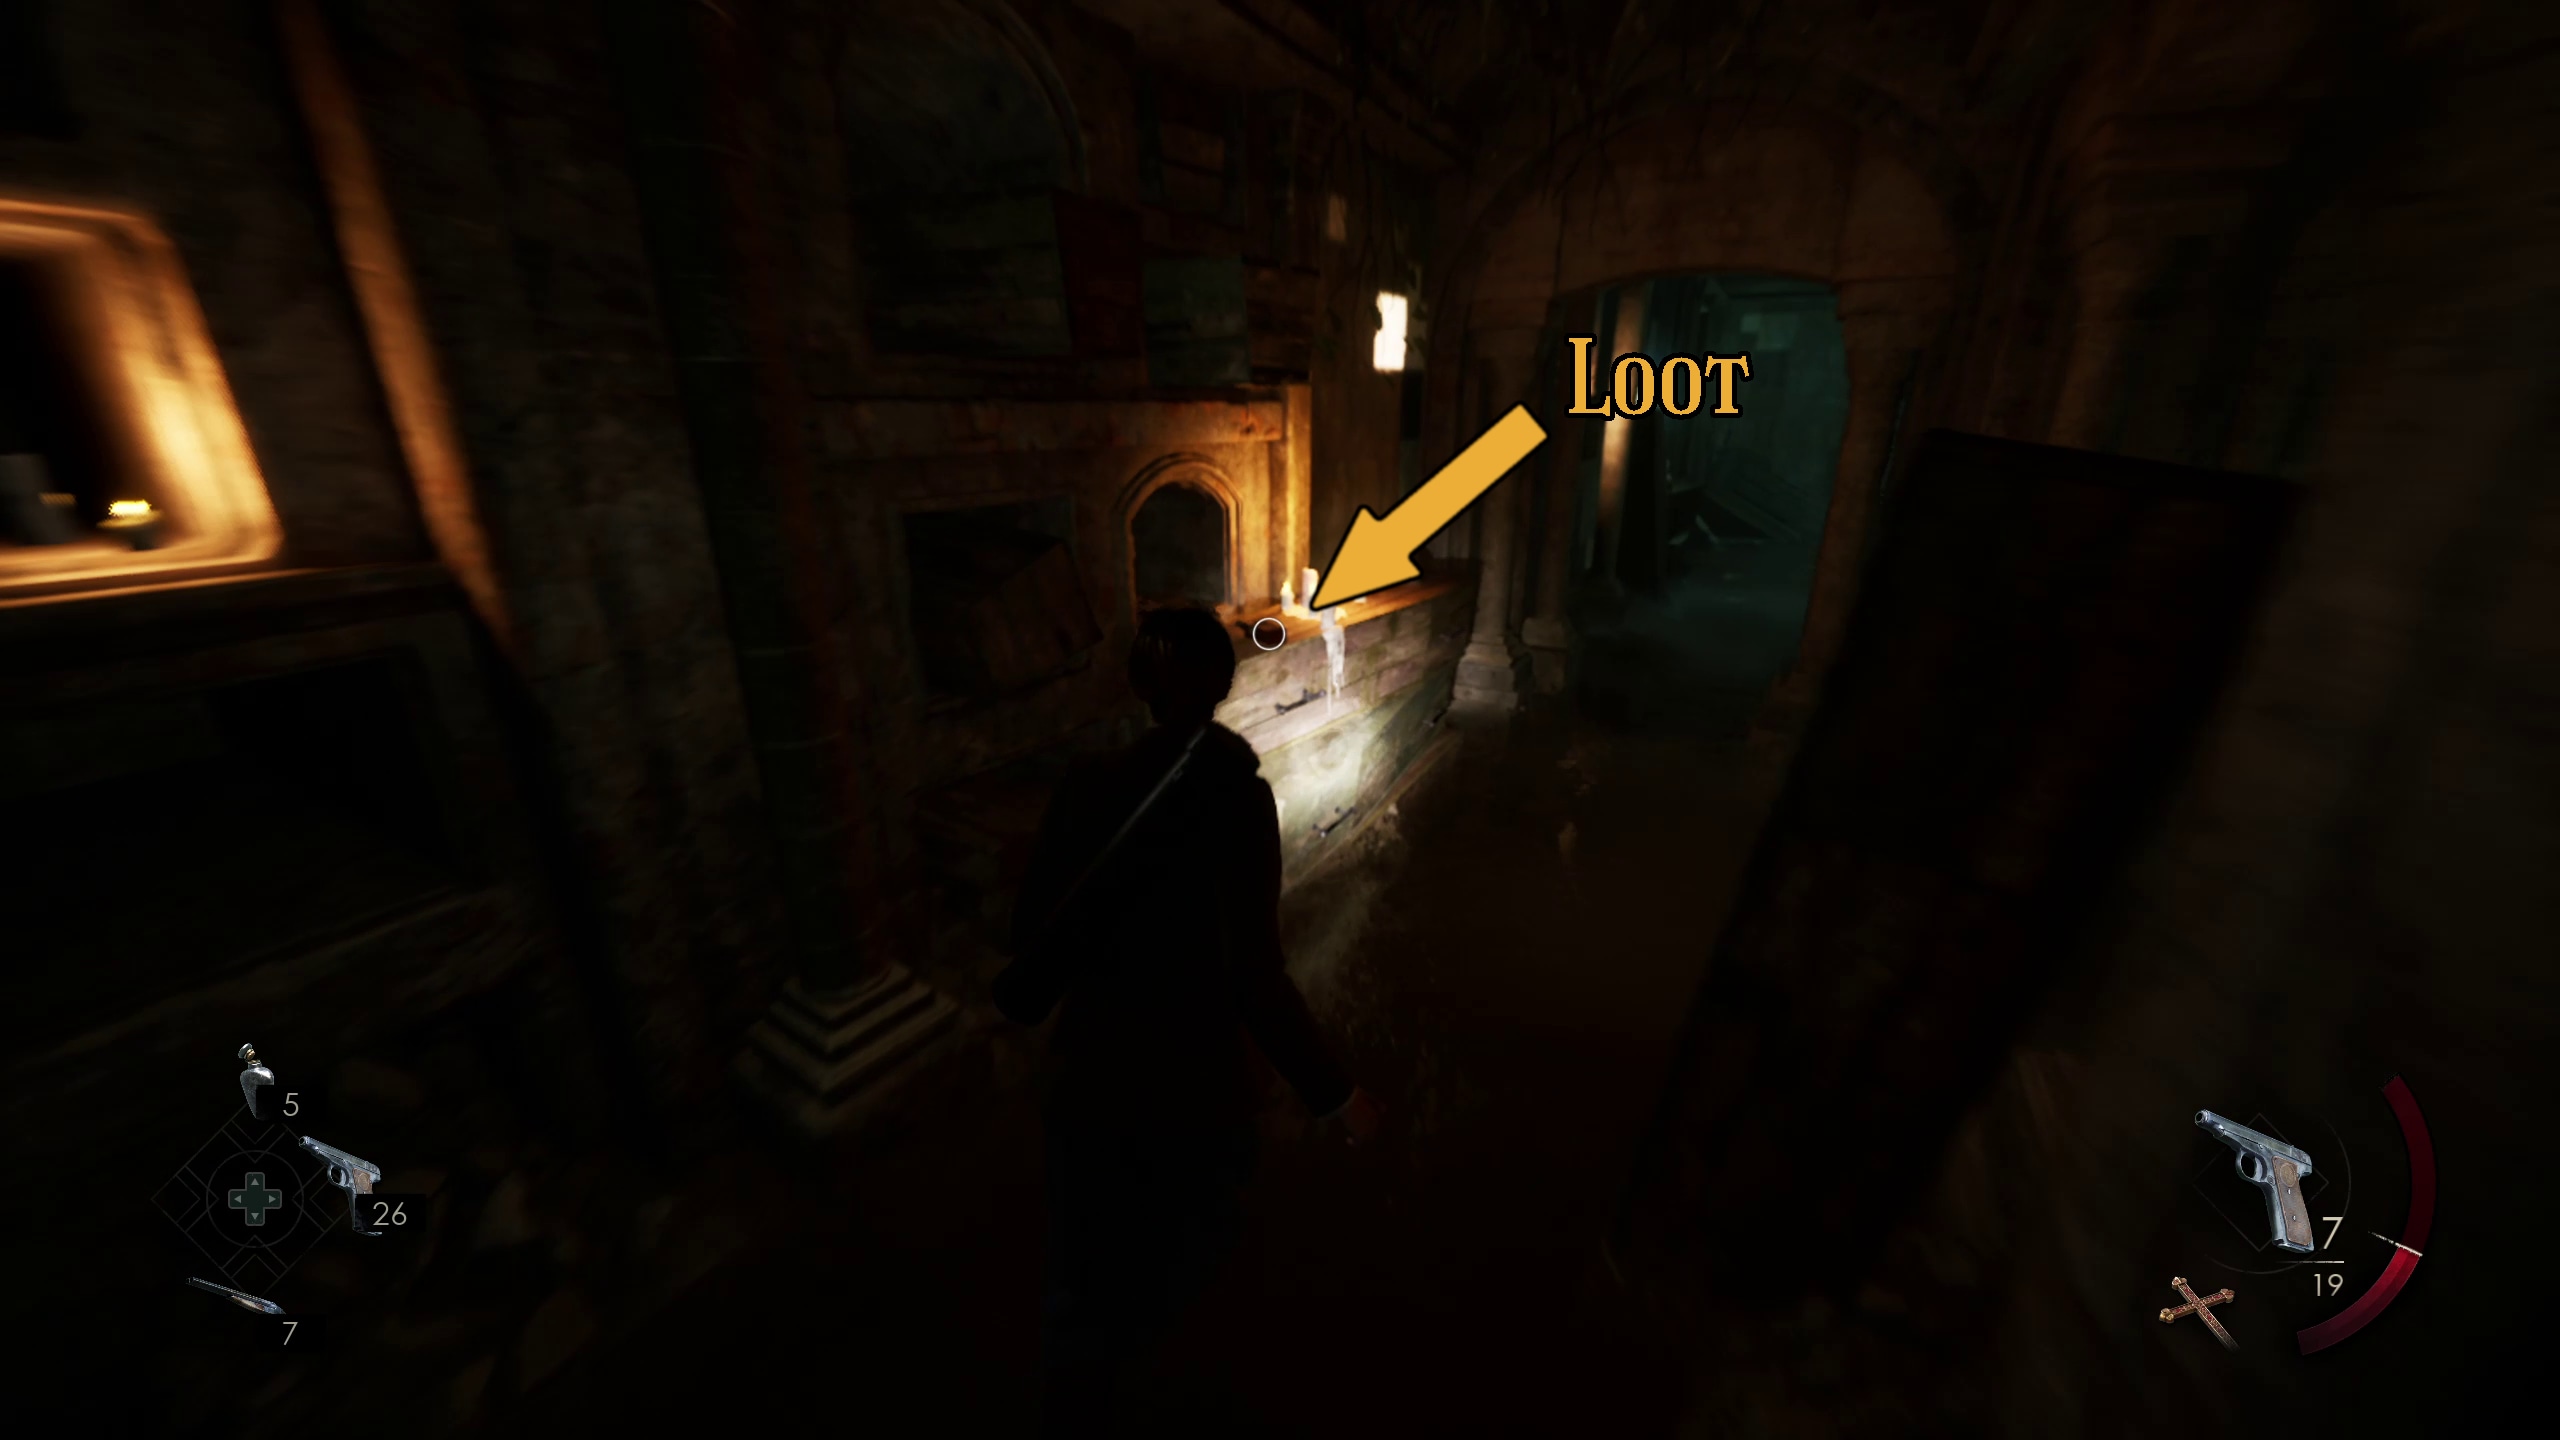
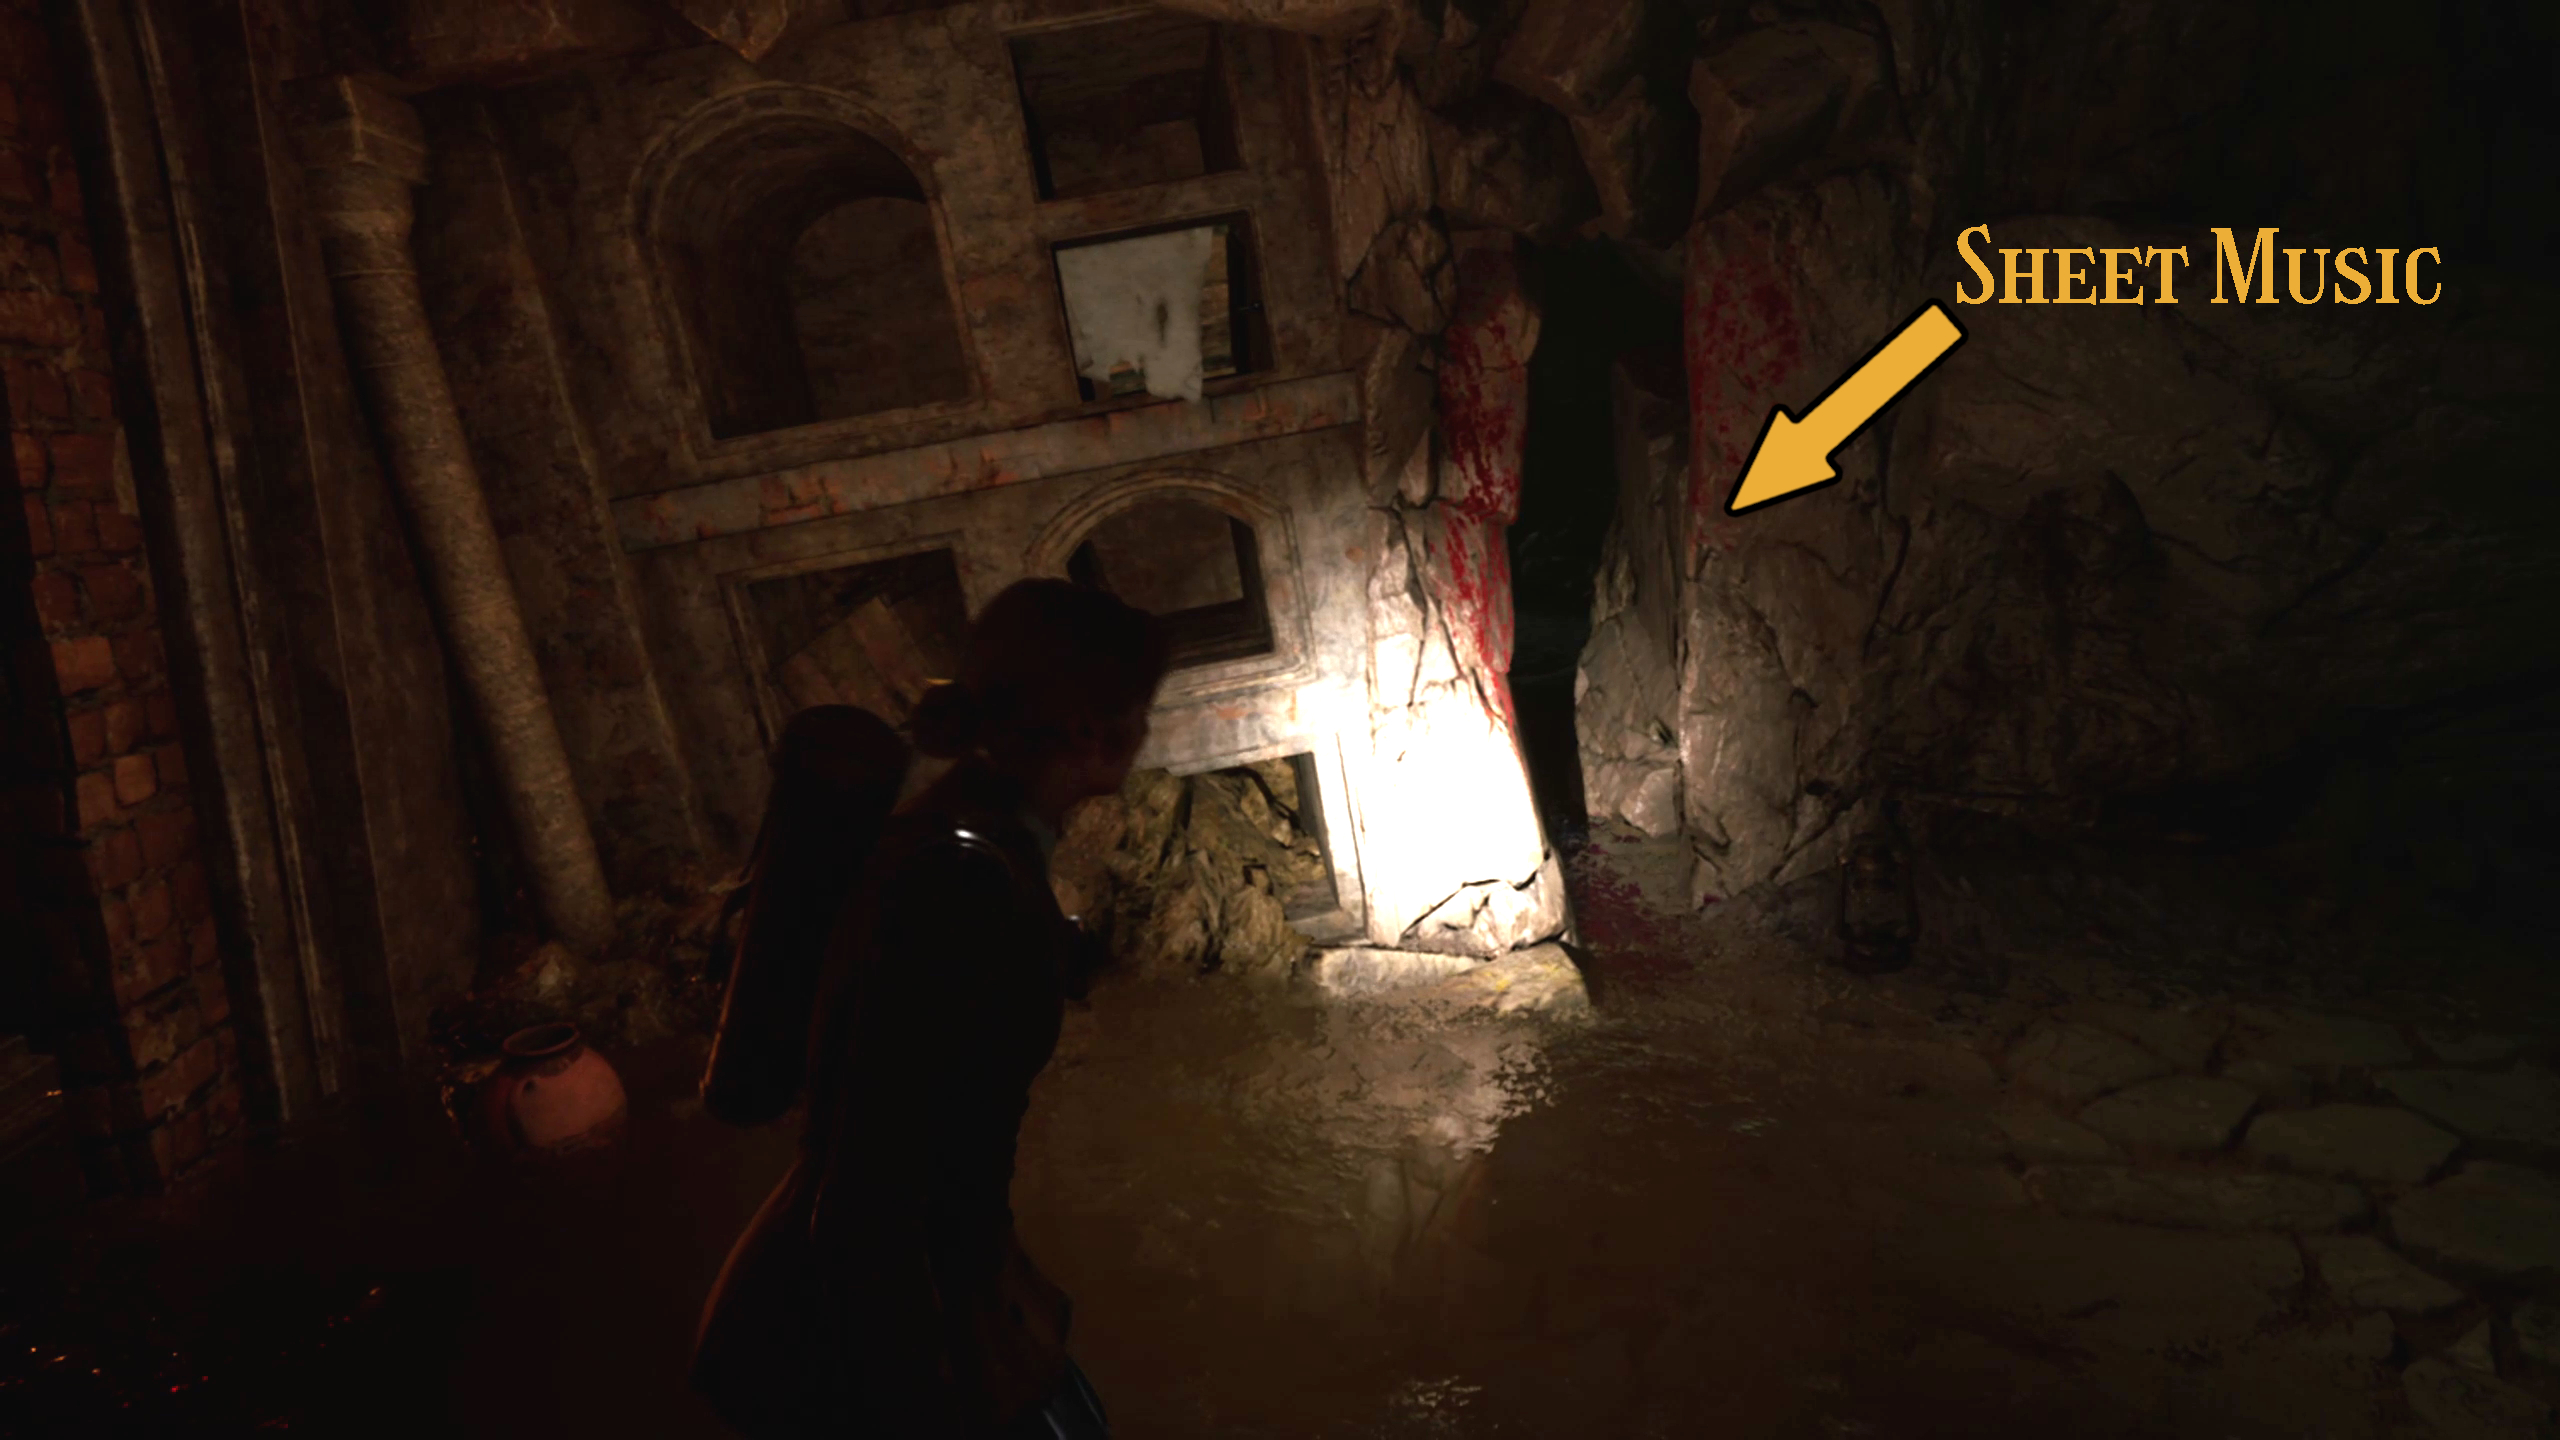
After you hear rocks fall behind you, you will be safe. From here, grab any loot on the coffins in this room (Image 190), then continue on until you reach a statue holding the Sacrifice lamb icon (Image 191). Turn to the right, then keep an eye to your left (before the ladder) to grab the Sheet Music Lagniappe before continuing up and out (Image 192).
190191192
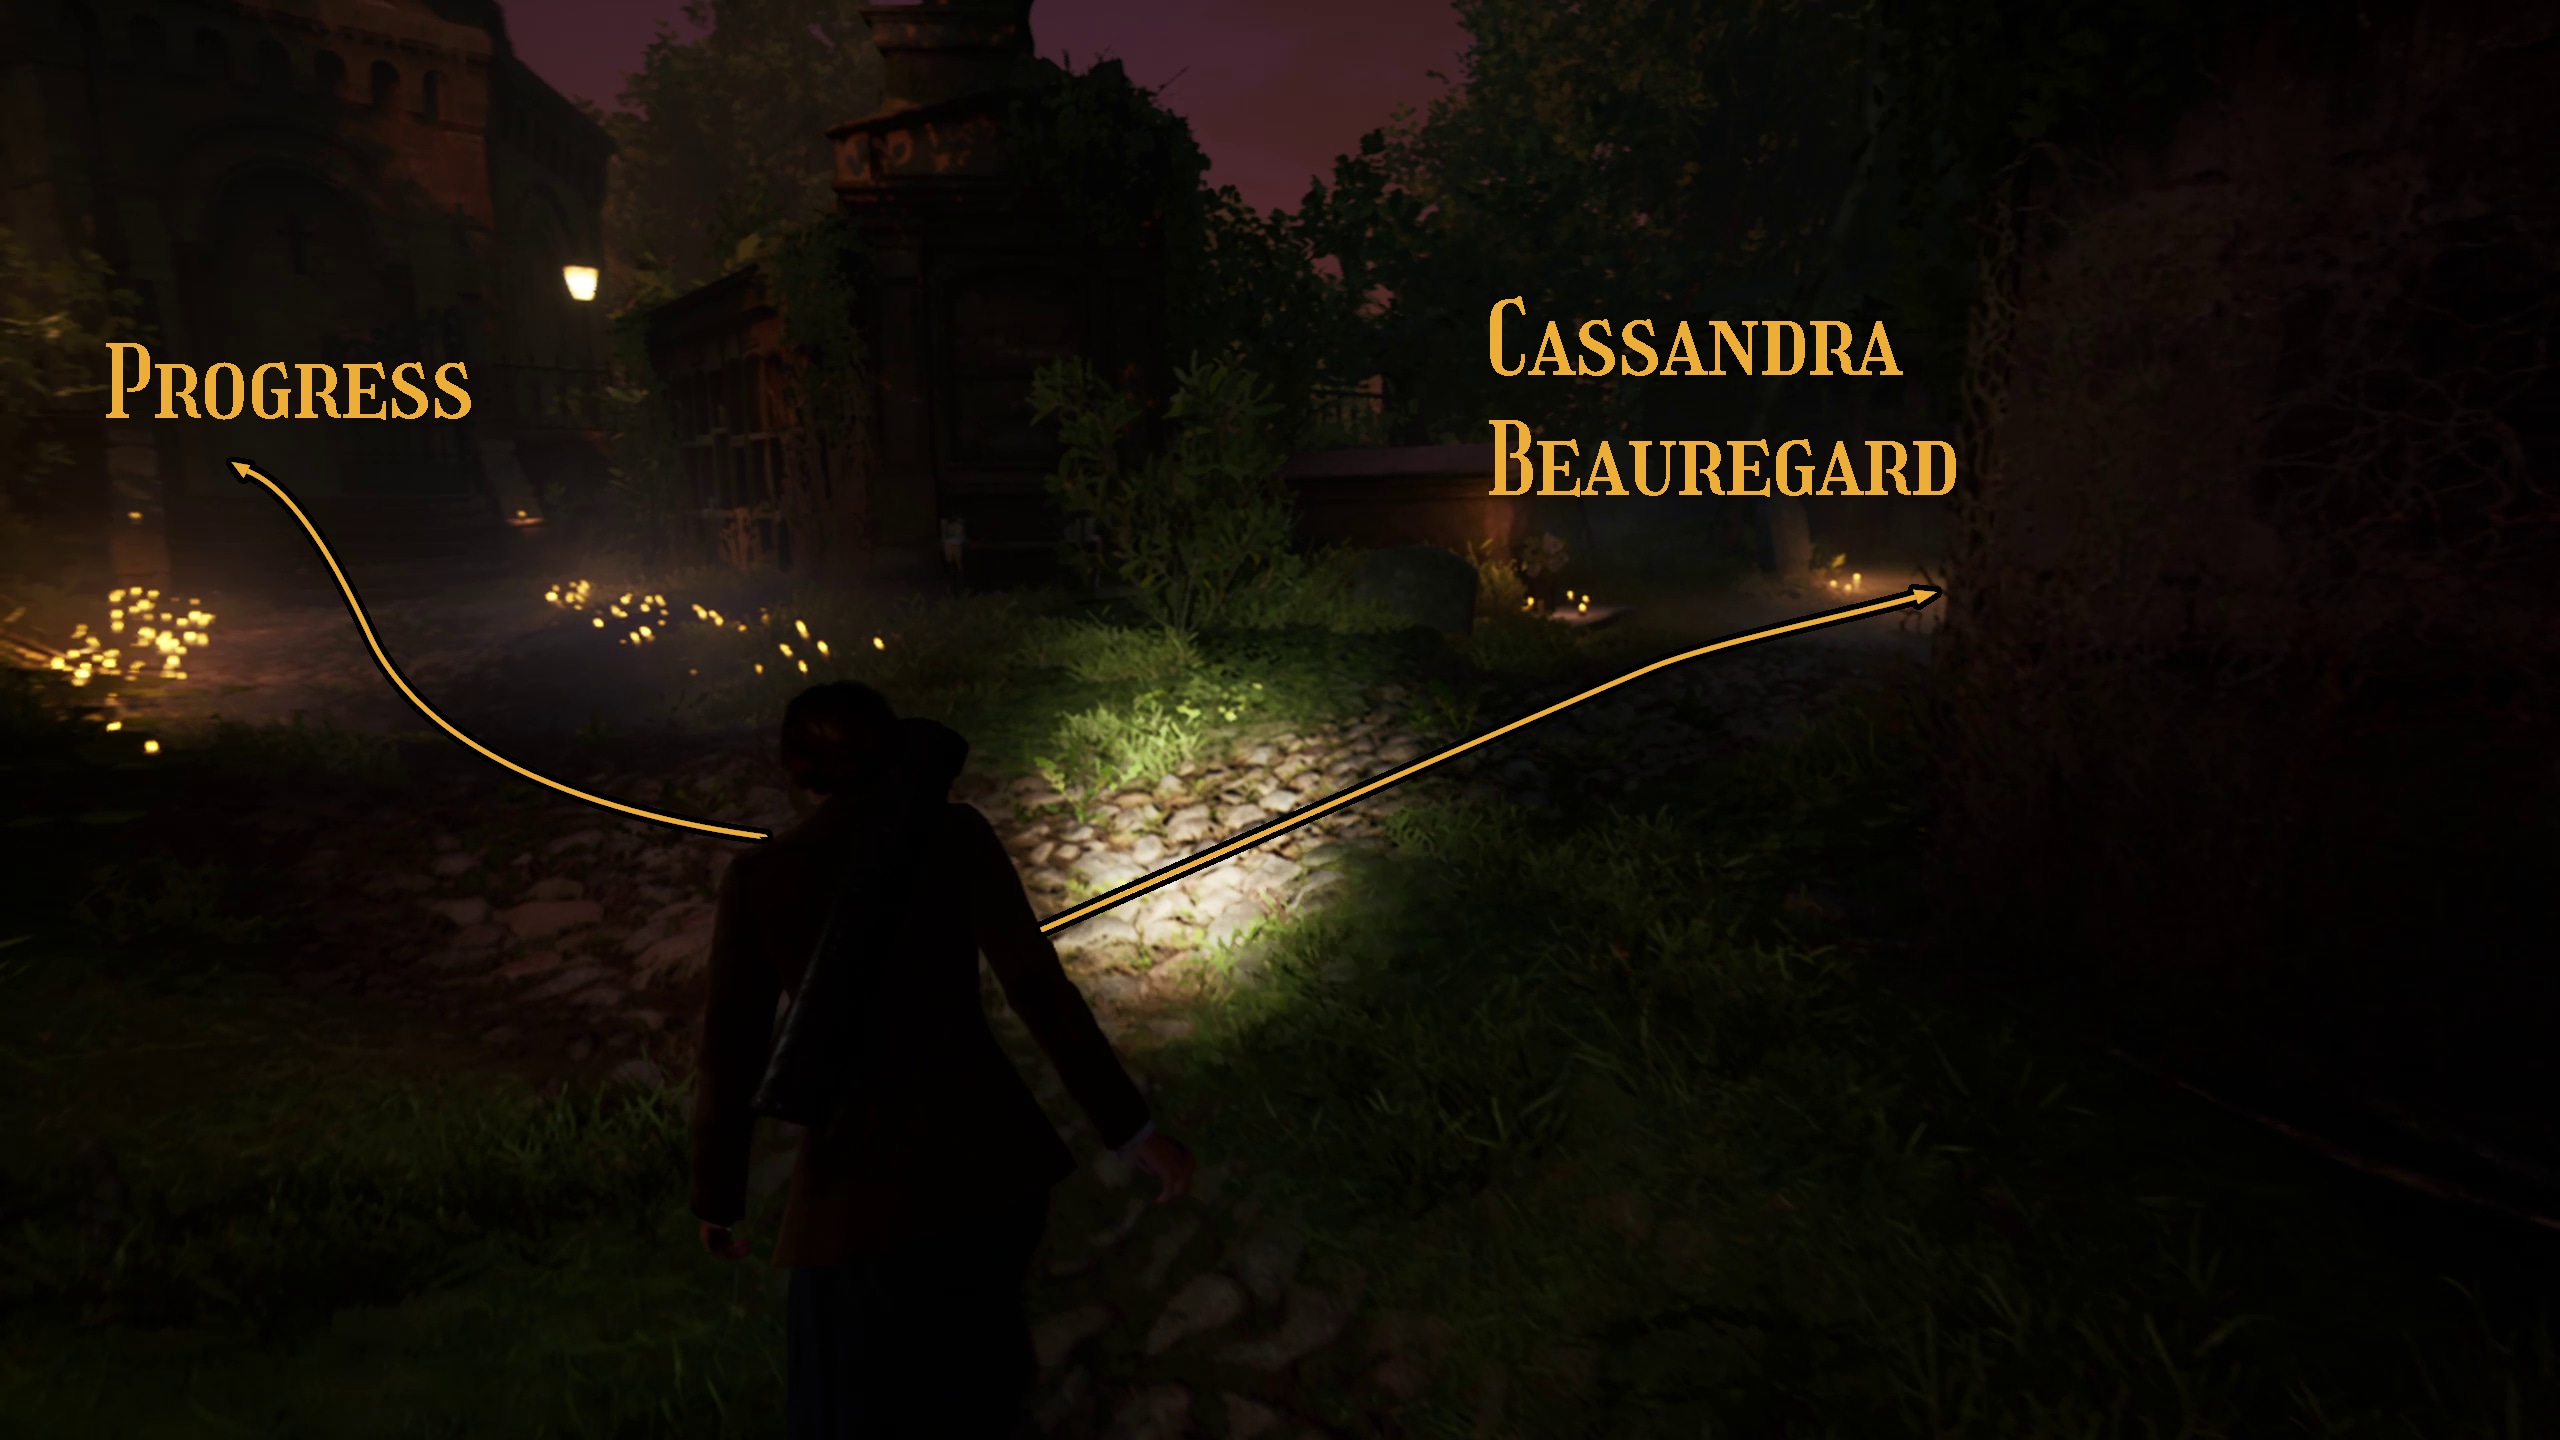
When you reach a fork in the road (Image 193), you can turn right to see what happened to Cassandra Beauregard (Image 194), and then go back and continue forward until you reach the same chapel you were at earlier (Image 195). This will lead to the final Icon Puzzle (Image 196).
193194195196
Third Icon Puzzle
You will need to solve this icon puzzle in order to continue through the game.
You’ll need to figure out both which directions each icon faces, and which slot it goes in…
You should arrange the icons as such. The icons are all facing right-side up, with the three interlinking threads completing the circles on the other icons. The fingers should be on top, the lamb to the left,a nd the bird to the right.
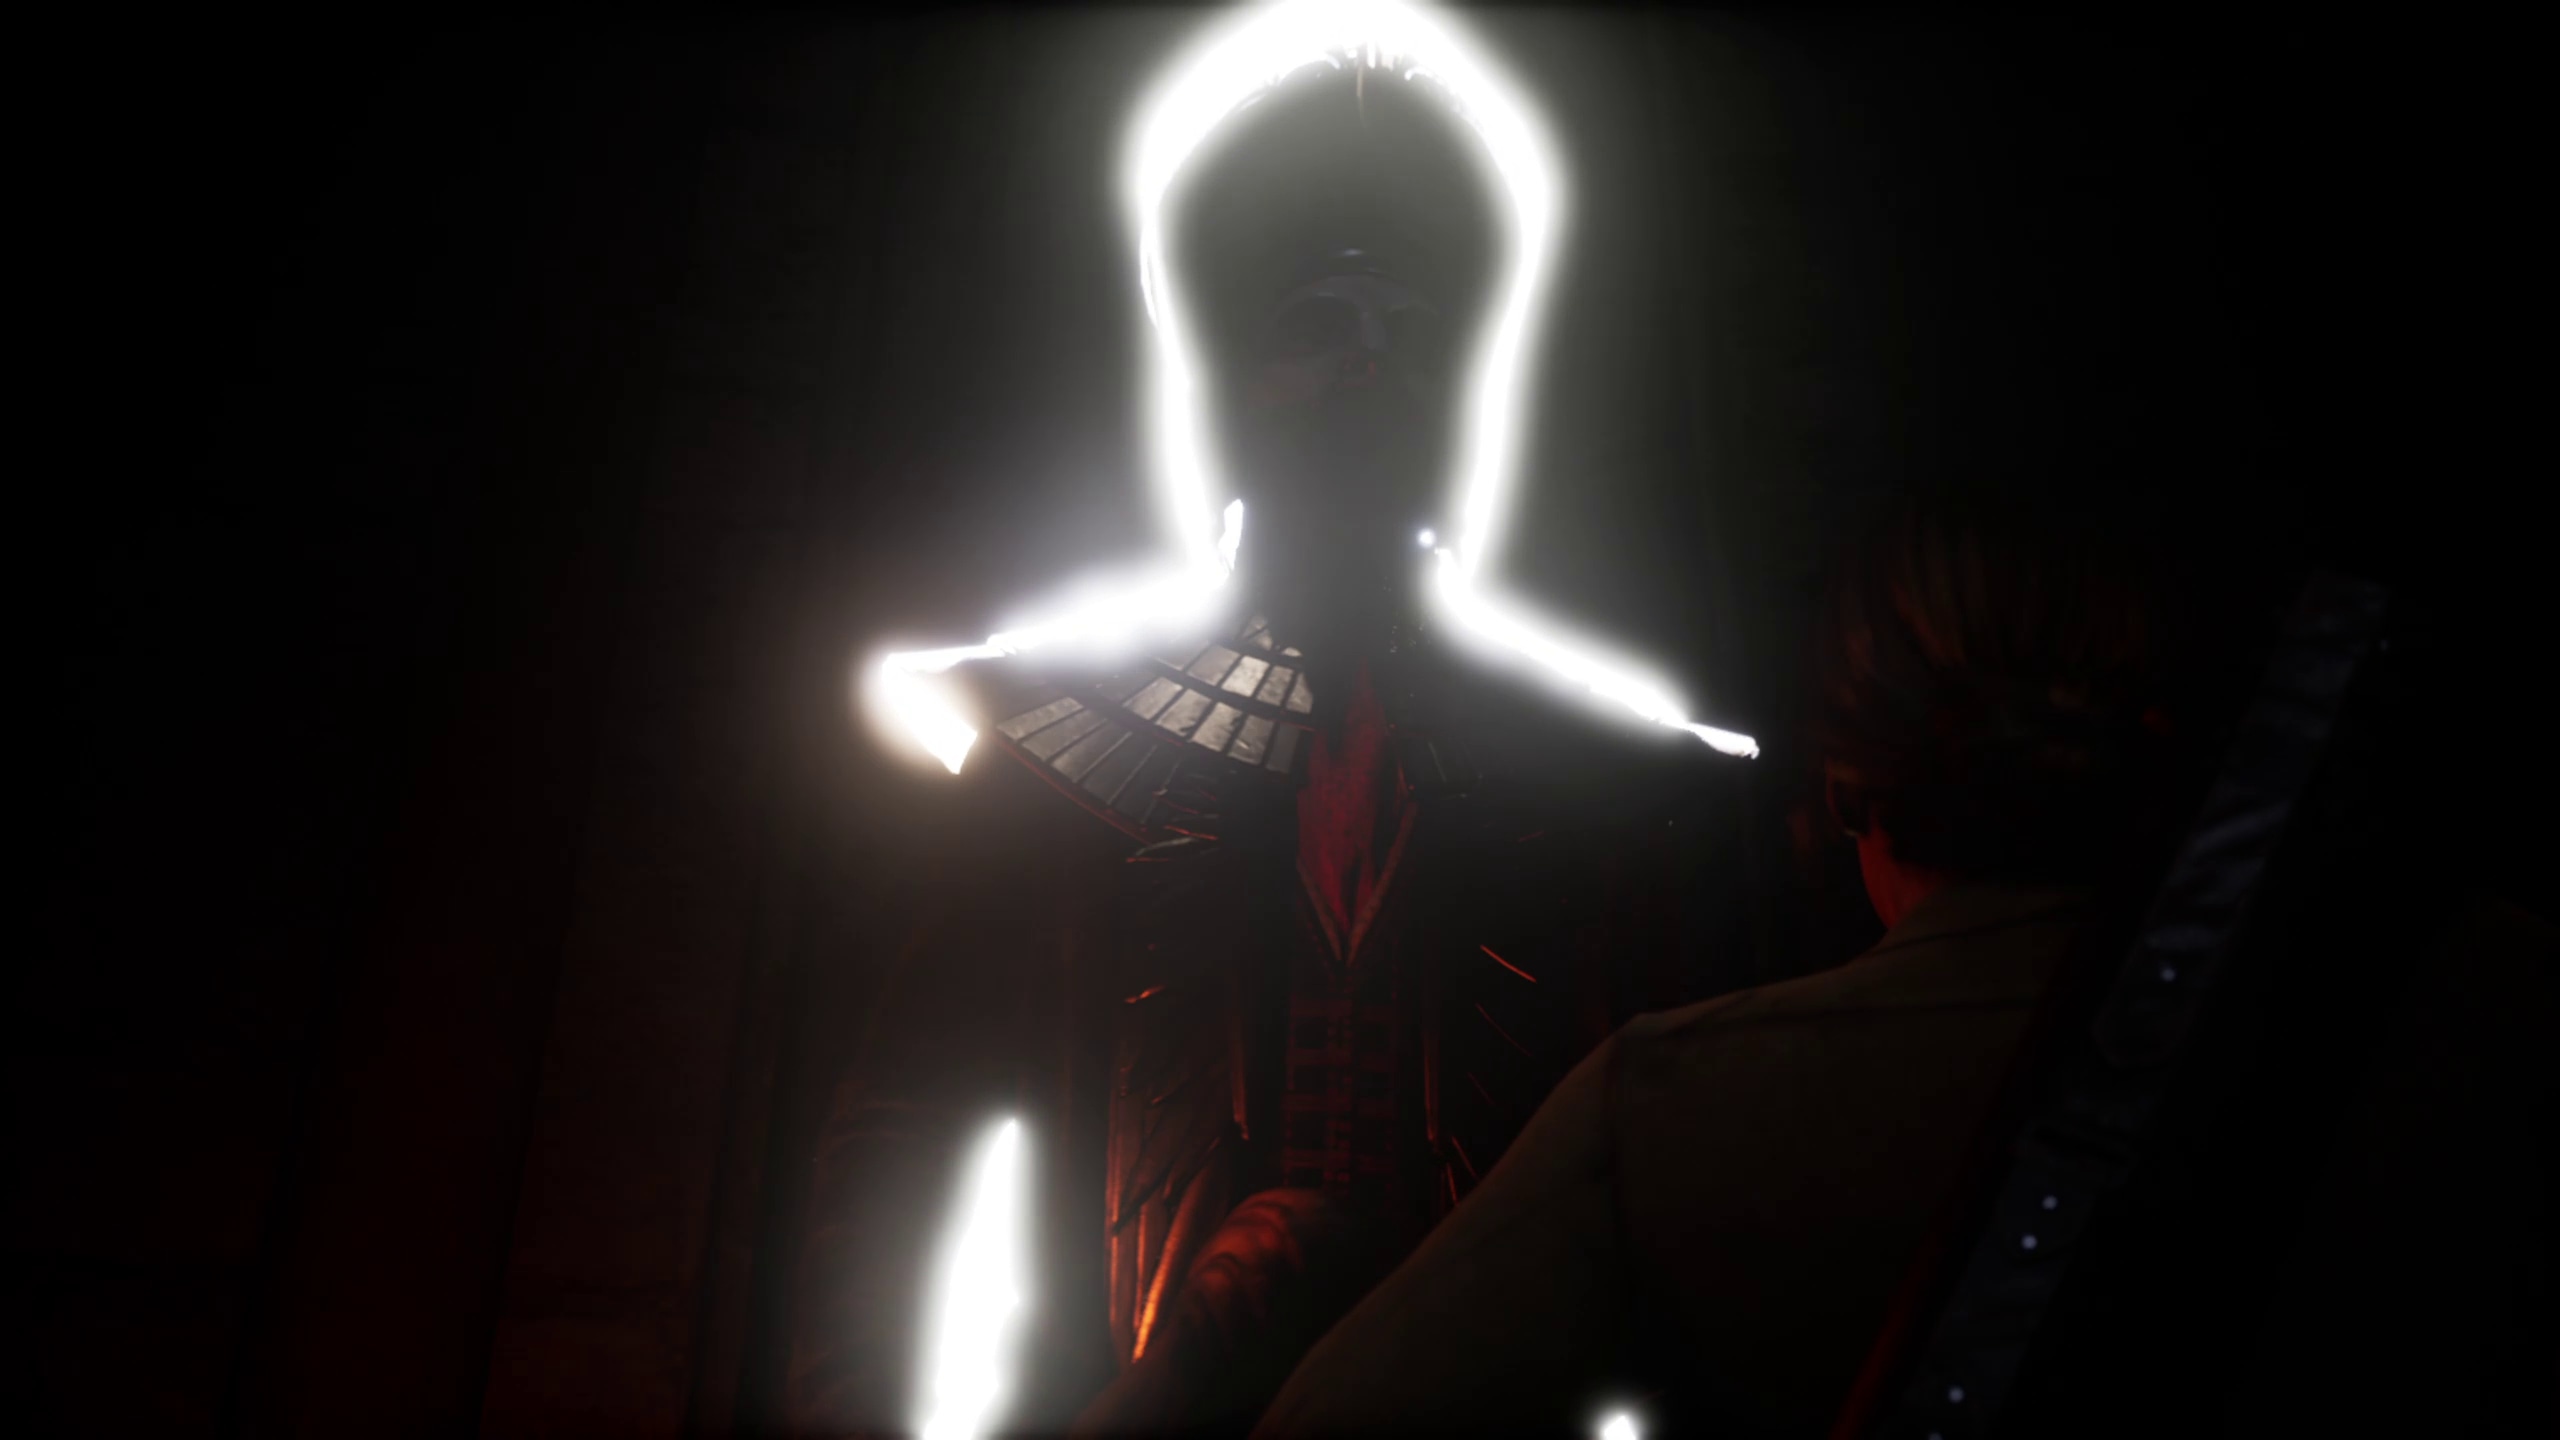
After you complete the puzzle, you will finally encounter Jeremy, as well as the terrifying Dark Man (Image 197).
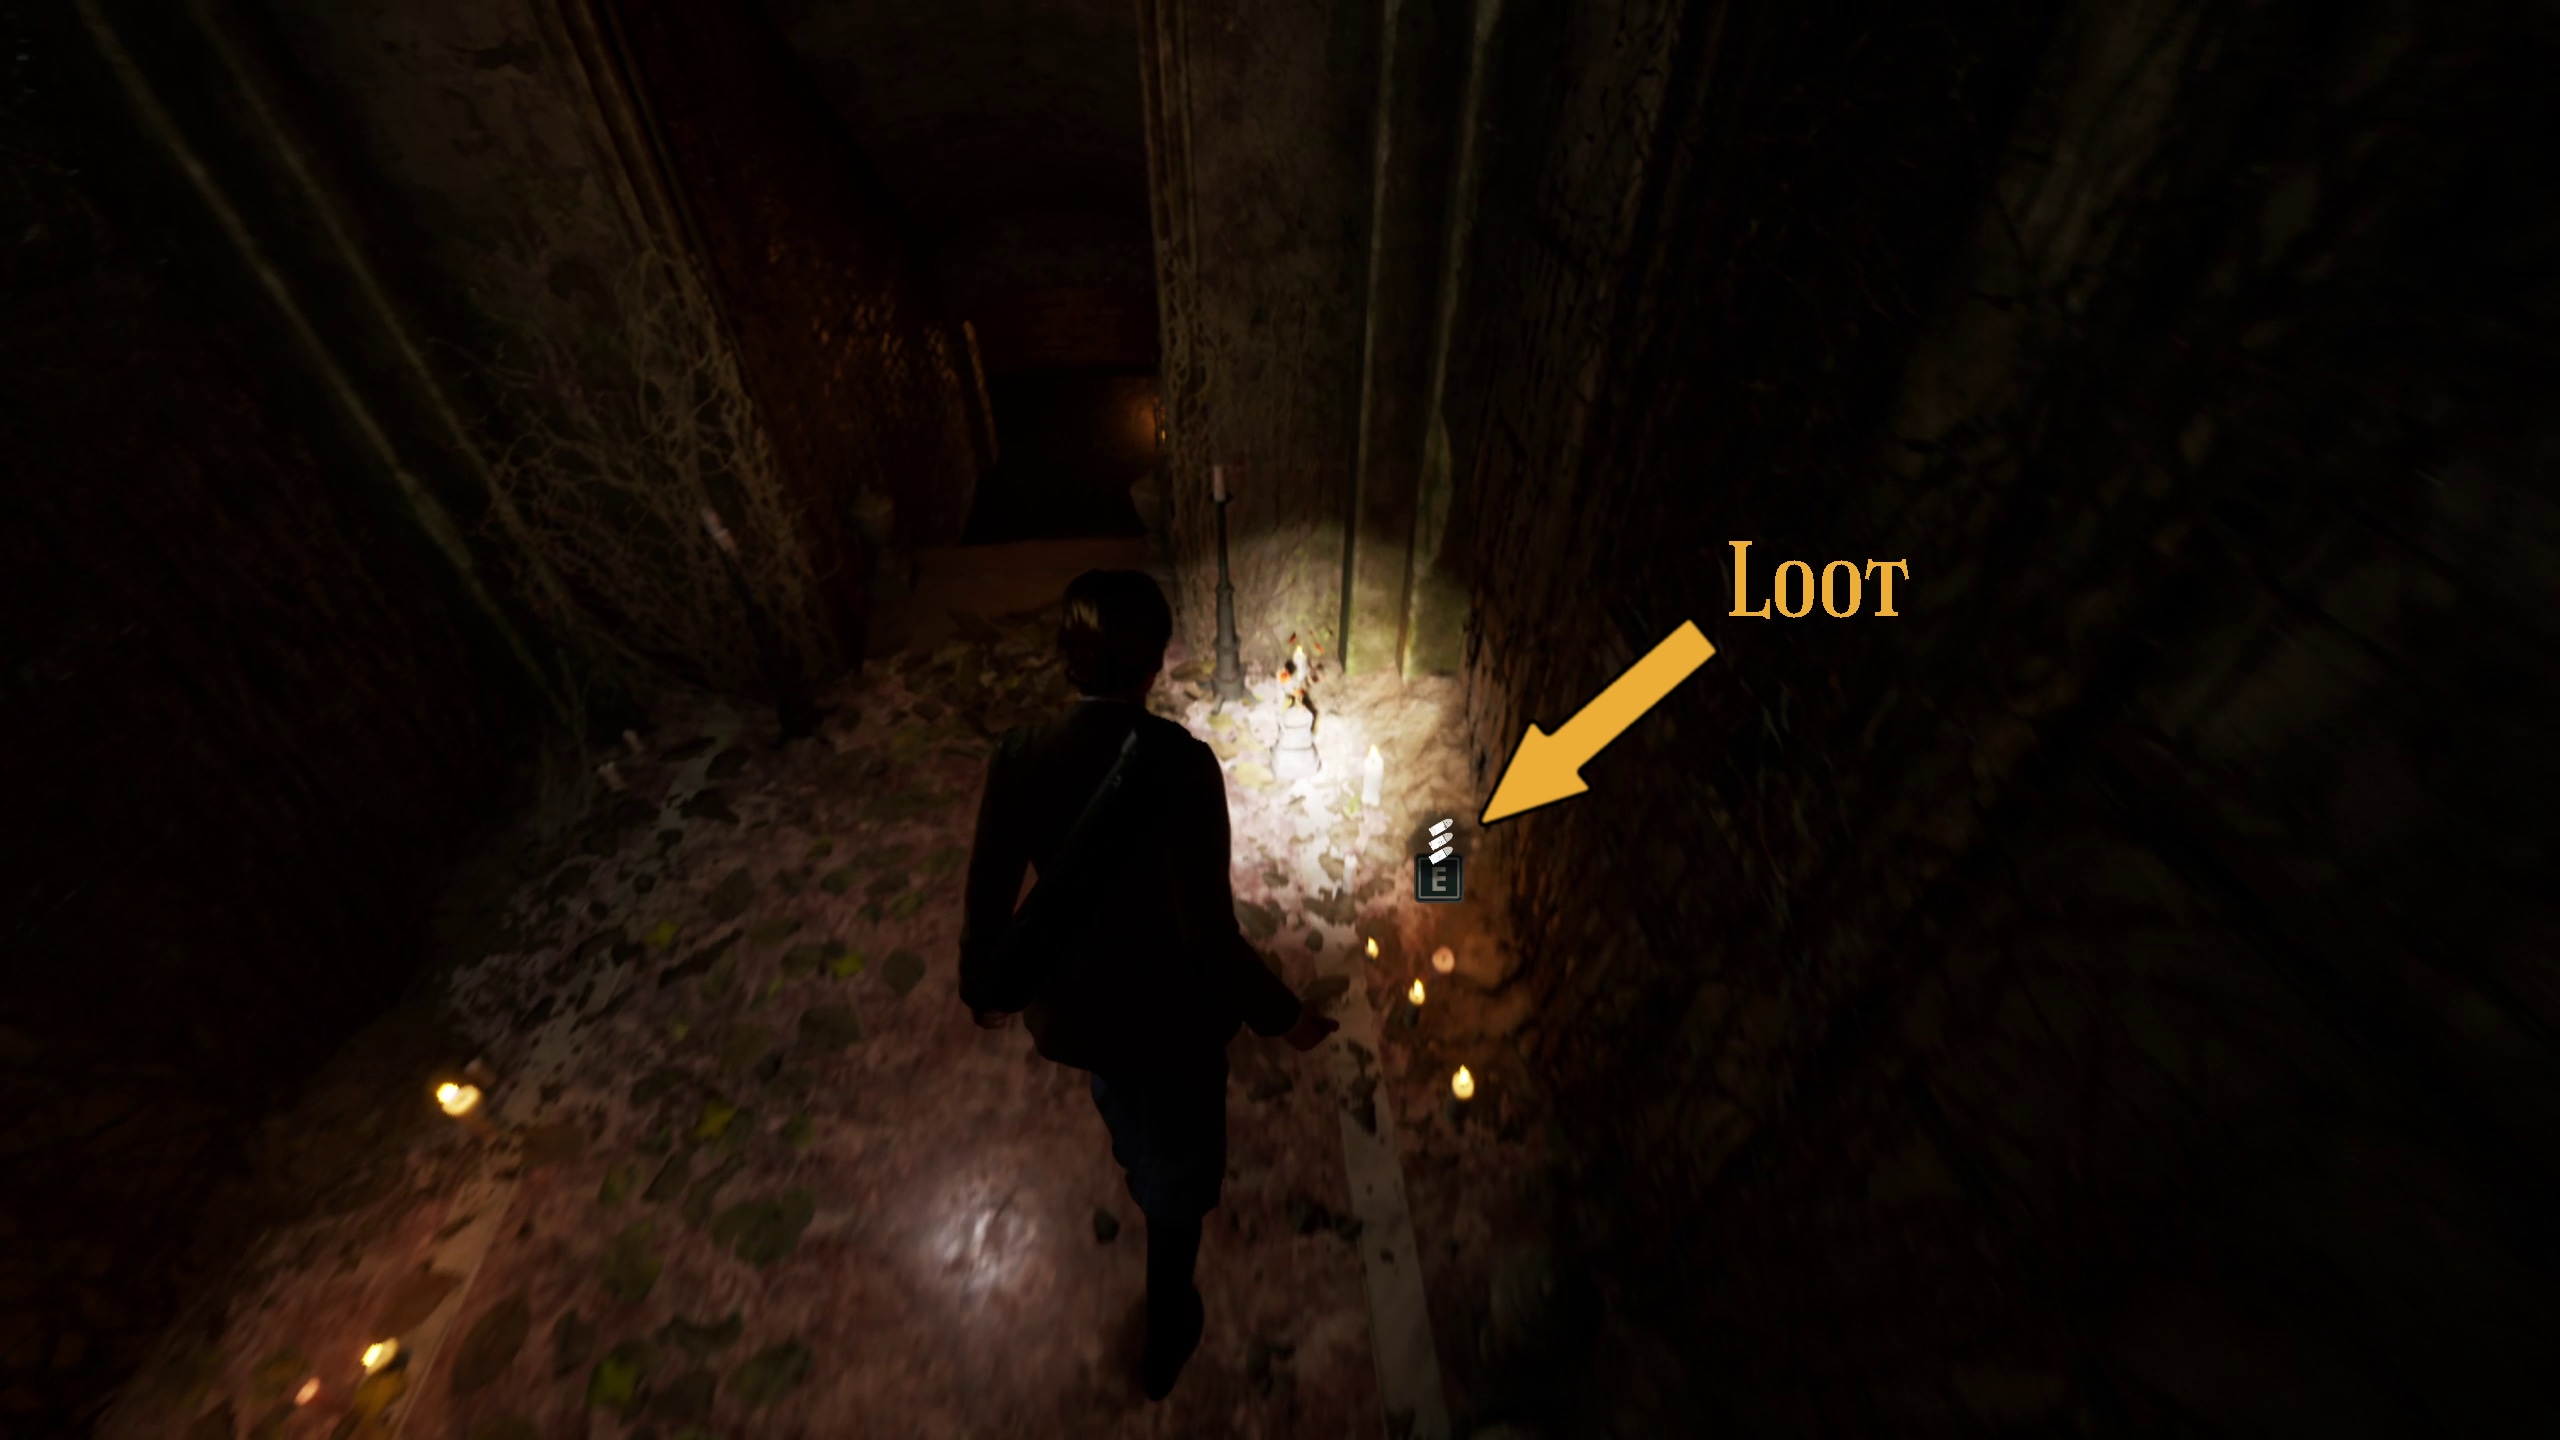
197
Derceto
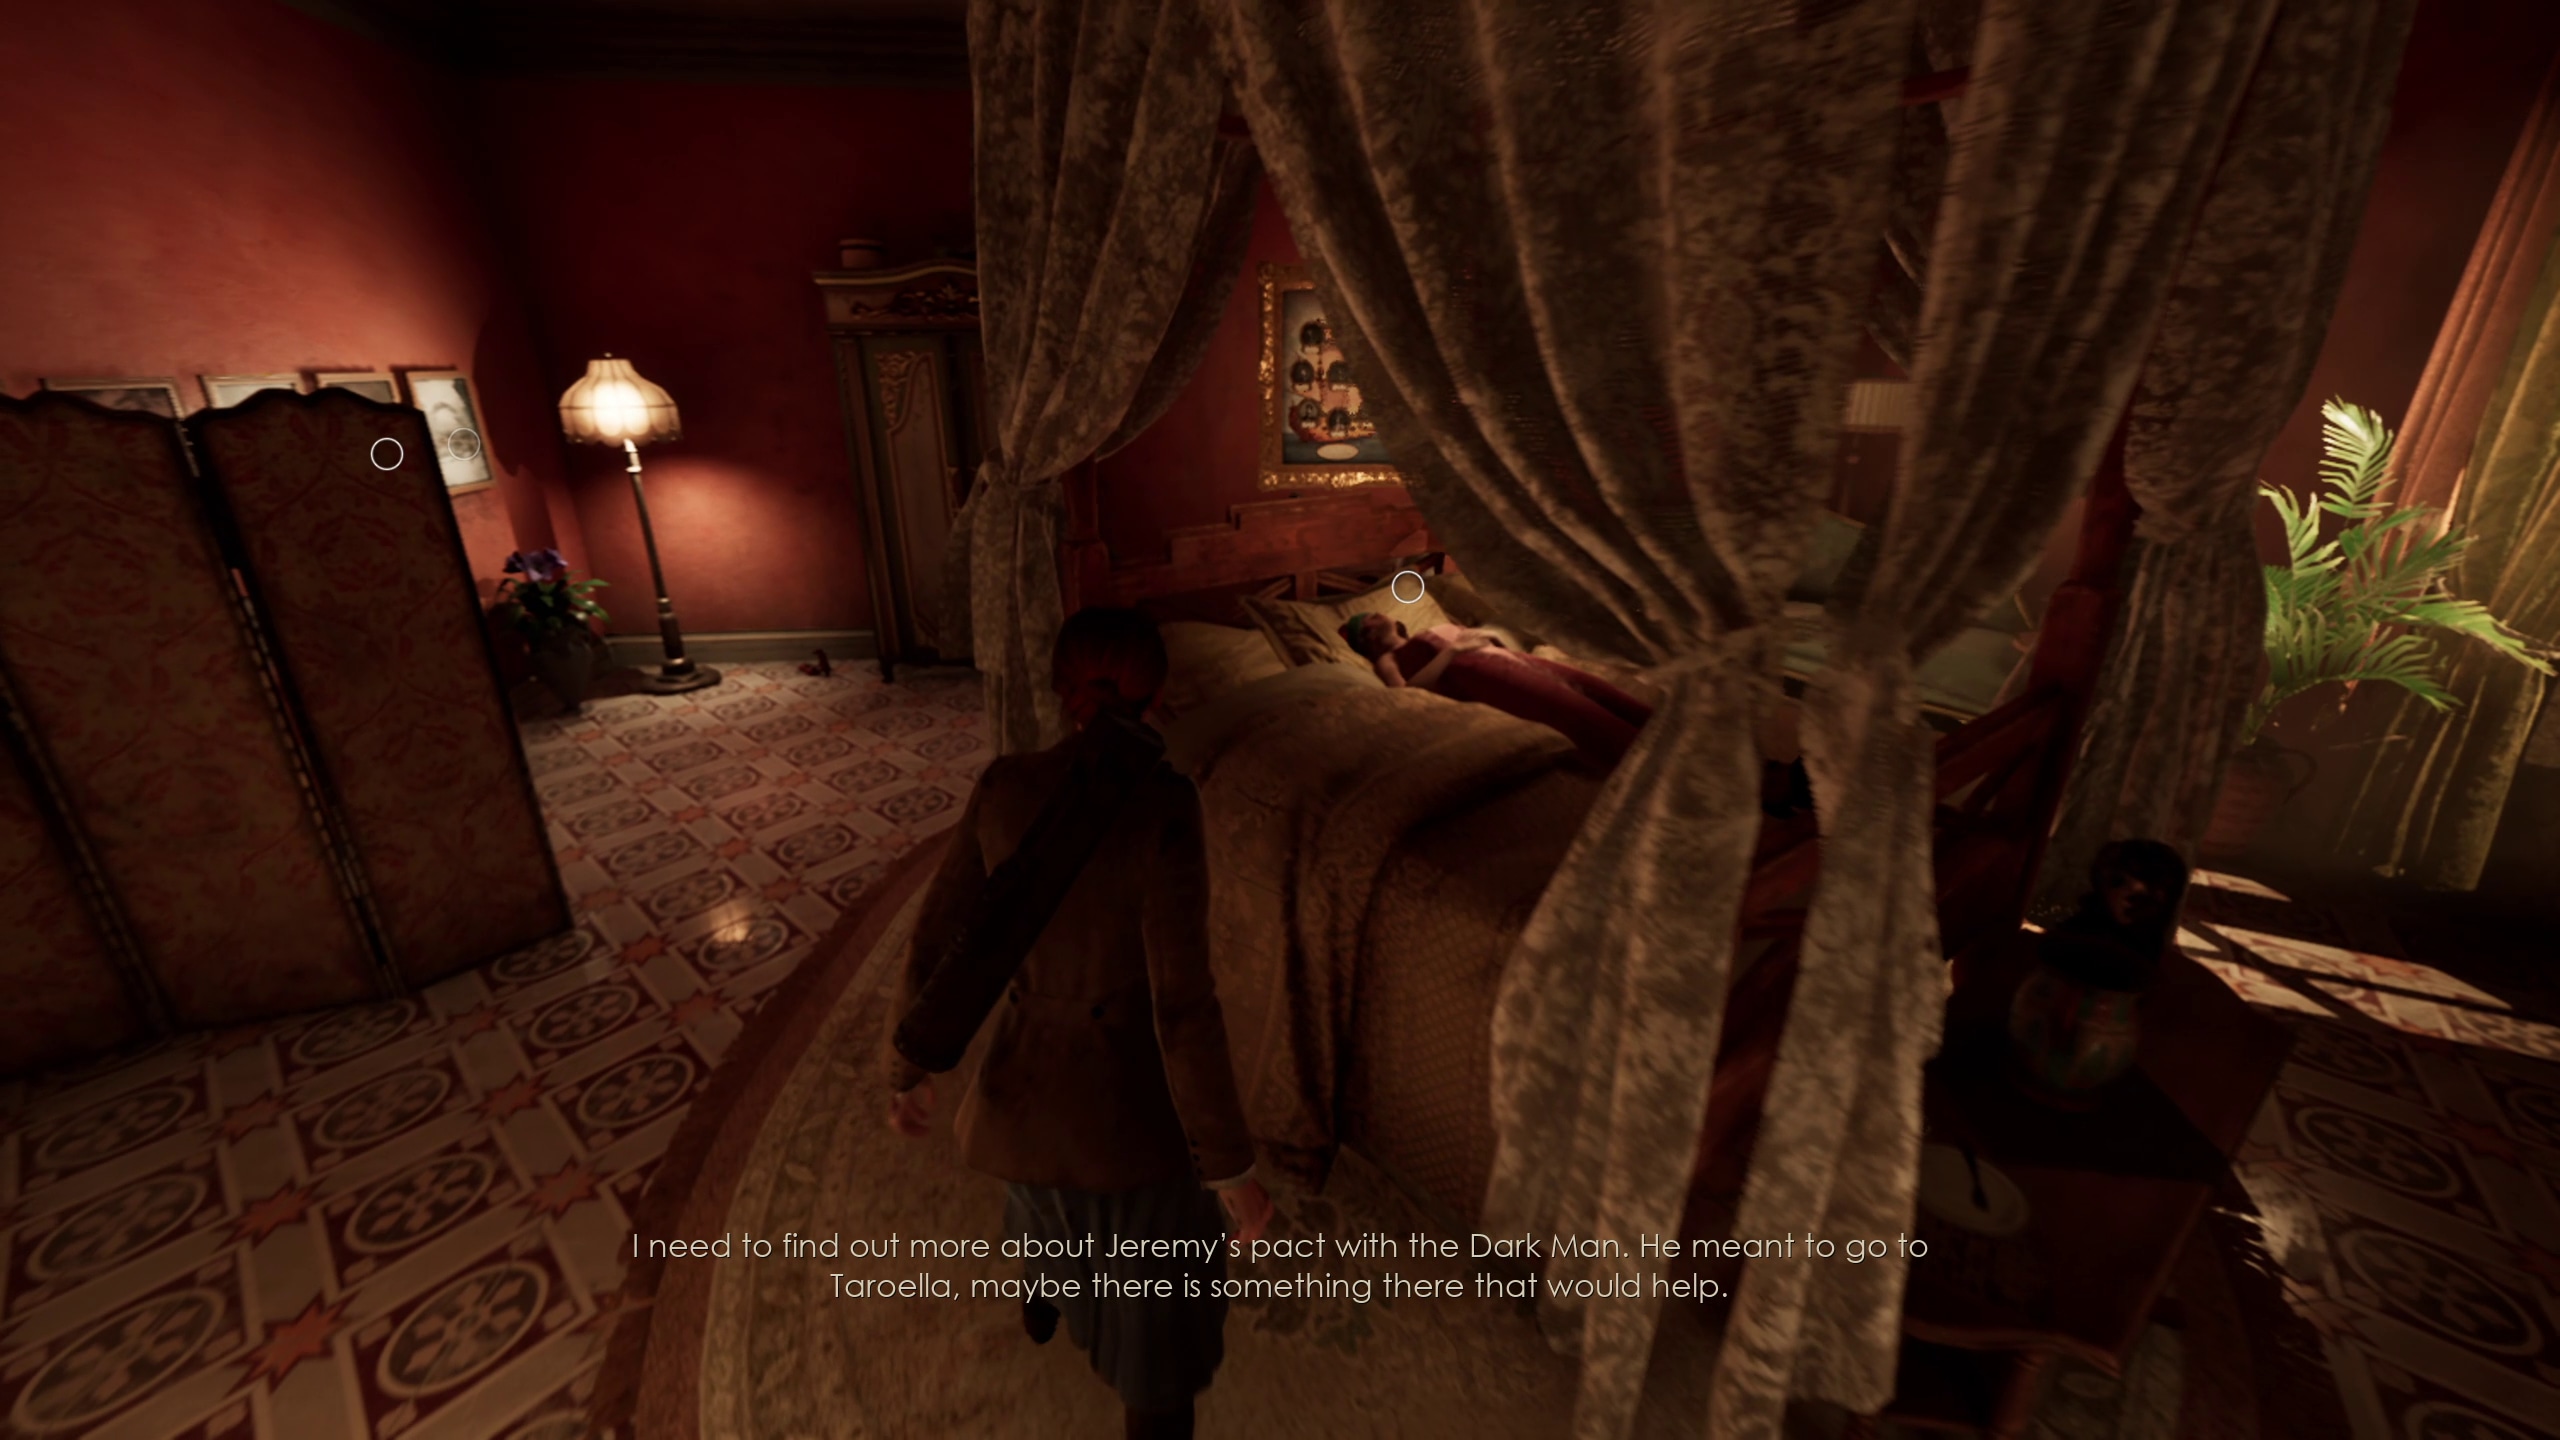
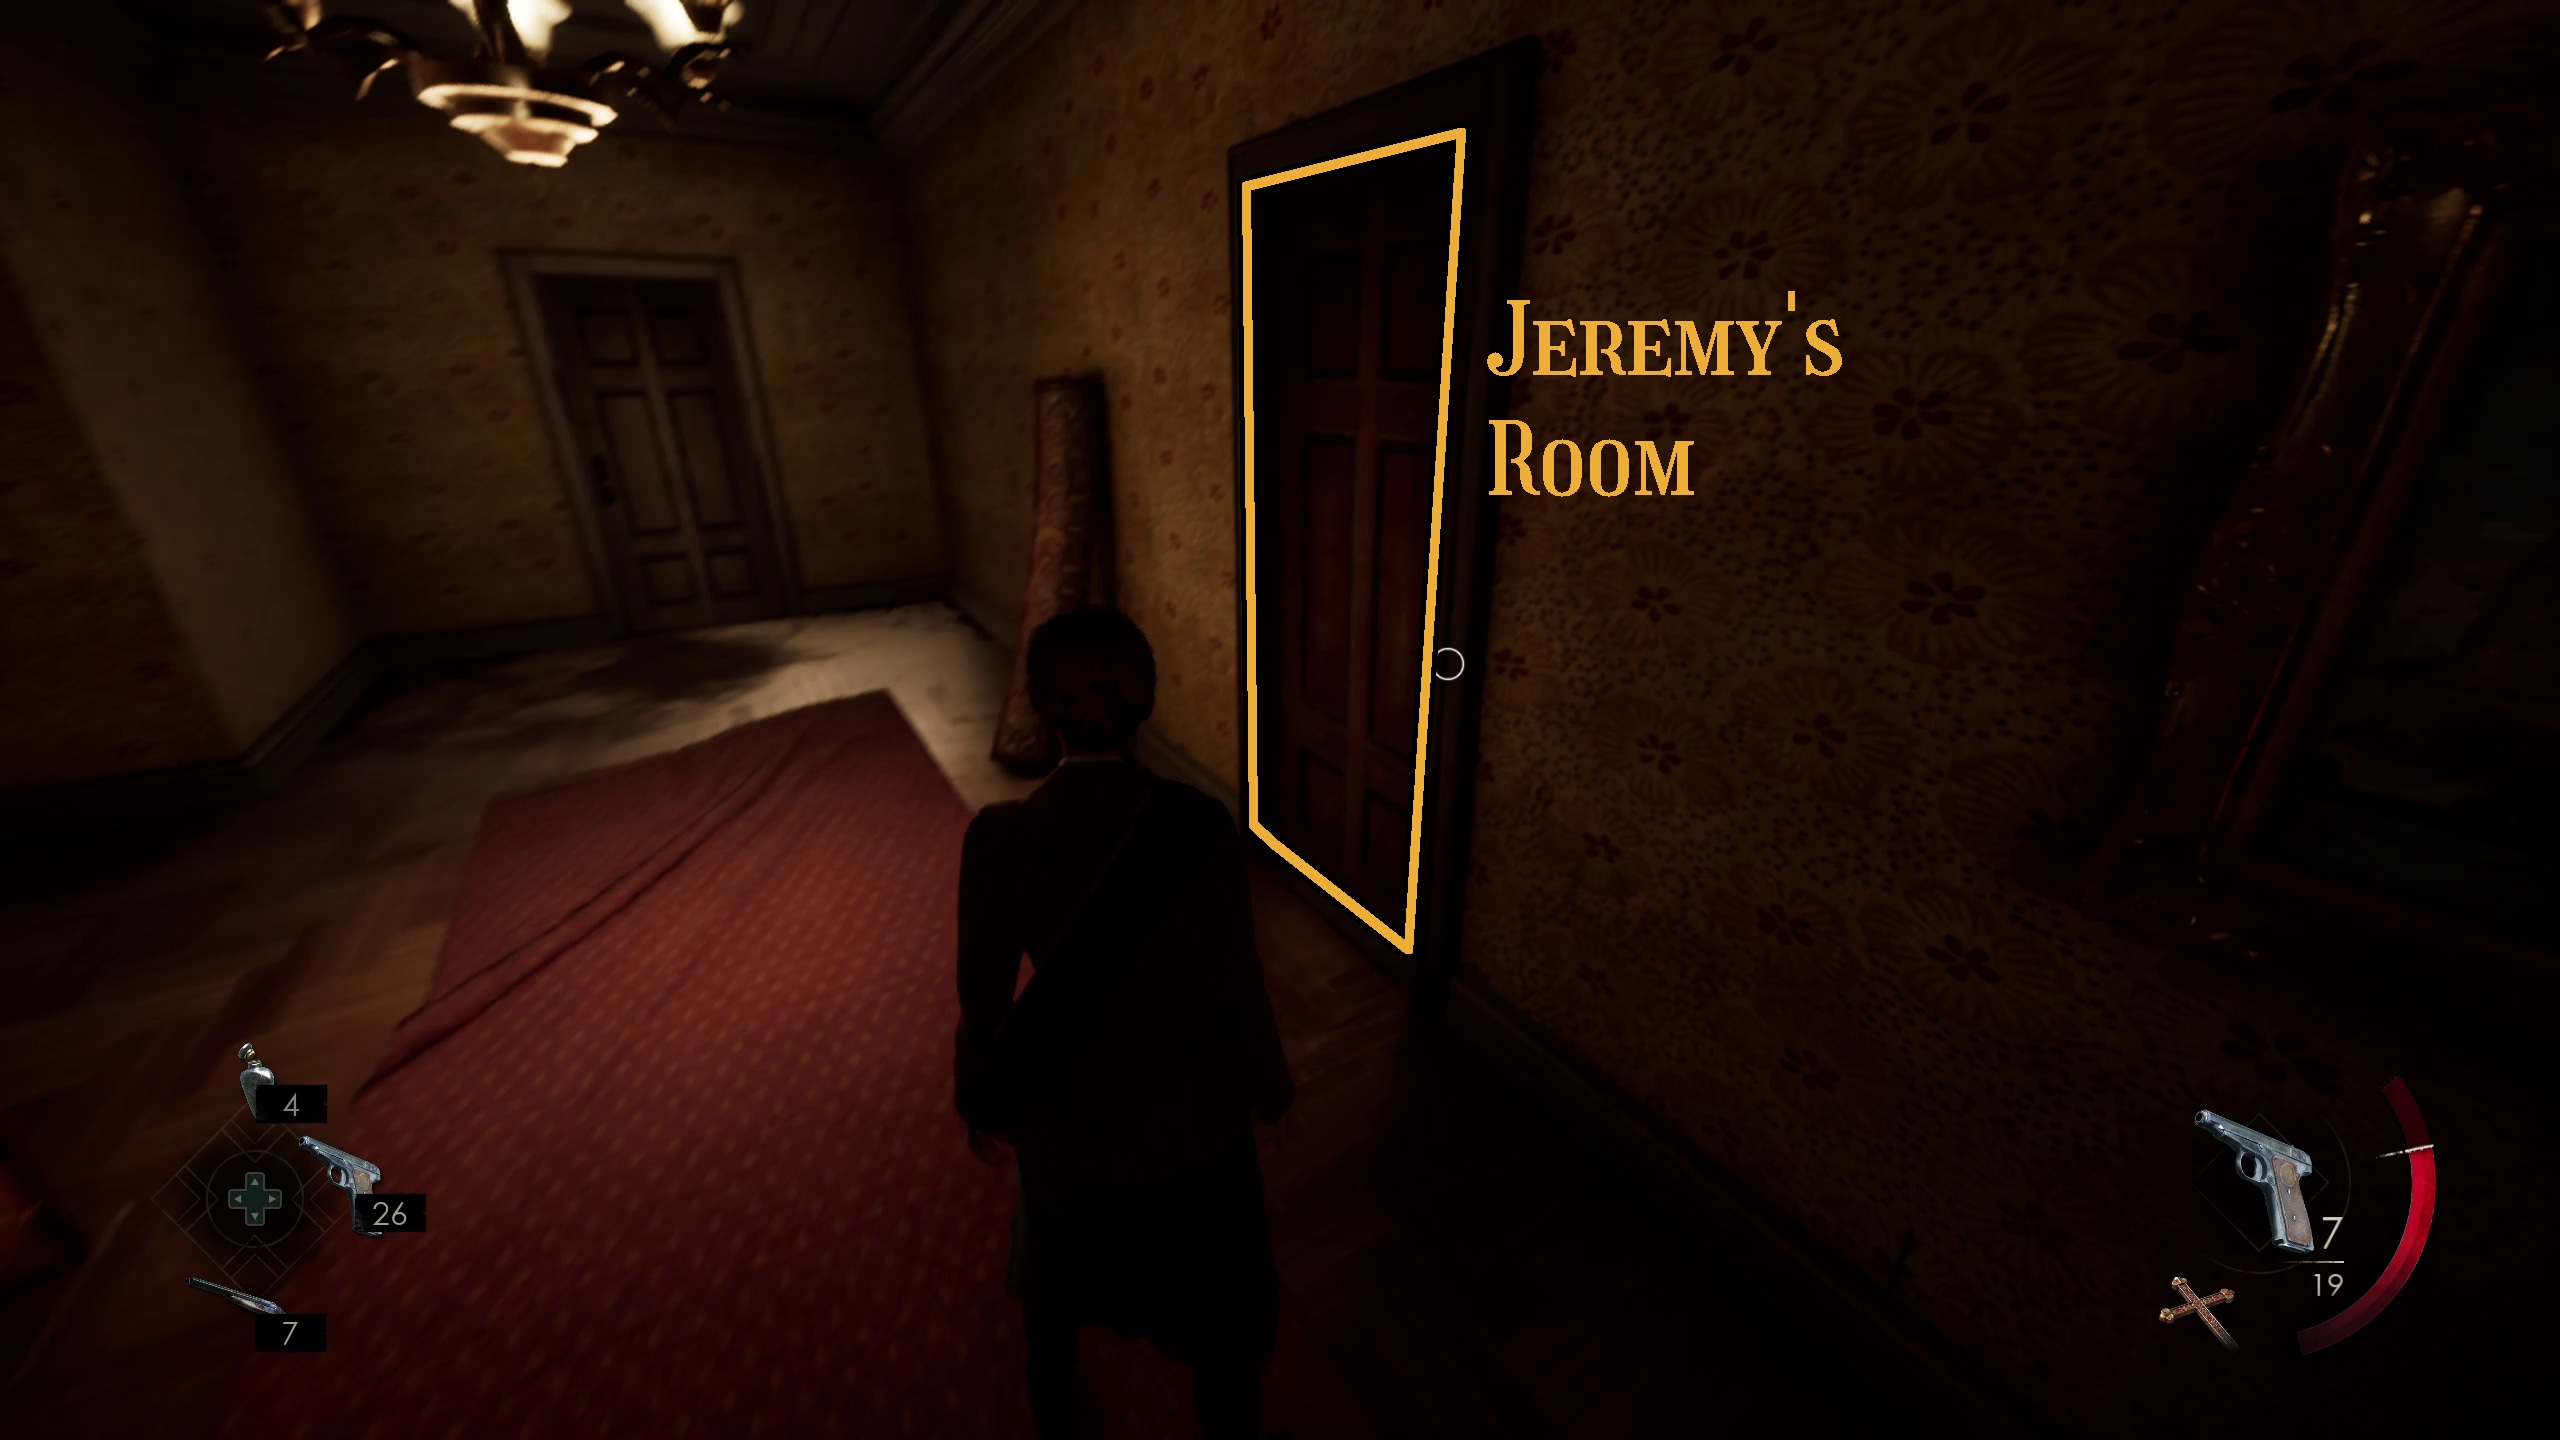
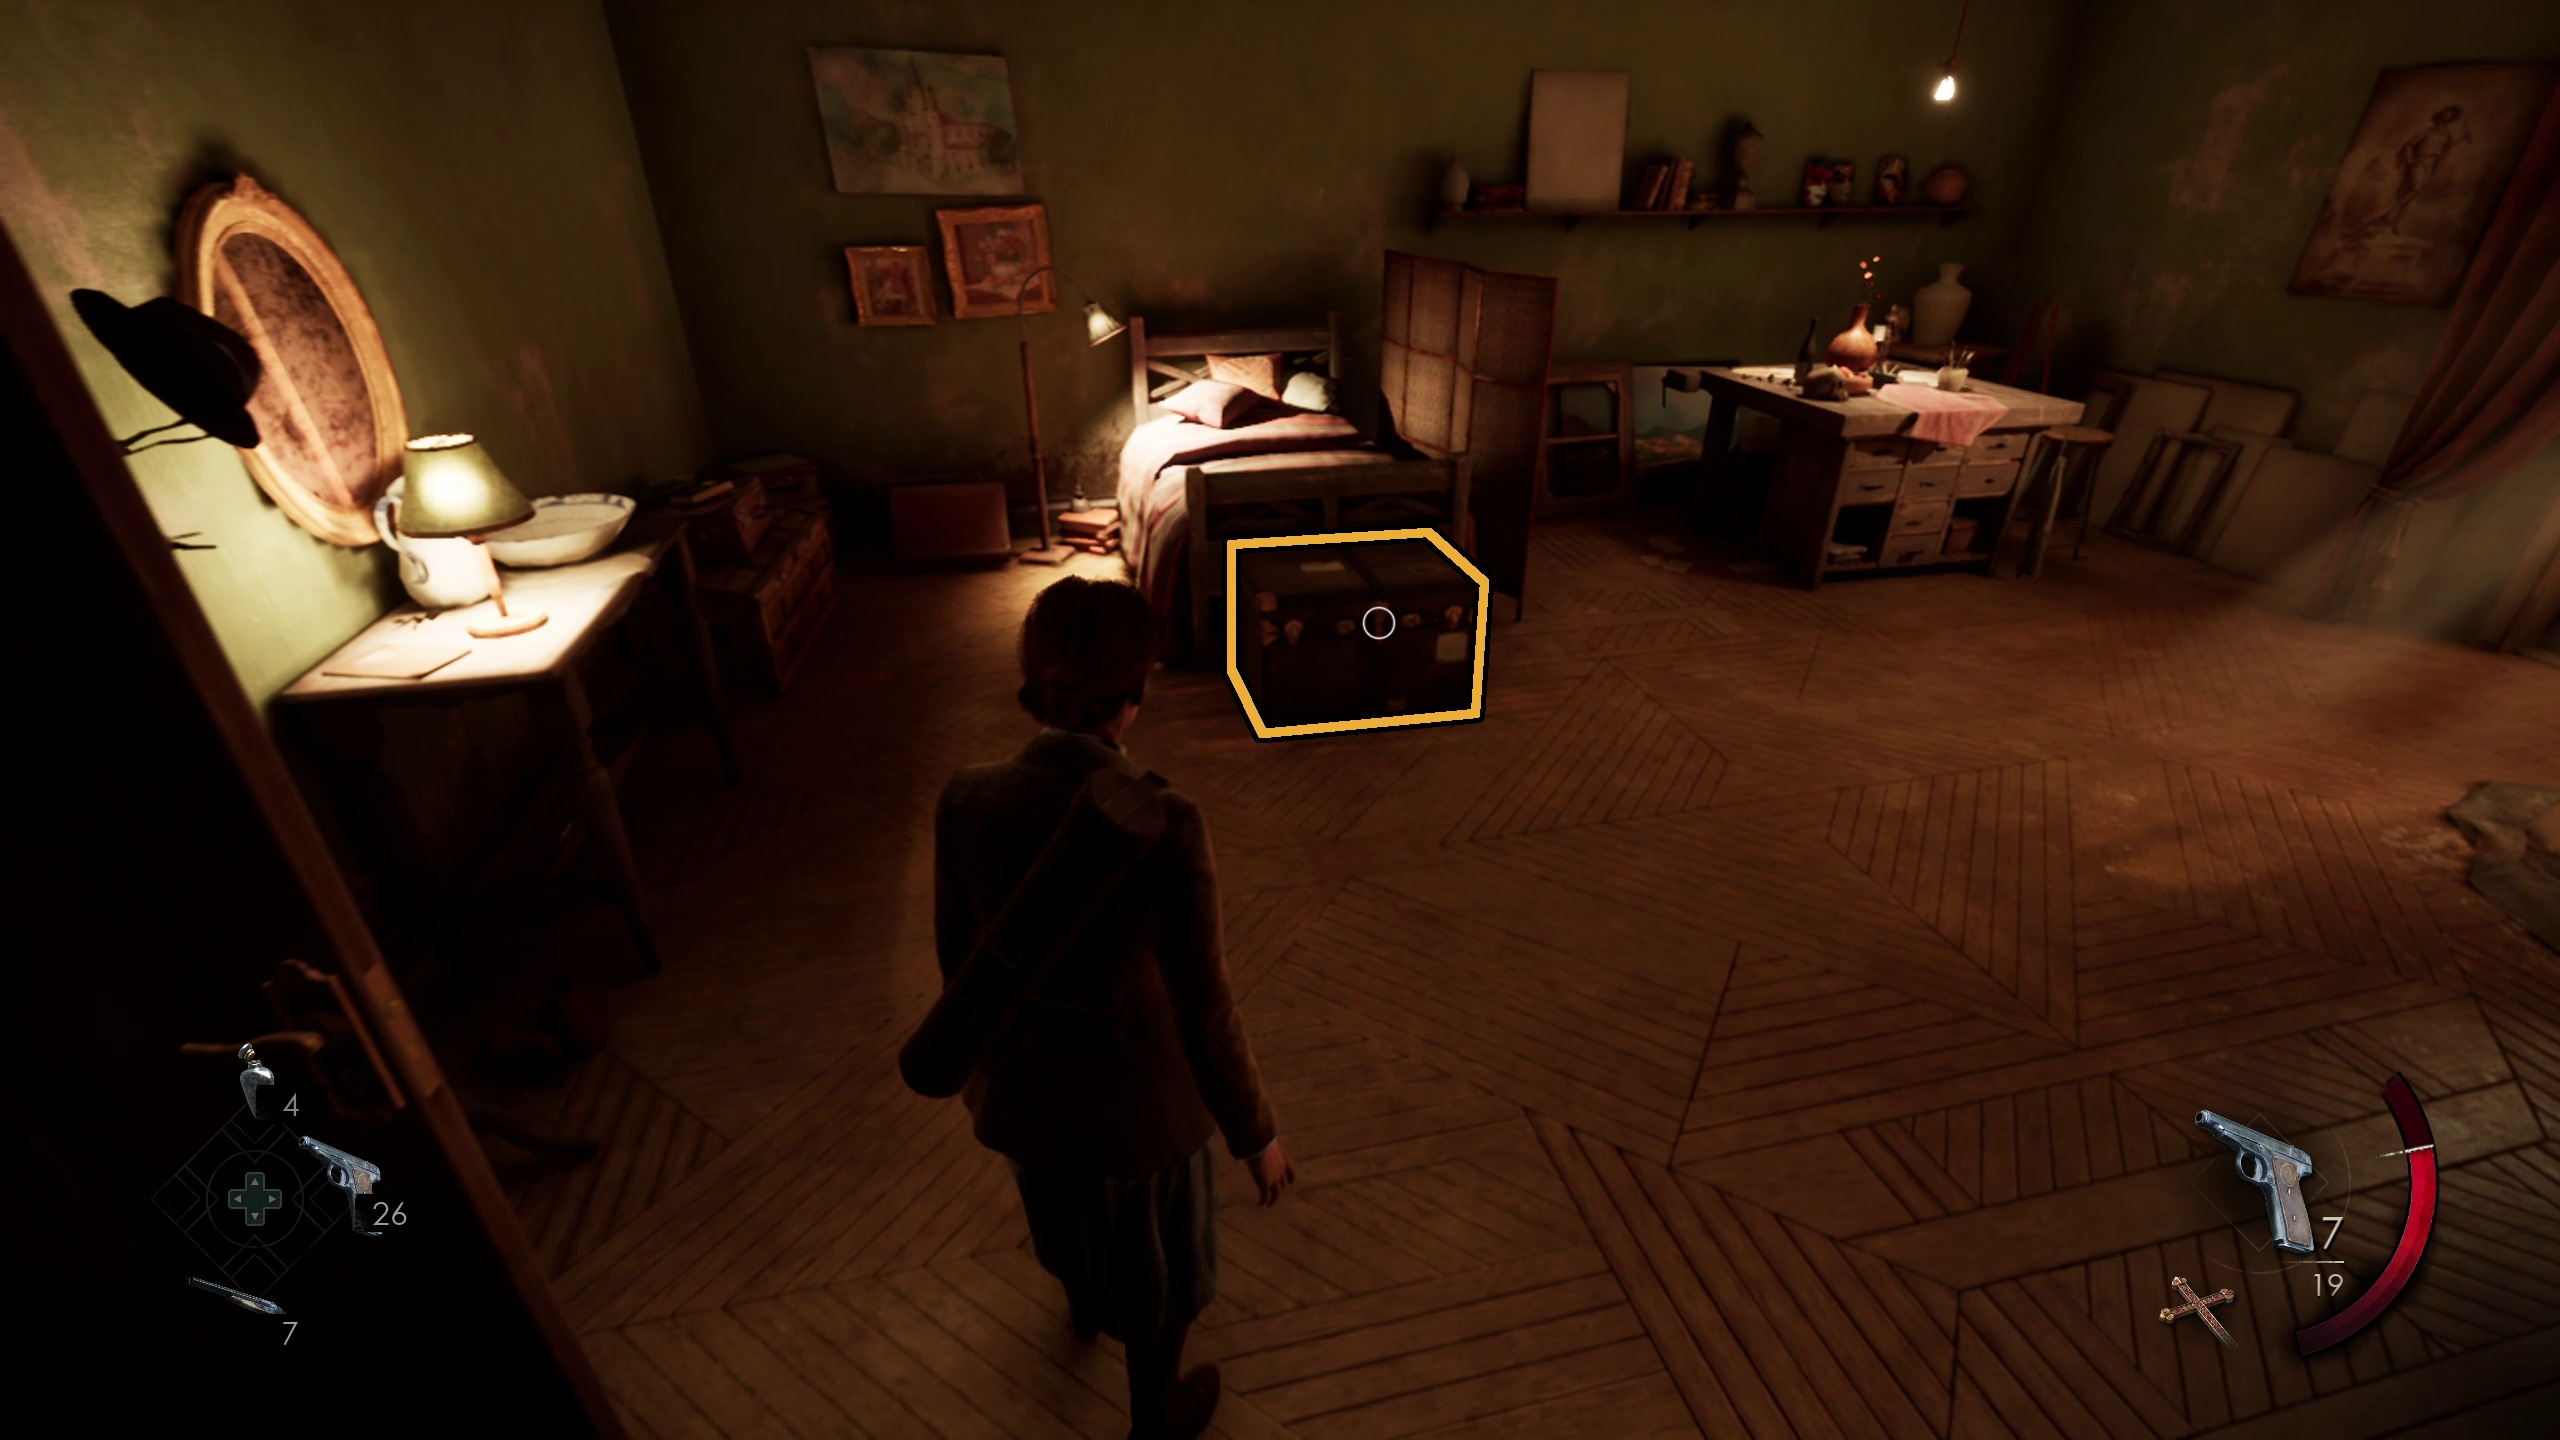
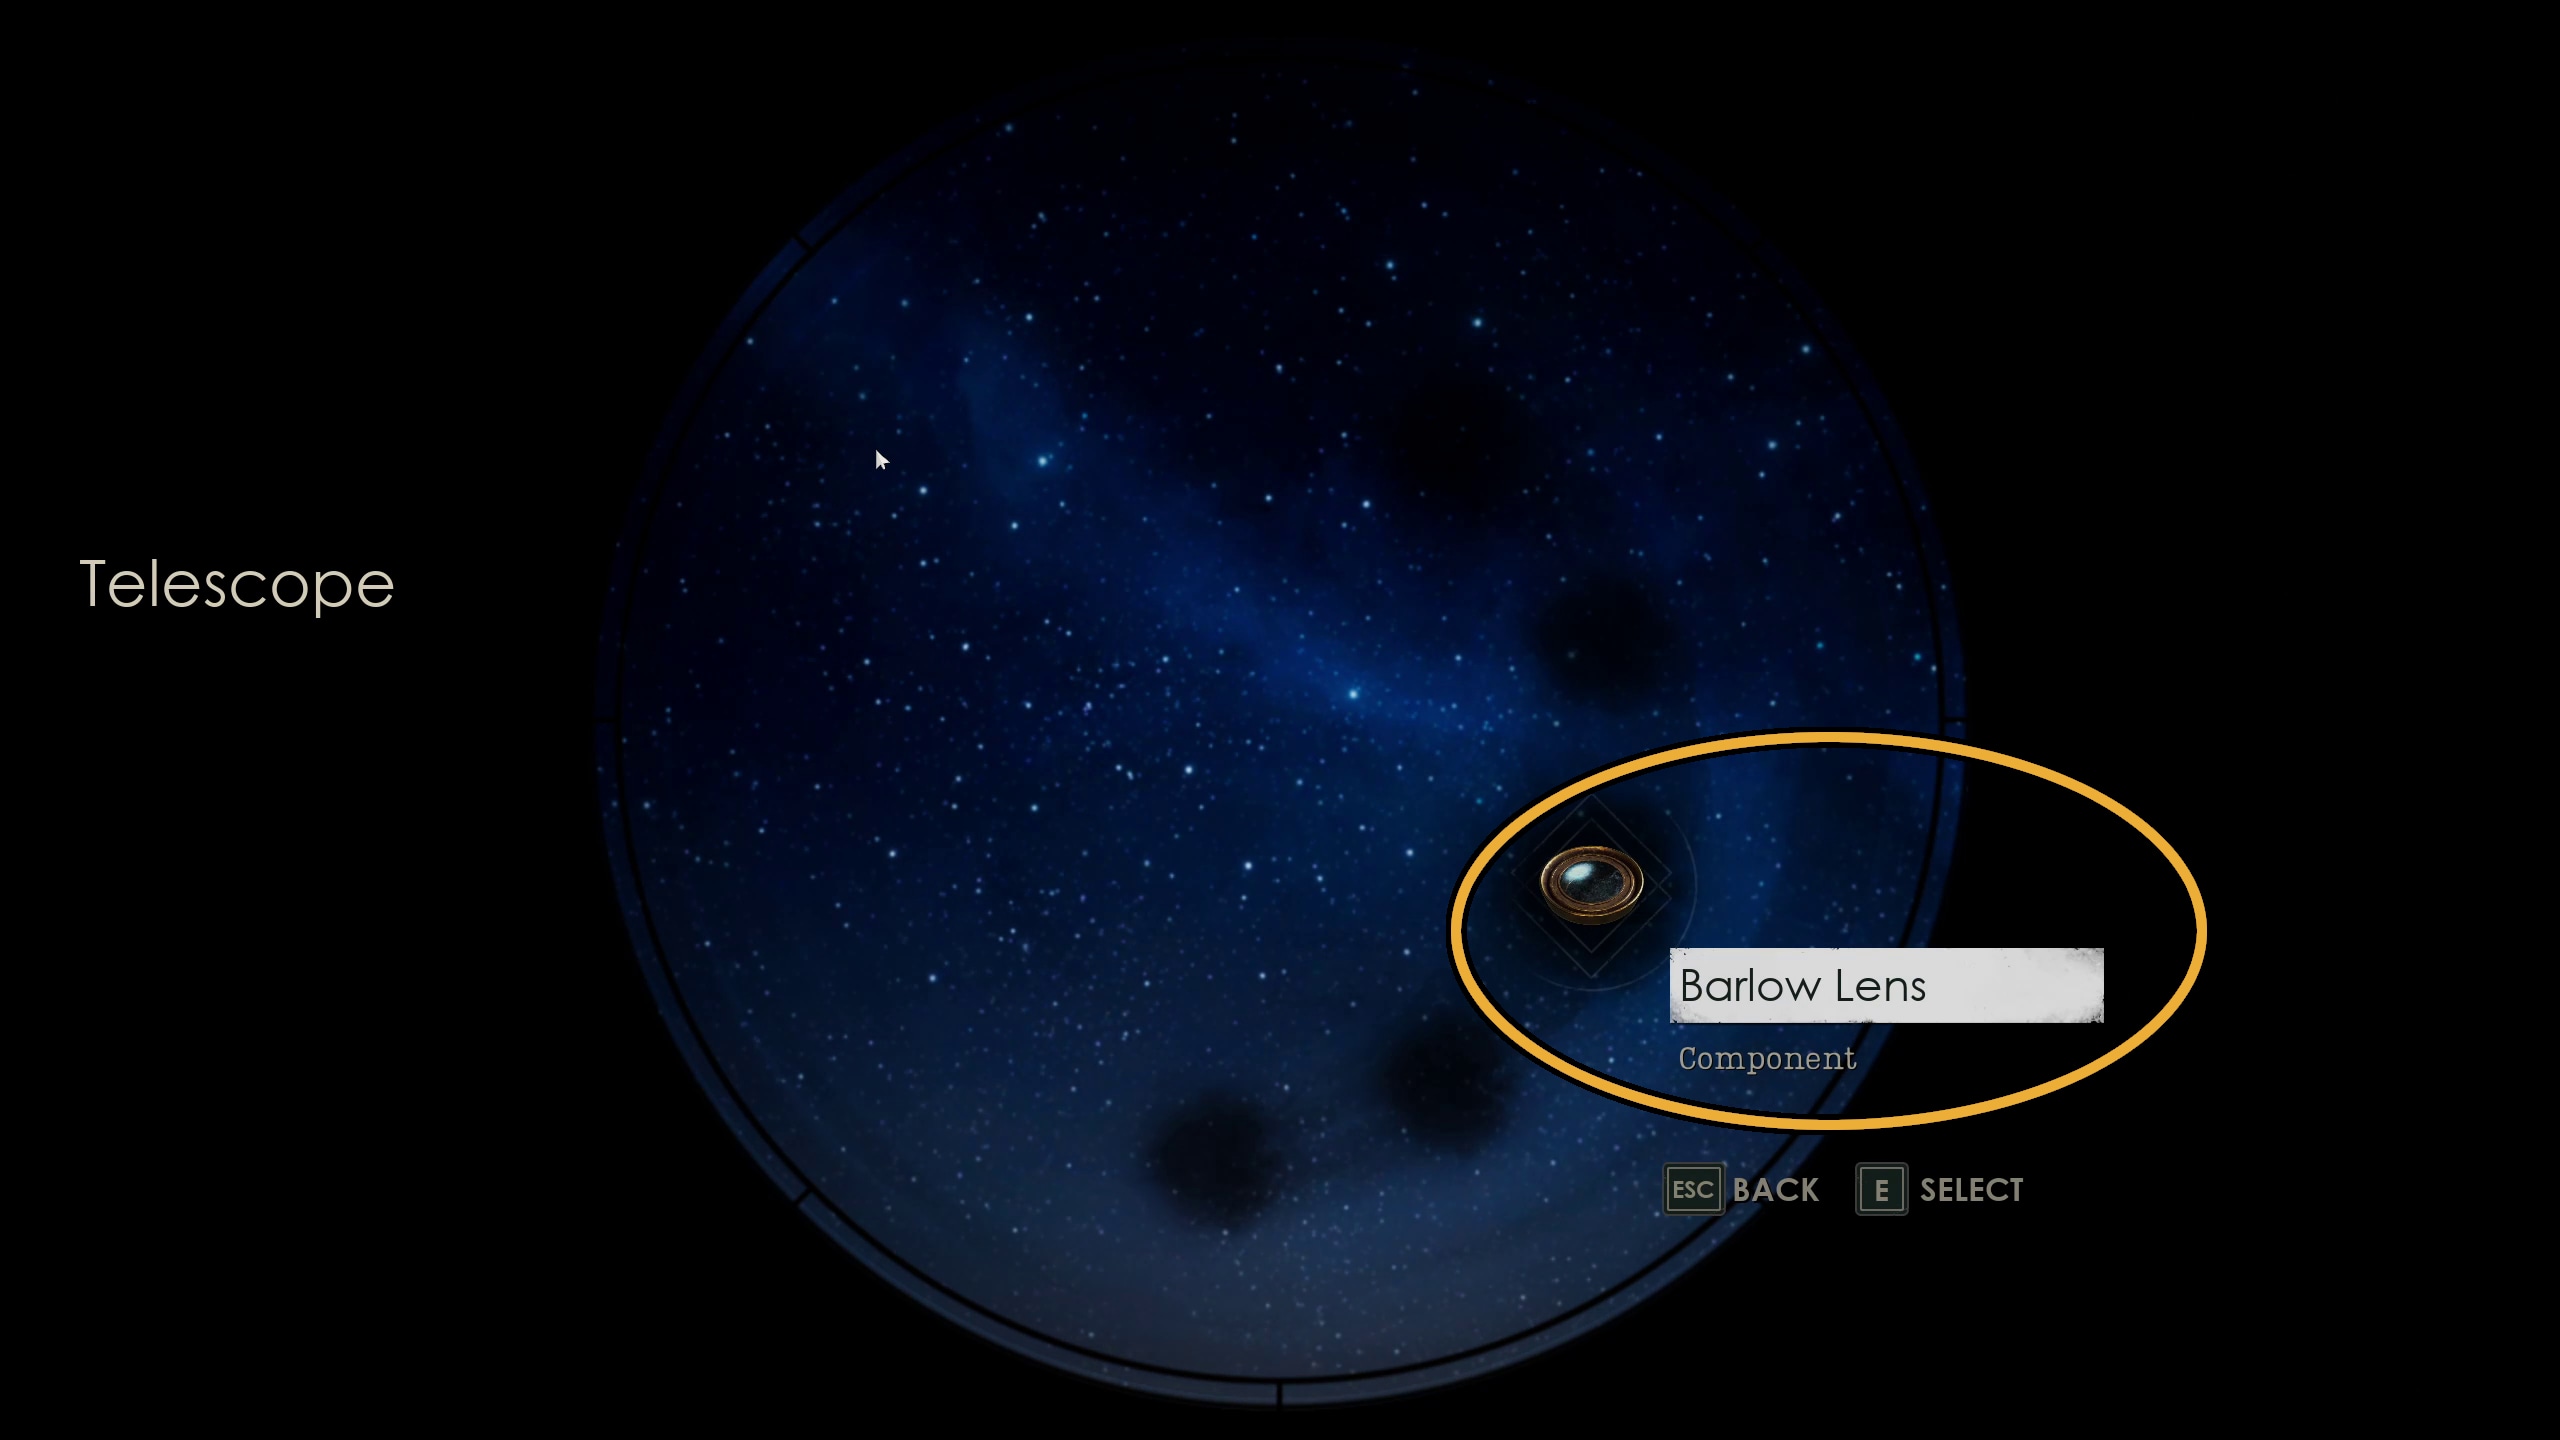
After the cutscene, you will appear back in Derceto with a new note and the Luggage Key in your inventory. Perosi will be back in her bed, but she will already be dead… (Image 198). You can take the Luggage Key down the hall to Jeremy’s Room (Image 199), where you can use it to open the Luggage Case (image 200) and take the Barlow Lens.
198199200
Next, you will need to head to the Drawing Room, where you saw a telescope earlier.
From Jeremy’s room, head to the door right across the hall. Go down this hallway and through the door at the end, then turn to your right and go down the stairs to reach the Library. Go through the Library to the Small Parlor, then through the door to reach the Drawing Room.
Barlow Telescope Puzzle
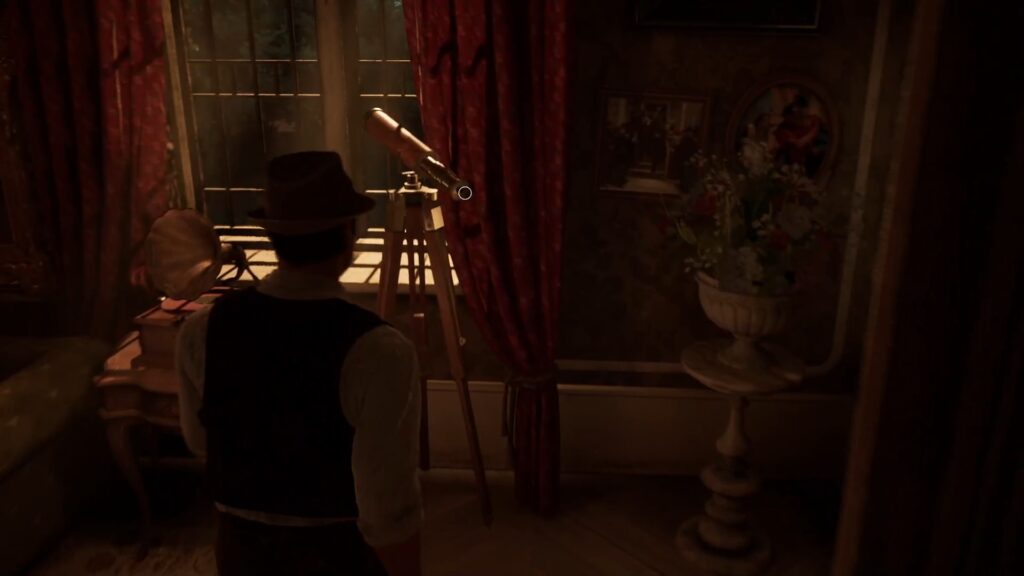
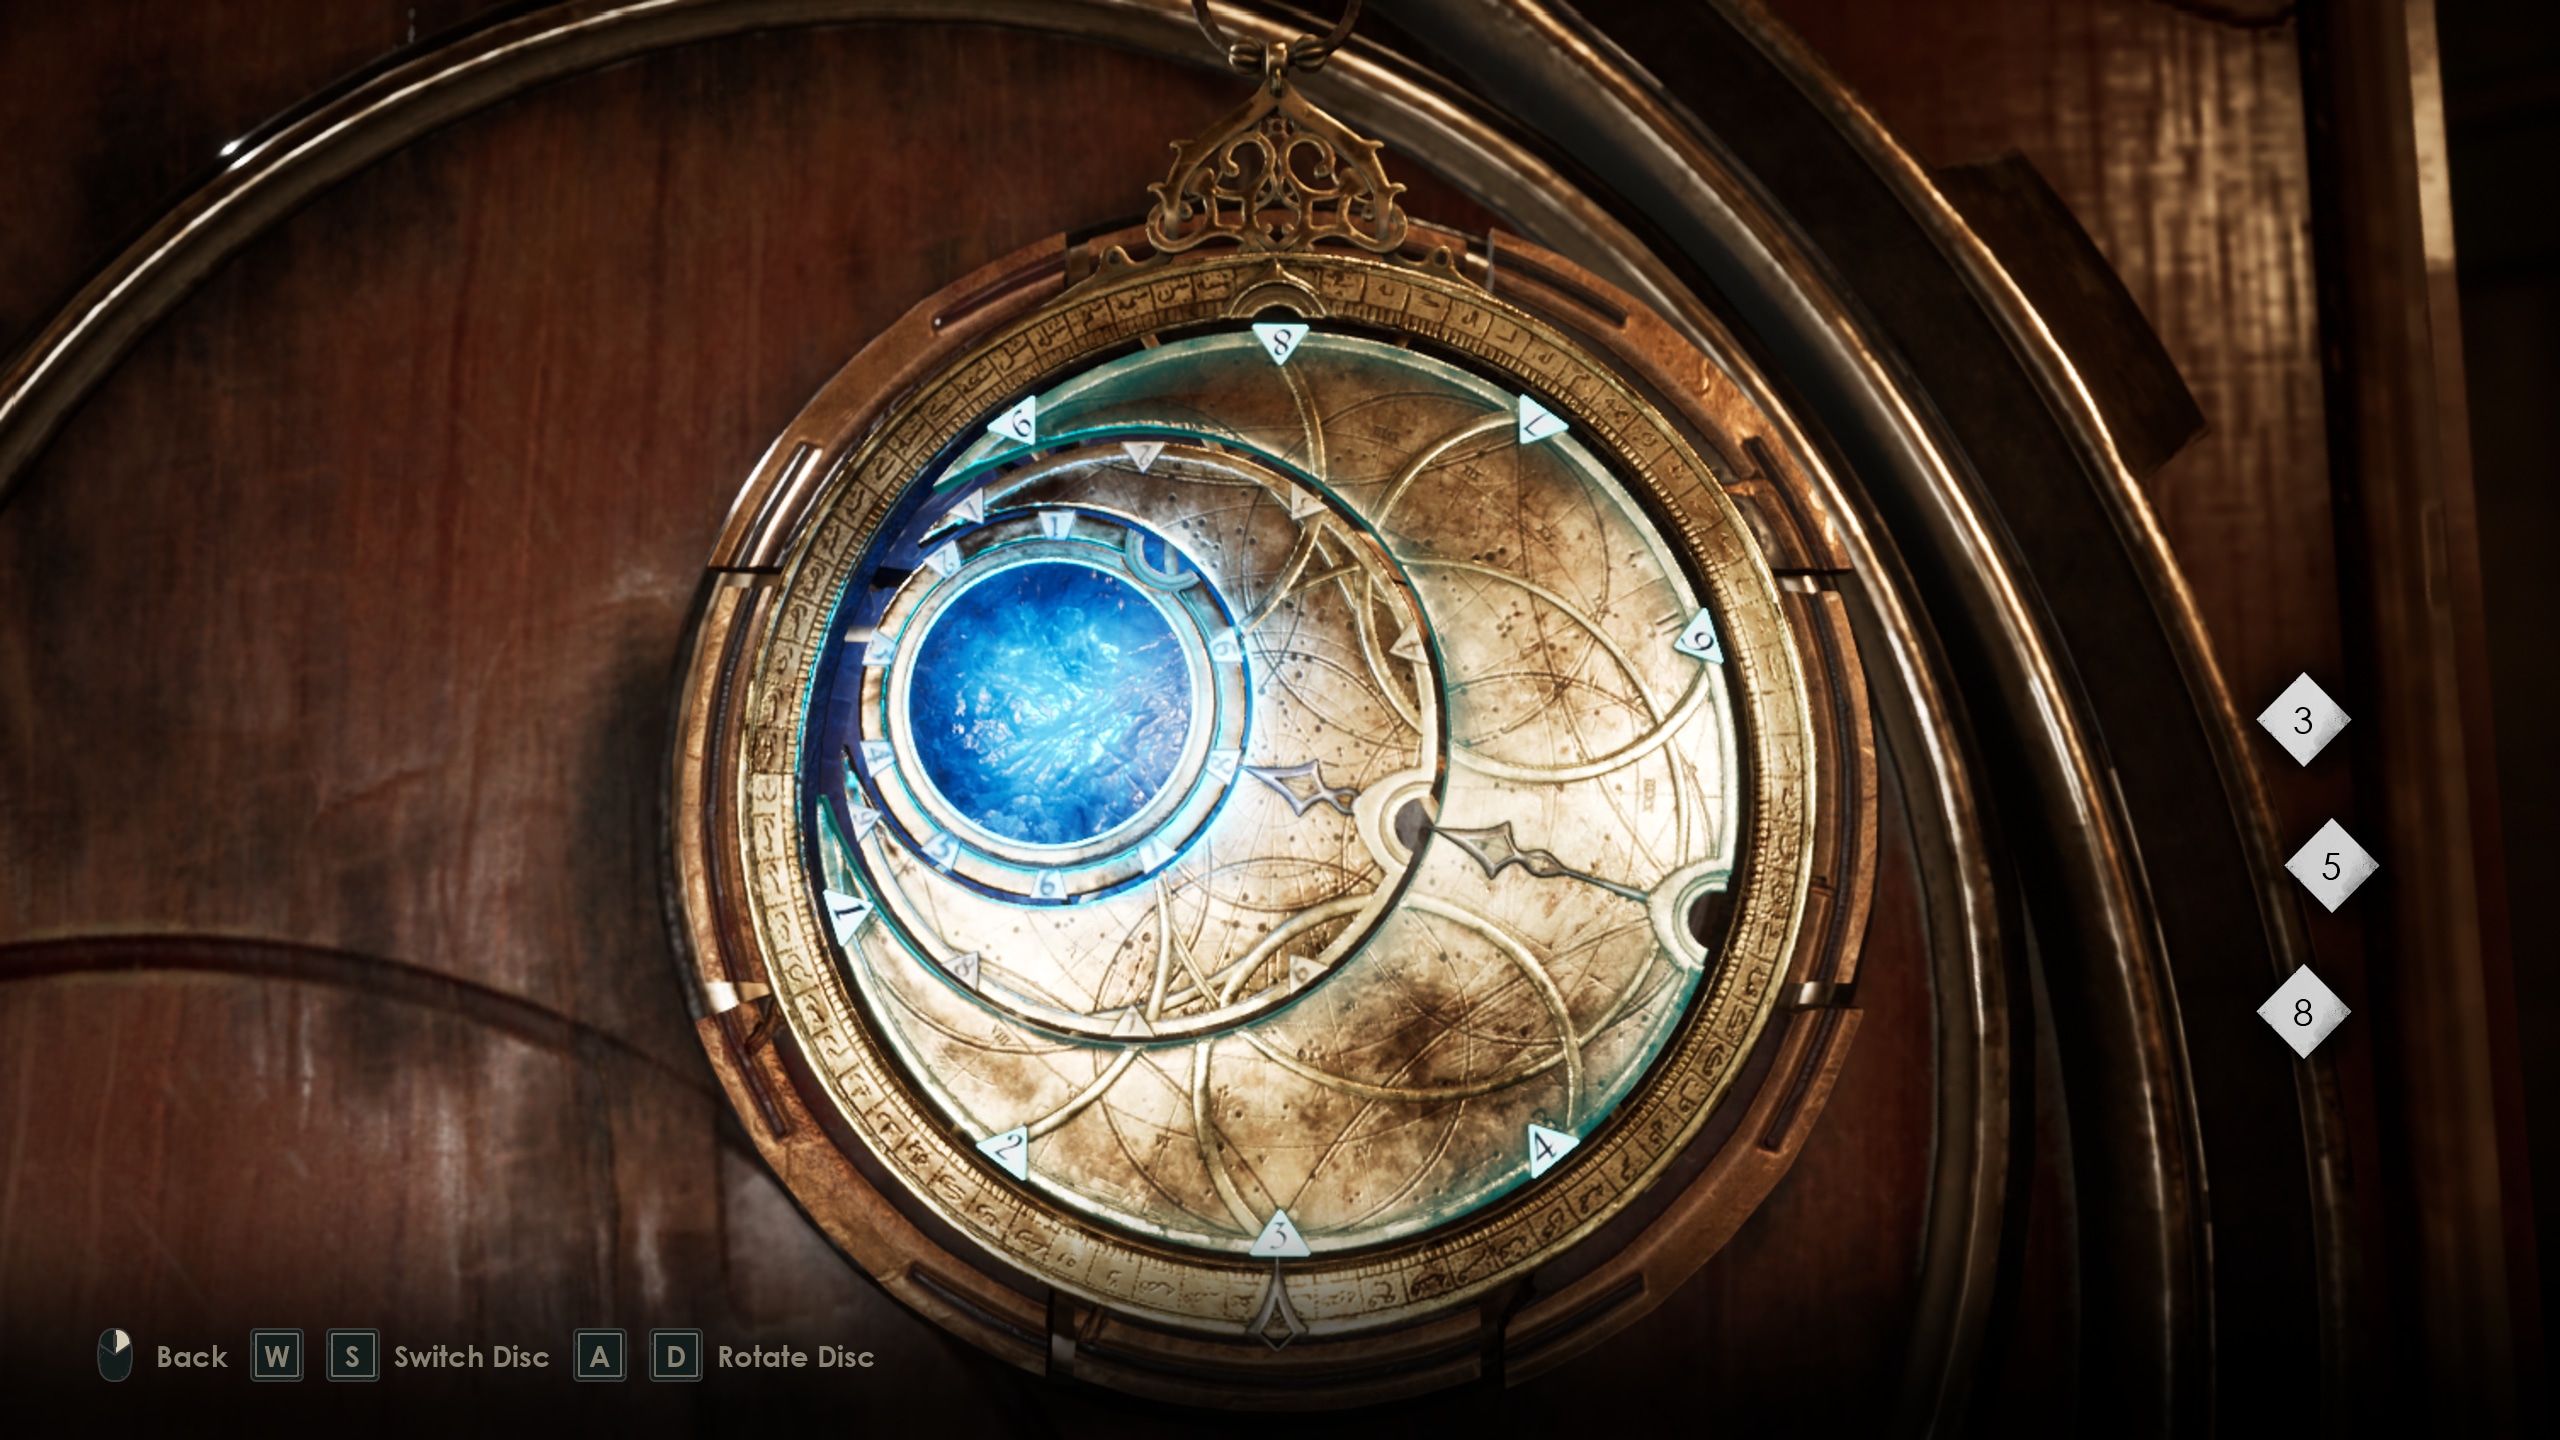
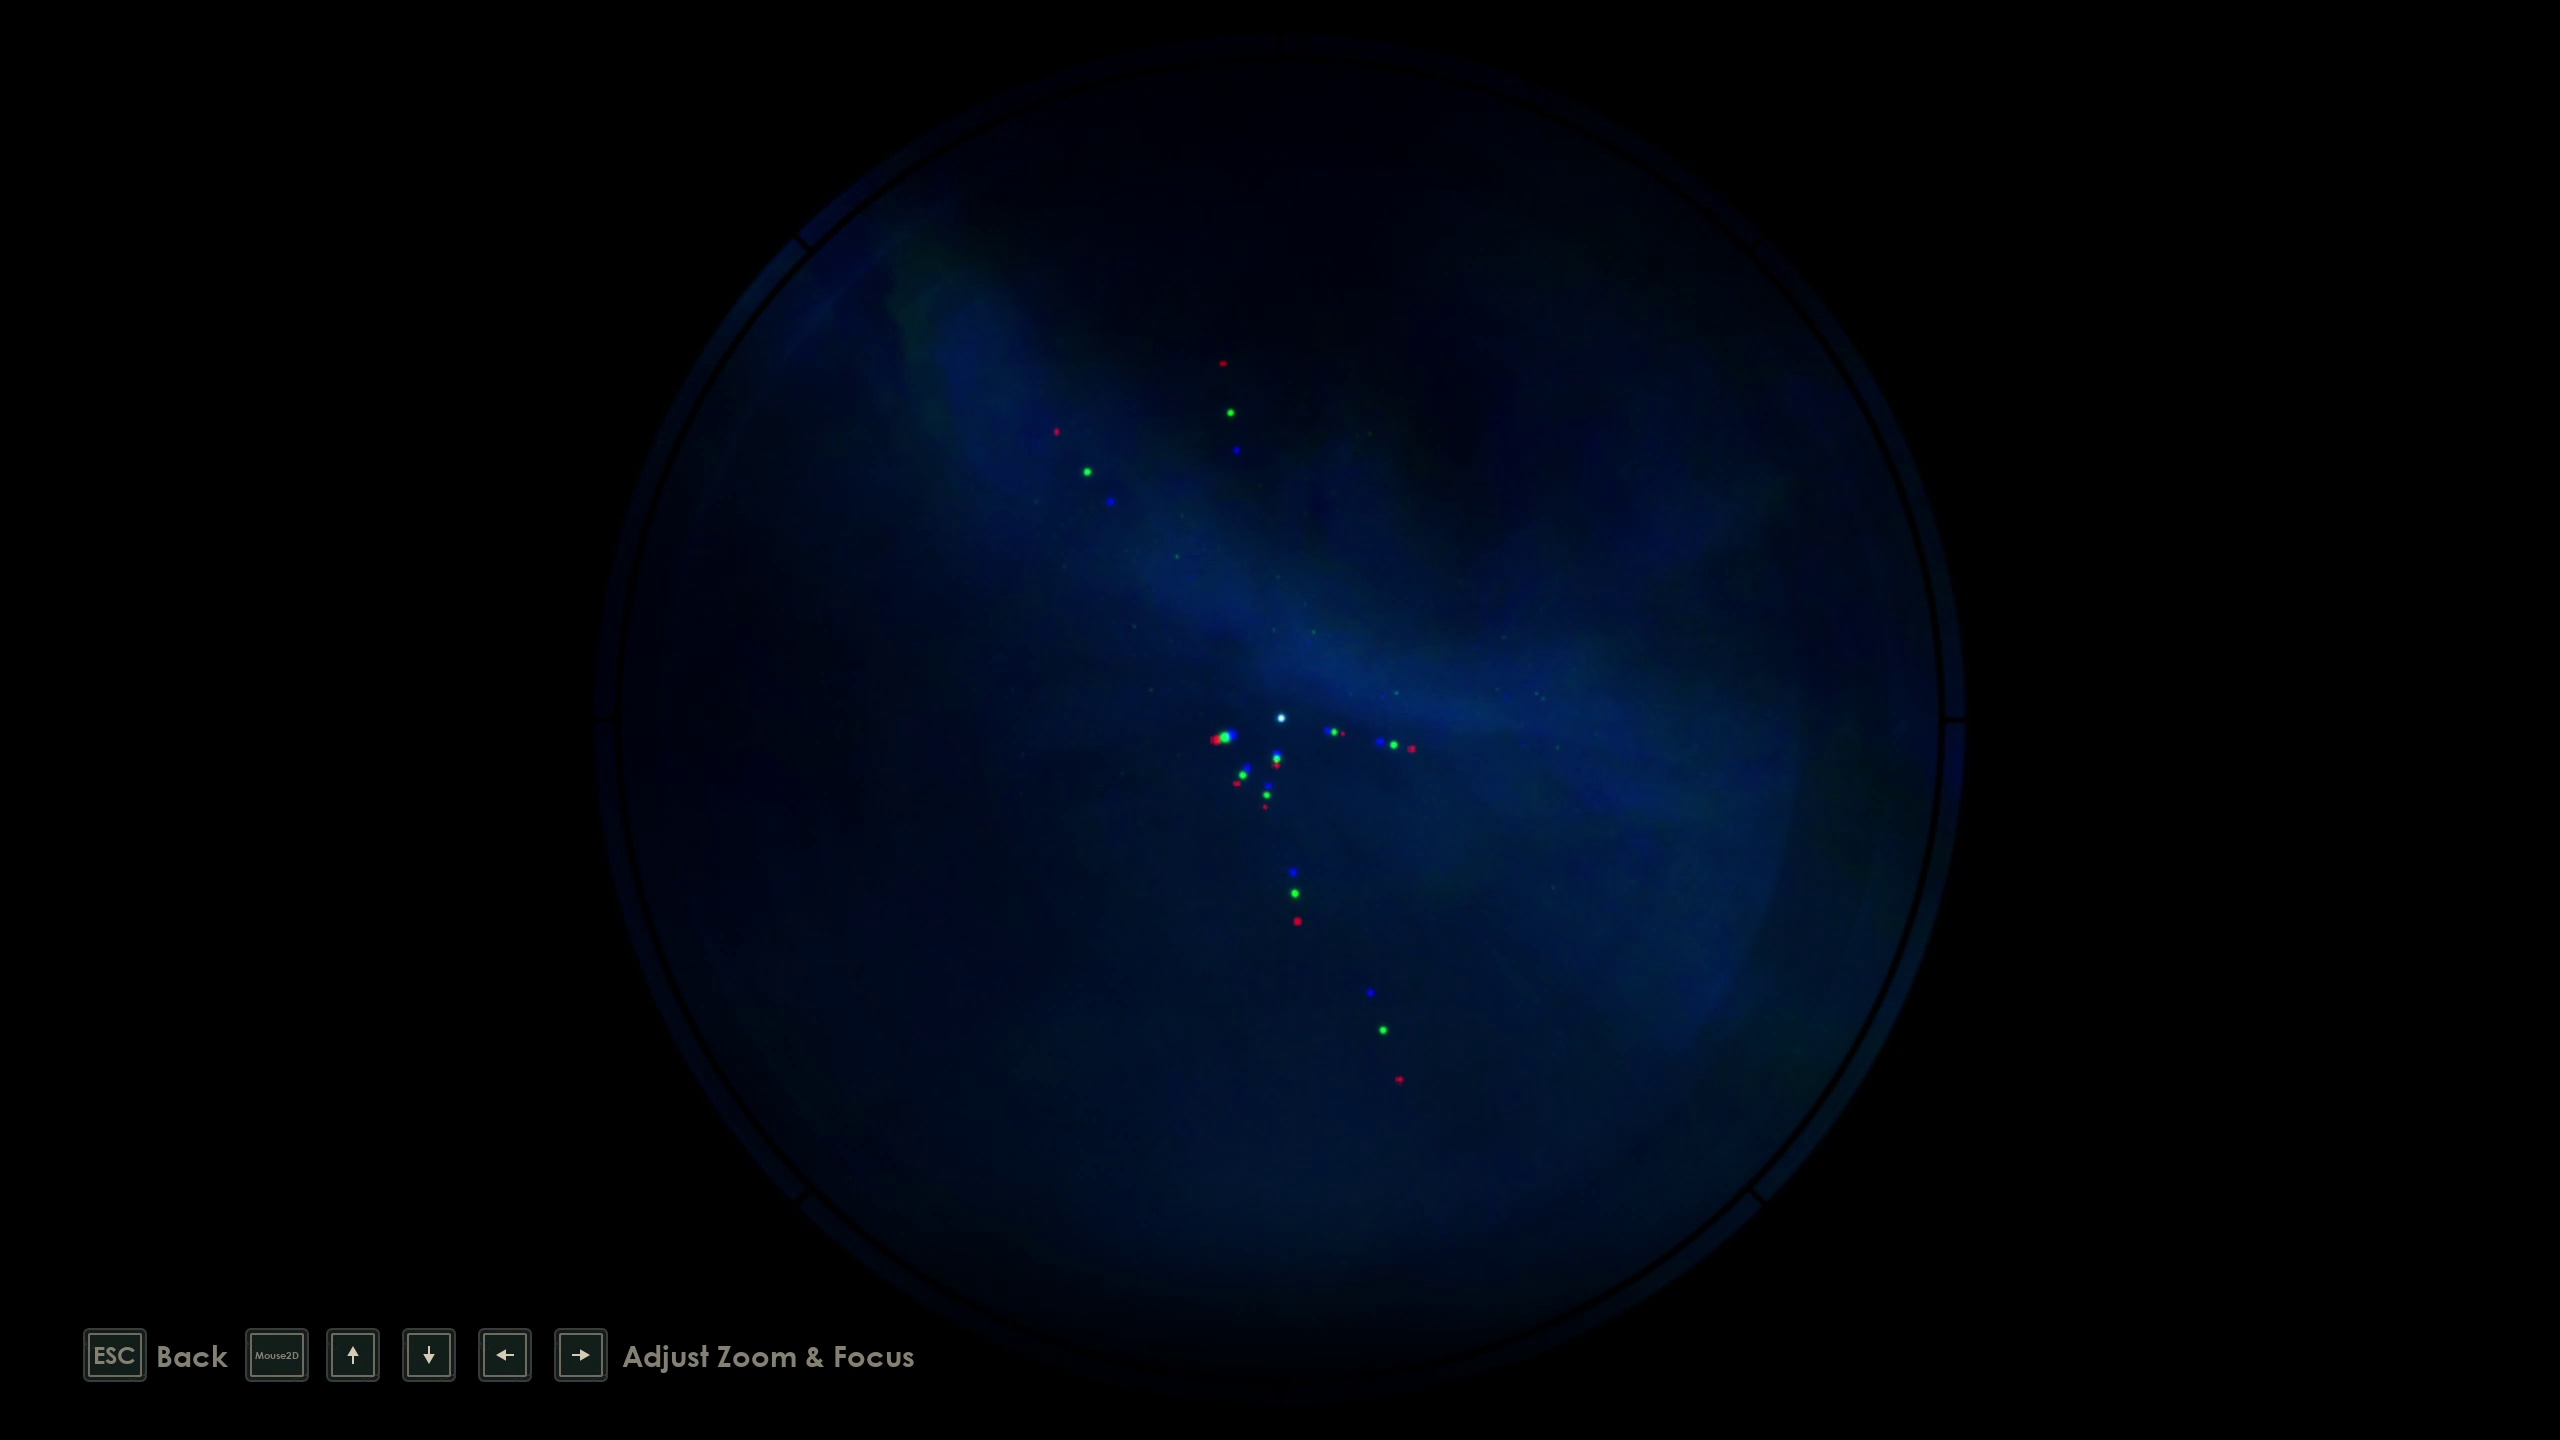
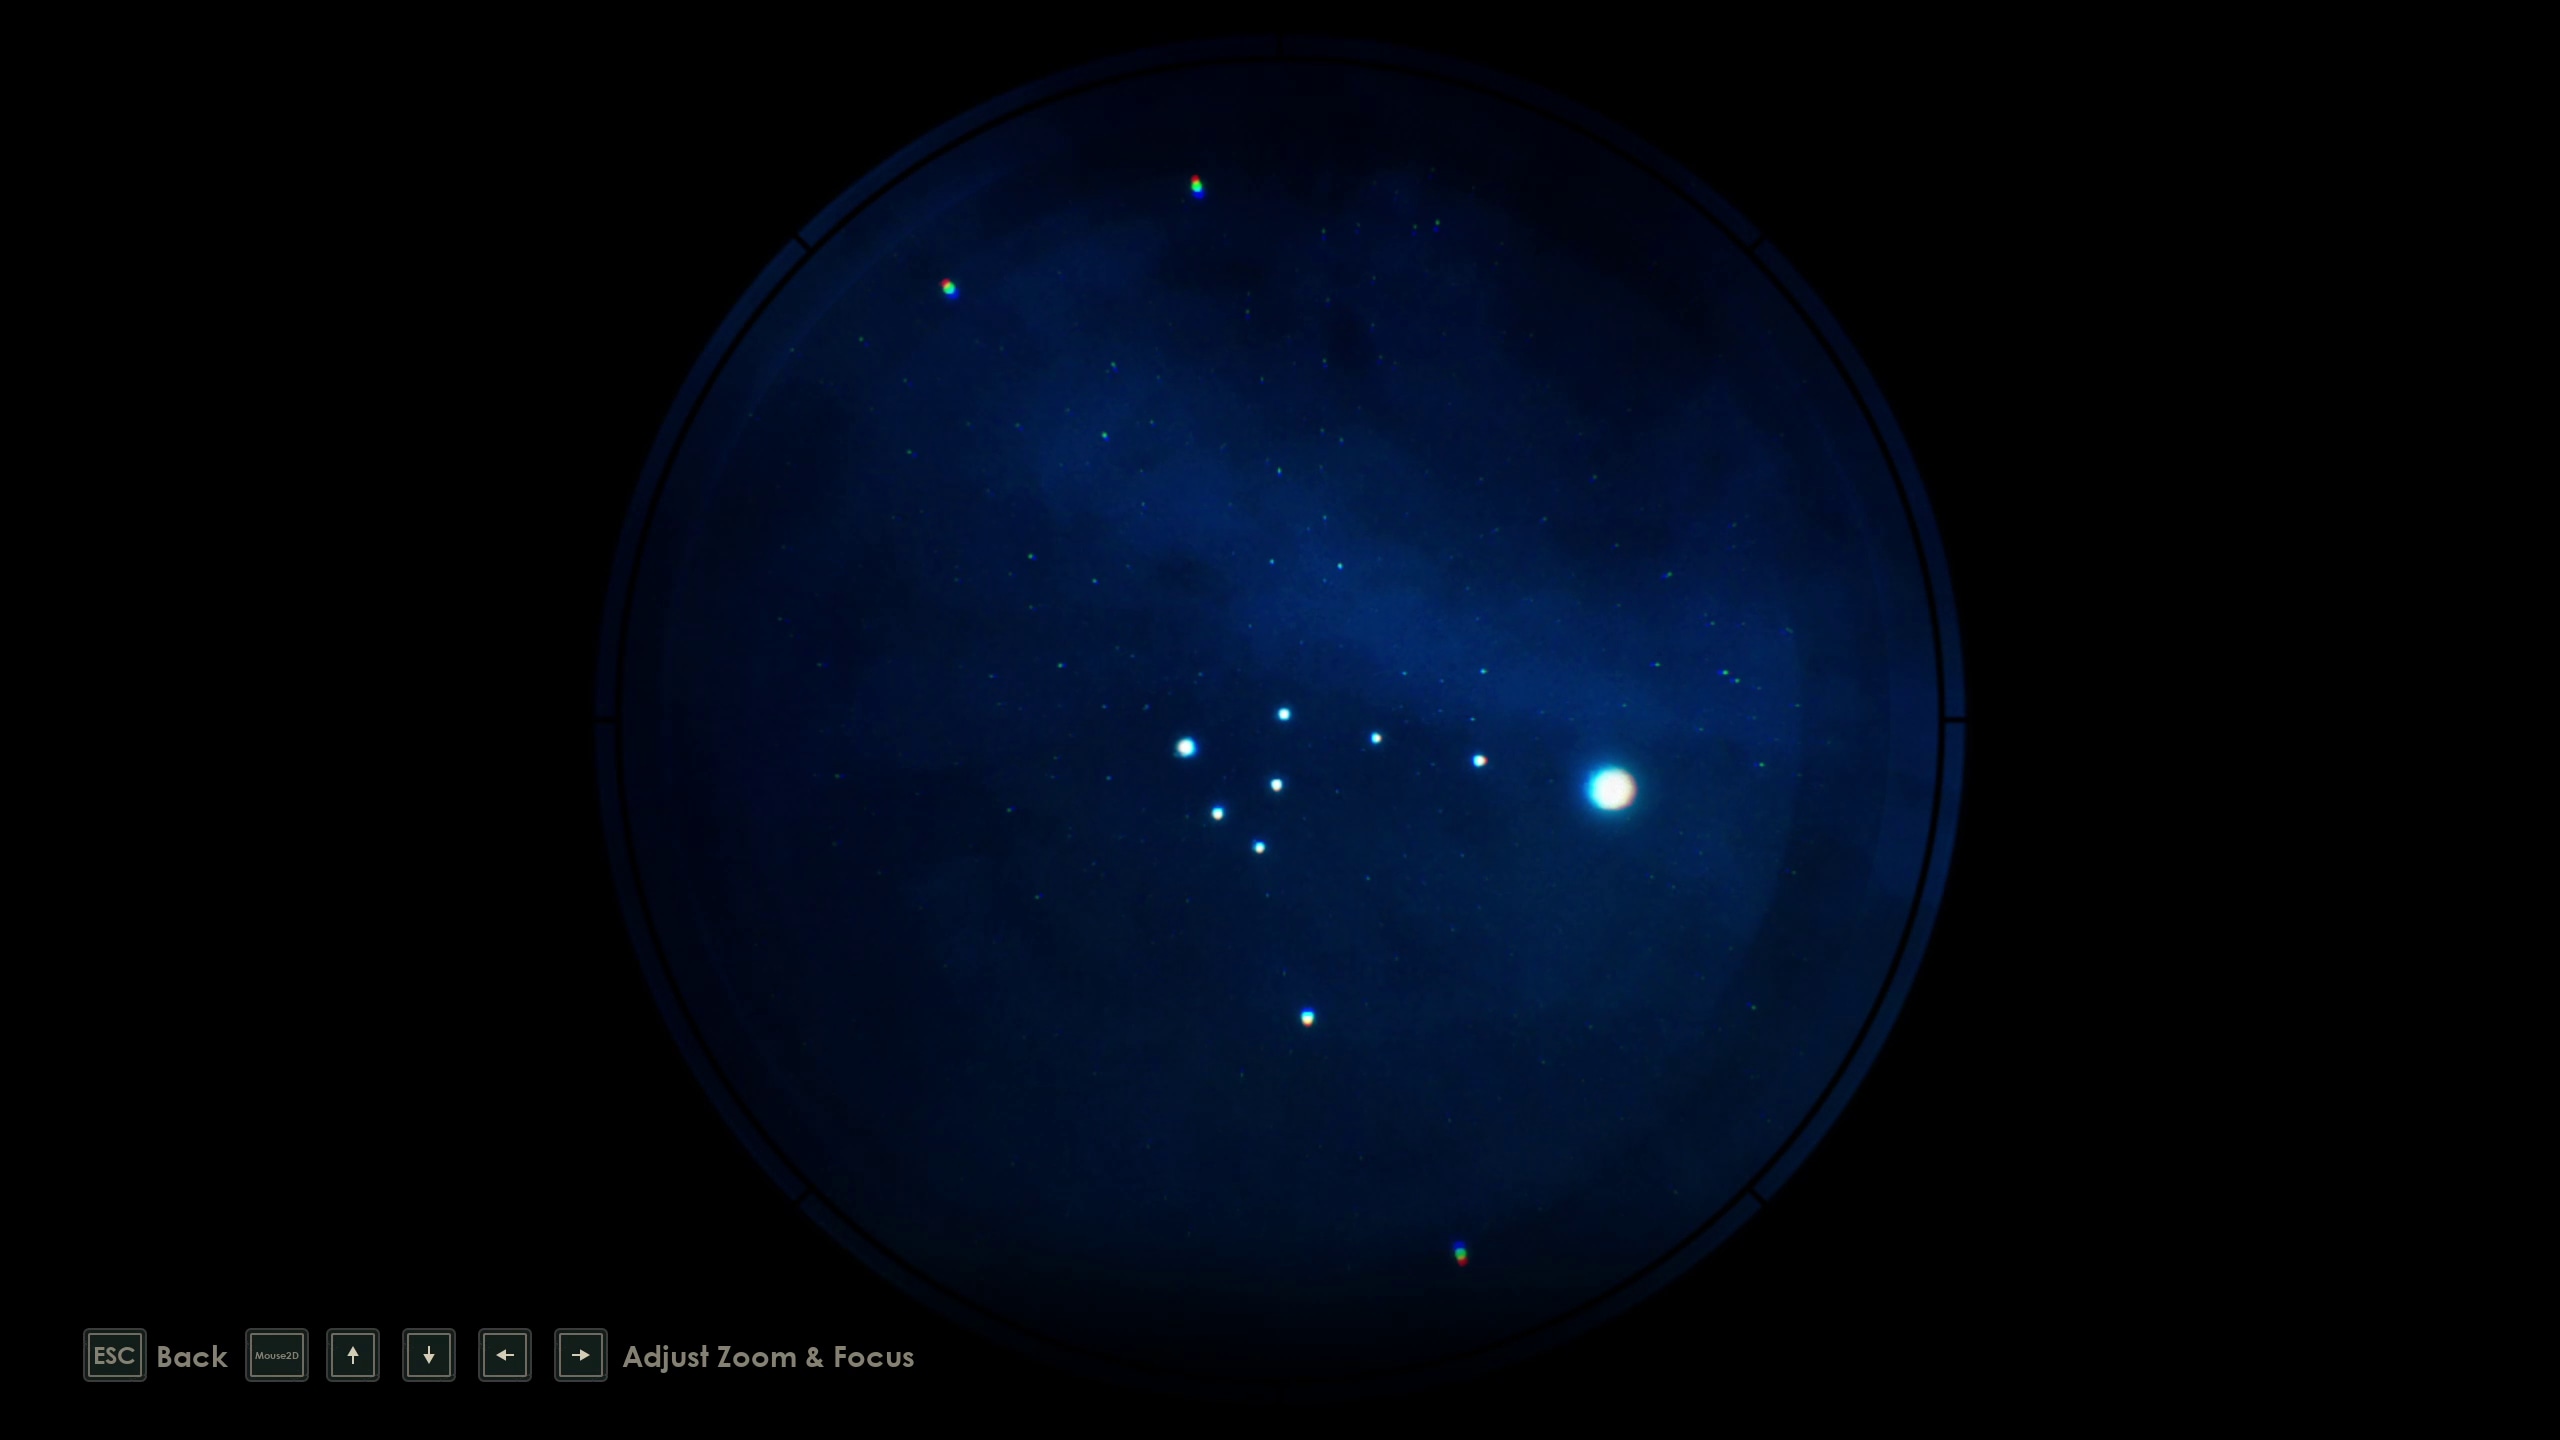
You can put the Barlow Lens in the Telescope (Image 201). Then, you will see a very blurry, out-of-focus image of the stars above (Image 202).
201202
Things seem a little out of focus… Maybe you just need to fiddle with it?
To solve the puzzle, you simple need to move the mouse or sticks forward and backward until the stars are clear. They will, however, be trippled into different colors. Now, move the mouse or sticks side to side until a new, brighter star appears, which will complete the puzzle.
Star Slide Puzzle
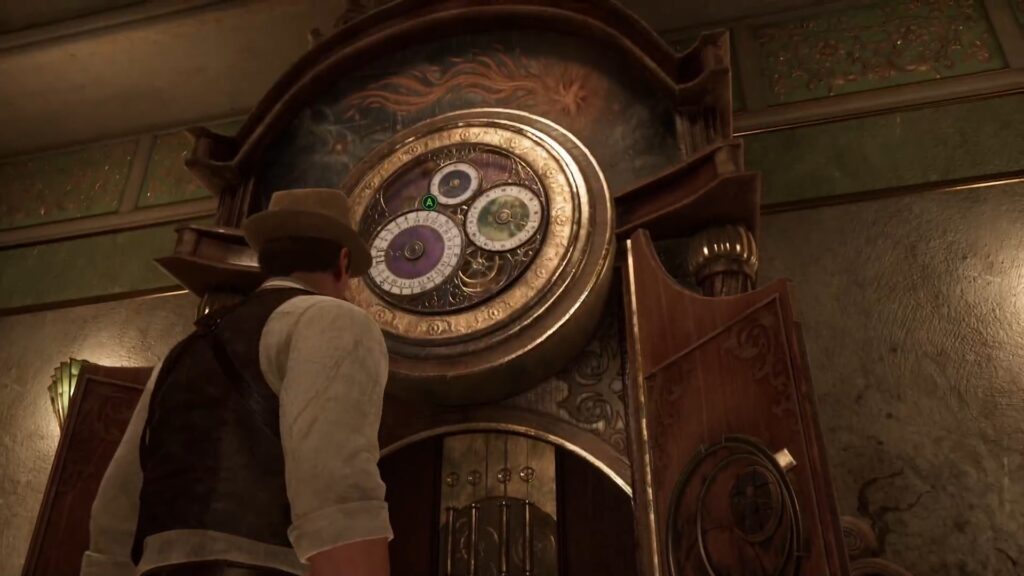
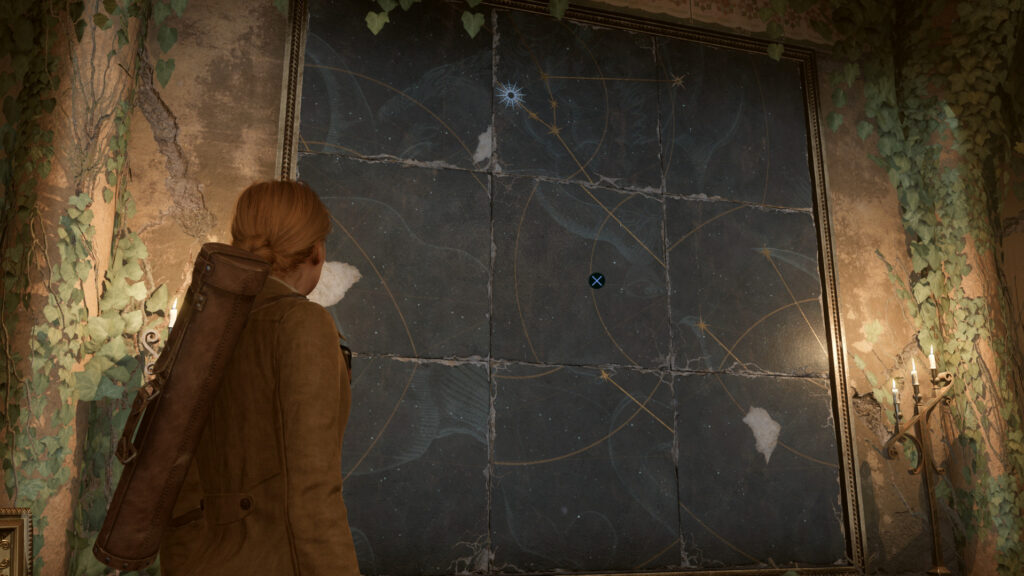
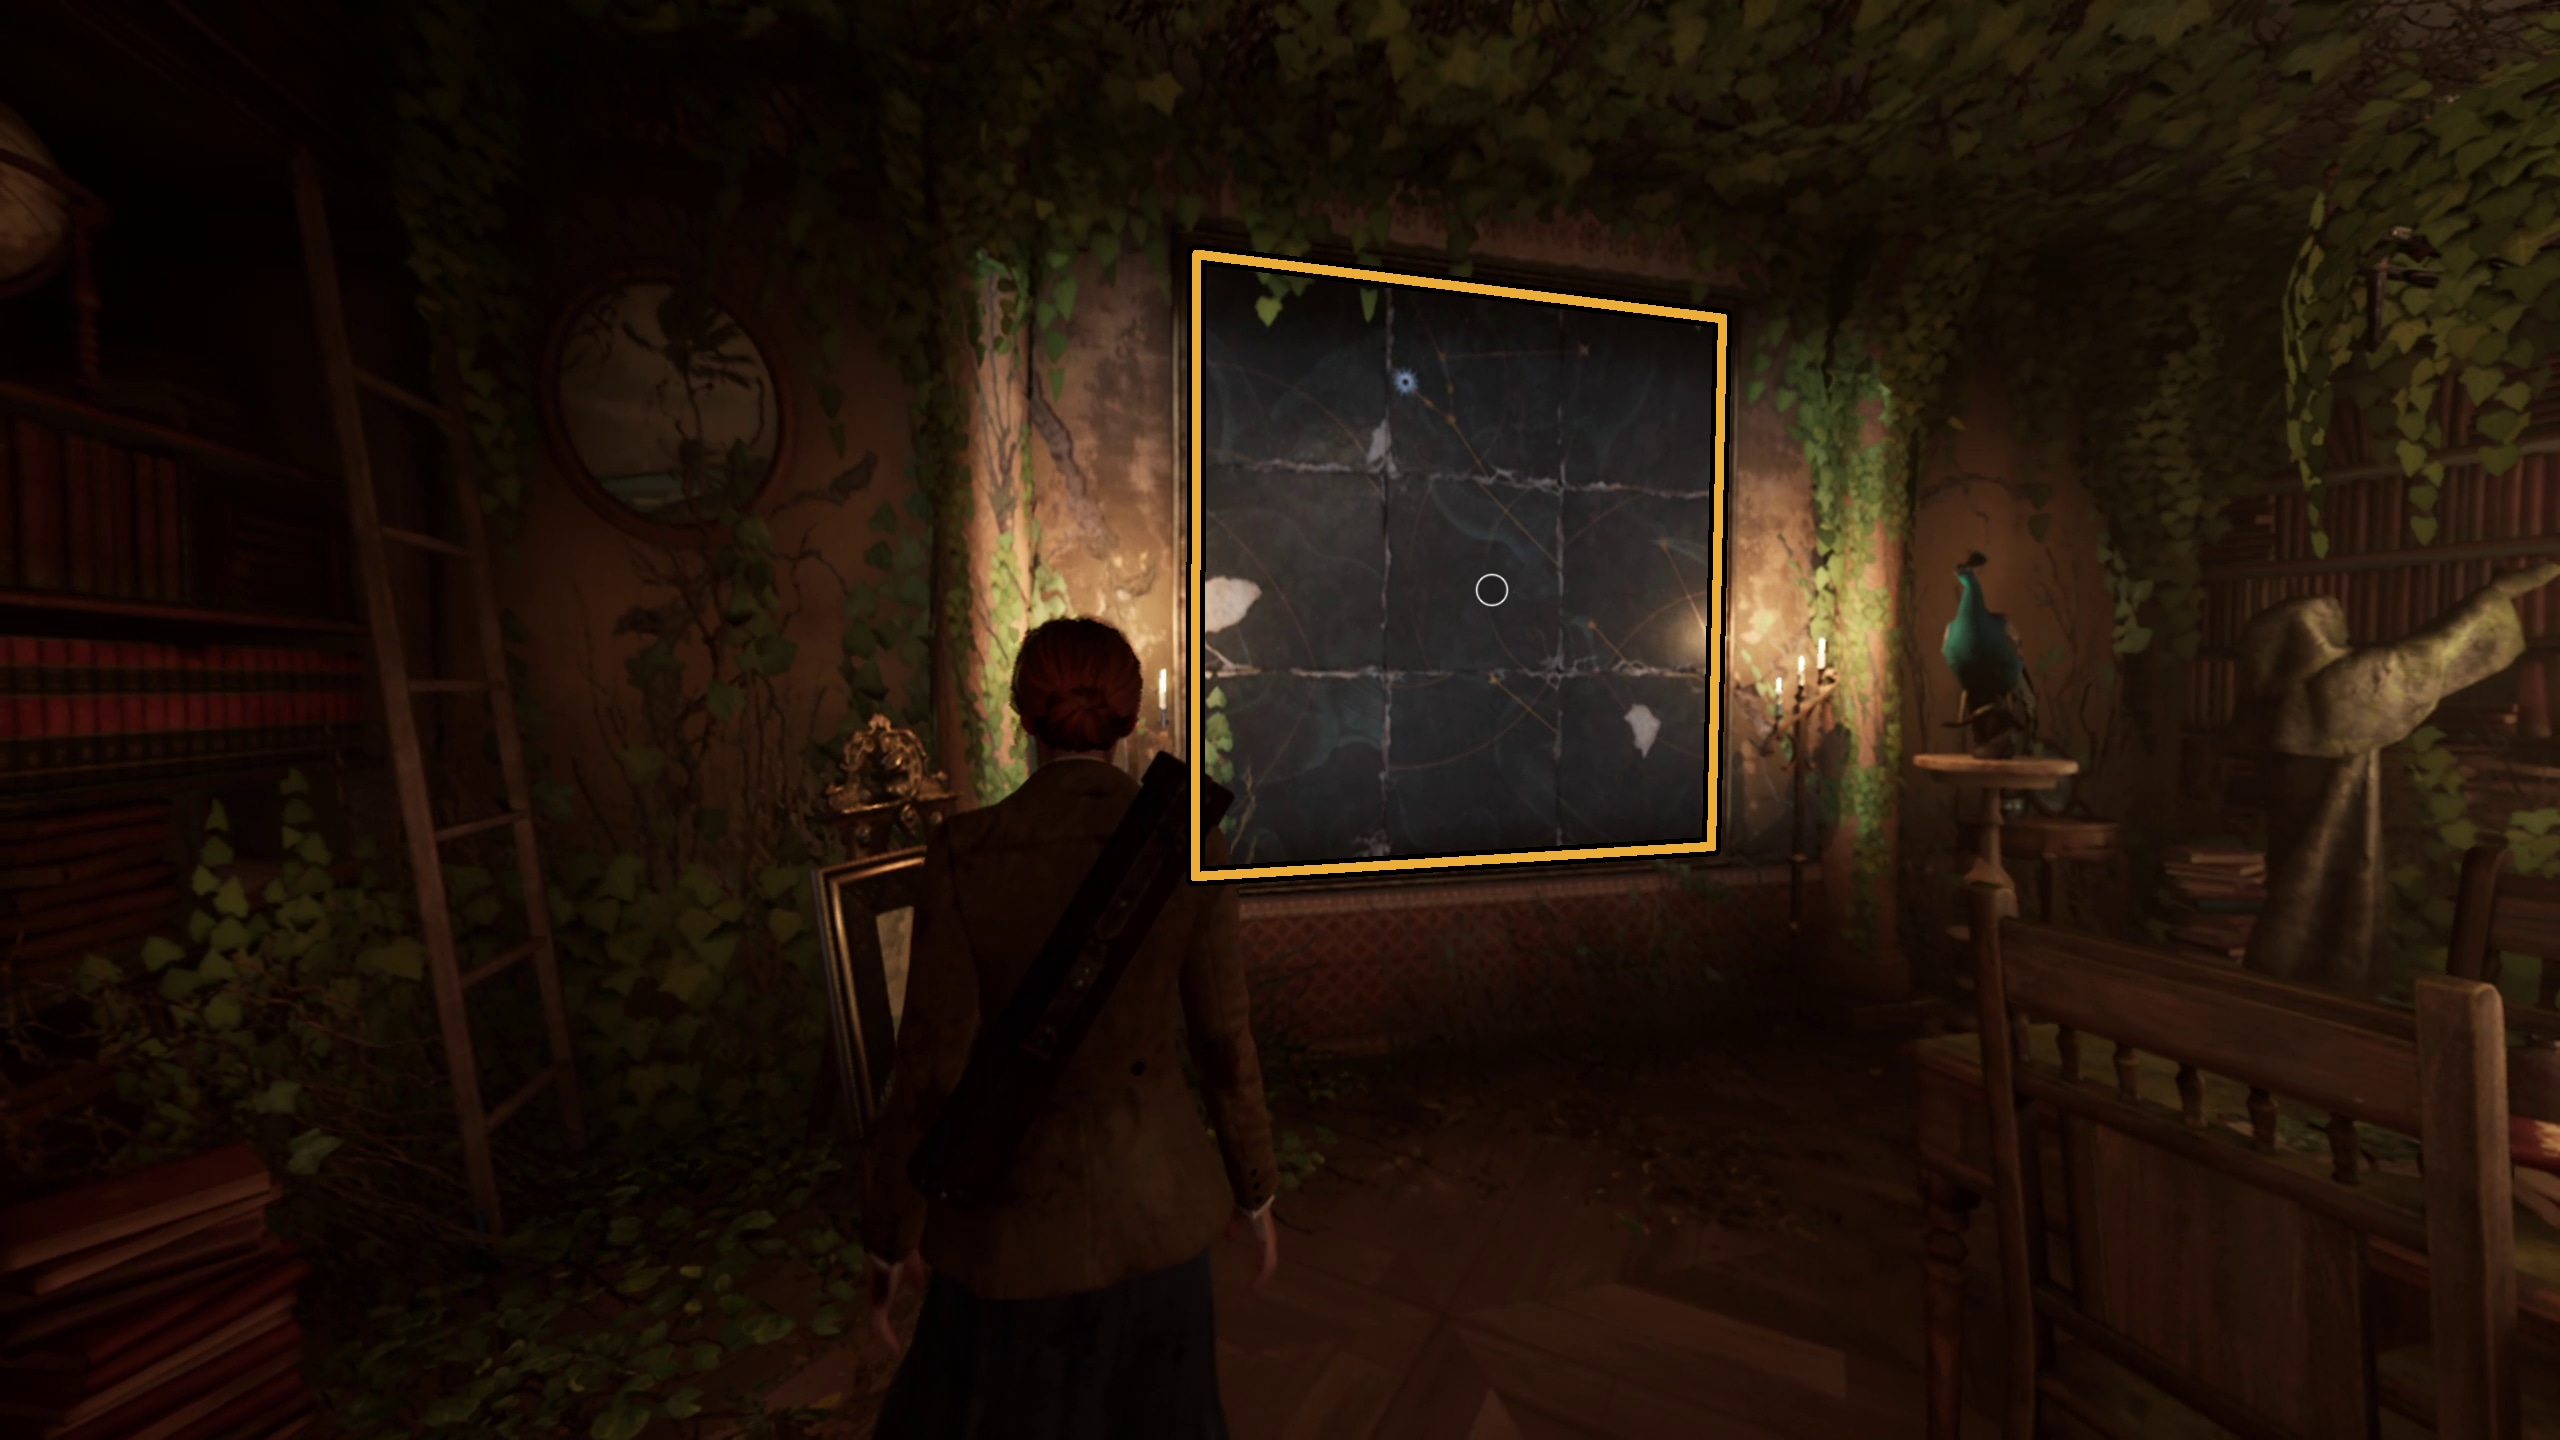
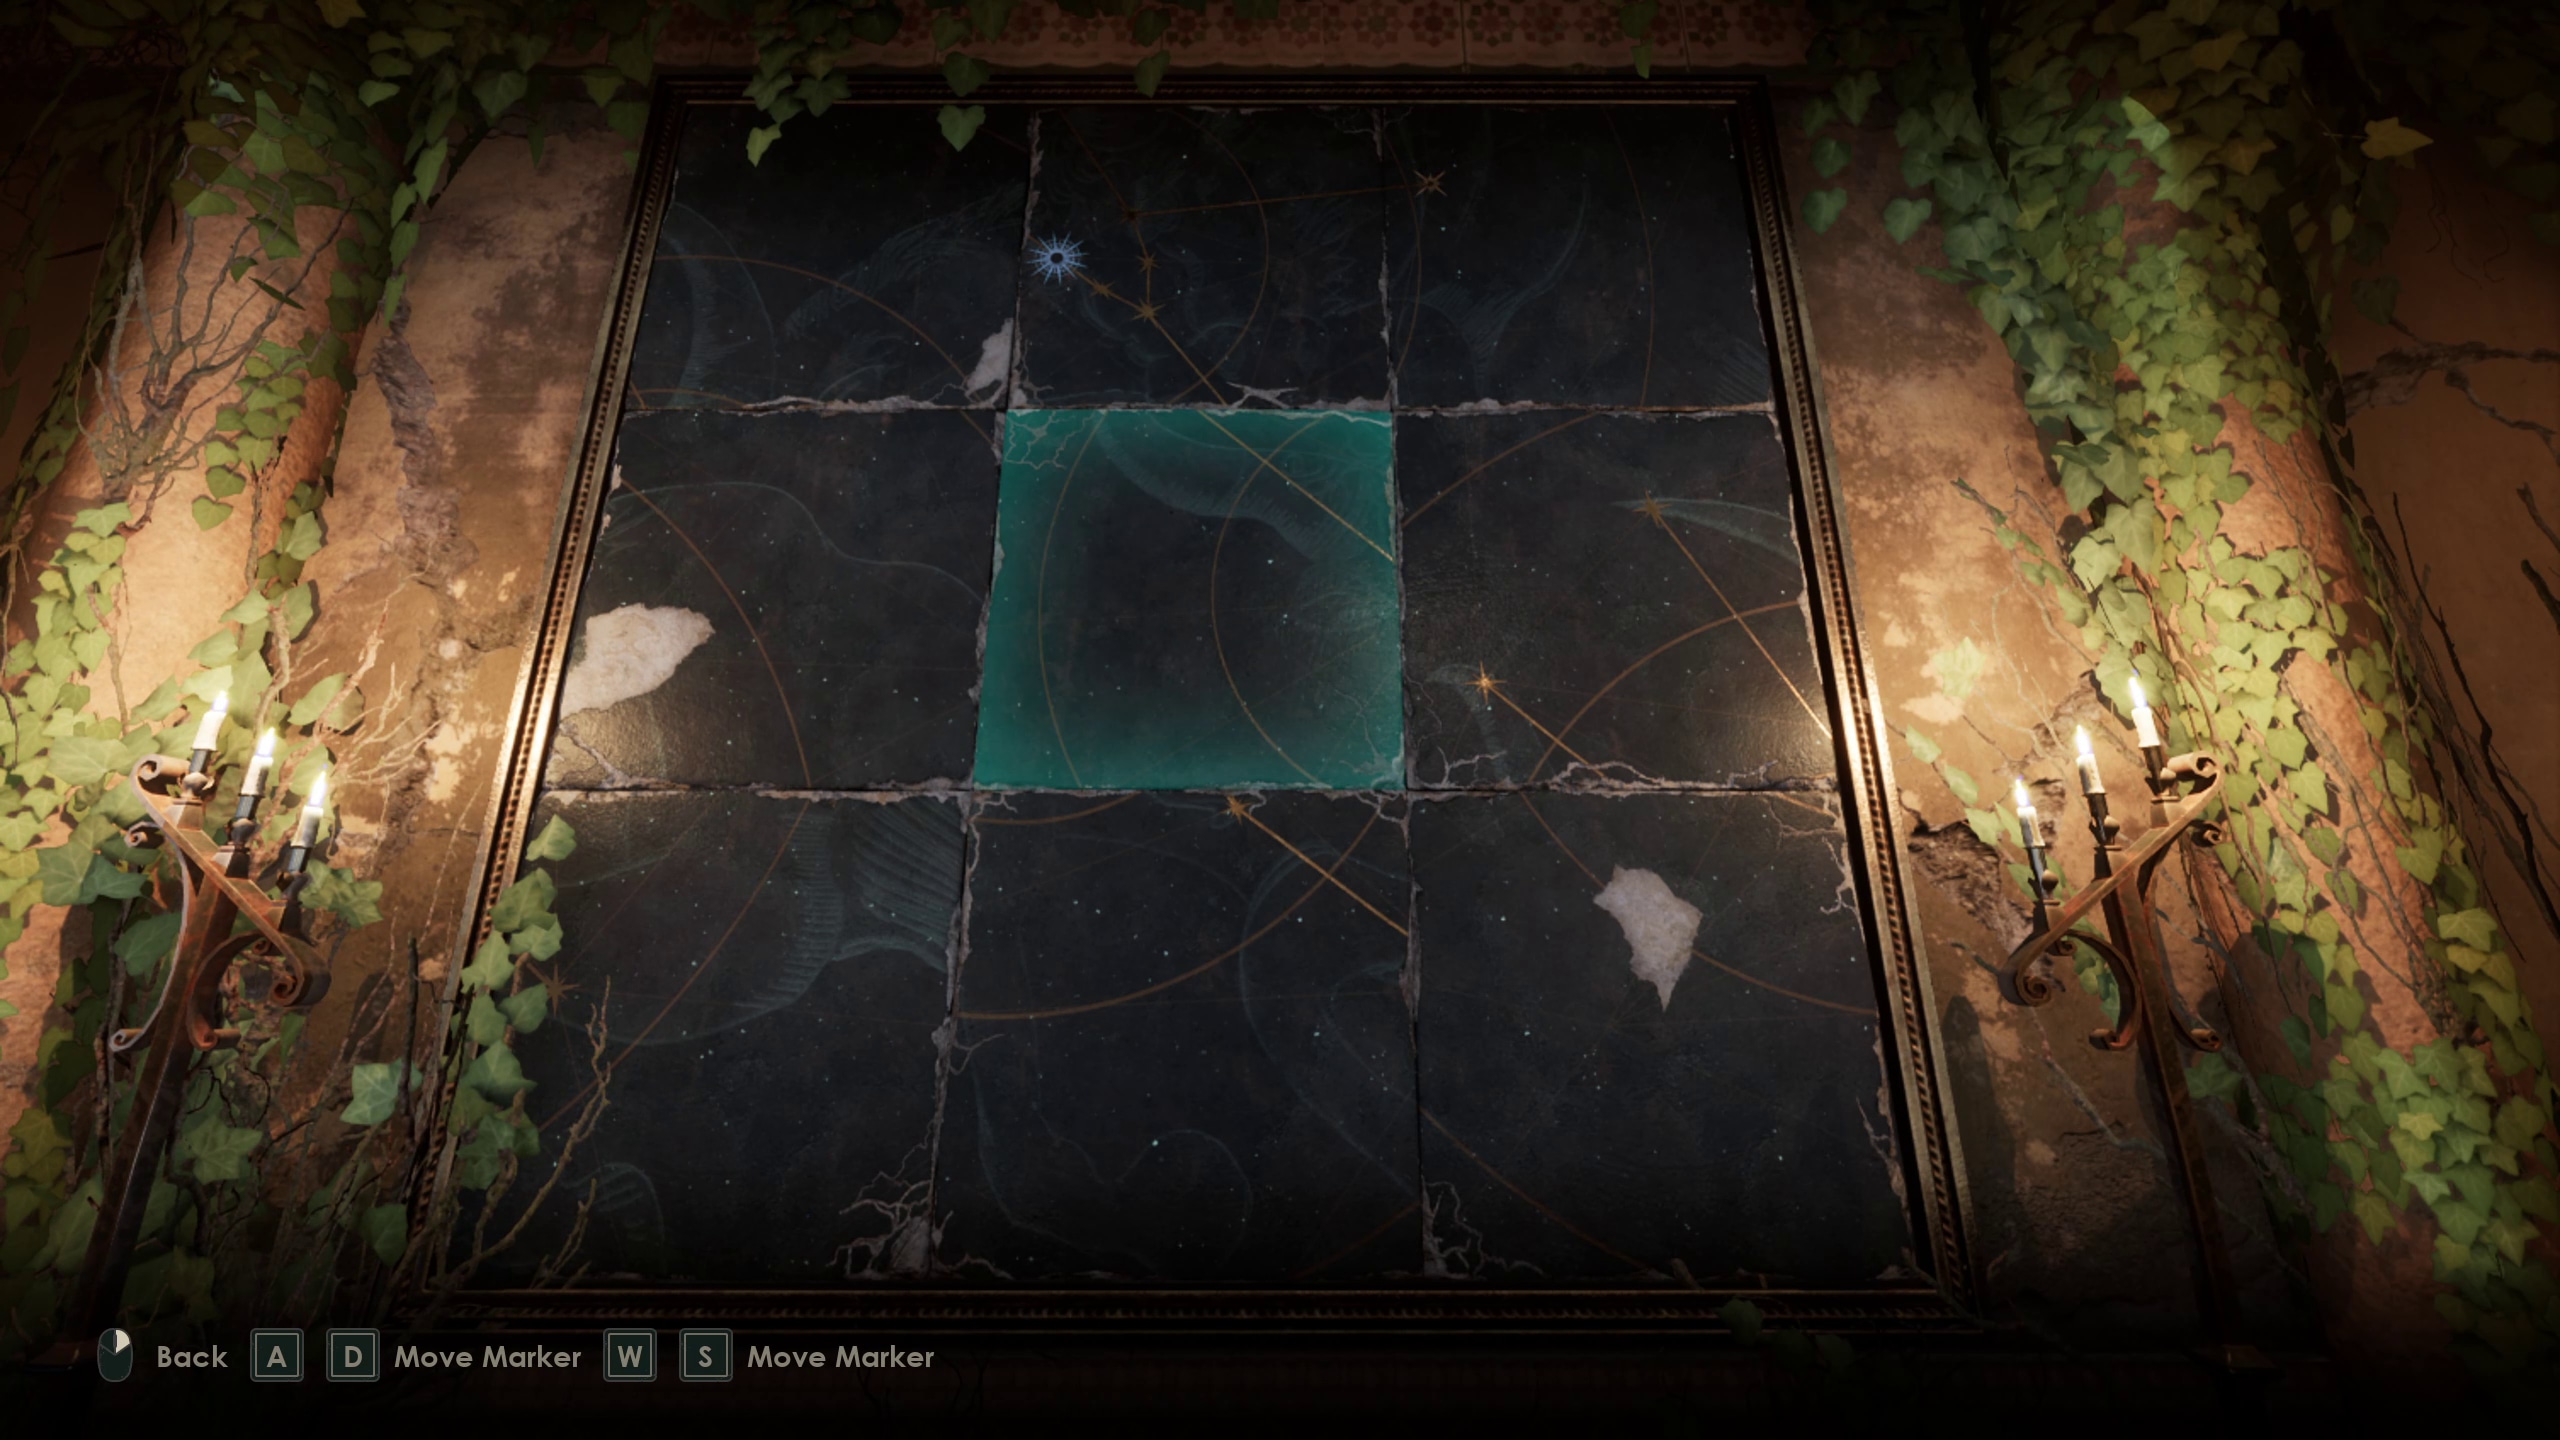
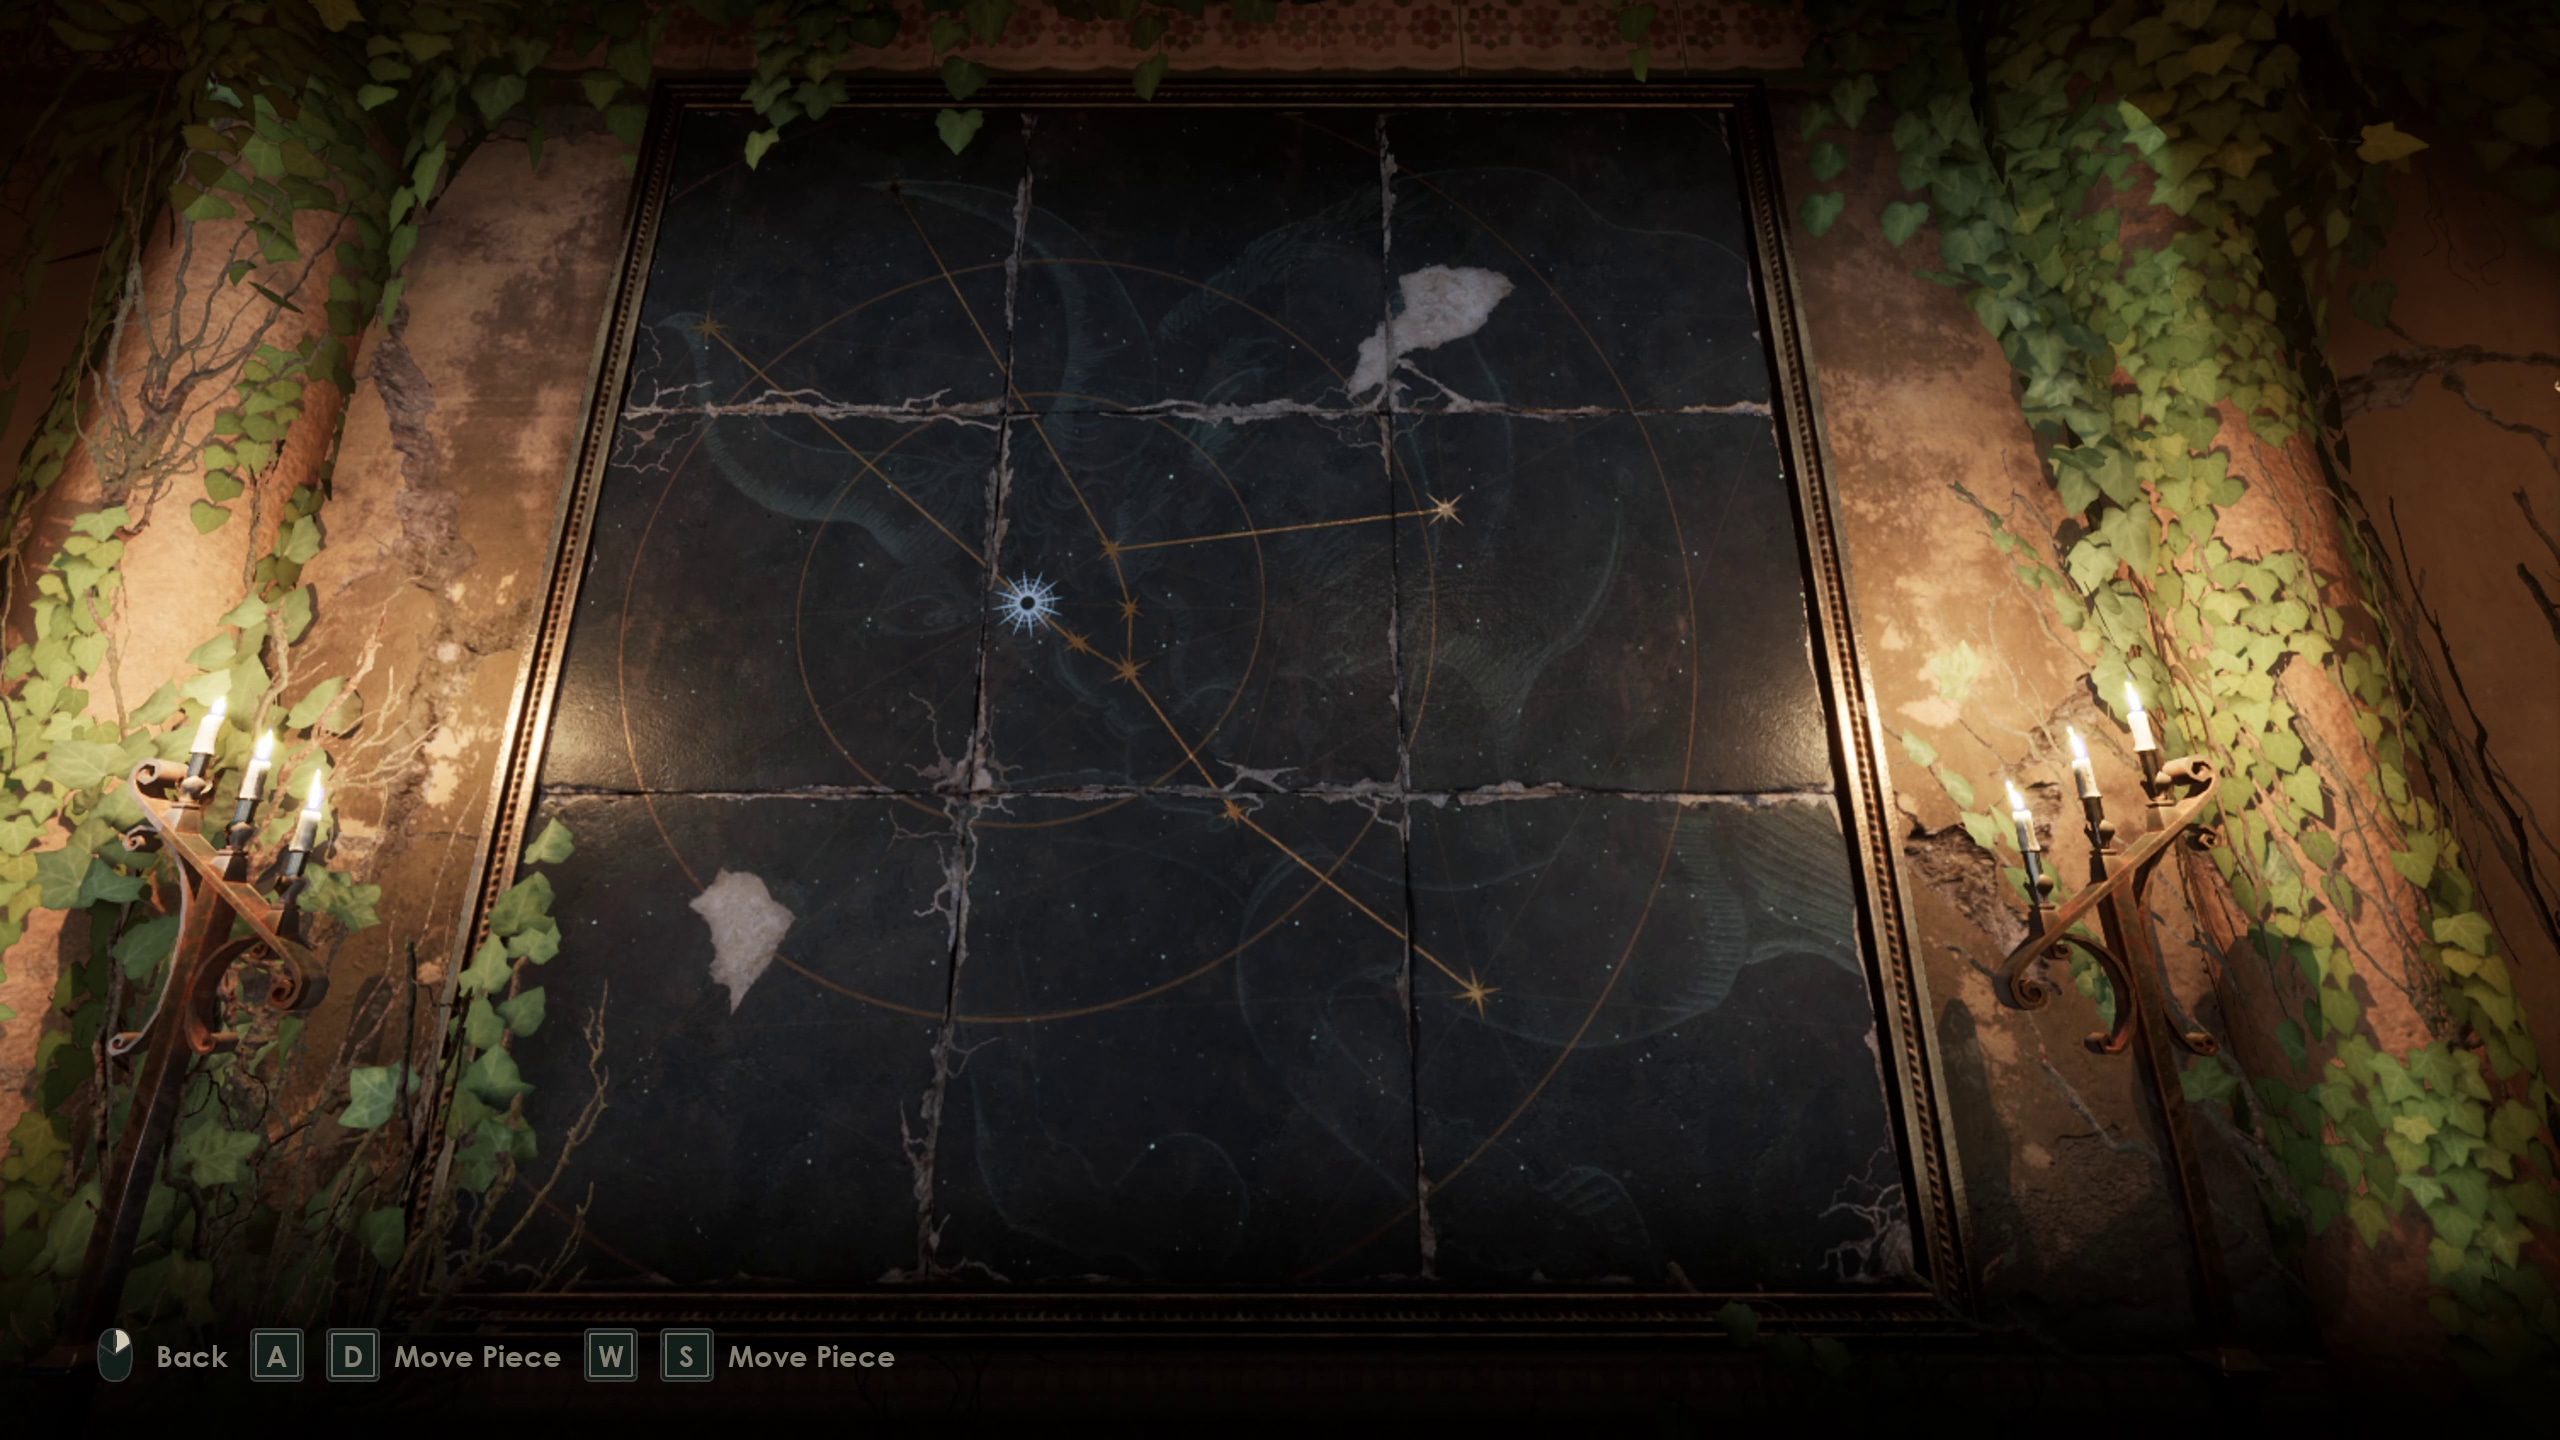
As soon as you complete the telescope, you’ll end up in a different environment. There will be a large puzzle behind you (Images 203 and 204), which you will need to solve in order to activate the talisman automatically (Image 205).
203204205
It looks like a star chart… You just need to align something…
Using the lines as guides, you just need to move the tiles to the correct configuration.
Once you solve that puzzle, you can complete Chapter 2 by seeing where the clues on the Talisman lead. Specifically, you can go to the Dining Room.
Once you leave the Drawing Room, take the door to your right to enter the Library. Go through it, then leave out the opposite door. Pass by the stairs, and enter the door just above the way down to the cellar. This is the dining room.
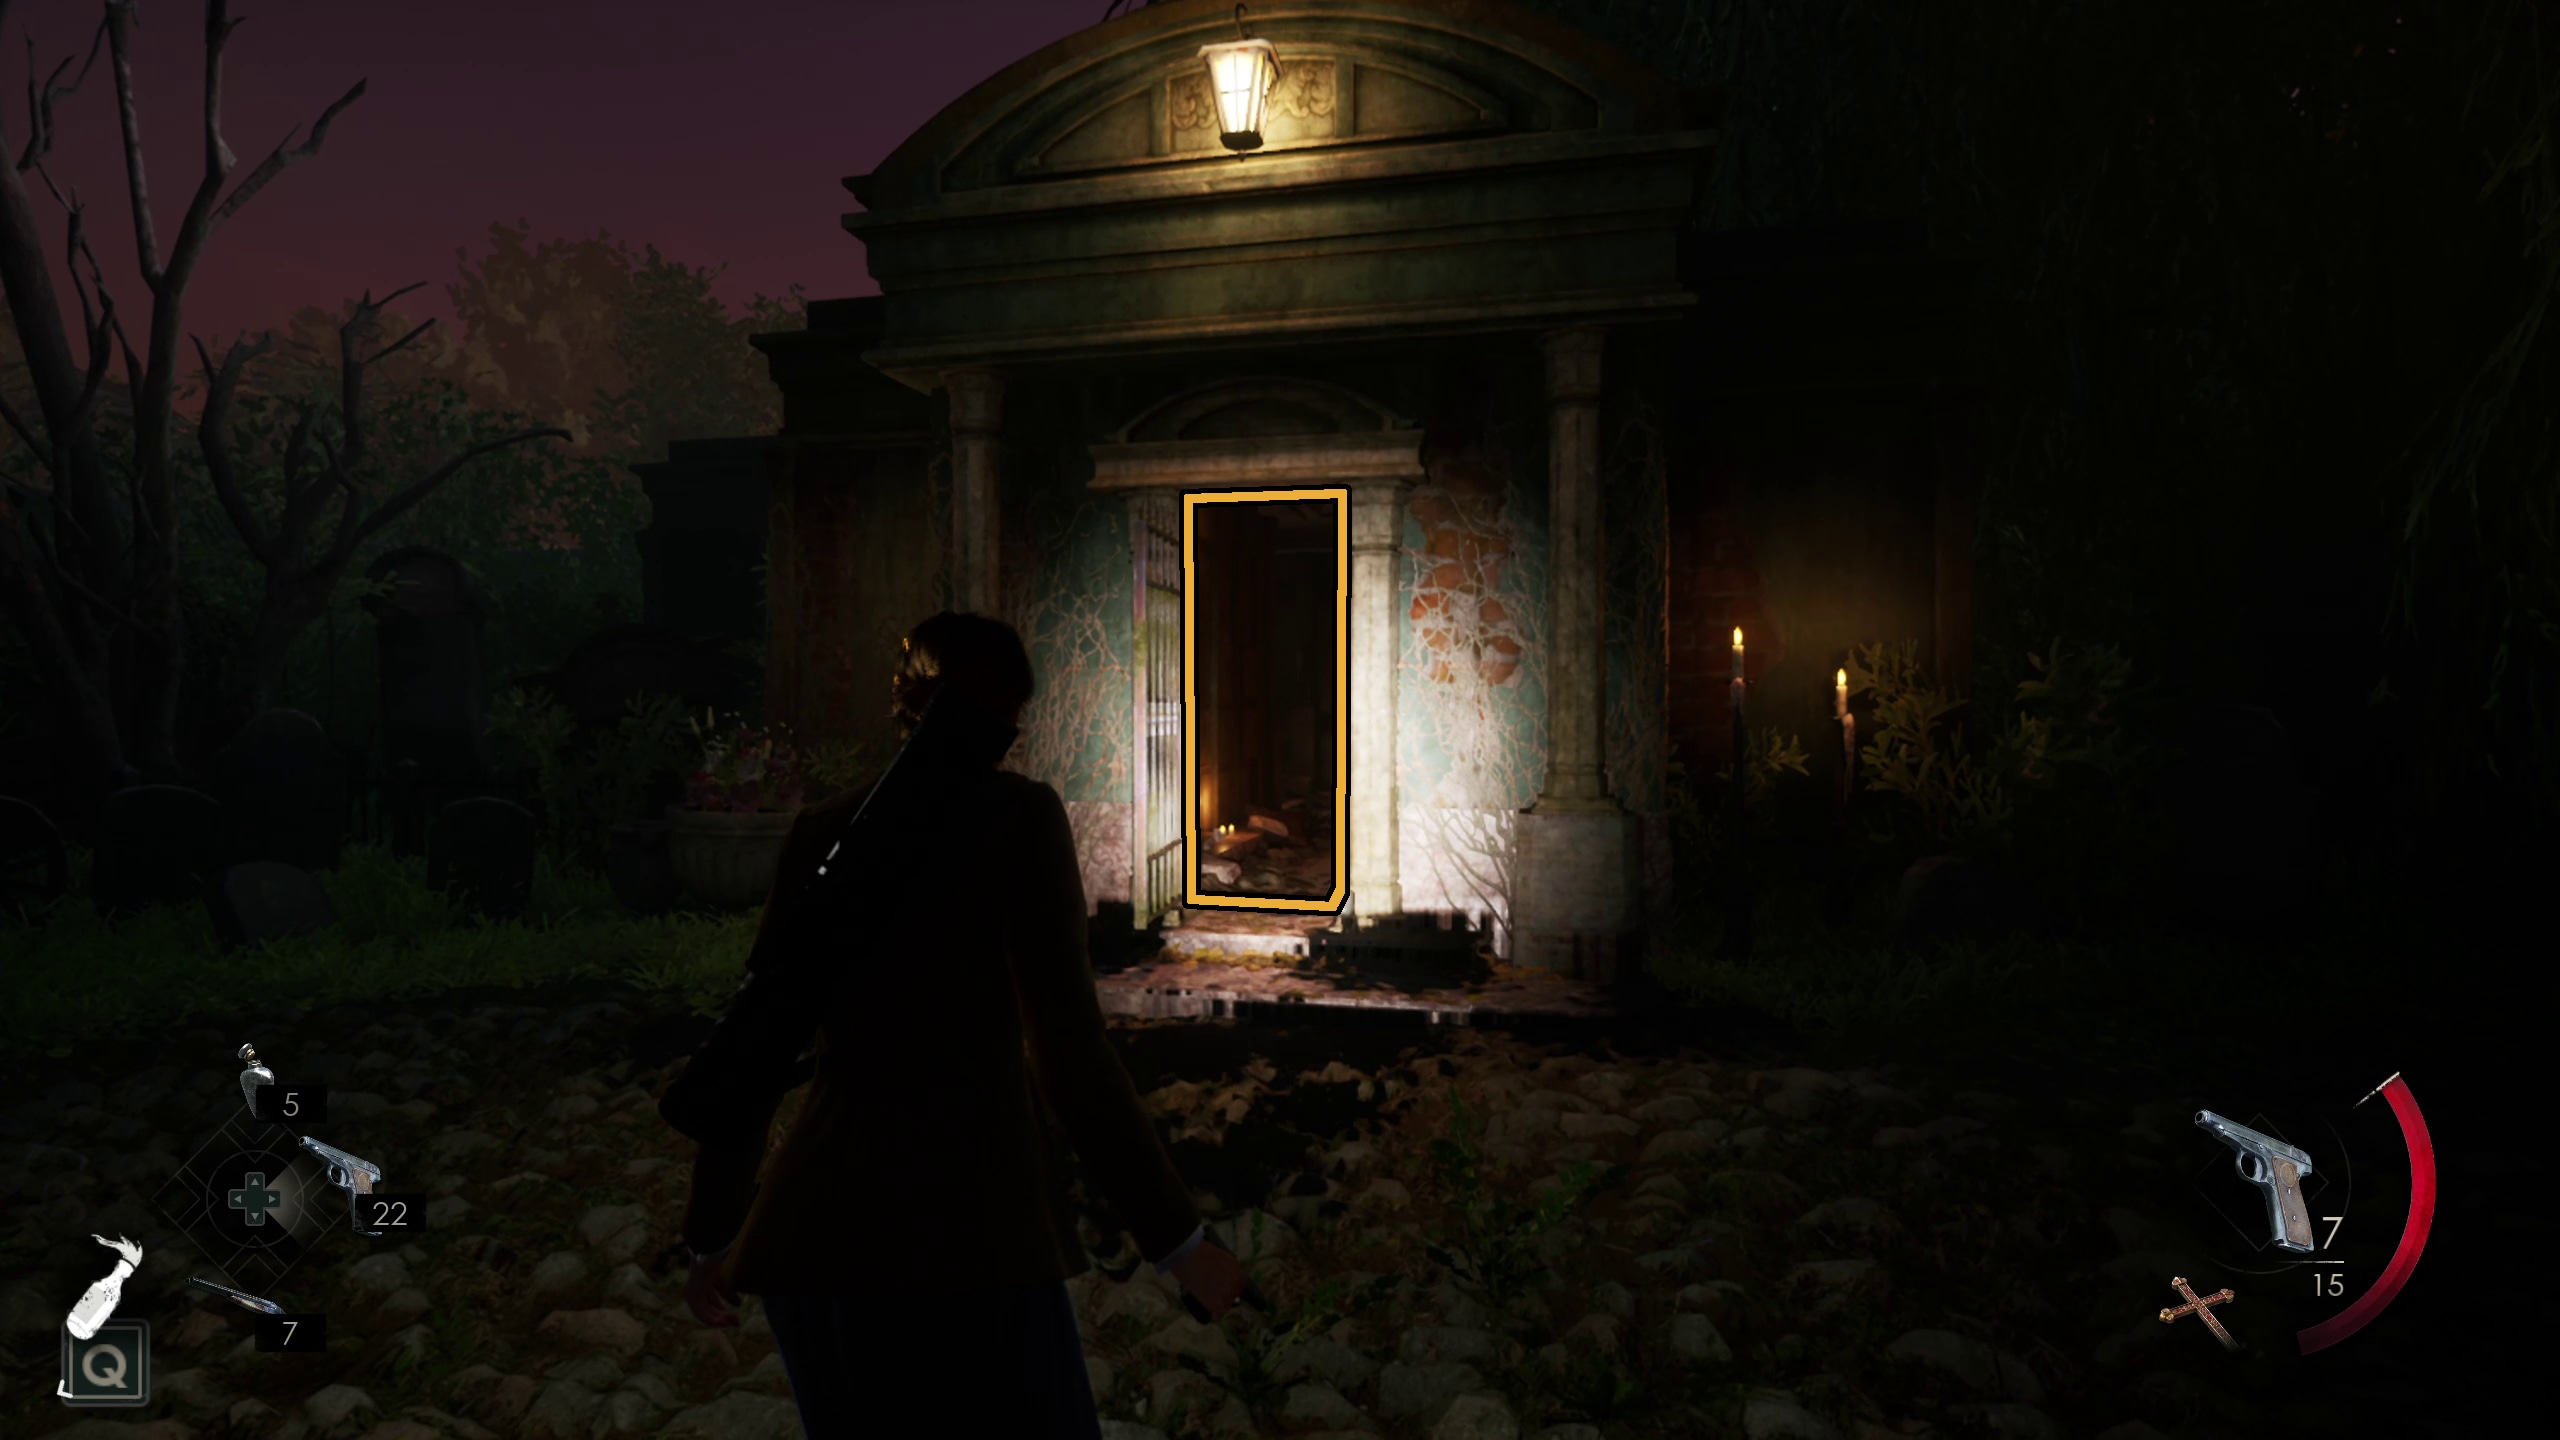
Once you make it to the dining room, the door at the end (which normally leads to the Grand Parlor) will open up and shine, leading the way to both Taroella, and to Chapter 3 (Image 206).
Graves is an avid writer, web designer, and gamer, with more ideas than he could hope to achieve in a lifetime. But, armed with a mug of coffee and an overactive imagination, he'll try. When he isn't working on a creative project, he is painting miniatures, reading cheesy sci-fi novels, or making music.