In LIFE LINE, you’ll be preparing medical facilities in the Riverlands for the ACS faction. In this guide, we’ll go over all the required elements, and then give some specific advice on completing the mission.
Kitchen Stove (Note that this is actually referring to the Biofuel Stove)
Rewards
350
Variants Modifiers
Creature melee damage: -50%
Creature health: -50%
Creature movement speed: -10%
Bear spawn rate: -50%
Lion spawn rate: -10%
Polar bear spawn rate: -50%
Wolf spawn rate: -10%
Aggressive creatures perception: -50%
Neutral creatures perception: -50%
Passive creatures perception: -50%
Experience gain: -25%
Creature melee damage: +20%
Creature health: +30%
Creature movement speed: +10%
Aggressive creatures perception: +30%
Neutral creatures perception: +30%
Passive creatures perception: +30%
Scorpion spawn rate: +30%
Lion spawn rate: +30%
Wolf spawn rate: +30%
Experience gain: +25%
Player respawn count: 3
Prospect Notes
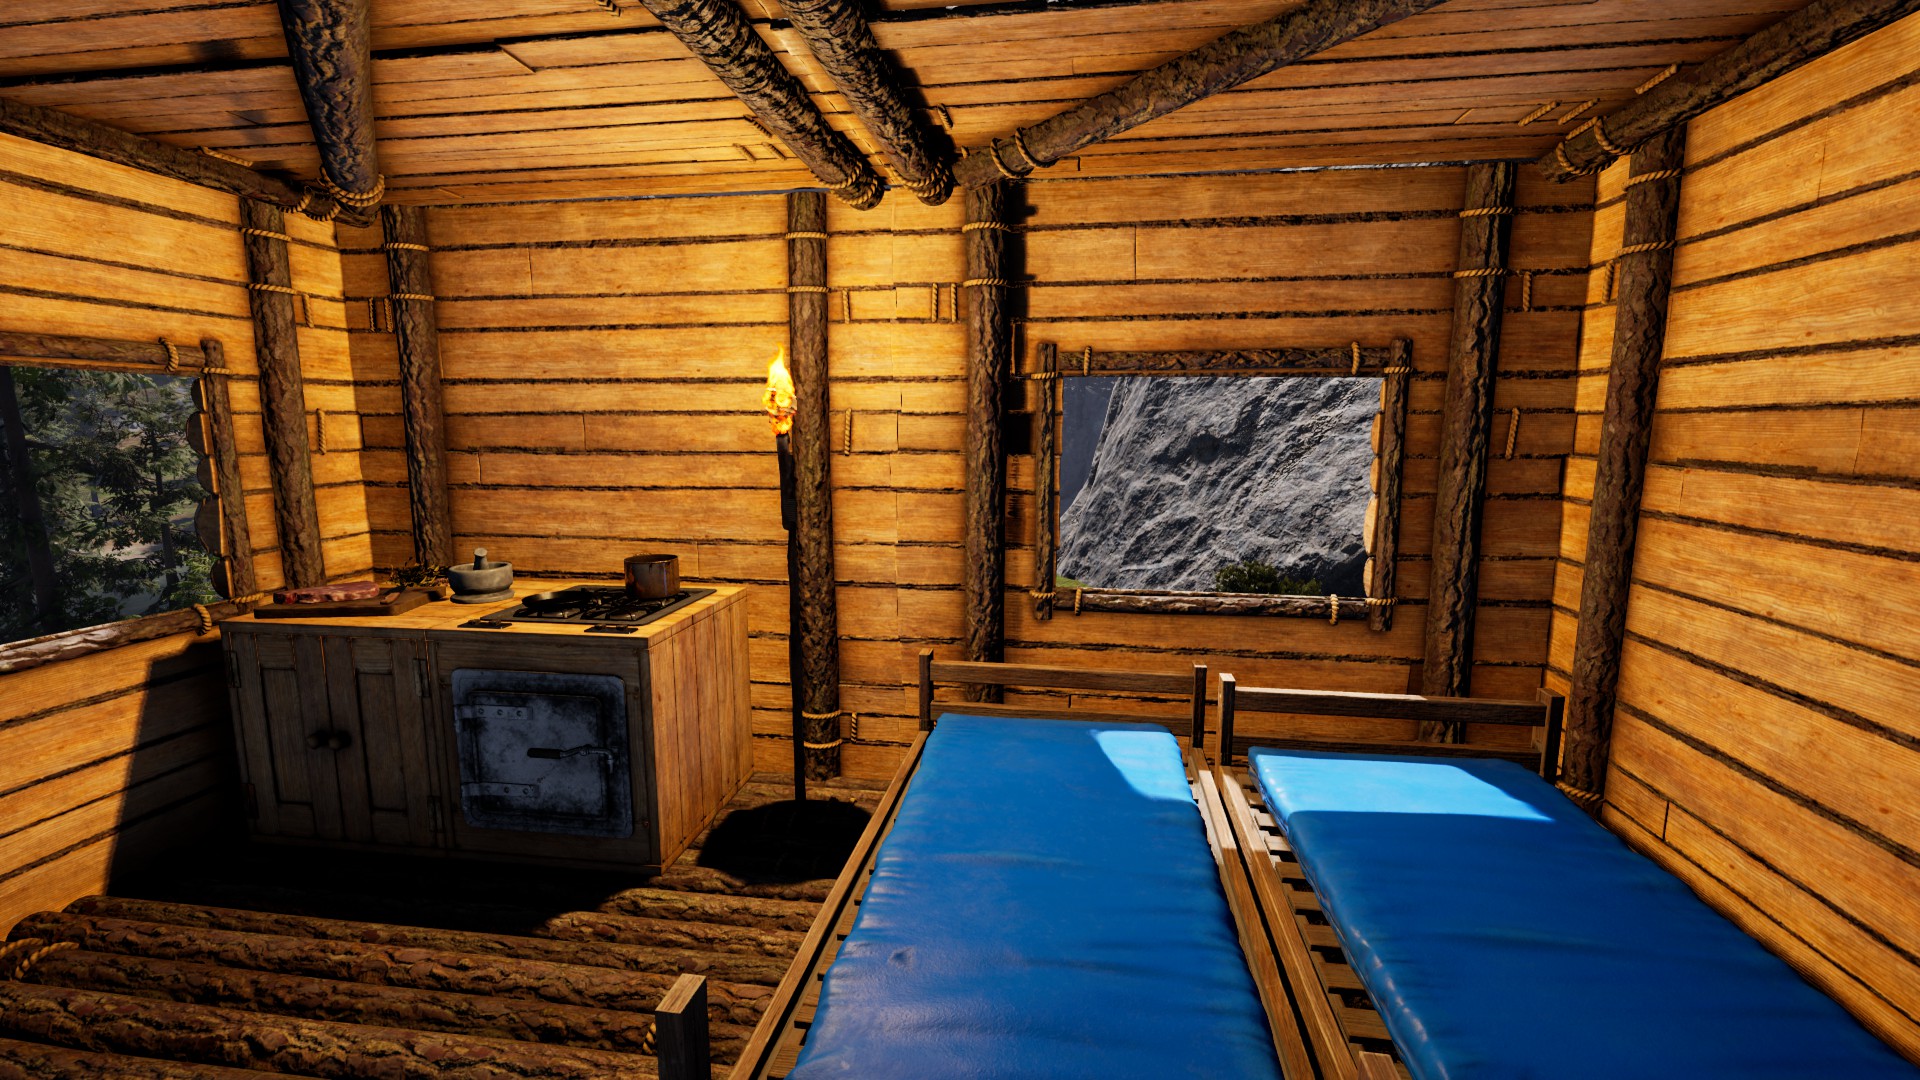
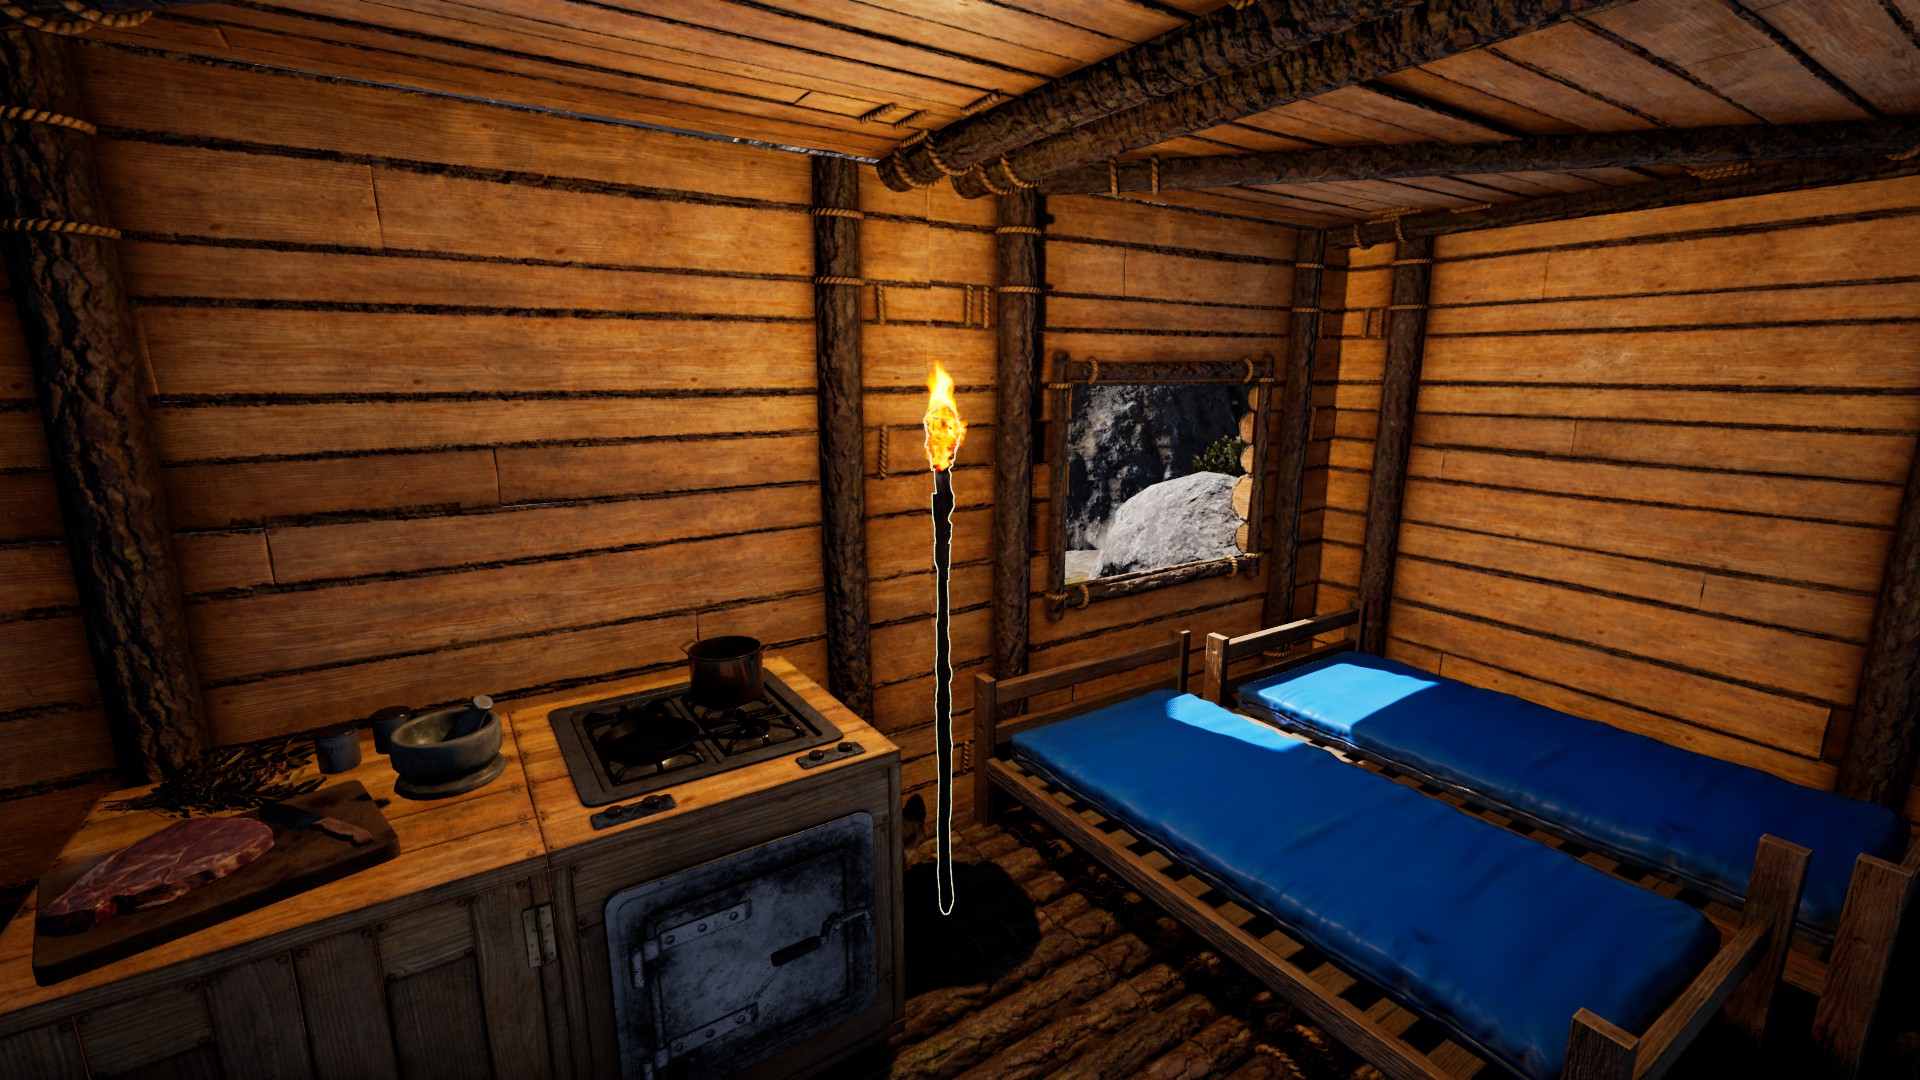
Your objective for LIFE LINE is to set up a few sheltered Tier 2 and Tier 3 deployables and couple of Beds at a specified location. This mission is easy, includes drop insurance, and shouldn’t take more than a few hours.
Note that while the mission objectives indicate you need to build 2 Beds, Bedrolls seem to suffice for now.
The standing torch isn’t necessary, but really brings the room together. Can you spot the furry friend in this image?
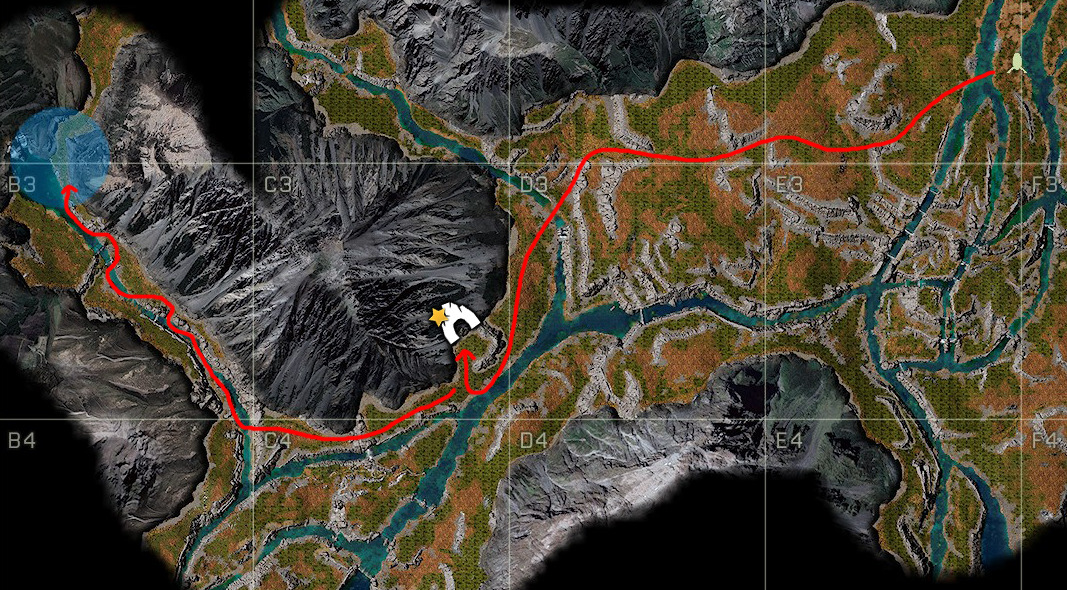
You’ll spend most of your time in this mission at the cave in C-3, which is where you should set up your base. The Riverlands can be tricky to navigate, so the map includes a suggested route that avoids the majority of drops and cliffs.
Preparing for LIFE LINE
You’ll need to unlock the following blueprints to complete the mission:
As always, bringing Orbital gear will speed things up significantly. A knife, pickaxe, and the MXC Furnace are probably the most useful items to take with you on your drop. In particular, bringing at least a Dong or Kuang pickaxe will speed up your mining significantly.
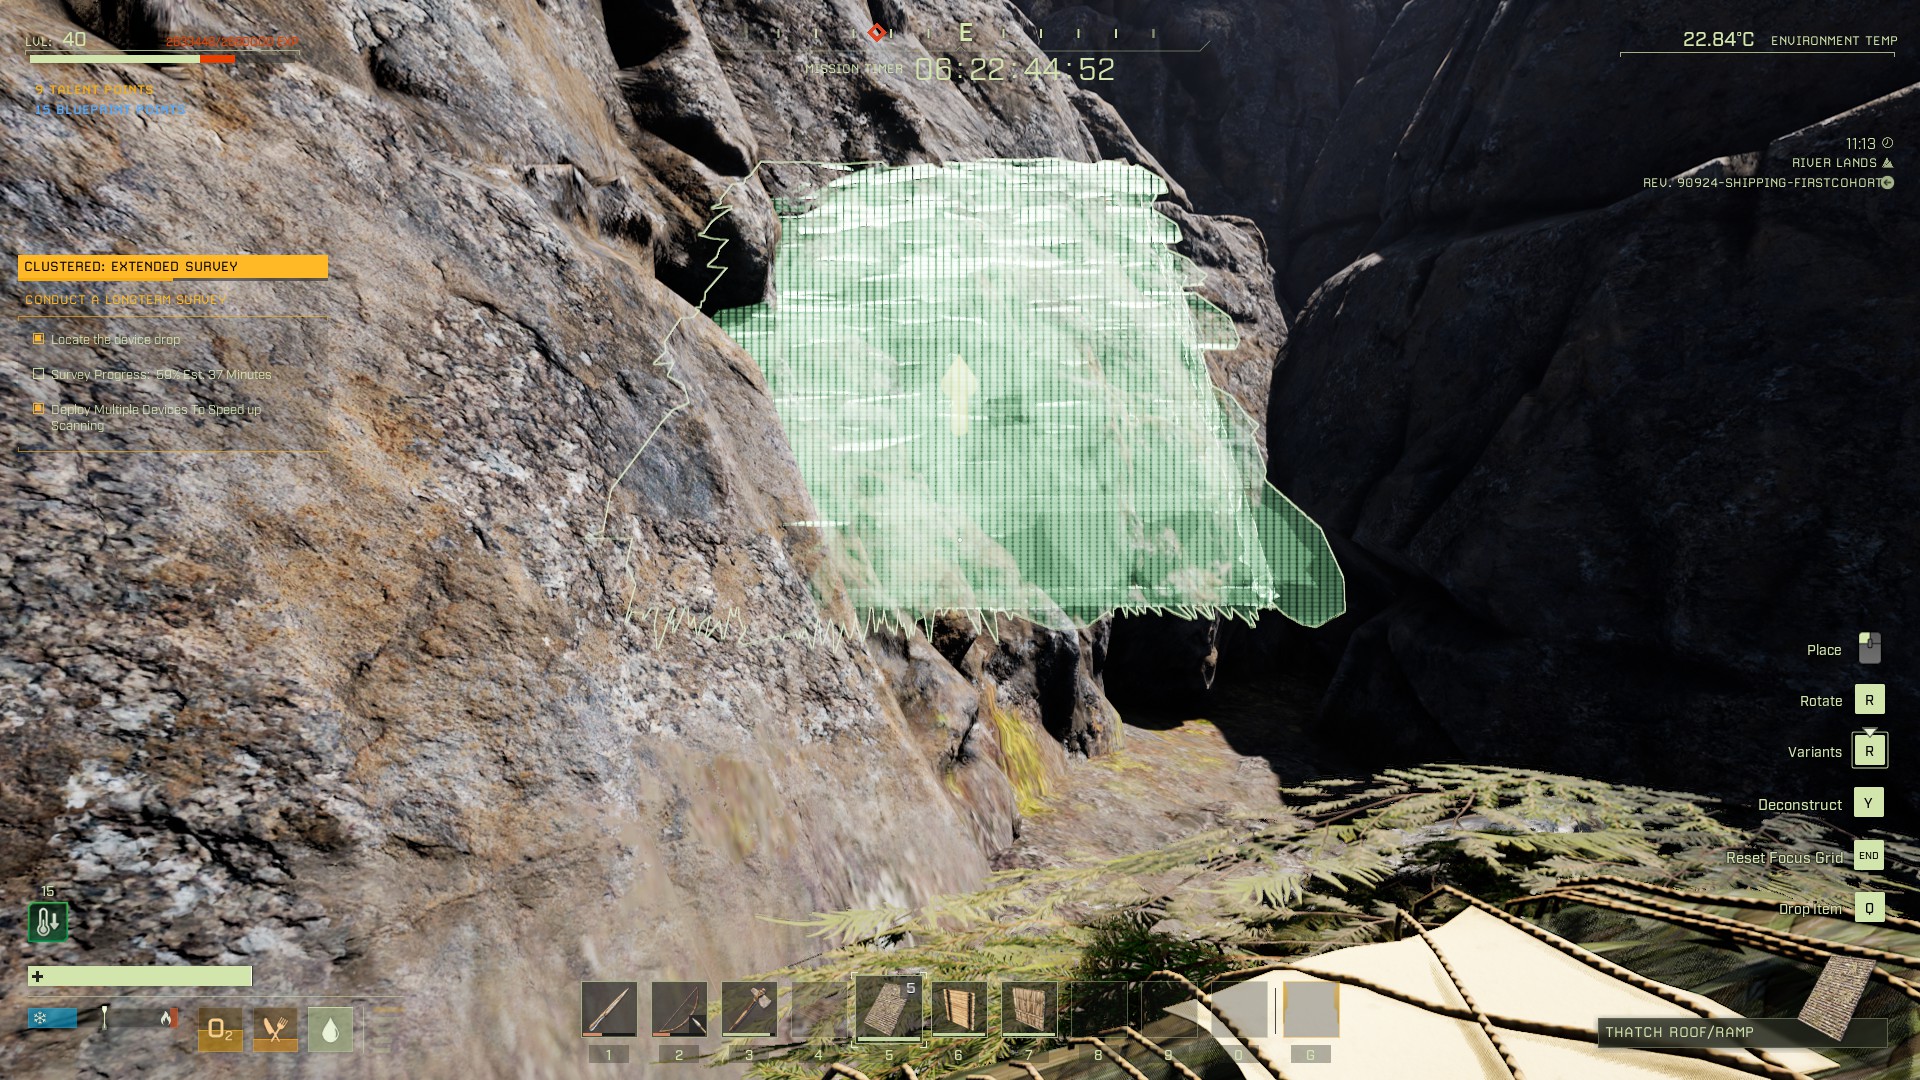
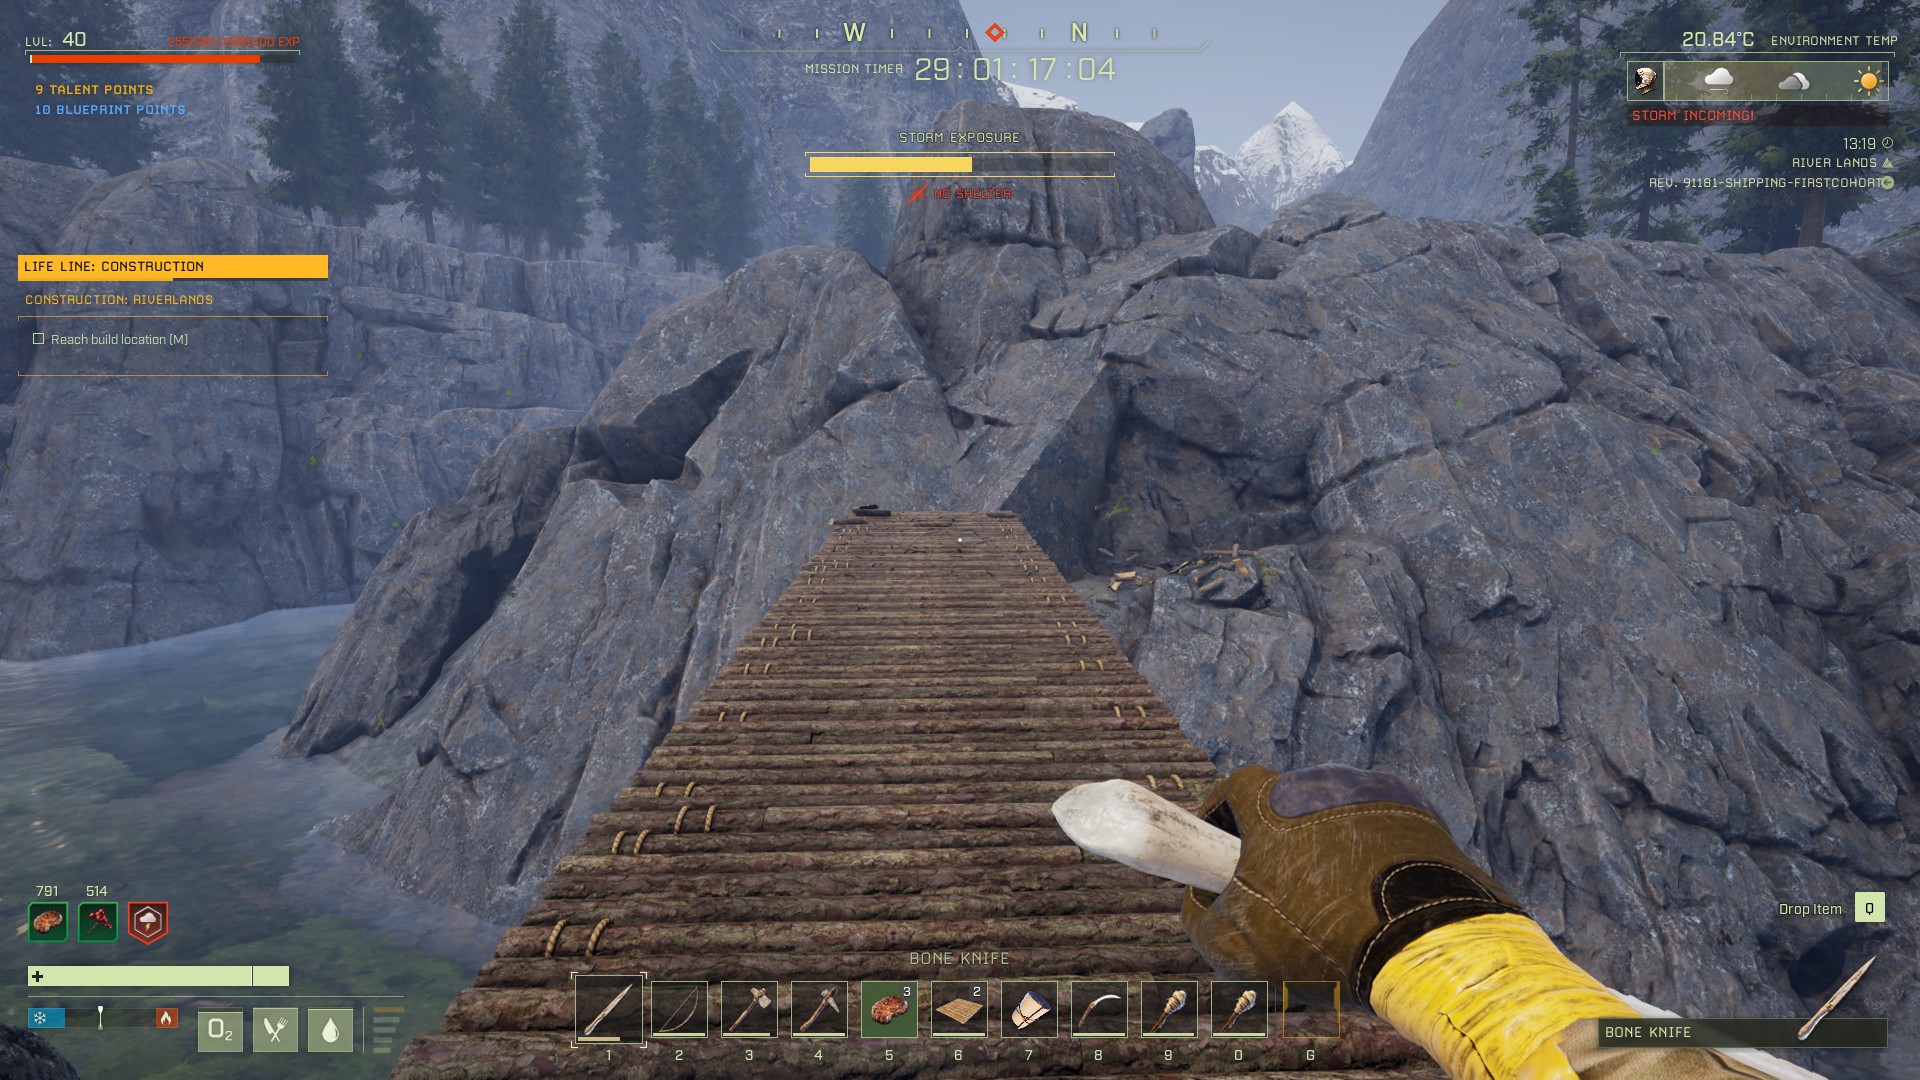
It can be a struggle getting up and around the many cliffs in this area — unless you use ramps. By carrying 3-5 Roof/Ramp pieces, you can easily scale even the steepest cliffs. It takes a bit of practice to figure out how to put them within the cliff (so that they’re supported by the rock and not free-floating), but once you get the hang of it, you’ll be climbing cliffs like a pro.
Once you’ve climbed up a few pieces, turn around and use [Y] to pick up the ones you no longer need. This allows you to climb a tall cliff with only a handful of ramps.
Start anywhere the ramp is actually inside the cliffIf it’s too steep to proceed forward, build sideways instead and then continue upwards
You can also use Floor pieces — they’re particularly useful for bridging gaps across rivers. Since these are harder to recover, it’s best to use thatch pieces unless you’ve got a surplus of wood.
Of course, if you follow the route indicated in the map above, you shouldn’t need to worry much about any of this.
Mission Walkthrough
Step 1: Teching to Tier 3 & Crafting Deployables
You’ll land in a Forest biome, the Riverlands. This area has high-level bears and wolves, so move cautiously as you craft any essential supplies you didn’t bring from orbit: bow and arrows, knife, campfire, and armor. Start making your way towards the bottom right corner of C-3, sticking close to the river whenever possible. Hunt every animal you see, and don’t stop killing creatures until you’ve collected at least 40 Fur and 40 Leather — you’ll need all the fur for the 2 Bedrolls you’ll make later. Note that this includes the 20 Leather you need for the Crafting Bench.
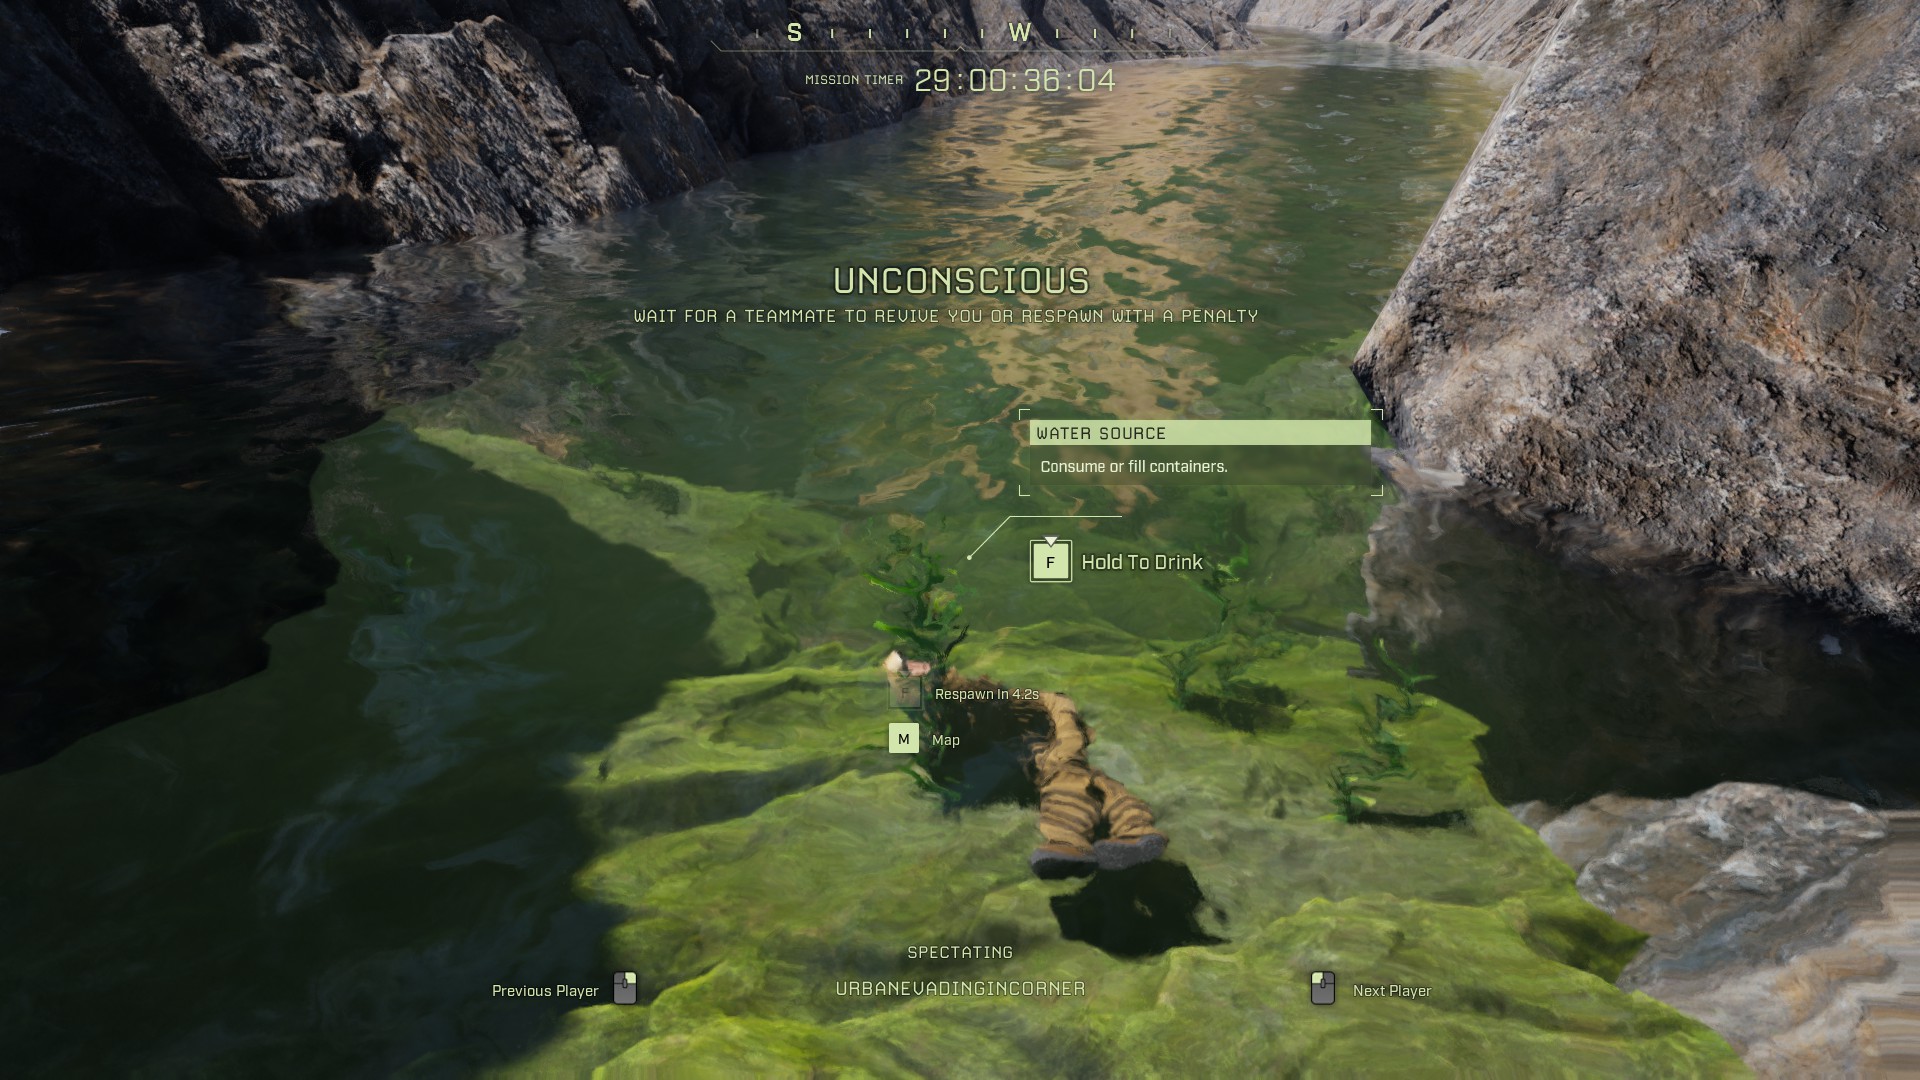
Also collect any Silica you find, since you’ll want it for Concrete Mix later in the mission. While you’re heading southwest, resist the urge to jump off the waterfalls — sometimes, you’ll be able to land safely at the bottom, but other times…
It’s best to find a safe way down; you can usually go slowly down even very steep cliffs if you move carefully and horizontally relative to the cliff. We’re heading to C-3 because there’s a massive cave there at the top of the hill, complete with fish pond! In this cave, you should be able to craft everything you need:
Anvil Bench – Required for all the nails you’ll need — you should prioritize crafting an Iron Pickaxe if you didn’t bring a steel equivalent from Orbit
If you get incredibly unlucky with the ore spawns, it’s possible you’ll need to head to another cave. There are a few in B-3, which is the direction your objective is in — Icarus Intel is a great resource for finding caves if you need more ore.
If you didn’t collect all the fur you needed before reaching the cave, take breaks from mining to do more hunting; this is a good way to remove the cave debuff while you’re at it. This is also a good time to collect Silica and Sulfur, Sticks, and anything else you can’t get in the cave. Between your hunting and mining, you should quickly collect the resources required for everything you need to place in the Medical Outpost. Once you craft the following deployables, you’re ready for step 2:
Once you’ve crafted all 6 deployables, pick them up, and also grab all your equipment (you’ll need an Axe and your weapons at a minimum). You should be able to just barely carry everything, even if you don’t have any equip load talents. You’ll need to reach the blue circle in B-2/B-3, which is just around the mountain to the west — you can get there via C-4. There are some narrow areas with Bear spawns, so go slowly and pay attention to your surroundings.
Make your way to the blue circle on the map and then start setting up. You’ll need to cut down some trees and craft building pieces. Place a 2×2 floor, then place the deployables on the floor (don’t forget you need to place the Kitchen Bench before you can place the Biofuel Stove). Then place most of the wall, put a roof on, and finish the wall (you don’t need a door since you aren’t going to go inside). Finally, place the Crop Plot anywhere inside the blue circle, and your mission is complete! You can now head back to your dropship.
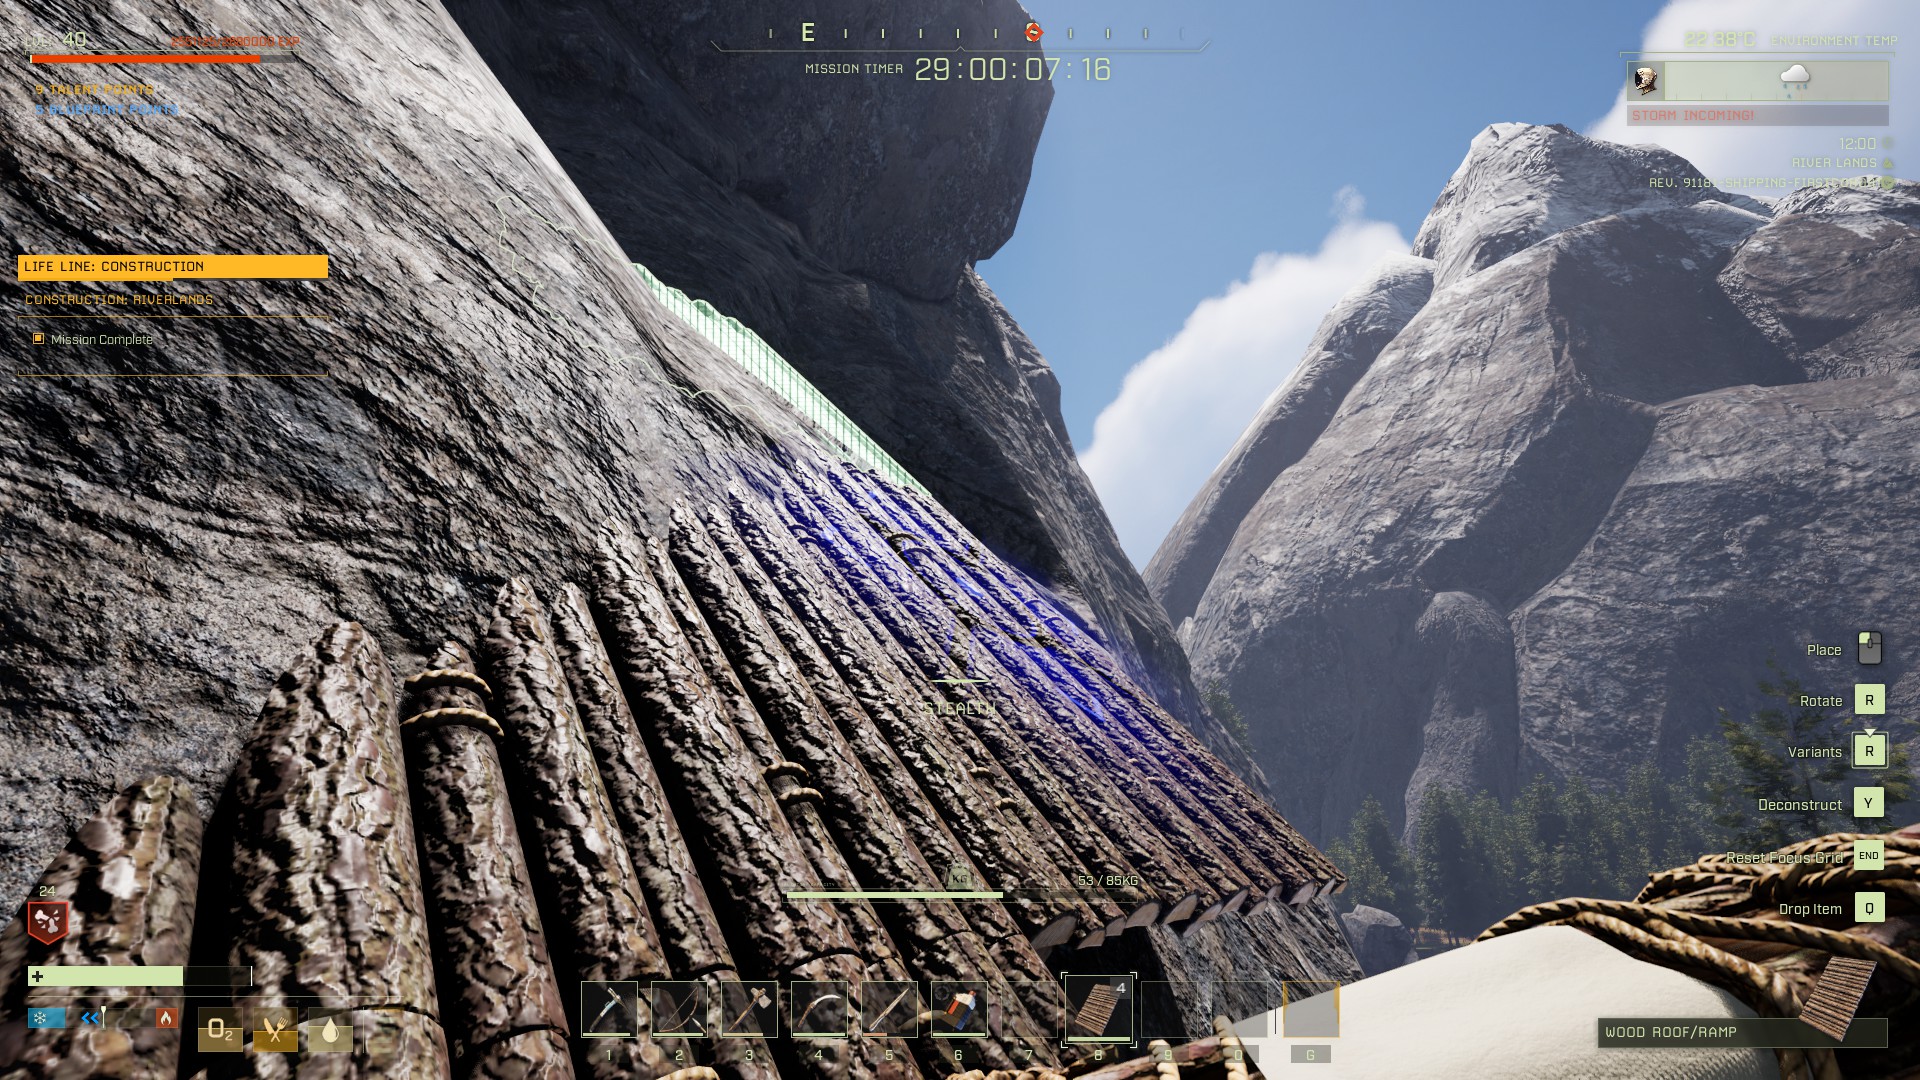
If you don’t want to hike all the way back, there’s a trick you can use to teleport back to the dropship. First, deconstruct the base you just built to get the wood back (it doesn’t need to stay up once you finish the mission objectives, we promise). Then destroy the building pieces, and then a few ramps with the resources you get back. Build ramps up the side of the mountain to the east, picking up the ones below you as you climb (so you can reuse them).
Climb up the cliff using ramps, and use [Y] to grab the one below you once you’re safely on the next one
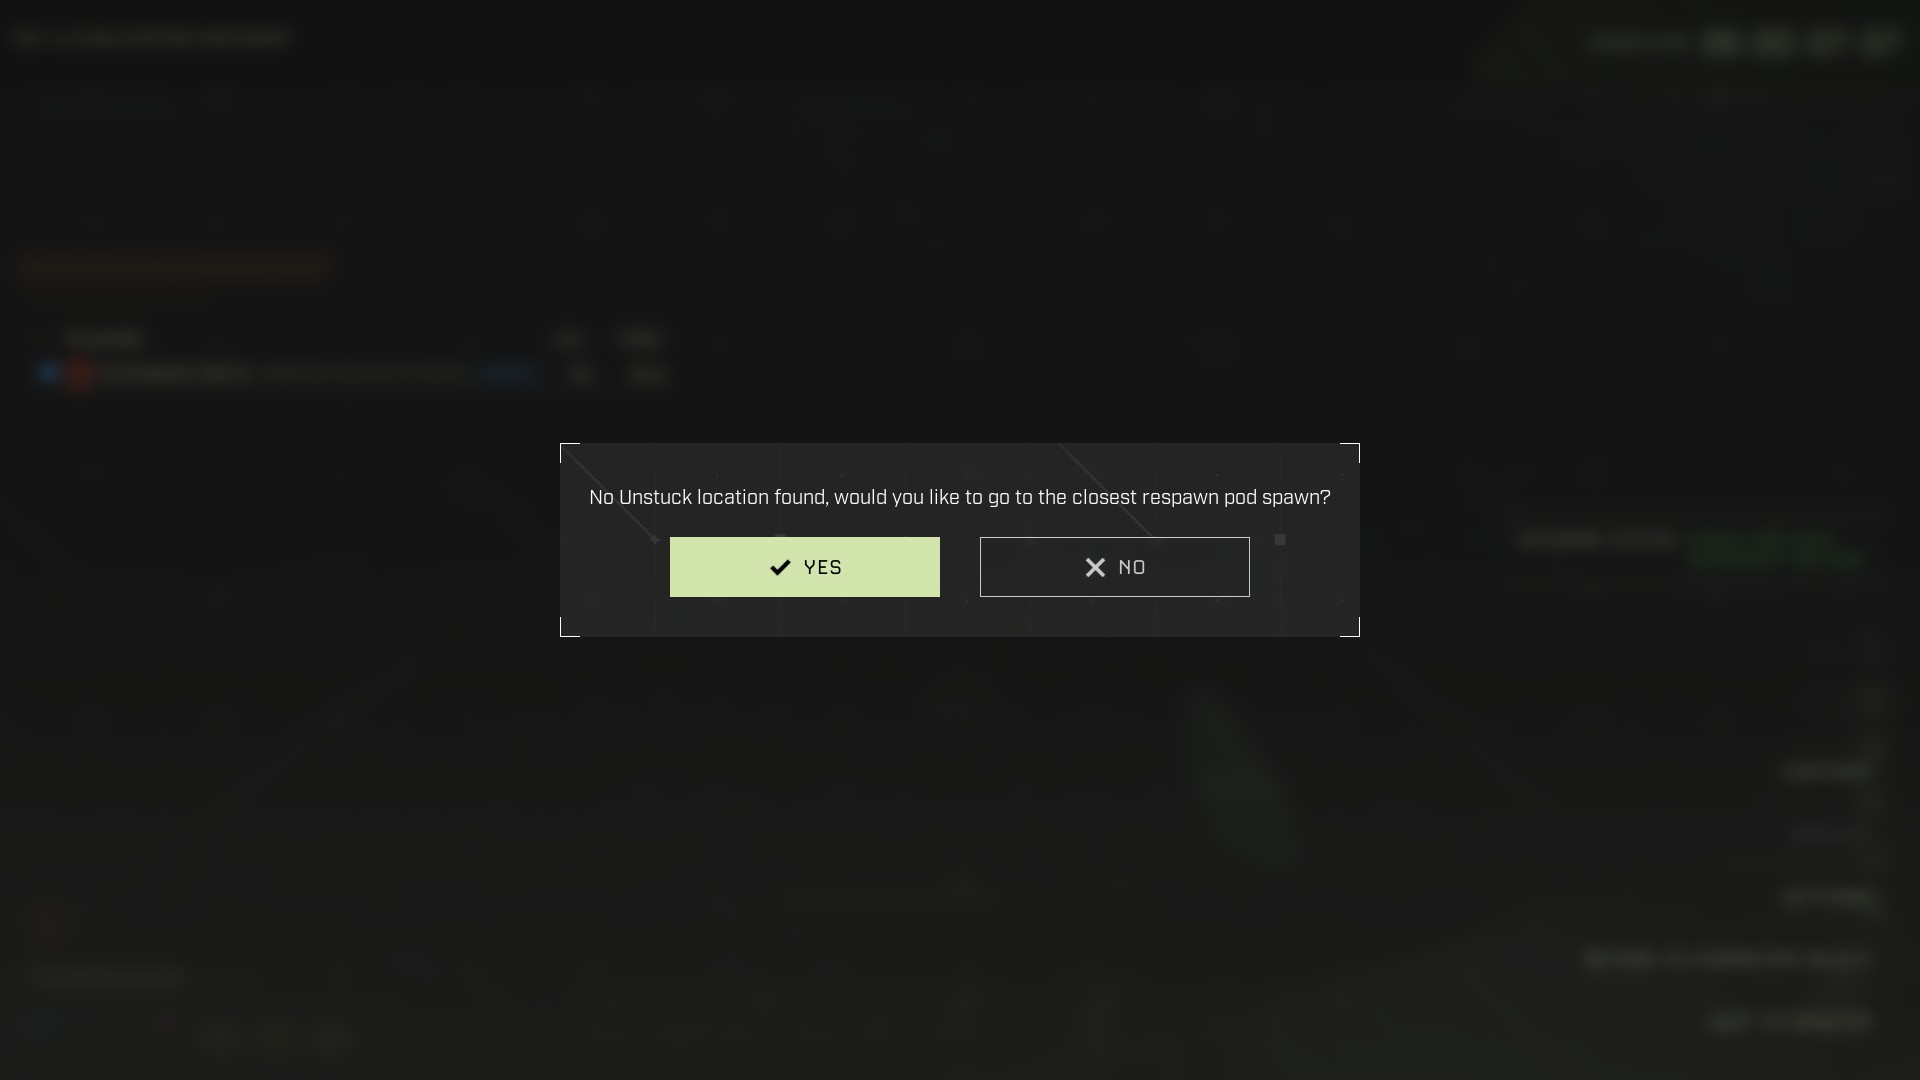
Once you’re about 10-15 pieces high, stand right next to the mountain and open the [Esc] menu and use the “Unstuck” option. If you’re high enough up, you’ll get a “No Unstuck Location found” message — select “Yes”, and you’ll be teleported directly into the drop pod! If you get sent back to the ground, just climb up again, and this time go a bit higher.
Heck yes I would like to go directly to the drop pod
We hope this guide for LIFE LINE was helpful! Feel free to leave questions or suggestions in the comments below.
Share this article:
DanielD
Unabashed FromSoftware fanboy still learning to take his time with games (and everything else, really). The time he doesn't spend on games is spent on music, books, or occasionally going outside.
Your difficulties with travelling River Lands are due to the fact you are always in hurry to finish as fast as possible with primitive tools.Nowhere bridge etc. are necessary. There is always a path, everywhere. In some places you can climb a cliff without even jumping, somewhere there is a soft path. Look at the map, you can see most of the safe ways.
There are three types of waterfalls:
1.If you can swim at the end, you’ll land safely (like the big one near Cave C-3 – also, look at the map for color hints),
2. the ones you die ((just after Cave C-3)
3. the one you’ll merely torn your feet or break a leg. For the these last two, be sure there is a way down (and up) on one side or the other of the waterfall with easy to climb up/down ridges.
Hi samyala, thanks for the waterfall tip! However, I tested all the waterfalls before C-3 and found that I survived a number of jumps where I wasn’t able to swim at the top of the fall — could you explain the map color hints a little more?
As far as difficulties traveling go, you’re right, I am always in a hurry to finish as fast as possible! The goal with these guides is to give people a quick ‘n dirty way to complete the mission 🙂 Having to follow the safe path in the Riverlands can sometimes mean taking a minute or more to work your way around a cliff, whereas by building you can continue straight ahead with no delay; that’s why I include such tips in the guide.
The guide also includes a route map that follows a safe path, but sometimes players might find themself somewhere that building will save them time.
I missed the road map. Your path is the one I took to get to C3 — because of the landing spot. Color tip : Rather dark blue, meaning you can swim.
The Big One before C3 is right in the middle of D3 (Darn, I wish your comment box wasn’t black on black and could see what i’m typing!). And yes, one can survive jumping from a very small waterfalls.
Just complete the same mission in “hard” mode, I did it even faster. A good prospect to farm 100 exotics each time.
Building brides : Time to collect materials, may crash after three floors without pillars, you sure it’s quicker ?
For your way of playing, I totally get it. It’s just I know Riverland pretty well now, having built a few radar there — so you can imagine I travelled all round the place looking for gold and copper. That’s why was surprise by all your construct to travel.
Please note bed doesn’t mean real bed, bedroll is enough.
Weird, in previous missions when you were supposed to place Bedrolls, they explicitly wrote bedrolls. Thanks for the info, I’ll update the guide… sounds like they need to get someone else to write mission objectives.


Your difficulties with travelling River Lands are due to the fact you are always in hurry to finish as fast as possible with primitive tools.Nowhere bridge etc. are necessary. There is always a path, everywhere. In some places you can climb a cliff without even jumping, somewhere there is a soft path. Look at the map, you can see most of the safe ways.
There are three types of waterfalls:
Hi samyala, thanks for the waterfall tip! However, I tested all the waterfalls before C-3 and found that I survived a number of jumps where I wasn’t able to swim at the top of the fall — could you explain the map color hints a little more?
As far as difficulties traveling go, you’re right, I am always in a hurry to finish as fast as possible! The goal with these guides is to give people a quick ‘n dirty way to complete the mission 🙂 Having to follow the safe path in the Riverlands can sometimes mean taking a minute or more to work your way around a cliff, whereas by building you can continue straight ahead with no delay; that’s why I include such tips in the guide.
The guide also includes a route map that follows a safe path, but sometimes players might find themself somewhere that building will save them time.
I missed the road map. Your path is the one I took to get to C3 — because of the landing spot.
Color tip : Rather dark blue, meaning you can swim.
The Big One before C3 is right in the middle of D3 (Darn, I wish your comment box wasn’t black on black and could see what i’m typing!). And yes, one can survive jumping from a very small waterfalls.
Just complete the same mission in “hard” mode, I did it even faster. A good prospect to farm 100 exotics each time.
Building brides : Time to collect materials, may crash after three floors without pillars, you sure it’s quicker ?
For your way of playing, I totally get it. It’s just I know Riverland pretty well now, having built a few radar there — so you can imagine I travelled all round the place looking for gold and copper. That’s why was surprise by all your construct to travel.
Please note bed doesn’t mean real bed, bedroll is enough.
Weird, in previous missions when you were supposed to place Bedrolls, they explicitly wrote bedrolls. Thanks for the info, I’ll update the guide… sounds like they need to get someone else to write mission objectives.
They also wrote “kitchen stove” instead of biofuel stove, which had me 20 minutes looking for it in the tech tree. Thanks for the guide.
I see that I copied their mistake in our guide — I’ll correct it, thank you for mentioning it.