The Sinotai faction wants your help in gathering geological survey data from the Canyons, but you’ll have to do a lot of building to gather the data. Our guide will first list the relevant details of the mission, and then provide a step-by-step walkthrough.
Prospect Details
Approximate time to complete: 1:00 – It could be significantly less, depending on the axe you bring and your comfort level with construction.
Difficulty: Medium
Recommended Level:10 – You’ll have to deal with a some desert predators, but a Wood Bow and Bone Arrows should be more than enough to handle them.
To complete the survey, you’ll need to reach a supply crate that contains two Portable Beacons, and deploy a beacon at two locations in the Desert. To do so requires building a fairly large tower, which can be done with wood beams. Currently, you don’t actually need both beacons, since once you’ve placed a beacon, it doesn’t have to remain there for you to complete the mission objectives.
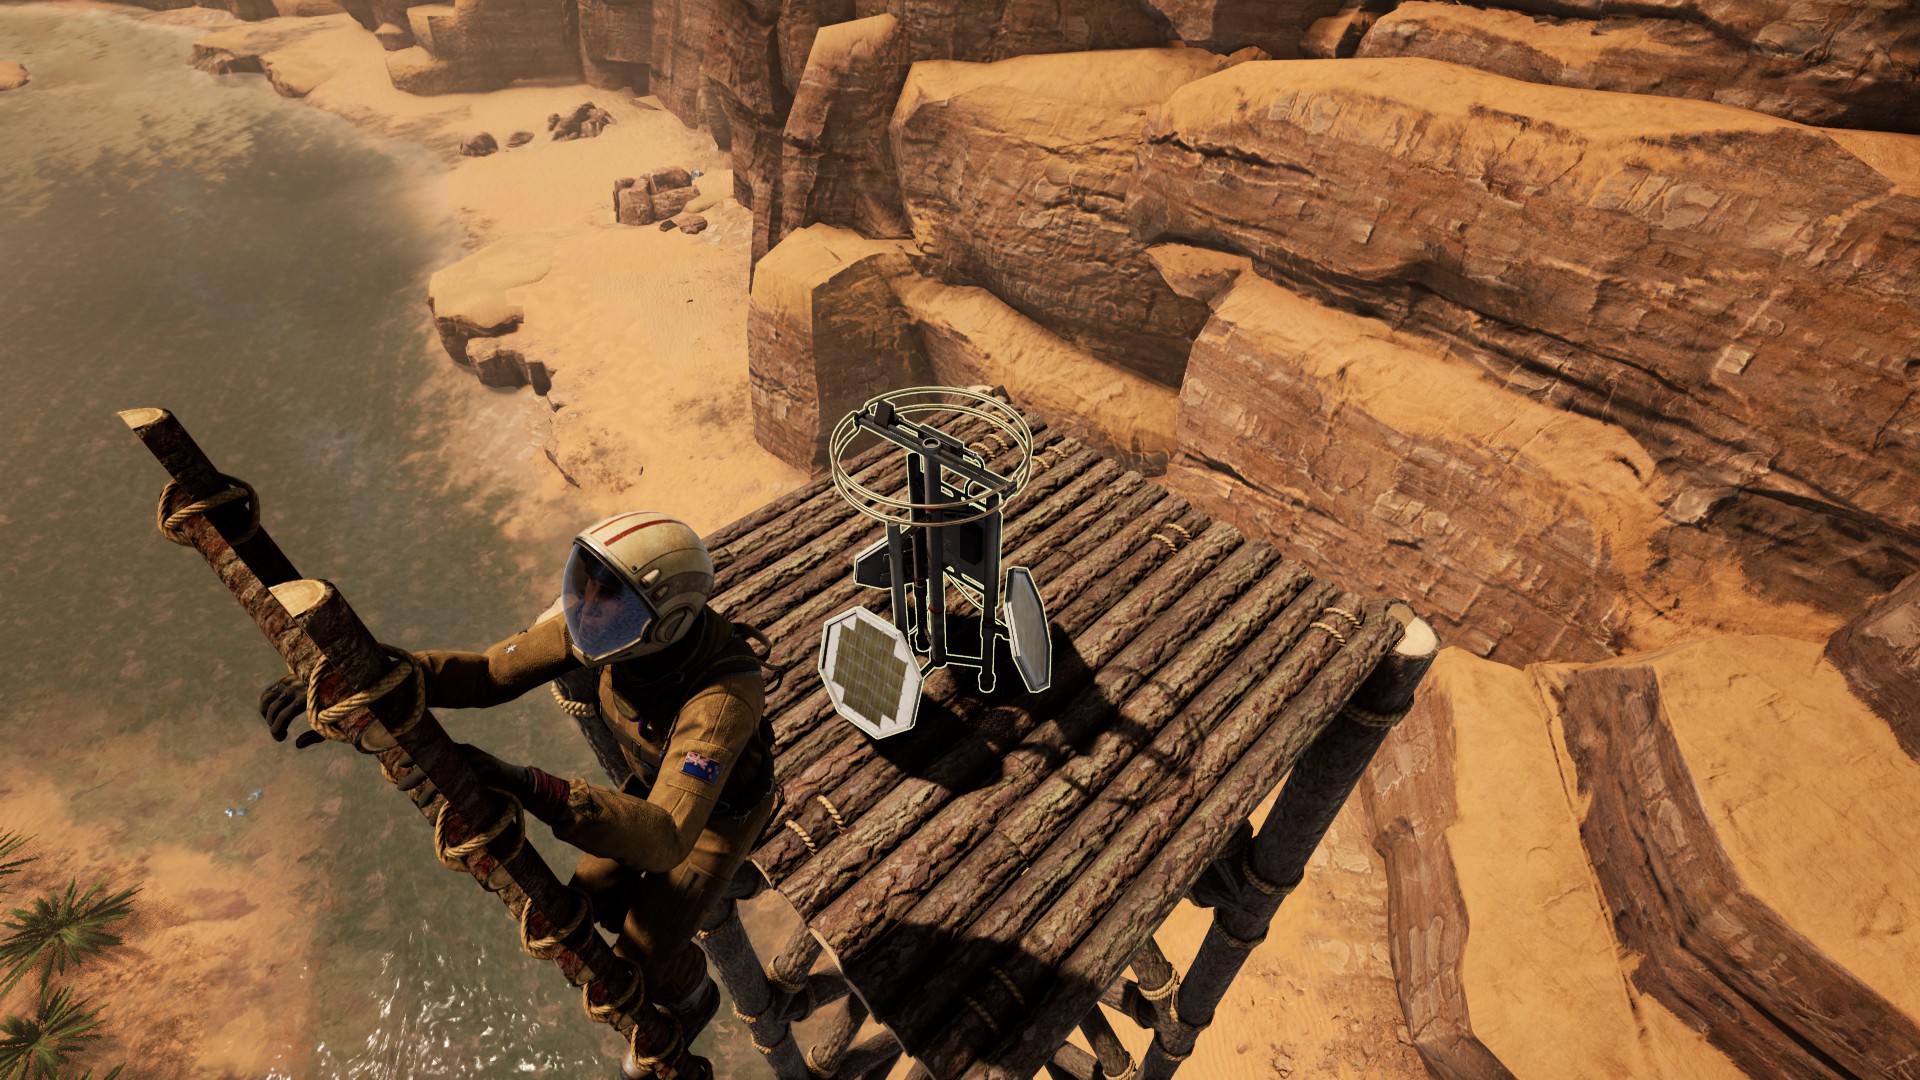
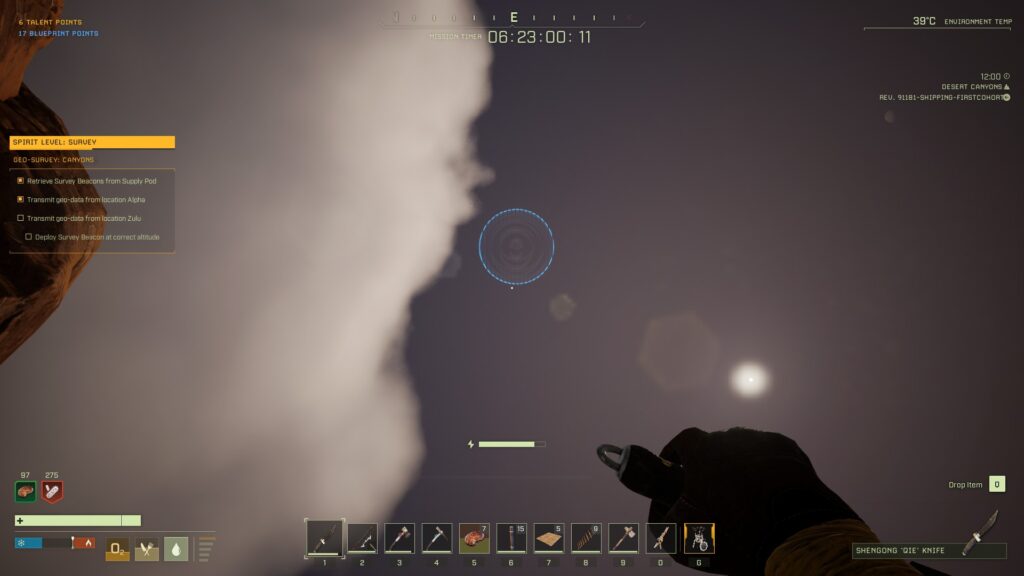
The Portable Beacons need to be fairly high in the air to function
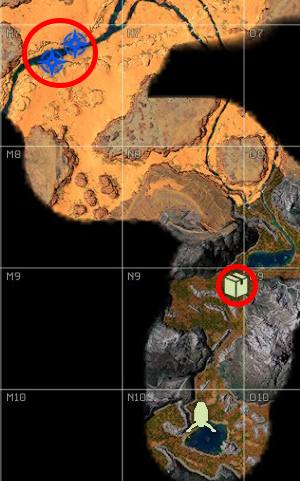
Head to the red circle in N-9 first to find the Supply Crate, from which you can retrieve the Portable Beacon you’ll need. Then, collect wood and fiber to craft Wood Beams — you’ll need 75 beams to build a tower tall enough to place the radar.
Once you’ve got all the Wood Beams you need, you can head into the desert by following the river from N-8 north and then west — it’s not the direct route, but being near the river will allow you to kite and kill any predators you encounter.
Preparing for SPIRIT LEVEL
The bare minimum for completing this mission is as follows:
Since you’ll be chopping a lot of wood, bringing one of the higher-tier axes from the Workshop can speed up your resource collection significantly. A Bedroll is optional but nice to have, since it’ll let you spawn near your tower if you get killed or fall off.
Mission Walkthrough
Step 1: Retrieving the Beacon, Crafting Beams, Into the Desert
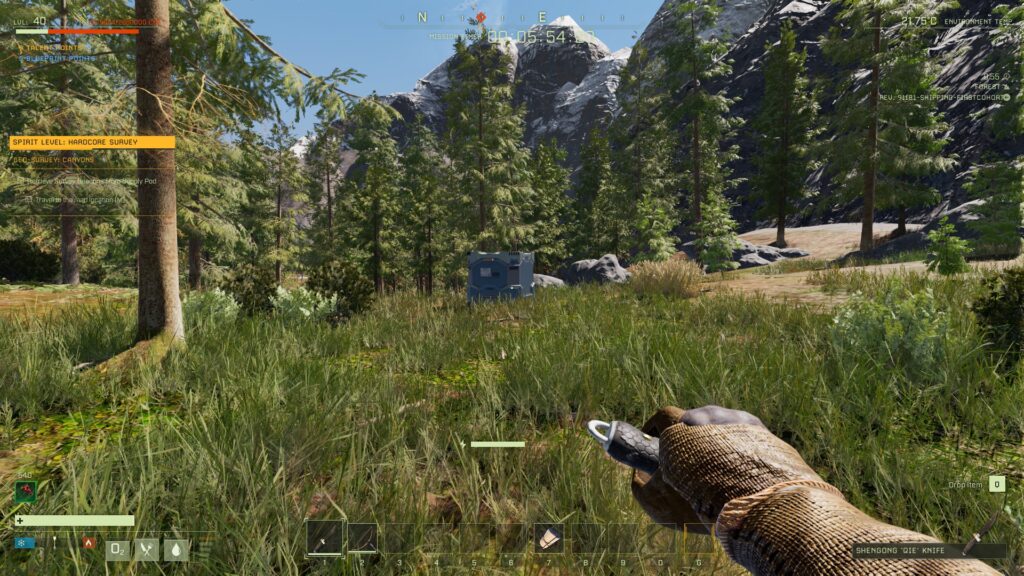
You’ll land in the Forest Biome — open your map and find the supply drop icon on the border of N-9, and double-click it to set a waypoint. While making your way there, gather resources to craft all the basic tools (bow, arrow, knife, axe, pickaxe), kill some animals and cook their meat, and craft at least Cloth Armor. You’ll also need to craft 75 Wood Beams and 10 Ladders, so feel free to start chopping down trees ASAP. A Bedroll is optional but should be easy to craft if you get halfway lucky with the animals you kill.
The supply crate — I wonder if they’ll ever manage to actually drop it near the objective
Open the supply crate and drag one of the beacons to your [G] slot in your hotbar. If you still haven’t crafted 75 Wood Beams and 10 Ladders, don’t leave the forest until you do so. Once you’ve got all the beams ‘n ladders you need, follow the left-hand river in G-8 heading north. It will lead you north and then west to M-7, which is where your objectives are. Feel free to take the direct route through the pass in N-8 — it will save you time but make it harder to fight predators.
Step 2: Constructing Towers
NOTE: A number of predators will probably pass by while you’re constructing your towers. Be ready to deal with them — have some Cooked Meat for healing and always respond to predator noises, since they’ll potentially attack your ladder and send you tumbling to your death if they aggro and you ignore them.
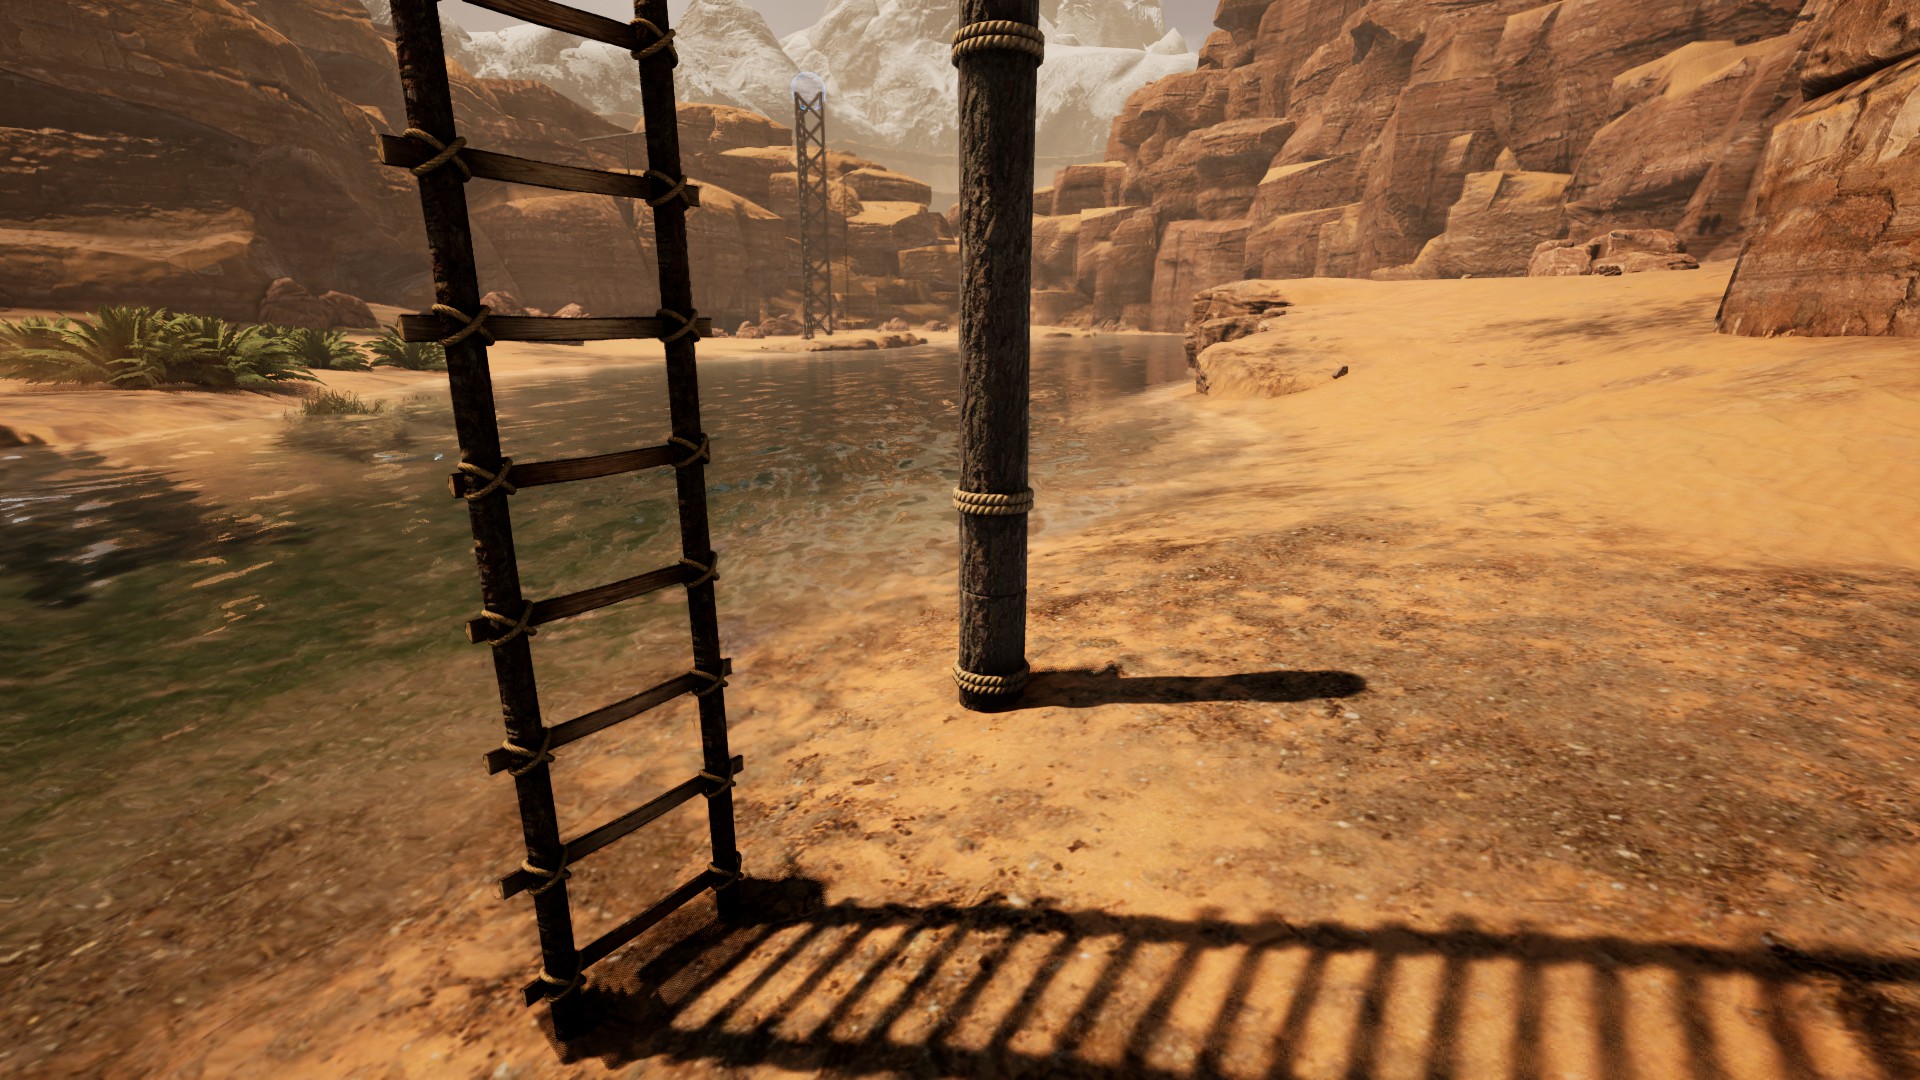
Well, it’s more like one tower twice. When you enter the valley in M-7, you’ll notice there are two holographic blue spheres floating in the air, about 100 feet above the river. You’ll need to deploy the radar within each of these circles to complete the mission, which is why we brought all those Wood Beams with us! Before you begin construction, chop down some nearby trees and build a small 1×1 shelter — you’ll need it to take cover from storms, even if you don’t have a Bedroll to place in it. Also build an extra Wood Floor, as you’ll need it later.
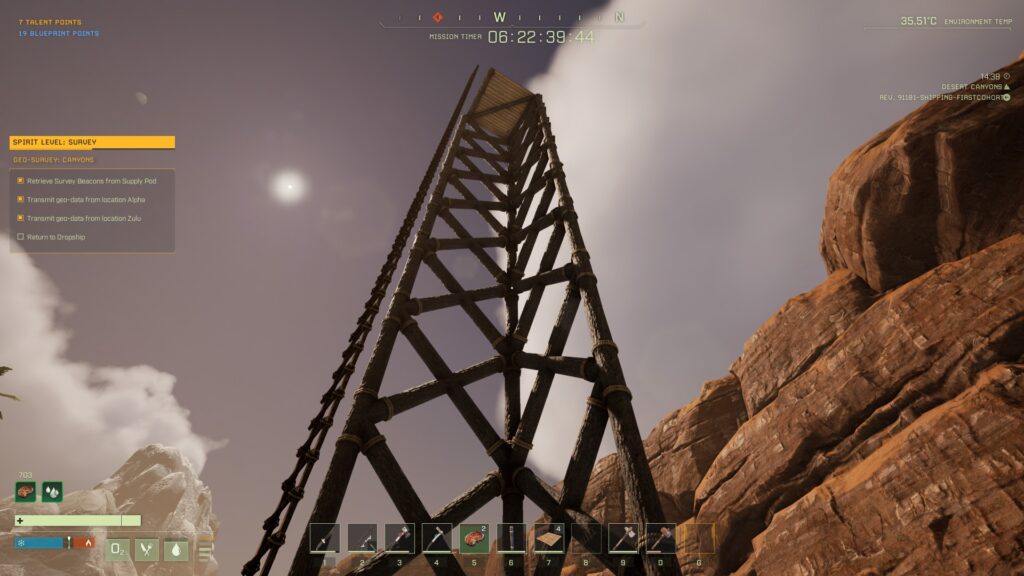
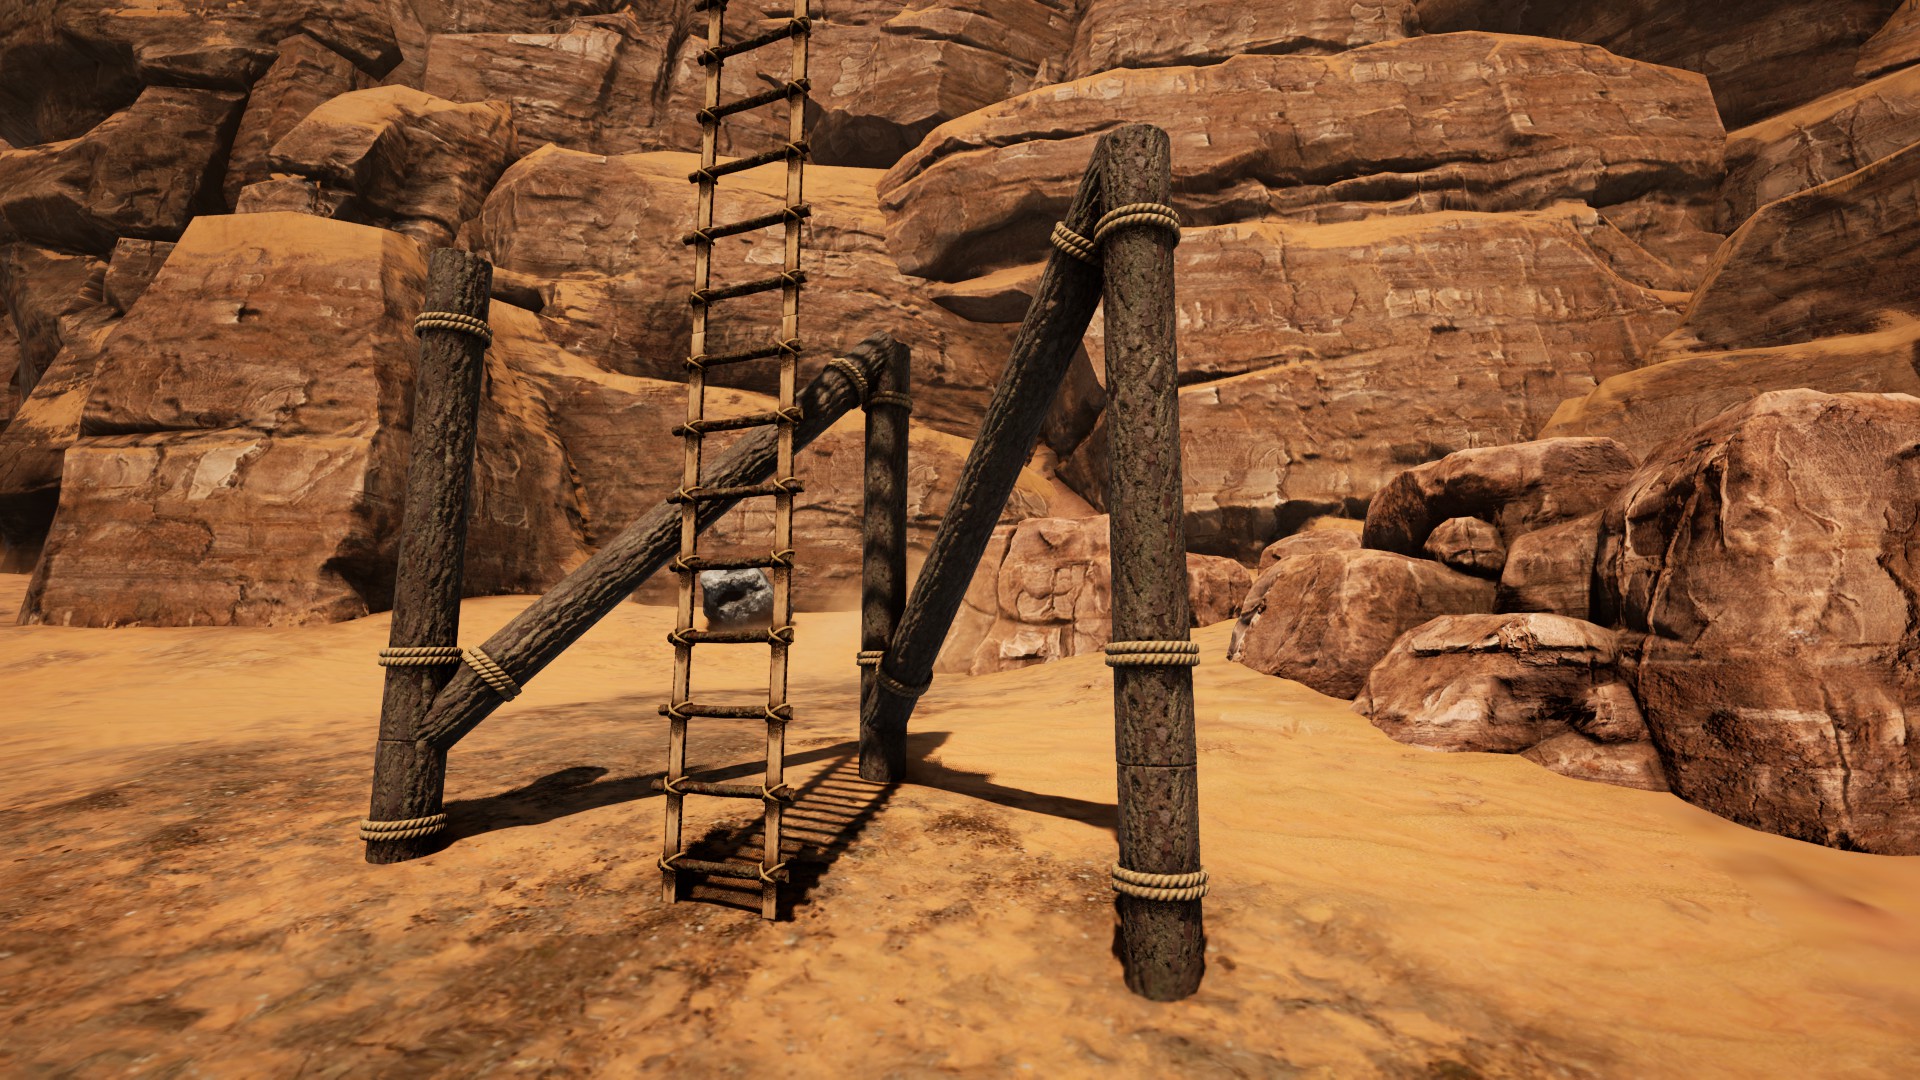
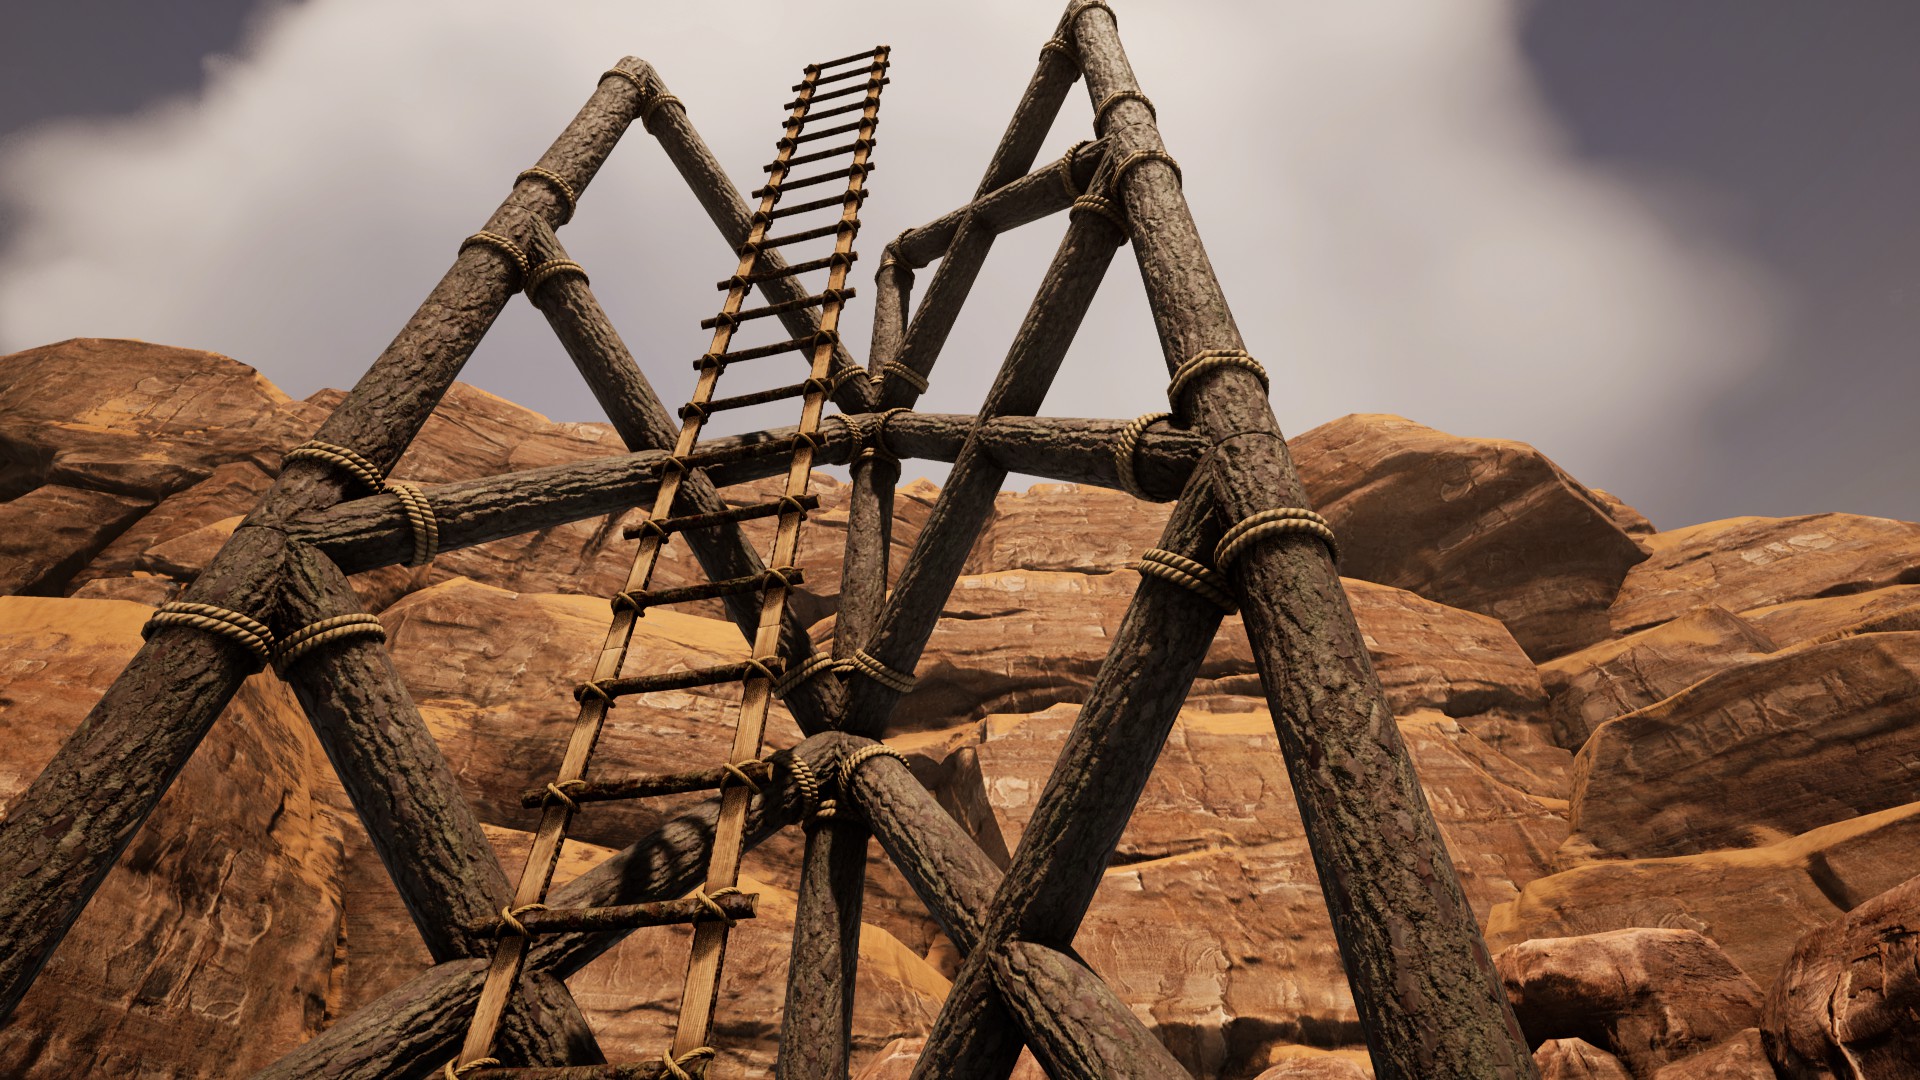
The finished product
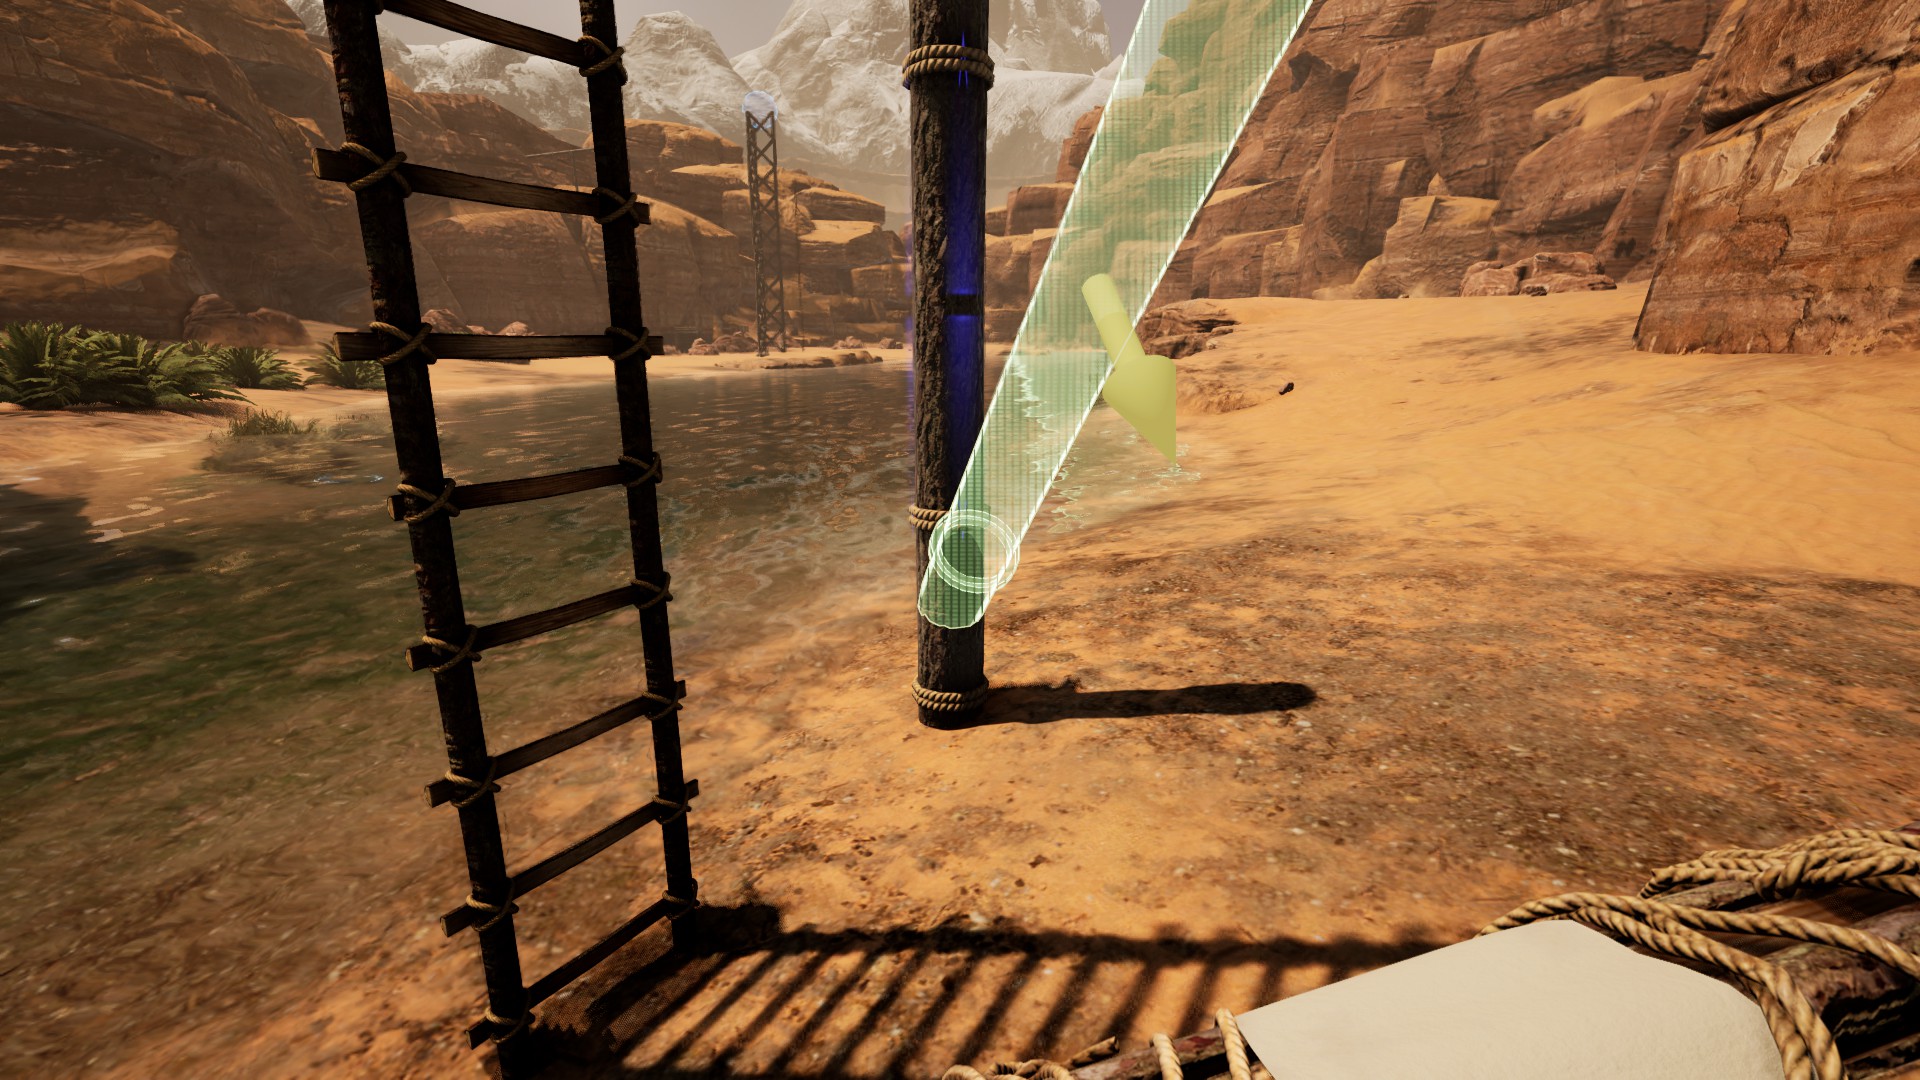
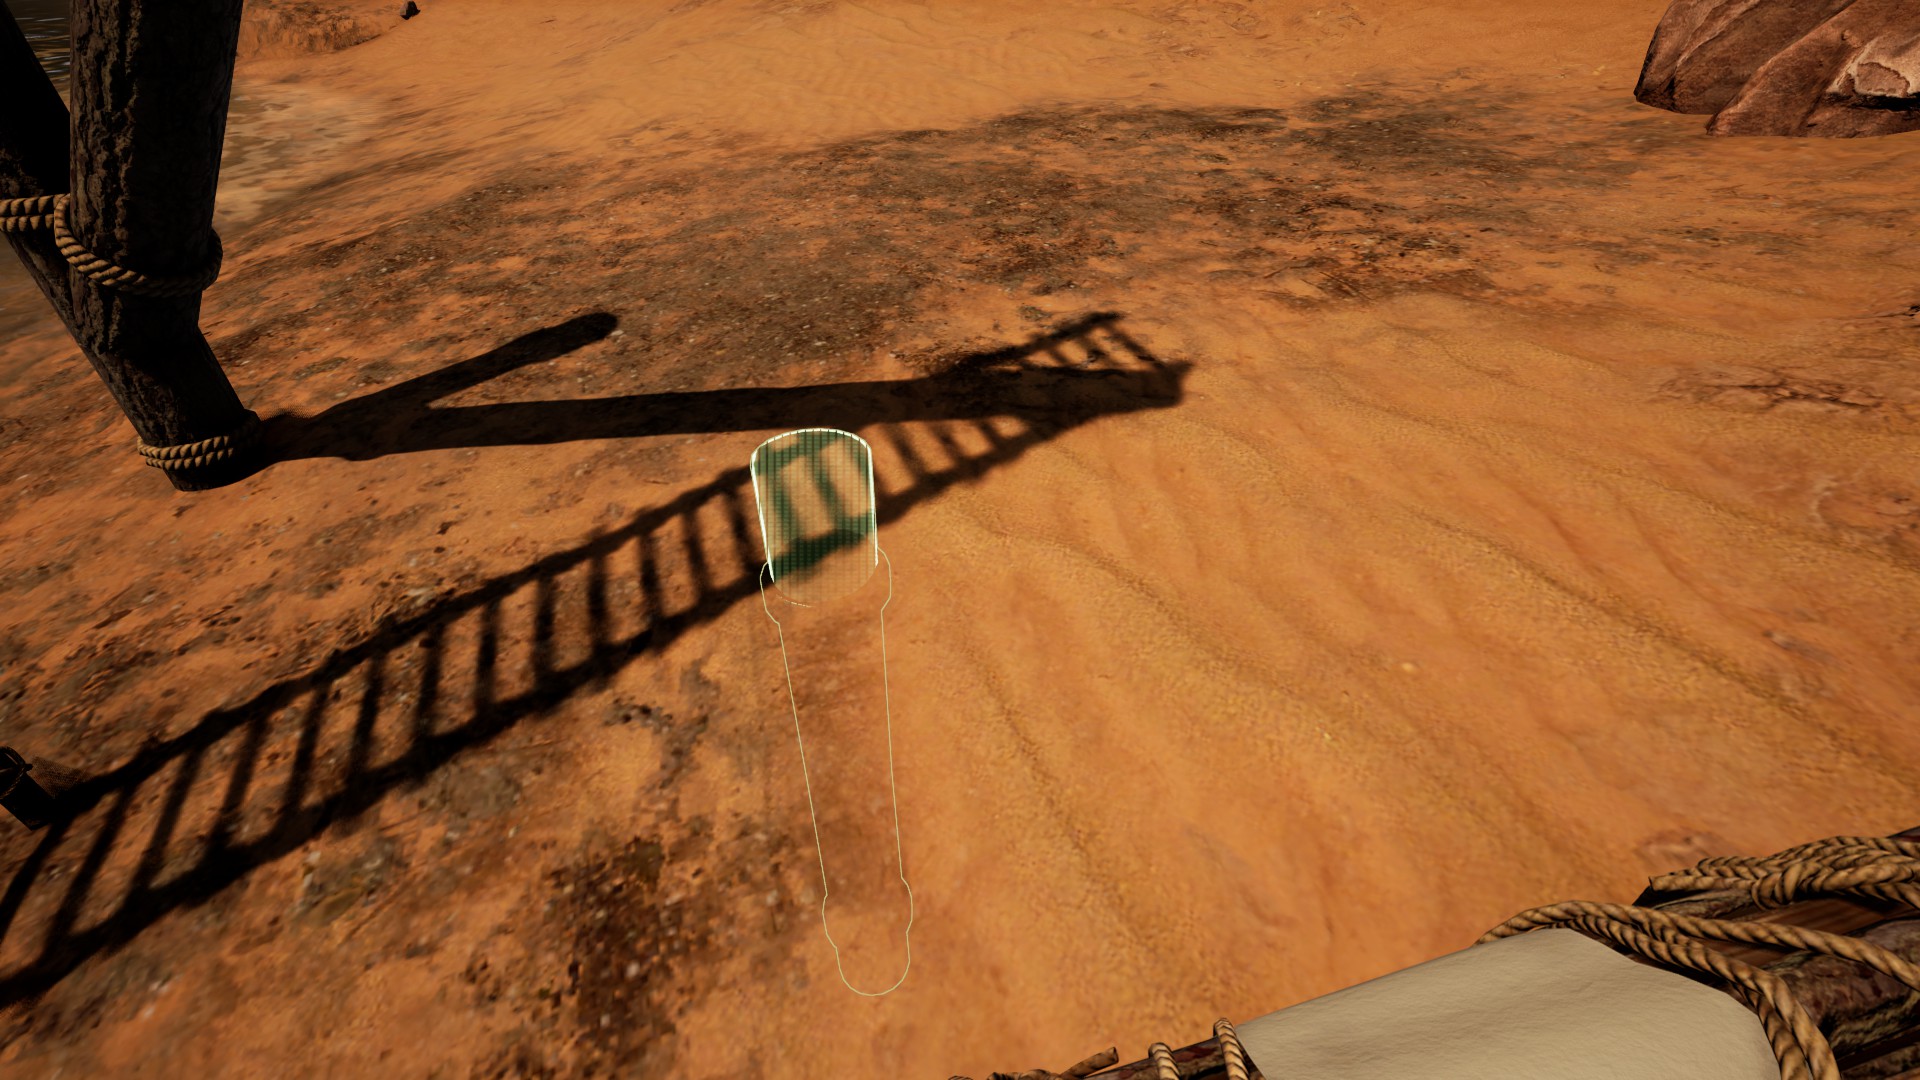
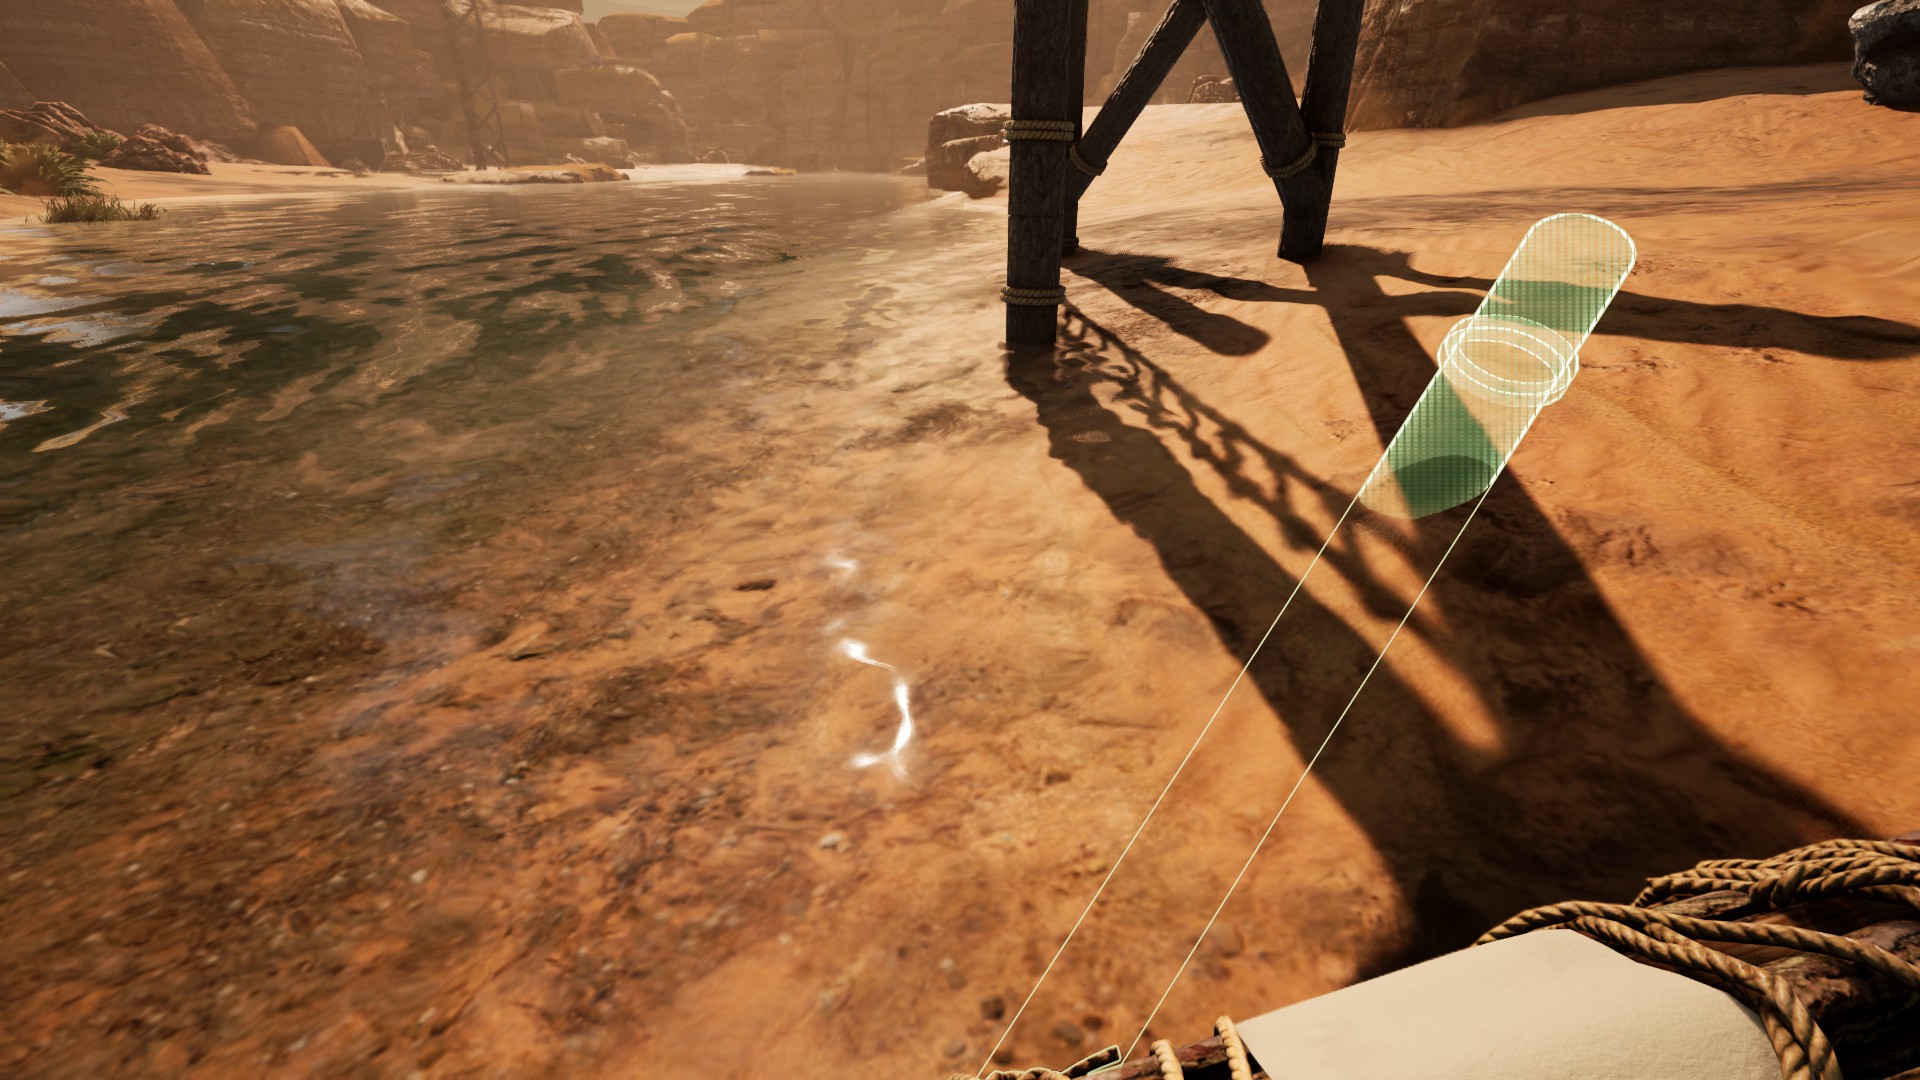
Once you’re ready to begin construction, stand underneath one of the blue placement spheres, attempting to position yourself directly beneath. Next, move your 10 ladders into your hotbar, and place one about one pace in front of you. Climb up it, and continue placing ladders as you climb. If, upon reaching the top, you discover you aren’t inside the sphere, note how far off you are, and in which direction(s). Then go back down and remove your ladders, then replace them so that you’re climbing into the sphere once you reach the top. Ideally, your ladder will be closer to one edge of the sphere.
It can take a few tries to get the ladder positioning just right
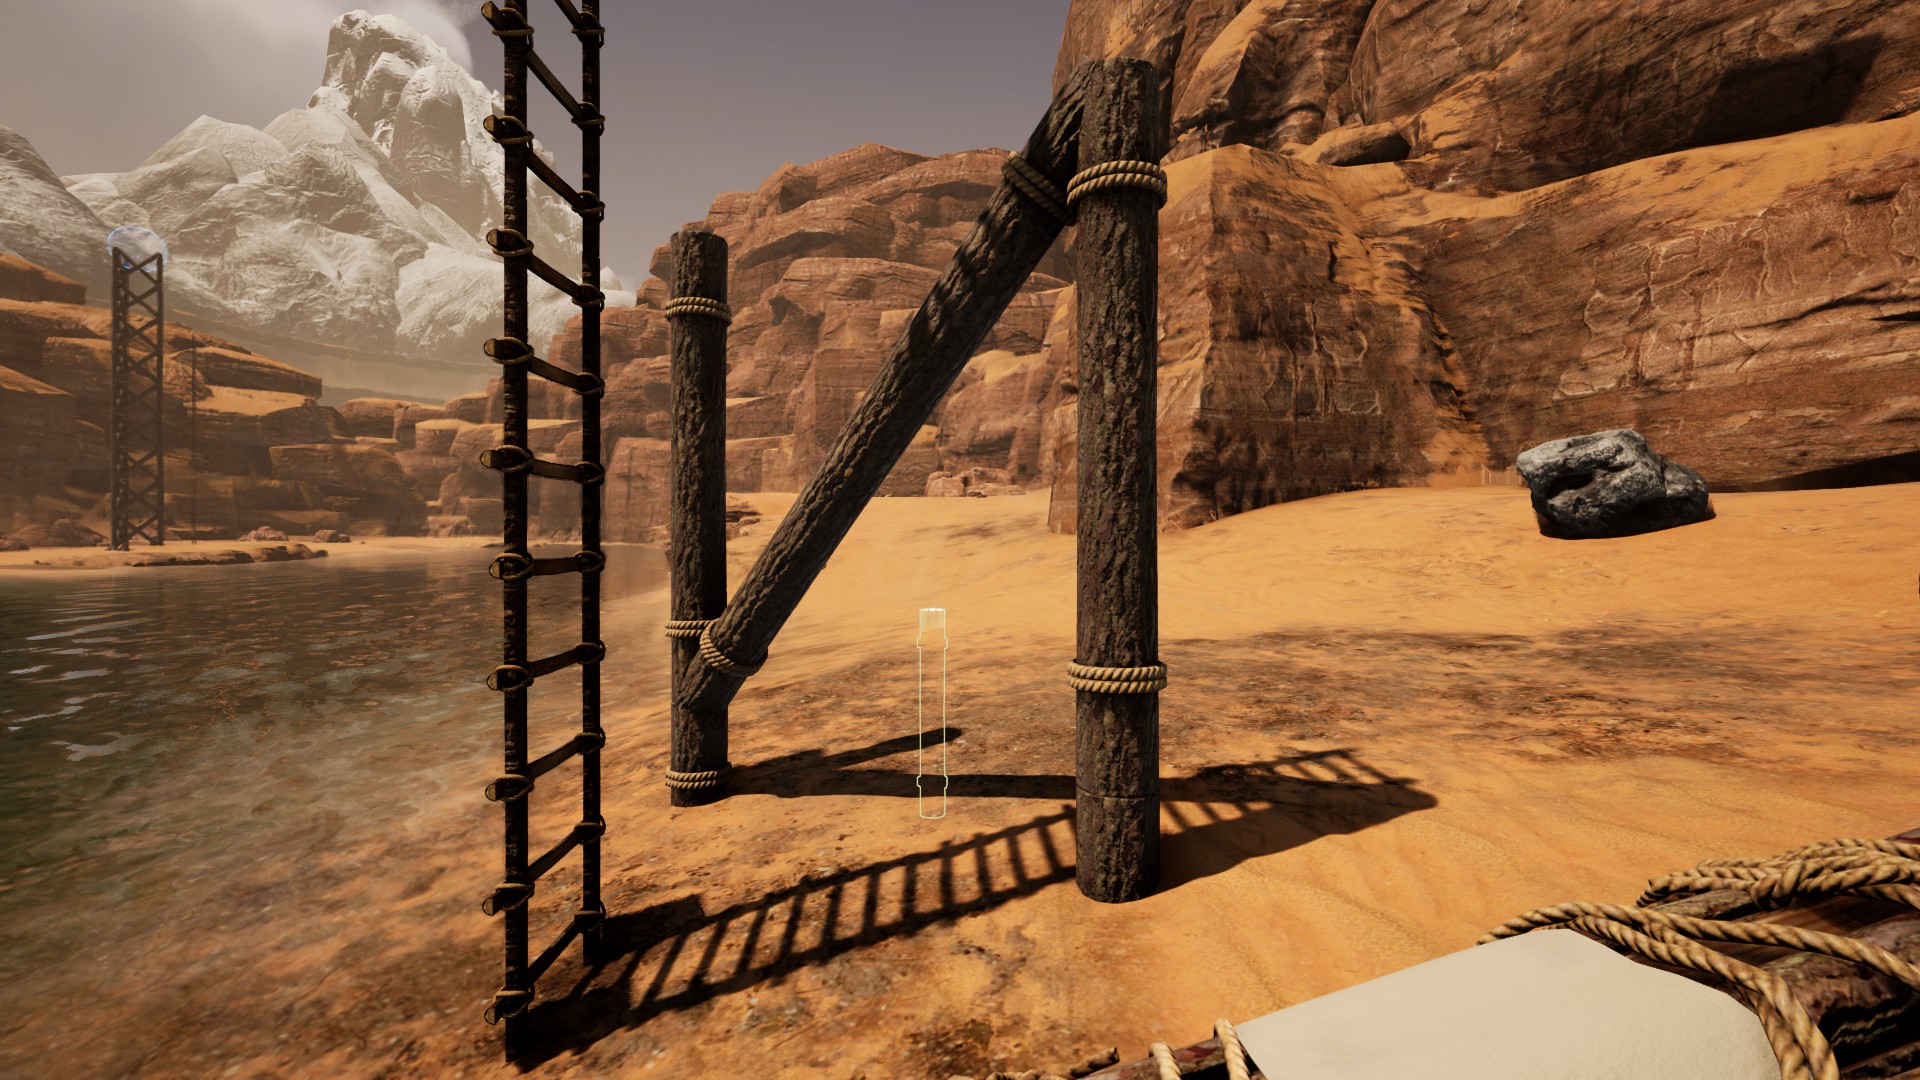
Once you’re 100% certain your very-tall ladder is in the correct spot, you can begin building the tower. You’ll eventually place three sets of vertical beams in a triangle pattern, with the ladder at the base of the triangle. However, in order to space them correctly, you’ll have to place each of the three pillars one at a time and then connect them with diagonal beams.
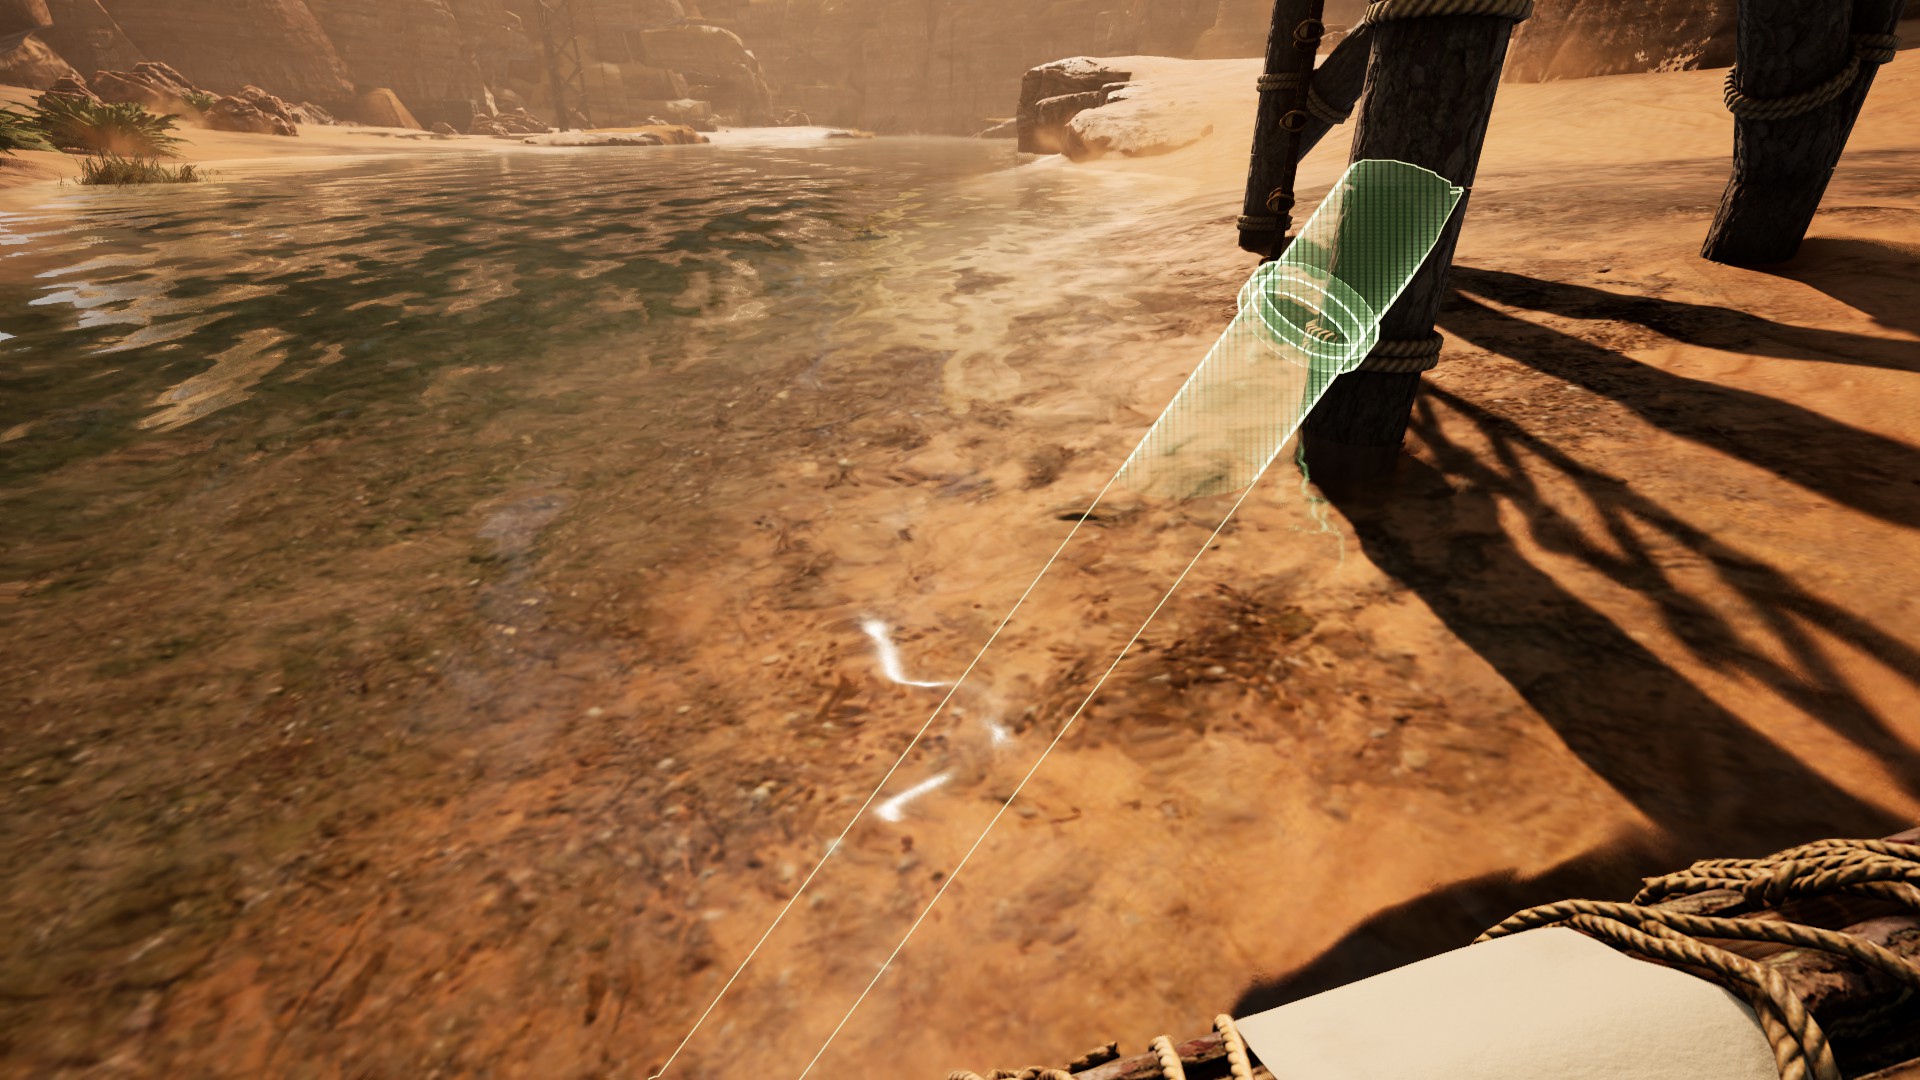
Put one beam to the left or right of the ladder in the ground — if it seems to be trying to snap, try putting your beam away and pulling it back out until you can place it exactly where you want — then build one or two more up [1]. Then, place a diagonal beam at a 45-degree angle relative to the ladder, so that you’re forming one of the sides of the triangle (with the ladder at the base) [2]. Then, place a beam in the ground below where your diagonal beam ends [3] — it should snap in the correct place as long as you first drag the beam across the beams you’ve already placed (while placing it). You’ll need to build a second beam on top of the first in order to confirm that you’ve placed it in the correct place [4].
Now, repeat steps 2 and 3, but at the opposite 45-degree angle, so you’re forming the other side of the triangle (with your ladder at the approximate center of the base of the triangle). If done correctly, you should have what you see in [5].
12345
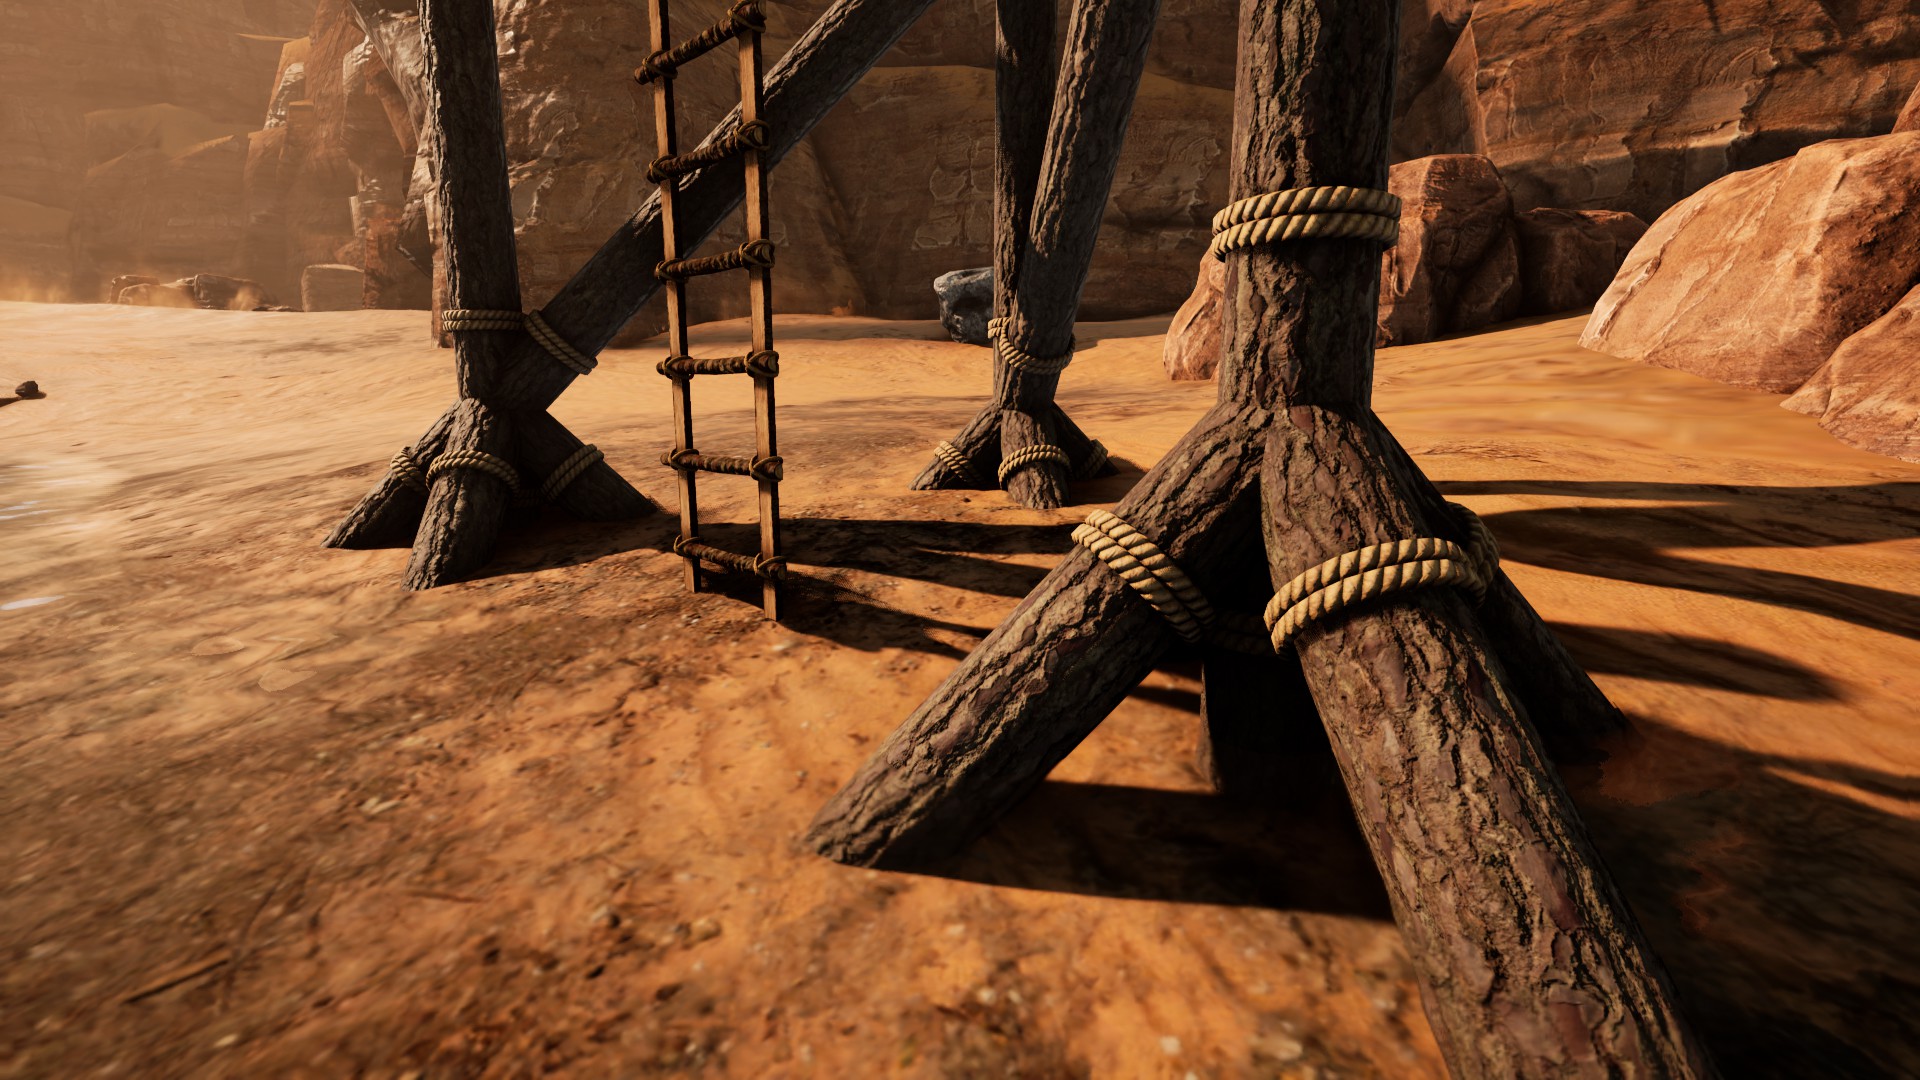
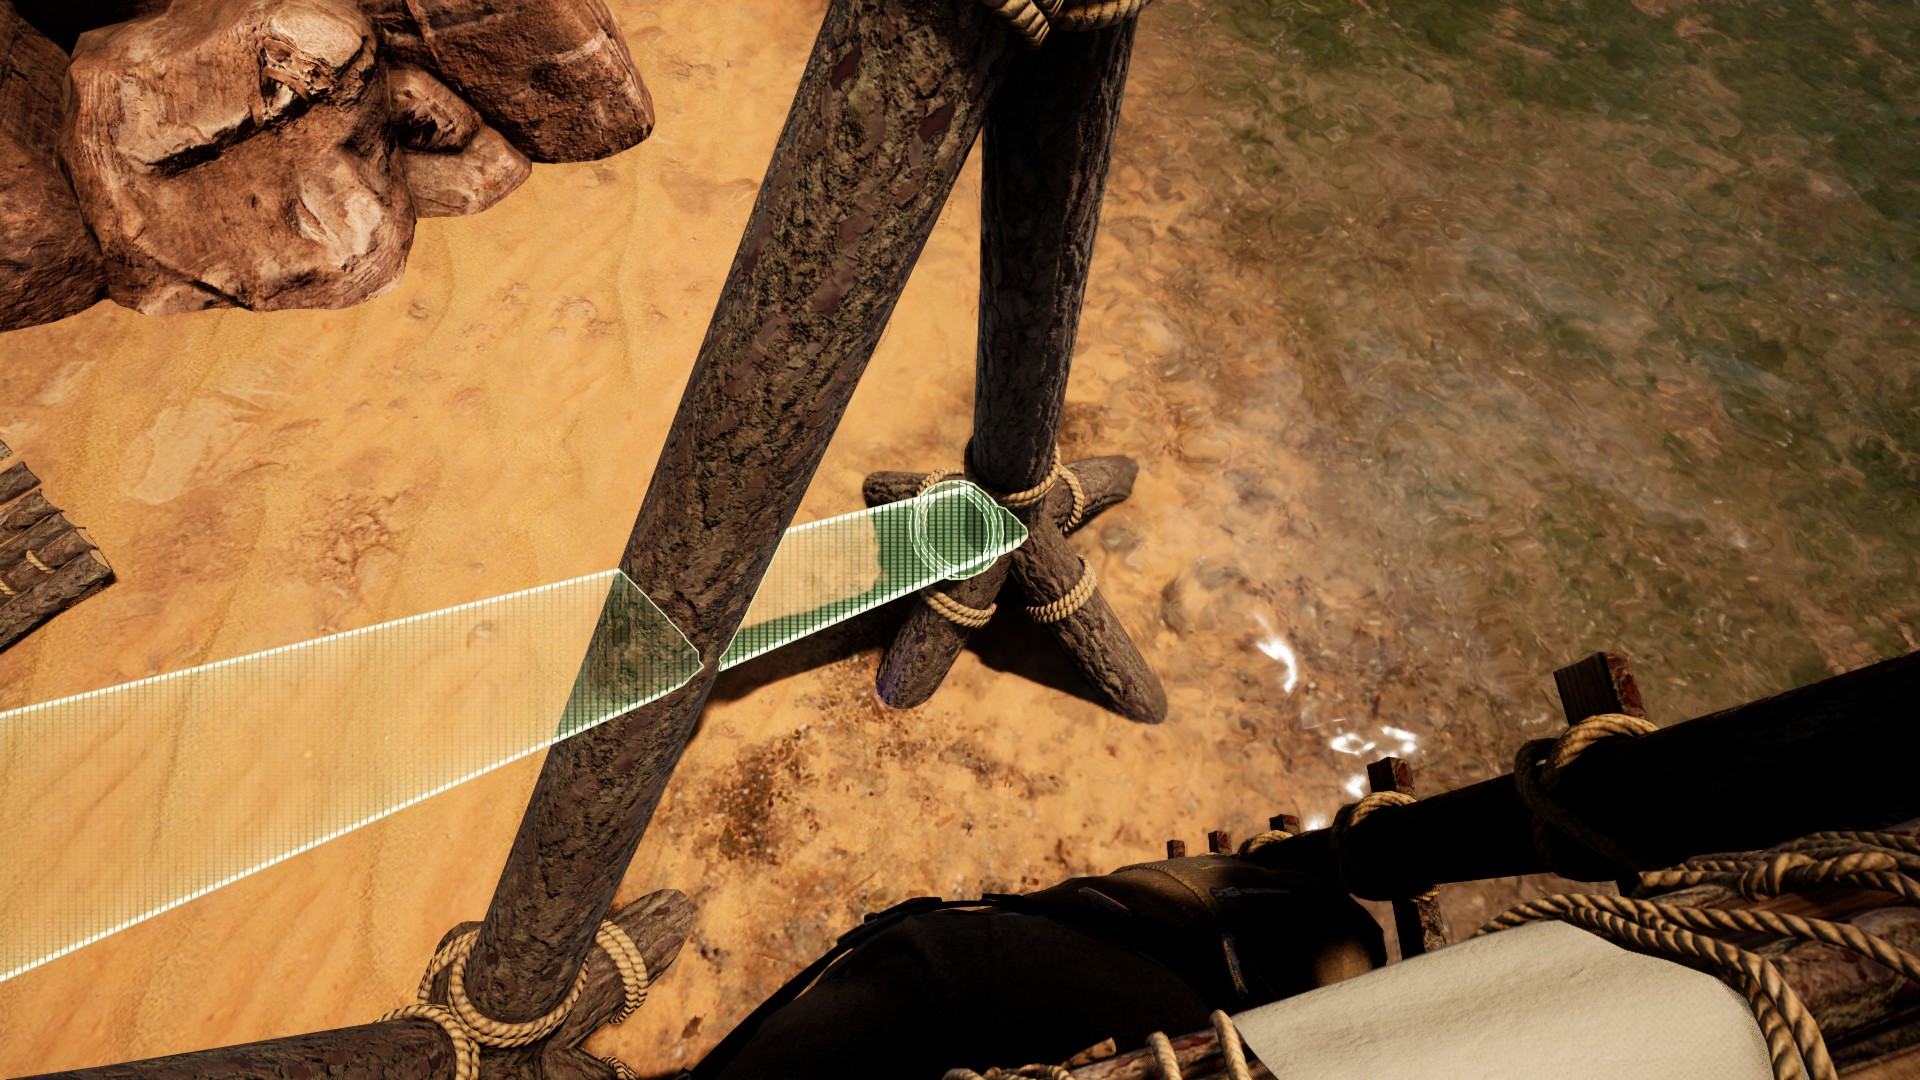
Next, you’ll need to create supports for each of the bottom three beams, by placing diagonal beams under the ground [1]. It can be a pain in the butt to get the diagonal beams to orient correctly, and you’ll sometimes have to move a fair ways away from your tower to get them to do so [2]. Once you have the support beam in the correct orientation, don’t move your mouse, and strafe to place the support beam [3] — repeat this for the other two vertical beams, while you’ve got the support beam angled the way you want to. Place the maximum of 4 diagonal support beams per vertical beam before moving on.
123
Now you’ve got the hard parts done, and the rest is simply building upwards. You’ll need to form a cross-hatching series of diagonal beams, forming Xs, between the pillars [1], and also keep building your vertical beams higher as you go. It’s much easier to get the beams to place correctly if you do it on the ladder, and place beams below you [2].
12
It should take you exactly 75 wood beams to reach all the up to the blue placement sphere. At the top, build a wood floor, and then use [G] to place the radar at the top, where it’s inside the blue sphere. You should then see an objective get checked off under the Mission Objectives on your HUD. Pick up the radar, then start deconstructing your tower from the top down, in order to not lose any wood beams.
This will likely be patched at some point (being able to remove the radar), so if you see the objective become incomplete when you pick up the radar, you’ll have to leave it where it is, and run back to the supply crate to grab the other radar before continuing. If this is the case, you should also do more logging and craft another 75 wood beams before returning to the desert, since you won’t be able to take down your tower.
Head to the other blue sphere, and repeat the tower-building process. Place the radar at the top, and your mission should be complete! You can now head back to the dropship.
We hope this guide for SPIRIT LEVEL was helpful! Please leave any questions, thoughts, or suggestions you may have in the comments below.
Share this article:
DanielD
Unabashed FromSoftware fanboy still learning to take his time with games (and everything else, really). The time he doesn't spend on games is spent on music, books, or occasionally going outside.
I think it’s faster to just do a quick bit of mining so you can build the Masonry bench.
Instead of all that mucking about with a ton of wooden beams, you can just use 10 Stone Frames, with ladders on the side, to go all the way up. It changes that step to taking only, literally, about 2 minutes.
samyala
2 years ago
For someone who like doing things fast (and no brains involved):
Build a tower with foundations. Against this foundation, build a stair case (ramp-floor-ramp-floor…). You’ll need one pillar to support the last floor, or use a half foundation


I think it’s faster to just do a quick bit of mining so you can build the Masonry bench.
Instead of all that mucking about with a ton of wooden beams, you can just use 10 Stone Frames, with ladders on the side, to go all the way up. It changes that step to taking only, literally, about 2 minutes.
For someone who like doing things fast (and no brains involved):
Build a tower with foundations. Against this foundation, build a stair case (ramp-floor-ramp-floor…). You’ll need one pillar to support the last floor, or use a half foundation
Thanks for sharing your tip! What building piece do you mean by ‘foundation’?
He means the stone frame, which is in essence a foundation. This mission is also available to do in Open World.