Lagos Group has been having issues securing a passage to the Canyons, but a promising cave network has been discovered. In the DRY RUN mission, you will be in charge of locating the potential underground passage and clearing the way into the Desert by using drilling equipment. In this guide we will list the relevant details of the mission, followed by a step-by-step walkthrough.
Prospect Details
Approximate time to complete: 2 hours — not including the runback to the drop pod, which adds at least another ~20 minutes.
To complete the objectives, you’ll need to collect two parts of a drilling system from supply crates in the Forest — a tunneling drill, and a solar panel to power it with, wiring included. Your goal will be to reach a cave at the edge of the Forest map, set up and power up the drill, and break through two stone walls to clear the way into the Desert. Each time you wire up the drill, cave worms will spawn nearby, which we recommend you quickly dispatch.
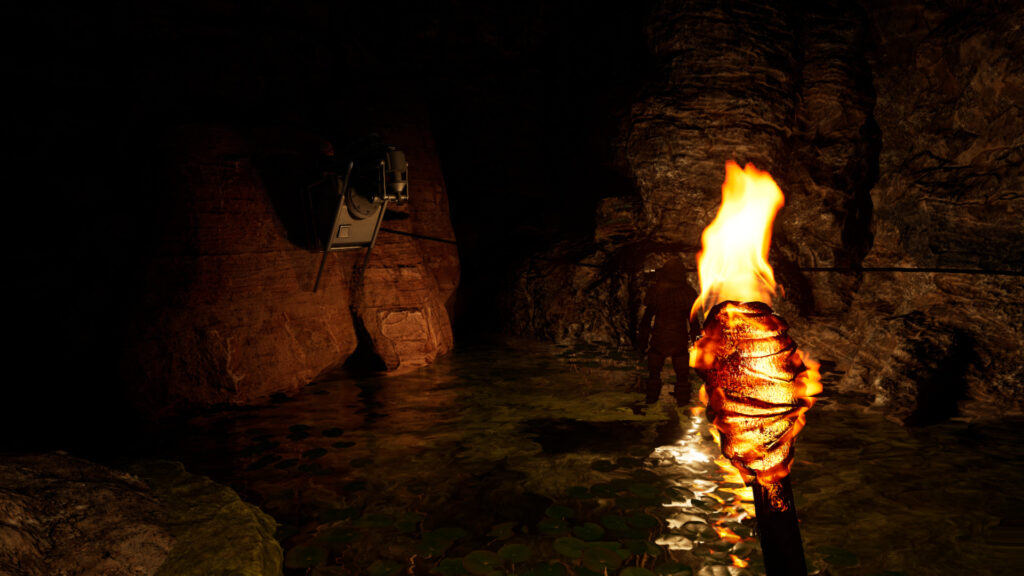
Wiring up the drill. A bit of a finicky process to begin with, followed up with sacs of poison thrown into your face.
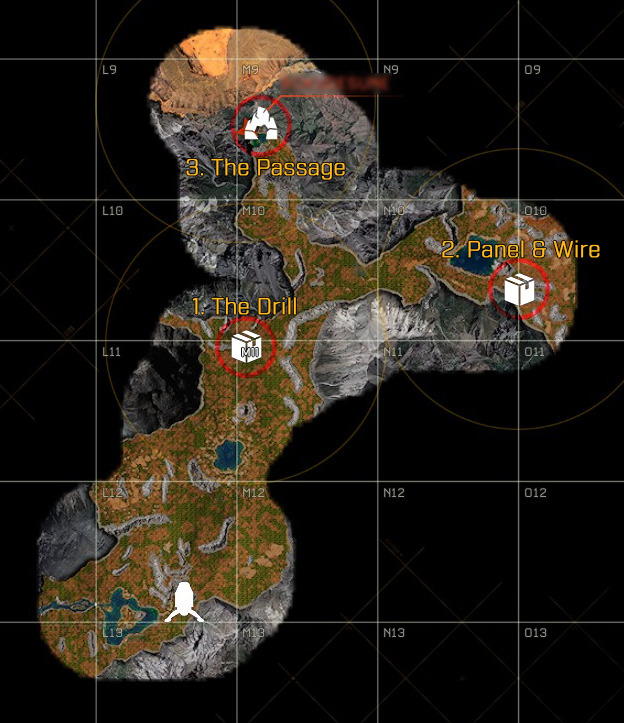
The red circles indicate locations of the objectives
Preparing for DRY RUN
This prospect will not require you to spend more than a negligible amount of time inside the Desert. However, the area around the transition cave is a higher-level predator zone. So, there are still a few items we recommend you unlock, at a minimum, to complete your objectives:
Saving time coming back: Like many missions, this one ends once the final objective is completed; you don’t have to get anything back to the drop pod. At the end of the mission, if you aren’t worried about losing some XP or very recently gained a level, you can let your character die with minimum penalty and get back to the Drop Pod much quicker. (Do not do this if you brought Orbital items you would like to keep.)
Step 1: Prep & Grabbing the Two Components
All you really need to do before you head towards the supply crates is ensure you can maintain your survival needs on the long trek through the forest. You can set up a shelter with a bed nearby to hunt up a little bit of meat and do some fishing. Having 3 unique food buff effects active during the mission is always helpful.
You do not need to unlock any iron technology for this mission. A Bone Knife and Bone Arrows are simple upgrades and make combat a bit easier. A portable Oxidizer or a filled Oxygen Bladder can be convenient for saving you some time on the way, but are not necessary. A Waterskin is not required: you will be traveling between lakes and spending a lot of time near them.
Rest before heading out to get the Well Rested buff. You don’t need to bring a Bedroll with you. We will recommend that you set one down at your final destination, but with the amount of animals there you will be able to craft it on the spot.
When you are ready, set a custom point for yourself on the map by double-clicking the nearest Supply Crate location. It will set a directional point on the compass at the top of your screen, which will tell you which direction to go.
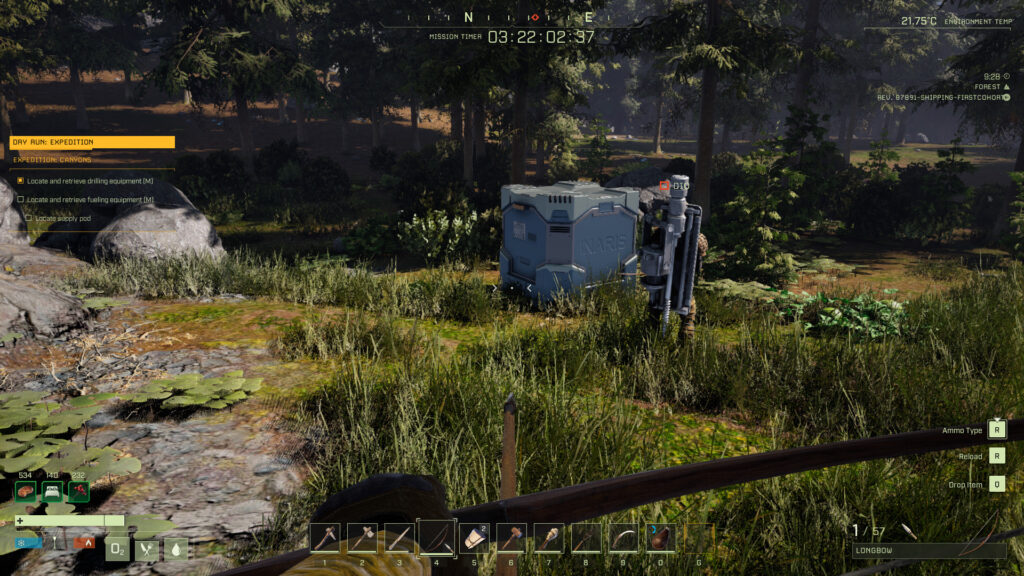
Reach the two Supply Crates on the map and pick up their contents. The first crate will contain the Tunneling Drill. Drag the drill from its inventory to the [G] slot on your hotbar. The second crate will have the Solar Panel and Electricity Tool. Take them into your inventory.
If you are playing with a friend, you can let them carry the Drill to make them feel important. Remember to show your teammates some appreciation. In return, they will likely feel less angry when you use them as bait
There will be no animals guarding the crates or spawning after you get the items. Remember that the further in you go, the more dangerous the storms and the animals you will face.
Step 2: Reaching the Cave
Speaking about that… our target destination (the cave, #3 on the map) is not only very deep into the forest, but also serves as a transition zone for the Desert. Once you reach the cave area, you will encounter aggressive Desert animals like Hyenas and Boars, in addition to Wolves and Bears. Sneak past them, or lure them into the lake to slow them down as you stab or shoot them. Alternatively, set up a base and attack them from the windows.
Reach the passage cave further north on the map, in the western half of the M9 square. Remember to mark it as a custom point on the map to help with navigation.
We suggest that you set up a small shelter to help you rest, prepare, and hunt in the area. You will note that the cave has two entrances: we recommend that you set up your base in front of the eastern entrance. The western mouth of the cave serves as a spawn point for animals, resulting in them surrounding you and being in the way as you lay down the wire.
Your setup can be as simple as a bedroll and a campfire inside the cave. However, if you would like, you can also spend a little bit more time in the area to stock up on Meat and other supplies. You don’t need iron for completion of this mission, so you can skip the mining.
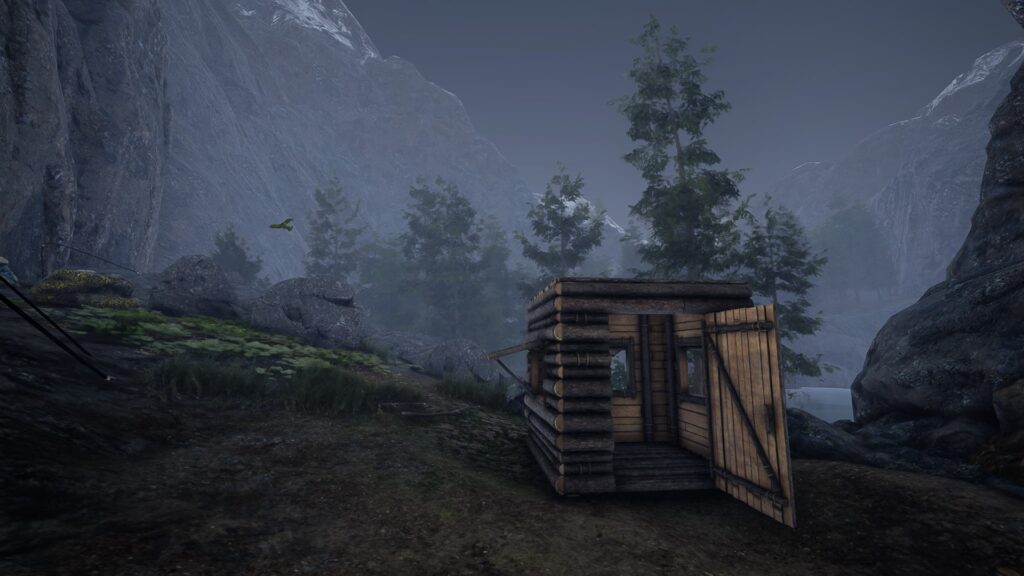
Option one: a quick portable shelter setup. Helps with hunting and protects against Pneumonia buildup.Option two: a very simple workspace inside the cave. Benches are optional. Still, having a Longbow and Tonics can be convenient.
Remember that you might want an Anti-Poison Paste or Tonic, or otherwise a stack of healing food like the Cooked Meat, should the cave worms cause you some trouble.
Part 3: Deploying and Activating the Drill (Twice)
We will need to install the Solar Panel outside of the cave, then set up the Tunneling Drill on the wall that’s blocking our path to the Desert inside the underground passage.
Wiring might take a little bit to lay down, especially if you are doing this solo. Beware that when you complete the connection a group of four cave worms will spawn inside the cave and you will need to act fast to dispatch them before the poison stacks accumulate. You will then need to do this again for the second wall.
Deploying Solar Panel
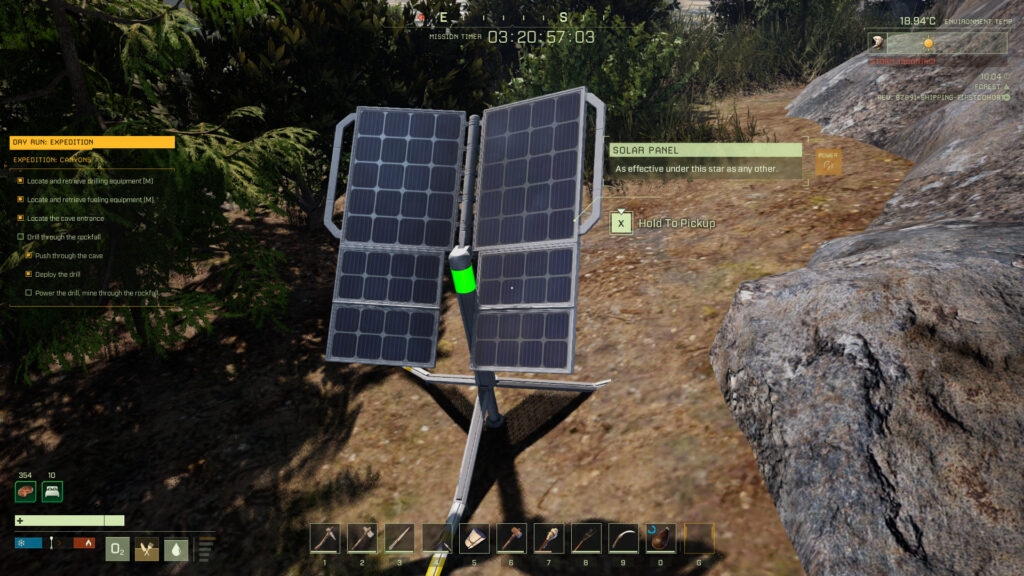
Let’s start by deploying the Solar Panel outside of the cave. Don’t worry, it will not be damaged by storms or animals, so focus on getting it near the cave entrance and making sure the path is clear for when you will be wiring it to the drill deep inside the cave.
You will know that Solar Panel is set up correctly when the green indicatorlights up. (It will not be powered during night hours.)
Having troubles installing the Panel? Pick it up by holding [X] and move it a little further into the sun, outside of the cave. Make sure you don’t have the Cave status effect on you when you set it down. Give the indicator few seconds to light up. Remember that it will not light up if it’s dark outside.
The hover-over might show that there is no power, but as long as the green indicator is on, you are good to go
Deploying Tunneling Drill
Before taking out the wire, it’s good to know where you need to take it. So, let’s deploy the Tunneling Drill first.
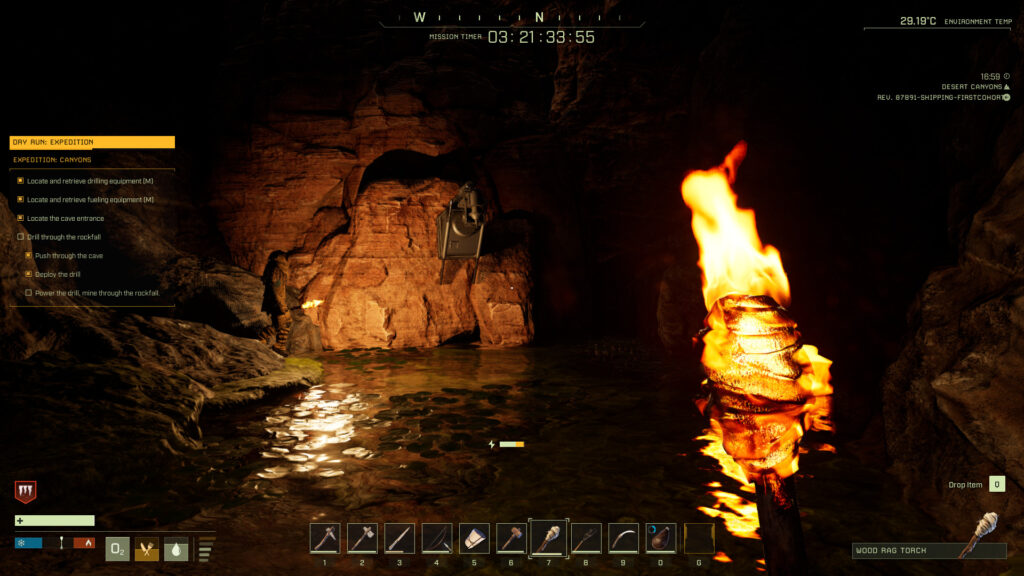
Head inside the cave. One of the paths leads to the alternative entrance back at the lake, so it’s easy to get confused, especially in the dark. Follow the path that leads directly north, and into the pond with lily pods. Continue until you are cut off by an orange-colored stone wall.
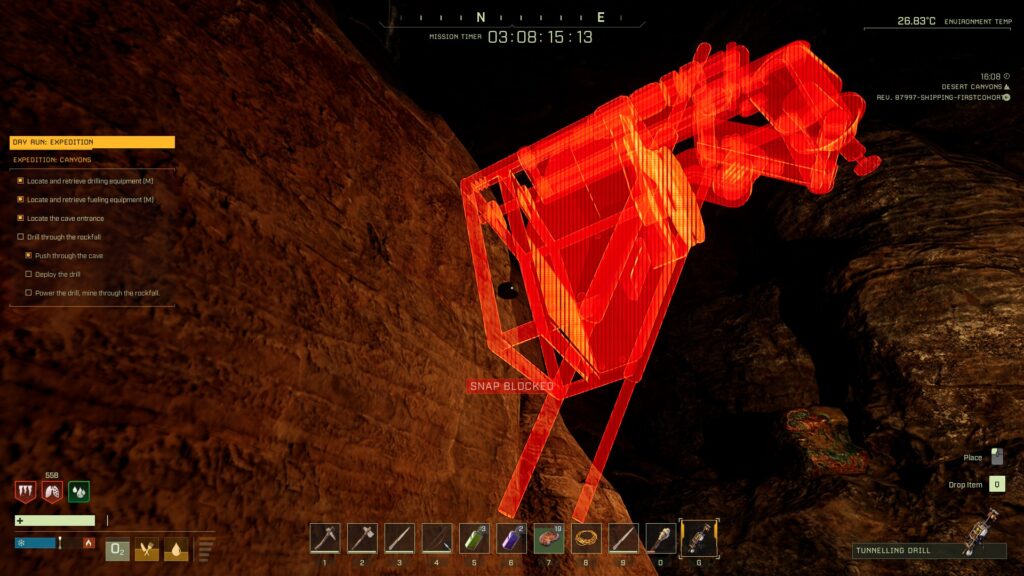
Deploy the drill onto the stone wall. It should snap to correct location.
Man… that thing must have been heavy to carry on your back
Laying Down the Wire
Solar Panel to the Drill, or the opposite?
We recommend that you wire from the Solar Panel to the Tunneling Drill, so that you are inside the cave when the poisonous worms spawn to attack you. Your main issue with the worms will be their ranged Poison, not their melee attacks, so immediately dispatching them with accurate Crit Shots from a bow or running up to them with a knife is ideal. We will discuss this confrontation later in the guide.
Playing Co-Op?
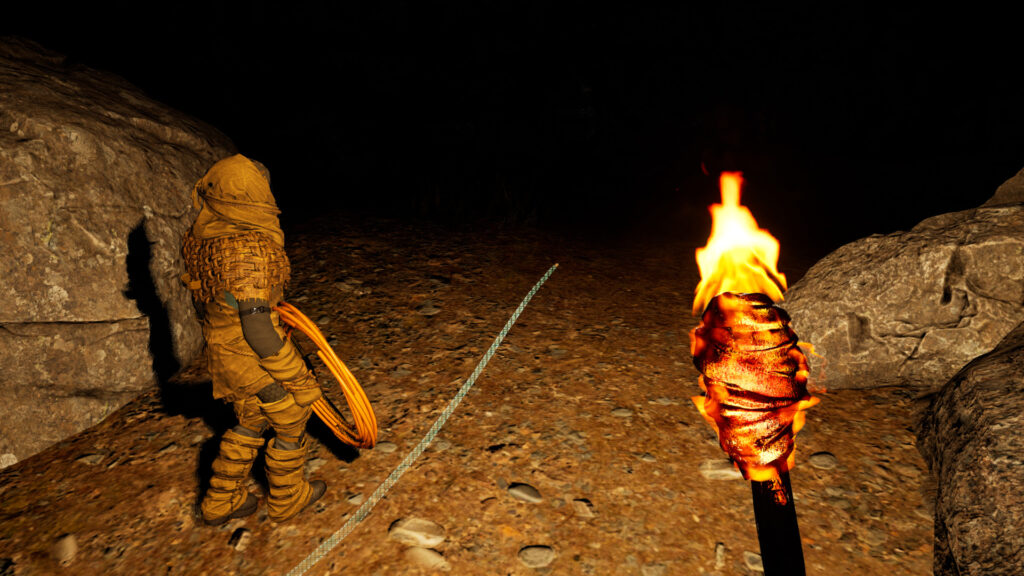
Grab your friend and have them hold up a torch as you lay down the wire. (Whether you want to inform them about what happens when the connection is completed is up to you.)
Playing Solo?
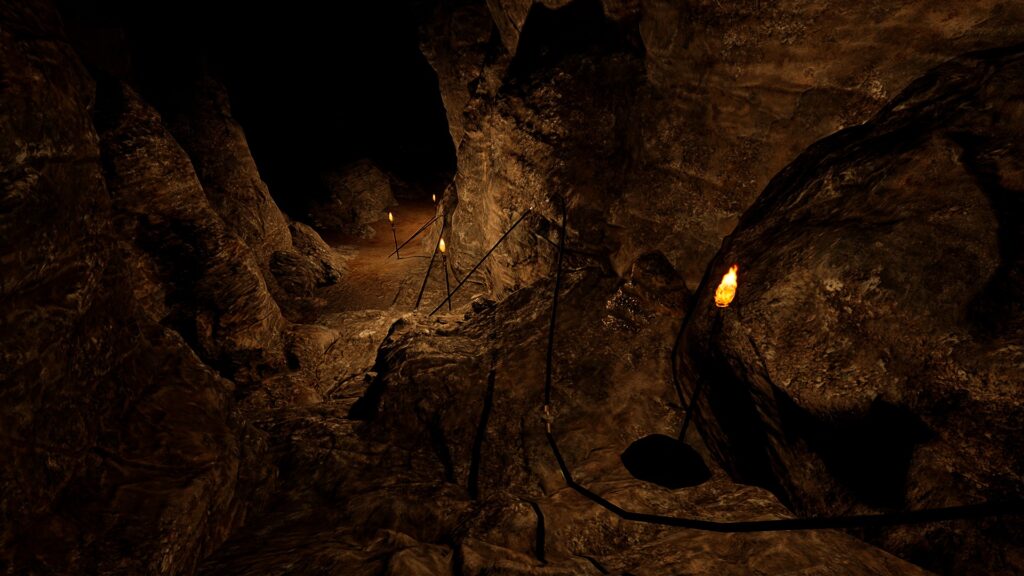
If you are doing this by yourself, you will have to do a little bit of extra work. A quicker method to see inside the cave is to press [Q] to drop your lit torch onto a dry surface. You will need to alternate between laying down the wire, picking up your torch, dropping it deeper in the cave, and then going back to wiring. Read step #4 below on how to leave the wiring move.
One problem with the method above is that as soon as the dropped torch hits the water, it will go out. It’s likely that you have a sulfur node right outside the entrance to the cave, so if you want to be an over-achiever, light the interior of the cave with standing torches.
I am sure the worms will appreciate the romantic ambience once they join us
How to use the wire:
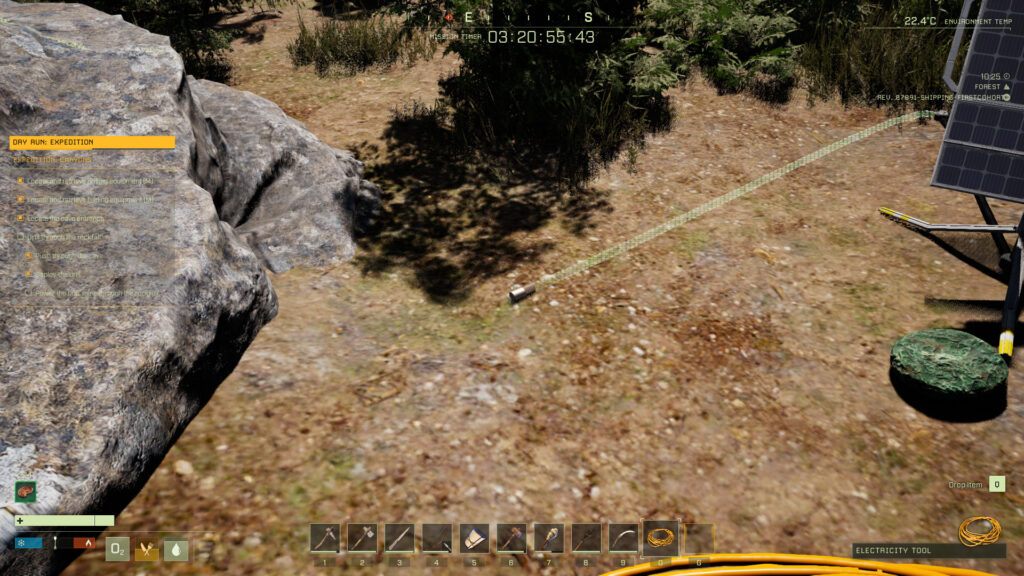
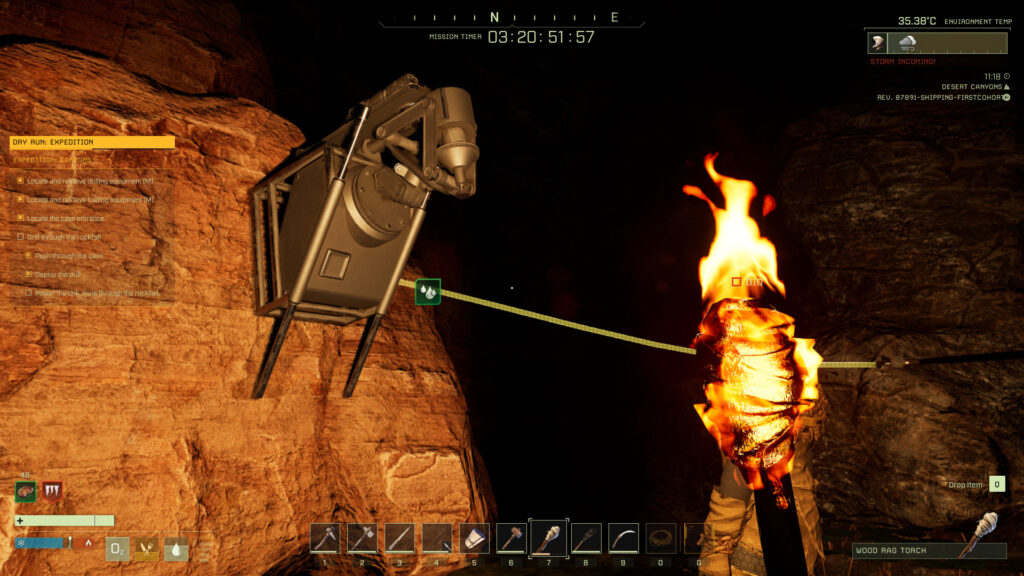
Equip the Electricity Tool.
Click [LMB] on the bottom of the Solar Panel: try holding for a second if you do not get a reaction. The wire should attach and you will be working with a ghostly green outline which attaches to flat surfaces.
The green outline will extend only so far, so you need to press [LMB] to lay down individual sections. Walk into the cave, towards the drill, and continue creating wire sections.
Wire isn’t being responsive? Try holding [LMB] for a second or walk a tiny bit back so that the wire segment isn’t fully extended when you click.
At any point, you can click [RMB] to exit the laying mode. Press [RMB] at the recent wiring section to remove it (this isn’t very reliable and may not work if the section is obstructed). You can set up as many additional connections as you need to, the wire will not run out. You can attach new sections to the old wire paths.
No, having spoiled meat dropped at the front of the Panel is not required.Two team roles: important one and The Lamp.
Once the final wire section is ready to be connected to the drill, it will appear as yellow. Read the section below before completing the connection to make sure you are prepared to fight off the cave worms.
Perhaps a little counter-intuitive, but the green color switching to yellow here means you are doing it right
If you pick up the Tunneling Drill after you attach wire to it, but before the entire connection is complete, you may have issues putting it back.
The wire will be seen as an obstruction, and you may get stuck from completing your objective. Try going to the side and getting the drill to attach to the last wire node. The connection will light up as yellow if it’s valid.
This issue may have been addressed by hotfix 1.0.14, but try to be careful just in case.
This is definitely not the reason you would want to have for restarting the entire mission
Cave Worms!
As soon as the wire is connected and Sol speaks, four cave worms will spawn inside the cave near you. They will go through a quick emerging animation and immediately attack.
Whatever technique you may have developed to deal with cave worms, it will come quite useful! Default to whatever works for you, but we have some suggestions in this section for those you need some help or want to be extra-careful.
Due to their potent poison, it might be safer to fight cave worms than to install the wire while trying to avoid their projectiles. Worms’ version of Poison becomes very deadly at around 5-6 stacks. It’s easy to catch poison stack from splash damage, so dodging is tricky.
Do your best to kill the worms immediately. Running away while being showered with poison projectiles will make disengagement dangerous.
The poison can kill you very quickly after a few stacks. Pay attention to your status bar and your health, even after the battle. Be ready to repeatedly consume healing food items like Cooked Meat (keep a stack of 15-20), or take anti-poison treatment like Anti-Poison Paste (the Tonic version will be more effective.)
If you are using food, do not do it around the worms. Complete the battle or disengage. Consume food repeatedly, keeping your health in the yellow zone.
Worms do not inflict poison when they bite, so you might want to choose to slash at each of them with a knife.
We recommend a Bone Knife to make the job easier. Likewise, you will have a much easier time using Bone Arrows, especially with a Longbow. If you are feeling confident, these upgrades are not required.
Whether you are using knife or bow, aim for the mouth to score critical hits.
Remember: be quick, attack their mouth, watch the poison and what it’s doing to your health bar.
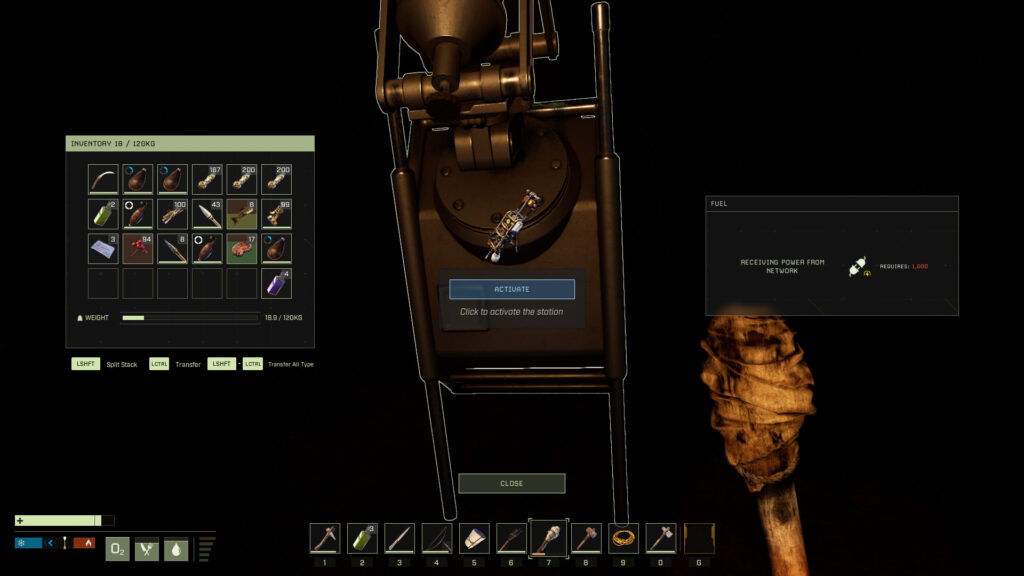
After you are done with the worms, approach the Tunneling Drill and click “Activate”. It will take a little bit to complete. The stone wall will disappear, and the Drill will drop for you to pick up.
Doing it Again
Depending on how you felt about the experience so far, the following could be either good or bad news for you: you will need to go through the process one more time.
Go deeper into the cave until you hit a wall once again, and set the drill. Using the same Electricity Tool, create a second section that connects to the one you set down before. Repeat the wiring steps we discussed in the previous section. Be ready to fight the worms and deal with their poison, then activate the Drill.
Exiting the Cave
After the Drill opens up the passage for you, follow the cave until you emerge inside the desert canyon. After Sol speaks, the mission will be completed.
Now you will need to return back to your Dropship in the Forest to extract.
We have a suggestion for you: you will notice that the area is packed with animals due to how transition zones function in the game. You do not need any special equipment to hang around until a storm picks up. So, pull out your bow, crouch, and land some stealth kills. Hunting gives a lot of XP, and you will likely gain a level (or two) very quickly.
Once that happens, if you don’t have your respawn point set nearby, you can allow one of the animals to kill you and respawn right back at the area with your pod, saving your travel time. Since you just leveled up, the XP loss will be minimal. Do not do this if you brought any Orbital equipment with you that you would like to keep.
We hope this Dry Run walkthrough was helpful! Questions and suggestions are both welcome in the comments box below.
Share this article:
Mila Grish
Dedicated contributor at EIP Gaming and a part-time collector of books she will never have time to actually read. Jumps on the newest releases just as quickly as on the uncovered dusty collections from the basement. For her, shiny graphics can never be an excuse to not have a polished player experience or an immersive story.
What an excellent guide. So detailed. Hard to leave a comment with all the ads, though. Hope you guys are making profit on this work, your mission guides are really great.
Currently at the lake, messing with the wire. Wish me luck!
Also, is it just a bug on my end, or is the lake in front of the cave bereft of all life forms”¦? Was hoping to fish.
Thank you so much for your kind words, friend. You left us a comment just a couple hours after the guide went up. What a coincidence! I am glad you found it of use. (And, sorry for the late wish here — Best of luck! Hope it went well!)
It’s certainly not just you — this is a bug that we considered to be limited to the Desert during Beta testing, but it seems that it’s still around and causing some weird issues. My teammate went back into the forest to try and fish in another lake, and they were all empty. Feels like a bug, certainly.
There are entire missions (this was not the first one) where the lakes have no fish. I thought it was supposed to be like that but maybe it is a bug.
On another note, thanks for the guides, very helpful.
I didn’t realize this — the fish population in lakes varies between missions, not just on the map itself? That’s very interesting, I will test that out next time I play. Thank you, Alex!
And thank you so much for your kind words. Very happy to hear that our guides are helpful 🙂