Some poor prospectors Lagos sent to an un-surveyed drop site met an untimely fate, and in the EL CAMINO Expedition mission, you’ll be figuring out what happened to them. In this guide we’ll list the relevant details of the mission, followed by a step-by-step walkthrough.
To complete the objectives, you’ll need to find two crash sites in the Riverlands (Forest biome), and then find a third in the Desert. You’ll need to battle a Sandworm at the third crash site, which opens up a path to the final crash site you need to inspect. While there’s a decent amount of hiking, and the Sandworm can be intimidating, this mission is fairly easy if you can stay calm under pressure.
There have been multiple reports of the Sandworm disappearing or refusing to die, in both cases making the mission impossible to complete — attempt this prospect at your own risk.
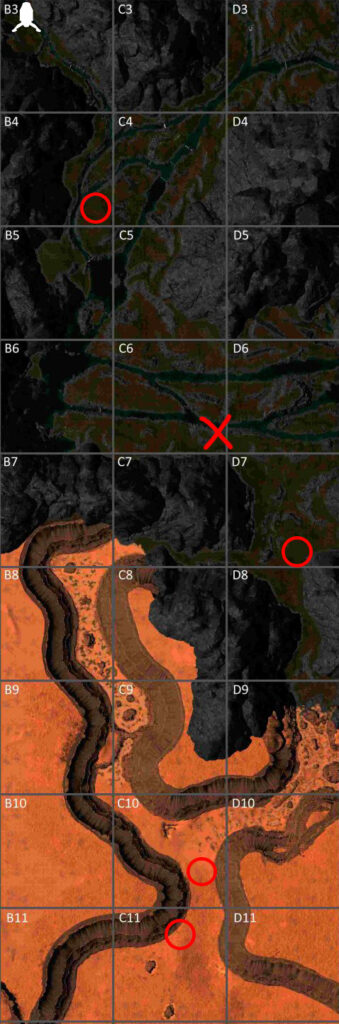
You’ll need to inspect four sites like this to complete EL CAMINO
The red circles indicate locations of the objectives; the X is a suggested spot for a half-way spawn point
Preparing for EL CAMINO
You’ll need the following items and building pieces to complete the mission:
+10/15% to movement speed. This talent will come in handy when dodging a certain enemy’s attacks.
Fighting Predators in the Riverlands
The first part of this mission is made very, very safe by the fact that you can follow the path of a river to your first few objectives. In doing so, you’ll make yourself safe from any and all predators, because wolves and bears are not very good swimmers. If you draw the attention of a predator, simply sprint into the water, get to deep enough water that the predator has to doggy-paddle, and then let them get close enough that you can hit them with your knife. At that point, hold [S] to swim away from them while attacking with your knife. If done correctly, you can easily dispatch bears and wolves without taking any return damage.
Mission Walkthrough
Like many missions, this one ends once the final objective is completed; you don’t have to get anything back to the drop pod. At the end of the mission, if you aren’t worried about losing some XP or very recently gained a level, you can let your character die to quickly get back to the dropship (Do not do this if you brought Orbital items you would like to keep).
Step 1: Crash Debris Sites 1 & 2
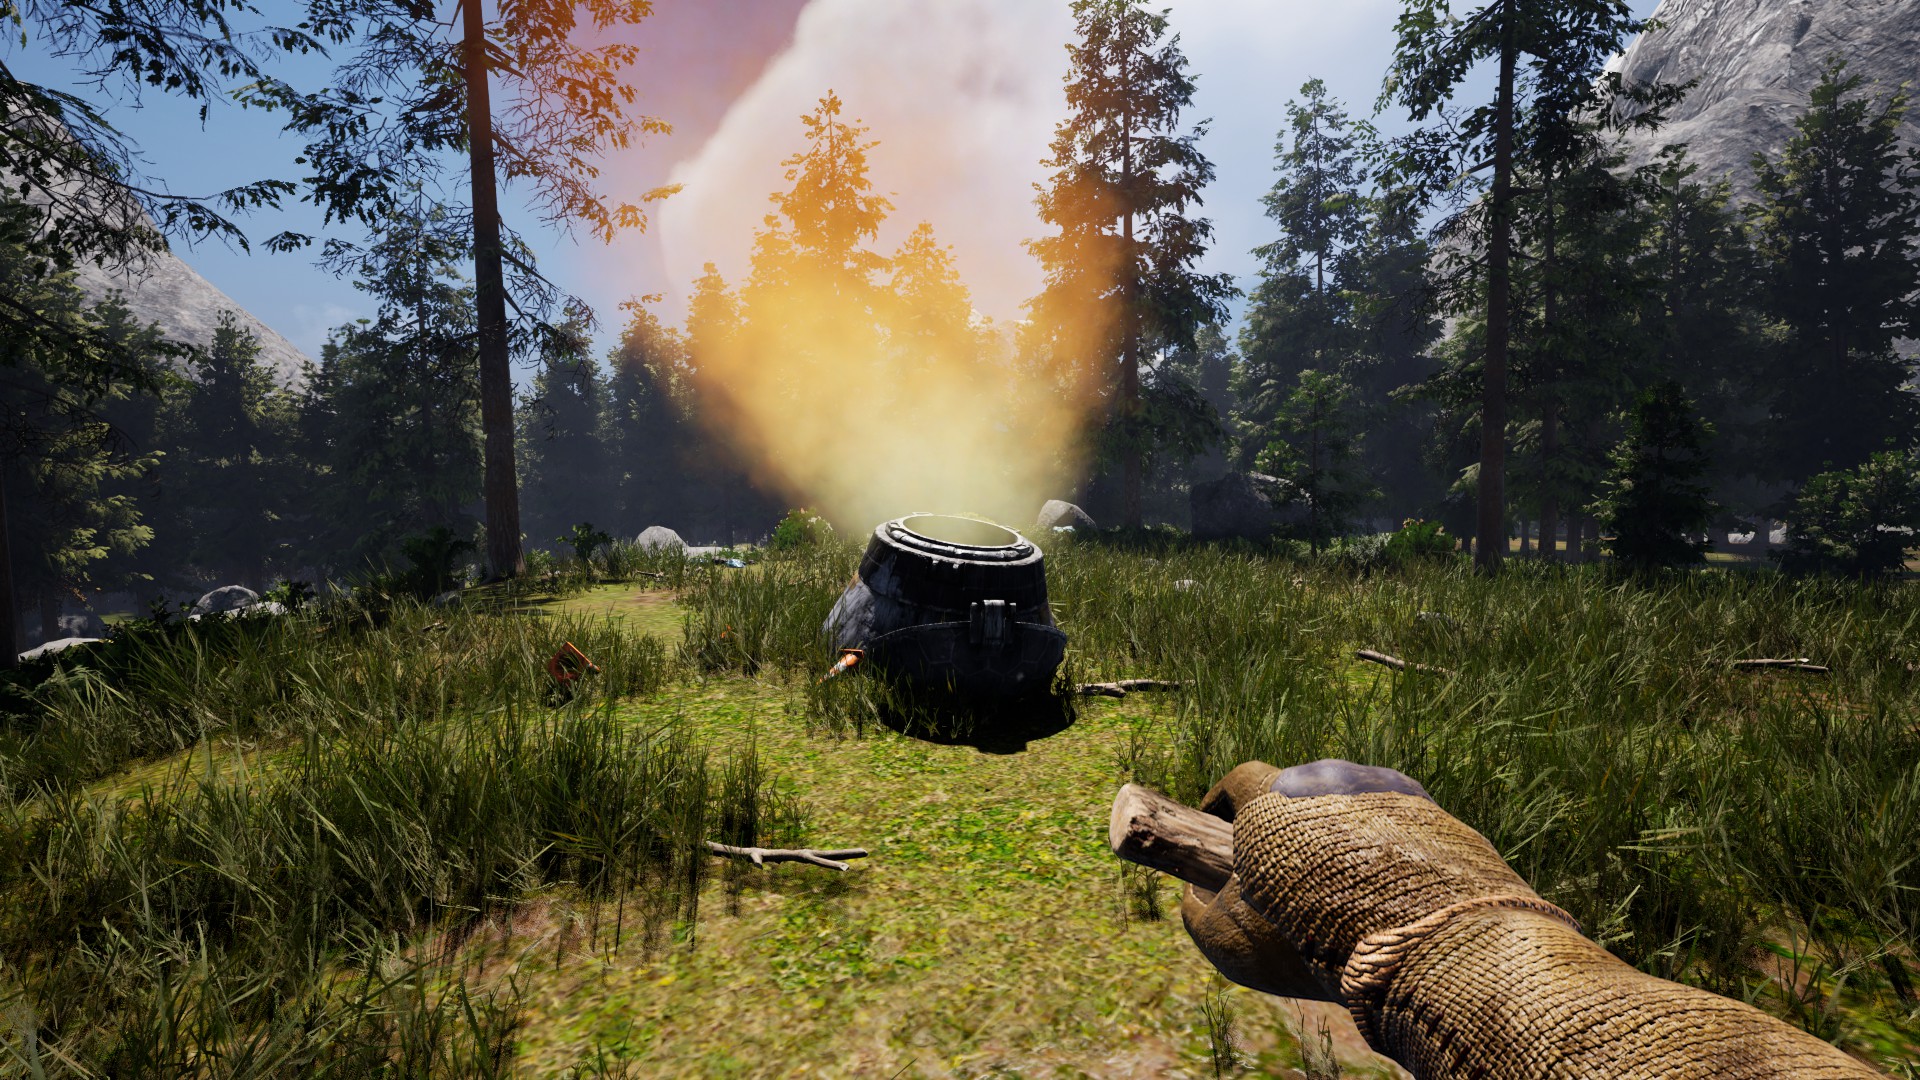
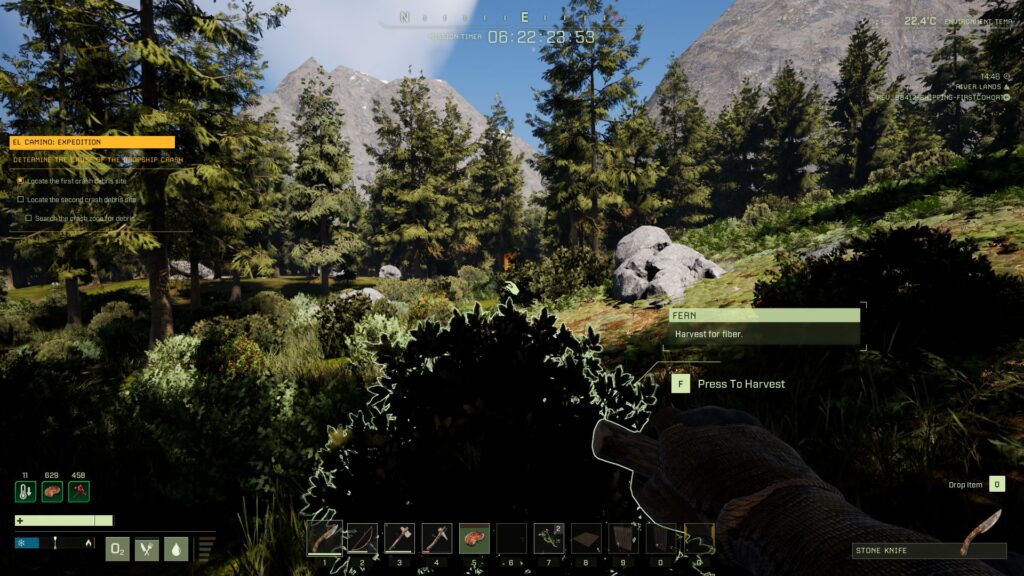
You’ll drop in the upper-left-most corner of the map, which is kinda neat — immediately start doing the usual: craft a pickaxe to get stone more quickly, then craft a knife and a bow. Make your way to the first objective while killing/skinning every animal you come across (besides bears, which you should avoid). Once you’ve got a bit of meat and/or veggies, craft a Campfire and cook some while collecting wood for the shelter you’ll build later. The first crash site is in the bottom right of grid B-4 — it’s hard to miss, as it’s still smoking.
Thar she burns
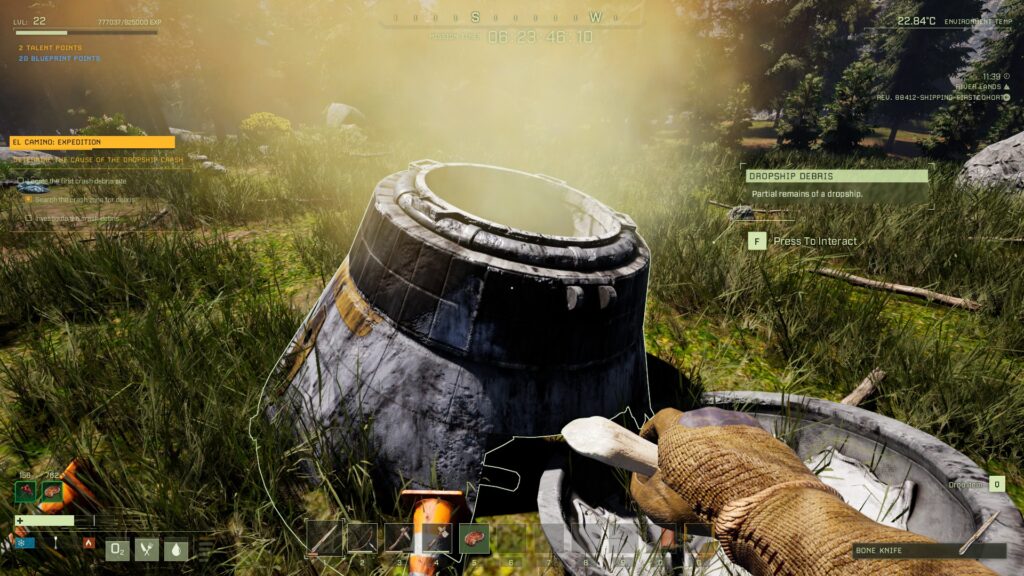
Investigate the crash site by pressing [F] while aiming at the drop pod from up close; grab the Longbow and Flint Arrows, but resist the temptation to use them now — you’ll want ’em later. Continue southeast, erring on the side of staying close to a river, and make your way to the next crash site, which is in the bottom-middle of D-7.
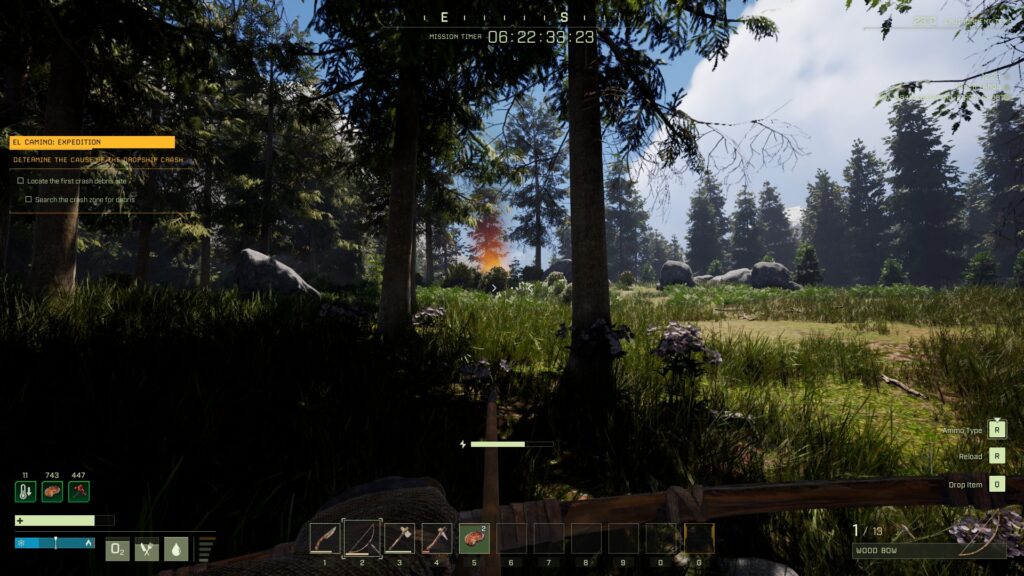
Once you cross C-6, you won’t have the rivers to help you escape from predators, so it’s not a bad idea to construct a small 1×1 Wood shelter and place a Bedroll in it (if you’ve been killing animals the whole way here you should have all the materials you need). Set it as your spawn point and then keep moving. As before, you should be able to spot the wreckage a fairly long way off:
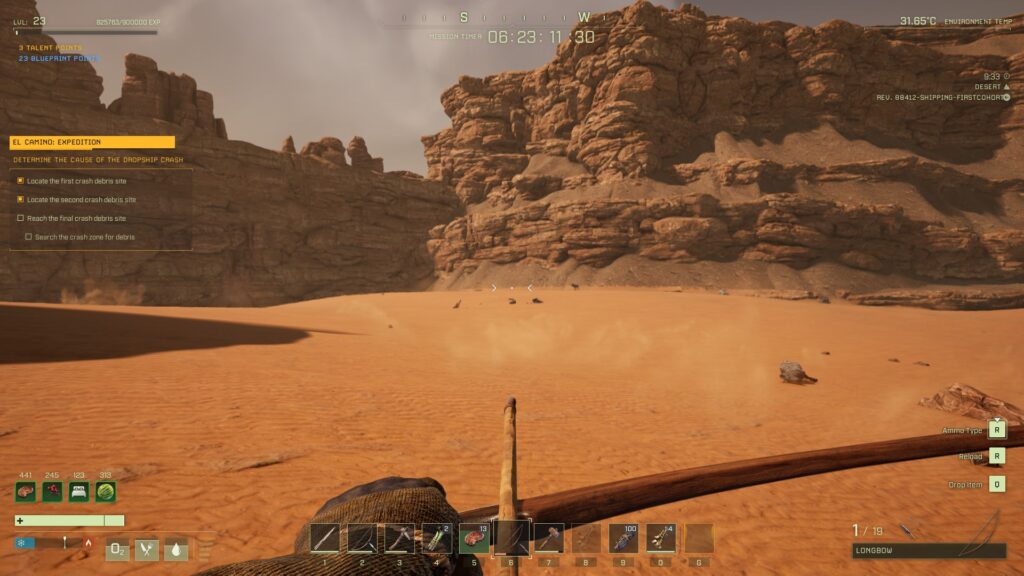
Once again, inspect the crash site with [F], take what’s in the drop pod, and continue south. There’s a number of high-level wolves and bears here, so hug the mountains as you continue towards the desert. Once you reach the desert, you can relax — there are no predators here, and prey is abundant. If you don’t have the resources for another Bedroll, or if you don’t have 20 Raw Meat, kill prey animals as you continue south.
Step 2: A Base, A Monster
You’ll need to bear west as you continue into the desert. Once you reach C-10, you can set up shop: build a small shelter, put down a new Bedroll and set it as your spawn point, and start cooking any food you have. If you’re close to leveling up, it’s a good idea to hunt the nearby prey animals (there are a ridiculous amount in this area) and chop down trees until you’ve leveled up. You’ll also want to make sure you have at least 30 Bone Arrows in addition to the 19 Flint Arrows you got from the first crash site.
WARNING: This mission has been known to glitch out. Sometimes the Sandworm disappears and won’t reappear; other times, it simply won’t die. Currently, there is no known fix for this issue besides restarting the prospect.
You’ll likely have to sleep at some point — prep as much as you can before you sleep to ensure you have the Well Rested buff for the action you’ll see in the morning. Make sure the Longbow and your regular Wood Bow are both in your hotbar, on a button you can easily press mid-combat (same goes for your Cooked Meat, and the Anti-poison paste you found at the second drop site). Once you have a full stack (20) of Cooked Meat, a full set of Cloth Armor, and the aforementioned arrows, you’re ready to head to the final crash debris site. It’s near the bottom of C-10, and the debris looks like rocks from far away:
It’s there, I promise
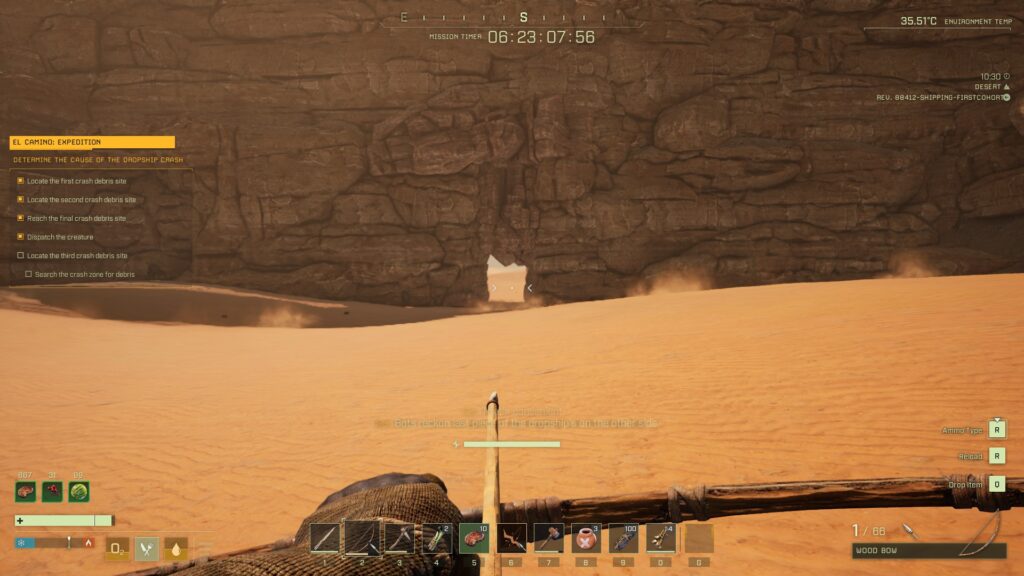
If you’re feeling cheeky, you can sprint to the debris and grab the Health Restoration Paste and Fire Arrows from the crate while the Sandworm makes its entrance — drag the paste into your hotbar so you can use it during the fight if you choose to try this. Either way, once you get close enough to the debris, your screen will start to shake and you’ll hear a rumbling sound. Sprint back the way you came (head north) and turn around to meet your new friend.
How to Defeat the Sandworm
Despite its size, the Sandworm isn’t all that dangerous if you keep your distance. Sprint perpendicular to the worm when it launches its poison attack, and then turn and fire arrows at the worm’s base (you can aim for the face to get crits, but it’s easy to miss and isn’t at all necessary). Once you hear the pre-spit sound, run perpendicular again. You’ll repeat this pattern the entire fight. You can begin the fight with the Longbow, but at some point, the Longbow will break — switch to your regular bow and keep shooting!
After you’ve damaged the Sandworm a bit, it will burrow back into the ground. Run to where it burrowed it and it should reappear — naturally, you’ll want to run away again (your Cloth Armor’s move speed helps quite a bit here). The Sandworm will burrow a few more times, and you’ll have to run towards where it burrowed to get it to reappear each time. Keep doing the sprint/shoot thing until the worm breaks a hole in the rock wall behind it, then head through. If you do get hit by the worm’s poison, you can use the poison paste in your hotbar to remove it. Don’t forget you can heal by eating Cooked Meat!
Under normal circumstances, I would never advise following a worm through a wormhole
Once you go through the hole, head south and slightly west and you’ll quickly find the final crash debris site. Inspect it with [F] to complete your final mission objective.
It’s a pretty long run back to dropship, so if you don’t have any Workshop gear to save, it’s much faster to pick up your Bedroll and then end your poor prospector’s life, respawning near the Dropship. Don’t forget about XP debt — if you’ve got a decently filled XP bar, you should finish leveling up, or else bite the bullet and get back to the dropship the old-fashioned way.
We hope this EL CAMINO walkthrough was helpful! Please feel free to leave questions or suggestions in the comments below, and happy hunting.
Share this article:
DanielD
Unabashed FromSoftware fanboy still learning to take his time with games (and everything else, really). The time he doesn't spend on games is spent on music, books, or occasionally going outside.
used like 300 fire arrows he never dies, on top of that 4k spear hits when he lunges nothing. He never breaks the wall or dies. After like 30m he one shots me when I get super bored.
I shot him continuously for 15 and 18 in game hrs (played it twice). through the entire night. No death except mine when I got a little to close on his lunge. second time he just stopped showing up. So what happens if we bring rifles and grenades… How do i get past this one then ?
Hi Shrooms, just wanted to let you know that when I experienced the bug with the Sandworm not reappearing, I had to restart the mission. Unfortunately, it’s likely that you’ll have to do the same (though I encourage you to try and reload the prospect a few times before restarting).
You could also try going to the official Discord and asking around there; perhaps someone has found a workaround for your issue.


Is killing the sand worm required for the mission?
no
used like 300 fire arrows he never dies, on top of that 4k spear hits when he lunges nothing. He never breaks the wall or dies. After like 30m he one shots me when I get super bored.
I shot him continuously for 15 and 18 in game hrs (played it twice). through the entire night. No death except mine when I got a little to close on his lunge. second time he just stopped showing up. So what happens if we bring rifles and grenades… How do i get past this one then ?
Hi Shrooms, just wanted to let you know that when I experienced the bug with the Sandworm not reappearing, I had to restart the mission. Unfortunately, it’s likely that you’ll have to do the same (though I encourage you to try and reload the prospect a few times before restarting).
You could also try going to the official Discord and asking around there; perhaps someone has found a workaround for your issue.