In the LIVEWIRE mission, you’ll be helping the Lagos Unit scan for new drop sights on Icarus. This guide will first list the relevant details of the mission, and then provide a step-by-step walkthrough.
Prospect Details
Difficulty: Easy
Recommended Level:5
Location(s):Forest Biome
Objectives:
Collect Radar from Supply Crate
Scan Zone 1
Scan Zone 2
Scan Zone 3
Rewards
100
Variants Modifiers
Creature melee damage: -50%
Creature health: -50%
Creature movement speed: -10%
Bear spawn rate: -50%
Lion spawn rate: -10%
Polar bear spawn rate: -50%
Wolf spawn rate: -10%
Aggressive creatures perception: -50%
Neutral creatures perception: -50%
Passive creatures perception: -50%
Experience gain: -25%
Creature melee damage: +20%
Creature health: +30%
Creature movement speed: +10%
Aggressive creatures perception: +30%
Neutral creatures perception: +30%
Passive creatures perception: +30%
Scorpion spawn rate: +30%
Lion spawn rate: +30%
Wolf spawn rate: +30%
Experience gain: +25%
Player respawn count: 3
Prospect Notes
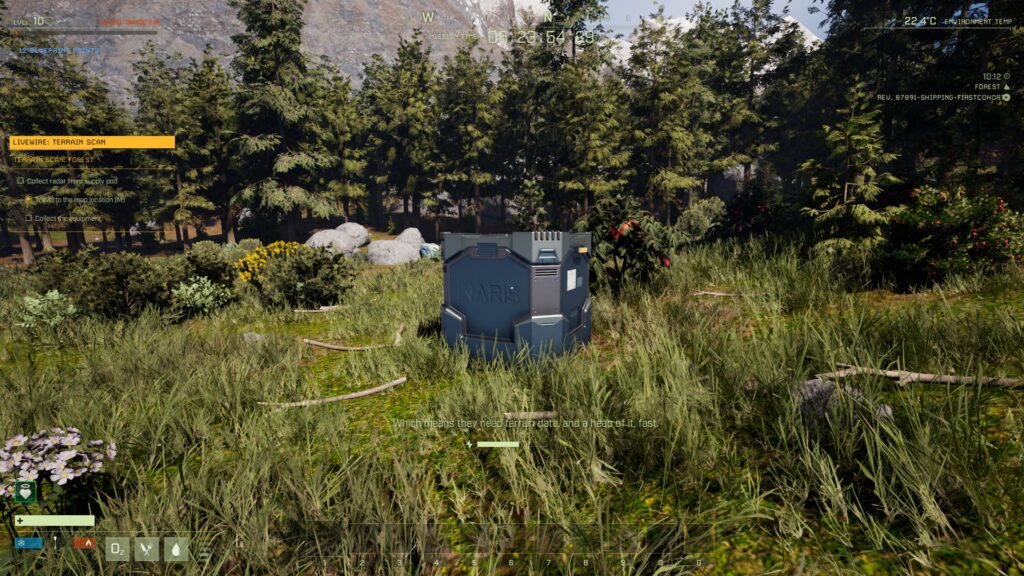
To complete the objectives, you’ll need to first find the Supply Crate. Once you land, open your map and locate the supply crate. Double click it to set a waypoint, which will appear on your compass and make it easier to reach the crate. Once you reach the crate, open it and drag the radar into the “G” section of your toolbar.
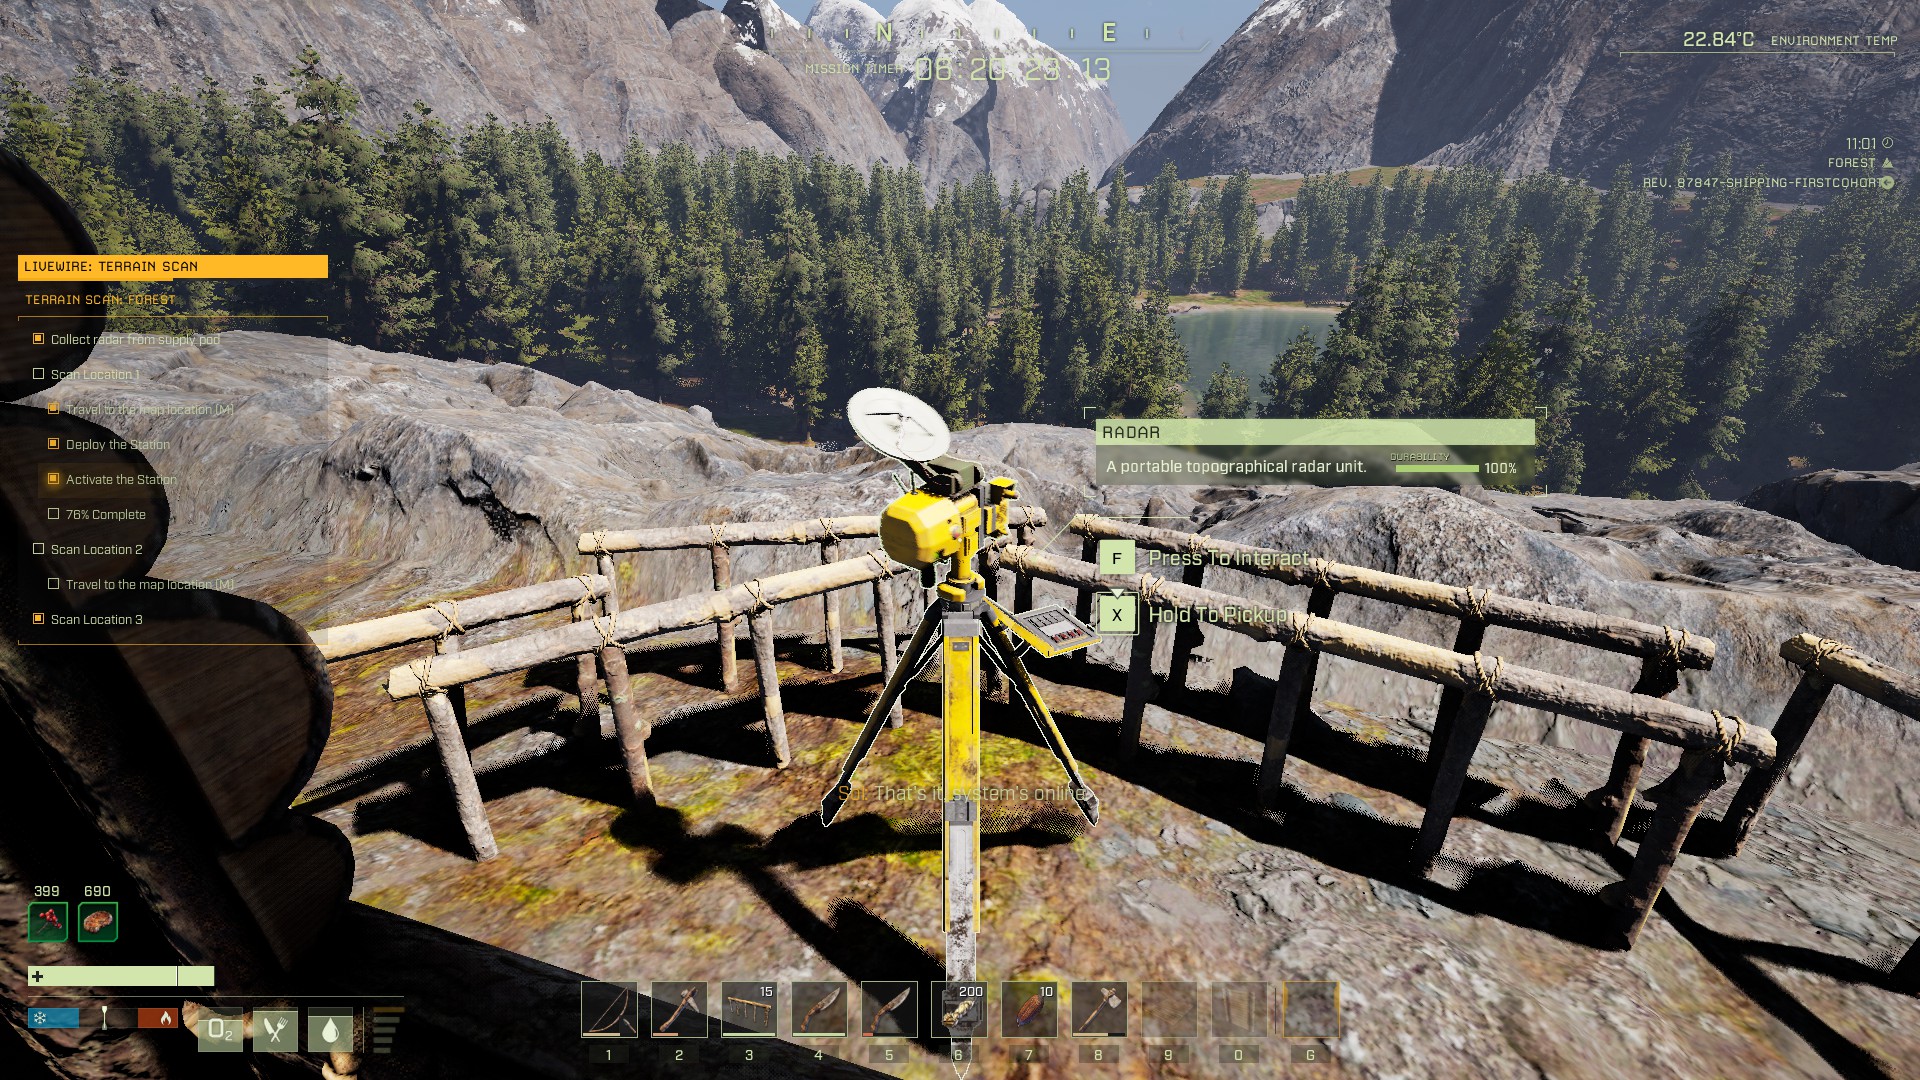
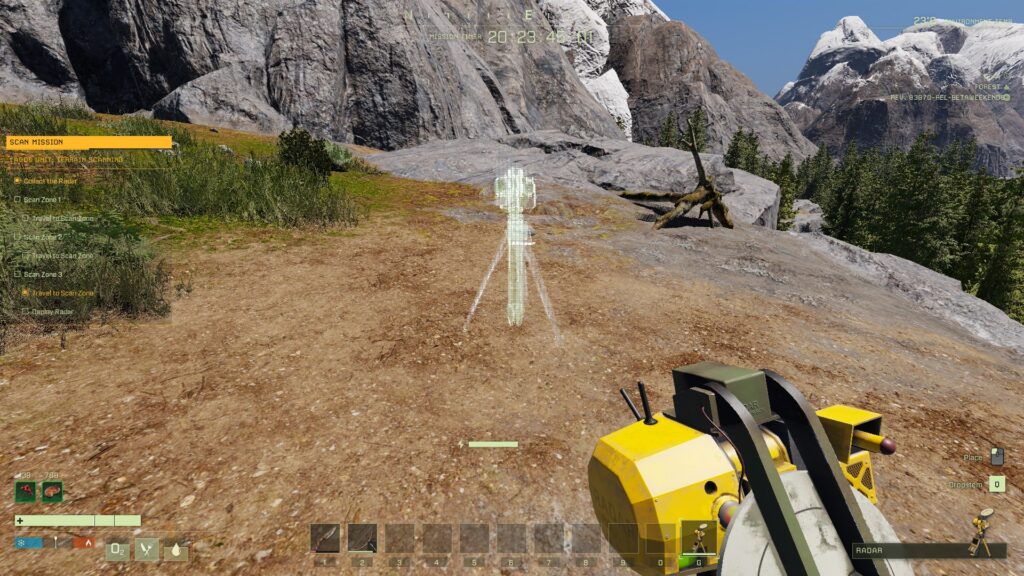
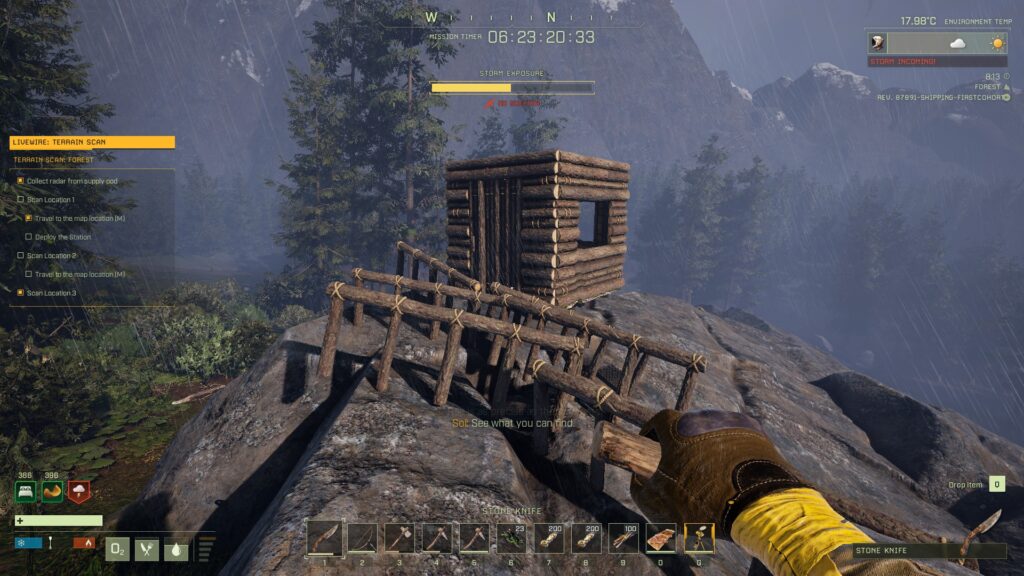
Once you collect the Radar, the three scan zones will appear on your map. When you reach each Scan Zone, you’ll need to search within the zone to find where to place the radar. Once you find the placement location, press [G] and then left-click to place the radar.
A transparent outline appears where you need to place the radar
You’ll need to activate the radar once you place it by pressing [F] while facing it and near it. After a few moments, predators will spawn near the radar and attack it (and you, if you’re nearby) — you’ll have to press [F] again to restart the radar if they manage to damage it.
Preparing for LIVEWIRE
While it’s theoretically possible to complete this prospect with little to no equipment, it’ll be a lot easier to complete this mission if you make sure you have the following blueprints unlocked before attempting to complete your objectives:
Portable Shelter – If you’ll only be using it for a spawn point, Thatch is fine, otherwise it should be made of Wood.
Mission Walkthrough
Step 1: Acquiring the Radar
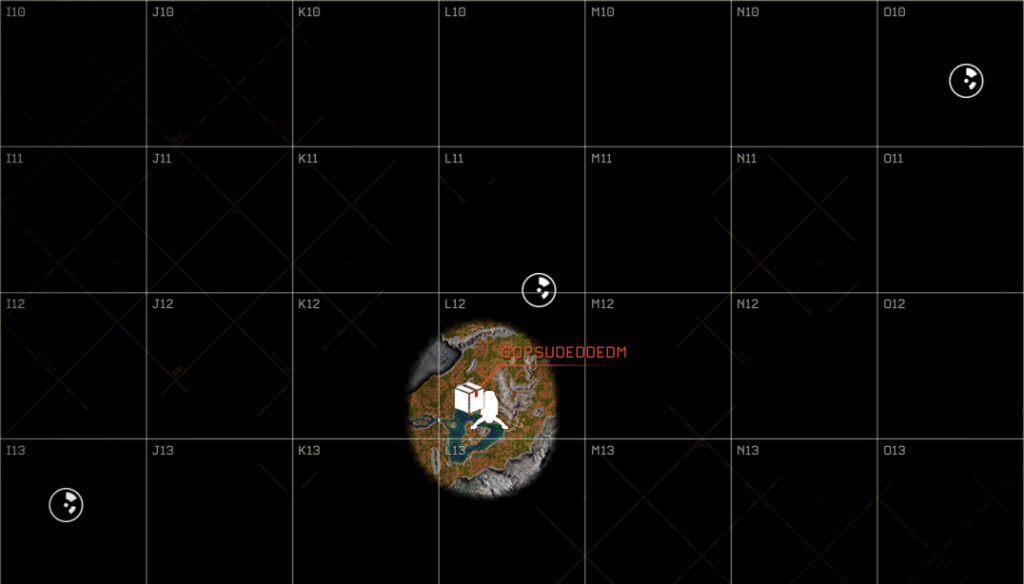
Once you land, open your map and find the supply crate (it should be very near). To make it easier to find the crate, double-click its icon on your map to set a waypoint. Then you can follow the waypoint marker that appears on your compass to reach the supply crate.
The red diamond indicates your waypoint — center it on your compass (use the up-arrow to assist you) to head in that direction
Once at the crate, open it, and drag the radar from its inventory to the [G] slot on your hotbar (the last slot on the right).
Step 2: Scanning Zones 1 and 2
Open your map and find the scanning zone to the west, in grid zone I-13. Double click the scanning zone icon there to set a new waypoint, then head in that direction. Hug the northern edge of the valley (your right-hand side). You’ll have to curve around the mountains a bit, so don’t be surprised if you can’t continue directly towards your objective — just keep the mountains on your right, follow your waypoint, and you’ll be fine.
While you make your way to the western scan zone, collect sticks and rocks to make a knife and a bow, and also grab any food you find, like berries and vegetables. Once you’ve got both weapons, kill wildlife you encounter until you’ve at least 20 Fur and 10 Leather, which you’ll need to craft a Bedroll.
You can keep collecting resources from bushes as you sprint to the objective to gain a little extra XP. It’s also a good idea to build a campfire and cook some food once you’ve killed an animal or two — a mix of meat and veggies will give your base stats a nice boost. Once you reach the scan zone, you’ve got a few choices, depending on what strategy you want to use:
The safest, most XP-friendly way of doing things is to create a Portable Shelter near the scan zone, set it up (make sure you set your Bedroll as your spawn point), then activate the radar and hide inside your shelter. When the predators spawn, you should be able to easily dispatch them from the safety of your little wooden box. If you fail, you’ll be able to respawn nearby.
Those of you trying to do this as quickly as possible can do it a little different: Activate the radar, run away and hide (make sure you’ve pressed [Cntrl] and are sneaking), and then wait for the pedators to attack the radar and then wander away. You should then be able to sneak up and reactivate the radar. This is riskier, but you don’t have to bother with a Bedroll or portable shelter.
Either way, you’ll need to approach the outline of the radar, press [G], and then left-click to place the radar. Then, press [F] on the radar to activate it. Don’t forget to pick up the radar once it’s done scanning. Also make sure you grab your portable shelter and its contents if you used that strategy.
You’ll now need to head back the way you came (set a waypoint to help guide you back) — we’ll be heading all the way back to our drop zone to get to the objective marker in zone L-12/11. Same strategies as last time once you get there, you can hide, or you can fight. Pick up the radar once you’re done.
If you do decide to (or need to fight), know that 2 bears will spawn, so a wooden shelter may not be strong enough to protect you. You’ll need to also put multiple layers of Wood Railing around your shelter or defensive position.
Using nearby rocks and ledges can also make it harder for predators to get to you
Step 3: The Final Scan Zone
Note: If you’re really close to leveling up, or if you’ve just leveled and have very little XP towards the next level, you can choose to die once you finish the final objective, as it will save you a significant run-back to your drop pod. If you do want to use this tactic and save some time, you need to level up if you are close to doing so, or don’t gain more XP if you’ve recently leveled, since the way death penalties work is that you accrue an XP debt that is some fraction of your total XP towards the next level.
Just one more zone to go! Open your map and set a new waypoint on the objective in 0-10. As before, you can and should hunt/collect resources as you make your way northeast, following your waypoint. At this radar scan zone, a large wolf-pack will spawn soon after you activate the radar, so I recommend setting up your portable shelter very far away and/or not engaging with these predators. They should leave the scan zone after a bit, and you can then go back and reactivate the radar.
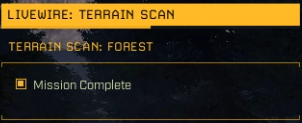
Once your objective list looks like this, you’re good to go
You don’t need to get the radar back to the drop pod, so once you’ve completed all the mission objectives, you can die to predators or jump off a cliff if you want at this point (see above note on XP debt before making this decision). Alternatively, you can open your map, set a waypoint on the drop pod icon , and make your way back. Press [F] once you’re at the drop pod and it will open up the menu that allows you to leave the planet!
We hope this mission guide for LIVEWIRE was helpful! Let us know if you have any questions or suggestions by using the comments box below.
Share this article:
DanielD
Unabashed FromSoftware fanboy still learning to take his time with games (and everything else, really). The time he doesn't spend on games is spent on music, books, or occasionally going outside.
Pixel, that’s an interesting observation. I might be wrong, but I don’t think I remember that being the case for me, personally — I ran two of my characters through the mission, and I didn’t complete these in order. Once I handled wolves first, the other time I headed to the bear location first. Does it just clear them in a weird way, or does it break the progress?
Hi!
I just found out that its a bug in the way it’s displayed – as soon as i completed 1 & 2 it said mission was complete though it displayed #3 as not done.
hmm not for me, i tried different combinations like 123-213-321, etc and it always tagged the correct number of the site i just surveyed in the completion screen and never got a completed mission message until i did all 3 sites, could be that that bug is fixed, but for me, the outcome was always the same no matter what sequence of # i did.
Malk
2 years ago
I just started doing this mission and I scanned location 1 then location 3 and this broke the progression i cant scan location 2 the yellow ghost for the radar is not there and even when i put the radar down the speaking etc will not trigger


Note: You have to do them in order. I did #3 first and then proceeded with #1 and 2 but when I scanned #1 it cleared #3.
Pixel, that’s an interesting observation. I might be wrong, but I don’t think I remember that being the case for me, personally — I ran two of my characters through the mission, and I didn’t complete these in order. Once I handled wolves first, the other time I headed to the bear location first. Does it just clear them in a weird way, or does it break the progress?
Hi!
I just found out that its a bug in the way it’s displayed – as soon as i completed 1 & 2 it said mission was complete though it displayed #3 as not done.
hmm not for me, i tried different combinations like 123-213-321, etc and it always tagged the correct number of the site i just surveyed in the completion screen and never got a completed mission message until i did all 3 sites, could be that that bug is fixed, but for me, the outcome was always the same no matter what sequence of # i did.
I just started doing this mission and I scanned location 1 then location 3 and this broke the progression i cant scan location 2 the yellow ghost for the radar is not there and even when i put the radar down the speaking etc will not trigger
Thanks for reporting this Malk; have you tried returning to the menu and re-loading the Prospect?