In the SNOWBLIND mission, you’ll be surveying the Arctic for the Lagos unit, in an attempt to discover new drop zones. This guide will first list the relevant details of the mission, and then provide a step-by-step walkthrough.
Prospect Details
Approximate time to complete: 1:15, plus another ~10 minutes to return to the Dropship
To complete the objectives, you’ll need to grab a radar unit from a supply pod, and then deploy and activate it at three scan locations. There are a few tricky bits, but as long as you are a decent shot with your bow this mission shouldn’t be too difficult.
The radar unit
Suggested route from the supply crate to each objective. Note that the pictured route does not include the initial path from the dropship to the supply crate.
Preparing for SNOWBLIND
Listed below is the minimum requirement for completing the mission.
It’s a very good idea to research and craft the Shengong ‘Hulu’ Canteen in the Workshop and bring it with you on this mission. Otherwise, you’ll need to craft a Waterskin or collect at least 1 full stack of Berries before you enter the Arctic (and both options may not last you if you don’t go as fast as possible).
If you want to make sure you can respawn in case you screw up while activating the radar, you can put a Bedroll in your portable shelter before you place and activate each radar — this will give you somewhere to respawn. This is highly recommended. Don’t forget to take it with you when you move on to the next objective!
Mission Walkthrough
Part 1: Preparing for the Arctic & Grabbing the Radar
Once you land, open your map and find the Supply Crate , which is in I-11. Set a waypoint on it, and start collecting Sticks and Stones to craft a Stone Pickaxe. Use the Pickaxe to get enough stone for a knife and some arrows (you’ll probably need to collect bushes for more sticks). Hunt enough animals to get at least 10 meat and the materials for a Bedroll.
With the fiber and sticks you collect, build the 4 Walls and 2 Floors you need for your shelter; you can then start crafting pieces of the Cloth Armor set — though it isn’t strictly necessary, it will help make the mission much faster (and therefore safer). Enter the Arctic once you have the following:
1 full stack of Fiber (200) or 2 full stacks of Wood (200), plus a little extra for fuel
2 full stacks of Sticks (200) — this is optional if you have the Wood Breakdown talent and the related Blueprint, since there’s a bit of wood in the Arctic
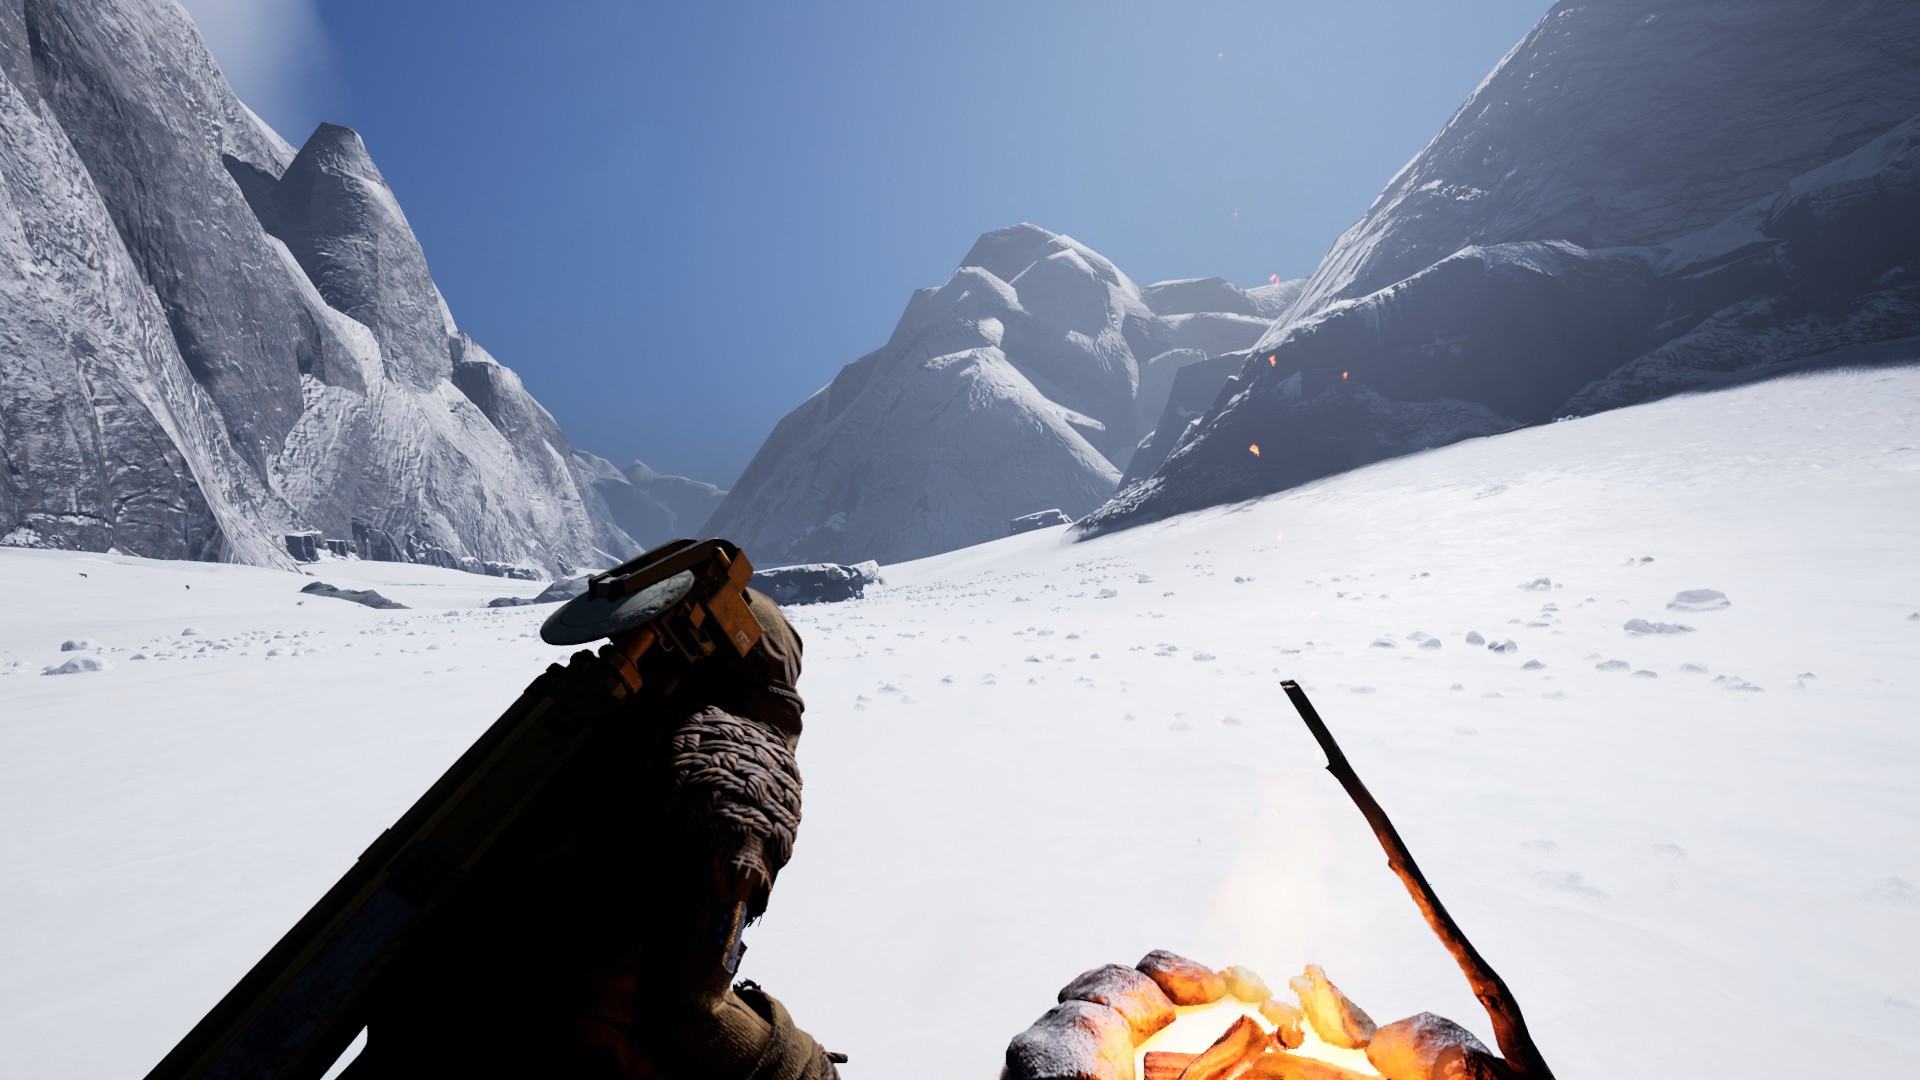
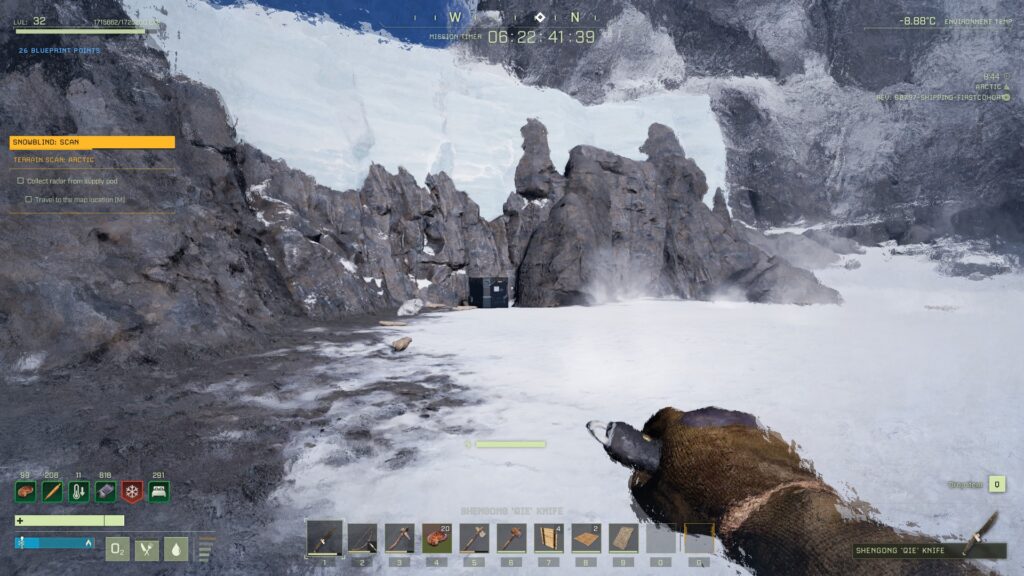
This region of the Arctic doesn’t seem to have Polar Bears, but there are many wolves and leopards. The wolves in particular like to gang up on you, so if you don’t think you can sneak around one, it’s better to kill it (and any friends it has that notice your violence) rather than getting attacked from behind. Make your way as quickly as you can to the supply crate in I-11, and once you’re there, set up your campfire and warm yourself up. Then get the radar from the supply crate.
The supply crate is tucked up against a cliff
Part 2: Scanning the Three Zones
Once you grab the radar, you should have three scan zones on your map. Open your map and double-click to set a waypoint on the marker in H-11, then pack up your campfire and start heading that way. As before, move quickly but with your eyes peeled for threats, and kill any wolves in your path. Make sure you’re skinning them and mining their bones as well, as you’ll need to replace your Bone Arrows.
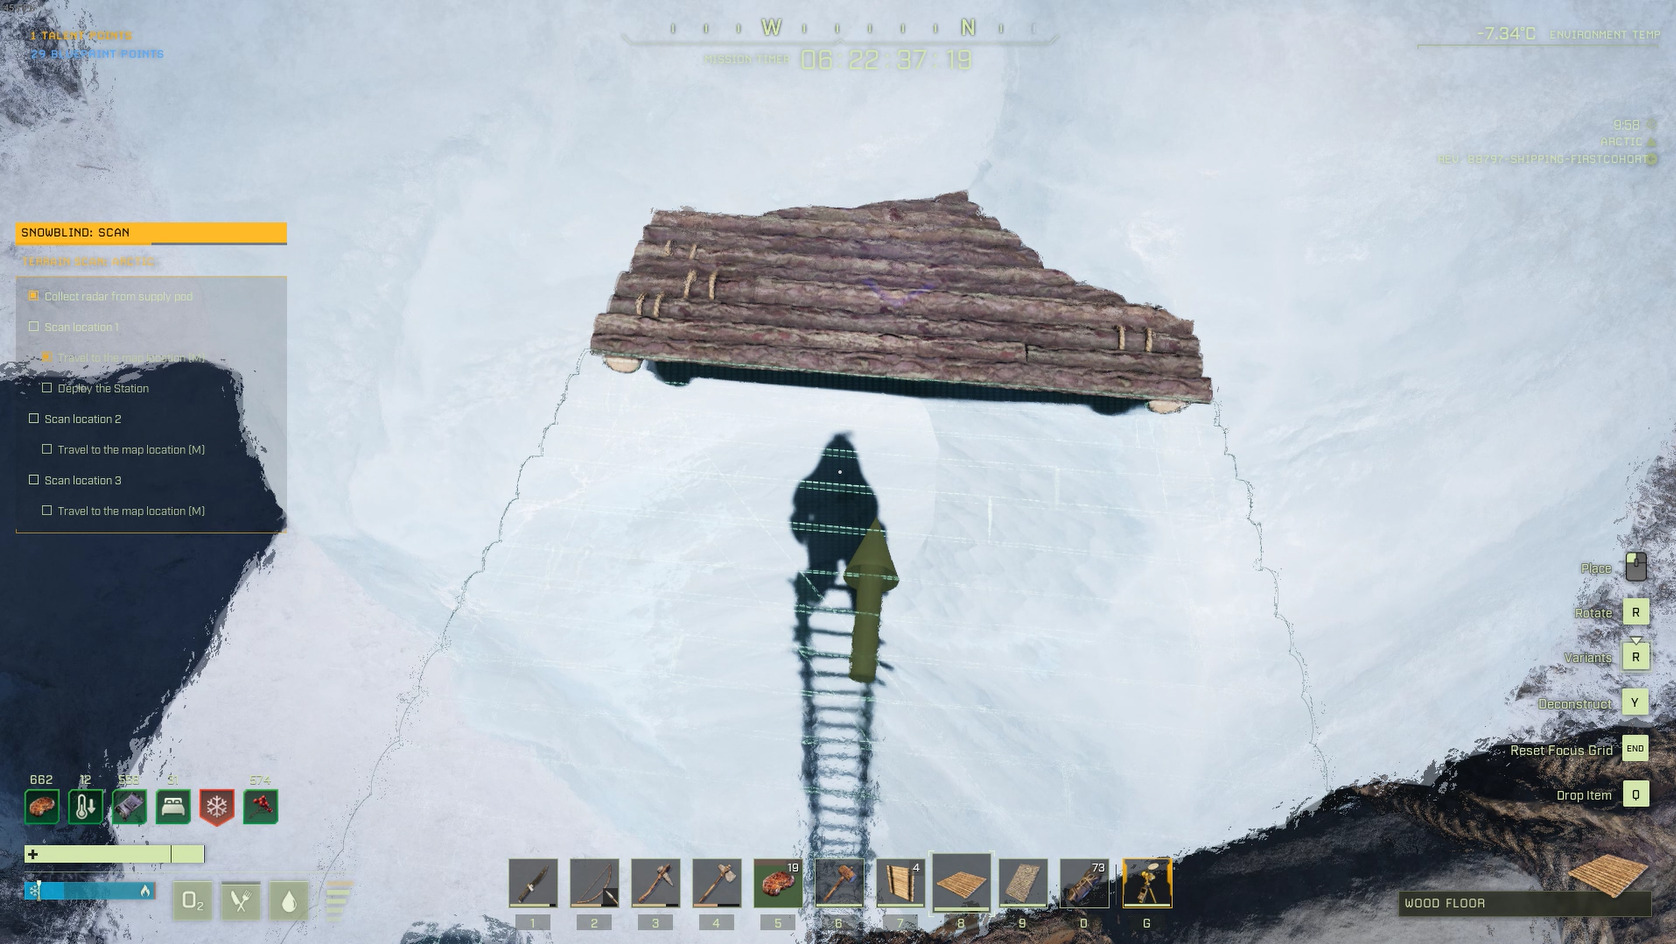
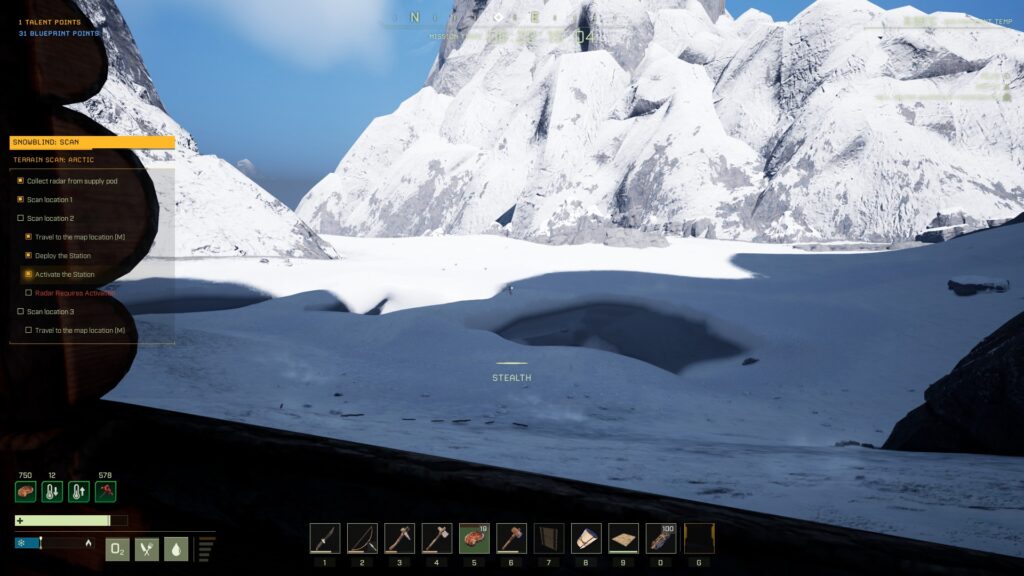
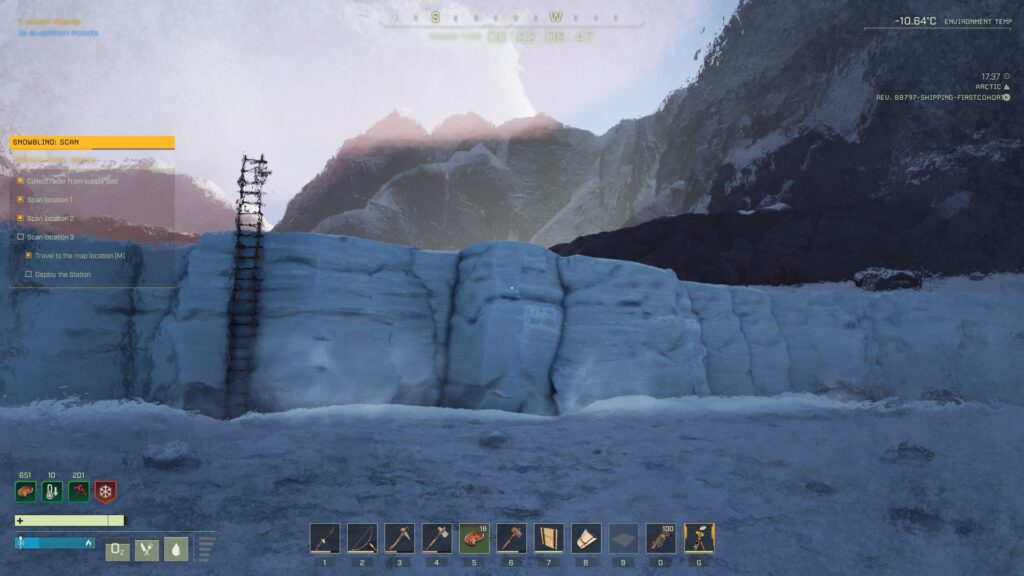
The first scan location is in a glacial valley. Note that sometimes a group of wolves will spawn and attack you when you get near the radar point, so try and do the next step (building the sniper’s nest) quickly. Before you place and activate the radar, build a sniper platform above its placement location by crafting and stacking 3 ladders, then climbing them and building a 1×2 platform — make sure the platform sticks out from the wall, and have the outer section be a trapdoor floor. It’s also a good idea to go a bit further north into the chasm and set up your shelter, and set your Bedroll as a spawn point.
Construct the nest while on top of the laddersIt will come in handy soon after you activate the radar (and sometimes even before that)
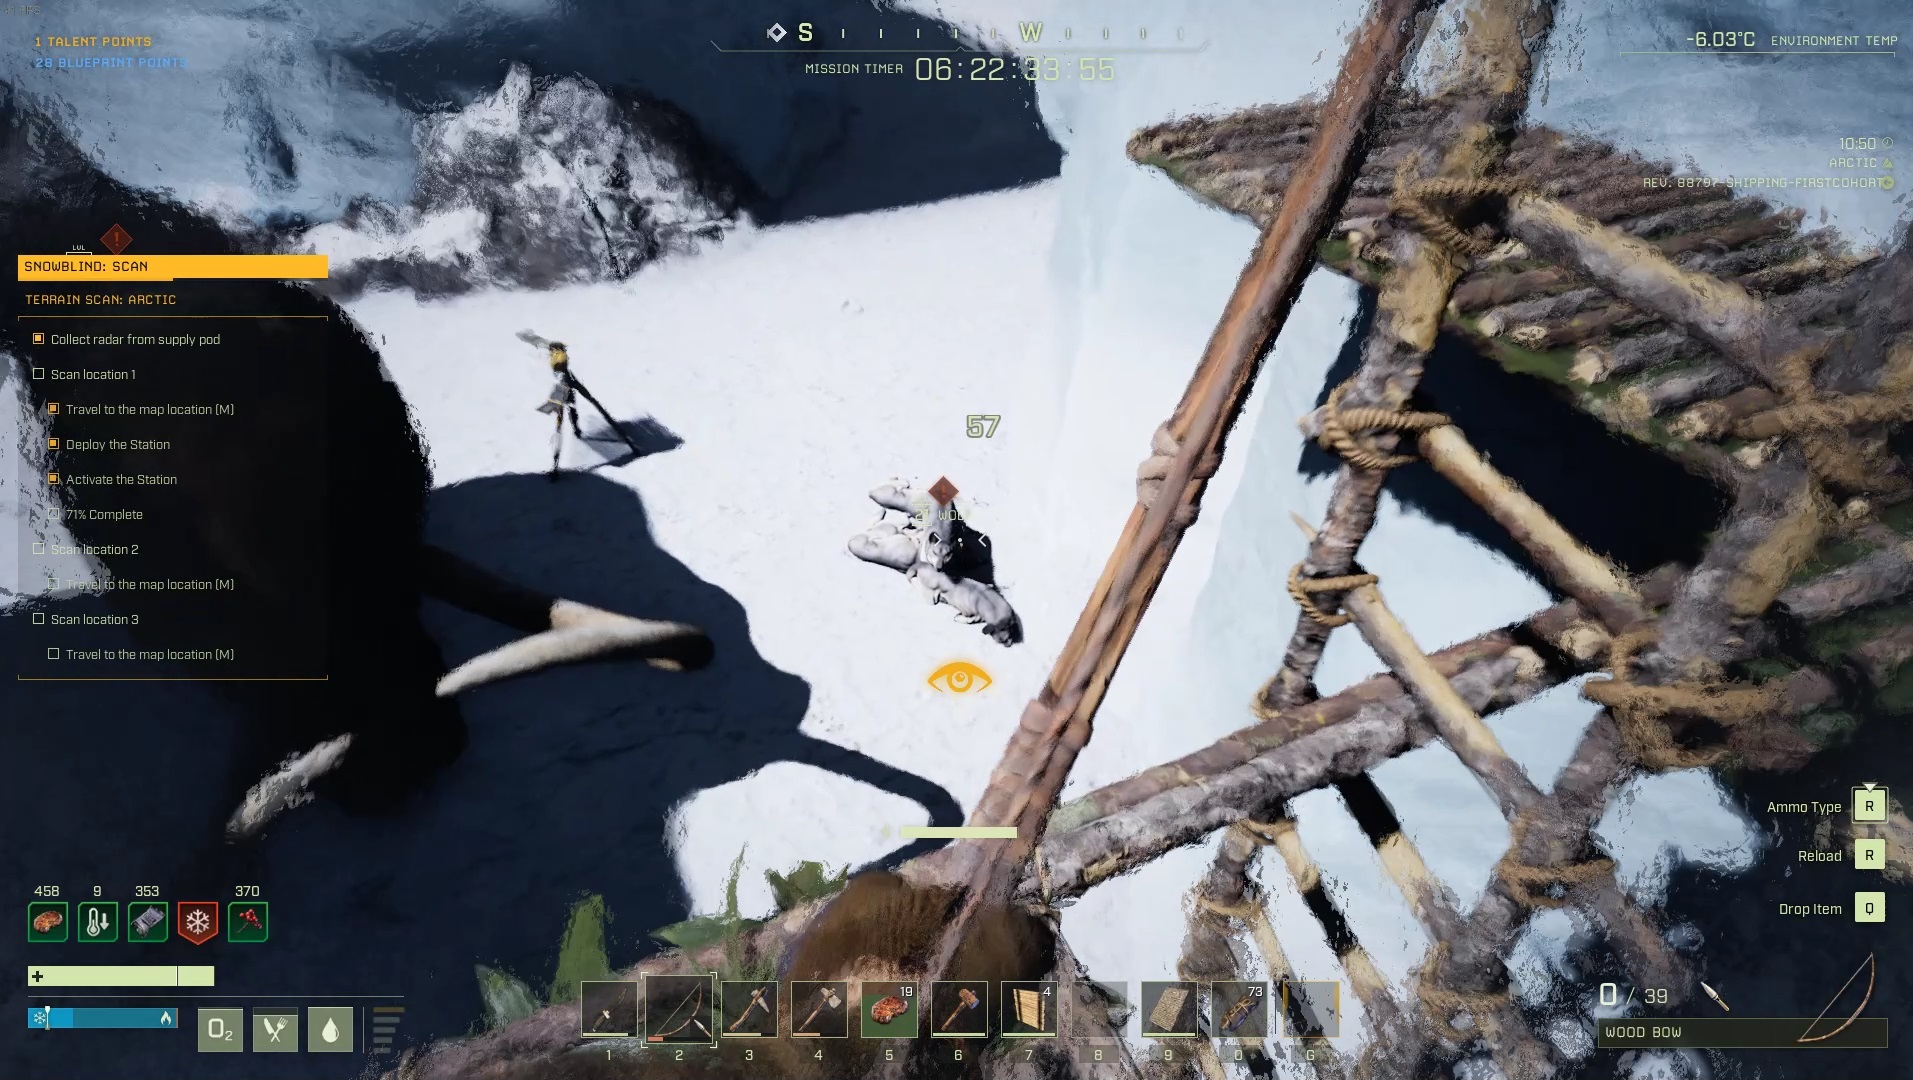
Once your platform is ready, go down and place/activate the radar, then climb back up. Stand on the outer floor piece, as the animals below may attack the floor piece attached to the wall if you’re standing on it. Once you’ve dealt with the wildlife, you’ll need to get back down. This can be difficult since they tend to destroy the ladders in their vain attempts to reach you; craft two more floor pieces, and then jump down while spamming left-click and aiming a bit away from the wall. If done correctly, you’ll end up placing your floor pieces below you (see this video if you’d like to see the technique in action).
As always, you’ll need to reactivate the radar after you’ve dealt with the attacking fauna, and pick the radar up once it’s finished scanning. While you’re waiting for the radar to finish scanning, warm up by your Campfire and cook a few bits of meat, and skin and mine the corpses you’ve just created. Also disassemble and pick up the components of your sniper’s nest. Once you’re done skinning and warming up (and crafting more arrows), grab your portable shelter and Bedroll if you’ve placed it, then set a new waypoint for the scan location in the upper-right of F-10 and head that way.
You’ll want to set up your shelter (making sure you use the window variant for the walls) to the west of the second scan zone. Do this before you activate the radar. A swarm of wolves will spawn once you activate the radar, and sometimes just when you approach the area, so hug the mountains to the south and set up your shelter before you even approach the scan zone. (Note that if you didn’t craft a door, you should place your walls into your hotbar and leave one wall off — you can then place the final wall after you enter the shelter.)
The view from the suggested shelter location
Once you’ve cleared out any wolves that have spawned, and you’ve got your shelter all set up, go set up and activate the radar, then run back to your shelter. You may have wolves attack you/the radar, or they may get stuck on the snowbank; if they do get stuck, approach carefully and from the highest ground possible to keep them stuck, then pick them off at your leisure. Reactive the radar and then pick it up once it’s done scanning — it’s not a bad idea to heat yourself (and cook a bit more meat) if you need to re-up before you disassemble your shelter.
Open your map and set a waypoint on the scan zone marker in G-9, then start heading in that direction. The final radar placement spot is on the low ground, so set up your shelter and bedroll on the ridge above. (If you’re a risk-taker and/or in a rush, you can skip building the shelter — this next part isn’t particularly dangerous.) Place a series of ladders south of the radar and climb up them after you activate the radar — two snow leapords spawn, and they are dispatched if you’ve got the high ground.
If you do decide to set up your shelter and set a spawn point (better safe than sorry), do it up on the ridge and a fair distance away from the radar
Once you’ve taken care of the predators, reactivate the radar, then pick it up once it’s finished scanning to complete the mission. For once, the mission ends relatively close to the dropship; set a waypoint at the Arctic’s exit in F-8, and off you go! Once you leave the Arctic, you can set a new waypoint on your dropship, reach it, and leave the surface.
We hope this SNOWBLIND guide was helpful! Questions and suggestions are always welcome in the comments below.
Share this article:
DanielD
Unabashed FromSoftware fanboy still learning to take his time with games (and everything else, really). The time he doesn't spend on games is spent on music, books, or occasionally going outside.