SOLID METAL is a stockpile mission for the ACS faction, who need resources for future prospects of their own. You’ll need to collect and craft a significant amount of resources in order to fill their order. This walkthrough will provide a list of required tools and deployables, as well as offer a specific strategy for completing your objectives.
This mission only lasts 6 hours — while you should be able to complete it with plenty of time to spare, you’ll need to do it all within those 6 hours, so try to walk the dog, eat, and start the laundry before you start this mission.
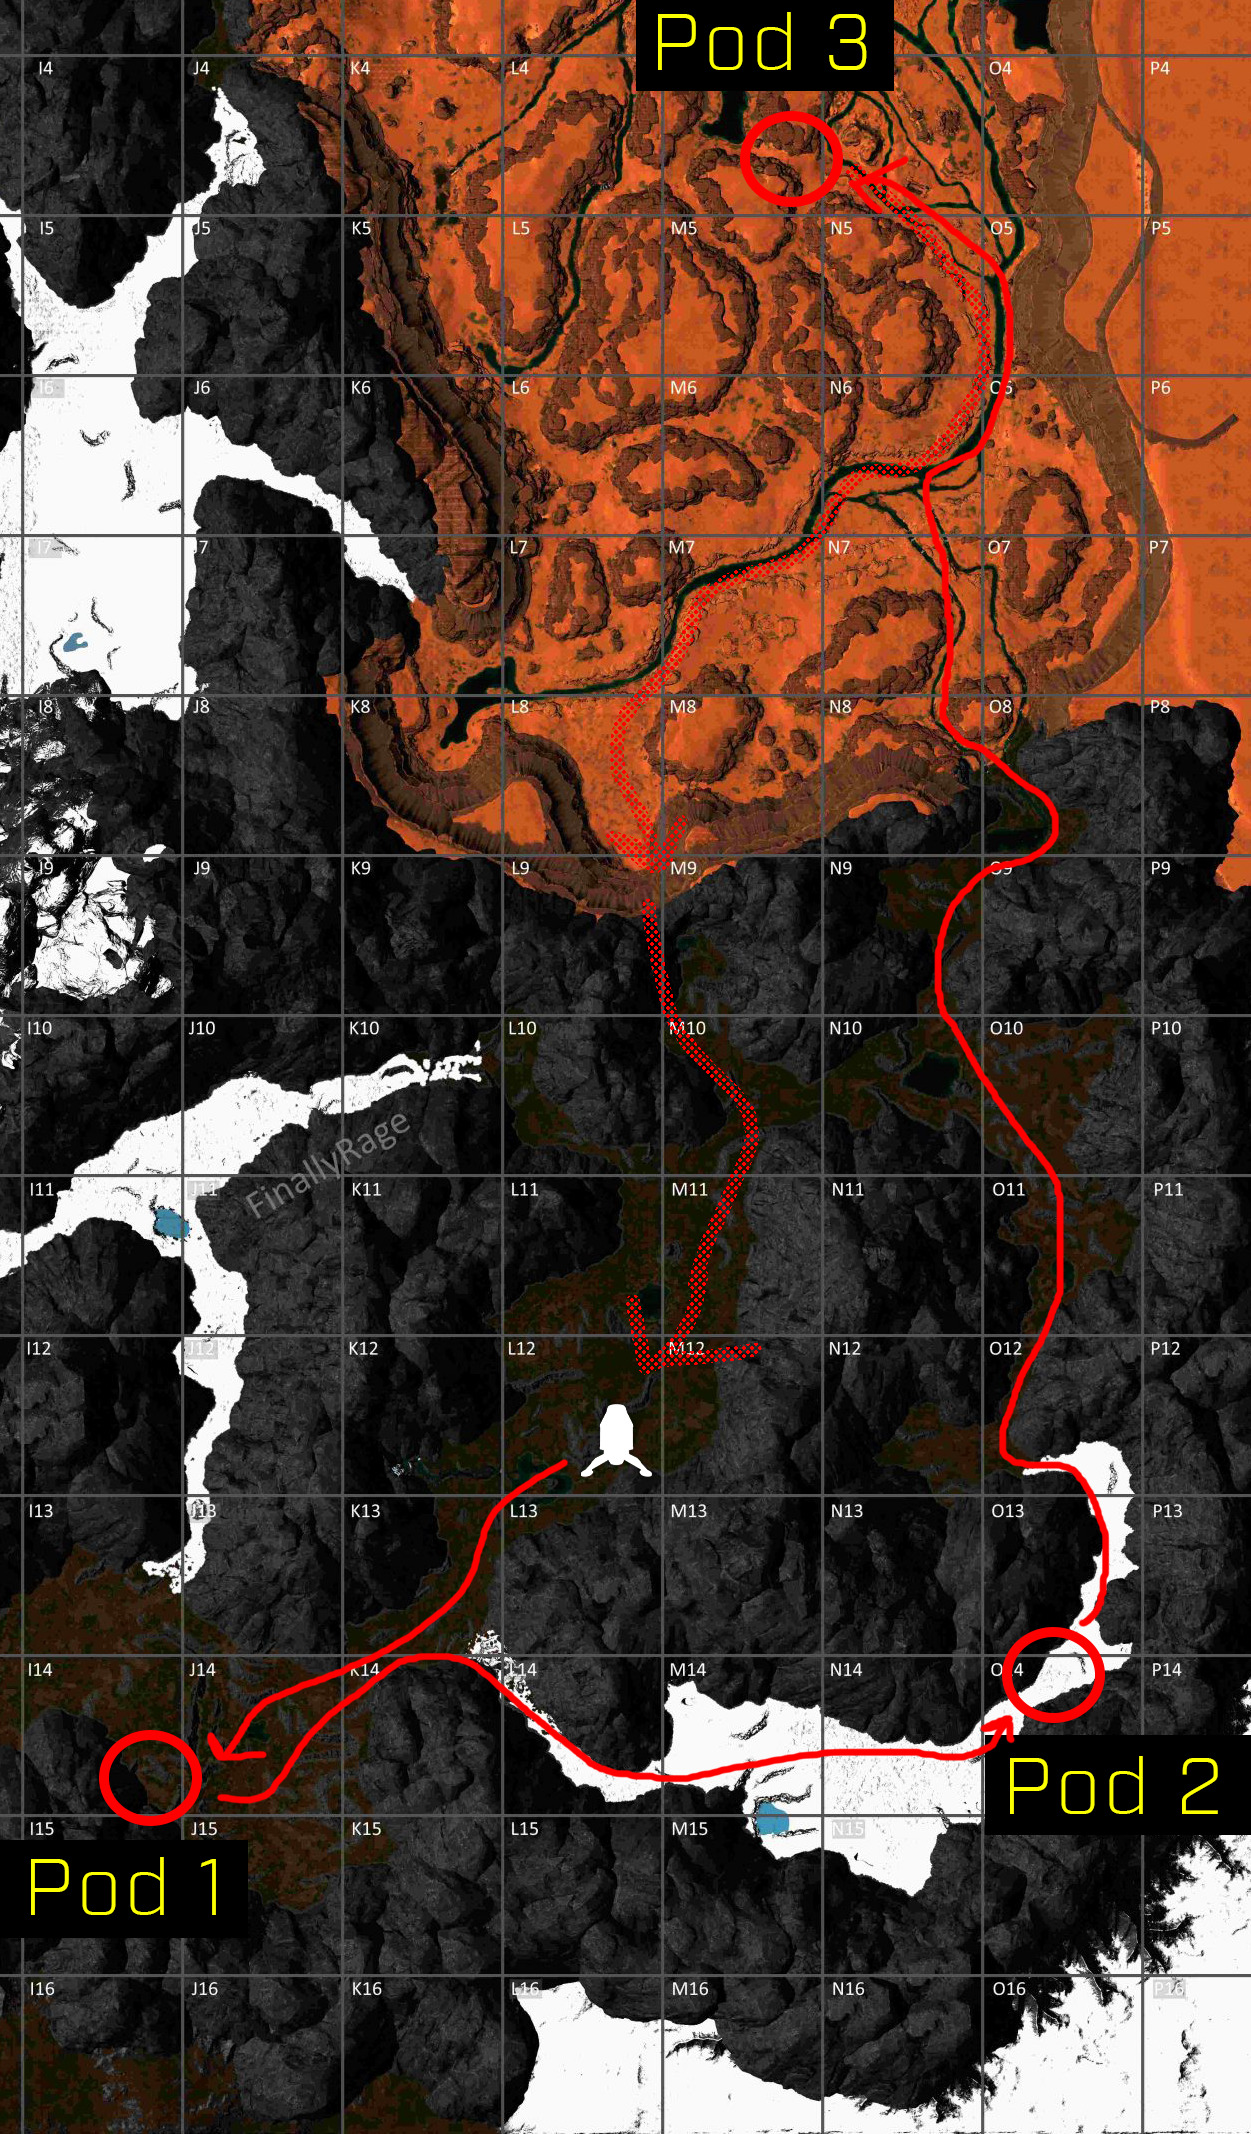
Since this is a Stockpile mission, you will need to collect and/or craft the listed resources. You will then need to deliver them to three different dropships. While the mission objectives you’re given upon landing indicate that you should head to the three locations indicated on your map, don’t do that. Instead, follow the directions below (or simply refer to the list above) and craft all required items in the location suggested by the guide.
All or most of what you need to collect and craft can be found in the caves near the first objective location. You’re free to build a base if you want, but putting all of your crafting equipment in one of the caves you mine first is more efficient.
To complete this mission, you’ll need to transport a significant amount of resources to three dropships
The solid red line indicates the path to each objective, while the dotted red line is the path back to the dropship
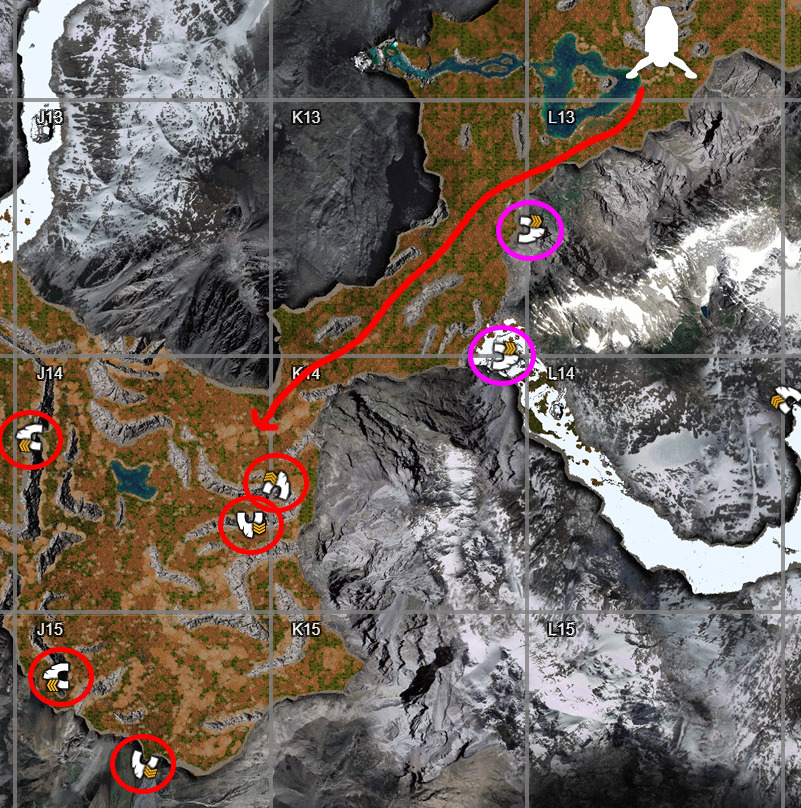
You’ll want to do most or all of your mining in the area just east of Pod 1. Your best bet for finding caves is Icarus Intel, the excellent tool created by FinallyRage. There will also be a map with suggested caves in Step 1.
Preparing for SOLID METAL
You’ll need to be at least level 20 to craft all the necessary items for this mission. See below for the full list of necessary blueprints:
If possible, bring a high-tier Workshop Knife and Pickaxe with you, as this will significantly shorten the time it takes to tech up.
Mission Walkthrough
Step 1: Mining Metal & Pod #1
You’ll land in the Forest Biome, and you should start by crafting all the basic equipment you didn’t bring from Orbit. Collect food as you craft your gear, and move southwest to the caves on the border of J-14 and K-14. They are on either side of the valley; one is hidden, while the other has an open entrance. Start in the open cave (since it’s easier to get in and out of), and set up your crafting deployables in that one. You’ll want to tech directly to the Anvil Bench, since even if you brought a pickaxe from Orbit it won’t last you the whole mission.
If you brought a high-quality pickaxe from orbit, go ahead and mine all the copper and iron you can find. If you are starting with a Stone Pickaxe, stick to just mining the iron you need to craft an Iron Pickaxe — once you’ve got one, you can start teching to the Concrete Furnace, smelt some Steel, and then craft a Steel Pickaxe.
Once you’ve got a Steel Pickaxe, go ahead and start mining in earnest. Here’s how much of each material you’ll eventually need to collect:
1334 Iron Ore (this includes the 300 Iron Ingots for Pod #1, the Iron you need for the Steel Ingots, as well as all the various deployables and tools you’ll craft)
Note that the above list only includes the ores you’ll be mining in and around the caves, and not the other materials required for the various deployables you’ll need.
It will take a long time to smelt all the ingots you need, so it’s a good idea to craft extra Stone Furnaces as required. You can finish mining the first cave, leave your furnace running there with plenty of fuel, and then craft another furnace and bring it with you to the next cave. By the time you’re done in that cave, the first furnace might still not be done smelting, but that’s OK — you can drop the finished ingots into your crafting table, then take that furnace with you to the next cave. If there’s still a ton of smelting left to do, you can always craft a third stone furnace instead of bringing it with you.
With any luck, you’ll be able to collect all the ore you need in the caves circled red. If you can’t, hit up the caves circled in pink before venturing into the Arctic (and if that still doesn’t do it, utilize IcarusIntel.com to find more caves)
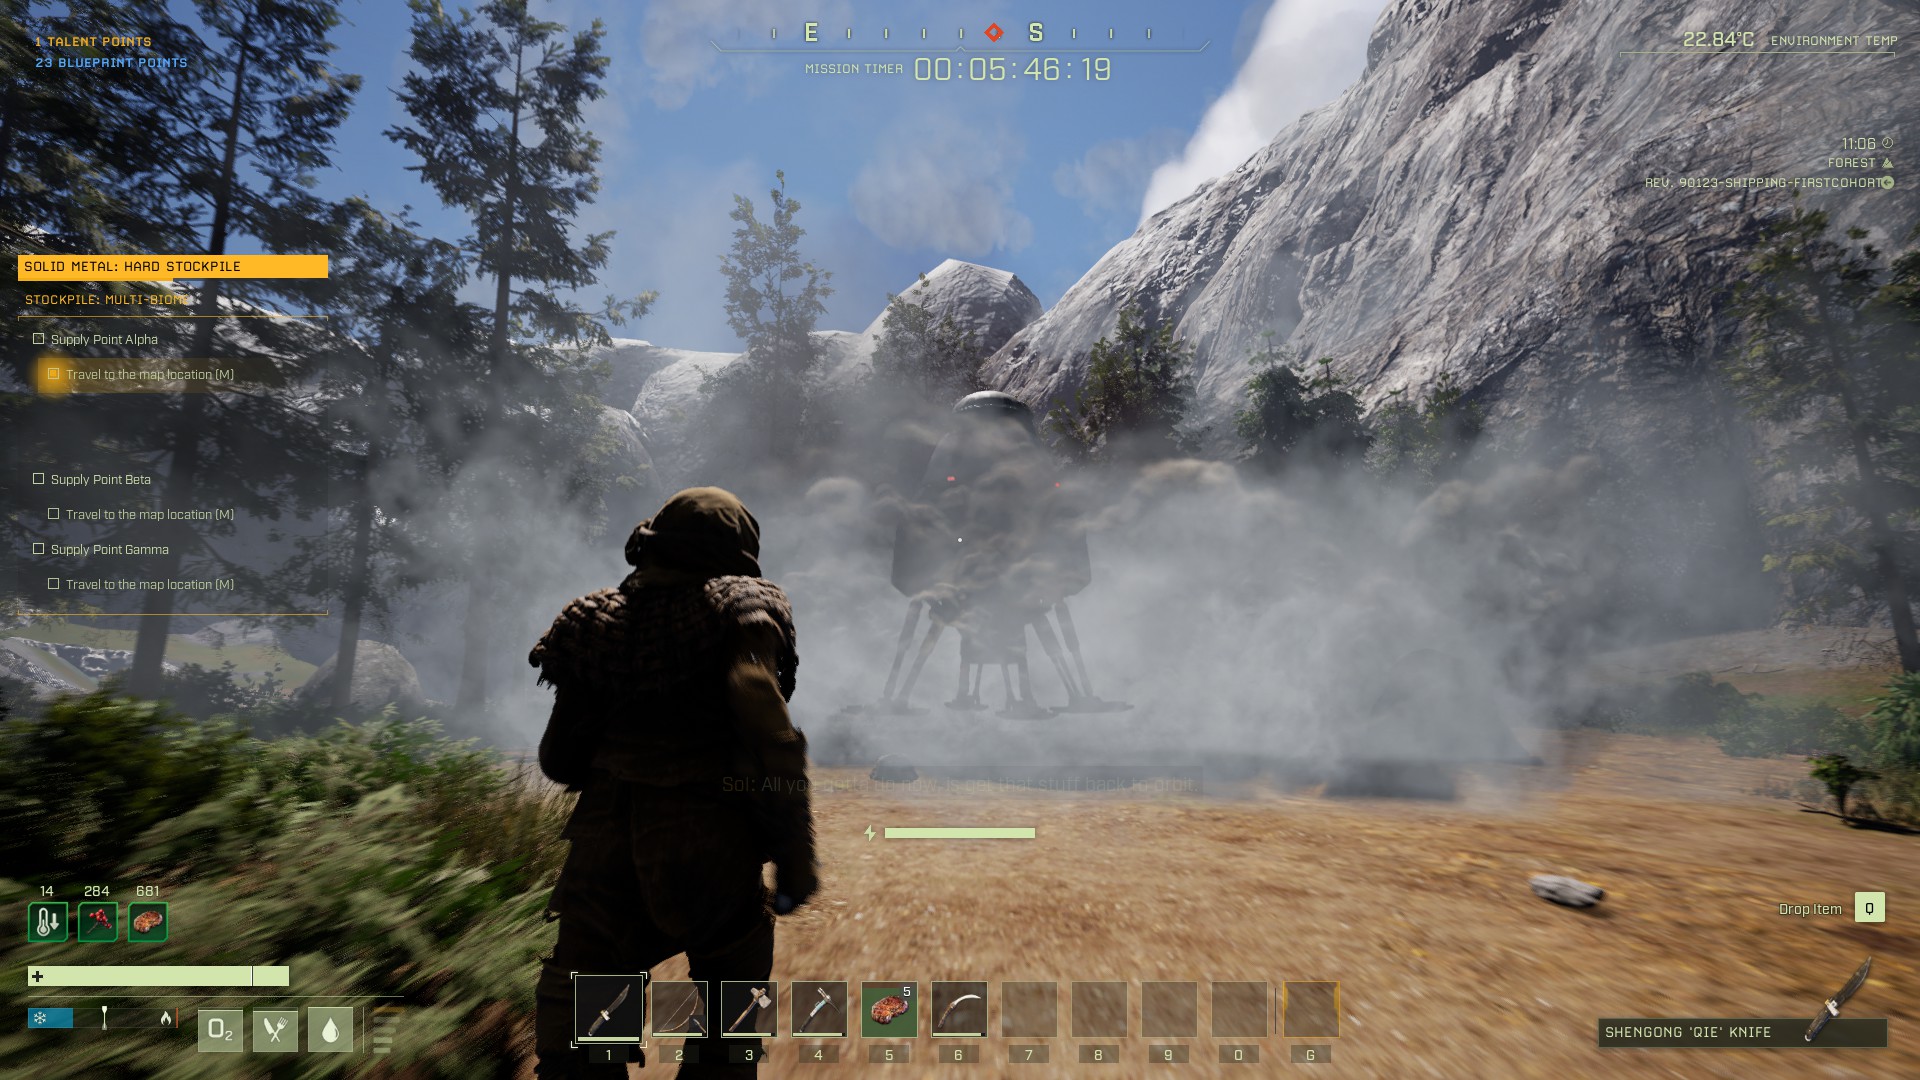
Once you’ve got a Steel Pickaxe, keep mining and smelt another 300 Iron Ingots, and then bring them to Pod #1 (it will land once you reach the blue objective marker in I-14). Open the dropship’s inventory, drag in 300 Iron Ingots, and watch it fly away.
Now continue mining and smelting Iron and Copper (plus mining Coal if you don’t have 100). Turn the iron into Steel Blooms at the Mortar and Pestle, and smelt the blooms in your Concrete Furnace to create Steel Ingots. Do this until you have 100 Steel Ingots and 200 Copper Ingots. Once you’ve got it all, put every last ingot in your inventory (you should have just enough room for food and weapons), bring a 1×1 portable shelter + Bedroll + Campfire + Repair Hammer + fuel, and head into the Arctic via the pass in L-14. Make sure you have at least 1 — and ideally 2 — inventory slots available.
Step 2: Collecting Ice & Pod #2
Enter L-14 carefully, as a Polar Bear patrols the narrow path up into the Arctic. There are more Polar Bears that can spawn throughout this next section, so continue to move cautiously whenever you don’t have clear vision of your path. As you make your way to the objective marker in O-14, stick to the edges of the zone (where the snow gives way to the mountains) and collect ice from the ground until you have 200. If you only have 1 inventory slot available, that’s OK, just collect one full stack for now.
If a storm comes, build and hide in your shelter. Keep an eye on your roof — if it starts to crack, remove it with [Y] and replace it before snow causes it to cave in. Don’t forget you need to repair damaged building pieces before you can pick them up with [Y].
Ice shows up in both patches of little pieces and as large chunks, usually where the snow meets the mountains
There is a Polar Bear spawn near the pod, so approach it carefully, and put all of the Copper and Ice into it. If you weren’t able to collect 200 Ice on your way to the pod, there’s plenty on either side of the narrow pass the pod is in, so just grab it from nearby and toss it in.
Step 3: Into the Desert & Pod #3
Once the second dropship takes off, head north all the way to the objective marker in M-4. It’s a good idea to follow the route as pictured in the map at the start of this guide, as sticking to the water makes it easy to kite predators safely. On your way north, mine any Oxite you see until you’ve collected as much as possible — you won’t be able to carry the 400 you need without becoming over-encumbered, so just get what you can.
Once you reach the final dropship location, set up your shelter and bedroll, set your bedroll as your save point, and then unload your Steel Ingots and any Oxite you’re carrying into the dropship. Then you can go and mine however much Oxite you still need; there should be plenty nearby in every direction. Once you’ve got 400 Oxite and the 100 Steel Ingots into Pod #3, it will take off, and your mission is complete!
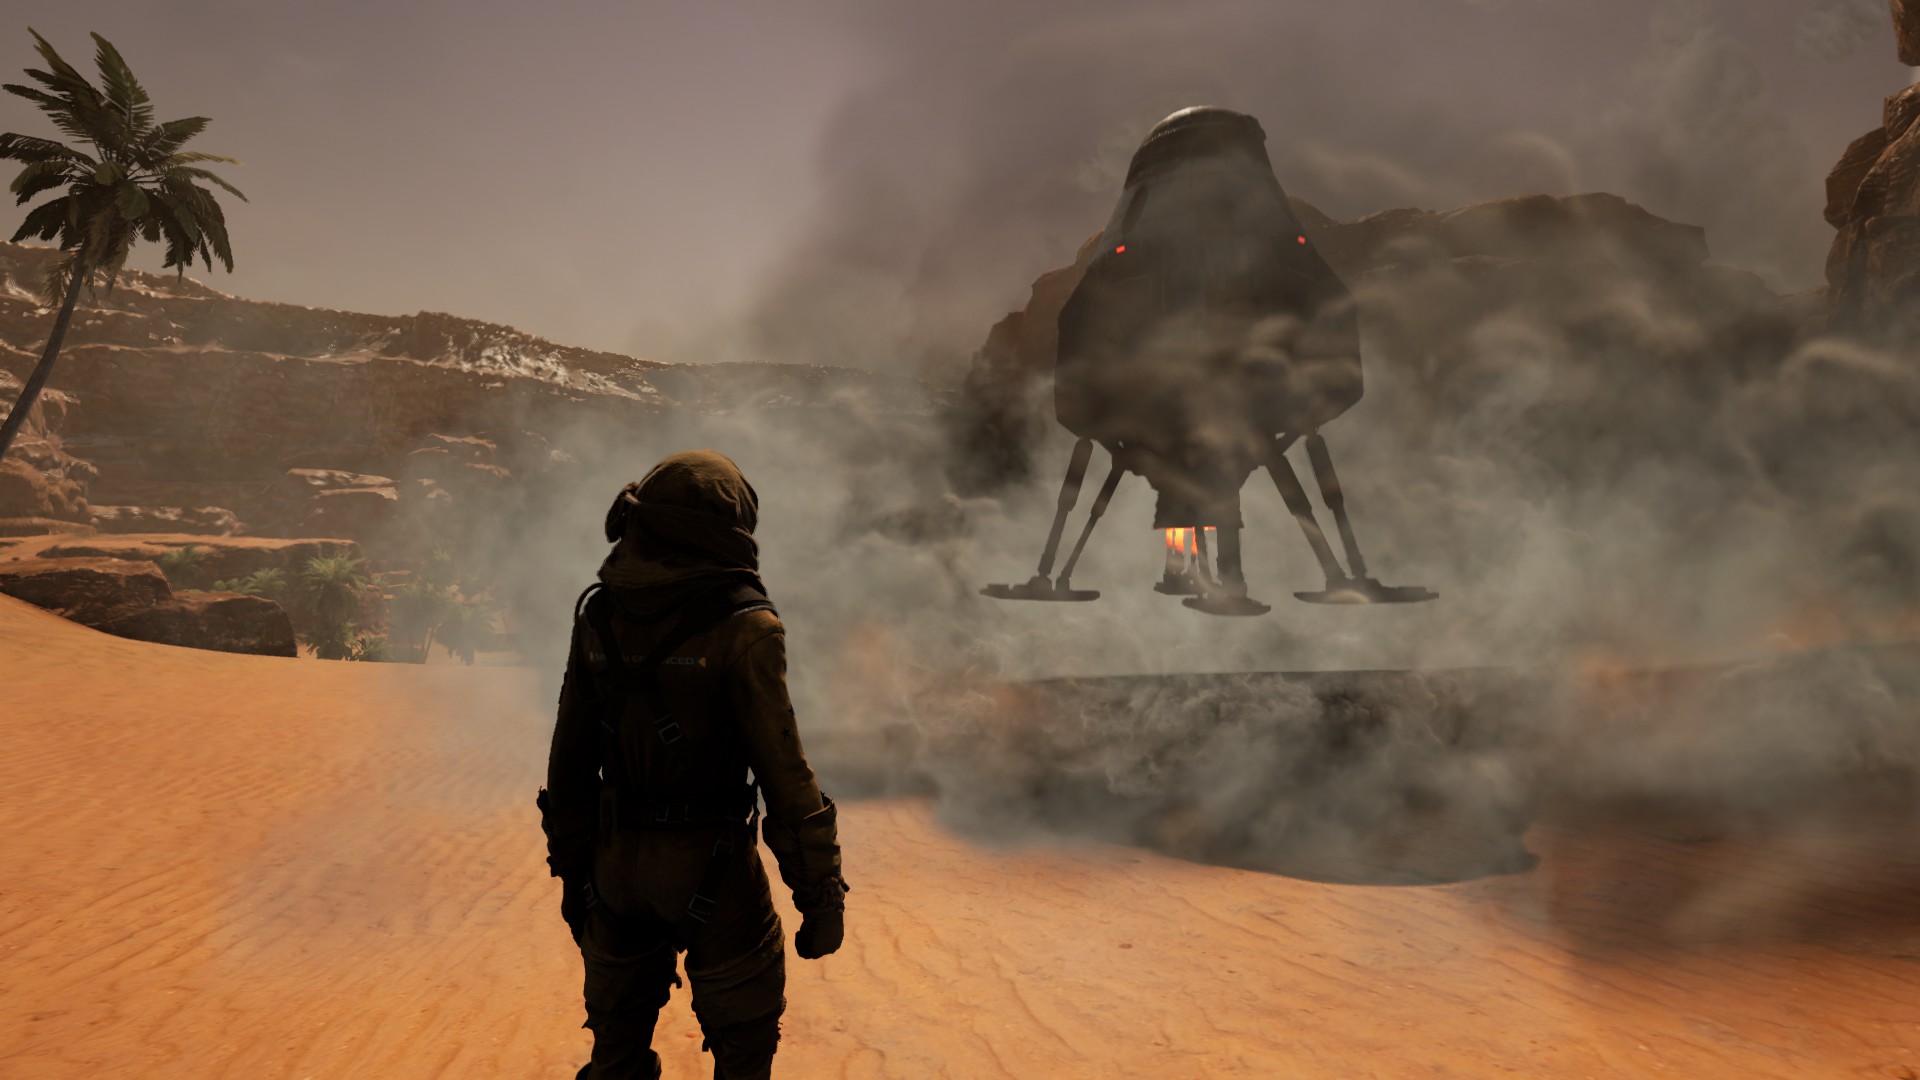
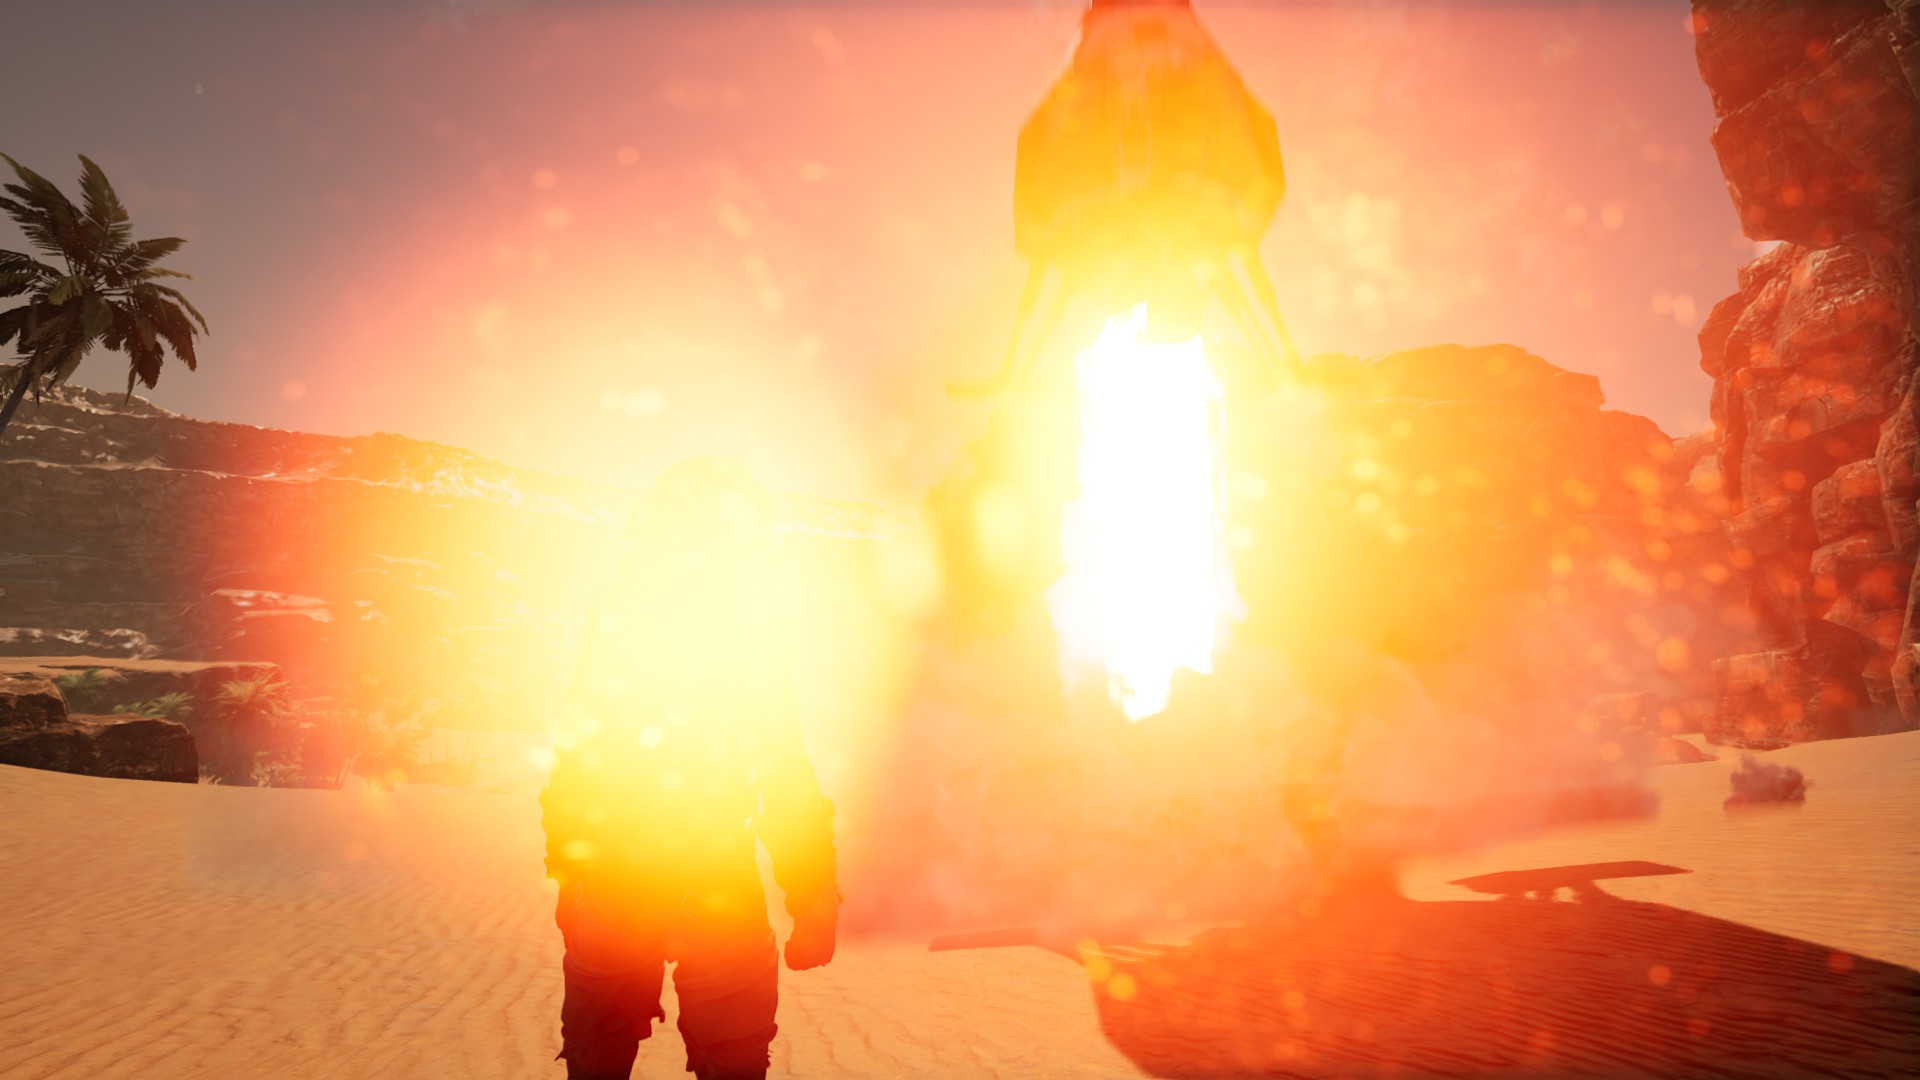
Apparently, it’s totally safe to stand this close while the dropship takes off
Now you just need to get back to your own dropship — check the map at the start of this guide for a suggested route.
We hope this guide for SOLID METAL was helpful! As always, questions and suggestions are welcome in the comments below.
Share this article:
DanielD
Unabashed FromSoftware fanboy still learning to take his time with games (and everything else, really). The time he doesn't spend on games is spent on music, books, or occasionally going outside.
300 iron ingots = 300 x 2 iron ore (600)
100 steel ingots = 100 x 6 iron ore (600)
That’s a minimum of 1200 iron to mine.
So how can you do that with 800 iron ore?
Considering the difficulty, this mission doesn’t pay much. Ramp Up is much easier and pays almost double.
Thanks for the correction samyala, I’ve updated the guide accordingly. As far as rewards go, I agree — this mission is a fair bit of work for an unimpressive payout.