In the NIGHTWATCH mission, you’ll be helping the Sinotai faction learn more about some strange rockforms. This guide will first list the relevant details of the mission, and then provide a step-by-step walkthrough.
Prospect Details
Approximate time to complete: 1 hour, not including runback
This mission is a lot of running for not a lot of reward. However, it’s very easy: all you need to do is travel to two different rock formations in the desert, touch them, and kill a few predators (that can’t reach you). You’ll travel via the Riverlands in between objectives, which is a relatively safe area.
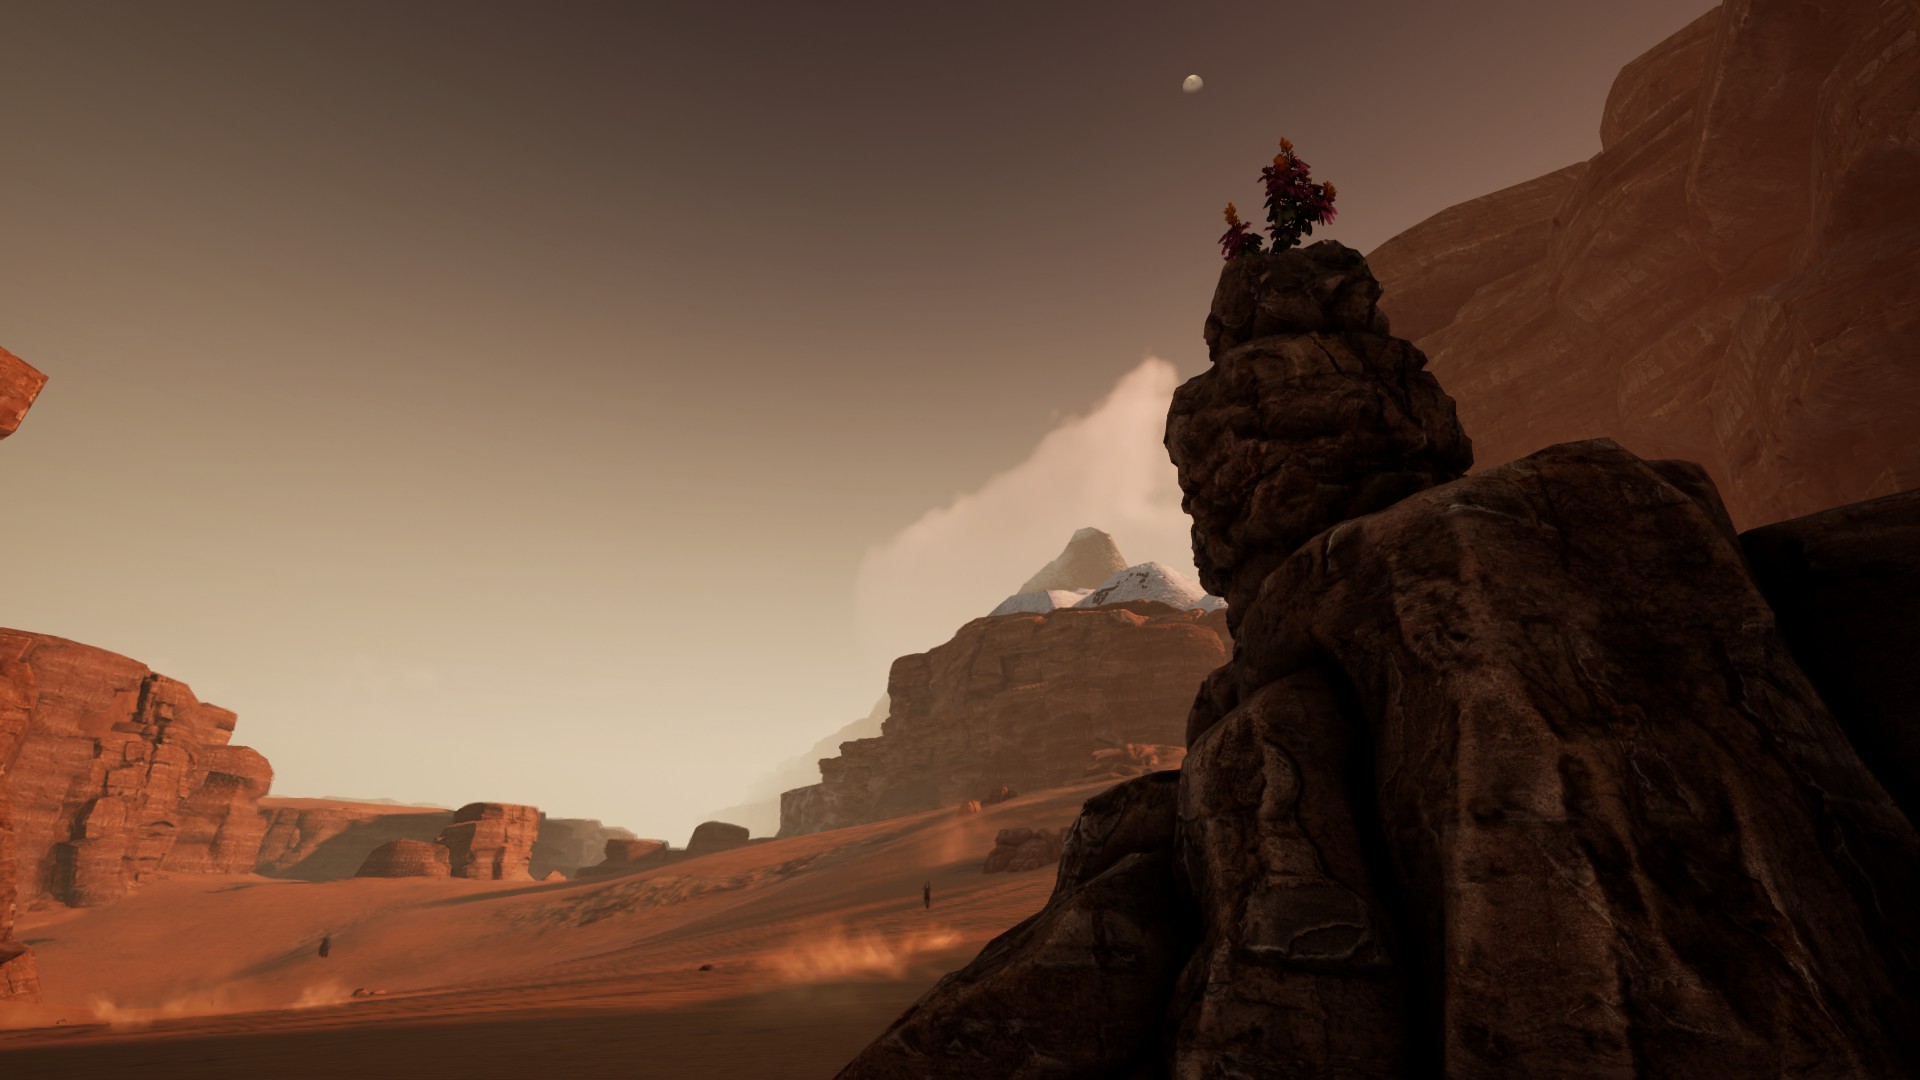
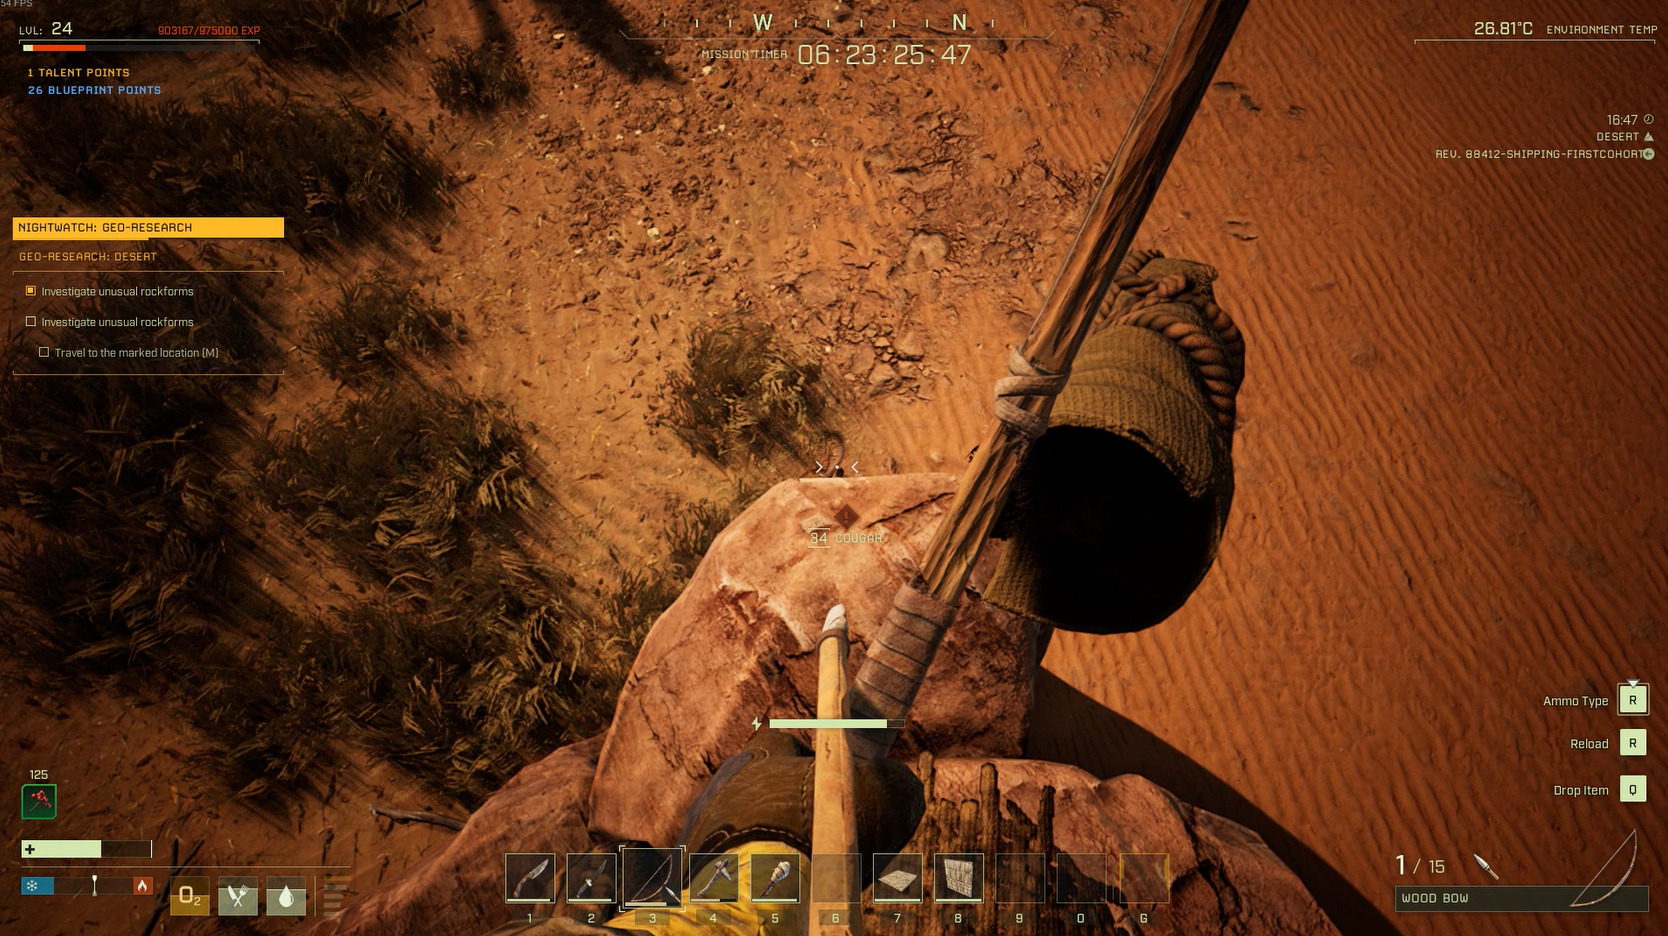
One of the rockforms you’re looking for
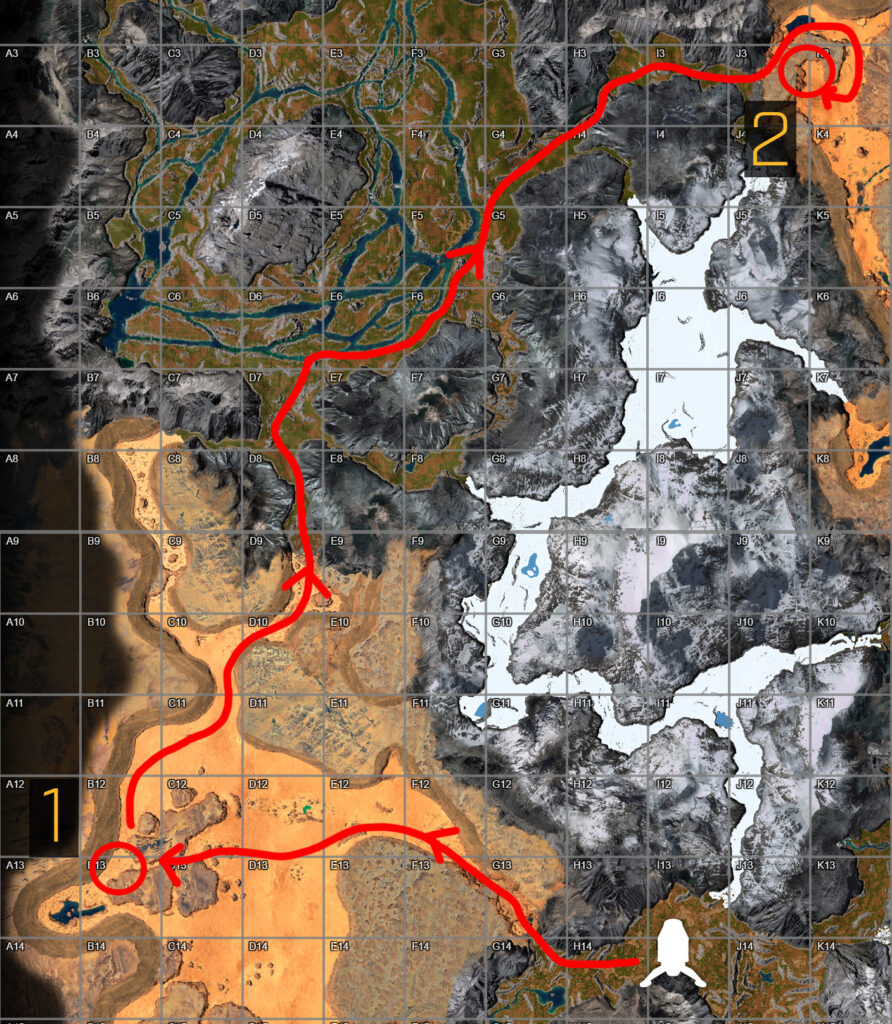
Red circles indicate objective locations — note that these must be done in order
Preparing for NIGHTWATCH
This is a relatively easy mission — if you follow the directions carefully, you should only need the bare minimum of equipment. Don’t bring anything from the Workshop, as the runback is very long and you’ll likely want to kill your Prospector to return to the dropship. Still, you’ll want at least the following:
Repair Hammer (so you can repair it/be able to pick it up)
Anything that lets you run faster will be helpful in completing this mission:
Fleet Footed [Solo – Solo]: 2 points
+10/15% to movement speed. This talent will come in handy when dodging a certain enemy’s attacks.
Mission Walkthrough
Like many missions, this one ends once the final objective is completed; you don’t have to get anything back to the drop pod. The runback is also very, very long. For this reason, try to time your XP gain so that you finish leveling up around the time you reach the final objective.
Step 1: Entering the Desert & The First Unusual Rockform
Once you land, open your map and double-click the very top-middle of G-14 — this is where you’ll enter the desert. Start collecting rocks and sticks to make a knife and a bow and arrow — there are wolves in the transition to the desert, so be ready. Start killing animals and crafting Bone arrows. Once you’ve collected a few different types of food and have slain at least an animal or two, craft a Campfire and cook your food — the bonus stamina and health makes the rest of the mission faster and safer. Chop down nearby trees while you wait; you’ll need the wood to create a small shelter.
Once you have your weapons and the 4 Walls and 2 Floors you need for a shelter, you can head into the desert by using your waypoint. Once you reach the sands, reset your waypoint for the objective marker on your map in B13, and start heading that way. If you don’t have a stack of Berries, stop at the oasis in D12 to refill your water. Set up your shelter if you start taking Exposure damage from a storm, but otherwise keep moving.
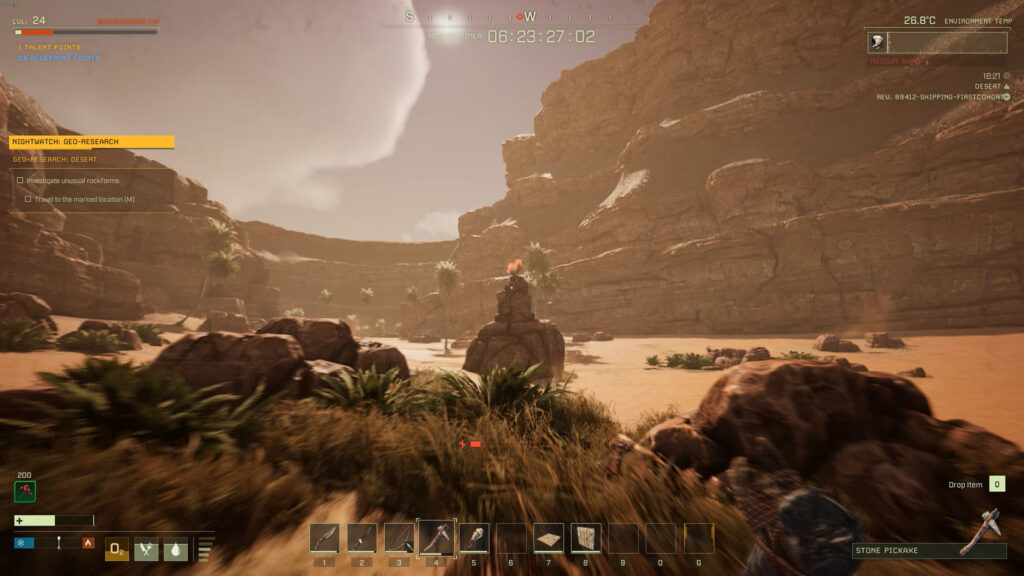
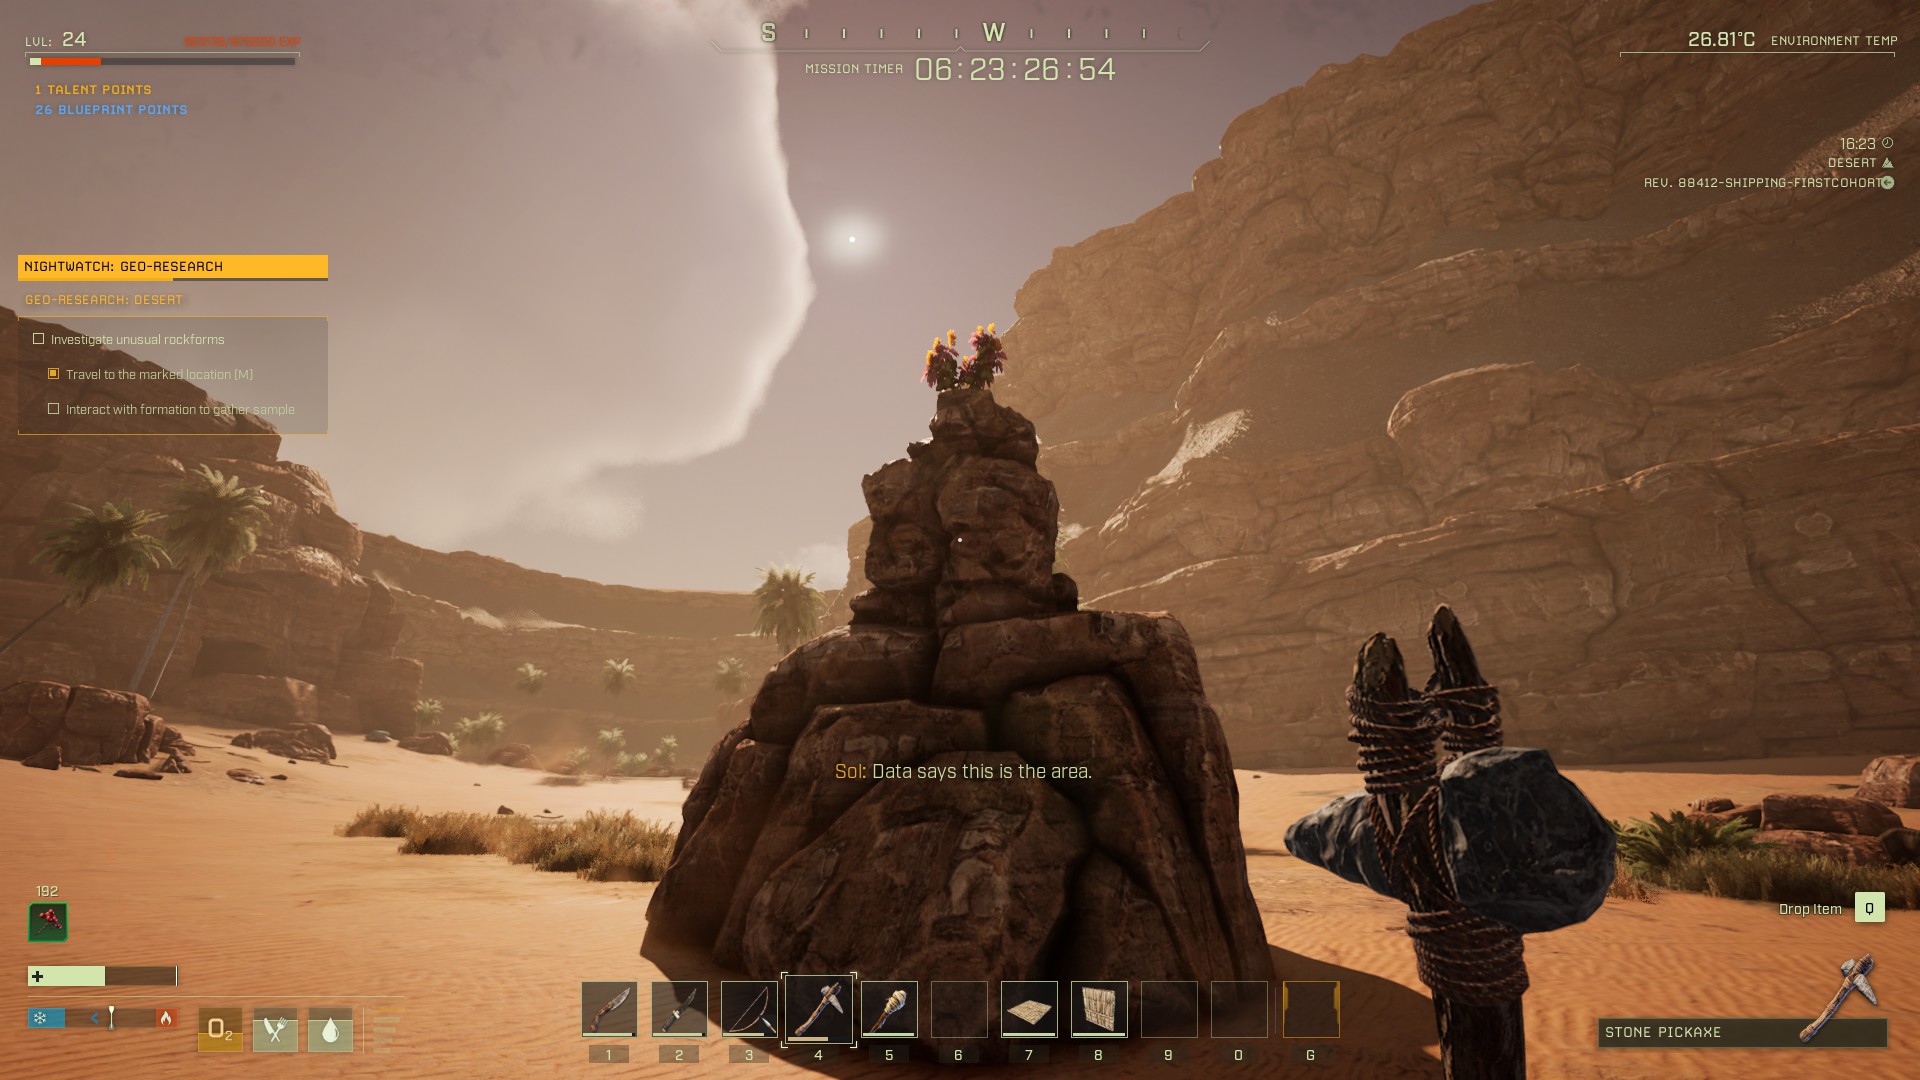
When you reach your waypoint, you’ll see a rock with a flower on top. Don’t touch it yet! Set up your shelter, craft a Bedroll and set it as your spawn point, and start cooking any meat you have as well. It’s probably close to night by now — if it isn’t you can go ahead and do the next step. Before you do so, make sure you eat a piece of meat, and have a few others in your hotbar just in case.Also make sure you have at least ~25 arrows.
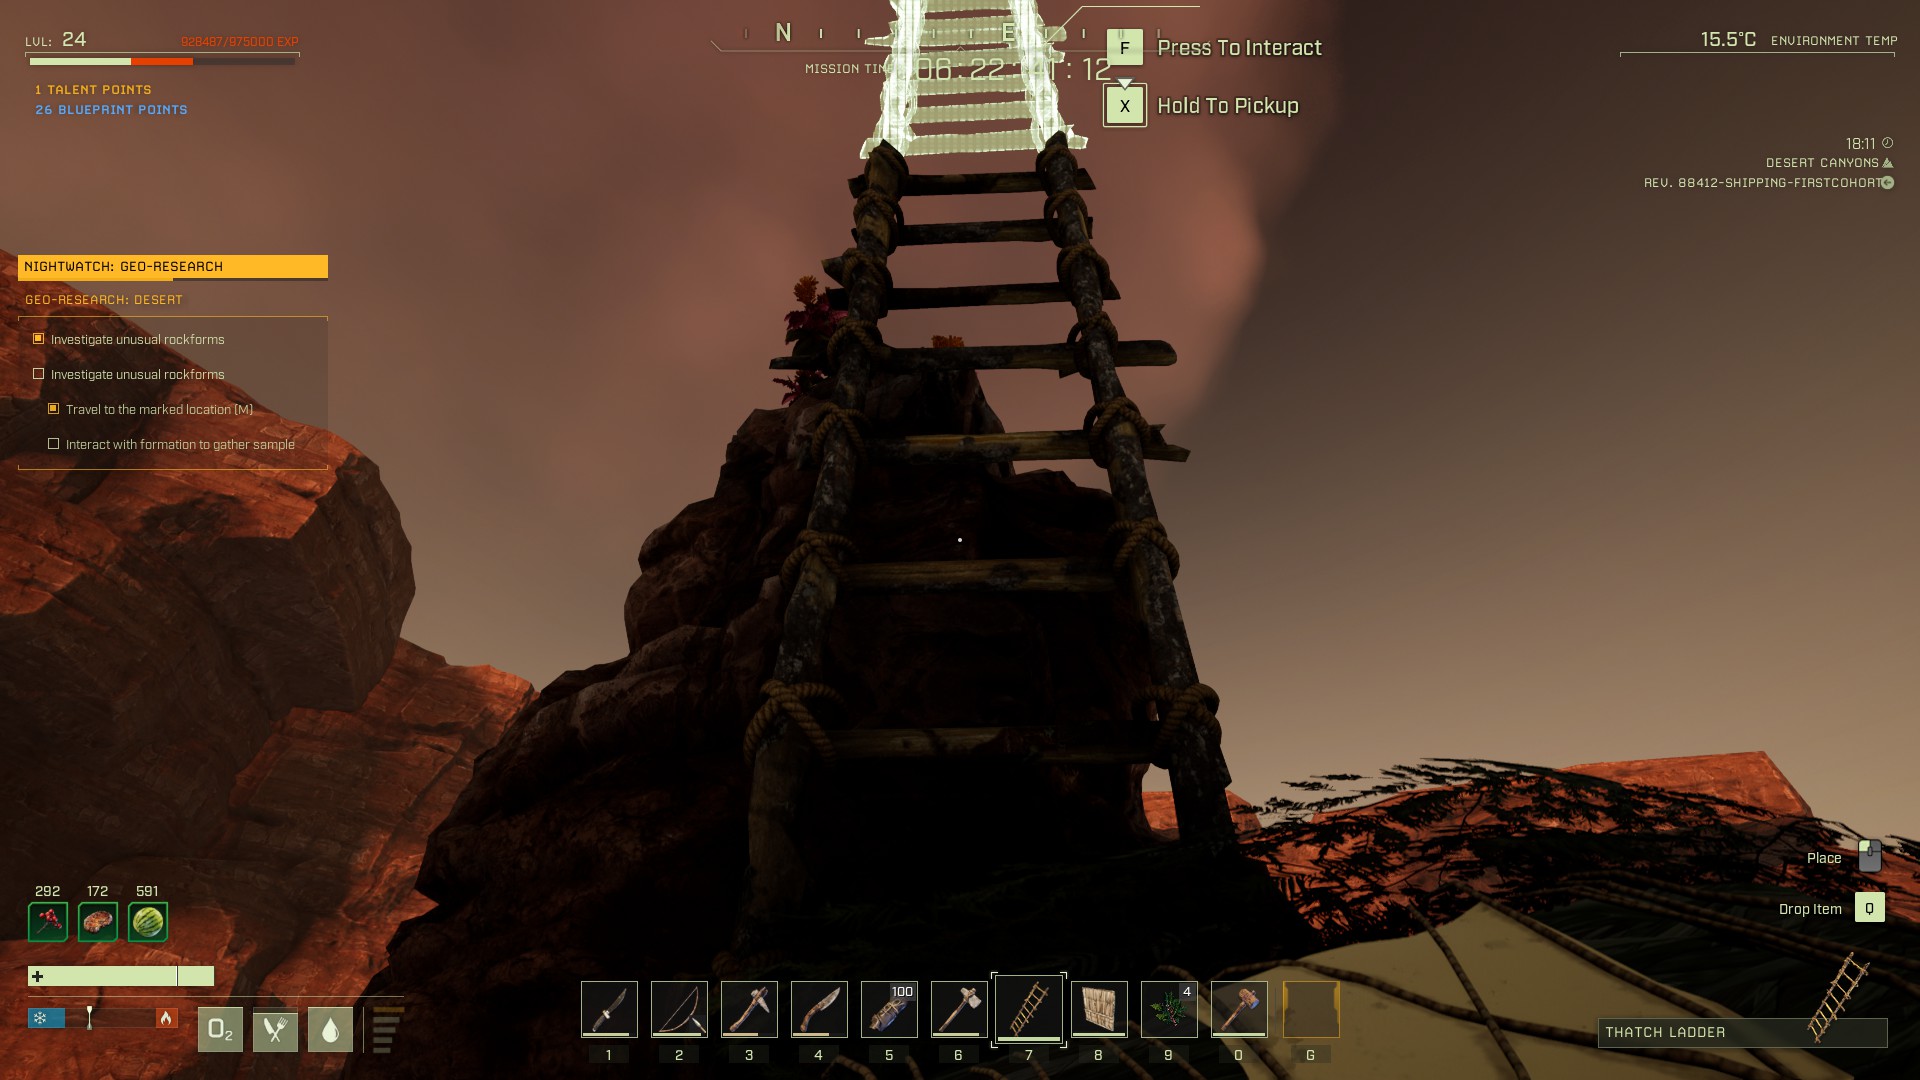
Craft two thatch ladders and jump up onto the low ledge on the eastern side of the rock. Then place a ladder and climb up to the top of it. Once you’re up nice and high (ideally standing on the flower), press [F] anywhere on the rock to “Try and Touch” — this will spawn a bunch of cougars, which you should be able to take out from your position without them attacking you. You may have to circle to the other side of the rock, but the cougars seem unable to get on it at all, so you should be safe.
Jump up from this side, then circle to the other sideIt can be tricky to hit all the cougars from up high, so you may have to jump down to finish off the last few
Part 2: The Riverlands & The Second Unusual Rockform
To get to the next objective requires a hike across the entirety of the Riverlands. While this area is fairly safe, because you can use water to kite predators, it’s quite a long hike, and there are a number of high-level bears. If you don’t have a full set of Cloth Armor, craft it ASAP, since it’ll cut down your travel time by 5%. It’s also a good idea to set up a respawn location once you’re in G-4, as the area beyond that is narrow and has bear spawns.
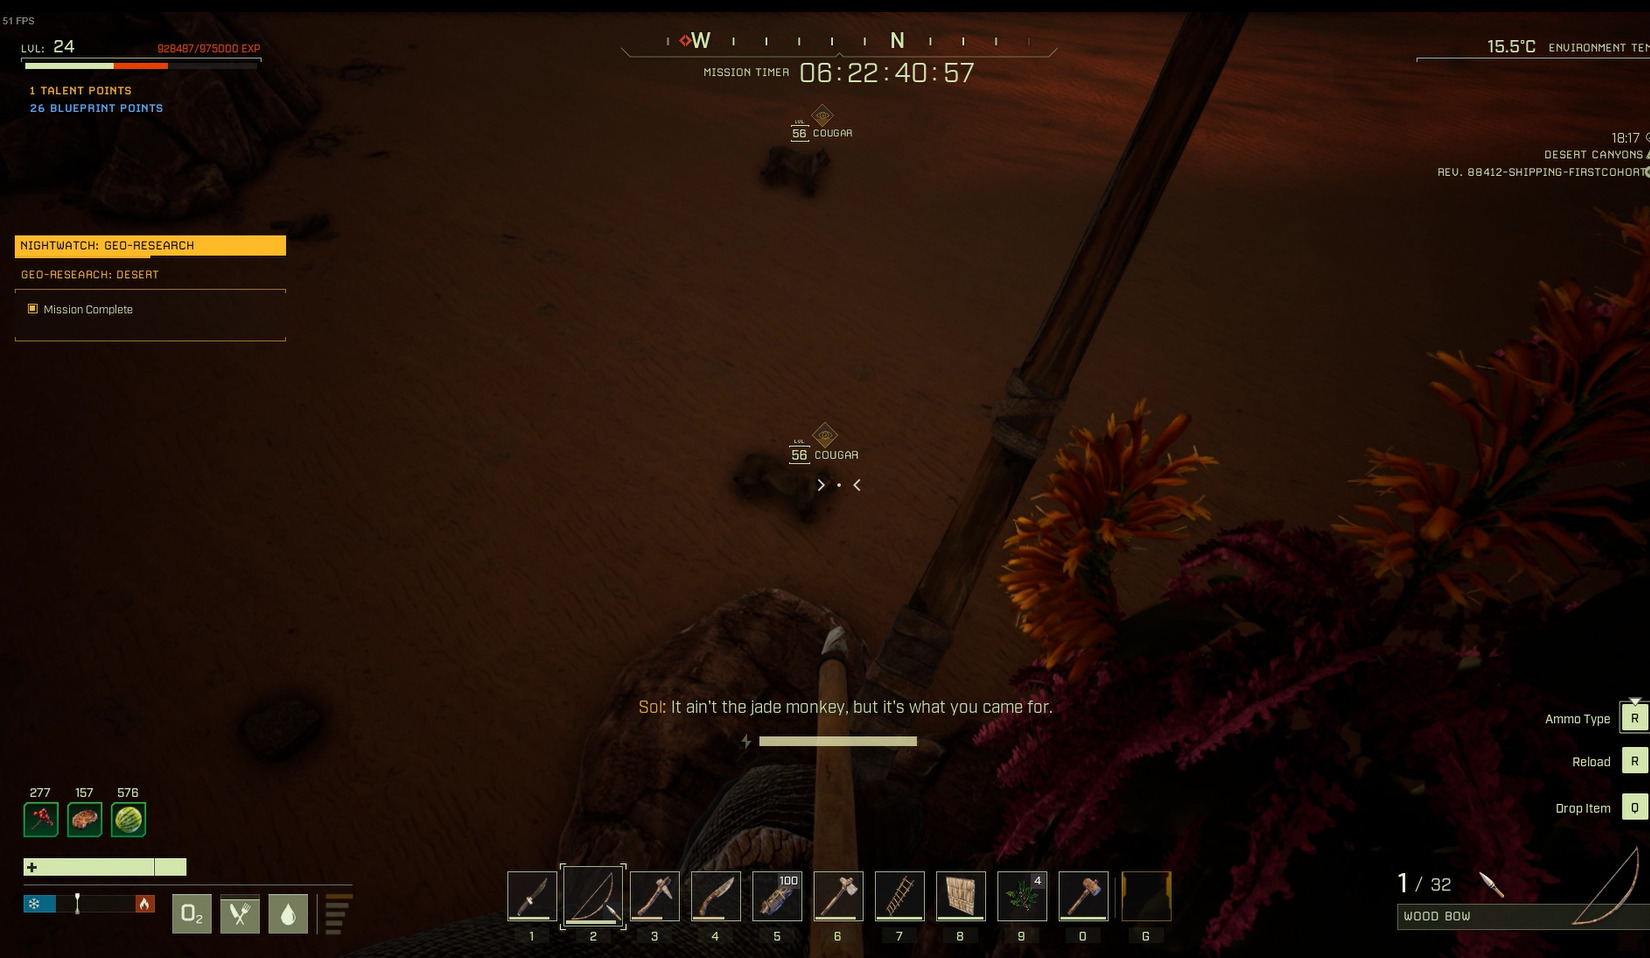
Once you reach J-3, you can choose to go north or south around the mountain there. The recommended path leads North so that you can refill your water, but it’s a little longer. Either way, make your way to the objective that lies on the western edge of K-3, and do the same thing as last time: Craft arrows if you don’t have at least ~25 before you touch the rock, use ladders to climb up to the flower, then “Touch the rock” and then kill the predators that spawn with your bow. If you have the resources for it, it also isn’t a bad idea to craft a Bedroll and shelter, and set a new spawn, before attempting to touch the rockform.
Climb up to the top before activating the rockIf you crouch while at the very top, the predators may not even aggro
Once you’ve touched both rockforms and lived to tell the tale, your mission is complete!
It’s a pretty long run back to dropship, so if you don’t have any Workshop gear to save (hopefully you followed our directions and didn’t bring any), it’s much faster to pick up your Bedroll and then end your poor prospector’s life, respawning near the Dropship. Don’t forget about XP debt – if you’ve got a decently filled XP bar, you should finish leveling up, or else bite the bullet and get back to the dropship the old-fashioned way. It is likely that areas besides the ones you already entered are out of bounds for this mission, so your best bet is to head back the way you came, through the Riverlands and then the desert.
We hope this walkthrough for the NIGHTWATCH mission was helpful! Please leave any questions or suggestions in the comments below.
Share this article:
DanielD
Unabashed FromSoftware fanboy still learning to take his time with games (and everything else, really). The time he doesn't spend on games is spent on music, books, or occasionally going outside.