For the AGRICULTURE prospect, you will divide your time between harvesting, hunting, and cooking to provide the Sinotai faction with enough food and raw materials to supply an army… or at least their orbital station.
Your cargo pods are several kilometers apart, and this walkthrough will fill you in on what you need to prepare ahead of time. The Faction probably won’t leave you a tip, but we have plenty for you at the end of this guide to maximize your production rate and complete this Icarus-themed grocery delivery order in five-star time.
The Southwest Cargo Pod in G14 is for harvested food, while the Northwest Cargo Pod in L12 is for skinned meat and materials
Preparing for AGRICULTURE
On this prospect, you are a task rabbit running up and down the Forest region, furiously looting plants and animals alike. In fact, it’s worth stating that this is not a farming mission, it is a scavenging and hunting mission. You can still use farming to help meet your quota, just know that it will slow you down.
Consider putting a couple of talent points into skills that increase hunting yields, as well as bringing a workshop knife that does the same. Since the best hunting yields come from predators, don’t skimp on the armor and cook up a stack of meat to heal. As for the tools: easily crafted, ranged weapons like the bow & arrows, spears, as well as your own two hands are your workhorses to satisfy Sinotai’s insatiable appetite for Icarus resources.
The production quotas are straightforward. To meet them efficiently, you should move back and forth between the Cargo Pods, harvesting and hunting as you go. Get ready to work those gams!
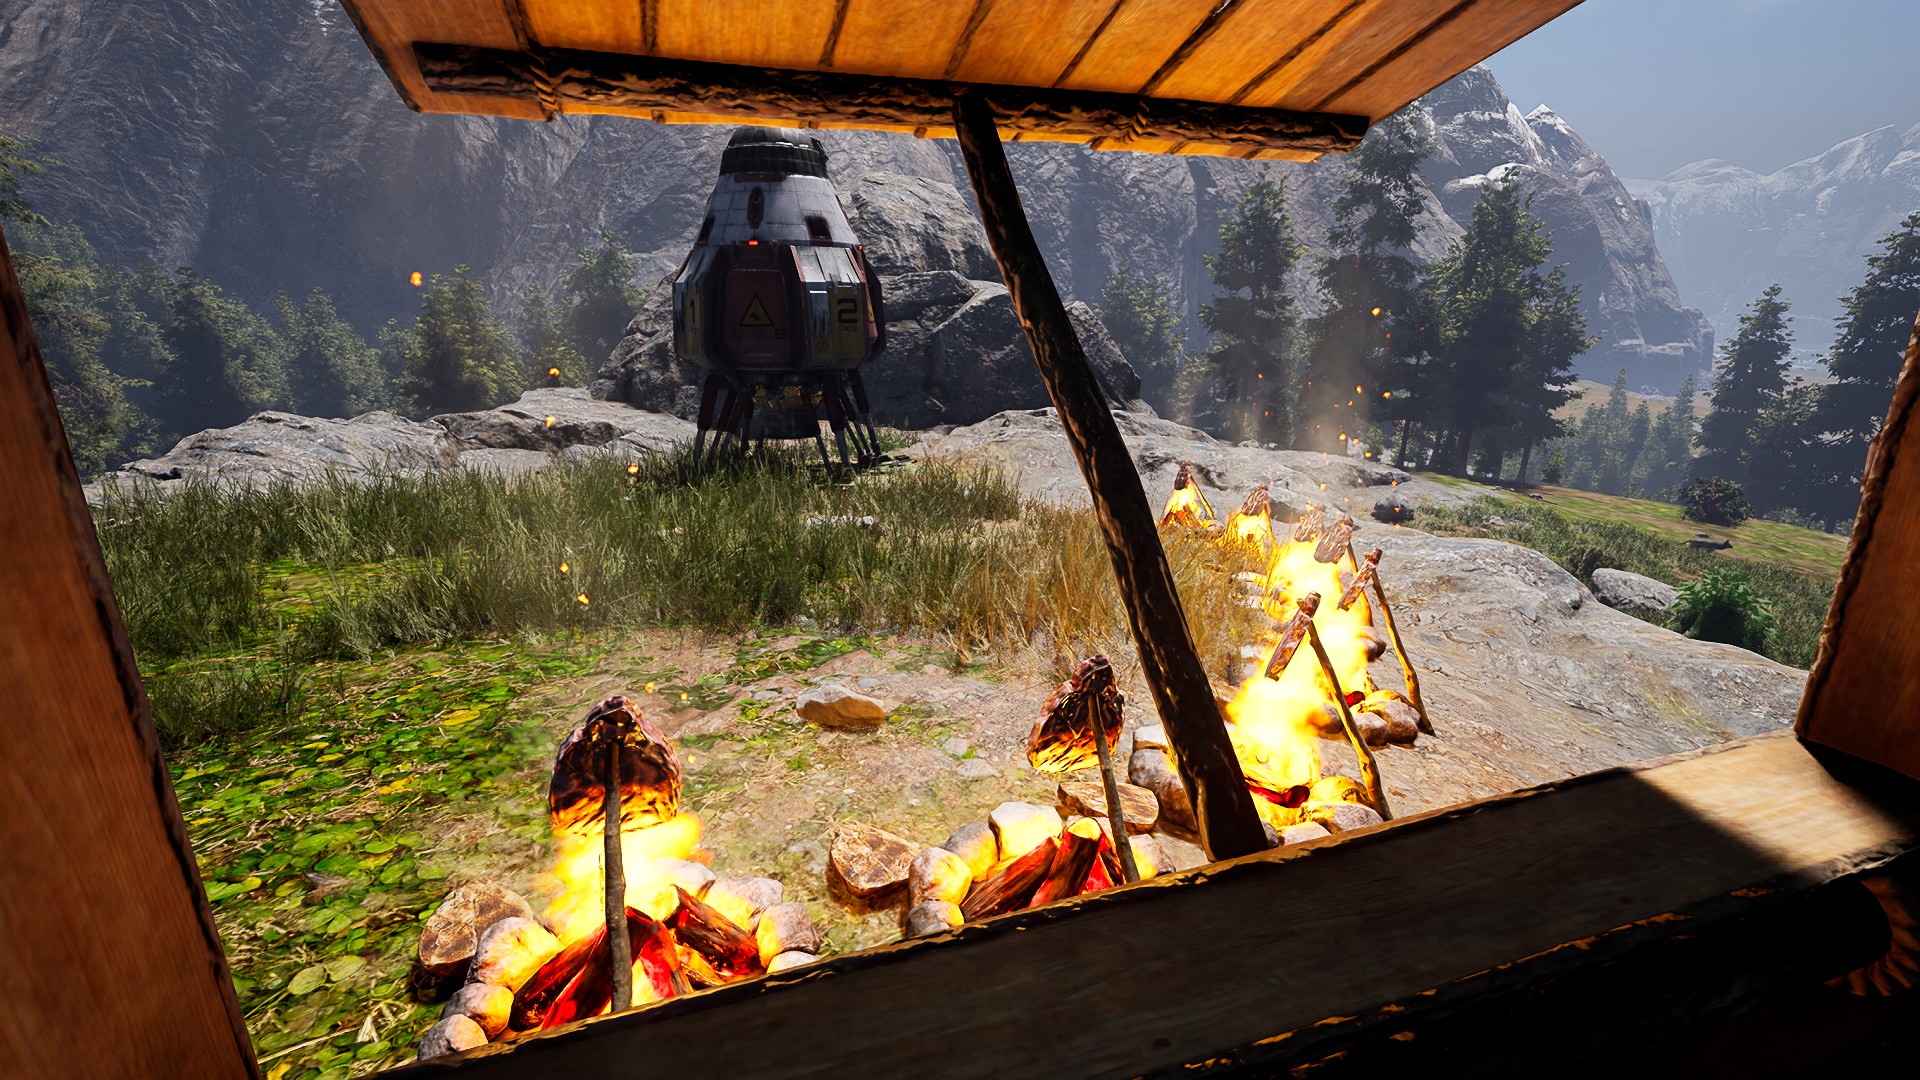
This minimalist setup near the Southwestern Cargo Pod has the lake for protection from occasional bear attacks
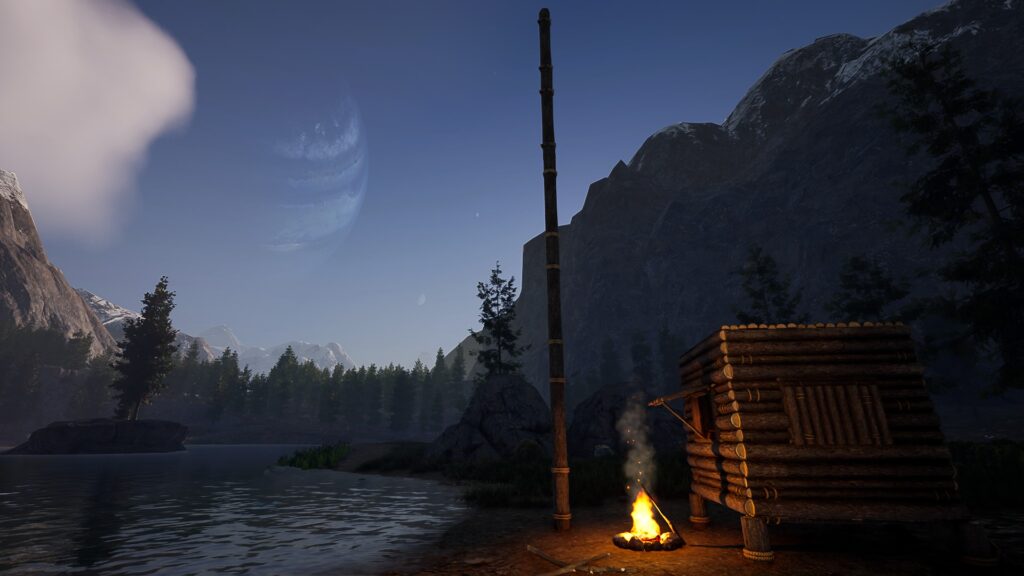
Once you land and get your equipment situated, move to each Cargo Pod Dropsite to proc the cargo pods to land and establish small bases at each. Just a 1×1 wooden room is sufficient, with a Crafting Bench, Bedroll, Campfire, and a detached wooden lightning rod (a tall pole of 5-6 Wood Beams).
The two Cargo Pods are dedicated to either the harvesting or hunting drop-offs. You likely will finish harvesting objectives first. Once you can focus on the hunting objectives, note that Cooked Meat is going to be the bottleneck. Set up several campfires near the Northeast Cargo Pod with lots of fuel to keep converting raw meat into cooked, thus resetting the spoilage counters of the stacks.
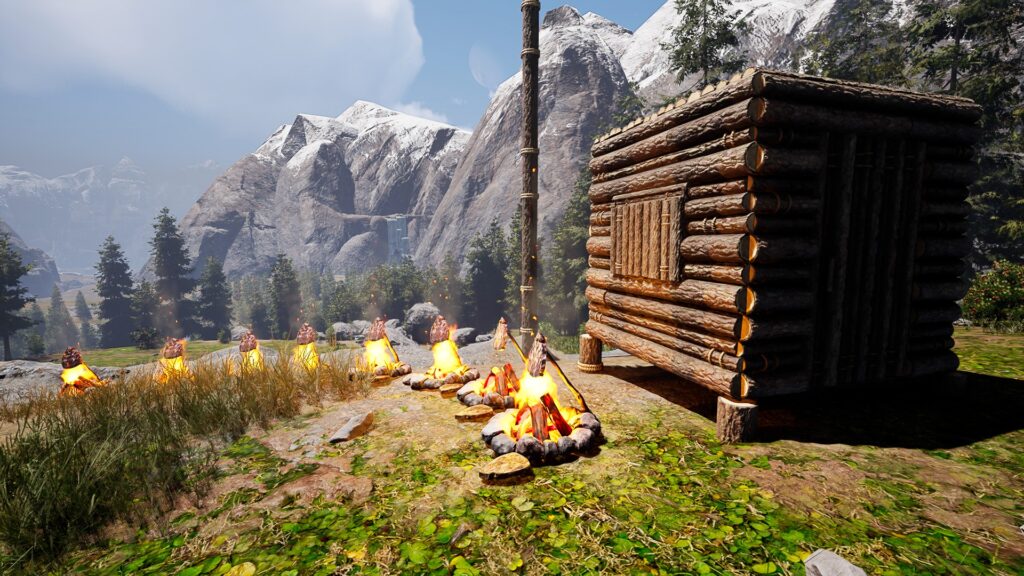
This base near the Northeastern Cargo Pod is flanked by Campfires so Cooked Meat can be transferred without spoilage
That is all there is to this Stockpile order,and the AGRICULTURE mission as a whole. So, how about some tips to help you clear this one faster?
The client does not want Bone. Once you have enough bone for arrows, leave the skeletons on the ground to save time. They won’t trip you and will decay and disappear. Save your tool durability for something more productive.
Safe zone between Cargo Pods
Predators in the forest between the pods are sparse or can be easily dealt with. The majority of the expanse is home to just some scattered, low-level wolves. In contrast, a bear will frequently appear near the lake at the Southeastern Cargo Pod. You can either avoid it, take it head on, or kite it to the lake for easy critical hits.
Cargo Pods are refrigerators
Cargo pods will accept anything, not just what is on their objective list. They also act as refrigerators and arrest the spoilage of any food item. If you need time or space to prepare, you can store sundry items until you are ready to use them. Just remember to remove them before you satisfy the last order objective or the pod might take them back to orbit!
Cooked Meat is the bottleneck of this mission — it takes a while to harvest 600 raw pieces, and they take a while to cook. Split your many Raw Meat stacks between several Campfires. One stack per campfire will ensure that you minimize food spoilage. There is no use having one stack decaying while another waits to cook!
Great Hunting in L10
The forest region in L10 near the Arctic region transition zone is stocked full of every kind of animal, especially the predators that will net you lots of Fur and Raw Meat. They usually are of level 40 or lower, so they are easily managed with bone or iron weapons.
Circle around the forest area in the L10 as you hunt to allow the animals to respawn.
There is also a cave at the northern-most end of the clearing where you can set up a Bedroll in case you are overtaken. Basic foods and Fur or Naneo Armor will help you ensure that you come away from each encounter alive.
Since you are usually in the field, the Skinning Bench is not as useful for this prospect as it is for the others. Regardless of how much Leather or Fur you skin from a kill, you will finish these quotas long before you finish the Cooked Meat objective. An Iron Knife or a workshop knife with 200+% skinning yields will substitute nicely for the Skinning Bench in this case. This will significantly boost the Raw Meat yield from each skinning, but also help you finish with the fur and leather, freeing up the inventory to gather more meat during your hunting trips.
HP bars and the Kill Cam
It is a bit of a cheese, but you can use the talent that reveals enemy HP bars (called Health Bars), as well as the setting for the Kill Cam to improve your hunting efficiency. The HP bars allow you to detect animals through the dense forest and will show up long before the animal name and alert status.
The Kill Cam also activates a very generous aim assist for the bow if you can take the animal down in one hit. It works like a free (and much more effective) alternative to the Tier 4 homing shot talent.
Hopefully this walkthrough has helped you make short work of stockpiling the basics! Leave us a comment, question, or your tips for faster production in the section below. Then, get back to orbit so you can get paid for more work as a valued player in this intergalactic gig economy.
Share this article:
SurvivalSherpa
SurvivalSherpa is an avid gamer spending most of his time at the nexus of the survival, crafting, building, and role playing genres on any platform, especially to test indie titles in EA. AFK, life is about work and education in STEM fields, reading fantasy, and sipping great coffee in the Pacific Northwest.
Boars do not provide the most meat, actually they provide none, you get bacon after skinning a boar, in my opinion its better to go for wolfs and to wait near the carcasses for a min as the pack spawns and you get several wolfs one after another (like 3-4 sometimes more).
Happy Hunting!
Hi MalwarePerseus. This article just needed to be updated after the introduction of bacon with the rest of the prime meats. Prior to that update, boars dropped nearly as much meat as crocodiles do now. I’ll update the article to remove the boar reference.
Wolf baiting is a good strategy as long as you keep moving afterward. And you don’t have to kill a wolf to bait wolves. Any carcass will do. Keep an eye out for curious bears and boars investigating the carcass if near the southern Cargo Pod.
However, since the forest biome spawning points on Olympus were updated to push predators toward the transition zones, the absolute best place near the northern Cargo Pod to score all the meat you need is the forest-arctic transition zone in L10. (See the tip Great Hunting in L10 in the Tips Section.) Wolves, Bears, Deer, and Bison for days — all in a convenient loop where they respawn very quickly. Hope you enjoyed the grind and extracted quickly!