The ACS faction requires a survey to be conducted in the Riverlands, and as usual, you’re the prospector for the job. Our guide will first list the relevant details of the mission, and then provide a step-by-step walkthrough.
Prospect Details
Approximate time to complete: 1:45
Difficulty: Medium
Recommended Level:15-30 – Really, you can complete the mission at any level, but there are level 60+ bears here, and so you’ll probably want to be somewhat experienced and have a decent suite of talents to survive here. If you want to mine for Exotics while you wait for the scan to complete, you’ll need to be level 30 and have the Radar and Extractor blueprints unlocked.
To complete the survey, you’ll need to reach a supply crate that contains four Portable Beacons, and deploy at least one device. Each device you deploy dramatically increases the speed at which the survey is completed, but with all 4 devices deployed, it will still take a little under 2 hours for the survey to complete. As mentioned above, it’s a good idea to complete PAYDAY first so that you can mine an Exotics vein while you wait for the survey to finish.
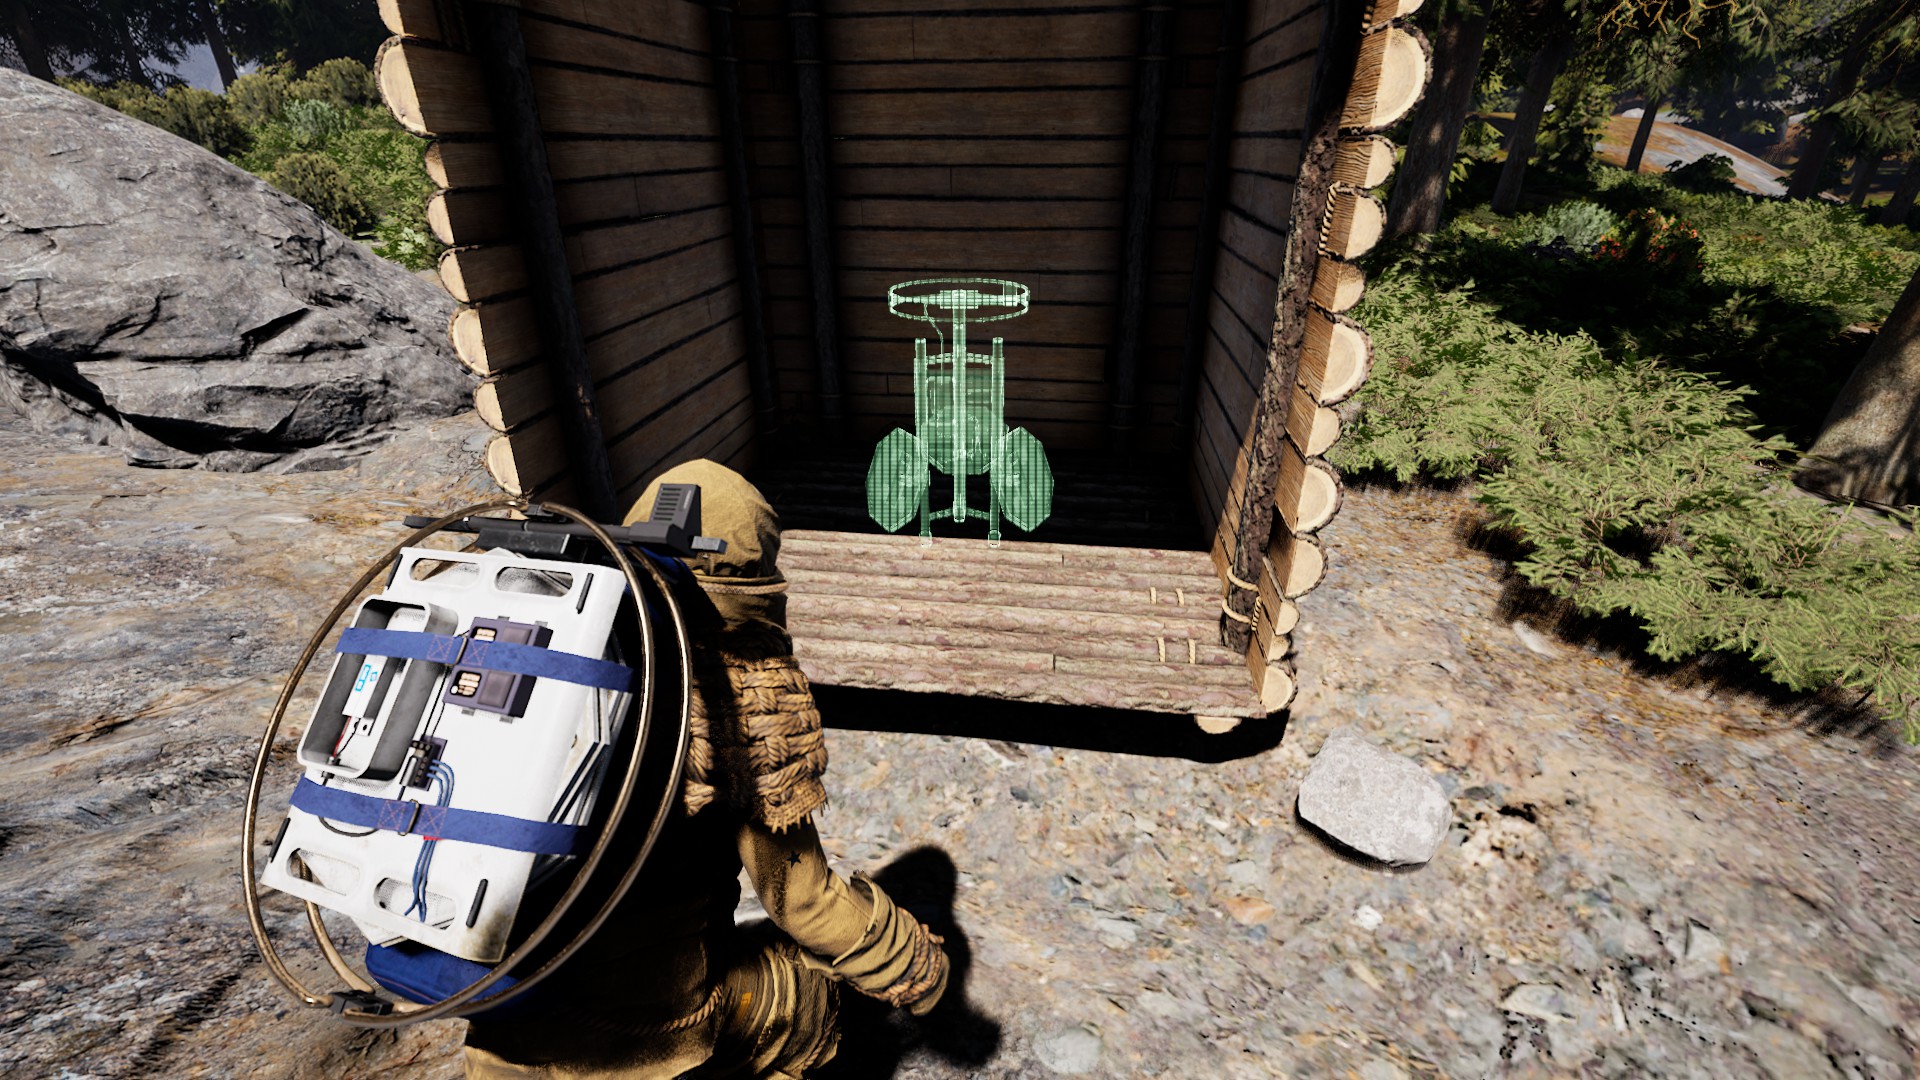
The Portable Beacons require cover in order to activate
The Exotics Vein is circled in red , and the supply crate is the small red circle — the four yellow circles indicate the four locations you need to deploy beacons
Head to the red circle in D-3 first to find the Supply Crate. You’ll need to grab your first beacon, and then go back and forth between each of the yellow circles and the supply crate in D-3 to place all 4 beacons.
If you’re planning on mining while you wait for the scan to complete, note the exotic node in C-4 — you’ll need a Radar to “find” it for yourself, but at least you’ll only have to scan once!
Preparing for CLUSTERED
The bare minimum for completing this mission is as follows:
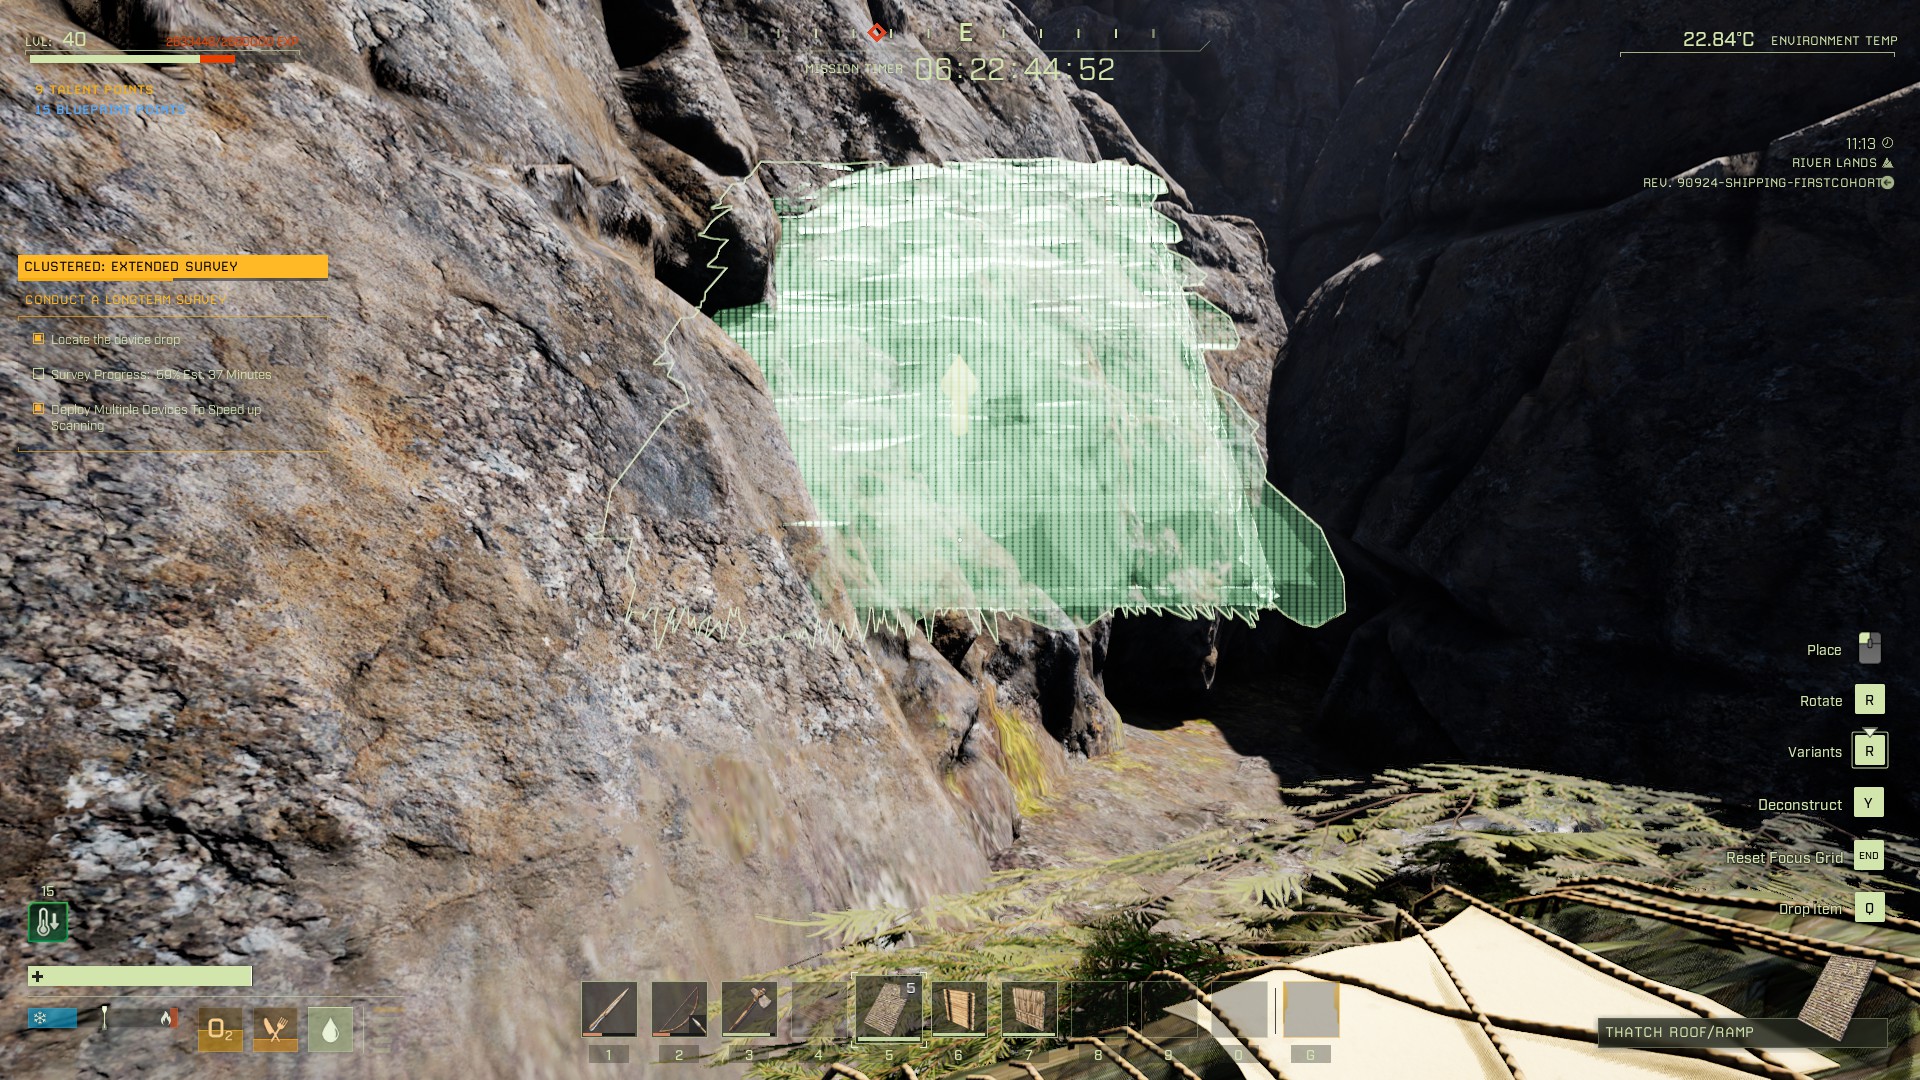
It can be a struggle getting up and around the many cliffs in this area — unless you use ramps. By carrying 3-5 Roof/Ramp pieces, you can easily scale even the steepest cliffs. It takes a bit of practice to figure out how to put them within the cliff (so that they’re supported by the rock and not free-floating), but once you get the hang of it, you’ll be climbing cliffs like a pro.
Once you’ve climbed up a few pieces, turn around and use [Y] to pick up the ones you no longer need. This allows you to climb a tall cliff with only a handful of ramps.
Start anywhere the ramp is actually inside the cliffIf it’s too steep to proceed forward, build sideways instead and then continue upwards
Mission Walkthrough
Step 1: Retrieving & Placing the Beacons
You’ll land in the Forest Biome — open your map and find the red circle on the border of D-3/E-3, and double-click it to set a waypoint. While making your way there, gather resources to craft all the basic tools (bow, arrow, knife, axe, pickaxe), kill some animals and cook their meat, and craft at least Cloth Armor. You’ll also need to craft 20 Wood Walls and 10 Wood Floors, so feel free to start chopping down trees ASAP. A Bedroll is optional but should be easy to craft, and it’s nice to be able to sleep through the night. There are high level wolves and bears in this area, so you’ll want to move carefully, and craft yourself armor and Bone Arrows relatively quickly.
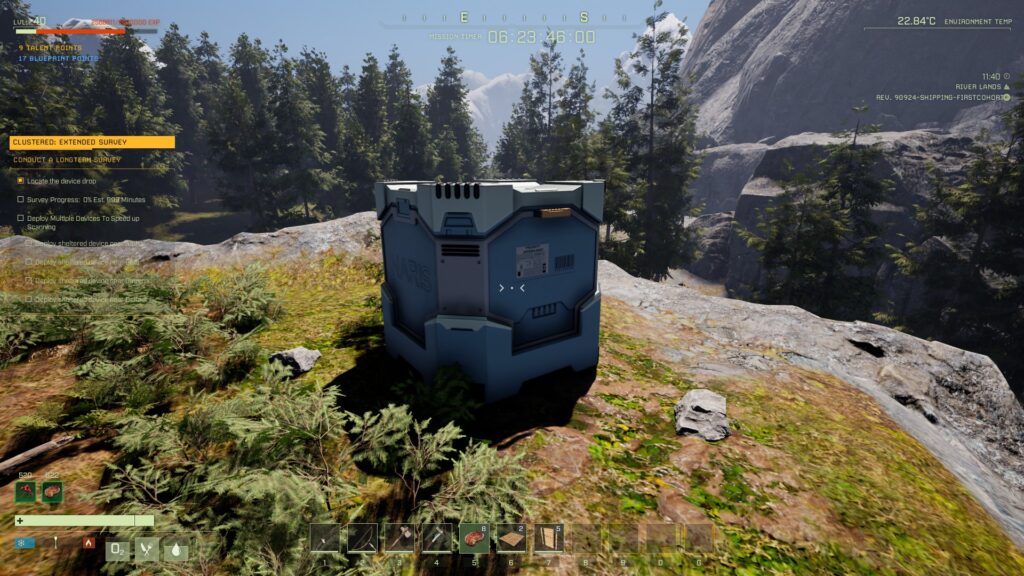
Your first objective
The Supply Cate is on top of a small hill in D-3, and inside are the 4 beacons. Open the supply crate and drag one of the beacons to your [G] slot in your hotbar. Then open your map, find the yellow circle to the northeast of you in E-3, and start heading that way. The direct route is very steep, so either use the Riverlands Climbing described above, or else work your way west — the upper right corner of D-3 is where you can pass into E-3 and reach the first site.
Once you’re anywhere within the circle, place a floor piece down, then place the beacon on the floor. Then place 3 walls, another floor piece as a roof, and then the fourth and final wall — this will shelter the beacon and allow it to participate in the survey.
Each beacon must be sheltered in order to function
You’ll need to do this three more times: twice in D-3, and then in C-3; don’t forget that you need to go get a new beacon each time. The beacon placement site in C-3 is on top of a small hill, and on that hill is the entrance to a large cave that you’ll want to mine if you’re planning on drilling for Exotics on this mission.
If you have successfully placed all four beacons in a shelter, the “Deploy Multiple Devices To Speed up Scanning” box will be ticked in your mission objectives. At this point, all you need to do is wait.
Step 2: Mining Exotics While You Wait
While you could always pet your dog, play phone games, or do some laundry while you wait, you run the risk of dying to a storm or a predator if you aren’t paying enough attention to ICARUS. With that in mind, it’s not a bad idea to take advantage of a nearby Exotics vein while you wait. As noted in the previous sections, you’ll need to have loaded PAYDAY and unlocked the Extractor and Radar blueprints on the character you’re using in order to mine an Exotics vein.
That being said, the scan will likely finish before you’ve managed to tech to T4, so you could always just collect some food, water, and oxite, and then hide in a cave or small shelter until the scan is finished. If you do want to mine for exotics, read on!
We’ll assume that you are already comfortable with mining Exotics — if not, reference our PAYDAY guide and/or our guide on Exotics if you need additional guidance or information. That being said, here’s a brief reminder of the steps you’ll need to take:
Craft an Extractor (or, to save time, bring your Fabricator and the materials for the Extractor with you to the vein).
Get to the vein and mine it!
The Exotics nodeis in the bottom left corner of C-4
You’ll need to set up a mining base; C-3 is a good choice to start, as there is a cave with a huge amount of ore accessible at the top of the hill you placed the final beacon on. E-3 also has 4 caves with lots of ore. If you need more ore, or just want help finding the caves, check out Icarus Intel for a wonderful map that can help you find all the ore you need. Note that while all of the Riverlands is available, the rest of the map is out-of-bounds for this mission.
Once you’ve teched up, it’s time to mine! To save time, simply bring everything you need to C-4: the Radar, a Fabricator and the materials for an Extractor, plus Biofuel Cans and/or your Composter + materials for fuel.
While you’re preparing to mine, you should get a notification that the scan is complete. Once you’ve finished drilling for Exotics, you can head back to the dropship and leave the planet!
We hope this walkthrough for CLUSTERED was helpful. Questions, suggestions, or thoughts on the mission are all welcome in the comments below!
Share this article:
DanielD
Unabashed FromSoftware fanboy still learning to take his time with games (and everything else, really). The time he doesn't spend on games is spent on music, books, or occasionally going outside.